



Standing Pilates workouts save the day when the floor is occupied, the room is tiny, or your body wants movement without having to lie down first. A wall, a countertop, even the back of a sturdy chair can be enough.
The best upright Pilates work looks almost too plain at first glance. Then your ribs try to flare, one hip starts cheating, your shoulders creep upward, and the whole thing gets honest fast. That is the charm of it. Standing drills strip away the comfort of the mat and ask for cleaner stacking, quieter feet, and a little patience.
Pilates was built around control, breath, and precision, not dramatic range or big sweat. Upright work makes those ideas obvious. You feel every small shift in your pelvis, every lazy shoulder, every habit your body has collected from sitting, rushing, carrying bags, and slumping over screens. No floor required.
If balance is shaky, keep one fingertip on a wall and call it smart, not cautious. Small movements count here. Big ones usually miss the point.
1. Standing Roll-Down for Spinal Mobility
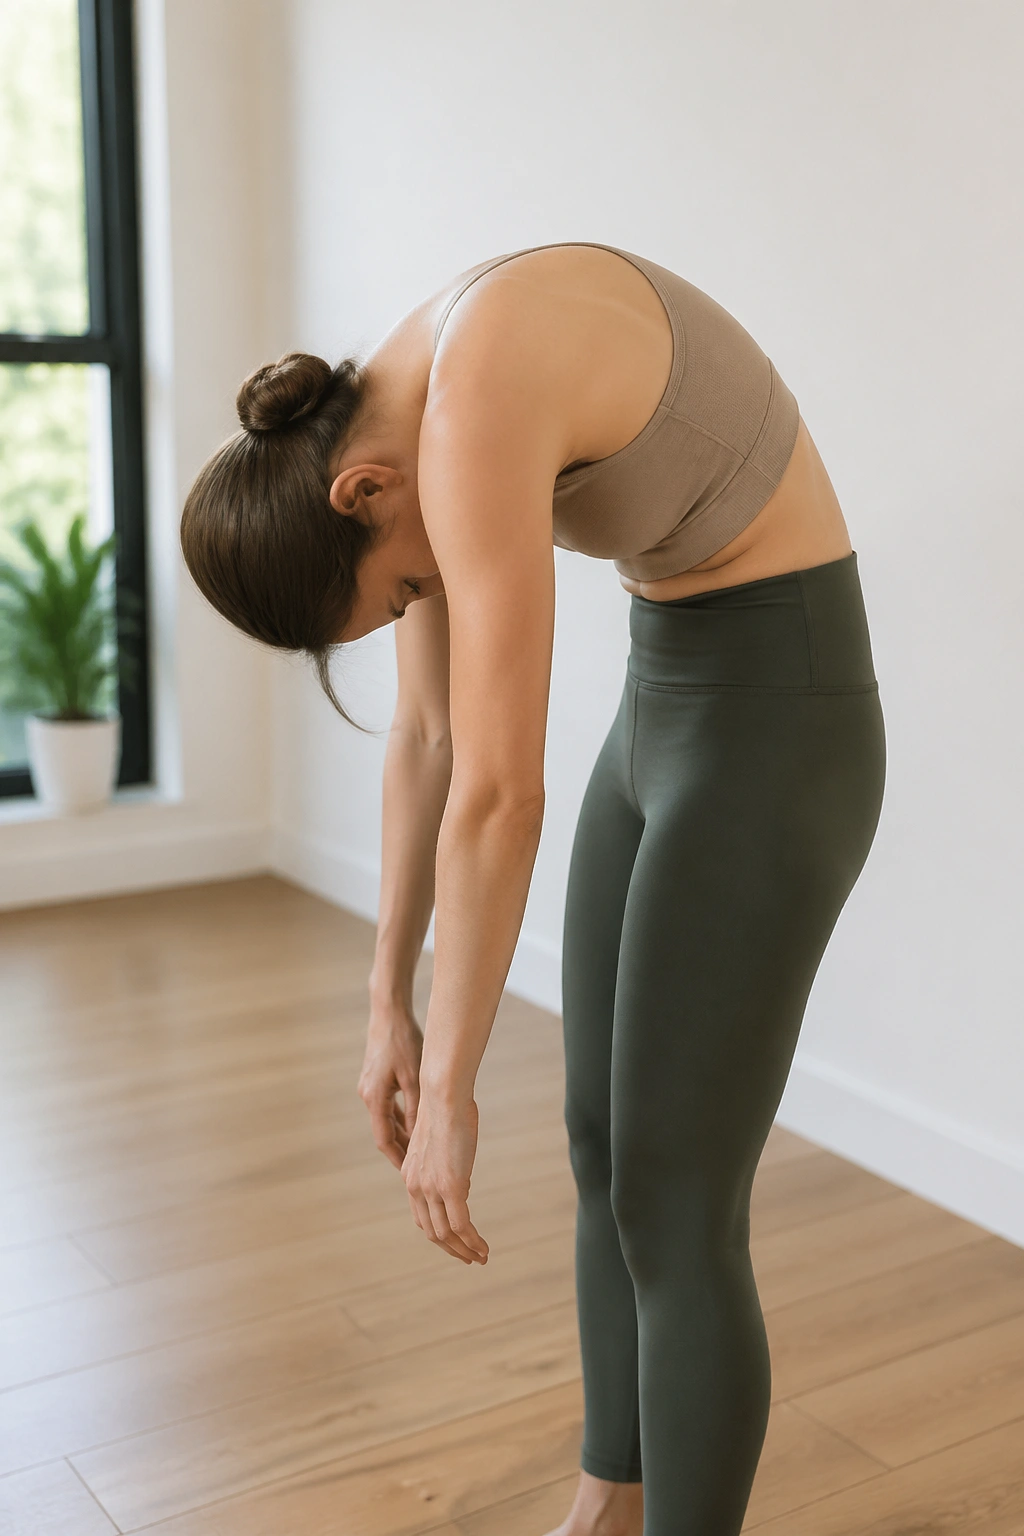
Start here if your back feels stiff, your hamstrings are grumpy, or your posture has gone a little rigid. The standing roll-down is one of those Pilates staples that looks gentle and feels sneaky in all the right ways.
Stand with your feet hip-width apart, knees soft, and your weight spread through the whole foot. Nod your chin, exhale, and let your head begin the descent. Then roll down one piece at a time—upper back, middle back, lower back—until your arms hang and your spine feels long instead of jammed.
Why It Works
The roll-down teaches spinal articulation, which is a fancy way of saying your spine moves segment by segment instead of folding like a board. That matters more than it sounds. A body that can articulate well usually moves better in walking, bending, and reaching.
At the bottom, let your arms dangle and your neck relax. A little knee bend is fine. In fact, it’s often better than locking the legs and turning the whole move into a hamstring tug-of-war.
- Do 4 to 6 slow roll-downs.
- Keep the neck heavy and the jaw loose.
- Stop before the spine starts to jerk or the head feels swimmy.
- On the way up, imagine stacking the vertebrae like small blocks.
Tip: If the back of your legs grabs too hard, bend your knees more. That adjustment is not a downgrade. It is the right version of the exercise for your body that day.
2. Arm Sweep with Breath and Rib Control
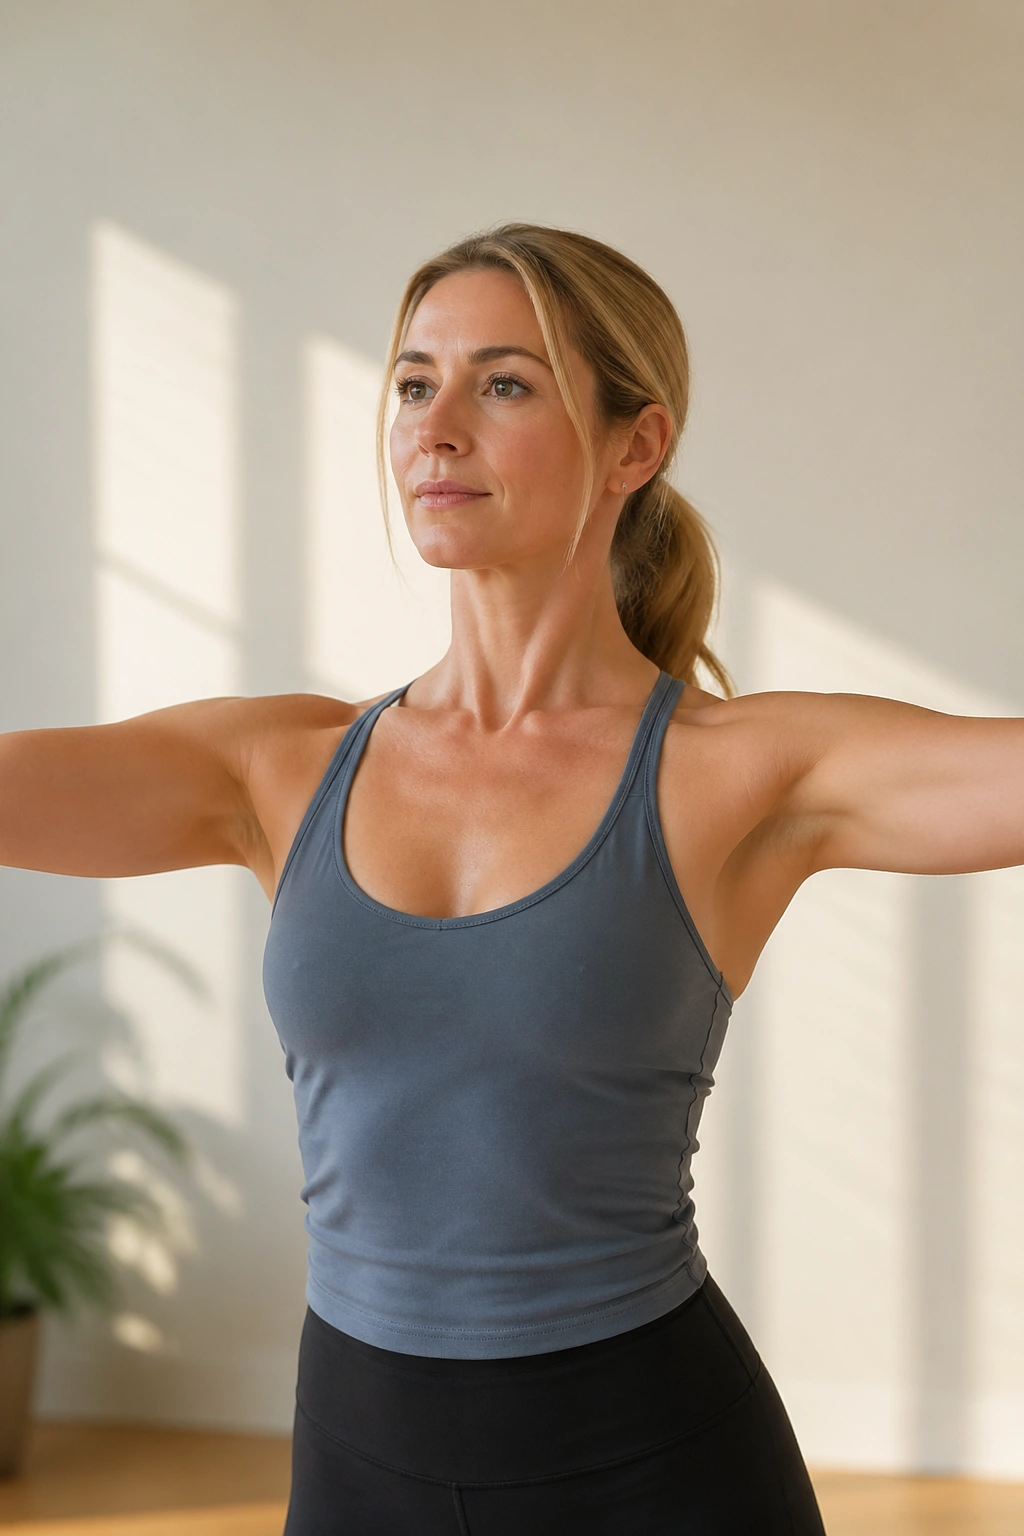
Your arms can train your core harder than people expect. Especially when the ribs stop flying up like they own the place.
Stand tall with your arms by your sides, palms facing forward. Inhale and sweep the arms outward and up to shoulder height or slightly higher. Exhale and draw them back down in a smooth arc, keeping the chest calm and the shoulders away from the ears. The motion should feel precise, not theatrical.
What makes this one useful is the quiet work under the obvious movement. Your trunk has to resist the urge to lean back, your shoulder blades need to glide instead of pinch, and your breath has to stay organized. That sounds simple until you try it after a long day at a desk.
Try 8 to 10 repetitions, moving as if you’re pressing through light resistance the whole time. The hands don’t need to slice the air dramatically. They just need to stay alive.
No shrugging. If your neck starts working harder than your abs, slow down and make the sweep smaller. That tiny fix changes everything.
3. Standing Spine Twist for a Long Waist
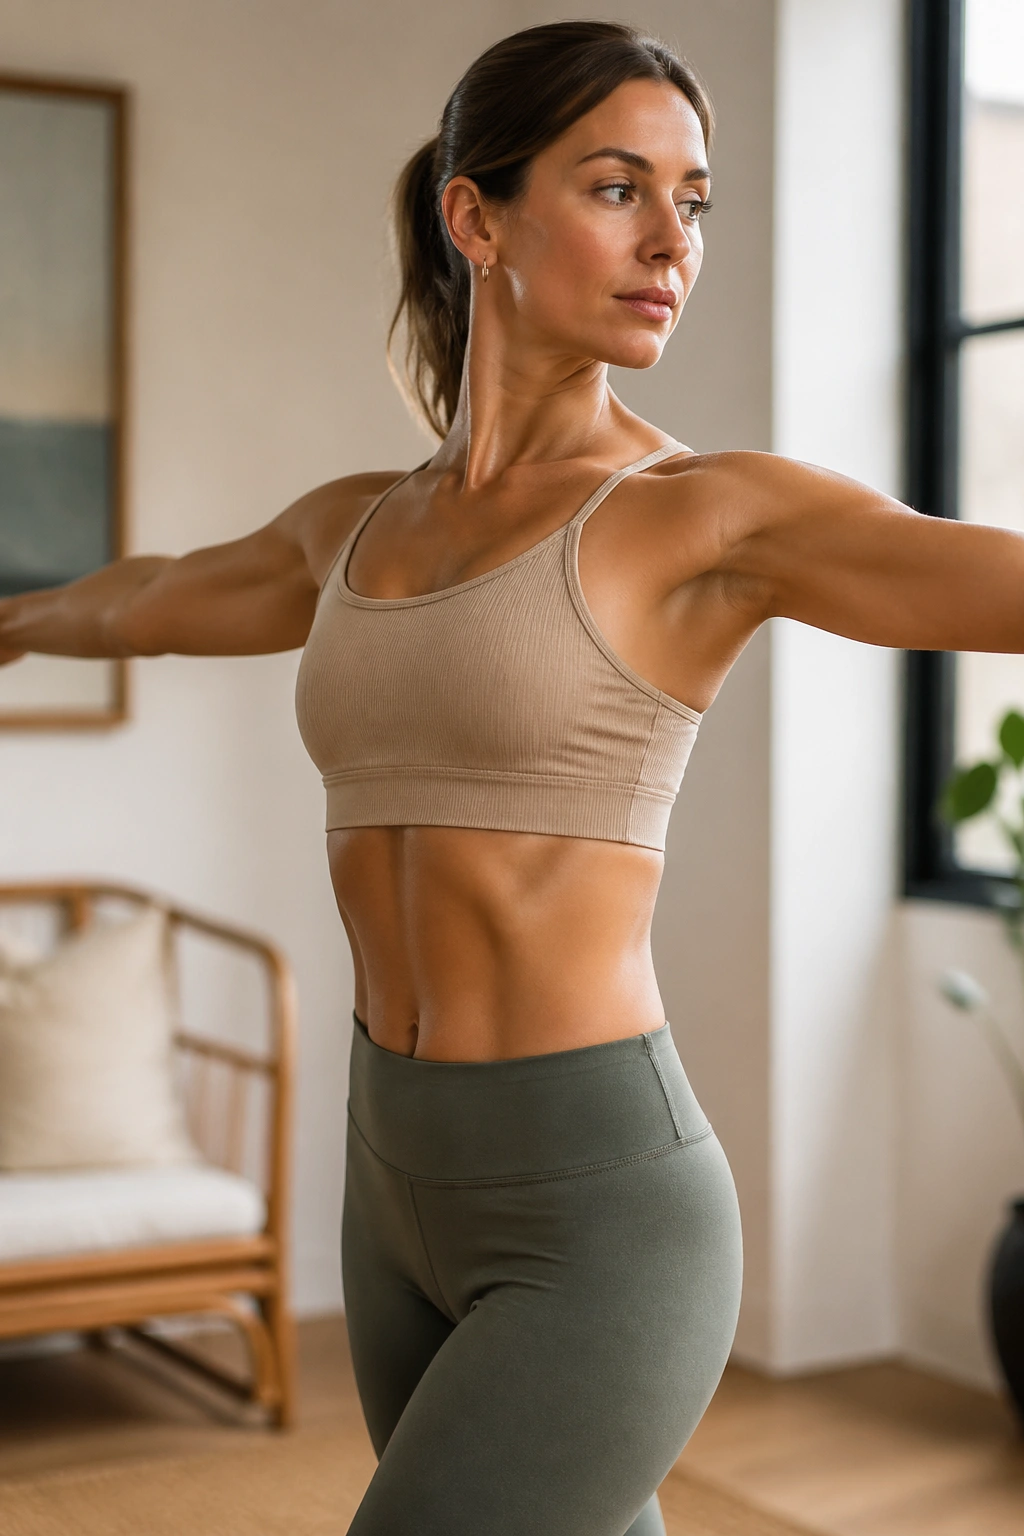
Why does a tiny twist matter so much? Because rotation tells you whether your hips can stay quiet while the rib cage moves, and that is a useful skill in real life.
Stand with your feet grounded and your arms stretched out to the sides at shoulder height. Keep the pelvis facing forward, then rotate from the ribs to one side on an exhale. Come back to center on an inhale, then repeat to the other side. The range should be controlled, almost underwhelming. That’s the right look.
How to Feel It in the Right Place
The twist should live in the mid-back and waist, not in the knees or neck. If the hips swing around, shorten the movement. If the chin starts leading the turn, reset and look straight ahead before trying again.
You’re aiming for 6 twists per side. Think of the spine as a tall, springy column rather than a loose rope. The arms stay long, the shoulders stay soft, and the breath does the work of organizing the movement.
A smaller twist done cleanly is better than a bigger one that cheats. Every time.
4. Heel Raise with Pelvic Lift
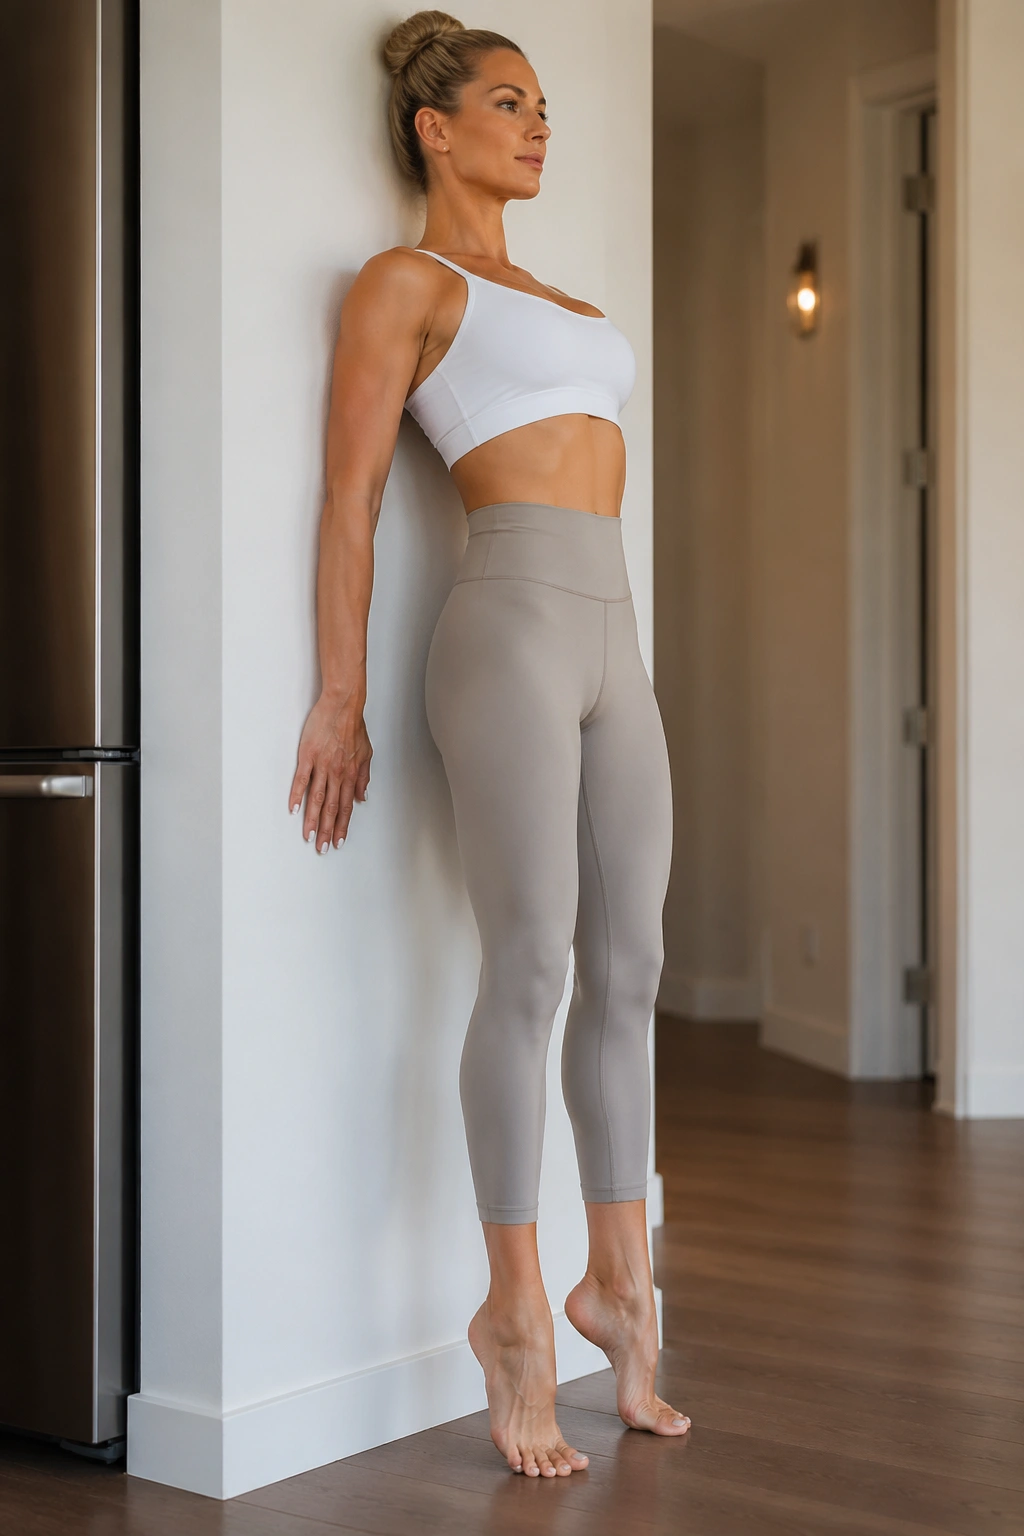
This is the move I like when I’m standing in line, waiting for water to boil, or brushing my teeth and trying not to waste the moment. It looks too easy right up until the calves wake up and the standing leg starts demanding attention.
Stand with feet parallel and hands lightly resting on a wall or chair if needed. Inhale to prepare, then exhale and slowly rise onto the balls of your feet. Hold for a beat, feeling the inner thighs gather and the torso stay tall. Lower with the same control.
The magic is in the slow lowering. Most people pop back to the floor too fast and miss half the work. Lowering with control trains the calves, feet, and deep support muscles much more than a quick bounce does.
- Use 10 to 12 repetitions.
- Keep the weight centered over the big toe and second toe.
- Don’t let the ankles collapse outward.
- Stay tall through the crown of the head.
Your feet will probably get more honest than you want. Good. They are supposed to.
5. Side Reach with Overhead Line
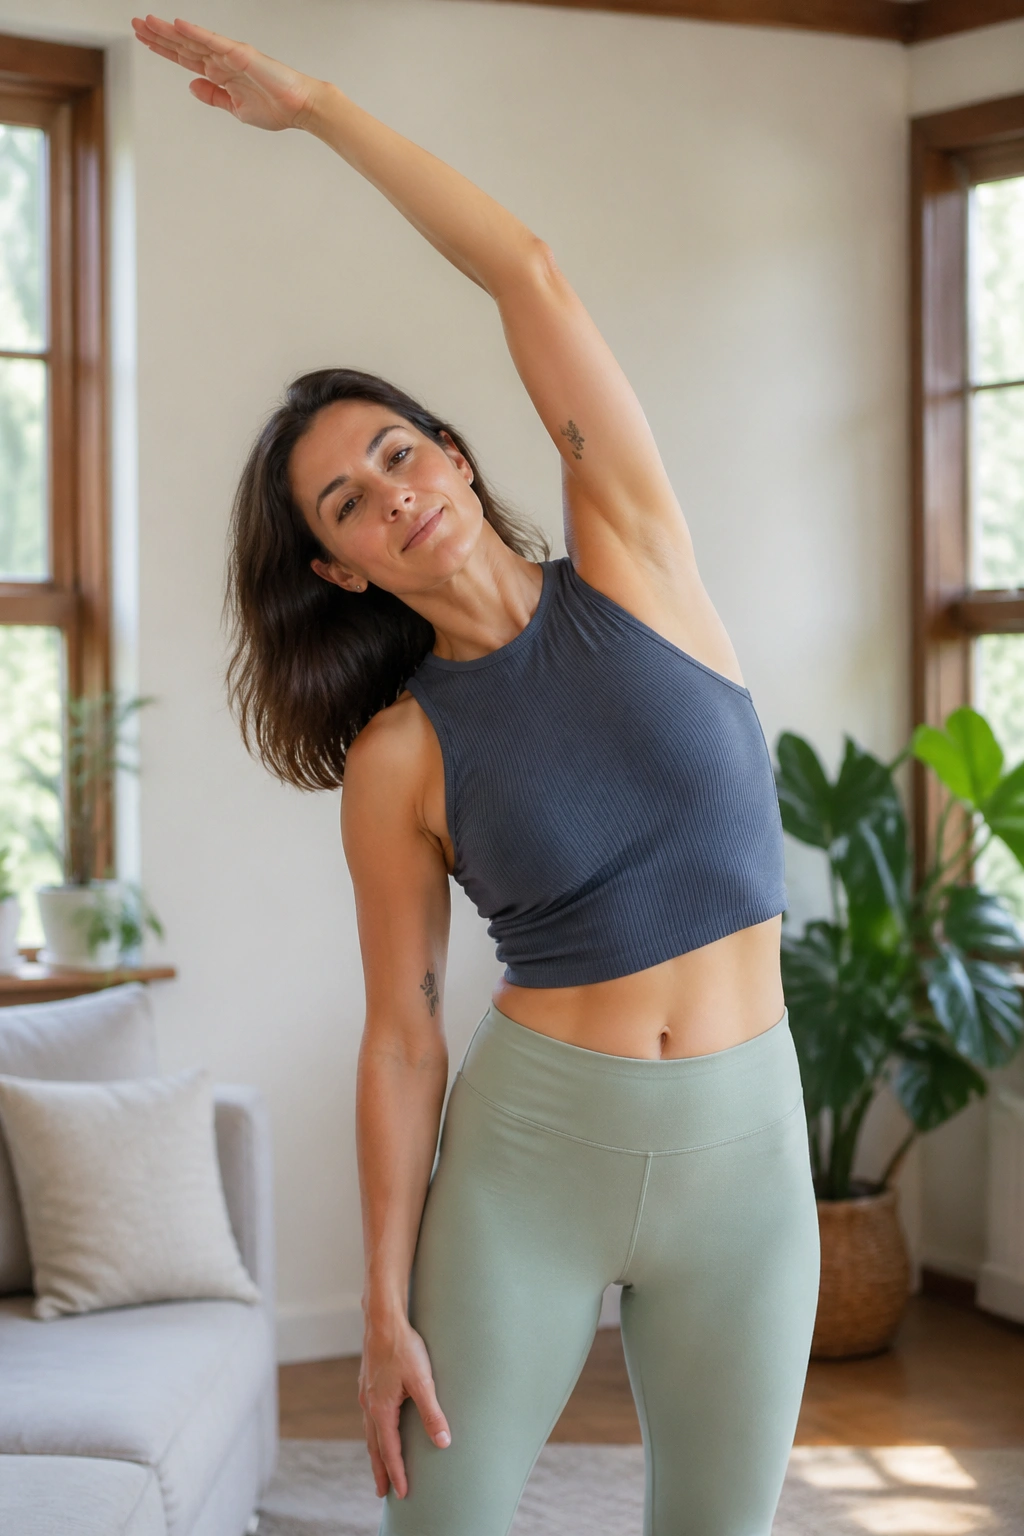
Side body work sounds gentle. Then you do it properly and discover how awake the ribs, waist, and lats can be when they’re asked to stretch and stabilize at the same time.
Stand with one foot slightly forward if that helps you feel steadier. Let one arm float overhead and reach it long, not floppy. Slide the opposite hand down the standing leg a little, as if making space between your ribs and your hip. Breathe into the open side, then return to center and switch.
The big mistake here is to collapse forward or lean back. Keep the chest facing front and let the side bend happen like a smooth curve, not a sideways crunch. The stretch should feel broad across the ribs, almost like someone is gently tugging the waist longer.
I’d do 5 reaches per side, each one tied to a slow breath. If you want more challenge, hold the side bend for two extra breaths before coming up. If your shoulder gets noisy, lower the arm a bit and keep the line cleaner.
6. Standing Hundred March
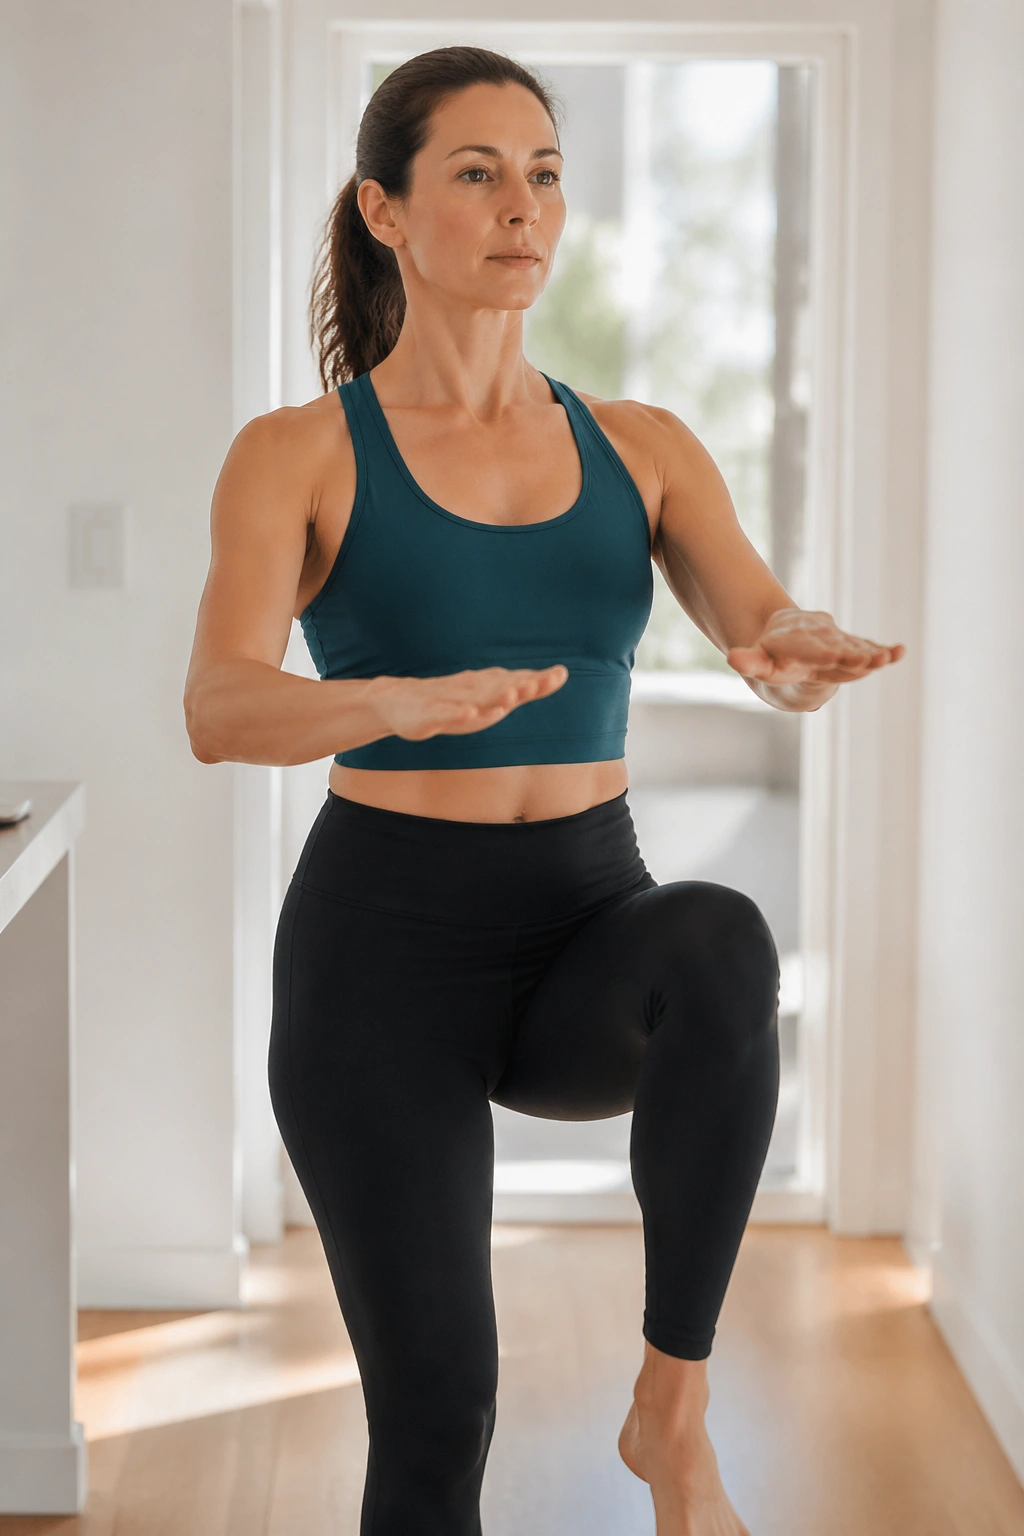
Unlike the classic Hundred on the mat, this version keeps the legs honest. No head support, no lying down, no hiding behind the floor. Just a standing core challenge that raises heat without turning into a jumpy mess.
Stand tall with a tiny bend in the knees. Lift the arms to chest height and pump them briskly while marching one knee at a time, or both feet if space is tight. Keep the torso steady and the ribs stacked over the pelvis. The pumping can be quick, but the trunk stays calm.
What Makes It Different
The mat Hundred leans hard on abdominal support while the legs hover. The standing version adds balance, postural control, and footwork. It feels more like real life, which is exactly why I like it.
- Try 5 breaths worth of arm pumps.
- March softly, with no stomping.
- Keep the shoulders down even when the pace rises.
- Let the exhale flatten the lower ribs a little.
This is a good one for travel days, hallway breaks, or any time you want to warm up without lying on whatever floor you happen to have. A doorway is enough.
7. Standing Leg Lift at the Wall
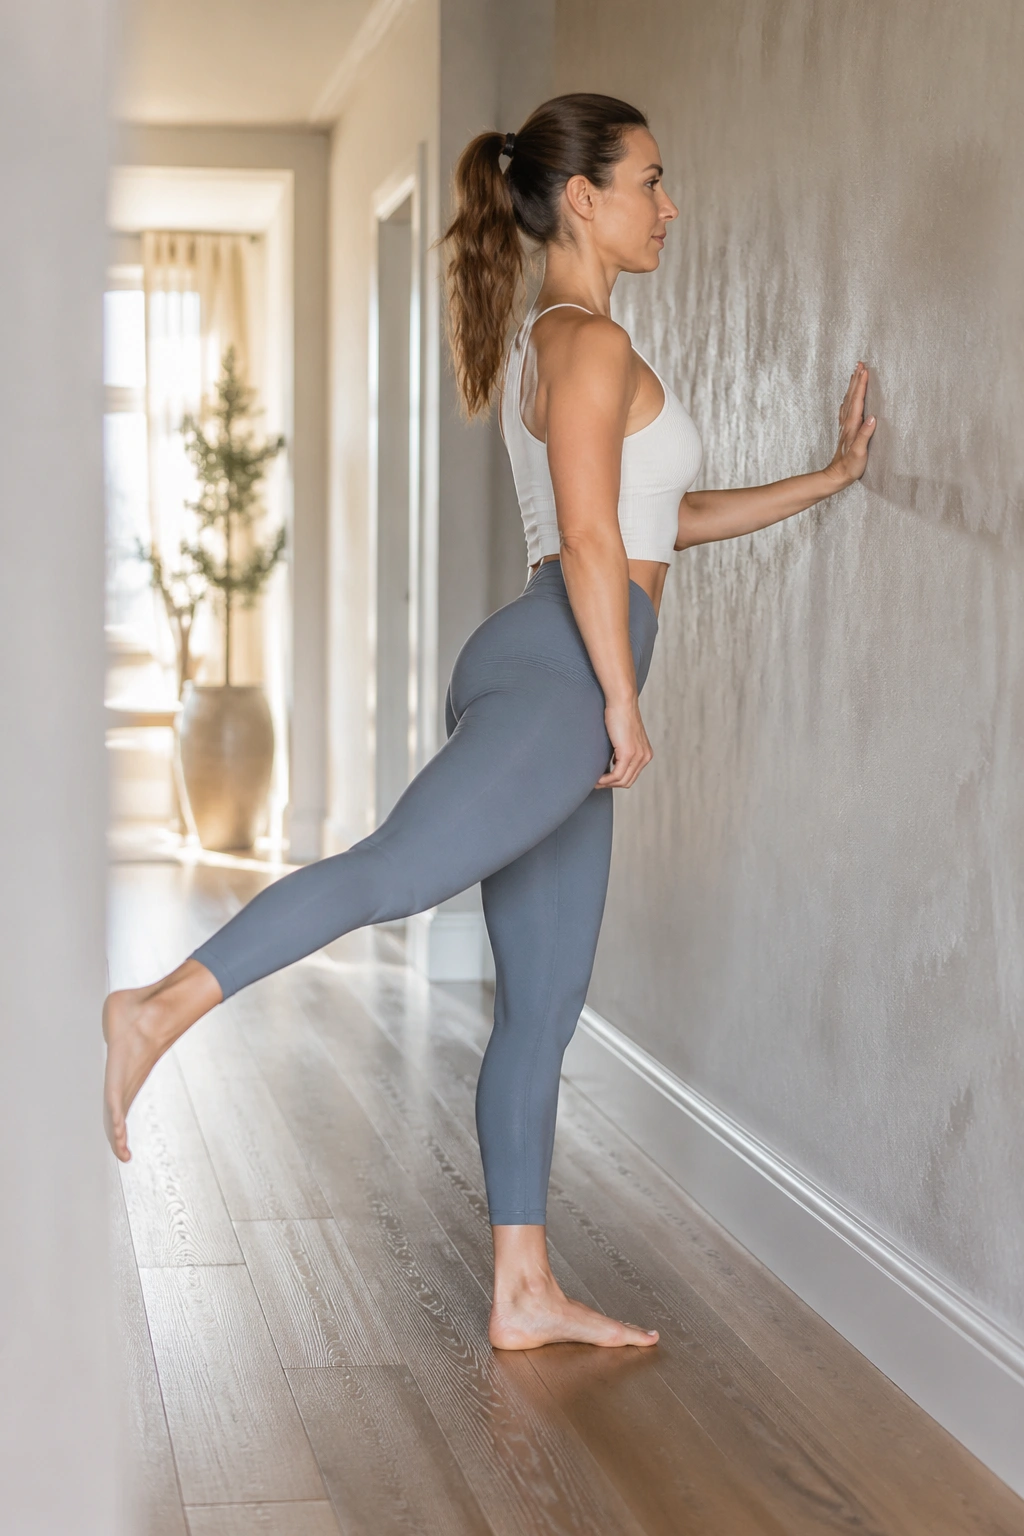
Need glute work without getting down on the mat? Use the wall. It gives the standing leg something to organize around and keeps the move honest when fatigue starts to blur your form.
Stand facing a wall with one hand resting lightly on it. Shift your weight onto one leg and let the other leg extend back a few inches, toes pointed or softly flexed. Lift the leg a little, pause, then lower it with control. The torso stays upright, and the lower back stays quiet.
This is a small move, not a kickback contest. If the leg goes high enough to force the pelvis to twist or the ribs to flare, you’ve gone too far. Bring the range down and keep the line long.
Do 8 repetitions per side. If you want a little more challenge, hover the lifted leg for a count of two at the top. If your standing hip wobbles, widen the support foot just a touch.
The glute should feel the work. The lumbar spine should not.
8. Wall Clamshell for Hip Stability
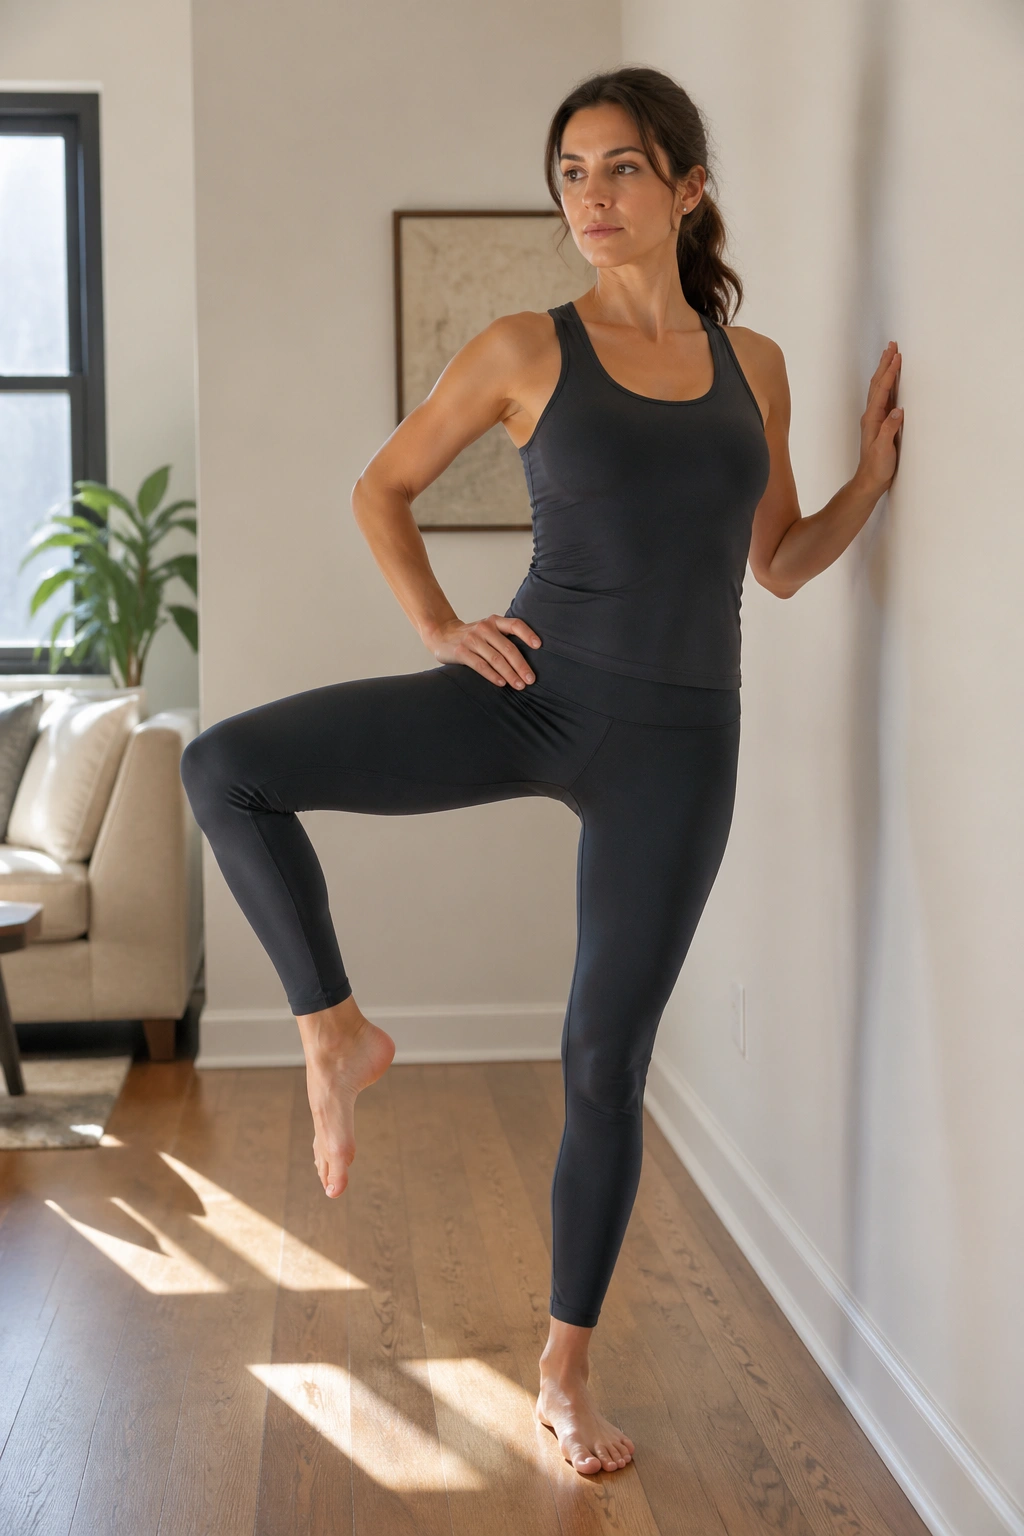
A wall makes hip work honest. That’s the whole reason this standing clamshell belongs on the list.
Stand sideways to a wall with your inside hand lightly touching it. Bend the outside knee so the thigh can lift without the pelvis tipping. From there, open the knee outward a few inches, then bring it back in with control. The standing leg stays rooted, and the torso stays stacked.
What to Watch For
The temptation is to turn the whole body with the leg. Don’t. Keep the zipper line of your torso facing forward and let the motion come from the hip socket. That’s where the useful work lives.
- Move through 6 to 8 open-and-close reps per side.
- Keep the standing knee soft, not locked.
- Open only as far as the pelvis can stay level.
- Use the wall for balance, not for pushing your body sideways.
This is a quiet burner for the outer hip and glute med, which matter a lot more than most people admit. Strong side hips make walking, standing, and climbing stairs feel less sloppy.
9. Front Kick Series for Hip Flexor Control
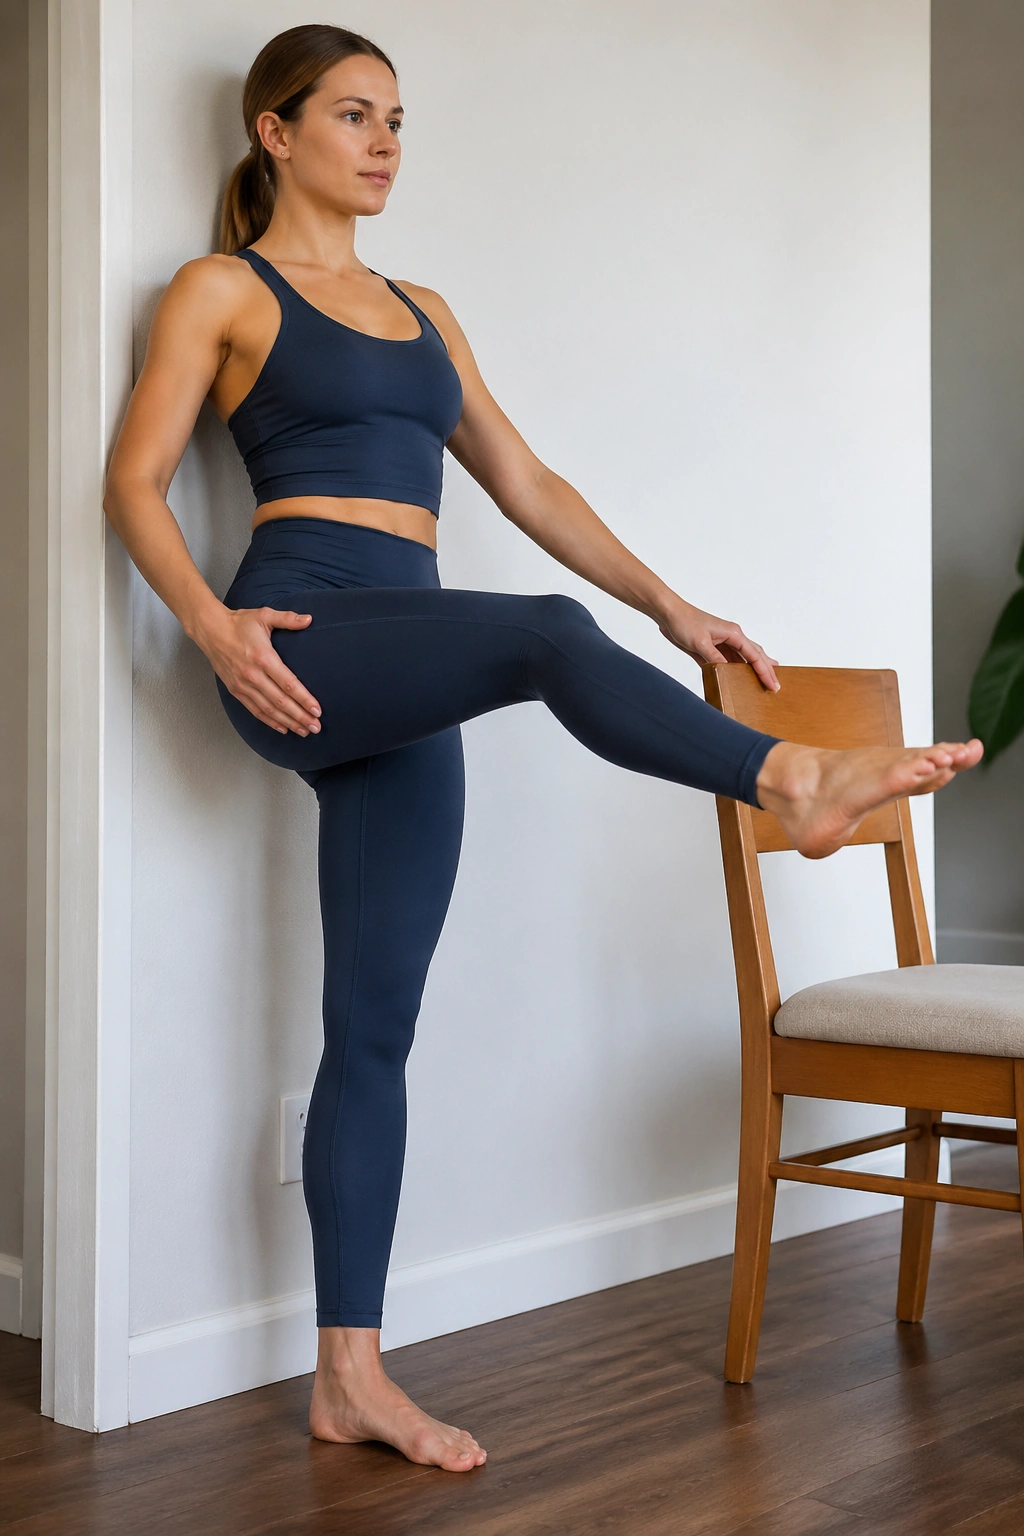
Keep the kick small. Seriously. The goal is control, not height.
Stand tall and place one hand on a wall or the back of a chair if needed. Lift one knee toward hip height, then extend the lower leg forward in a measured kick. Bend it back in and lower the foot without dropping the torso around it. The whole thing should feel clean and deliberate.
The standing leg does a lot of hidden work here. So do the abs. If the pelvis tips back or the lower back tightens, the kick is too big. Shorten it, slow it down, and make the return phase as precise as the extension.
Work 6 to 8 repetitions per side. Point the toes for one round, then flex them for another if you want to feel the front of the leg in a different way. That small variation wakes up the shin, ankle, and hip differently.
This is one of the best standing Pilates exercises for people whose hips spend too much time in one bent shape. Desk life has a way of doing that.
10. Crescent Lunge Pulse with Upright Posture
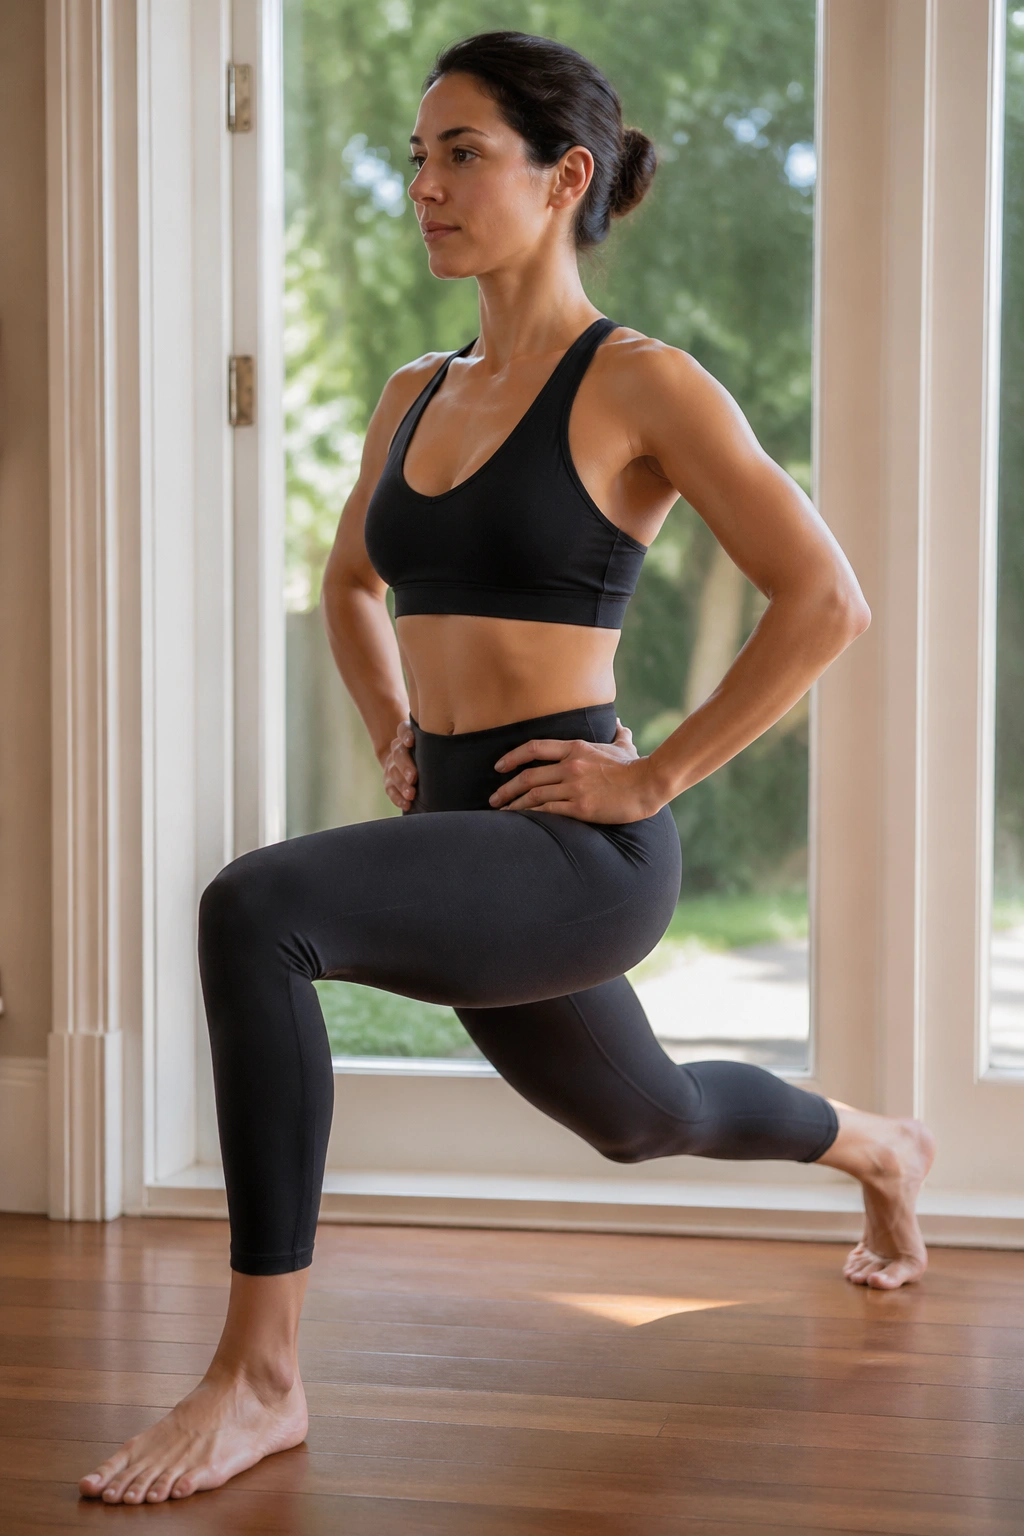
At a hotel room door, beside a park bench, or squeezed into a corner of a kitchen, this move earns its space. It asks for a little more leg work, but not enough to wreck your form.
Step one foot back into a short split stance. Keep the back heel lifted and the torso tall. Bend both knees a few inches, then pulse up and down in a tiny range. The front knee stays stacked over the ankle, the back hip lengthens, and the ribs stay quiet.
The pulse should feel like a controlled spring, not a bounce. The upper body stays lifted while the legs do the actual work. If the torso drops forward, raise it again and make the bend smaller.
- Aim for 10 to 12 pulses.
- Keep the back leg long and active.
- Press evenly through the whole front foot.
- Stop the moment the front knee starts collapsing inward.
There’s a nice gritty feeling to this one. It doesn’t look like much, which is probably why people keep underestimating it.
11. Single-Leg Balance Reach
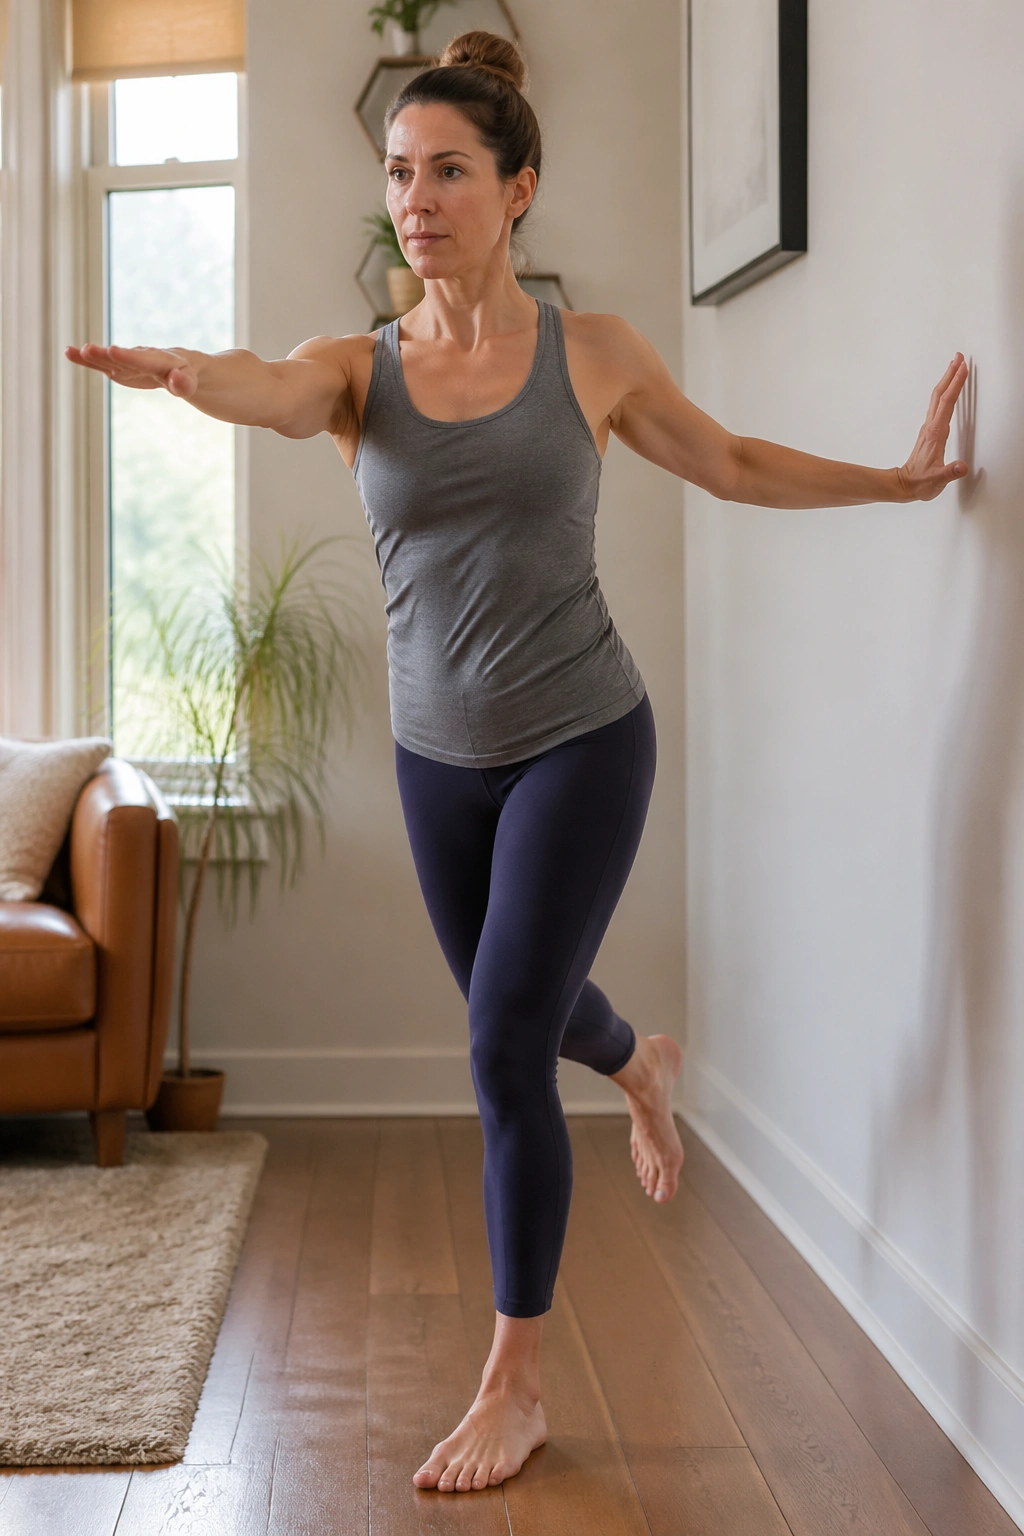
A wobble is information, not failure. This is the standing Pilates exercise that tells you exactly where your balance leaks out and how fast you can clean it up.
Set It Up
Stand on one leg and let the other foot hover just off the floor. Keep the standing knee soft, not locked. From there, reach one arm forward, out to the side, or overhead. The changes can be small. They should be. You’re teaching the body to stay organized while the limbs move.
What It Trains
This move challenges ankle stability, hip control, and trunk placement all at once. If the standing foot grips too hard or the pelvis tilts, the body is trying to borrow stability from the wrong place. Slow it down and reset.
How to Modify It
Use a wall with one fingertip touching for support. Hold the reach for 20 to 30 seconds per side, or take 5 slow breaths. If that feels easy, close the fingers off the wall and make the reach a little more directional, like you’re placing something on a high shelf.
This one has a humbling quality. Good.
12. Hip Hinge and Lift for Glutes
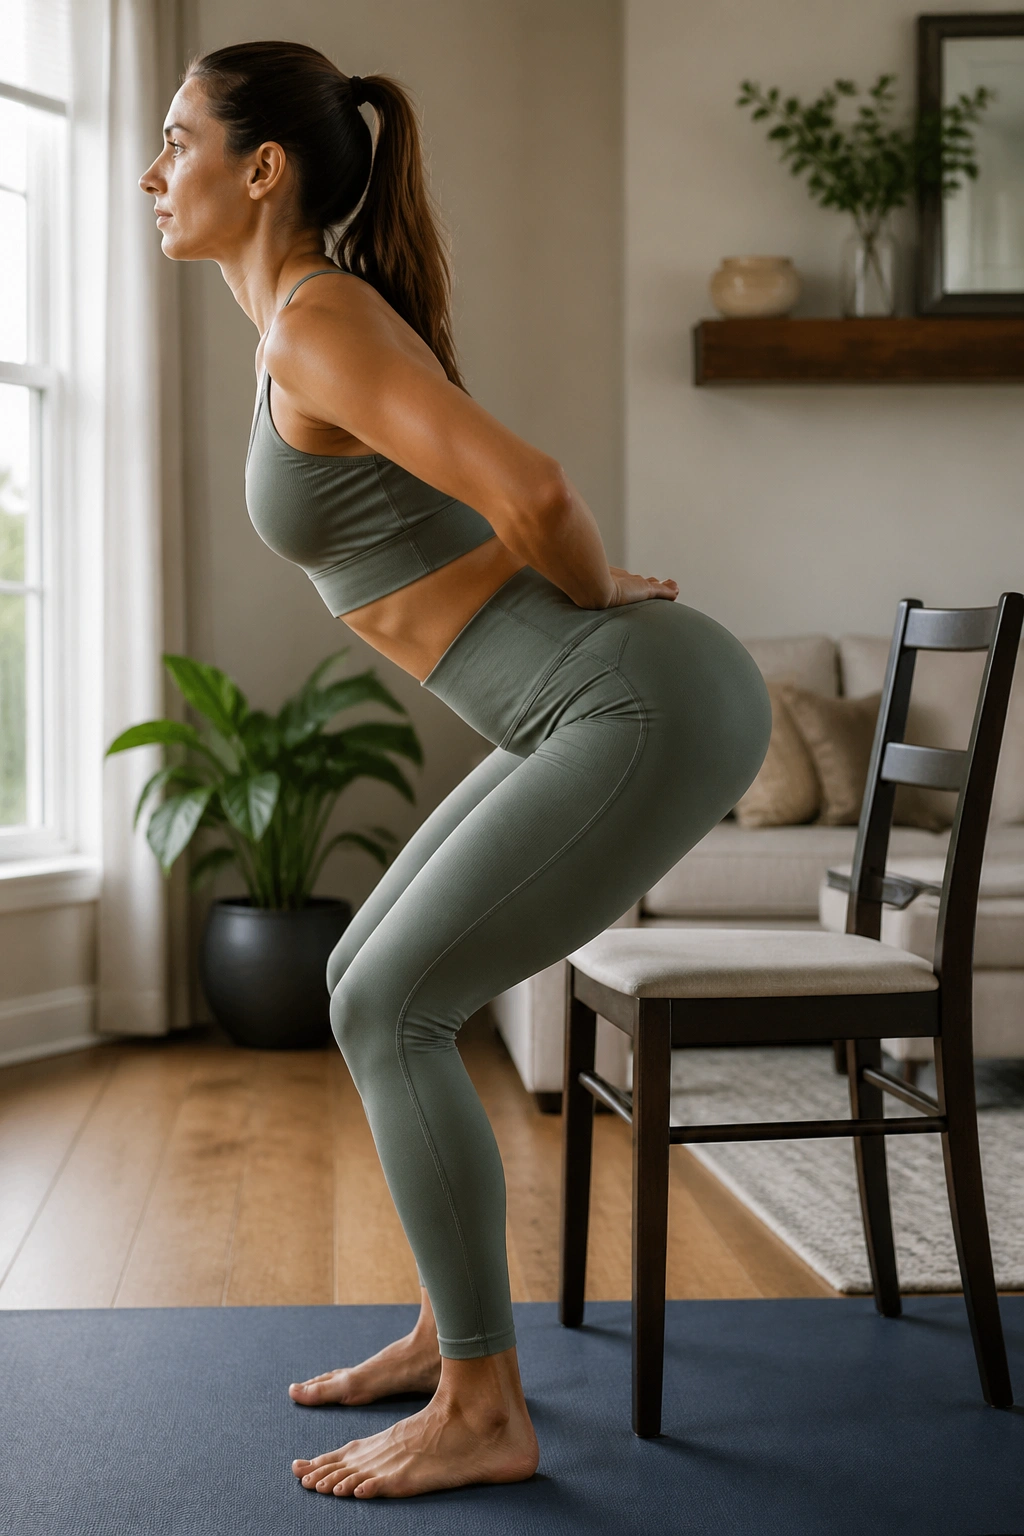
Unlike a squat, the hinge keeps the shins mostly quiet and asks the hips to fold. That makes it one of the nicest standing Pilates moves for the back side of the body.
Stand with feet hip-width apart and knees softly bent. Reach your hips back as if closing a car door with your seat, keeping the spine long and the chest open. When you’ve hinged as far as you can without rounding, drive through the heels and stand back up by squeezing the glutes.
A chair placed behind you can help. Tap it lightly with your hips on the way back if you need a reference point. That small target keeps the movement honest and stops the hinge from turning into a lazy bow.
- Do 8 to 10 controlled reps.
- Keep the neck in line with the spine.
- Think “hips back, chest long.”
- Finish by standing tall, not leaning back.
This is one of the best ways to wake up the hamstrings without needing a machine or any fancy setup at all.
13. Standing Side Kick with Toe Tap
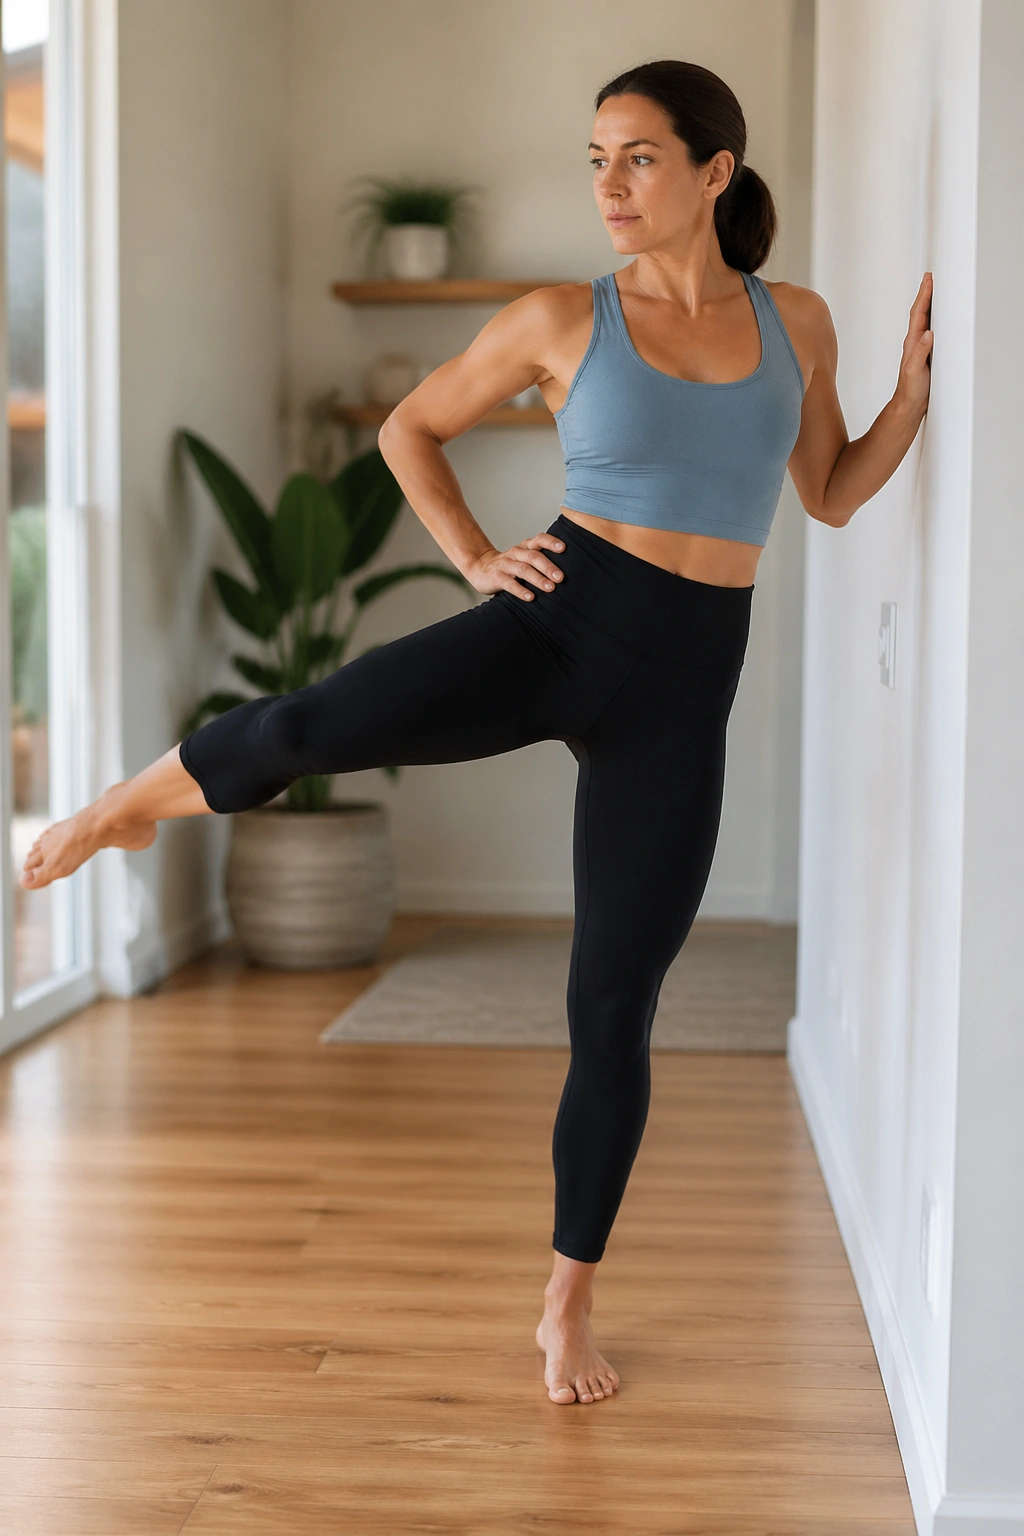
What if the side kick could travel upright? This is the version that keeps the idea of the classic Pilates side kick but strips it down for standing space.
Stand on one leg with a wall nearby. Let the other leg sweep out to the side, low and controlled, then tap the floor lightly or hover just above it before bringing it back in. The torso stays tall, the support hip stays steady, and the lifted leg moves from the outer hip rather than from momentum.
How to Keep It Clean
Height is a trap. A small side lift done well beats a high one that yanks the pelvis around.
Keep the toes facing forward or slightly down so the hip doesn’t open into a sloppy turn. If the standing ankle feels unstable, widen your stance a little before starting. And if the waist starts leaning away from the lifted leg, lower the height by half.
Try 8 reps each side and breathe out as the leg lifts. The exhale helps the trunk stay quiet while the outer hip does its job.
This one is discreet enough to do almost anywhere. It also burns faster than people expect. Annoyingly fast, in fact.
14. Diagonal Chop and Lift
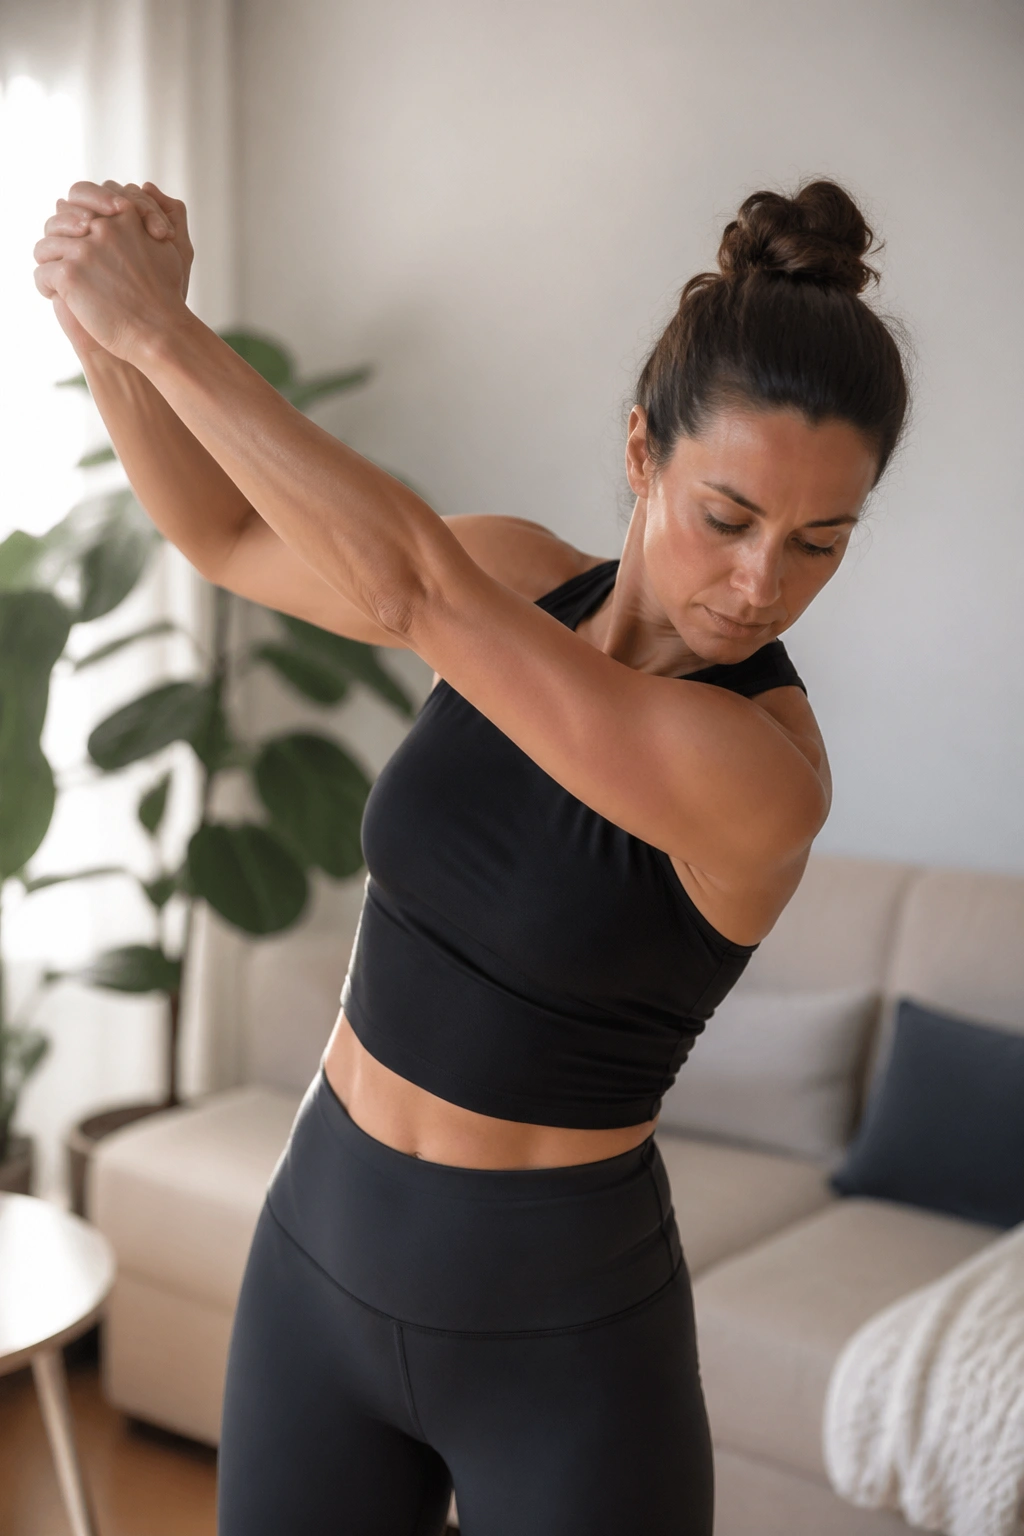
Rotational work wakes the waist fast. Once you add an overhead-to-low diagonal line, the obliques and shoulders have to agree on the same story.
Stand with feet a bit wider than hips. Start one hand high and the other low across the body, then sweep both arms through a diagonal chop, as if closing a seatbelt. Return to the open position on the next breath and repeat on the other side. The torso rotates only as far as it can stay stacked.
The key is not the size of the swing. It’s the control. If the knees start spinning or the shoulders take over, the movement stops feeling like Pilates and turns into waving. Keep the lower body grounded and let the ribs lead the rotation.
- Use 6 to 8 chops per side.
- Exhale on the chop.
- Keep the neck loose and eyes level.
- Move from the ribs, not from the lower back.
This works well as a bridge between core work and balance work. It wakes the midline without asking for a floor transition.
15. Standing Mermaid Stretch
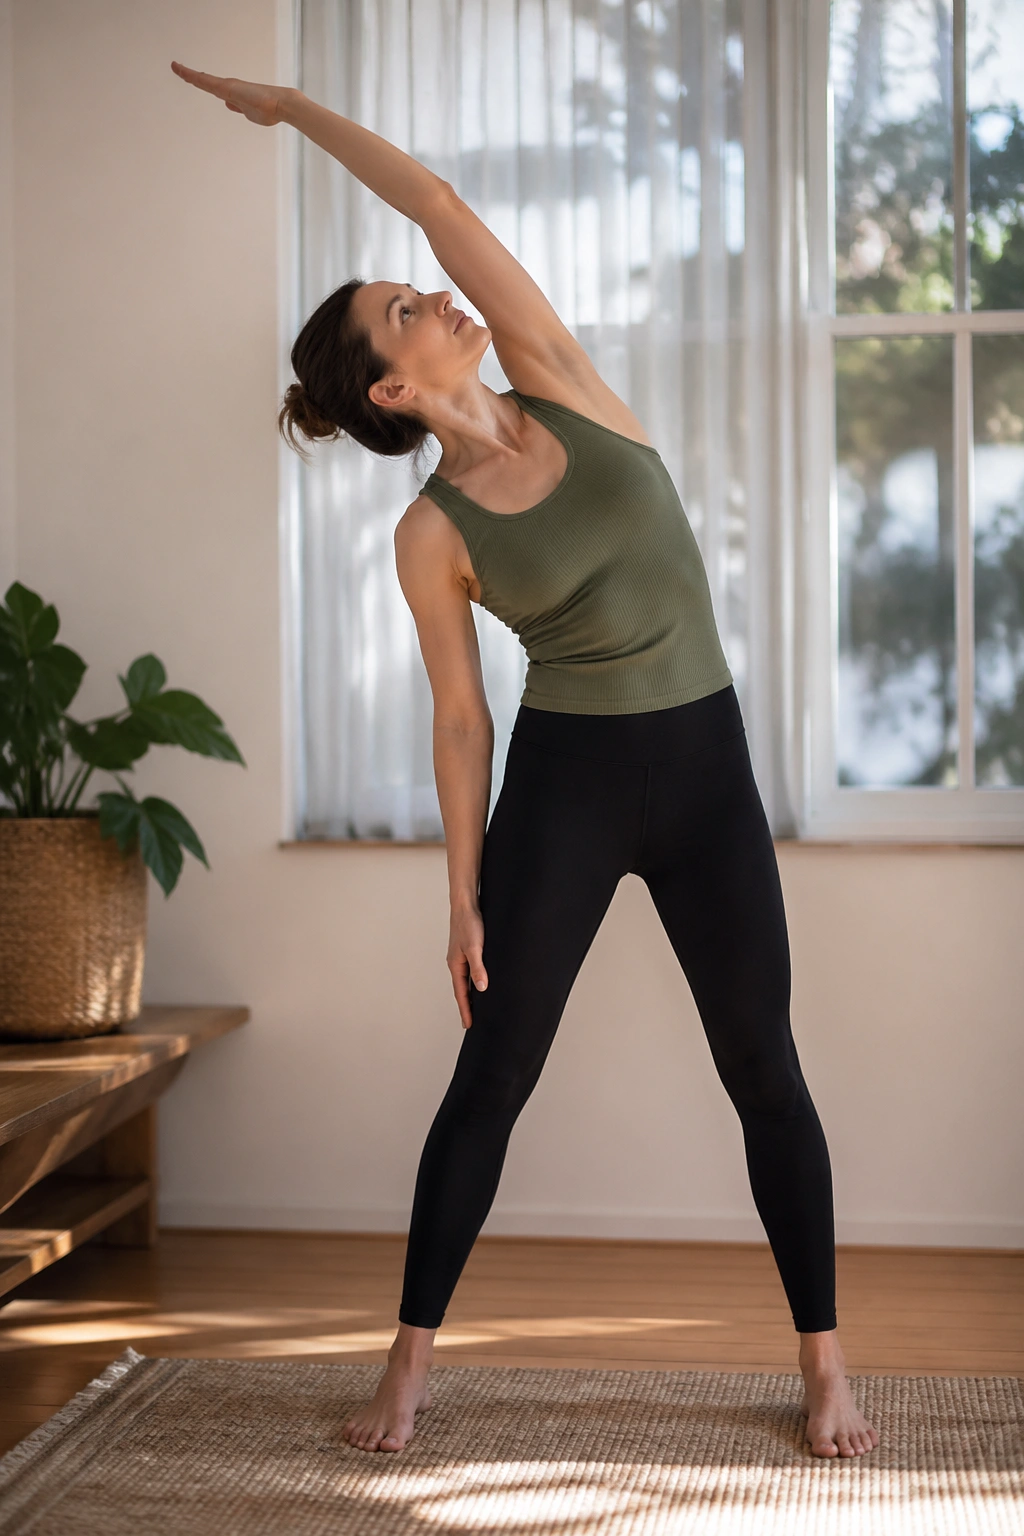
After a long day, this is the one I keep coming back to. It opens the side body, lets the ribs breathe, and gives the waist a break from holding everything in place.
Stand with your feet rooted and one hand resting lightly on the thigh or hip. The other arm reaches overhead, then arcs into a side bend. Keep both feet grounded and let the stretch happen through the ribs and waist instead of folding forward or collapsing the chest.
The best part is the breath. Inhale into the open side ribs, then exhale and let the body settle a little deeper without forcing it. Two or three long breaths on each side is enough. If you want more, repeat after a short pause.
One sentence is enough here: do not twist the torso away from the stretch. The movement is side-to-side, not side-and-turn.
It feels gentle, which is useful. It is also not lazy. The mermaid stretch teaches the trunk to lengthen after all the bracing.
16. Calf Circle and Ankle Articulation
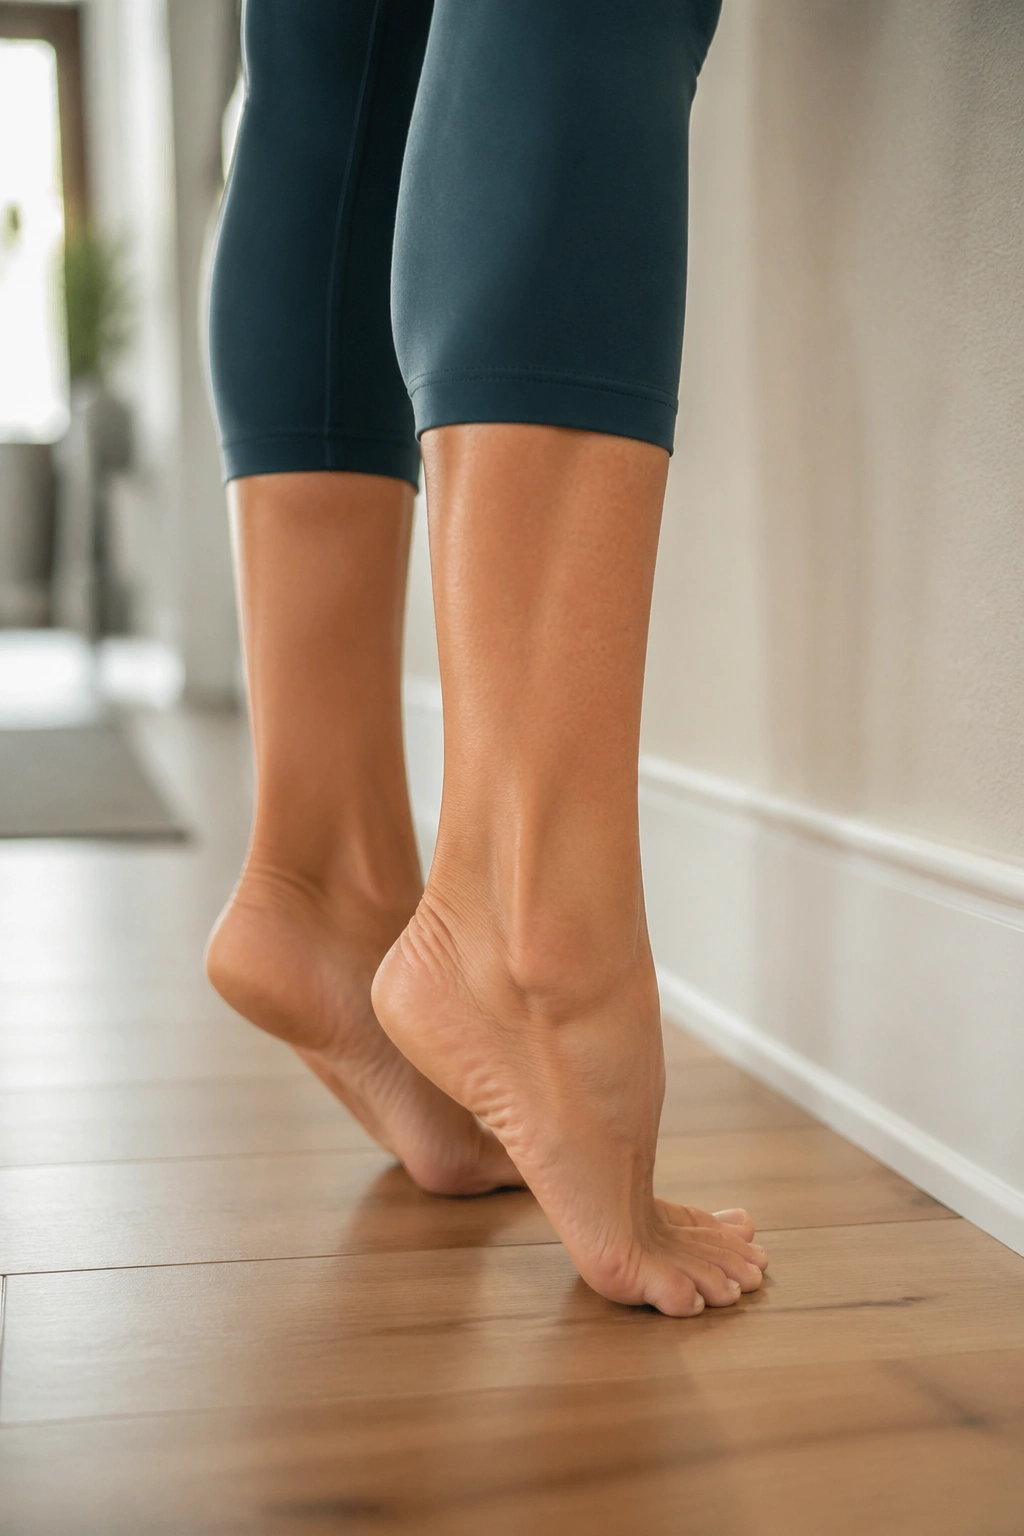
Six circles each direction. That’s enough to tell your feet they’re alive again.
Stand near a wall for support and rise onto the balls of your feet. From there, make small circles through the ankles—first one direction, then the other—or roll the weight gently from the big toe mound to the outer edge and back. Lower slowly and repeat. It’s basic, yes, but basic doesn’t mean useless.
Quick Sequence
- 10 calf raises
- 6 ankle circles each direction
- 10 toe lifts
- 10 slow heel lowers
The foot tripod matters here: big toe mound, little toe mound, and heel. Keep all three points awake when you can. If the toes claw at the floor, ease up. If the ankles dump inward, shorten the range and move slower.
This is a nice reset after flights, long walks, or any day that left your feet feeling borrowed from someone else. The calves loosen. The ankles stop sulking.
17. Skater Reach for Side Body Strength
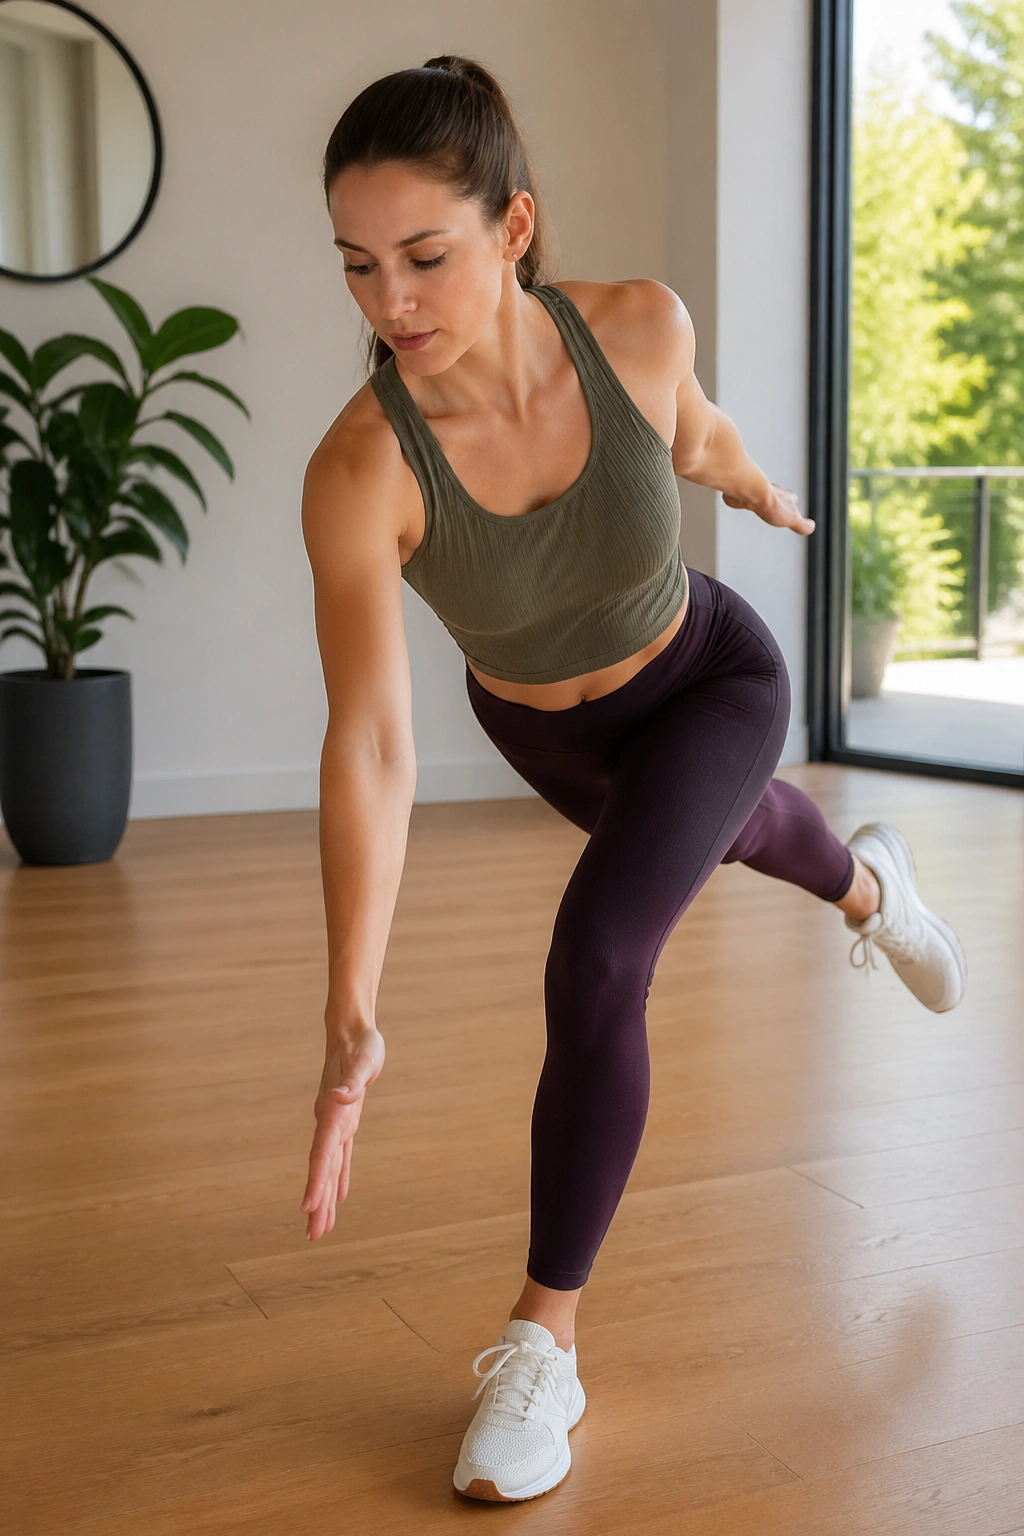
This one looks simple and gets mean fast.
Step to one side and let the opposite arm sweep low across the body as the other leg reaches lightly behind or taps the floor. Return to center, then repeat on the other side. The torso stays broad, the standing leg does the work, and the side body keeps you from tipping like a collapsed folding chair.
The movement pattern borrows from skating without the impact. That means you get lateral strength, glute work, and a little cardio lift without jumping. Your outer hips will notice. So will the inner thighs on the standing side.
If you want to make it more Pilates-like, slow the return and pause for one breath at the top before moving again. That pause makes the stabilizers kick in. Without it, the drill turns into a casual side step. Fine, but less useful.
Try 8 to 10 reaches per side. Keep the landing soft and the shoulders out of your ears.
18. Full-Body Standing Flow for Busy Spaces
Put the pieces together and the whole thing starts to feel like a real standing Pilates workout instead of a random pile of exercises. That is the point, honestly.
Try this short flow:
- 4 standing roll-downs
- 6 spine twists per side
- 8 heel raises
- 6 front kicks per side
- 20 seconds of single-leg balance per side
- 6 diagonal chops per side
Move at a pace that lets you breathe without rushing. If you want a second round, take a short sip of water, reset your feet, and repeat. Five minutes can do more than people give it credit for when the work is precise.
The nicest thing about standing Pilates is how little it asks for and how much it gives back. No mat. No equipment. No perfect studio setup. A hallway works. A kitchen corner works. The tiny strip of floor beside a parked car works too.
And that is probably why I like these standing Pilates exercises so much: they meet you in the posture you actually live in. Upright, a little tired, and still worth cleaning up.
