



A C-section changes exercise in a way people often don’t expect. The big movements are not always the ones that matter first. It’s getting out of bed without a painful tug. It’s turning to grab a burp cloth. It’s standing up from the couch without feeling like your center is on weak, wobbly ground.
Safe post C section workouts at home should respect that. They need to be gentle enough for a healing incision, smart enough to protect the abdominal wall, and honest enough not to pretend your body is ready for crunches just because your mind is bored. Boredom is real. So is healing.
The best early moves are usually boring on paper and excellent in practice: breath work, tiny core engagement, supported hip work, slow walking, and simple strength drills that do not spike pressure across the midline. If you notice sharp pain, pulling at the scar, heaviness in the pelvis, or a doming ridge down the belly, that’s a cue to back off and get medical guidance. No heroics. Healing does not reward them.
Once your clinician has cleared you for movement, the goal is not to “bounce back.” It’s to rebuild cleanly, one careful rep at a time. That starts here.
1. Diaphragmatic Breathing With Rib Expansion
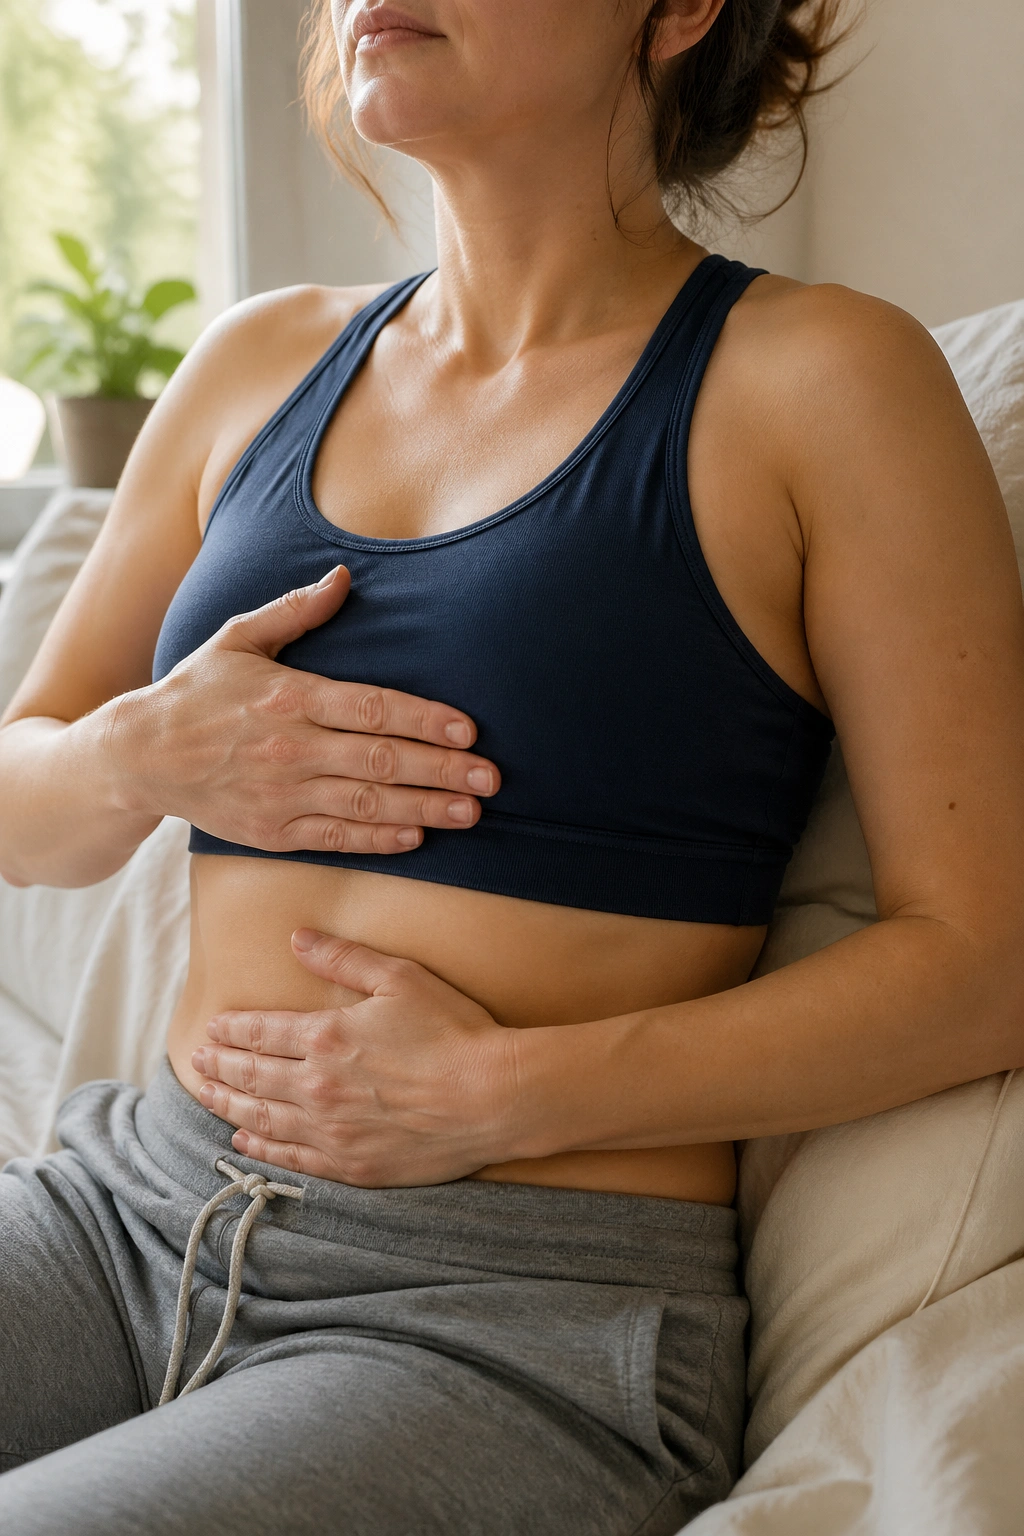
This is the easiest place to begin, and it earns its spot because it teaches your body how to manage pressure again. Sit propped against pillows or lie on your back with your knees bent if that feels comfortable, then place one hand on your ribs and one on your lower belly. Inhale through your nose and let the ribs widen out to the sides. Exhale slowly through pursed lips, like you’re fogging a mirror but quieter.
Why It Works
A C-section can leave your core guarding hard, even when you are resting. Breathing this way helps the diaphragm move better, which takes some strain off the belly and pelvic floor. It also gives you a clean way to reconnect with the abdomen without bracing or sucking in.
A good breath should feel smooth, not forced. The lower ribs should expand more than the shoulders rise. If your neck is doing all the work, reset and slow down.
- Do 5 to 10 slow breaths.
- Let the exhale last a little longer than the inhale.
- Keep the jaw and shoulders soft.
- Stop if you feel dizzy.
Tiny rule: if you cannot breathe freely, the exercise is too hard.
2. Ankle Pumps and Circles

This one sounds almost too simple, which is exactly why it works so well early on. Lie down or sit with your legs supported, then point and flex your feet 10 to 20 times. After that, draw 5 to 10 slow circles in each direction. Nothing dramatic. No strain.
Your legs may feel puffy, heavy, or strange after a stretch of sitting or lying down, and ankle motion helps keep blood moving. It also gives you a low-effort way to start moving again on days when your energy is thin.
Do not rush these. Fast, sloppy repetitions are not the goal. Smooth, complete motion is.
A lot of people skip this because it feels too basic. That’s a mistake. The body often needs basic more than it needs fancy. If you have swelling in the legs, lingering calf pain, chest symptoms, or anything that feels off in a bigger way, stop and get checked. Otherwise, keep it gentle and repeat a few times a day.
3. Pelvic Floor Squeezes
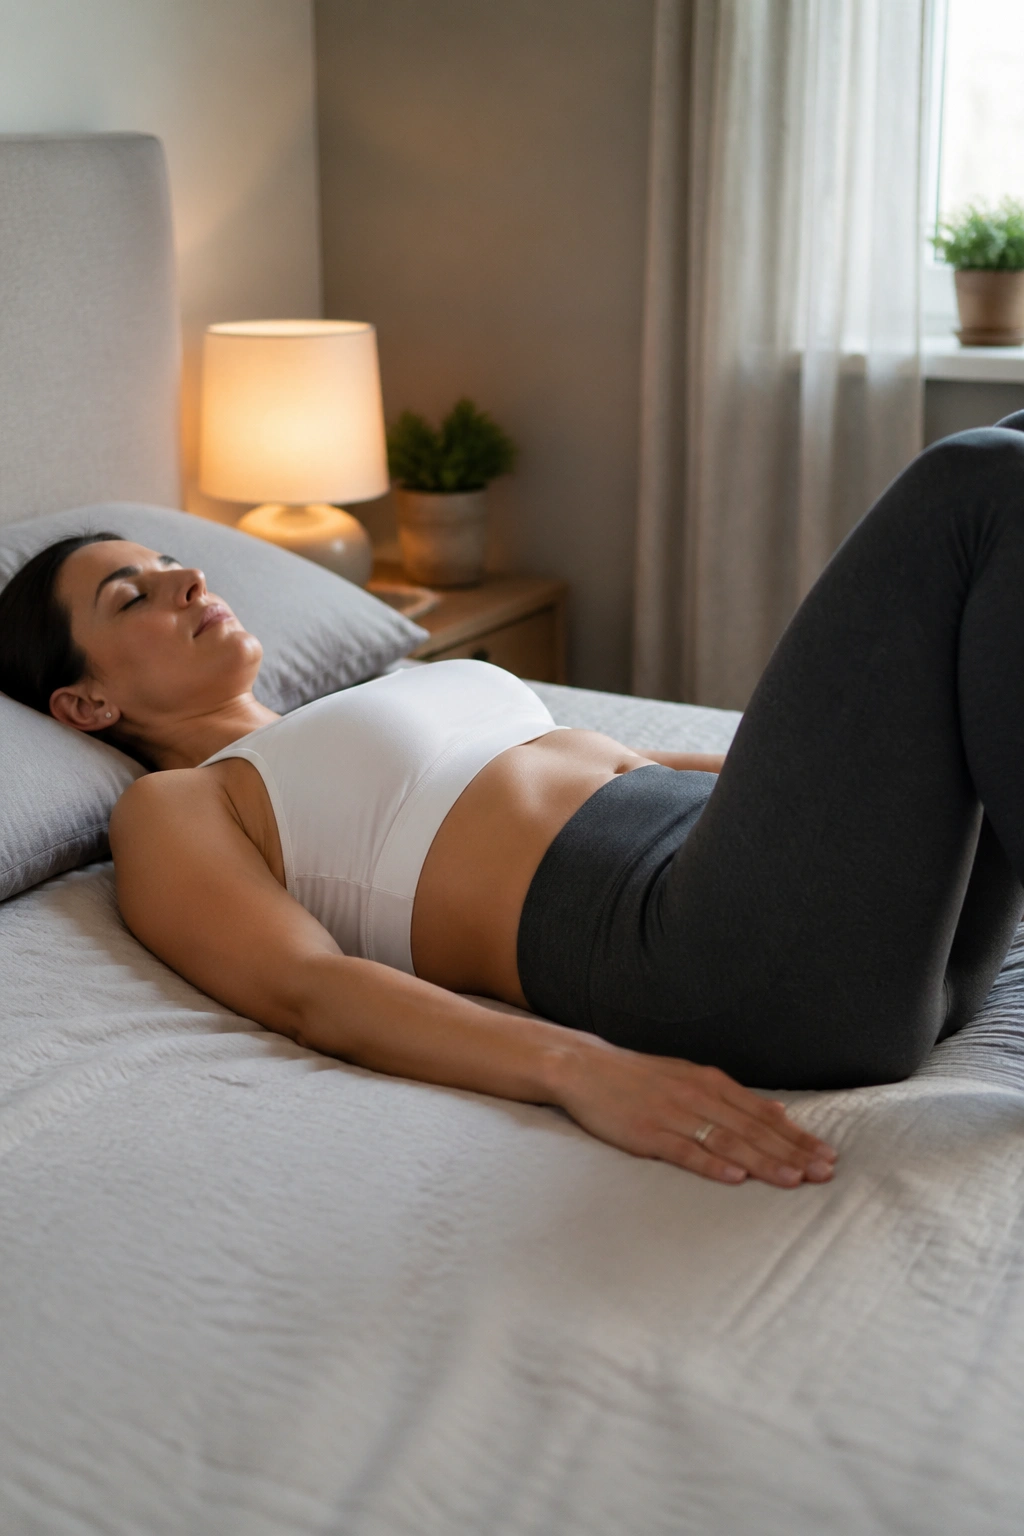
Can you contract the pelvic floor without clenching your butt, holding your breath, or tensing your whole abdomen? That’s the real question. If the answer is no, start smaller.
Try a light squeeze as if you were lifting a blueberry with the muscles you use to stop urine midstream. Hold for 2 to 3 seconds, then fully relax for the same amount of time. Do 5 to 8 reps at first. The release matters as much as the squeeze.
What to Watch For
A proper pelvic floor squeeze should feel subtle. You should not see your ribs flare or your stomach bulge outward. If your face tightens up, you’re probably working too hard.
Some people do better with a gentle exhale on the squeeze and an inhale on the release. That keeps pressure from building. It also makes the movement feel less like a max-effort grind, which it should never be.
If you have pain, numbness, or a feeling of heaviness that gets worse, pause. Pelvic floor work should feel controlled, not cranky.
4. Pelvic Tilts
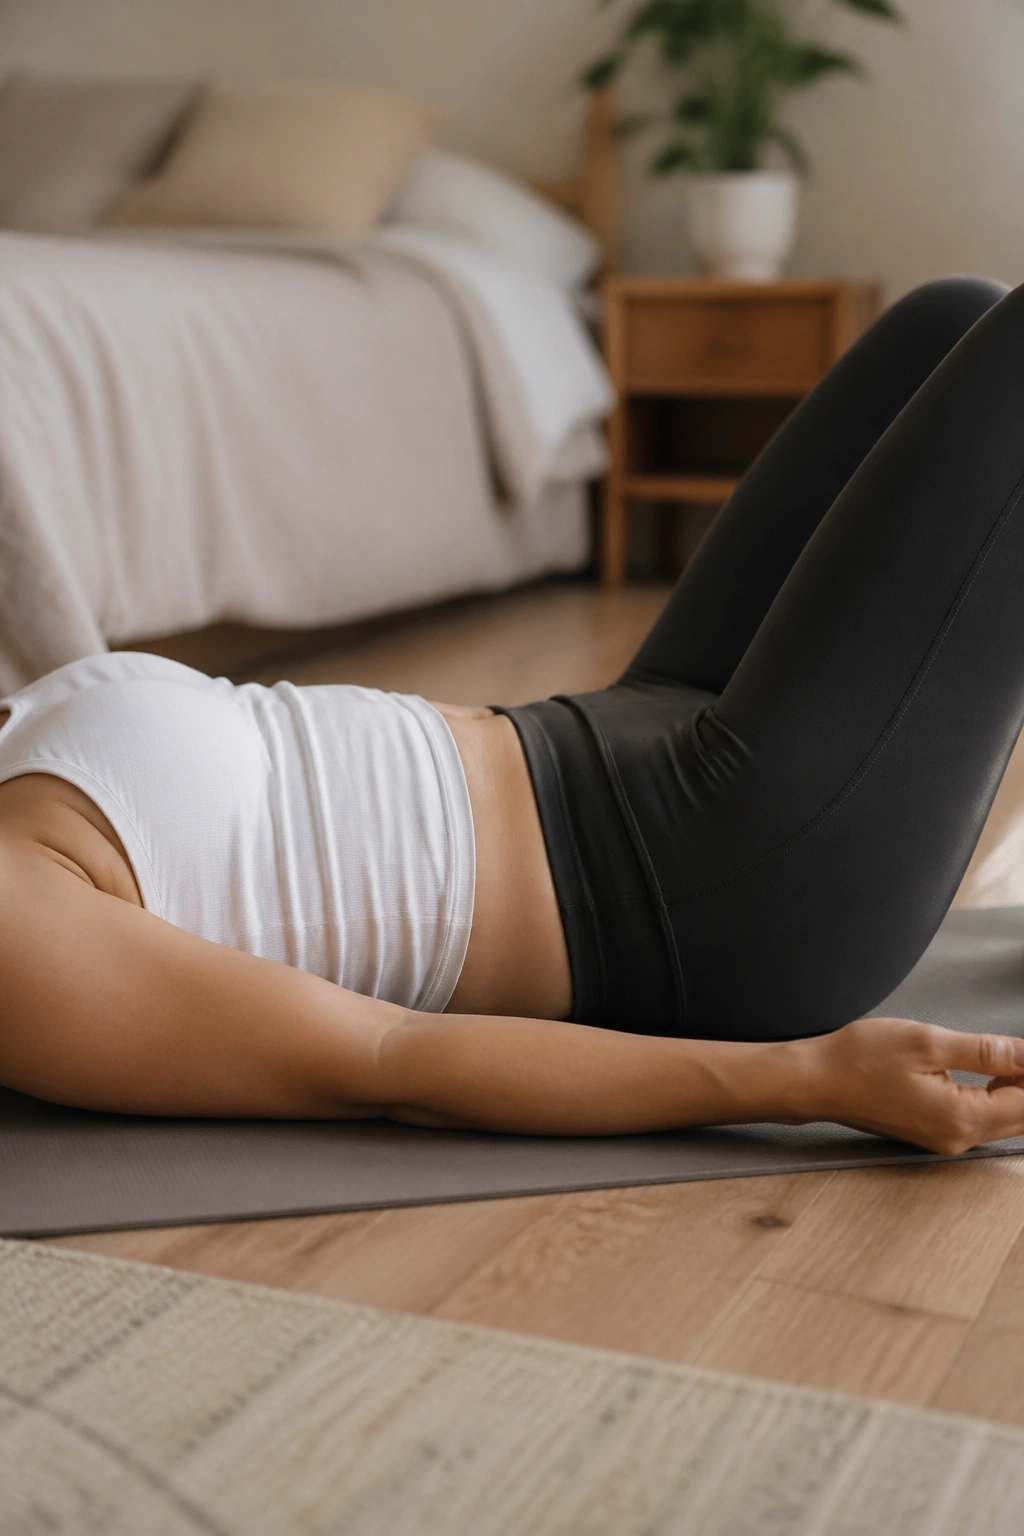
Picture this: you’re lying on your back, knees bent, and your lower back is resting into the mat. Now tip your pelvis so the low back gently flattens, then let it return to neutral. That’s the whole exercise. Small. Quiet. Useful.
Pelvic tilts wake up the deep core muscles without asking the incision to do anything flashy. They also help many people reconnect with the lower abdomen after weeks of guarding. I like them because they give feedback fast. If they feel shaky or pinchy, that tells you a lot.
A Simple Setup
- Lie on a firm bed or mat.
- Keep your feet flat and hips relaxed.
- Exhale as you tilt the pelvis.
- Inhale as you return to the start.
- Do 8 to 12 slow reps.
You’re looking for a mild engagement, not a hard brace. If the move makes your belly dome or your scar tug, shorten the range and slow down. These are more like reminders than workouts, and that is the point.
5. Heel Slides
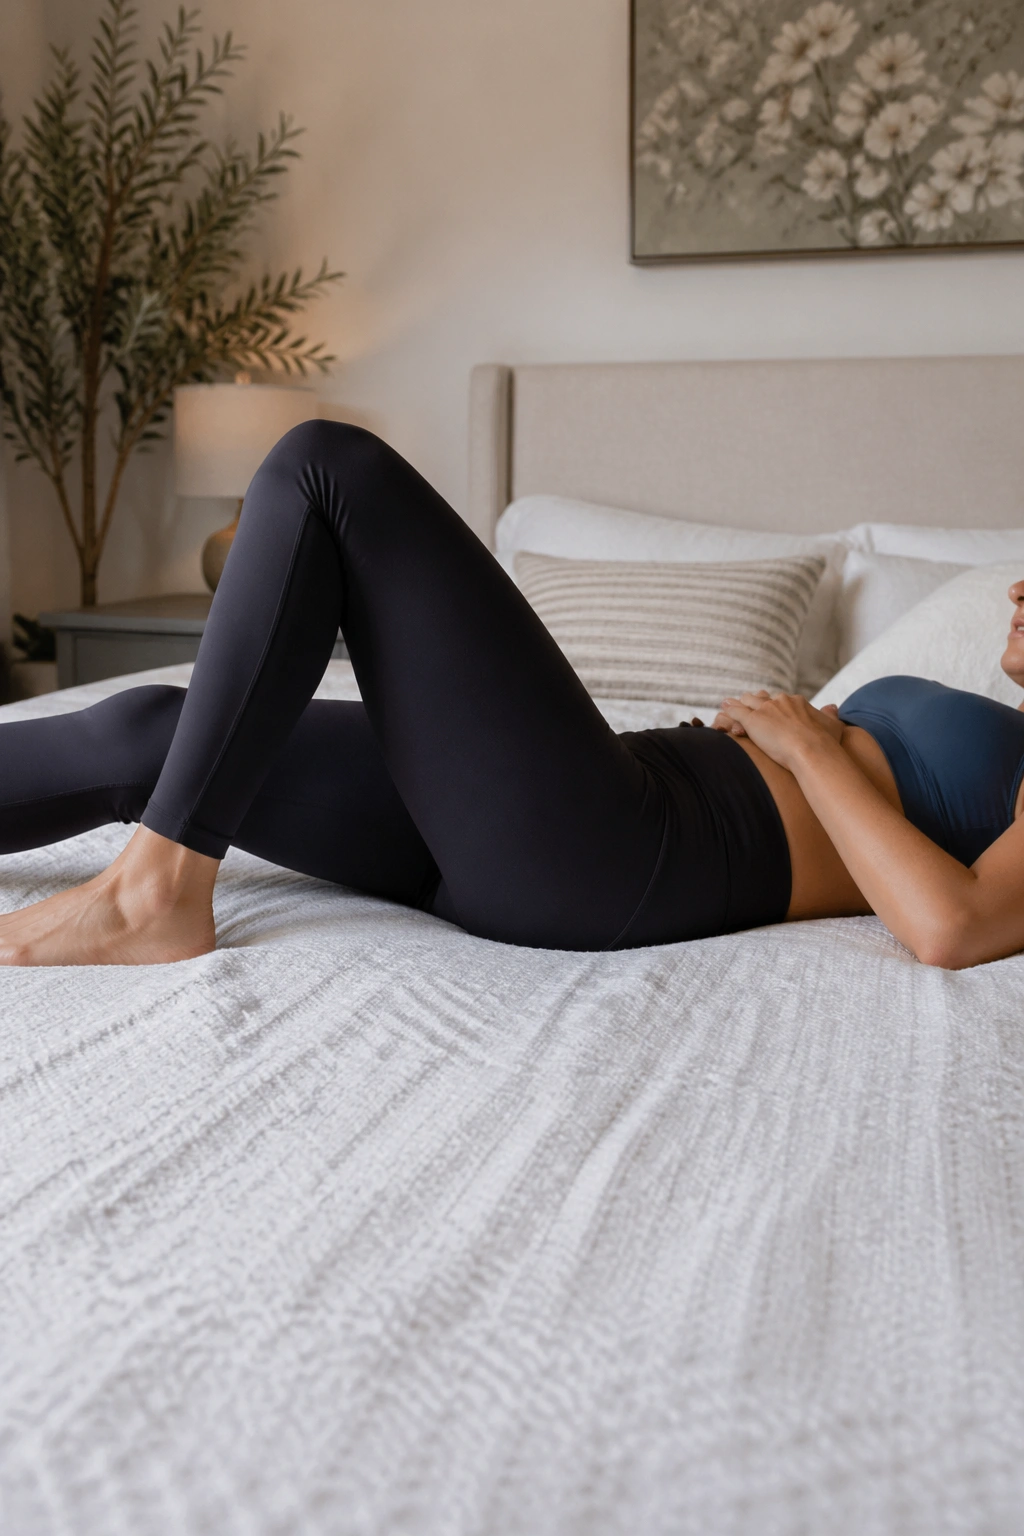
Heel slides are one of the best early core-reconnection drills because they make the abdomen work in a sneaky, controlled way. Start on your back with one knee bent and the foot flat. Slowly slide that heel away from you until the leg is almost straight, then slide it back in. Keep your ribs quiet. Keep your pelvis from rocking all over the place.
That last part matters. A lot.
If your lower back pops off the floor or your belly pushes out, make the movement smaller. You do not get bonus points for range. You get better control for staying neat and steady through the whole slide.
Most people do 6 to 10 slides per side, moving with the breath. Exhale on the slide out, inhale on the way back. If one side feels much harder, that’s normal enough after surgery. Just keep both sides slow and even.
6. Bent-Knee Fallouts
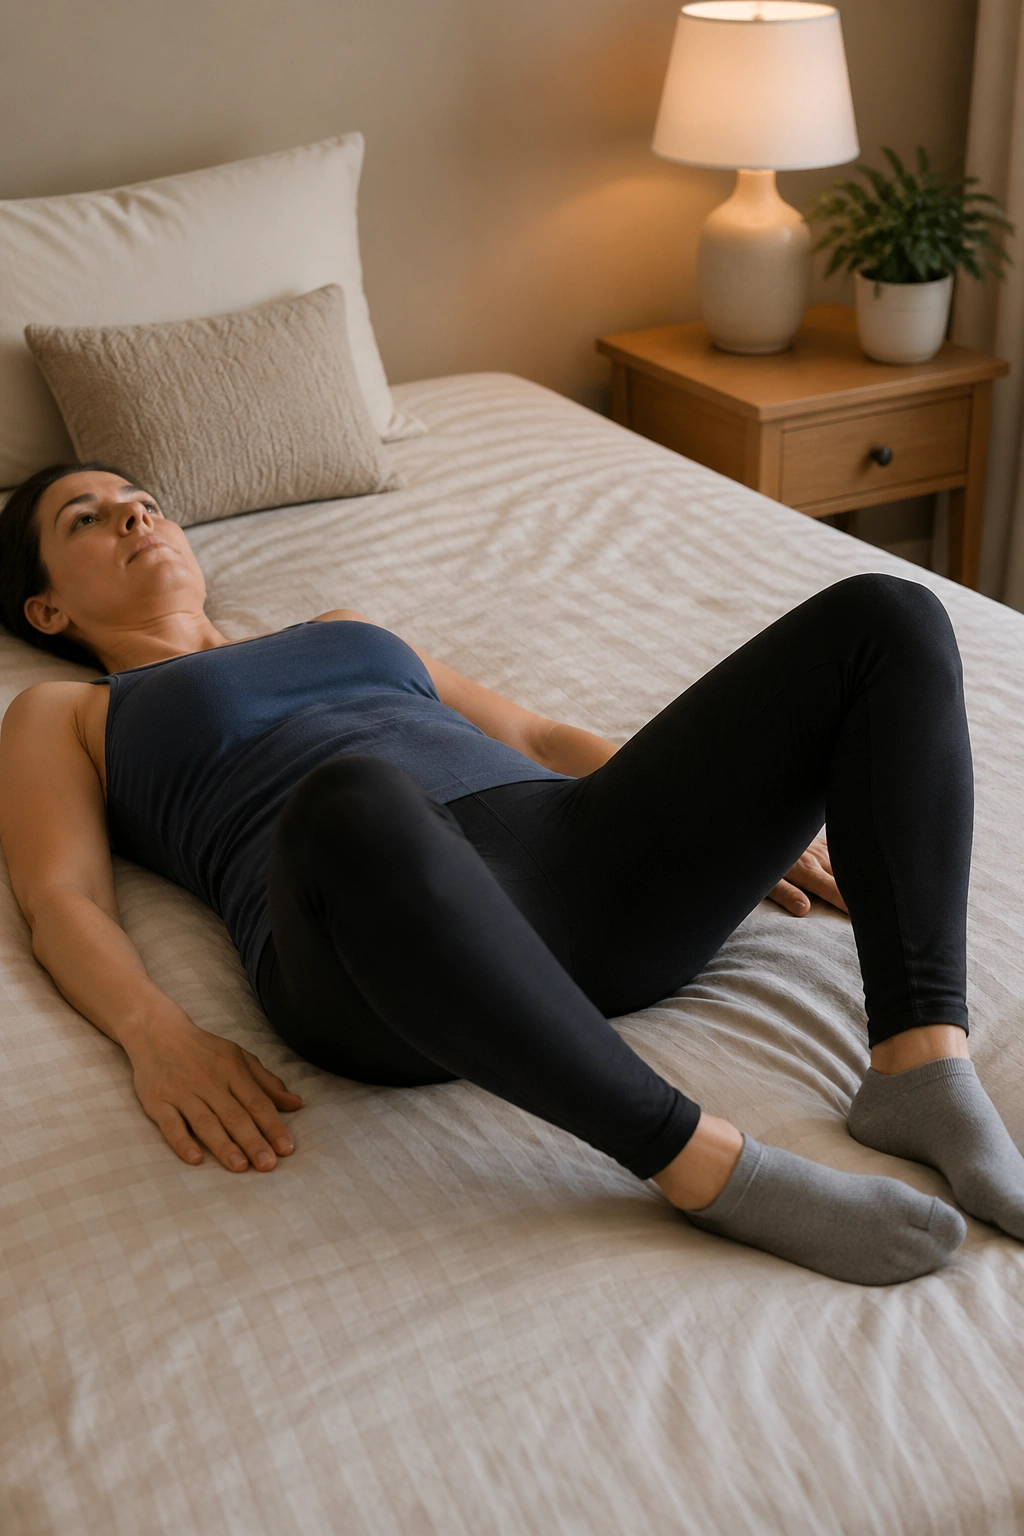
Bent-knee fallouts look tiny, but they train hip stability and core control at the same time. Lie on your back with both knees bent and feet flat. Let one knee open out to the side a few inches, then bring it back to center. The pelvis should stay calm. No rolling. No twisting.
Why It Feels Different From a Crunch
Crunches load the front wall. These do not. Instead, they ask your deep core to keep the trunk steady while the leg moves away from center. That makes them a much safer early choice after a C-section, especially if you’re sensitive to pressure or worried about the scar.
- Move only as far as you can keep the pelvis still.
- Exhale as the knee opens.
- Inhale as it returns.
- Try 6 to 8 reps per side.
If the movement feels easy, that is a good sign. If it feels sloppy, shorten the range instead of muscling through. Small control beats big effort here every time.
7. Glute Squeezes

Glute squeezes are underrated. They help wake up the backside without stressing the incision, and they’re easy to do while feeding the baby, resting, or waiting for water to boil.
Lie on your side, sit upright, or stand with your feet hip-width apart. Gently squeeze both butt cheeks together, hold for 3 to 5 seconds, then fully release. The release should feel obvious. If it doesn’t, you’re gripping too hard.
A stronger backside helps the pelvis and lower back share the load better when you start walking more and standing longer. That matters more than people think, especially when the front of the body is still healing and you’re tempted to compensate.
Do 10 to 12 squeezes. If that feels easy, add one longer hold at the end, maybe 8 to 10 seconds. Keep your breathing normal. If you catch yourself bracing through your belly, back off a notch.
8. Seated Marches
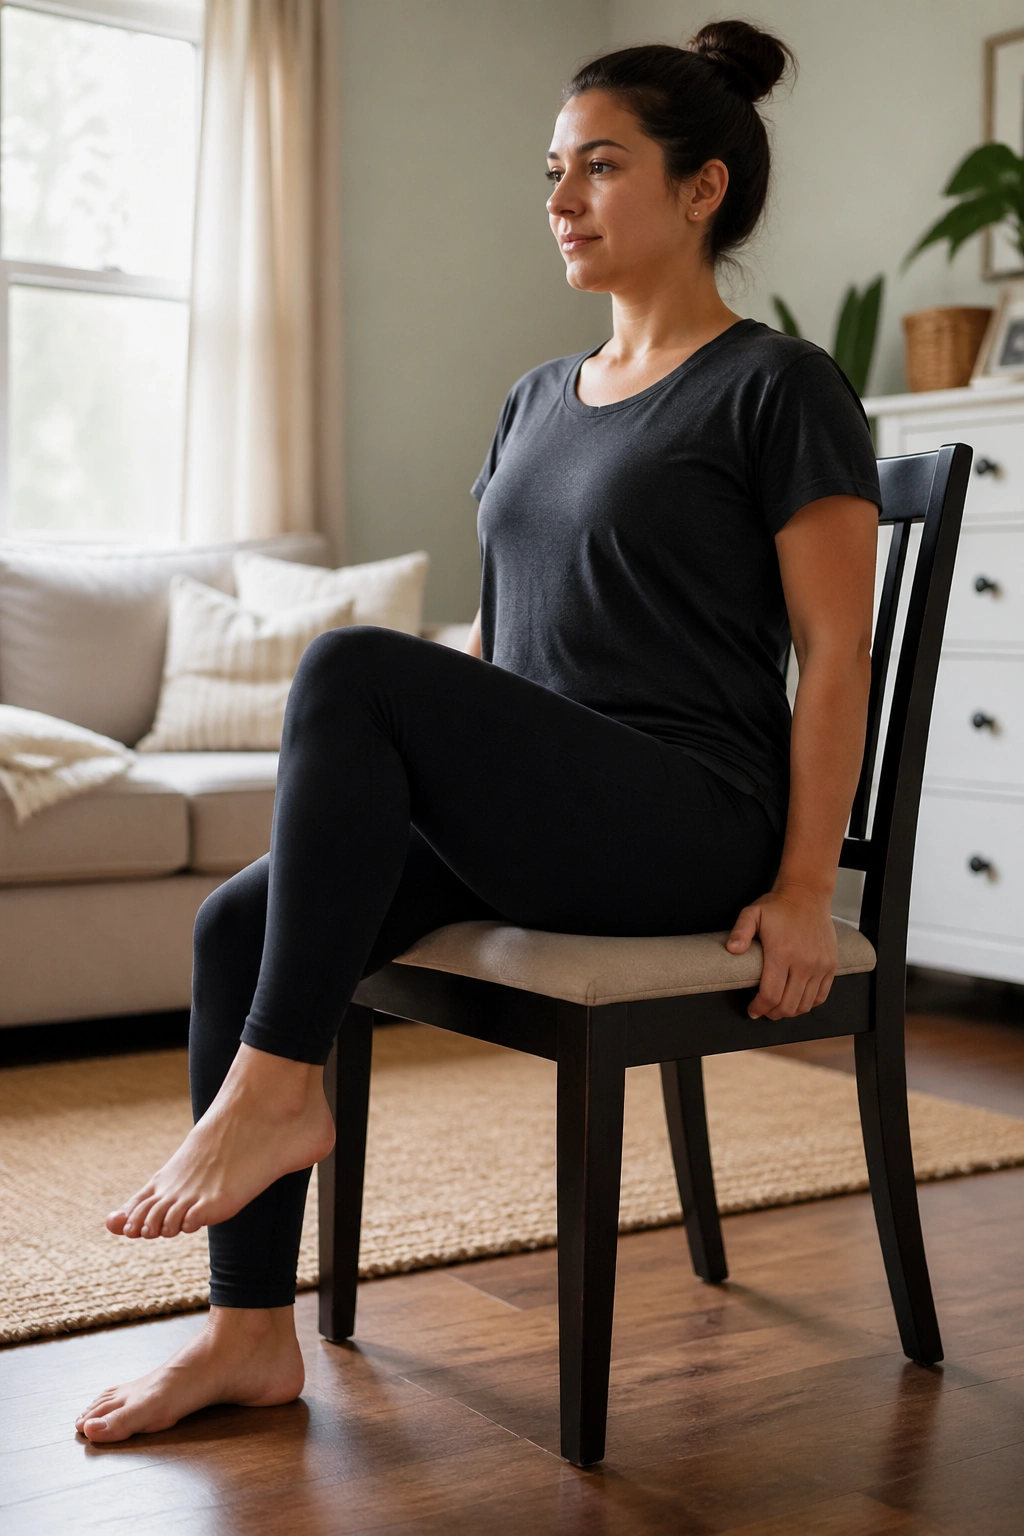
Seated marches are a nice bridge between lying-down work and standing exercise. Sit tall in a firm chair, place both feet flat, then lift one knee a few inches and set it down. Alternate sides slowly.
How to Make Them Safer
Keep your chest stacked over your hips. If you lean back, you’ll lose the core challenge and start cheating with momentum. If you lean forward too much, the belly can feel compressed in a bad way.
A simple pace works best:
- Lift one knee.
- Pause for a second.
- Lower with control.
- Switch sides for 10 to 20 total reps.
This should feel like a low-level wake-up call, not a workout that leaves you gasping. If you notice pulling near the scar, sit back, breathe, and reduce the height of the knee lift. You want steady, tidy motion, not high knees in a chair.
9. Short Indoor Walks
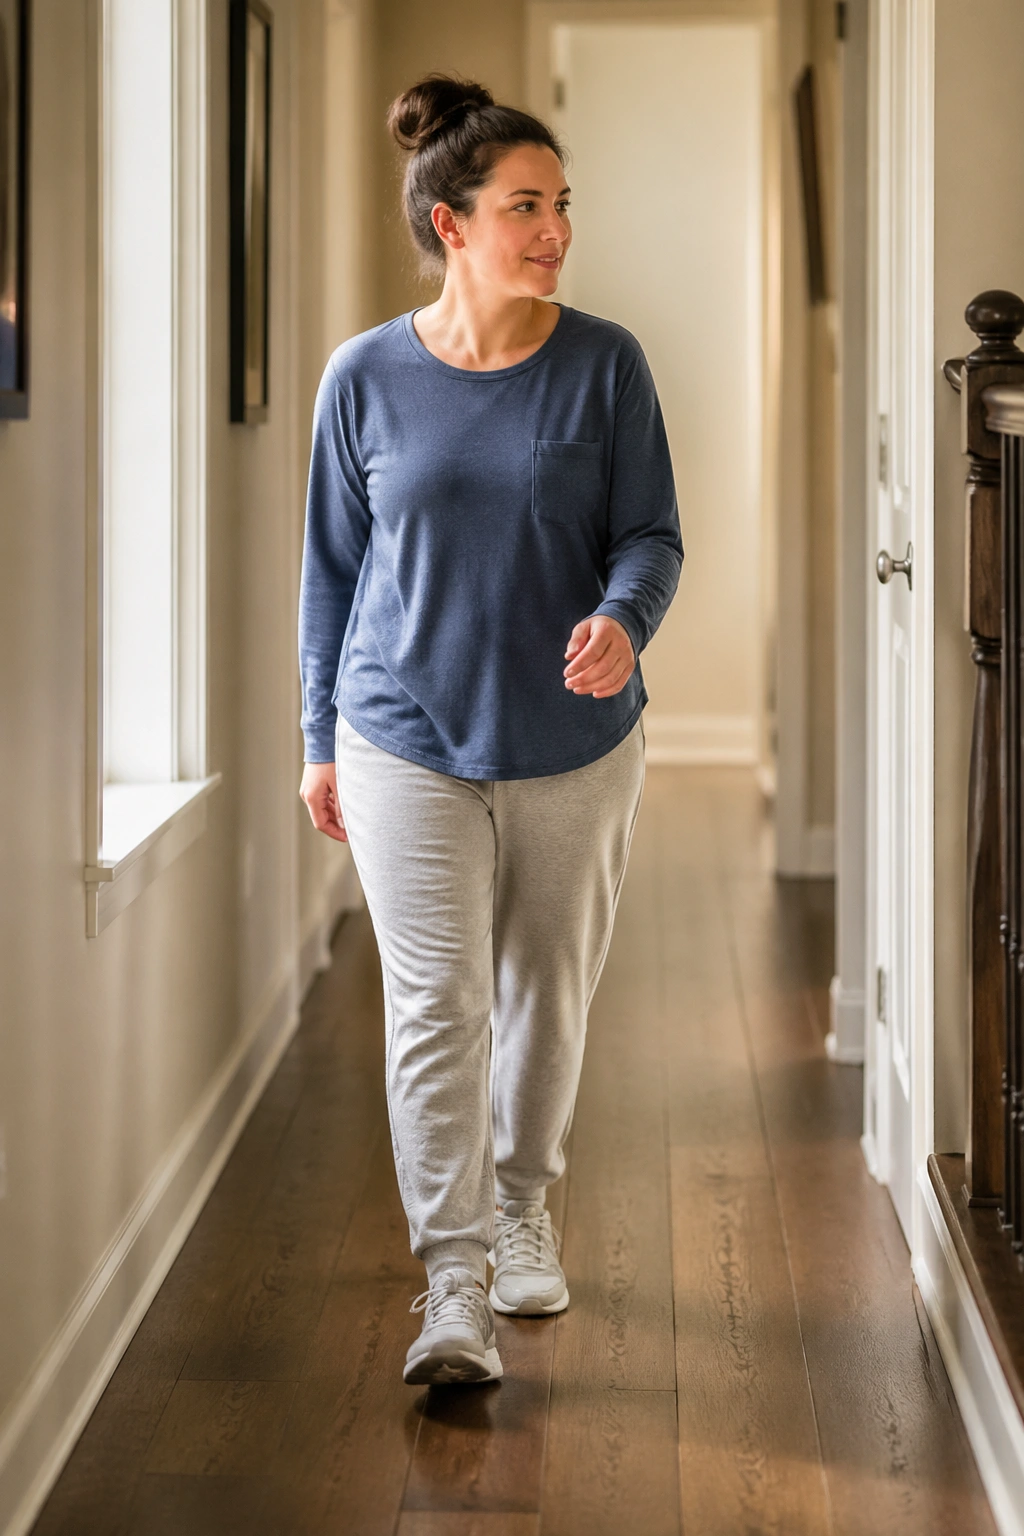
Walking sounds too easy until you’ve tried it after a C-section and realized your stamina disappeared into the laundry pile somewhere. Short walks are still one of the best home workouts you can do because they wake up circulation, loosen stiff hips, and rebuild daily-life endurance without a lot of pressure on the abdomen.
Start with a loop around the house. Then maybe the hallway. Then the driveway if that feels fine. A supported, upright walk beats a long, sloppy one every time. Good shoes help. So does a relaxed pace that lets you breathe through your nose part of the time.
Do not turn walking into a test of will. That is a fast way to overdo it. Short, frequent sessions usually work better than one heroic trek that leaves you sore, swollen, or wiped out.
If you see your pain, bleeding, or fatigue spike after a walk, you went too far. Cut it back and try again with fewer minutes.
10. Side-Lying Clamshells
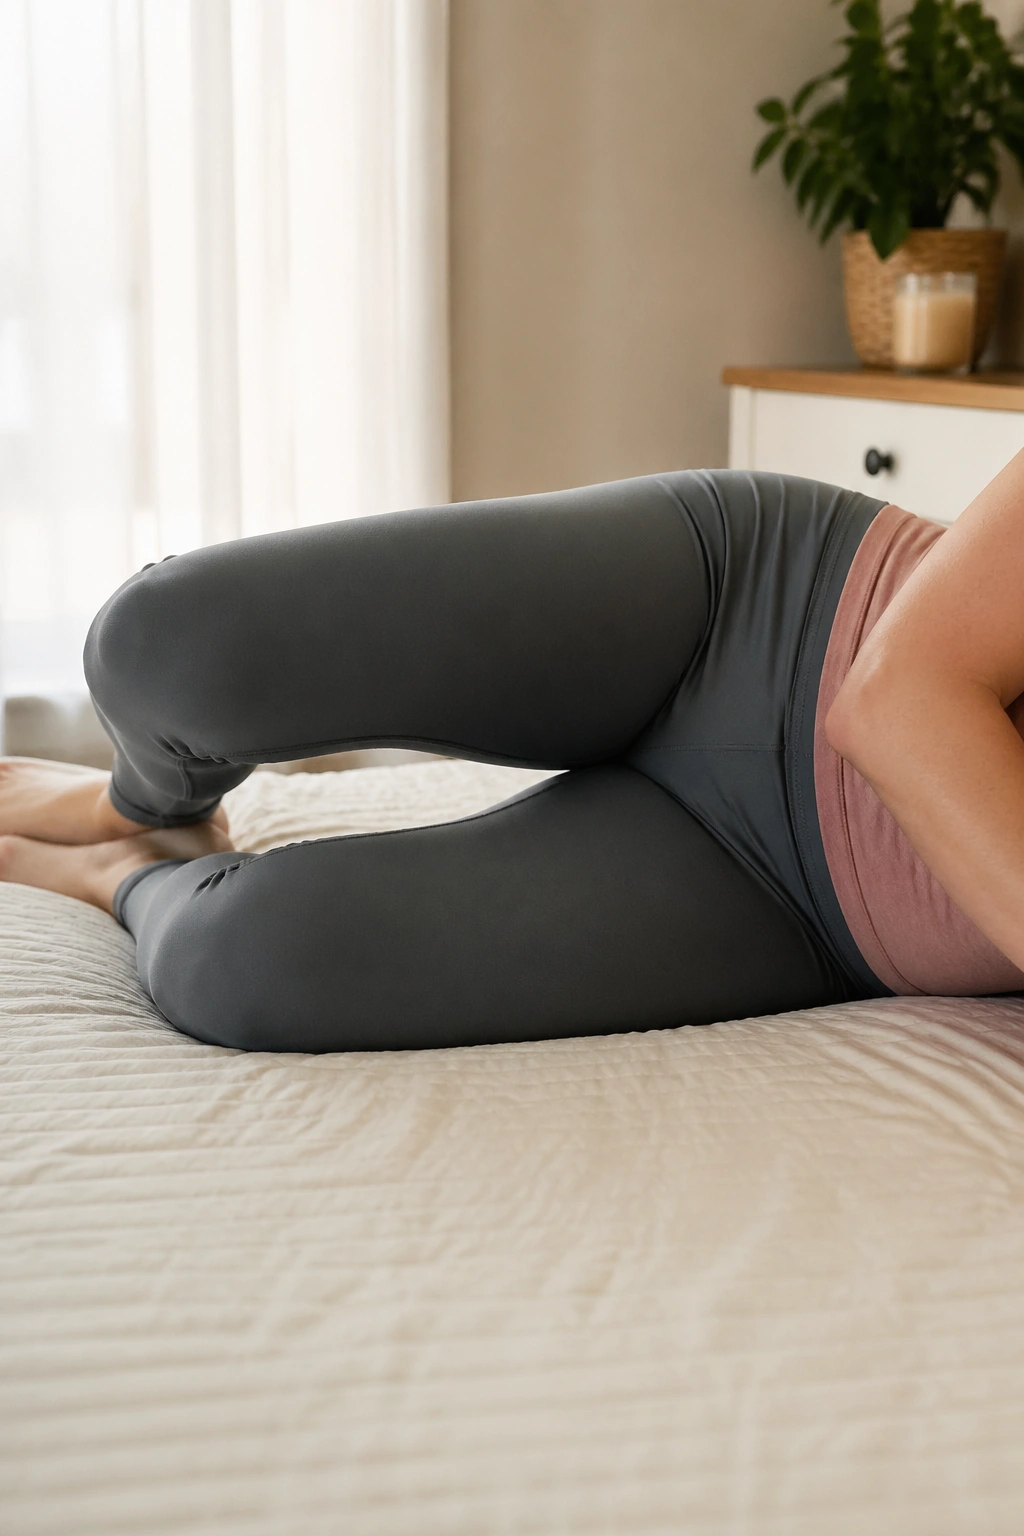
Clamshells are one of my favorite gentle hip strength moves because they train the glutes and outer hips without loading the front of the body much. Lie on your side, knees bent, feet stacked, and keep your hips pointed forward. Open the top knee like a clamshell, then lower it slowly.
Unlike bridge work, which can feel like too much too soon for some people, clamshells keep you on your side and let the pelvis stay quiet. That makes them a smart choice if standing exercises still feel shaky.
Here’s what matters:
- Keep the feet together.
- Do not roll the pelvis backward.
- Open only as far as you can stay controlled.
- Try 8 to 12 reps per side.
If your top hip flexor takes over, you’re going too high. The movement is small. Almost shy. That is fine. Small is often where the real work lives.
11. Wall Push-Ups
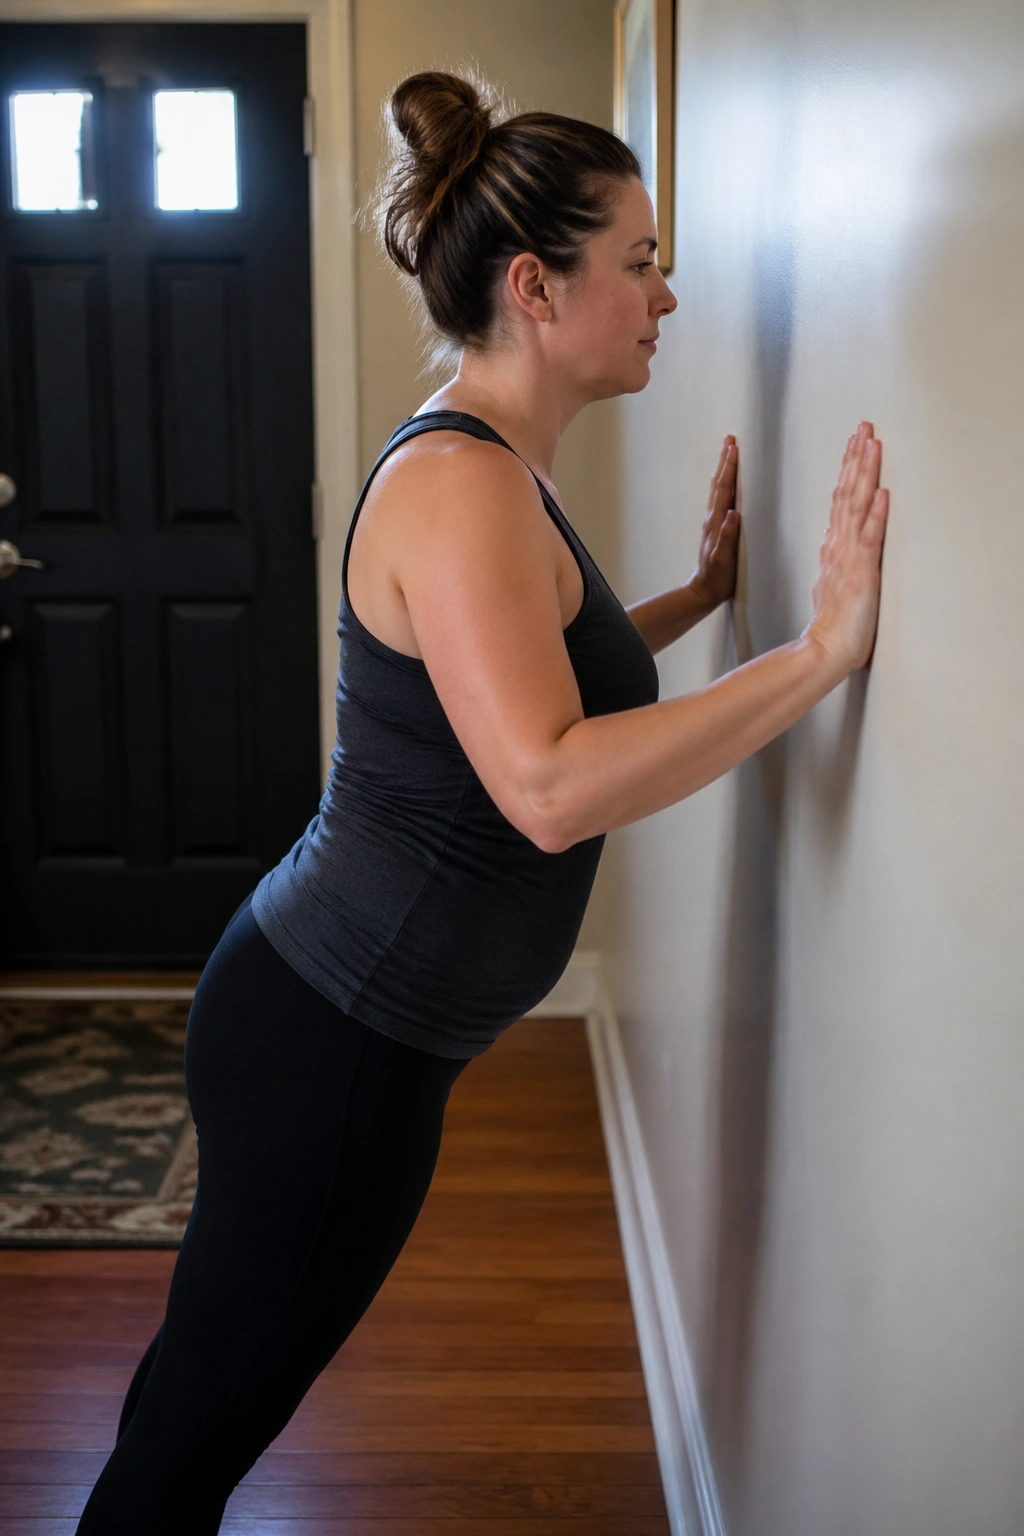
Wall push-ups build upper-body strength without putting your body on the floor, which is handy when getting down and up still feels clumsy. Stand an arm’s length from a wall, place your hands slightly wider than shoulder-width, and bend your elbows to bring your chest toward the wall. Push back to standing.
Setup Matters
Keep your body in a straight line from head to heels. No sagging belly. No craned neck. If you need to stand closer to the wall to make the load lighter, do it.
The key is control. Your elbows should bend smoothly, and your ribs should stay quiet instead of flaring. Try 6 to 10 reps, breathing out as you press away from the wall.
Wall push-ups are useful because they begin reconnecting the shoulders, chest, and core as a unit. That matters for lifting, carrying, and all the awkward one-handed tasks that fill postpartum life. If the incision feels tugged or your core starts doming, step back or reduce the range.
12. Shoulder Blade Squeezes
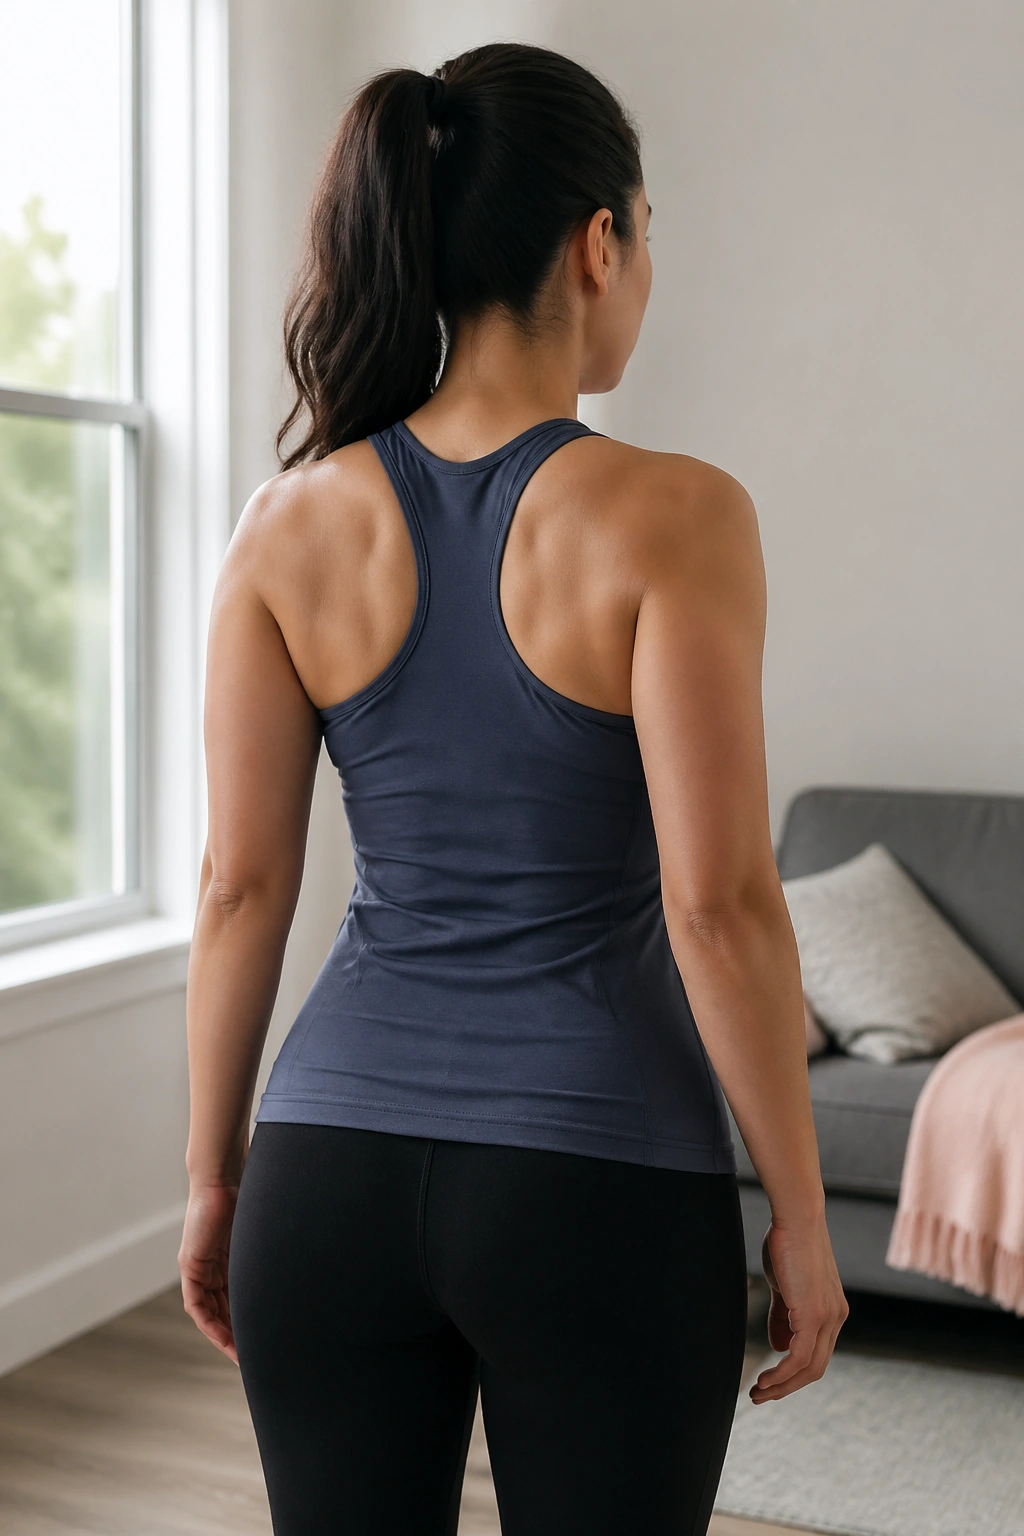
A lot of postpartum posture gets rounded forward from feeding positions, holding a baby, and hunching over a phone at 2 a.m. Shoulder blade squeezes are a simple fix that doesn’t require a mat, an app, or any gear at all.
Sit or stand tall. Pull the shoulder blades gently back and down, as if you’re trying to slide them into your back pockets. Hold for 3 seconds, then release completely. Ten repetitions is enough to start.
The movement should feel clean, not forced. You’re not trying to stick your chest out like a parade pose. You’re giving your upper back a chance to wake up and support better posture.
A nice side effect: better upper-back position often makes breathing easier, and easier breathing helps the core. Funny how that works. The body likes to borrow stability from wherever it can find it.
13. Cat-Cow on Hands and Knees
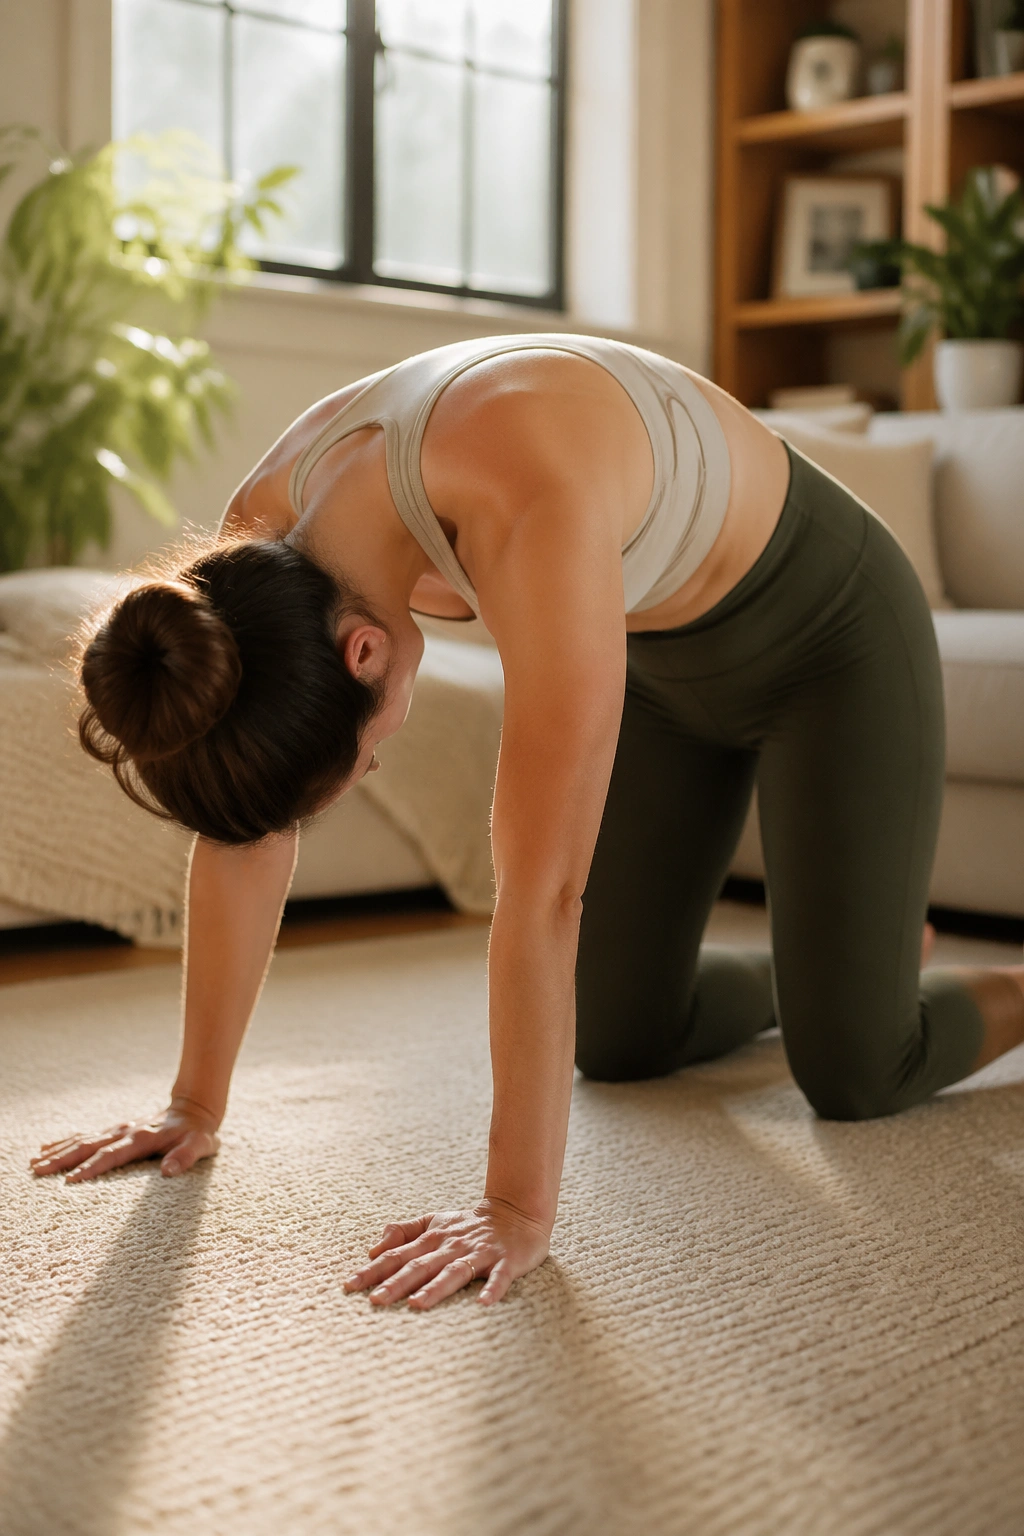
Cat-cow is a classic for a reason. It moves the spine through gentle flexion and extension, which can feel glorious after days of stiffness and one-sided baby holding. Start on hands and knees only if getting down and up feels steady. If that’s still awkward, skip it for now.
Move slowly into a rounded back, then a soft arch, keeping the range small. The belly does not need a deep stretch. The spine does need motion.
What Good Cat-Cow Feels Like
- The breath leads the movement.
- The shoulders stay away from the ears.
- The abdomen stays lightly supported, not braced hard.
- The motion stays smooth through 5 to 8 rounds.
If kneeling is uncomfortable, place a folded towel under the knees or do a seated version with the hands on the thighs. That works too. The point is spinal motion and breath, not a perfect yoga pose.
14. Sit-to-Stand From a Chair
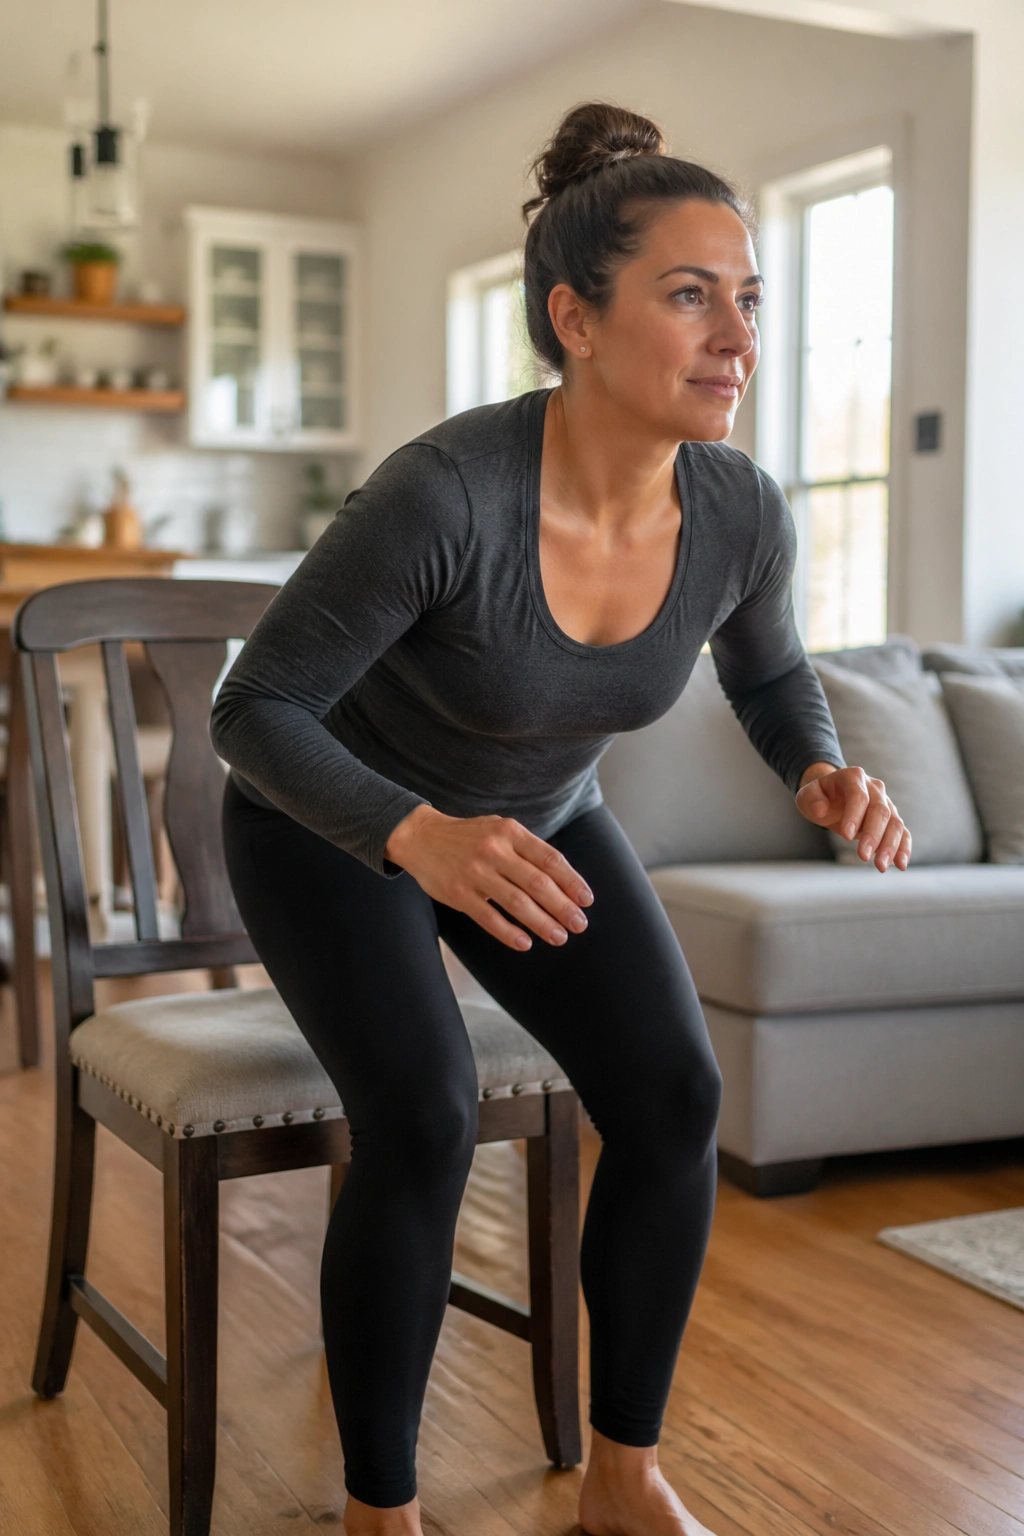
This is one of the most useful postpartum strength moves because life is basically one endless cycle of sitting down, standing up, and doing it again while holding something squirmy. Sit on a sturdy chair, feet flat and about hip-width apart. Lean slightly forward, then stand using your legs. Sit back down with control.
You should feel your thighs and glutes doing the work. Your belly should not feel like it’s being yanked forward. If the chair is too low, stack a cushion on it. That small adjustment can make the difference between clean reps and a messy compensation pattern.
A Better Way to Practice
- Exhale as you stand.
- Keep your knees tracking over your toes.
- Use your arms only if needed.
- Do 5 to 10 reps.
A good sit-to-stand feels steady, not explosive. If you rock hard to get momentum, the setup is too hard right now. Make it easier and build from there.
15. Standing Hip Abductions
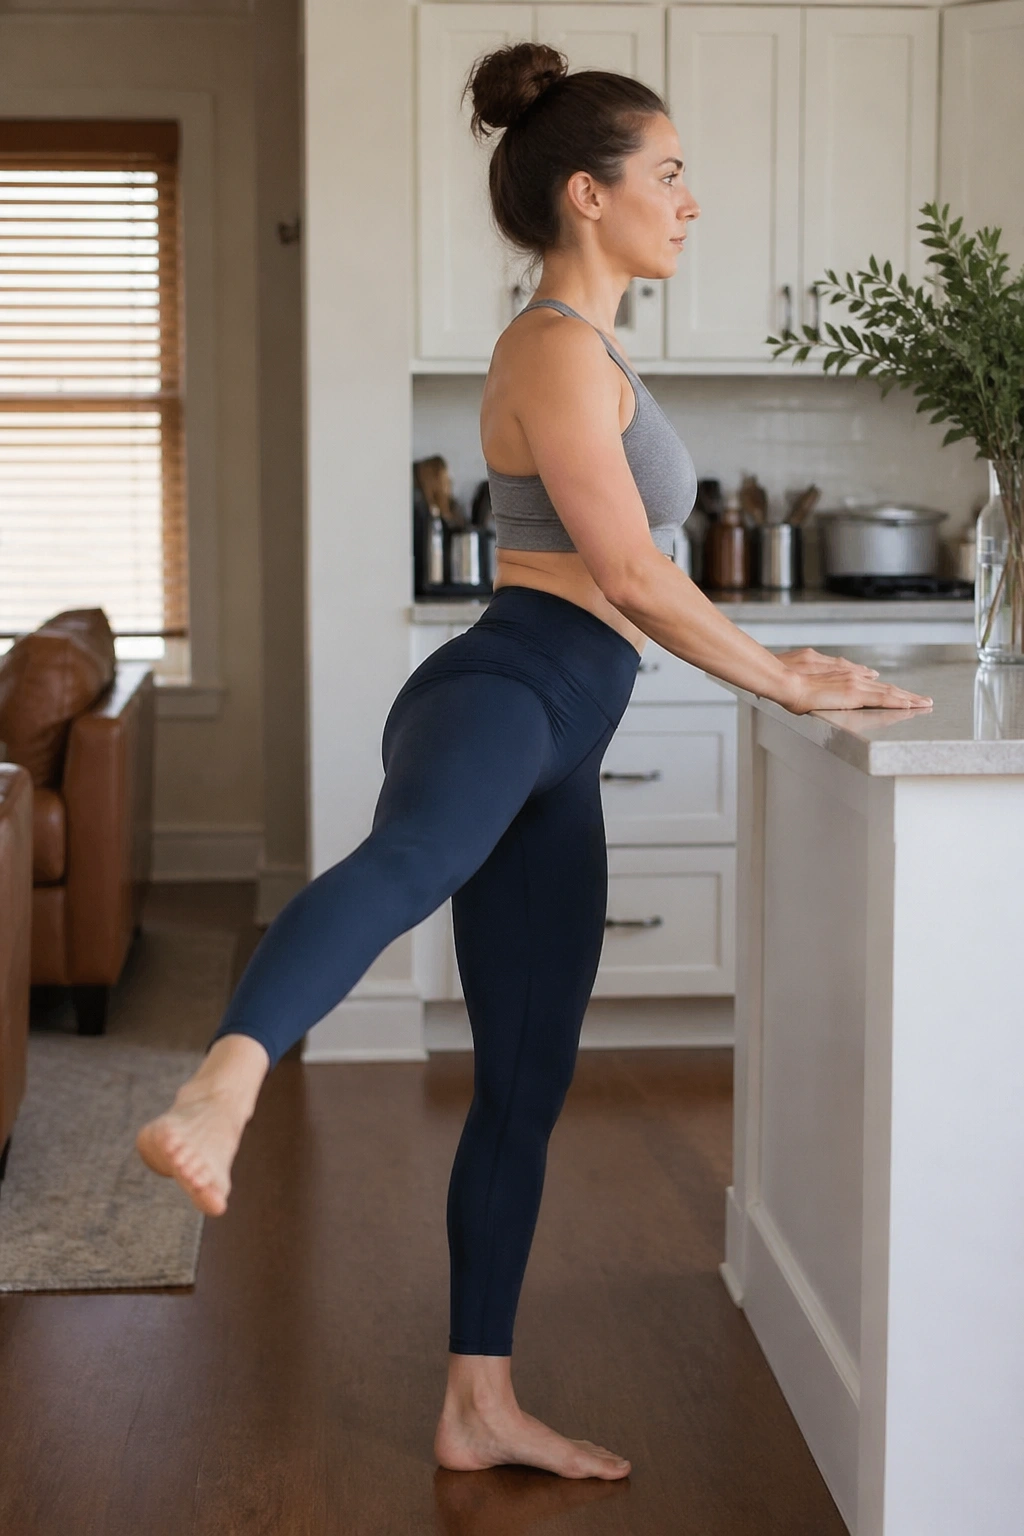
Stand near a counter or chair for support, shift your weight onto one leg, and slowly move the other leg out to the side a few inches. Lower it with control. No swinging. No leaning. The standing leg and the outer hip of the moving side should both do some work.
Why bother with this one? Because your hips help carry pressure that your abs are not ready to handle alone. Strong side hips improve balance, walking mechanics, and basic stability when you’re holding a baby on one hip and trying not to twist like a corkscrew.
Keep the torso upright. Do 8 to 12 reps per side. If you feel it in your low back, you’re probably leaning too much. Move the leg less and keep the rib cage still.
This one is simple, but I like simple. Simple is repeatable.
16. Modified Bird-Dog
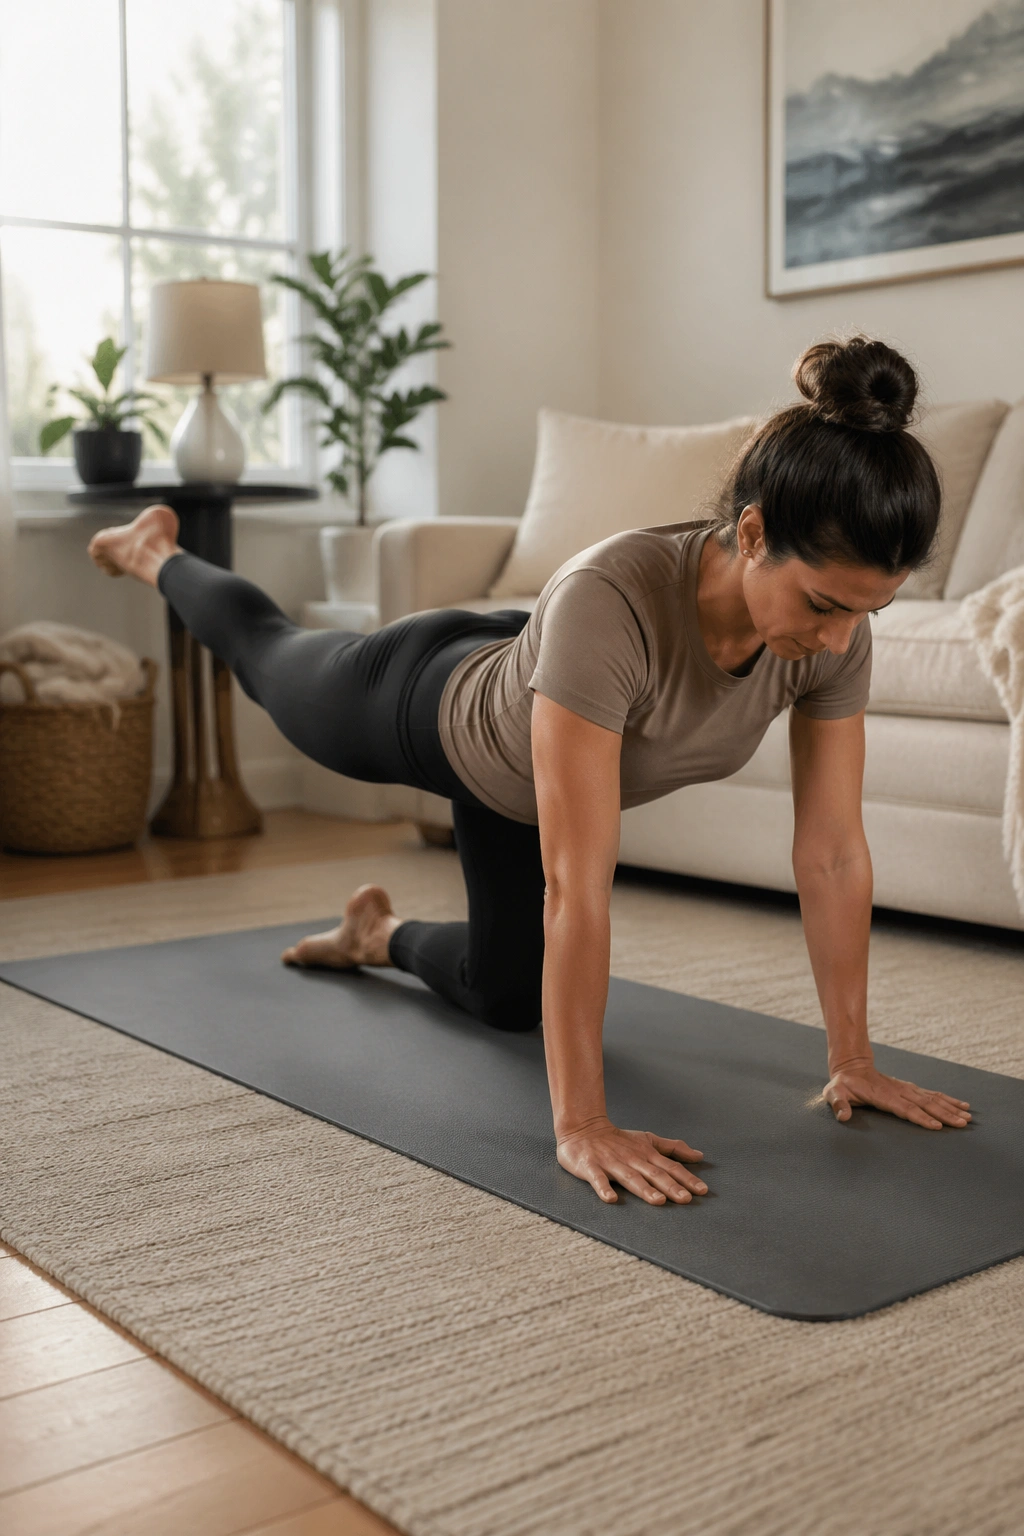
Bird-dog can be excellent later in the postpartum rebuild, but it needs a careful setup after a C-section. Begin on hands and knees with your hands under shoulders and knees under hips. Before lifting anything, take a breath and feel the ribs stack over the pelvis. Then slide one leg straight back only as far as you can keep the trunk quiet. You can stop there, or add a tiny opposite-arm reach if that feels stable.
Don’t Chase Range
A long reach is not the point. Stillness is the point.
If the belly domes, the scar tugs, or your weight shifts all over the place, shorten the movement or skip the arm reach. A modified leg-only version is still useful. Try 4 to 6 reps per side, then rest.
Bird-dog teaches cross-body control, which matters for carrying, lifting, and the weird off-balance moments that come with caring for a new baby. Just respect the load. This is a careful drill, not a competition.
17. Mini Squats
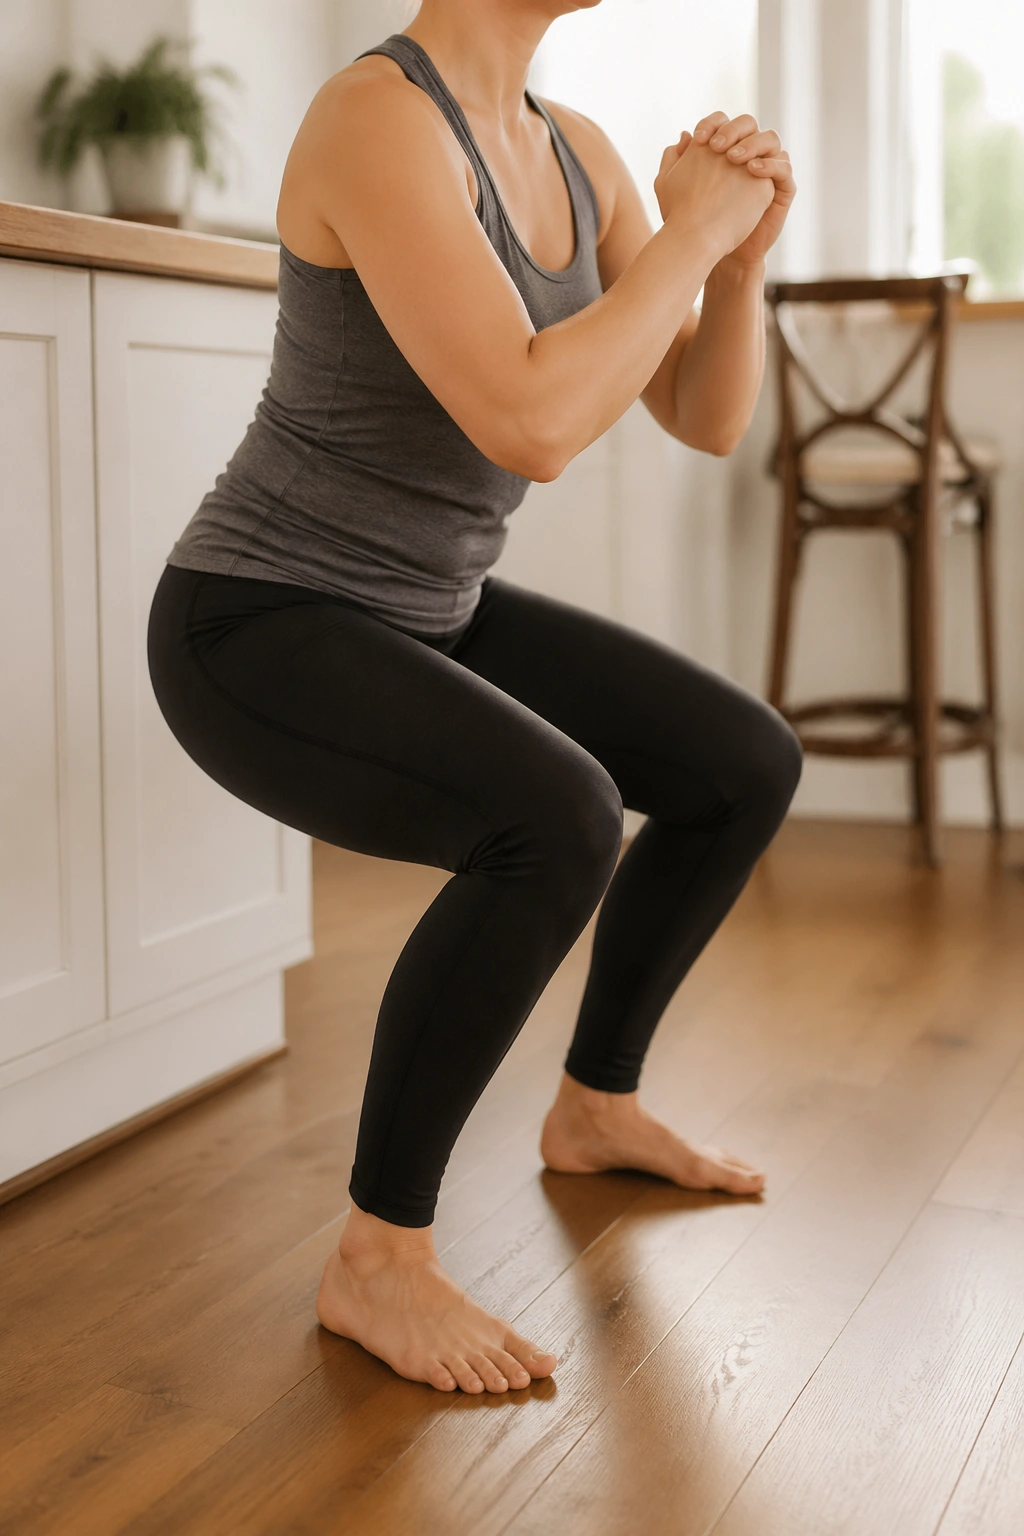
Mini squats build leg strength and help you practice sitting and standing mechanics with a little more load than a chair stand. Stand with feet about hip-width apart, hold onto a counter if needed, and bend the knees only a small amount as if you were about to sit halfway onto a stool. Then stand back up.
Keep the movement shallow at first. If you sink too low too soon, the pelvis and abdomen may complain. You want a neat hinge through the hips and knees, not a deep squat that feels like a wrestling match.
A few clean repetitions beat a bigger set done poorly. Try 6 to 10 reps and pause between each one if that helps you stay controlled. If your heels lift or your chest pitches forward, reduce the depth and slow the tempo.
Strong legs make everything easier. That includes stairs, laundry baskets, and the thousand little transfers that fill the day.
18. Low Step-Ups
A low step-up is a logical next step once chair stands and mini squats feel stable. Use one step or a very low platform and hold a railing or counter for balance. Step up with one foot, bring the other foot up, then step back down with control. Switch leading legs after a set.
This movement trains single-leg strength, balance, and coordination in a way that carries over to real life. If walking feels fine but stairs still feel clunky, this is a smart bridge. If your incision feels stretched or you’re pushing through your breath, the step is too high.
Keep the torso tall. Push through the whole foot. Do 5 to 8 reps per side at first.
By the time this feels easy, you’ve usually rebuilt enough basic strength to handle more challenging home work. That doesn’t mean jumping straight into hard core training. It means your body is sending a better signal: steady, more confident, less reactive. That is the signal worth listening to.
