



Loose sleeves can hide a lot. A pair of resistance bands, though, will expose sloppy form fast.
That’s part of why resistance band arm workouts work so well for a home routine. The band keeps pulling harder the farther you move it, so the last half of the rep—the part where people usually start cheating—matters more than it does with some other tools. Curling, pressing, and pulling all feel a little different with bands. Better, in my opinion. Less forgiving, sure. More honest too.
The look most people call toned comes from two things working together: enough muscle in the biceps, triceps, shoulders, and forearms to shape the arm, and a body-fat level that lets that shape show through. Bands help with the first part. They build muscle with joint-friendly tension, especially when you use slow lowers and clean reps. They won’t do the whole job alone, because nothing spot-reduces fat, but they’re a sharp tool for the arm work itself.
Pick a band that lets you finish each set with control. If your back starts leaning into curls, the band is too heavy or your stance is too loose. If you want the sweet spot, aim for 8 to 15 clean reps on the bigger moves and 12 to 20 on the smaller ones, with a 2- to 3-second lowering phase. Simple. Harder than it sounds.
1. Standing Band Biceps Curl
Stand on the middle of the band, hold the ends with your palms facing forward, and keep your elbows pinned close to your ribs. That’s the version most people picture when they think about resistance band arm workouts, and for good reason: it’s direct, easy to set up, and it tells on every little cheat.
Why It Works
The biceps do their best work when the forearm bends at the elbow without the shoulders taking over. Bands load the curl in a way dumbbells can’t quite match, because the tension climbs as your hands rise. The top half gets spicy fast.
That matters if you want the arm to look fuller near the front. It also matters if you get bored easily, because this move punishes lazy reps. Lean back and you’ll know it. Swing even a little and the band reminds you.
- Keep your wrists straight.
- Curl until your hands are near shoulder height.
- Lower for 2 to 3 seconds.
- Stop if your elbows drift forward.
Best cue: think elbows stay parked, hands do the work.
2. Hammer Curl with Neutral Grip
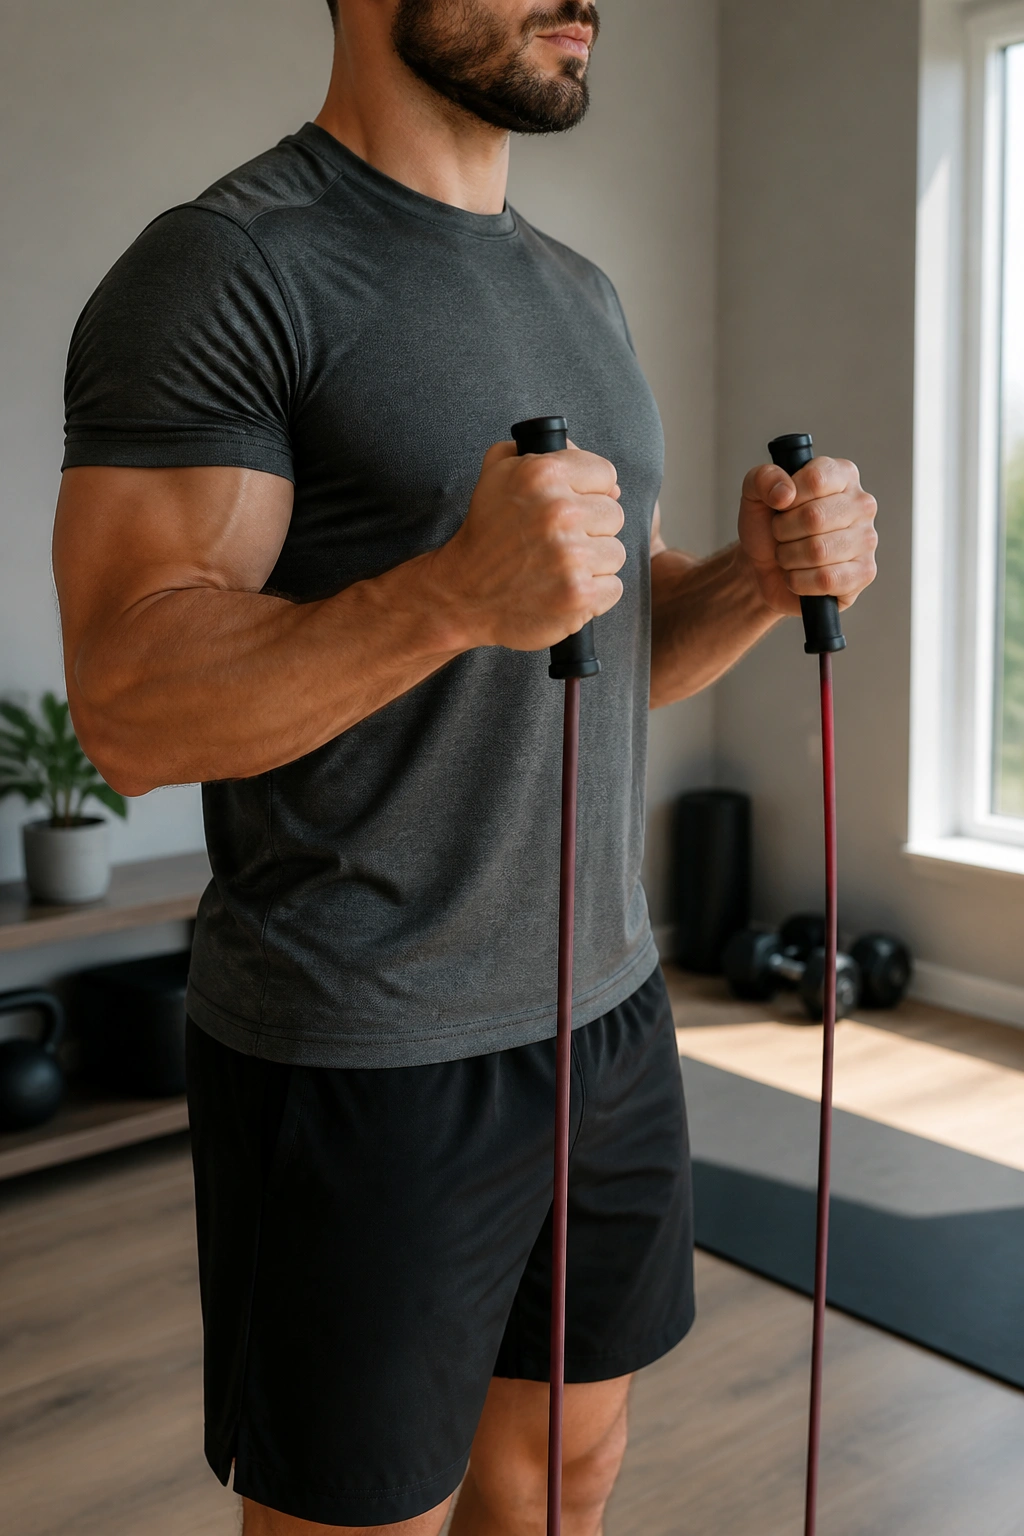
Hammer curls do more than make the arm look thicker from the side. They hit the brachialis, the muscle that sits under the biceps, and they bring the forearms into the job in a way straight curls don’t.
That neutral grip—palms facing each other—also tends to feel kinder on cranky elbows. I like that. A lot of people chase arm size and forget that a movement you can repeat for months beats a flashier one you abandon after two sessions.
Stand on the band and hold the handles with your palms facing in. Curl without rotating your hands, and keep the upper arm quiet. The band should travel in a smooth line. If you have to shrug, heave, or tip your torso, the resistance is too much.
Use this one when your regular curls start feeling stale. Hammer curls usually land well in the 10- to 12-rep range, though lighter bands can push higher. The real payoff is the thicker look through the upper arm and the extra work on grip strength. That combination ages well.
3. Reverse Curl for Forearm Thickness
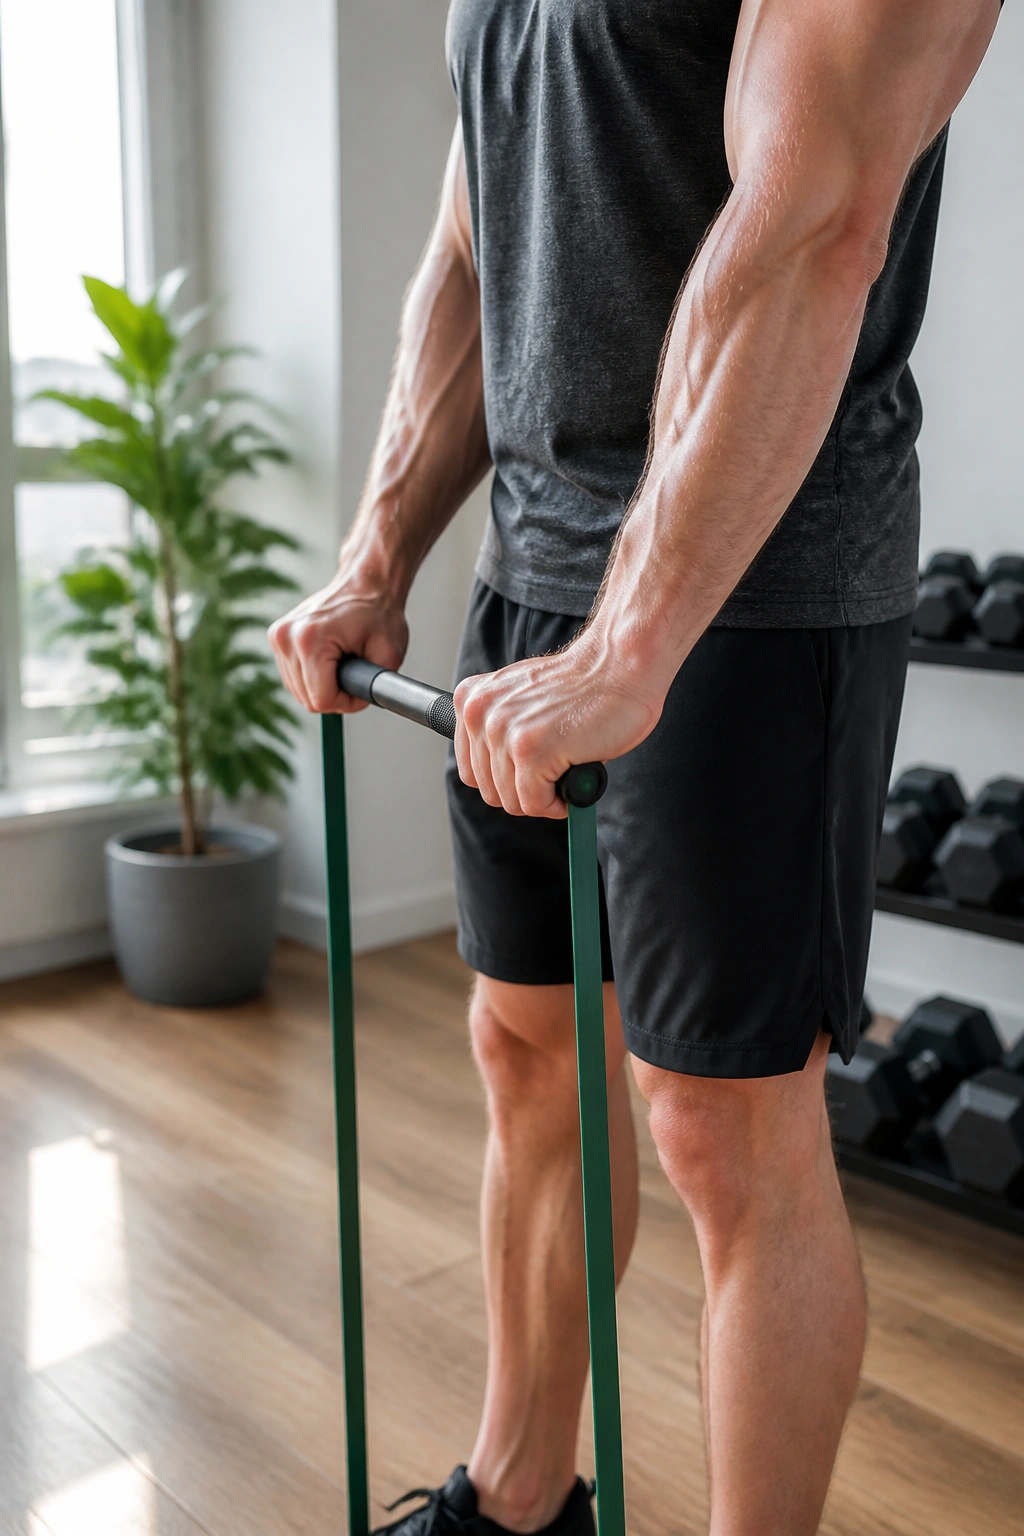
If the top of your forearm looks flat, this is the move I’d put near the front of the lineup.
A reverse curl turns the palms down and shifts more work toward the forearms and the upper part of the arm near the elbow. It feels odd for the first few reps. That’s normal. The grip is weaker in this position, so the band seems heavier than it looked five seconds earlier.
What to Watch For
- Use a lighter band than you would for regular curls.
- Keep the wrists from bending back.
- Lift only as high as your forearms can stay controlled.
- Lower slowly; the eccentric phase is the whole point here.
The nice part is how much this move improves arm balance. Big biceps with weak forearms look unfinished. Reverse curls clean that up. They also help with pulling strength in a way that spills over into rows and daily lifting.
A clean reverse curl should feel strict and a little unforgiving. Good. That’s the point.
4. Overhead Triceps Extension
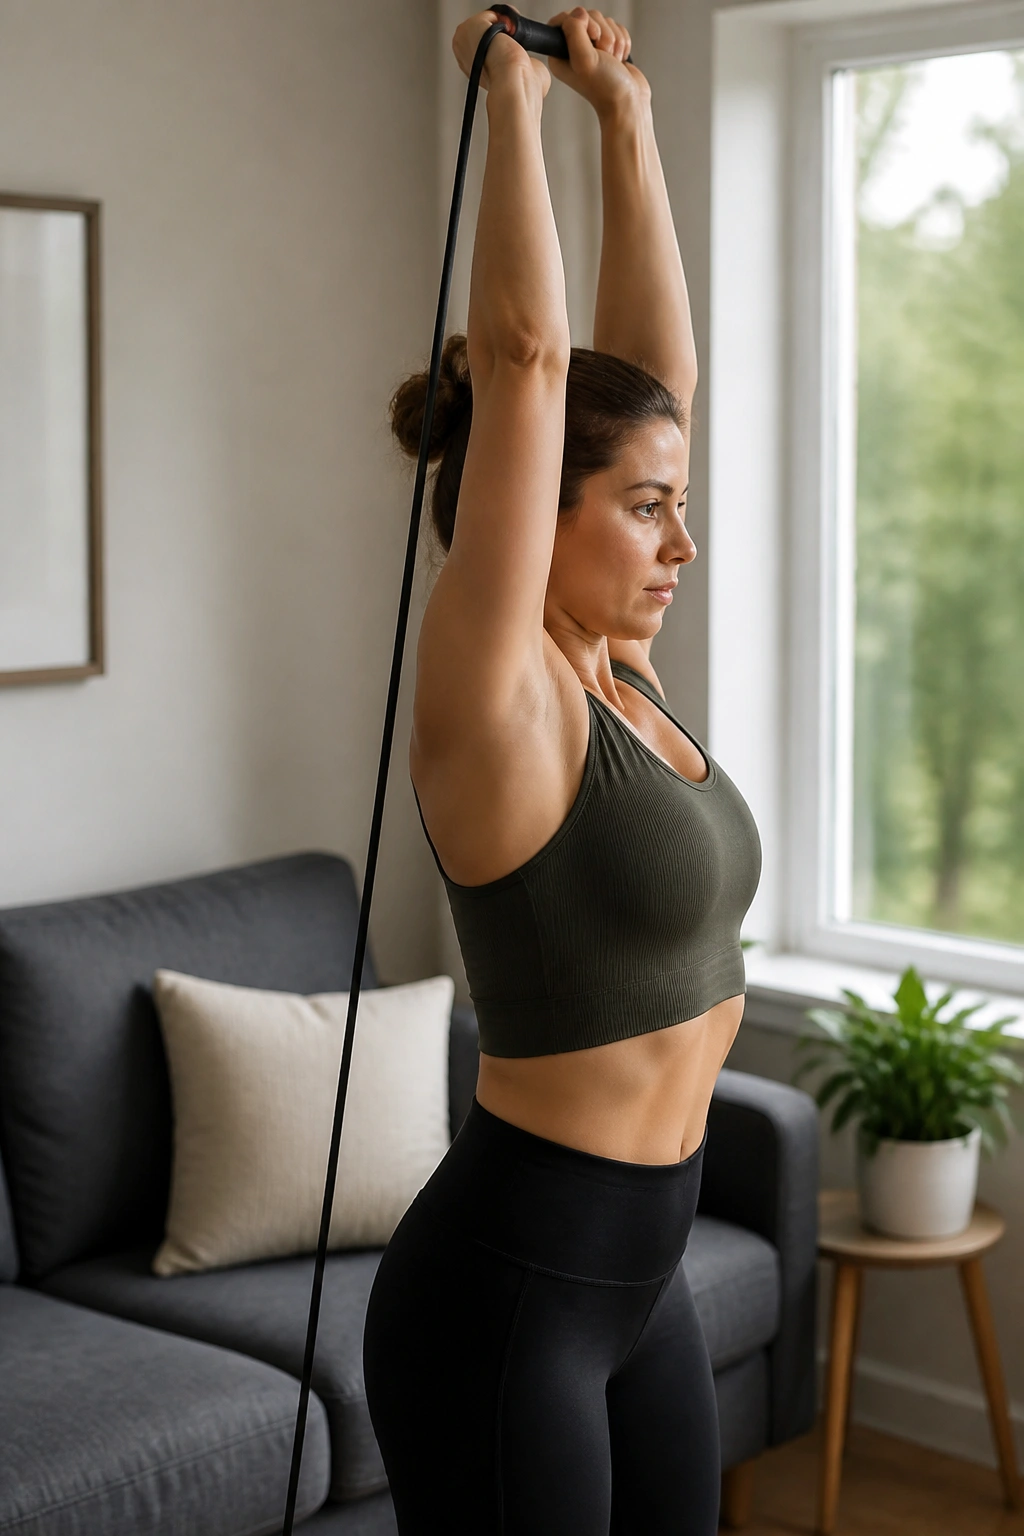
Why do triceps extensions get such loyal followings? Because they hit the long head of the triceps, the part that hangs down toward the back of the arm and gives the upper arm more shape from behind.
Stand on one end of the band, bring the other end behind your head, and press up until your arms are straight. Keep your elbows pointed forward, not flared out. If your ribs pop up and your lower back arches, back off. That usually means the band is too heavy or you’re trying to turn it into a whole-body lift.
How to Use It
Use a shoulder-width stance and brace your stomach before each rep. The band should feel smooth, not jerky. Lower until your hands come behind your head and you feel a clear stretch through the triceps, then press up hard without locking out aggressively.
A good rep here feels long and controlled. The last few inches matter. That’s where the triceps finish the job, and that’s where the arm gets that tighter look most people want from overhead work.
5. Triceps Pressdown with Door Anchor
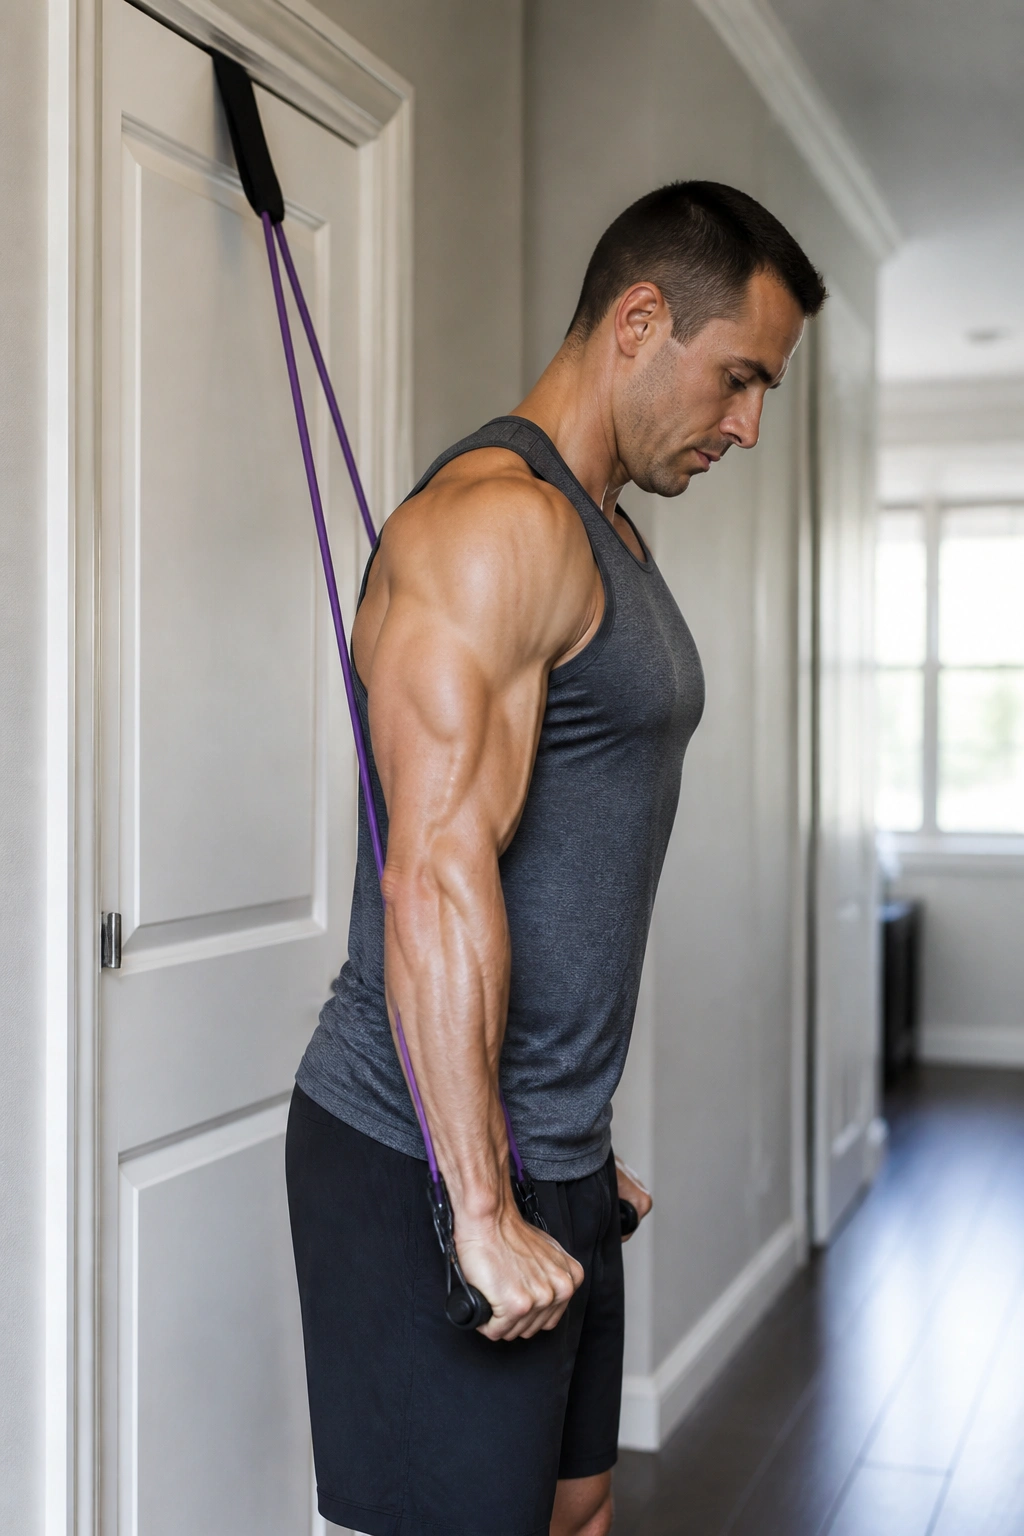
A high anchor changes everything. Put the band over a sturdy door anchor or top-level support, grab the ends, and press your hands down until they reach your thighs. Small move. Big burn.
This one is cleaner than it looks. The upper arms stay close to the body, the shoulders stay down, and the elbows act like hinges. If you’ve ever done pressdowns on a cable machine, this is the home version that gets close enough to matter.
The sweet spot is usually 12 to 20 reps with a band that lets you keep the shoulders quiet. I like this movement for people who want triceps work without the awkward balance demands of overhead extensions. It’s also one of the easiest ways to build volume fast, because you can stack sets without your form falling apart.
Press down until the band is fully short and your triceps feel hard at the bottom. Pause there for a beat. That little pause is rude in the best way.
6. Triceps Kickback
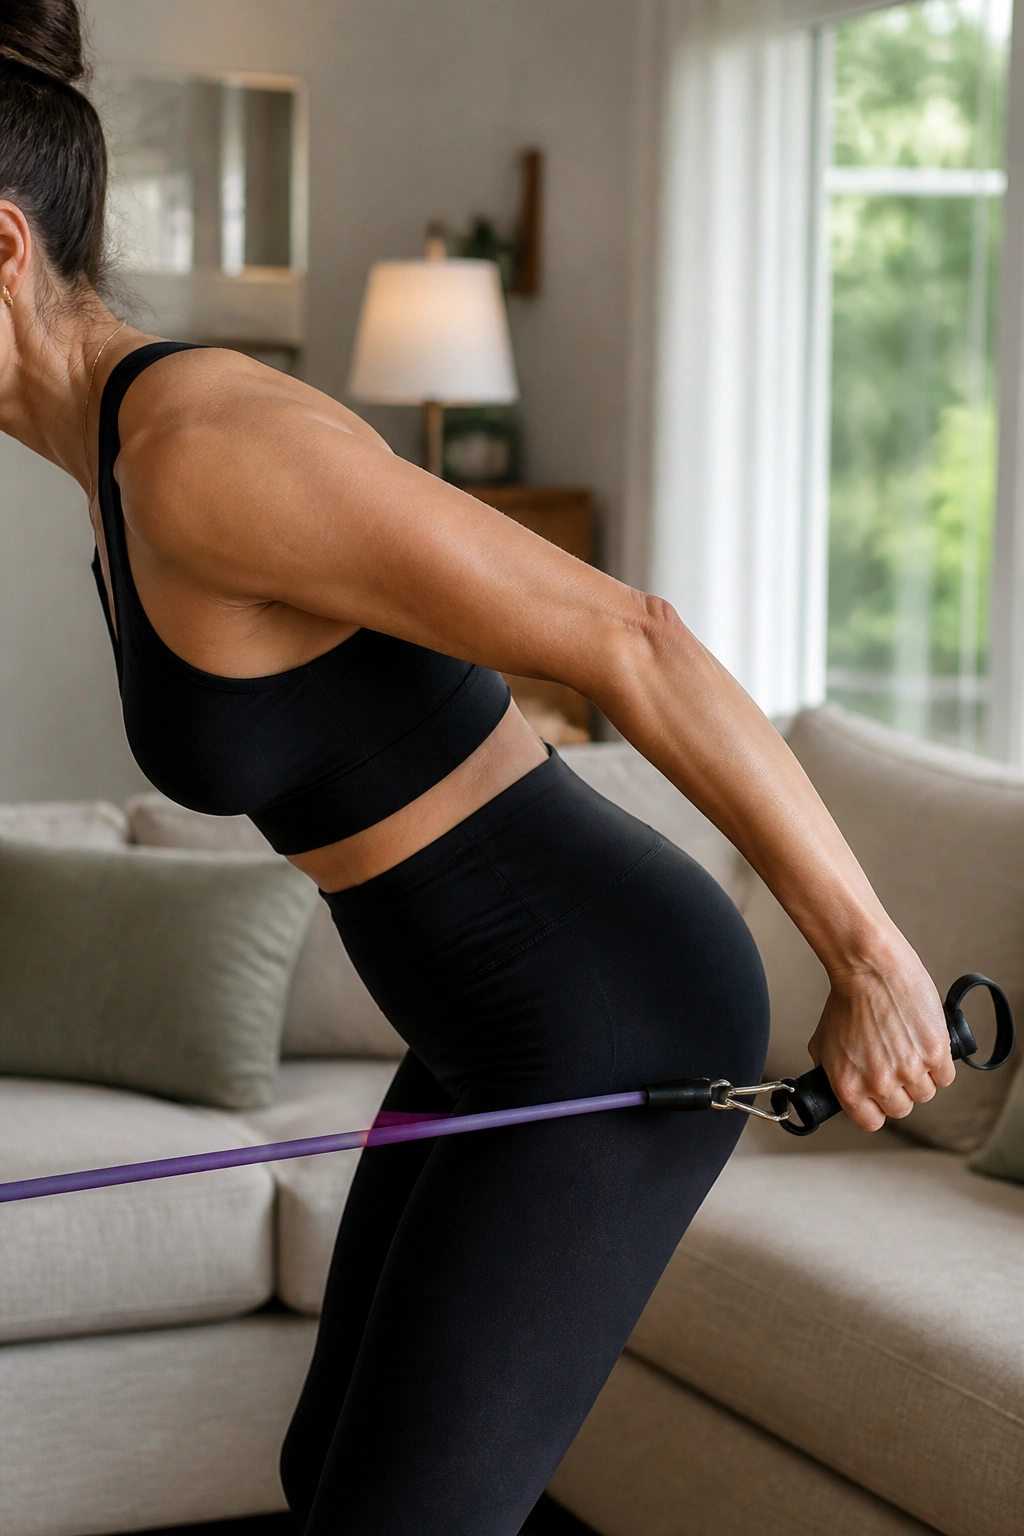
Kickbacks get dismissed a lot, usually by people who try to use bands that are too heavy and end up flinging their arms around. Done right, they’re pure triceps.
Unlike pressdowns, kickbacks live in a short range and punish any shoulder movement. Hinge forward, lock the upper arm parallel to the floor, and straighten the elbow until the hand reaches back. That’s it. No drama. No swinging.
The mechanism is simple: the triceps finish elbow extension while the upper arm stays fixed. That fixed position is what makes the movement feel so strict. It also makes the exercise a little humbling. You’ll likely use less resistance than you expect, and that’s fine. Chasing a heavy band here usually ruins the point.
Best use? High-rep accessory work after curls or presses. Ten to 20 controlled reps is a solid range. If your shoulders creep upward, reset. If your torso rocks, reset again. This move is all about the back of the arm doing clean, quiet work.
7. Band Zottman Curl
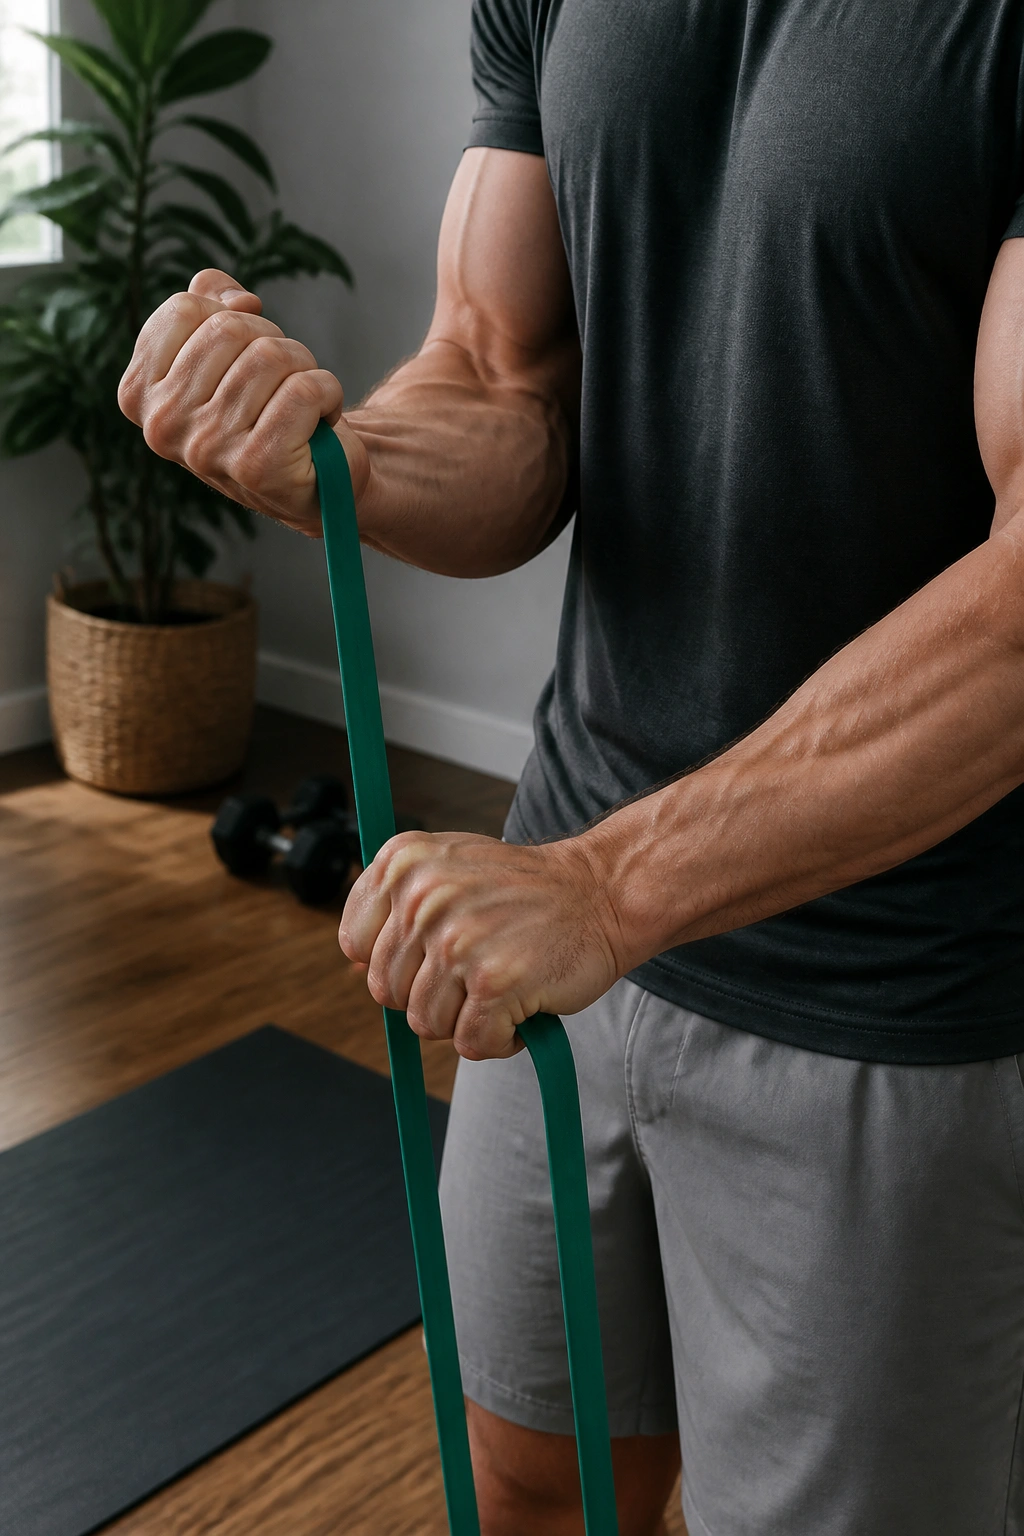
The Zottman curl is one of those exercises that sounds fussy and ends up being oddly useful.
Curl up with your palms facing forward, then rotate your hands at the top so your palms face down on the way back. That lowers the load into the forearms while keeping the biceps involved during the lift. It’s a sneaky two-for-one.
Why It Sneaks Up on Your Forearms
The lowering phase is where this one earns its keep. The forearms have to control the band while the biceps are no longer in their strongest grip position. That combination can light up the lower arm in a way straight curls don’t.
- Lift with a supinated grip.
- Rotate at the top.
- Lower slowly with palms down.
- Keep the elbows from drifting forward.
Use a lighter band than you would for standard curls. Seriously. The twist plus the eccentric lower makes the movement feel heavier than it looks on paper. If you’ve ever wanted more forearm detail without adding a whole separate grip session, this is a tidy fix.
8. Band Concentration Curl
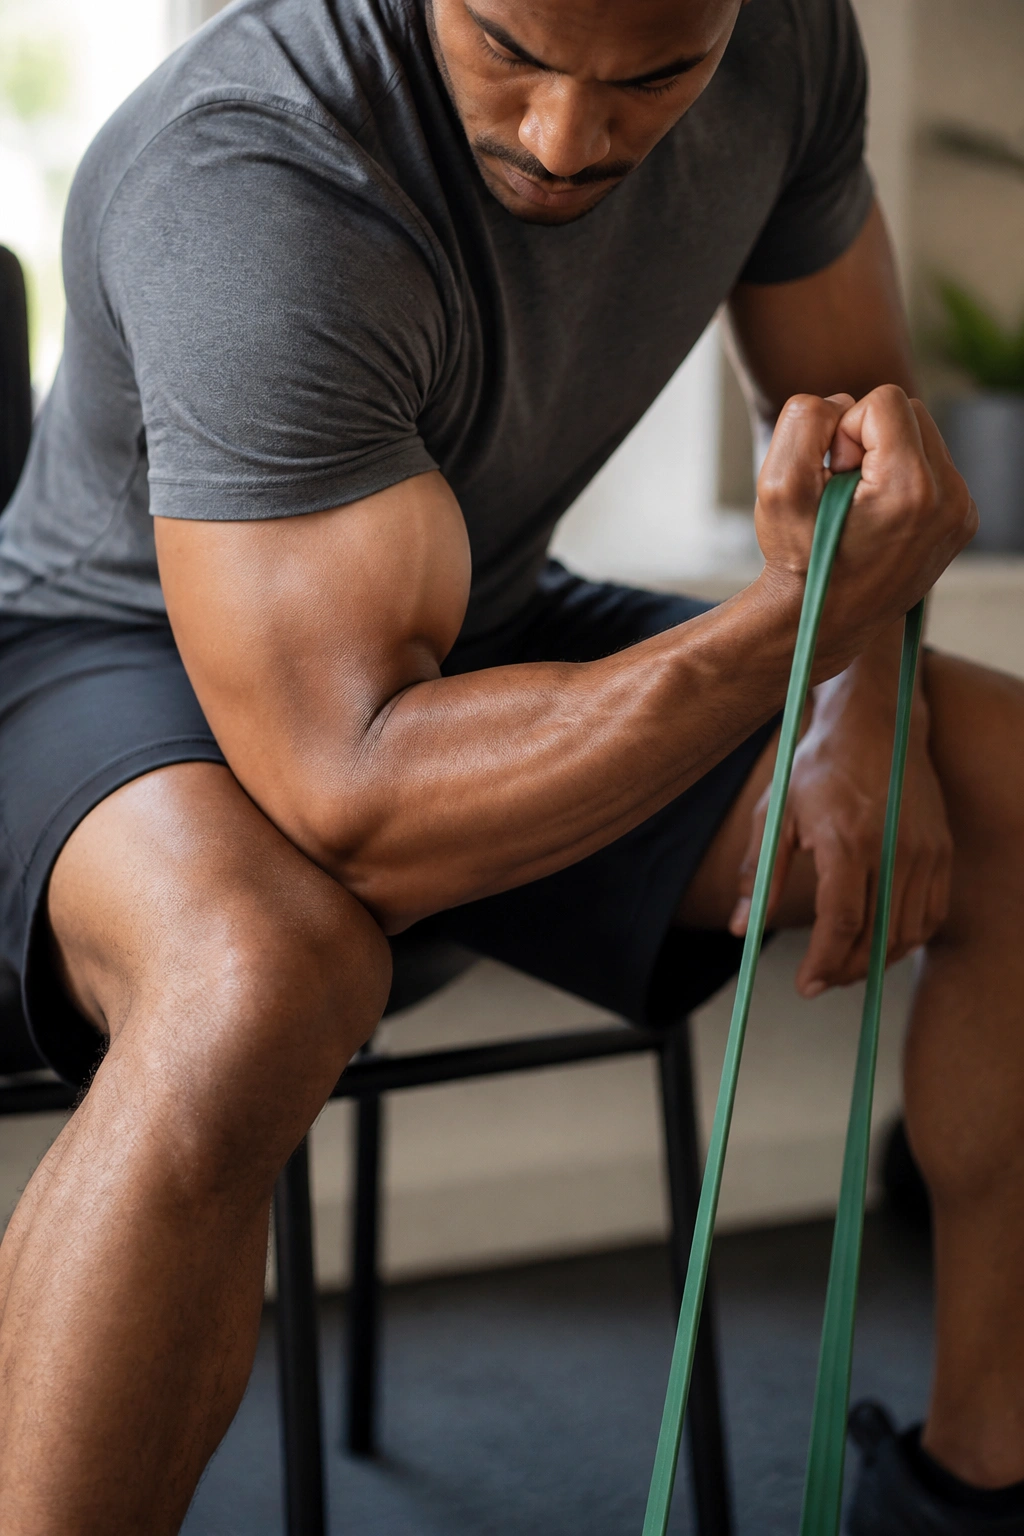
A concentration curl looks old-school because it is, and that’s exactly why it works.
Sit down, brace one elbow against the inside of your thigh, and curl the band with only one arm at a time. The setup removes most of the cheating room. No leaning back. No shoulder swing. Just elbow flexion and a hard squeeze at the top.
That strictness is the whole point. Concentration curls are less about moving the most resistance and more about making the biceps do the work cleanly. They’re good for mind-muscle connection, but that phrase gets tossed around too casually. What it really means here is simple: you can feel the exact moment the biceps take over, and you can keep them doing it.
I like this move for the end of a session when your big lifts are done and you want one arm to feel stacked with tension. Eight to 12 controlled reps per side is plenty. If the band keeps sliding around your foot, slow down and reset your stance. Fussy setup, yes. Worth it, too.
9. Band 21s Curl Burner
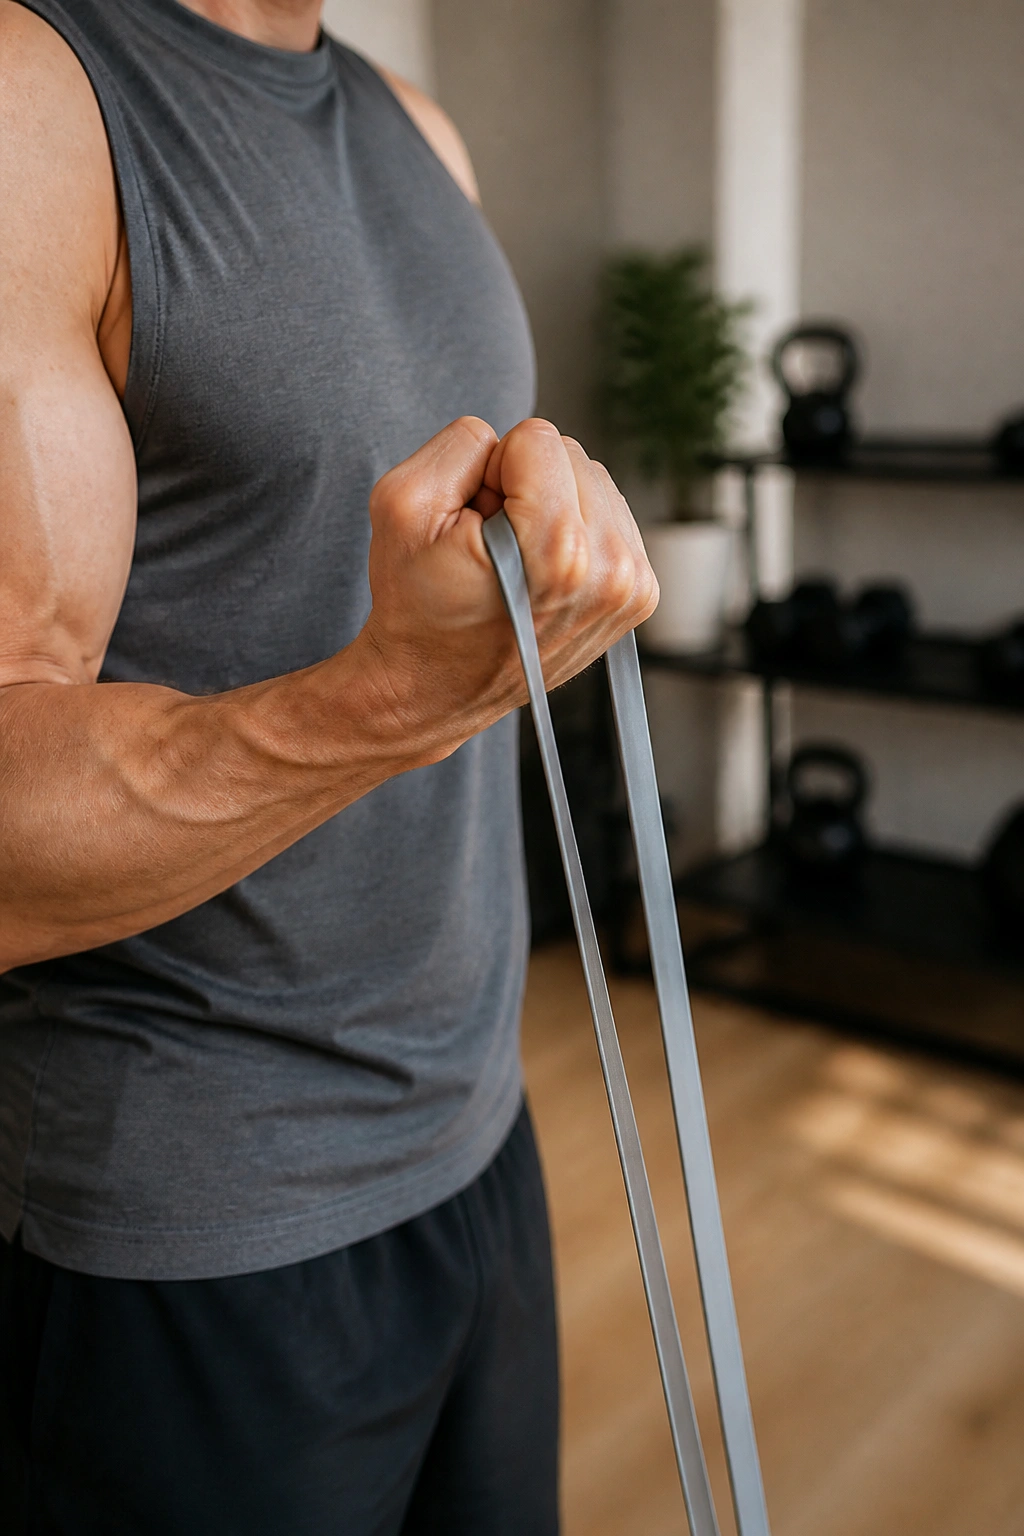
The 21s curl is a little mean, which is probably why people remember it.
You do 7 reps in the lower half of the range, 7 reps in the upper half, and 7 full curls. Same band. Same stance. Different misery. It works because each segment of the curl gets overloaded in isolation before the whole movement ties itself in knots.
Why use it? Because partial ranges let you stay honest under fatigue. The lower half stresses the start of the curl, the top half hammers the squeeze near the shoulder, and the full reps pull the whole pattern together. The arm feels crowded by the end in a way that regular straight sets rarely match.
How to Use It
- Pick a band lighter than your usual curl band.
- Do 7 lower-half reps first.
- Do 7 upper-half reps next.
- Finish with 7 full-range curls.
- Rest 60 to 90 seconds, then stop at 1 to 3 rounds.
One round is often enough. Two if you enjoy suffering. Three if you’re feeling brave and your form still looks clean in the mirror.
10. Face Pull with External Rotation
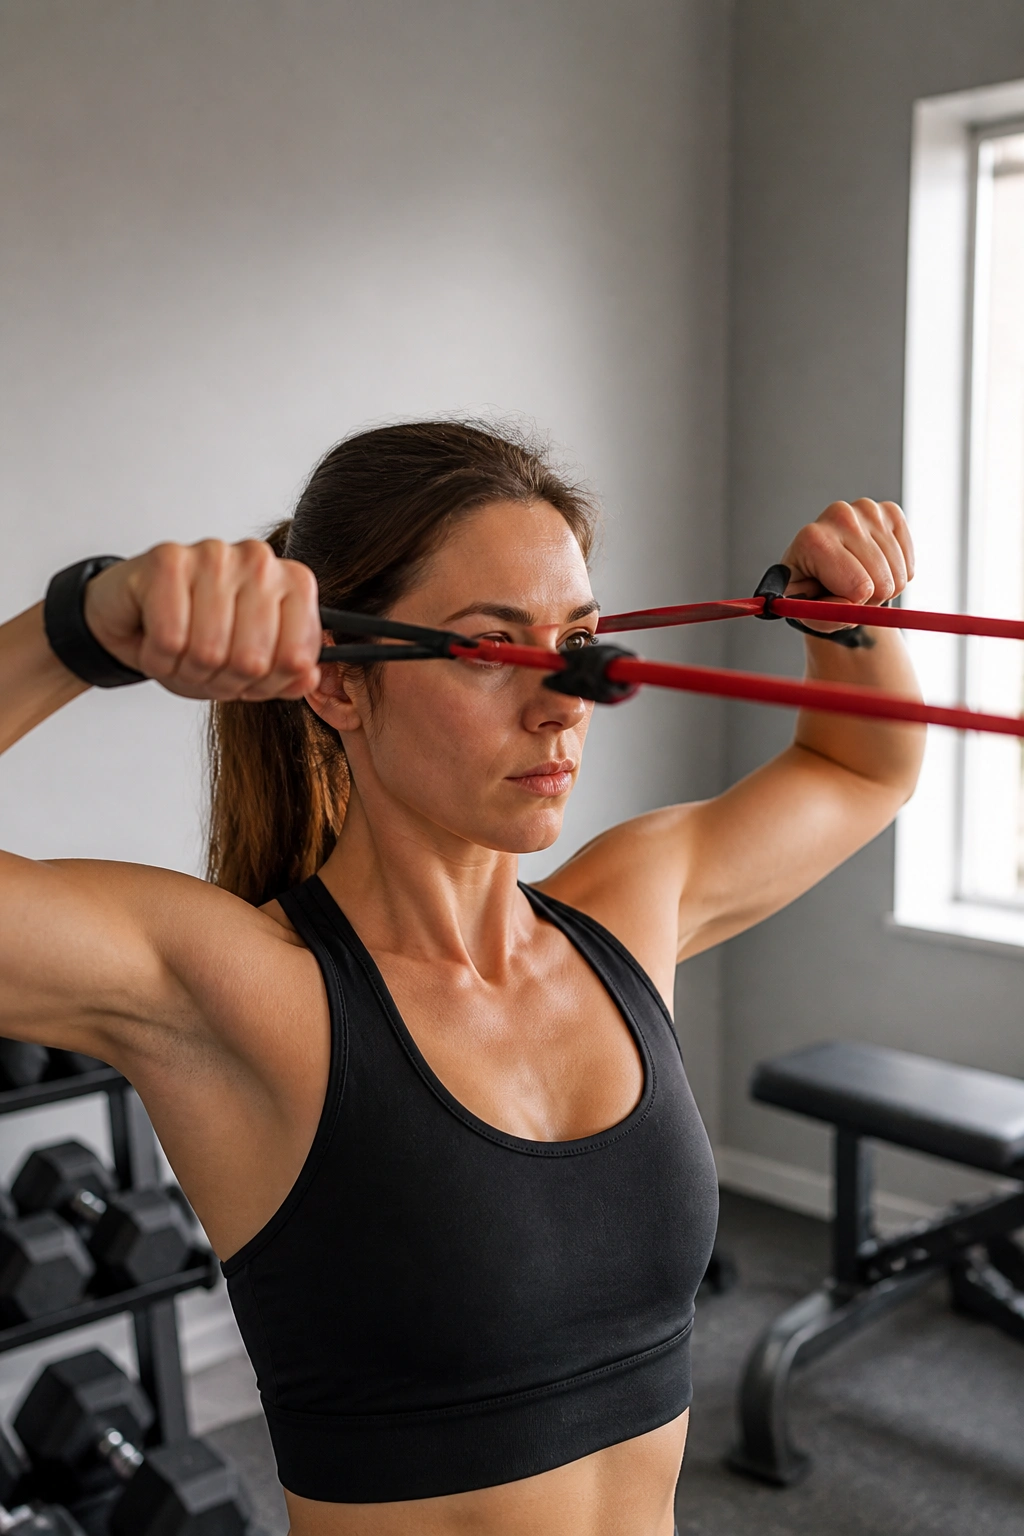
If your arms only look good from the front, face pulls help fix the rest.
Anchor the band at about eye height, grab it with both hands, and pull toward your face while turning the hands outward so your arms finish in a goalpost shape. That extra rotation is the part people skip, and it’s the part that makes the rear delts and upper back pitch in.
A lot of arm training gets stuck on biceps and triceps. Fair enough. But the shoulder cap and the muscles behind it shape how the upper arm looks from the side and back. Face pulls give that area some work while also teaching the shoulders to sit in a better position.
- Pull to nose or forehead height.
- Keep the ribs down.
- Finish with elbows high and hands apart.
- Don’t shrug.
Quick tip: if you feel this mostly in your neck, lower the anchor or lighten the band. The movement should feel like the back of the shoulders, not a trap squeeze contest.
11. Band Pull-Apart
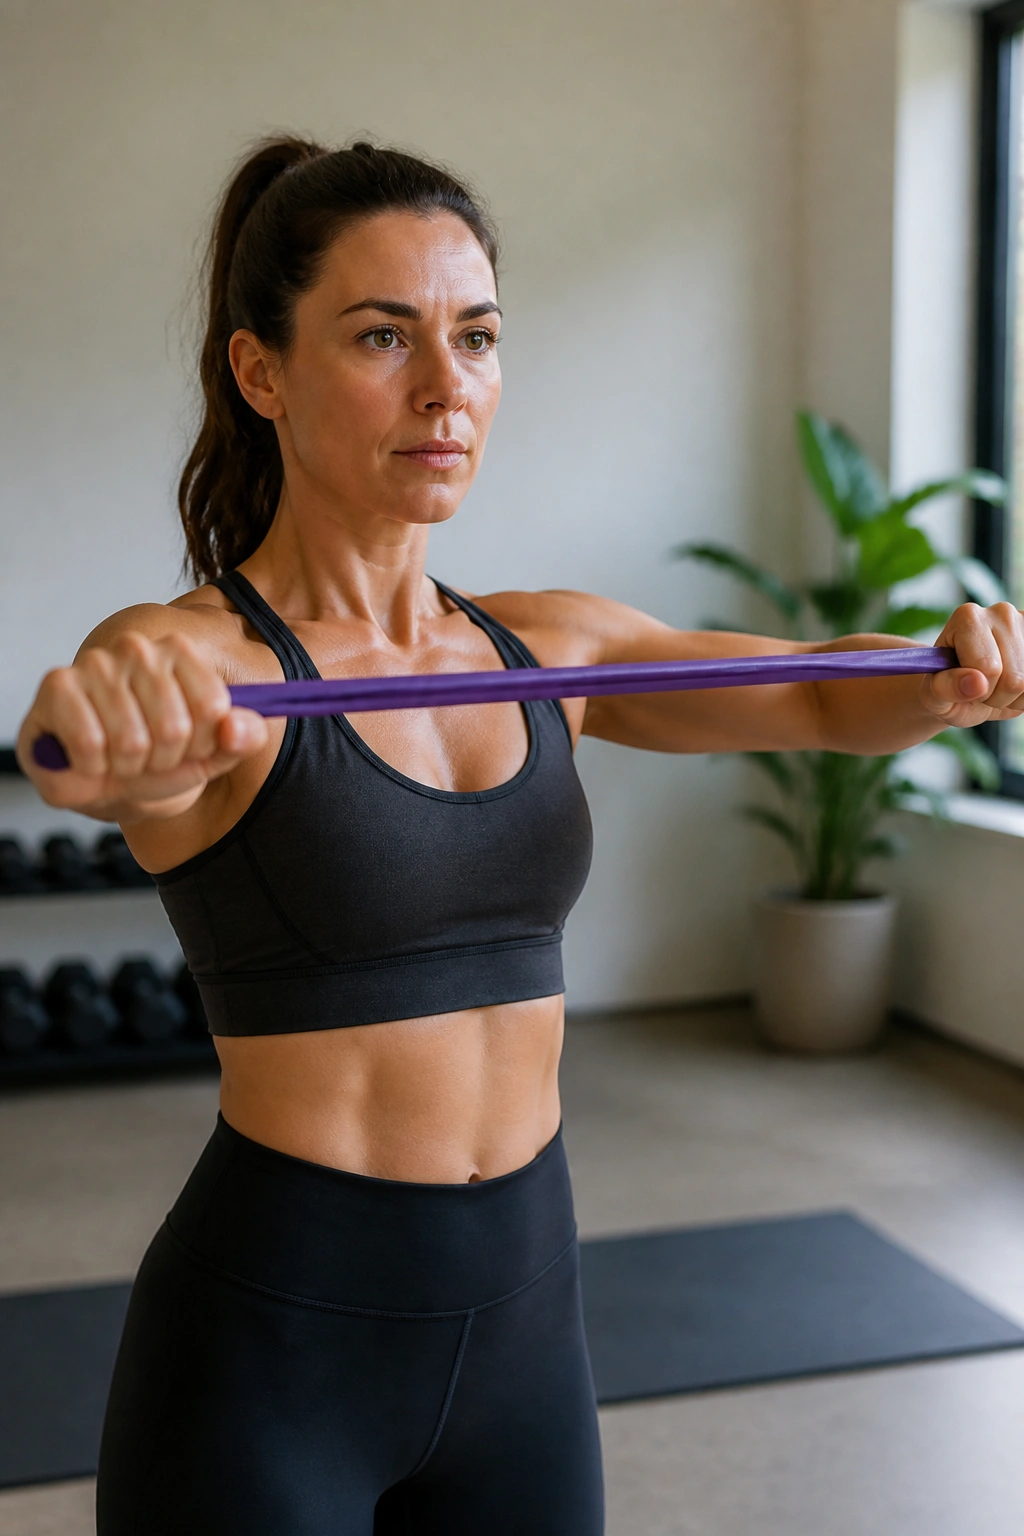
Band pull-aparts look almost too easy. Then you do 20 clean reps and your upper back starts filing complaints.
Hold the band at chest height with straight arms, then pull the ends apart until your hands move wide and the band touches your chest or upper ribs. The shoulder blades should glide together, not jam upward. That part matters more than people think.
What to Watch For
The common mistake is turning it into a shrug. Don’t. Keep the shoulders away from the ears and think about widening across the chest. If your elbows bend a lot, the band is too heavy or you’re trying to rush it.
This move helps the back side of the shoulder girdle, which makes the whole arm look better and move better. Posture matters here. Not in some abstract, preachy way—just in the plain sense that the upper arm sits nicer when the shoulder sits nicer.
Do 15 to 25 reps with a lighter band and a one-second squeeze at the end. It’s not flashy. It is useful. And honestly, useful beats flashy most days.
12. Lateral Raise
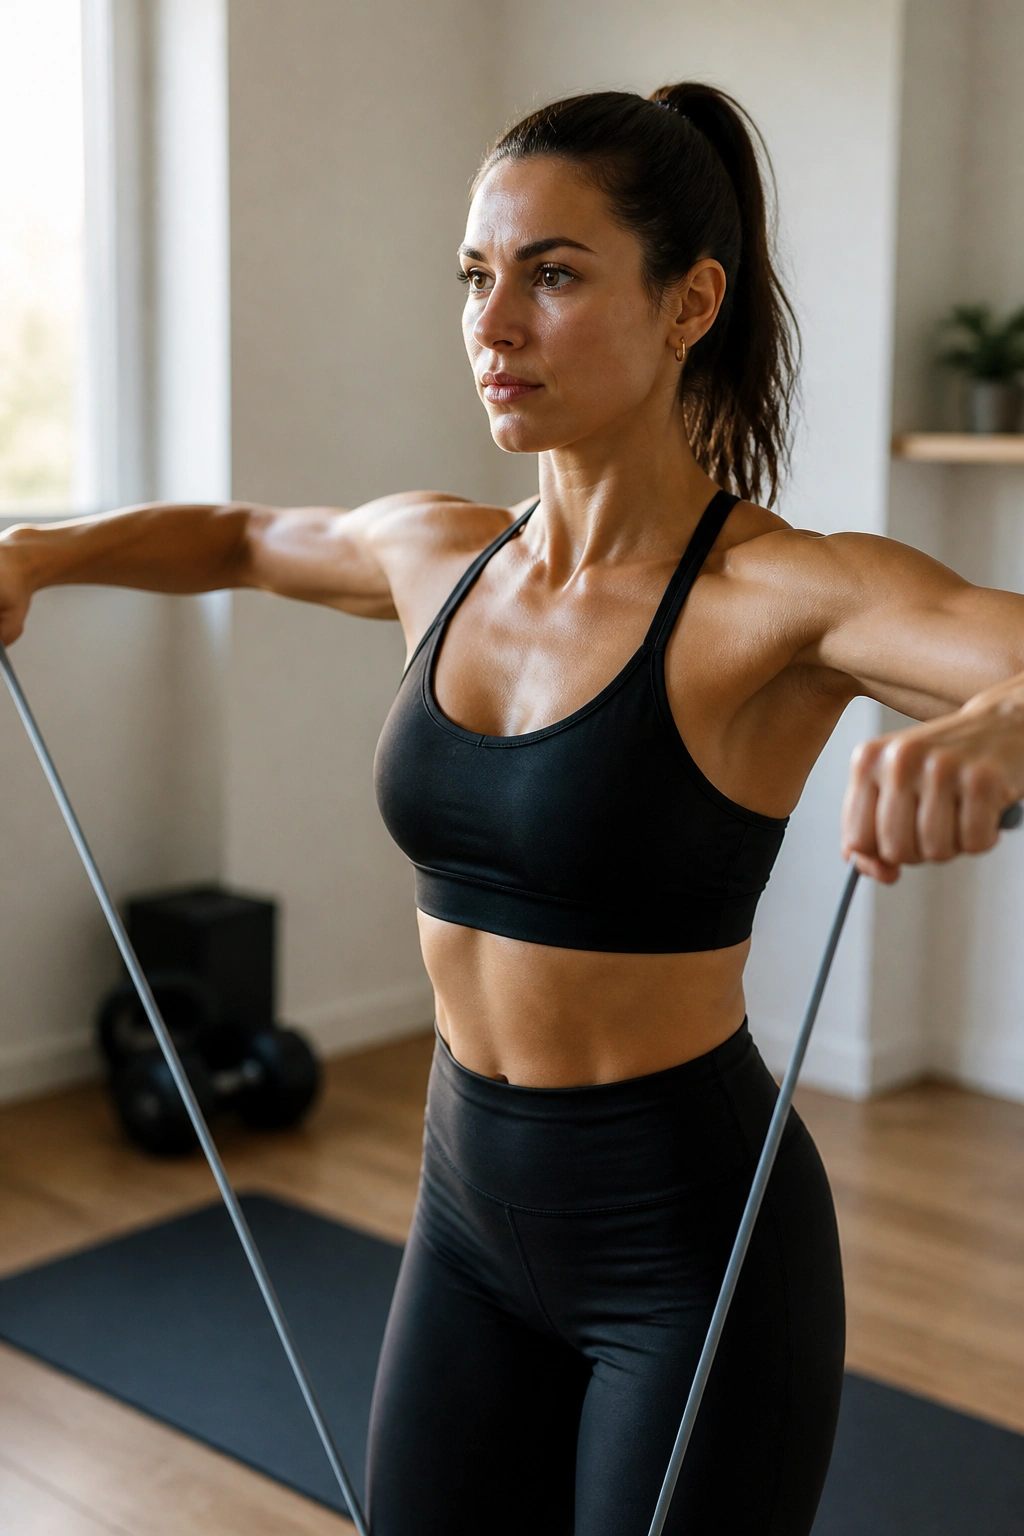
Compared with front raises, lateral raises do more to widen the shoulder line, and that wider line makes the arm look sharper in almost any shirt.
Stand on the band, hold the handles with a slight bend in your elbows, and lift the arms out to the sides until they reach about shoulder height. Don’t chase height past that point. Once you go too high, the traps tend to take over and the side delt stops getting the clean work you wanted.
The move sounds simple because it is simple. That’s also why people get sloppy with it. A tiny cheat at the bottom turns into a body swing by rep six. Better to use a lighter band and keep the lift smooth. The arms should travel on a gentle arc, not a yanked-up line.
Best use? As a shoulder-builder that supports the look of the upper arm without beating up the elbows. Ten to 15 reps, maybe 20 with a light band. If you want the shoulders to help frame the arms, this one earns its place.
13. Front Raise
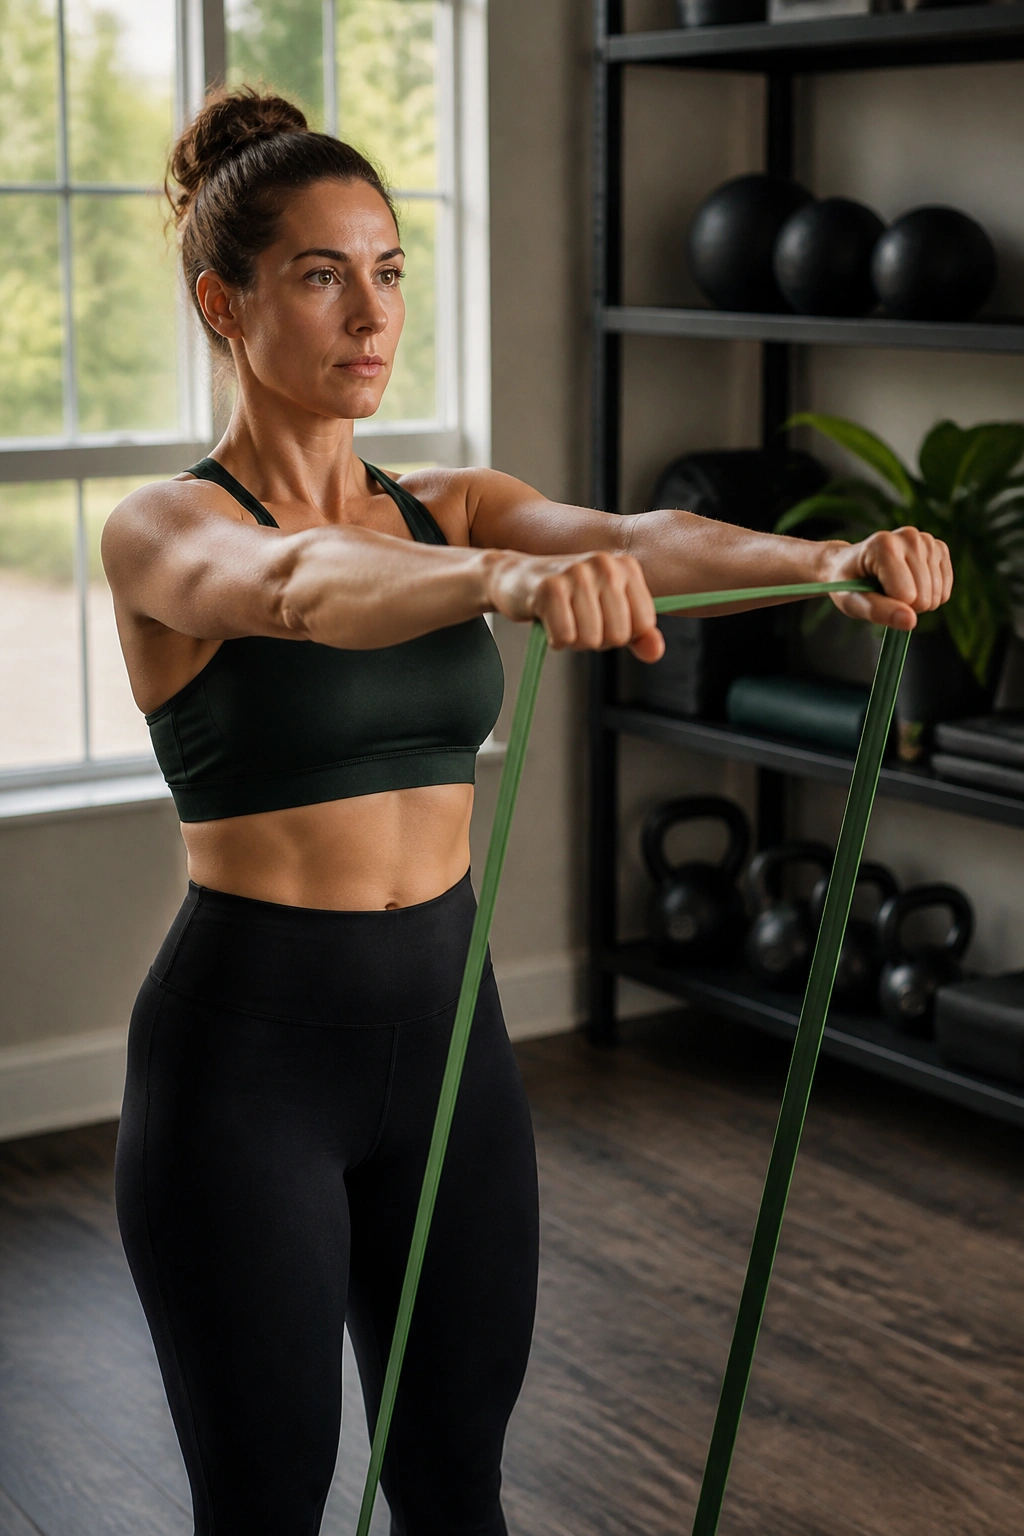
Front raises are often skipped because the front delts already help in pressing, but that doesn’t make the exercise pointless.
Stand on the band and lift one or both arms straight out in front until they reach shoulder height. The work lands on the front of the shoulder, which matters if you want the arm to look full from the side and if your overhead press is lagging behind your curl numbers.
Why It Works
The front delt is a small piece of the upper arm picture, but it changes the whole outline. A well-trained front shoulder makes the biceps and triceps look more balanced, especially when your arms hang at your sides.
- Keep a soft bend in the elbows.
- Stop at shoulder height.
- Use a lighter band than you think.
- Don’t lean back to steal the rep.
Good cue: lift with the shoulder, not the hands. If your lower back arches, the resistance is too much. If your neck tightens, slow down and reset your stance.
14. Overhead Press
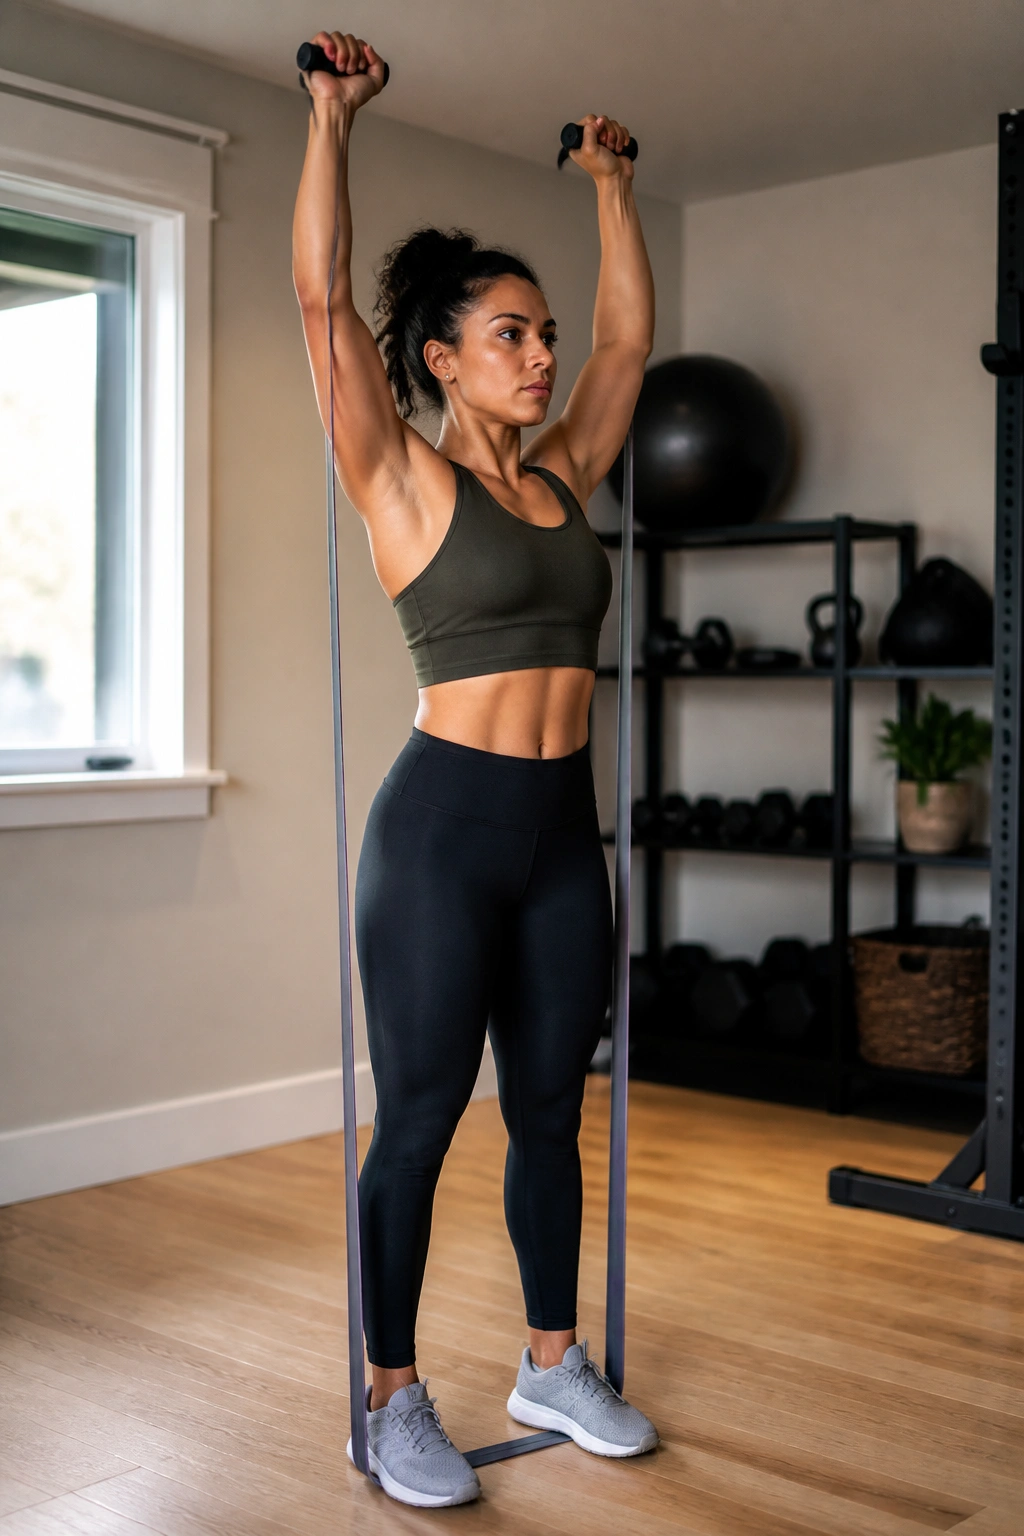
The overhead press is the strongest-looking move in this list, and that’s no accident. It teaches the shoulders and triceps to share the load while the core keeps the body from turning into a banana.
Stand on the band, bring the handles to shoulder height, and press them overhead until your arms are straight. Keep the ribs stacked over the hips. If you arch your back to get the band up, the load moved from your shoulders to your lower spine, and that’s not the deal we want here.
The nice thing about band pressing is the way it smooths out the top. The rep gets harder as the band stretches, which forces the shoulders and triceps to finish strong instead of coasting through the lockout. That top-end tension is useful for the look of the entire upper arm.
Use 8 to 12 reps with a band that feels firm but manageable. If your wrists fold back, clean up the grip. If your elbows flare wildly, lower the resistance. Strong-looking reps are great. Better-looking reps are better.
15. Upright Row with Light Band
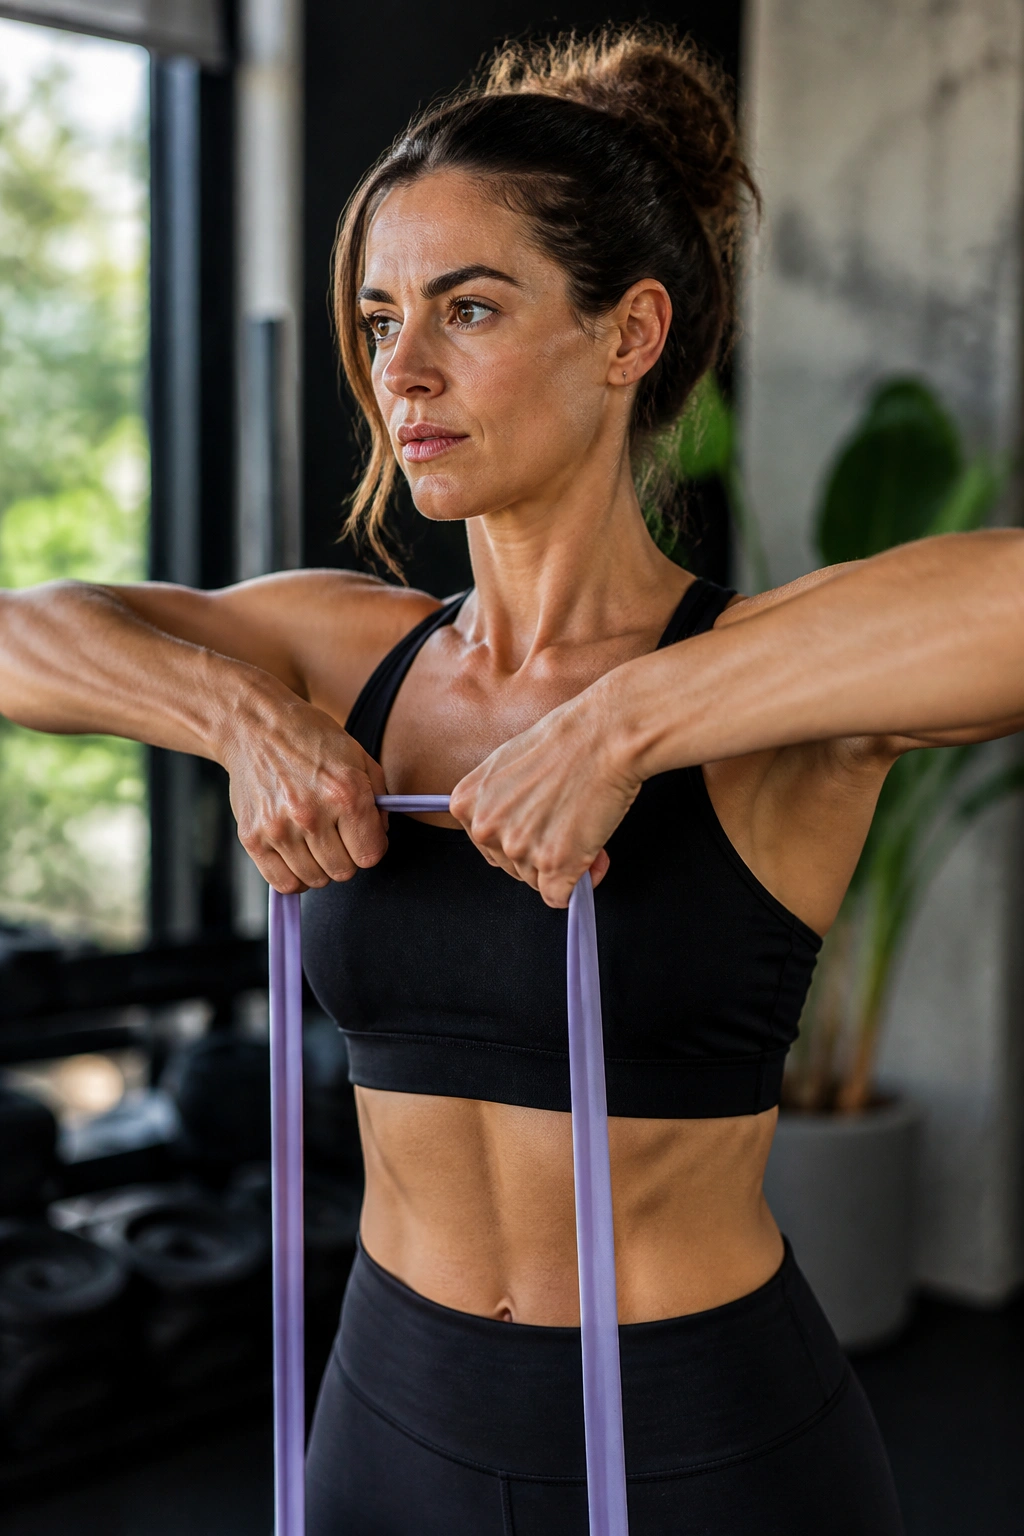
Should everyone do upright rows? No. But with a light band, a careful grip, and a sane range of motion, they can help the upper shoulders and the top of the arm look more complete.
Pull the band up the front of your body until your hands reach lower chest or upper-rib height. Keep the elbows slightly below shoulder height if that feels better. A super-wide pull and a too-heavy band usually make the movement feel cramped, which is why so many people hate it.
How to Use It
Start light. That’s not a polite suggestion; it’s the difference between a smooth rep and a grumpy shoulder. Pull with control, pause at the top, and lower slowly. The goal is tension, not speed.
This exercise fits people who want another shoulder-plus-arm move without adding complicated setup. It’s especially handy if you’re short on equipment and need one band to do more than one job. If your shoulders are finicky, skip it. If they feel fine, keep the range modest and the form clean.
16. Close-Grip Band Chest Press
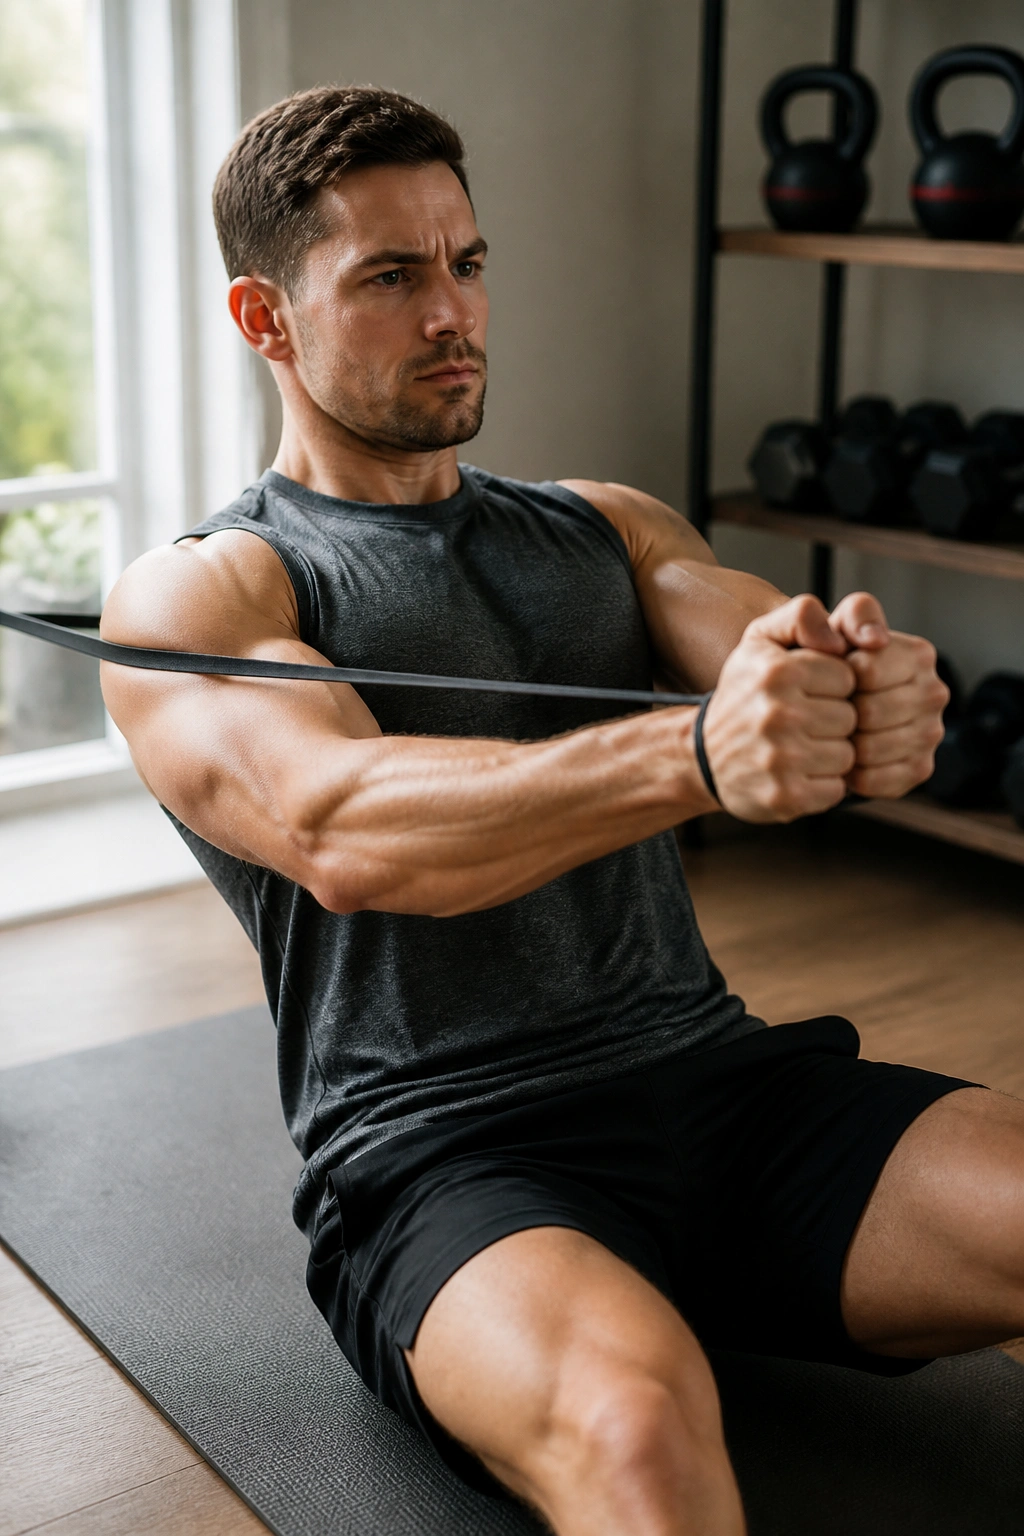
A close-grip press looks like a chest move at first glance, then the triceps step in and steal the show.
Anchor the band behind you at chest height, hold the handles close together, and press straight out while keeping the elbows tucked. The narrow hand position shifts more work toward the back of the arms, which makes this a smart option when you want triceps work without a separate overhead setup.
The shoulder blades should stay stable. Not pinned stiffly—just quiet. If the shoulders roll forward each rep, the press gets messy fast. I prefer this move when someone wants a compound pattern that still puts the arm muscles on display. It feels athletic without turning into a circus act.
- Keep hands 4 to 6 inches apart.
- Press to full elbow extension.
- Lower until the elbows sit near the ribs.
- Use a medium band for 10 to 15 reps.
Practical note: this one can save a session when you only have one anchor point and want to hit chest and triceps in the same block.
17. Floor Skull Crusher
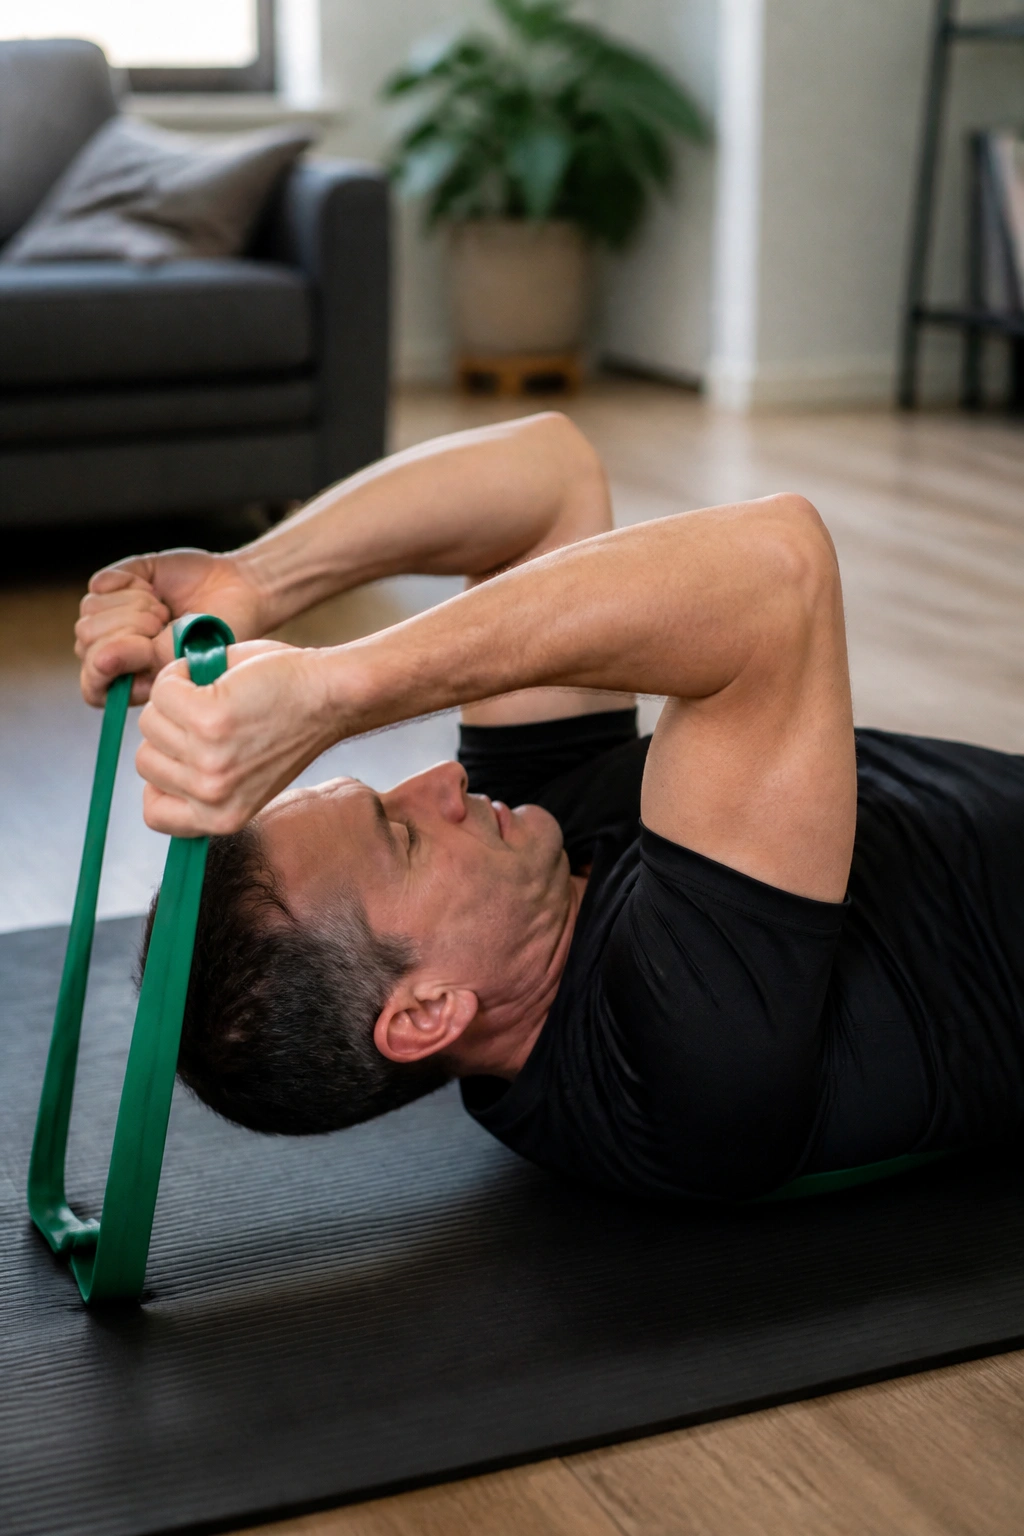
Lie on the floor, place the band under your upper back or anchor it low behind you, and hold the ends with your arms pointed toward the ceiling. Bend at the elbows until your hands move back beside your temples, then press up again. That’s the basic shape, and it works because the upper arm stays mostly fixed while the elbow does the moving.
The floor changes the feel in a useful way. It cuts off the deepest shoulder swing and gives the triceps a cleaner path to work. That can make the move friendlier on elbows than a bench version, especially if you’ve had enough of wobbly overhead extensions.
There’s a temptation to turn this into a half press, half triceps mash-up. Don’t. Keep the upper arms still and let the forearms move like hinges. The band should stretch in a smooth arc, and you should feel the back of the arm tighten hard near the top.
If the band digs into your back, place a folded towel under it. Tiny fix. Big difference.
18. Isometric Curl Hold and Pulse Finisher
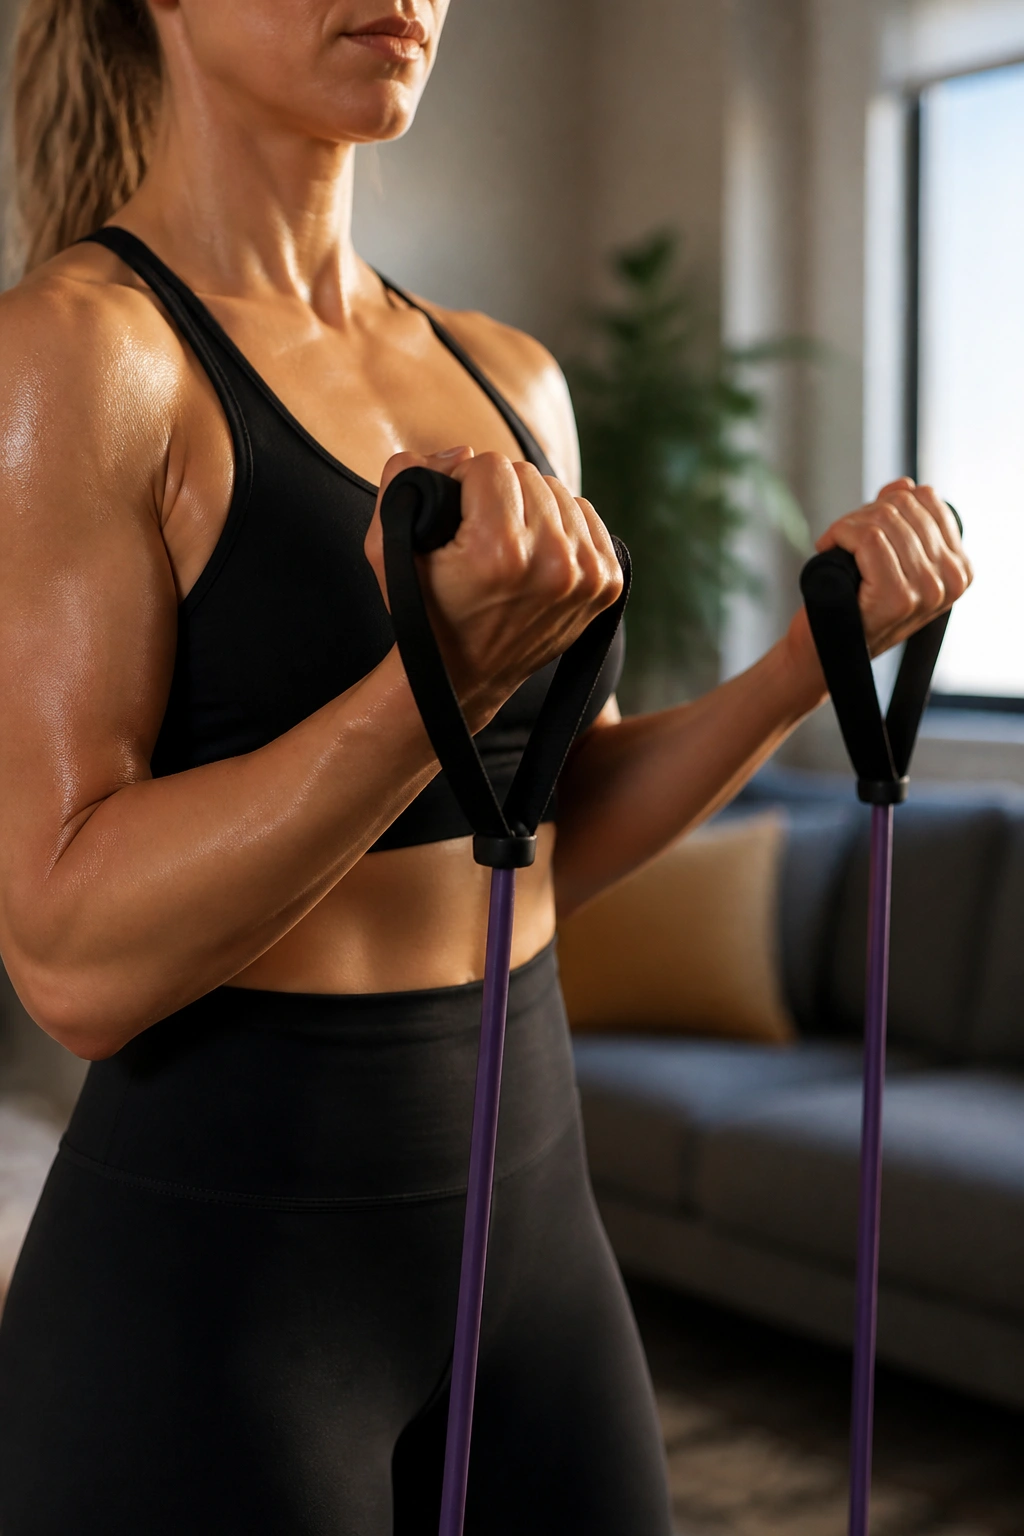
This is the one I reach for when the arms are already tired and I want the set to end with a little attitude.
Unlike full-range curls, an isometric hold keeps the muscle stuck in one hard position—usually around 90 degrees at the elbow or just below the top of the curl. Add short pulses after the hold, and the biceps start begging for a break fast. That’s the fun of it.
Why use it instead of another clean set? Because time under tension piles up fast without needing a huge band. You can finish a session in one minute and still walk away with that heavy, full-arm feeling that makes the sleeves sit better for the rest of the day.
How to Get the Most From It
- Hold at 90 degrees for 15 to 30 seconds.
- Add 10 to 15 small pulses.
- Rest 30 to 45 seconds.
- Do 1 to 3 rounds at the end of your workout.
This is not a beginner’s main lift. It’s a finisher. Use it after curls, presses, and triceps work when the goal is a last burst of tension, not fresh strength.
Final Thoughts
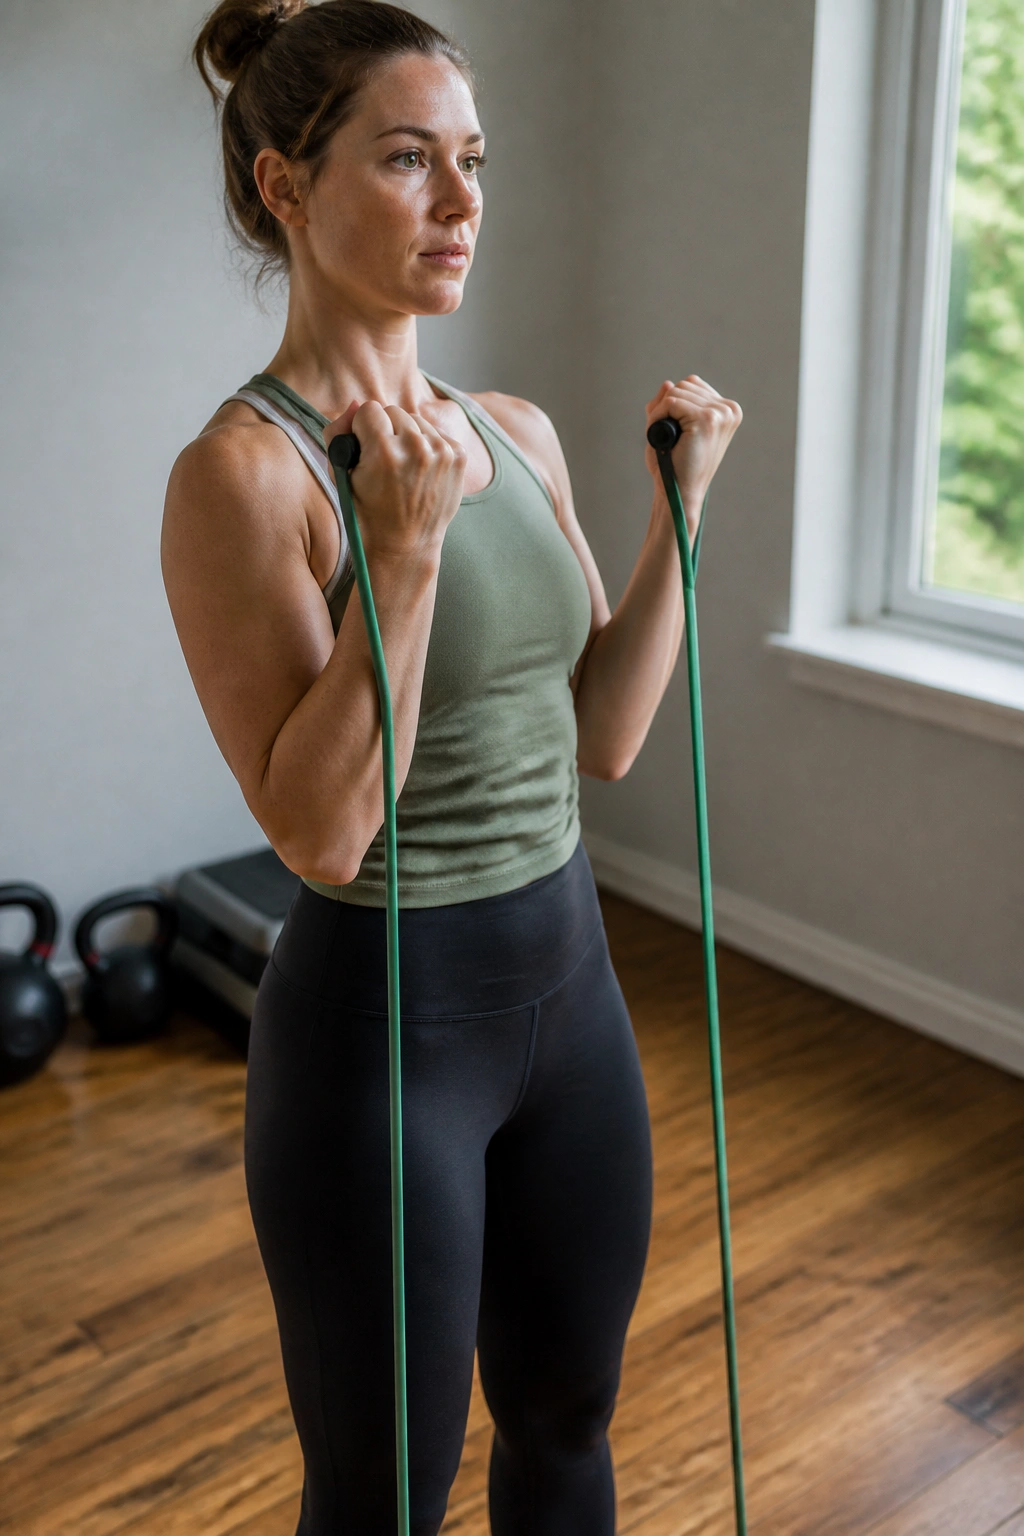
Bands work best when you treat them like real resistance, not a warm-up toy. Slow the lowering phase, keep the joints honest, and pick the move that actually hits the spot you care about—biceps, triceps, shoulders, or forearms.
A simple arm session can run on six exercises: one curl, one hammer-style move, one triceps press, one overhead triceps move, and two shoulder or rear-delt drills. That’s enough. More is fine, but more is not magic.
If your elbows feel cranky, lean harder on neutral-grip curls, pressdowns, pull-aparts, and lighter bands. If you want the arm shape to show faster, stay consistent with the training and don’t neglect the rest of your week. The arms like clean work. They remember it.
