



By the third trimester, exercise changes shape. It stops being about chasing sweaty, legs-on-fire workouts and starts being about moving well, keeping your joints happy, and finishing the day without feeling like your pelvis has been through a truck wash. That shift matters. The center of gravity is different, the ribs can feel tight, balance gets a little weird, and a move that felt fine a month ago can suddenly feel clumsy or irritating.
Finding third trimester pregnancy exercises safe for third trimester is mostly about stripping things back without becoming sedentary. You still want circulation, some strength, a little posture work, and enough mobility to keep your back from locking up. You do not need jumping, breath-holding, deep twisting, or long stretches on your back.
One thing I wish more people said plainly: safe does not mean useless. A short walk, a set of wall push-ups, or a few minutes of supported squats can do more for how you feel than a complicated prenatal circuit you dread doing. If you can talk in full sentences, recover fast, and finish with the same or better energy than you started, you’re in the right zone.
If your clinician has told you to limit activity because of bleeding, placenta issues, cervical changes, preeclampsia, preterm labor concerns, or anything similar, follow that advice and skip the guesswork. For everyone else, the best third-trimester routine is the one that feels steady, low-risk, and repeatable. Let’s get into the moves that fit that brief.
1. Wall Push-Ups With a Stable Stance
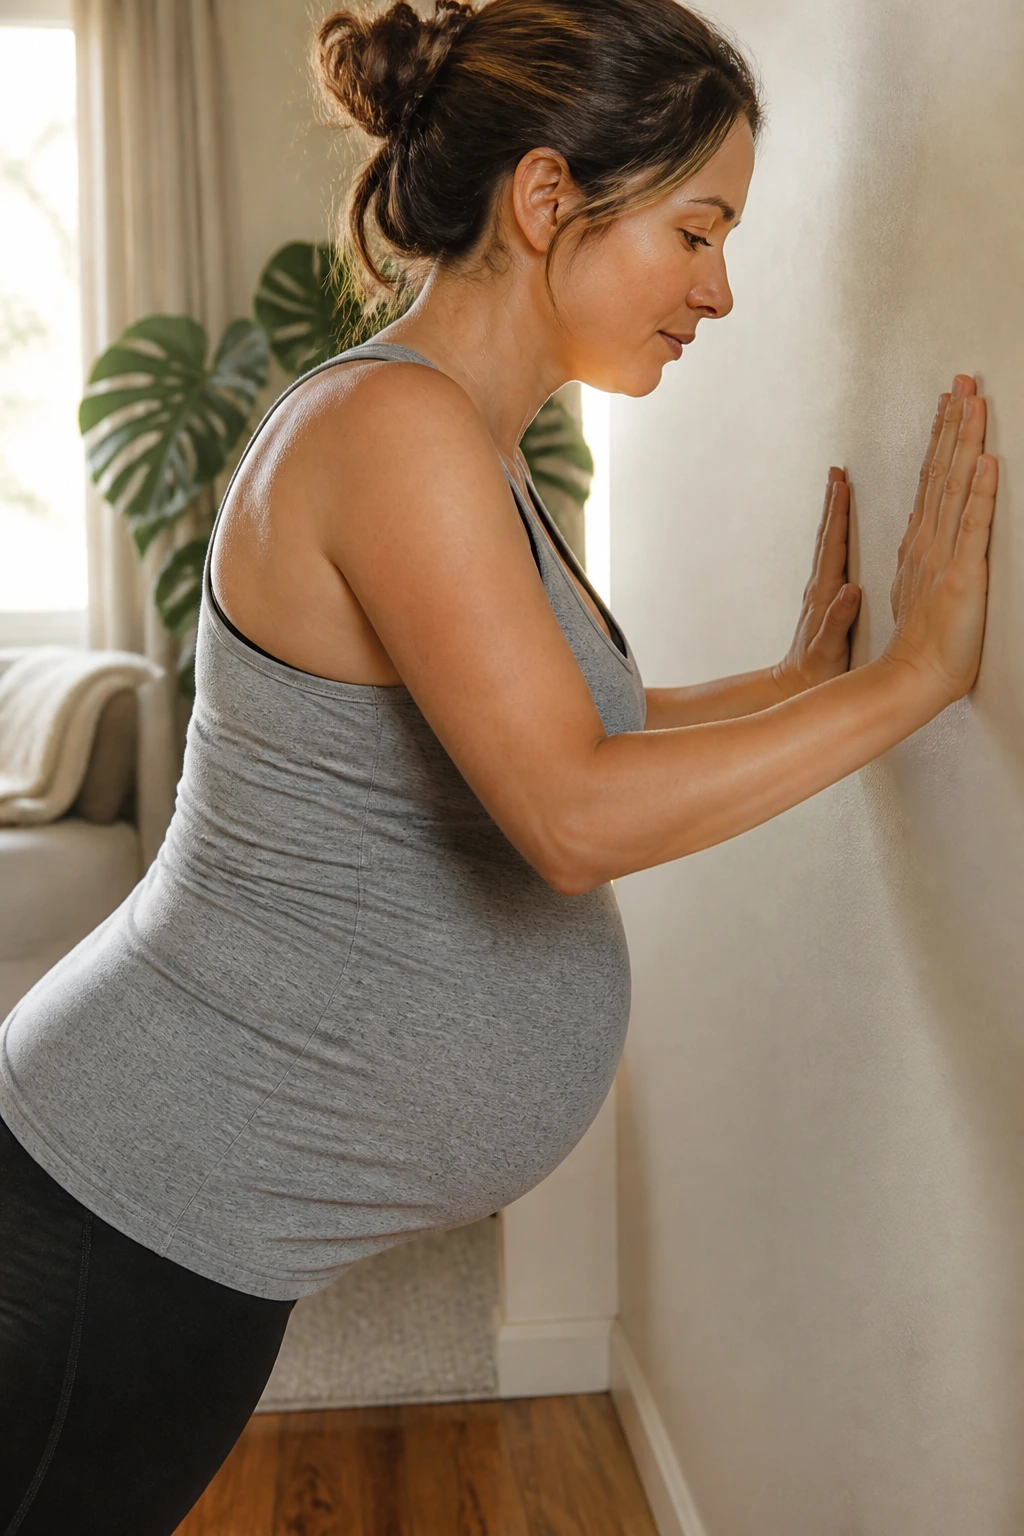
Wall push-ups are about as plain as exercise gets, and that’s exactly why they work so well late in pregnancy. You get upper-body strength without getting down on the floor, without loading the wrists too hard, and without forcing your belly to lie flat against anything.
Stand an arm’s length from a wall, place your hands at chest height, and keep your feet planted hip-width apart. Lower your chest toward the wall with your elbows angling back about 30 to 45 degrees, then press away until your arms are straight again. The move should feel smooth, not forced.
- Keep your ribs stacked over your pelvis.
- Stop a few inches before your face touches the wall.
- Exhale as you push back.
- Use a higher hand position if your shoulders feel cranky.
Small change, big payoff: the farther your feet are from the wall, the harder the rep gets. If you want a lighter session, stand closer. If you want a bit more work, step back a little.
2. Seated Marching for Gentle Cardio
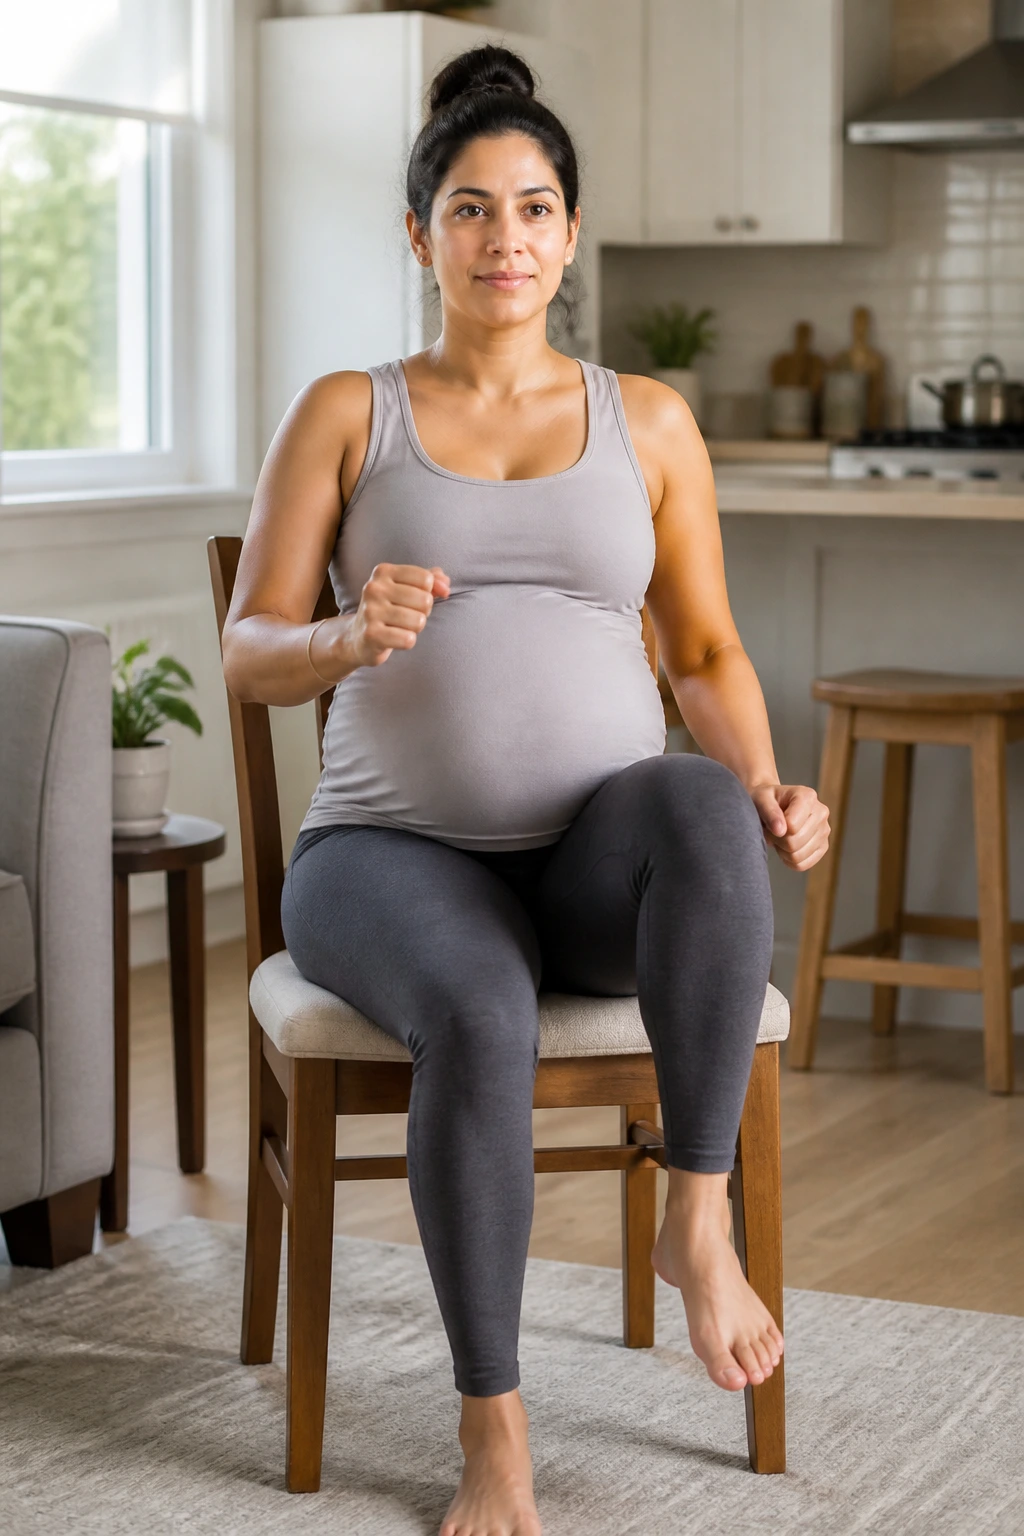
Ever have one of those days when standing feels slightly annoying before you even start? Seated marching is perfect for that. It gets your heart rate up a little, wakes up the hip flexors, and keeps you moving without asking your balance to do any heavy lifting.
Sit tall on a sturdy chair with your feet flat. Lift one knee a few inches, lower it, then switch sides in a steady rhythm for 30 to 60 seconds. Add a light arm swing if that feels good. If you’re puffing hard, slow down. You should be able to talk without gasping.
How to keep it useful
A lot of people make seated work too casual and then wonder why it feels like nothing. Pace matters here.
- Aim for 2 to 5 rounds.
- Rest 30 to 45 seconds between rounds.
- Keep your spine long instead of slouching into the chair.
- If your feet tingle or your belly feels compressed, stop and reset.
It’s a small movement, yes. Still counts.
3. Cat-Cow on Hands and Knees
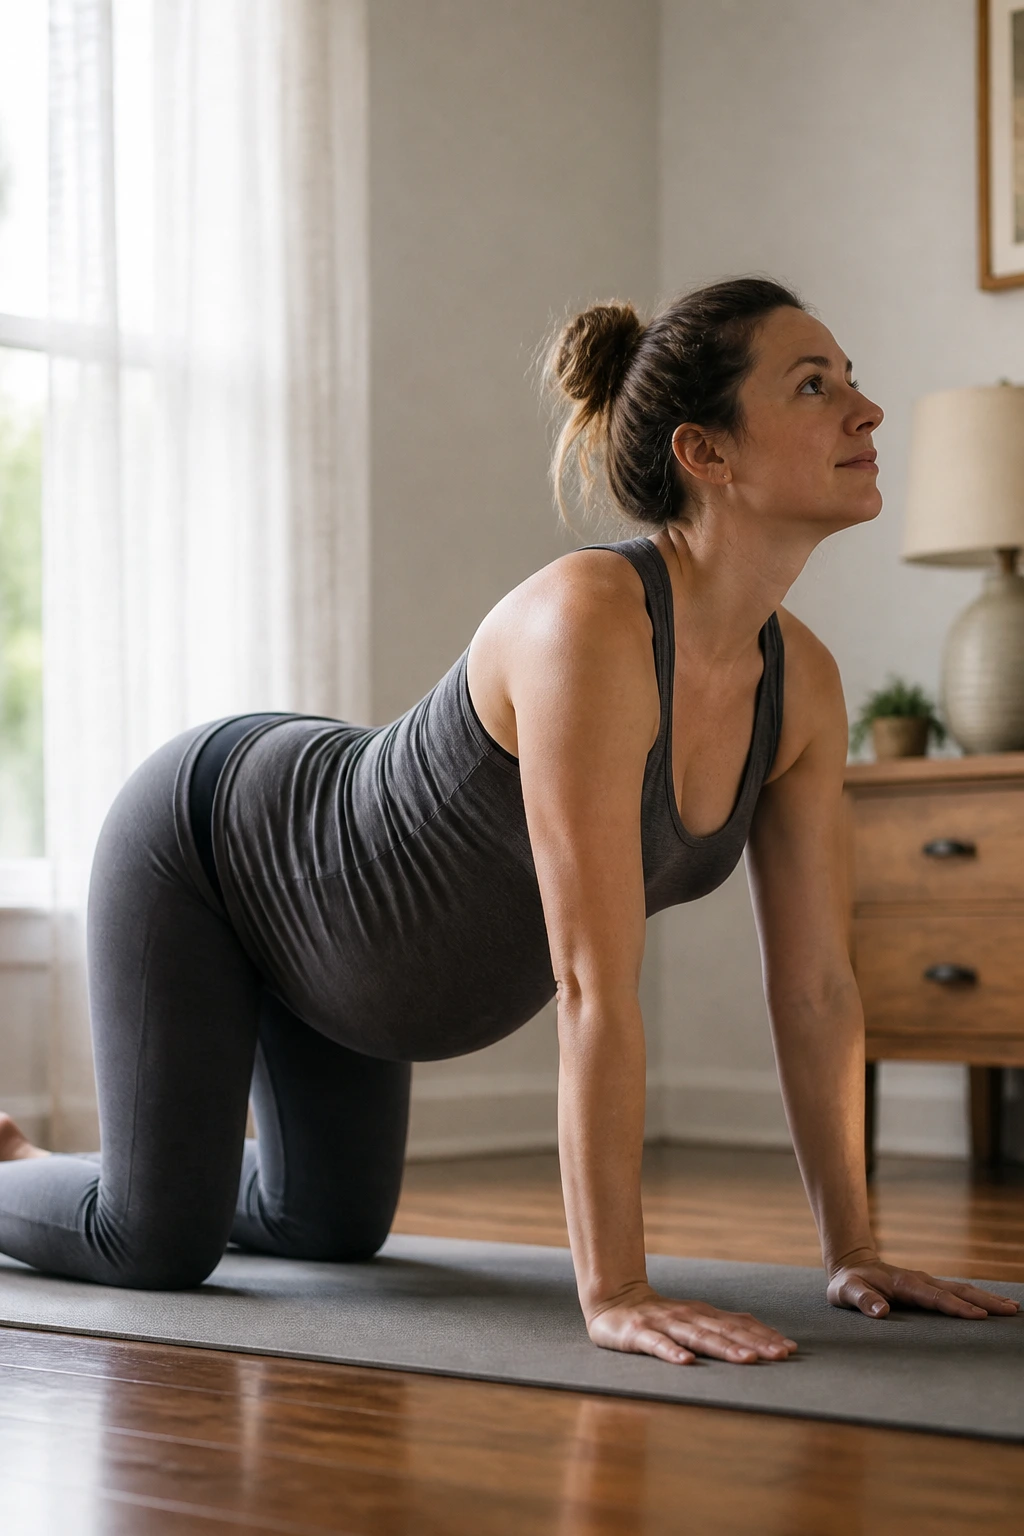
Cat-cow feels almost ridiculously simple until your lower back loosens up and you realize how much you needed it. The motion lets the spine move in both directions, which is useful when the rib cage feels tight and the low back starts doing too much of the work.
Start on hands and knees with your hands under your shoulders and your knees a little wider than hip-width for belly space. Inhale as you tip your tailbone and lift your chest gently. Exhale as you round your back and draw your belly in lightly, not forcefully. The range should stay small and comfortable.
If your wrists complain, come down onto fists or place your forearms on a bench. If being on all fours feels awkward, skip it for the wall version: hands on the wall, feet back, same slow arch-and-round action. Either way, the goal is a smooth spine, not a big dramatic stretch.
4. Side-Lying Leg Lifts
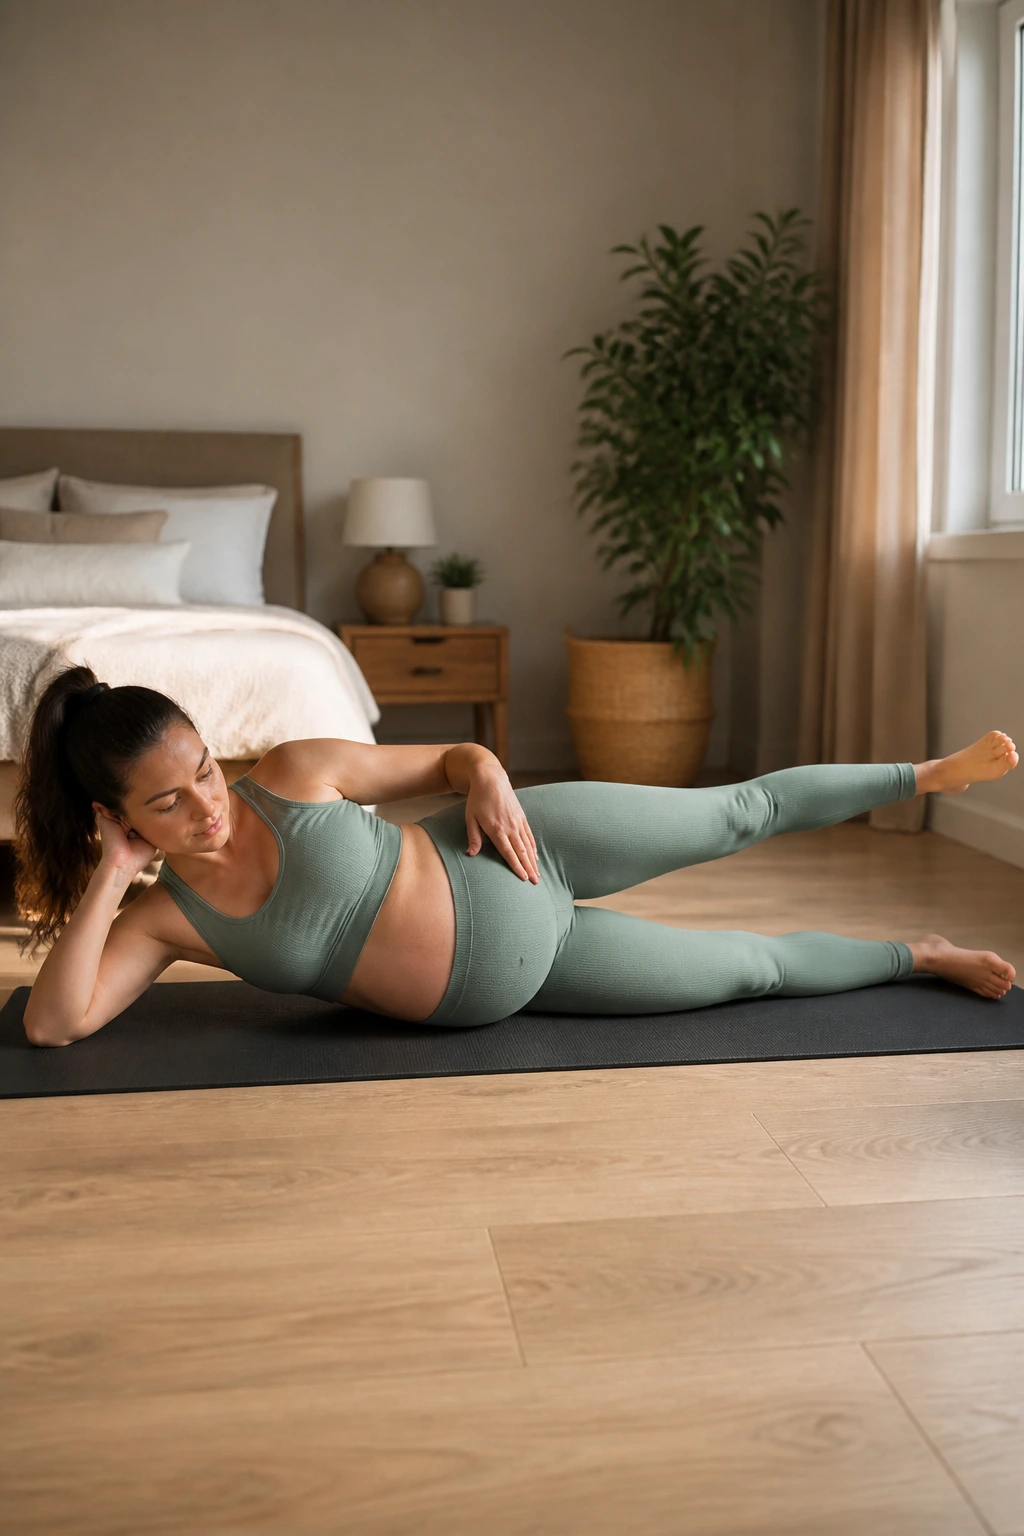
Side-lying leg lifts are one of those moves that looks almost too easy to matter. Then your outer hips start working, your pelvis feels more supported, and walking up stairs gets a little less grumpy. That’s the point.
Lie on your side with your head on a pillow and your knees either straight or slightly bent, depending on comfort. Lift the top leg 6 to 10 inches, pause for a second, then lower it with control. Keep your toes pointed forward or slightly down so the work stays in the side of the hip instead of rolling into the front of the leg.
If your lower back arches or your hip flexors take over, shorten the lift. If your pelvis starts rocking backward, stop and reset. A tiny range done well beats a big sloppy swing every time.
This is a good one for days when your pelvis feels heavy but you still want to do something that counts.
5. Pelvic Tilts on the Floor or Wall
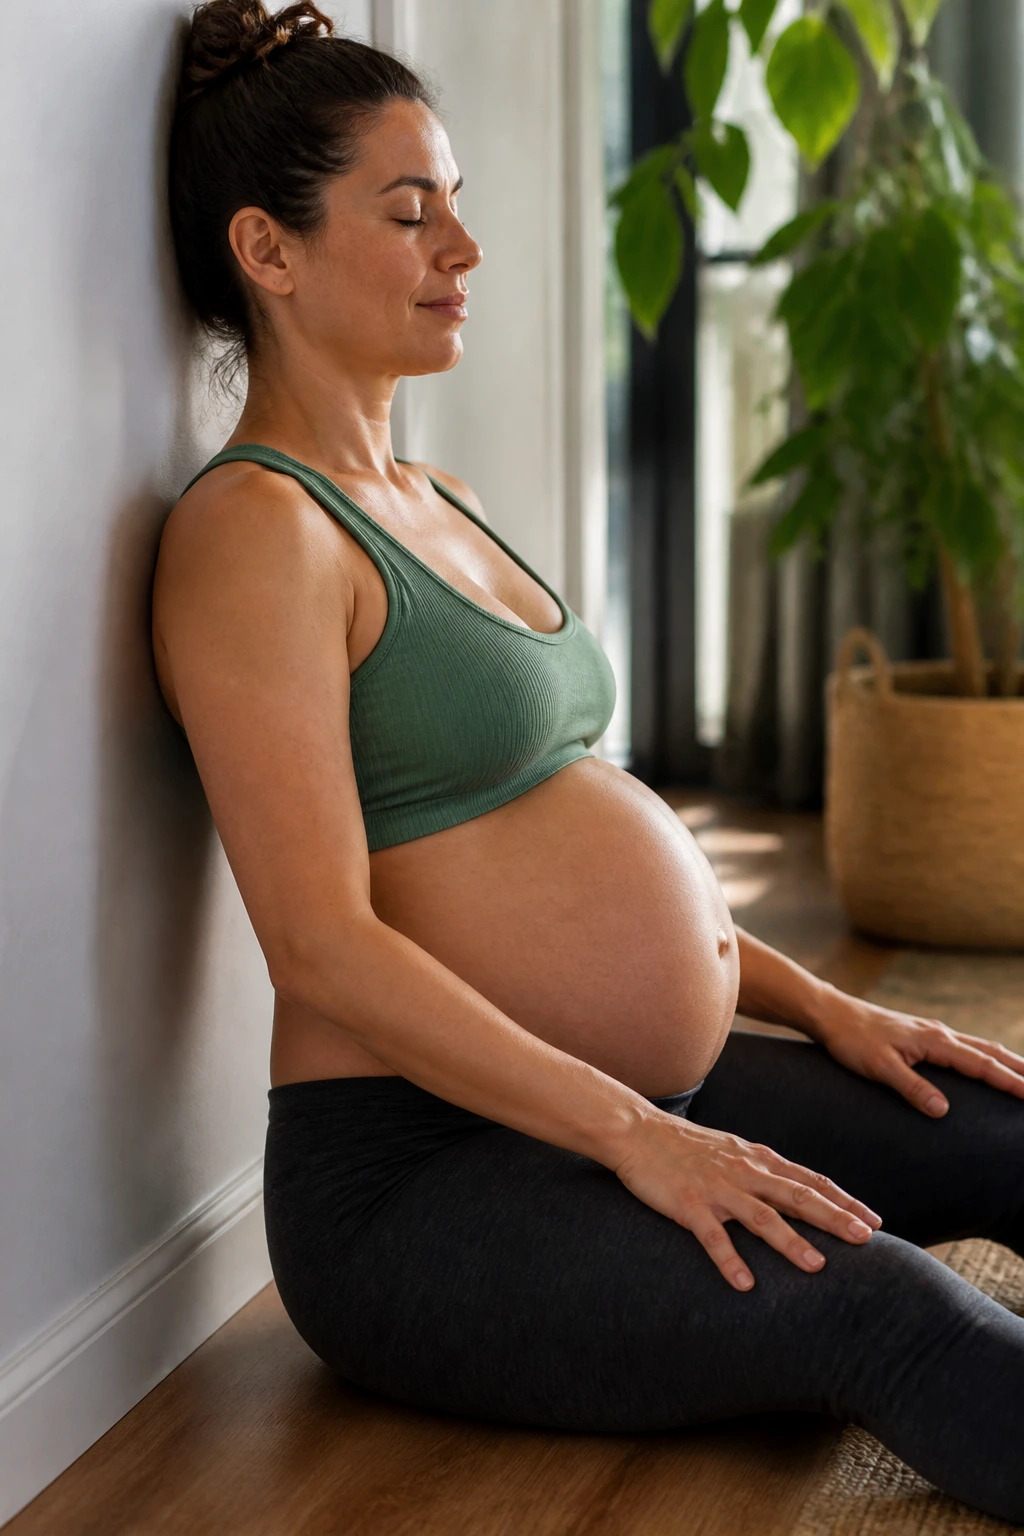
Pelvic tilts are the boring cousin of core work, and I mean that as a compliment. They help you find your pelvis again, which can be weirdly useful when your posture has changed and your lower back is doing a lot of extra talking.
You can do them on hands and knees, standing against a wall, or propped in a supported position if that’s more comfortable. Gently tuck your tailbone so your low back flattens a little, then release back to neutral. The movement is tiny. That’s okay.
A cleaner way to think about it
- Exhale as you tilt.
- Inhale as you release.
- Keep your shoulders relaxed.
- Stop if the motion feels like a hard crunch or makes you dizzy.
If flat-on-your-back work feels off, skip it. The wall version is often the best choice in late pregnancy because it stays upright, easy to control, and friendly to a tired body.
6. Standing Hip Circles at the Counter
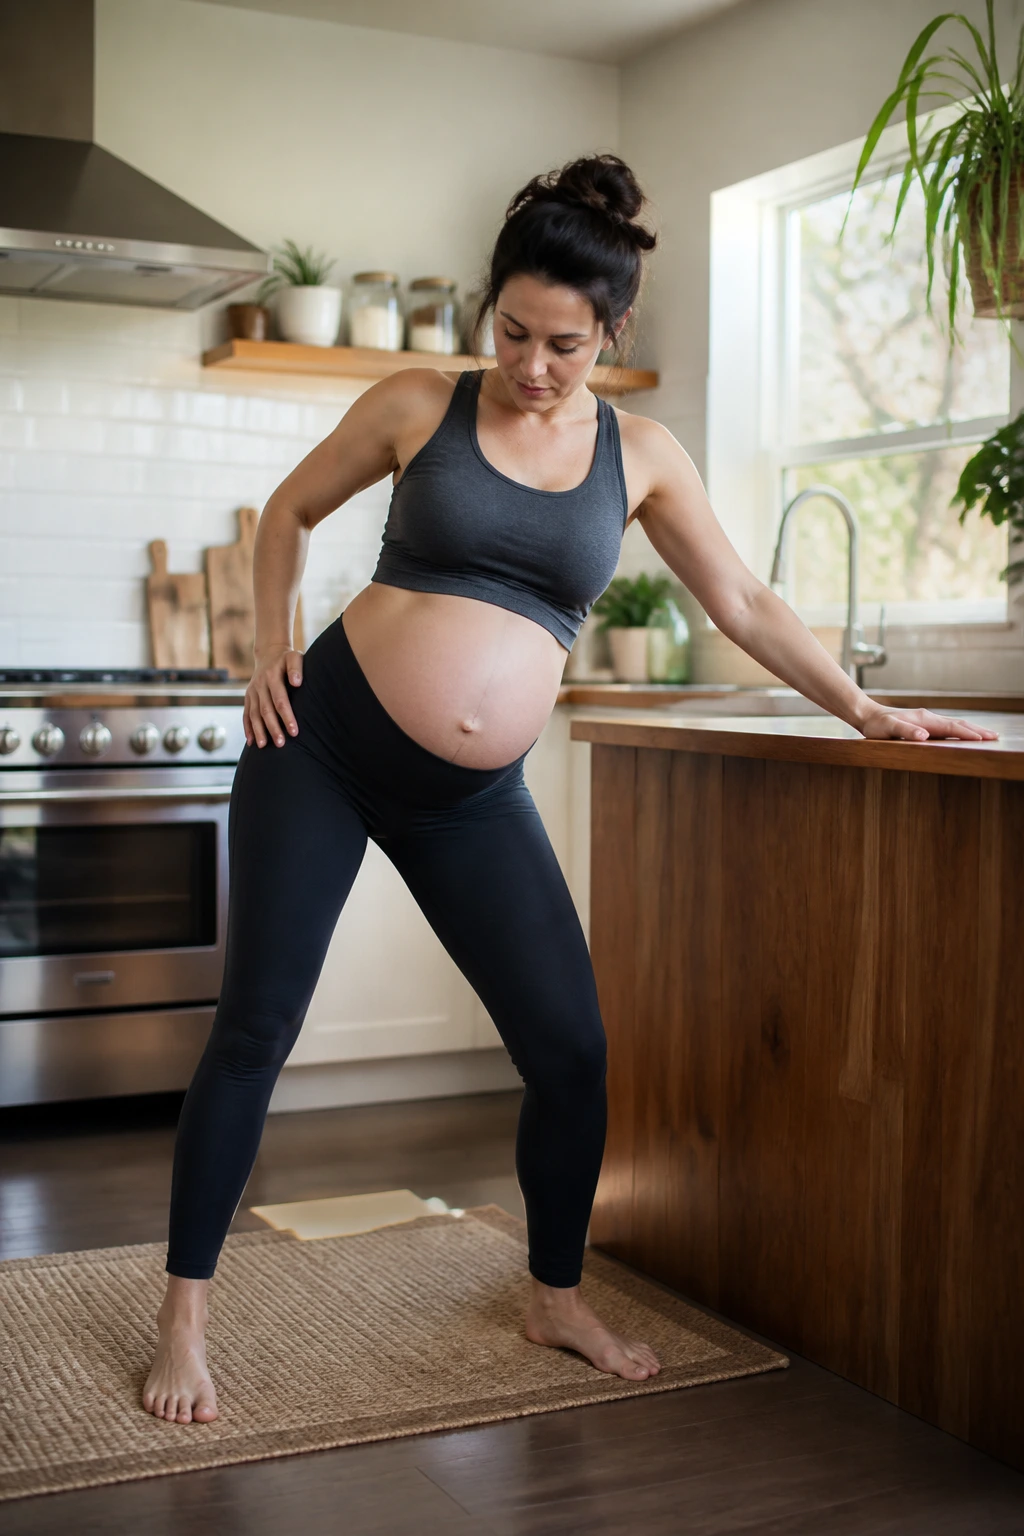
A lot of third-trimester stiffness lives in the hips, and standing hip circles are a low-drama way to loosen that area up. They also feel good when you’ve been sitting too long and your pelvis has started to feel welded in place.
Stand with one hand on a counter or sink for support. Bend your knees slightly and make slow, small circles with your hips, first one direction and then the other. Think of it as moving a bowl of water gently, not hula-hooping in a music video.
Keep the circles modest. Huge circles usually turn into back arching, and that is not the goal. If one side feels tighter, spend a few extra breaths there, but don’t force it. A few smooth circles can be enough to change how your low back and groin feel for the next hour.
7. Chair Squats With Control
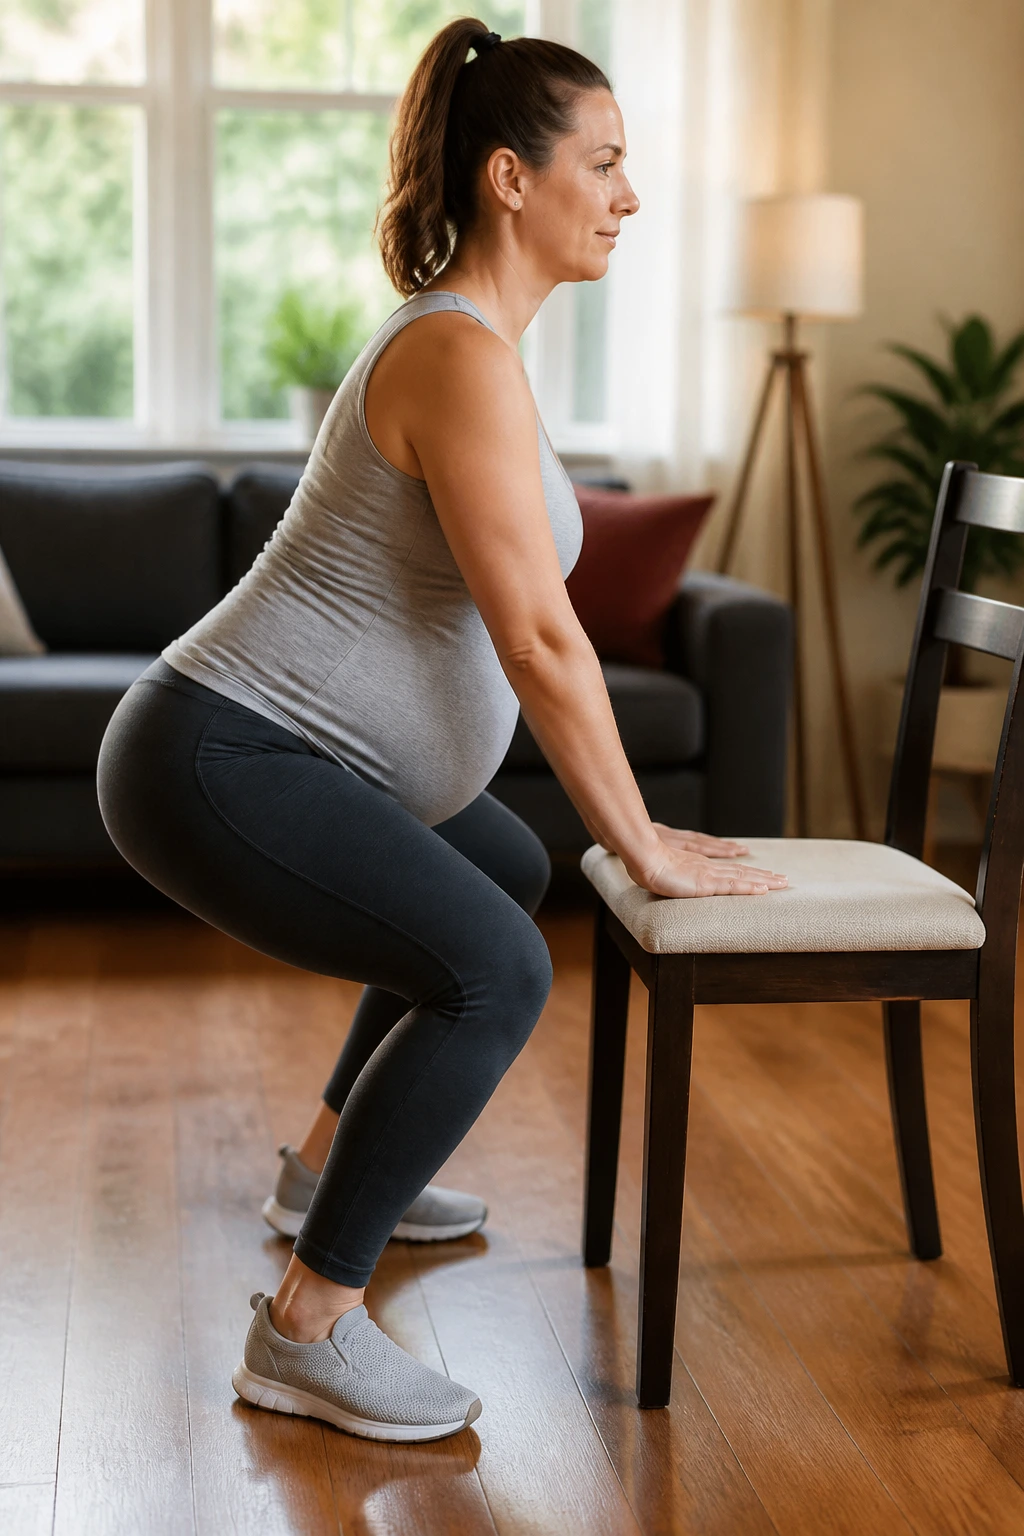
Chair squats are one of the most useful pregnancy strength exercises because they train the same pattern you use all day: sitting, standing, and getting out of the car without groaning. They also give your legs and glutes a job without requiring deep floor work.
Stand in front of a sturdy chair with your feet about hip-width apart. Sit your hips back until you lightly touch the chair, then stand back up by pressing through your heels. Keep your chest open and your knees tracking roughly over your toes. No bouncing.
What to watch for
If your balance feels off, hold a countertop or the back of a solid chair. If your pubic bone aches, use a higher chair and shrink the range. If you feel strain in your lower back, slow down and check whether you’re leaning too far forward.
You can do 6 to 12 reps, depending on how you feel. A few clean squats are better than a deep set that leaves you sore in the wrong places.
8. Clamshells on Your Side
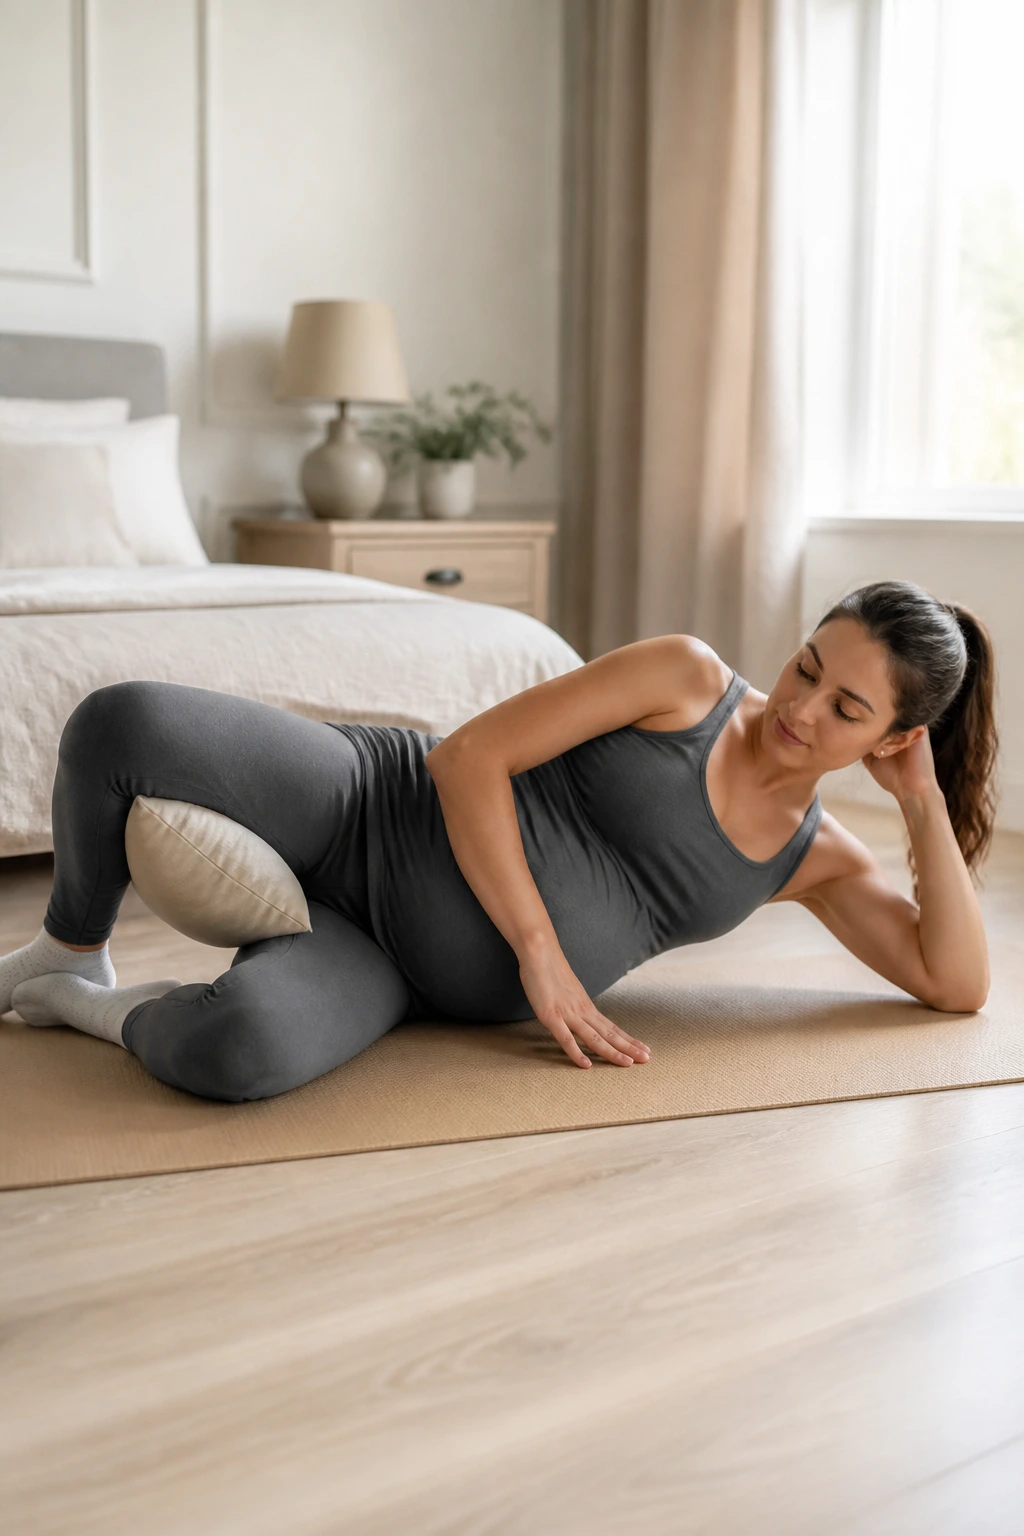
Clamshells are tiny, but they hit the outer hips in a way that pays off when your pelvis is carrying extra load. They help the glute med work, which can make walking and standing feel a little more stable.
Lie on your side with your knees bent and your feet together. Keep your pelvis stacked, then lift the top knee without rolling backward. Open only as far as you can control, pause for a beat, and lower it slowly. If your back twists, the rep is too big.
This move should feel like a side-hip burn, not a stomach exercise. If you feel it in your low back or hip flexors, reduce the range and slow the tempo. Two sets of 8 to 15 on each side is plenty for most people.
A pillow between the knees can make the setup much kinder if your hips are sensitive.
9. Bird Dog for Balance and Back Support
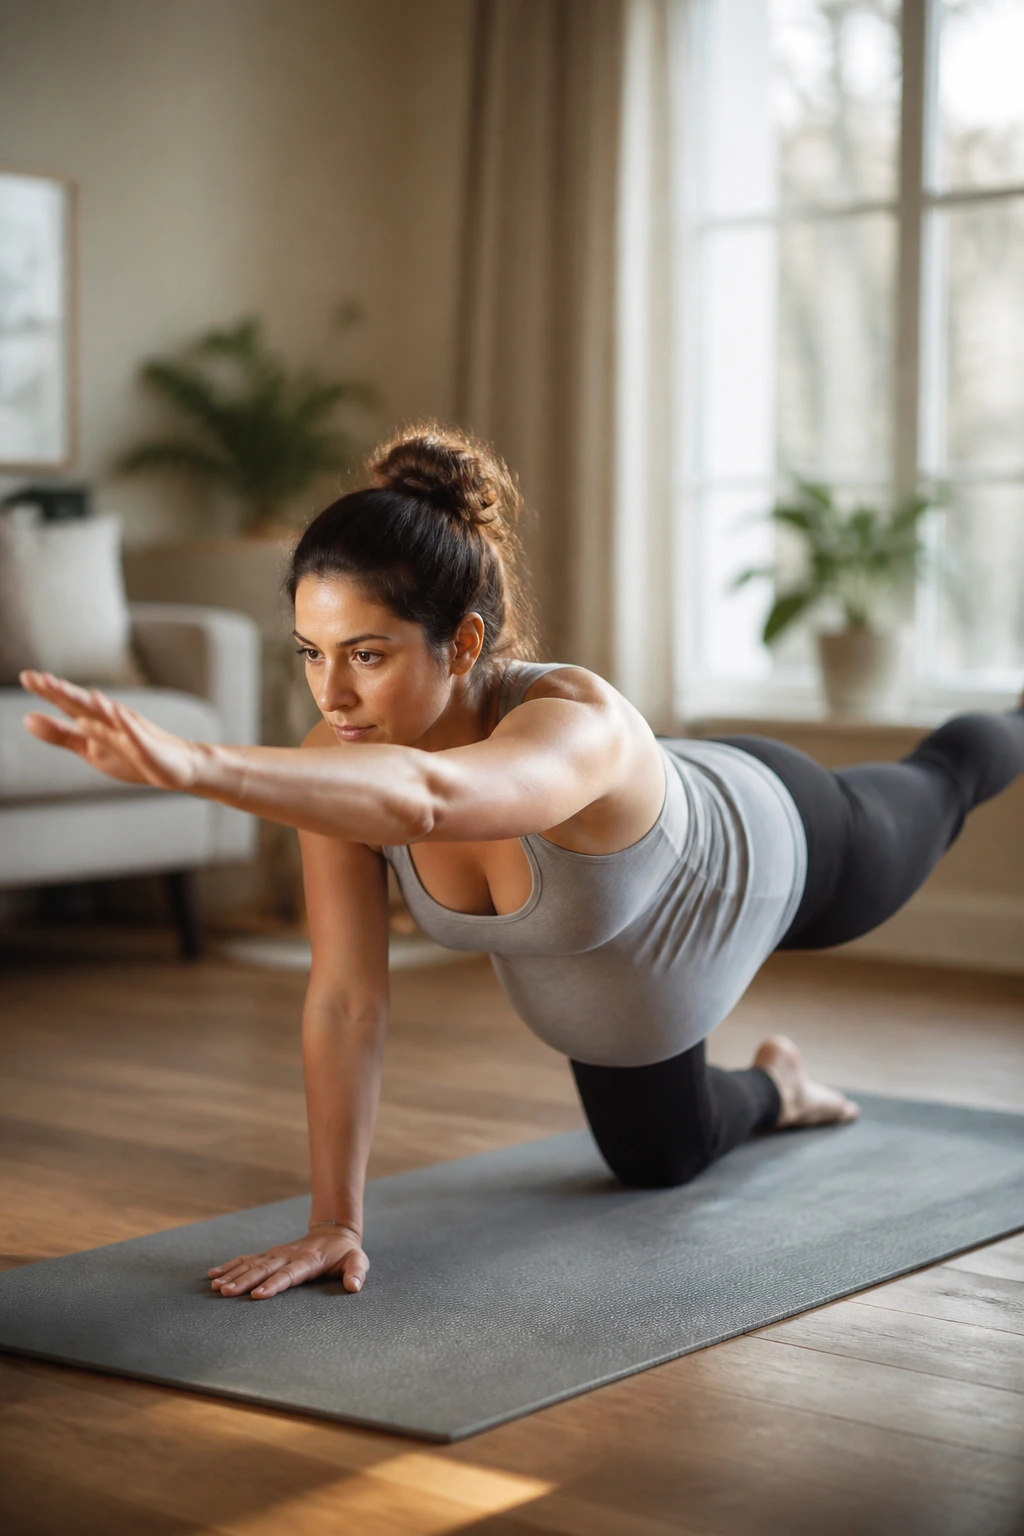
Bird dog is the move I recommend when someone wants core work but doesn’t want crunches, planks, or anything that makes the belly feel crowded. It trains balance, trunk control, and hip stability in a way that feels practical rather than flashy.
Start on hands and knees. Extend one leg back, keeping the foot flexed, and reach the opposite arm forward. Hold for 1 to 2 seconds, then bring both limbs back in and switch sides. The body should stay level; if you wobble like a parking sign in wind, shorten the reach.
You can also do arm-only or leg-only versions if the full pattern feels shaky. That still counts. Clean control beats bigger range here. If your wrists hurt, put your hands on dumbbells or do the move beside a couch so you can brace more easily.
10. Slow Calf Raises at the Counter
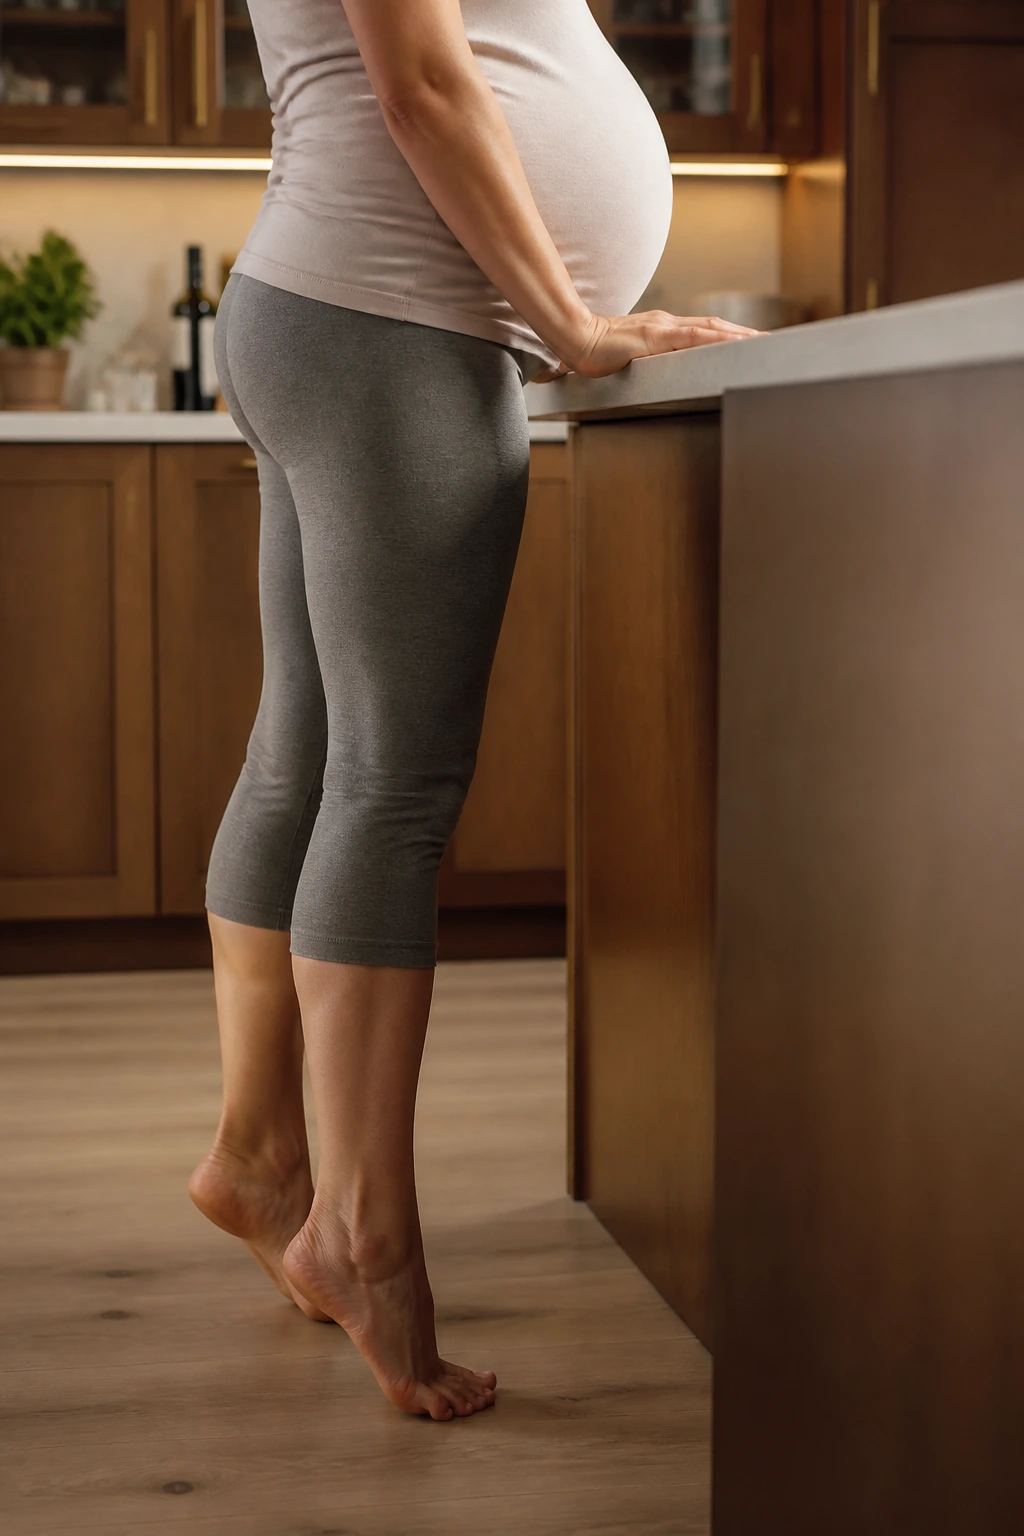
Calf raises don’t look exciting, and I’m fine with that. They’re useful for ankle stiffness, foot fatigue, and circulation, which all matter more when swelling starts creeping in and your lower legs feel like they belong to someone else.
Stand behind a counter with your fingertips resting lightly on it. Rise onto the balls of your feet, pause at the top, then lower your heels slowly until they touch the floor. Keep the movement smooth and even.
A slower lowering phase matters more than people think. That’s where the calf muscles do a lot of the work. If you want a little more challenge, do the raises one leg at a time while keeping one hand on the counter. If your feet cramp, stretch the toes out between sets and cut the reps back.
This one is almost too easy to skip. Don’t.
11. Resistance Band Rows Sitting or Standing
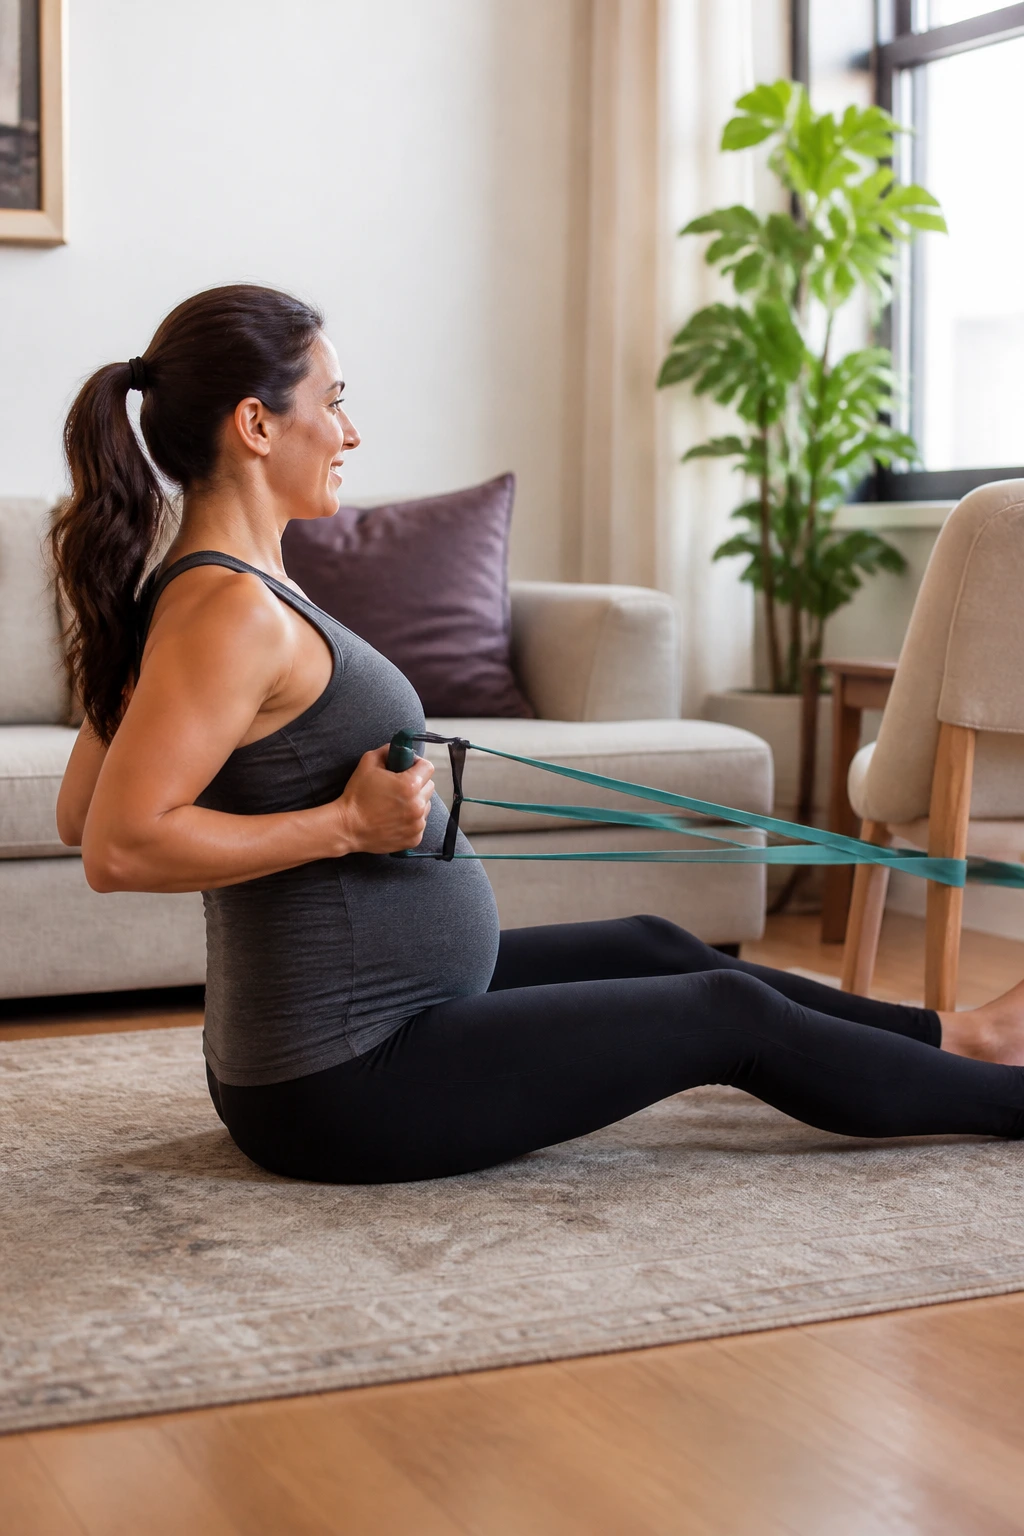
Rows are a quiet fix for the rounded-shoulder posture that often shows up late in pregnancy. Between the growing belly and the habit of leaning back into chairs, the upper back can start to fold forward. Rows help pull things back into place.
Loop a resistance band around a sturdy anchor or hold it under your feet. Keep your elbows close to your sides and draw them back until your shoulder blades slide toward each other. Then return with control. The pull should feel centered in your upper back, not jammed into your neck.
If your shoulders get tense
That usually means the band is too heavy or you’re shrugging as you pull. Try a lighter band and think about sliding your shoulders down before each rep. Sitting tall on a chair works fine if standing feels tiring.
A set of 8 to 15 rows can wake up the upper back fast. It also helps counter the hours spent carrying a phone, a bag, and a pregnancy belly all at once. That’s real-life strength work.
12. Mini-Band Side Steps
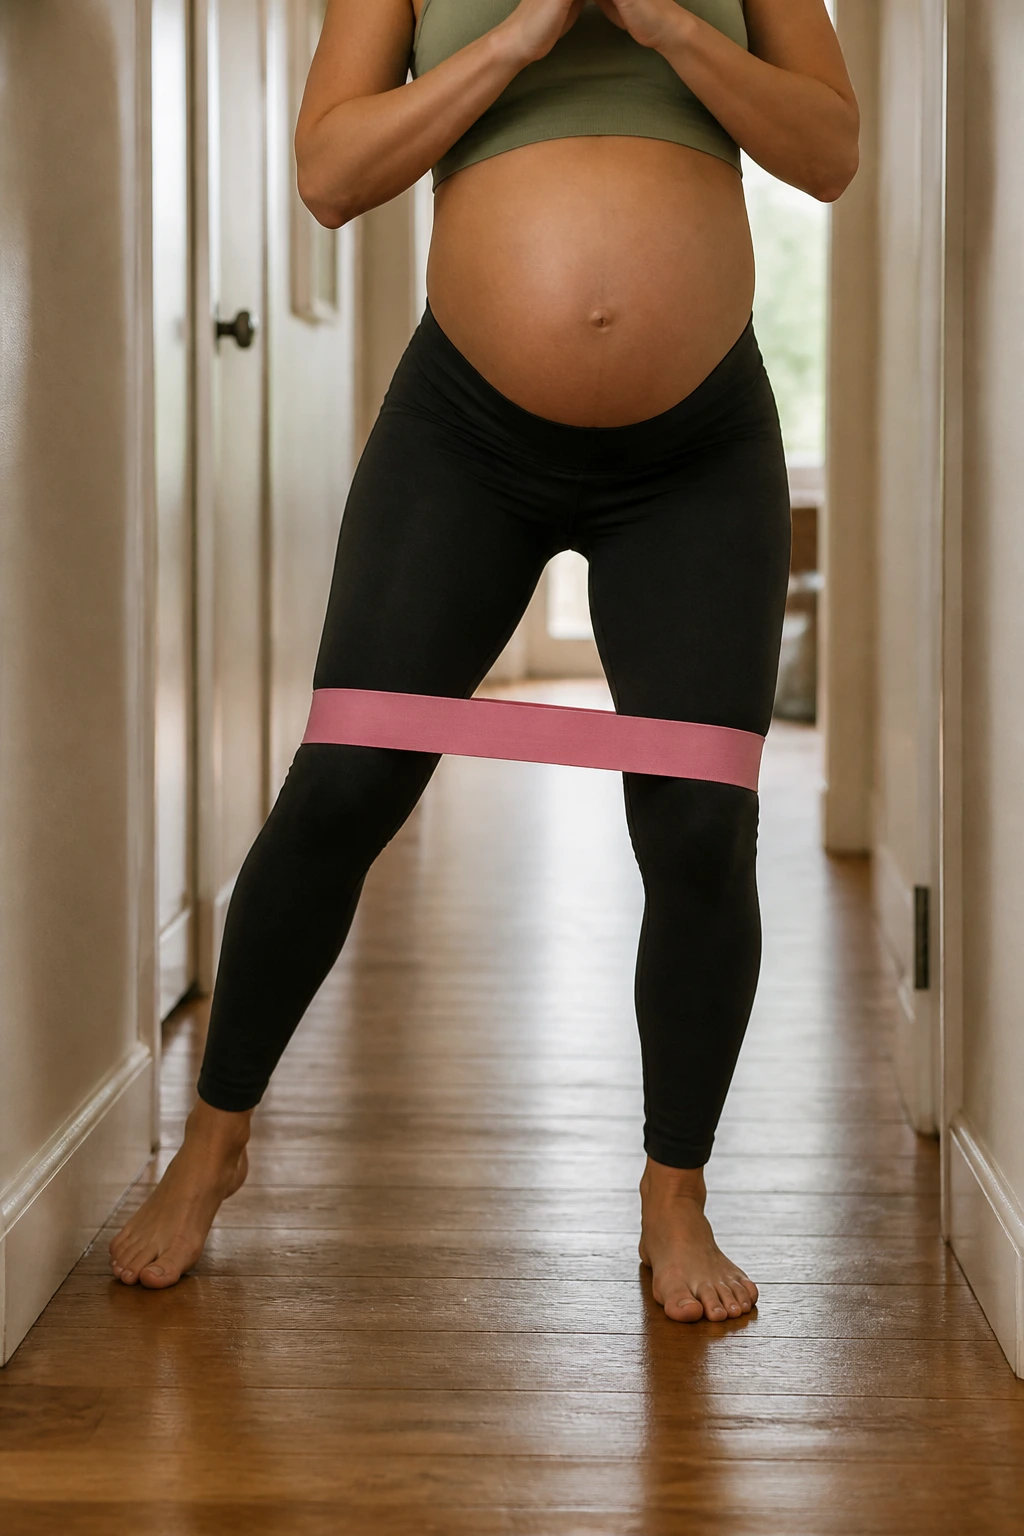
Mini-band side steps are one of the best ways to make the outer hips work without pounding your joints. You’ll feel them in the glute side muscles fast, and that can help with the “wobbly pelvis” feeling that comes and goes late in pregnancy.
Place a mini band above your knees or around your ankles. Take a small step to the side, then follow with the other foot without letting your knees cave inward. Keep your stance slightly bent and your toes pointing forward.
The move should feel controlled, not like a rushed shuffle. If the band slides up or down, stop and reset it. If your hips burn too soon, take smaller steps. Short steps done with tension on the band are better than big steps with no control.
A hallway or kitchen counter is fine. You don’t need room for fancy footwork.
13. Low Step-Ups With a Hand Support
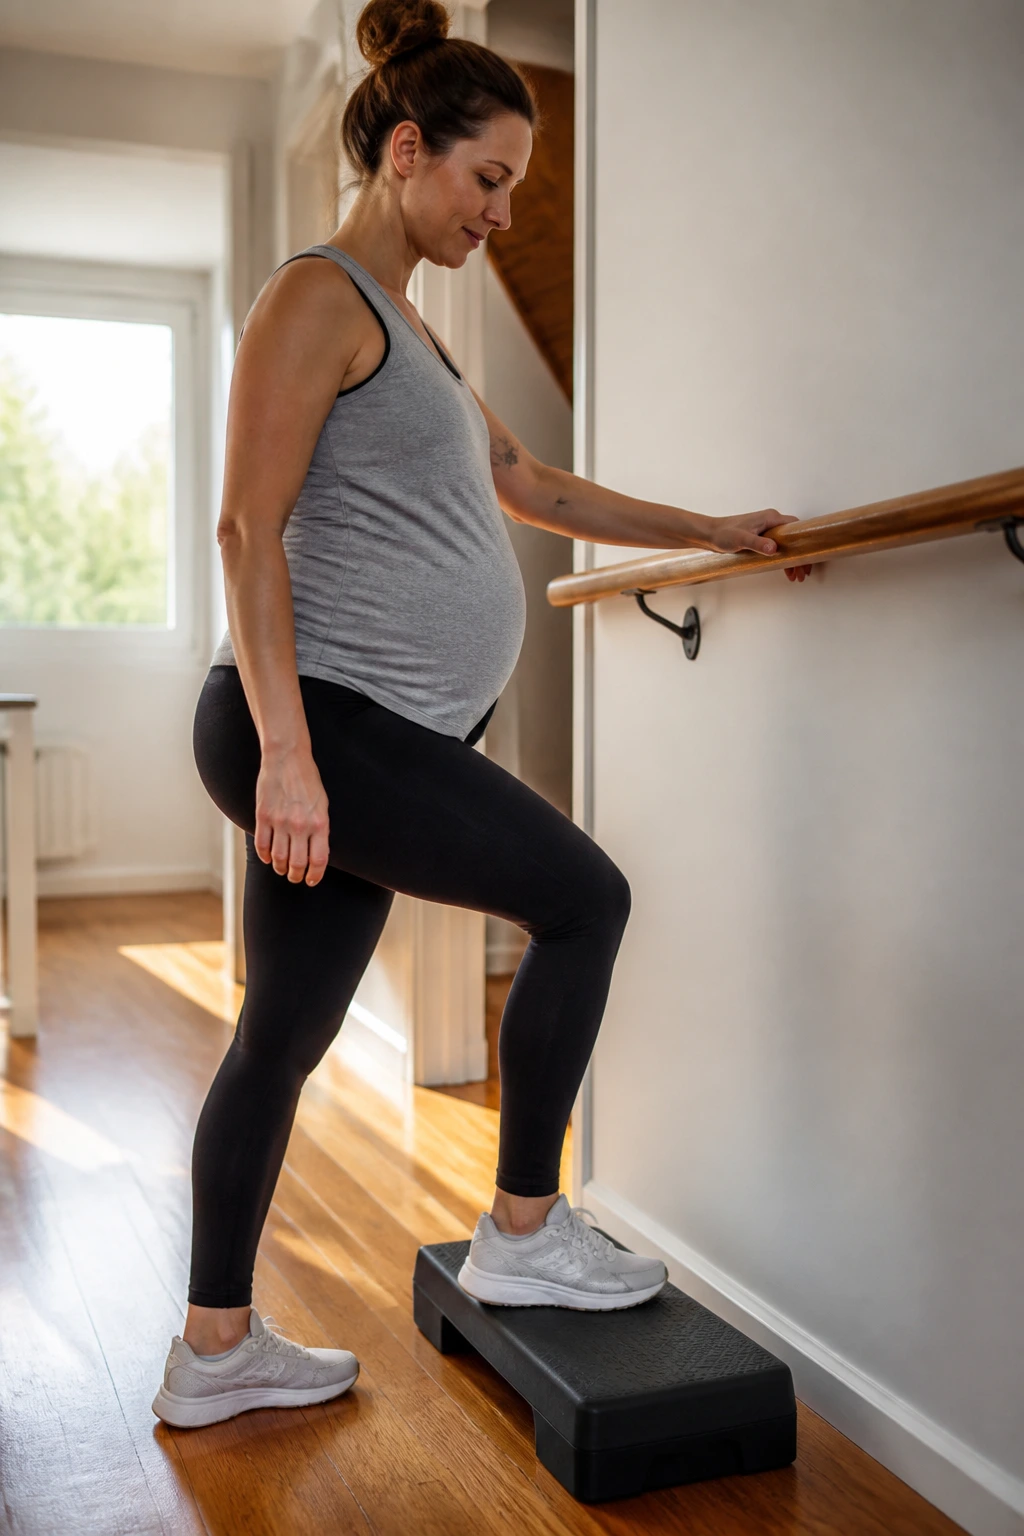
Step-ups can be a nice bridge between strength and everyday life because they copy a normal stair pattern. That makes them useful if stairs are starting to feel a little more effortful than they used to.
Use a low, stable step — something around 4 to 6 inches is enough for most people. Place one foot fully on the step, press through that leg, and bring the other foot up. Step back down with control and switch sides. Keep one hand on a rail, wall, or counter if balance feels uneven.
If one knee or hip complains, shorten the step height immediately. You want a smooth up-and-down, not a power move. A few careful reps on each side can wake up the legs without shaking your whole body.
No need to rush. Rushing is where form falls apart.
14. Supported Split Squats
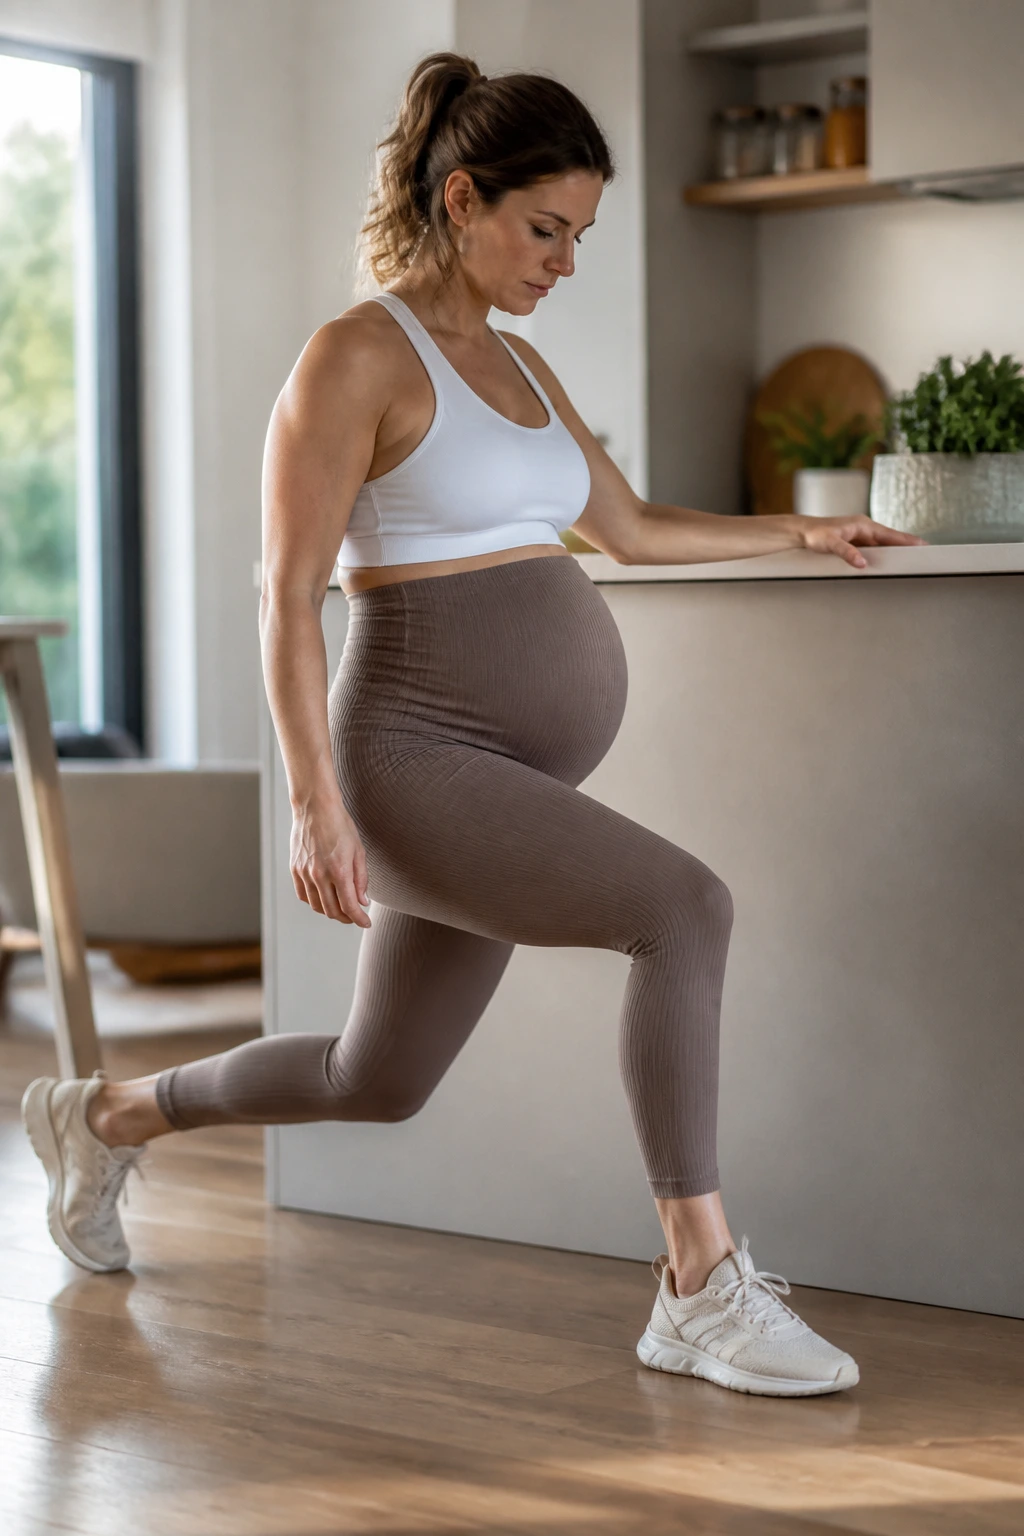
Split squats sound more intense than they are when you keep the range small and hold on to something solid. They hit the glutes, quads, and hips, which is useful when you want leg strength without deep, unsupported lunges.
Set one foot forward and the other a comfortable distance back. Hold a counter or chair for support. Lower a few inches by bending both knees, then stand back up. The back heel can stay lifted or lightly grounded, depending on what feels best.
If your pelvis feels unstable, make the stance shorter. If your front knee feels pinchy, don’t drop as low. You do not need depth for this to count. A shallow split squat done with good control can be plenty.
This is a good exercise to keep in the plan if getting out of a lunge position on the floor is no longer appealing. Honestly, fair.
15. Prenatal Yoga Squat Holds
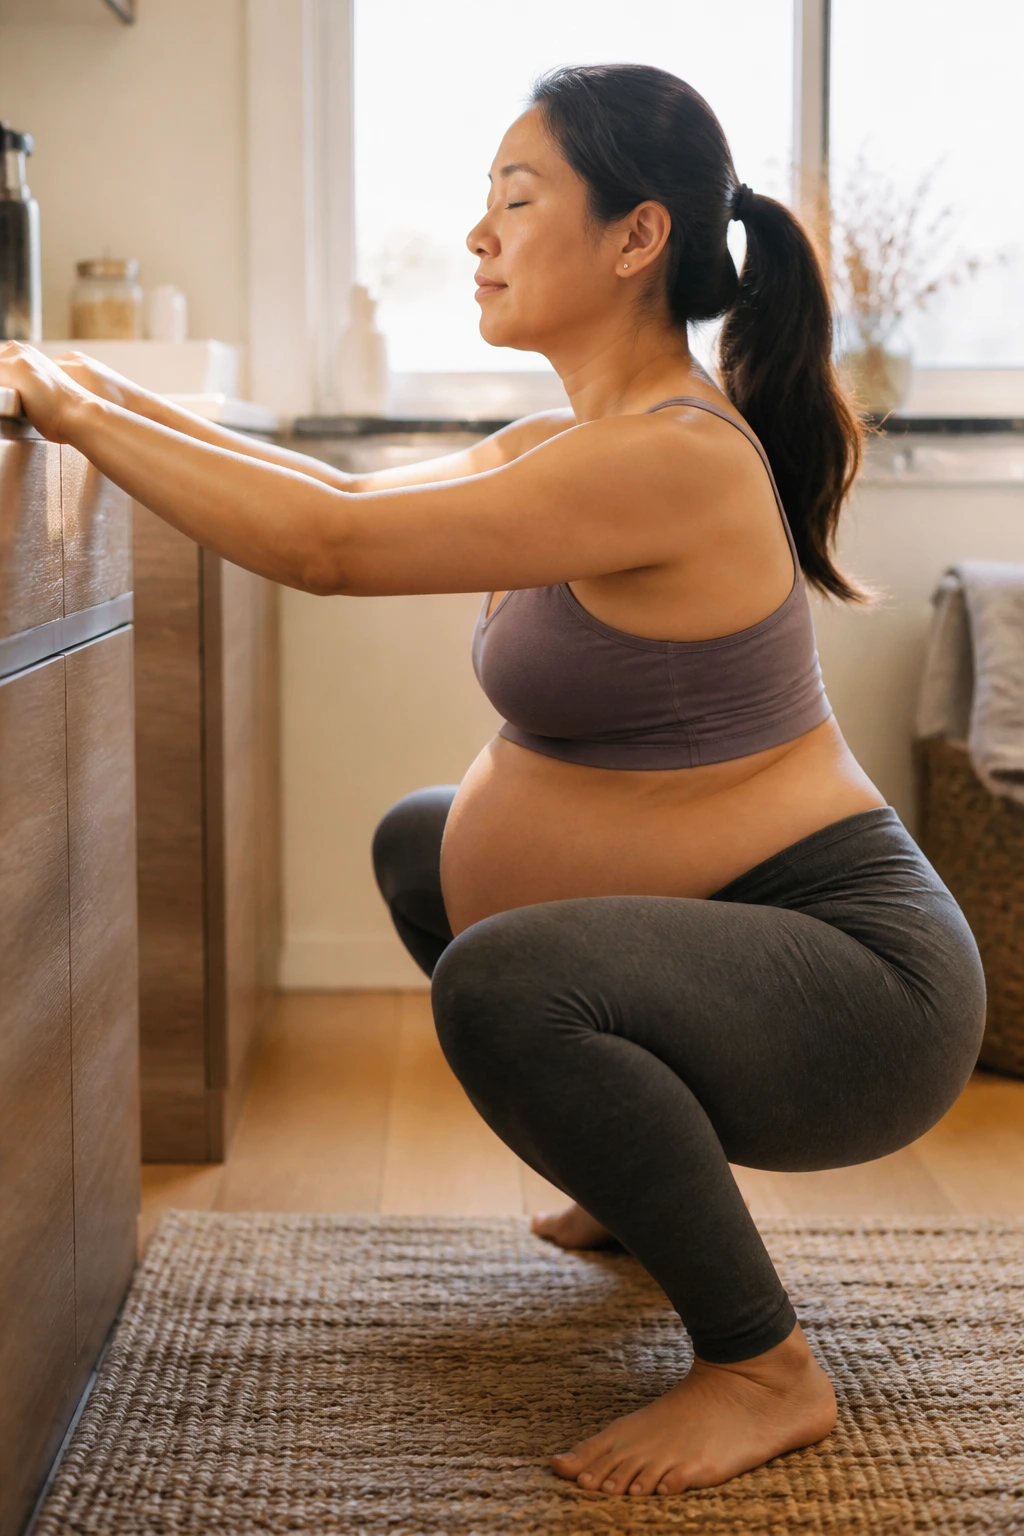
A supported squat hold can be wonderfully useful late in pregnancy because it opens the hips, gives the pelvic floor room to lengthen, and helps you practice a position that can feel surprisingly helpful for labor prep. It also just feels good when done right.
Hold onto a counter, TRX strap, or sturdy doorframe and lower into a squat that stays comfortable for your knees and ankles. Your heels can stay down, or you can place a folded towel under them if that makes the position easier. Take slow breaths and stay there for 10 to 30 seconds.
Making the hold work for your body
If your lower back rounds hard, come up a little. If your knees ache, use a narrower stance. If your hips feel pinchy, don’t force the depth. The best squat is the one you can breathe through.
A lot of people treat the squat as a strength test. In the third trimester, I’d treat it more like a shape you visit, breathe in, and leave before anything gets cranky.
16. Pelvic Floor Drops and Kegels
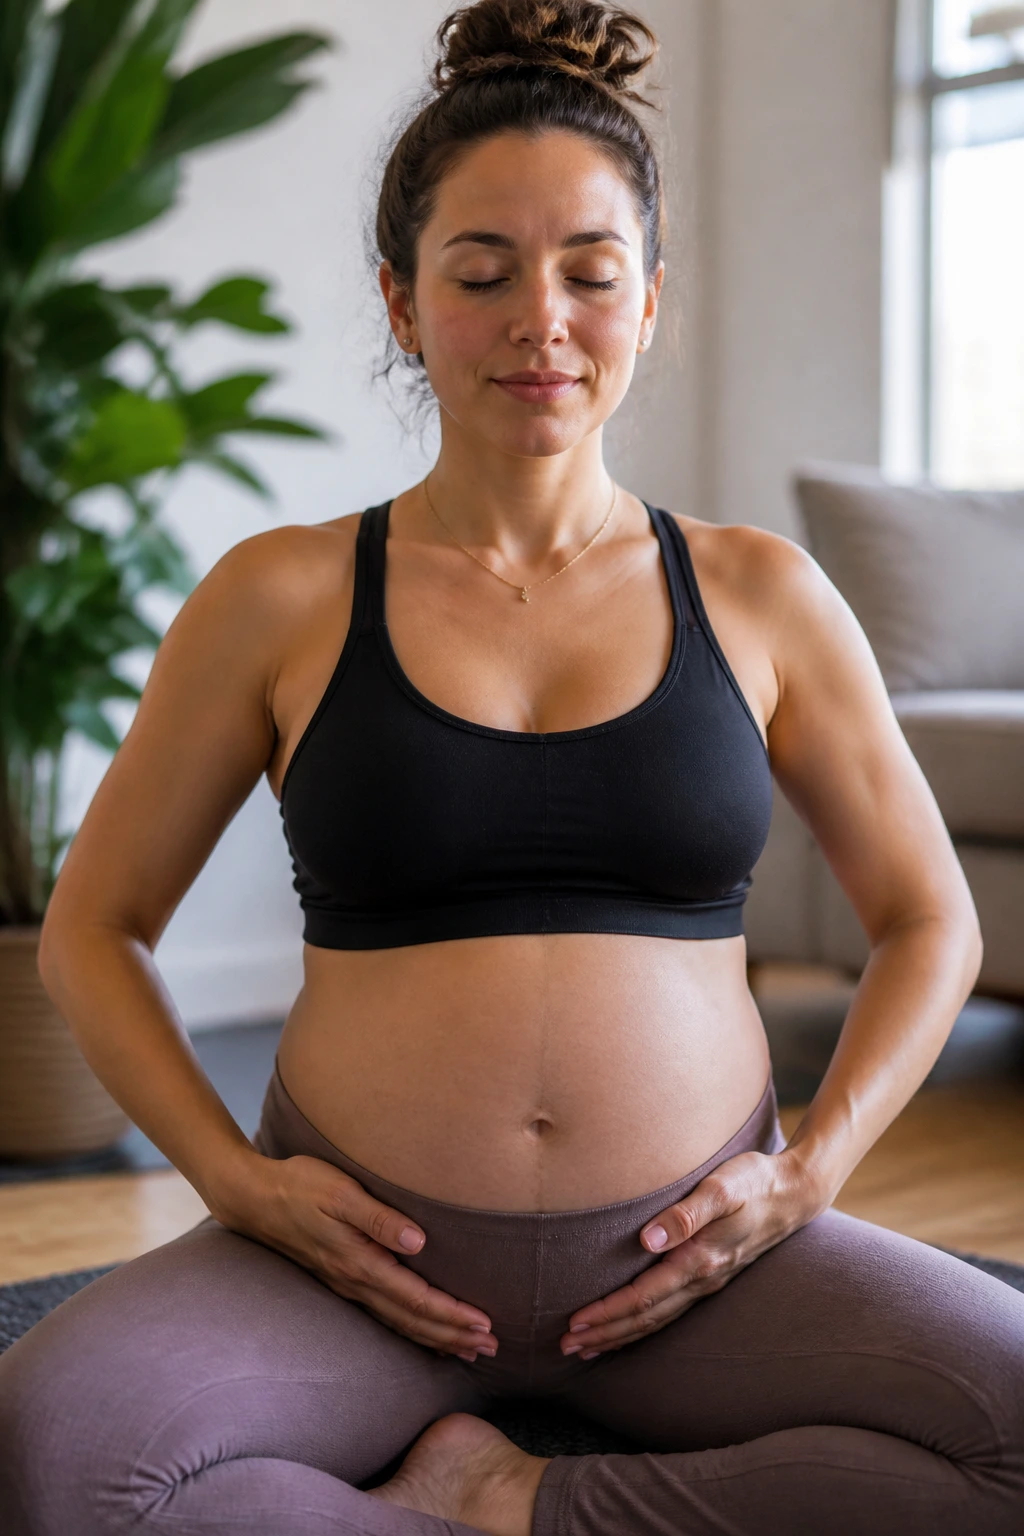
Pelvic floor work gets oversimplified all the time. Some people only hear “do Kegels,” which is half the story and sometimes not the right half. In late pregnancy, the pelvic floor needs both gentle strength and the ability to let go.
Try a light squeeze as if you were lifting a blueberry with the muscles between your sit bones. Hold for 2 to 3 seconds, then release fully for the same amount of time. The release matters. If you keep clenching, the muscles can stay tense and unhappy.
- Keep your jaw soft.
- Keep your butt relaxed.
- Breathe while you do it.
- Stop if you feel pressure, pain, or a bulging sensation.
If you’ve been told you have pelvic floor tightness, heaviness, or prolapse symptoms, a pelvic floor physical therapist can make this much more specific. That kind of help is worth its weight in gold.
17. Walking Intervals That Keep You Moving
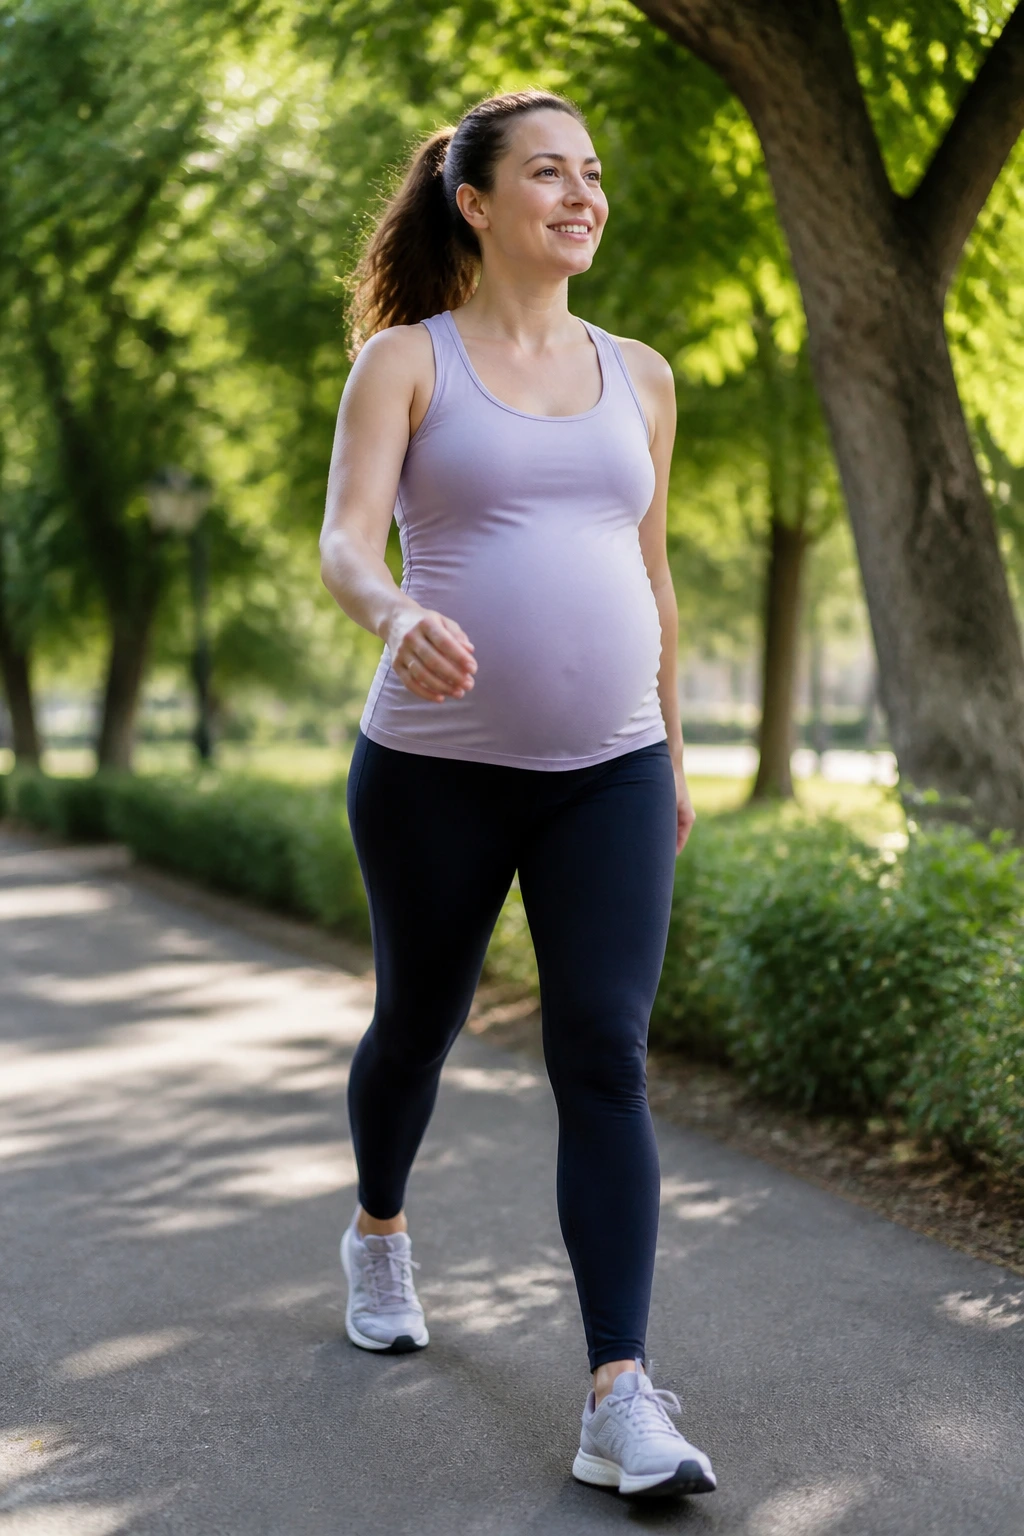
Walking is still one of the most dependable third-trimester workouts because it’s flexible, low-cost, and easy to adjust on the fly. Some days it feels like a workout. Some days it feels like a mental reset. Either way, it counts.
Try a simple pattern: 5 minutes at an easy pace, 1 minute a little brisker, then repeat as long as you feel good. If you’re short on energy, just walk steadily for 10 to 20 minutes and call it done. The point is movement, not proving anything.
A few small things that matter
Wear shoes that don’t pinch your toes. Pick flatter routes if your balance feels off. Carry water if you’re out for more than a short loop. If you notice pelvic pressure, switch to shorter outings more often instead of one long push.
Walking can feel plain. That’s part of its charm. It’s often the easiest exercise to keep doing when almost everything else starts to feel like effort.
18. Water Walking and Pool Aerobics
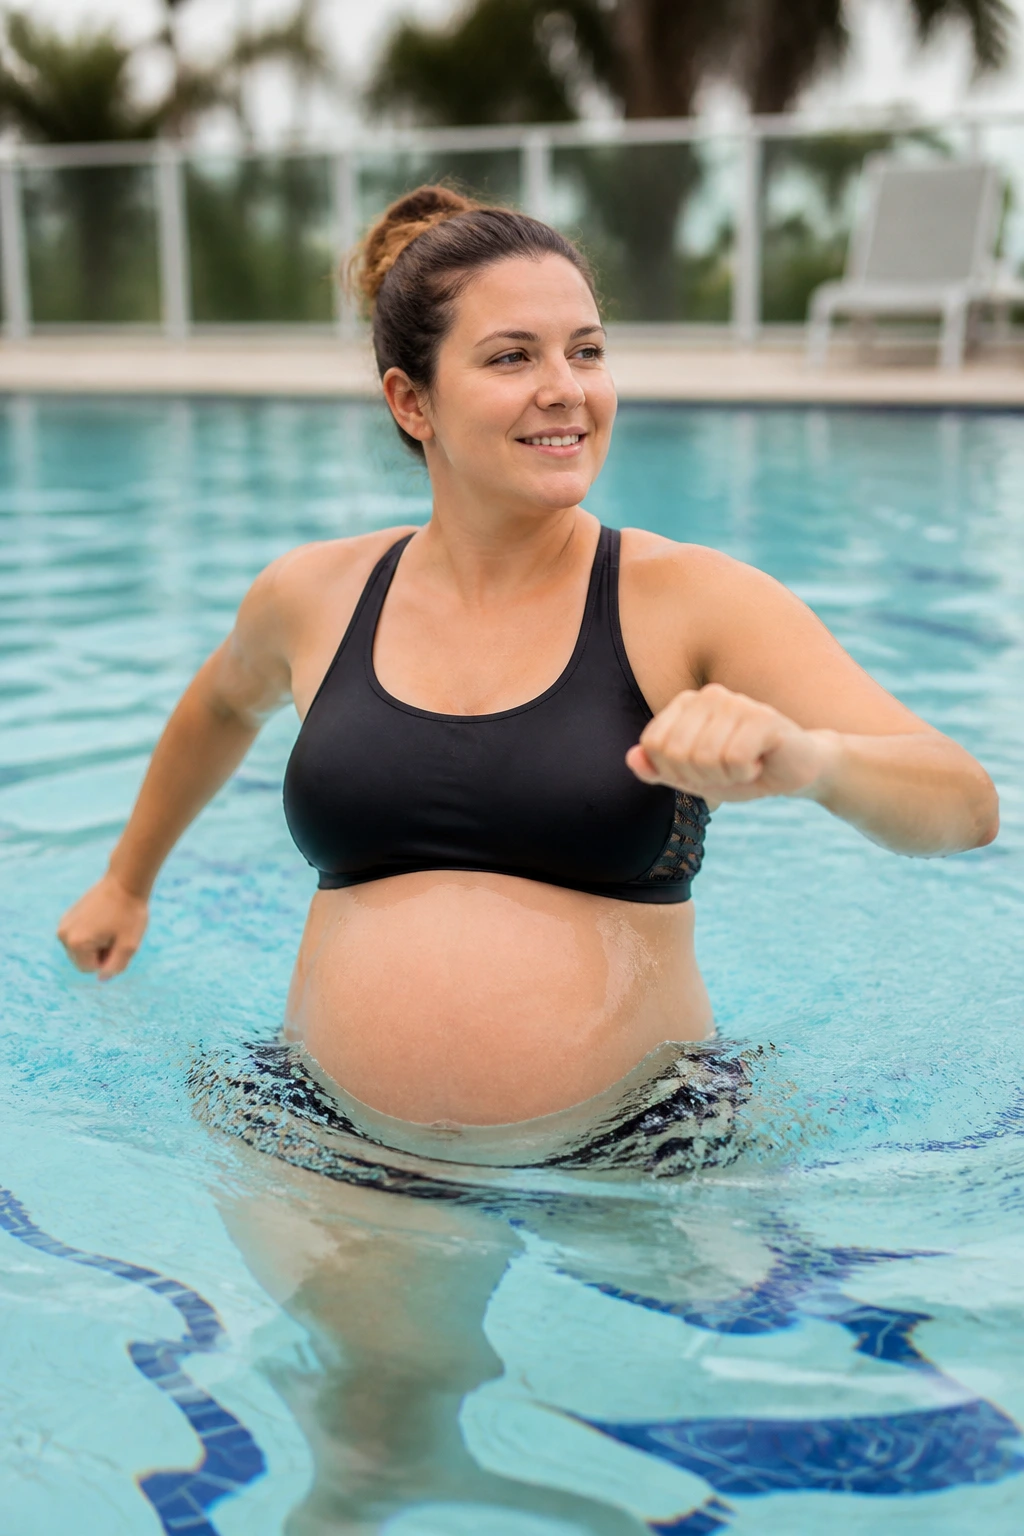
Water work is one of the smartest third-trimester options because buoyancy takes weight off the joints while the water still gives you resistance. If your ankles swell, your back aches, or land-based exercise feels too heavy, the pool can feel like a small miracle.
Walk through chest-deep or waist-deep water, take wide steps, or do simple arm sweeps against the water’s push. Keep the pace easy enough that you can speak without strain. If the pool has a shallow end, that’s usually where you’ll feel the most stable.
The nice thing about water is that it hides a lot of joint irritation. The less nice thing is that slippery decks, very hot water, and overdoing it because you feel light can all backfire. Stay steady, stay hydrated, and don’t turn it into a race.
If you can only manage one kind of movement on a tired day, this is a strong candidate. It leaves many people feeling looser rather than drained, and that’s a rare win when the third trimester starts throwing its weight around.
A good pregnancy routine in this phase does not need to be dramatic. It needs to be steady, repeatable, and kind to your joints. If a move makes you feel stronger, looser, and more settled in your body, keep it. If it leaves you sore in a sharp, weird way, drop it and move on.
