



Stiff hips show up everywhere. On the first squat of the day. When you get out of a car. Sometimes even when you try to sit cross-legged and your body gives you that blunt little no.
Pilates hip mobility exercises work because they do two things at once: they open the joint and ask the surrounding muscles to stay awake. That matters. A lot of generic stretching leaves you loose for ten minutes and then right back where you started.
At home, you do not need fancy gear for this. A mat, a wall, and a little patience are enough. The trick is to move slowly enough that you can feel the hip rotate, glide, and settle — not fling the leg around and hope for the best.
Sharp pinching in the front of the hip is a stop sign, not a badge of honor. Back off the range, shorten the hold, or switch to a gentler drill if that shows up.
1. Pelvic Clock on Your Back
Lie on your back with your knees bent and your feet flat. Good. Now imagine your pelvis is the face of a clock, with 12 at your navel and 6 at your tailbone. Tiny tips toward each number wake up the lower back and the hip joints without forcing anything.
How to feel the circle
Start by pressing your lower back gently into the mat, then let it release. That small shift is the whole point. From there, make the motion smaller than you think you need, because big circles usually turn into rib flare and a sloppy lower back.
A clean pelvic clock feels almost boring at first. That’s fine. Boring is useful here.
- Tip the pelvis toward 12, then 6.
- Rock toward 3 and 9 without lifting the feet.
- Draw a slow circle in both directions.
- Keep the breath smooth and the neck soft.
One good rep is tiny and smooth. If the hips are grippy, this drill teaches them to stop fighting the floor.
2. Supine Knee Folds with Tiny Pelvic Tilts
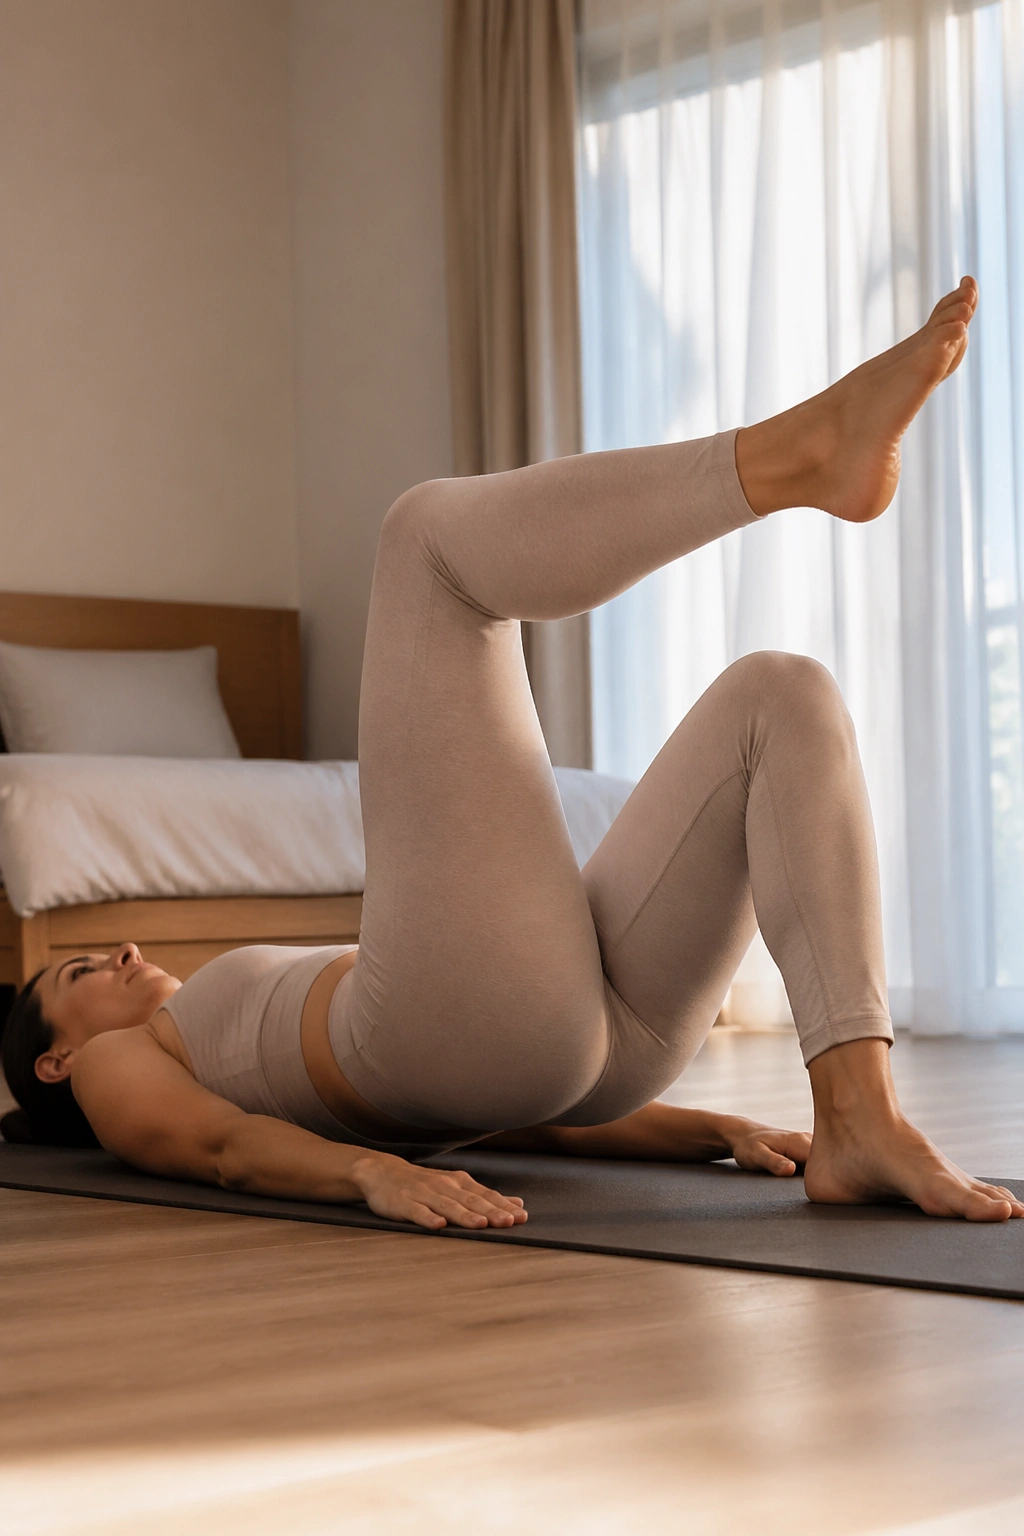
Can a move this small help with stiff hips? Yes. When one leg folds toward tabletop and the pelvis stays quiet, you get a cleaner look at hip flexion without the usual cheating from the low back.
Lie on your back, one knee bent, the other foot planted. Float one knee up until the hip and knee make a rough right angle, then lower it with control. Do not let the back arch hard as the leg rises. That extra arch is usually the lower back taking over for the hip.
A good version feels like the thigh is gliding out of the socket instead of yanking the whole pelvis along for the ride. Ten slow reps per side is enough for most people.
If your hip flexors are tight, keep the lifted leg lower and slower. If your back wants to help, place one hand on your belly and one on your ribs so you can feel the body trying to cheat.
3. 90/90 Hip Switches
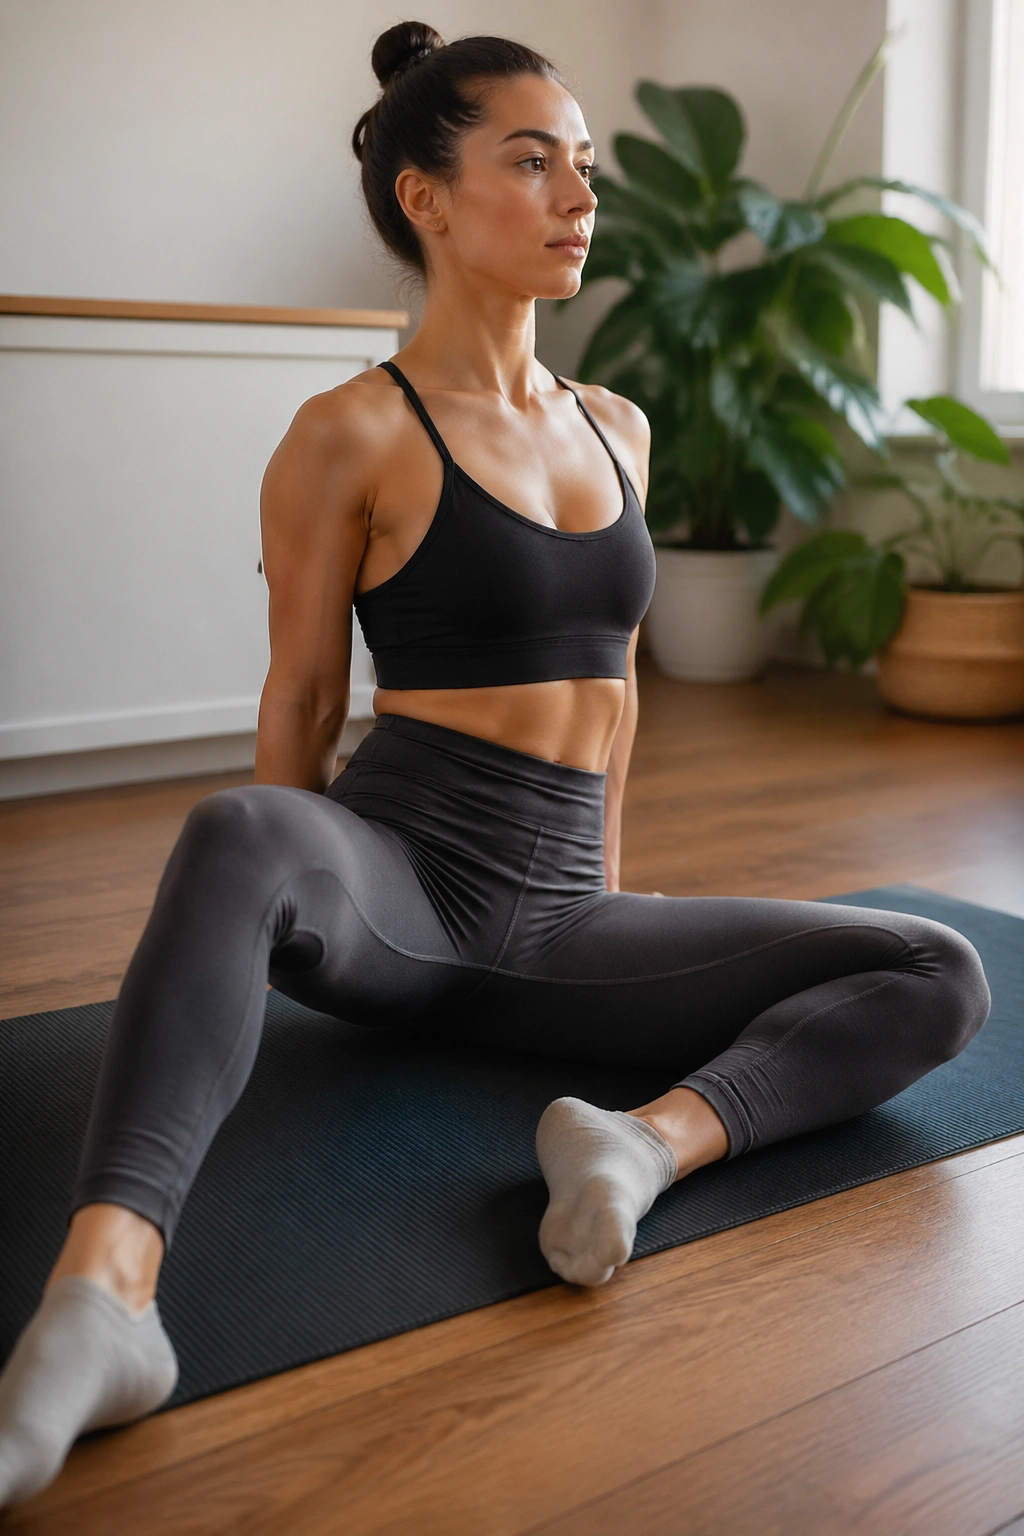
This is where things get honest. Sitting in 90/90 asks one hip to rotate inward and the other to rotate outward, and that back-and-forth exposes stiffness fast.
Set yourself on the floor with both knees bent roughly to ninety degrees, one leg in front and one off to the side. Keep your chest tall and switch the legs from one side to the other without using your hands if you can. If you need your hands behind you at first, use them. That is not cheating. It is smart.
What keeps it clean
The switch should look smooth, not twitchy. You want the pelvis to stay connected to the floor while the thighs move around it.
- Sit on a folded towel if the hips sit too low.
- Keep both feet active, not floppy.
- Move slowly through the middle.
- Stop before your spine starts rounding hard.
A lot of people rush this and turn it into a leg-fling drill. Skip that. The benefit comes from control at the point where the hip changes direction.
4. 90/90 Forward Folds
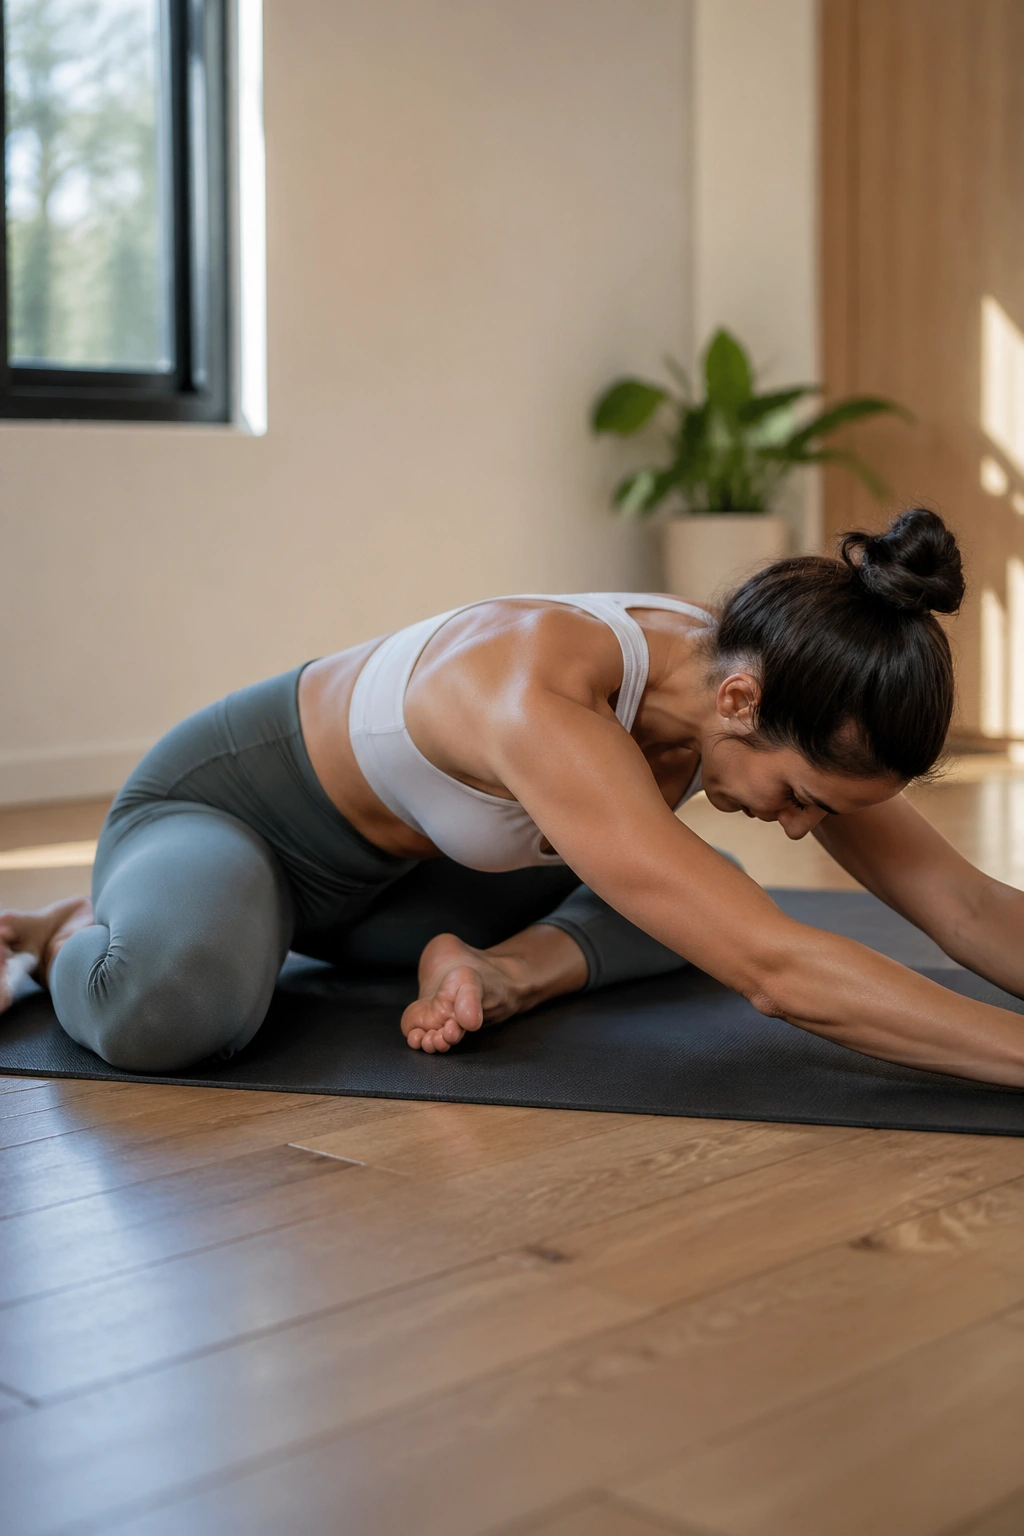
Once you can sit in 90/90 without a fight, lean over the front shin and stay there for a few breaths. That front hip gets a different kind of work than it does in the switch, because now you are loading external rotation and length at the same time.
The move is simple. Fold from the hips, not the waist, and let the chest travel toward the front shin only as far as it can go without strain. If the front knee lifts off the floor, that’s a sign the range is too deep for now. Back up a little and breathe.
I like this one for people who feel stiff after too much sitting. There is something about the combination of position and stillness that seems to tell the hip, you can let go here. Maybe not all at once. But enough.
Use two or three slow exhales on each side. That is usually plenty.
5. Frog Rockbacks
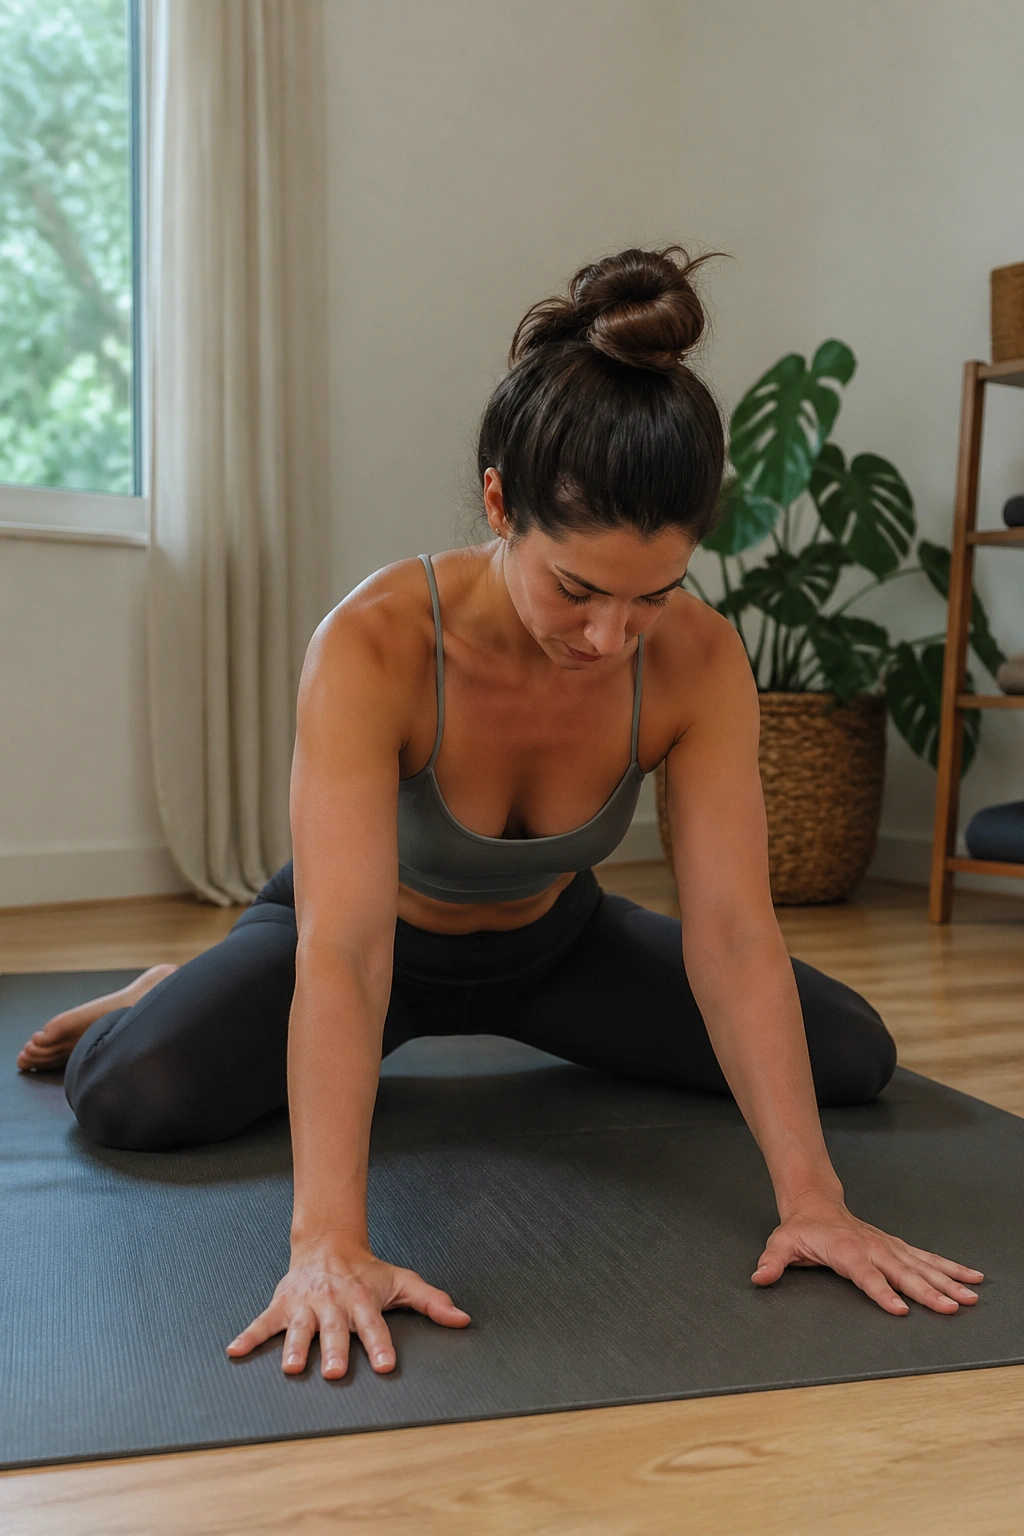
Frog rockbacks are one of those exercises that look odd and work fast. You start on your hands and knees, then slide the knees wide with the feet turned out so the inner thighs can lengthen as you rock back.
Why it helps
The adductors — the inner-thigh muscles — can get stubborn. When they do, the hips often feel like they are moving through mud. Frog rockbacks help by giving those muscles a long, controlled stretch while the pelvis moves backward and forward.
Set your knees wide enough to feel work, but not so wide that the low back collapses. Rock your hips toward your heels until you feel a deep stretch through the groin, then glide forward a few inches and repeat.
A useful cue: keep the belly gently lifted away from the mat so the movement comes from the hip crease, not from dumping into the spine. If the knees feel cranky, place a folded blanket under them or reduce the width.
How to keep the inner thighs honest
- Feet stay in line with the knees.
- Rock back only until the stretch is clear.
- Pause for one breath at the deepest point.
- Come forward with control, not a bounce.
This one is quiet. It should be.
6. Quadruped Adductor Rockbacks
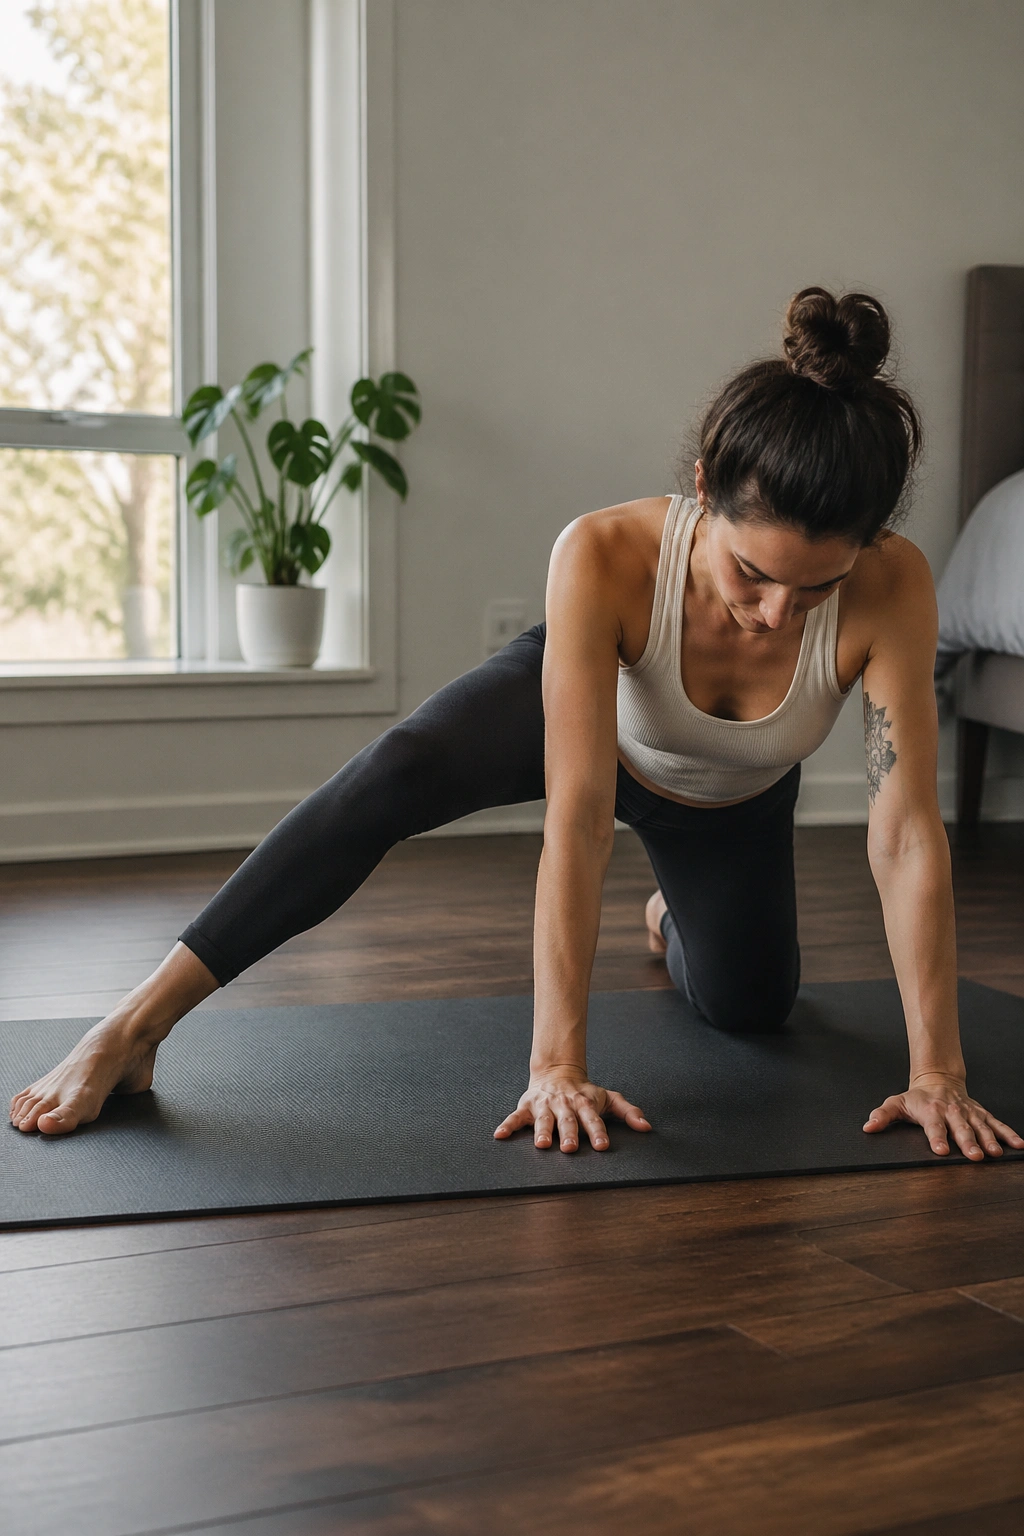
If frog rockbacks feel a little too broad, this version is more targeted. Stay on hands and knees, extend one leg out to the side with the foot flat, and keep the other knee under the hip. Then rock the hips back toward the heel.
You’ll feel the inner thigh of the straight leg wake up almost immediately. That’s the point. It’s a clean way to address adductor stiffness without needing to sit upright and wrestle with balance.
The biggest mistake is twisting the torso toward the bent knee. Keep the rib cage square to the floor. The second mistake is trying to go too far, too soon. A small rockback with a calm breath does more than a dramatic sink that sends the knee or hip into a pinch.
If one side feels much tighter, do not yank it loose. Hold the tighter side for one or two extra breaths and keep the motion tiny. That usually works better than chasing range.
7. Figure-Four Glute Stretch on the Floor
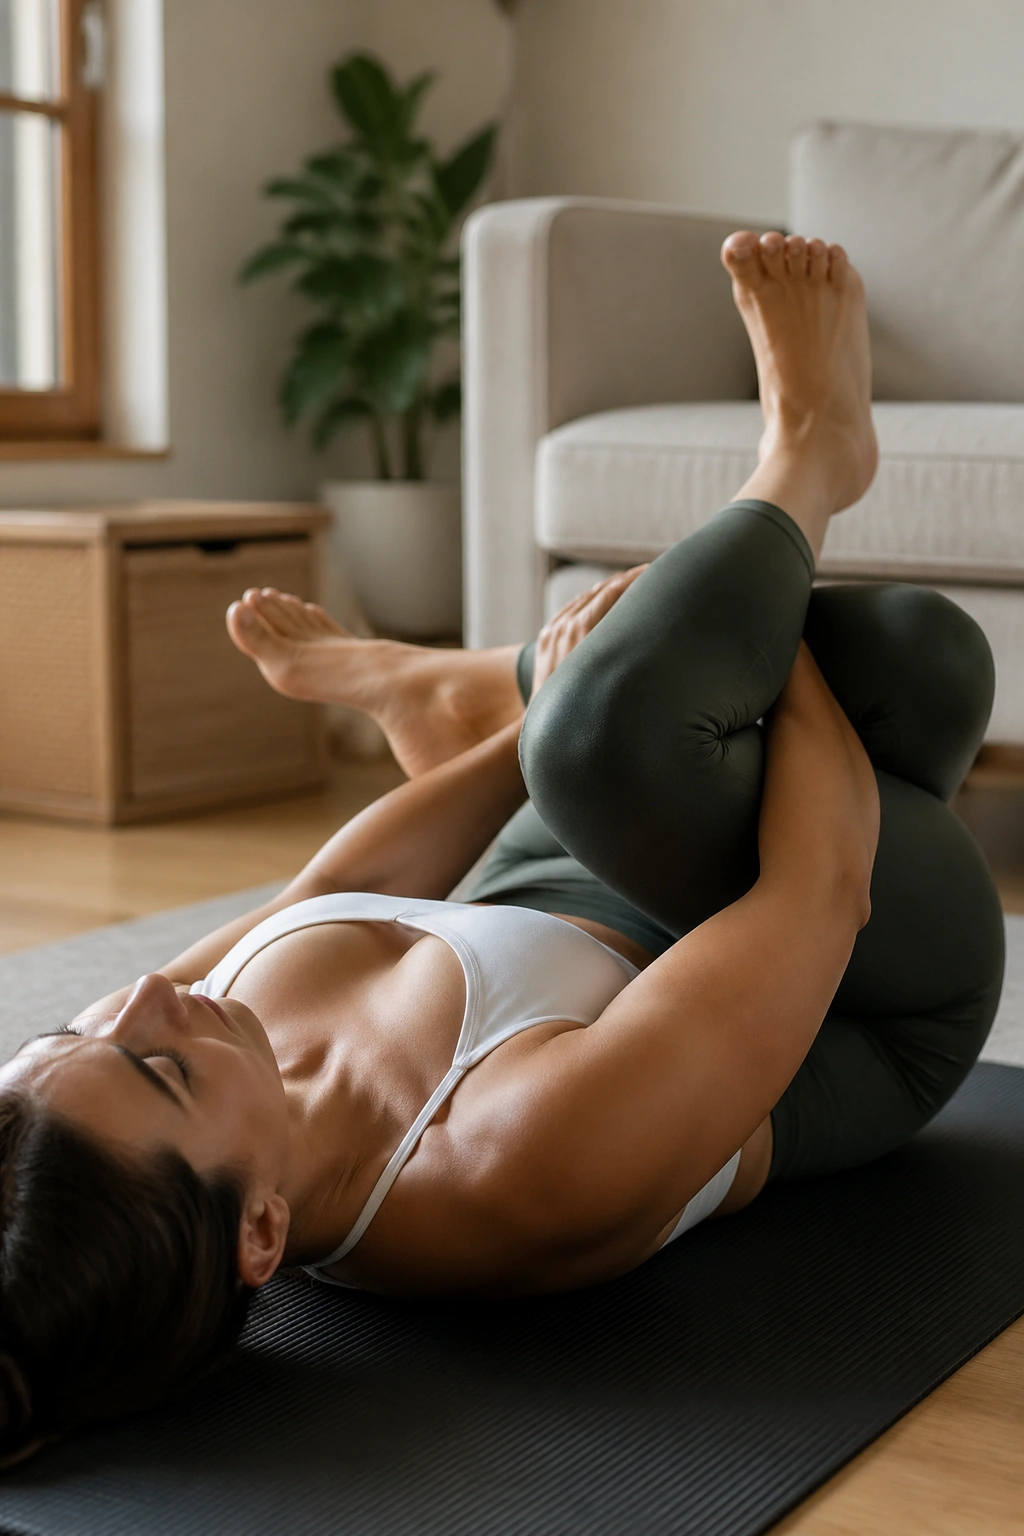
A tight backside can masquerade as a hip problem. The figure-four stretch helps sort that out by opening the outer hip and the deep glute muscles that often grab after sitting or walking a lot.
Lie on your back and cross one ankle over the opposite thigh, just above the knee. Keep the foot flexed. Then draw the bottom leg toward you until you feel a stretch in the outer hip and butt. If the knee opens wide and the stretch disappears, press the knee gently away with the elbow or hand until the shape settles again.
If your knee doesn’t love this
Use a wall instead of pulling the leg in hard. Place the planted foot on the floor and rest the crossed leg on a couch or chair so the angle stays softer. That keeps the stretch in the hip instead of making the knee do a job it was never meant to do.
A few slow breaths beat one aggressive pull. Every time.
8. Half-Kneeling Hip Flexor Stretch with a Reach
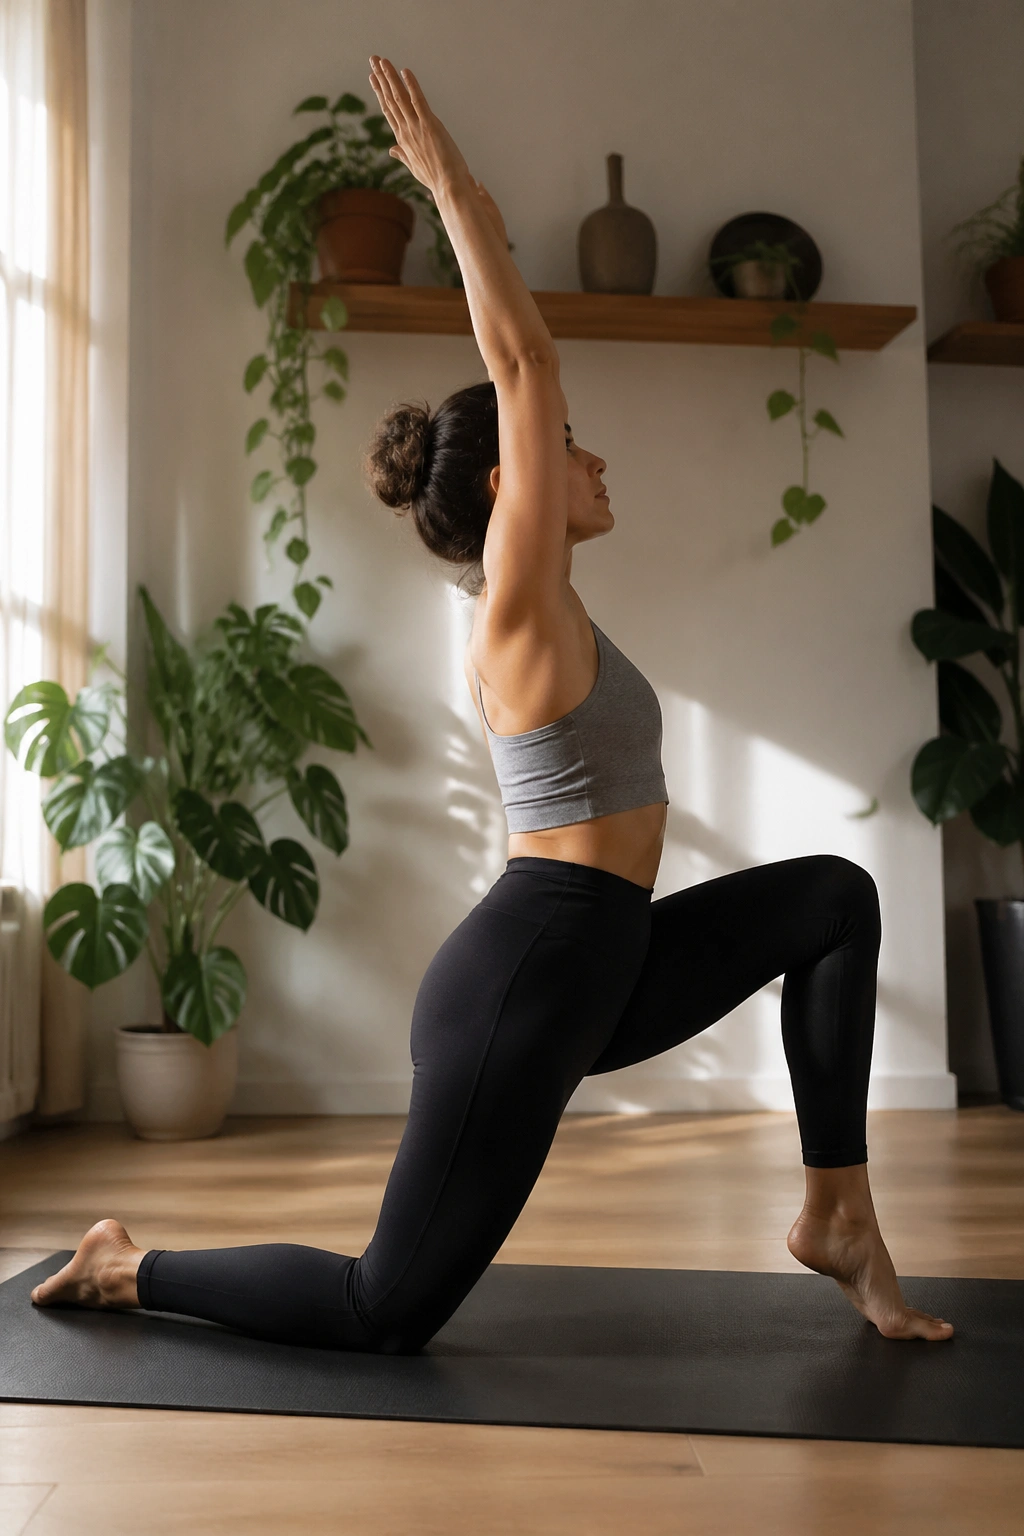
This is the one people skip because it looks too basic. They usually regret that later.
Set one knee on the floor and the other foot in front, like the bottom of a lunge. Before you shift forward, tuck the pelvis slightly under and squeeze the glute of the kneeling side. That tiny posterior tilt matters. Without it, the stretch often slides into a back arch and you never really get to the front of the hip.
Two cues that matter
First, keep the front foot heavy so the body doesn’t drift into the knee. Second, reach the same-side arm overhead or slightly across the body if you want a little more line through the front of the hip and side waist.
- Squeeze the back-leg glute.
- Keep the ribs from flaring.
- Shift forward only a few inches.
- Breathe into the front of the hip.
If you feel the stretch in your low back, reset. The front of the hip should be the main event here.
9. Slow Bridge Rolls
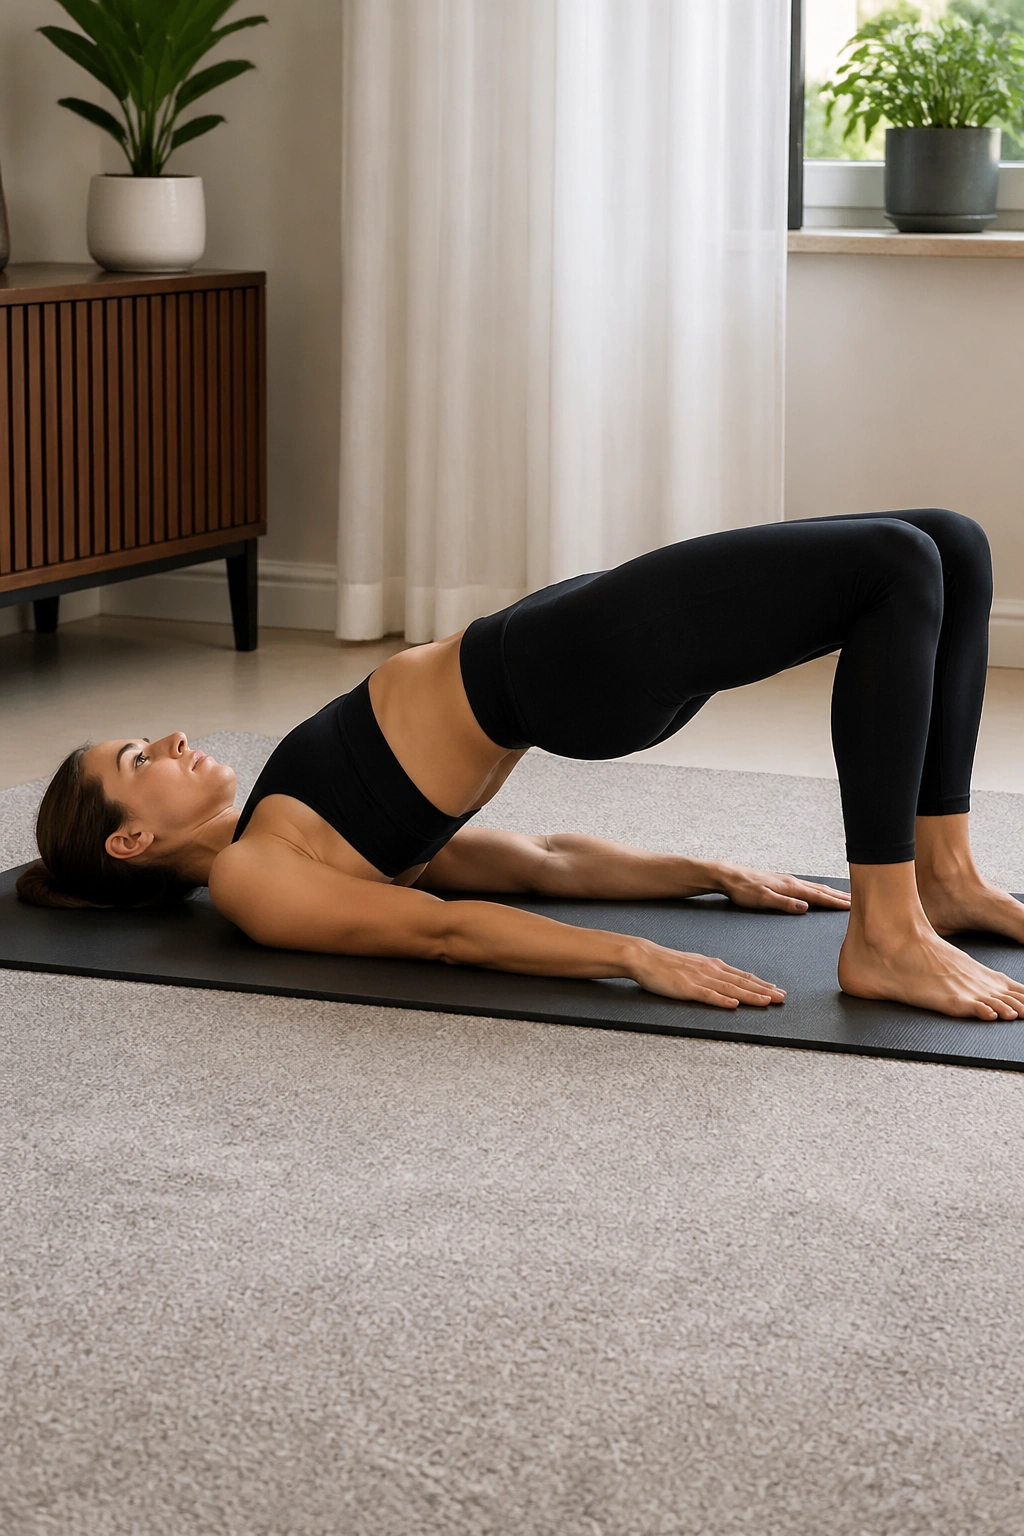
A bridge is more than a glute exercise when you do it with care. Roll the pelvis up one vertebra at a time, lift until the hips are in line with the knees and shoulders, then roll back down just as slowly.
That slow roll teaches hip extension without dumping into the lower back. It also gives you a nice view of what each side of the pelvis wants to do. If one hip hikes, twists, or feels like it is leading the whole show, you’ll feel it right away.
Keep your feet about hip-width apart, heels close enough that you can brush them with your fingertips. Press through the heels, but do not clench the toes. The hamstrings should help, not take over completely.
Why the slow roll is worth it
Fast bridges are fine for strength. Slow bridges are better when the goal is mobility plus control. You get the opening through the front of the hips, the support from the glutes, and a clearer sense of where your pelvis lives in space.
10. Bridge Marches with Level Hips
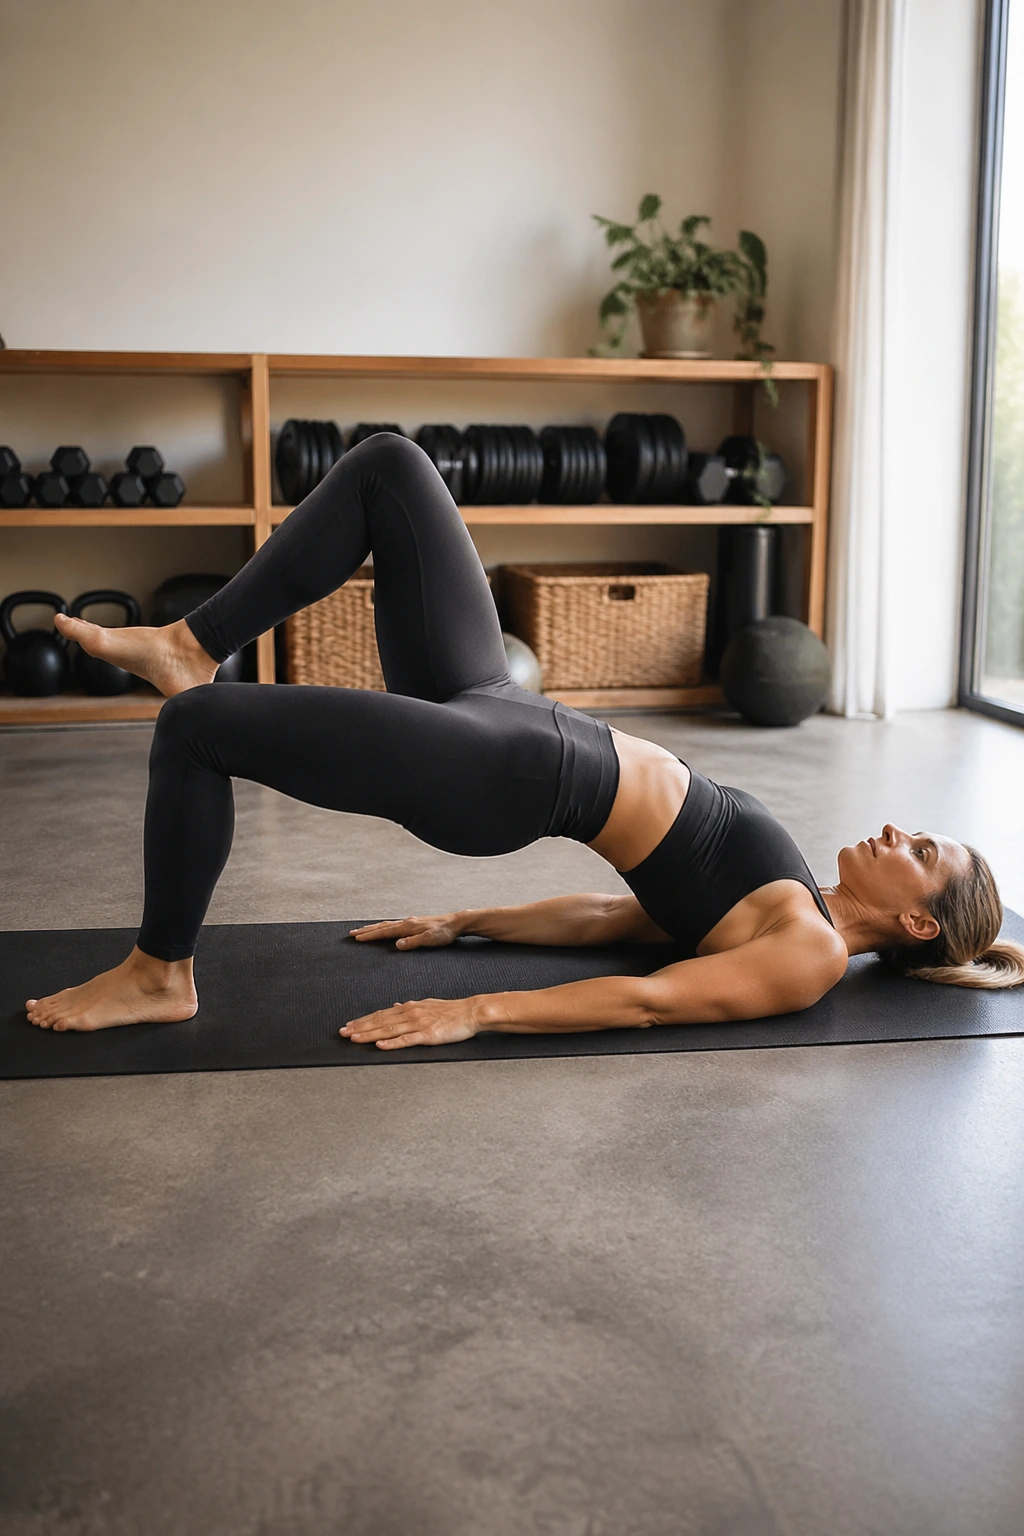
If a regular bridge feels easy, this is where it gets honest. Hold the top of the bridge, then lift one knee a few inches without letting the pelvis wobble. Set it down and switch sides.
The moving leg should feel light. The standing side should feel like it is doing the real work. That split is what makes bridge marches so useful for hip stability, especially if one hip feels like it drifts or collapses during single-leg work.
Start with four to six slow marches per side. If your hips sway, make the march smaller. If the low back cranks up, lower the bridge height.
There is no prize for a higher bridge here. A lower, steadier bridge usually teaches more.
11. Side-Lying Clamshells
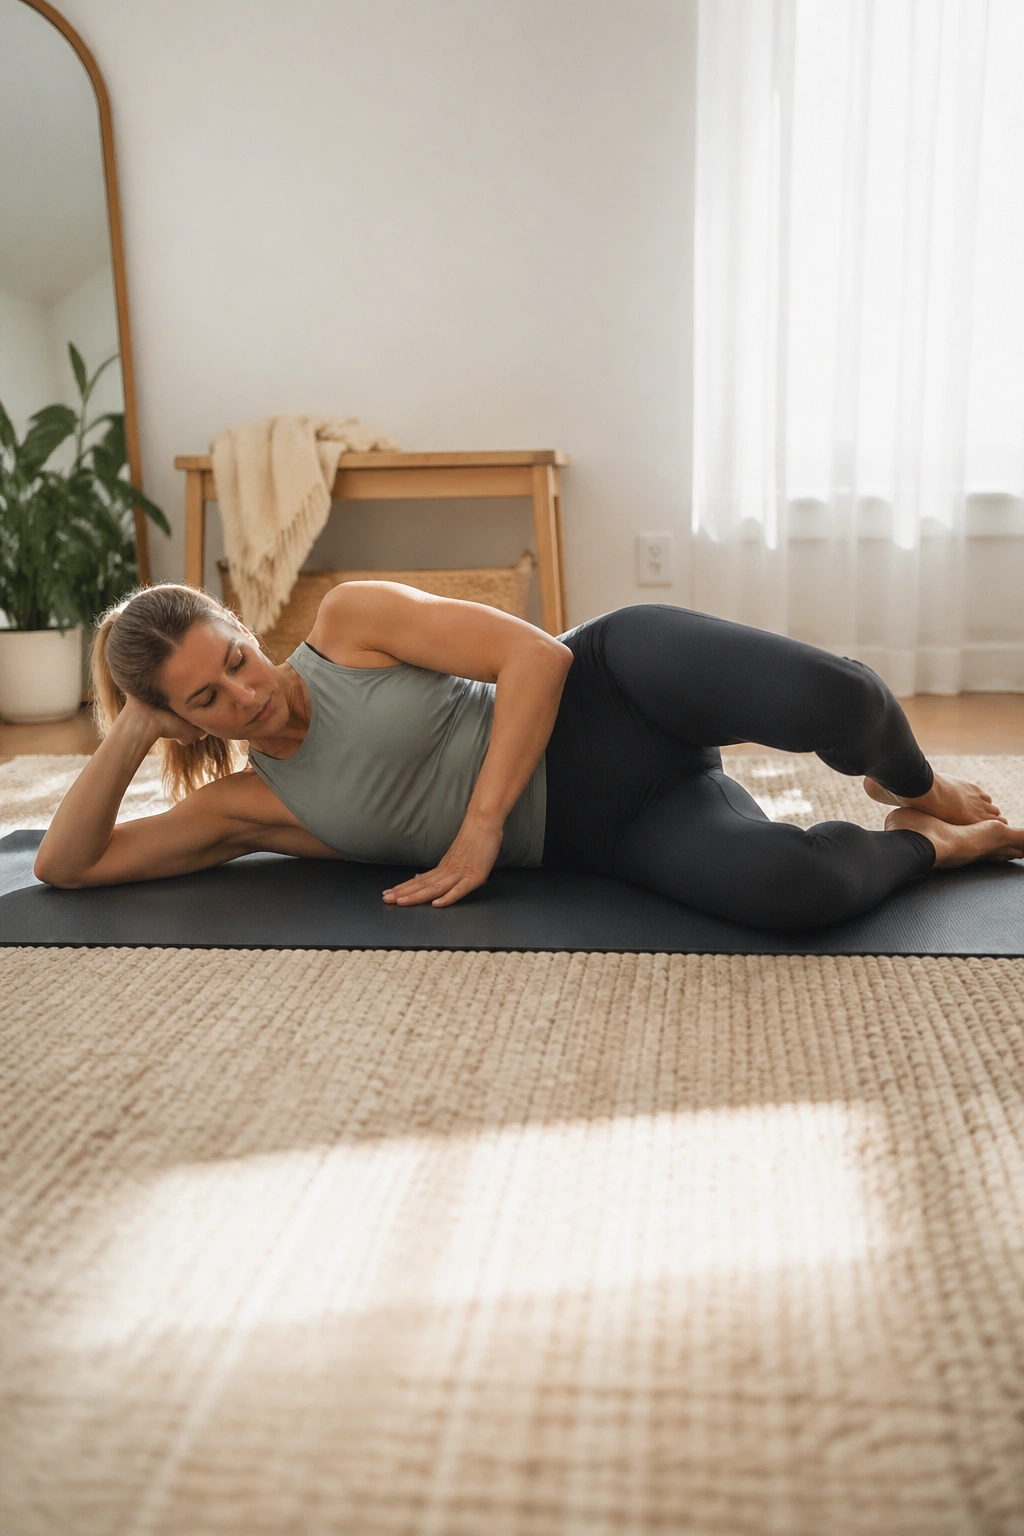
Clamshells get dismissed a lot because they’re common, but that’s lazy thinking. Done well, they wake up the deep external rotators and help the hip stay centered when you walk, squat, or climb stairs.
Lie on your side with knees bent, heels together, and hips stacked. Open the top knee like a clamshell without rolling the pelvis backward. The range is tiny. Tiny is fine. In fact, tiny is often better.
What to watch for
If the waist collapses or the top hip rolls open, the glute medius loses the conversation and the lower back starts talking instead. Keep the pelvis stacked. Keep the movement slow.
- 10 to 15 reps per side
- Pause for one second at the top
- Stop before the pelvis shifts
- Add a mini-band only if you can keep form clean
You should feel the side of the hip working, not the front of the thigh cramping up.
12. Side-Lying Leg Circles
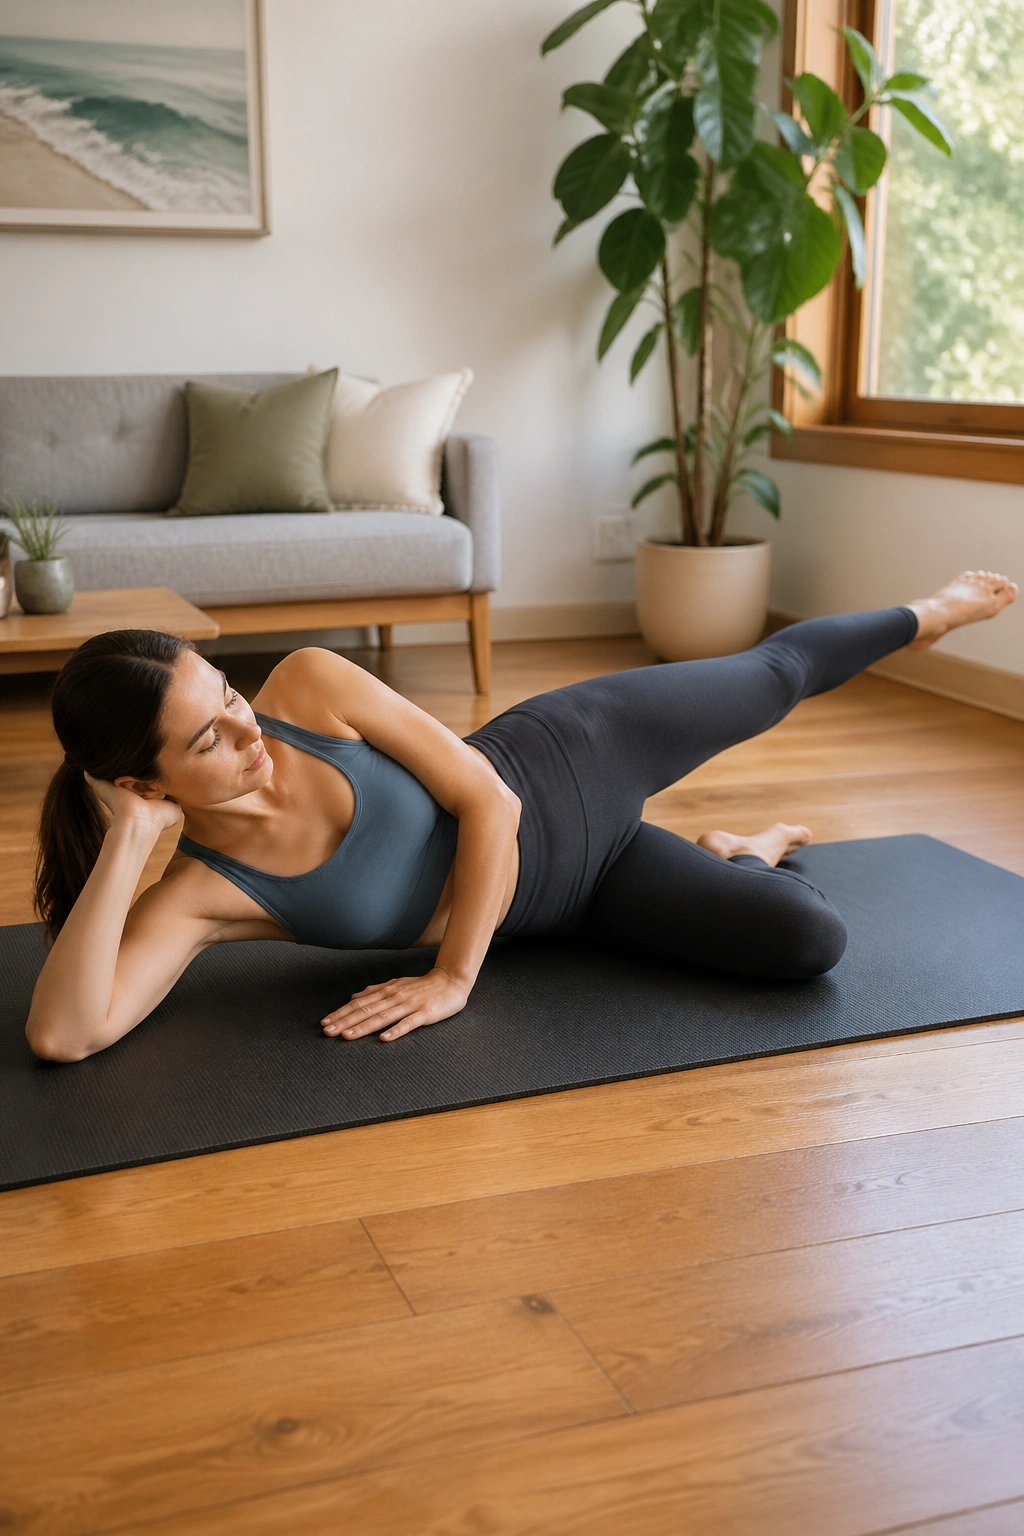
This one looks graceful when it’s done well, and messy when it isn’t. Lie on your side with the bottom knee bent and the top leg extended long. Make small circles from the hip socket, not from the foot.
The size matters. Small circles keep the pelvis quiet and force the joint to do the work. Big circles often turn into a back arch and a flailing leg. Not useful.
Keep the circle small
Point the toes slightly forward or keep the foot softly flexed. Either can work. What matters is that the thigh bone keeps moving smoothly while the waist stays long and the ribs stay knitted down.
If your hip snaps or grinds, reduce the range and slow the pace. A clean, medium-small circle is more useful than a huge one that jerks through the joint. Five circles each direction is enough to start.
13. Fire Hydrant Circles
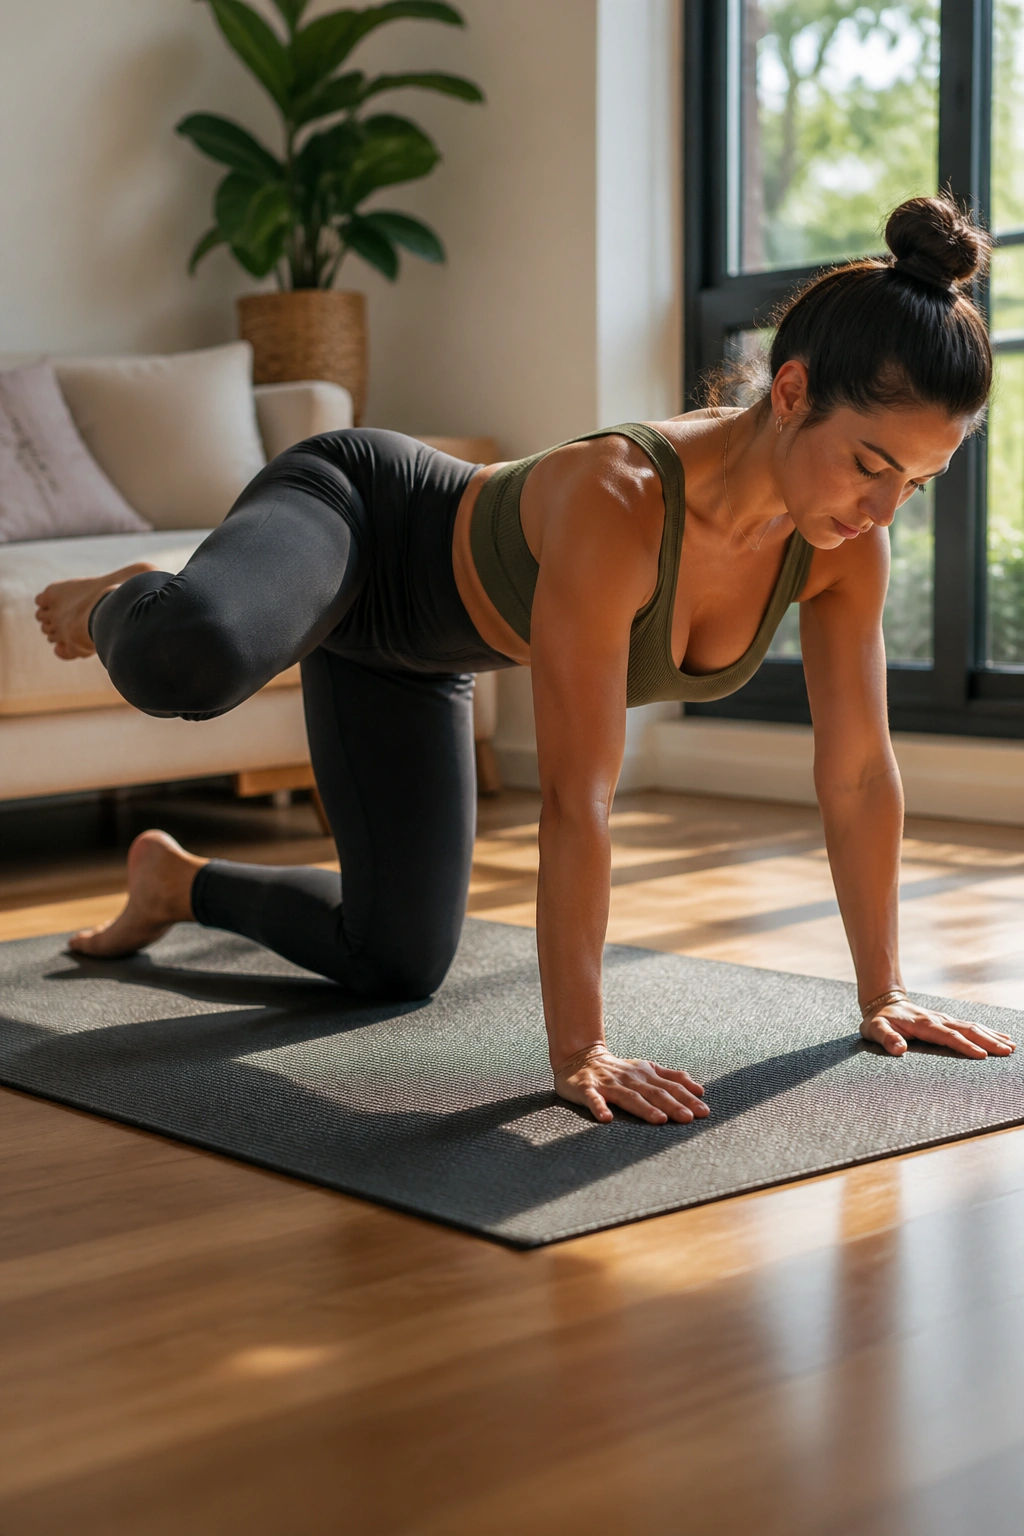
On hands and knees, lift one knee out to the side, then draw a small circle before lowering it again. The shape is simple, but the control is not. The pelvis wants to shift, the ribs want to twist, and the spine wants to help.
That is why this drill earns a place in a Pilates hip mobility routine. It asks for hip abduction and rotation while the trunk stays organized. No fancy equipment. Just awareness.
Keep the circle honest
A tiny circle done well beats a dramatic lift done sloppily. Keep the supporting shoulder heavy, the neck long, and the belly gently lifted. If the knee goes high but the torso tips over, you’ve lost the point.
- Keep the bent knee near ninety degrees.
- Lift only as high as the pelvis can stay still.
- Circle forward, up, back, and down.
- Do 5 circles each way.
The burn may show up fast. That’s normal. The shape should still look controlled.
14. Standing Hip CARs at the Wall
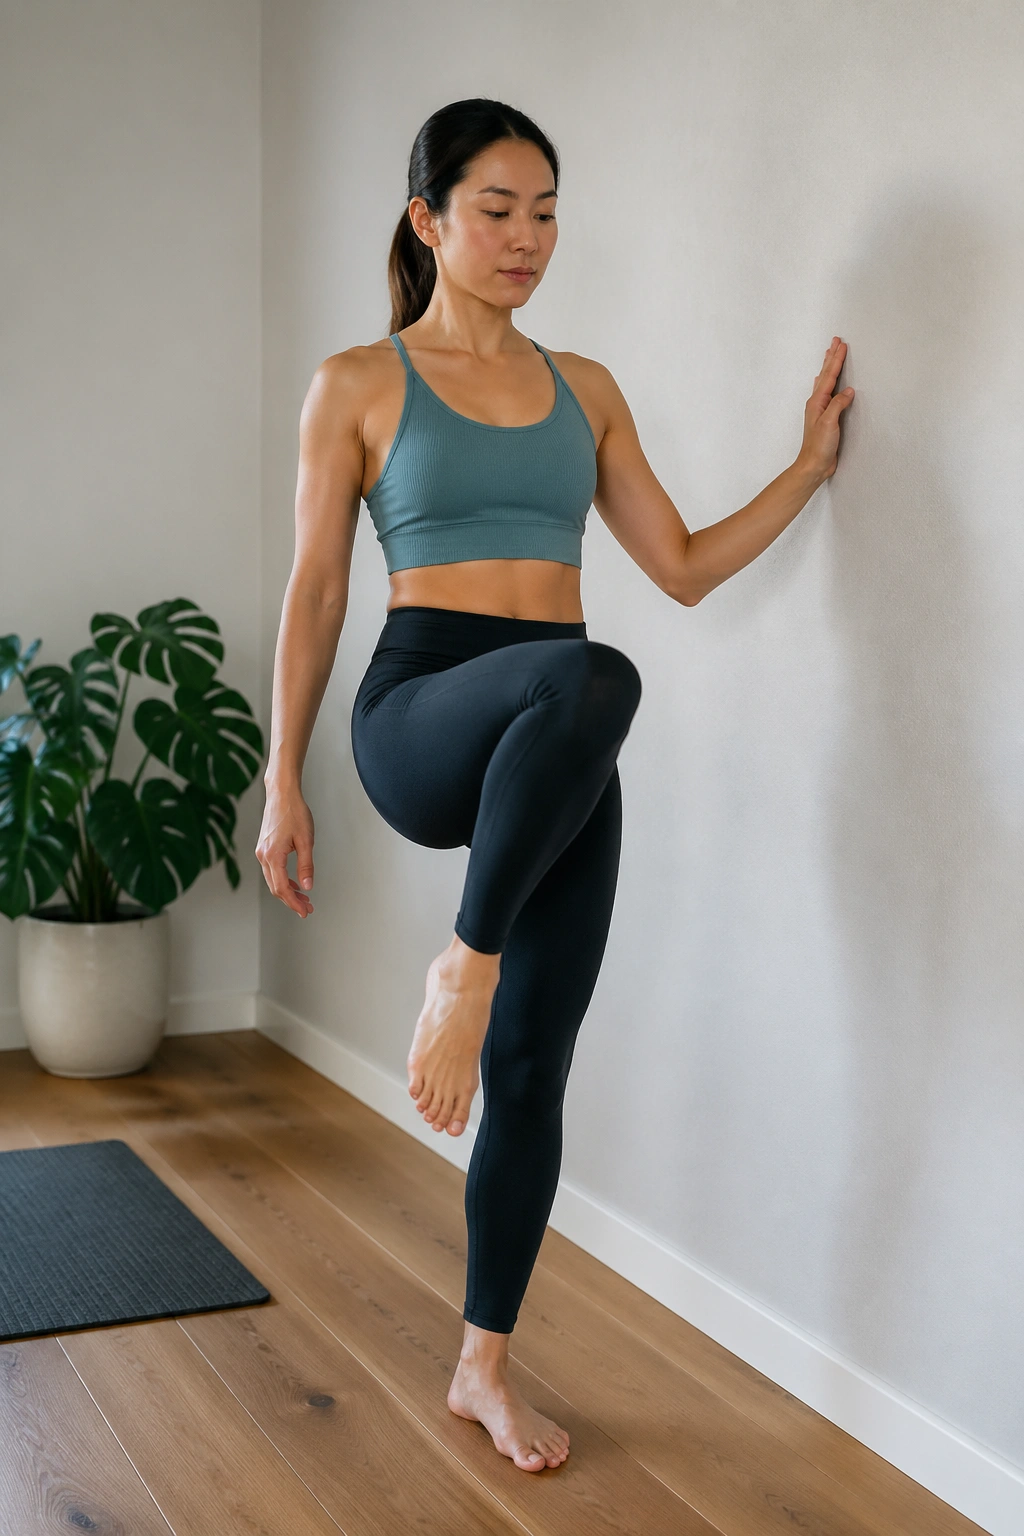
Controlled articular rotations sound fancy, but the move itself is plain. Hold a wall or chair with one hand, lift one knee, open the knee out, extend the leg back a little, bring it around, then return to standing. The hip traces a slow circle while the rest of you stays tall.
This is a strong drill for the person whose hips feel fine on the floor and sketchy when weight-bearing. It exposes balance, joint control, and range all at once.
How to scale it
Keep the circle smaller than your ego wants. That sentence applies here more than anywhere else. If you tip sideways, lean on the wall a little more. If the standing foot gets tired, rest between reps.
- Move slow enough to feel each phase.
- Keep the standing knee soft, not locked.
- Make 3 to 5 circles in each direction.
- Stop before the lower back starts doing the job.
The move should look almost slow-motion.
15. Standing Leg Swings
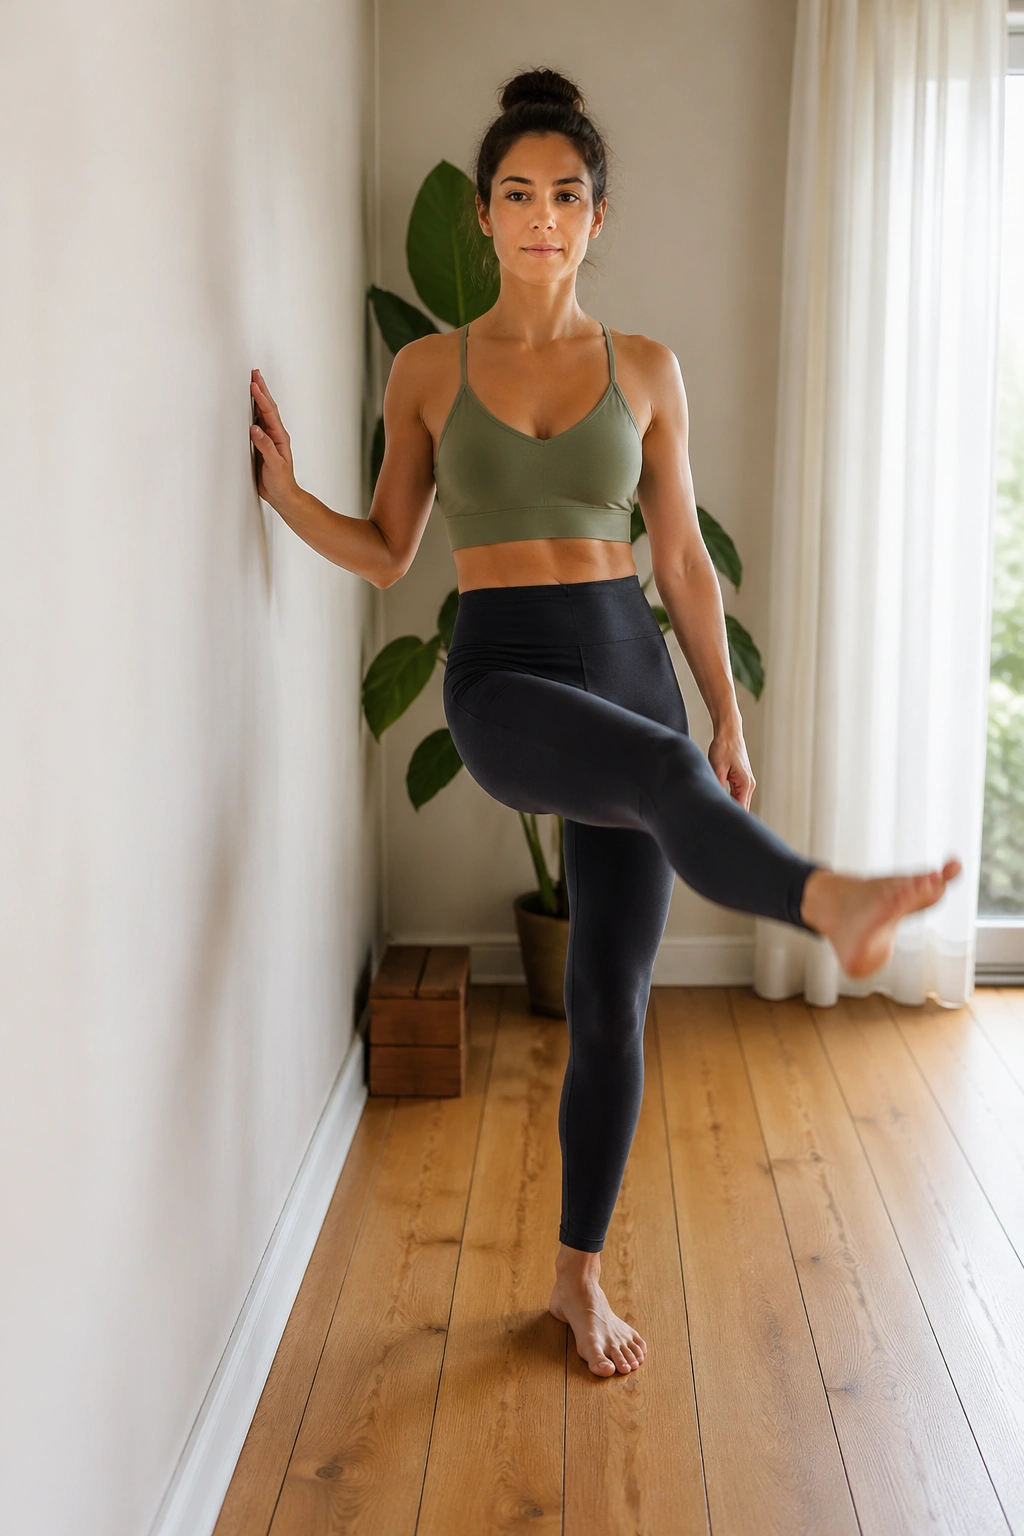
Standing leg swings are the antidote to all the floor work. Hold a wall, keep the torso tall, and swing one leg forward and back in a relaxed but controlled rhythm. Then switch to side-to-side if your hips tolerate it.
A lot of people kick too high and turn this into a hamstring stretch with momentum. That misses the point. The swing should be easy, smooth, and repeatable. The hip is warming up, not proving anything.
Forward-back swings tend to feel best before a walk or a lower-body workout. Side-to-side swings are useful when the outer hip feels sticky. Keep the movement within a range where the pelvis doesn’t yank around.
If the leg feels heavy, do fewer reps and slow the tempo. Twelve per side is plenty.
16. Mermaid Sit with Rotation
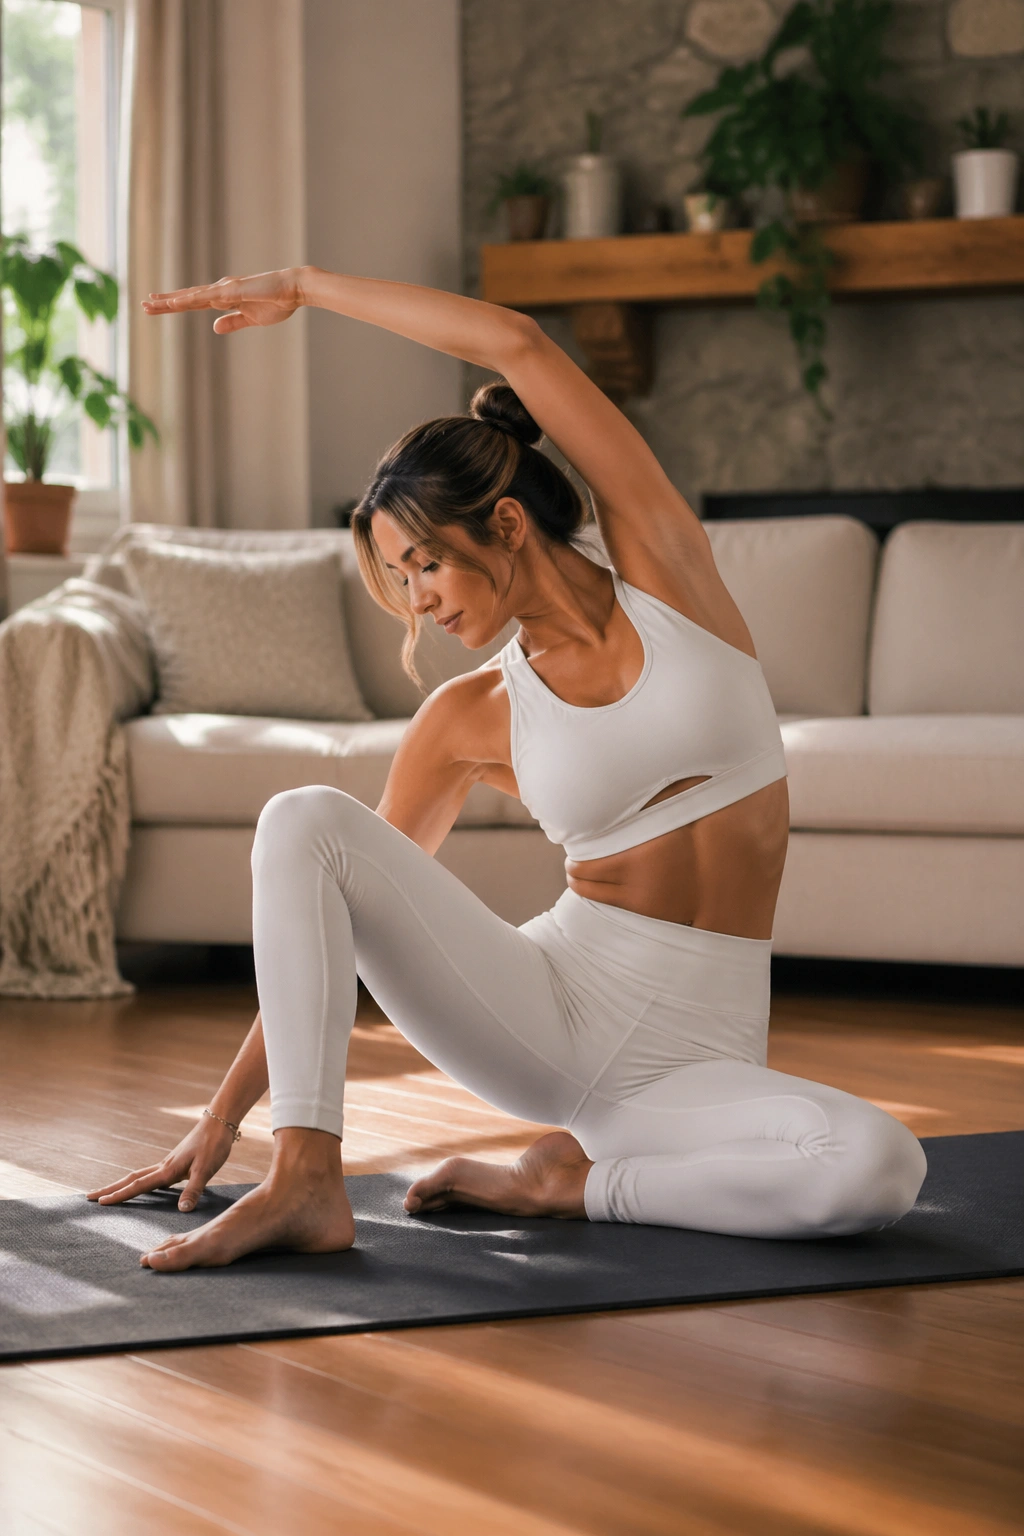
The mermaid is part hip opener, part trunk reset. Sit with one knee bent in front of you and the other leg folded to the side or behind, then rotate the torso toward the bent knee side before side-bending over the top leg.
The stretch through the hip is subtle at first, then it sneaks up. That’s one reason I like it. It doesn’t bully the body into opening. It asks.
A towel trick that helps
If your hips sit low or one side feels jammed, place a folded towel under the seat. A few centimeters can change the whole shape and make the movement feel cleaner right away. It also helps the pelvis stay level instead of collapsing into one side.
You can keep the bottom hand on the floor for support, or reach the top arm overhead for a longer line. Neither version needs to be dramatic. Keep it smooth, breathe into the ribs, and let the pelvis stay grounded.
17. Half-Kneeling Lunge Shifts
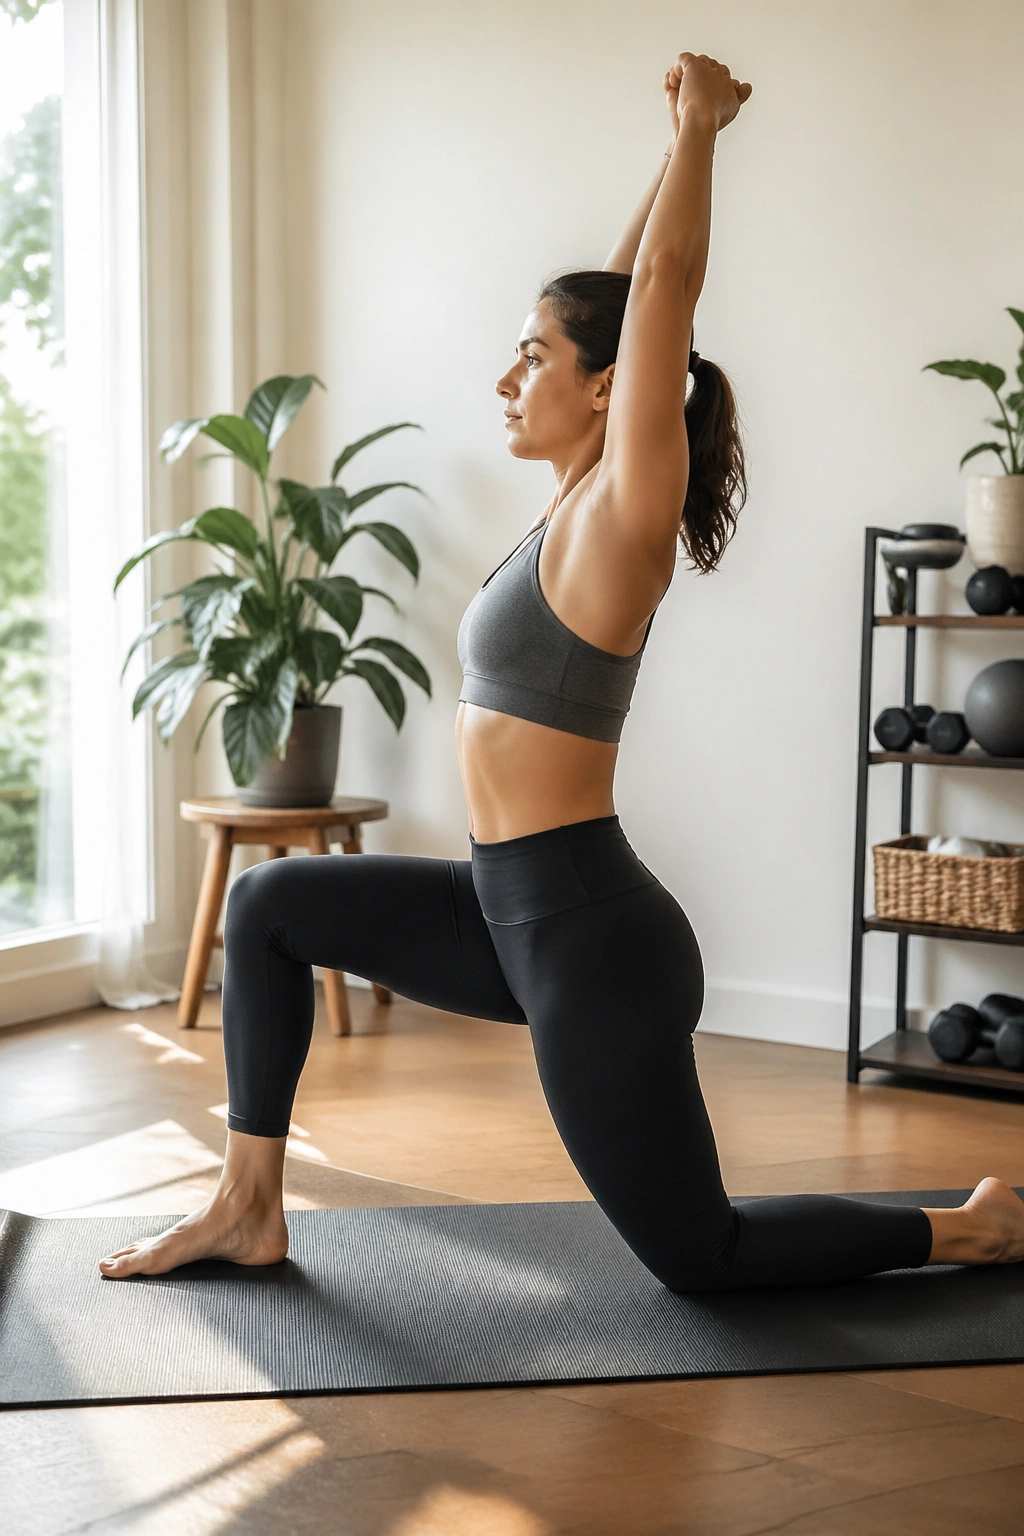
This is a more active cousin of the kneeling hip flexor stretch. Set up in a half-kneel, then glide the hips forward a few inches and back again, keeping the torso upright and the front foot rooted.
The forward shift opens the front of the kneeling hip. The backward shift lets you come out of the stretch without losing control. That back-and-forth rhythm is useful when a static hold feels too intense or when the hip needs a bit more movement than a long stretch can give.
You can also add a light overhead reach once the pelvis stays steady. Keep the move small. If the front knee slides or caves in, reset the stance and shorten the range.
This one feels especially good after a day of sitting. Not magical. Just practical.
18. Supine Windshield Wipers
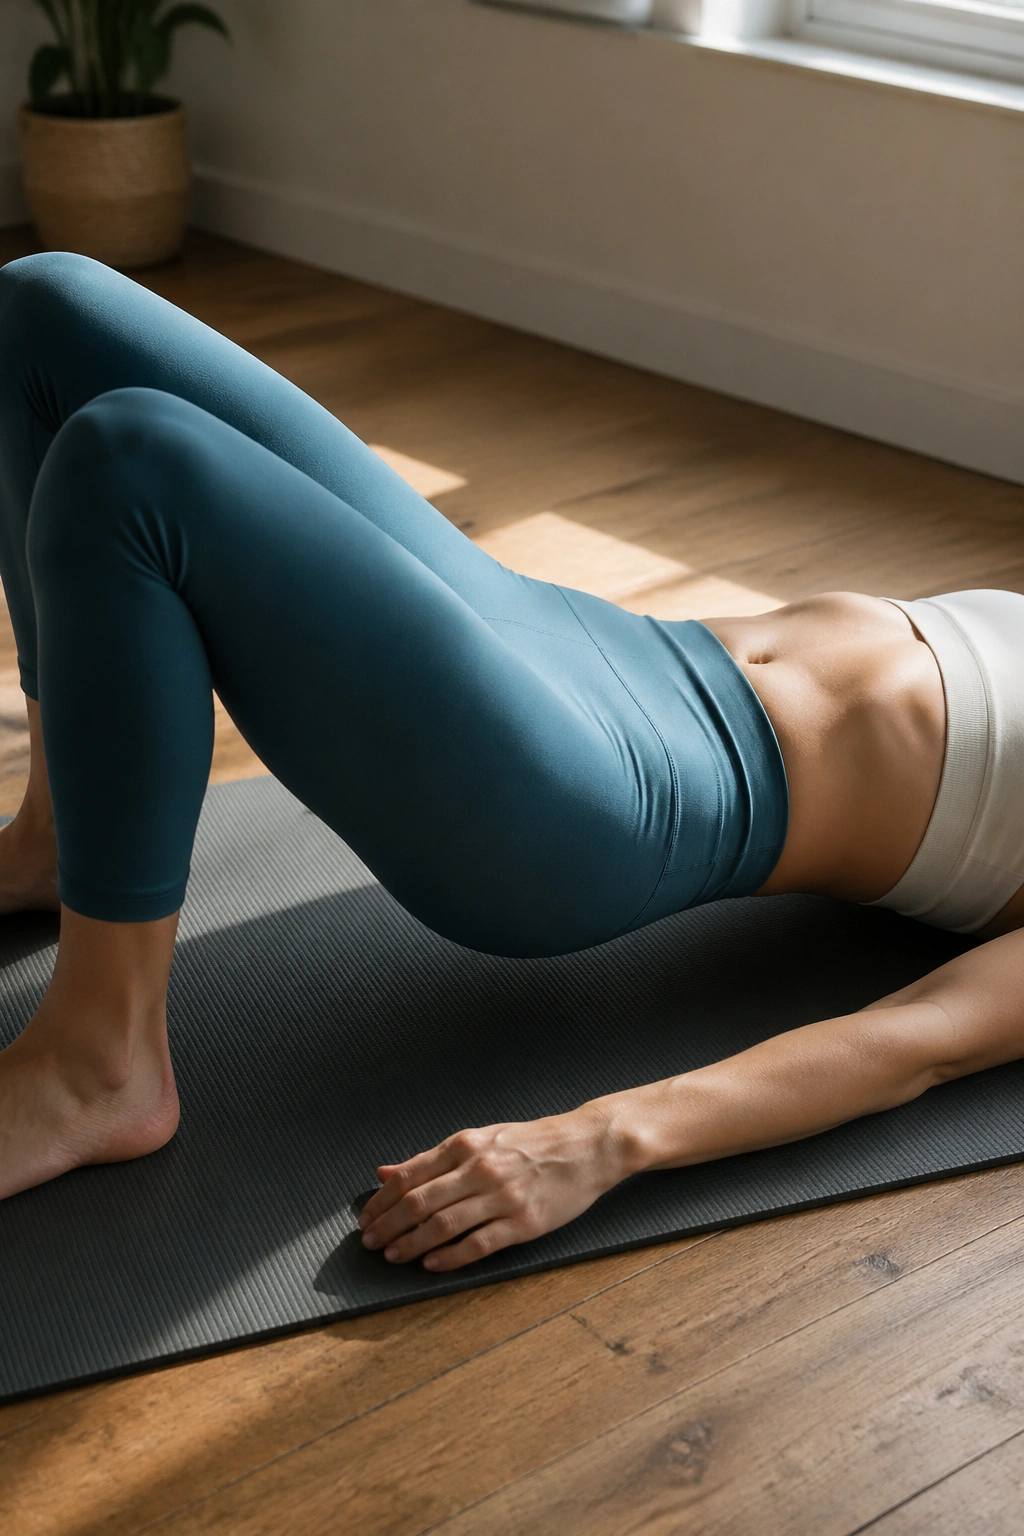
Lie on your back with knees bent and feet either planted or lifted together, depending on what your back likes. Let both knees tip gently side to side like windshield wipers. The hips rotate, the lower spine follows, and the whole area gets a calm reset.
If your low back is sensitive, keep the feet on the floor and make the sweep tiny. If the knees are happy and the trunk stays relaxed, you can float the feet and let the legs move a little farther. There is no need to force the knees to the floor.
Best way to use it at the end of a session
This is a nice finish after the more active work above. Three to five slow sweeps each way is enough. Let the breath get longer on the way down, and do not rush the return. A quiet set of windshield wipers can leave the hips feeling looser than a much harder drill, which is one of those annoying little truths that keeps showing up in Pilates.
If you want a simple order for these Pilates hip mobility exercises at home, start on the floor, move into kneeling work, then finish standing. That progression gives the body a chance to settle before balance enters the picture, and it usually makes the standing drills feel cleaner.
