



Back pain has a way of making ordinary movement feel suspicious. Turning in bed. Reaching for a mug. Standing up from a sofa that suddenly seems too low.
Pilates back workouts for pain relief work because they ask the body to organize itself instead of bracing harder. The deep abs, glutes, and small muscles around the spine learn to share the load, and that usually matters more than blasting through a sweaty routine.
Not every sore back should be handled the same way. If pain shoots down the leg, if there’s numbness or weakness, or if a fresh injury is in play, get it checked properly. Gentle movement can help many stubborn back aches, but it is not a fix for everything.
The sweet spot is almost boring. Slow breath. Small range. Clean control. That’s usually where a cranky back starts to settle instead of arguing back, so it makes sense to begin with the pelvis before asking the spine to do anything fancy.
1. Pelvic Tilts for Back Pain Relief
A tight low back usually wants a little pelvic motion before it wants a deep stretch. Pelvic tilts are one of those moves that look almost too simple, which is exactly why they belong at the start of a back-friendly Pilates session.
Why It Helps
When you gently tip the pelvis, the lower spine gets a tiny amount of movement without load. That can take the edge off stiffness, especially after sitting for a long stretch or waking up stiff. You’re not forcing anything. You’re reminding the area that motion is safe.
Lie on your back with your knees bent and feet flat, hip-width apart. Exhale and let your lower back settle toward the mat; inhale and return to a neutral curve. Keep the movement small enough that your ribs don’t flare and your glutes don’t clench hard.
- Do 8 to 10 slow reps.
- Keep your shoulders soft and heavy.
- Use a folded towel under your head if your neck feels cranky.
- If your back arches a lot, make the tilt smaller, not bigger.
Best tip: think of this as a quiet reset, not a crunch. If the motion feels jerky, you’re doing too much.
2. Cat-Cow on the Mat
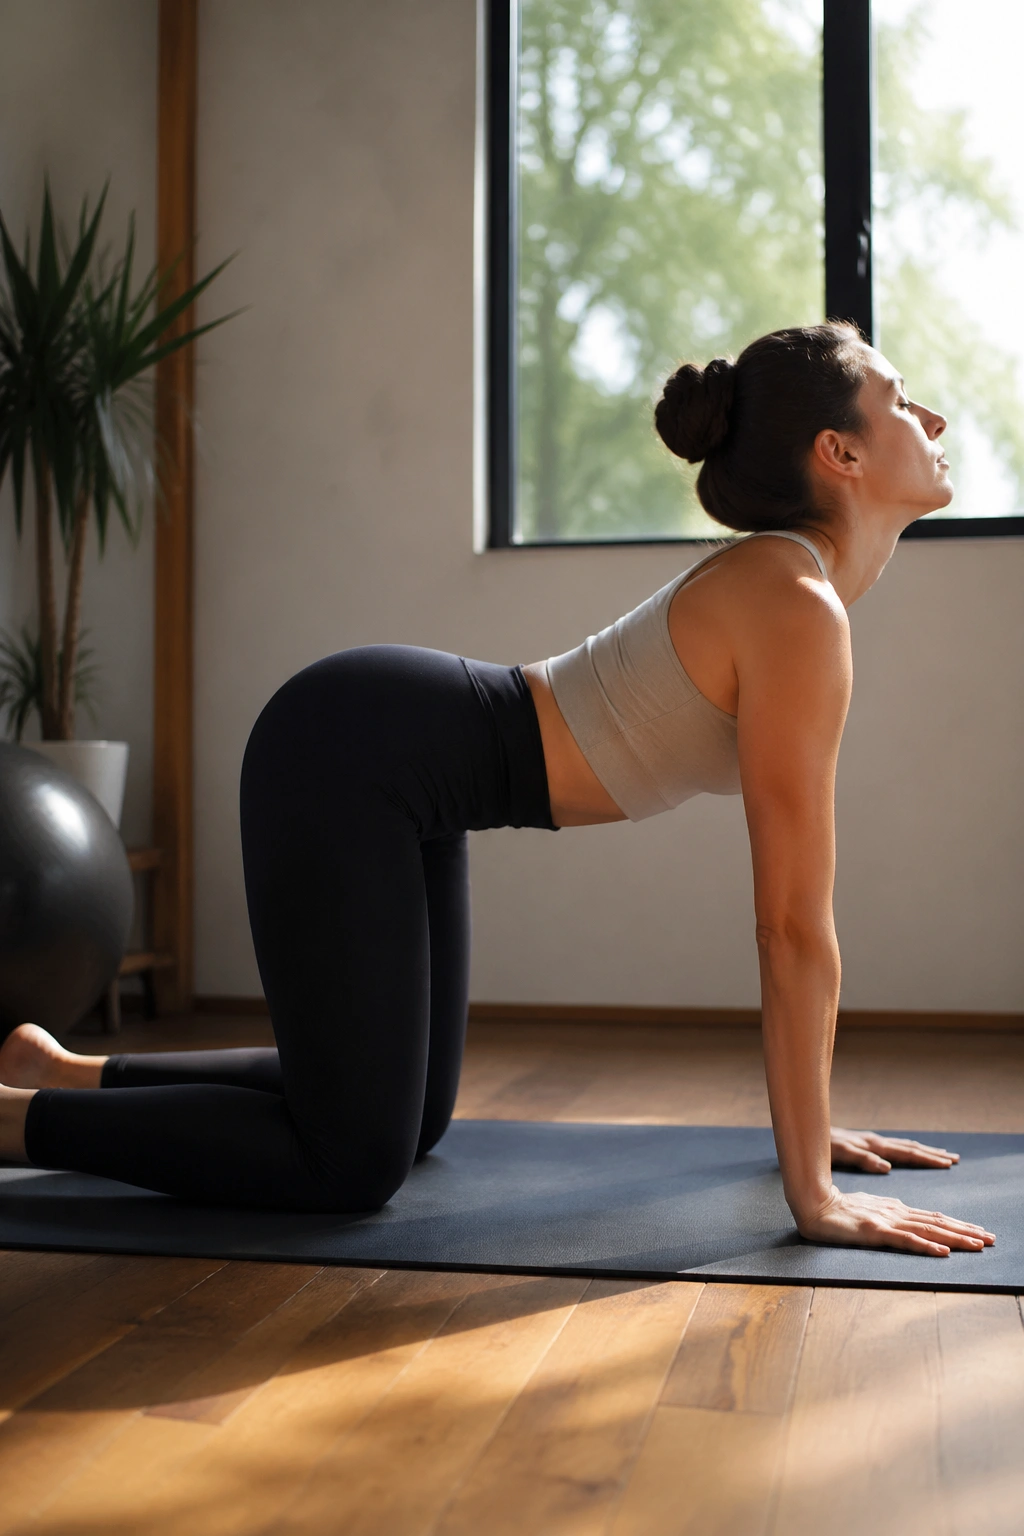
Cat-cow works best when it is slow enough to hear your breath. Rushed cat-cow turns into a neck wiggle and a lower-back dump, and that misses the point entirely.
This move helps the spine move segment by segment instead of as one stiff block. The thoracic spine — the middle of your back — often gets locked up when you sit a lot, and cat-cow gives it a gentle wake-up call. That matters because a low back often hurts more when the middle back refuses to share the job.
Start on hands and knees, or on forearms if your wrists are tender. Inhale as you let the chest widen and the tailbone lift a little. Exhale as you round the back softly and draw the belly in. Keep the motion smooth and stop before you feel any pinching.
A lot of people go too far into the arching phase. Don’t. A small, clean curve is enough. Six slow rounds can do more than twenty rushed ones, and your back will usually tell you so by feeling less guarded afterward.
3. Child’s Pose with Side Reach
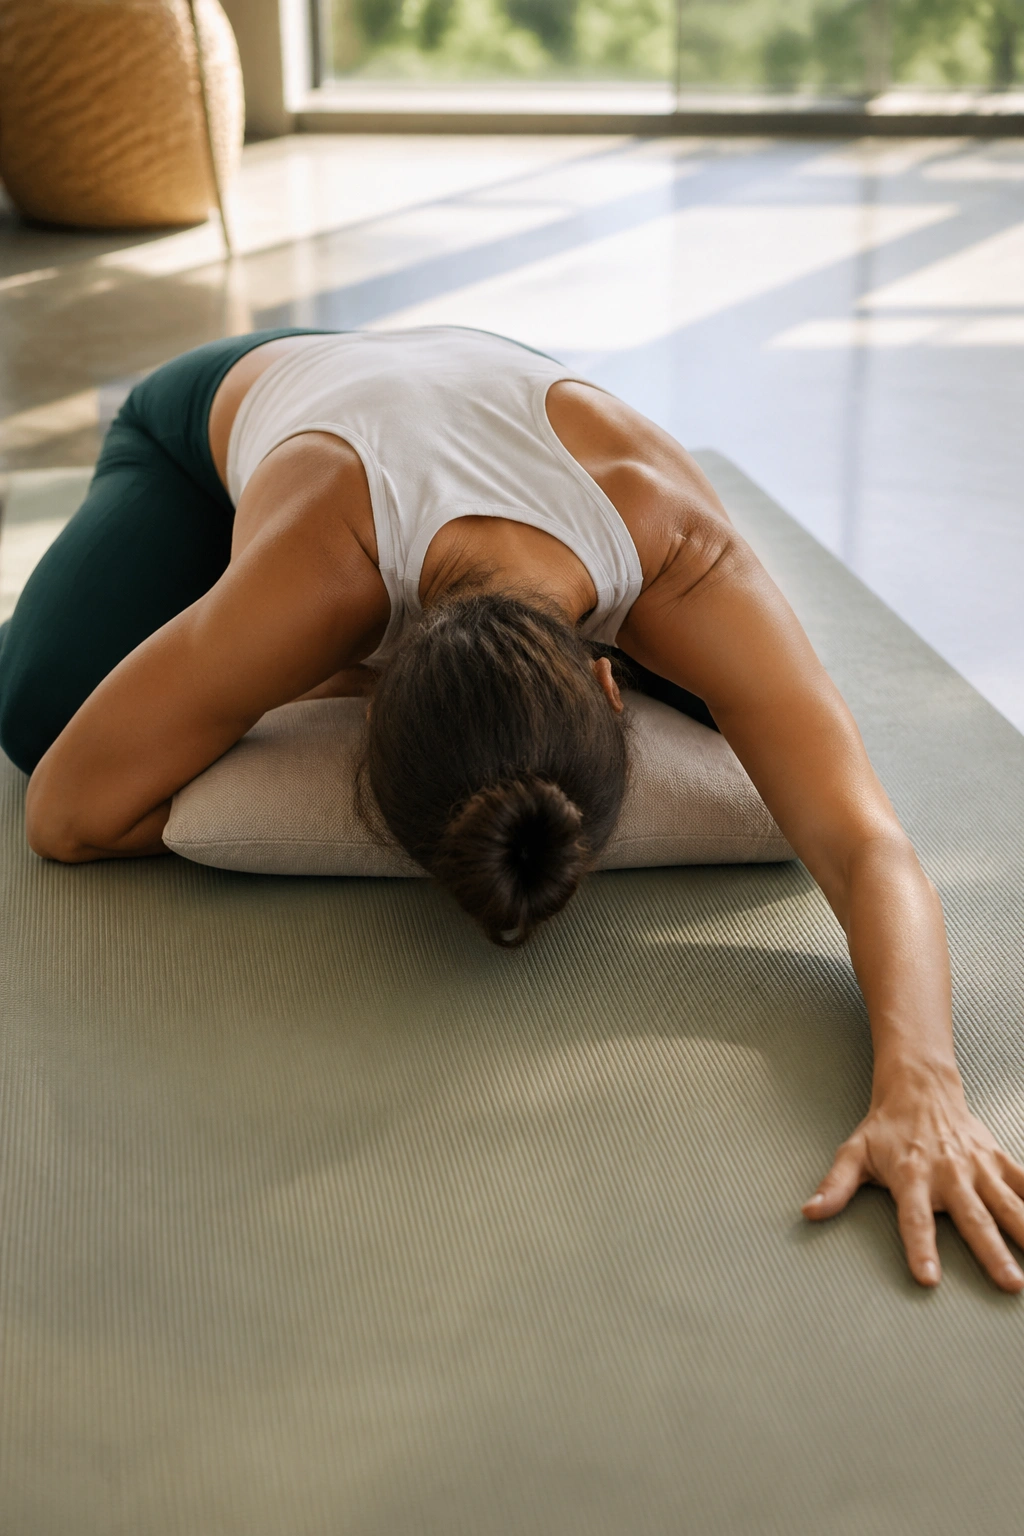
Can a stretch help a cranky back without yanking on it? Yes — if you keep it gentle and let the breath do some of the work.
Child’s pose with a side reach opens the side body, lats, and the tissues that often tug on the lower back when they’re tight. The move feels especially good after computer work, long driving, or any day that leaves you a little compressed through the ribs.
How to Use It
Come into child’s pose with your knees as wide as is comfortable. Reach both arms forward, then walk one hand a few inches to the right while keeping your hips heavy. Take 3 slow breaths there. Return to center, then repeat on the left.
A pillow under the chest or between the hips and heels can make this feel much kinder. If your knees dislike deep bending, keep the hips a little higher and still work the side reach.
One small detail matters here: let the breath go into the back of the ribs. That’s where the space tends to come from. If the stretch feels sharp in the low back, back off and shorten the range.
4. Dead Bug Heel Taps
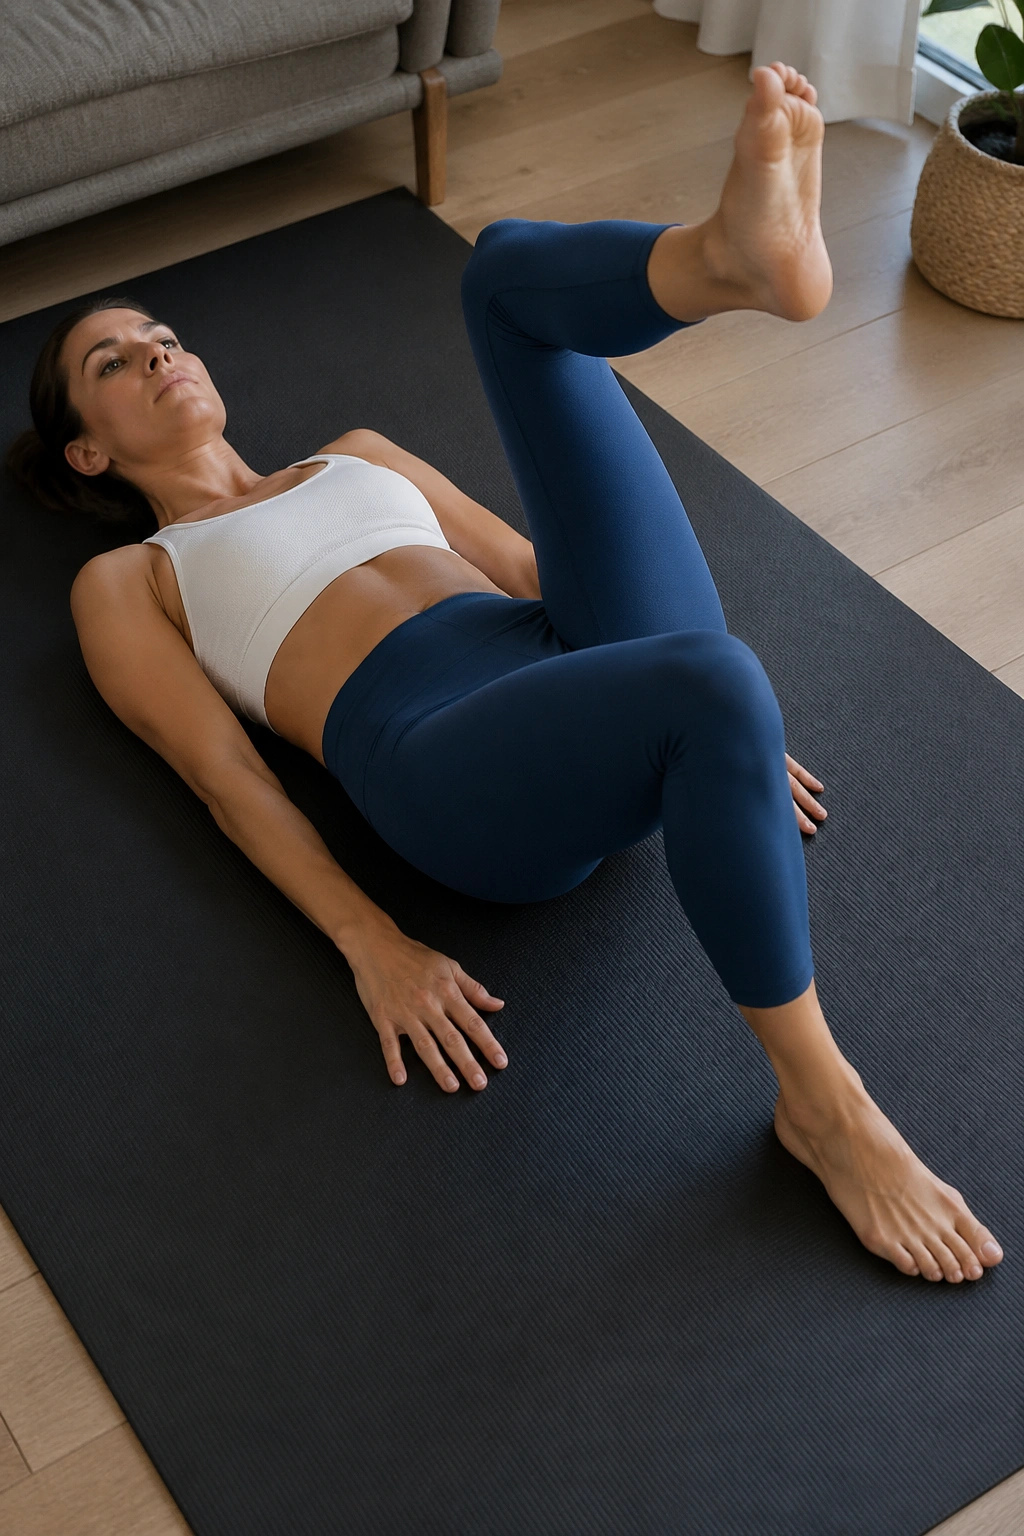
If your back aches after sitting all day, the answer is not usually more crunching. Dead bug heel taps train the front of the trunk to hold steady while the legs move, which is a big deal for people whose backs complain when they walk, bend, or lift.
The whole exercise is about resisting the urge to arch. That’s it. Small is the whole point.
Lie on your back with knees bent over the hips. Exhale and draw the belly gently in so your low back feels heavy. Lower one heel to tap the floor, then bring it back in. Alternate sides for 6 to 8 taps per side.
- Keep the pelvis quiet.
- If the low back pops up, raise the legs higher.
- If the neck strains, keep the head down.
- Move only as far as you can control.
The best version of this move feels almost underwhelming. That’s a good sign. If you turn it into a race, your back starts doing the work your abs were supposed to handle.
5. Glute Bridge
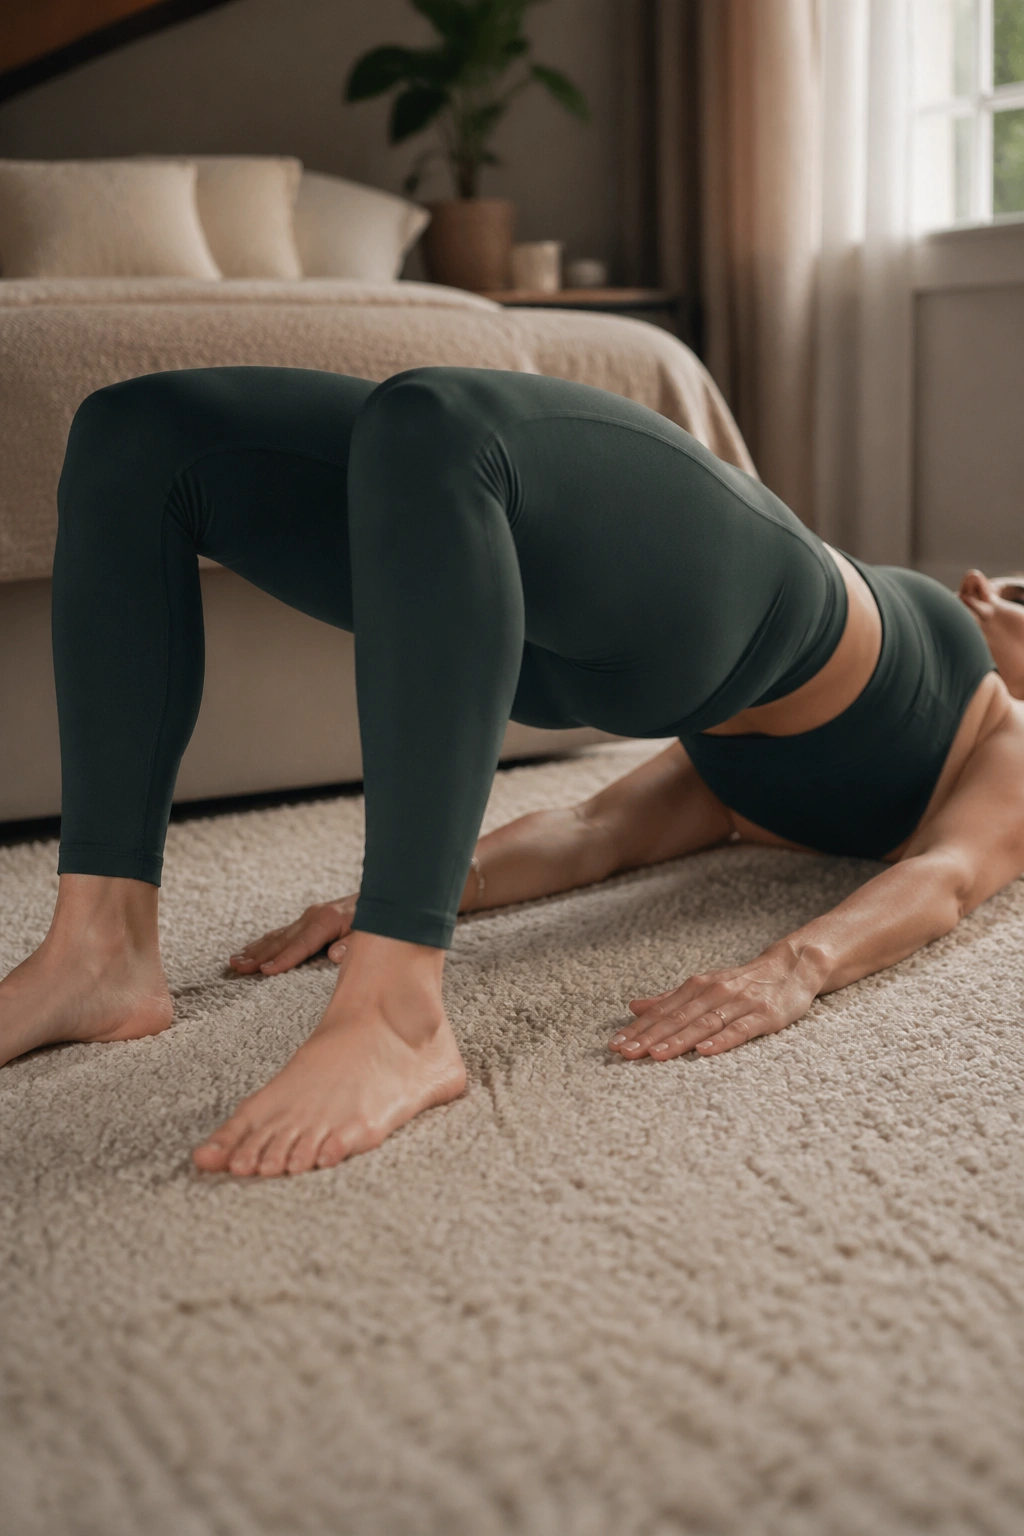
A lot of backs calm down when the glutes finally start pulling their weight. Glute bridges are one of the cleanest ways to do that, and they’re especially useful when the low back has been doing too much for too long.
Lie on your back with knees bent and feet about sitting-bone width apart. Exhale, gently tuck the pelvis, and lift your hips until your body makes a long line from shoulders to knees. Hold for a breath or two, then lower slowly. Eight controlled lifts is plenty for most people.
The mistake I see most often is the huge arch at the top. That’s not a bridge; that’s the low back taking over. Keep the ribs quiet and think about lifting from the back of the thighs and the seat, not from the spine itself.
Simple. Effective.
If your hamstrings cramp, walk your feet a little farther away. If your back pinches, lower the bridge height. There’s no prize for getting your hips sky-high.
6. Bird Dog Reach
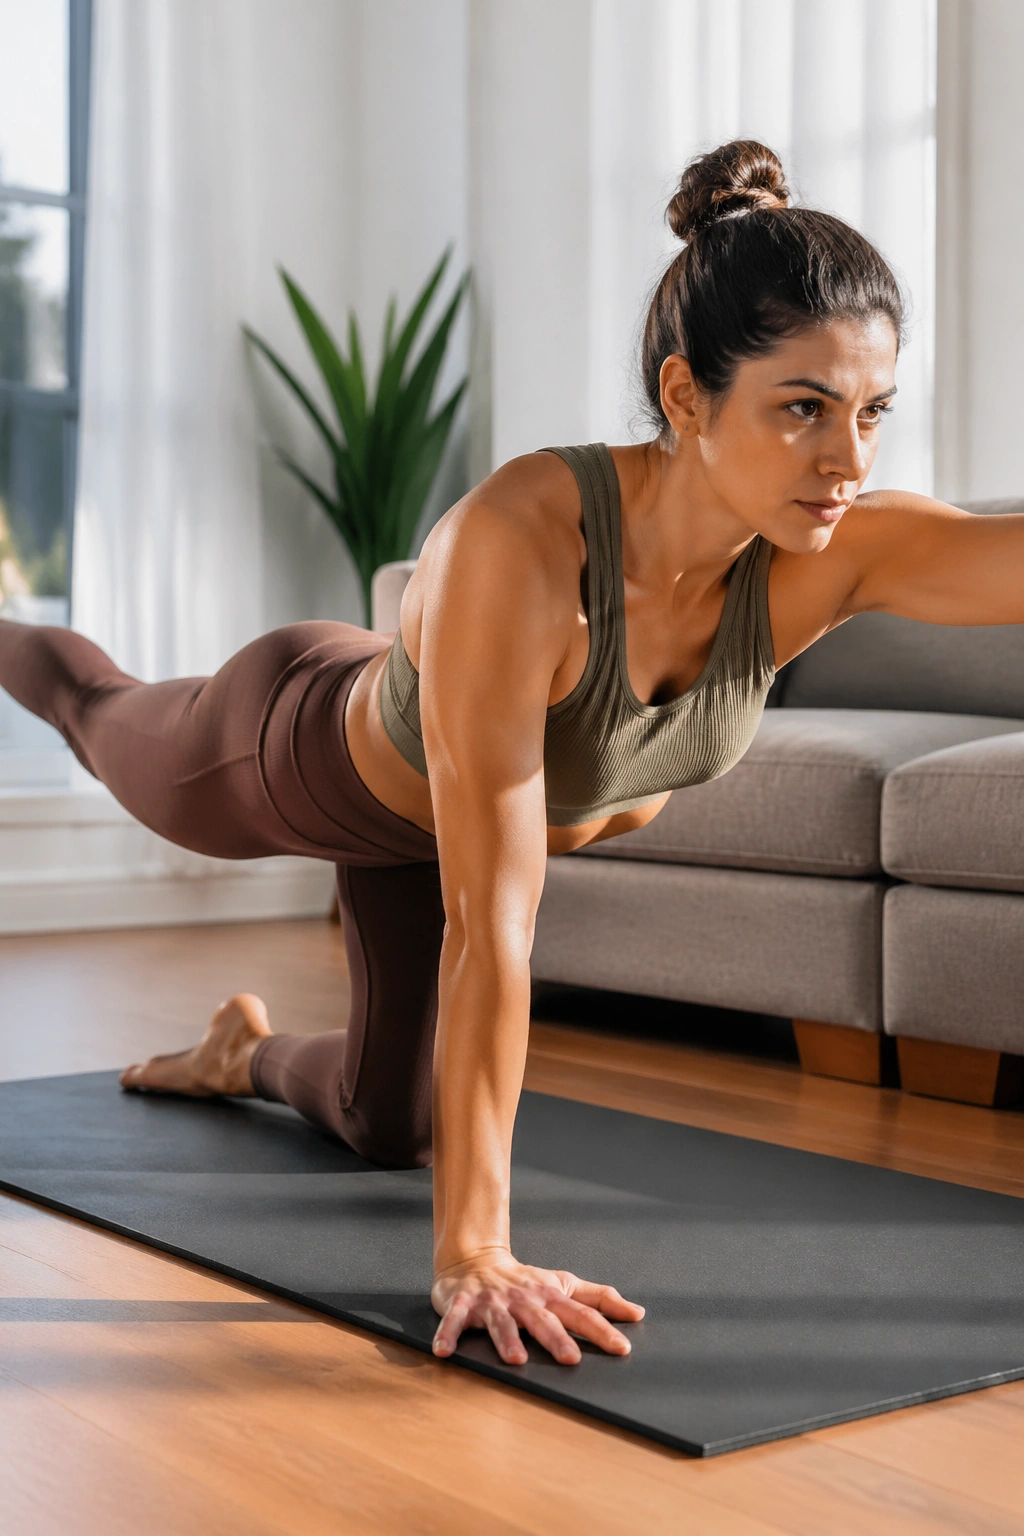
Unlike crunches, bird dog teaches your trunk not to twist when your limbs move. That makes it a favorite of mine for desk workers, runners, and anyone whose back feels one-sided or wobbly after standing too long.
Start on hands and knees with your wrists under shoulders and knees under hips. Reach one leg straight back and the opposite arm forward, but keep the lift small. The hips stay square; the ribs stay quiet. Hold for 2 seconds, then switch sides for 5 to 6 reps each way.
What Makes It Different
This is not about height. If your leg goes up too high, the low back often arches and you lose the point of the exercise. A lower reach, done with more control, usually helps more.
I like to think of bird dog as a moving plank with manners. It teaches stability without locking you up, and that matters when a back feels fragile.
If you shake a little, that’s fine. If you’re swaying a lot, shorten the reach and slow down.
7. Supine Spine Twist
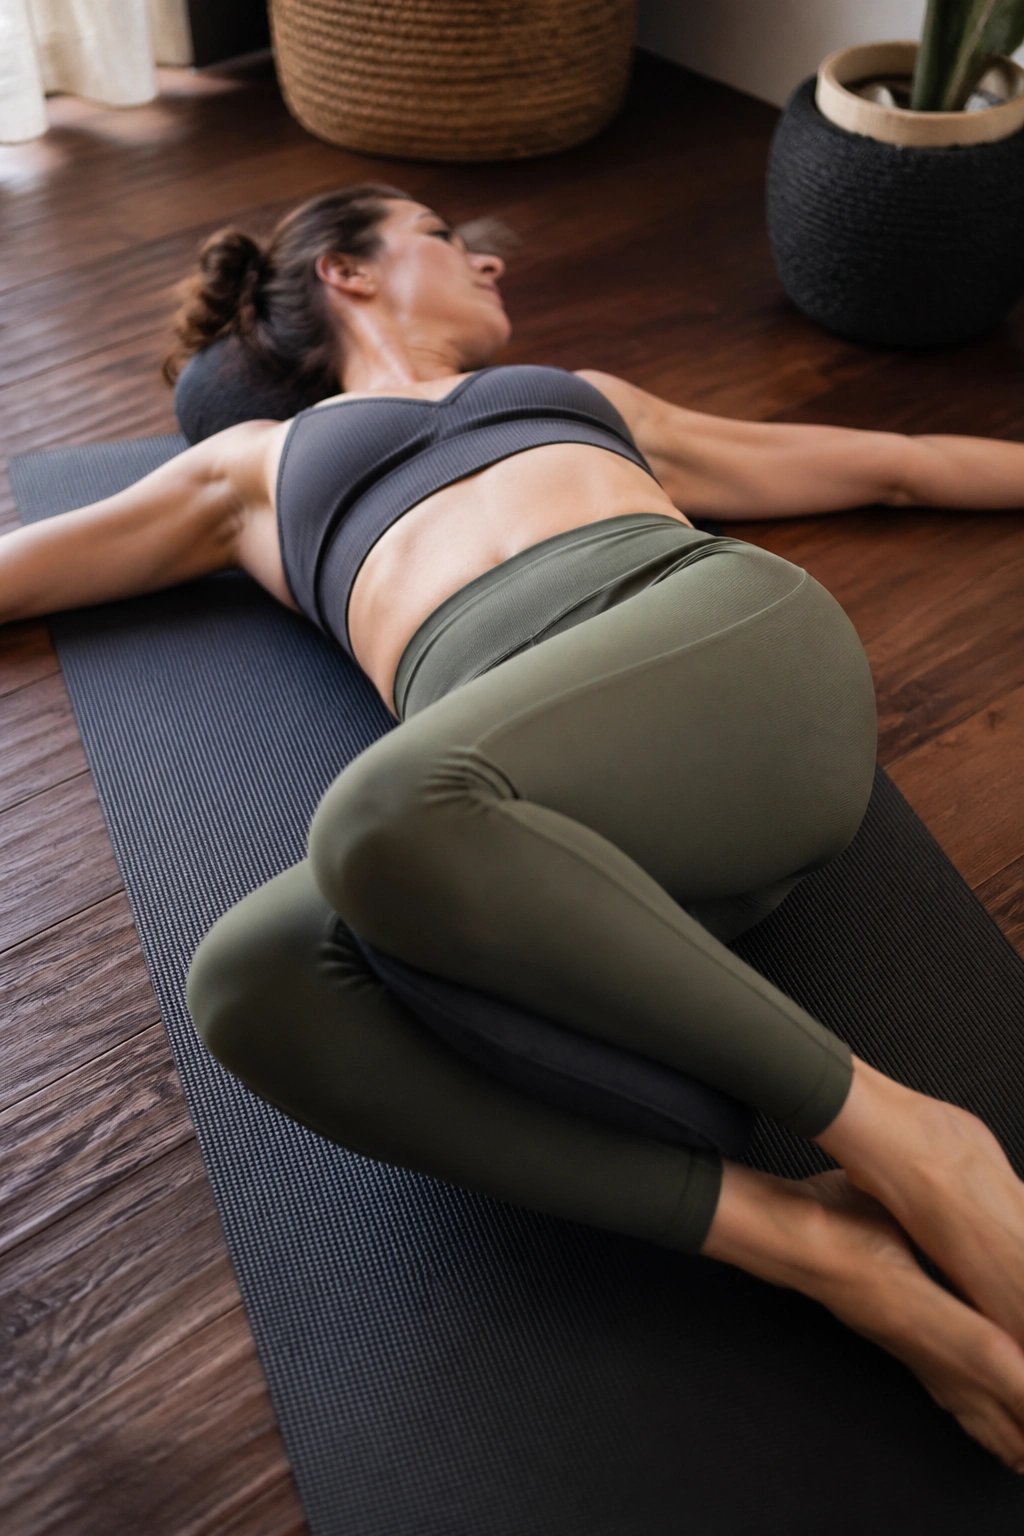
Rotation can be useful, but only when it stays mild. A supine spine twist gives the ribs and upper back some gentle motion while keeping the whole thing supported by the floor.
Lie on your back with your arms out like a T and knees bent together. Let both knees drift a few inches to one side while your shoulders stay heavy. Breathe there, then come back to center and repeat on the other side. Try 5 slow drops per side.
What to Watch For
The twist should feel like a release, not a wrench. If your knees go so far that one shoulder lifts, you’ve probably moved too much. A pillow or folded blanket between the knees can make the position feel more settled.
Skip this one if rotation clearly aggravates your back, especially after a disc flare-up. Not every spine likes twisting on a given day. That is normal, not a failure.
The useful part is small. Let the ribs open, let the breath slow, and keep the pelvis calm.
8. Hundred Prep
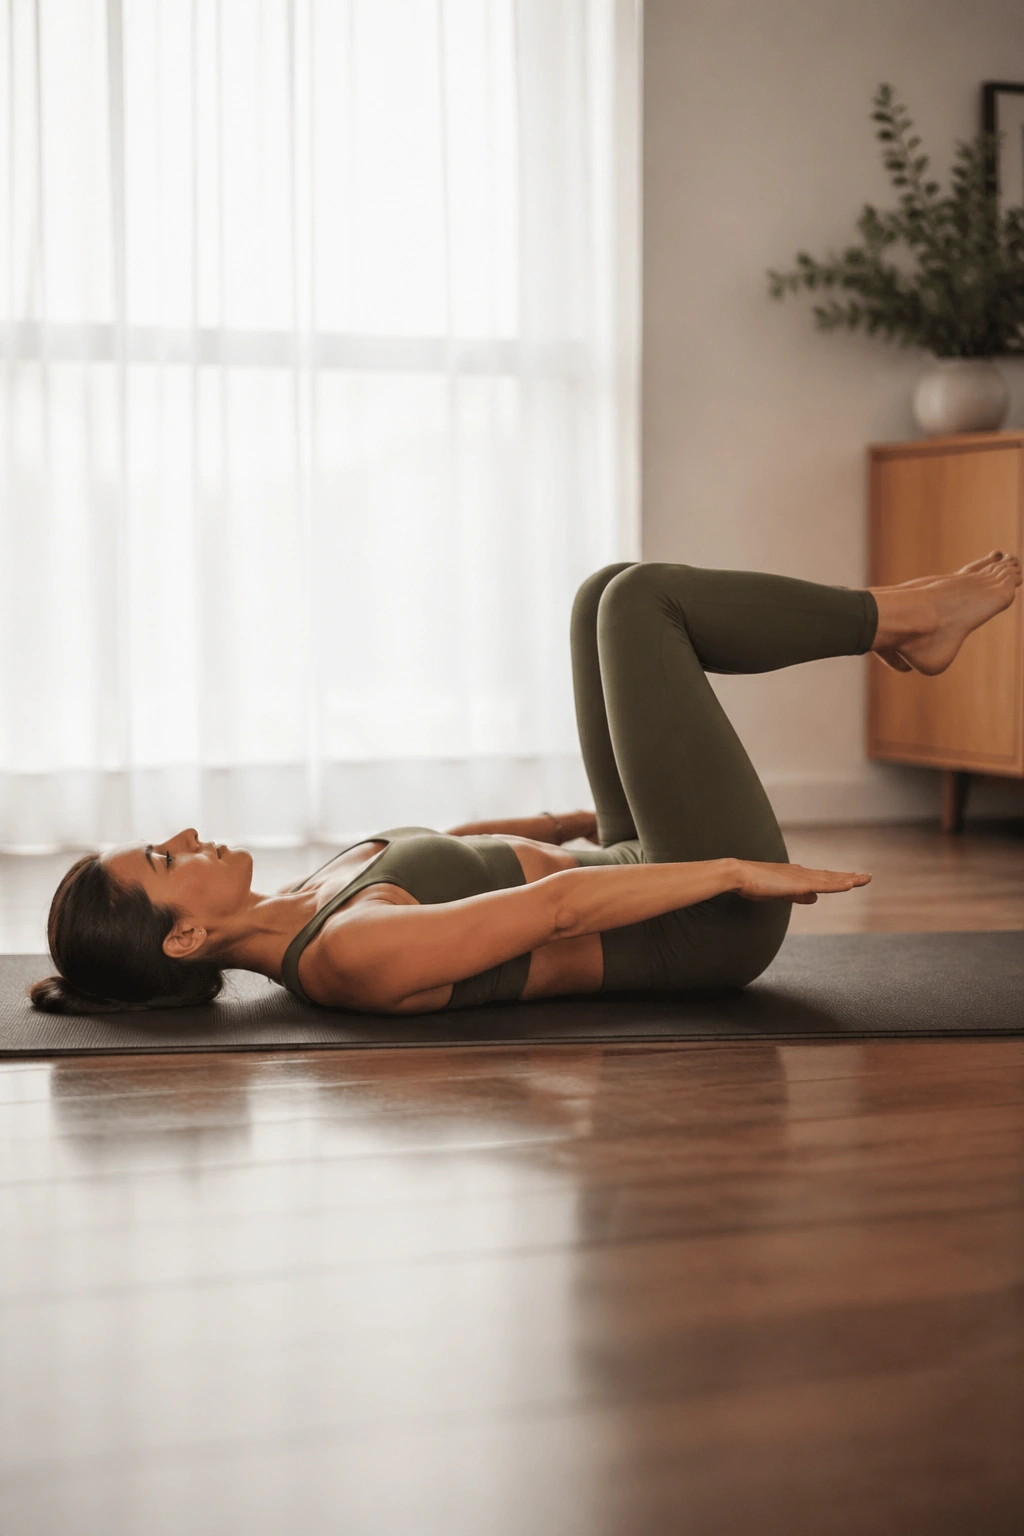
You do not need the full Hundred to get the payoff. The prep version gives you the breathing pattern and core control without turning your neck into a complaint department.
Lie on your back with knees bent or lifted to tabletop if that feels safe. Lift your arms a few inches and pump them lightly while you take a long inhale for five counts and a long exhale for five counts. Start with 4 to 6 breath cycles.
The main thing is keeping the low back settled. If your abdomen bulges or your back arches, put your feet back down. If your neck gets tired, keep your head on the mat. No heroics.
This move often helps people understand what “support from the front” feels like. Once that support is there, the back doesn’t have to brace quite so hard.
9. Swimming Prep
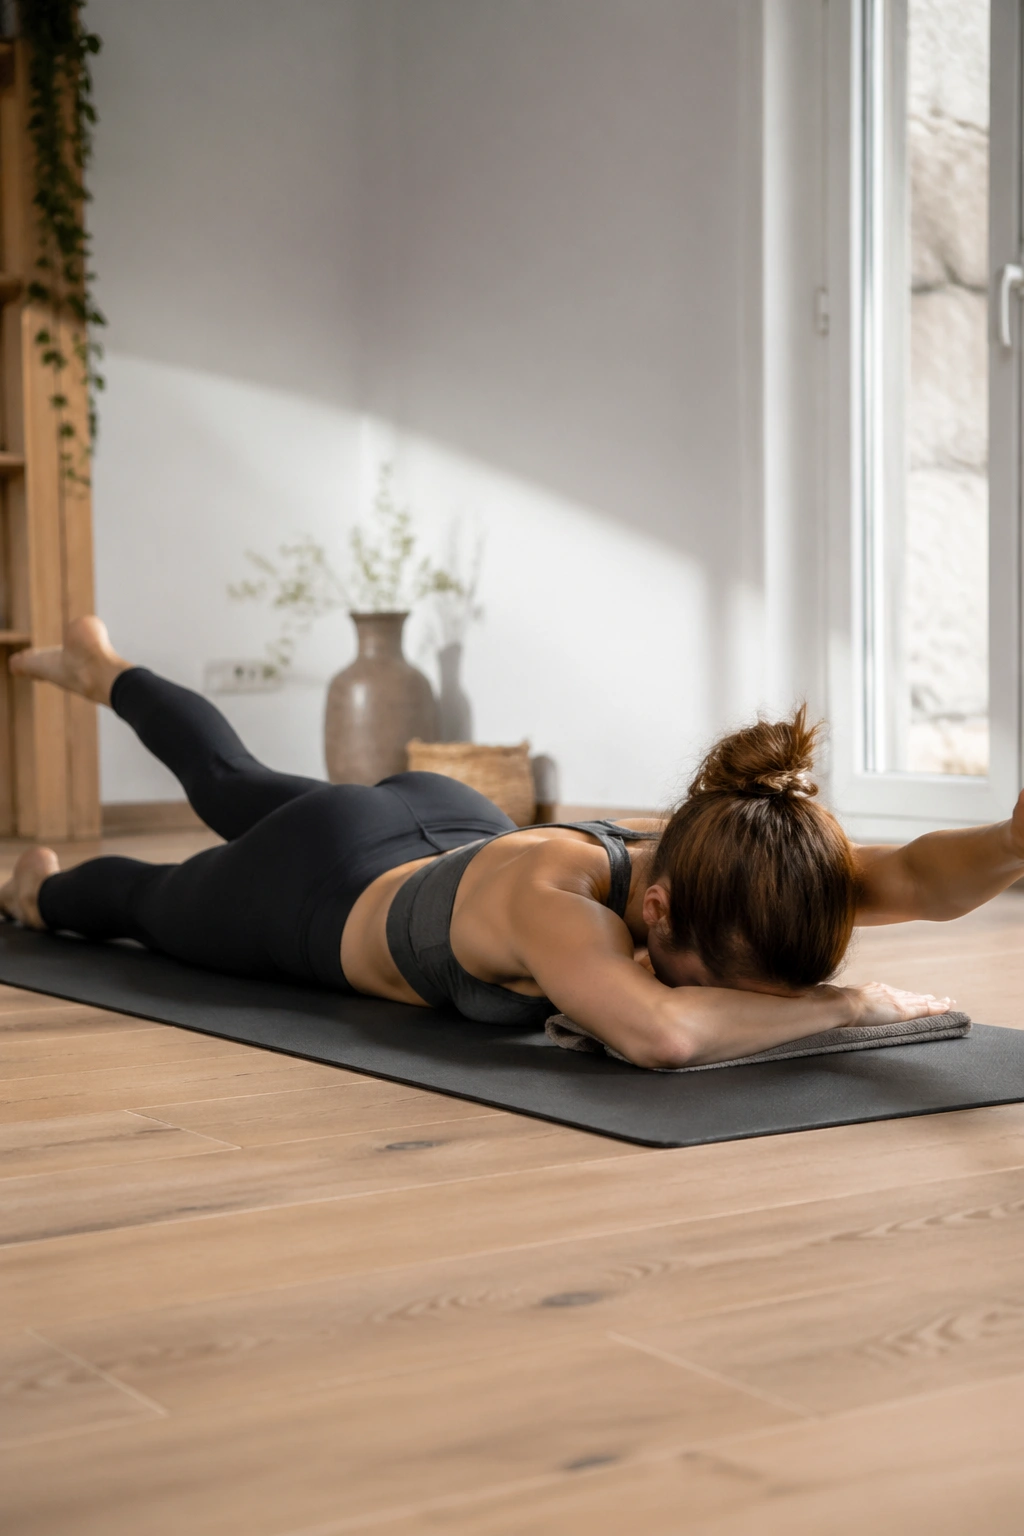
What if your back needs strength more than stretch? Swimming prep answers that with tiny lifts and a steady torso, which is exactly why it belongs in a back-friendly Pilates routine.
Lie face down with your forehead on your hands or a small towel. Lift one arm and the opposite leg just a little, then lower and switch. Keep the pubic bone heavy on the mat so the low back does not jam up. Start with 6 alternating lifts per side.
How to Use It
The lift should be low, almost modest. If the leg flies high, the spine usually compensates. Think long, not high. Think reaching, not tossing.
This move wakes up the glutes and upper back without a lot of compression. If your low back feels pinched on your stomach, place a thin pillow under the pelvis and reduce the range.
I like this one for people who sit all day and then wonder why their back feels weak. That weakness is often part of the pain story.
10. Side-Lying Leg Lifts
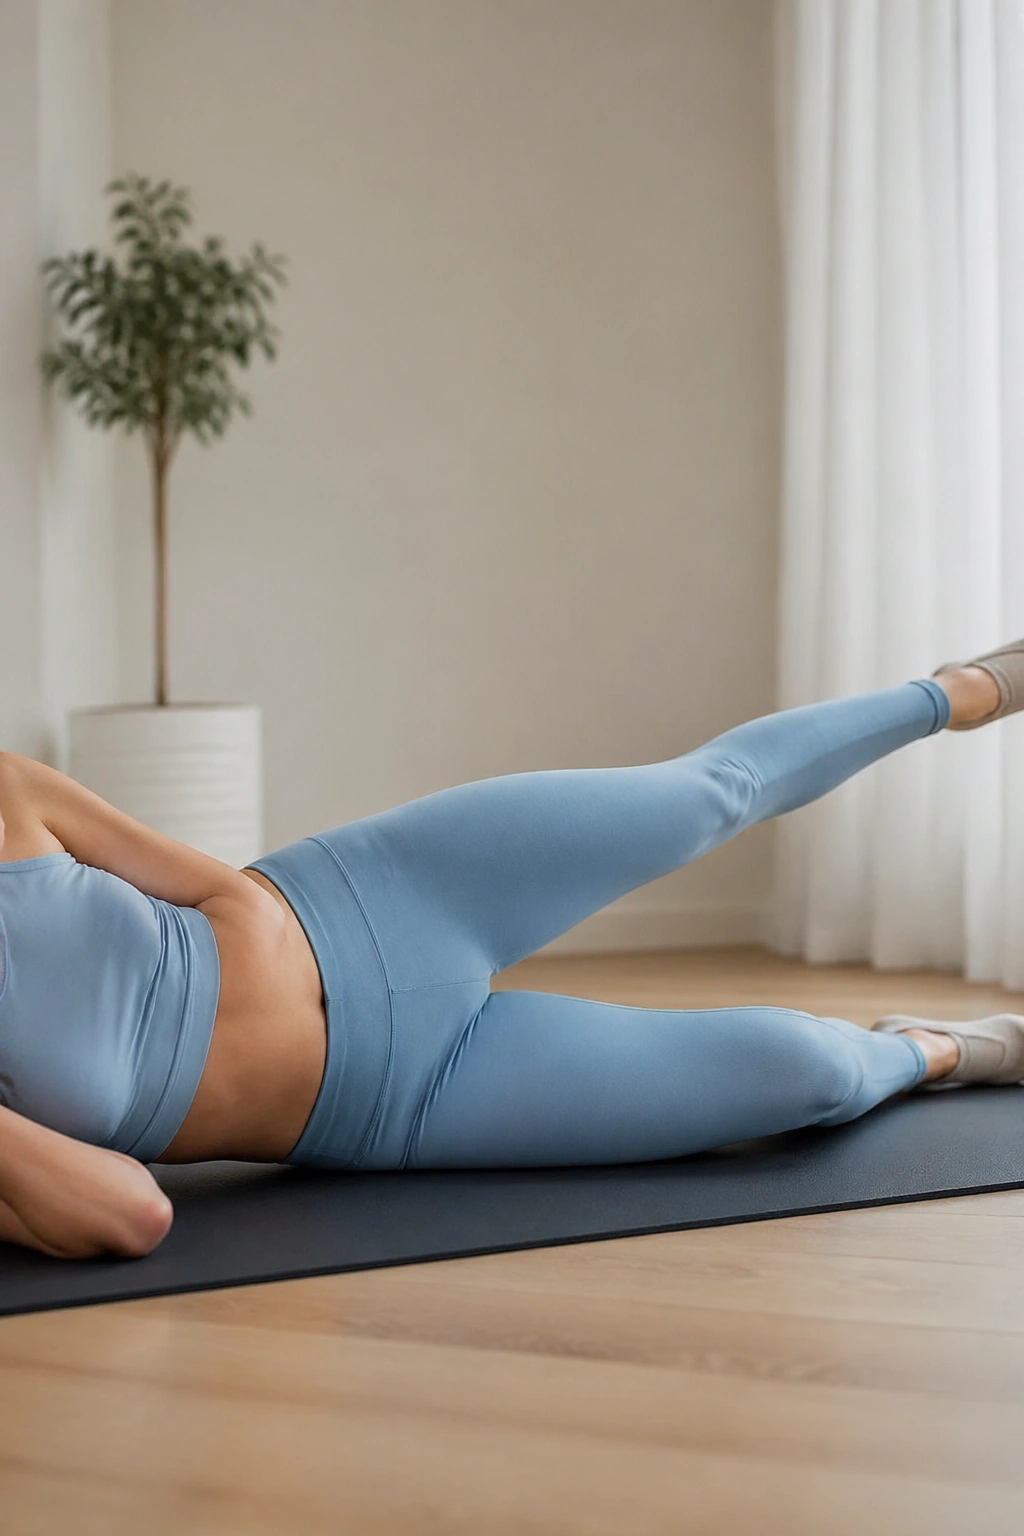
Side-lying work is a gift to a sore back because the spine gets to stay quiet while the hips do the job. Side leg lifts strengthen the muscles that keep the pelvis steady, which can take pressure off the low back when you walk or stand.
Lie on one side with your head supported and your hips stacked. Lift the top leg to about hip height, then lower it slowly without letting the waist collapse. Keep the top toes pointed slightly down so the front of the hip doesn’t take over. Aim for 8 to 12 lifts per side.
- Keep both hips stacked.
- Make the lift small.
- Pause for 1 second at the top.
- Stop if the waist starts hiking toward the ribs.
Small correction beats big strain. If you feel the side waist cramping, move the top leg a little behind you. That tiny shift often changes the whole exercise.
11. Clamshells
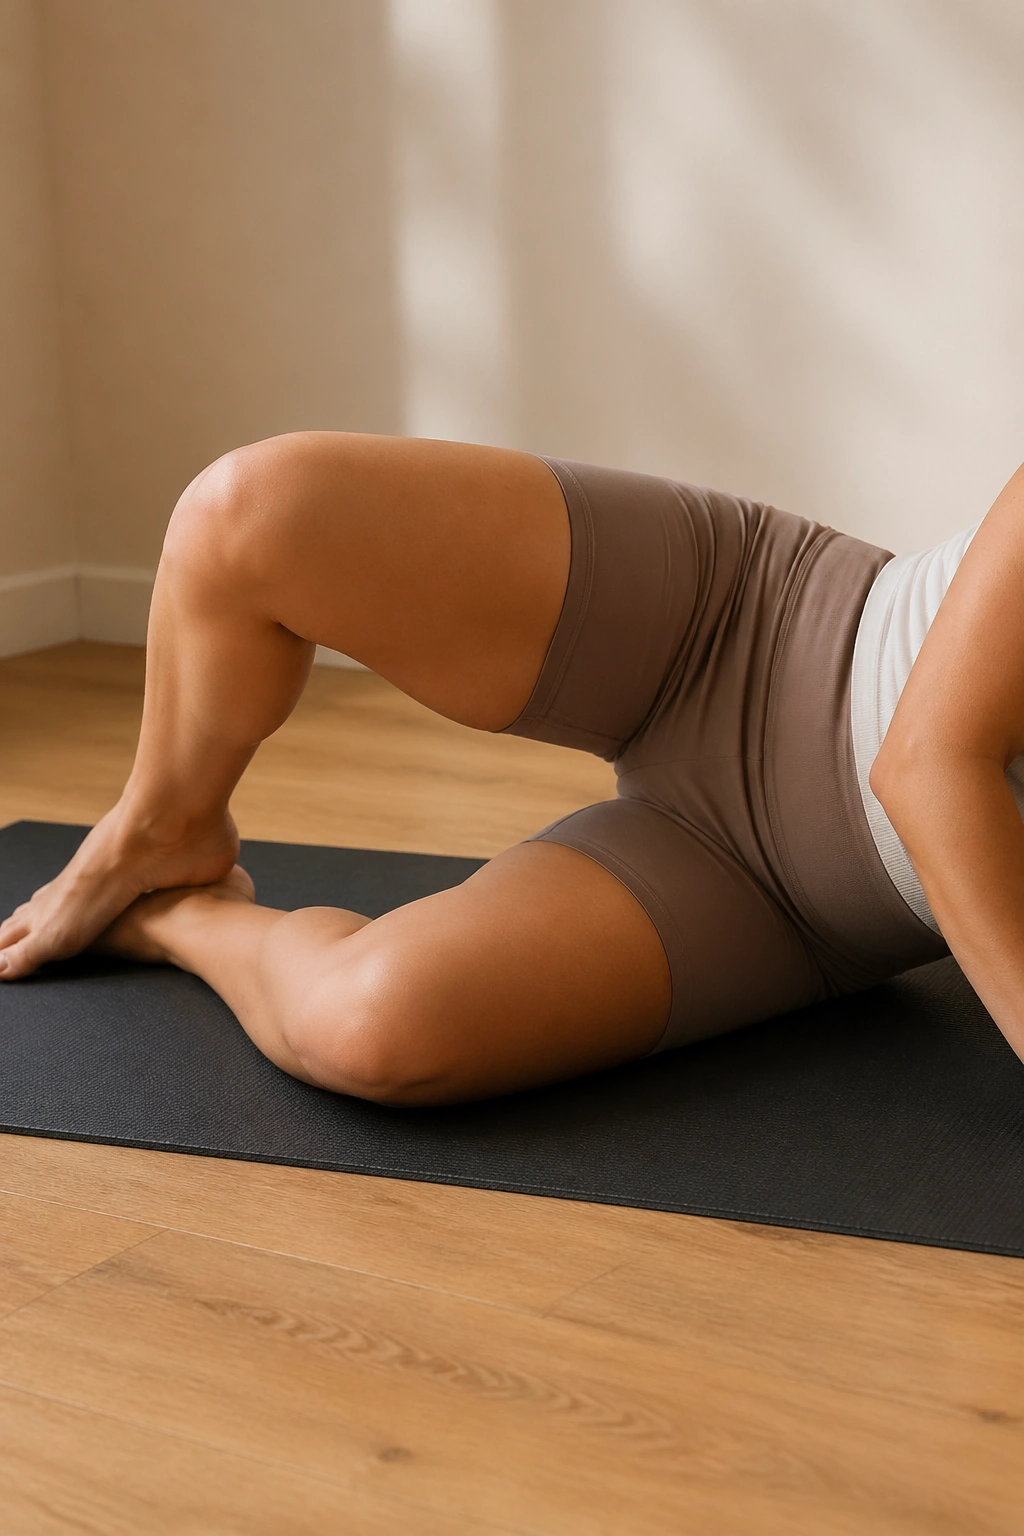
Clamshells look tiny on the mat, and that is part of the appeal. They train the glute medius, one of the quiet workhorses that keeps the pelvis from tipping and the low back from overworking.
Lie on your side with knees bent and feet together. Keep your hips stacked and open the top knee a few inches, then close it slowly. If the body rolls backward, the move has already gone off track. 10 to 15 controlled reps is a solid place to start.
One reason this exercise helps back pain so often is that weak side hip muscles force the spine to compensate during walking and standing. That compensation gets expensive fast.
If you want to make it harder later, add a light loop band above the knees. But I would not start there. Clean form matters more than resistance, especially when the back is already fussy.
12. Mermaid Stretch
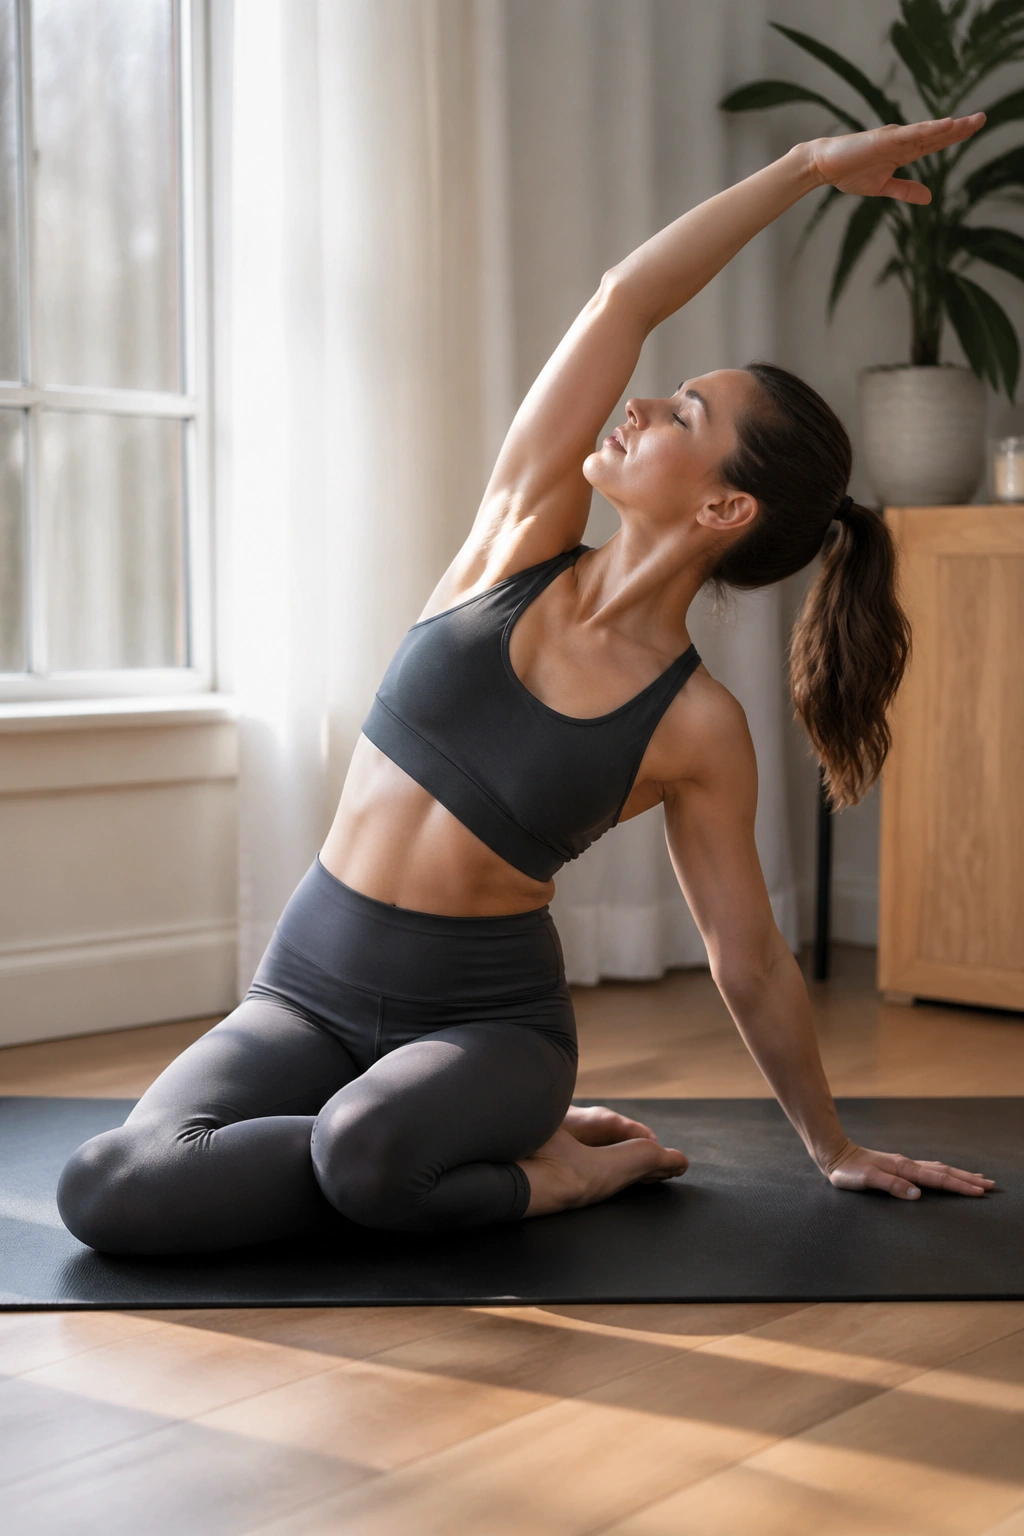
Mermaid is one of the nicest side-body stretches in Pilates, and it earns its keep when the back feels stiff from hours of sitting. Unlike a sloppy standing side bend, mermaid keeps the hips grounded so the ribs can open without a lot of wobble.
Sit with your legs folded to one side, one hand on the floor and the other arm reaching overhead. Lean gently away from the grounded side and breathe into the stretched ribs. Hold for 3 breaths, come back through center, then switch sides if the position allows.
What Makes It Different
This is a stretch that pays attention to the rib cage. A lot of back tension lives there, especially when breathing gets shallow and the shoulders creep upward.
If the hip on the stretching side lifts, sit on a folded blanket. That tiny lift often makes the spine much happier. Keep the bottom shoulder down; don’t let it ride up toward the ear.
Mermaid is one of my favorite moves for people who feel “stuck” through the middle of the back. It opens space without turning the whole body into a pretzel.
13. Saw Prep
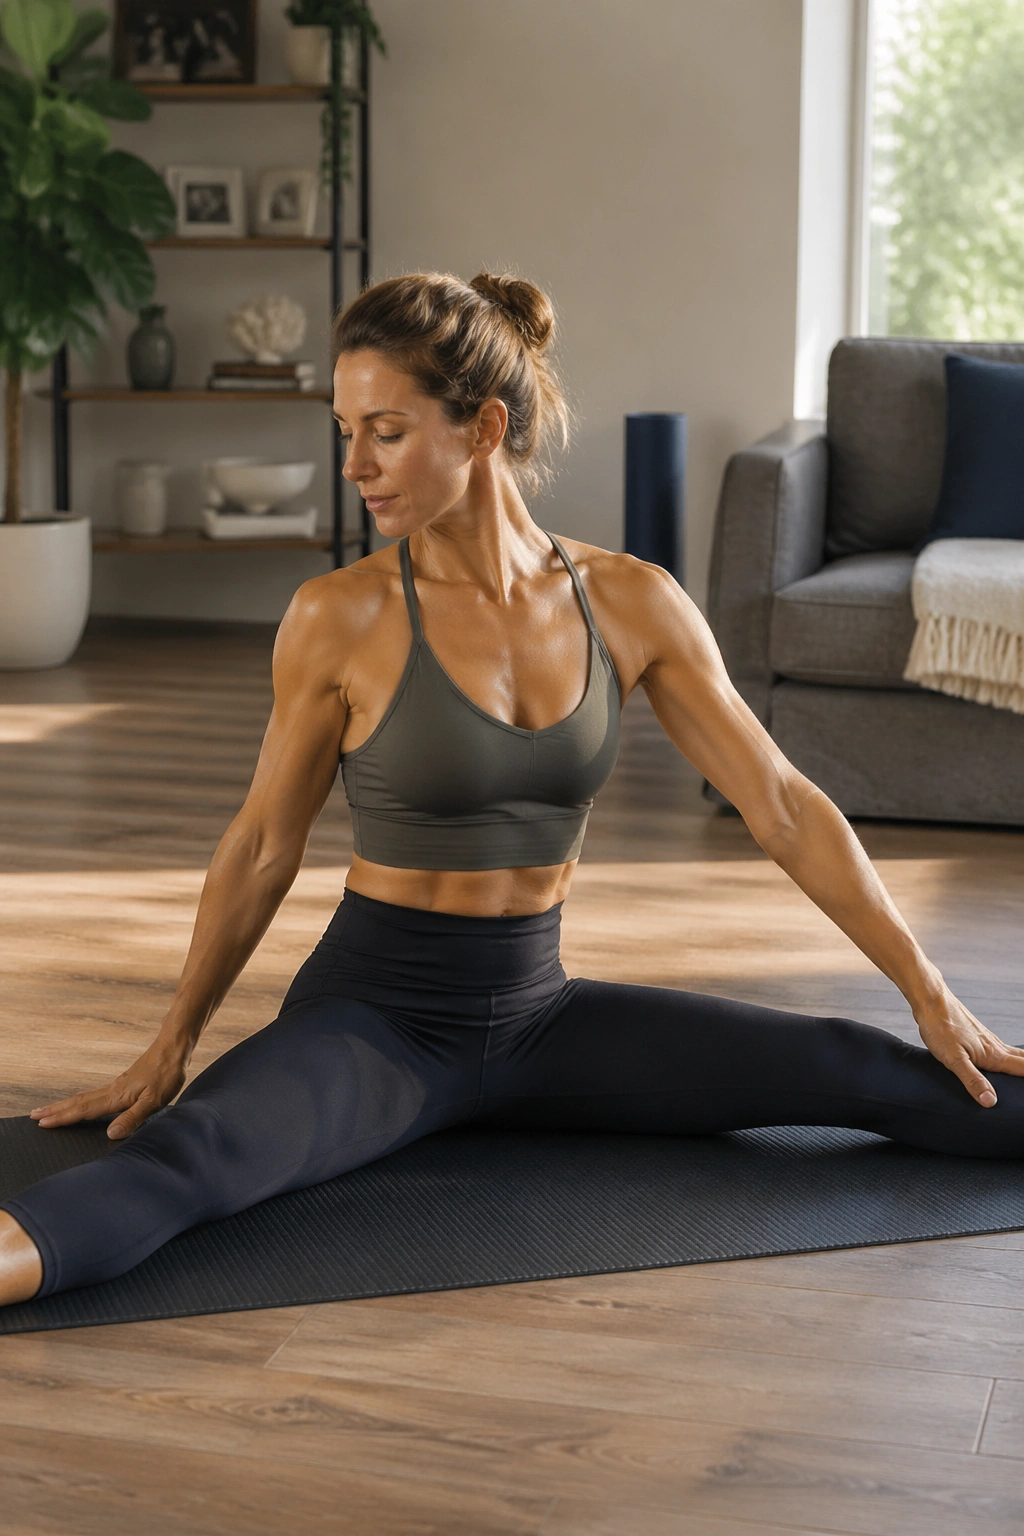
A hamstring stretch can behave like a back exercise when it’s done with control, and saw prep is a good example. The goal is not a giant reach. It is a long spine, a quiet pelvis, and a gentle twist through the ribs.
Sit tall with your legs open in a comfortable V, or bend the knees if your hamstrings are tight. Rotate your torso toward one leg, reach the opposite hand toward the little toe, and keep the sit bones heavy. Return to center and switch sides. Three slow reaches per side is enough.
Why It Works
The position asks the back to lengthen instead of collapse. If you round forward and yank, you lose the benefit.
- Sit on a folded towel if the pelvis tucks under.
- Bend the knees if the hamstrings pull too hard.
- Reach from the ribs, not the shoulder.
- Stop before the low back starts to round aggressively.
The saw often feels better after a few of the earlier moves in this list. It is a little more demanding, but still friendly when you keep the range small.
14. Open Book Rotation
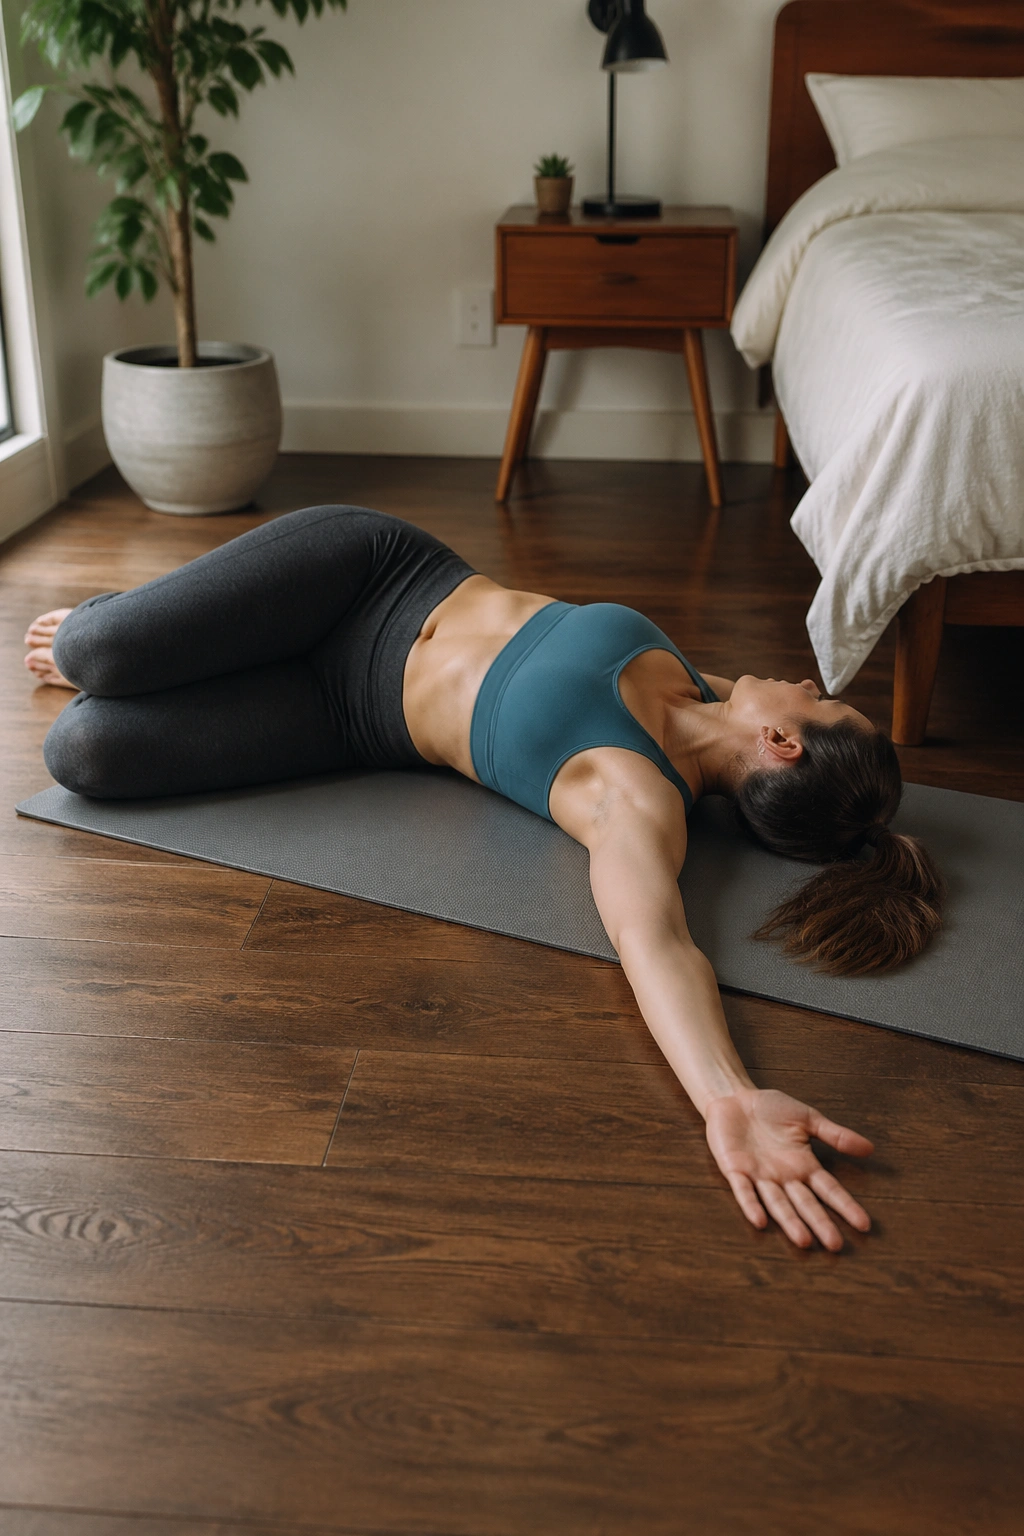
A small thoracic rotation can make the low back feel less guarded. Open book is one of those exercises that looks plain on paper and feels surprisingly useful in real life, especially after a long day at a desk.
Lie on one side with your knees bent and stacked. Reach both arms forward, then sweep the top arm open like a page turning while your eyes follow the hand. Keep the knees quiet and let the chest move first. Return slowly. Do 5 smooth reps on each side.
A pillow between the knees can keep the pelvis from dragging along for the ride. That matters. If the hips roll wildly, the lower back ends up taking the strain.
I like this move because it teaches the middle back to rotate without turning the whole spine into one stiff piece. That skill shows up later in everyday stuff — reaching into a car, looking over a shoulder, carrying groceries.
15. Shoulder Bridge March
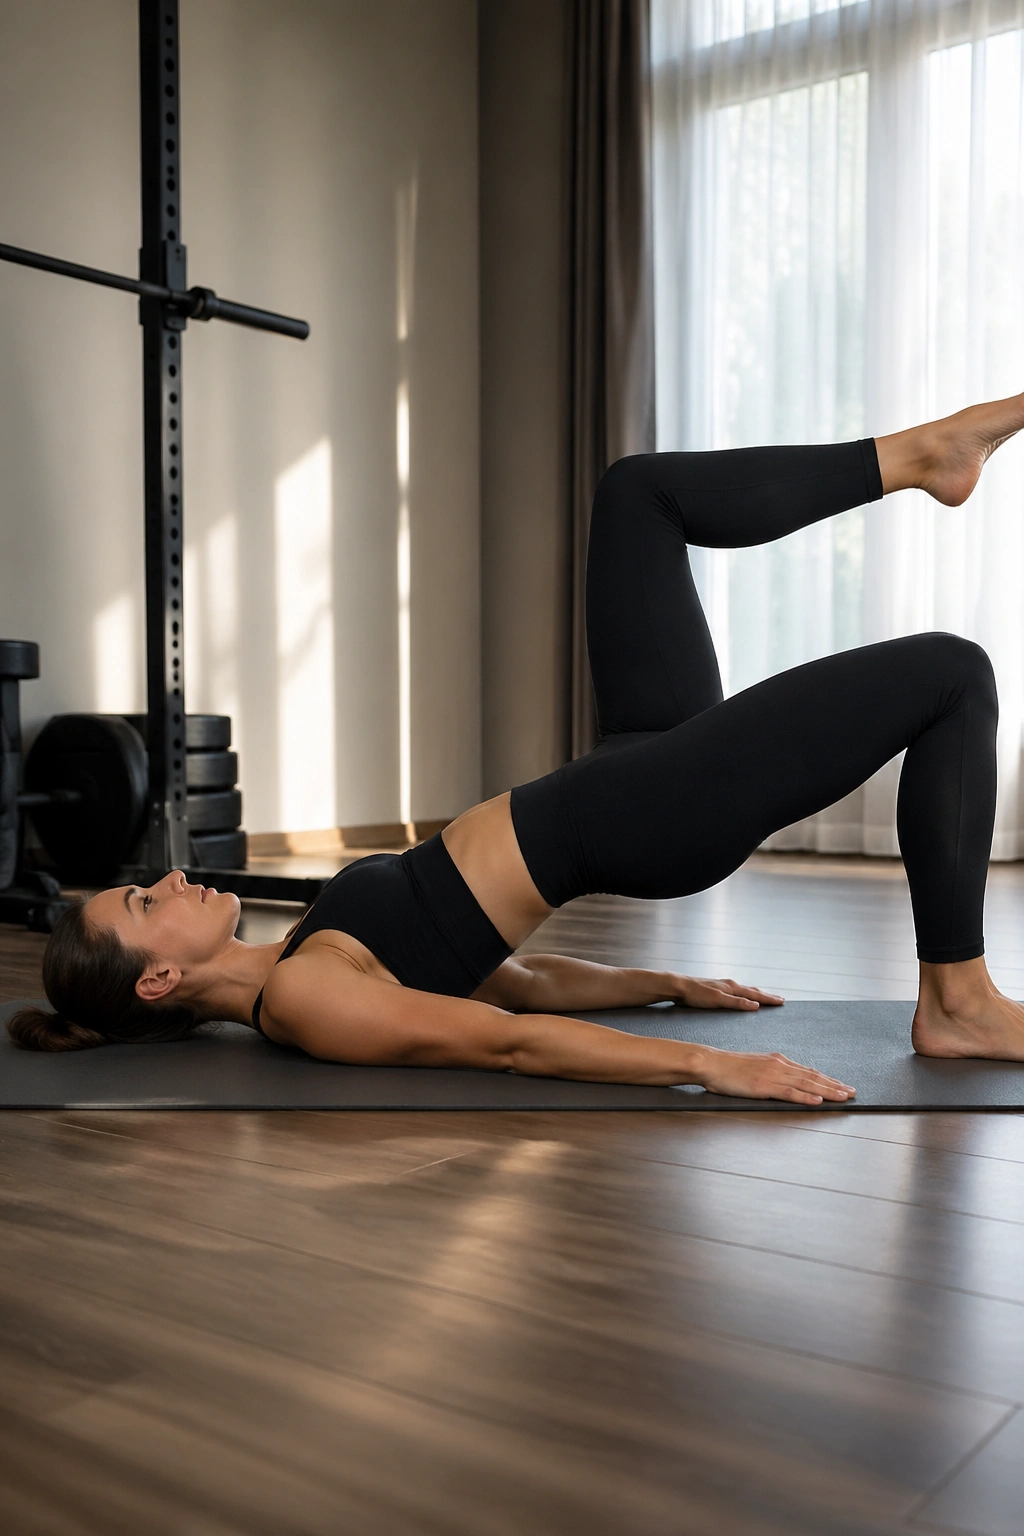
Want more challenge without making the back angry? Shoulder bridge march adds a little balance work to the glute bridge, and it can be excellent once the basic bridge feels easy and steady.
Lift into a bridge, then raise one foot a few inches without letting the pelvis tip. Set it down and switch sides. The whole torso should stay calm. If your hips rock, the march is too ambitious for the moment.
How to Keep the Pelvis Level
Think of the belt line as a tray of water. If the water sloshes, slow down. If one side drops, shorten the lift or keep both feet on the floor.
- Do 4 to 6 marches per side.
- Keep the lifted knee bent.
- Exhale on each lift.
- Lower out of the bridge if the hamstrings cramp.
This is one of those exercises that looks small but exposes weak spots fast. That’s useful information, not bad news. It tells you where the body needs more support.
16. Single-Leg Stretch
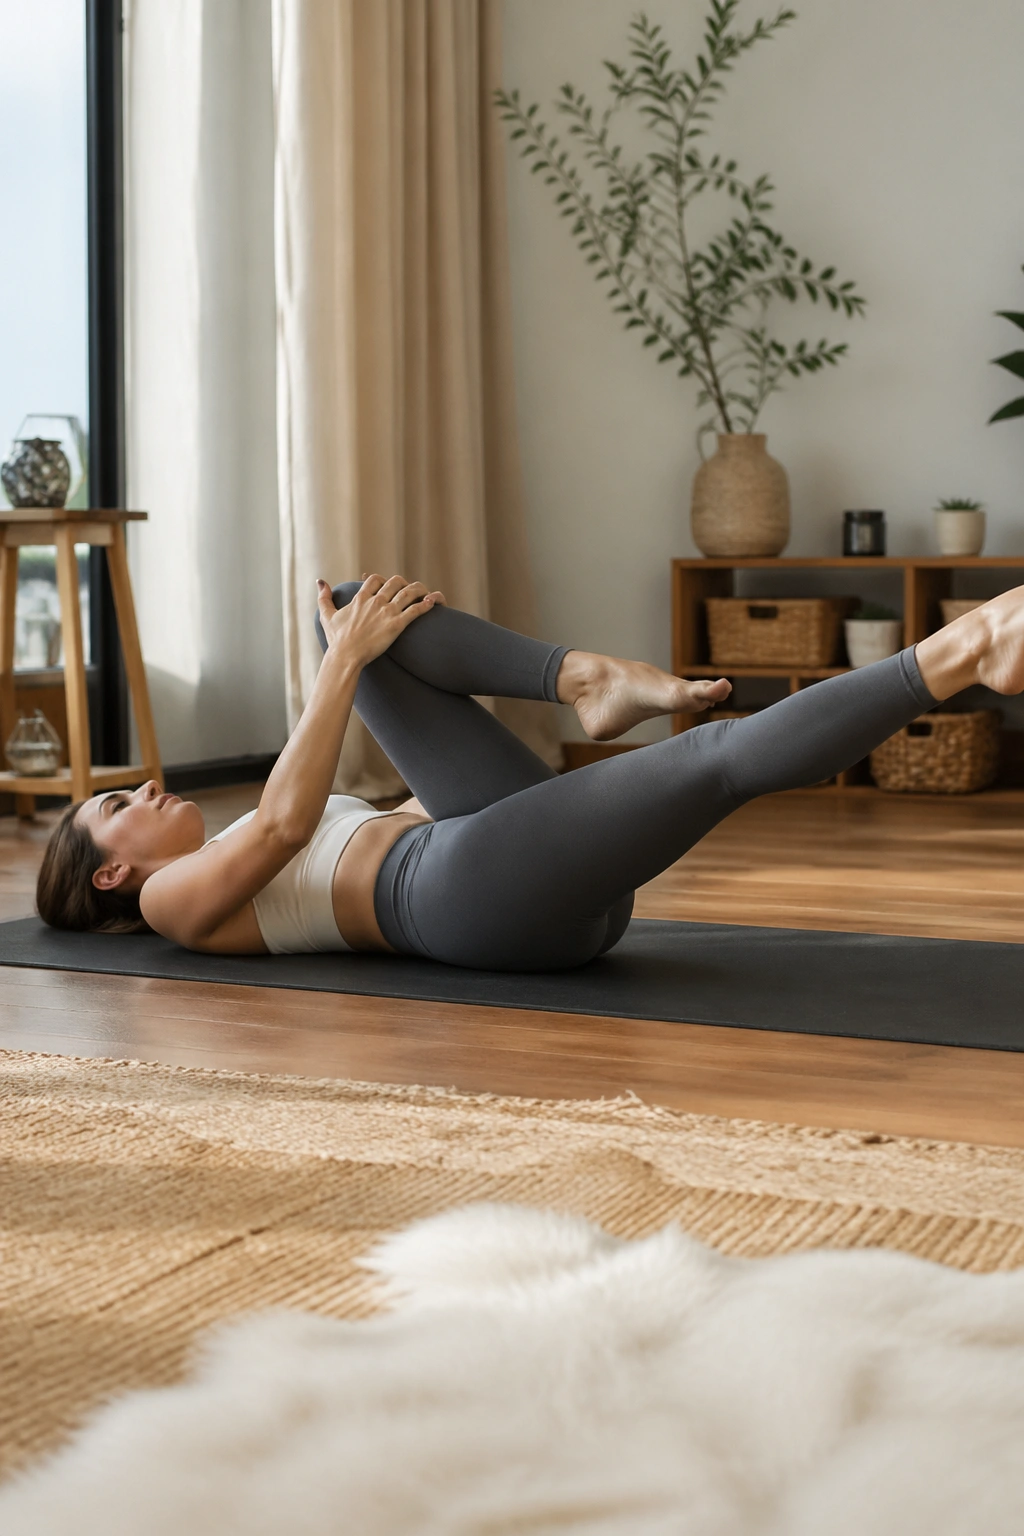
Single-leg stretch gives you abdominal work without the sharp crunching that some backs hate. It is a favorite for people who want core control but need to keep the neck and spine from feeling trapped.
Lie on your back, bring one knee in, and extend the other leg forward at a comfortable height. Switch legs in a slow, even rhythm. Keep the low back heavy and the chest relaxed. Start with 5 to 8 switches per side.
What to Watch For
The farther the leg extends, the more your back has to control the pelvis. That sounds useful until the pelvis starts shifting and the low back begins to arch. Keep the leg higher than you think you need to.
If your neck feels tired, keep your head down. If one side feels weaker, go slower there rather than making both sides the same speed. Clean control matters more than speed.
This move is good for people who want to feel their abs do something useful, not just burn for the sake of burning. The back usually likes that better too.
17. Wall Roll Downs
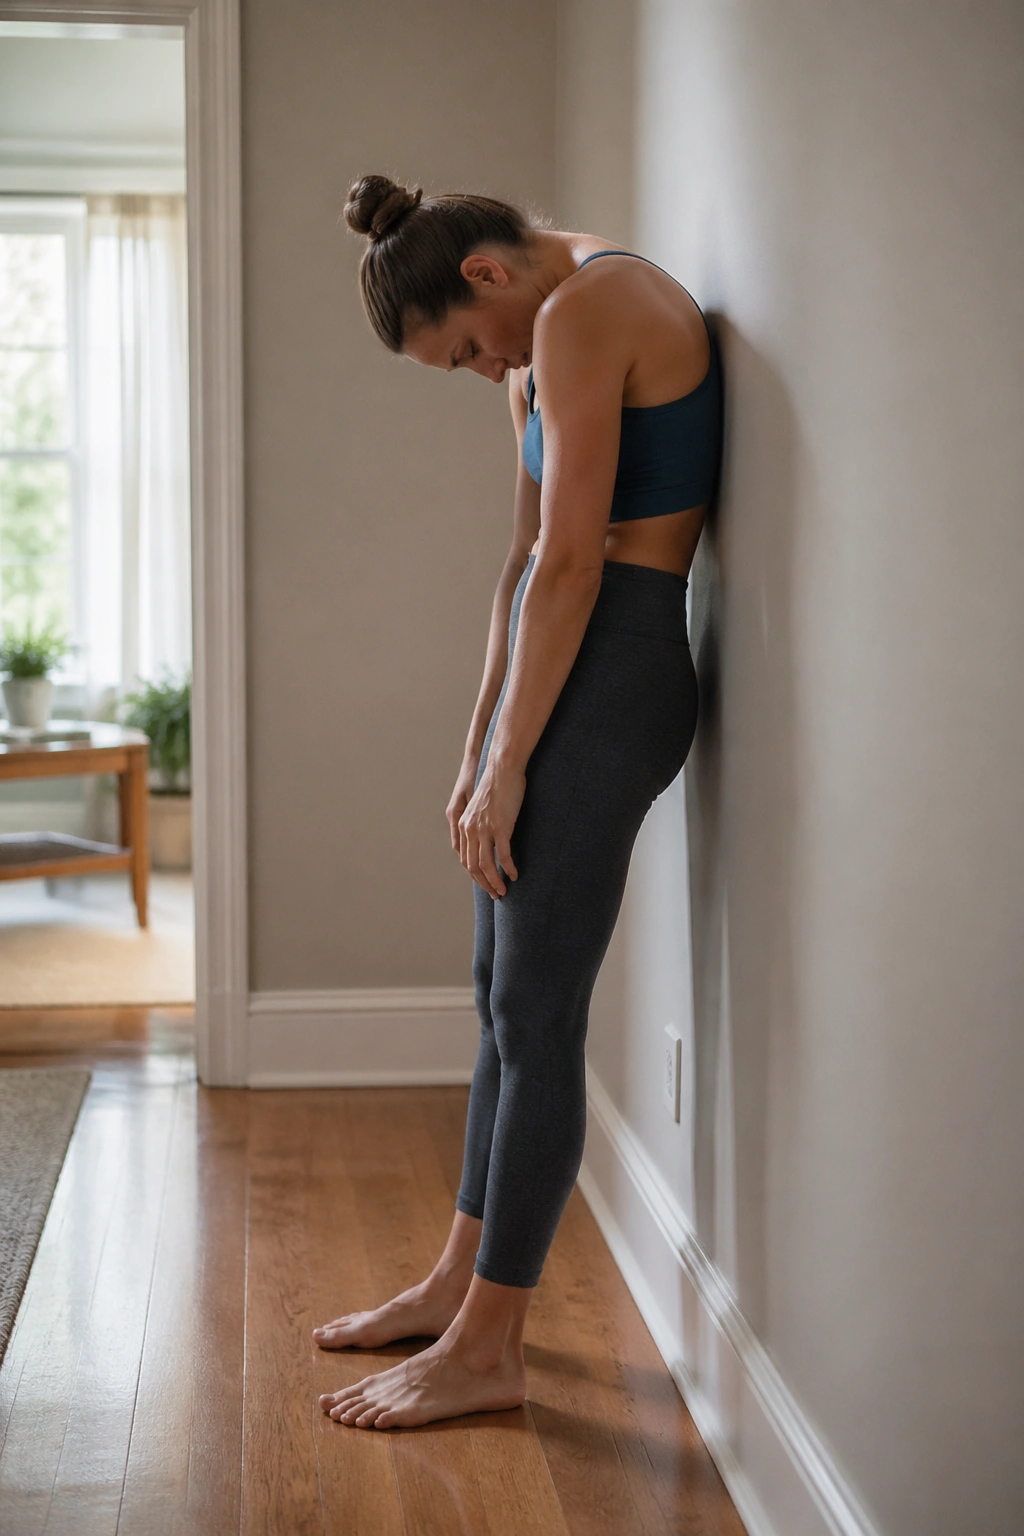
Standing roll downs are underrated. If floor work bothers your knees, wrists, or simply feels like too much on a tired day, the wall gives you feedback without the chaos.
Stand with your back against a wall or a few inches away from it, feet hip-width apart. Nod the chin, then peel the spine forward one section at a time, letting the arms hang. Roll halfway down if that is enough, then stack back up slowly. Try 3 slow roll downs.
The wall helps you notice where you rush. Most people rush the middle of the back and yank the neck. Don’t. Keep the knees soft and the exhale long on the way down.
This move is a nice bridge between mobility and control. It also shows you whether one side of your spine moves differently than the other, which is useful information on its own.
18. The 10-Minute Reset Circuit
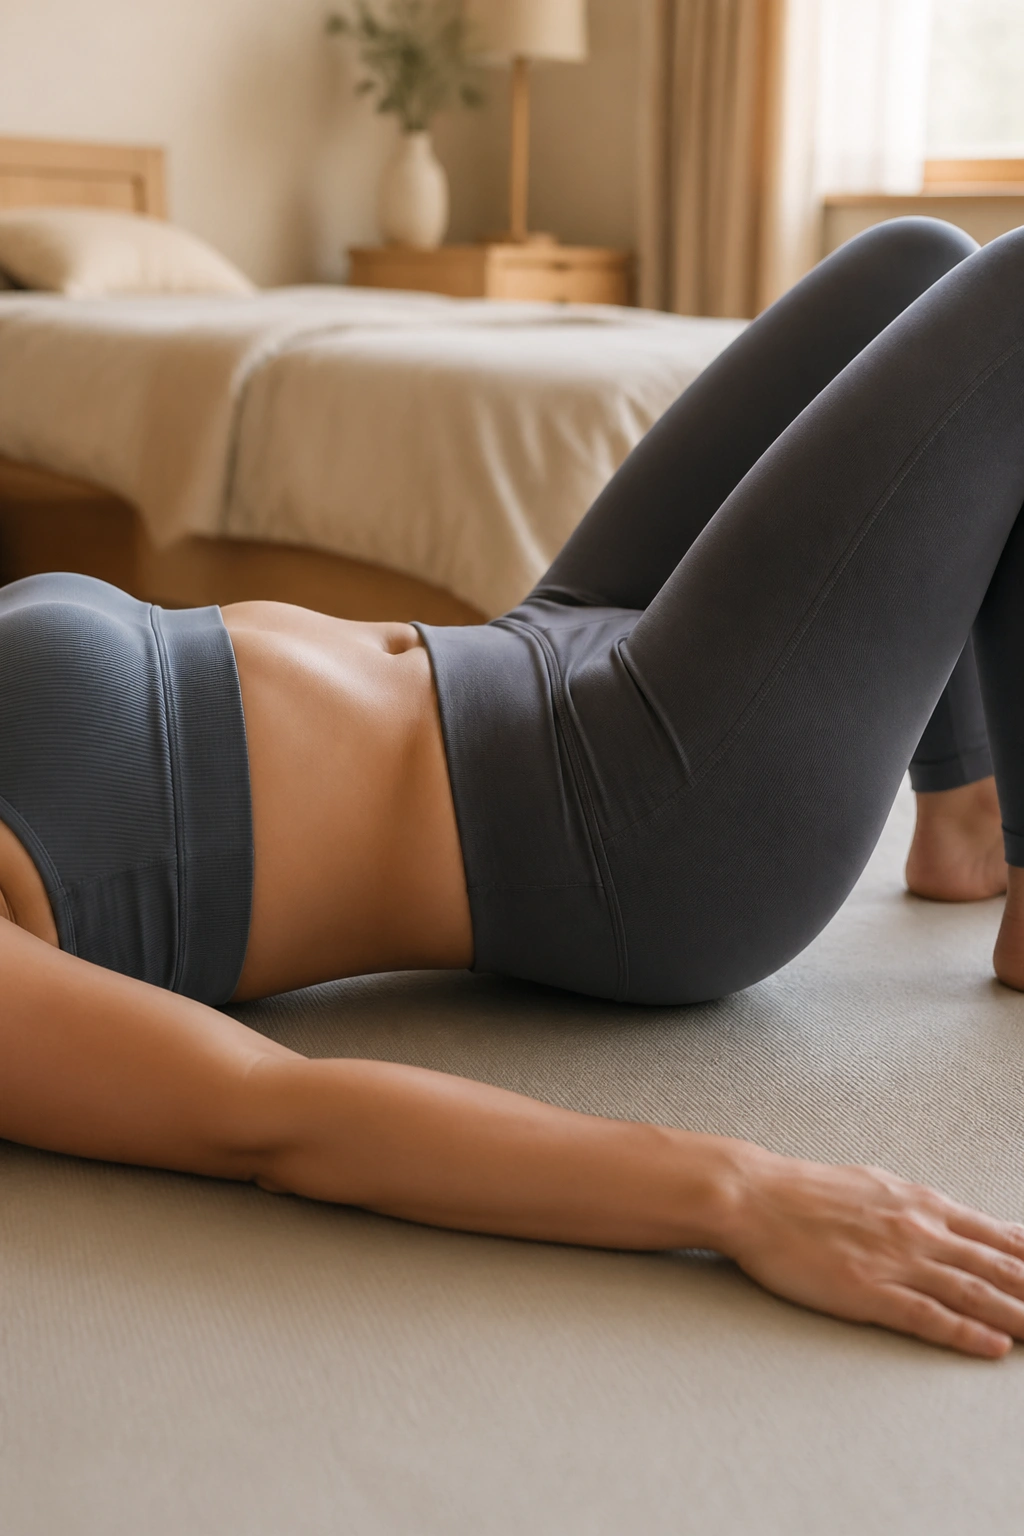
A good back day does not need chaos. It needs order. That’s why I like a short reset circuit more than a random grab bag of stretches when the low back feels tight, grumpy, or just plain overworked.
Start with pelvic tilts for 8 reps, move into cat-cow for 6 rounds, then do bird dog for 4 reps per side, glute bridges for 8 lifts, and finish with wall roll downs for 3 slow passes. That sequence warms the joints, switches on support, and ends with a clean standing release.
When This Works Best
This kind of circuit is useful on flare-up days that are annoying, not alarming. It’s also good after long sitting, long driving, or that weird stiffness that shows up when the back just wants to be left alone. Keep the whole thing slow enough that your breath stays even.
If any move turns sharp, skip it and come back later. A back that feels better after movement usually likes less drama, not more. Small range, steady pace, and a calm breath win more often than people expect.
The biggest mistake is trying to force a “good” stretch out of a sore back. Better to finish feeling a little looser, a little taller, and not at all heroic. That’s the lane Pilates handles best.
