



After a C-section, the first instinct is often to test the old stomach muscles. Skip that. The incision, the deeper abdominal wall, and the pelvic floor all need slower work than a standard fitness comeback.
Pilates after C-section recovery is useful because it starts with breath and control. That matters more than fancy moves. If the ribs flare, the belly domes, or the scar feels tugged, the body is telling you the load is too high.
Good postpartum Pilates is boring in the best way. Tiny tilts, slow marches, side-lying work, a lot of exhaling. The goal is not a sweat bath; it’s rebuilding the connection between ribs, pelvis, and deep core so lifting a baby or getting out of bed stops feeling awkward.
Pain, heavy bleeding, bulging along the midline, or a dragging sensation near the incision means stop and get checked. When movement feels calm, though, the body usually tells you pretty quickly — the breath gets quieter, the shoulders stop doing all the work, and the whole torso moves like one piece again.
1. 360 Breathing With Rib Expansion
Breathing is the first rep. It sounds almost too simple, and that’s exactly why it gets ignored.
Why It Comes First
A C-section changes pressure management. The abdominal wall has been cut, stitched, and asked to heal while you stand, walk, lift, cough, and laugh. 360 breathing teaches the ribs, belly, and pelvic floor to work together again without forcing the incision to brace too hard.
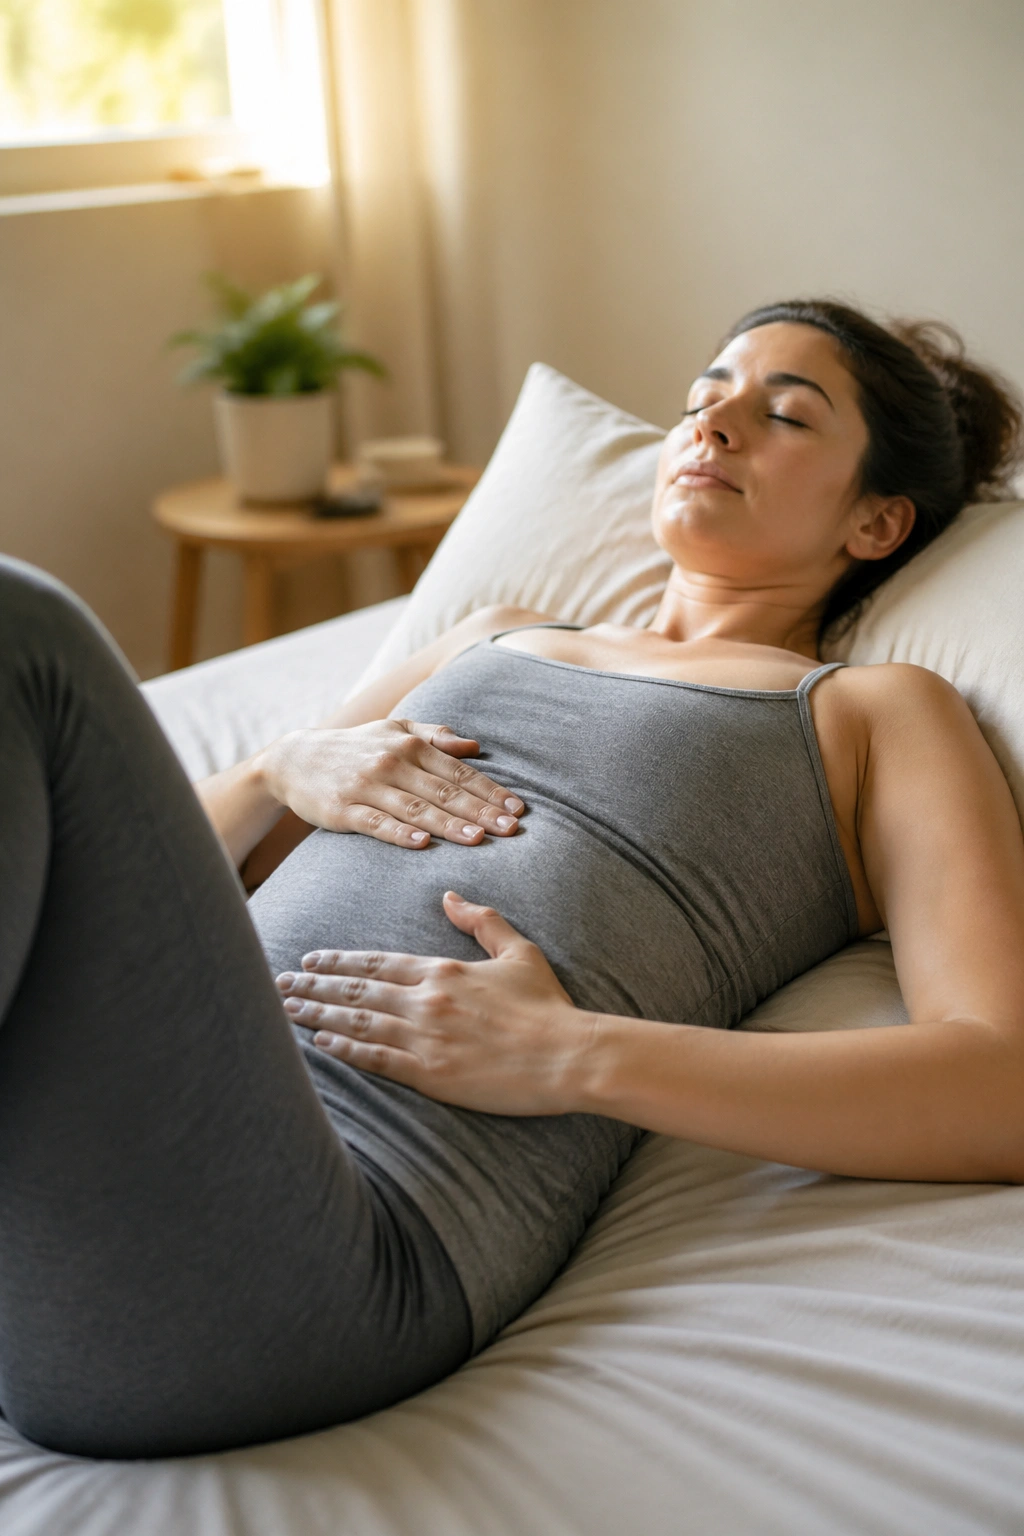
Lie on your back with your knees bent and feet flat. Put one hand on the lower ribs and the other on the lower belly. Inhale through your nose for 4 counts and feel the ribs widen into your hands. Exhale for 5 to 6 counts, and let the lower belly gently soften inward. Do not suck the belly in hard. That usually just turns the neck and shoulders into the boss of the movement.
How to Do It
- Lie on your back with a pillow under your head if needed.
- Keep your jaw loose and your shoulders heavy.
- Breathe into the sides and back of your ribs, not just the front.
- Use 5 to 8 slow breaths.
- Stop if you feel pressure pushing down into the pelvis.
One good exhale is worth more than ten rushed ones. If the breath feels smooth, the rest of the work usually gets easier.
2. Pelvic Floor Relaxation and Gentle Lifts
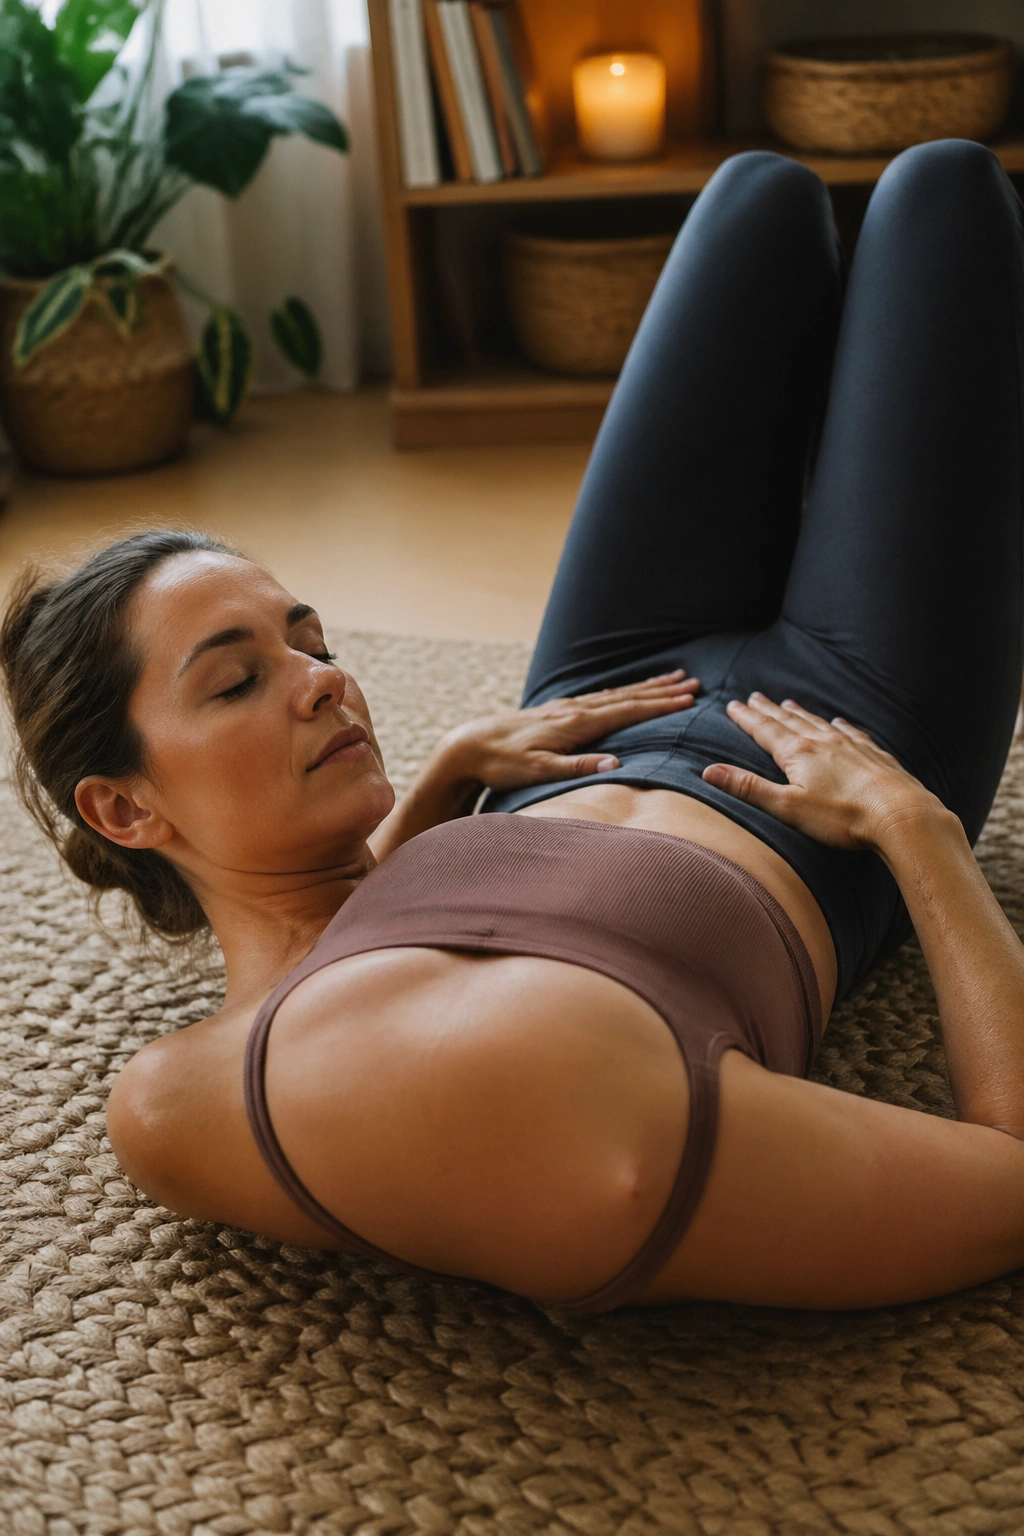
Strong pelvic floors are not the same thing as tight pelvic floors. After birth, many people default to clenching all the time, which can leave the whole area feeling tired, twitchy, or oddly sore.
Think of this as coordination work, not a workout contest. On the exhale, imagine the muscles around the sit bones and tailbone gently lifting. On the inhale, let them drop and widen again. Three to five soft lifts are enough. Then give yourself the same number of full relaxations. The relaxation part matters. A lot.
If you feel heaviness, pulling, or a sense that something is “falling” downward, skip the lift for a day or two and stay with the release. That kind of pressure can mean the tissues need more time, not more effort.
The nicest thing about this exercise is that nobody can tell you’re doing it. You can do it while feeding a baby, waiting for water to boil, or lying on the couch with one eye open. Tiny. Quiet. Useful.
3. Pelvic Tilts on the Mat
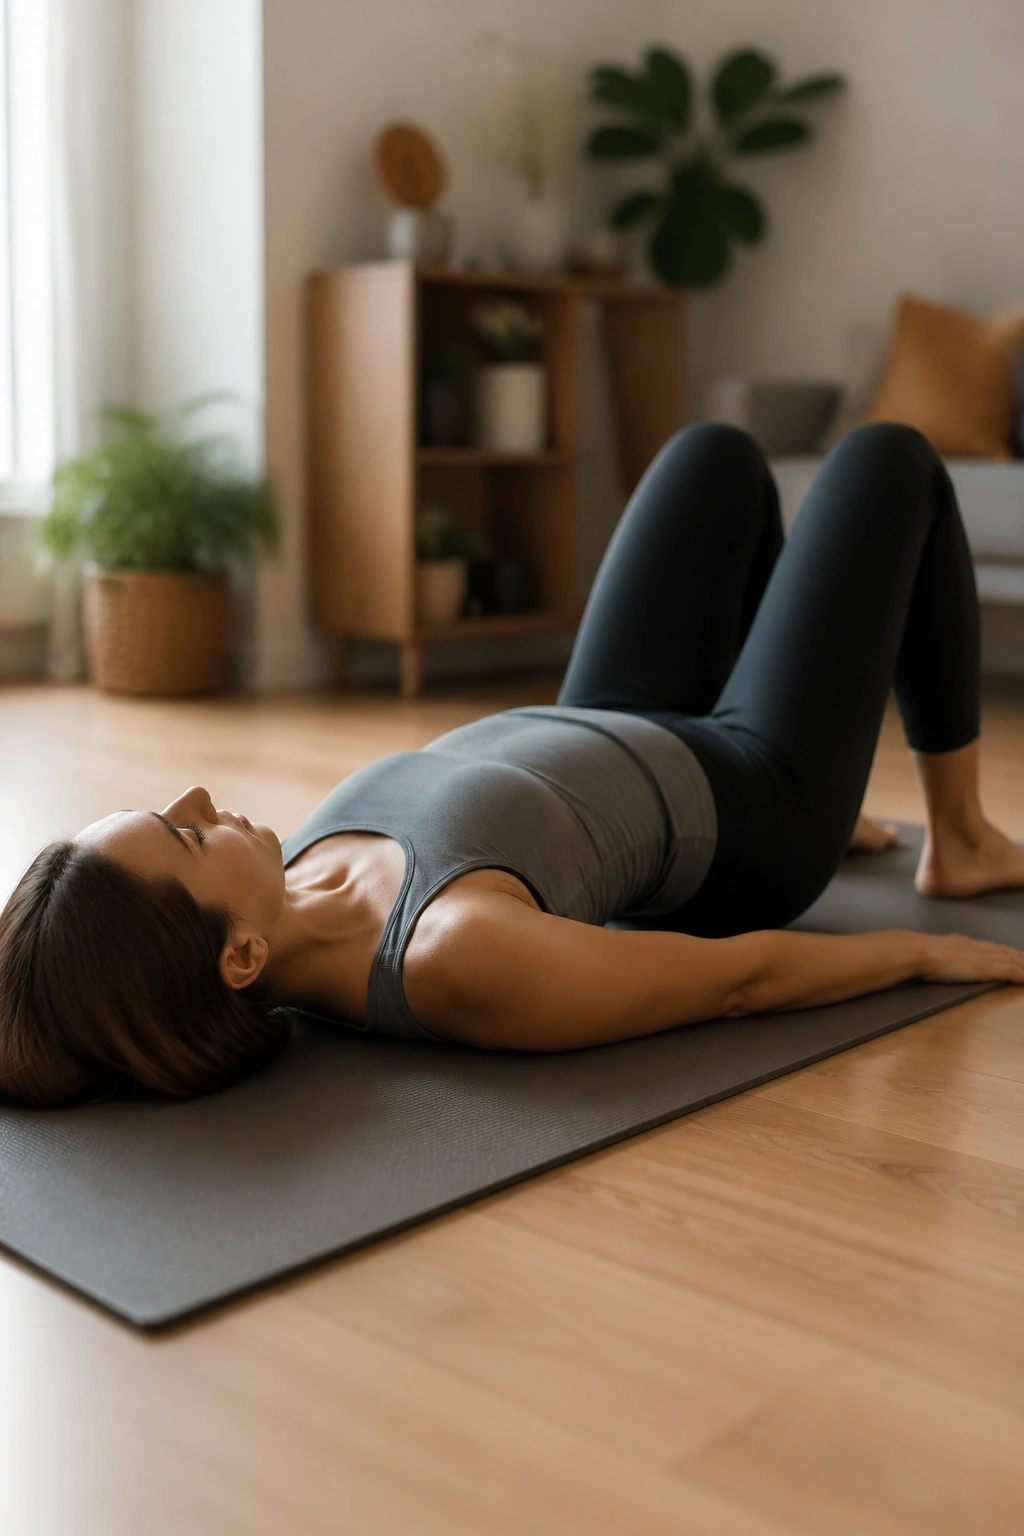
Why do pelvic tilts show up in every postpartum routine? Because they teach the pelvis to move without the belly grabbing for dear life.
What It Should Feel Like
Lie on your back with knees bent. On the exhale, gently tip the pelvis so the lower back settles a little more into the mat. On the inhale, return to neutral. That’s it. No crunching, no big arching, no dramatic squeeze.
The useful part is the control. You’re teaching your deep core to respond to movement instead of panicking every time the spine changes shape. If your ribs pop up toward the ceiling, the tilt is too big. Keep the motion small enough that you can stay calm.
A Simple Rhythm
- Exhale and gently flatten the low back.
- Inhale and release to neutral.
- Repeat 8 to 10 times.
- Move slowly enough to notice the change under your lower back.
A lot of people rush this one because it looks tiny. Tiny is the point. The mat doesn’t care about ambition. It cares about control.
4. Heel Slides for Core Reconnection
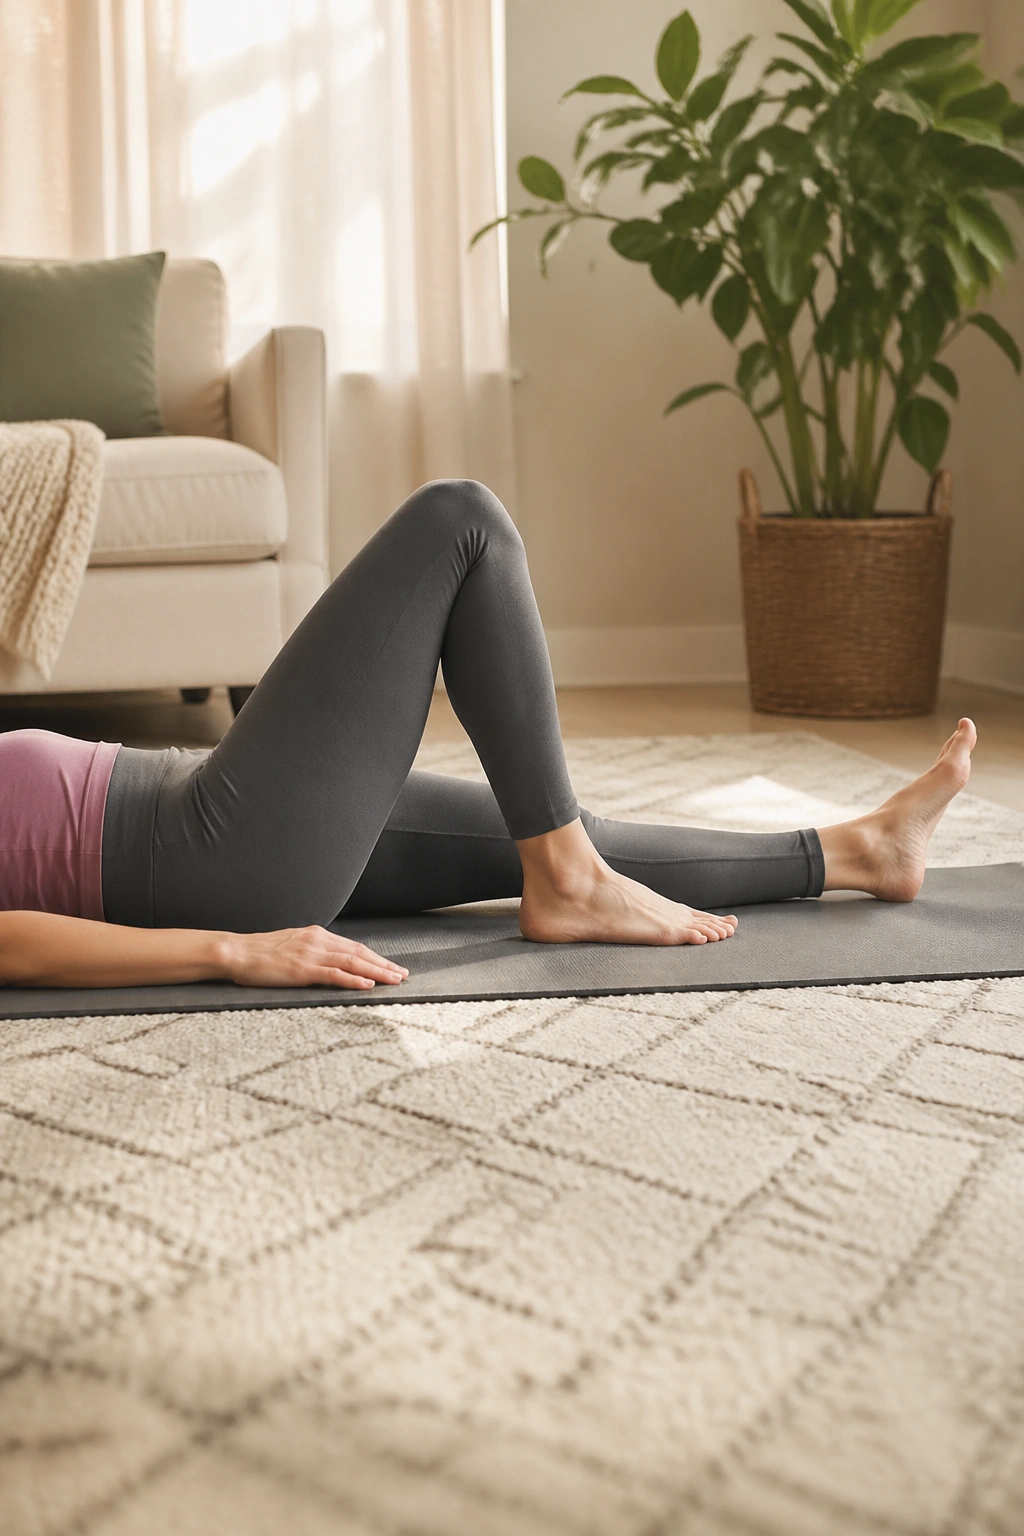
Picture trying to get out of bed without yanking on the incision. Heel slides train that exact kind of control.
On your back with knees bent, keep one heel on the mat and slowly slide the leg away until it’s almost straight. Exhale as the leg lengthens, then inhale to bring it back. The pelvis should stay quiet. If it rocks or the ribs flare, the slide is too long or too fast.
What Makes It Work
Heel slides ask the deep core to stabilize while one leg moves. That’s closer to real life than a crunch ever will be. You’re teaching the body to stay organized when a limb changes position, which matters every time you step, reach, or turn in bed.
- Slide one heel out 6 to 12 inches.
- Keep both hip bones level.
- Do 6 reps per side.
- Use a folded towel under the heel if the mat feels sticky.
Short range beats sloppy range. If you can only slide the heel a few inches before the back arches, that still counts. Work from there.
5. Bent-Knee Marches
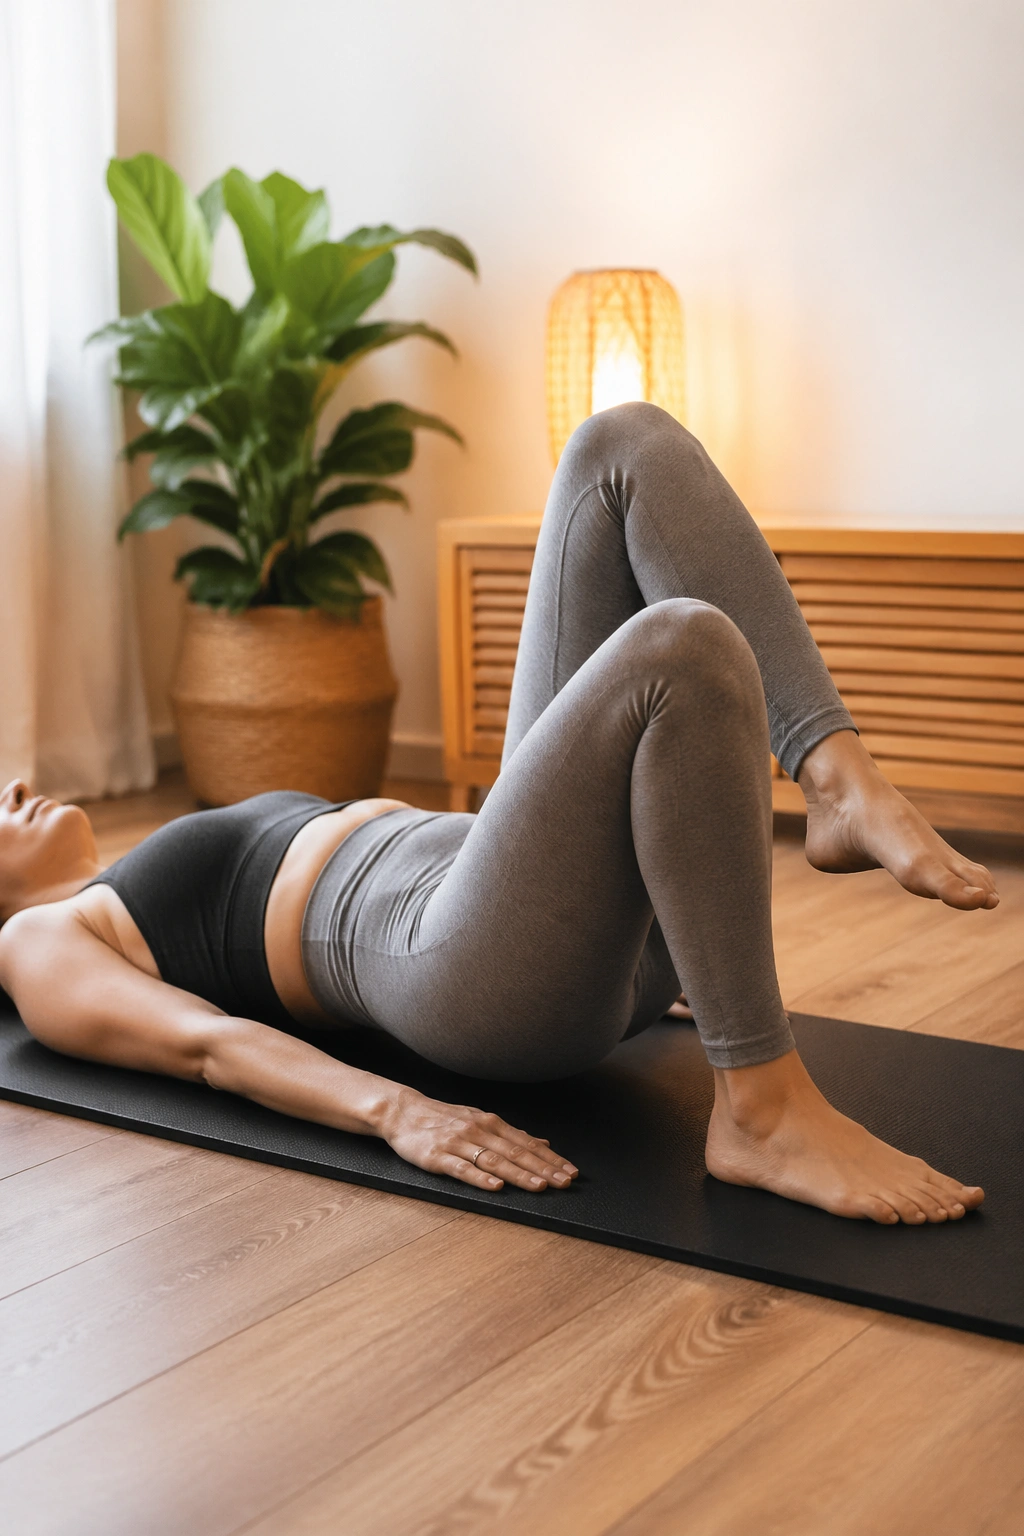
Bent-knee marches are the kind of exercise that looks almost insulting until your trunk starts wobbling. Then it gets interesting.
Lie on your back with knees bent and feet flat. Exhale and lift one foot a few inches off the floor, then place it back down with control. Alternate sides. The pelvis should stay still, like a glass of water balanced on your waistband. If the water would spill, slow down.
The reason this works so well after a C-section is simple: it teaches load transfer without a big pressure spike. One leg leaves the floor, the other side has to hold steady, and the abdominal wall gets a very honest lesson in restraint.
Keep the march small. Really small. If the lift turns into a hip flexor grab or the scar feels like it’s getting tugged, lower the range and shorten the hold time. Six to eight reps per side is plenty to start. There is no prize for going bigger.
6. Toe Taps With a Neutral Spine
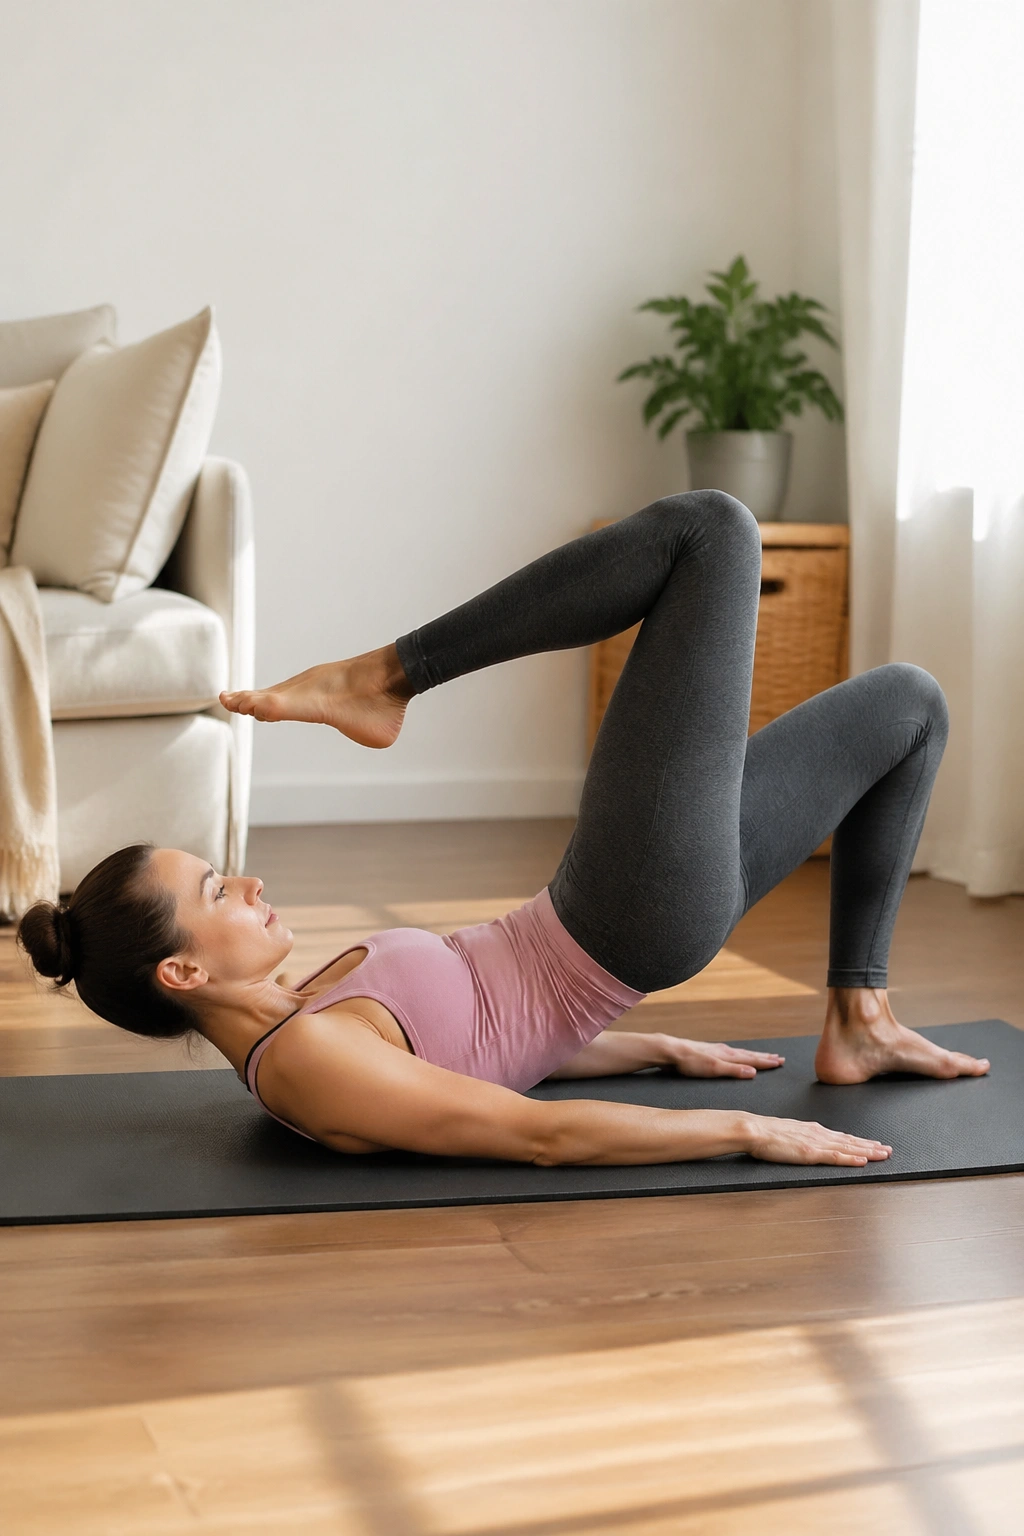
Unlike crunches, toe taps challenge the lower abs without asking the head, neck, and scar tissue to do extra work. That’s why they show up so often in postpartum Pilates.
Start with the legs in tabletop if that feels easy enough. If tabletop creates pressure or a doming line down the belly, keep one foot on the mat and tap the other foot out instead. Exhale as the toe lowers, inhale as it comes back. The back stays long and the ribs stay quiet.
What to Watch For
- Doming at the midline means the range is too much.
- A tight neck means the head is trying to help.
- A popped rib cage means the exhale got too short.
The neat part is how fast this one gives feedback. If the movement is too hard, the body will show you within two or three reps. No guessing. No drama.
I like this one for people who are past the first easy breathing work but still need a very controlled bridge between floor exercises and more loaded core work. It’s plain, practical, and easy to scale.
7. Bent-Knee Fallout
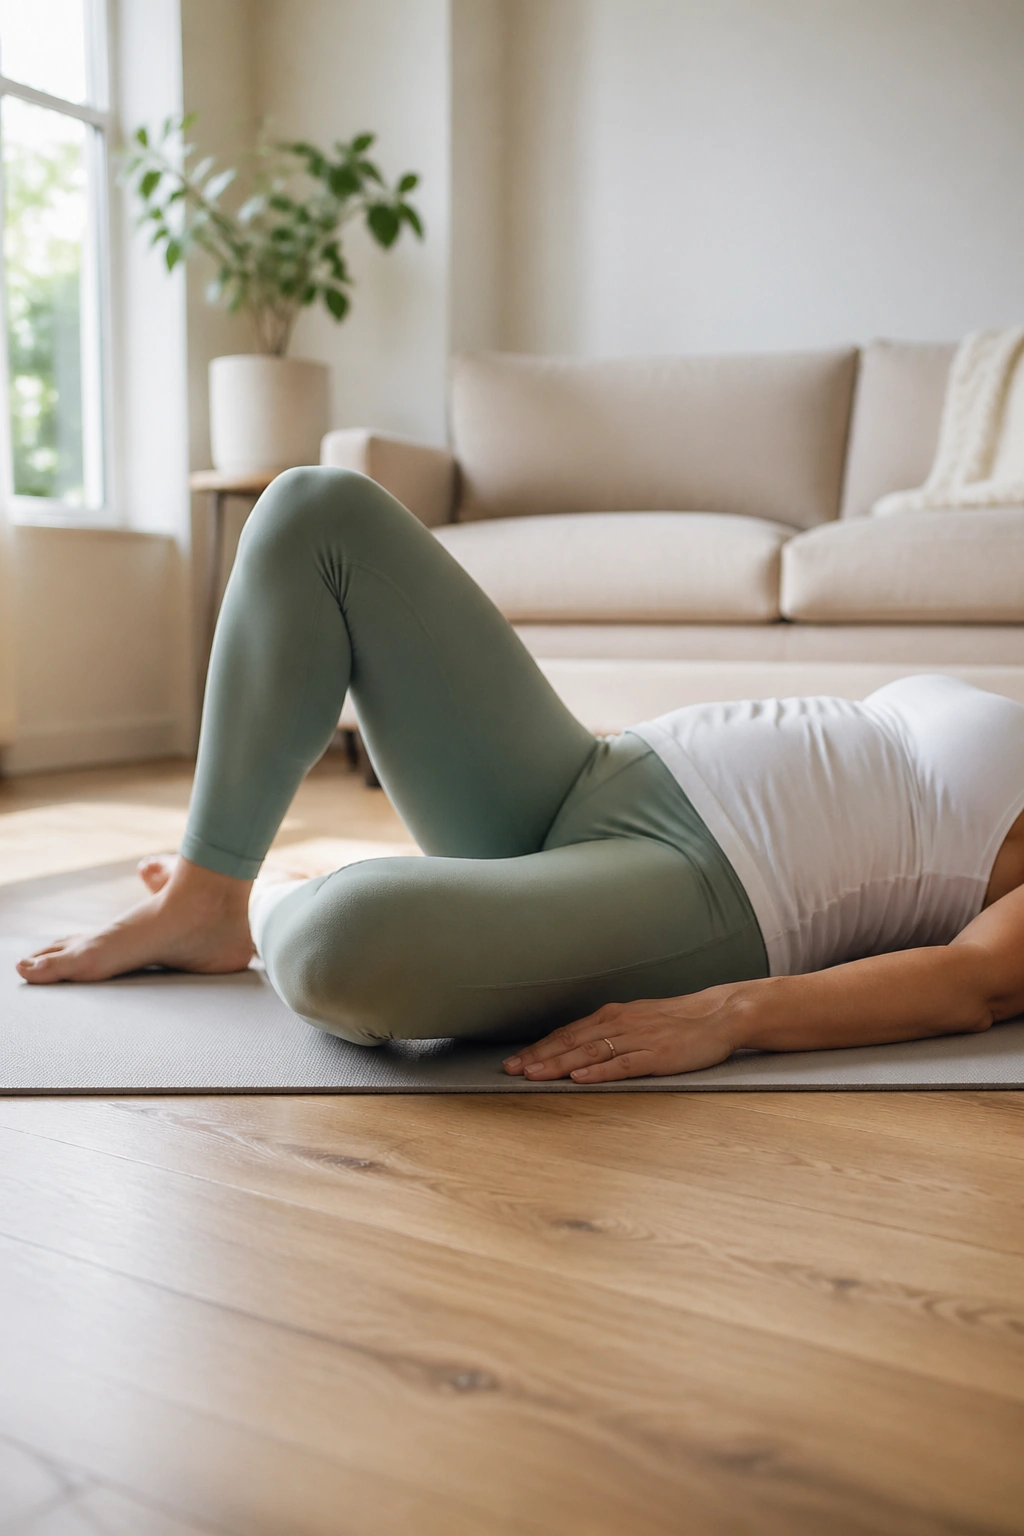
Bent-knee fallout is a hip exercise with a sneaky core lesson inside it. One knee opens out to the side while the pelvis stays steady, then returns to center.
That sounds simple until the body starts twisting to help. Don’t let it. Keep both hip bones pointing up and use only as much range as you can manage without shifting the lower back. The movement should feel like the leg is floating away from the socket, not like the whole torso is rolling with it.
This one is useful when the hip flexors feel grippy and the inner thighs won’t relax. After a C-section, people often guard the front of the body without realizing it. Bent-knee fallout helps undo some of that brace.
Do 6 to 8 reps per side. Move slowly enough to notice whether the belly stays soft and the breath stays easy. If the movement gets jerky, cut the range in half and try again. Small wins count here.
8. Side-Lying Clamshells
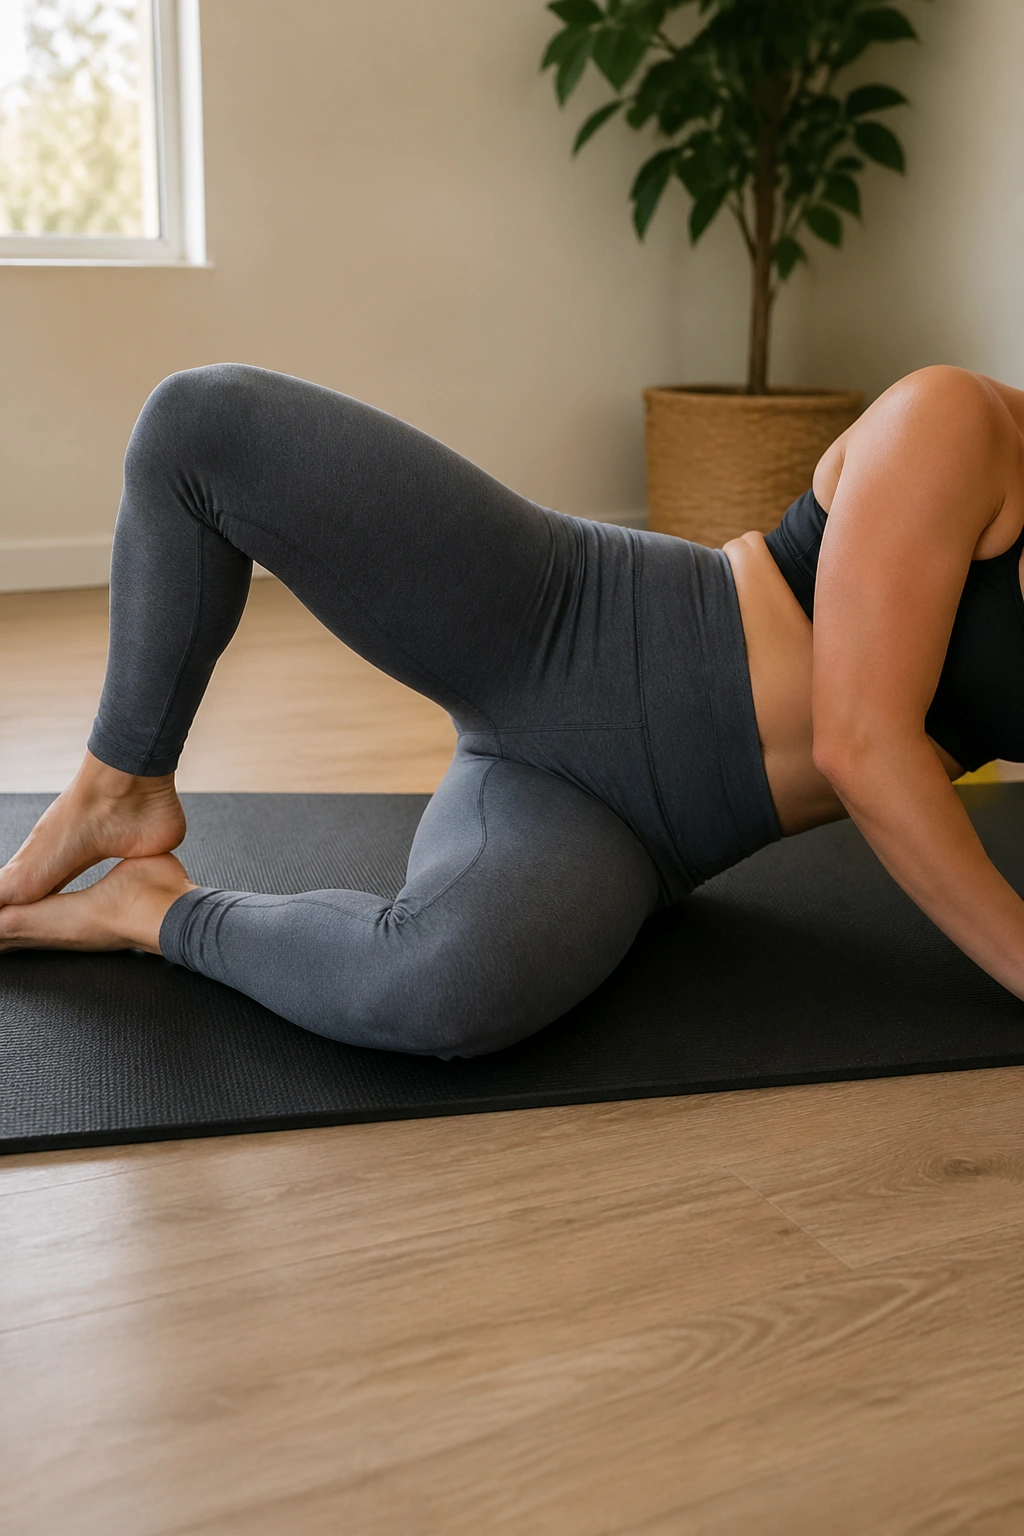
Side-lying work saves the incision from direct pressure, and that alone makes it worth keeping around.
Lie on one side with knees bent and heels lined up. Keep the feet together, then open the top knee like a clamshell without rolling the hips backward. Lower with control. You should feel the outer hip, not the lower back. If the waist twists open, stop and reset.
Why It Helps
The glute medius, the muscle on the outer hip, does a lot of quiet work when you walk, climb stairs, and carry a baby on one hip. When it’s asleep, the lower back and front of the body tend to overwork. Clamshells wake that side hip up without asking for heavy abdominal pressure.
- Keep the pelvis stacked.
- Open only as far as you can without rolling back.
- Do 8 to 12 reps.
- Add a light mini-band only when the body stops cheating.
A lot of people rush straight past clamshells because they feel too easy. They aren’t. They’re just honest.
9. Glute Bridges
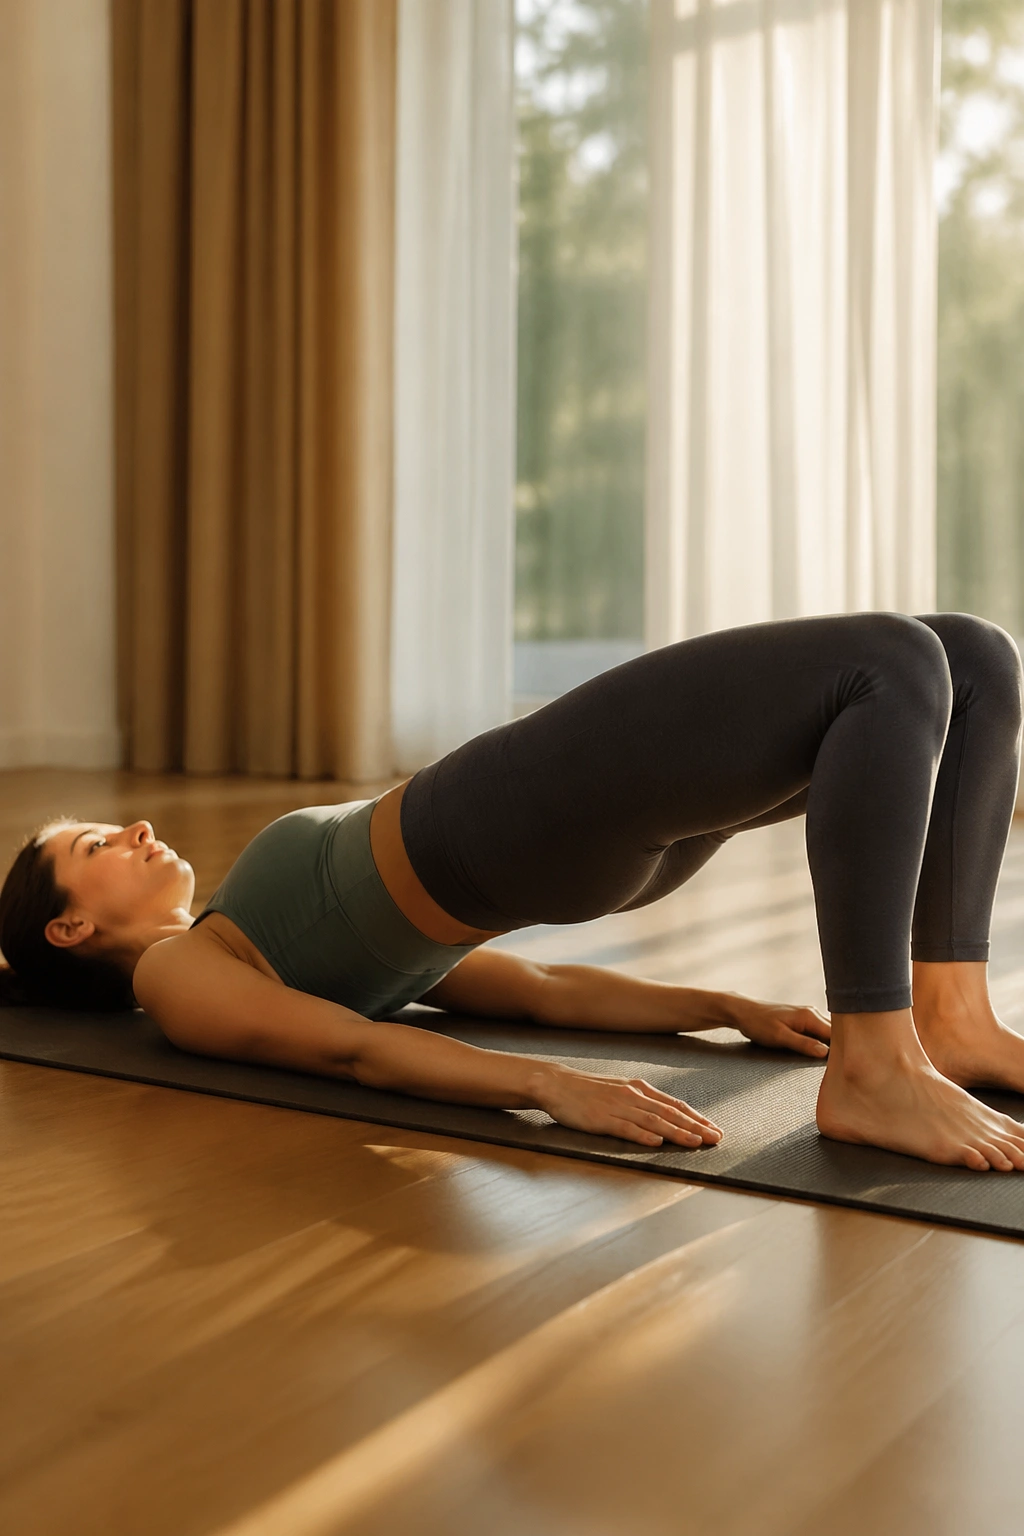
Why do bridges show up in almost every postnatal Pilates plan? Because they load the back body, the hips, and the deep core without crushing the incision.
Lie on your back with knees bent and feet hip-width apart. Exhale, gently tuck the pelvis, and lift the hips until the body makes a long line from shoulders to knees. Inhale at the top, then lower slowly. The movement should feel smooth, not forced. If the ribs flare or the lower back arches hard, lift less.
Bridges are excellent when the glutes have gone sleepy from all the guarding and sitting that comes with newborn life. They also help with the awkward feeling of getting out of a chair or climbing stairs while carrying a car seat.
Start with 6 to 8 reps. Hold each one for a breath or two. If lying on your back feels uncomfortable, skip it for now and come back later. There’s no medal for pushing through a position that makes the body tense up.
10. Side-Lying Leg Lifts
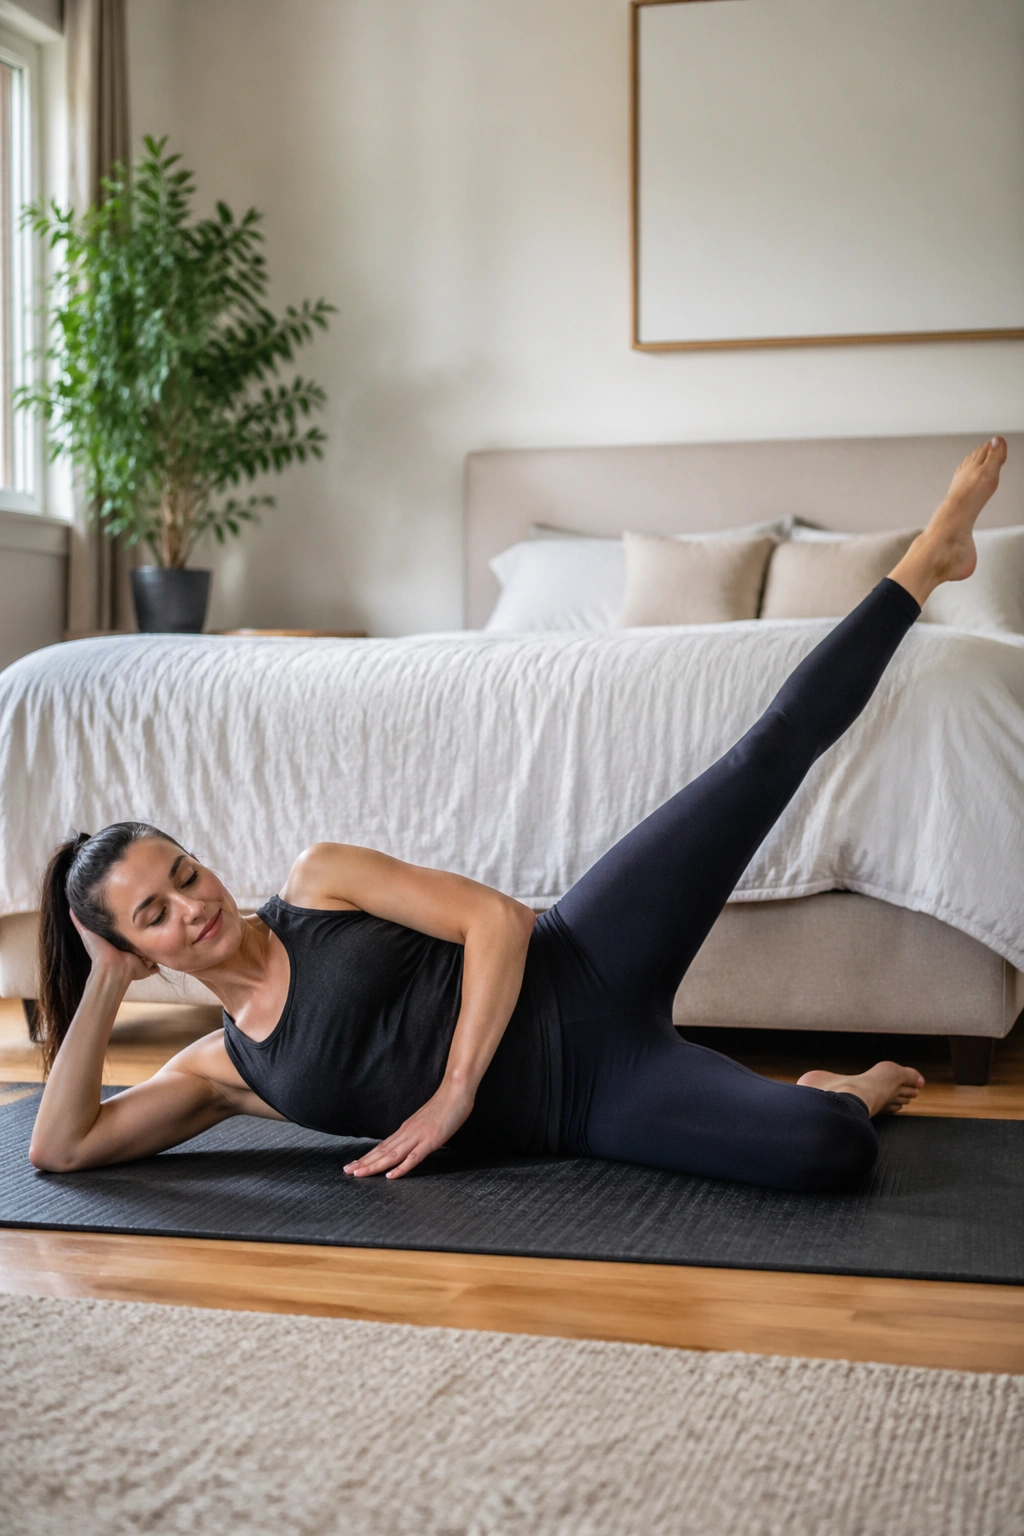
Clamshells are fine. Side-lying leg lifts ask for a little more control.
Set up on your side with the bottom knee bent for support and the top leg long. Keep the top toes pointed forward or slightly down, then lift the leg just until the hip starts to work. Lower slowly. If the lower back takes over, the leg is going too high.
This exercise is useful once the outer hip feels awake and the pelvis can stay steady. It’s a clean way to build side-body strength without loading the midline the way full standing exercises can. The movement is small, but it teaches the torso to stay quiet while the leg does its job.
Try 6 to 10 lifts per side. Keep the neck relaxed and the waist long. A tiny lift done well is better than a high lift that twists the whole body. That rule holds up more often than people like to admit.
11. Quadruped Rock-Backs
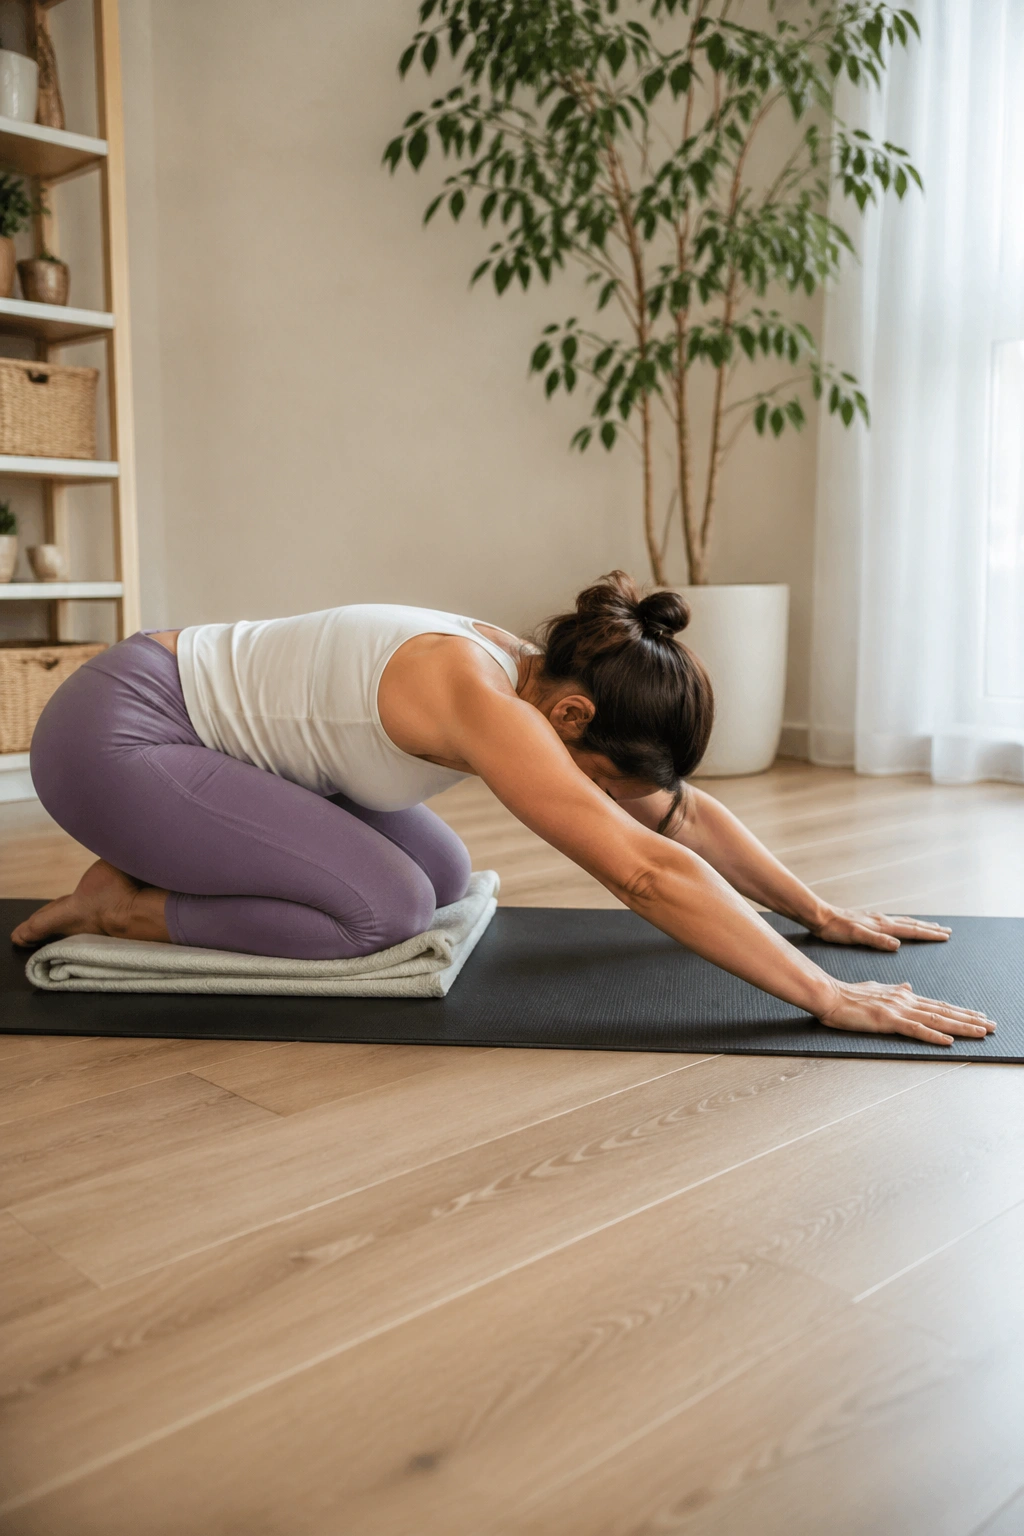
On hands and knees, rock the hips back toward the heels and return. That’s the whole thing.
And yet it tells you a lot.
This position can feel strange after a C-section because it asks the body to organize itself against gravity without putting pressure directly on the scar. Use a folded towel under the knees if the floor is hard. Keep the hands under the shoulders, inhale as you shift back, and exhale as you come forward. The spine stays long and the belly stays gently supported.
What It Teaches
- Hip flexion without strain.
- Pressure control through the trunk.
- A calmer relationship with changing positions.
If the wrists get cranky, lower onto forearms or use a mat edge for support. If the abdomen feels pinchy, shorten the rock-back range. There’s no need to sink all the way toward the heels. A few inches is enough to start.
Rock-backs are dull in the best possible way. They quietly restore trust between the hips and the torso, which is a useful thing when everything still feels a bit new.
12. Cat-Cow Mobilization
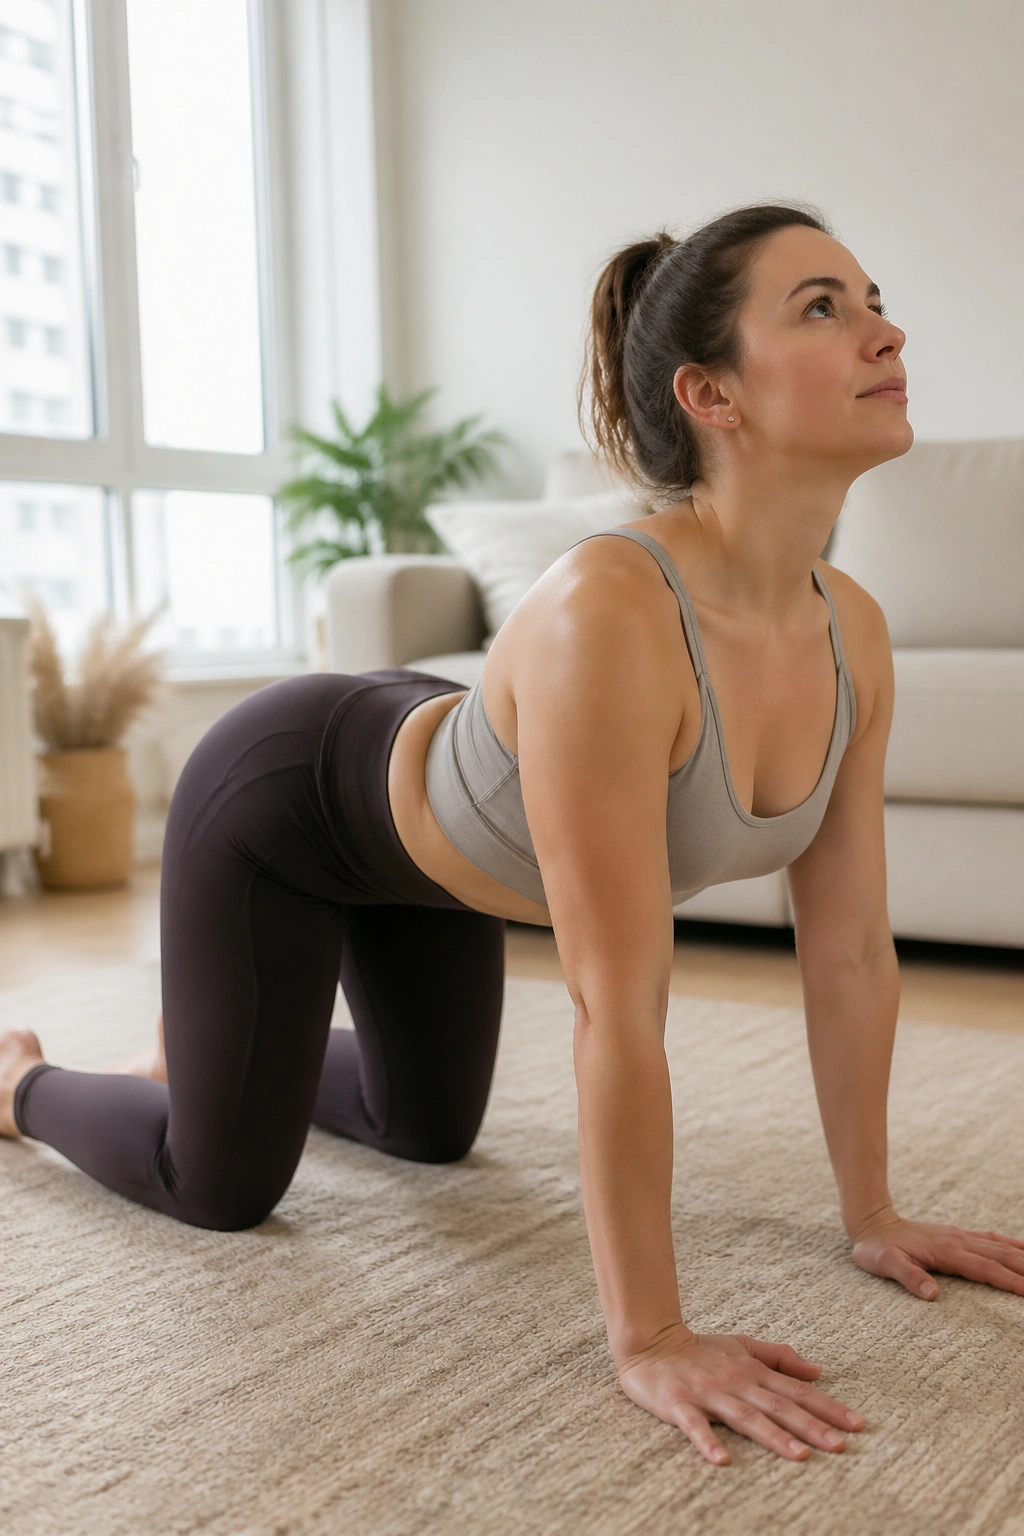
If rock-backs are about load tolerance, cat-cow is about spinal motion. Small motion. Friendly motion.
From hands and knees, inhale and let the chest open a little, the tailbone tip up, and the belly soften. Exhale and round the spine gently, drawing the lower belly up without forcing the ribs into a hard crunch. The movement should feel like a wave, not a shove.
I like this one for people who have been guarding the front of the body and sitting a little stiffly. The spine starts to feel less frozen, and the breath gets more room. If the incision feels pulled during the rounding phase, shrink the range and keep the curve smaller. There is no need to make a big shape.
How to Keep It Kind
- Move with the breath, not against it.
- Keep the elbows soft.
- Stay away from end range.
- Use 6 to 8 slow rounds.
A lot of recovery work is about learning what not to force. Cat-cow is a good reminder.
13. Bird Dog Reaches
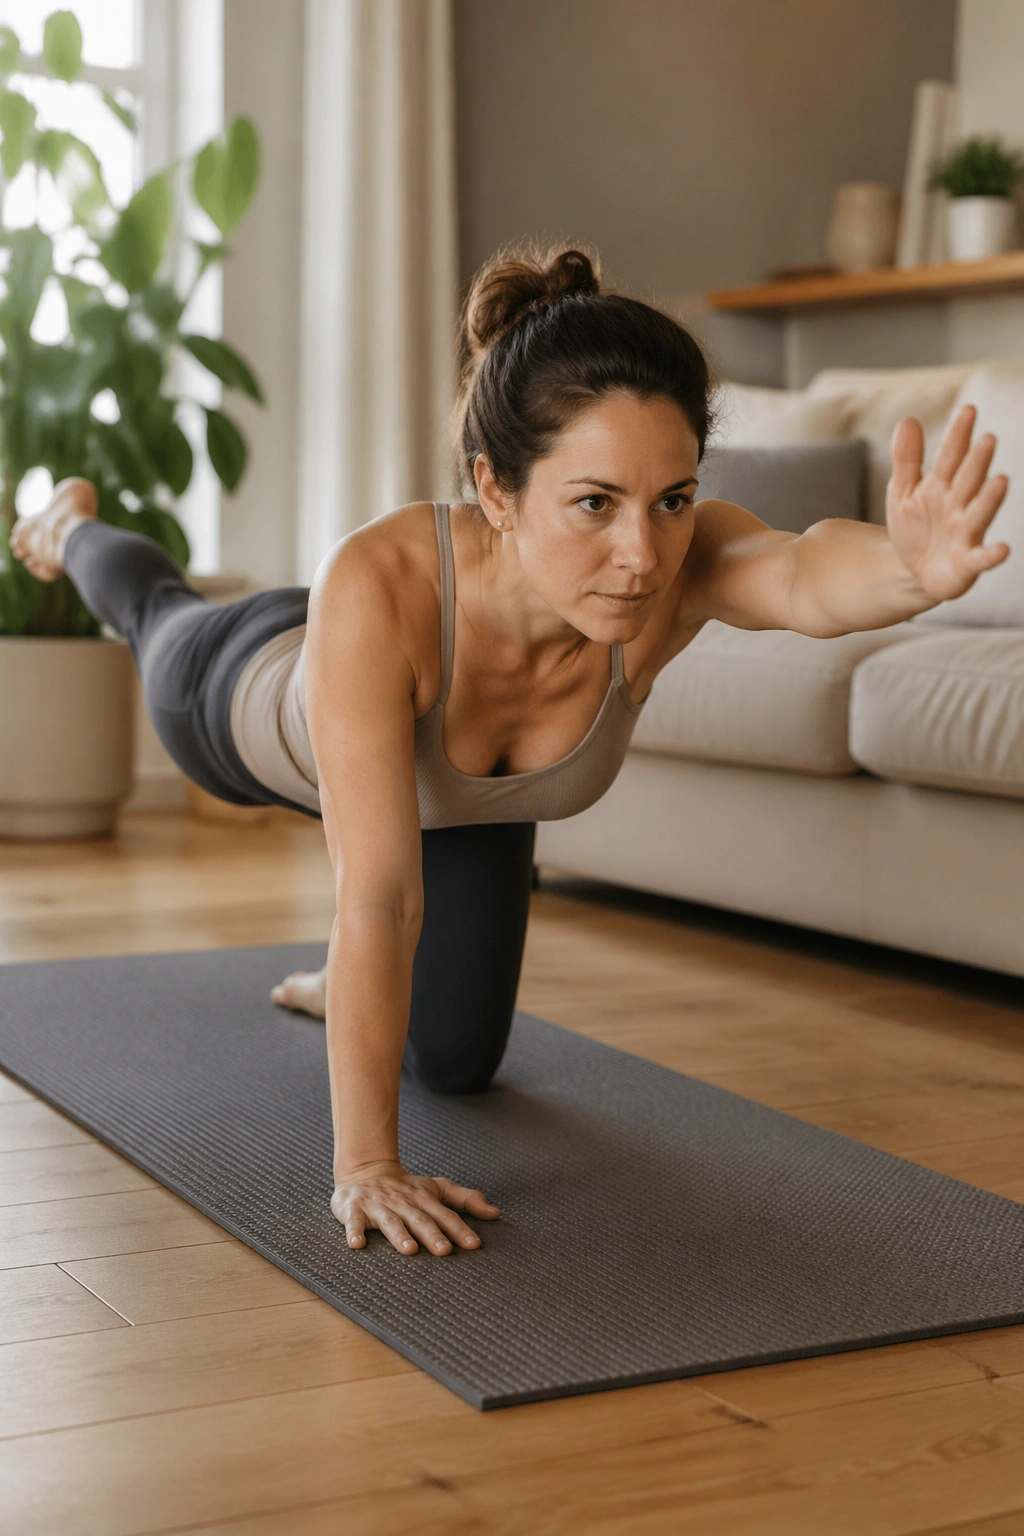
The first time you lift one arm and the opposite leg together, the trunk tells the truth. Either it stays steady, or it starts arguing.
Bird dog is one of those Pilates-style moves that looks graceful only after the body has earned it. Start on hands and knees. Reach one leg back just a few inches first. If that feels steady, add the opposite arm. Keep the pelvis level and the belly long. Exhale as you reach, inhale as you return.
If the midline domes or the low back dips hard, back up to just the leg or just the arm. That counts. It still counts. The point is not to do the full shape on day one; the point is to teach the trunk to hold steady while the limbs move.
Do 4 to 6 reps per side. Slow down enough that you can notice whether one side shakes more than the other. That little mismatch is useful information, not a failure.
14. Wall Plank Holds
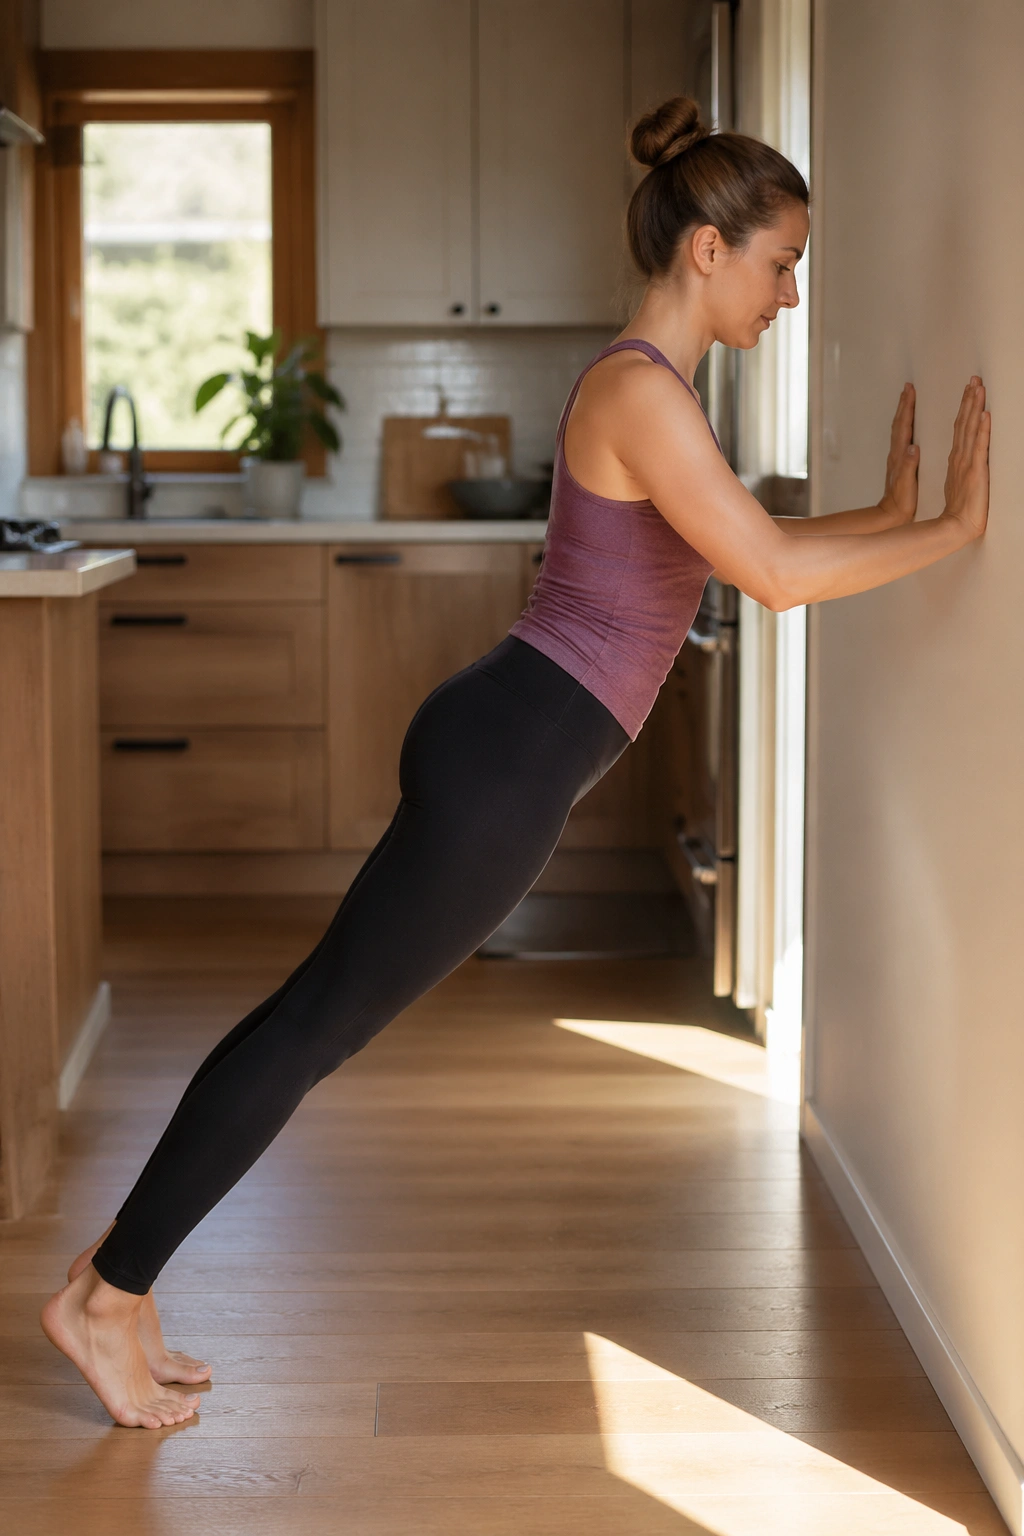
The wall is a much better friend than the floor when the core is still rebuilding.
Stand facing a wall and place your hands at chest height. Walk your feet back until your body makes a long diagonal line. Exhale and gently press the wall away, keeping the ribs stacked over the pelvis. Hold for 10 to 20 seconds, then rest. If the belly domes or the shoulders rise, step closer to the wall.
Why It Works
A wall plank gives you plank-like organization without the same abdominal load as a full floor plank. That means you can practice alignment, shoulder support, and trunk stiffness without gambling with the incision or the deeper core. It’s a smart bridge exercise.
- Keep the neck long.
- Spread the fingers wide.
- Avoid holding the breath.
- Stop before the lower back takes over.
This one can feel oddly humbling. Good. Humbling is useful. A wall plank that feels steady is worth much more than a shaky floor plank done too soon.
15. Kneeling Side Plank Prep
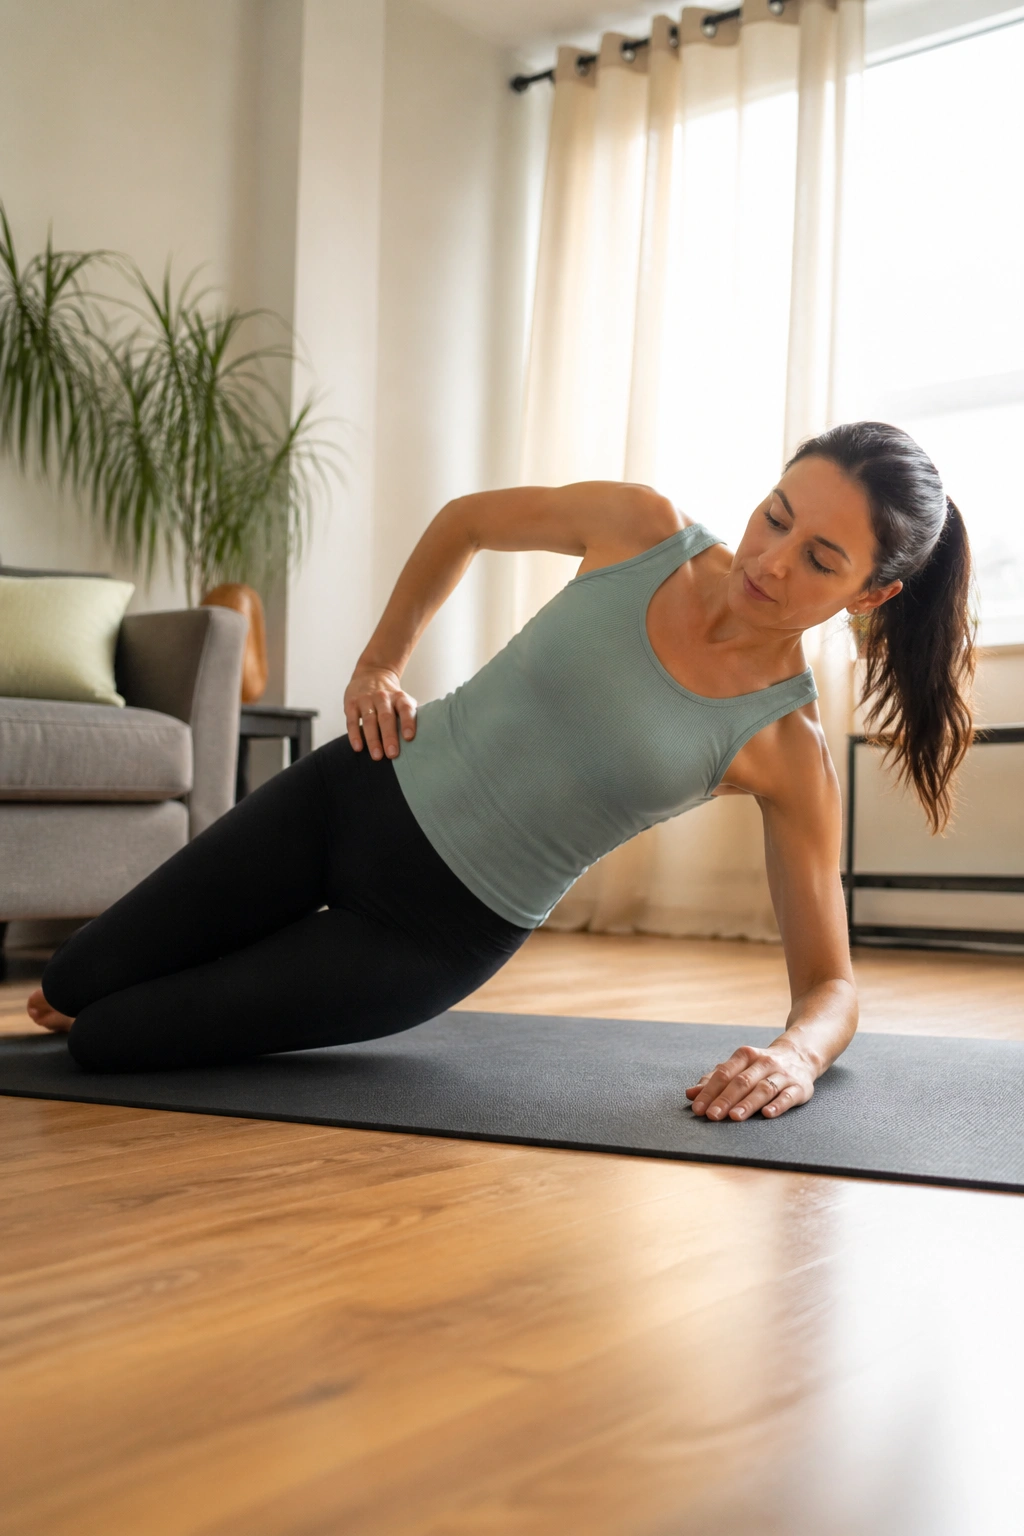
Can you train the side body without a full side plank? Yes. Happily.
Set up on one forearm with the knees bent and stacked. Lift the hips just a few inches off the mat and hold for a breath or two, then lower. If that’s too much, stay down and practice just the set-up. The obliques, the outer hip, and the shoulder all have to cooperate here. That’s part of the point.
This movement is later-stage work for many people after a C-section. Not because it’s glamorous. Because it asks the trunk to resist side-bending without bearing all its weight on the belly. If the shoulder feels pinched, use the wall version first. If the waist feels like it’s cramping, shorten the hold.
Try 3 to 5 short holds per side. Clean form matters more than time. A few tidy seconds can teach more than a long, sloppy hold.
16. Seated Spine Stretch Forward
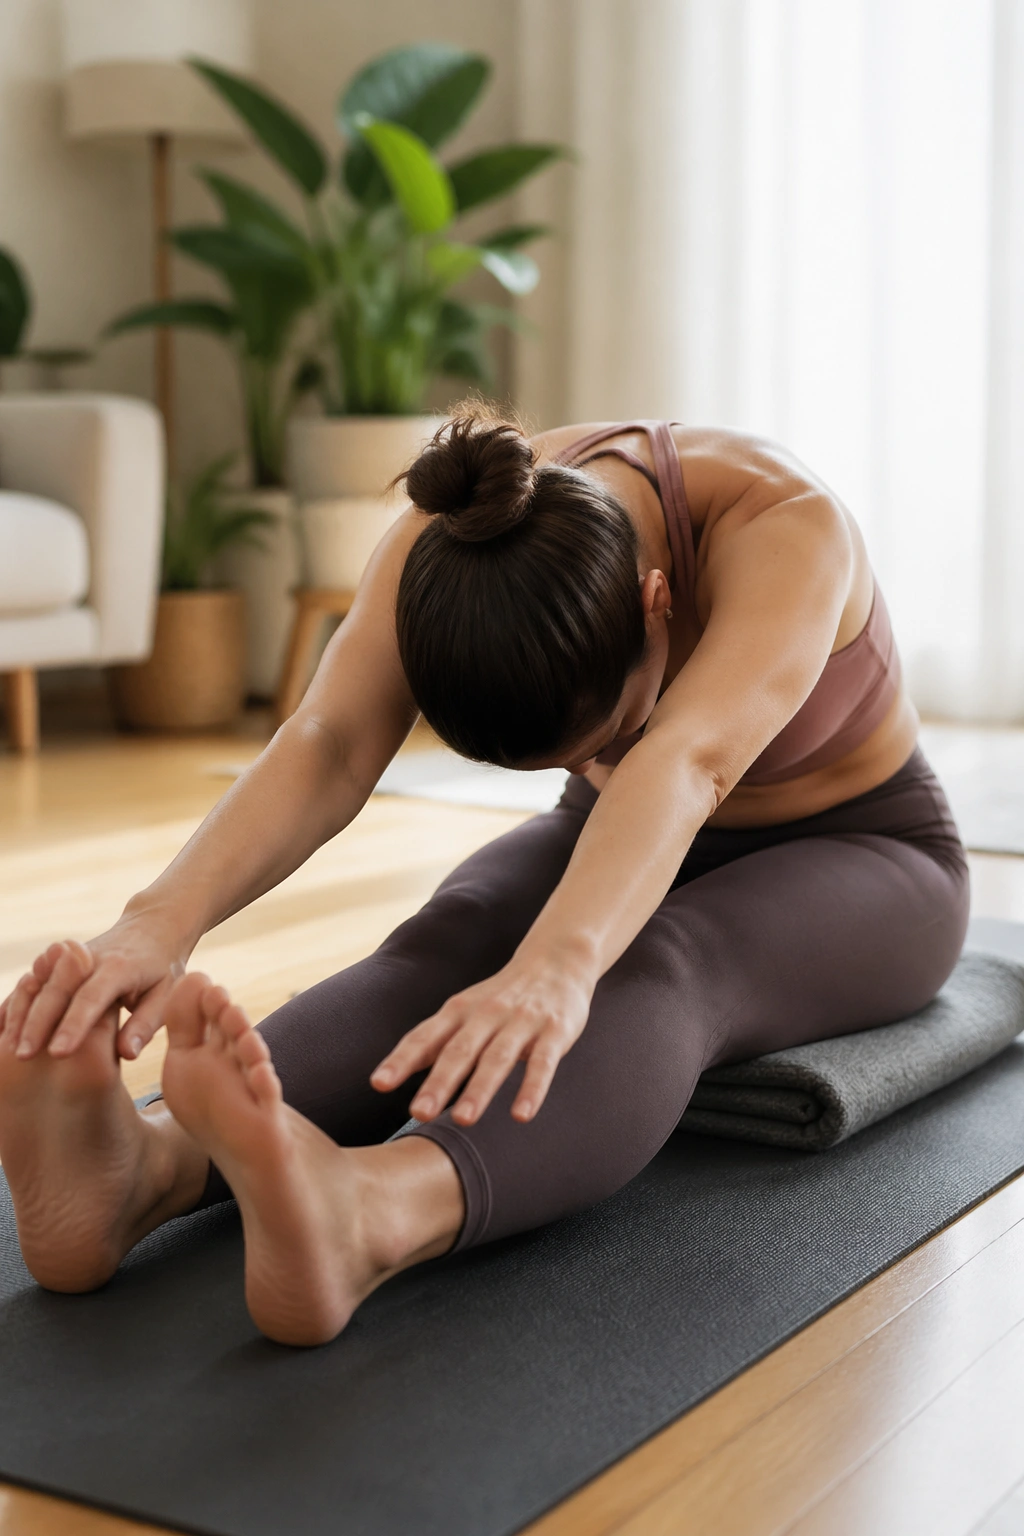
Seated work can feel like a relief after all the floor positions, and spine stretch forward is one of the cleaner seated choices.
Sit tall on a folded blanket if your pelvis needs help tipping forward. Extend the legs comfortably wide or keep them bent. Inhale to grow taller through the crown of the head. Exhale and curl forward from the pelvis, letting the arms reach ahead without collapsing the chest. Inhale to stack back up.
The value here is in spinal articulation, not flexibility bragging rights. If the hamstrings pull hard or the incision feels unhappy, bend the knees more. Keep the motion small and easy. A slow curve and rise teaches the torso to move segment by segment instead of as one stiff block.
Do 5 or 6 rounds. That’s enough. The body usually responds better to a calm dose than to a big stretch party.
17. The Hundred Prep
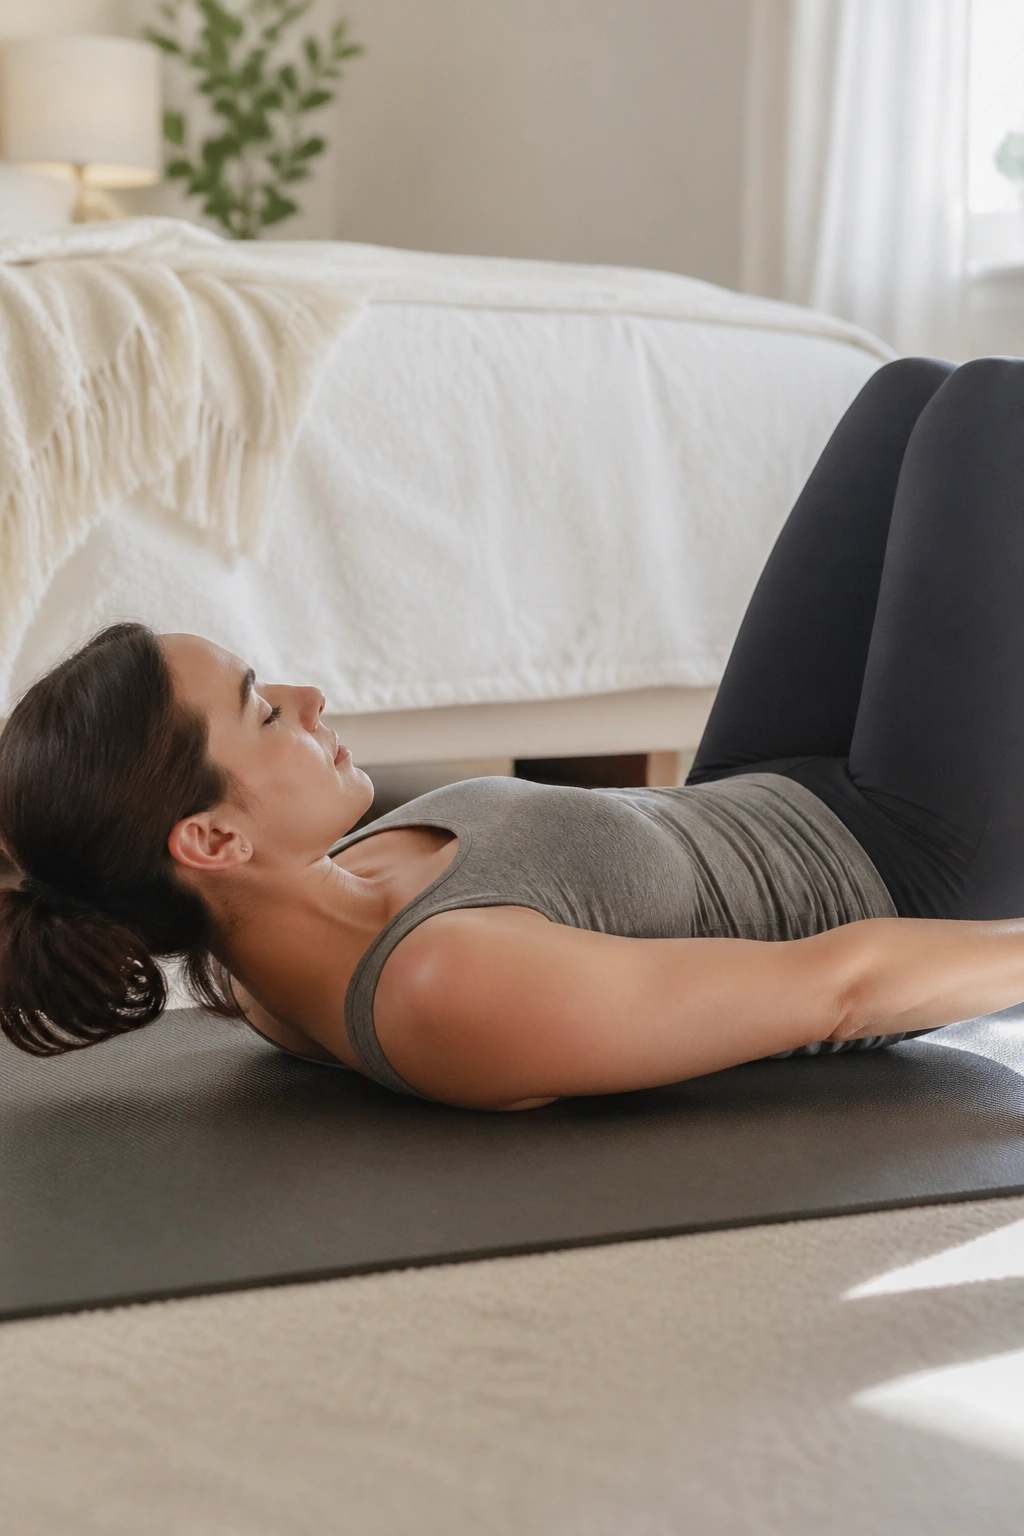
The classic Hundred is a beast compared with most early post-C-section work, so the prep version is the smarter place to start.
Lie on your back with knees bent or legs in tabletop only if that feels calm. Keep your head on the mat. Reach the arms long by your sides and pump them lightly for 5 small beats while you inhale, then 5 beats while you exhale. The neck stays relaxed. The ribs stay quiet. If the abdomen domes, lower the legs or return to breathing only.
This version keeps the famous Pilates breath pattern without the neck curl-up, which can be too much too soon. It’s a nice checkpoint when the basics feel stable and you want a little more heat without jumping straight into big core work.
A Simple Rule
If you cannot keep the ribs down and the belly flat-ish, the prep is enough for now. That is not failure. That is timing.
A lot of people race toward the full Hundred because it feels like a “real” Pilates exercise. The prep is the real one for recovery.
18. Standing Roll-Downs and Posture Reset
Standing work is where recovery starts to feel honest. On the floor, the body gets help from gravity and the mat. On your feet, the whole system has to organize itself in a more useful way.
Stand with feet hip-width apart, knees soft, and arms hanging. Exhale and nod the chin, then roll the spine down one segment at a time until the arms dangle. Inhale at the bottom. Exhale and stack back up slowly. If hamstrings are tight, bend the knees more. If the belly braces hard, make the motion smaller. The goal is length and control, not touching the floor.
What It Tells You
- Whether the ribs flare under load.
- Whether the belly grips when you stand.
- Whether the pelvis tips forward or stays balanced.
- Whether the neck is stealing work from the trunk.
Do 3 to 5 slow reps. Stand tall between each one and notice how the posture feels afterward. Often the shoulders drop a little, the lower ribs settle, and walking feels less stiff. That’s a good sign.
Standing roll-downs are a useful final checkpoint because they look a lot like real life: picking things up, bending to the crib, reaching into a basket, getting dressed without drama. When this pattern feels smooth, the rest of daily movement starts to feel less like a negotiation and more like a body that is finally on speaking terms with itself.
