



Chasing belly fat and love handles with endless crunches is a losing bet. Your waist does not care how many fancy reps you can count if the rest of your day is still spent sitting, snacking, and avoiding anything that makes you breathe hard.
The workouts that help most do three things at once: they raise your heart rate, they make your core brace, and they ask the hips and back to do some real work. That combination matters. A short, hard circuit usually beats a lazy marathon of half-speed ab reps, and the reason is plain enough once you’ve done both.
No single move melts fat off one spot. Not belly fat, not love handles, not the soft bit that hangs over your jeans when you sit down. What does work is building a routine that burns energy, keeps muscle on your frame, and trains your midsection to stay tight while the rest of you moves.
Pick a few of these and run them hard. Mix floor work with standing work, slow control with fast intervals, and you’ll have something that feels a lot more useful than chasing burn for the sake of burn.
1. Incline Walking for Belly Fat
A steep walk sounds almost too plain to matter. It matters.
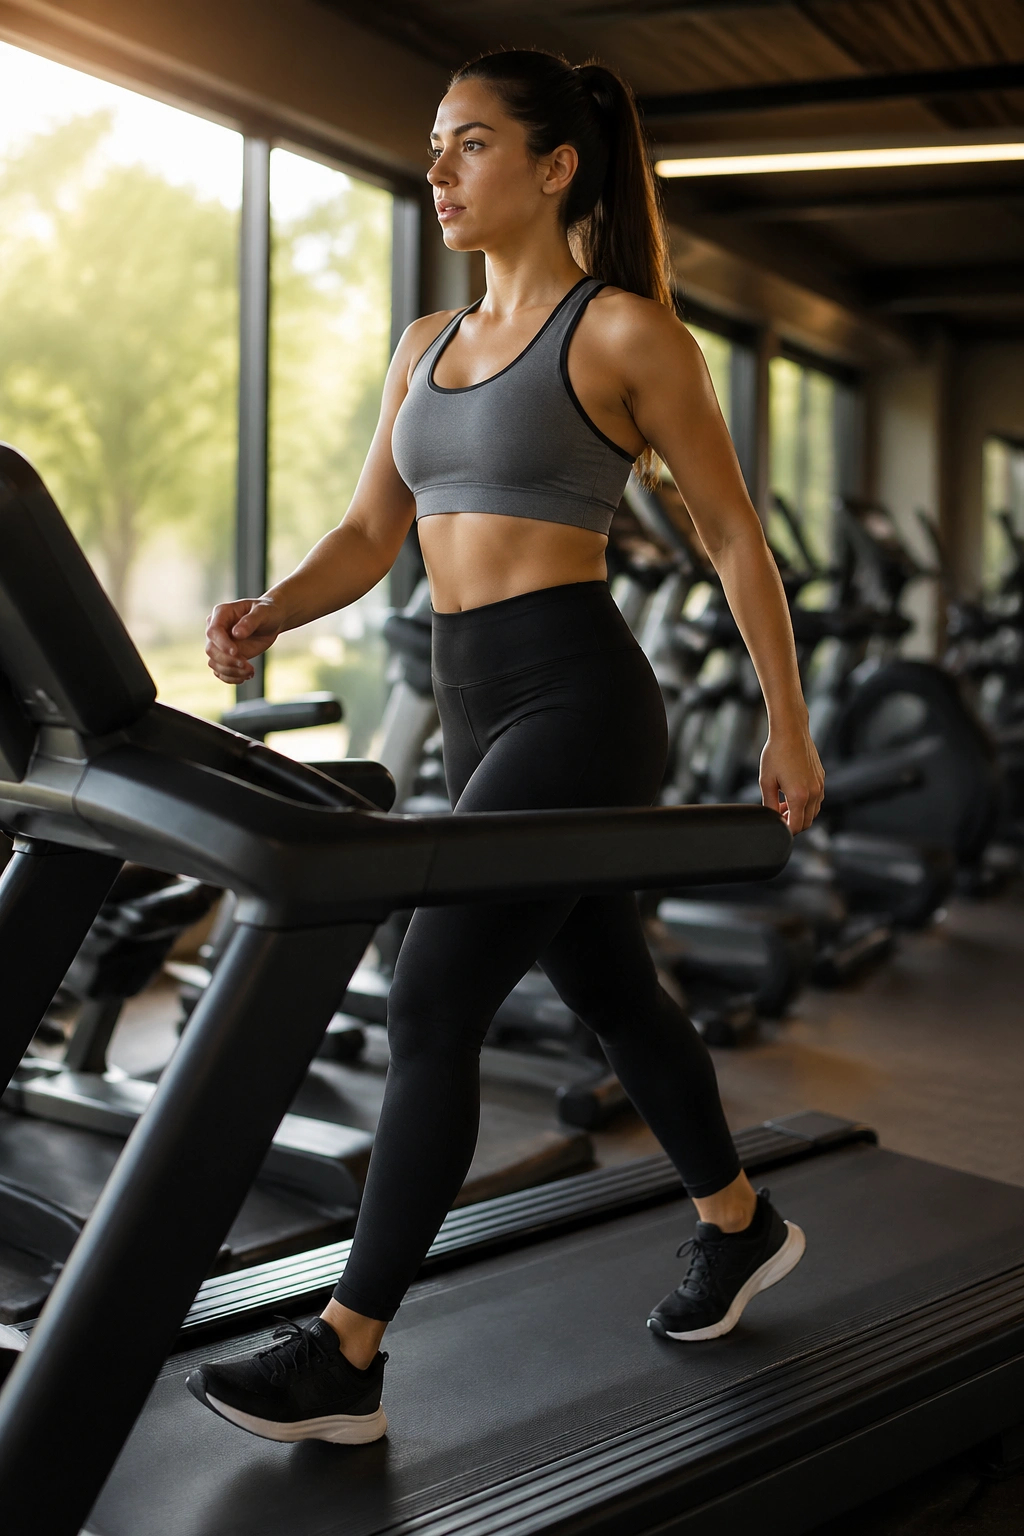
Put a treadmill at 5 to 12 percent incline, keep the speed brisk enough that you can talk in short phrases, and walk for 20 to 30 minutes. Your legs will feel it before your lungs do, which is part of the point. The incline asks your glutes, hamstrings, and calves to help move your body uphill, and that extra work adds up fast.
Why It Works
Incline walking is one of the easiest ways to raise calorie burn without beating up your joints. It also gives your core a steady job: keep your ribs stacked, keep your torso tall, and don’t fold over the handrails like you’re climbing a mountain in bad weather.
A lot of people skip this because it looks boring. Fair enough. Boring can be good when it lets you recover and still do more total work across the week. That’s the hidden win here.
- Best for beginners and anyone carrying extra body weight
- Easy to pair with strength training days
- Works well as a warm-up or a separate cardio block
- Keeps impact lower than jogging or jump drills
Tip: don’t lean on the rails. If you need the rails to survive, the incline is too high or the speed is too fast.
2. Jump Rope Intervals
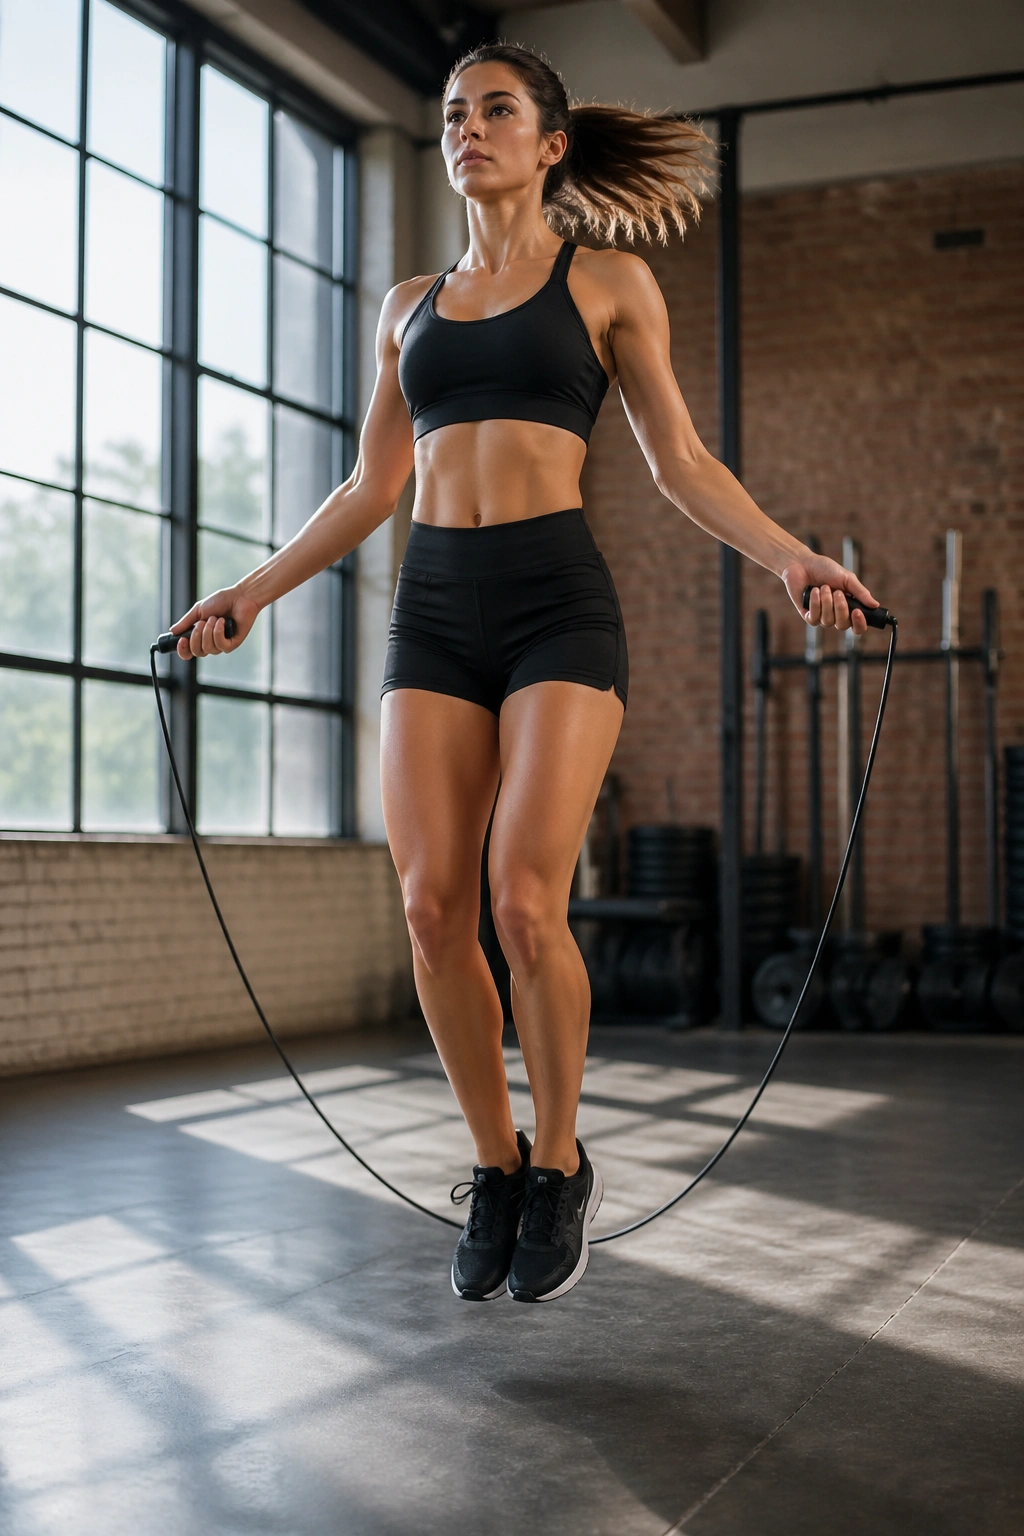
Few tools give you this much heart rate for this little floor space. A rope, a pair of shoes, and a patch of clear ground are enough.
Try 30 seconds on, 30 seconds off for 10 rounds, or start gentler with 20 seconds on and 40 seconds off if your calves light up fast. Jump rope is nasty in the best possible way. It wakes up your calves, shoulders, forearms, and trunk at the same time, and it does it without a lot of setup.
The trick is to keep the jumps tiny. You want a quick, light bounce, not a weird airborne performance. If your feet leave the floor by three inches, you’re wasting energy.
A lot of people also forget the breathing. Don’t hold it. Count your rhythm out loud if you have to. A smooth pace beats a frantic start followed by two minutes of staring at the rope like it insulted your family.
Use jump rope as a finisher after strength work, or as the main event on days when you want a hard, short sweat without dragging yourself through a long session.
3. Mountain Climbers for Belly Fat
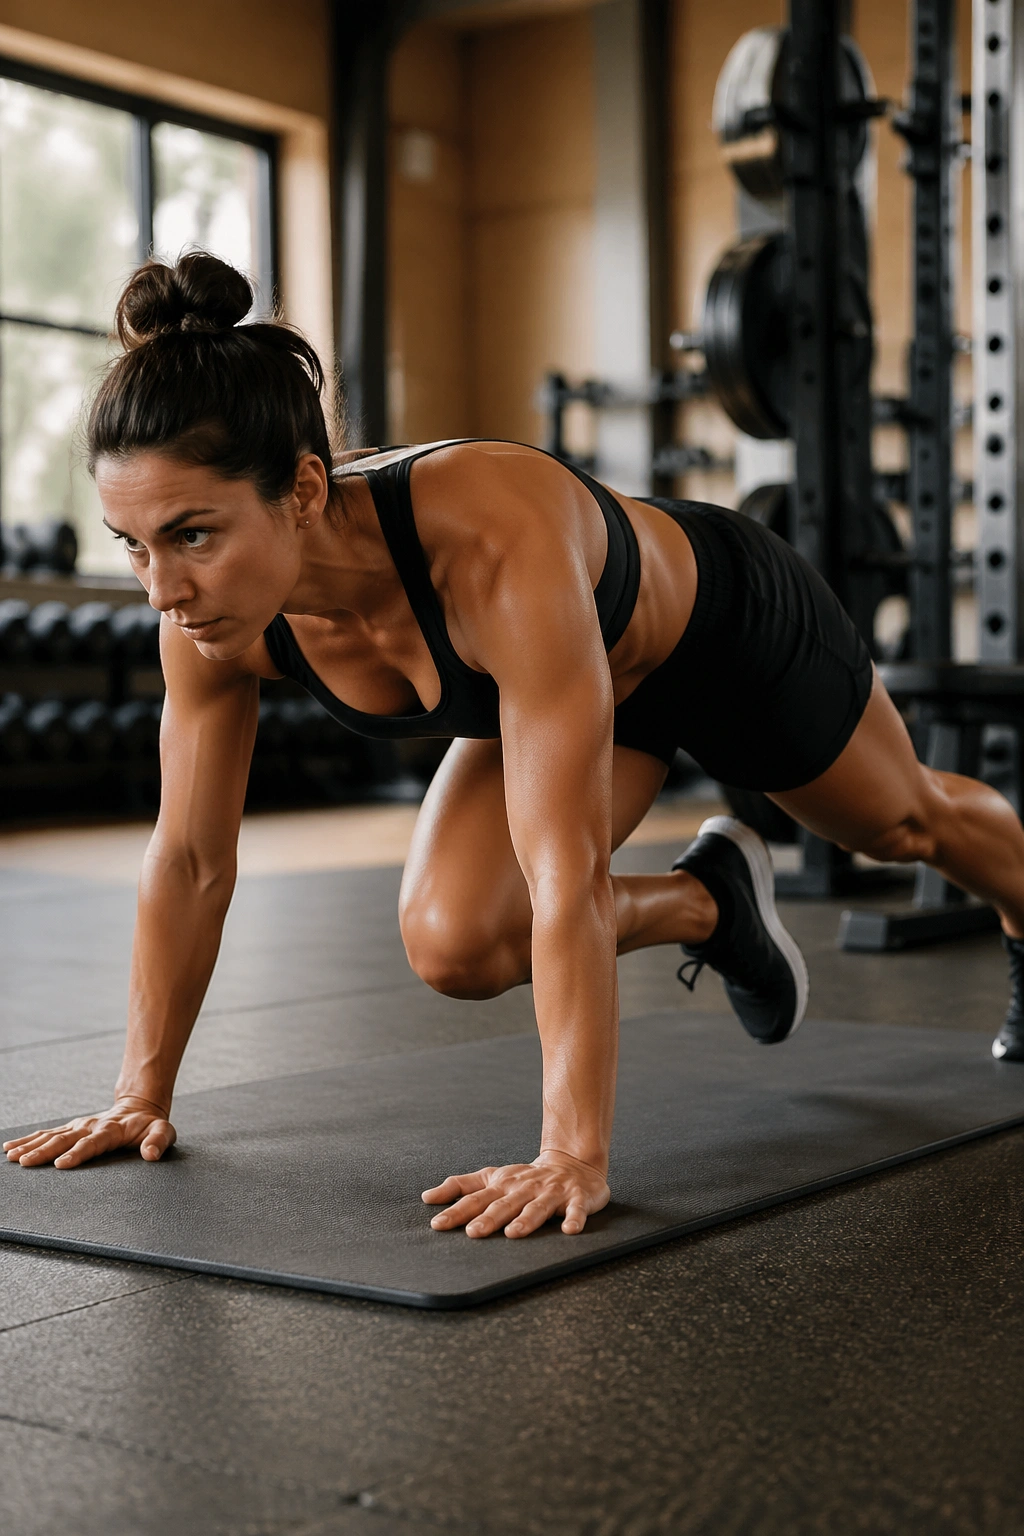
Why do mountain climbers keep showing up in fat-loss routines?
Because they’re one of the rare moves that can make your heart pound while your core works to stop your hips from wobbling all over the place. Start in a strong plank with your hands under your shoulders, then drive one knee toward your chest and switch fast. A good set lasts 20 to 40 seconds; a sloppy set lasts until your lower back starts complaining.
How to Use Them
Keep your hips low, but not sagging. If your butt shoots up in the air, the work shifts away from your trunk and turns into a half-hearted sprint in place. Cross-body mountain climbers, where the knee drives toward the opposite elbow, add a little extra demand through the obliques. That’s useful for love handles because it asks the side of the torso to resist and rotate at the same time.
- 3 to 5 sets
- 20 to 30 seconds each
- 30 to 45 seconds of rest
- Use a bench or wall if floor planks bother your wrists
They’re simple. They’re not easy. That’s why they work.
4. Bicycle Crunches
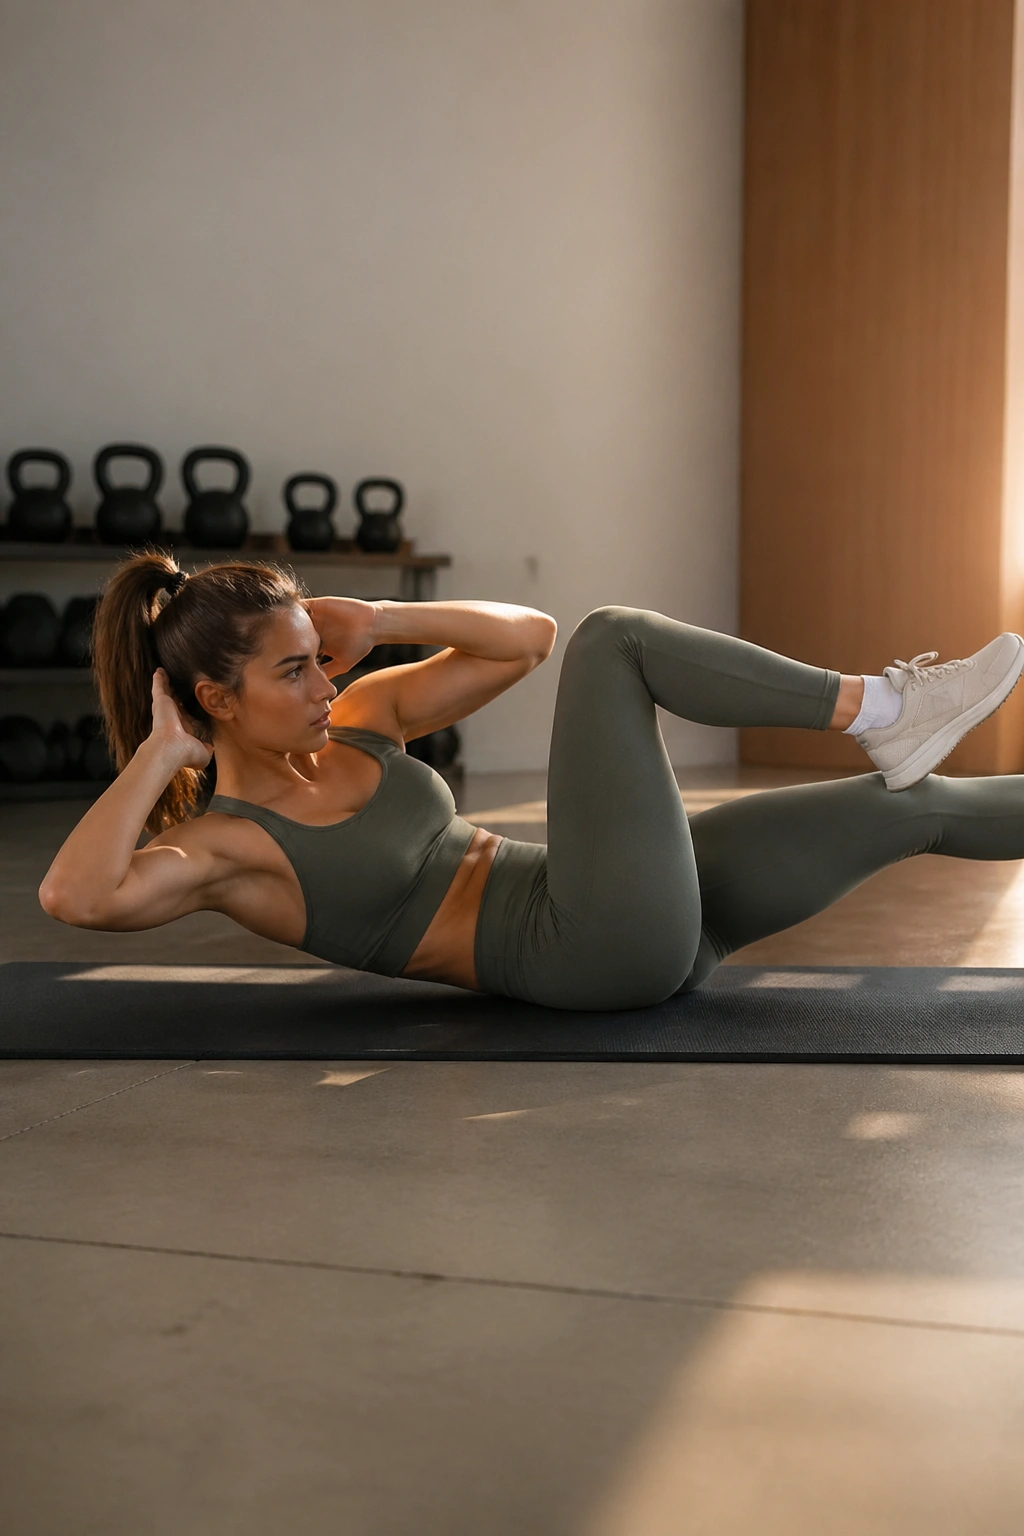
If you’ve ever raced through bicycle crunches, felt your neck ache, and wondered why your waistline did not get the memo, you’re not alone.
The fix is slower reps. Lie on your back, bring one knee in, reach the opposite elbow across, and actually twist through the rib cage instead of yanking your head forward. The abs should feel like they’re doing the work; the neck should stay out of the drama. Ten controlled reps can do more than thirty frantic ones.
What Makes Them Worth Keeping
Bicycle crunches are one of the better bodyweight moves for the obliques when they’re done with control. They also train coordination, which sounds fancy until you realize it just means your upper and lower body are learning to move together instead of flailing separately.
- Keep elbows wide
- Exhale as you twist
- Lower the back leg slowly
- Stop the set when the lower back starts arching
One good set should leave your waist feeling tight and your breathing a little messy. If it only leaves you sweaty, the pace is too easy or the form is too loose.
5. Side Plank Hip Lifts
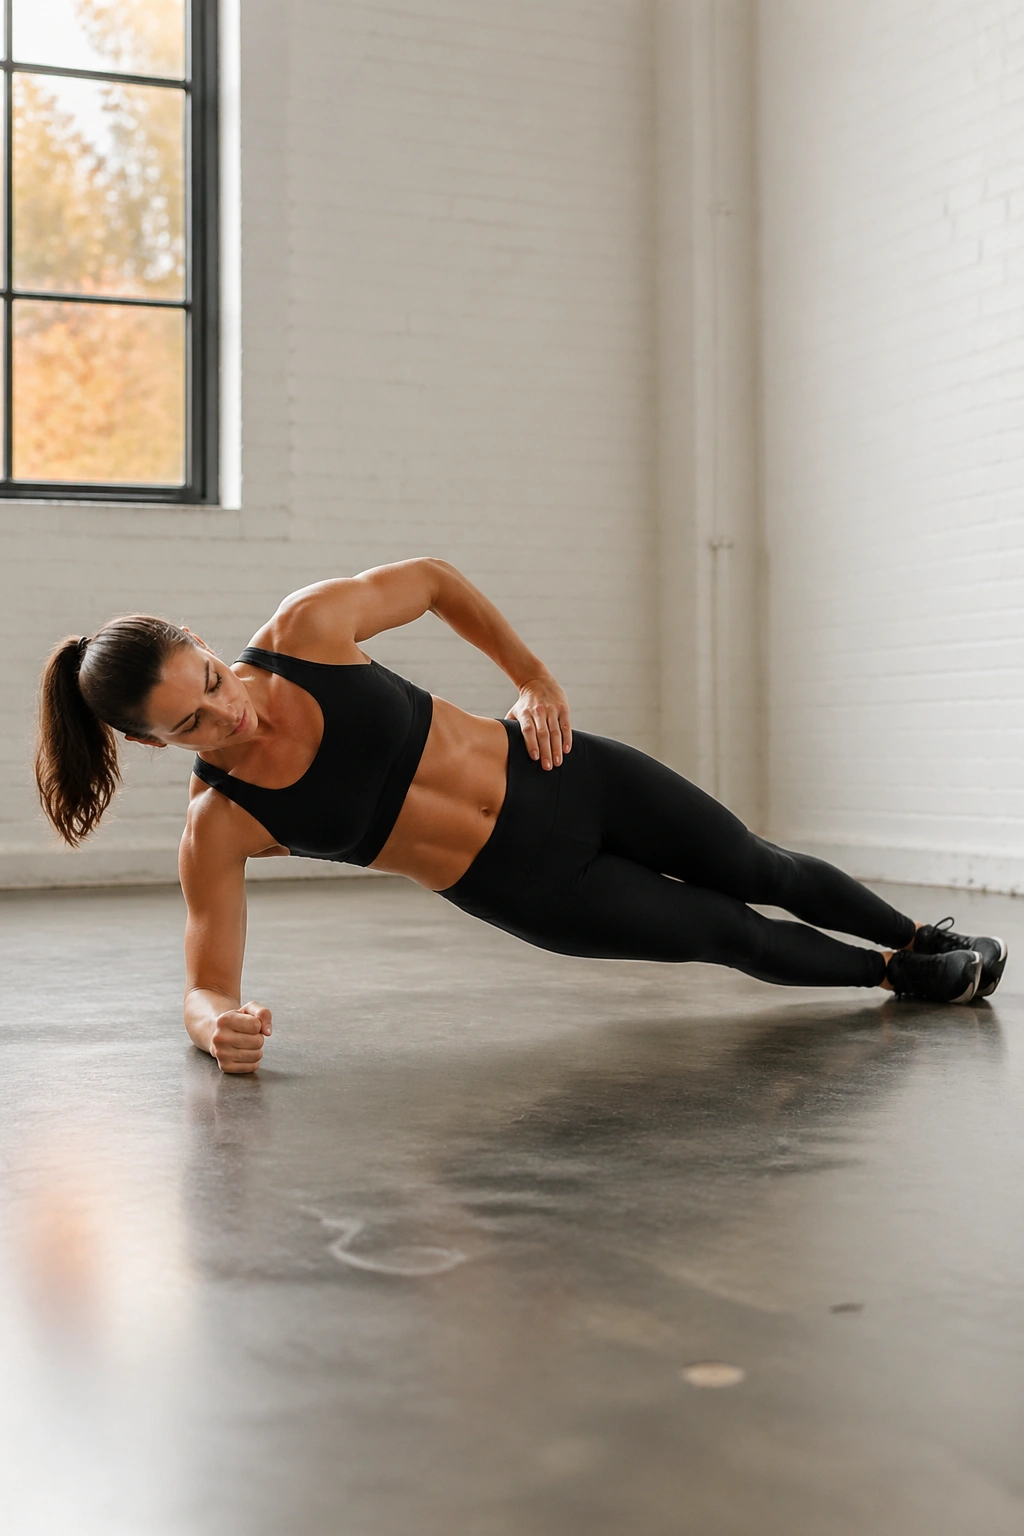
This is the move I like when someone says their core is weak, not just tired.
Set up on one forearm, stack your feet, and lift your hips into a straight line from head to heels. Then lower the hips a few inches and lift again. That tiny up-and-down motion hits the obliques, but it also teaches your body not to collapse sideways when one side has to carry the load. That matters more than most people think.
It burns.
Begin with 8 to 12 lifts per side or a 15 to 20 second hold if the motion feels shaky. If the full version is too much, drop the bottom knee to the floor and keep the same line from shoulder to knee. Still tough. Still useful.
The nice thing about side plank work is that it doesn’t just target the waist. It also wakes up the glute medius, the small hip muscle that helps keep your pelvis steady when you walk, lunge, or run. A steadier pelvis usually means a steadier trunk, and that shows up everywhere from stairs to sprinting.
6. Russian Twists for Love Handles
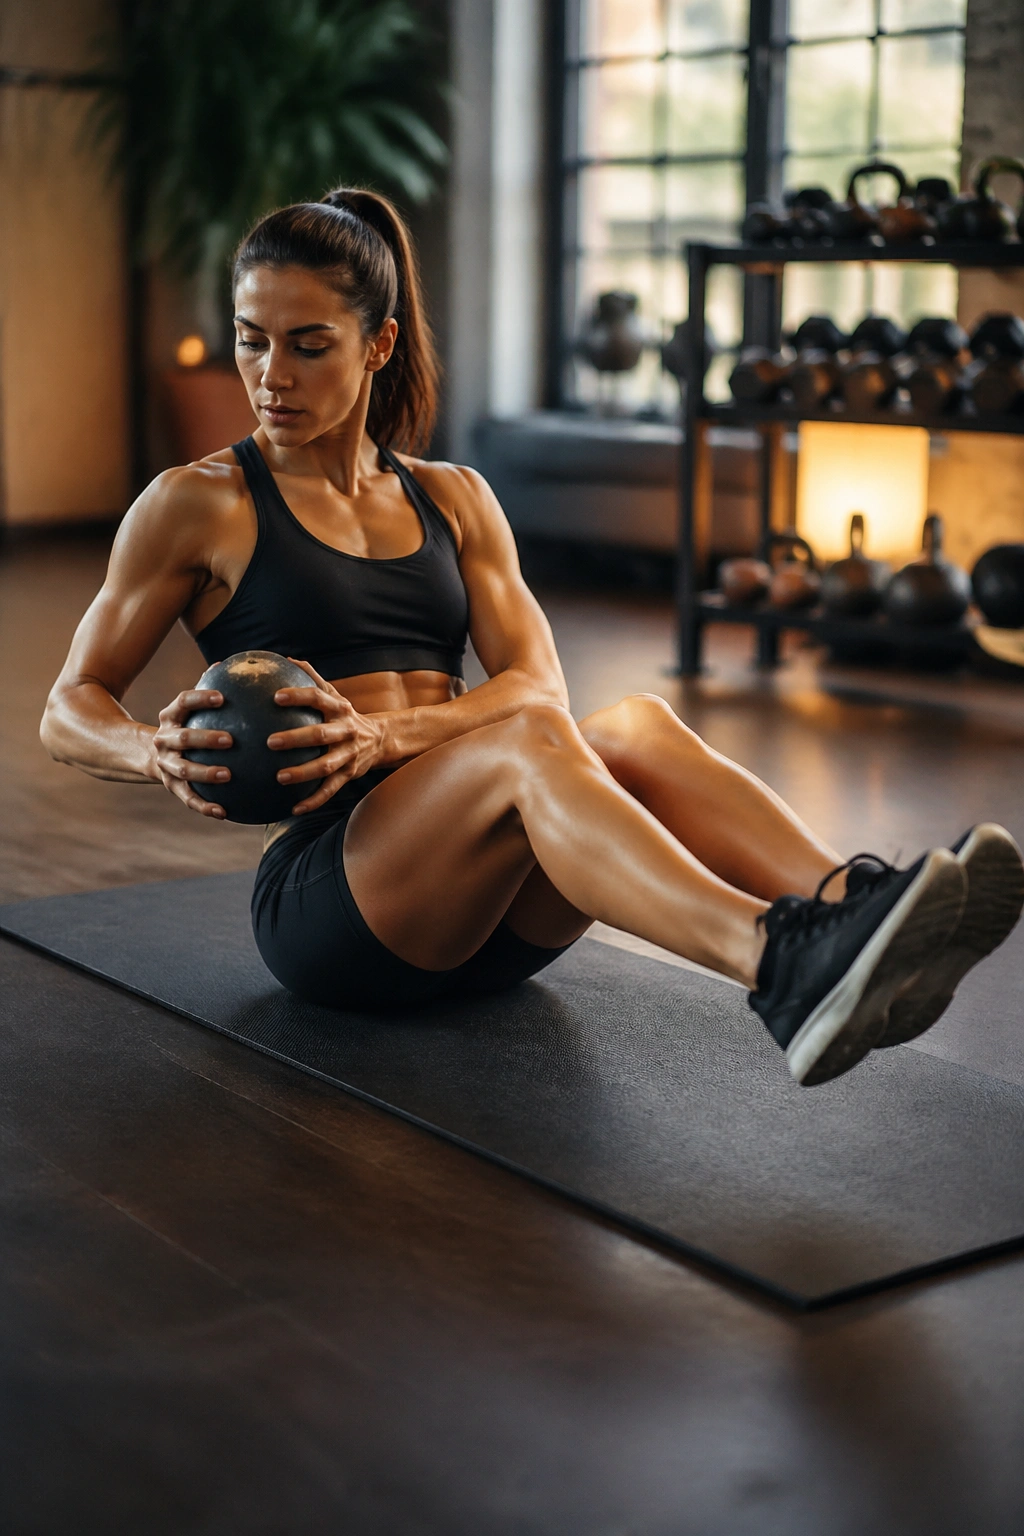
Unlike straight crunches, Russian twists ask your torso to resist and create rotation while your hands move side to side. That makes them a better fit for the love-handle area, which is really just the side wall of the core doing its job.
Sit with your knees bent, lean back a little, and keep your chest open. Twist from the ribs, not just the arms. A light medicine ball or dumbbell of 4 to 10 pounds is plenty for most people. Heavier is not always better here. If your lower back starts rounding, the weight is too much or the lean is too deep.
Who are they best for? People who already have some control in their trunk and want a standing or seated rotation drill that can be loaded. Who should be careful? Anyone with cranky low backs. In that case, standing wood chops or dead bugs are often the smarter move.
My advice: use Russian twists as a controlled accessory, not a speed contest. 10 to 16 total twists done cleanly beat a frantic set of 40.
7. Standing Wood Chops
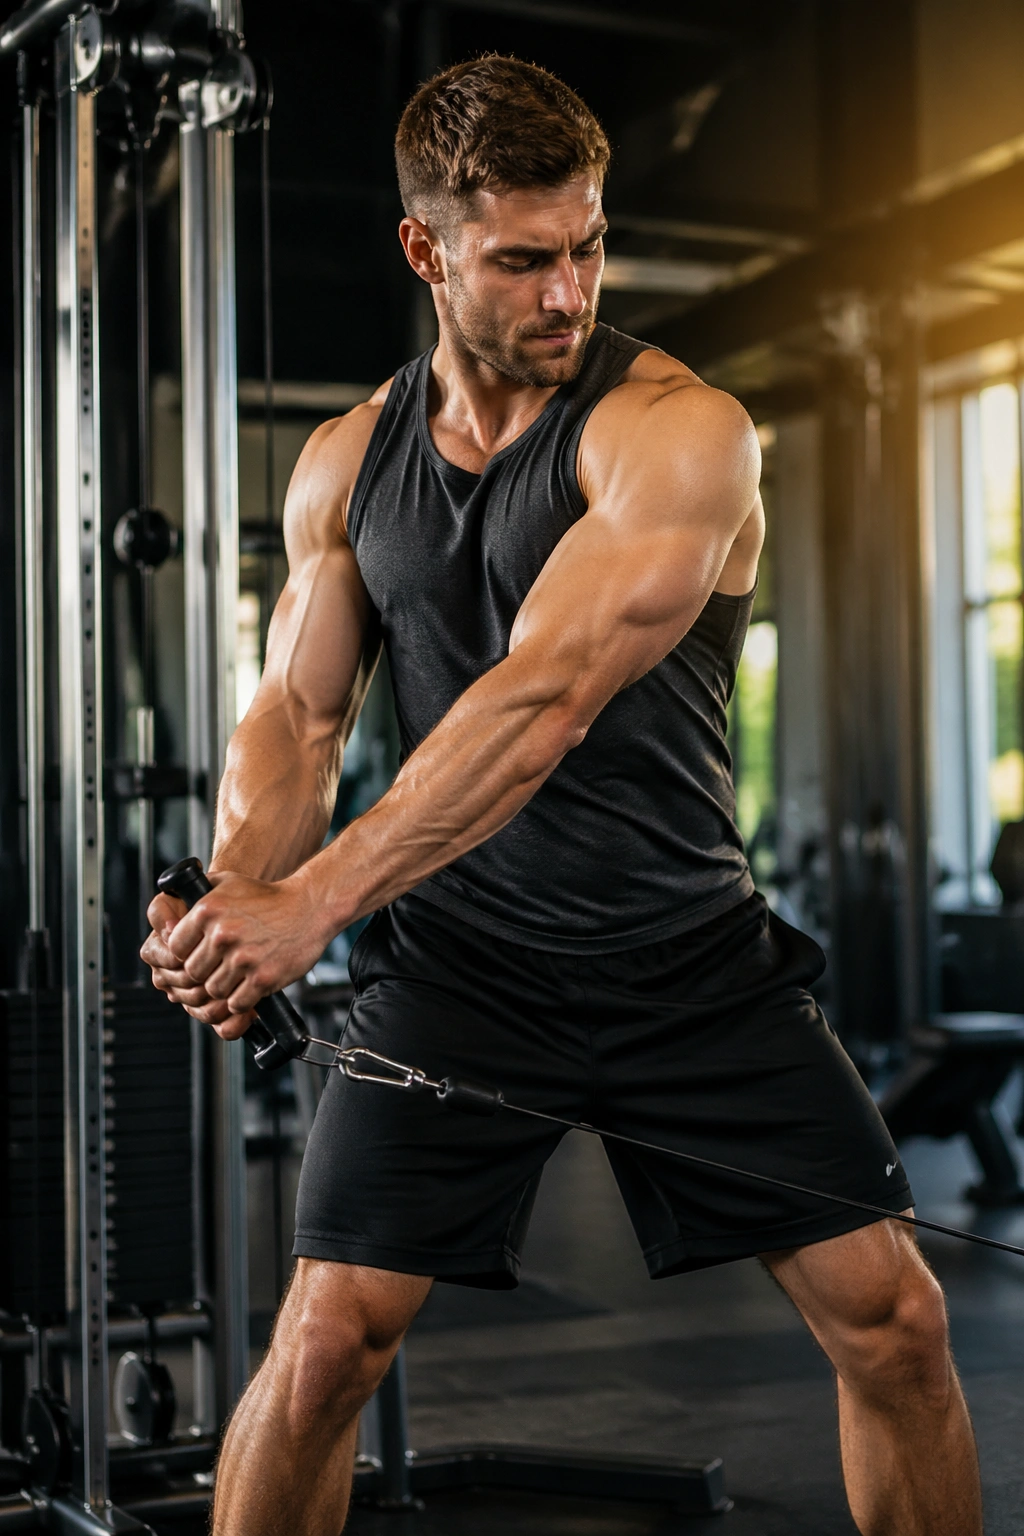
If floor work bothers your neck or wrists, standing wood chops are the cleaner answer.
Grab a cable handle, band, or light dumbbell and move from high to low or low to high across your body. The feet can stay planted, or you can allow a small pivot if the hips need it. The goal is not to spin wildly. The goal is to make the torso control the motion while the hips and shoulders cooperate.
Why They Feel More Natural
People often find wood chops easier to “feel” than crunches because the motion looks more like real life. You brace, rotate, and resist rotation all at once. That makes them useful for love handles, but also for the whole trunk, especially if you’re training for posture or athletic movement.
- 10 to 15 reps per side
- 2 to 4 sets
- Use a band anchored at shoulder height or lower
- Keep the movement smooth, not jerky
A good set should make your sides work without making your lower back angry. If the movement feels like a shrug with a twist, slow down and shorten the range.
8. Dead Bug
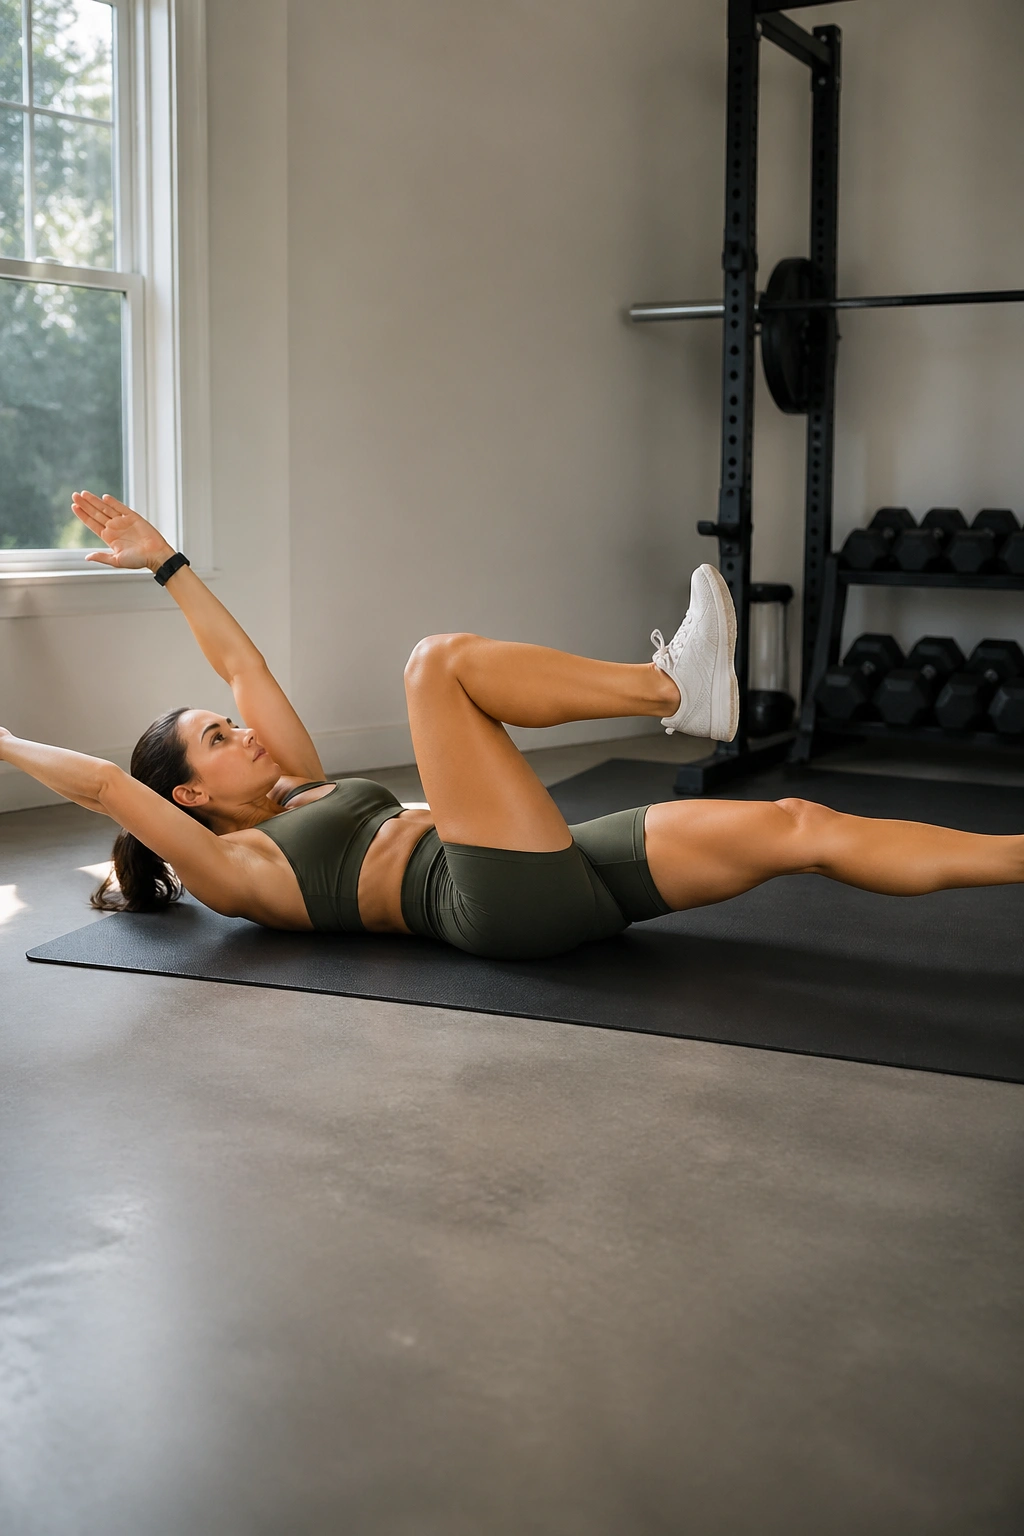
How do you train the core without cranking on the lower back?
You start with the dead bug. Lie on your back, arms up, knees bent at 90 degrees, and press your lower back gently into the floor. Then lower the opposite arm and leg at the same time, only as far as you can go without your back popping up. Slow wins here. Fast just turns into chaos.
Dead bugs are a quiet kind of hard. They do not look flashy, and that’s fine. Their job is to teach bracing and control, which is gold if you want a tighter-looking midsection and a back that doesn’t get grumpy every time you do more aggressive work.
Use 6 to 10 reps per side. If that sounds too easy, pause for 2 seconds at the farthest point before coming back. That little pause is where the exercise bites.
What Not to Do
Don’t arch your lower back. Don’t race. Don’t turn the movement into a windshield-wiper stunt. The cleaner the reps, the more useful the drill.
9. Reverse Crunches
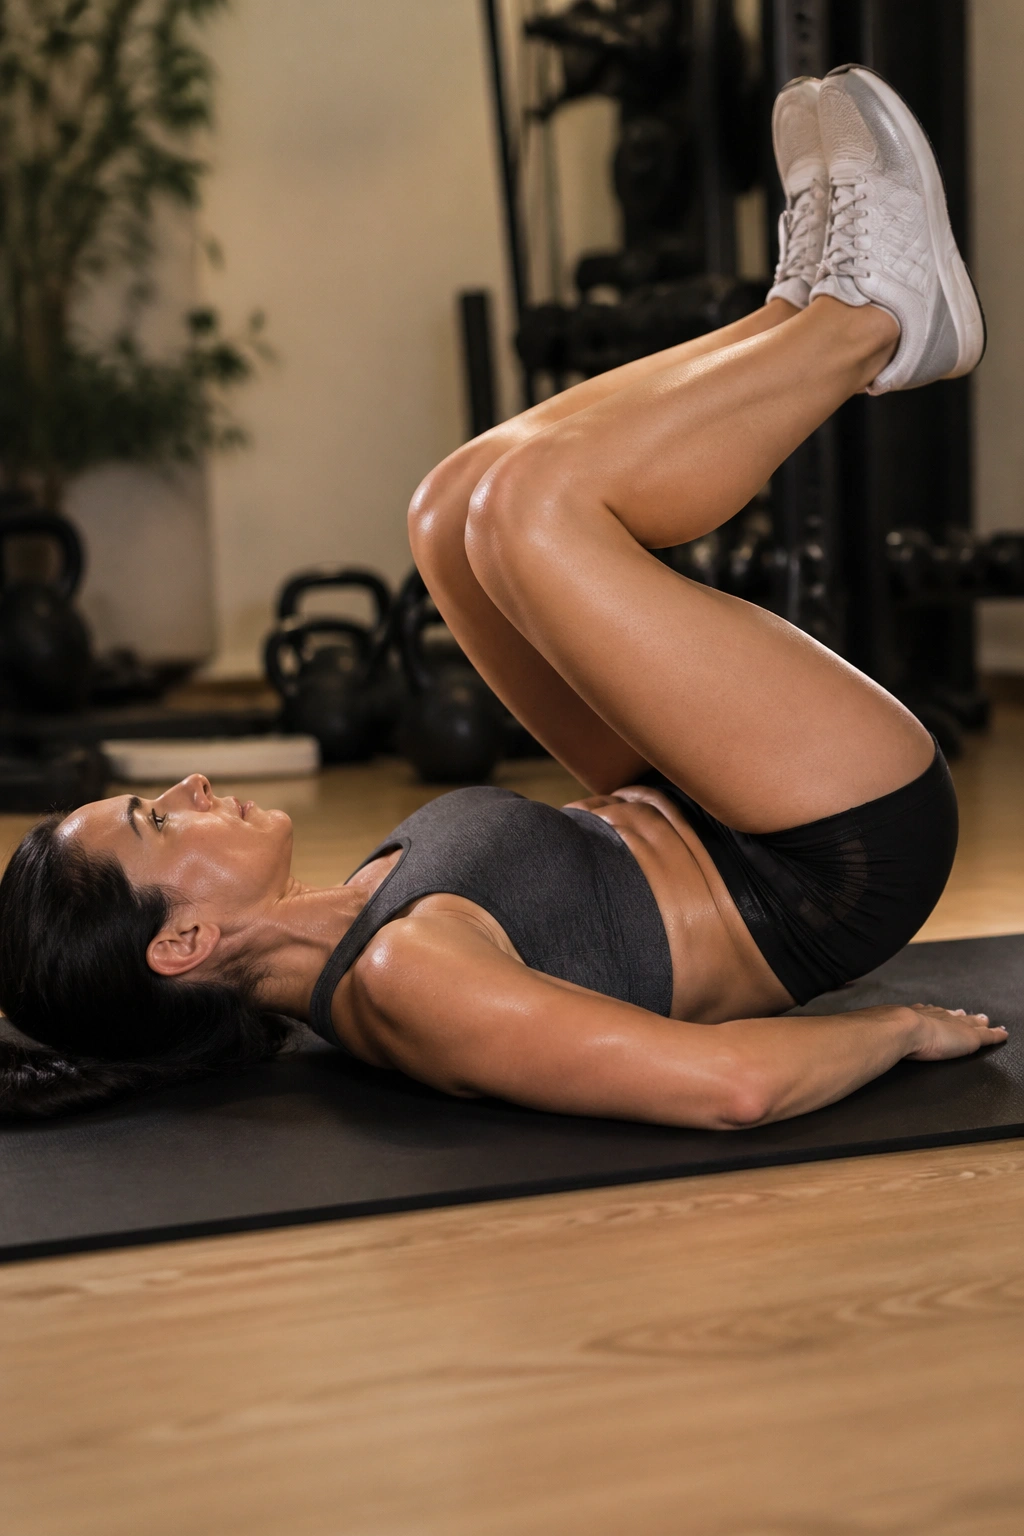
A lot of people think lower abs means faster leg lifts. Not even close.
Reverse crunches are cleaner than that. Lie on your back, knees bent, and curl the pelvis so the tailbone lifts off the floor. The motion is small, but the work should feel focused through the lower part of the abdomen. If your legs are swinging and your hips never peel up, you’re missing the point.
You can do 10 to 15 controlled reps with a brief pause at the top. That pause matters. It keeps the motion honest and stops momentum from taking over. If your hip flexors are doing all the work, bring the knees in a little closer and shorten the range until the abs take charge.
- Exhale as the hips curl up
- Lower slowly for 2 to 3 seconds
- Keep the neck relaxed
- Stop before the lower back arches off the floor
Reverse crunches are useful because they train pelvic control. That sounds technical, but it boils down to this: a pelvis that tilts correctly helps the waist look and function better.
10. Burpees
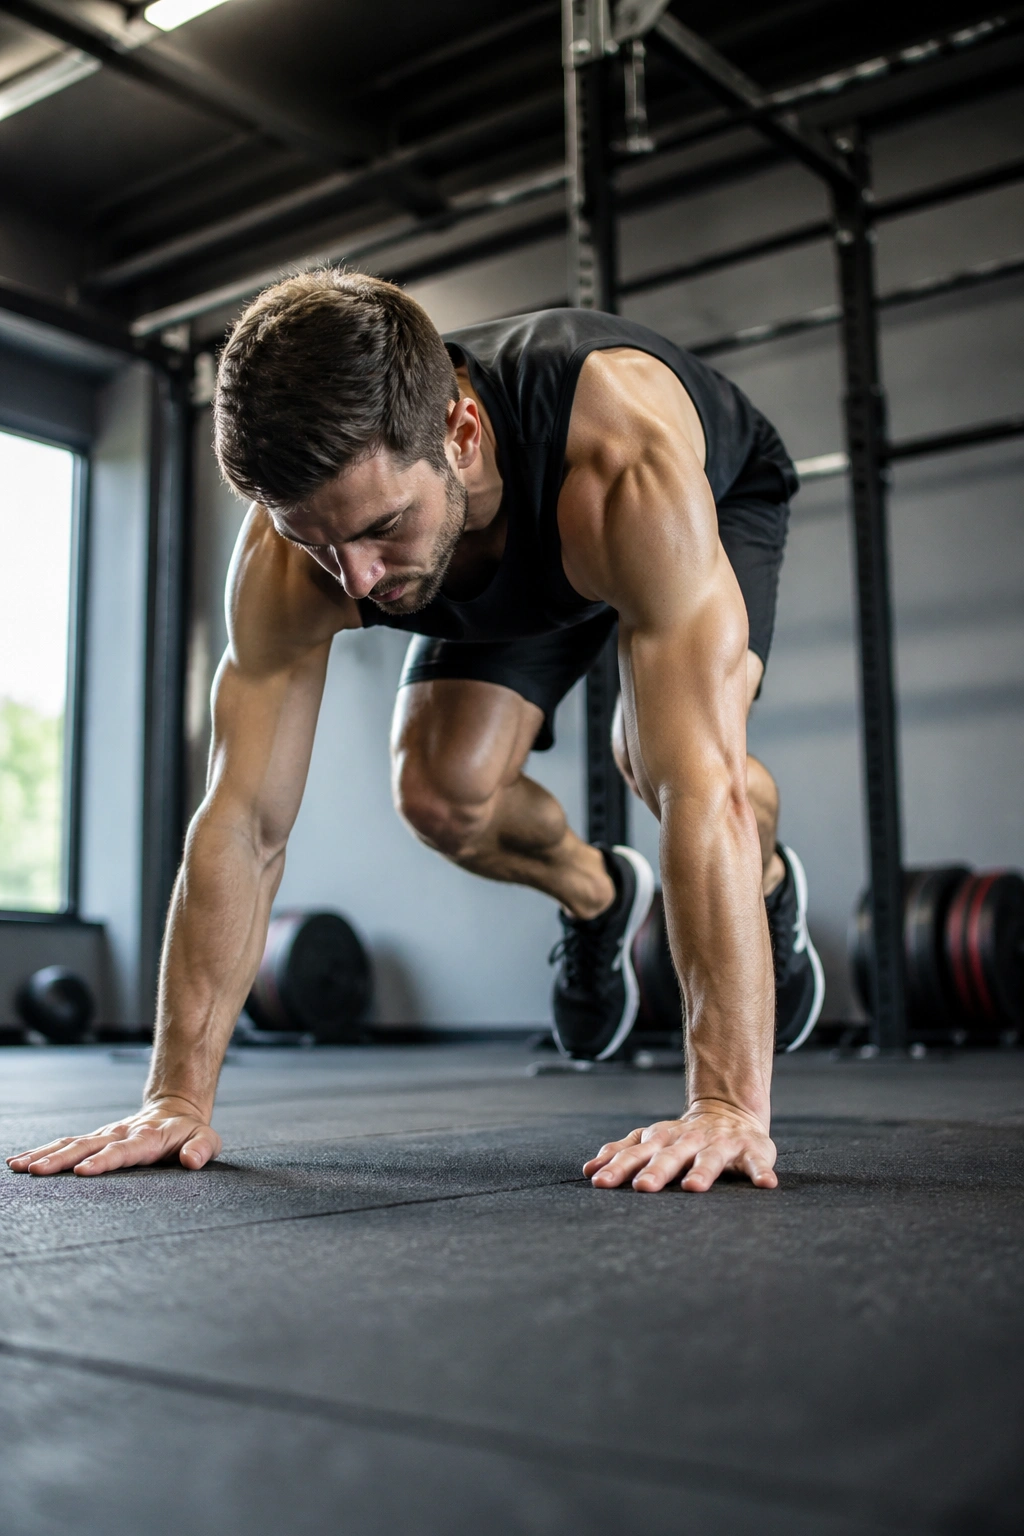
Burpees earn their reputation the hard way.
They take a move that starts standing, drop it to the floor, then ask you to jump back up and repeat before your lungs can file a complaint. That full-body demand is exactly why burpees show up in belly fat workouts so often. They’re ugly in a useful way. They make you work.
Start with 5 to 8 reps if you’re new, or 8 to 12 reps if you already know your way around them. Step back instead of jumping if your lower back or wrists hate the standard version. The set still counts. No medals for unnecessary suffering.
One-sentence truth: don’t chase speed at the cost of shape.
A burpee done with decent mechanics should keep your chest from collapsing and your landing soft enough that you can repeat it. If you’re slamming into the floor and jumping like a startled cat, the pace is too wild. Short rest, crisp reps, then move on. That’s how they work as a fat-loss tool instead of a mess.
11. High Knees
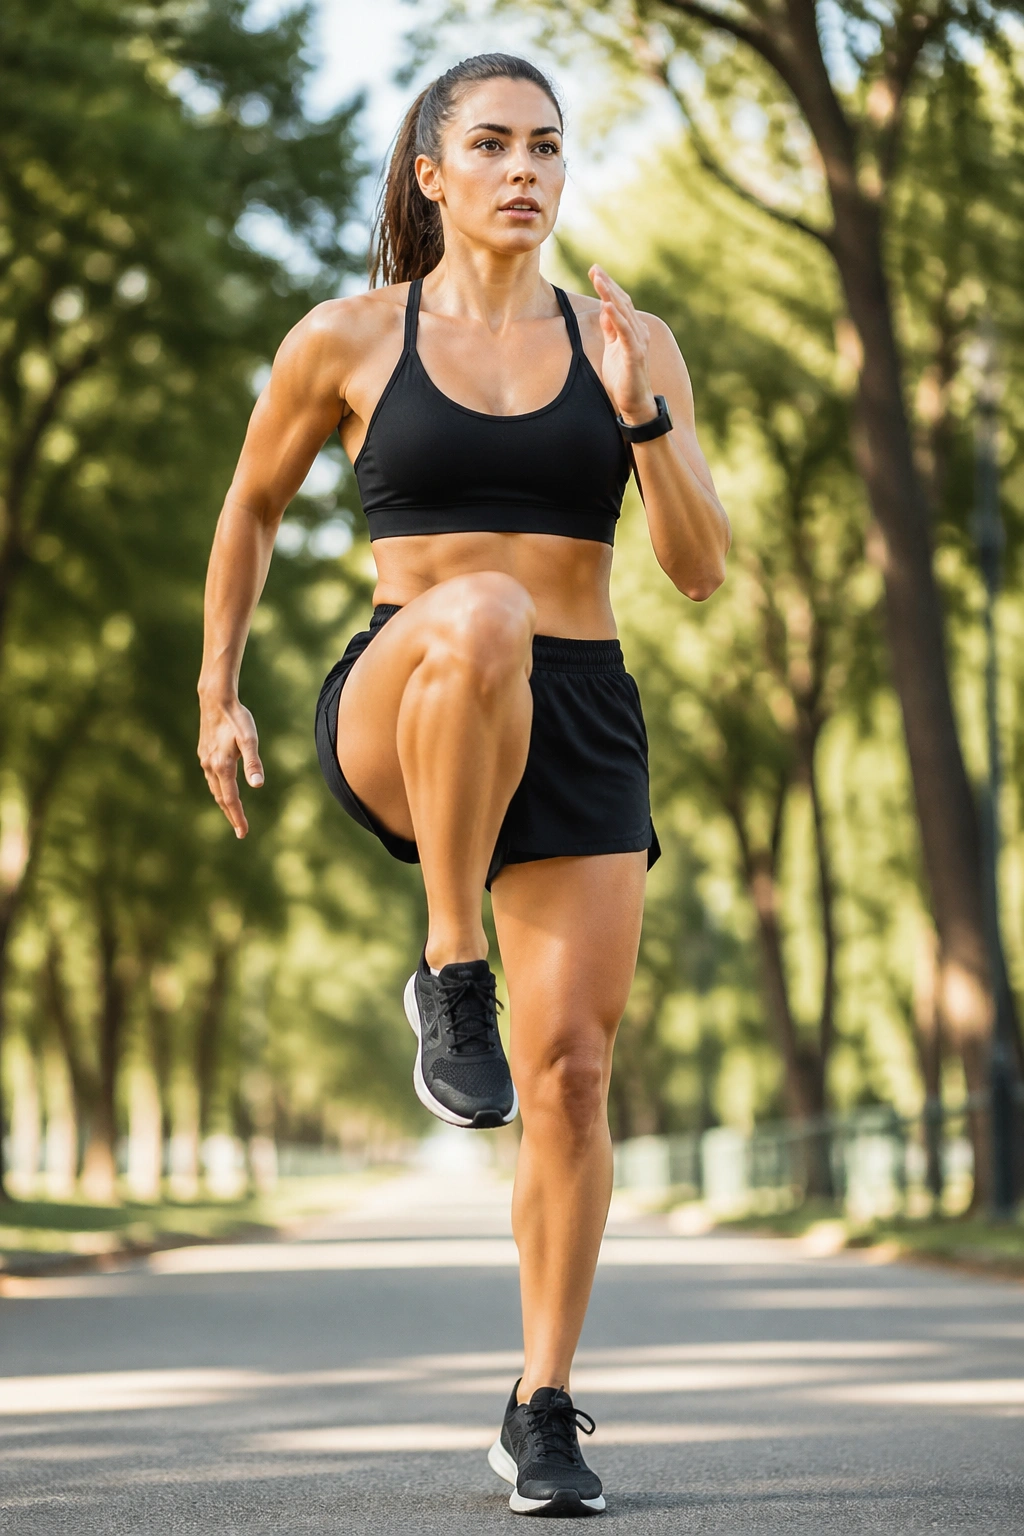
Unlike burpees, high knees keep you upright and easy to scale.
Stand tall, drive the knees up one at a time, and pump your arms like you mean it. The goal is a fast, bouncy rhythm that raises your heart rate without needing equipment or floor space. A clean round lasts 20 to 30 seconds, followed by 30 to 45 seconds of rest.
High knees are useful because they teach quick foot contacts and keep the trunk braced while the legs move. That’s a handy mix for fat-loss work. You get a cardio hit, a little coordination challenge, and enough core action to make your midsection stay awake.
If the pounding bothers your shins, lower the impact and make the knees a little smaller. You can still work hard. You just don’t need to turn the drill into a stomp.
A good place for high knees is near the middle of a circuit, after a strength move and before a floor-based core exercise. It keeps the pace up without burning you out the way sprints sometimes can.
12. Skater Hops
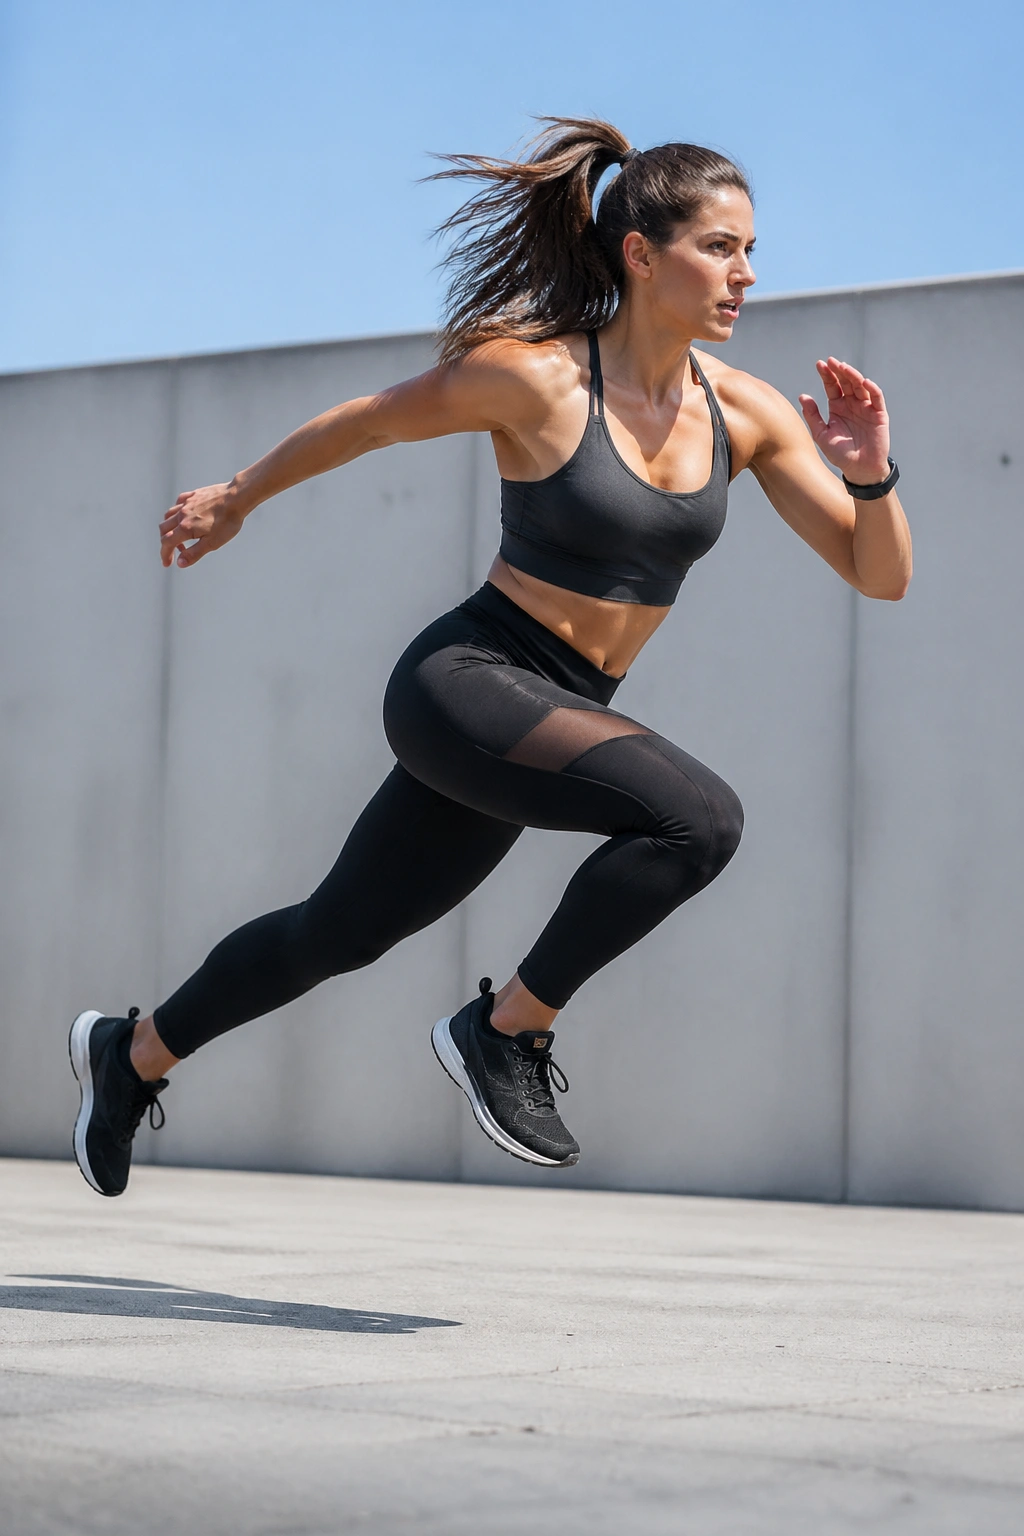
Side-to-side work matters more than people think. Life is not all forward motion, and neither is a good core routine.
Skater hops send you laterally from one leg to the other, which lights up the glutes, hips, and obliques while nudging your heart rate up. Start with a small hop, land softly on one foot, and let the trailing leg sweep behind you for balance. The landing should feel controlled, not clunky.
How to Keep Them Clean
- Bend the landing knee
- Keep the chest from diving forward
- Stick each landing for a split second
- Use a shorter hop if balance is shaky
They’re useful for love handles because the body has to resist a side-to-side collapse. That stable trunk work carries over into walking, running, and even standing up from a chair. Small stuff. Big difference.
I like skater hops as a bridge between pure cardio and leg strength. They are not quite a sprint, not quite a squat, and that odd middle ground is part of why they stay interesting.
13. Kettlebell Swings for Belly Fat
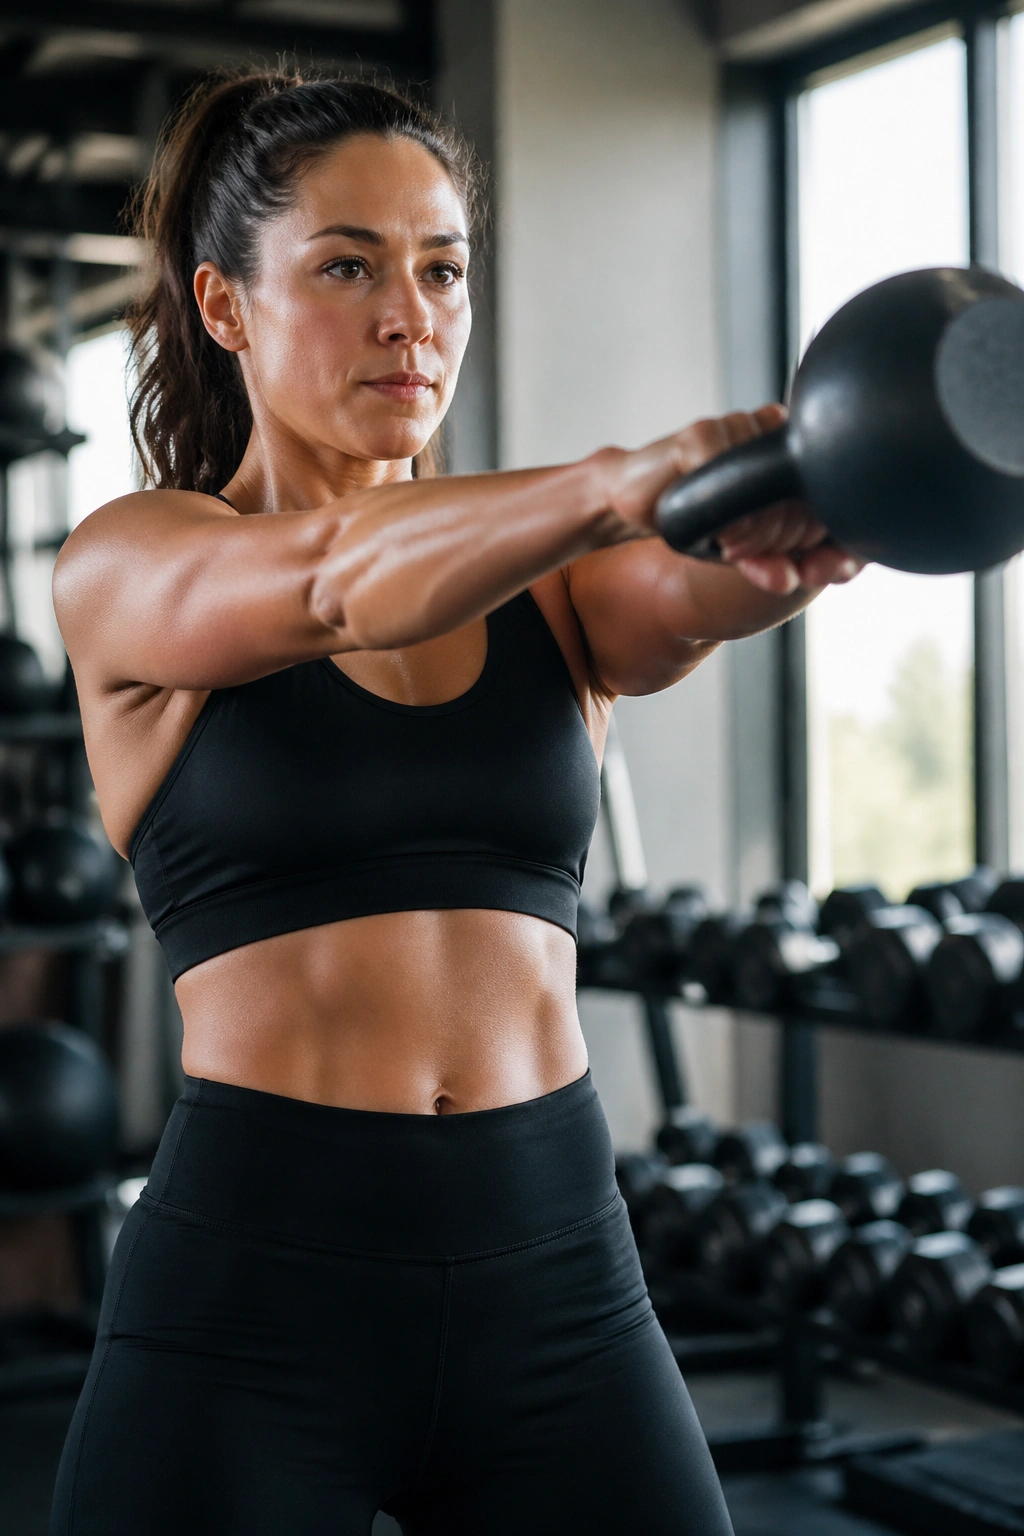
If you know the hinge, kettlebell swings are a sneaky cardio drill.
The movement starts with the hips, not the arms. Load the glutes and hamstrings, then snap the hips forward so the bell floats to chest height. A set of 10 to 15 swings should feel explosive but tidy. If the bell is being lifted by the shoulders, the weight is too heavy or the pattern is wrong.
Swings are worth a place in belly fat workouts because they can drive your heart rate up while keeping the trunk braced against motion. That “don’t fold, don’t twist, stay tall” demand is what makes the core matter here. You’ll feel it in your abs, but also in the back of the legs and the grip.
Start light. Really light, if needed. A lot of people turn a swing into a squat with a front raise. That is not the same drill, and it usually feels terrible by rep six.
Use swings as short intervals: 15 swings, rest 30 to 45 seconds, repeat for 8 to 12 rounds. Clean hinge. Fast hips. Done.
14. Renegade Rows
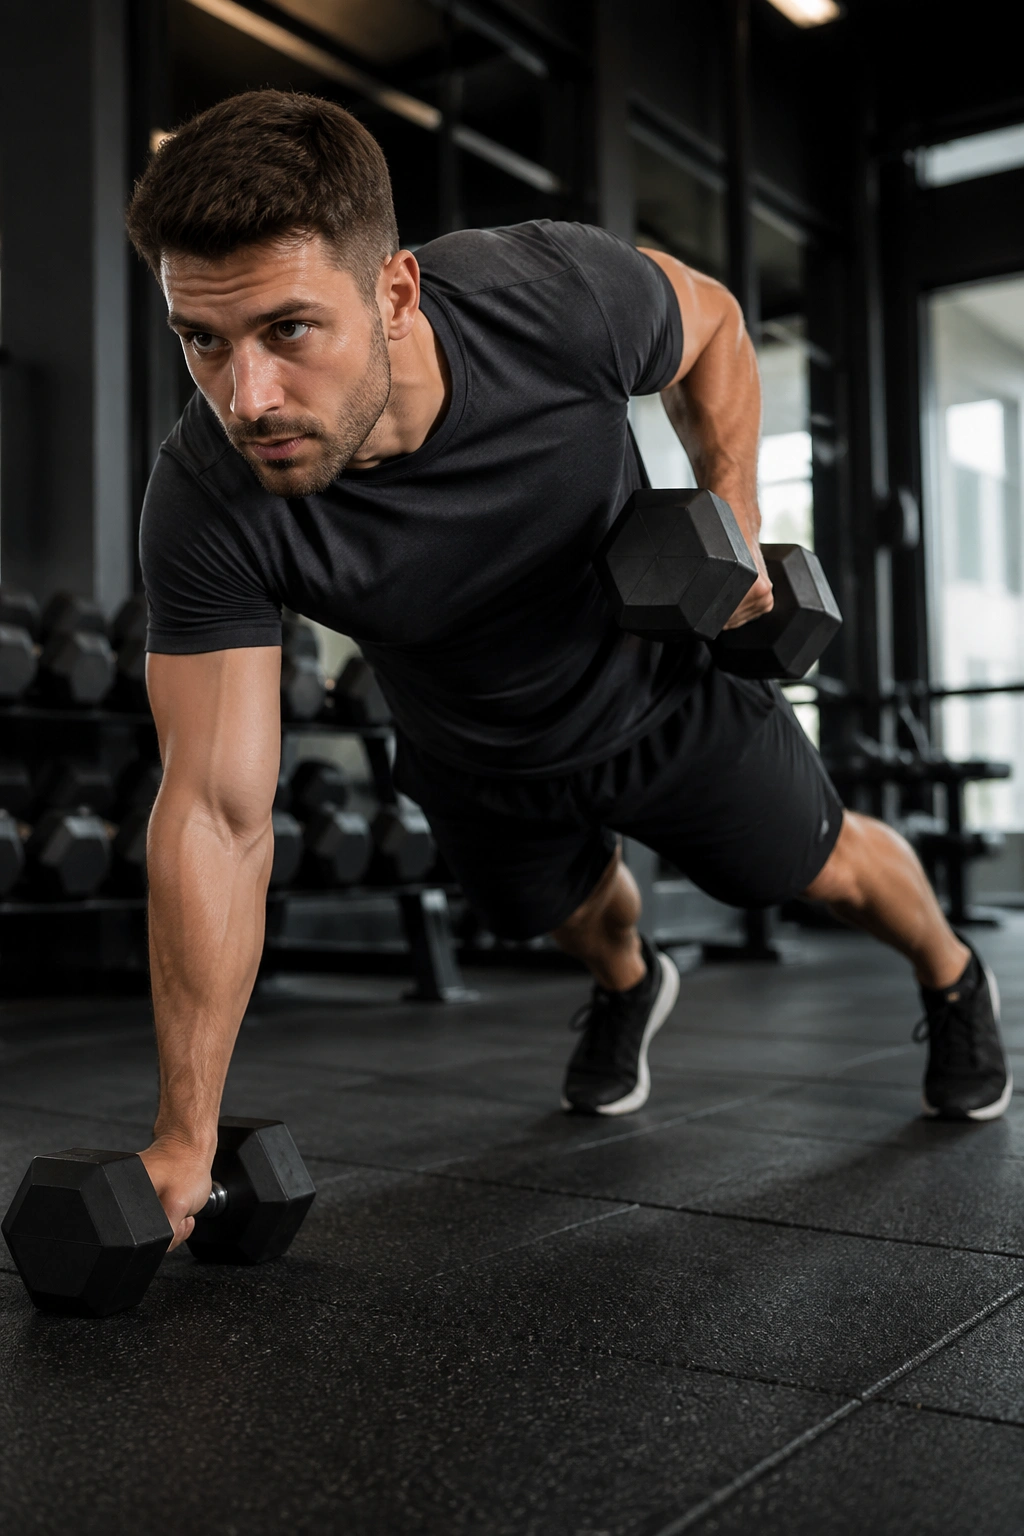
Want a core move that punishes twisting?
Renegade rows will do it. Get into a plank with your hands on dumbbells, feet a little wider than hip width, and row one weight toward your ribs without letting your torso roll. Then switch sides. The row itself is not the whole story. The real work is keeping the hips quiet while one arm pulls.
That’s gold for the midsection because the abs and obliques have to brace hard against rotation. Your back, shoulders, and arms help too, which is why this feels like a full-body grind instead of a tiny ab exercise.
How to Keep Hips Quiet
If your body rocks side to side like a boat in rough water, widen your feet. If that still fails, use lighter dumbbells or put your hands on a bench instead of the floor. The point is control first, load second.
Try 6 to 10 rows per side. One clean set beats three ugly ones. And yes, you’ll feel the wrists and shoulders too. That’s part of the package.
15. Plank Shoulder Taps
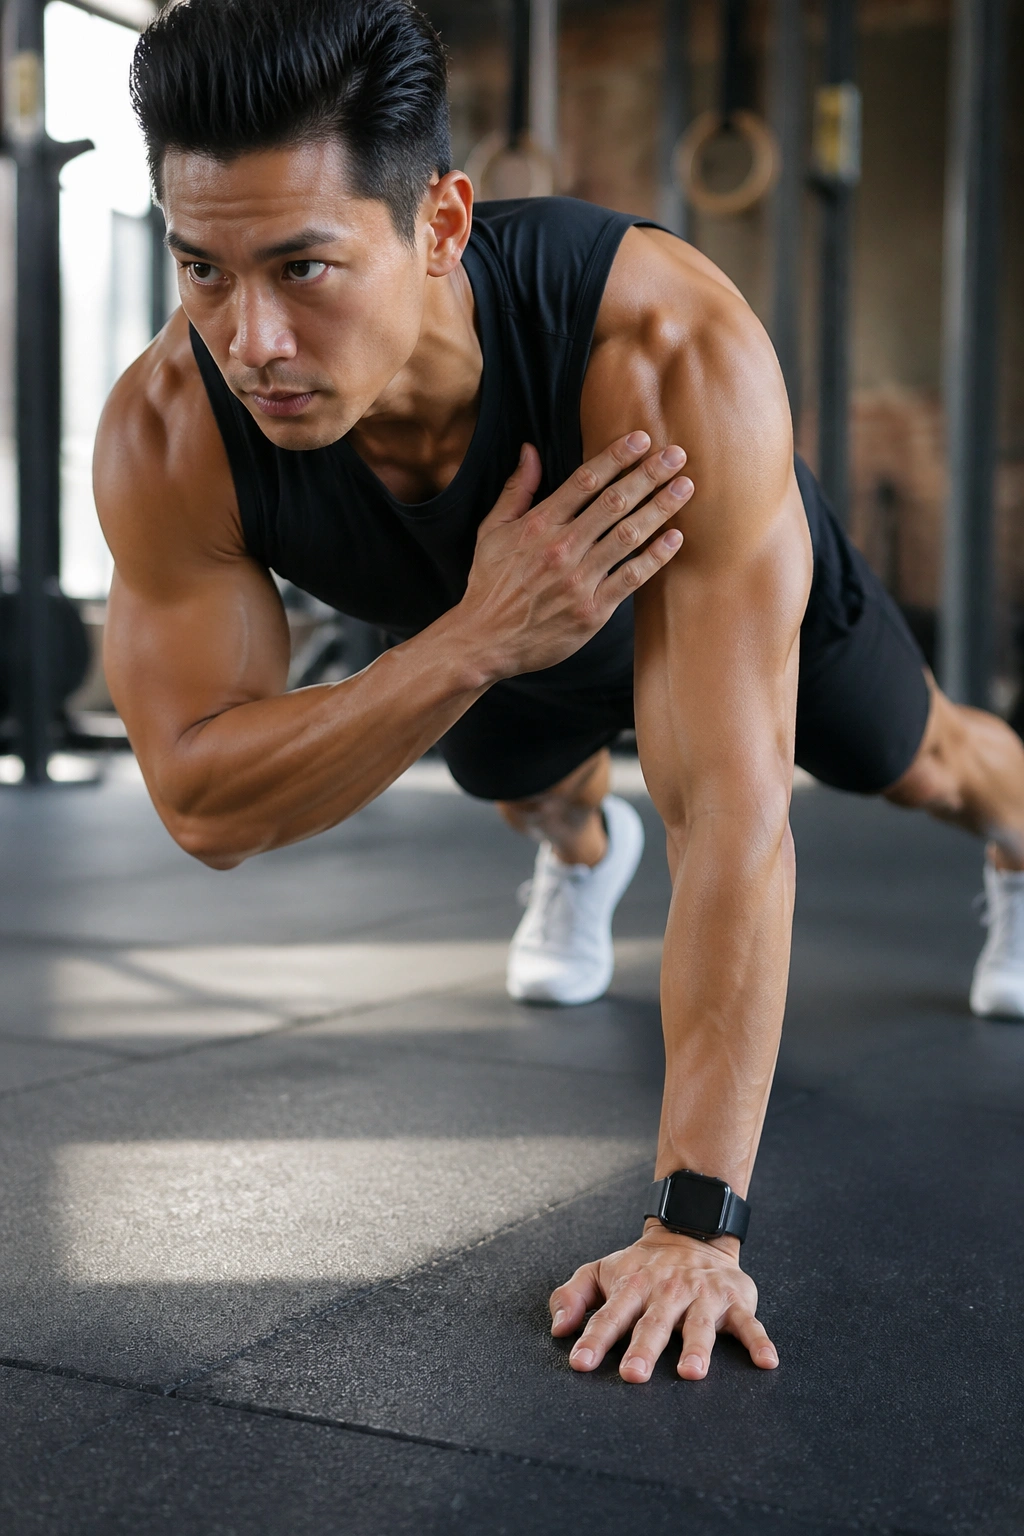
If your hips swing side to side on shoulder taps, your core is telling on you.
Set up in a high plank, feet a little wider than usual, and tap one shoulder with the opposite hand. Then switch. The goal is to keep the pelvis still while one arm leaves the floor. That tiny shift makes the abs work harder than people expect, especially around the lower ribs and the side wall of the torso.
These are easy to scale. Slow the taps down. Widen the feet. Put the hands on an incline bench if the floor version feels too rough. You still get the anti-rotation benefit.
- 20 total taps
- 2 to 4 sets
- Pause for one beat on each tap
- Stop if the hips start dancing
I like shoulder taps because they expose weak spots fast. If one side of your trunk is sloppier than the other, you’ll find out in the first few reps. No hiding.
16. Lateral Lunges with Knee Drive
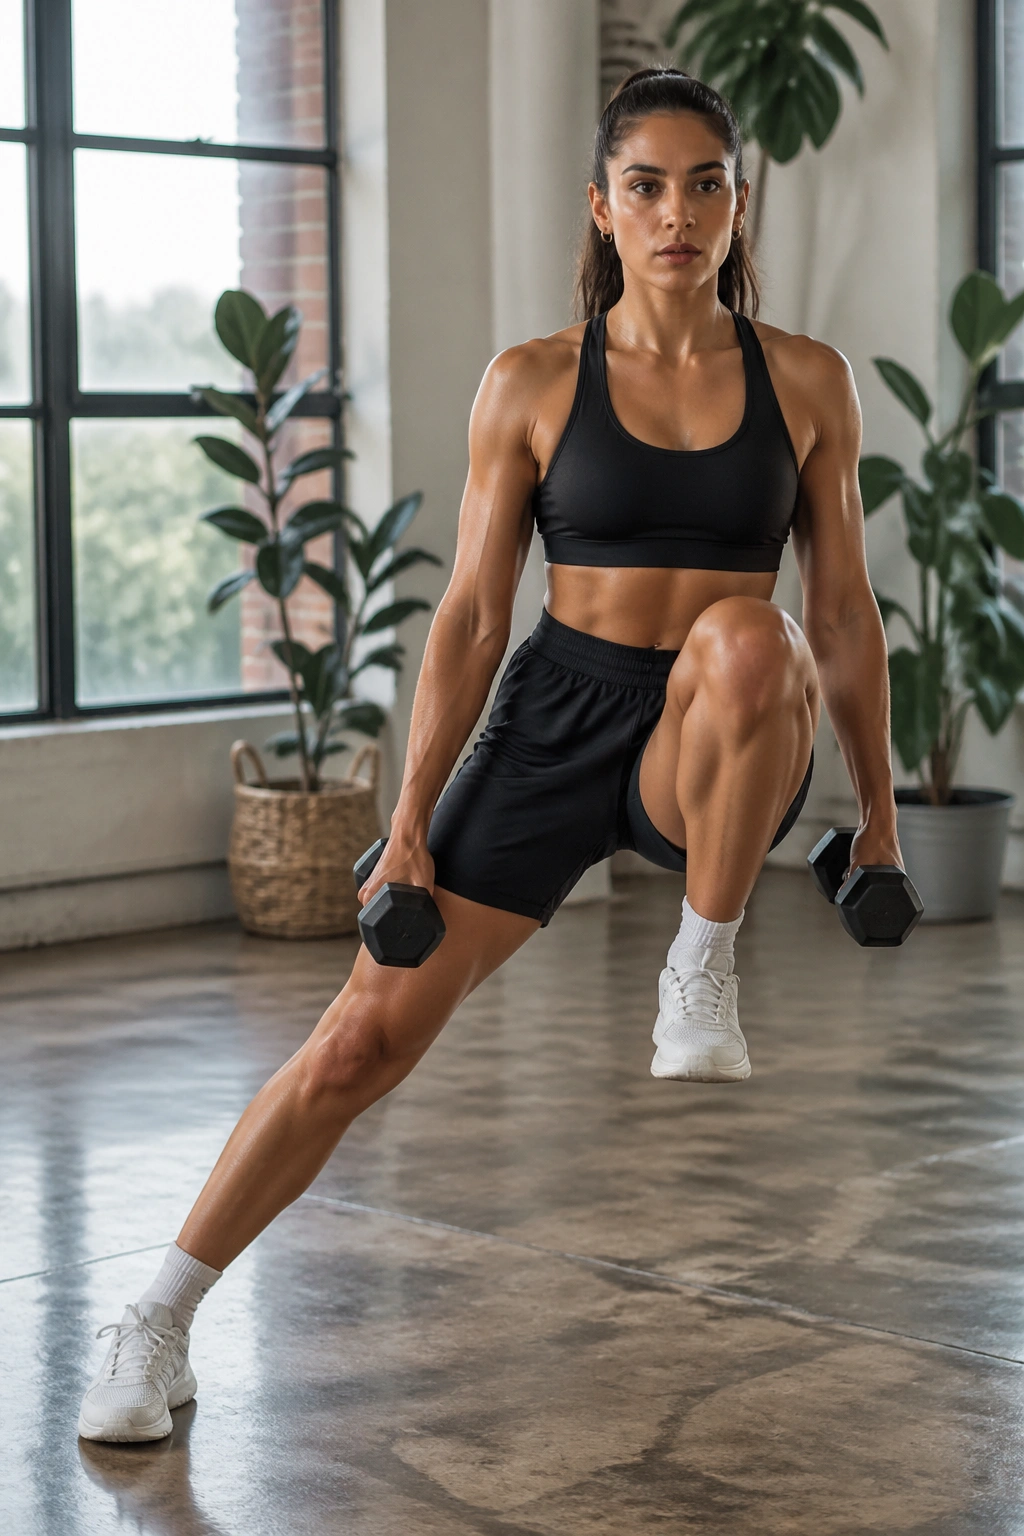
Side-to-side movement deserves more credit than it gets.
A lateral lunge with a knee drive starts with a step out to the side, a sit into that leg, and then a drive back to standing as the knee comes up. It looks simple. It isn’t. The glutes, inner thighs, hips, and core all chip in, which makes the move useful for both fat-loss work and waist control.
The knee drive is the part that wakes up the trunk. You have to stabilize as you come up, especially if you hold dumbbells at your sides. That little balance challenge adds more value than it sounds like it should.
Use 8 to 10 reps per side. Keep the planted foot flat and let the sitting hip travel back, not forward. If your knee caves inward, shorten the step and slow the descent. A cleaner lunge is always better than a deeper ugly one.
This one also gives the legs a break from pure forward motion. Your body likes variety. So does your waistline, apparently.
17. Sprint Intervals for Belly Fat

Unlike steady walking, sprint intervals ask for hard output in short bursts, which is why they leave you winded so quickly.
Run them outdoors, use a treadmill, hop on a bike, or fire up a rower. The method is the same: 15 to 20 seconds hard, then 60 to 90 seconds easy, repeated for 6 to 10 rounds. Hard means hard enough that talking feels pointless, but not so hard that your form falls apart on rep two.
Sprint work is excellent for calorie burn because it compresses a lot of effort into a short window. It also trains your body to recover between efforts, which is handy if you like circuit work or sports. The lower body does the heavy lifting, but the core still has to hold everything together.
I prefer sprint intervals after a solid warm-up and never on tired knees or tight calves. If the pace turns ugly, back it off. You want speed with shape, not speed with regret.
18. Hollow Body Hold
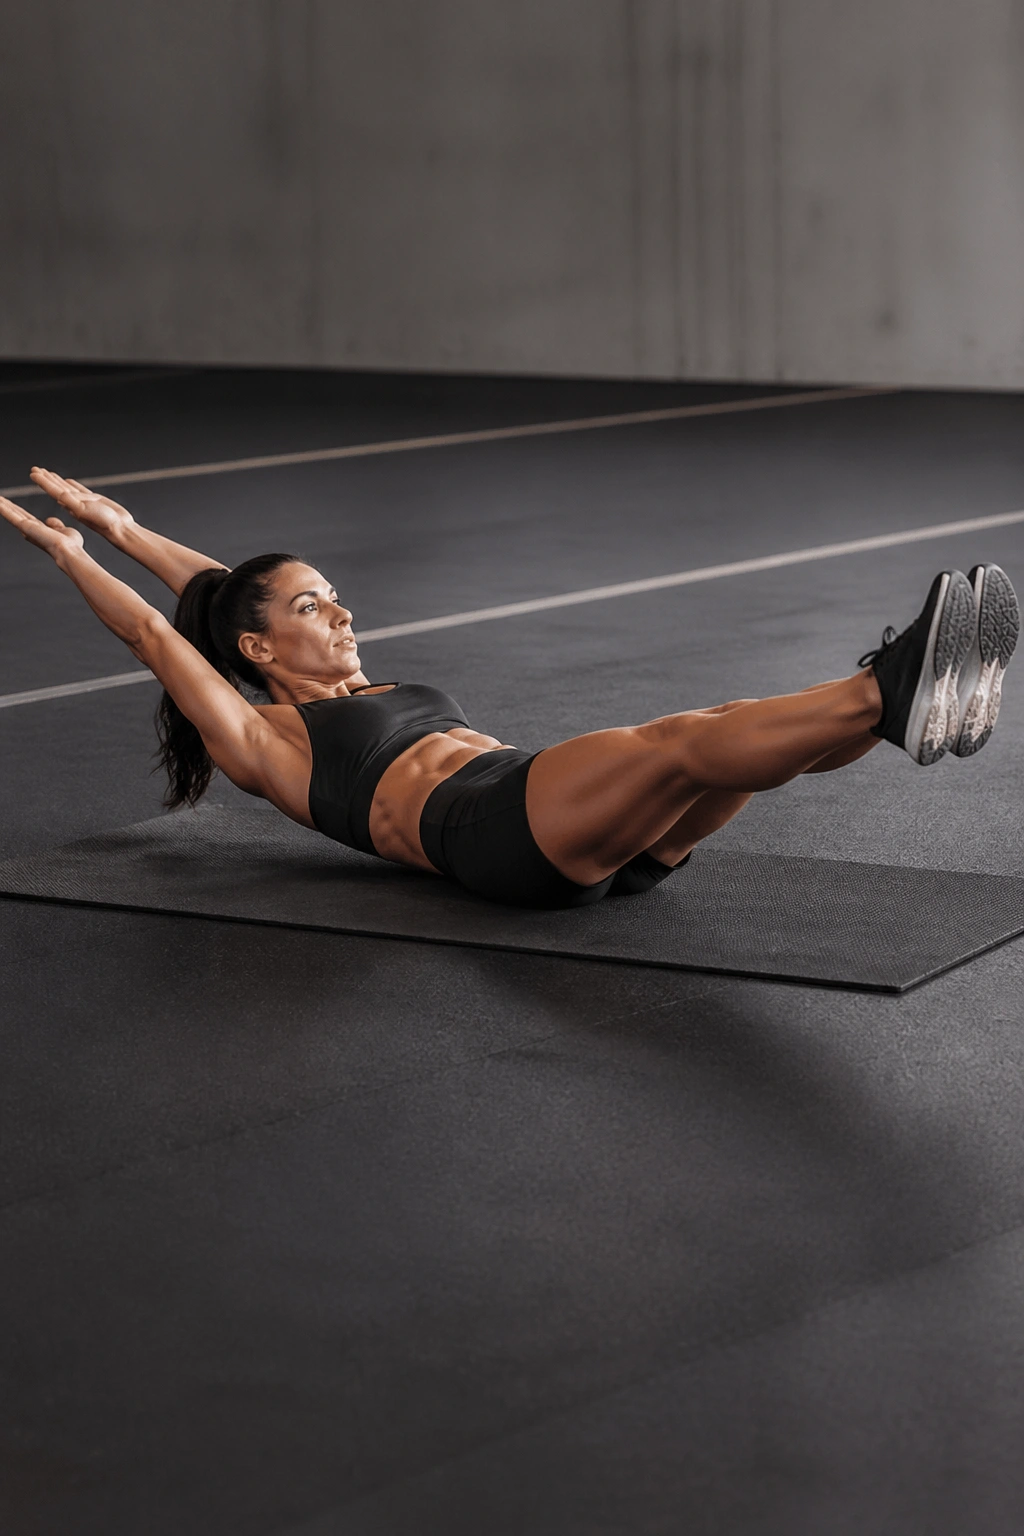
Why finish with a static hold after all that movement?
Because the hollow body hold teaches the kind of tension that makes the midsection look and feel tighter. Lie on your back, press the lower back into the floor, lift the shoulders slightly, and extend the legs as far as you can without losing that back contact. Bent knees are fine if the full version is too much. A clean hold of 15 to 30 seconds is a legit set.
This one is sneaky. It looks calm. It is not calm. The abs, hip flexors, and deep core muscles all have to stay switched on while the body tries to arch away from the floor. That makes it a useful capstone after faster belly fat workouts because it teaches control after fatigue.
Make It Harder, Carefully
Lower the legs a little farther. Reach the arms overhead. Add a longer pause. Just don’t let the lower back lift. Once that happens, the hold loses its value and turns into a shaky back exercise.
If your core shakes a bit, that’s normal. If your lower back starts yelling, shorten the hold and fix the shape.
Final Thoughts
The smartest routine for belly fat and love handles is not built around one magic exercise. It’s built around a mix: one move that raises your heart rate, one that makes your trunk resist rotation, and one that teaches you to hold tension without falling apart.
If I had to simplify the whole thing, I’d say this: use the fast stuff for calorie burn, the standing moves for real-world strength, and the slow floor work for control. That combination is far more useful than doing a hundred half-hearted crunches and hoping the waistline gets the message.
Pick five or six of these and rotate them. Keep the rest periods honest. That’s where the work lives.
