



Loose skin after belly fat loss can feel like a weird little joke from the mirror. The scale moves down, the waistband gets easier, and then the belly still folds when you sit, twist, or bend. That does not mean you failed. It means fat loss and skin recoil are two different things, and they rarely move in lockstep.
No workout peels off extra skin. That part matters. Skin that has been stretched for a long time may tighten a bit on its own, especially if you keep building muscle underneath it, but exercise is not a skin-removal trick. What training can do is change the shape of your frame, improve posture, and make the midsection look firmer by filling out the areas around it.
I’m not a fan of endless crunch marathons for this. They burn people out, annoy the neck, and miss the bigger picture. Squats, hinges, carries, rows, presses, and steady cardio do more for the way your body looks than a thousand half-hearted sit-ups ever will.
If your middle looks softer than you want, the answer is usually not “more ab pain.” It’s more muscle, better posture, and a workout plan you can repeat without dreading it. Start there, and the rest gets easier to judge honestly.
1. Full-Body Strength Training for Loose Skin After Belly Fat Loss
Full-body strength training is the anchor. If you want the body under the skin to look firmer, you need muscles that change the outline of your torso, hips, and shoulders. A week built around compound lifts does more than burn calories. It gives the belly area a stronger frame to sit on.
What a good session looks like
Think in patterns: squat, hinge, push, pull, carry. That mix trains the whole body without turning every session into an ab class.
- 3 sessions per week
- 4 to 6 exercises per workout
- 2 to 4 sets per move
- 6 to 12 reps on most lifts
- 60 to 90 seconds of rest
Keep 1 to 2 reps in reserve. That means the set should feel challenging, but not like a desperate grind. The goal is steady muscle gain, not joint irritation.
I like this approach because it helps the belly look better from several angles at once. Better shoulders make the waist look smaller. Stronger glutes and legs change how you stand. Better back strength reduces the slouch that makes loose skin hang more obviously.
2. Goblet Squats That Build the Lower Body and Brace the Core
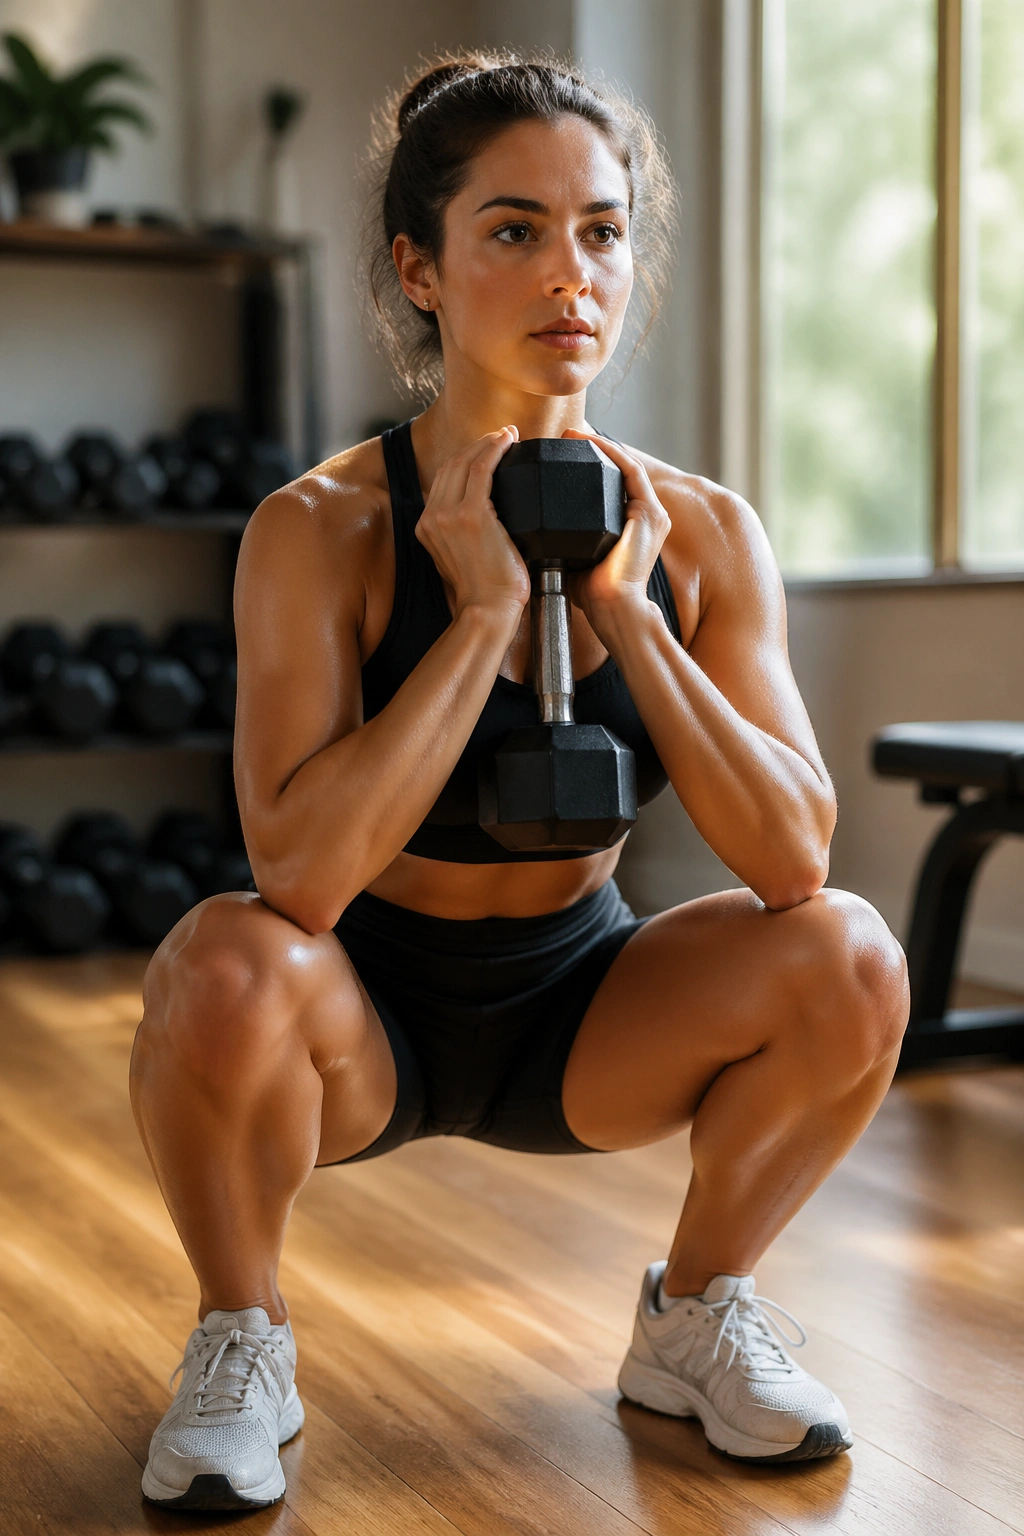
Why do goblet squats show up in so many decent training plans? Because they are one of the easiest ways to load the legs while teaching the torso to stay upright. That upright position matters when you are dealing with loose skin after belly fat loss, since a collapsed chest and tucked pelvis make the middle look softer than it is.
Hold a dumbbell or kettlebell close to your chest, sit between your knees, and keep your ribs stacked over your hips. The load pulls your core to work without needing fancy cues. You feel it fast.
How to get the most from them
- Use a weight that lets you keep your heels down
- Lower for about 2 to 3 seconds
- Pause for 1 second at the bottom if your form gets sloppy
- Drive up through the whole foot, not just the toes
A small detail makes a big difference here: keep your chest tall without flaring your lower ribs. That keeps the belly from jutting forward and teaches a shape that carries over into standing and walking. I’d take a controlled goblet squat over a hundred fast bodyweight squats any day.
3. Romanian Deadlifts for a Firmer Back Side and Better Posture
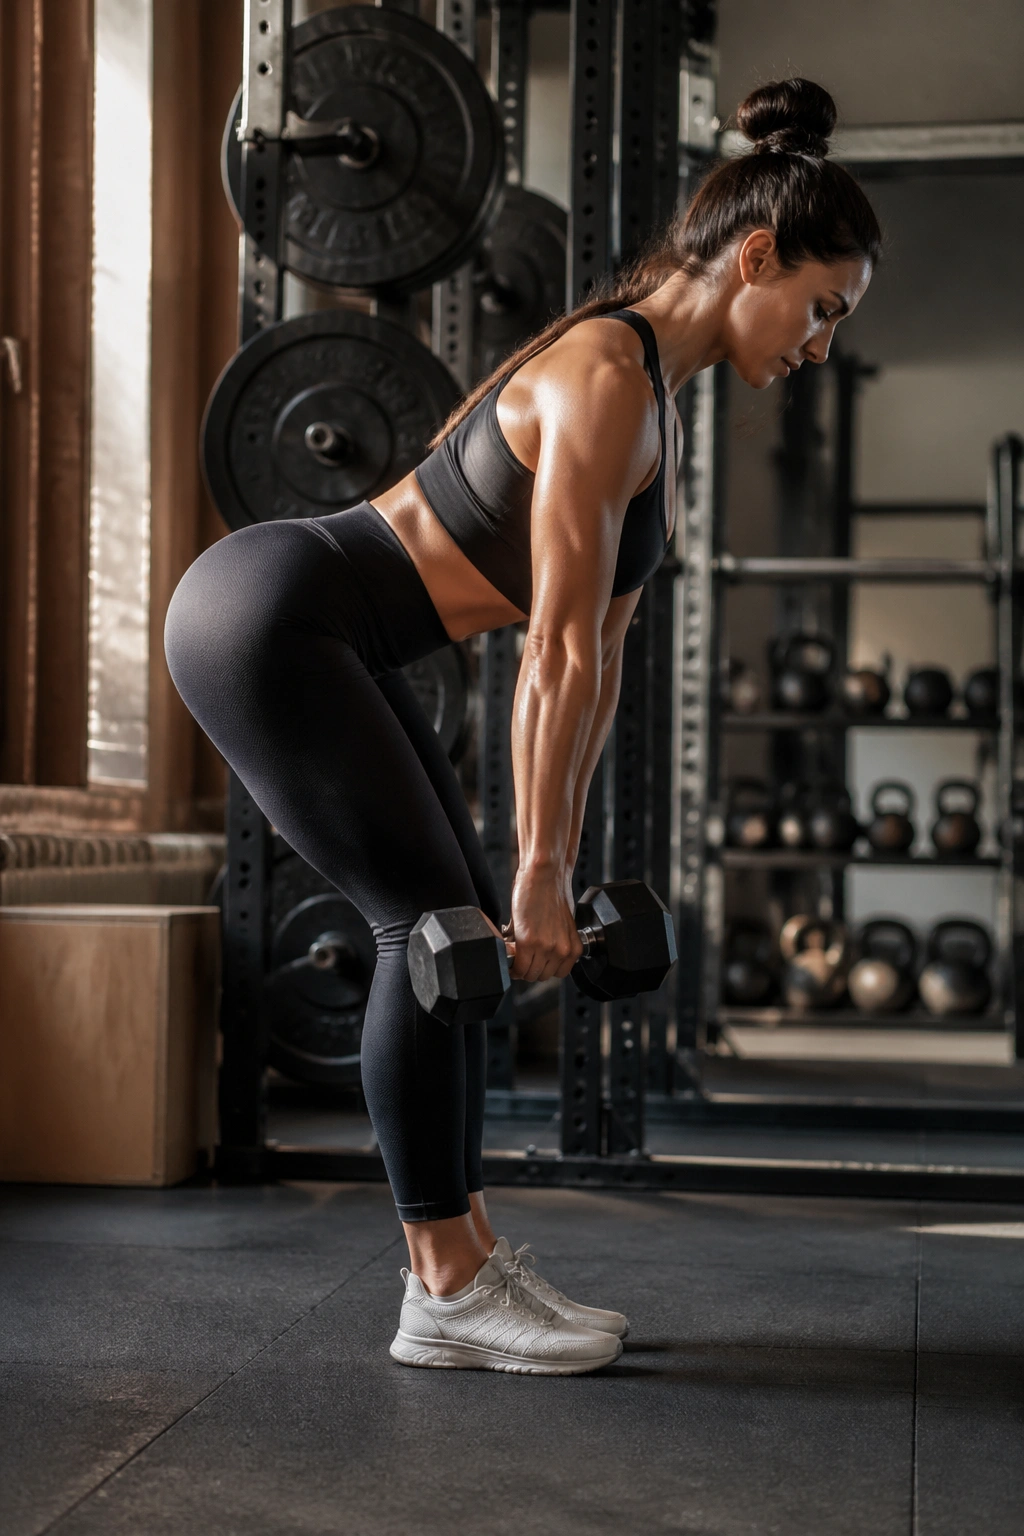
A soft-looking middle often comes with a weak hinge pattern. The body starts to live in the front, the glutes underwork, and the lower back takes over. Romanian deadlifts fix that by loading the hamstrings and glutes while teaching you to move with a neutral spine.
Stand tall with dumbbells or a barbell, soften the knees, and push the hips back as the weight slides down the thighs. The shins stay nearly vertical. The movement should feel like closing a heavy car door with your hips, not reaching for the floor with your hands.
Nope, you do not need to touch the ground.
What to watch for
- Stop when your back wants to round
- Keep the weight close to the legs
- Think “hips back” more than “torso down”
- Use a lighter load before chasing range
This is one of those workouts that pays off in the mirror later, not because it burns the belly directly, but because it builds the backside that holds the body up. Better glute and hamstring strength can make the stomach look flatter just by changing how you stand.
4. Hip Thrusts and Glute Bridges to Fill Out the Hips
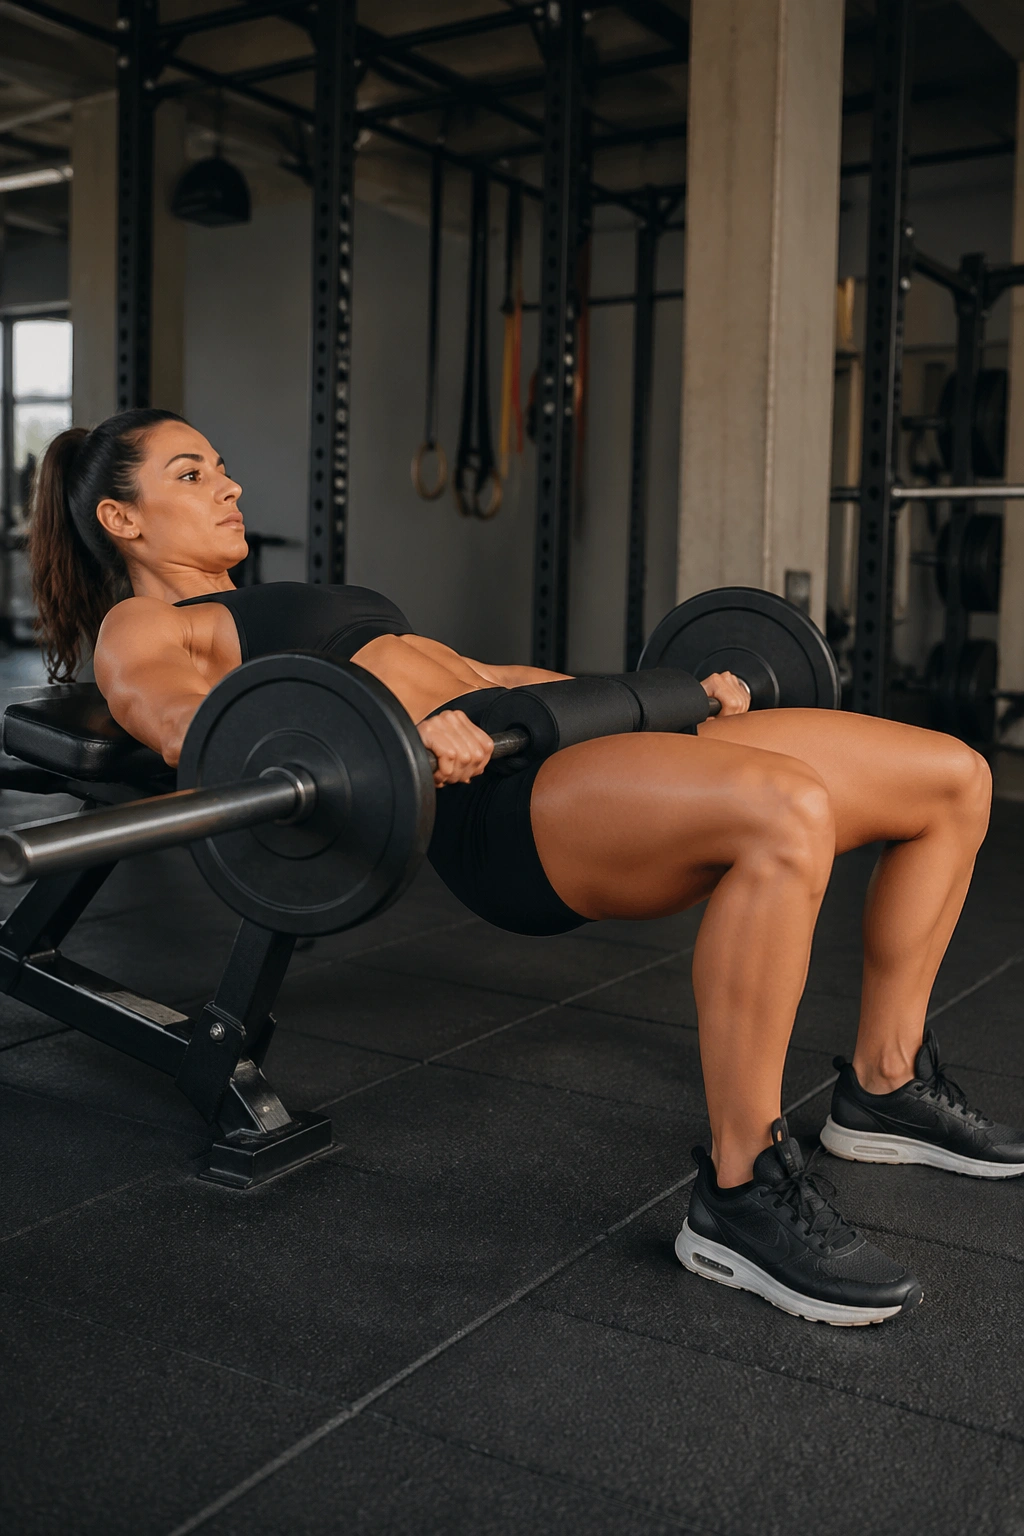
A firmer-looking stomach sometimes starts at the hips. When the glutes are flat and sleepy, the pelvis can tip forward or sink into a slouchy position, and the lower belly skin tends to look looser. Hip thrusts and glute bridges give the backside real work, which changes that shape in a useful way.
Glute bridges happen on the floor. Hip thrusts usually use a bench. Same family, different load and range. Bridges are easier to learn; hip thrusts let you load heavier once your setup is solid.
What makes them worth the effort
- 10 to 15 reps work well for most people
- Pause 1 second at the top
- Keep your chin tucked, not craned
- Stop if you feel the movement in your lower back more than your glutes
Squeeze hard at the top, but do not arch your spine. That mistake is common, and it turns a good glute move into a lower-back shrug. If you want a simple choice, start with bridges for control, then move to hip thrusts when you can keep the top position clean. The glutes are not decoration. They shape the whole midsection.
5. Push-Ups That Tighten Your Upper Body Shape
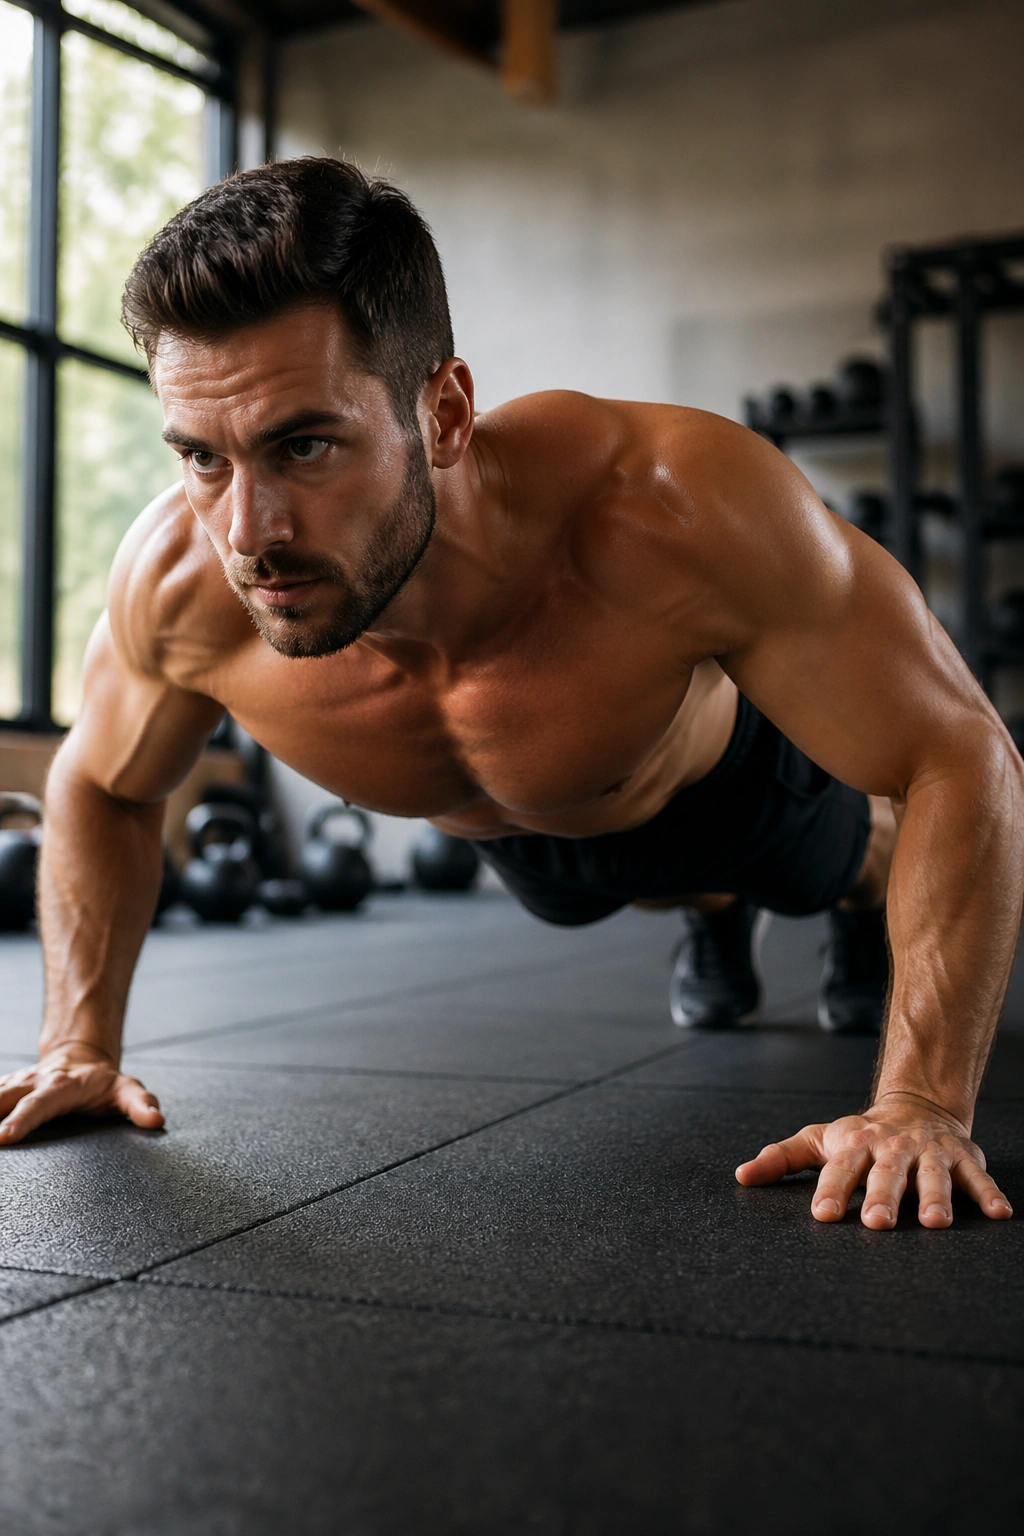
Can an upper-body move change how the belly looks? Yes, a little more than people expect. Push-ups build the chest, shoulders, triceps, and deep core all at once, and that fuller upper frame makes the waist look more contained.
A push-up is a moving plank. That matters. If your hips sag, your belly hangs more. If your ribs flare, the torso looks loose. Good reps train a cleaner line from shoulders to heels, and that line shows up in how you carry yourself outside the gym too.
How to scale them
- Start on a wall, bench, or sturdy table if needed
- Use a slow lower of about 2 seconds
- Keep elbows about 30 to 45 degrees from the body
- Stop the set before the back starts to dip
Incline push-ups are not a downgrade. They are a smart step. Stronger chest and shoulder muscles can make the upper torso look firmer, which helps balance loose skin around the middle. I’d rather see ten sharp incline push-ups than twenty sloppy floor reps any day.
6. One-Arm Rows That Pull the Shoulders Back
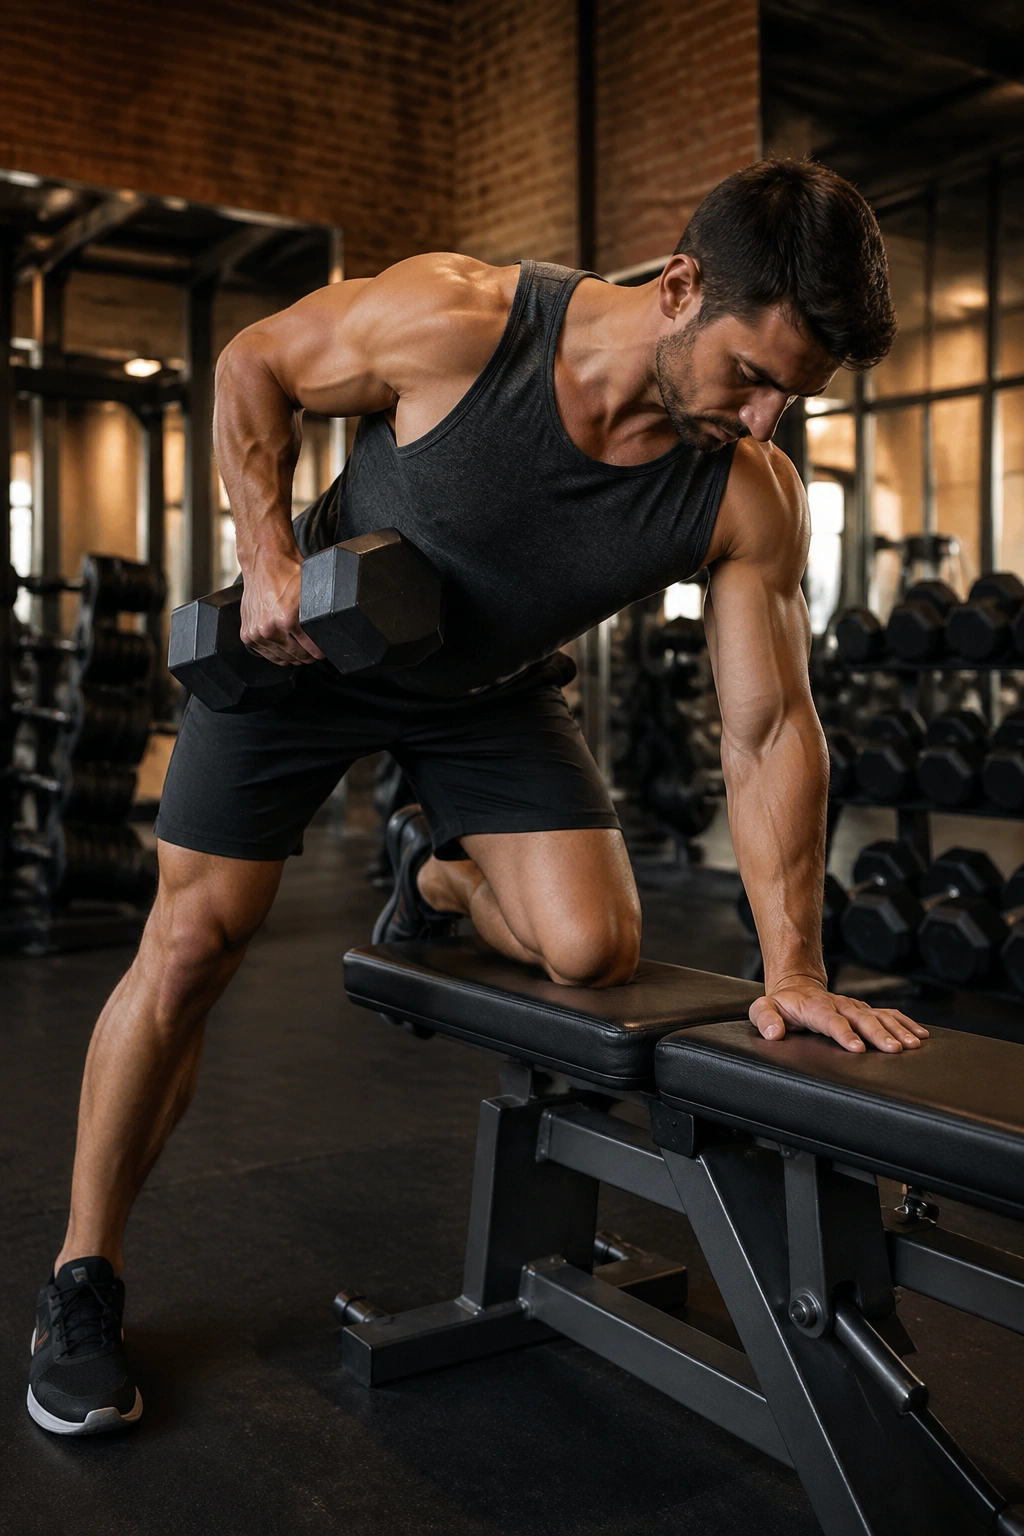
Rows matter more than people think. When your upper back is weak, your shoulders roll forward, your chest caves in, and the abdomen looks softer even when your actual body fat has dropped. One-arm dumbbell rows help fix that by thickening the back and teaching you to hold a better line through the torso.
Brace one hand on a bench, plant the opposite foot, and pull the weight toward your hip, not your armpit. That small angle shift hits the lats and mid-back better. Keep the neck long. No shrugging.
The nice thing about rows is how quickly they reveal bad posture. You feel the difference between a clean rep and a rushed one almost immediately.
Good rows make the torso look more expensive. Not in a flashy way. Just stronger, more upright, less collapsed. And that is a real visual change when the skin around the belly is still settling.
7. Plank Variations That Teach Your Core to Hold Its Shape
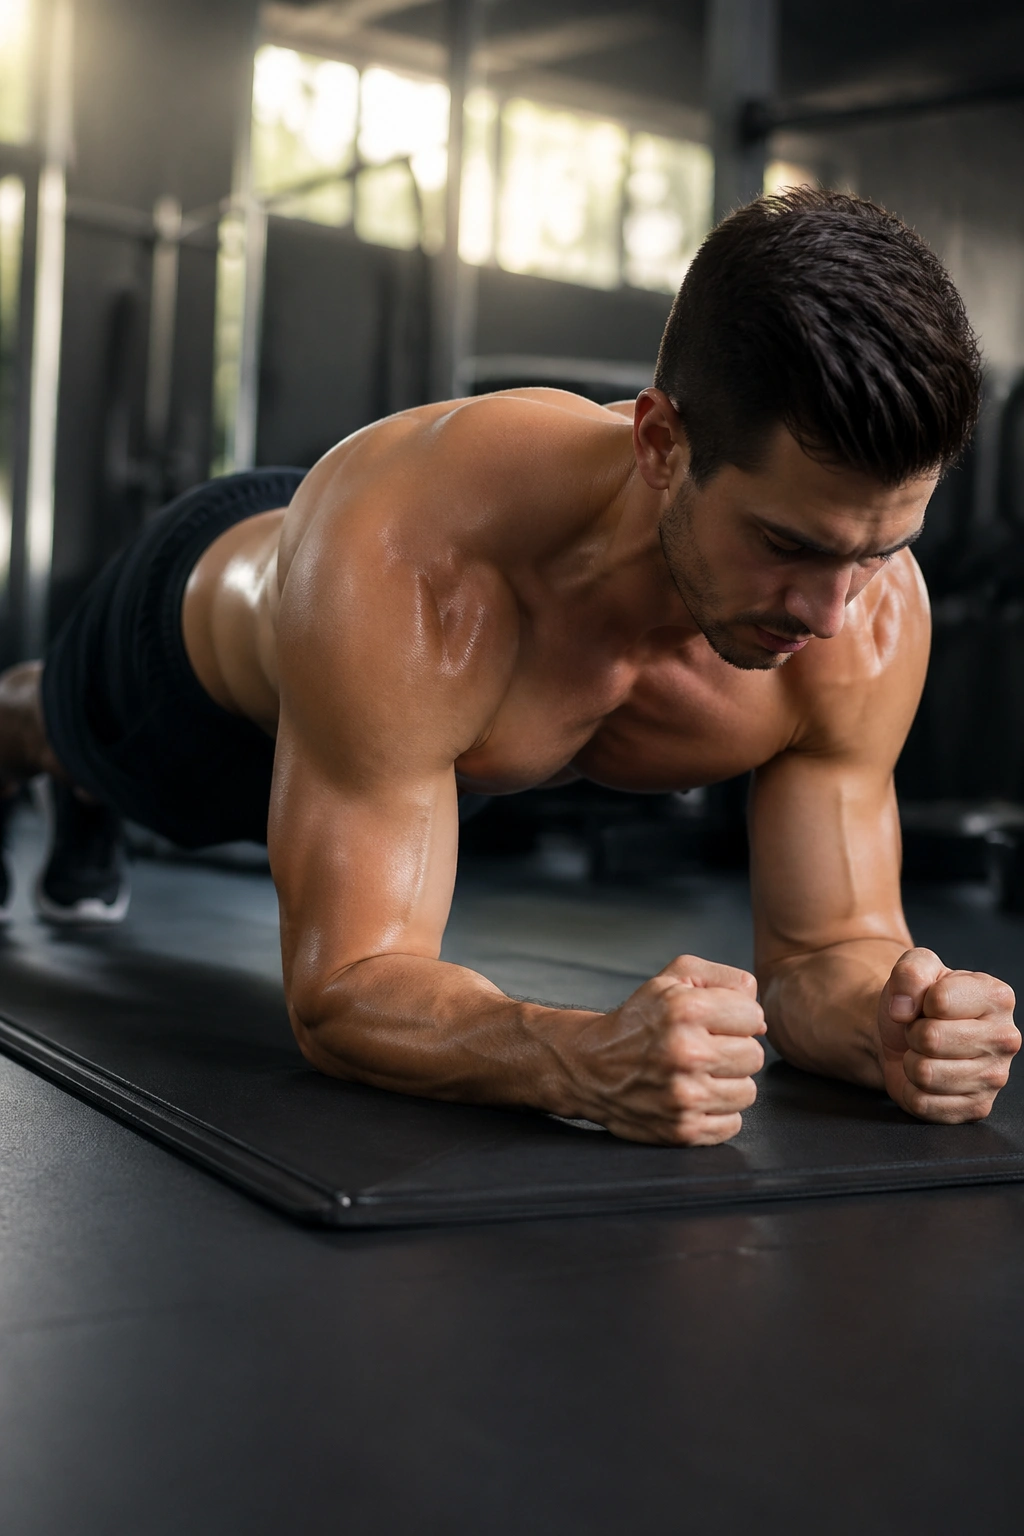
Long planks get too much praise. Short, hard planks are better. The point is not to see how long you can suffer. The point is to teach the core to resist sagging, which is exactly what you want if the belly area still looks loose after weight loss.
Front planks, side planks, and RKC planks all do different jobs. Front planks train anti-extension, side planks train anti-lateral bend, and the harder compressed versions light up the deep core without needing endless time.
Useful plank choices
- Front plank: 15 to 30 seconds with perfect shape
- Side plank: 15 to 25 seconds per side
- RKC plank: short holds with a hard full-body squeeze
- Forearm plank with knee taps: good for beginners
A shaky 20-second plank with a straight line beats a two-minute collapse every time. I’d rather see your glutes and abs working hard for half a minute than watch your lower back take over while you stare at the clock.
8. Dead Bugs for a Belly That Moves Less and Braces Better
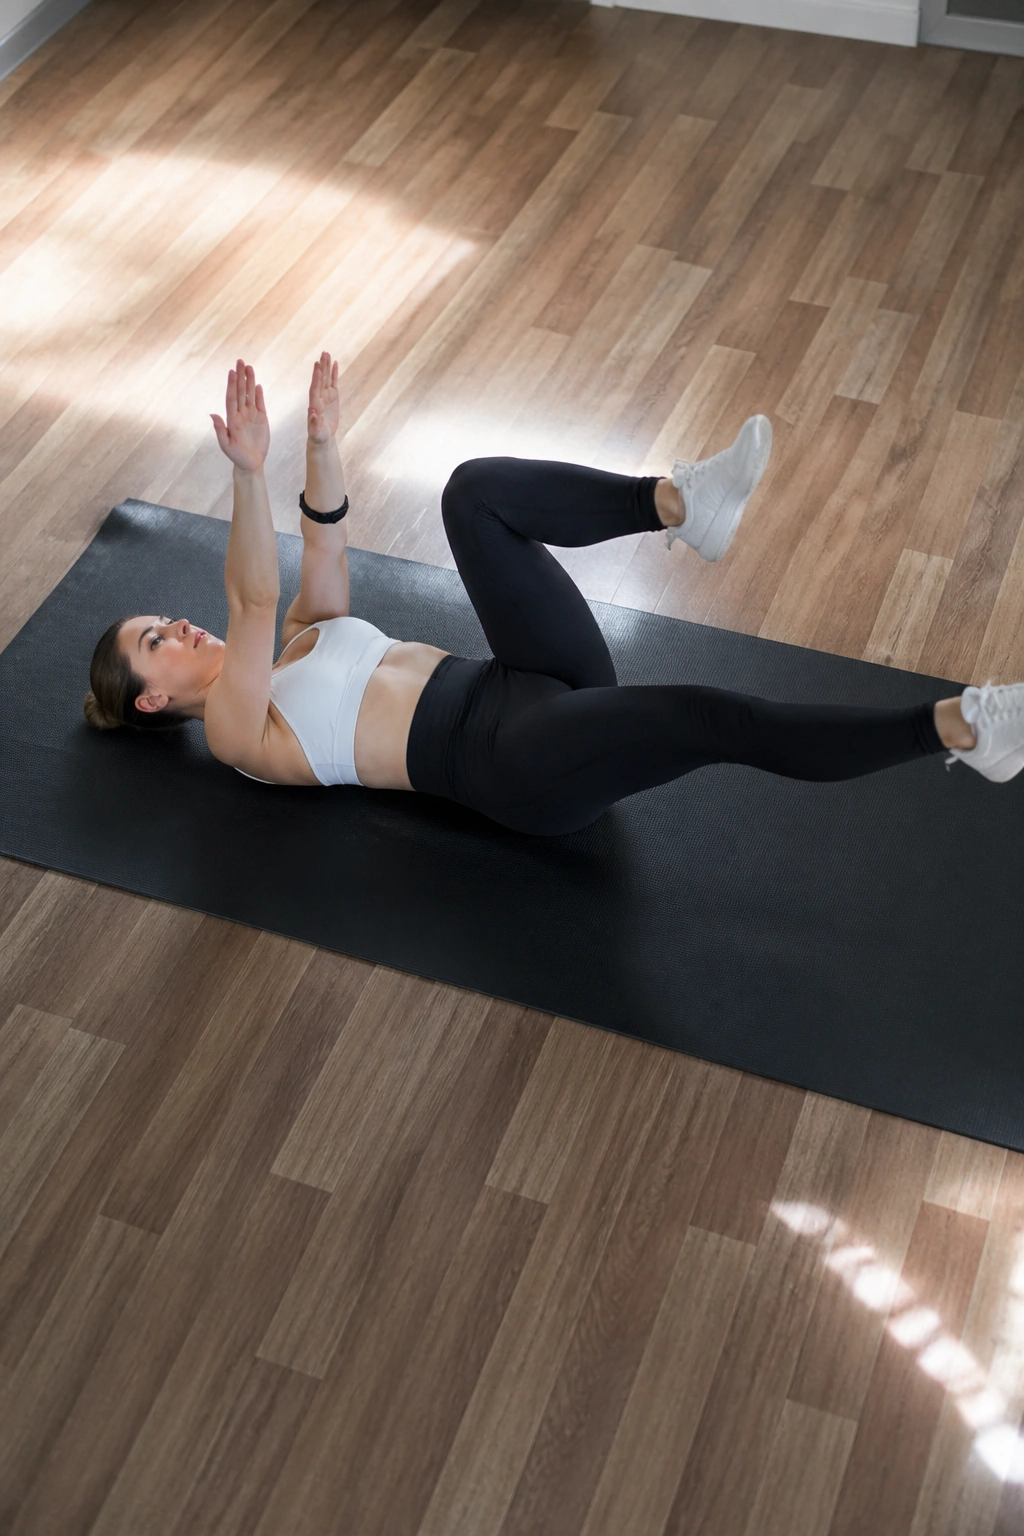
Want core work that does not punish your neck? Dead bugs are the move. They train the abdomen to resist motion while your arms and legs move in opposite directions, which is a fancy way of saying the core learns to stay calm under pressure.
Lie on your back, reach your arms toward the ceiling, bend your hips and knees to 90 degrees, then lower one arm and the opposite leg slowly. Keep the lower back gently pressed into the floor. If the back arches, the rep is gone. Reset and slow down.
How to keep them honest
- Exhale as the limb lowers
- Move only as far as the back stays flat
- Use a smaller range if your hips feel tight
- Think slow, not dramatic
Dead bugs are not sweaty and heroic. They are precise. That is why they work so well for people rebuilding the midsection after belly fat loss. Control looks boring on paper, but it shows up as a flatter, steadier trunk in real life.
9. Farmer’s Carries That Make the Whole Body Hold Together
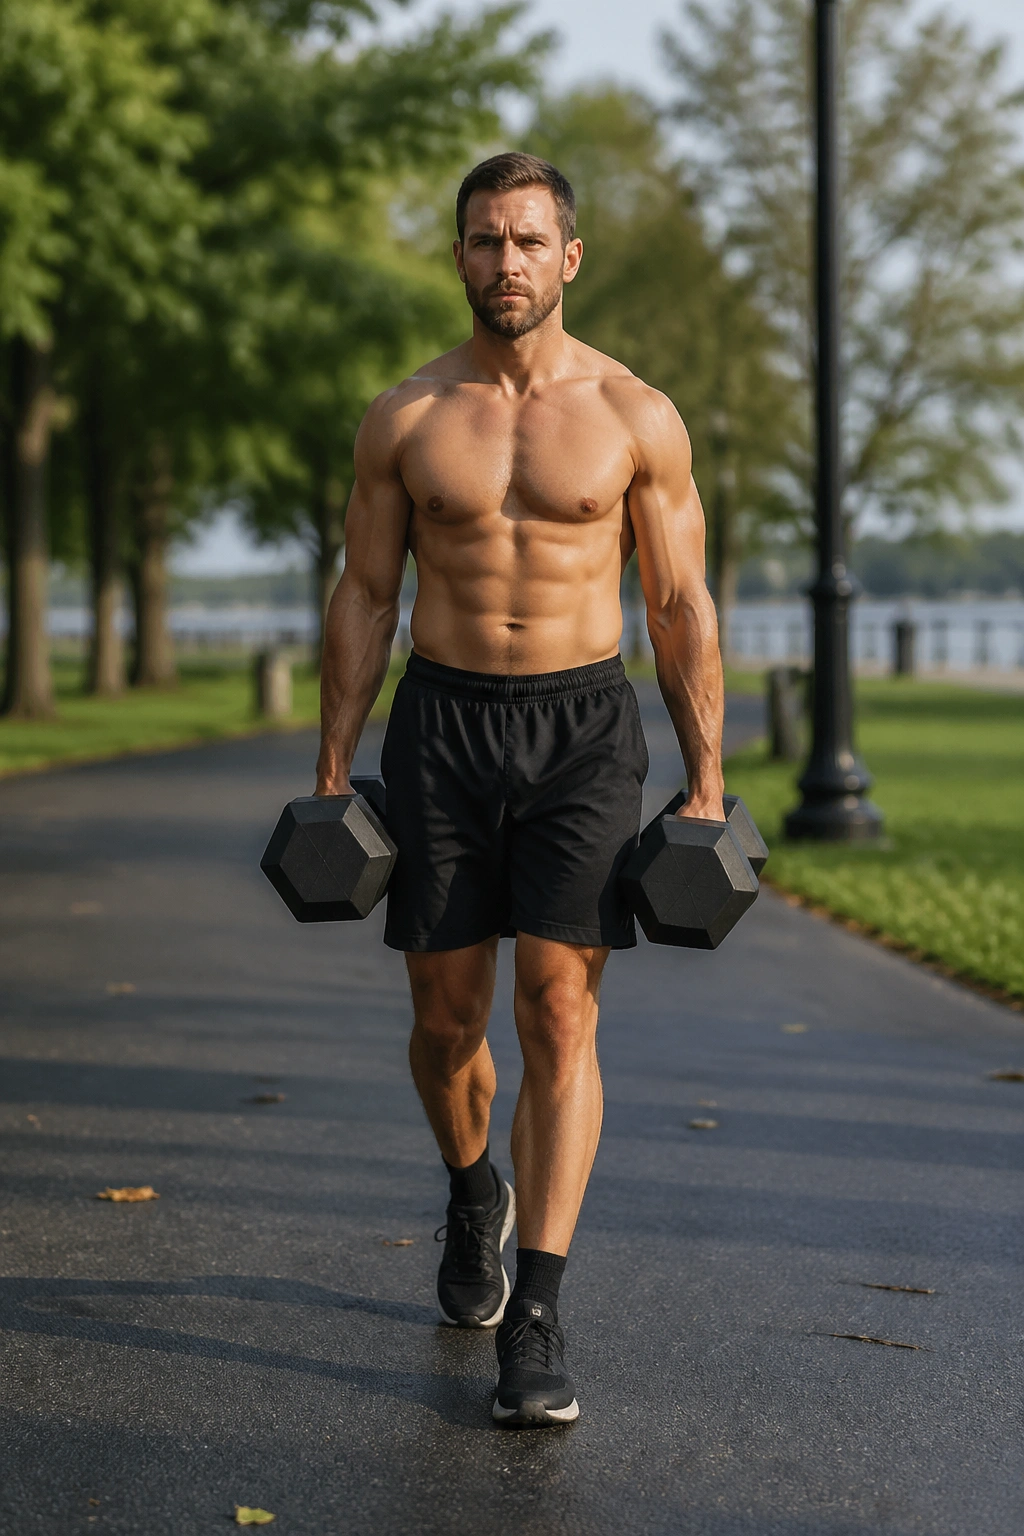
Carry heavy weights and walk. That sounds too simple to matter, which is exactly why it works so well. Farmer’s carries train grip, traps, obliques, glutes, and the deep muscles that keep the rib cage stacked over the pelvis.
Pick up a pair of dumbbells or kettlebells, stand tall, and walk for 20 to 40 seconds. Do not lean. Do not waddle. Do not let the weights drag your shoulders down. You want a tall, quiet walk with a hard brace through the middle.
A lot of people feel carries in the belly after a few steps. Good. That is the bracing pattern waking up.
- Start with 2 to 4 carries per session
- Use a distance of 20 to 40 meters, or a 20 to 40 second walk
- Rest long enough to recover your posture
- Increase load before you increase speed
This workout helps loose skin look firmer mostly through posture and tension. It teaches your body to stay organized under load, and that shows.
10. Reverse Lunges for Glutes, Legs, and a Cleaner Stance
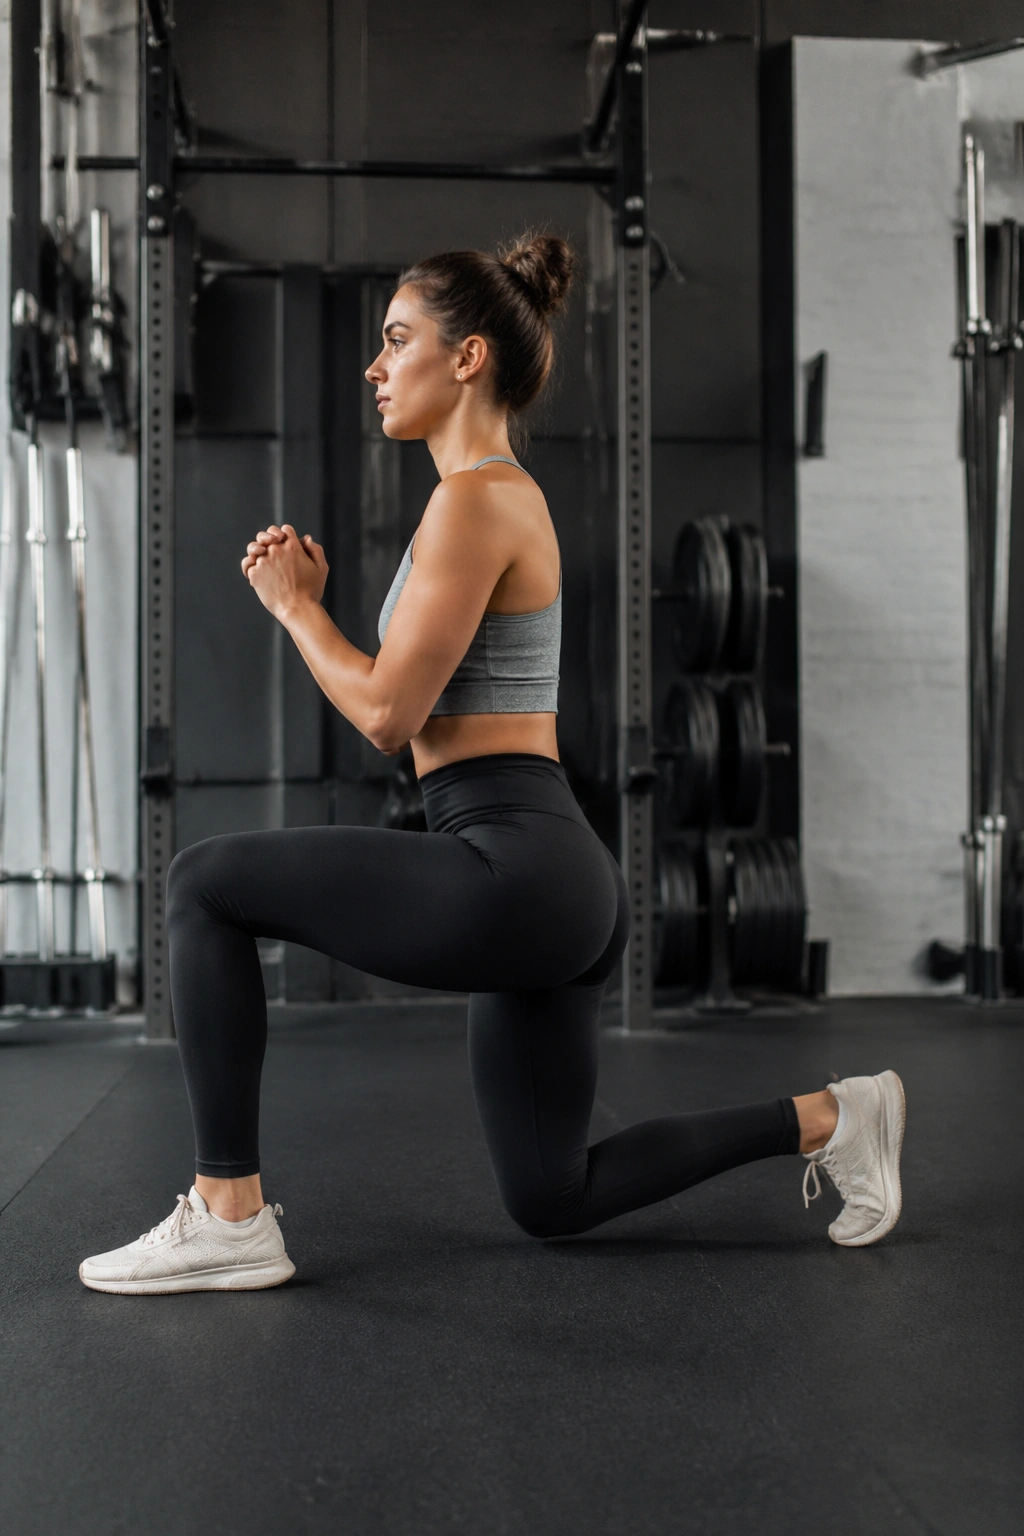
Forward lunges get the glory, reverse lunges get the results. They are easier on the knees, easier to balance, and better for learning control on one leg. That matters because the abdomen often looks looser when the lower body is weak and unstable.
Step one foot back, lower with control, and keep the front shin fairly vertical. Push through the front foot to stand. The back knee should hover close to the floor, not slam into it.
Reverse lunges also make you pay attention to the way your hips sit. If one side collapses, you feel it fast.
Use these when you want leg work without a circus. They fit well after squats or deadlifts, and they usually recover better than aggressive forward lunges. Two or three sets of 8 to 10 reps per leg is plenty to start.
11. Step-Ups That Build Legs Without Beating Up the Joints
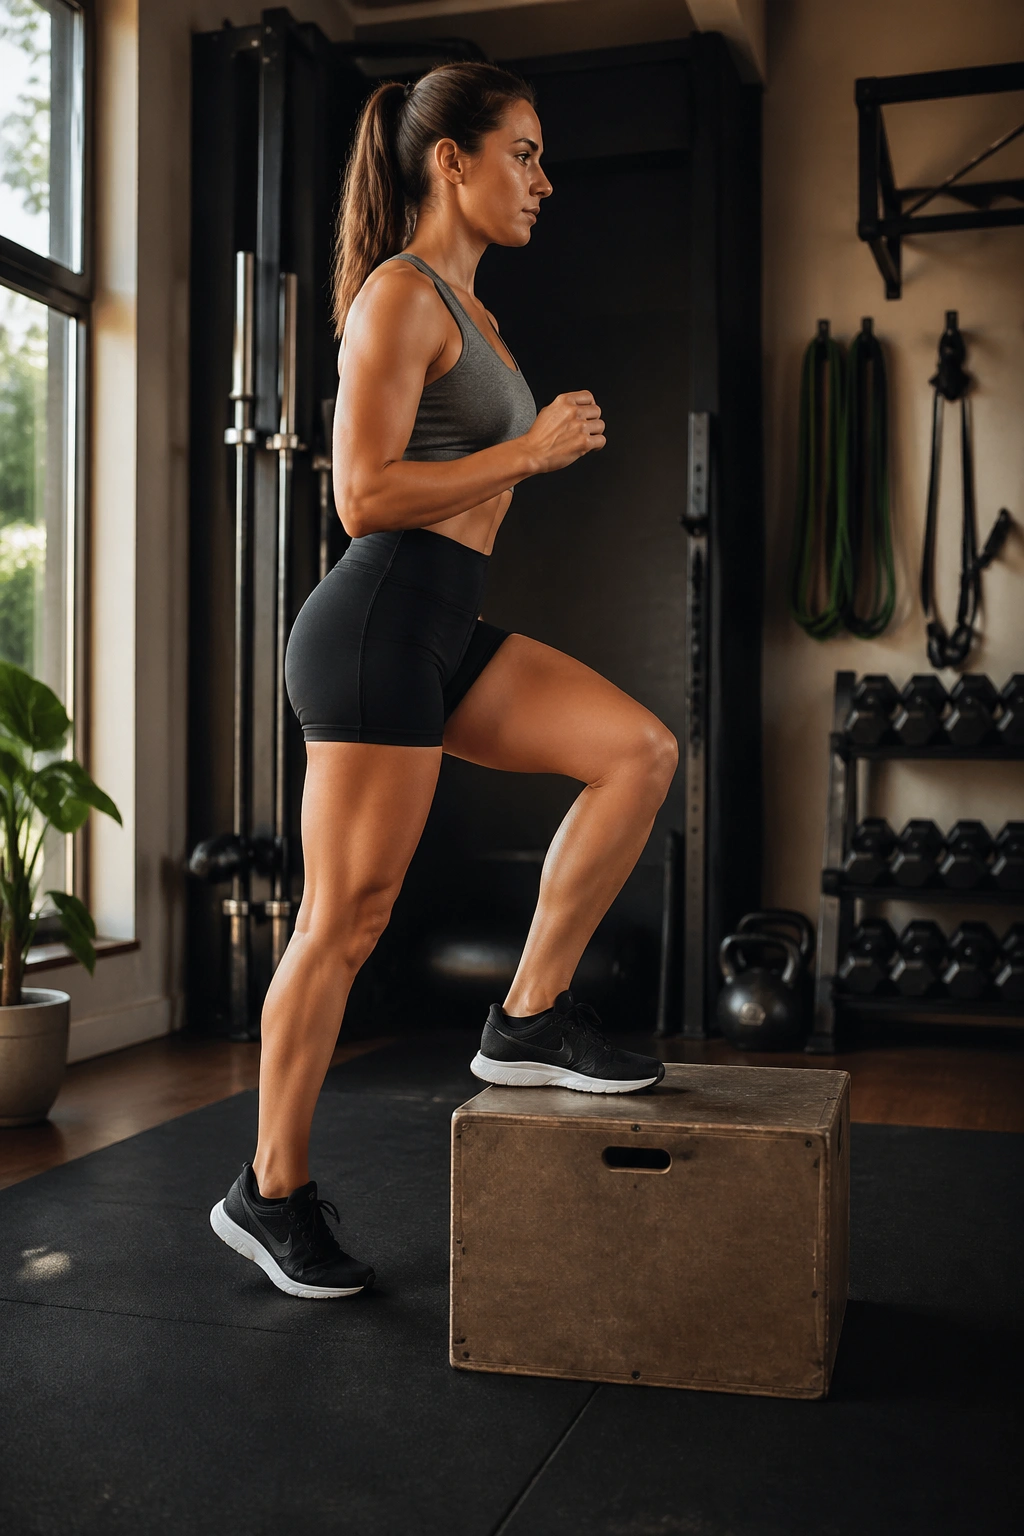
A step-up looks ordinary until you load it. Then the whole exercise gets serious. The move trains one leg at a time, which is useful when one hip, knee, or ankle quietly does more work than the other during daily life.
Use a box or bench that puts your thigh around parallel to the floor, or lower if balance is shaky. Plant the whole foot, drive through the heel and midfoot, and stand all the way up before stepping down under control.
What to notice
- The working leg should do the lift
- The back leg should not jump
- Keep the torso tall
- Use a knee drive if you want more glute and hip work
Step-ups are underrated for people trying to improve the look of loose skin after belly fat loss because they add muscle and stability without a huge impact cost. They also make stairs feel less rude, which is a nice side effect.
12. Kettlebell Swings for Cardio That Still Builds the Back Side
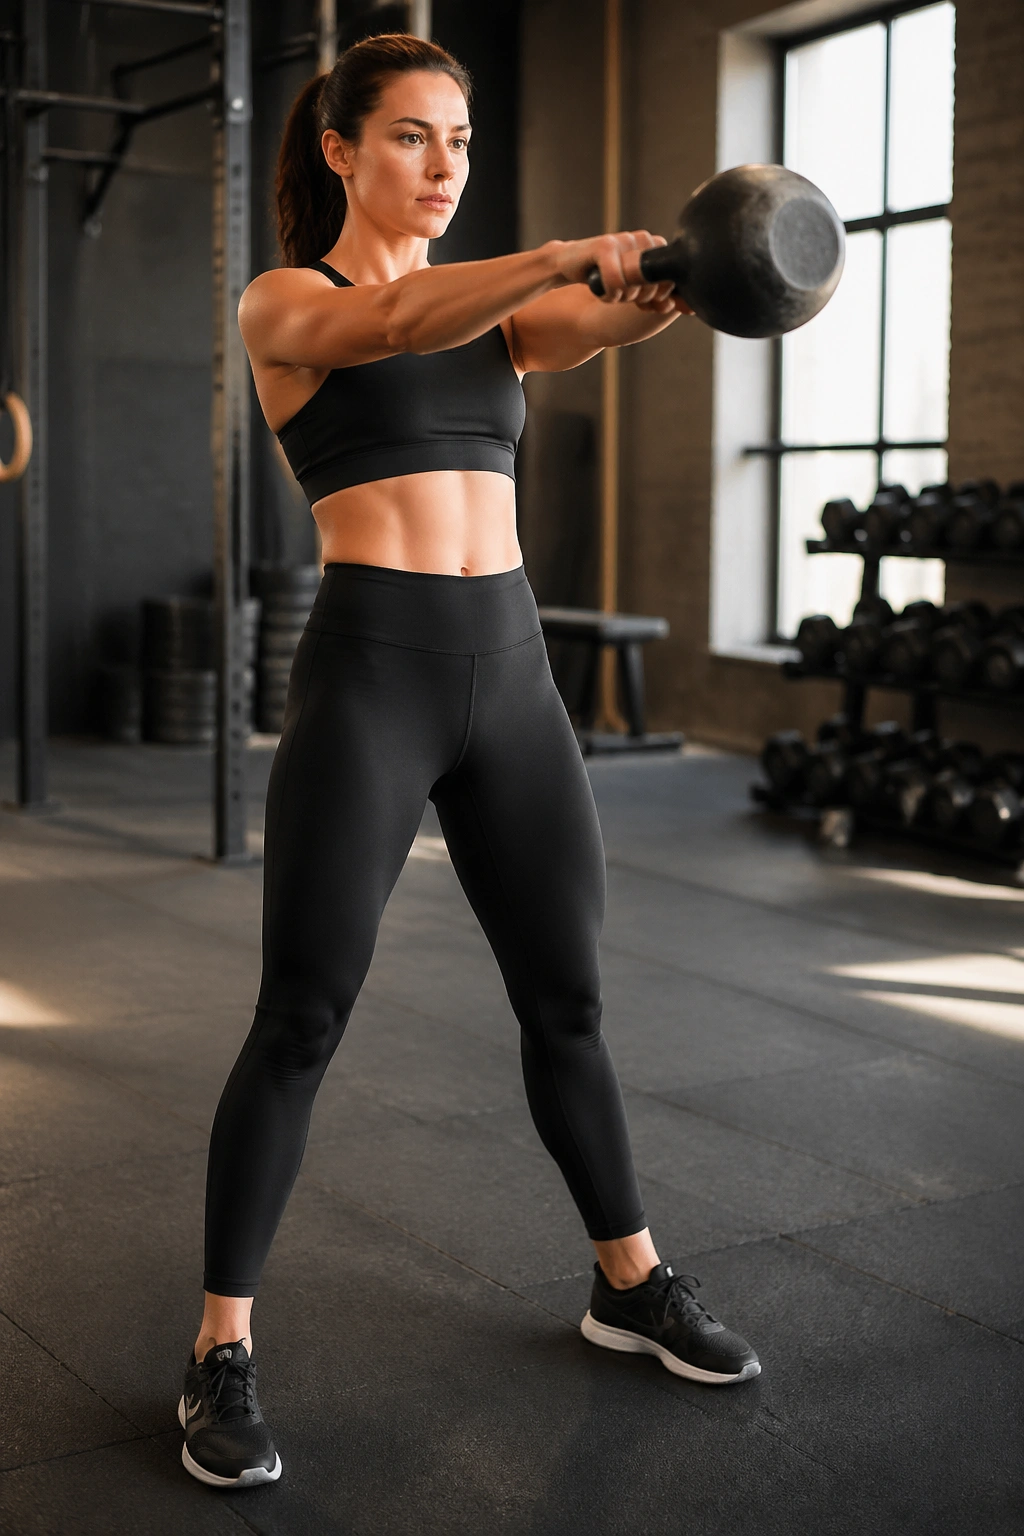
Kettlebell swings are a cardio move in disguise. Yes, your heart rate climbs. But the real engine is the hip hinge, which means the glutes, hamstrings, and back line are doing the heavy lifting while the bell floats forward.
Grip the kettlebell, hike it back between your thighs, and snap the hips through. The arms do not lift the bell. The hips send it. If the shoulders are burning more than the glutes, the swing has gone sideways.
What to watch for
- Start light, even if your ego hates it
- Keep the bell close to the body
- Stop the set when the hinge gets sloppy
- Avoid this if your lower back already feels cranky
Swings are one of my favorite tools for people who want conditioning without endless treadmill work. They are efficient. They are blunt. They punish laziness fast.
13. Resistance Band Circuits for Frequent, Low-Stress Work
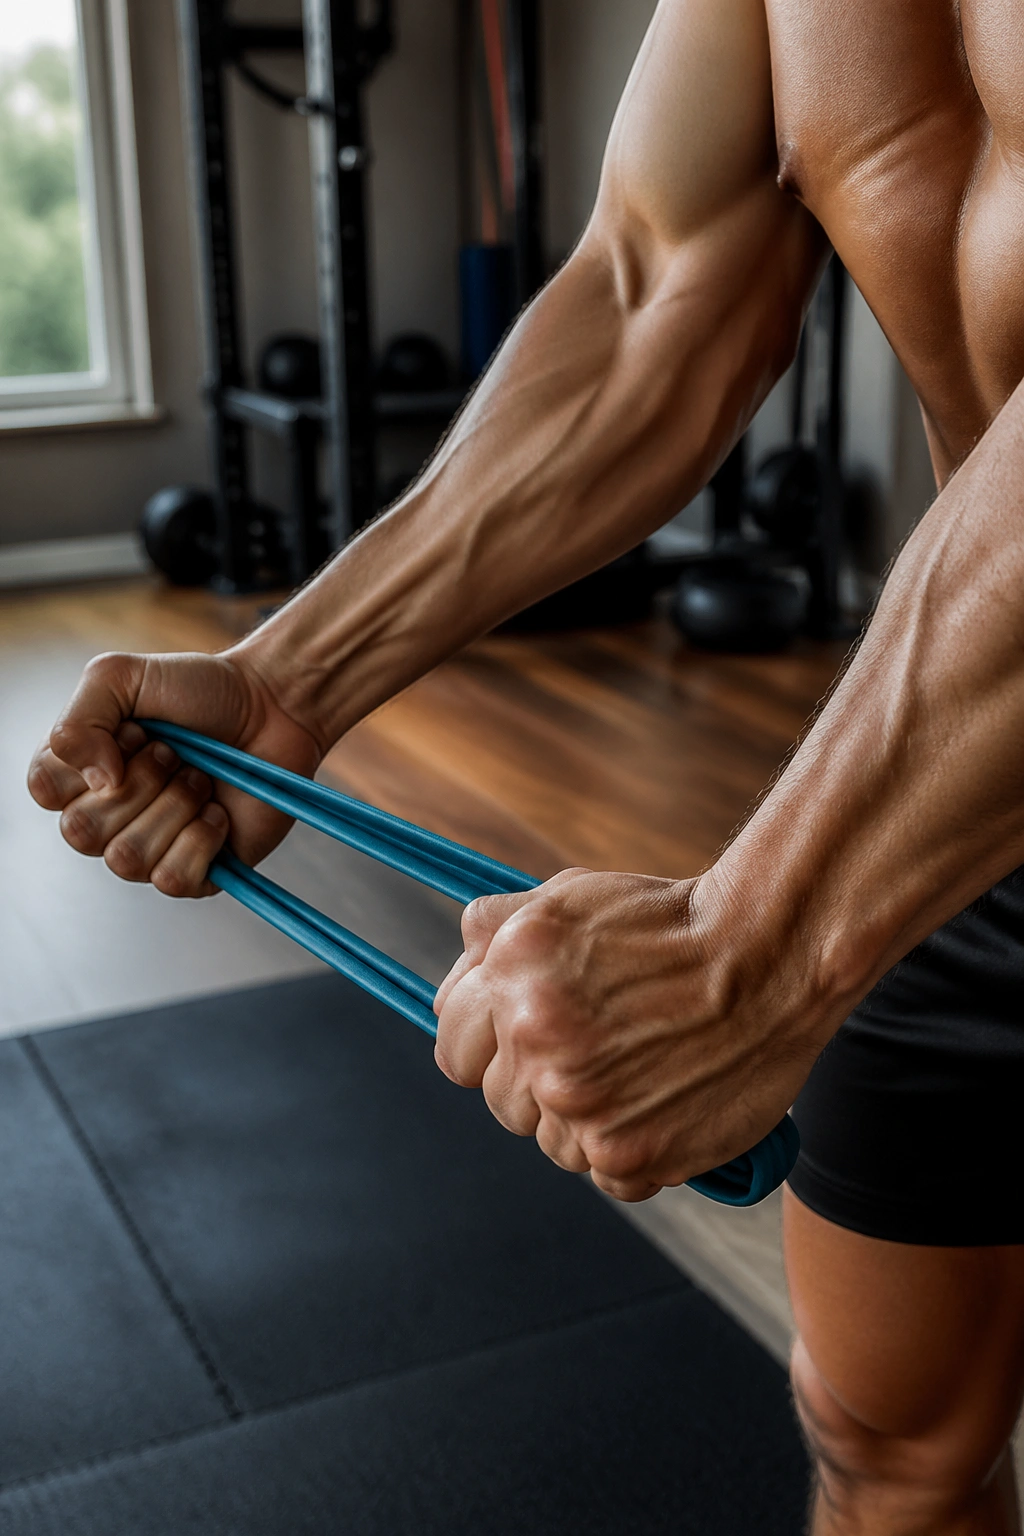
Bands are not a consolation prize. They are a way to train often without wrecking recovery. That matters when you are trying to build muscle, keep moving, and avoid the “all-or-nothing” trap that kills consistency.
A simple circuit can hit rows, squats, presses, and core work in one go. The band keeps tension on the muscle through the whole range, which makes even small sessions feel meaningful.
A clean band circuit
- 12 band squats
- 12 band rows
- 10 band presses per side
- 12 band dead bugs or anti-rotation holds
- 2 to 4 rounds
Use a band that gives real resistance by the last few reps. If you finish every set feeling fresh, the band is too light.
This is a smart choice on days when your joints want a break but your body still needs work. And for loose skin, that regular muscular tension is the point. You are not trying to win a calorie burn contest. You are trying to build shape.
14. Stair Climbing That Tightens the Lower Body Shape
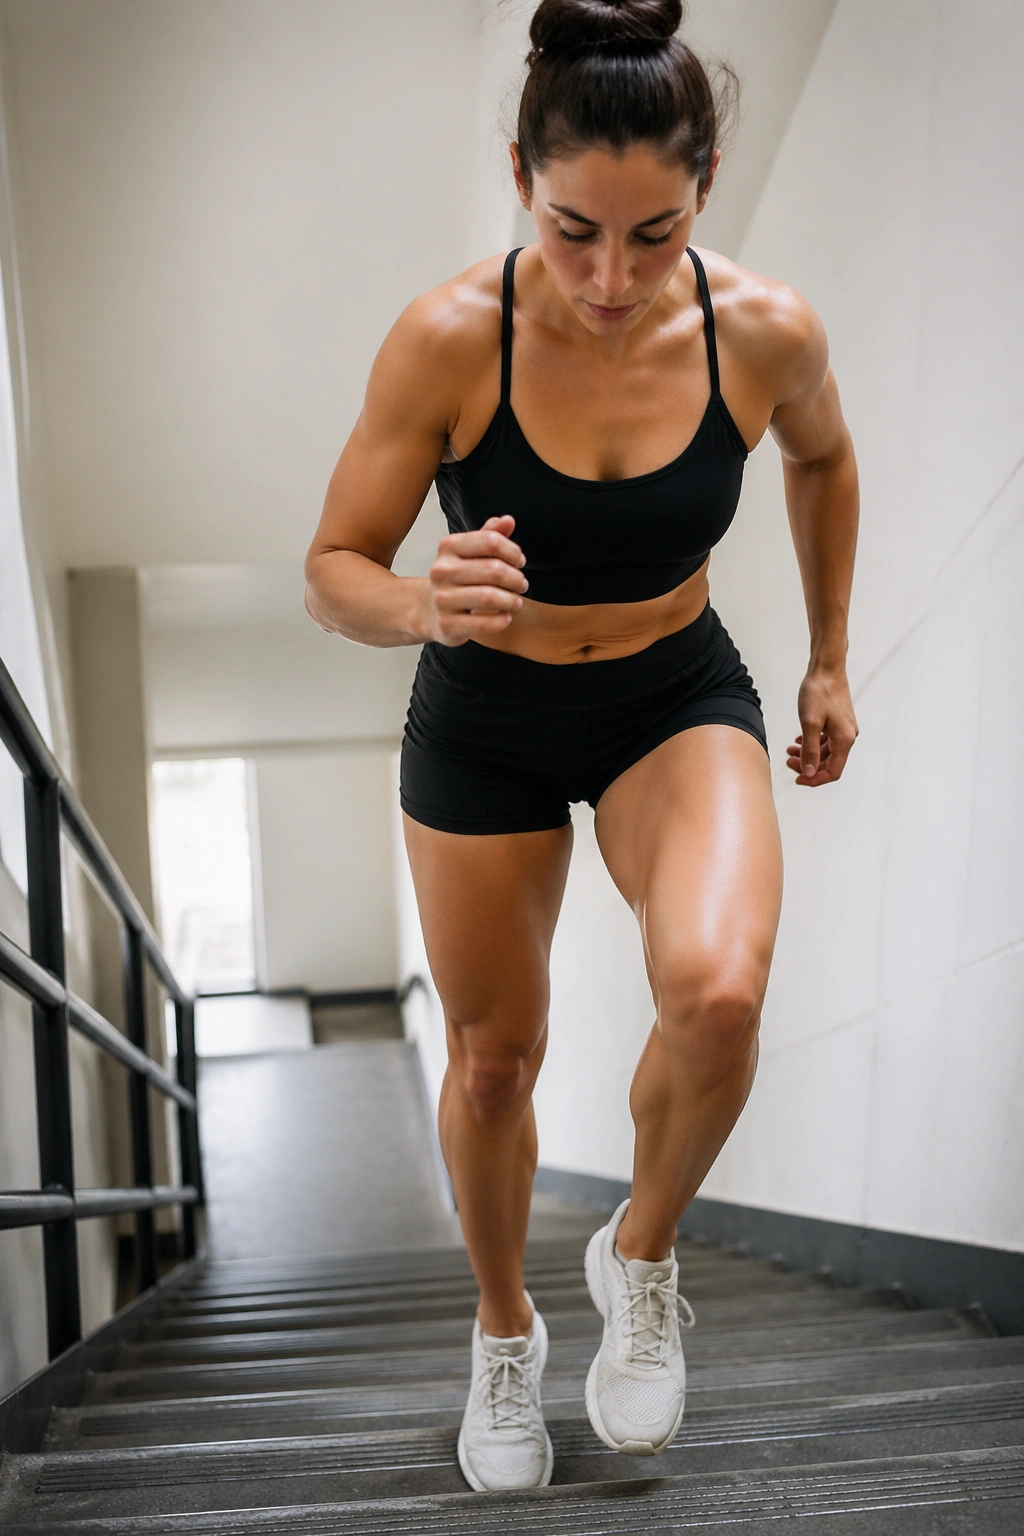
Three flights of stairs in a row and your glutes know it. Stair climbing loads the legs in a very direct way, and it raises the heart rate without the pounding you get from some higher-impact cardio.
You can use an actual staircase, a stepmill, or a set of repeated box steps. Keep the torso tall, push through the whole foot, and do not hang on the railing like you are lost at sea. A light touch is fine. A death grip is not.
Stairs work well as intervals.
- 30 to 60 seconds hard
- 60 to 90 seconds easy
- 8 to 12 rounds
The trick is posture. If you hunch over, the whole effort shifts into the lower back and the middle looks worse, not better. Stay stacked, keep moving, and let the legs do their job.
15. Incline Walking for Fat Control Without Extra Wear and Tear
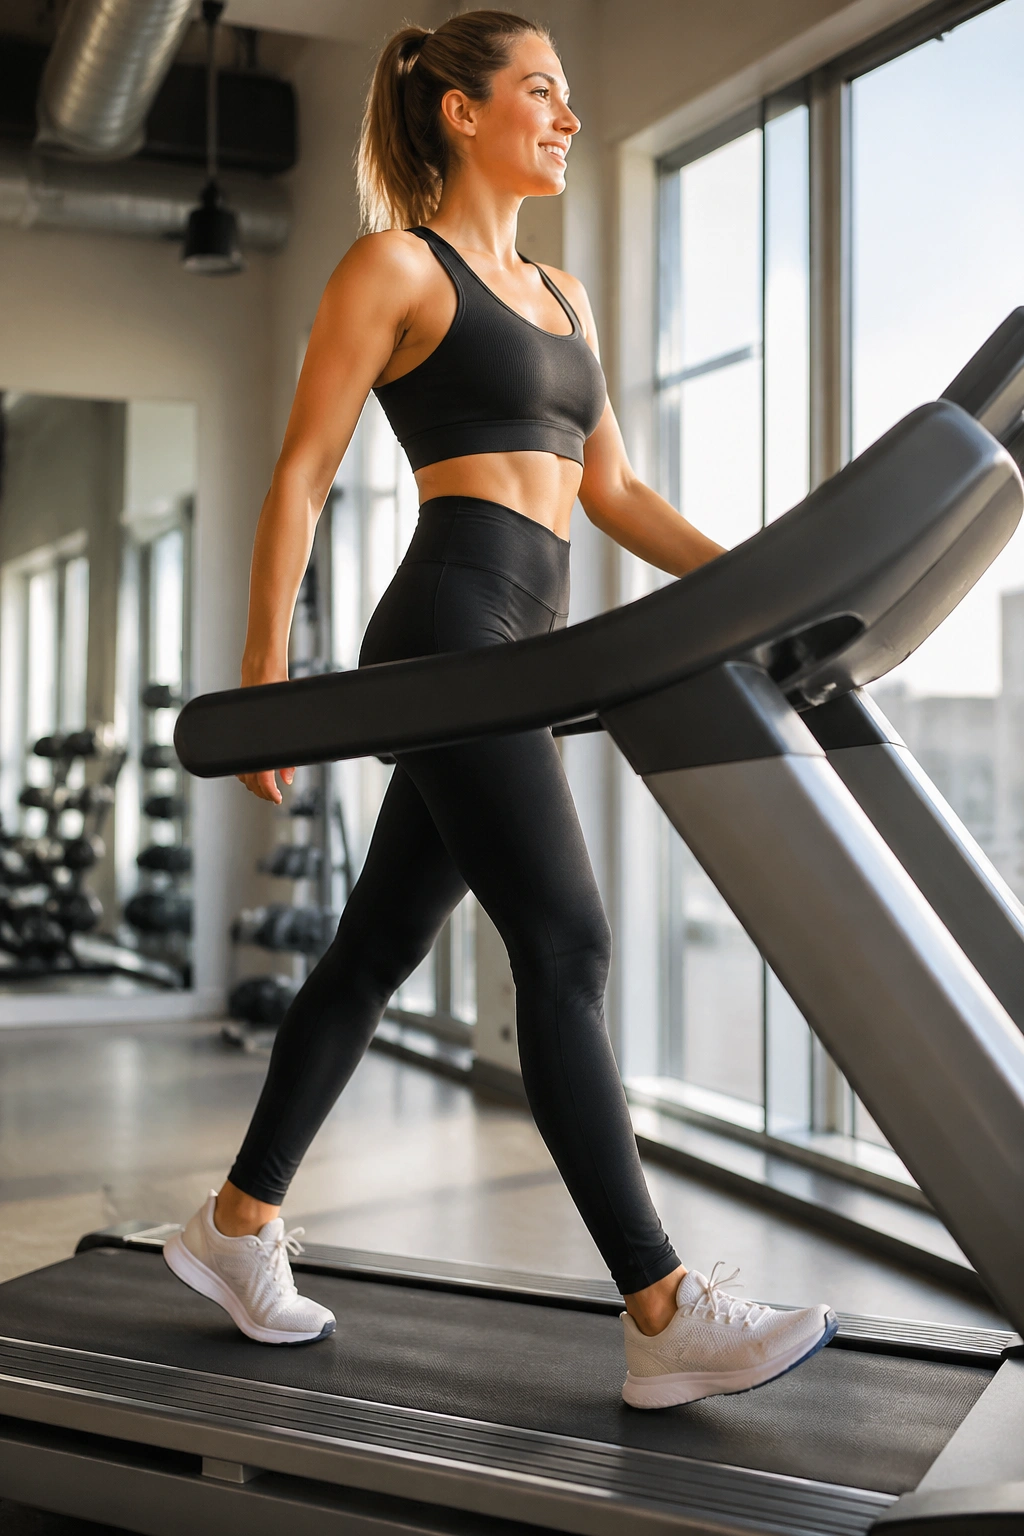
Harder is not always better. Incline walking is one of the cleanest ways to burn energy, keep the legs active, and stay consistent without the recovery cost of sprinting or aggressive jumping.
Set a treadmill incline around 4 to 8 percent and walk for 20 to 40 minutes at a pace that gets you breathing harder but still lets you talk in short sentences. That sweet spot is useful for fat control, which matters because loose skin looks more obvious when body fat creeps back up.
A few details help:
- Keep the stride natural, not forced
- Do not hold the rails for long
- Think tall chest and quiet steps
- Use it on recovery days or after lifting
Incline walking will not magically tighten skin. It will support the kind of steady energy balance that keeps the midsection lean enough for the muscle underneath to show up.
16. Rowing Intervals That Hit Legs, Back, and Lungs at Once
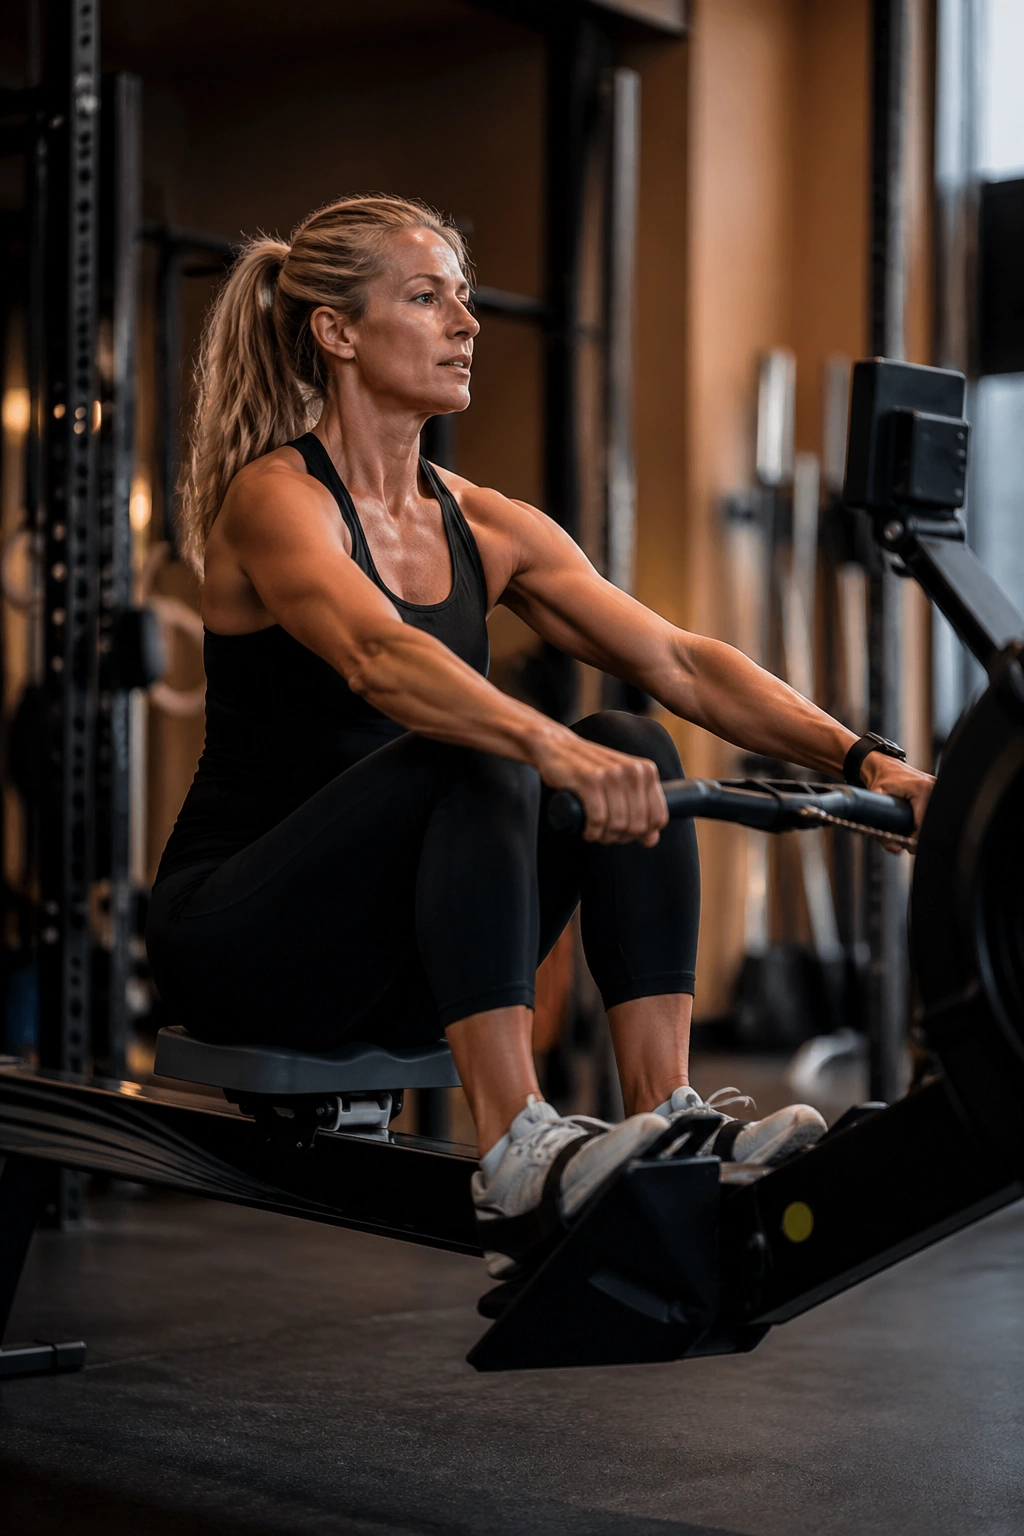
If you want one machine that asks a lot from the body, rowing is hard to beat. Each stroke uses the legs first, then the hips, then the back and arms. That sequence makes it a useful conditioning tool for people who want more than a lazy calorie burn.
Set the damper somewhere moderate, not maxed out like a dare. Drive hard with the legs, lean back only a little, then recover smoothly. The handle should travel in a clean line, and the torso should stay strong instead of flopping around.
A simple interval format
- 6 to 10 rounds
- 250 meters hard, or 45 seconds hard
- 60 to 90 seconds easy between rounds
Rowing is a good fit when loose skin after belly fat loss is part of the picture because it helps keep body fat in check while reinforcing posture and trunk control. It is also measurable. That appeals to people who like real numbers more than motivational noise.
17. Swimming Laps for Joint-Friendly Full-Body Conditioning
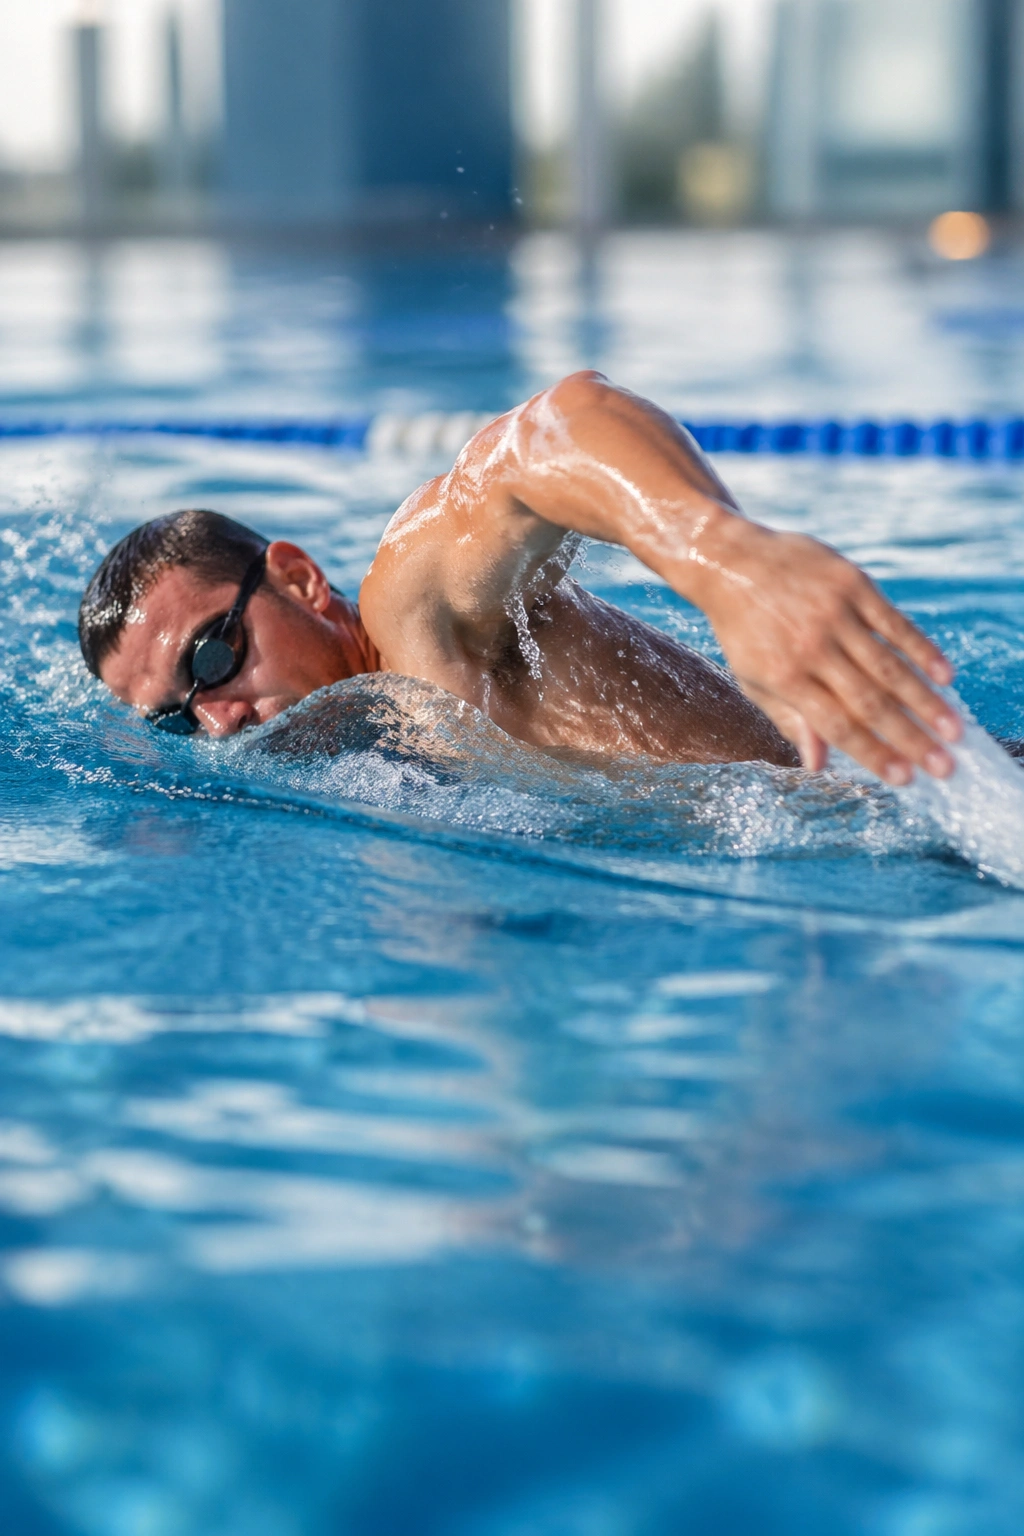
Water changes everything. Swimming gives you resistance in every direction while taking a lot of stress off the joints, which is useful if your knees, back, or feet are tired from heavier land work.
Freestyle and backstroke are especially handy. Freestyle builds a long line through the torso, and backstroke encourages opening through the chest. If you’ve ever noticed your belly looks more pronounced when your shoulders fold inward, that matters.
A pool session does not need to be complicated.
- 10 minutes easy warm-up
- 8 to 12 laps at a steady pace
- 30 to 60 seconds rest
- 4 to 6 short faster efforts if you want intervals
One small caution: do not turn swimming into a lazy float. Work the stroke. Keep the body long. A lazy lap barely nudges anything, but a focused session can leave your core and shoulders tired in the right way.
18. Shadow Boxing Rounds That Train Rotation and Posture
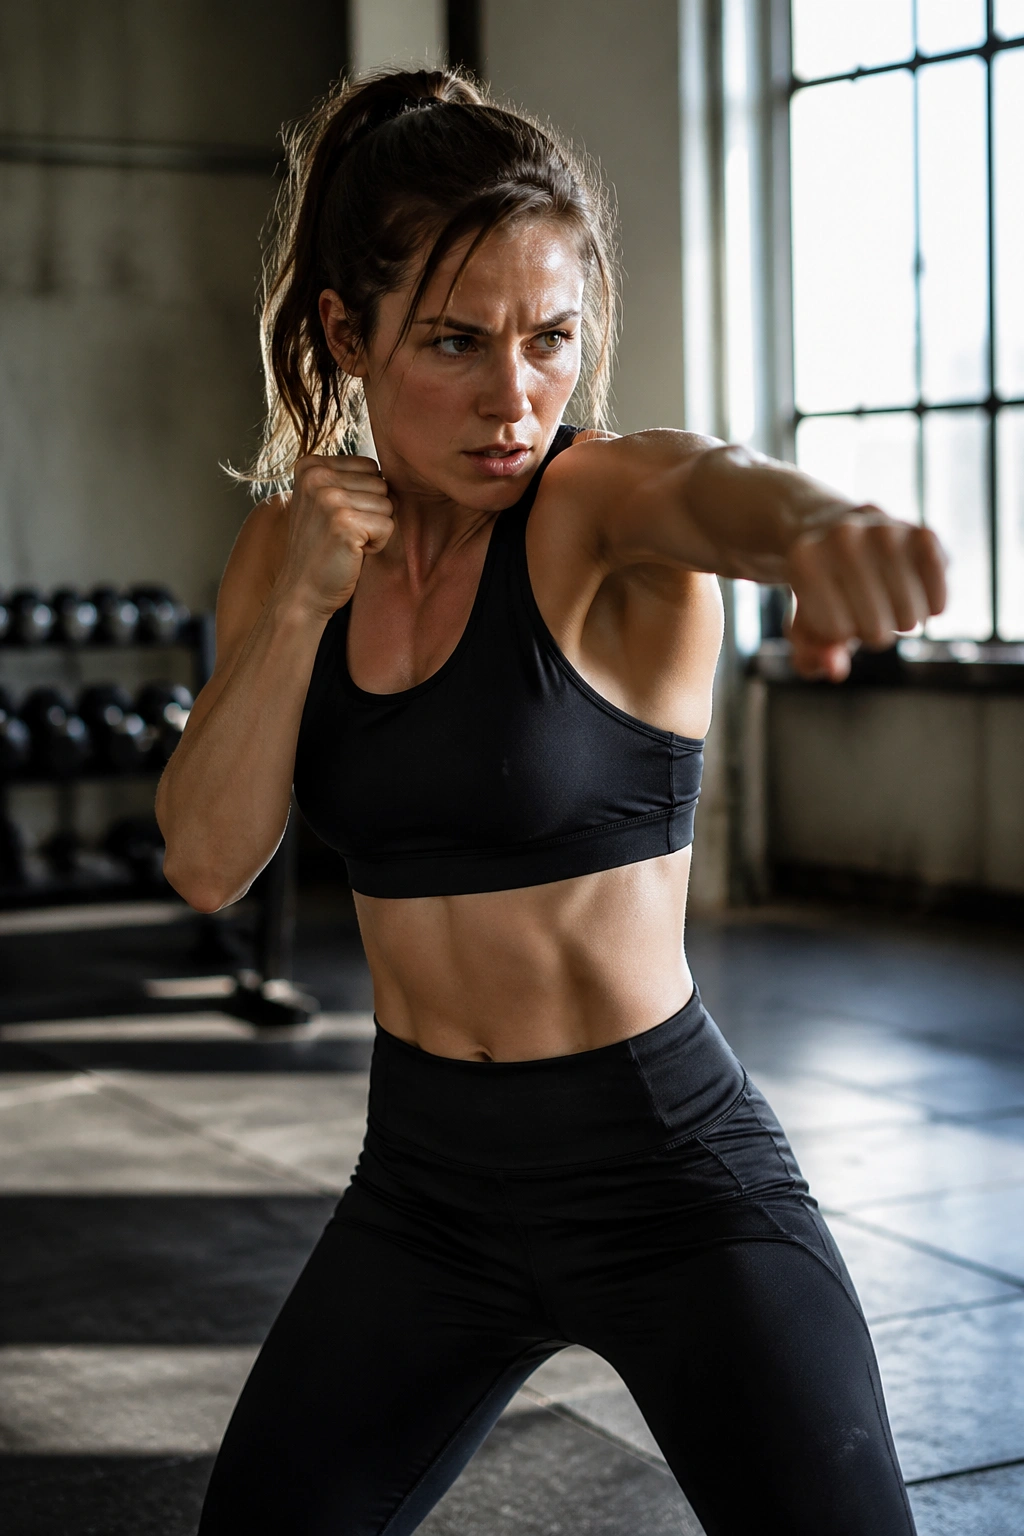
Boxing footwork tightens posture fast. Shadow boxing asks the rib cage, shoulders, hips, and feet to work together, and that coordination carries over into how your torso looks when you stand still.
You do not need gloves or a bag. Stand in a fighting stance, keep the chin tucked, and throw crisp jabs, crosses, hooks, and slips for 2 to 3 minutes at a time. Move your feet. Breathe. Keep the abdomen lightly braced the whole time.
Why it helps
- Rotates the trunk without crunching the spine
- Trains shoulder endurance
- Raises heart rate quickly
- Makes you less stiff through the hips and ribs
Shadow boxing is one of those sessions that feels playful until round three. Then it becomes work. Good work. It also breaks up the stiffness that can make loose skin sit more heavily around the middle.
19. Pilates Core Series That Teaches the Belly to Stay Organized
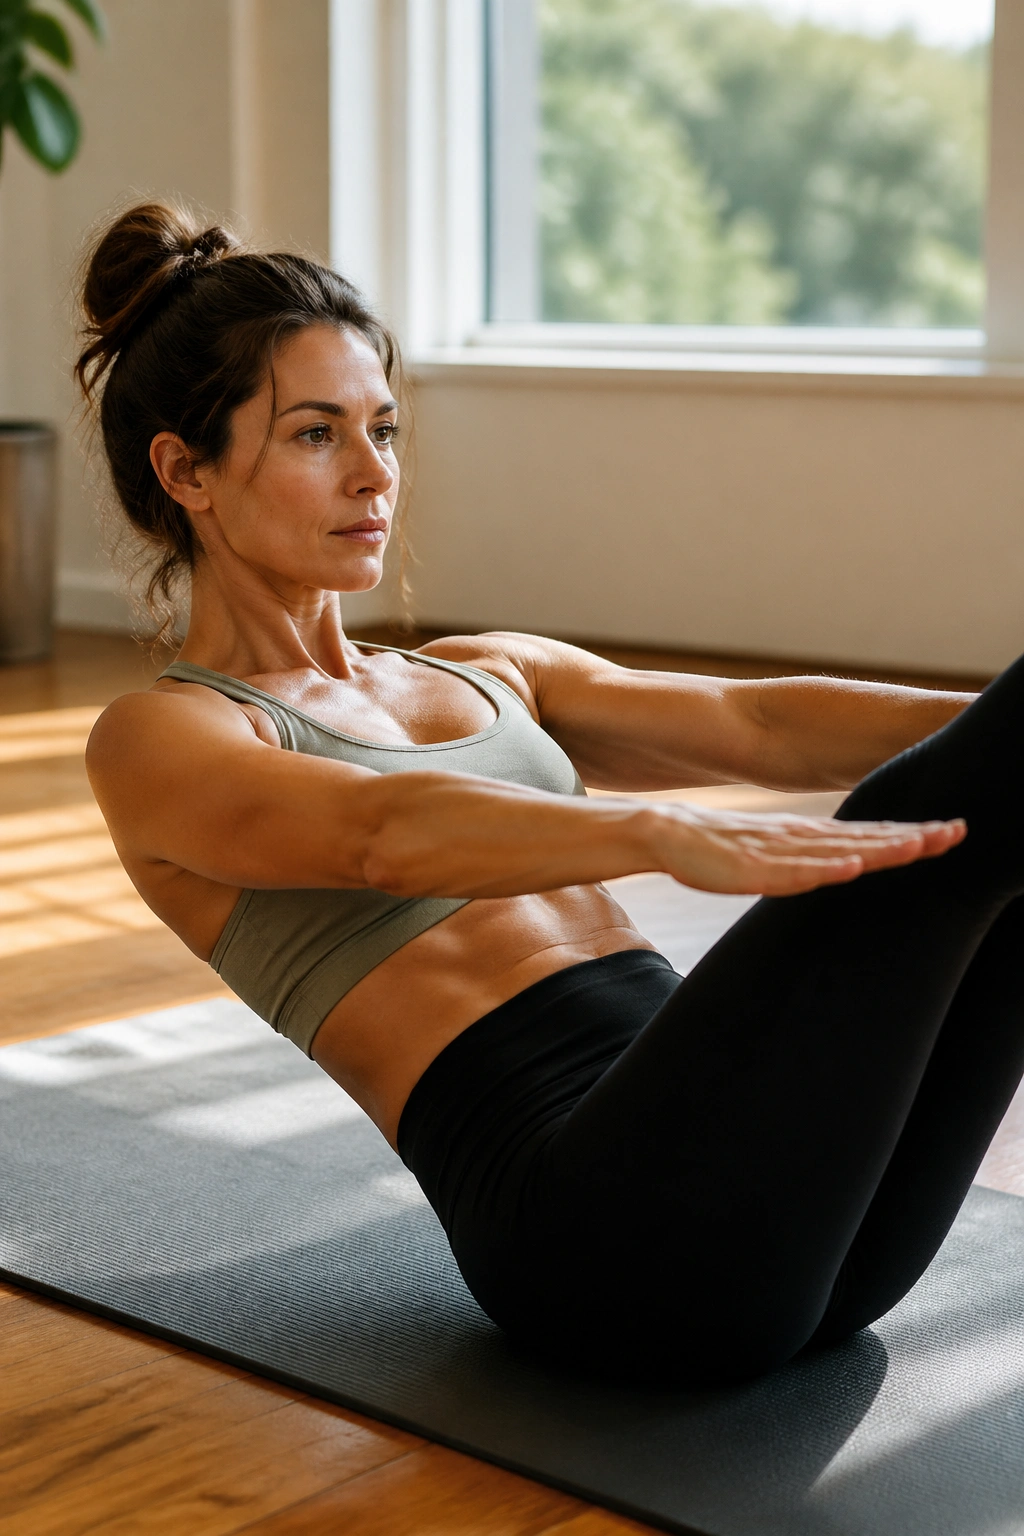
Pilates is not flashy. It is precise. That precision is useful when the area around your stomach has changed shape and you want to hold yourself better without bracing like a statue.
Moves like toe taps, leg slides, the hundred, and controlled roll-downs teach the deep core to stay on while the limbs move. The outer look of the belly changes less from burning calories and more from the way the torso organizes itself. That is the quiet part people skip.
What to focus on
- Slow exhale on the hardest part of each rep
- Ribs down, not flared
- Pelvis steady, not rocking
- Short sets done cleanly
Pilates won’t replace strength training, and I wouldn’t pretend it will. But it can make the rest of your work look better by improving control, balance, and the way you carry your midsection. That is worth a lot more than the burn count suggests.
20. Yoga Flows and Mobility Work That Help You Stand Taller
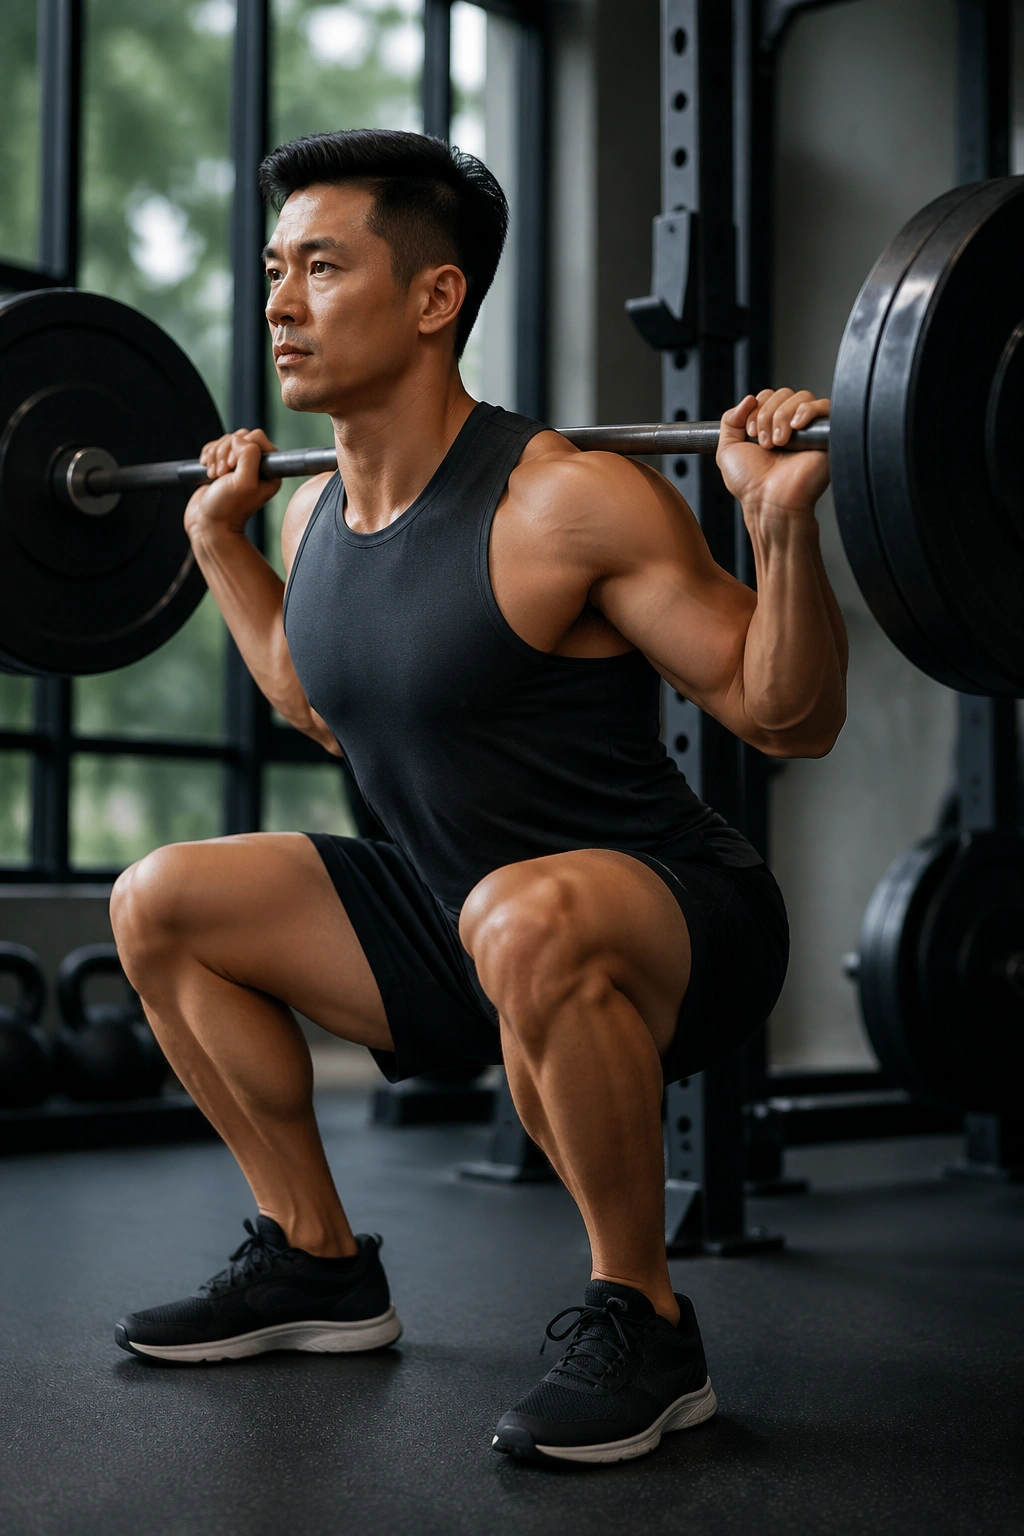
A body that feels stiff usually looks stiffer too. Yoga and mobility work do not tighten skin directly, and they do not need to. Their job is to keep the joints moving, the breath calm, and the posture open enough for your strength work to show.
A simple flow with cat-cow, low lunge, downward dog, bridge pose, and a few deep squats can make a difference in how your middle sits during the day. Long-held tension in the hips and rib cage can make the abdomen bunch forward. Looser hips and a more open chest help reverse that.
This is the section people often skip because it feels too gentle. That is a mistake. Gentle does not mean useless.
A body that moves well is easier to train, easier to recover, and easier to hold in a position that makes loose skin after belly fat loss look less dramatic. Keep some lifting in the week, keep some walking in the week, and leave room for the work that lets you breathe and stand like yourself again.
