



Most people chase biceps and ignore the back of the arm. That’s the part that changes the silhouette fastest.
If you want sculpted arms, the smartest at home arm workouts are the ones that hit triceps, shoulders, biceps, and forearms in the same week, not the same tired curl done from three different angles. A chair, a backpack, a towel, and a pair of water bottles can do more than people expect. You do not need a perfect setup. You need a plan that keeps getting harder.
The detail that gets missed all the time? The triceps do a huge amount of the visual work. They sit on the back of the upper arm, and when they’re trained well, the whole arm looks firmer even before you get fancy with isolation moves. Shoulders matter too. A rounded shoulder cap makes the arm look fuller from the front and the side, while a bit of upper-back work helps everything sit better.
So keep the weights light if that’s what you have. Keep the reps honest. And pay attention to the lowering phase, because that’s where a lot of the work hides. Start with the first move and let the burn build from there.
1. Close-Grip Push-Ups
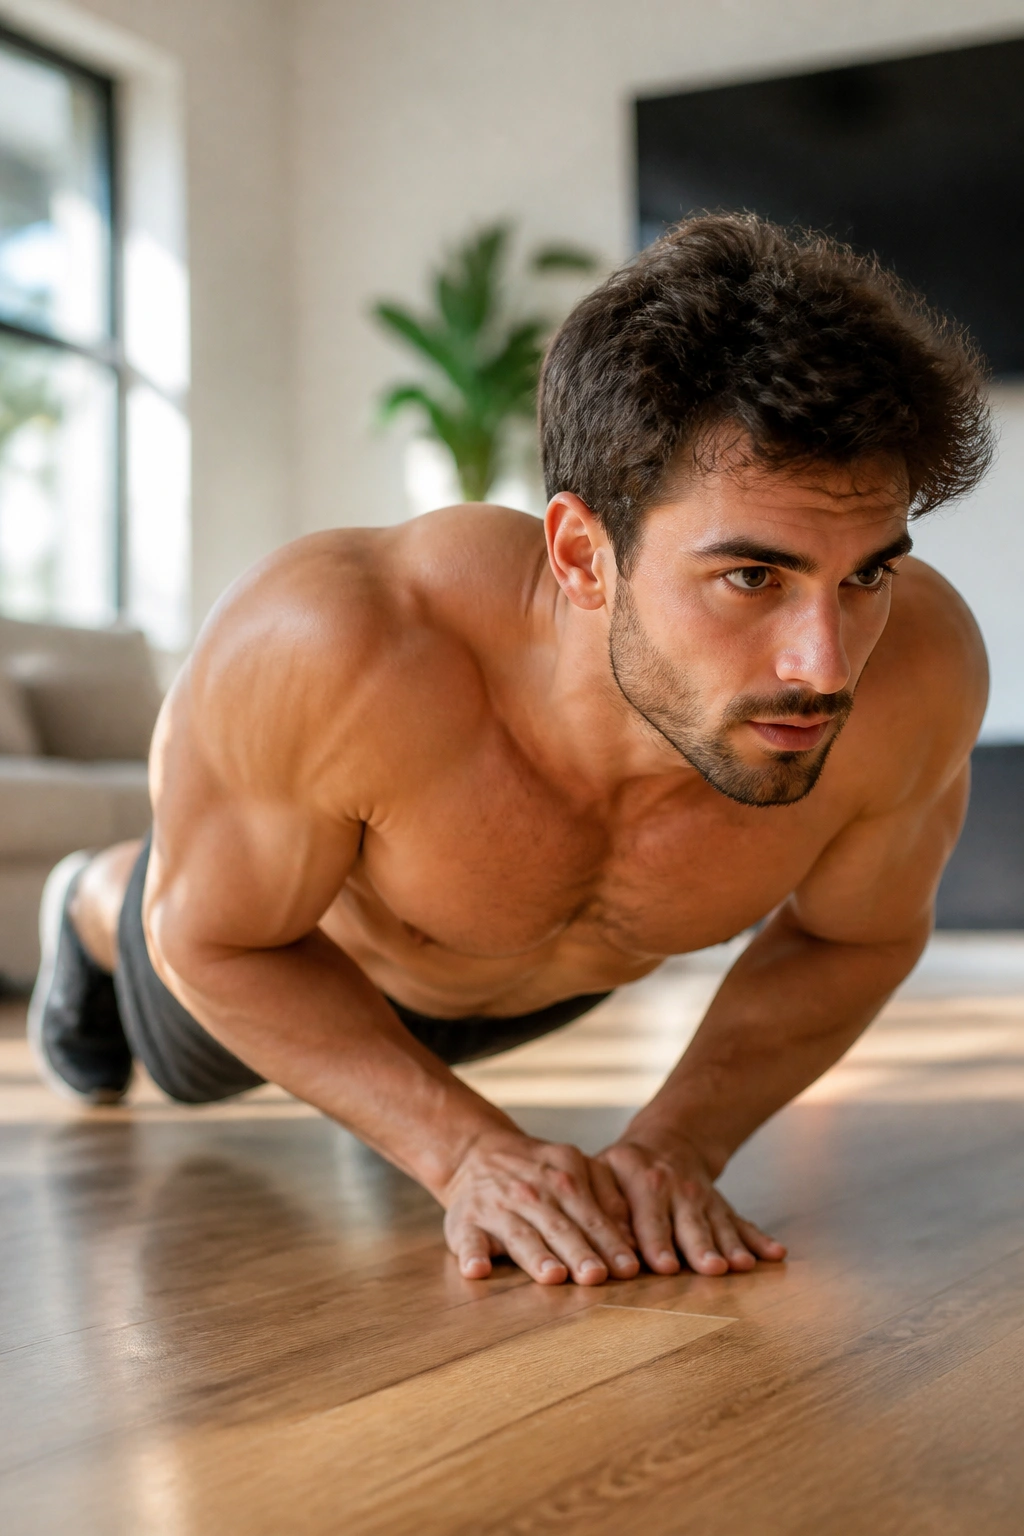
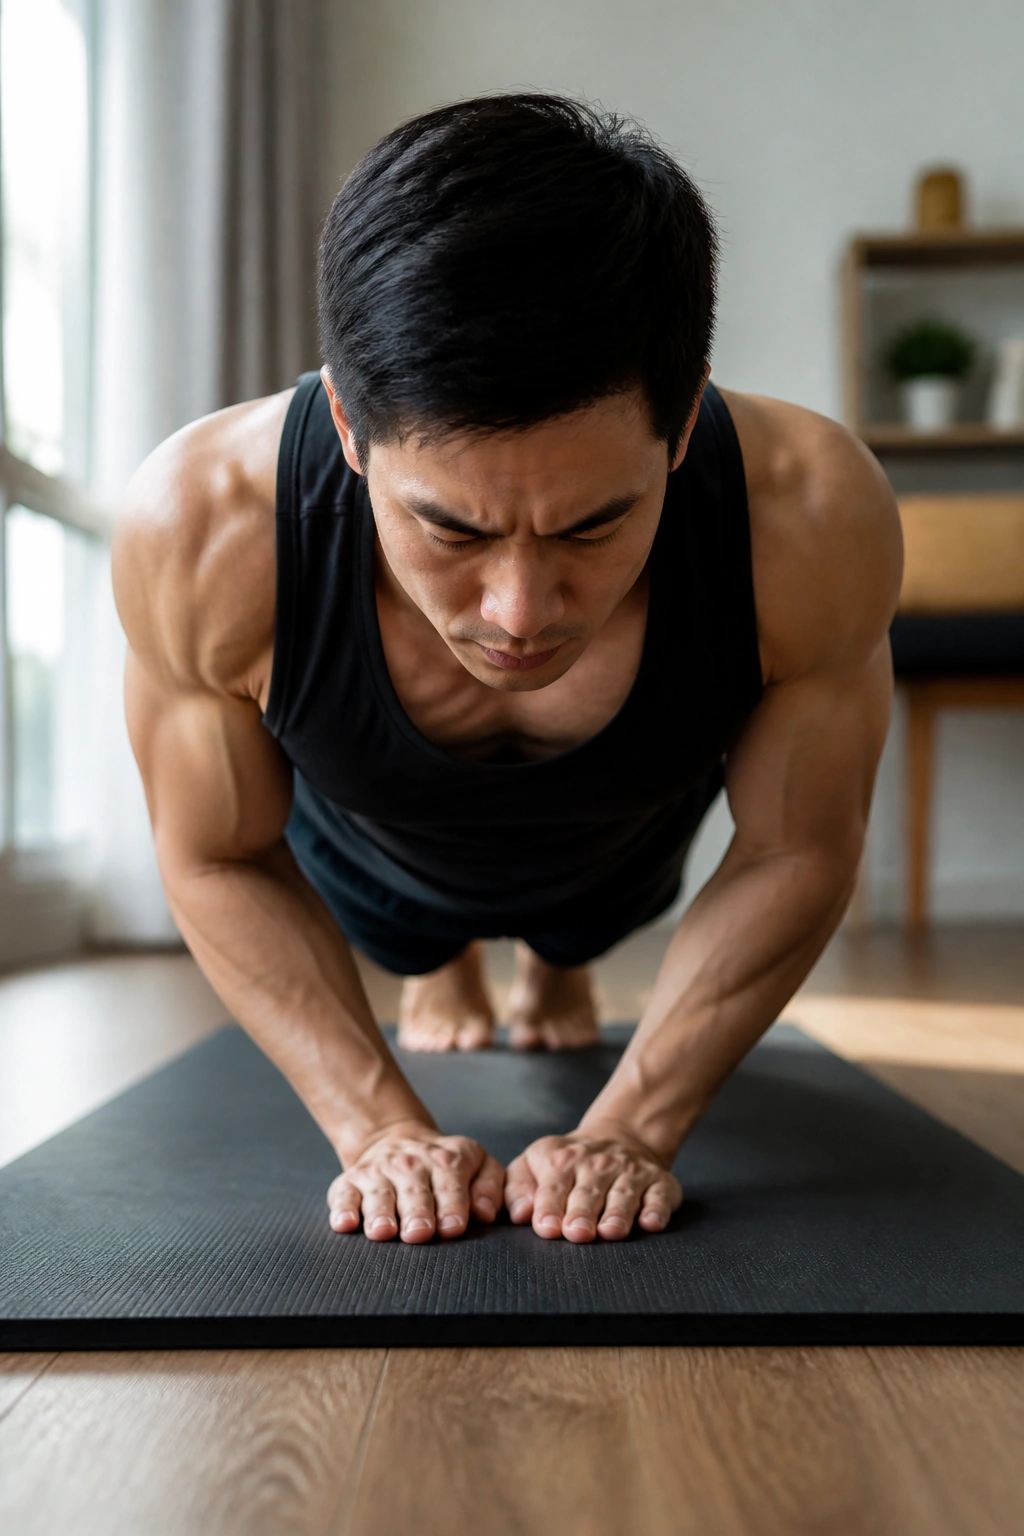
If you only have room for one bodyweight arm move, make it this one. Close-grip push-ups hit the triceps hard, and they also light up the chest and front shoulders in a way that makes the whole upper arm look tighter.
Set your hands a little narrower than shoulder width, not so close that your wrists complain. Keep your elbows angled back at about 30 to 45 degrees, lower under control, and press the floor away like you mean it. The more your body stays in one clean line, the more the triceps have to work.
Why It Works
The triceps straighten the elbow, so every push creates a lot of tension there. That’s why this move pays off so well for arm shape. You also get a shoulder and core demand for free, which is useful if you want the workout to feel like more than an arm pump.
How to Make It Count
- Start with 3 sets of 6 to 12 reps.
- Lower for 2 full seconds.
- Pause for a split second just above the floor.
- If the set falls apart, drop to your knees before your back arches.
Pro tip: If your wrists are cranky, place your hands on dumbbells, push-up handles, or even two sturdy books with a flat top.
2. Chair Triceps Dips
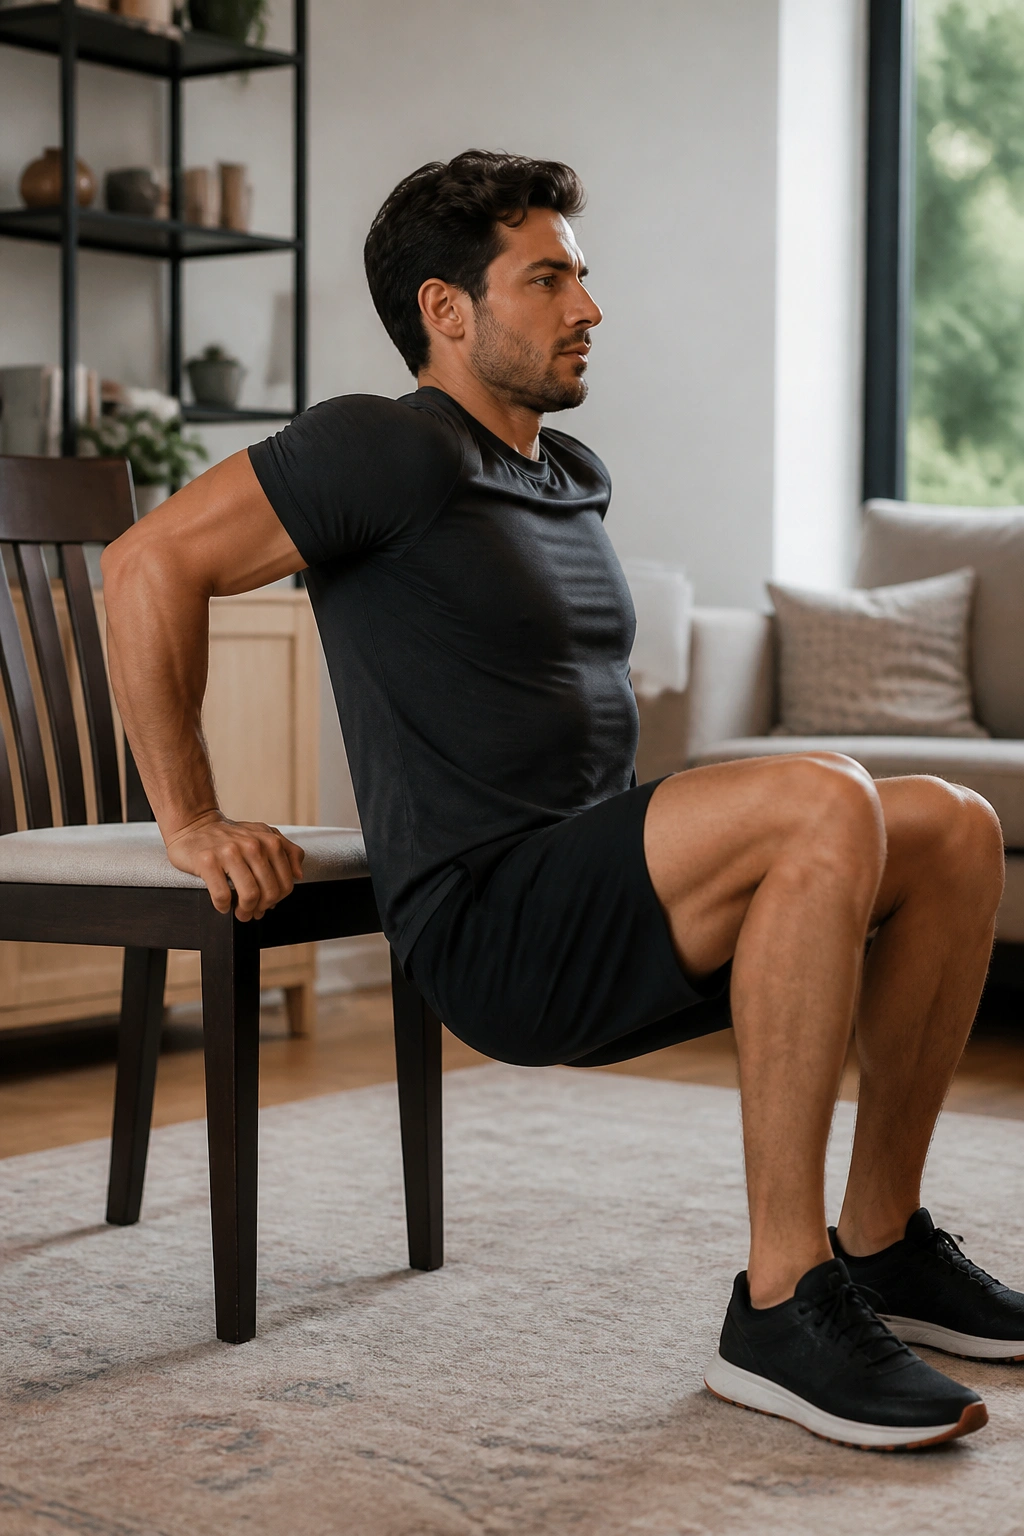
A sturdy chair can humble you fast. Triceps dips look simple, then the back of your arms starts talking by rep five.
Sit on the edge of a solid chair or couch, place your hands beside your hips, and slide forward so your weight is in your arms. Bend your elbows to lower, then press back up until your arms are straight. Stop before your shoulders sink forward. That part matters more than people think.
Too deep is the trap. If your upper arms drop far below parallel and your shoulders feel pinchy, you’ve gone farther than your joints want. Keep the movement clean, keep your chest open, and use bent knees if you need to reduce load. Straight legs make it harder; bent knees make it friendlier.
For most people, 2 to 4 sets of 8 to 15 reps is enough to make this move bite. Short rests work well here. Thirty to 60 seconds is plenty.
3. Pike Push-Ups
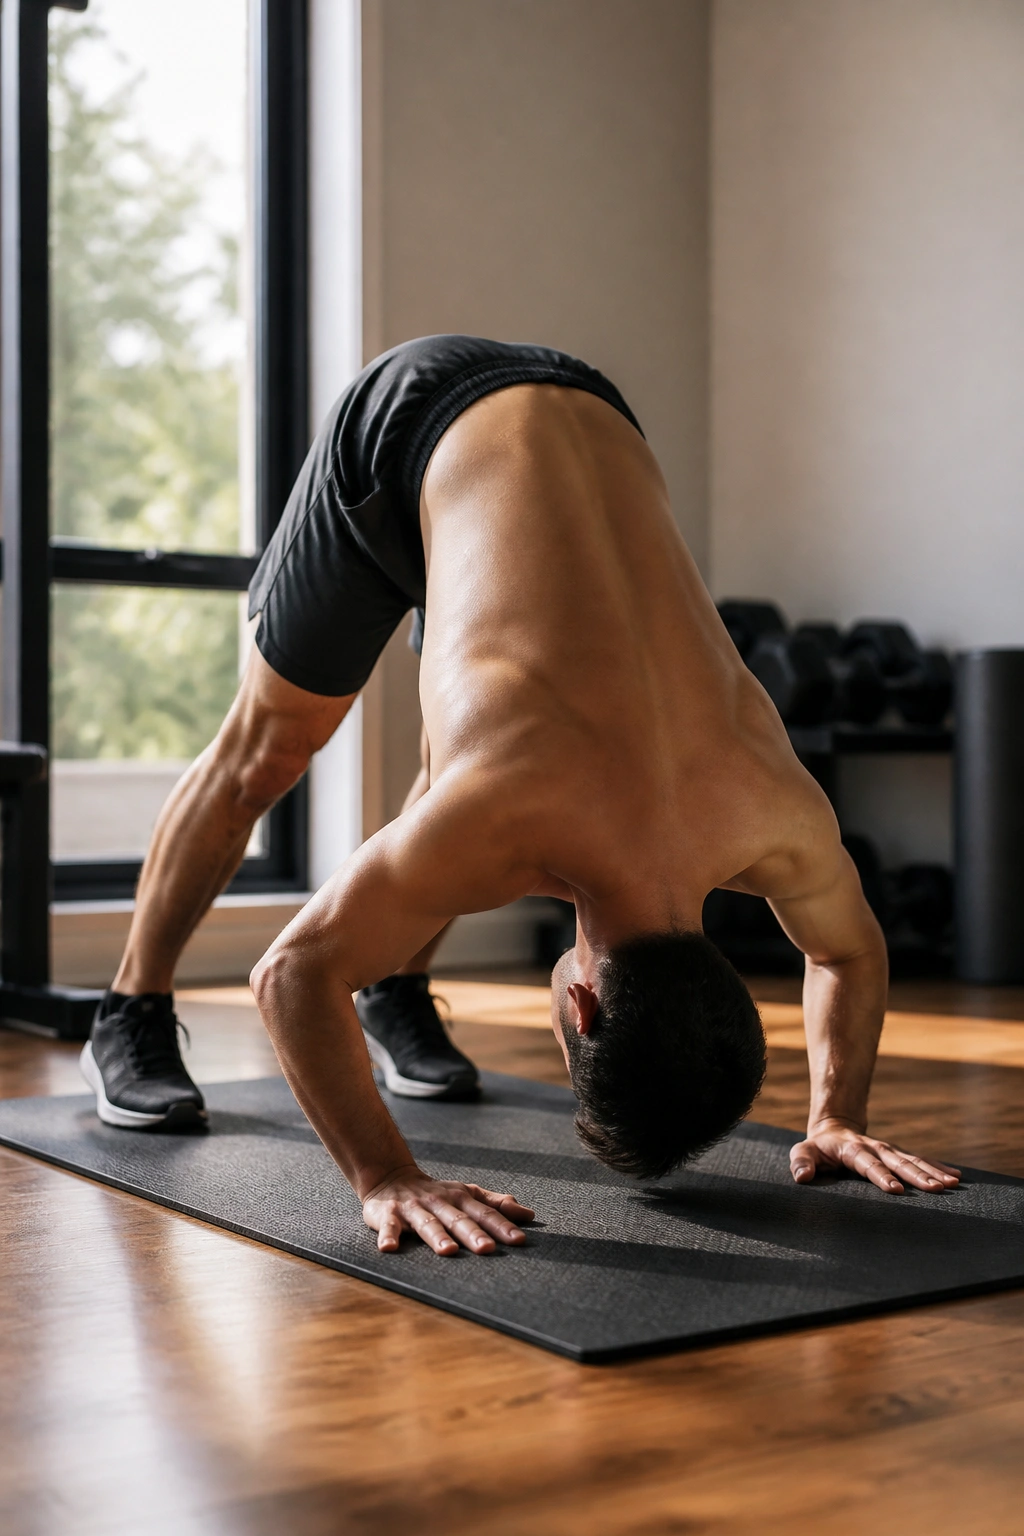
Why do shoulder-heavy push-ups show up in an arm workout? Because the shoulders and triceps work together, and the upper arm looks sharper when both are trained.
Get into a pike position with your hips high, hands on the floor, and your head moving toward the space between your hands. The goal is not to fold in half like a beach chair. The goal is to shift enough weight forward that your shoulders have to press, while your triceps help finish the job. Think “up and down,” not “forward and collapse.”
The first few reps should feel controlled. If your elbows flare wildly or your head crashes toward the floor, the setup is off. Raise your hands onto a low bench or couch if you need more room.
How to Use It
- Do 3 sets of 5 to 10 reps.
- Keep your gaze on the floor, not out in front.
- Lower until the top of your head nearly brushes the ground.
- Use an elevated surface to make it easier.
That little shift in body angle changes everything. It’s a shoulder move, yes, but it pulls the triceps into the conversation in a way that regular push-ups do not.
4. Backpack Biceps Curls
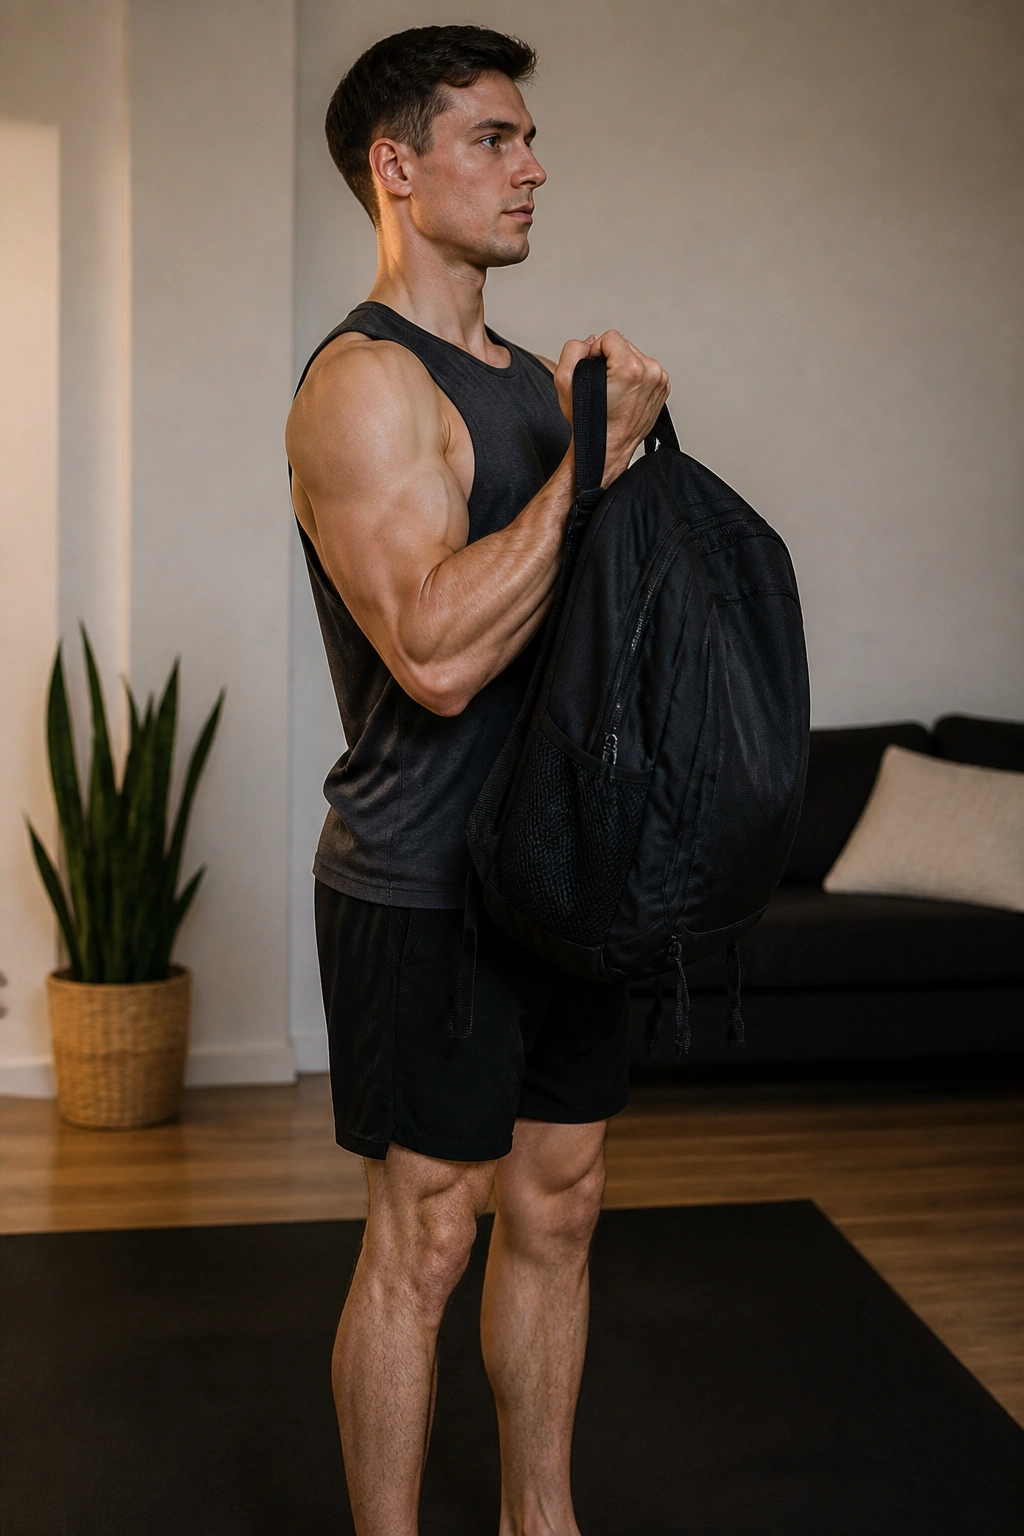
Grab the backpack you already own and turn it into a dumbbell. That’s usually enough weight for a good biceps session if you load it right.
Fill the bag with books, water bottles, or canned food, then hold the top handle with one hand and curl it the way you’d curl a dumbbell. Keep your elbow pinned near your ribs, lift without swinging, and lower the bag slowly enough that you can feel the biceps lengthen. If the bag jerks, the load is too awkward or your torso is helping too much.
This one is better than it sounds. A backpack gives you adjustable resistance, and the shape lets you add weight in small jumps. That’s useful when you want to keep building without buying more gear. It also trains your grip a bit, which is a bonus.
- Start with 3 sets of 8 to 12 reps per arm.
- Use a 3-second lowering phase.
- Keep your wrist straight.
- Swap sides before your form turns into a shrug.
Swinging means the bag is winning.
5. Diamond Push-Up Negatives
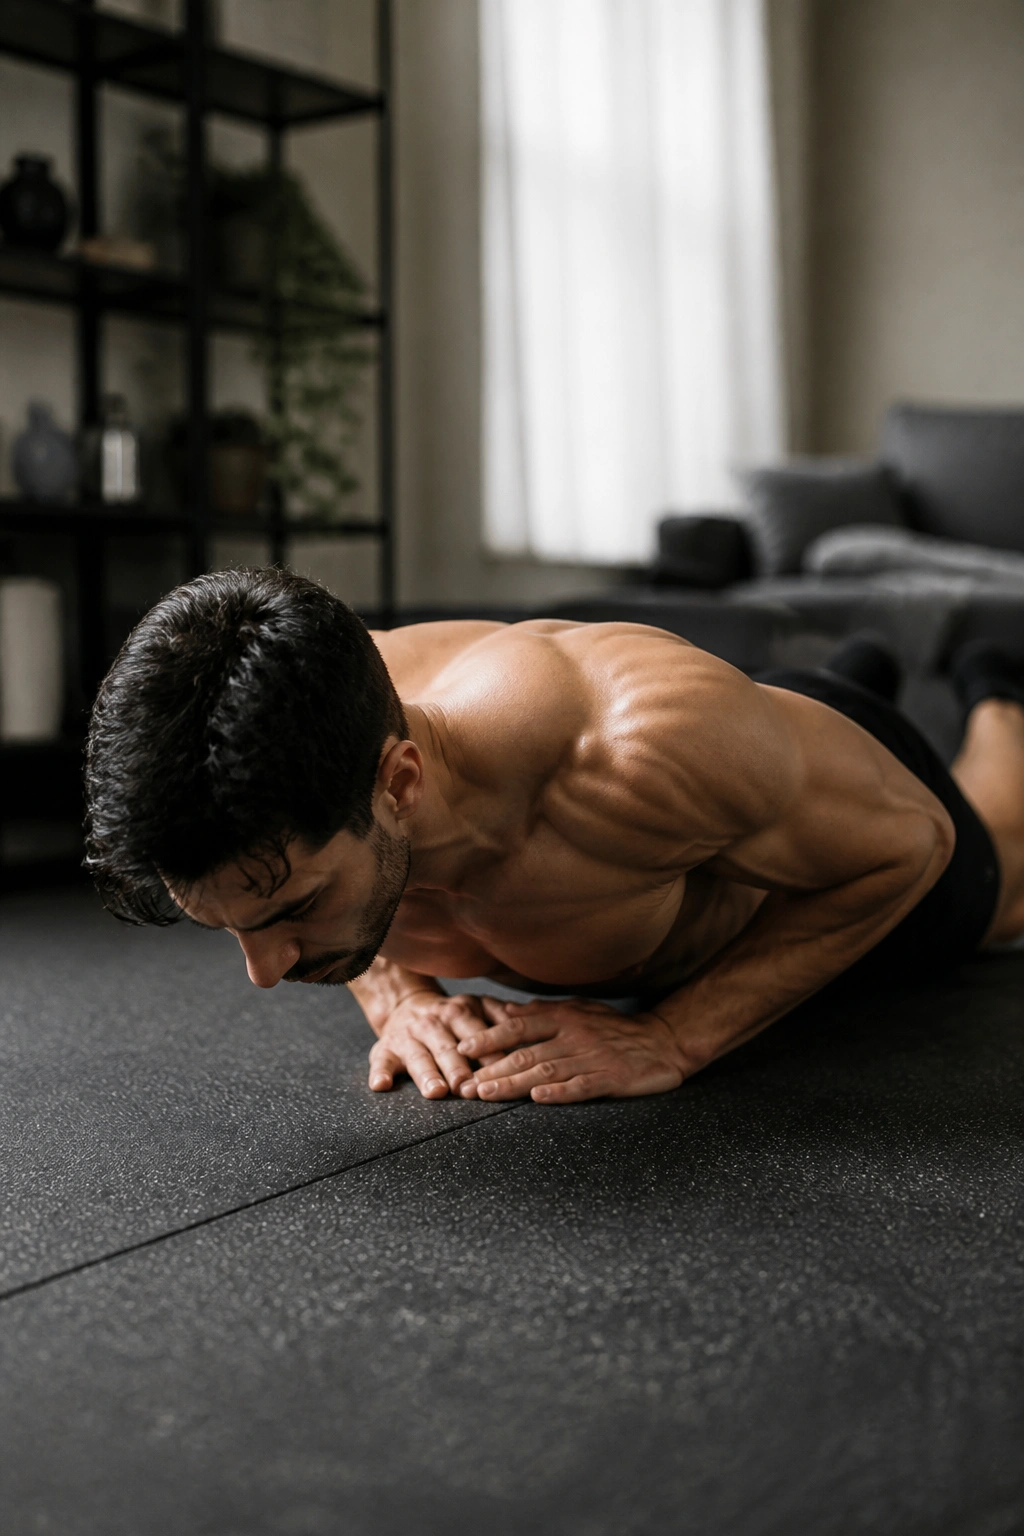
The lowering phase is where a lot of the work lives, and diamond push-up negatives prove it.
Set your hands under your chest with the thumbs and index fingers close enough to make a diamond or triangle shape. Lower for 4 to 6 seconds, then come back up on your knees if you need to. That slow descent loads the triceps in a way that regular fast reps often miss. A hard negative is not fancy. It’s just honest tension.
You do not need to do full reps if that’s too much. Start from the top of a push-up or from the knees, then spend your energy on the lowering part. That’s where the burn shows up first, and it’s where form tends to break if you rush.
The hard part is staying tidy. Keep the elbows close, keep the ribs from dropping, and stop before your shoulders turn into a shrug. 2 to 4 sets of 4 to 8 slow negatives is enough to leave the back of the arm lit up.
6. Water Bottle Hammer Curls
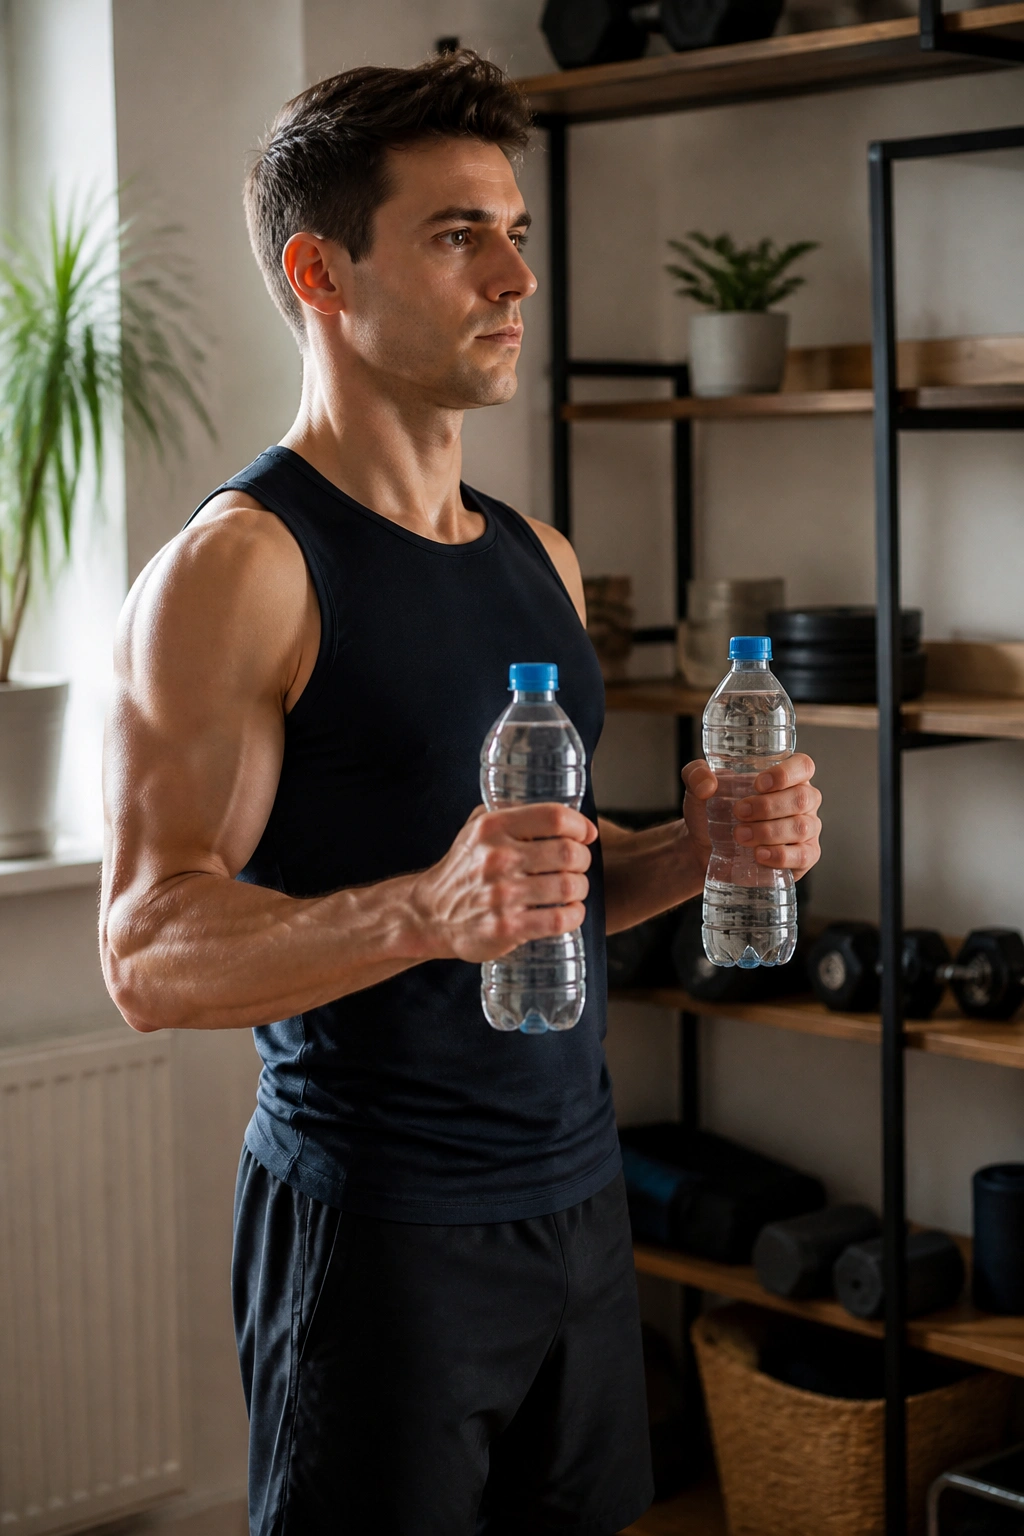
Hammer curls look a little plain, and that’s exactly why they work so well. They train the arm from a different angle than a standard palm-up curl, and the neutral grip is easier on a lot of wrists.
Use a pair of water bottles, soup cans, or small dumbbells if you have them. Hold the handles with your palms facing each other, curl up without twisting, and lower under control. The straight wrist and neutral grip hit the brachialis and forearm more than a regular curl does. That makes the upper arm look thicker from the side.
This is a good move for people who hate wrist discomfort or feel biceps curls in the elbow more than the muscle. It’s also useful if your arm routine has become too curl-heavy and too little else. Add a second pause at the top, just a half second, and the set feels different fast.
Use 3 sets of 10 to 15 reps. If the last three reps do not slow down a little, the weight is probably too light.
7. Countertop Triceps Extensions
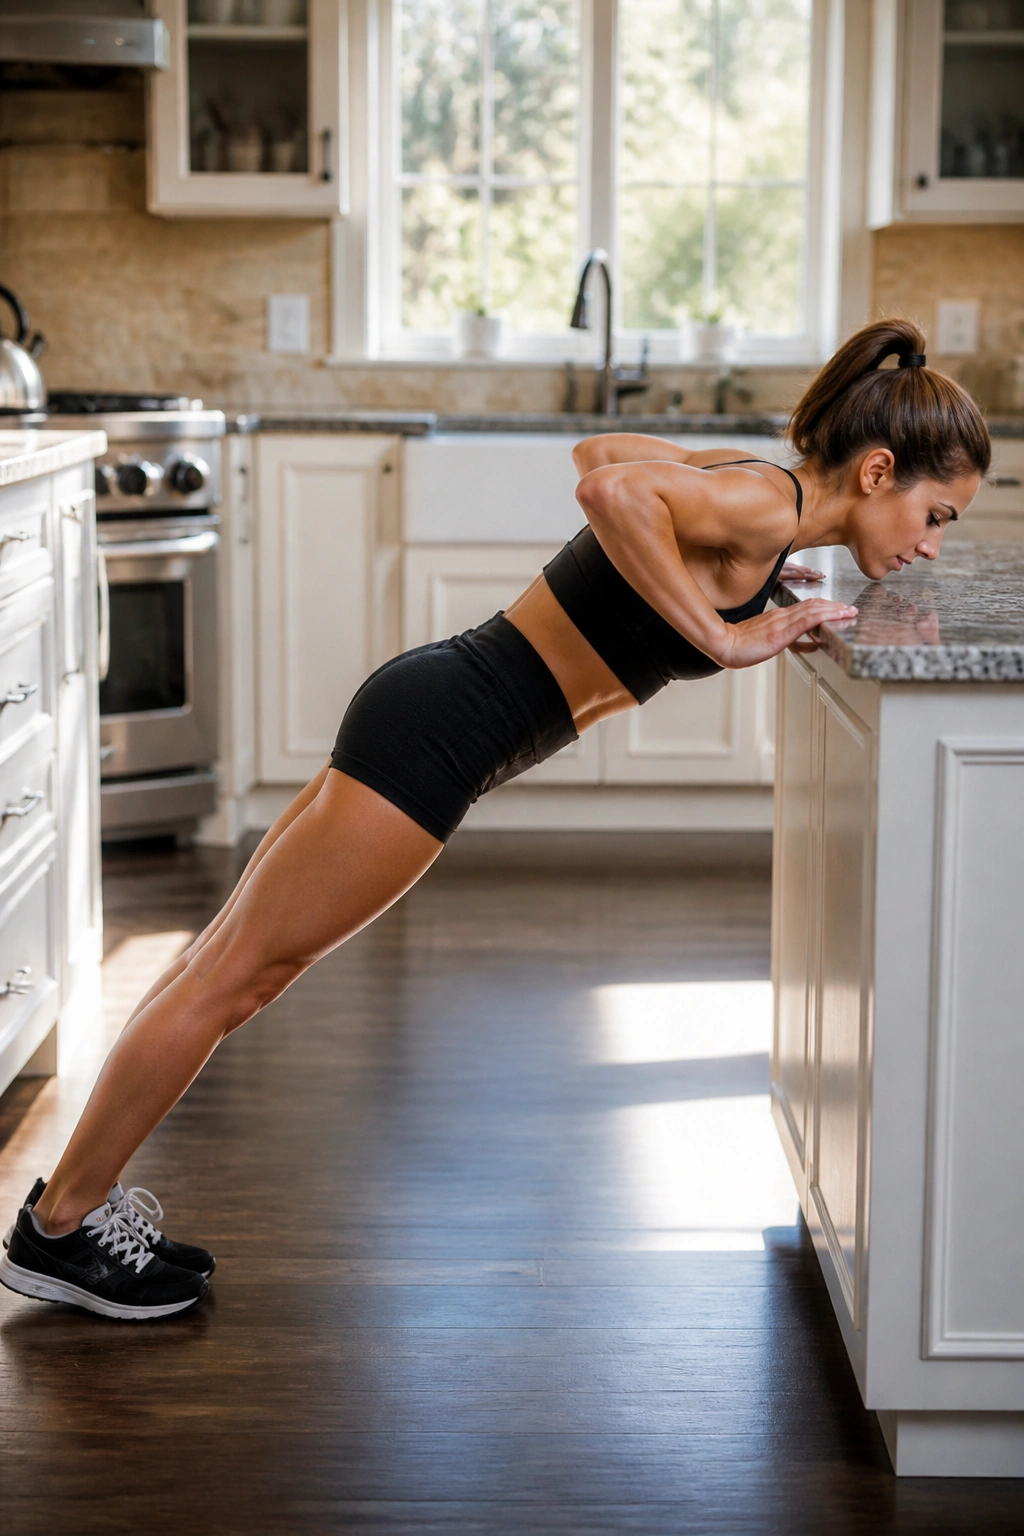
What if your bodyweight triceps work feels too easy and floor moves feel too hard? Use your countertop.
Stand facing a sturdy counter, place your hands on the edge, and step your feet back so your body forms a long diagonal line. Bend the elbows to bring your forehead toward the edge, then press back to straight arms. It’s a standing skullcrusher, basically, and the angle makes it much kinder than floor versions.
The Angle Matters
The farther your feet are from the counter, the harder the move gets. The higher the surface, the easier it gets. That gives you a neat way to scale the workout without changing the exercise itself.
- Use a kitchen counter for the easiest version.
- Use a lower table or bench for a tougher version.
- Keep elbows tucked, not flared wide.
- Stop if your lower back starts to sag.
That last part matters. A lot. If your midsection droops, the triceps are not doing the main job anymore.
Try 3 sets of 8 to 12 reps with a slow lower. The back of your arms should feel this one in a very obvious way.
8. Plank Shoulder Taps for an At-Home Arm Workout
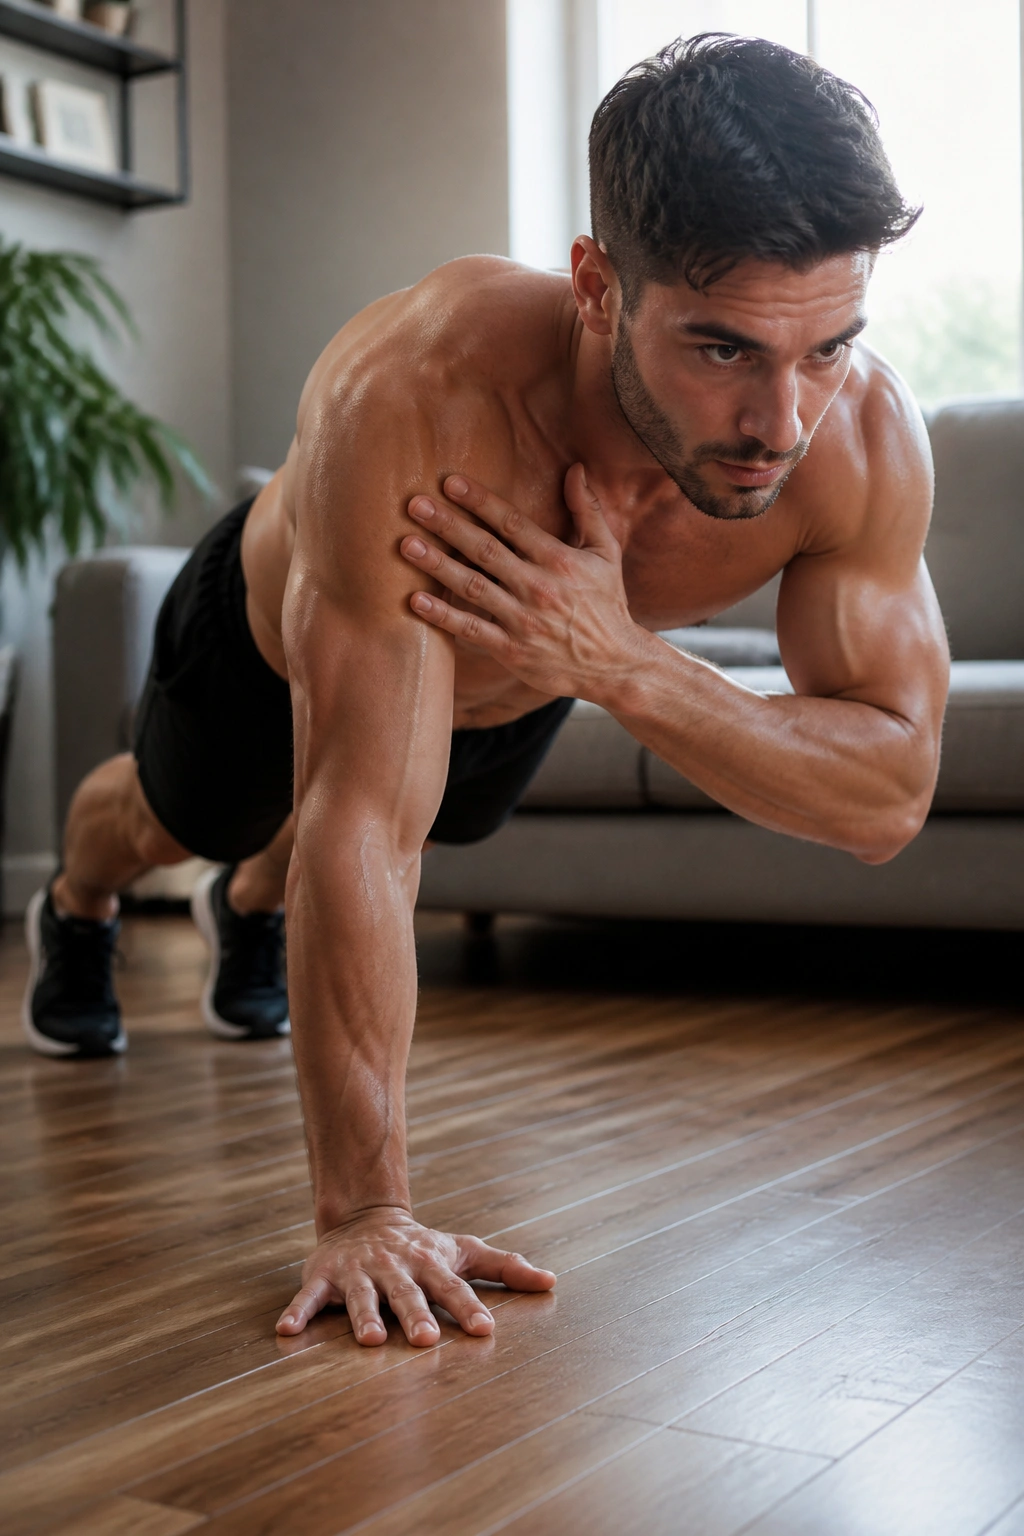
This move looks calm right up until your shoulders start shaking. Plank shoulder taps are one of the cleanest at home arm workouts because they ask the shoulders, triceps, and core to stay steady while one hand leaves the floor.
Get into a high plank with your hands under your shoulders and your feet a little wider than hip width. Tap one shoulder with the opposite hand, set it down, then switch. The real goal is not speed. The real goal is to keep your hips from twisting like a door on a bad hinge.
What to Watch For
- Keep your ribs pulled in.
- Spread your feet wider if your hips sway.
- Touch the shoulder lightly.
- Move one hand at a time, not both.
If you rush, the movement turns into a sloppy dance and your lower back takes over. Slow taps are much better. You’ll feel the front of the shoulders, the triceps, and the deep brace through the core.
Do 3 rounds of 20 to 40 taps. Short sets with strict form beat fast, noisy reps every time.
9. Self-Resistance Biceps Curls
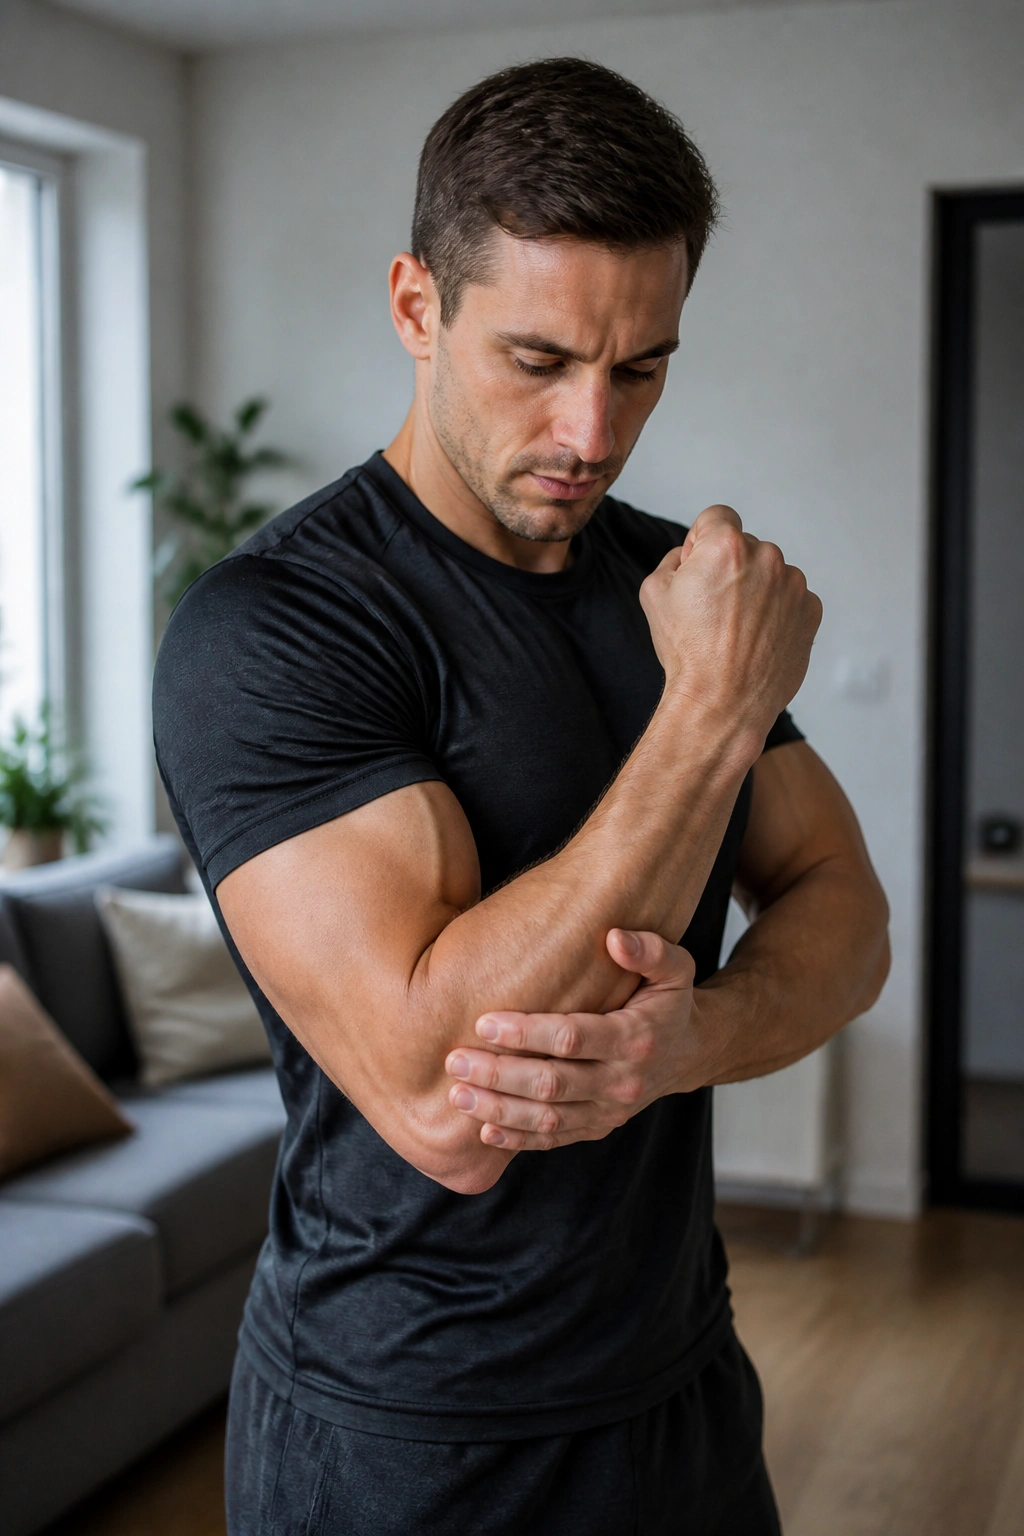
No dumbbells? Fine. Your other hand can provide the resistance.
Stand or sit tall, curl one forearm up with your working arm, and press down lightly with the opposite hand so the biceps has to fight against you. Then reverse the pressure on the way down. It feels old-school, maybe even a little awkward the first time, but the muscle tension is real.
The key is to keep the resistance smooth. If the helper hand presses too hard all at once, the movement turns jerky and the elbow complains. If it barely presses at all, you’re mostly waving your arm around. You want a steady fight, not a wrestling match.
- Curl up for 3 seconds.
- Hold for 2 to 4 seconds at the top.
- Lower for 3 to 5 seconds.
- Do 8 to 10 reps per side.
This works best when you keep the elbow near your ribs and resist the urge to lean back. It’s a quiet burner. Not glamorous. Very useful.
10. Lateral Raise to Press
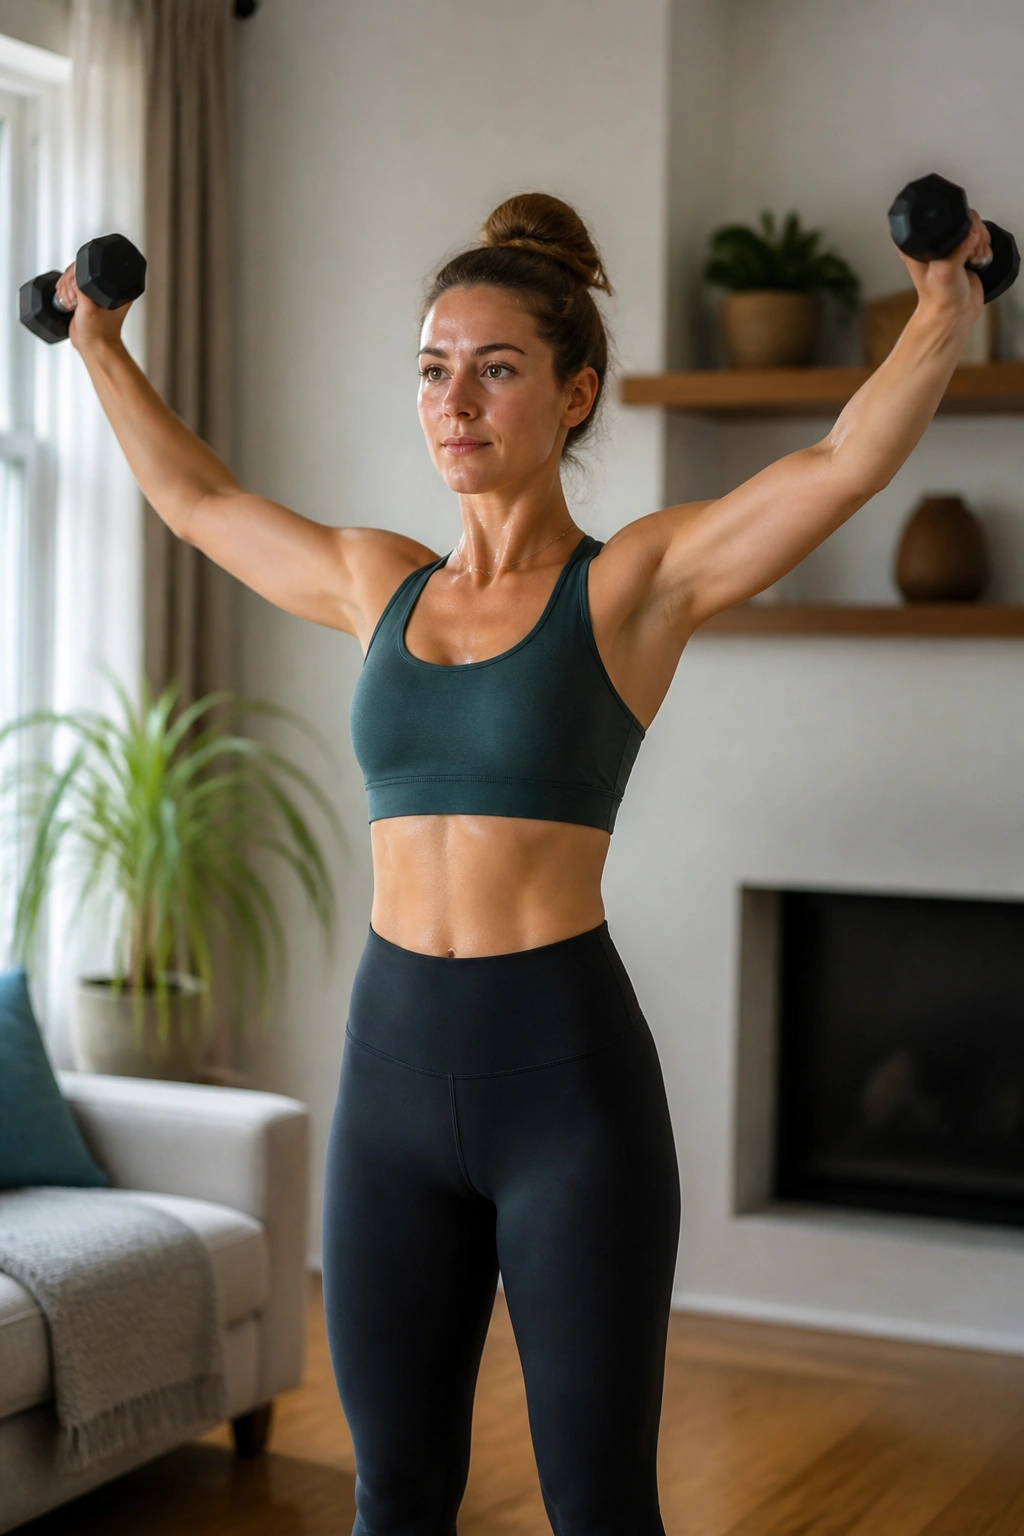
Shoulders matter more than people like to admit when the goal is sculpted arms. A little cap on the shoulder changes the whole upper-body outline.
Hold water bottles, light dumbbells, or even two food cans at your sides. Raise them out to shoulder height, then press overhead. Lower in reverse. The raise hits the side delts, and the press brings in the triceps. That combination gives the upper arm and shoulder a fuller look than curls alone ever will.
Do not swing the weight up. If you have to hitch your torso, the load is too heavy or the range is too big. Keep the elbows slightly bent, stop the raise right around shoulder height, and press from there without shrugging.
Use 3 sets of 8 to 12 reps. The last two reps should feel a little ugly, but not sloppy. There’s a difference.
11. Single-Arm Backpack Rows
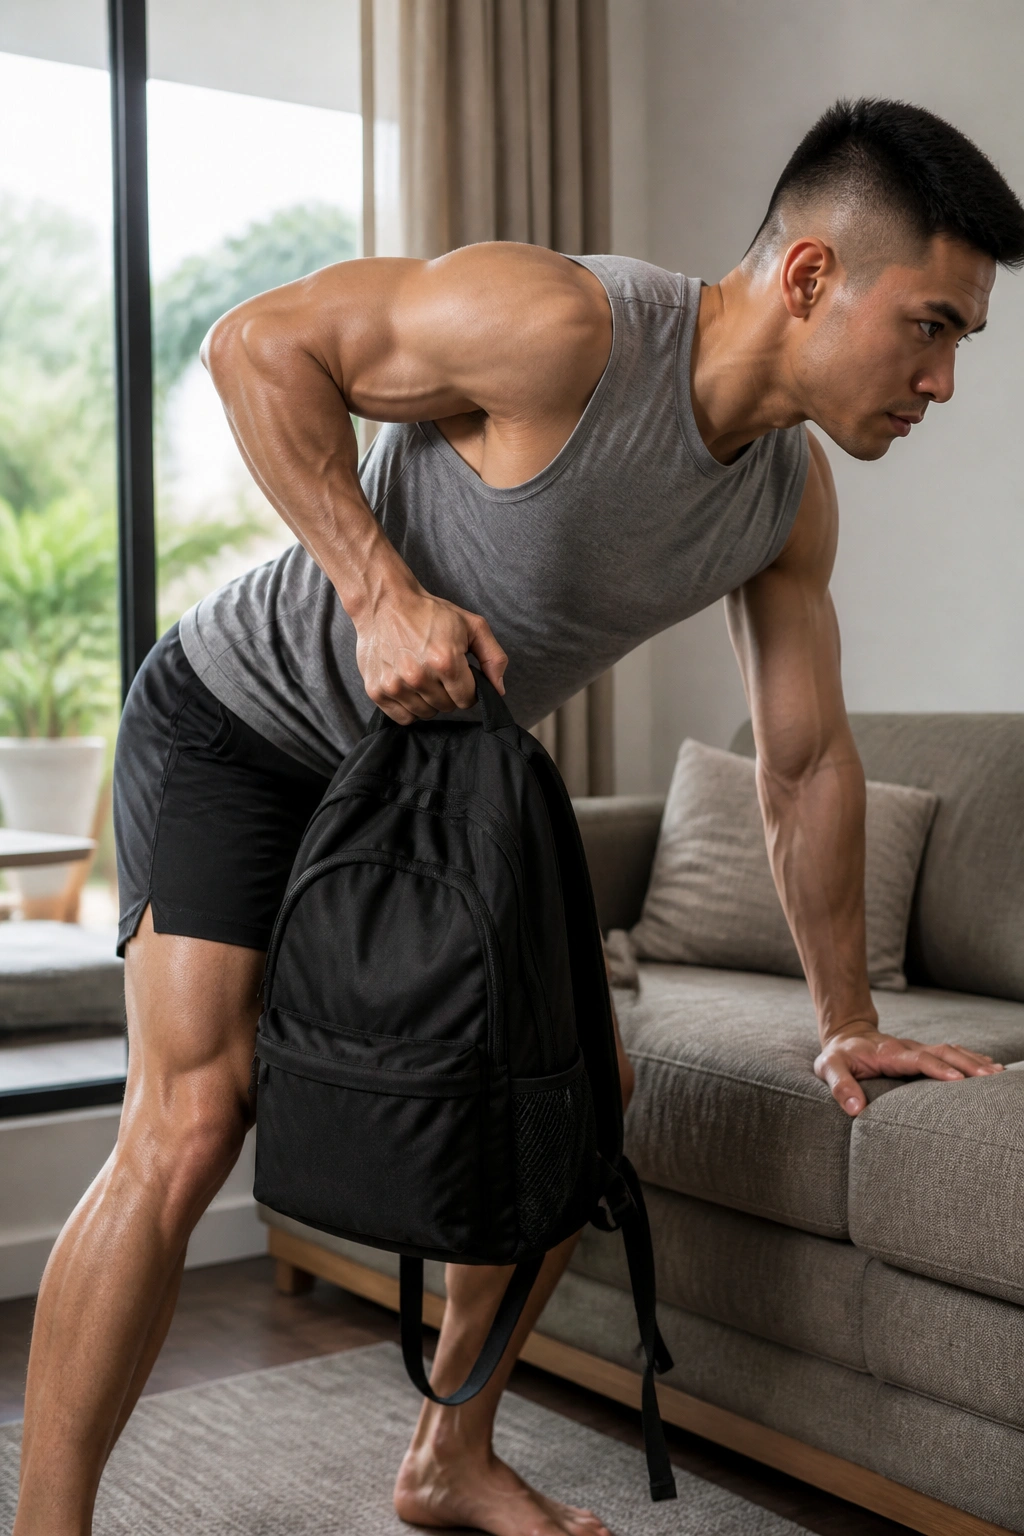
Unlike curls, rows train the arm from the back side and pull the upper back into the work. That matters more than it gets credit for.
Set one hand on a couch, chair, or sturdy table, hold a backpack in the other hand, and row it toward your hip. Keep the elbow close to your body, pause briefly at the top, and lower with control. The top squeeze should feel like the back of your shoulder and the side of your upper arm are both waking up.
This move helps posture, which is one of those boring things people skip and then wonder why their arms do not look as sharp. A rounded upper back can make the arms look softer and shorter than they are. Rows help clean that up.
What Makes It Different
- It loads the biceps and back together.
- It teaches a stronger pulling pattern.
- It helps balance all the pushing work in this list.
- It’s easier to progress by adding books to the bag.
Try 3 to 4 sets of 10 to 12 reps per side. If the bag bangs into your leg, slow down and shorten the path.
12. Wall Walks for Home Arm Strength
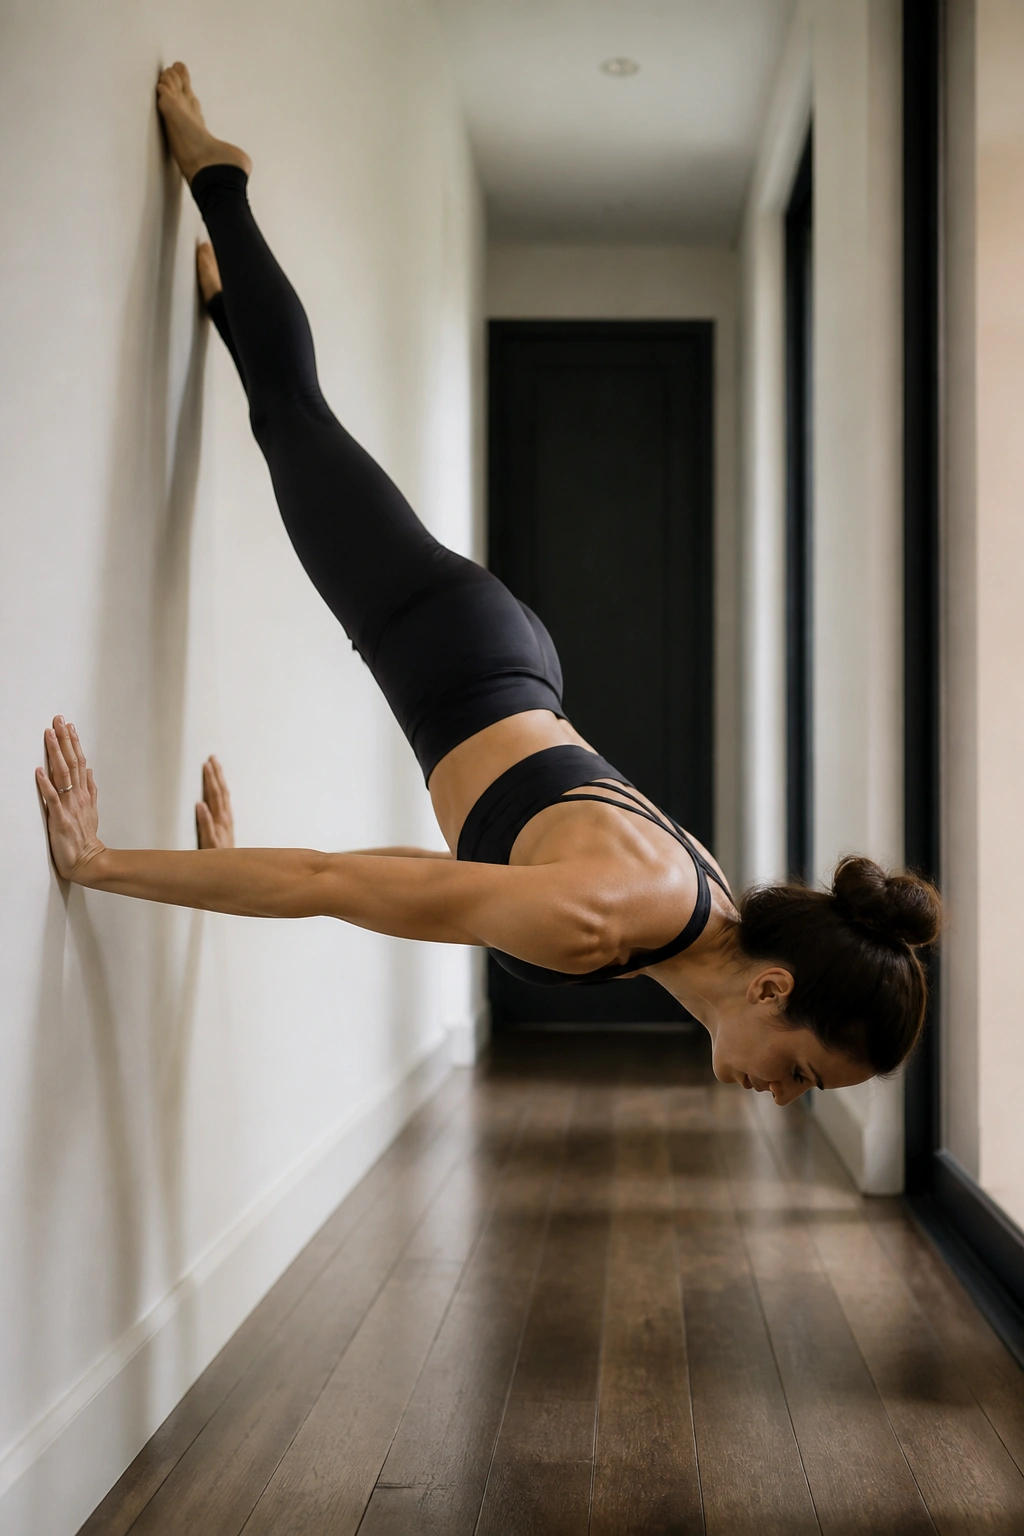
A wall walk is one of those exercises that seems like gymnastic nonsense until your shoulders light on fire.
Start in a high plank with your feet near the wall. Walk your feet up the wall while walking your hands backward toward it, stopping when your body is at a steep angle or nearly vertical, depending on your strength. Then walk back out with control. The shoulders and triceps have to stabilize the whole body, and that makes the arm work feel heavier than the movement looks.
Do not force a full range if your wrists hate it or your shoulders feel jammed. A partial wall walk still counts. Even a short incline walk up and down builds control and endurance.
- Keep your core tight.
- Move one hand or foot at a time.
- Stop before your lower back arches.
- Use a smaller range on your first week.
This one belongs in a home arm routine because it teaches pressure through the hands. That skill carries over everywhere else.
13. Concentration Curls with a Water Jug
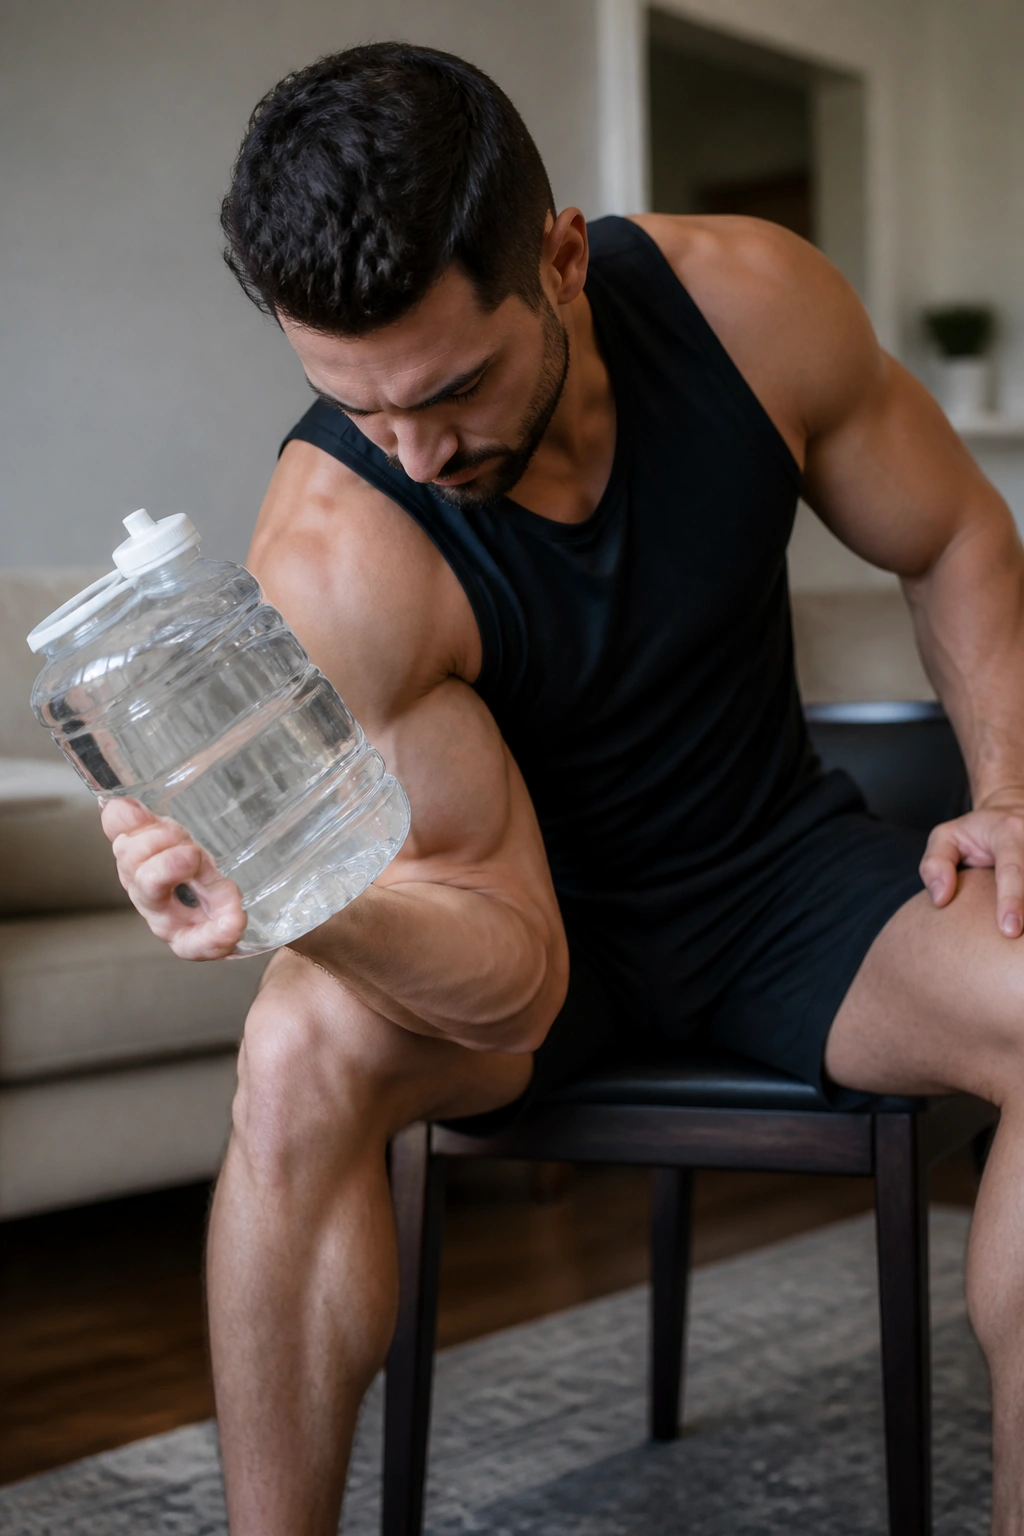
Pick up a water jug, sit on the edge of a chair, and pin your elbow against the inner thigh. That little brace keeps the curl honest.
Concentration curls are one of the cleanest ways to make the biceps work without a lot of body English. The arm stays mostly locked in place, which means the forearm does the moving and the biceps do the work. The top squeeze should feel cramped in a good way, almost like the muscle runs out of room.
This exercise rewards patience. Lift smoothly, pause, and lower until the arm almost straightens. Then do it again. If the jug is too awkward, use a detergent bottle or a filled backpack strap instead. The exact object matters less than the fact that you can control it.
A few crisp rules help:
- Keep the shoulder quiet.
- Don’t lean into the rep.
- Use 8 to 12 reps per arm.
- Slow the lowering phase to 3 seconds.
It is not flashy. It does not need to be. The biceps will know.
14. Bear Plank Hover
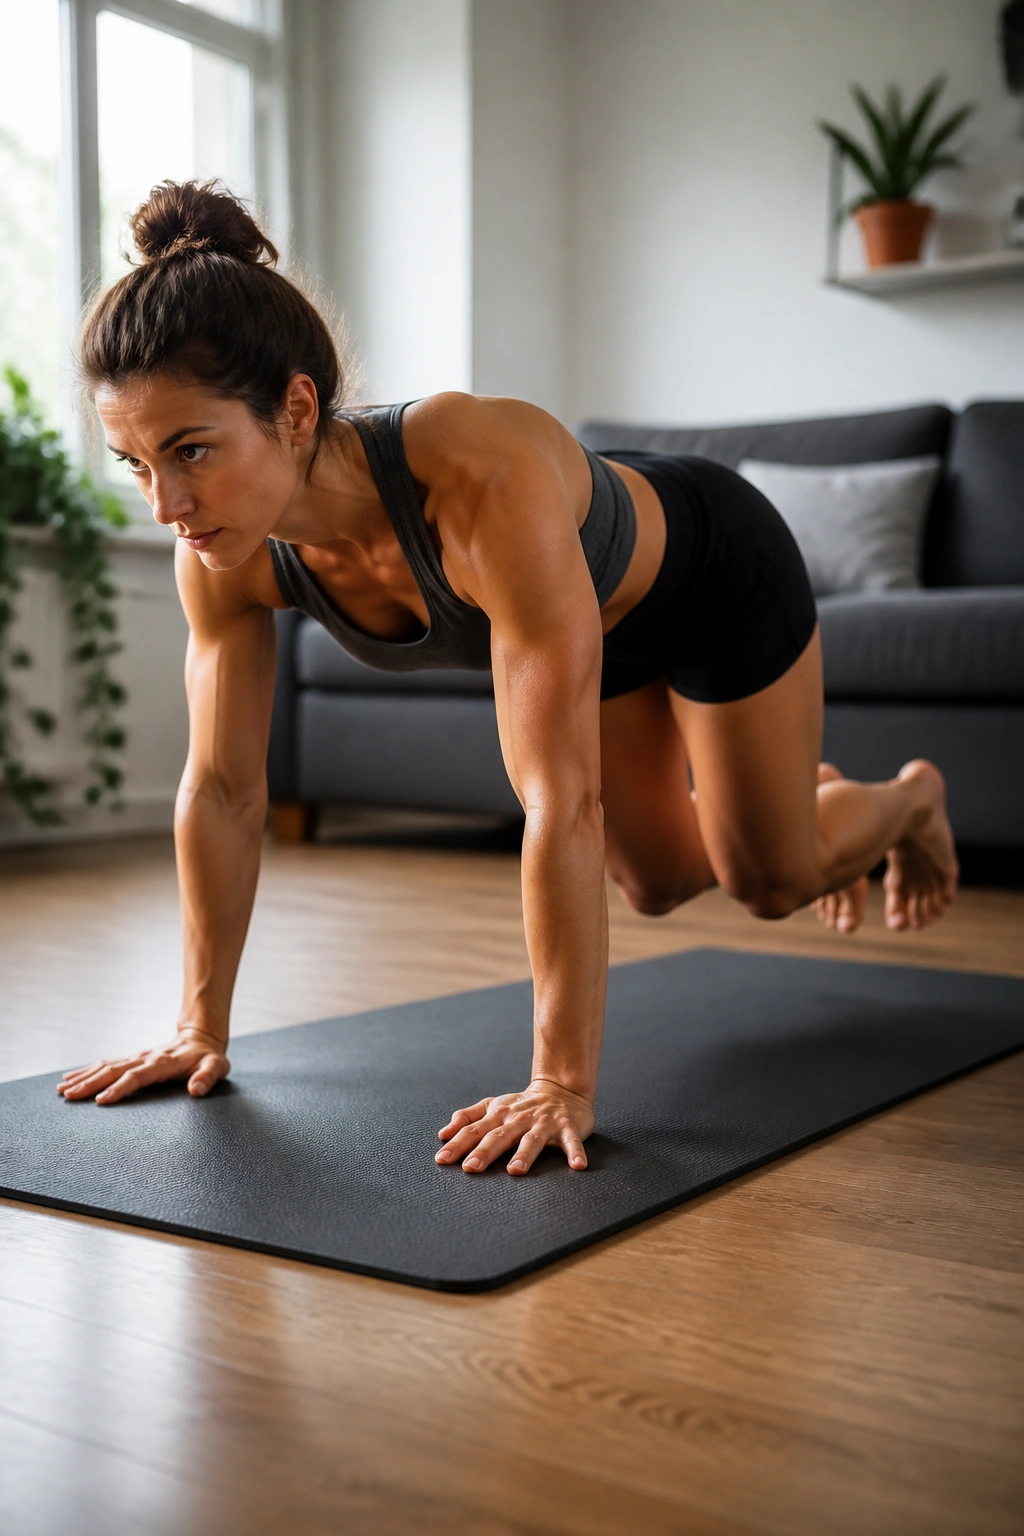
It looks easy. It isn’t. The bear plank hover is one of the sneakiest arm finishers you can do at home.
Get on all fours, tuck your toes, and lift your knees an inch or two off the floor. Hold that position with your hands under your shoulders and your back flat. The shoulders, triceps, and even the forearms have to hold you up while the core keeps the body from wobbling around. That tiny hover is the whole trick.
The first thing people notice is the shake. The second is the heat in the upper arms. You can hold it for time or do short pulses by lifting and lowering the knees a fraction of an inch. Either way, the movement stays small because the demand is already high.
Try 3 to 5 holds of 15 to 30 seconds. If the wrists bother you, make fists or place your hands on dumbbells. Tiny change. Big difference.
15. Overhead Triceps Extensions with One Dumbbell or Jug
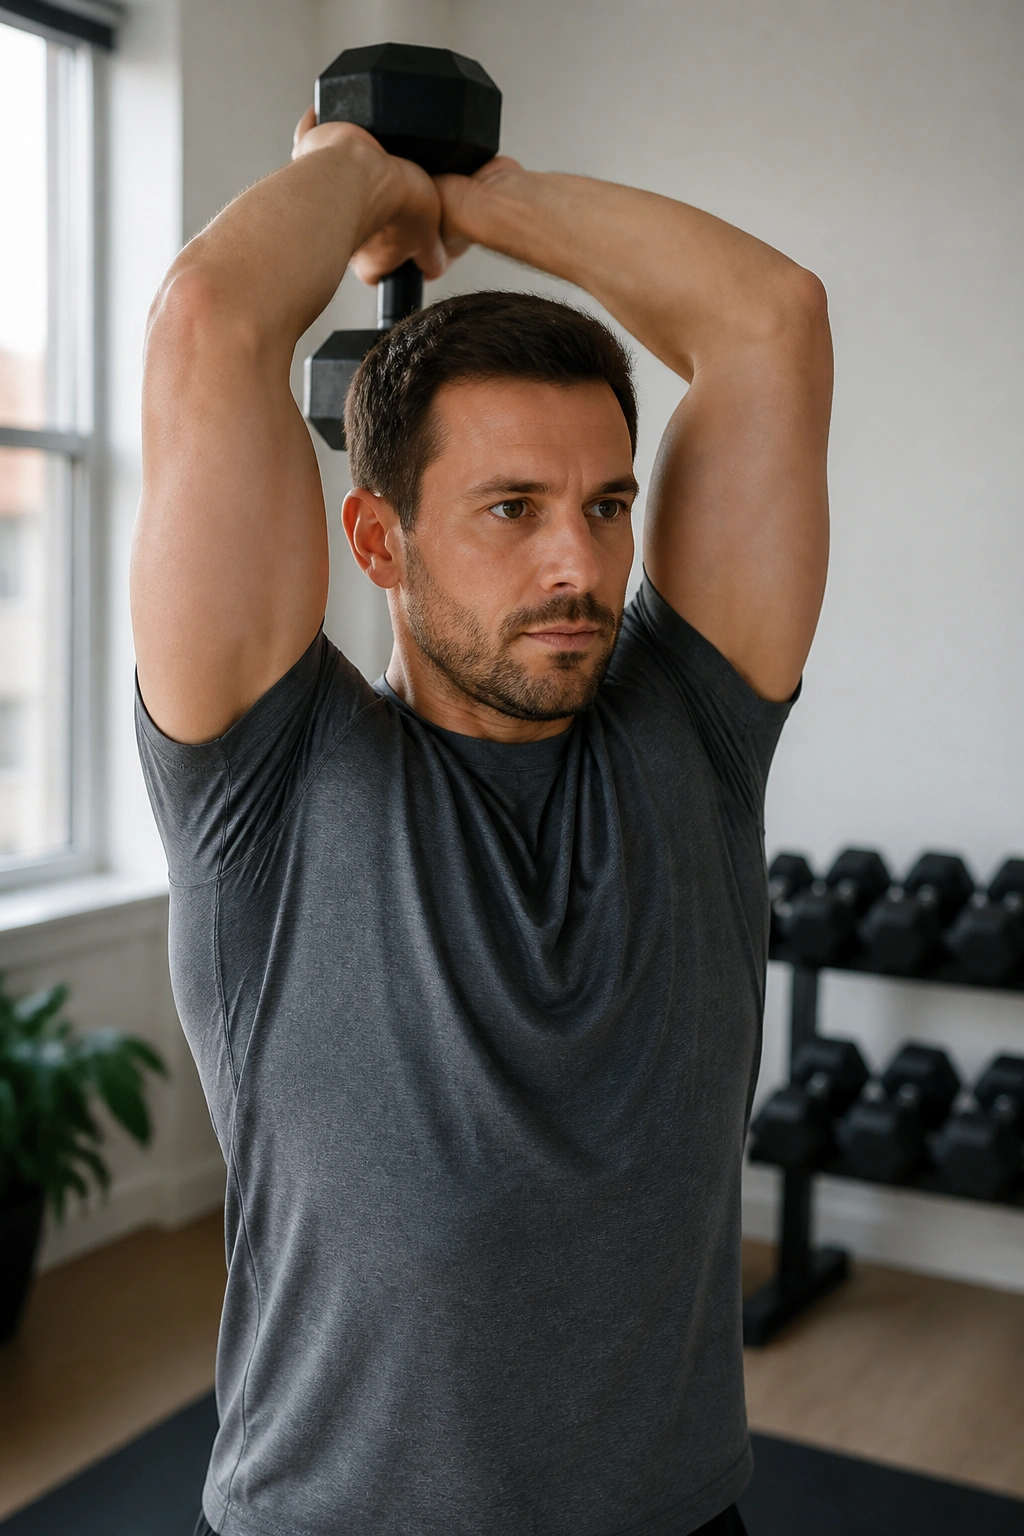
Not every triceps move should live with the elbows by your sides. This one stretches the long head of the triceps, and that matters.
Hold one dumbbell, jug, or backpack handle overhead with both hands, elbows pointed forward. Bend the elbows to lower the weight behind your head, then press it back up until the arms are straight. Keep your ribs down so you do not turn it into a lower-back arch. The stretch at the bottom is part of the work.
This exercise feels different from kickbacks because the arm is loaded in a longer position. That usually means more tension where the back of the upper arm needs it most. Use a controlled pace. Fast reps tend to turn into neck shrugging and sloppy elbow drift.
How to Keep It Clean
- Squeeze your elbows in.
- Lower only as far as you can control.
- Use 10 to 15 reps.
- Stop if your lower back starts to flare.
If you only have one piece of equipment for triceps, this is a smart place to put it.
16. Zottman Curls with Household Weights
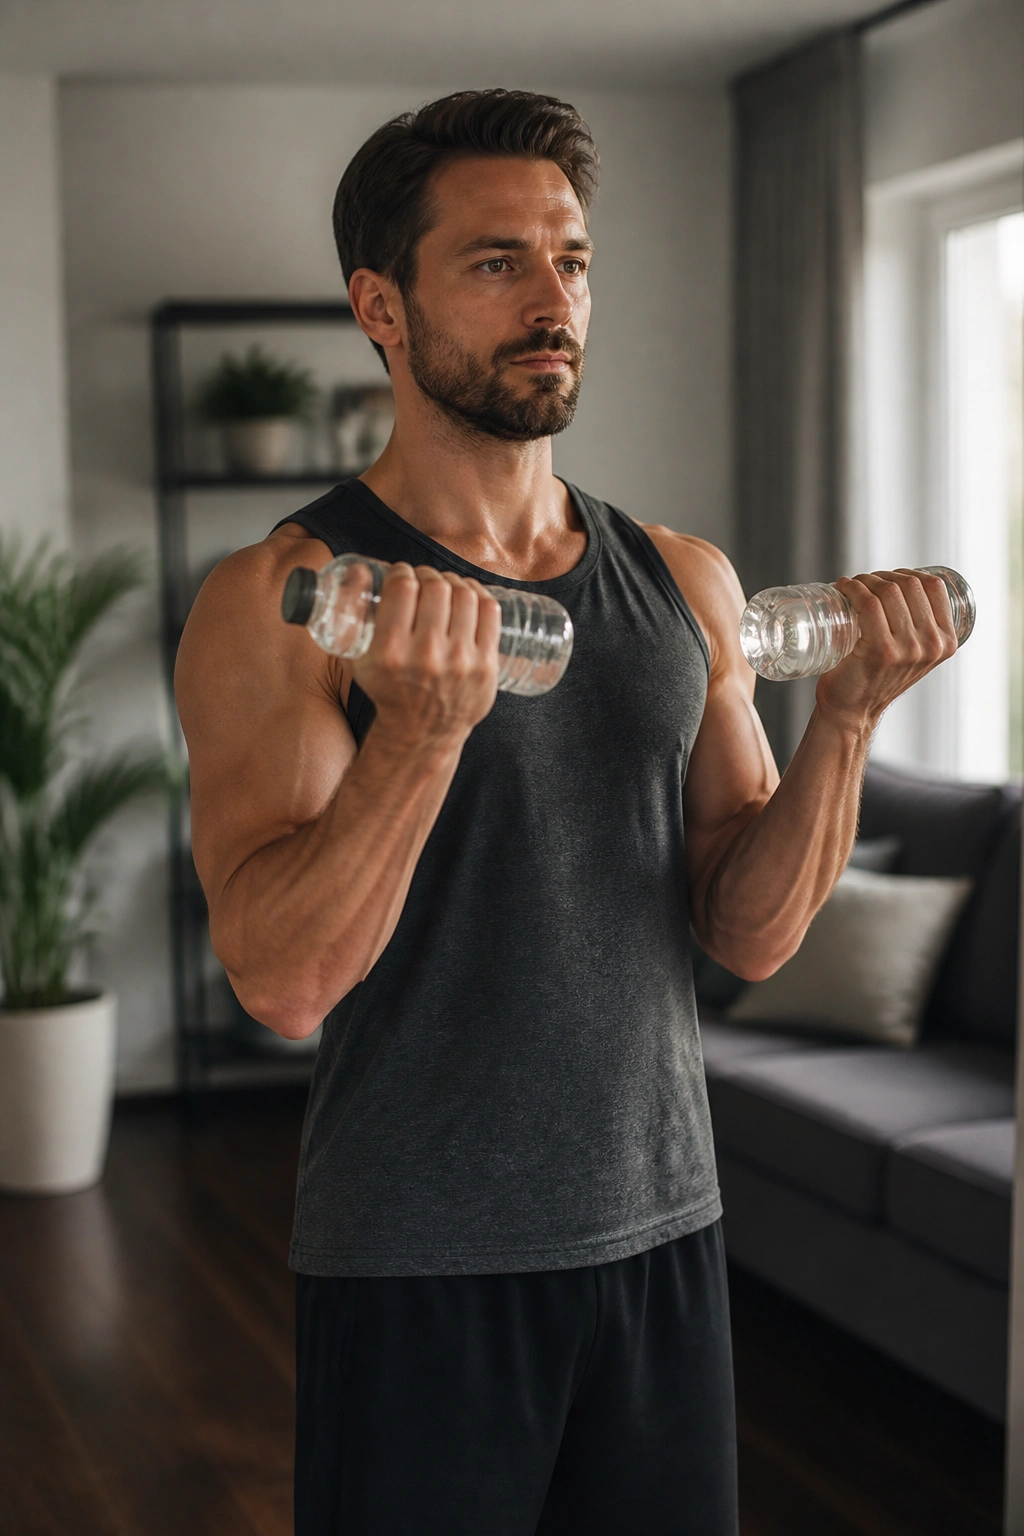
A regular curl is fine. A Zottman curl does more.
Curl the weight up with your palms facing forward, rotate at the top, then lower with your palms facing down. That lowering phase, done with control, brings the forearms into the work while the biceps still handle the lift. It is one of the few arm moves that makes the top and bottom of the forearm feel equally involved.
Use light weights here. A Zottman curl gets ugly fast if you try to load it like a regular curl. Water bottles, light dumbbells, or even filled cans are enough. The wrists need to stay stable during the rotation, and the lowering should be deliberate rather than rushed.
This is a good move if your forearms are the weak link or your elbows get bored with plain curls. It also pairs well with push-up work because it gives you a pull-side exercise that feels distinct.
Do 3 sets of 8 to 10 reps. If the rotation gets messy, lighten the load and clean it up.
17. Arm Circle Ladders
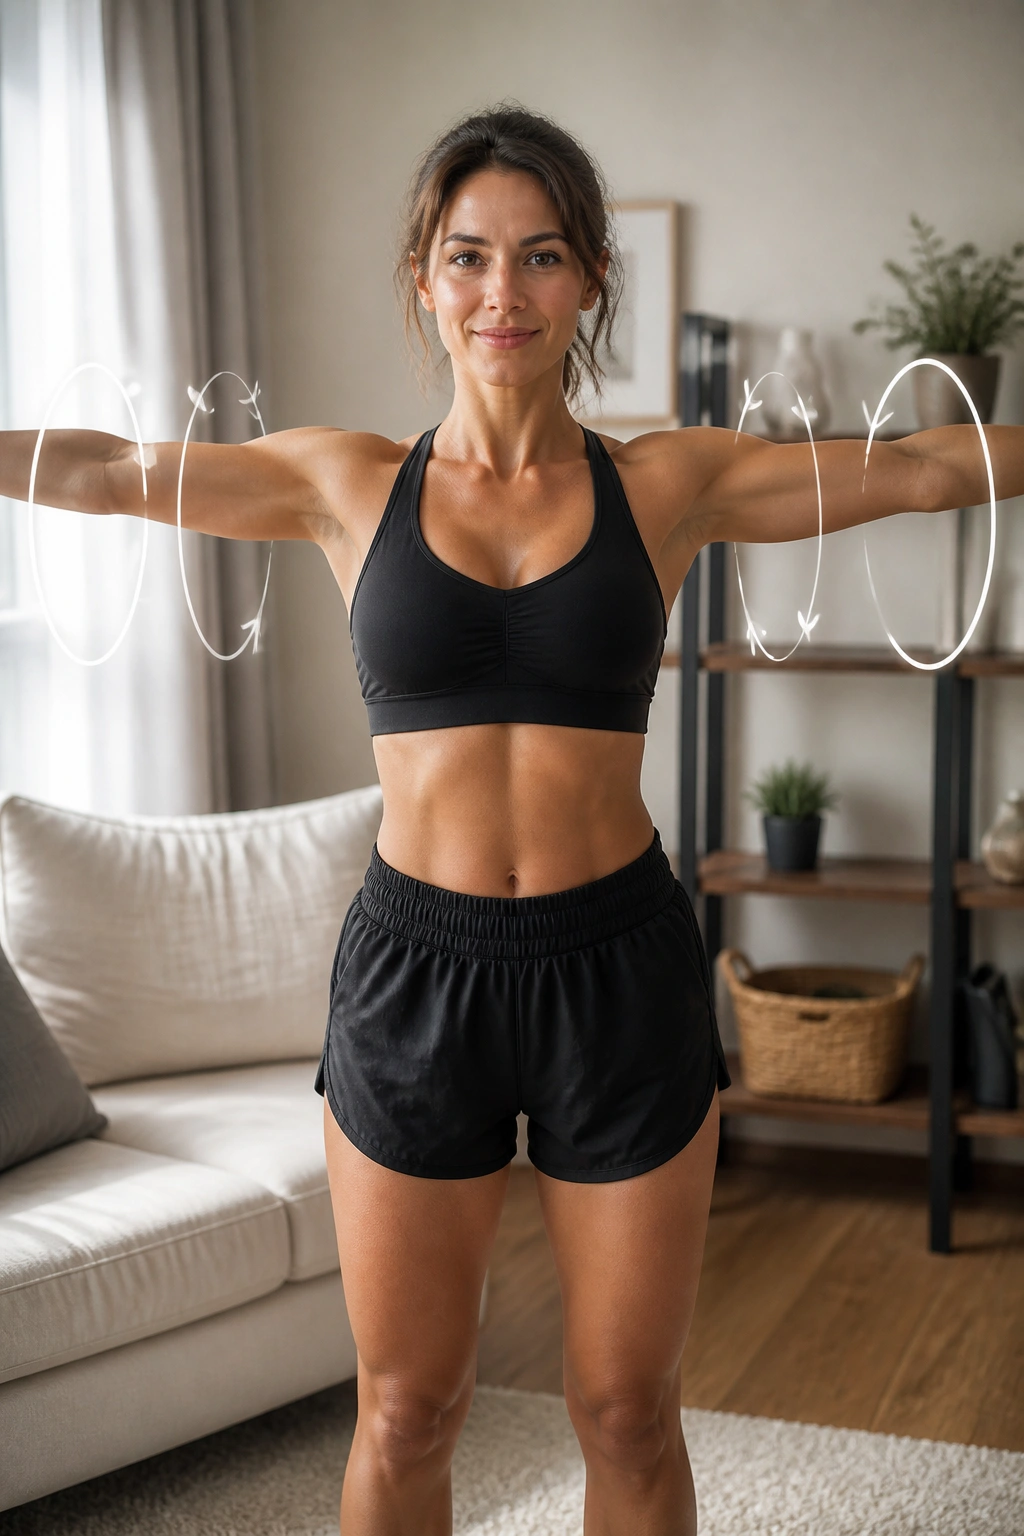
Can a move this simple matter? Yes, if you use it as a finisher, not a main lift.
Stand tall, extend your arms out to the sides, and make small circles for 20 seconds forward and 20 seconds backward. Then make medium circles, then larger ones if your shoulders still have something to give. The burn comes from time under tension and from keeping the arms lifted while the smaller shoulder muscles work overtime.
How to Get the Most From It
- Start with small circles so you do not cheat.
- Keep the shoulders low, not shrugged.
- Make the circles smoother than fast.
- Add light bottles if bodyweight gets too easy.
The point here is not brute force. The point is a deep shoulder pump that makes the arms feel alive at the end of the session. I like this one after push-ups, rows, or dips, because it finishes the job without beating up the joints.
It’s light. It hurts. That combination is useful.
18. The Six-Minute At-Home Arm Workout Finisher
Some days you do not want a long session. You want a short, ugly burn that leaves your sleeves feeling tighter on the way home from the mirror.
Run this as a circuit with 40 seconds of work and 20 seconds of rest between moves. Do two rounds, and you’ve got six minutes of focused arm work without needing to think too hard.
How to Run It
- 40 seconds: Close-grip push-ups
- 40 seconds: Backpack curls
- 40 seconds: Chair triceps dips or countertop triceps extensions
- 20 seconds: Rest
- Repeat the full circuit once more
Keep the pace steady. The first round should feel manageable, the second should feel like you’re negotiating with your arms. If push-ups are too hard for the full 40 seconds, switch to kneeling for the last half. If curls feel too easy, slow the lowering and squeeze at the top.
This finisher works because it mixes push, pull, and triceps isolation in a tight block. It also pairs well with the rest of the list, since you can drop it after a full workout or use it on a day when time is short.
Final Thoughts
Sculpted arms usually come from boring consistency, not random effort. A couple of strong push moves, a couple of pull moves, and one or two burnouts beat a hundred half-hearted curls.
The best at home arm workouts also respect progression. Add a book to the backpack. Slow the lowering. Add a rep. Use a lower counter. Those tiny changes stack up faster than people expect, and they do not require a gym floor or a pile of machines.
If you want one simple rule to carry forward, make it this: train the back of the arm as hard as the front. Most people do not. That’s why their results stall.
