



Yoga changes the body in places a mirror doesn’t always catch first. The first thing people notice is often posture: shoulders that sit a little lower, a neck that stops jutting forward, hips that stack more cleanly over the feet, and a midsection that looks tighter because the core is finally doing its job.
That’s the part most people miss. Visible body transformations from yoga rarely show up as cartoonish muscle gain or dramatic scale drama. They show up in the way you stand in line, walk across a room, or pull a sweater over your shoulders. A pose that asks for balance, bracing, or a long hold can wake up muscles you’ve been ignoring for years. Slow work. Honest work.
And yes, some poses do more for shape than others. The best ones hit strength and alignment at the same time, which is why they can change how your arms, legs, back, and waist look even when the practice feels calm on the surface. The poses below are the ones I’d keep if I had to strip yoga down to what visibly changes the body fastest.
1. Mountain Pose and Visible Body Transformations
Mountain pose looks almost too plain to matter. It doesn’t burn, it doesn’t sweat, and it doesn’t give you the smug feeling that you’ve “done something hard.” That’s exactly why it works.
Stand in mountain long enough and you start to see how much of your shape is posture, not size. The feet root down, the thighs wake up, the ribs settle over the pelvis, and the back of the neck lengthens. Do that consistently and the body starts carrying itself differently. People often call that “looking taller,” but what they really mean is that the frame looks organized instead of collapsed.
Small changes add up here. A two-minute mountain hold can teach your body what neutral actually feels like, which matters more than it sounds. If your shoulders live near your ears or your pelvis tips forward all day, mountain pose gives those patterns something to fight against.
What to Feel in the Pose
- Weight spread across the heel, little toe mound, and big toe mound.
- Thighs lightly engaged, not locked.
- Ribs stacked over hips instead of flaring forward.
- Head floating over the spine, not drifting in front of it.
Hold for 5 to 8 slow breaths, soften the jaw, and notice whether one side of your body wants to cheat. It usually does. That’s the good stuff.
2. Downward-Facing Dog
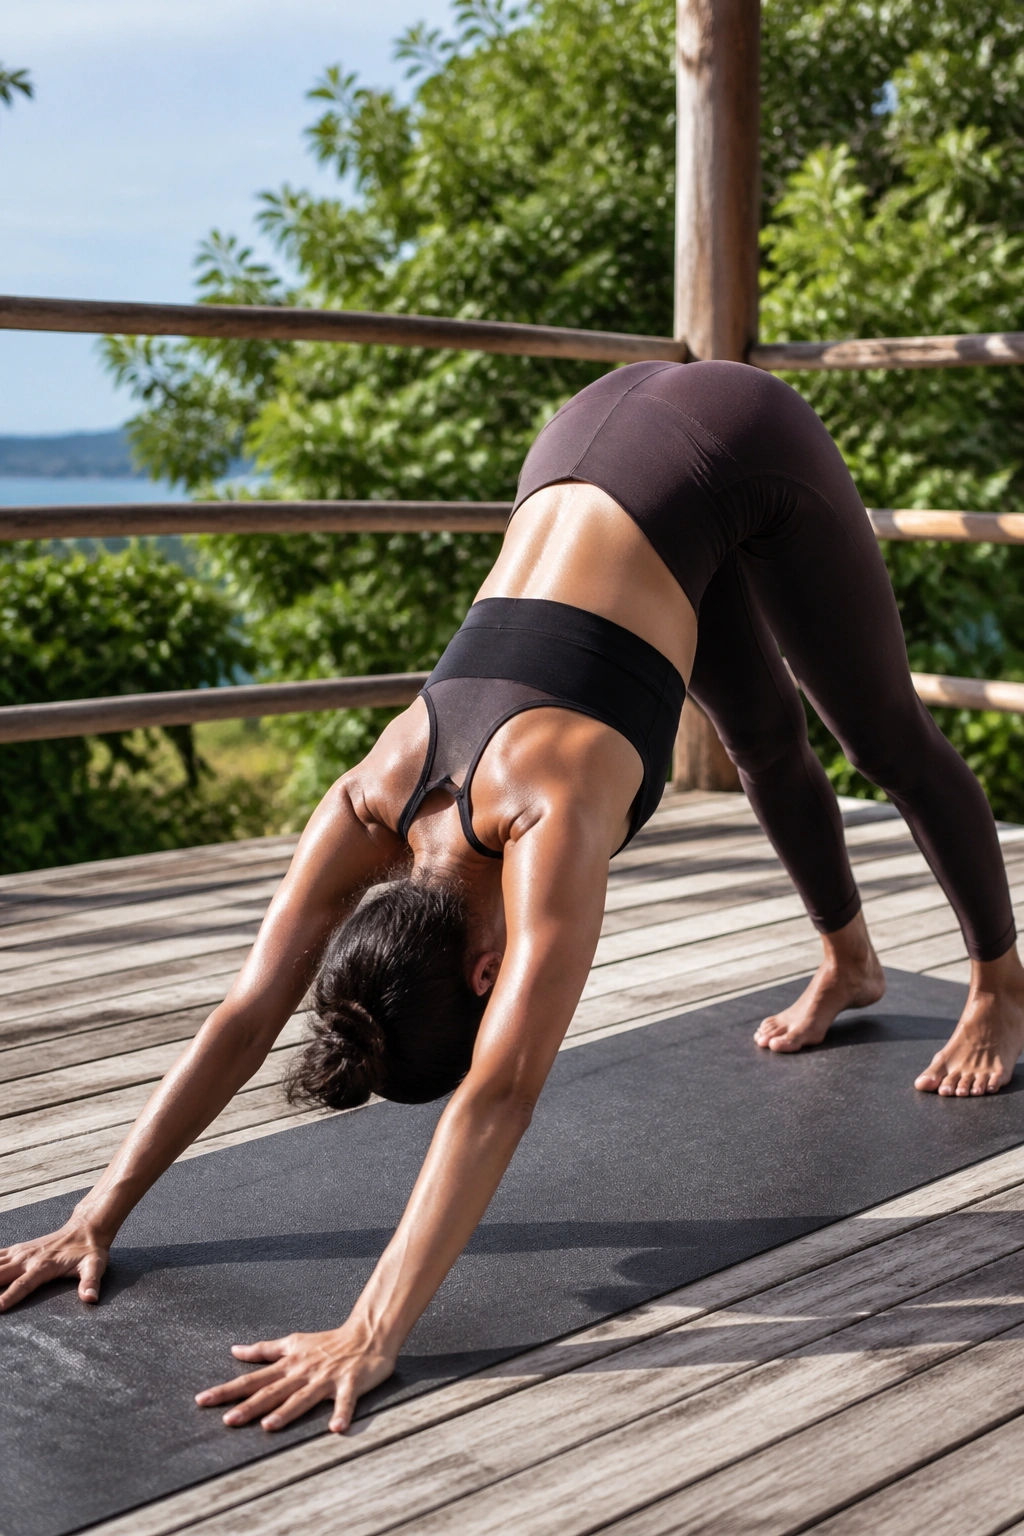
Why does an upside-down triangle change the body so fast? Because downward-facing dog asks almost every major line of the body to do a little work at once.
Hamstrings lengthen, calves stretch, shoulders learn to stabilize, and the hands finally have to bear some real load. If you practice it with bent knees and a long spine, the pose teaches length without dumping stress into the lower back. That’s the version I trust. Straight knees are optional; a clean spine is not.
Where the Shape Shows Up
The visible shift here is subtle at first. The back looks less compressed. The arms start to hold themselves with less wobble. The hamstrings and calves begin to look and feel longer because they’re working through load instead of just being stretched and forgotten.
A lot of people chase straight legs too early and miss the point. Bend the knees if you need to, push the floor away, and let the hips travel upward and back. After a few breaths, you should feel more room along the spine and a stronger line through the shoulders.
- Press evenly through both palms.
- Spin the upper arms outward slightly.
- Pedal the feet to wake up the calves.
- Keep the head heavy, but not collapsed.
That last one matters. A long neck changes everything.
3. Chair Pose
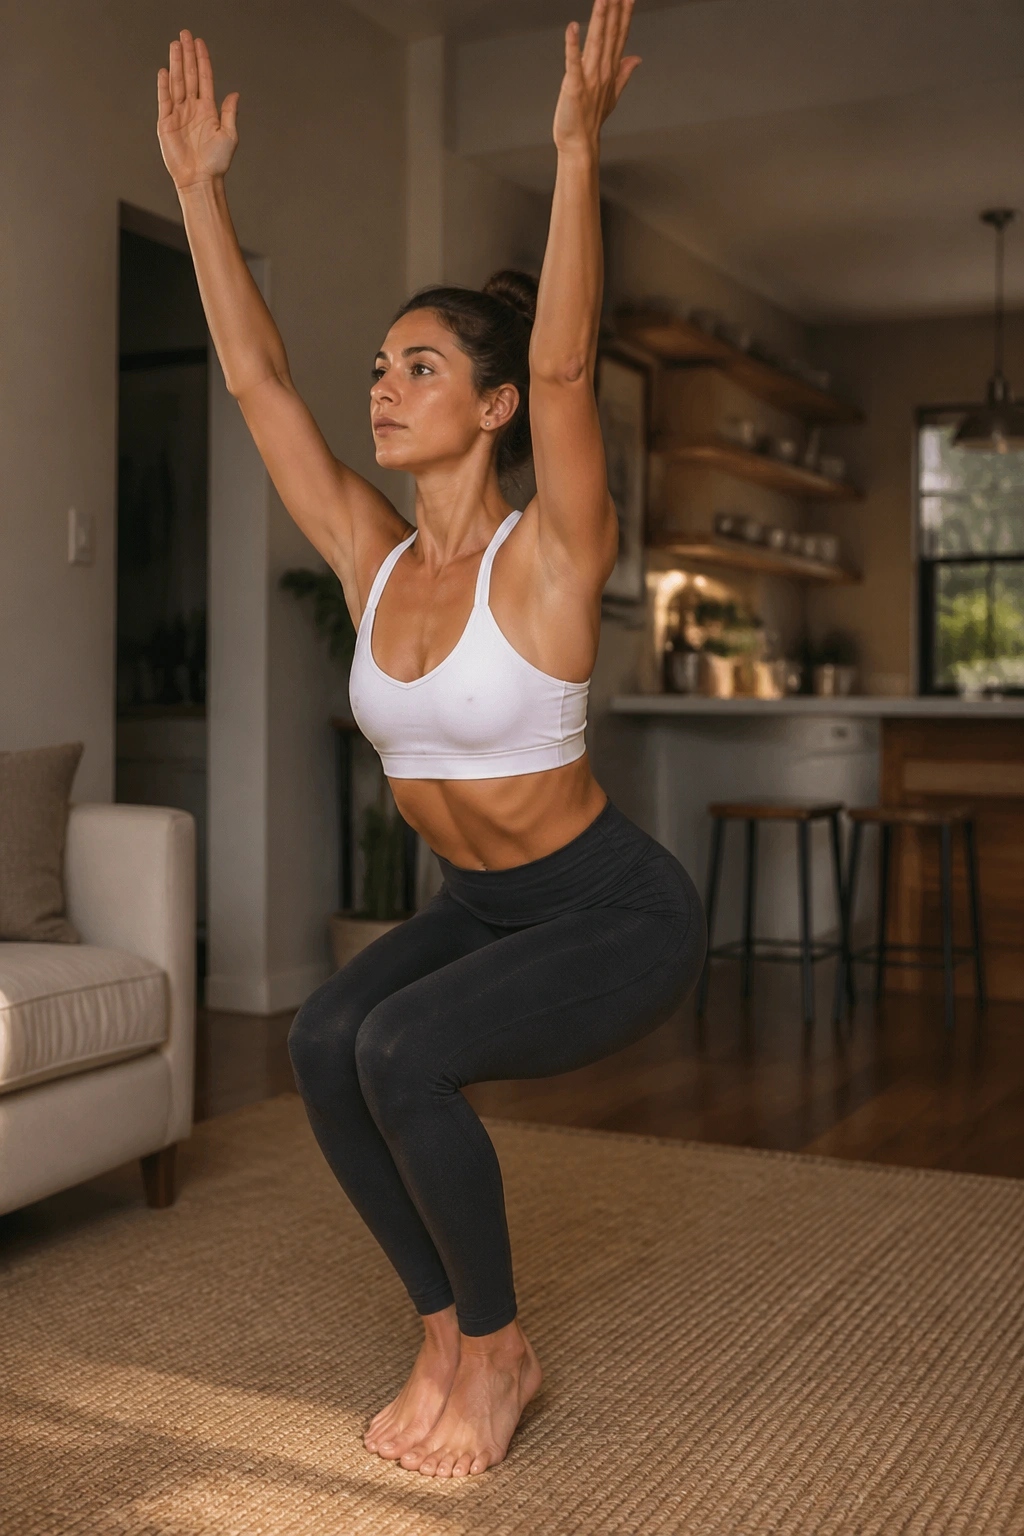
Chair pose is one of the cleanest ways to build visible lower-body tone without equipment. It asks the quads, glutes, and deep core to stay switched on while the spine stays tall, and that combination shows up fast in the mirror.
Your thighs will talk. Hard.
The mistake people make is treating chair like a squat contest. It’s not. Sit the hips back, keep the weight in the heels, and let the chest stay open instead of folding over the legs. Done well, chair creates heat through the front of the thighs and a steady lift through the seat. Over time, that can make the legs look more defined and the pelvis feel more stable when you walk or climb stairs.
A wall can help if you’re new to it. Slide your back toward the wall, keep the knees tracking over the second toes, and hold for 20 to 45 seconds. The burn should land in the legs and glutes, not in the knees or the lower back. If it lands anywhere else, adjust. Don’t bully the pose into shape.
4. Plank Pose
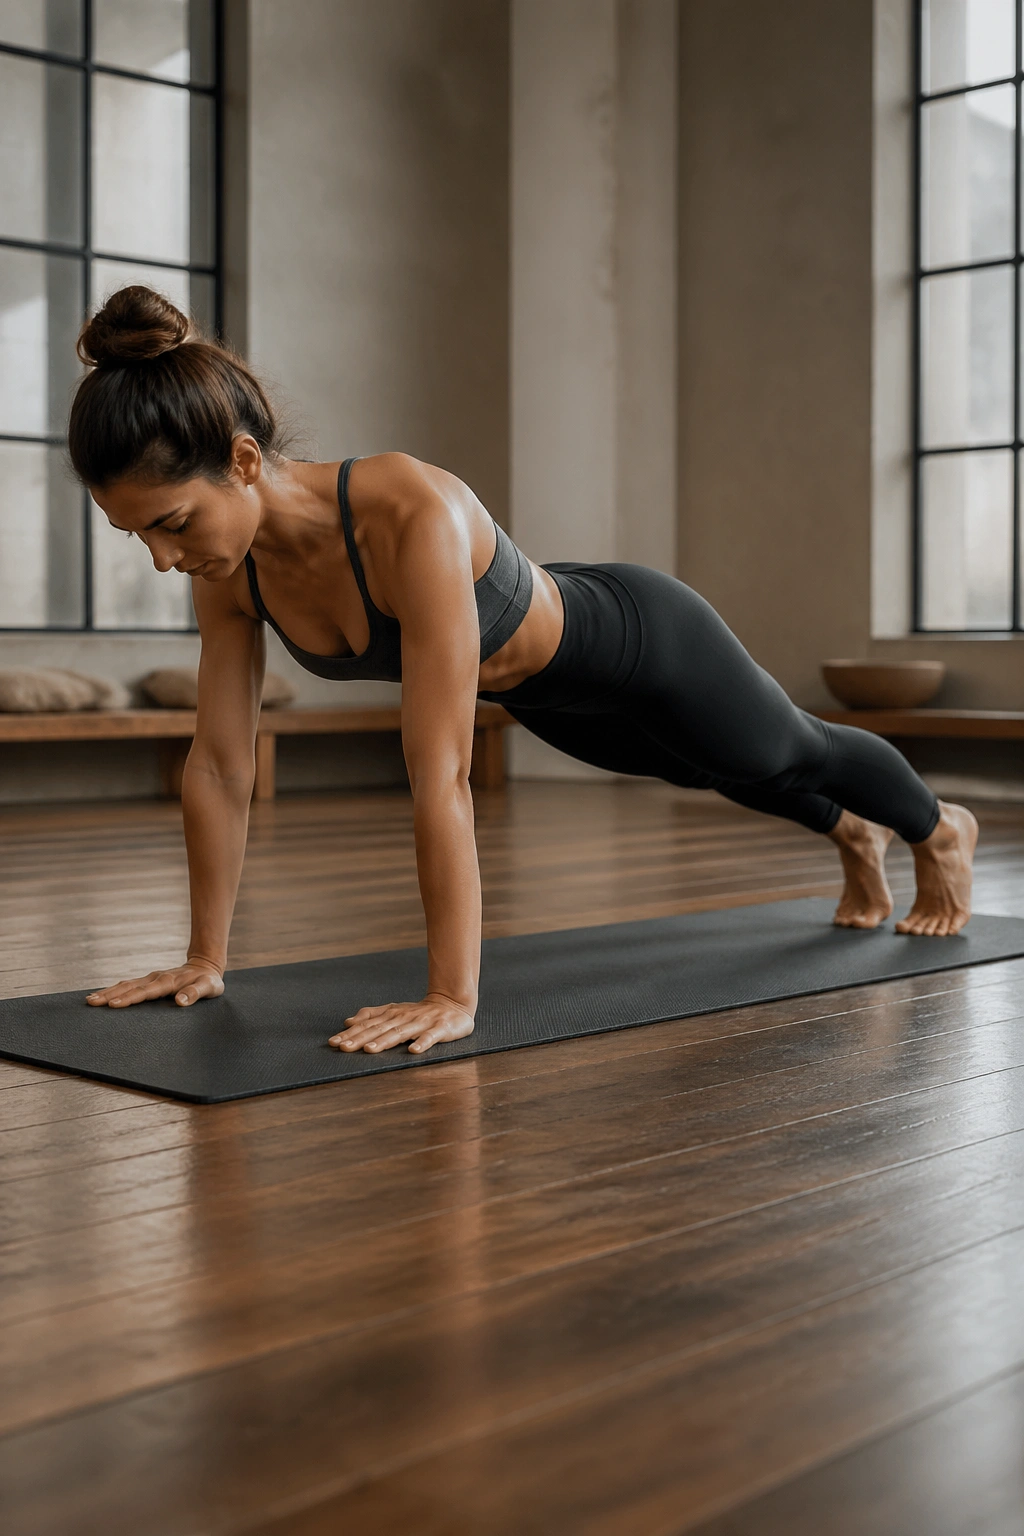
A clean plank is one of those poses that quietly changes everything else.
It doesn’t just train the stomach. It teaches the whole front line of the body how to brace, which is why regular plank work can make the midsection look firmer and the shoulders sit with more authority. The serratus anterior—the muscles along the sides of the ribs that help the shoulder blades move well—does a lot of work here, and people almost never think about it until their arms start looking more supported.
What Plank Trains
- Shoulders that can hold body weight without shrugging.
- A core that resists sagging in the lower back.
- Glutes that stay active instead of going limp.
- Legs that help carry some of the load.
- Wrists that learn to tolerate pressure more calmly.
Use the simplest version that lets you keep a straight line from head to heels, even if that means lowering the knees. A messy plank with a hanging belly is not a better plank. It’s just a harder position with worse mechanics.
Hold 15 to 30 seconds, rest, then repeat. The body changes from quality, not heroics.
5. Chaturanga Dandasana
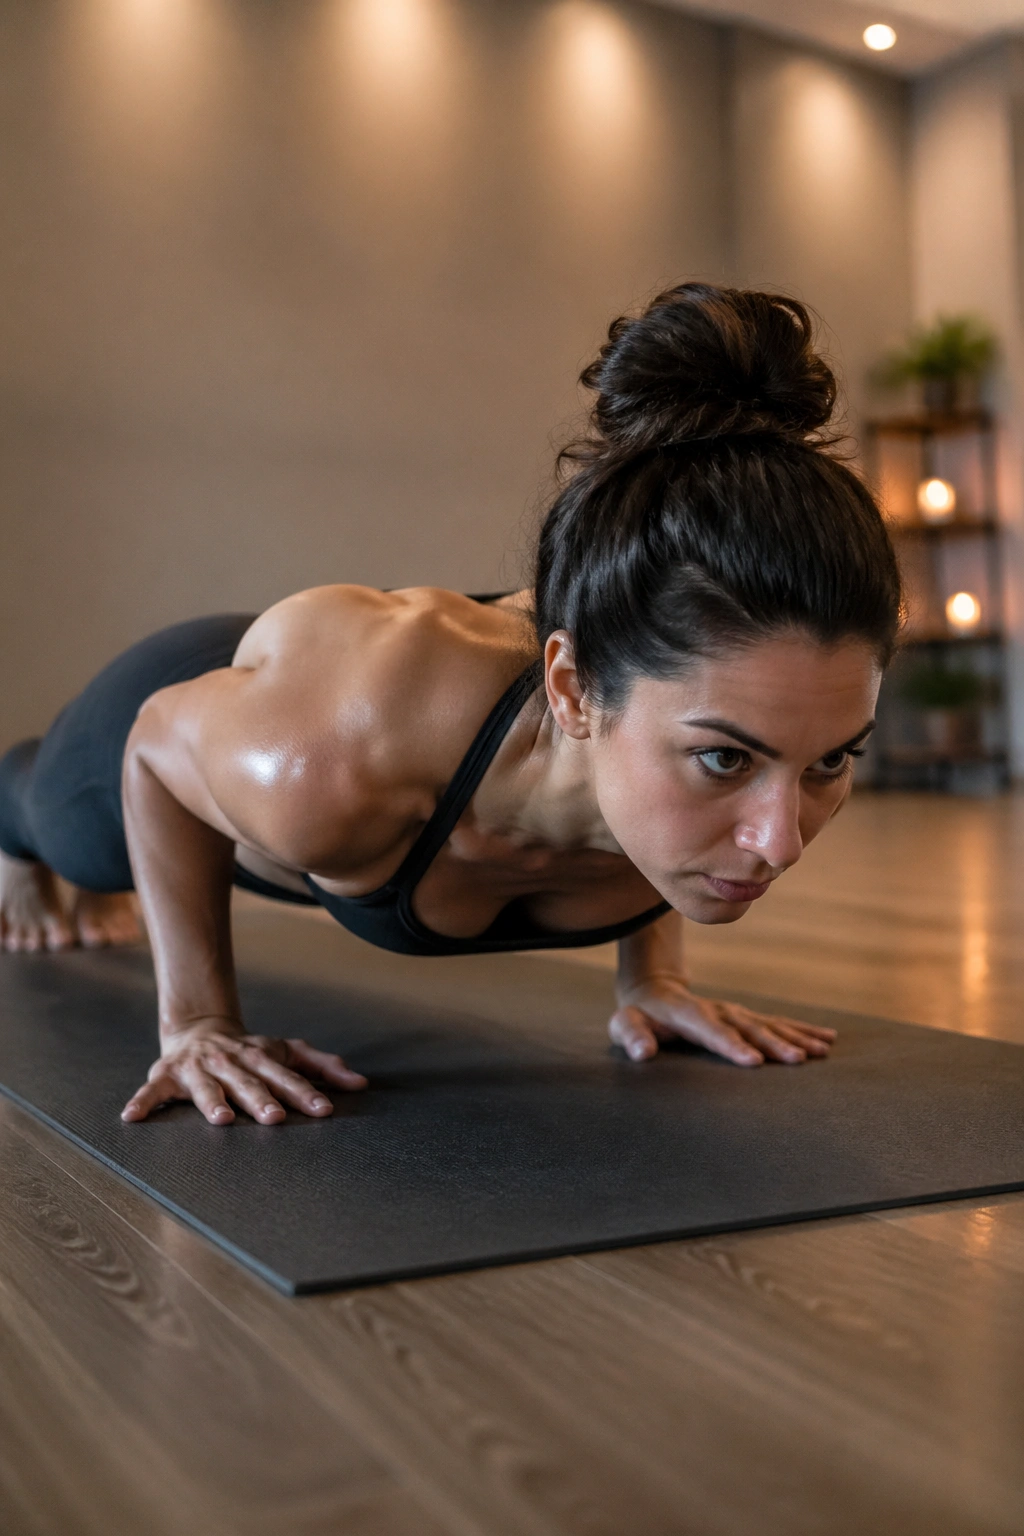
Chaturanga is where yoga stops pretending to be easy. It looks like a push-up, but if you do it well, it behaves more like a controlled lower through a narrow corridor of strength.
That control is what gives it its visible payoff. Triceps firm up, the chest learns to stay broad, and the front of the shoulders stop doing everything by themselves. When chaturanga is practiced with discipline, it can make the upper body look cleaner and more athletic without adding bulk. The hard part is slowing down enough to keep the elbows stacked and the shoulders from diving below elbow height.
Why Control Beats Speed
Lower from plank with the elbows hugging in, shoulders level with or slightly above the elbows, and the body moving as one piece. If the hips sag first, the core is gone. If the shoulders drop first, the upper body is taking a beating it didn’t need.
A lot of students rush this because the transition feels short. Short does not mean simple. Use knees down if the full version makes you buckle. Use a block under the sternum if you need a target for the hover. A good chaturanga should feel tight, quiet, and deliberate.
You’ll notice the difference in your arms before you notice it anywhere else.
6. Warrior I
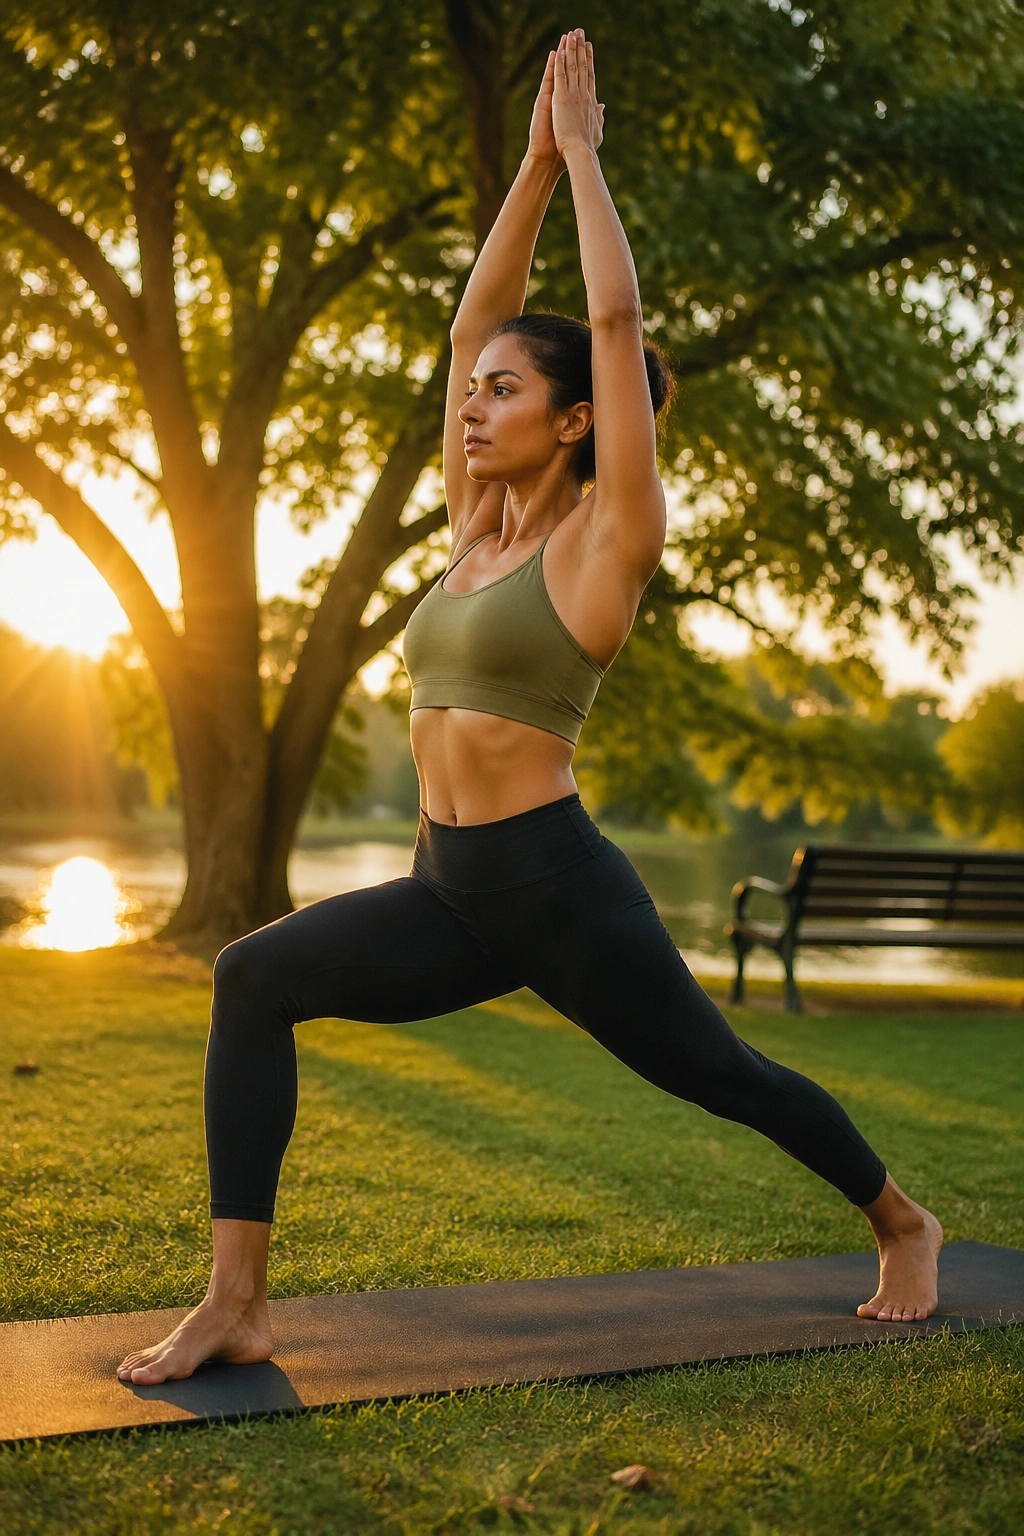
Warrior I is one of those poses that makes the body look long and strong at the same time. The back leg works, the front hip flexors open, the chest lifts, and the whole posture starts to resemble someone who knows where their center is.
That sounds dramatic. It isn’t. It’s just what happens when you stop collapsing into one leg and start teaching both sides of the body to participate.
Set the back heel down, square the hips as much as your body allows, and reach the arms up without dumping the ribs forward. The stance should feel grounded, not forced. If the low back pinches, shorten the stance a little and soften the bend in the front knee. The goal is a tall spine, not a photo-op.
The visible change with this pose tends to show up around the waist and hips first. The front of the hips opens, the thighs get stronger, and the chest stops falling forward quite so easily. It’s one of the best poses for people who spend too much of the day sitting, which is most of us if we’re being honest.
7. Warrior II and Visible Body Transformations
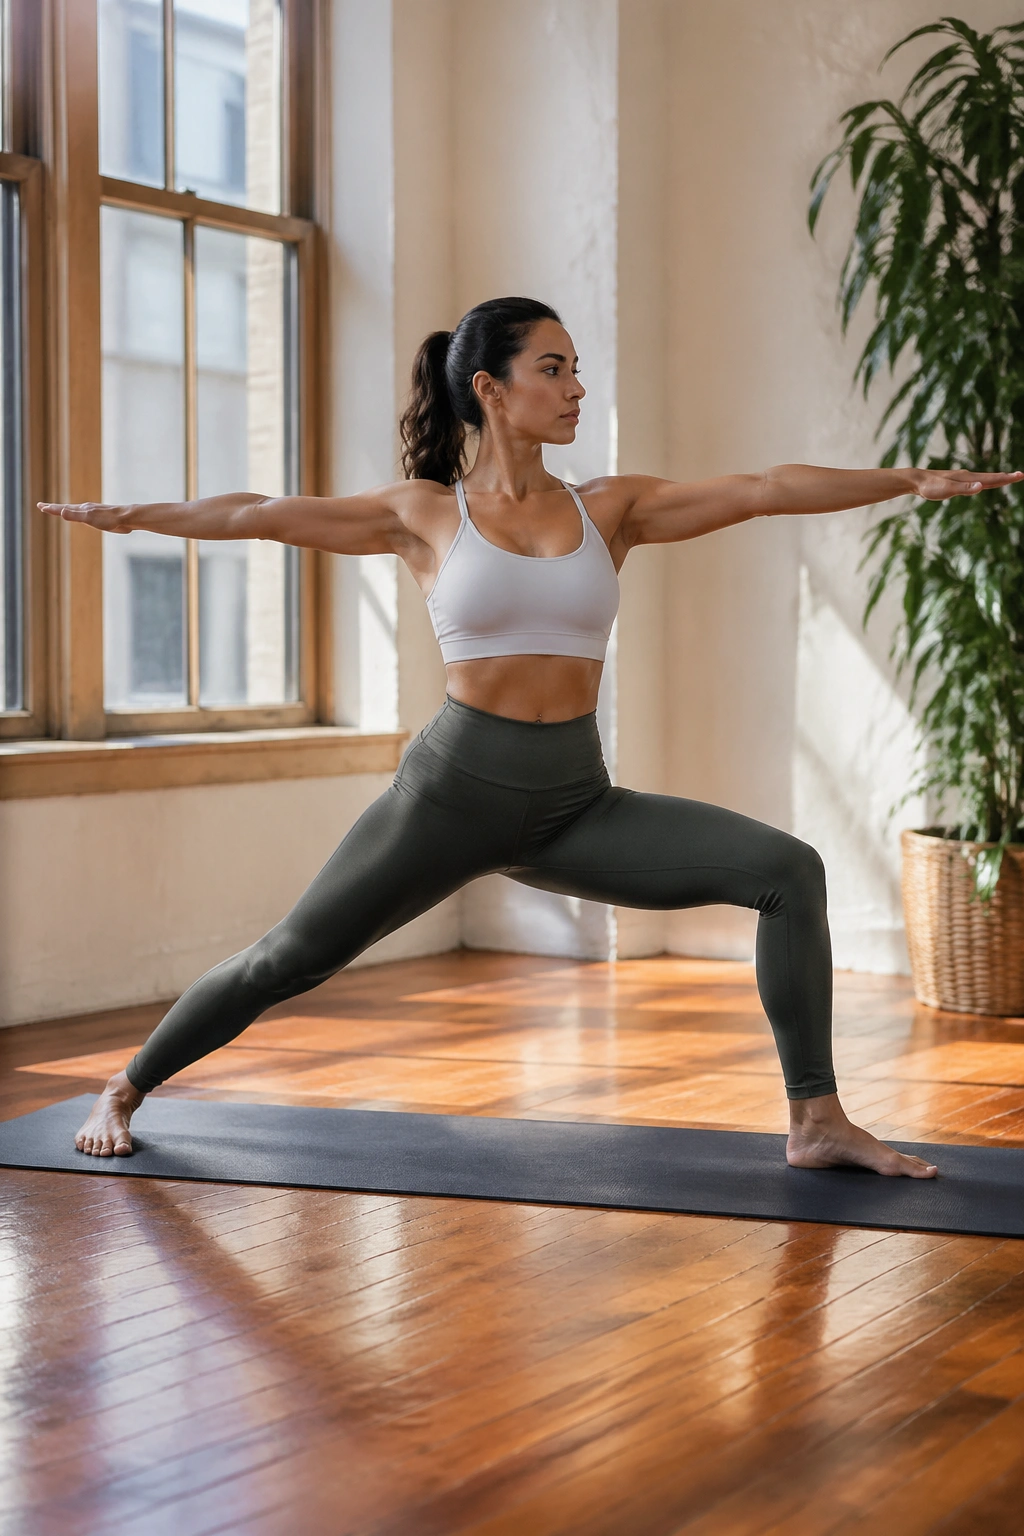
Warrior II is one of the cleanest ways to build outer-leg endurance without turning practice into punishment. It also makes the body look more awake from the front, which is one reason it shows up so often in strong yoga sequences.
The front thigh works hard, the back leg stays alive, and the side body has to lengthen while the arms stretch in opposite directions. That combination gives the pose its signature look: wide, grounded, and unmistakably strong. Do it often and the shoulders begin to sit differently, the thighs pick up tone, and the hips learn to hold a steady shape instead of wobbling from side to side.
Alignment That Actually Matters
- Front knee bent directly over the ankle.
- Back foot turned in slightly.
- Torso stacked over the pelvis, not leaning forward.
- Shoulders relaxed away from the ears.
- Gaze soft over the front hand.
The biggest mistake is over-squeezing the upper body. Let the legs do the heavy lifting and keep the arms long but not tense. When warrior II is done well, the body looks broad in a good way—strong through the hips, clean through the shoulders, and calmer through the neck.
8. Warrior III
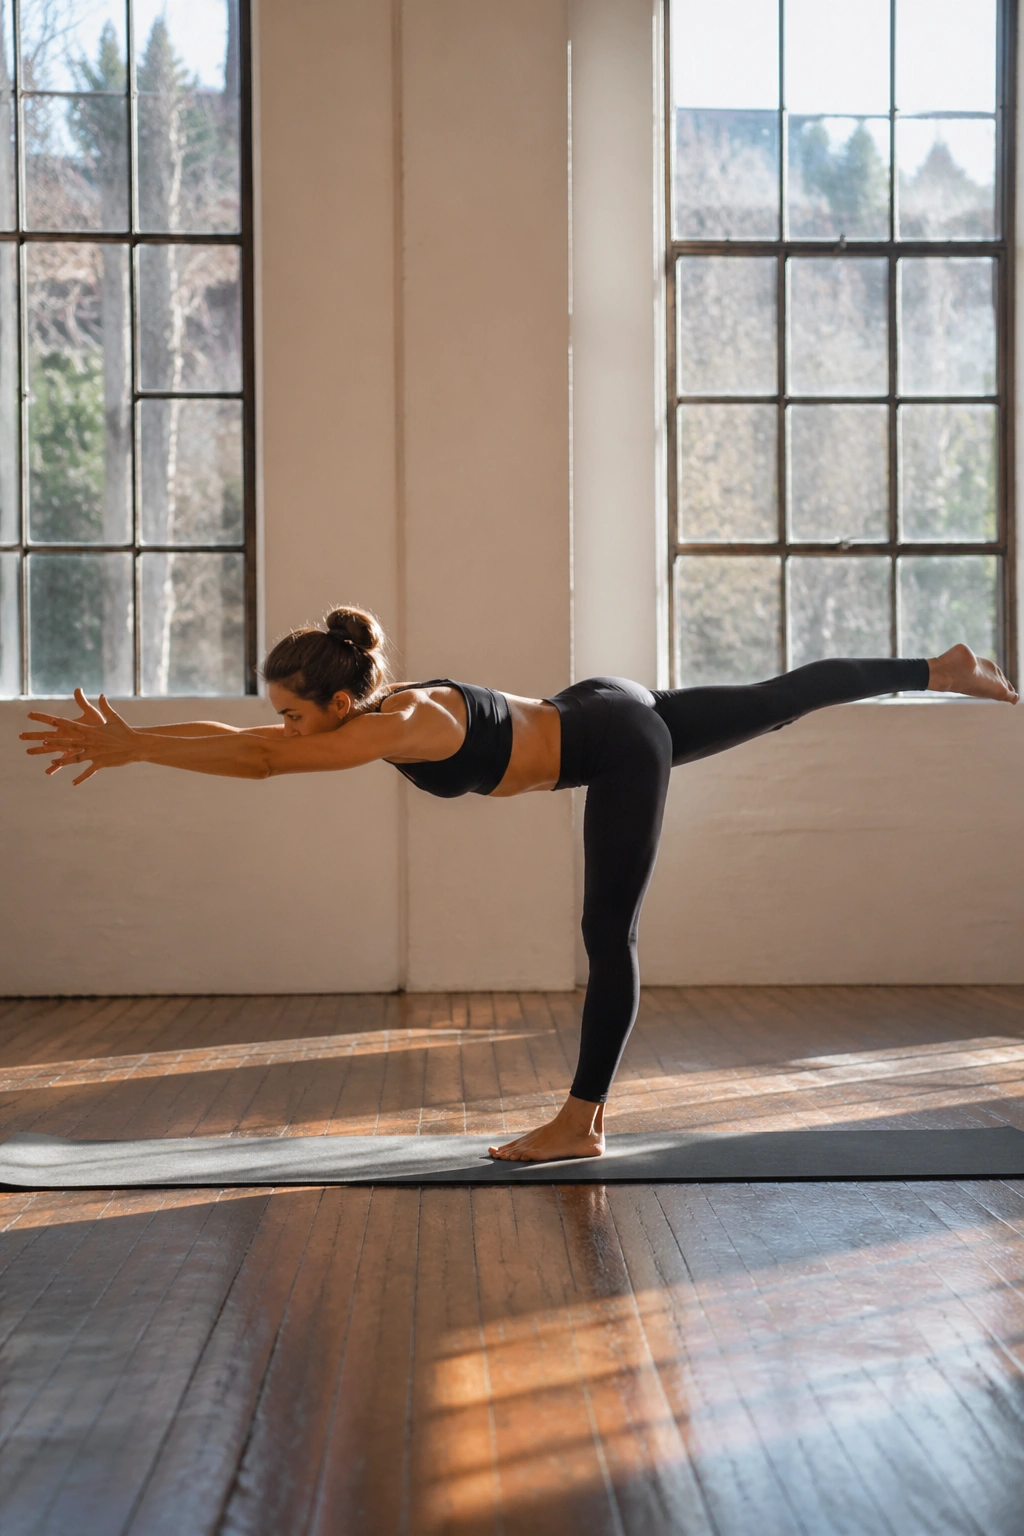
What makes balance poses so good for visible body changes? They force the small stabilizers to wake up, and those tiny muscles are the ones that keep your shape from collapsing when you walk, turn, or stand on one foot.
Warrior III is especially good at this because it recruits the standing leg, the glute of the lifted leg, the core, and the muscles along the back. The body has to become one long line from fingertips to heel, and that line is where the work lives. Over time, you may notice stronger ankles, more stable hips, and a back line that looks more engaged.
The Line You’re Chasing
Don’t rush into the full expression. Start with fingertips on a wall or a block under the chest. Keep the standing knee softly bent and the lifted heel pressing back hard enough that the glute turns on. If the pelvis opens, the pose turns into a twist. If the ribs flare, the core disappears.
That’s the whole game here. Shape before depth.
A tiny wobble is fine. Constant flailing is not. If you can hold warrior III for 3 to 5 steady breaths without clawing at the floor, you’re building the kind of control that shows up in the rest of your practice and in the way you move through the day.
9. Crescent Lunge
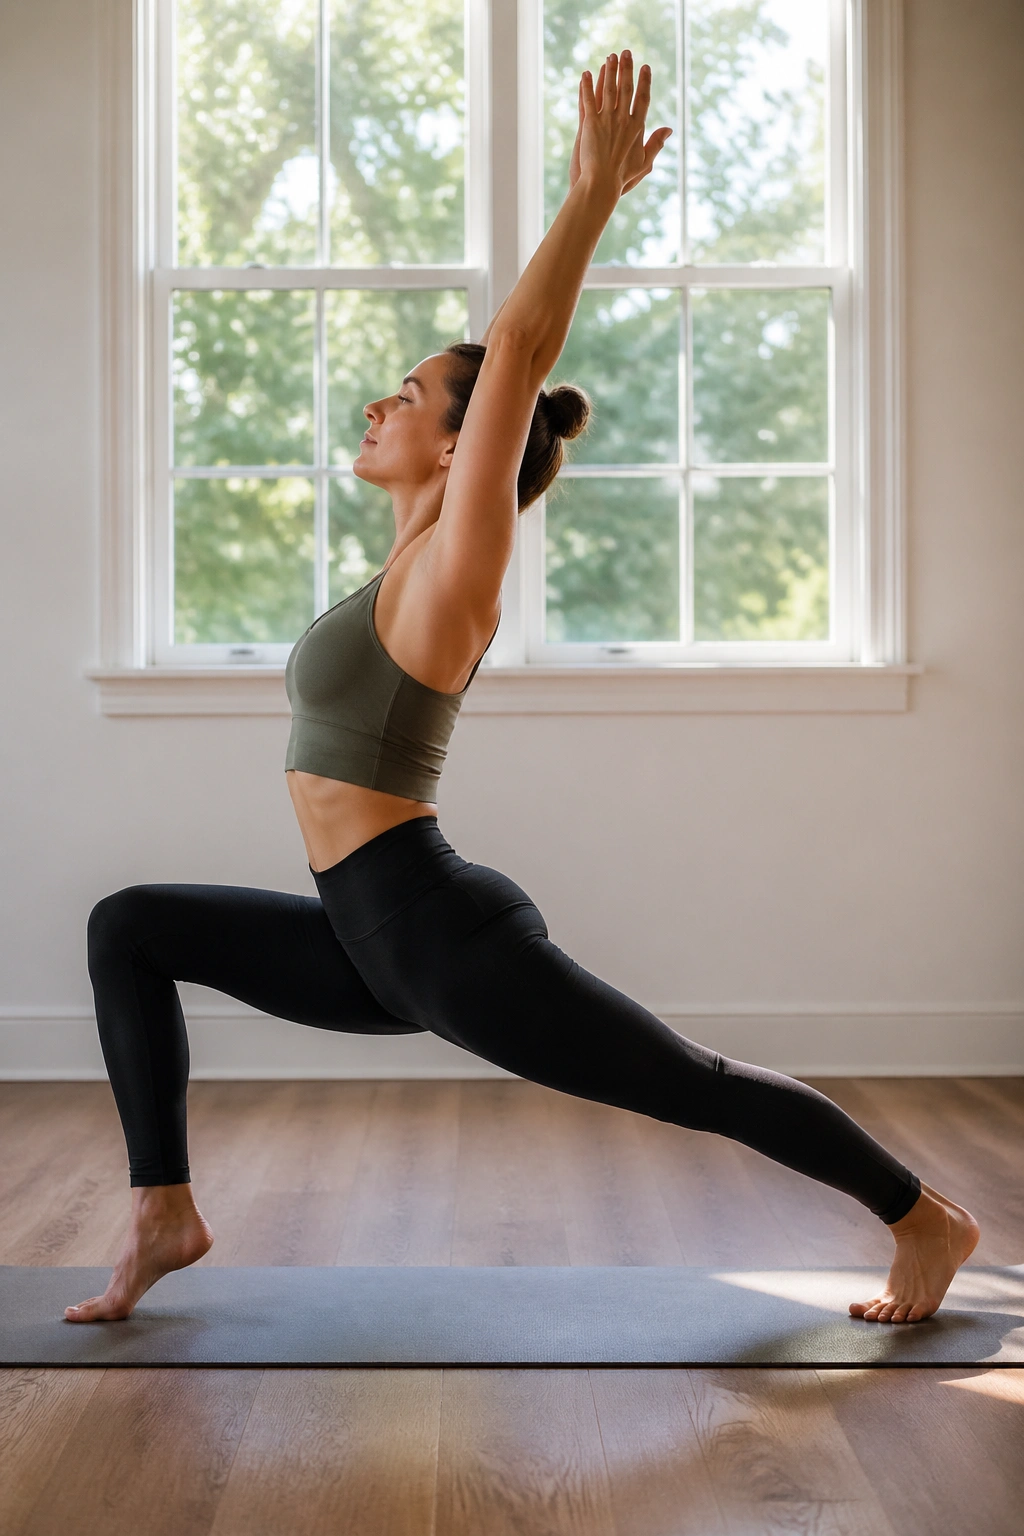
Crescent lunge is where the hips start to tell the truth. The back leg lengthens, the front thigh braces, and the pelvis gets a chance to open without losing the spine.
The visible change is usually an easier-looking stance and a little more length across the front of the body. People often think of lunges as leg work only, but crescent lunge also trains the torso to stay upright while the lower body does the grind. That makes the waist look more organized and the hips look less stuck.
A high crescent is enough. You do not need to sink dramatically just to feel virtuous. Keep the back heel lifted, stack the ribs over the pelvis, and press back through the heel so the back leg doesn’t become decorative. A bent front knee is fine, even useful. It lets the glute and quad work without stealing from the lower back.
A Good Lunge Should Feel Long, Not Wobbly
If your front knee caves inward, shorten the stance. If the lower back arches, tuck the tailbone a touch and bring the front ribs down. Hold 5 breaths per side, then come out slowly. The hips should feel awake, not cranky.
10. Side Angle Pose
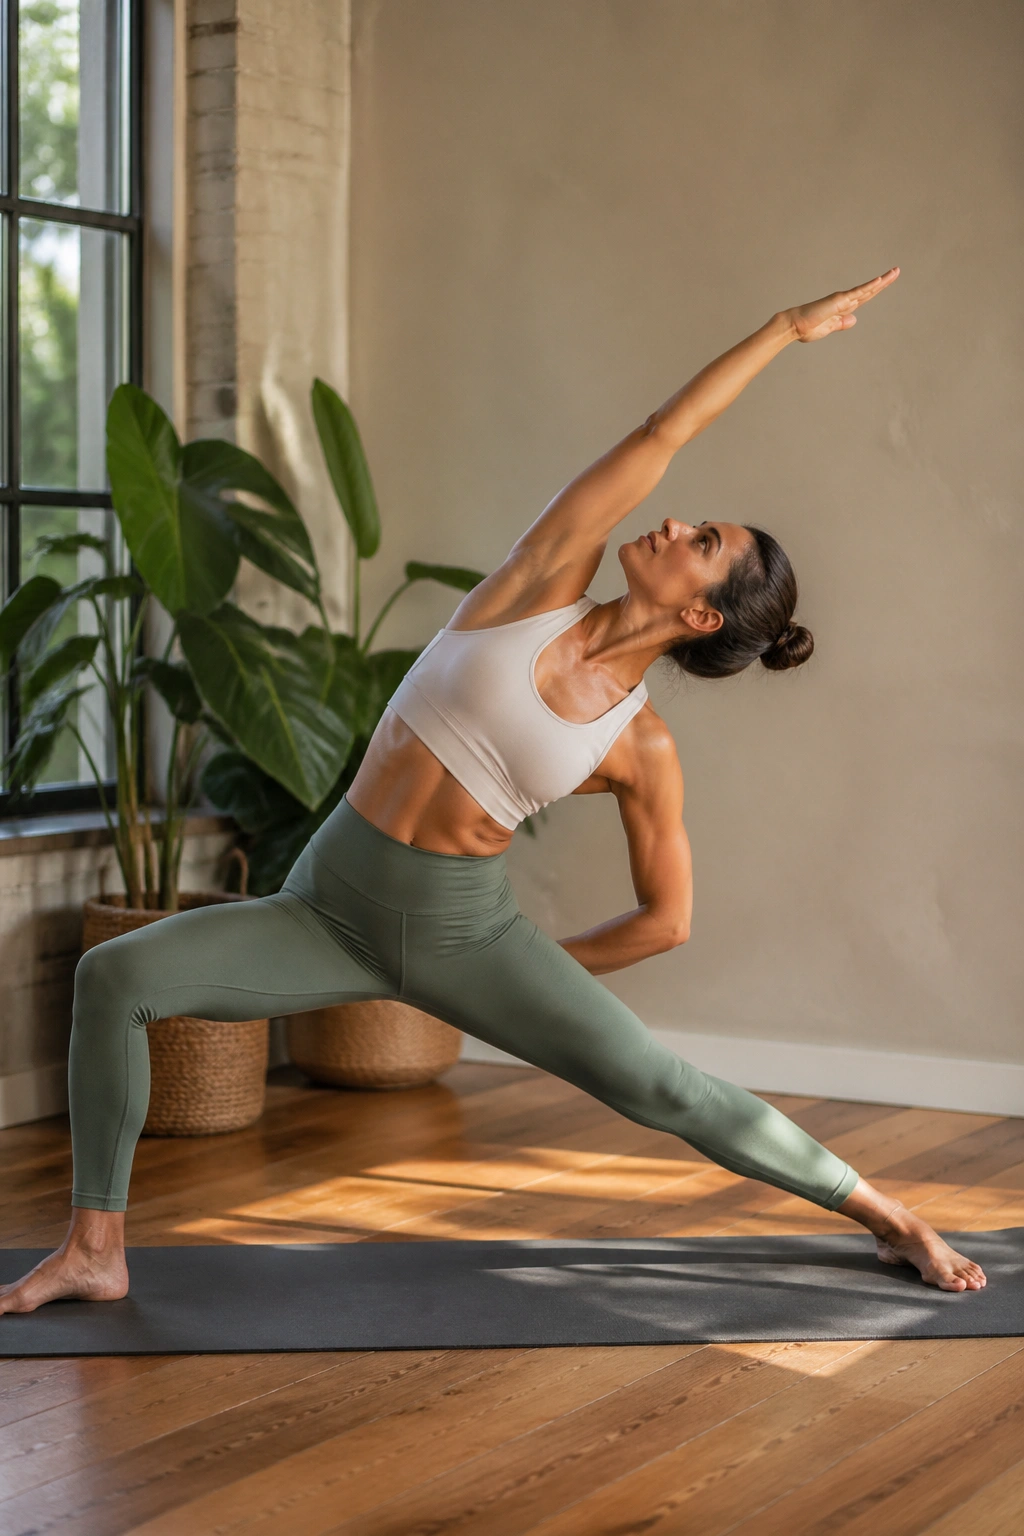
Compared with standing straight, side angle asks the legs, waist, and shoulders to cooperate under load. That’s why it can change the body in a way that feels obvious and hard to fake.
The front thigh burns, the back leg stays long, and the side body has to lengthen over a bent knee. That creates a strong line from the outer heel all the way through the fingertips. The pose also tends to wake up the obliques and inner thighs, which is one reason the waist can look a little more defined when side angle is part of a steady routine.
The trick is not to collapse onto the front thigh. Resting the forearm there is a valid modification, but it should still feel active. Reach the top arm overhead if your shoulder allows it, or keep it on the hip for a quieter version. Either way, the chest should stay open enough that you can breathe without huffing.
A lot of people love the dramatic version and skip the boring version. Don’t. The boring version is often the one that changes the body.
11. Boat Pose
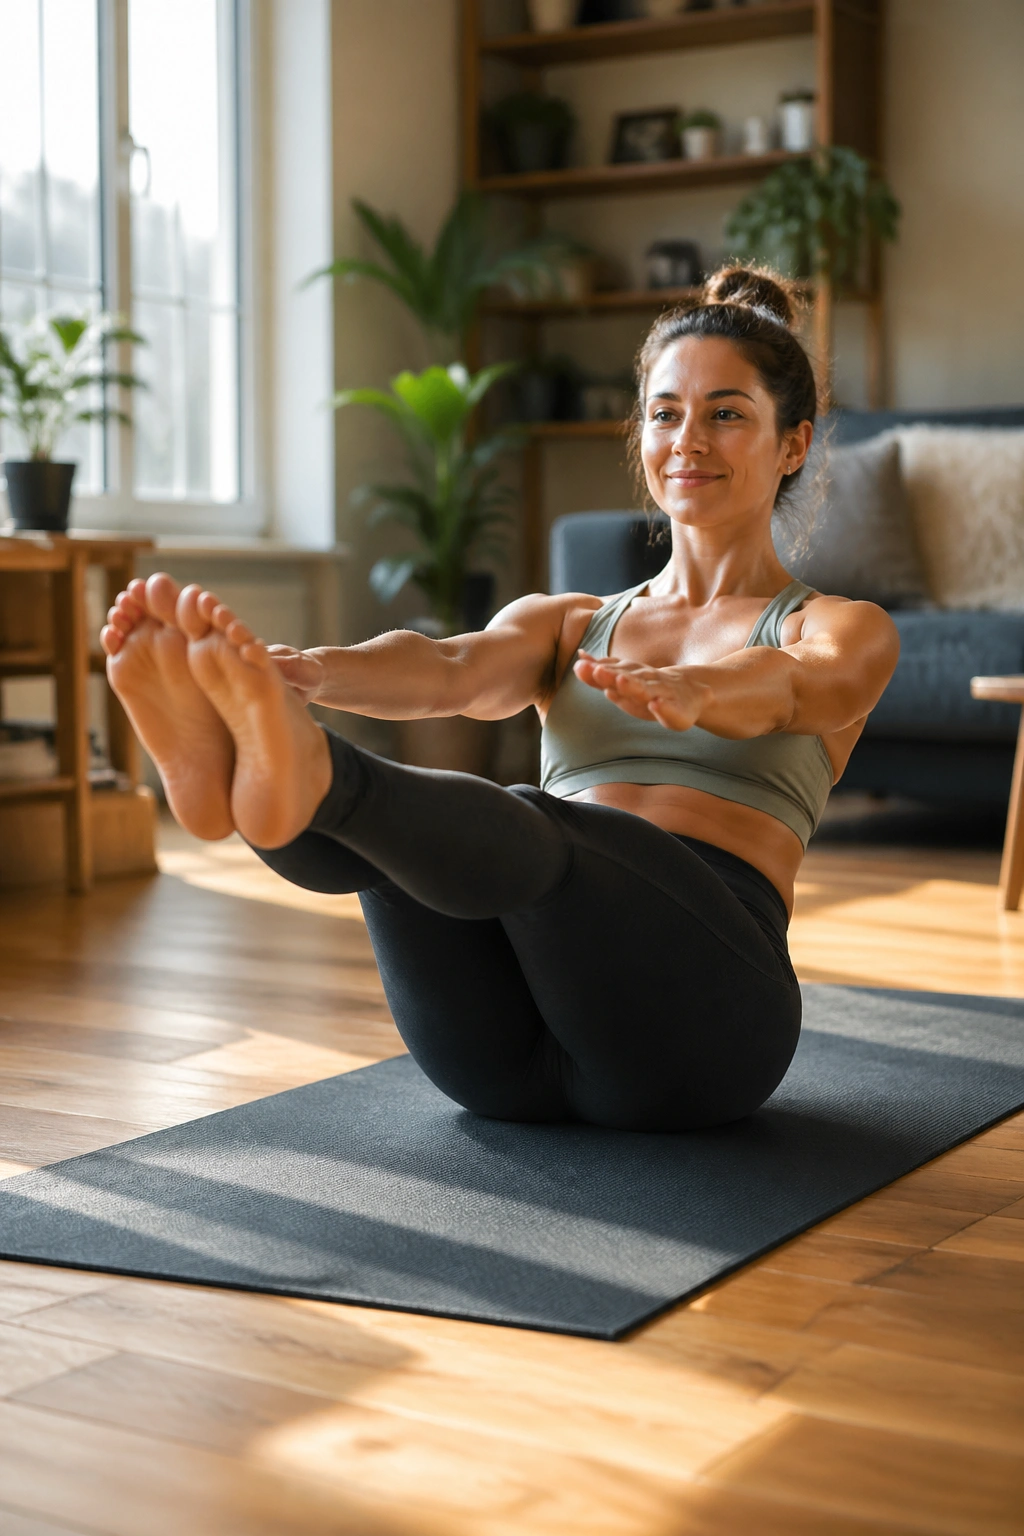
Boat pose is where a lot of people discover whether their core is awake or just along for the ride.
Sit down, lift the feet, and suddenly the body has to organize itself without help from the floor. The hip flexors kick in, the deep abdominal wall braces, and the chest has to stay lifted or the whole thing turns into a slump. That’s why boat can change the look of the midsection and the posture around it. A stronger core doesn’t just feel tighter; it holds the torso in a cleaner line.
What to Feel Before You Make It Harder
If the lower back rounds, bend the knees. If the chest drops, lift the breastbone a little and keep the gaze forward instead of down at the toes. If the neck aches, you’re probably trying too hard to look impressive.
- Start with shins parallel to the floor.
- Keep the ribs drawn in.
- Reach through the fingertips, but don’t lock the elbows.
- Hold for 15 to 25 seconds, then rest.
That’s enough. No need to turn it into a stunt. A few honest rounds of boat pose can do more for core control than a long, sloppy hold that leaves your hip flexors angry and your lower back grumpy.
12. Bridge Pose for Visible Body Transformations
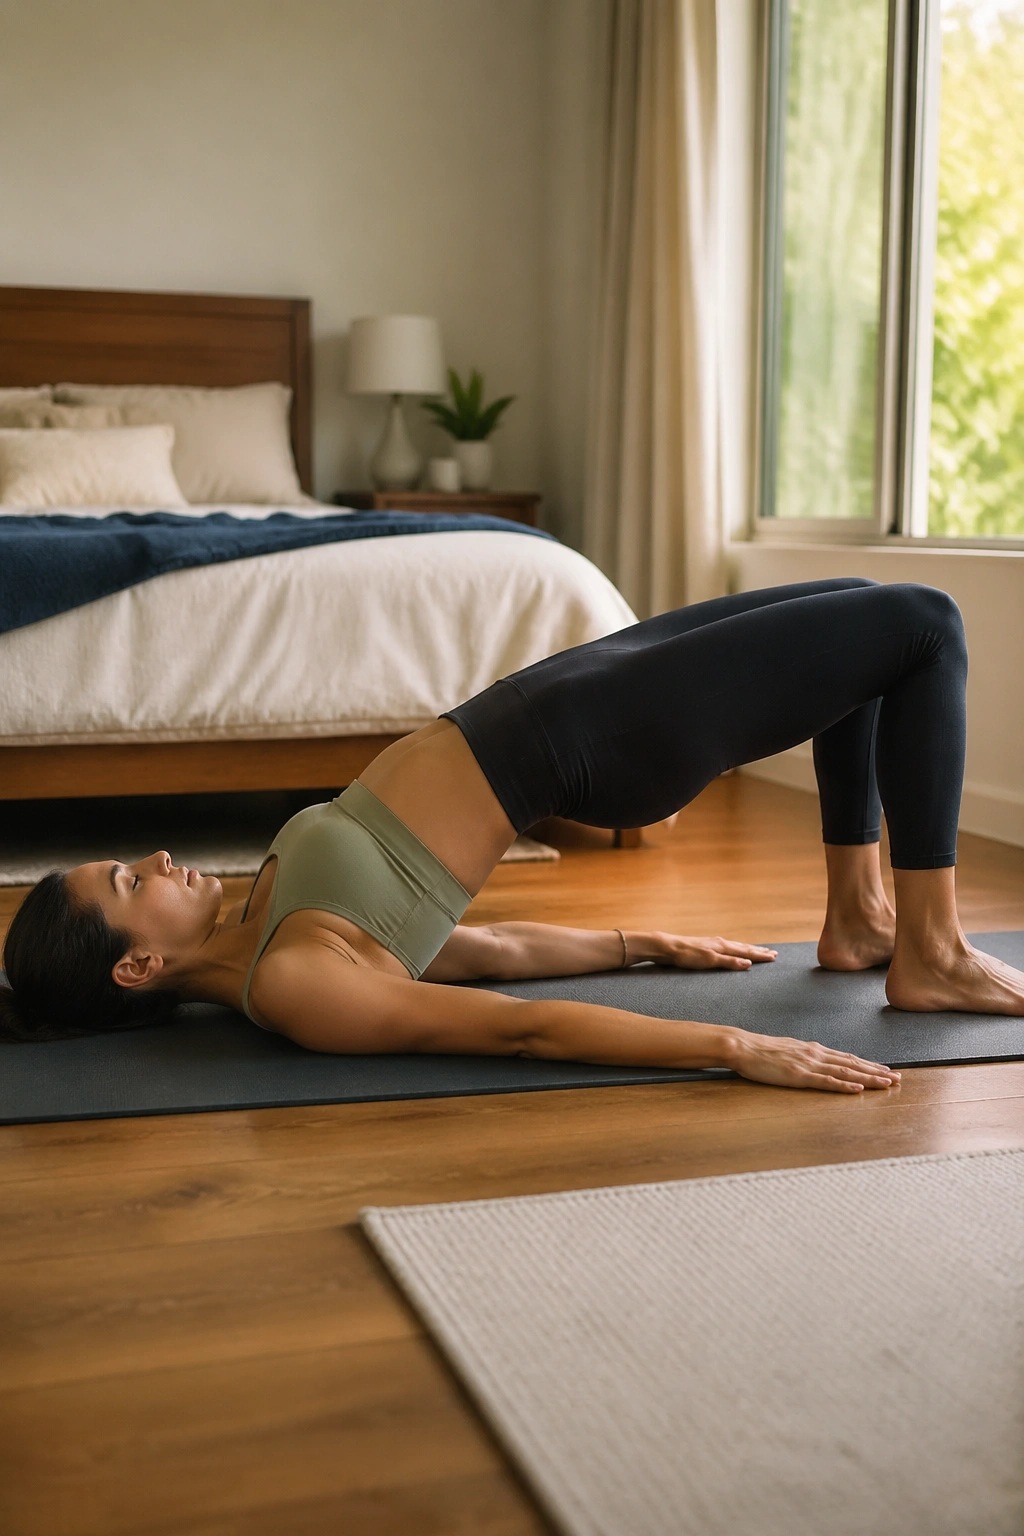
Bridge pose is one of the best back-body builders in yoga, and it’s also one of the easiest places to cheat. You can shove the ribs up and pretend the glutes are working, or you can do the quieter version that actually changes things.
The quieter version wins. It trains the glutes, hamstrings, and spinal support muscles while opening the chest and front of the shoulders. If you sit a lot, bridge can feel like the body sighing after a long day. The pelvis lifts, the front of the hips stretches, and the upper back gets a chance to move in a healthier direction.
Glutes and Hamstrings
Press through the heels, keep the knees tracking forward, and lift the hips only as high as you can without jamming the lower back. A block between the knees can help you keep the inner thighs awake, but don’t crush it. Gentle pressure is enough.
Chest Opening
Interlace the hands underneath you if that feels okay, then roll the shoulders underneath the body so the chest broadens. If the neck feels pinched, lower down and reset. A bridge that hurts your neck is not helping your posture.
Hold for 5 to 8 breaths, lower with control, and repeat. The body learns from repeatable, clean lifts more than from one heroic bridge with a wild arch.
13. Cobra Pose
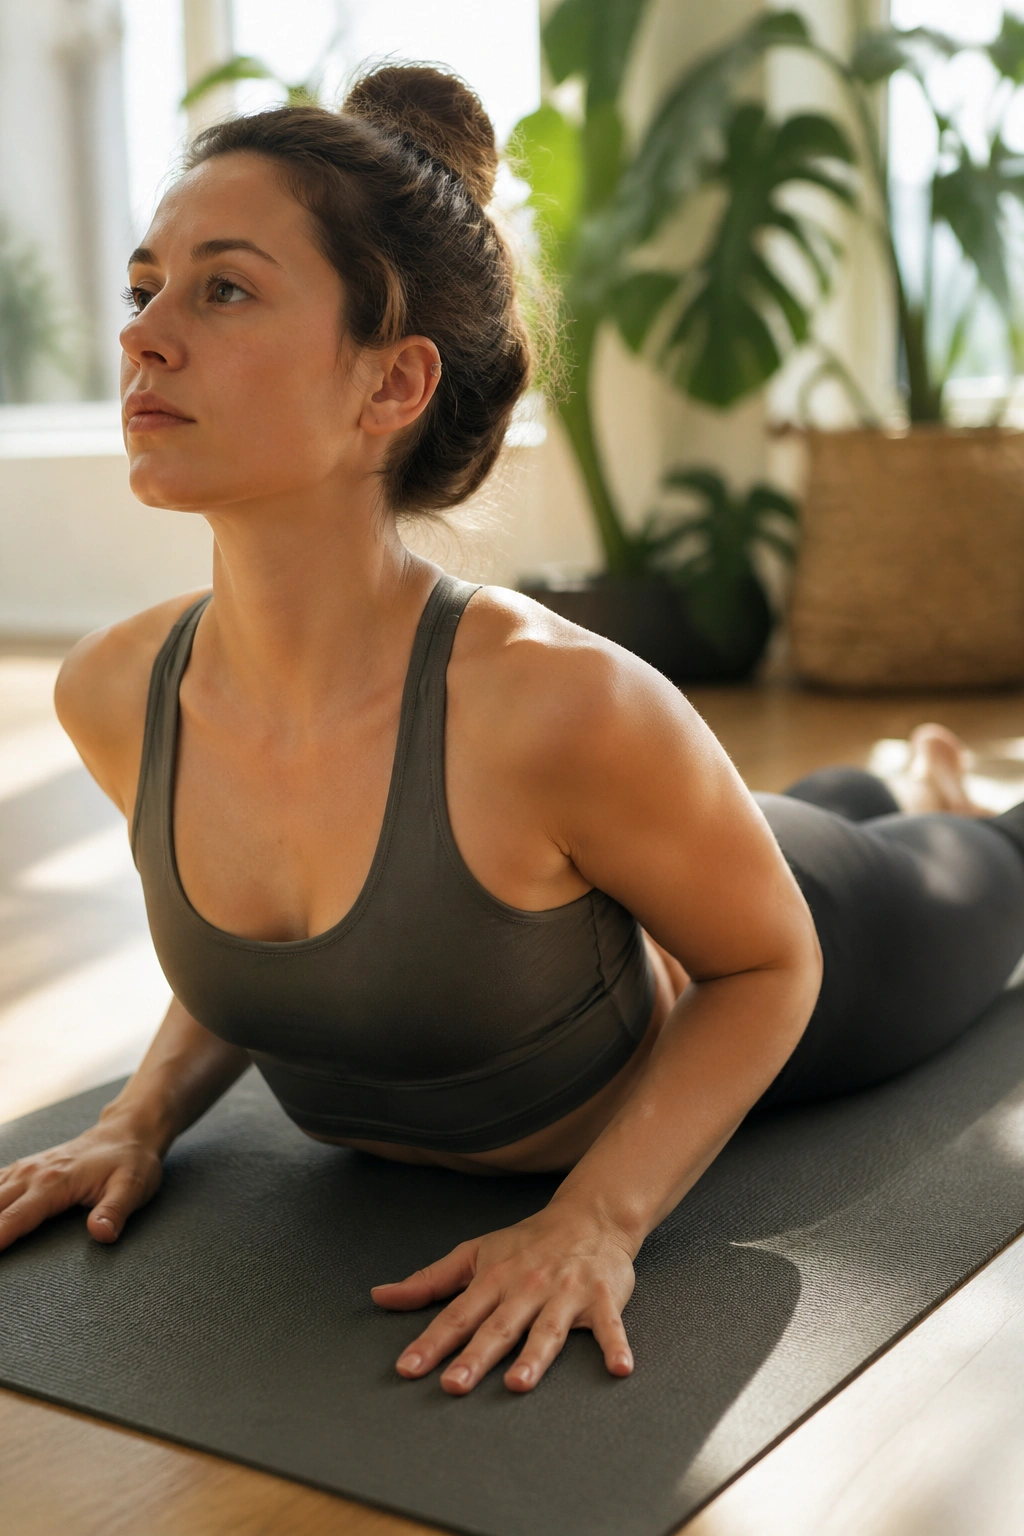
Cobra is not a backbend contest. If you throw yourself upward, you’ll mostly get a cranky lower back and a neck that feels like it was borrowed from a much older person.
The good version is much smaller, and much better. Lie on the belly, press the tops of the feet down, and lift the chest just enough that the sternum slides forward and up. The elbows can stay bent. The shoulders can stay low. That tiny lift teaches the muscles along the spine to work without collapsing into the joints, which is exactly why cobra changes the way the upper body looks over time.
A small cobra done well beats a dramatic one done badly.
You’ll notice the chest opening first, then the shoulders easing back, then the upper back beginning to feel more capable. That can translate into a posture that looks less hunched and more open, especially if you pair cobra with the standing poses above. Keep the pubic bone heavy, breathe into the front ribs, and don’t yank your head up. The neck should feel like part of the extension, not separate from it.
14. Locust Pose
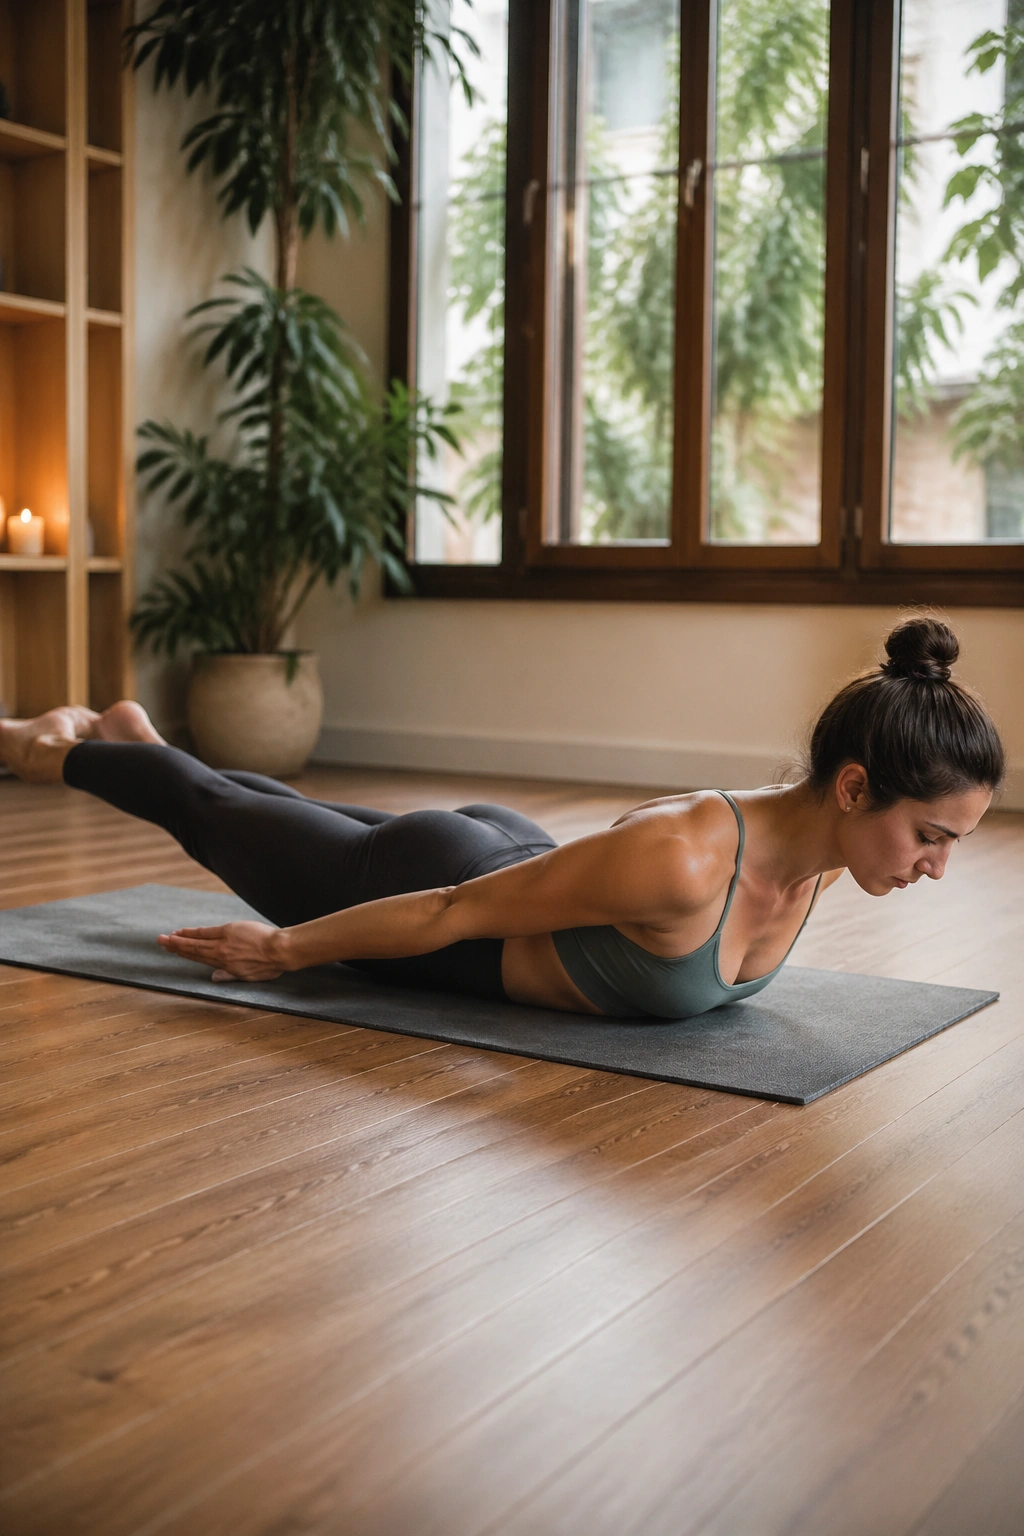
Locust is one of the nastiest-looking easy poses and one of the most useful for visible transformation. It lights up the whole back side of the body—glutes, hamstrings, spinal muscles, and even the upper back if you reach the arms back long enough.
You’ll feel this one the next day. Usually in a good way.
Why It Changes Posture More Than People Expect
The body spends a lot of time folding forward: on phones, at desks, in cars, over sinks. Locust pushes back against that by strengthening the muscles that keep the spine from sagging into that familiar curve. That matters for how you look standing up, not just for how you feel during class.
- Lie flat with the forehead or chin resting down.
- Extend the arms back alongside the body, palms down.
- Lift the chest, arms, and legs only as high as you can keep them steady.
- Keep the gaze down to avoid cranking the neck.
- Hold 10 to 20 seconds, then rest and breathe.
If both legs lifting is too much, try one leg at a time. That still counts. A clean single-leg locust is better than a shaky full version with a jammed lower back. Give the back line time to catch up.
15. Half Moon Pose
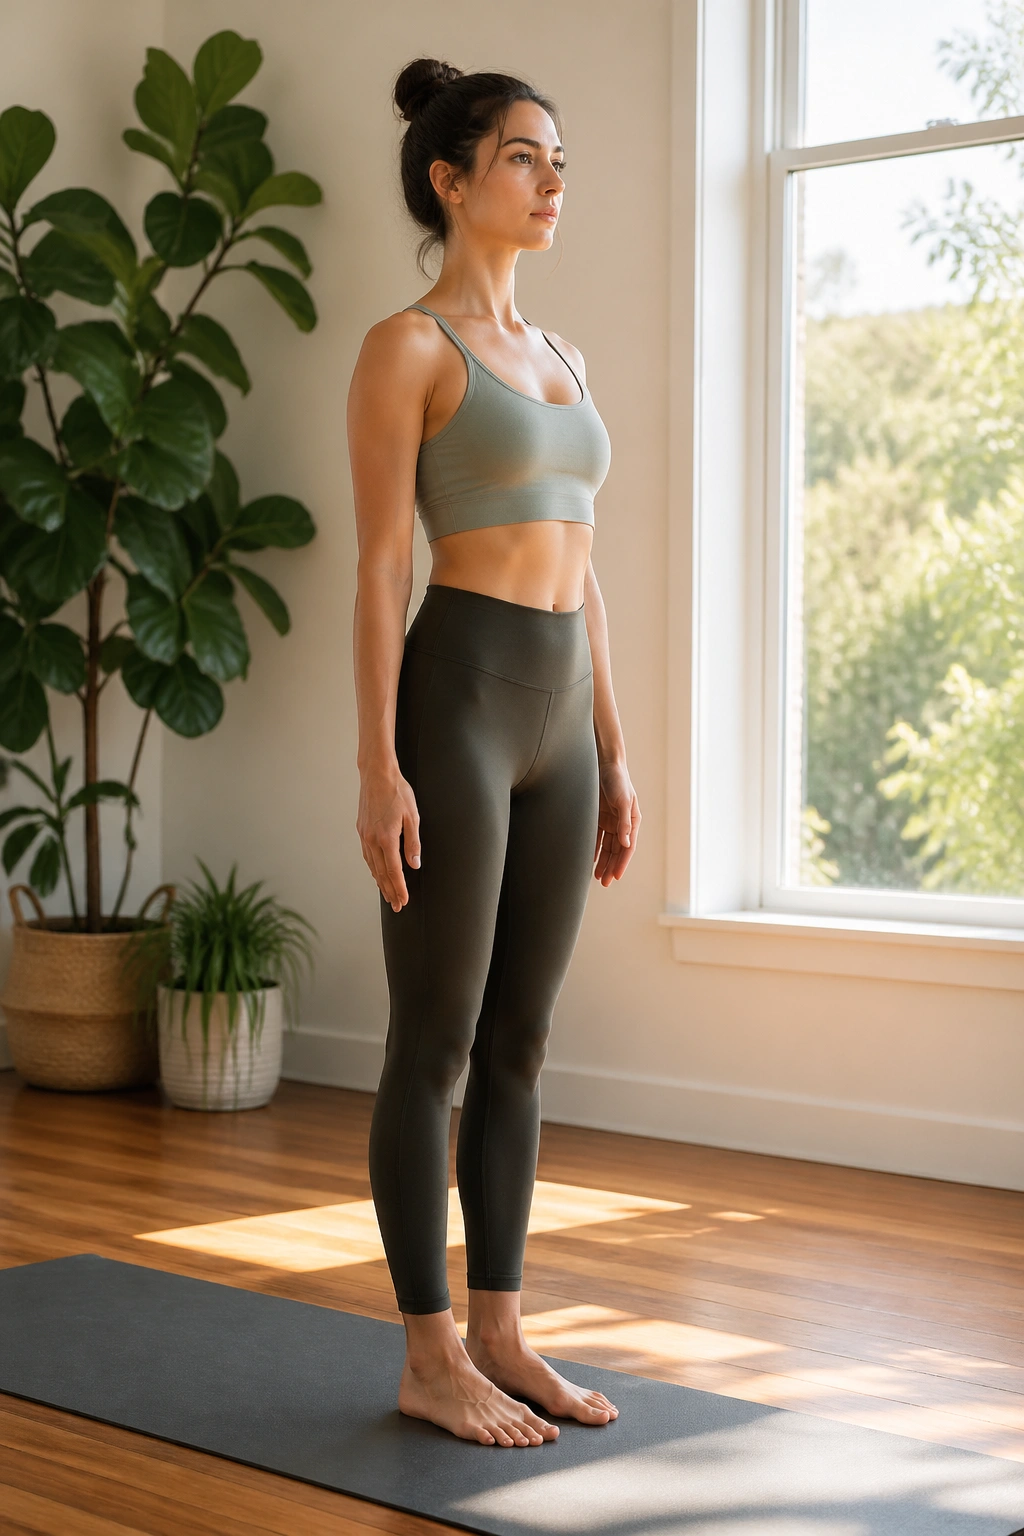
Half moon is one of those poses that makes the body look sharpened in a very specific way. The standing leg works hard, the lifted leg stays active, the side body lengthens, and the torso has to stay calm while the balance gets tested from every direction.
That mix shows up in more than the pose itself. The ankles get steadier. The hips stop dumping to one side. The waist learns to hold itself a little more cleanly. And because the chest stays open while one leg reaches behind, half moon tends to create a long, bright line through the body that feels less compressed than a lot of other standing shapes.
Use a block under the lower hand if you need it. Most people do, at least for a while. Keep the lifted foot flexed, not lazy. If the standing knee locks hard, soften it a bit and let the glute and outer hip help. The goal is control, not a frozen statue.
These 15 poses work best when they’re repeated, not collected like trading cards. Pick 5 or 6, hold them with care, and keep returning to the same shapes long enough for your body to learn them. That’s where the visible changes live: in the shoulders that stop hunching, the hips that move more freely, and the strength that begins to show up without you having to force it.
