



A good no-gear workout should feel almost suspiciously simple: a floor, a bit of space, and enough effort to make your breathing change.
That is why bodyweight workouts keep surviving every fitness fad. You can do them in a kitchen, a hotel room, a hallway, or a patch of driveway, and they still train strength, balance, and conditioning if you take the reps seriously.
The trick is not fancy equipment. It’s control. A slow squat with a three-second lower can work harder than a rushed set of ten, and a clean plank held for 25 seconds often tells you more than a sloppy one held for a minute. Small details matter here.
Start with the squat. It’s the clearest proof that simple training can still do real work.
1. Bodyweight Squats That Wake Up Your Legs
If you only had one lower-body move, this would be the one. Squats train your quads, glutes, calves, and the small muscles around your ankles that help you stay steady when you walk, climb stairs, or pick something up off the floor.
They also punish bad form fast. That’s useful. A squat shows you very quickly whether your knees cave in, your heels pop up, or your chest folds forward.
How to make them count
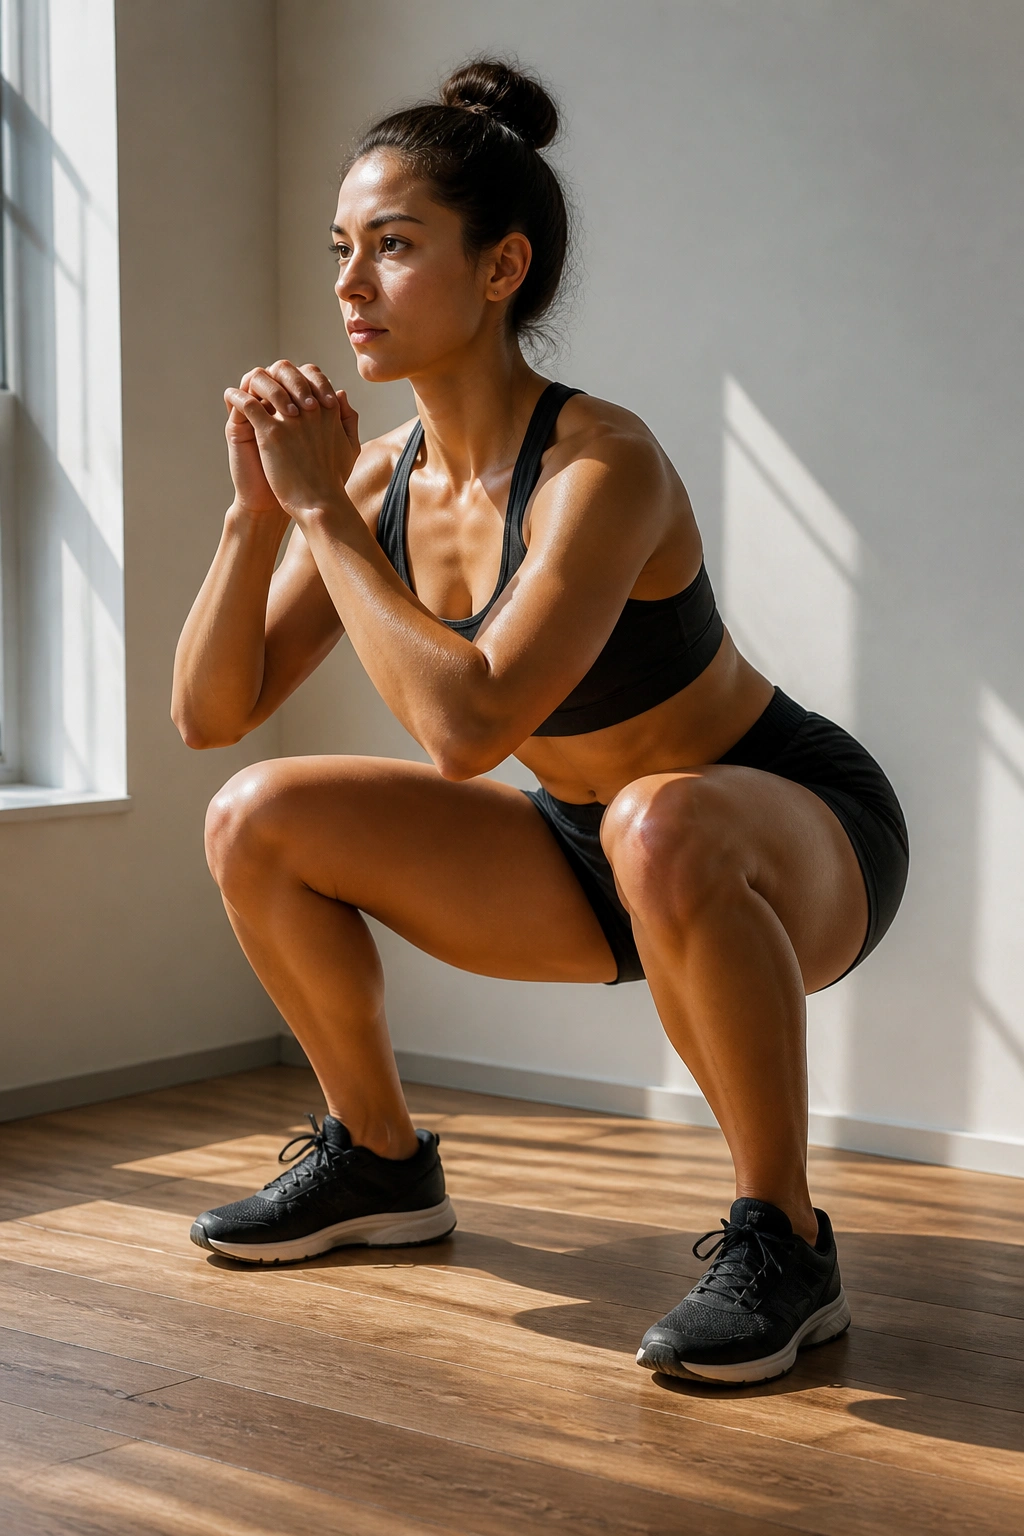
- Stand with your feet about shoulder-width apart.
- Turn your toes out a little, not a lot.
- Sit down and back until your thighs are at least parallel to the floor.
- Drive through your heels and the middle of your feet as you stand.
- Use 3 sets of 12 to 20 reps.
- Slow the lowering phase to 3 seconds if the move feels too easy.
One clean one beats three ugly ones. Every time.
If your heels lift, widen your stance a touch or stop a little higher. If your knees crash inward, think about pushing them gently toward your second toe. That tiny cue changes a lot. For a harder version, pause for 1 full second at the bottom and come up without bouncing.
2. Push-Up Rounds That Build Real Upper-Body Strength
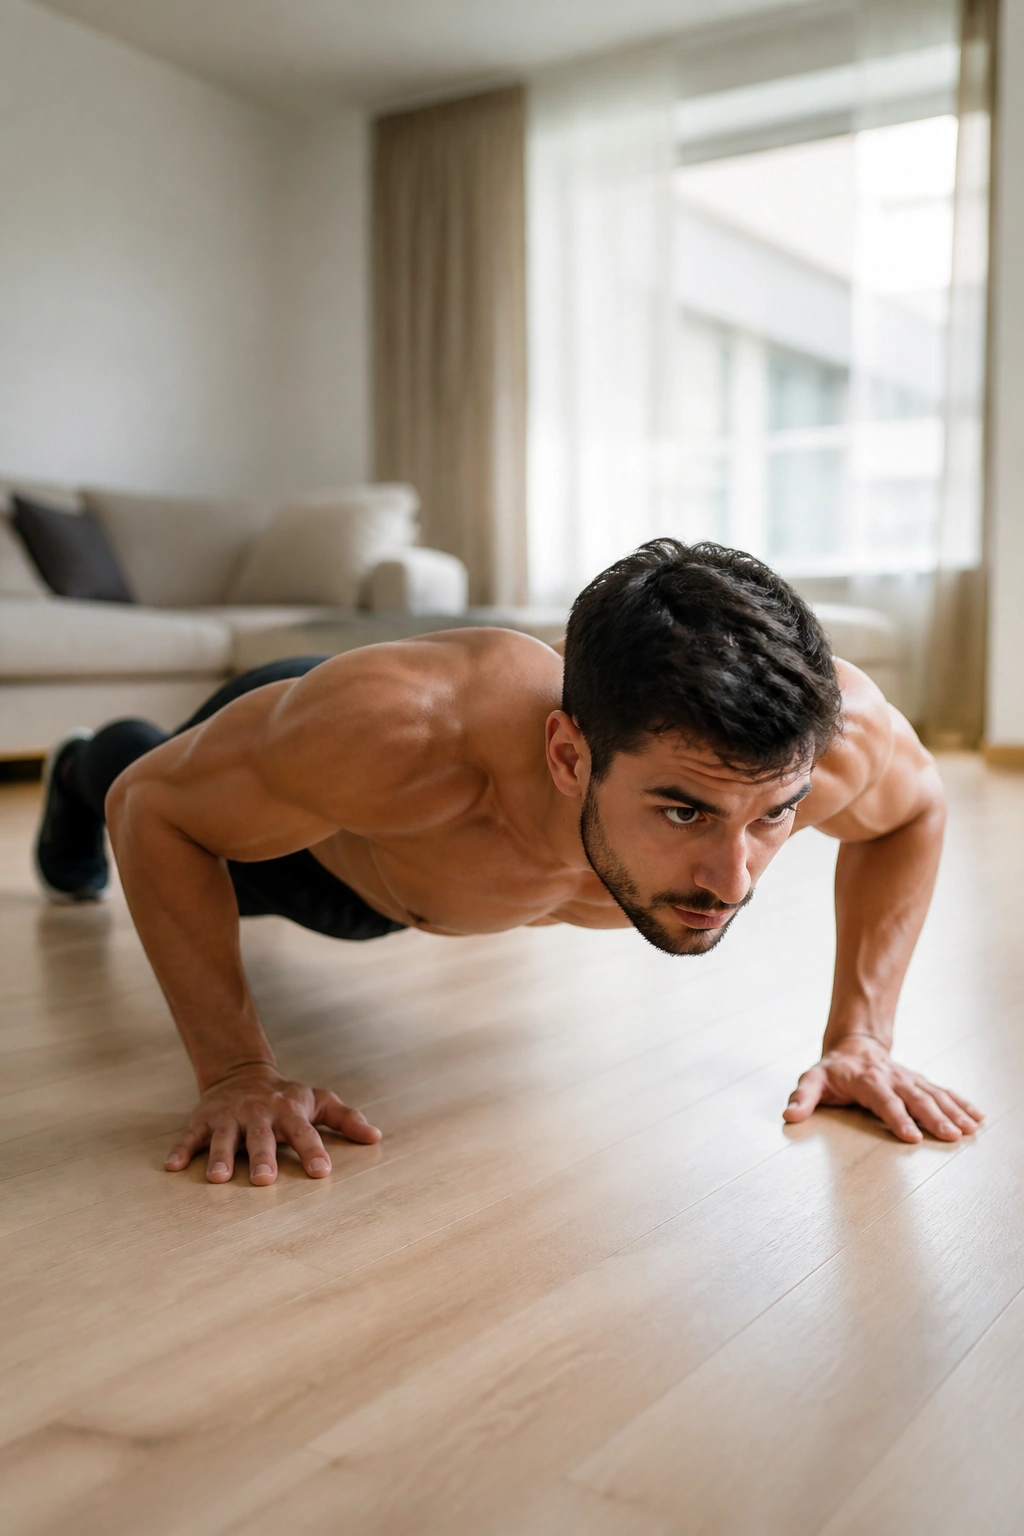
What if a push-up feels too hard? Good. That usually means you’re in the right place to start adjusting the angle instead of quitting the move.
Wall push-ups, counter push-ups, knee push-ups, and floor push-ups are all part of the same family. The difference is load. The steeper your body angle, the easier the rep feels on your chest, shoulders, and triceps.
Pick the angle, not your ego
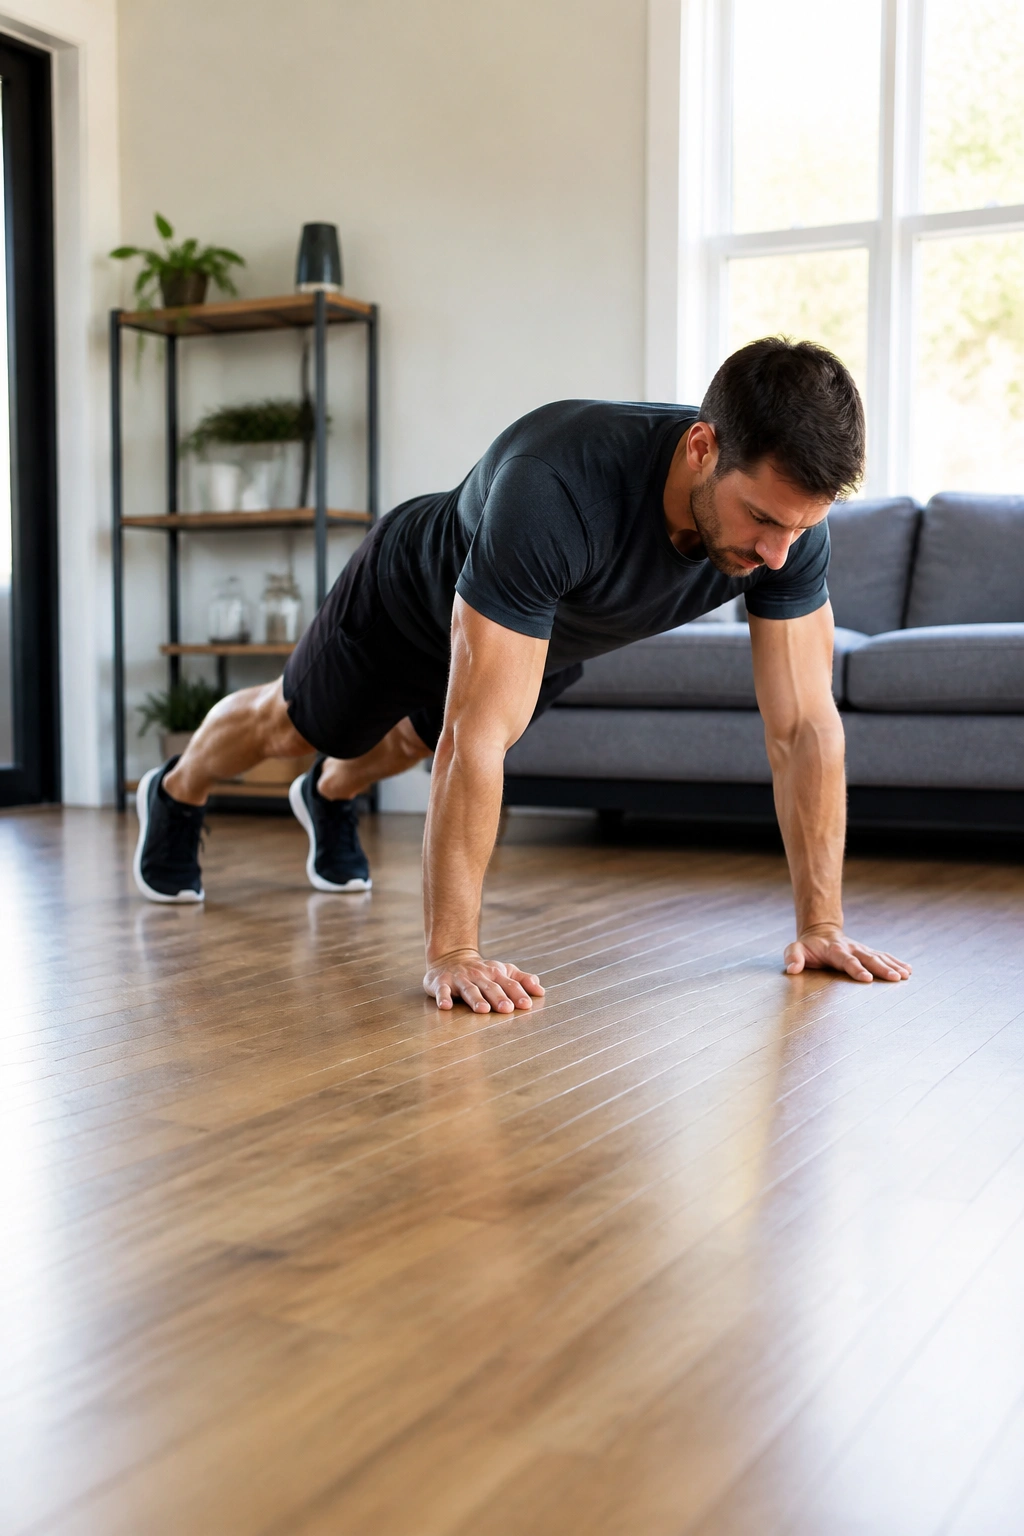
A clean push-up starts with hands under or a little wider than your shoulders and elbows angled about 30 to 45 degrees from your body. Keep your body straight from head to heels, or head to knees if you’re on a modified version. Lower until your chest is close to the floor or surface, then press back up without letting your hips sag.
A useful starting plan is 3 sets of 5 to 12 reps, stopping 1 to 2 reps before your form breaks. That last part matters more than the exact number.
If floor push-ups are too much, use a sturdy wall or countertop. If they’re too easy, slow the descent to 2 or 3 seconds and pause at the bottom. That turns a familiar move into something far less forgiving.
3. Reverse Lunges That Fix Wobbly Hips
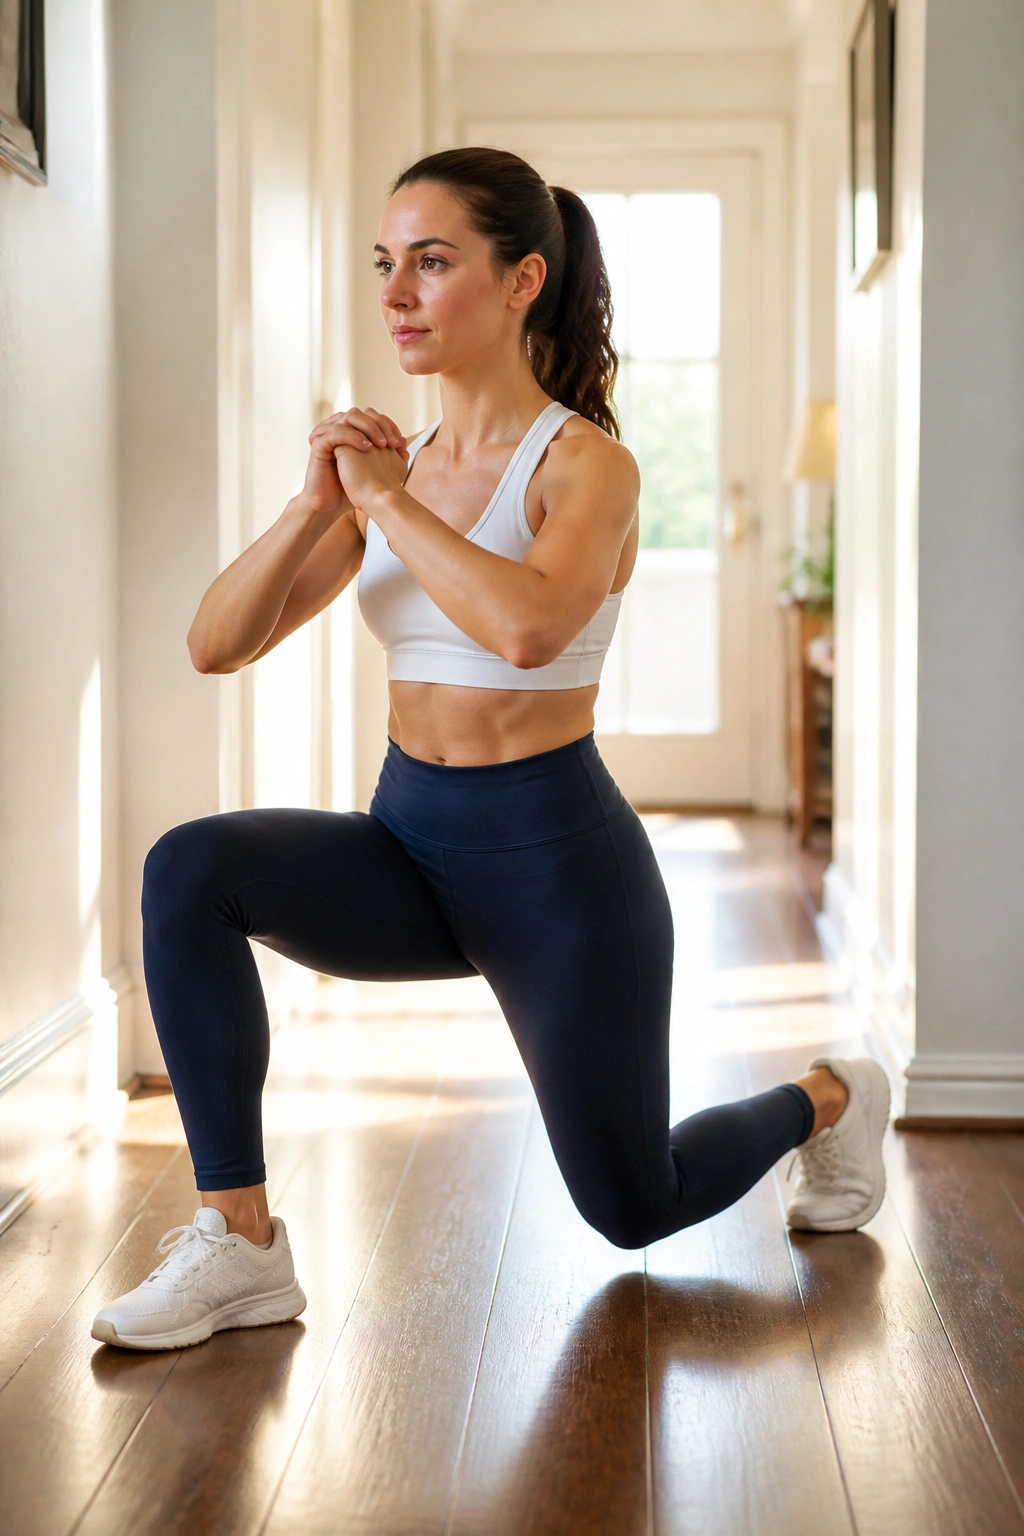
The first time you step back into a reverse lunge, your body may complain a little. Fine. That usually means your balance muscles are awake.
Reverse lunges are easier to control than forward lunges for most people, and they tend to be kinder to the knees. You step back, lower under control, and keep more of your weight on the front leg where it belongs.
Where to put your attention
- Take a step back that feels long enough to drop straight down.
- Keep your front foot flat.
- Lower until both knees are bent about 90 degrees.
- Press through the front heel to stand.
- Use 2 to 3 sets of 8 to 10 reps per side.
If your torso tips forward a lot, shorten the step or slow the descent. If your front knee shoots way past your toes, reset your stance. That’s not a disaster, but it usually means you rushed the rep.
I like reverse lunges for home workout plans because they expose sloppy control fast. They also help with side-to-side stability, which is the part most people miss when they only do squats.
4. Glute Bridges for a Stronger Backside
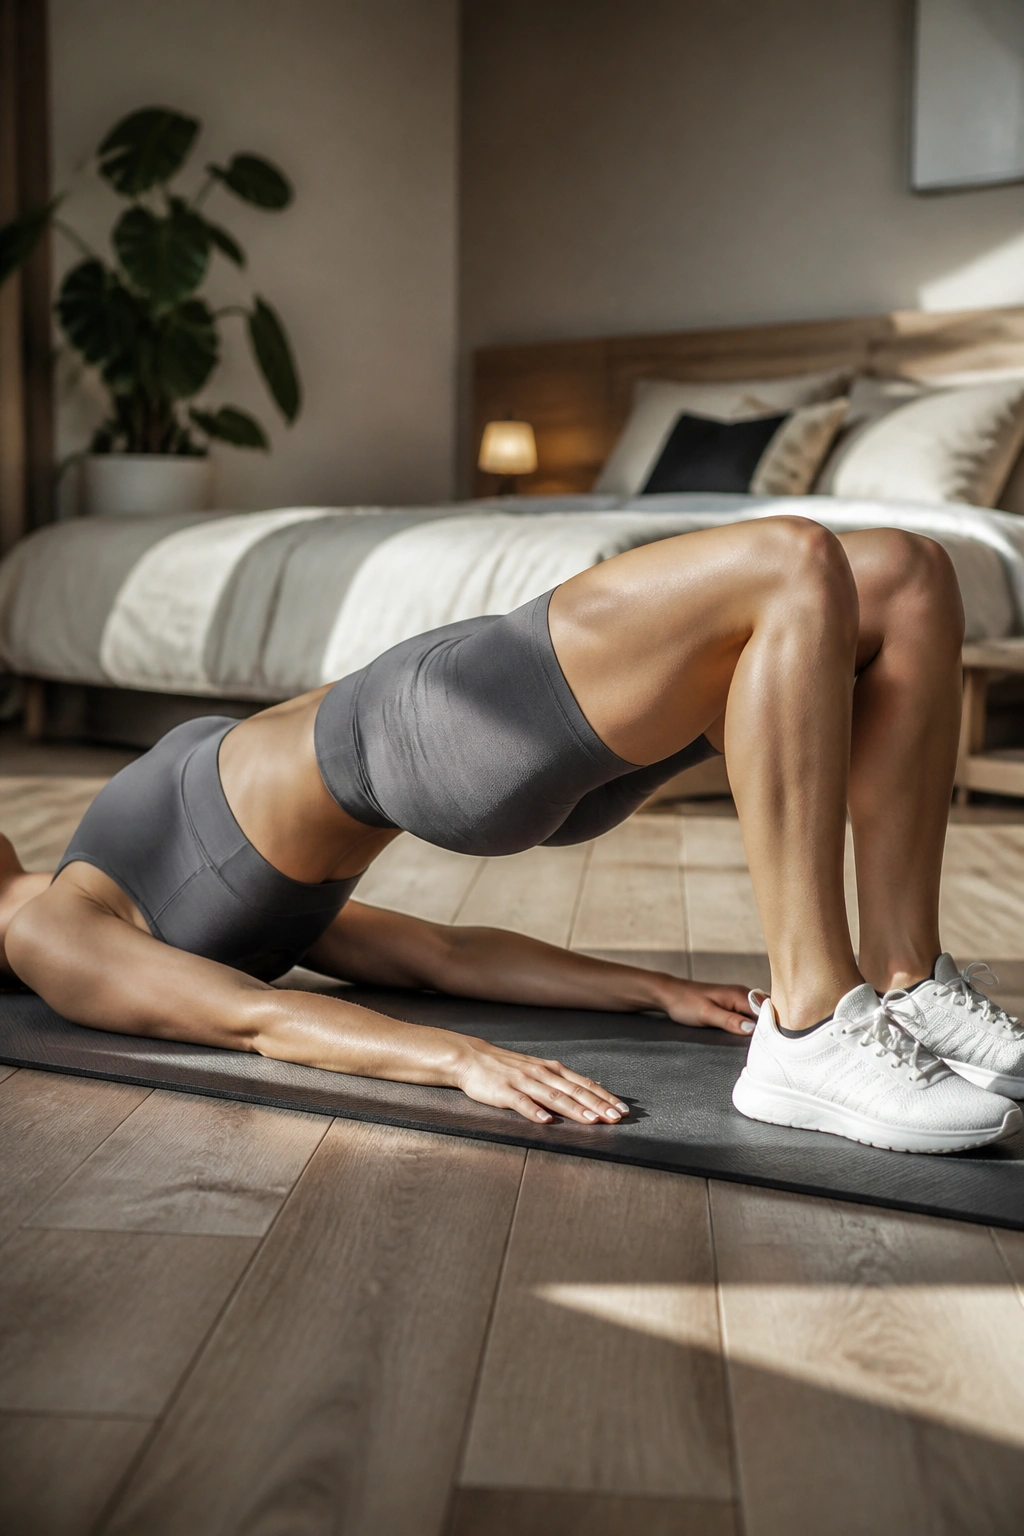
A glute bridge looks mild until you hold the top position for a couple of seconds. Then your hamstrings and glutes start arguing with you.
This is one of the best no-gear exercises for the backside of the body. It helps your glutes do their job, which matters if you sit a lot, run, walk hills, or just want your lower body to feel less sleepy.
What to feel
Lie on your back with your knees bent and your feet flat, about hip-width apart. Drive your heels into the floor, squeeze your glutes, and lift your hips until your body forms a straight line from shoulders to knees. Hold that top position for 2 seconds before lowering.
Do 3 sets of 12 to 15 reps. If that gets too easy, switch to a single-leg glute bridge or add a 3-second hold at the top of every rep.
Do not overarch your lower back. The lift should come from your hips, not from flinging your ribs upward. If you feel the move mostly in your low back, bring your feet a little closer and shorten the range.
5. Planks That Train Your Core Without Crunches
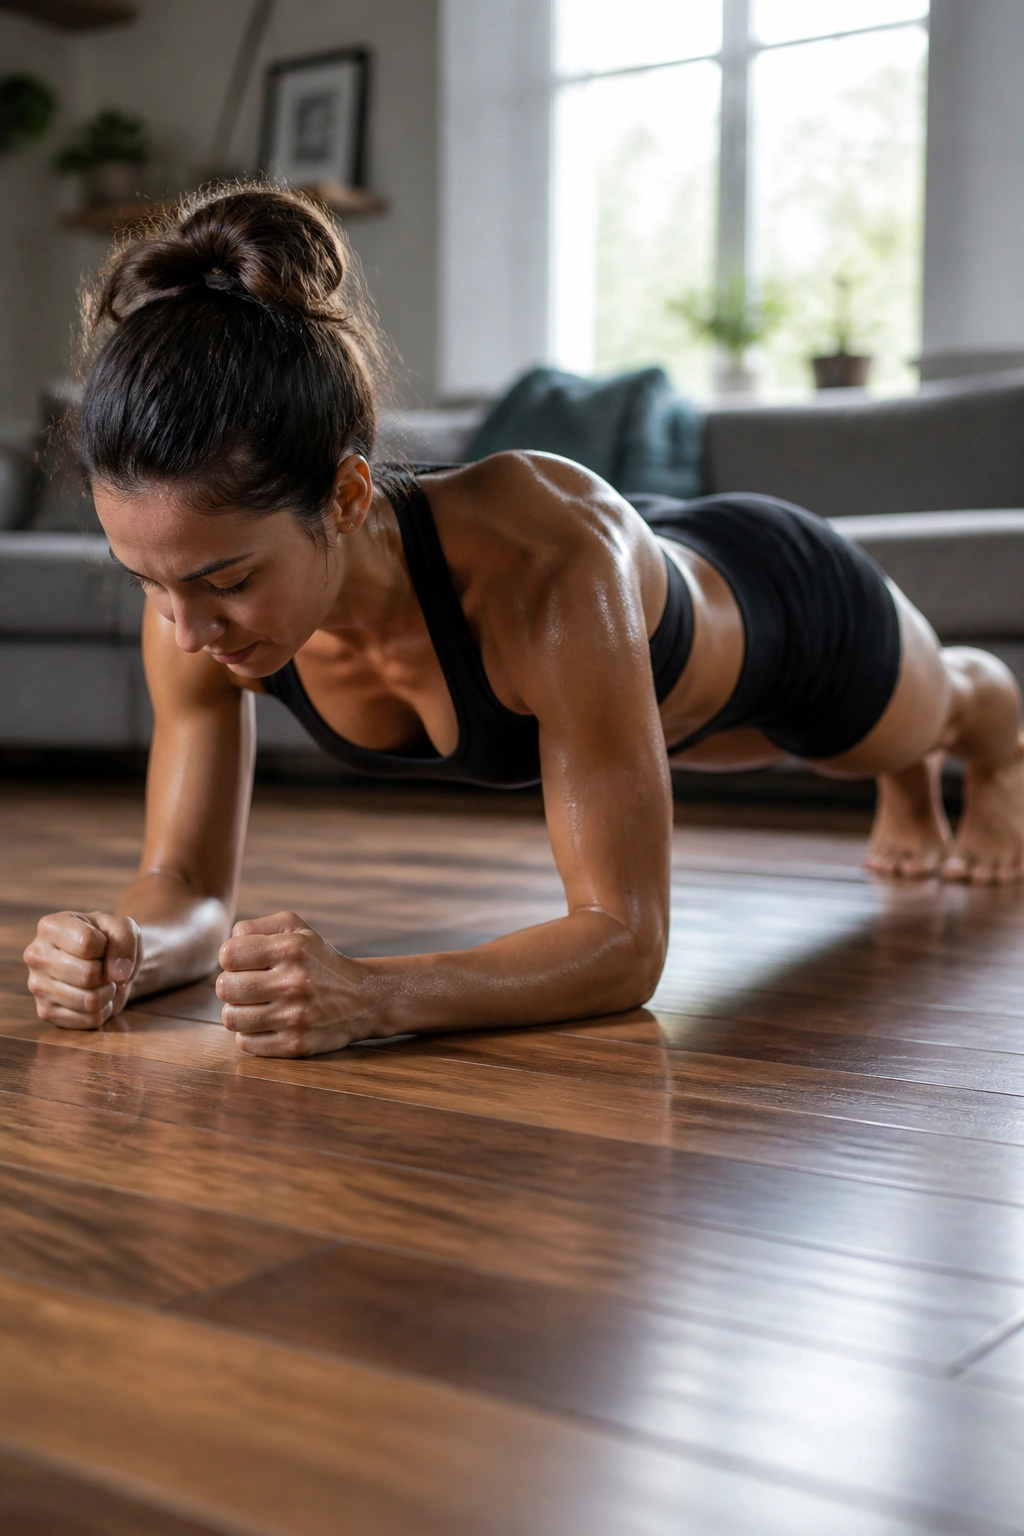
People love to talk about plank time. That’s the wrong conversation.
A 20-second plank done well is more useful than a 60-second plank done like a sagging hammock. The real target is control around your spine, not a heroic-looking stopwatch number.
What a clean plank feels like
Your elbows should sit under your shoulders. Your glutes should stay tight. Your ribs should feel tucked down instead of flaring. And your neck should stay long, with your gaze on the floor a few inches ahead of your hands or forearms.
- Start with 20 to 40 seconds.
- Keep your breathing slow and steady.
- Stop if your lower back dips.
- Use a knee plank if you need a shorter lever.
Shaking is fine. Sagging is not.
If you want to make it harder, add a shoulder tap from a high plank or slide one foot a few inches off the floor at a time. Small changes go a long way here, which is exactly why planks stay useful long after flashy ab routines get boring.
6. Mountain Climber Intervals for Fast Cardio
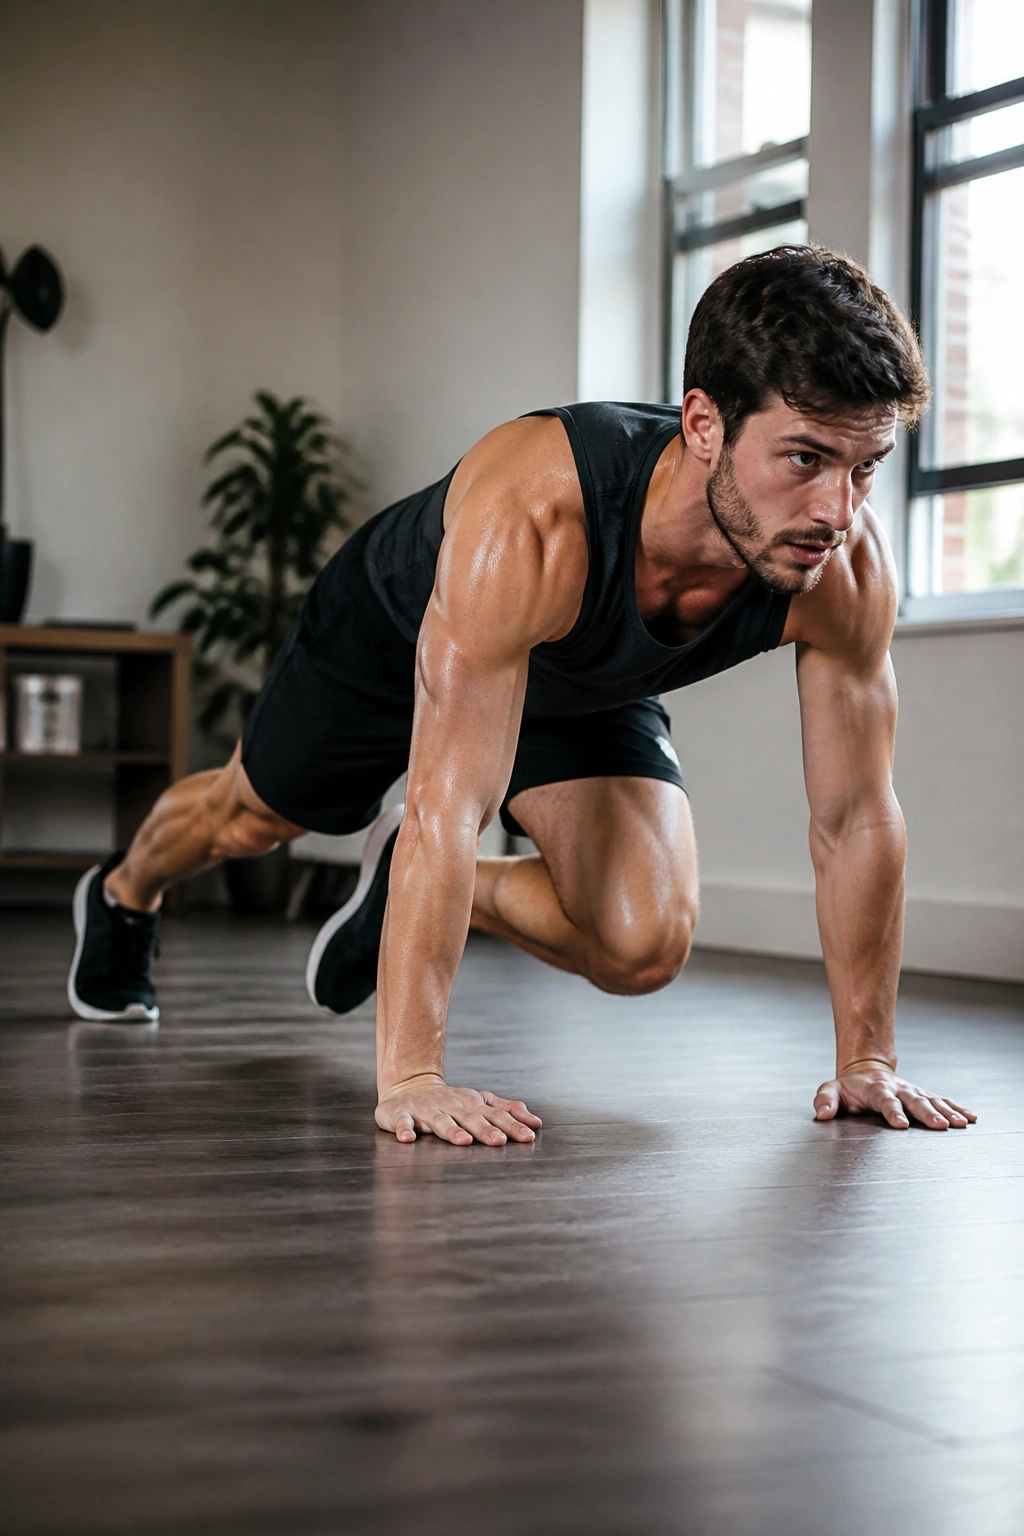
Need to get sweaty without jumping around for half an hour? Mountain climbers do the job fast.
They hit your shoulders, core, and hip flexors while pushing your heart rate up quickly. Done badly, they turn into sloppy knee flailing. Done well, they feel like a sharp little sprint on the floor.
Fast feet, quiet torso
Set up in a strong plank position with your hands under your shoulders. Drive one knee toward your chest, then switch feet quickly without letting your hips bounce all over the place. The goal is a fast, controlled rhythm.
Try 20 seconds on, 10 seconds off for 8 rounds, or 30 seconds on, 30 seconds off for 6 rounds if you want something a little less intense. Keep your shoulders steady and your back flat.
If your wrists are grumpy, shorten the work intervals and focus on smaller, cleaner steps. You do not need to slam your knees into your chest for the exercise to count. Speed matters. Control matters more.
7. Jumping Jacks as a Fast Warm-Up
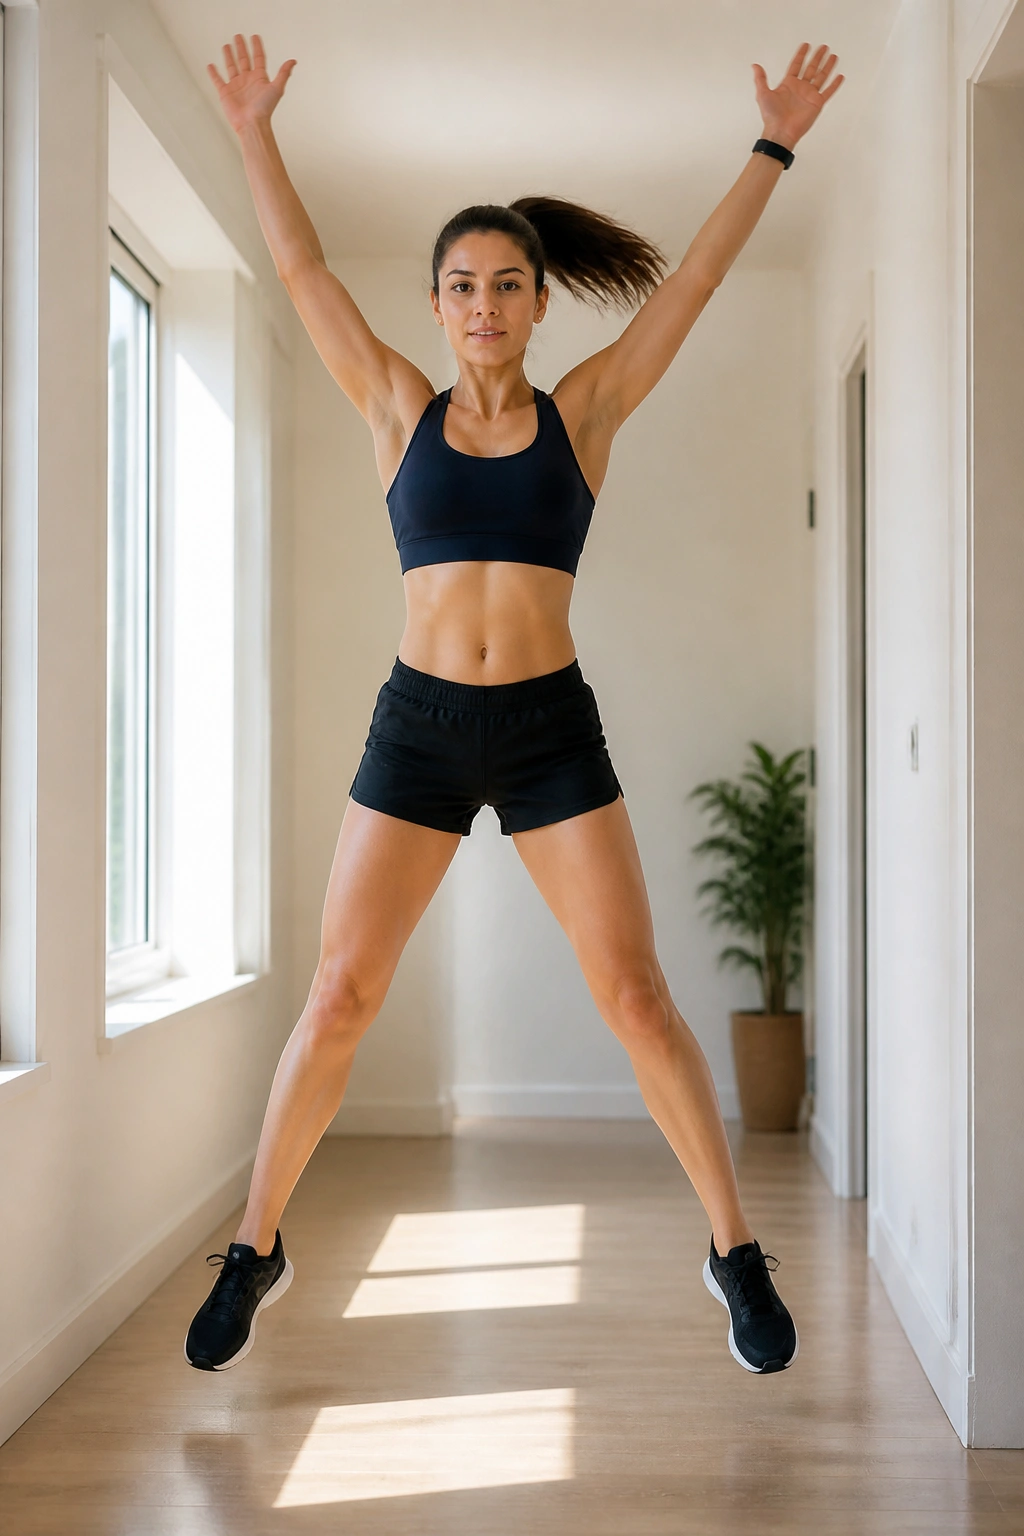
Jumping jacks are still useful. Not glamorous. Useful.
They raise body temperature, loosen up the shoulders and hips, and get your breathing moving before the harder stuff begins. That makes them a smart opener for bodyweight workouts, especially when you have been sitting for a while.
Do them as 60-second rounds or just count out 100 total reps if you like a clean endpoint. If full jumps bother your knees or neighbors, switch to step jacks: one foot out, then the other, with your arms moving the same way.
A simple way to use them is this: 1 minute of jacks, 1 minute of squats, 1 minute of jacks, 1 minute of planks. It’s plain, but it works.
No drama required.
8. Bear Crawls That Light Up Your Shoulders and Core
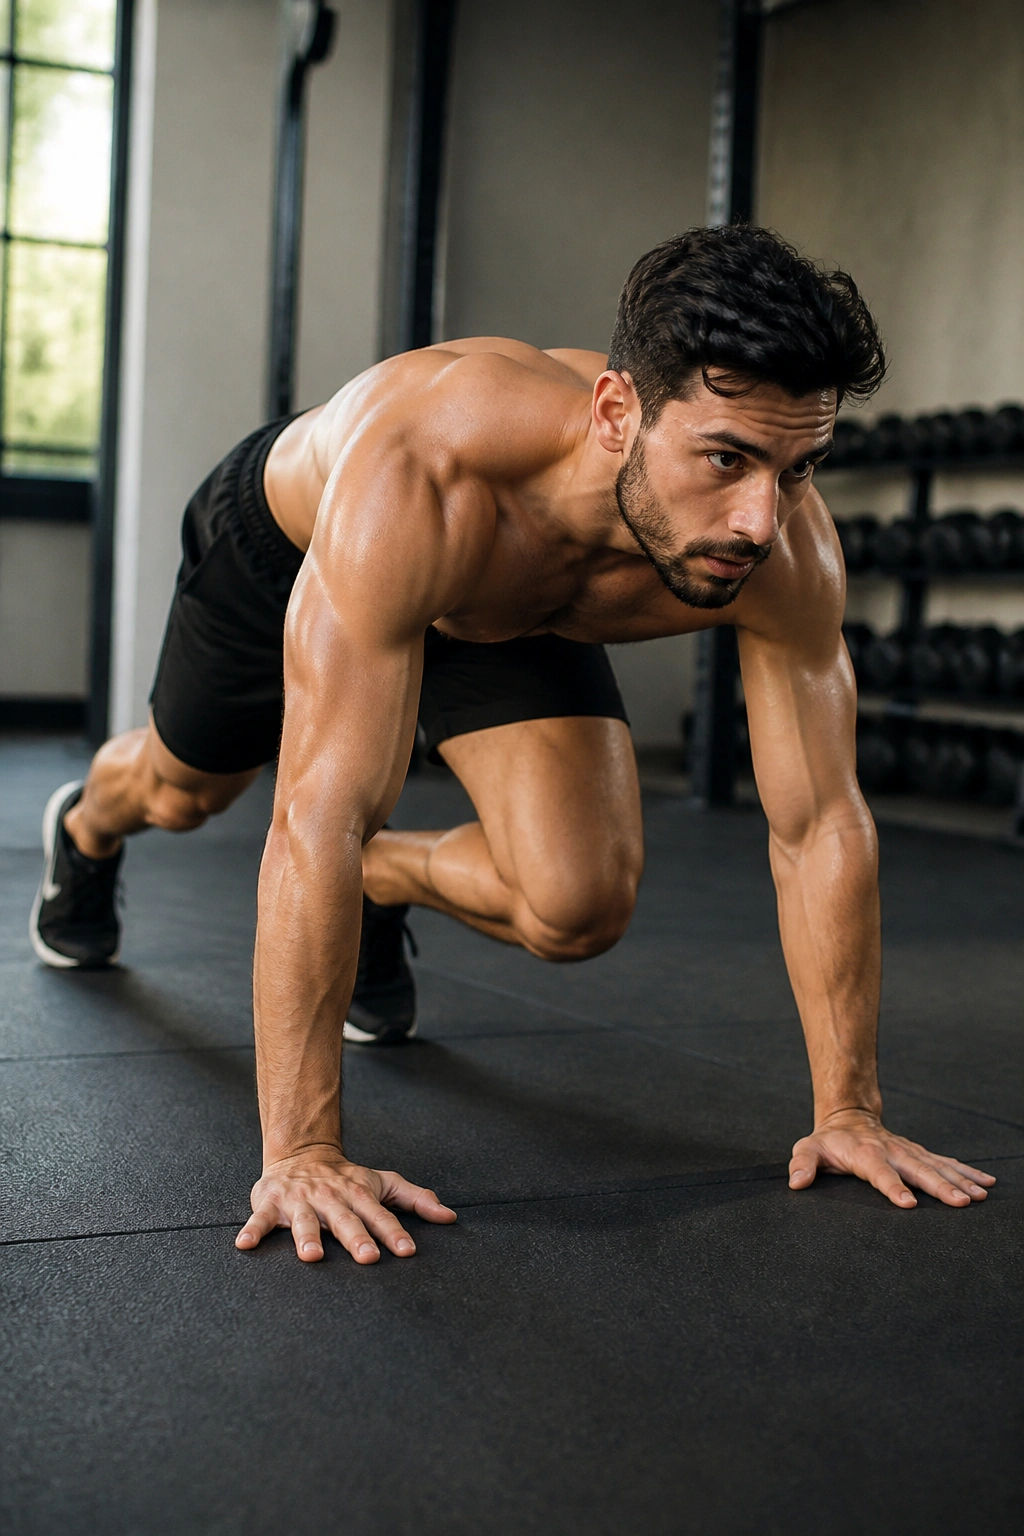
Why crawl if you’re not a kid? Because your shoulders, core, and hips all have to cooperate at the same time, and that makes bear crawls far more interesting than they look.
This move is short, sneaky, and awkward in a useful way. A few steps forward and back will tell you a lot about how well your torso stays steady when your limbs move.
How to keep it clean
- Start on hands and knees.
- Lift your knees 1 to 2 inches off the floor.
- Move the opposite hand and foot together.
- Keep your hips low.
- Take 10 steps forward and 10 steps back, or crawl for 20 to 30 seconds.
The hard part is not speed. It’s staying controlled while the body wants to wobble.
If you have more floor space, crawl in short lanes. If you don’t, stay in place and hold the bear position for 15 seconds, then take 4 slow steps each way. The small version still gets the point across.
9. Dead Bug Reps for a Back-Friendly Core
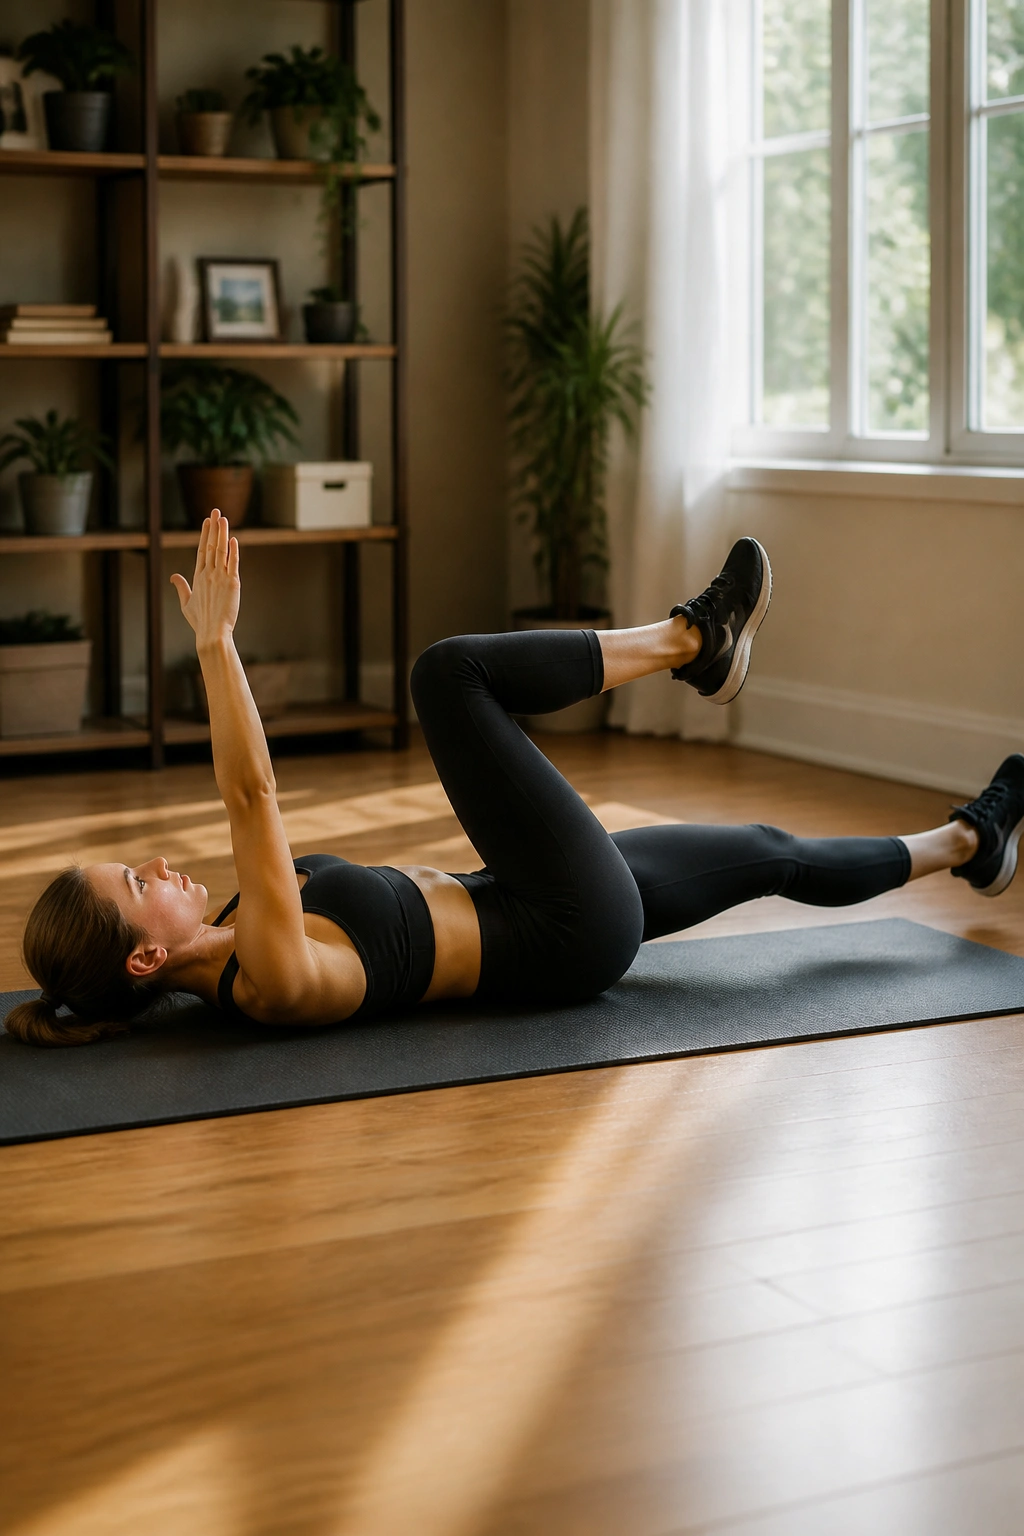
On your back, one leg reaches out while the opposite arm goes overhead. That sounds too easy until you try to keep your lower back glued to the floor.
Dead bugs are one of the best core moves for people who don’t love crunches. They train your abs to hold position while your arms and legs move, which is closer to real life than endless spinal bending.
Use 2 to 3 sets of 6 to 10 reps per side, and move slowly enough that you can breathe on purpose.
Three cues that help
- Press your lower back gently into the floor.
- Exhale as the arm and leg extend.
- Stop the range if your back pops up.
A dead bug should feel controlled, not rushed. If it gets sloppy, reduce the reach and slow down. You can also do arm-only or leg-only versions first, which is often the smarter move for beginners.
This is one of those home workouts moves that looks boring on paper and turns out to be brutally honest in practice.
10. Superman Holds for Your Lower Back and Glutes
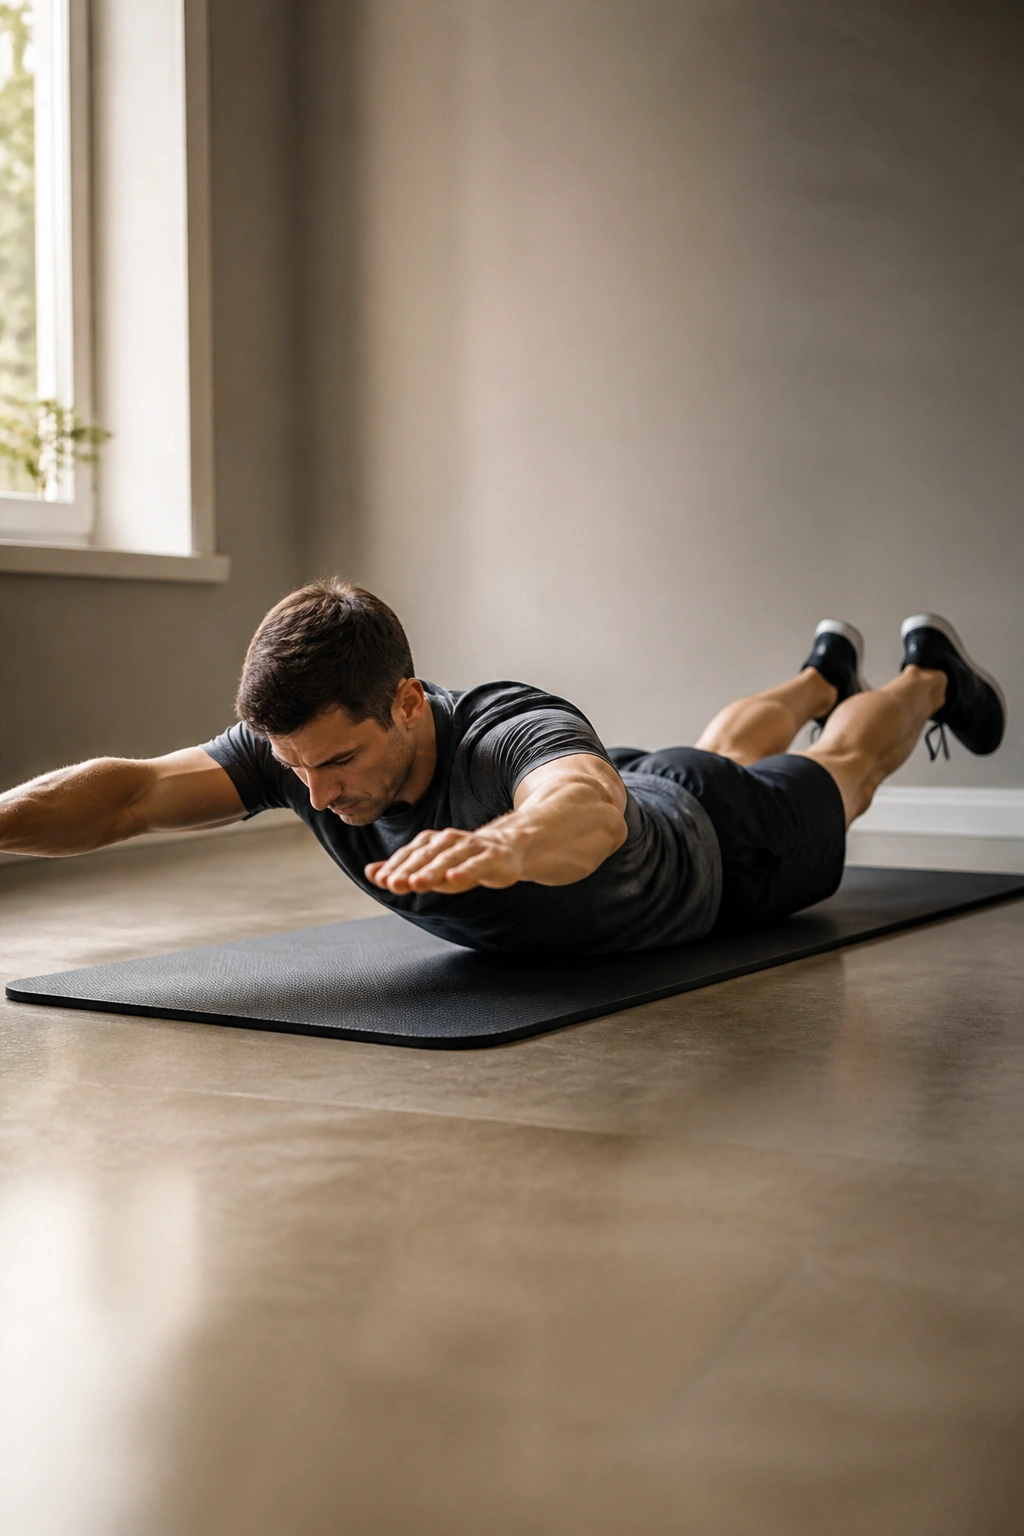
Your back needs work too.
That’s the part a lot of no-equipment routines skip, and it’s a shame. The muscles along the back of your body help with posture, lifting, and keeping your spine happy when you spend too much time folded over a desk or a phone.
Lie face down with your arms reaching forward. Lift your chest and legs a few inches off the floor, then hold for 20 to 30 seconds. You can also do 8 reps of 3-second holds if long holds irritate your lower back.
Keep your neck long and your gaze toward the floor. High lift is not the goal. A tiny, controlled raise is usually better than heaving yourself upward like you’re trying to take off.
If the full Superman feels harsh, keep your arms by your sides and lift only your chest a little. That version still wakes up the spinal muscles without making the move feel like a wrestling match.
11. Side Plank Sets for Obliques and Hip Control
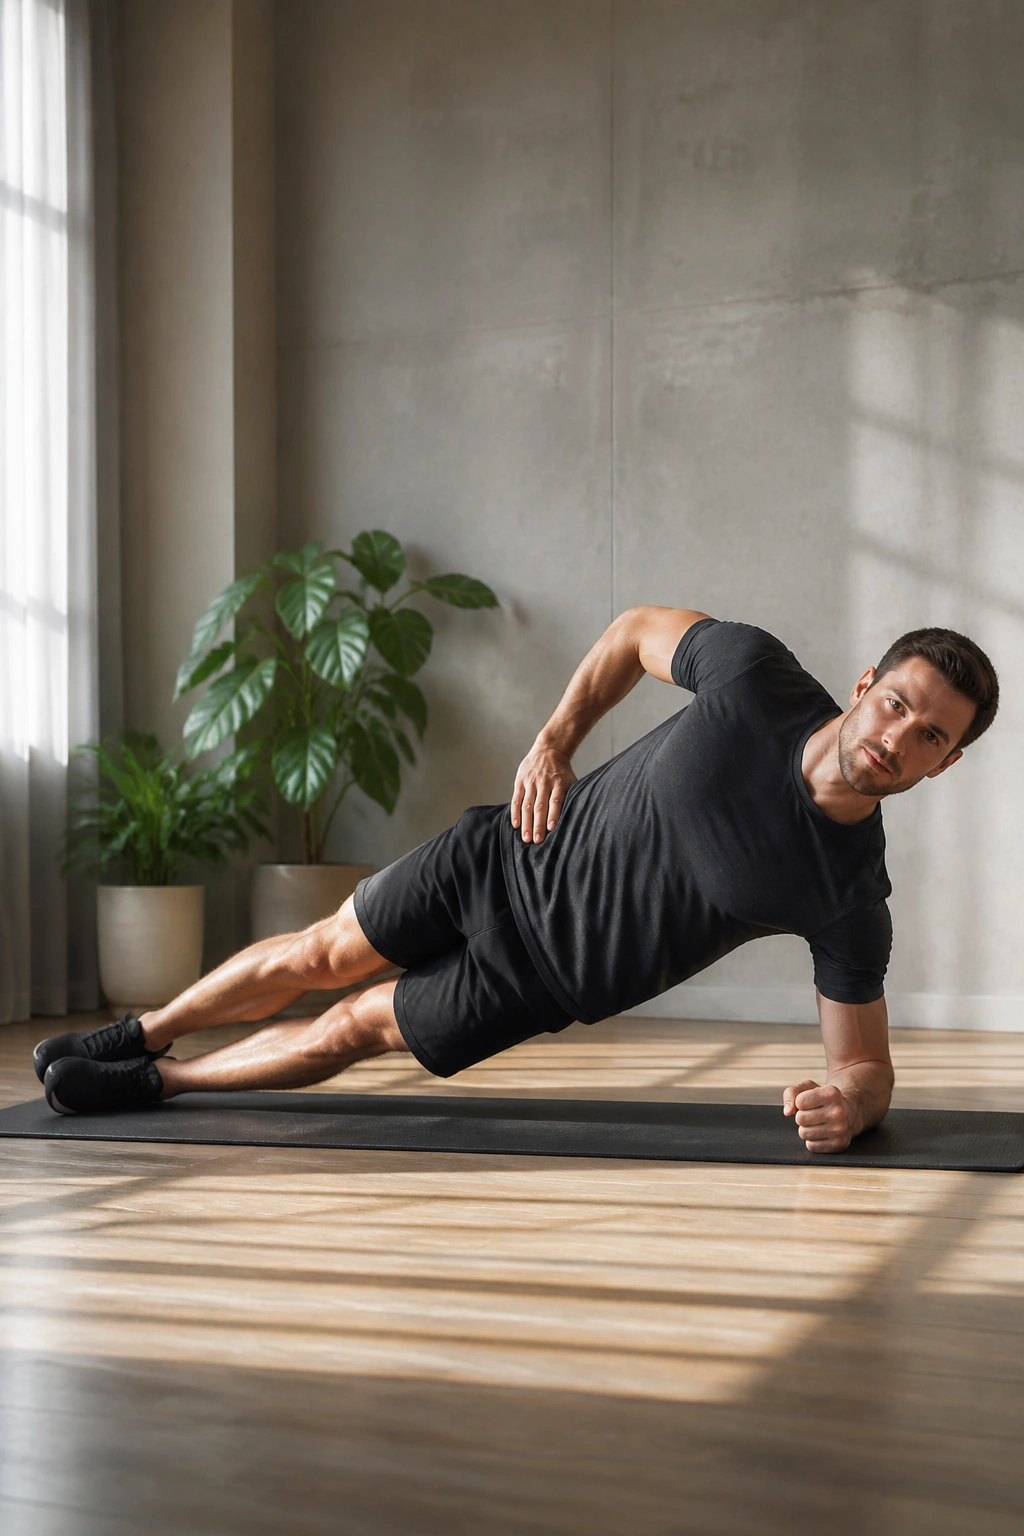
Side planks get less attention than front planks, which is odd, because they catch a weakness fast.
This position trains the obliques, the muscles on the side of your torso, along with the side of your hips. If you run, walk long distances, or just want to stop collapsing to one side when you stand on one leg, this move earns its place.
Start with 15 to 30 seconds per side. If that is too much, drop to your knees and keep the same body line from shoulder to knee.
A clean side plank should feel like your ribs are stacked over your hips, not twisted forward. If you want more work, add a top-leg lift or a slow reach-through under your torso.
Front planks are fine. Side planks fix a different problem. That distinction matters.
12. Shadowboxing Rounds for Cardio Without a Treadmill
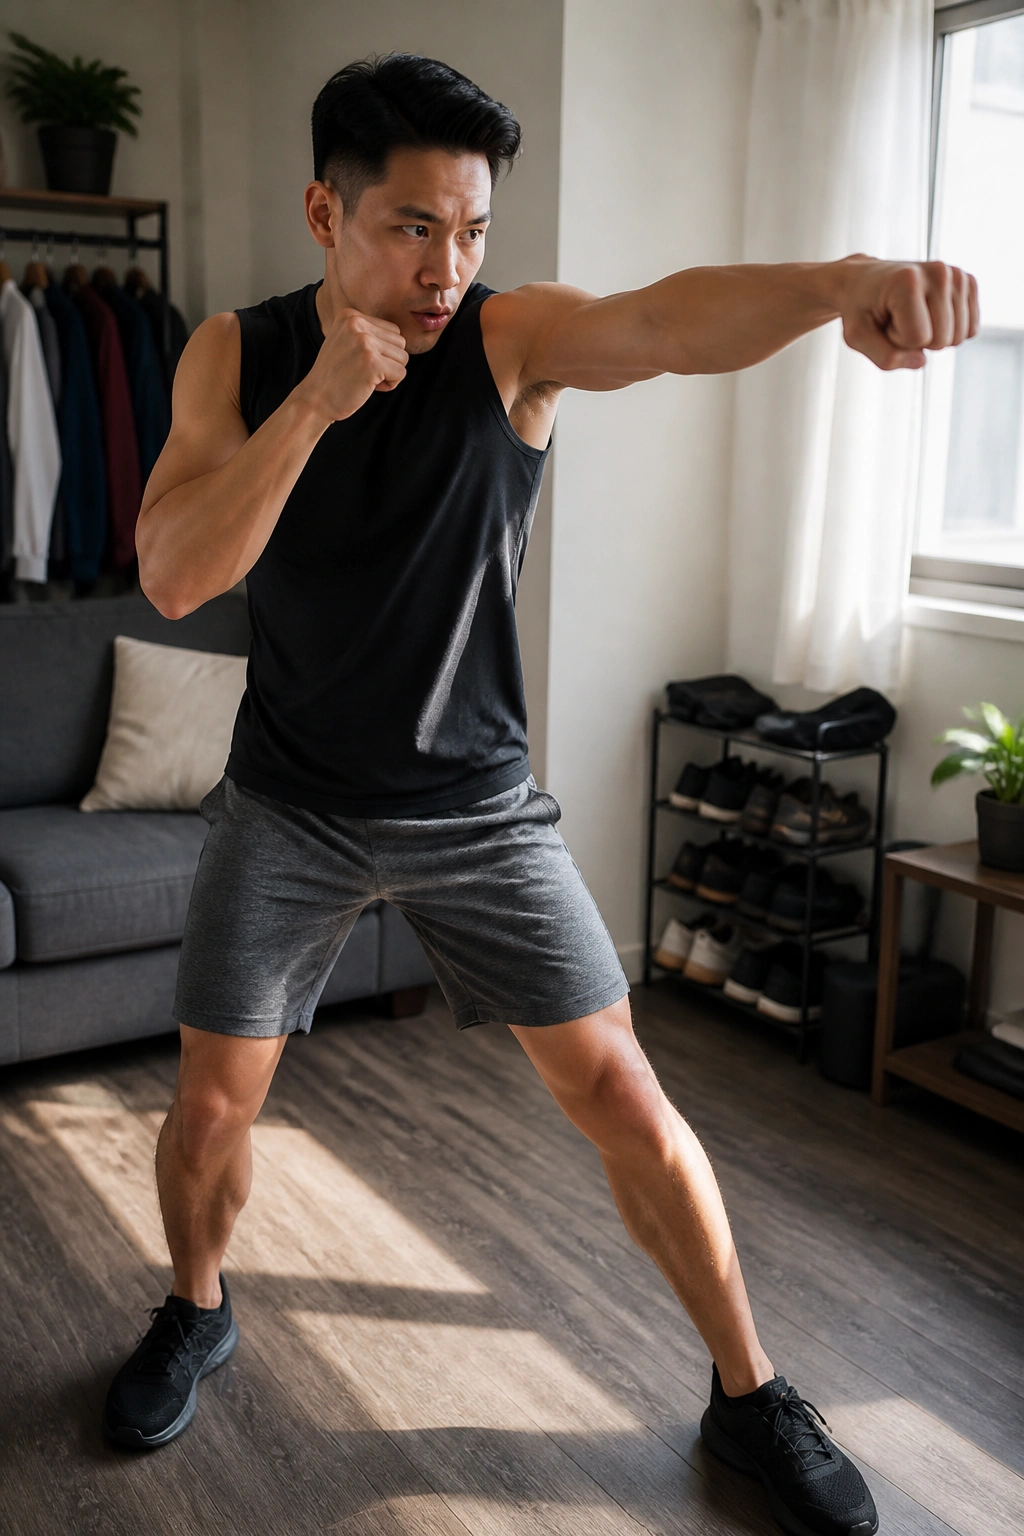
Shadowboxing is one of the easiest ways to make a no-gear workout feel alive.
It gives you cardio, shoulder endurance, coordination, and footwork all at once, and it does it without the dead feeling that some cardio drills create when you repeat the same motion for too long. It also wakes up your brain. You have to think a little.
A simple round structure
- Round 1: jab-cross, jab-cross, light footwork.
- Round 2: jab-cross-hook, then reset.
- Round 3: add slips or pivots after each combo.
- Rest 30 to 60 seconds between rounds.
- Work for 2 to 3 minutes per round.
Keep your fists loose and your shoulders relaxed. If they creep up toward your ears, slow down and reset your stance.
You do not need boxing gloves or a bag to make this worthwhile. You need rhythm and a little space. That’s it.
13. High-Knee Intervals for a Fast Sweat
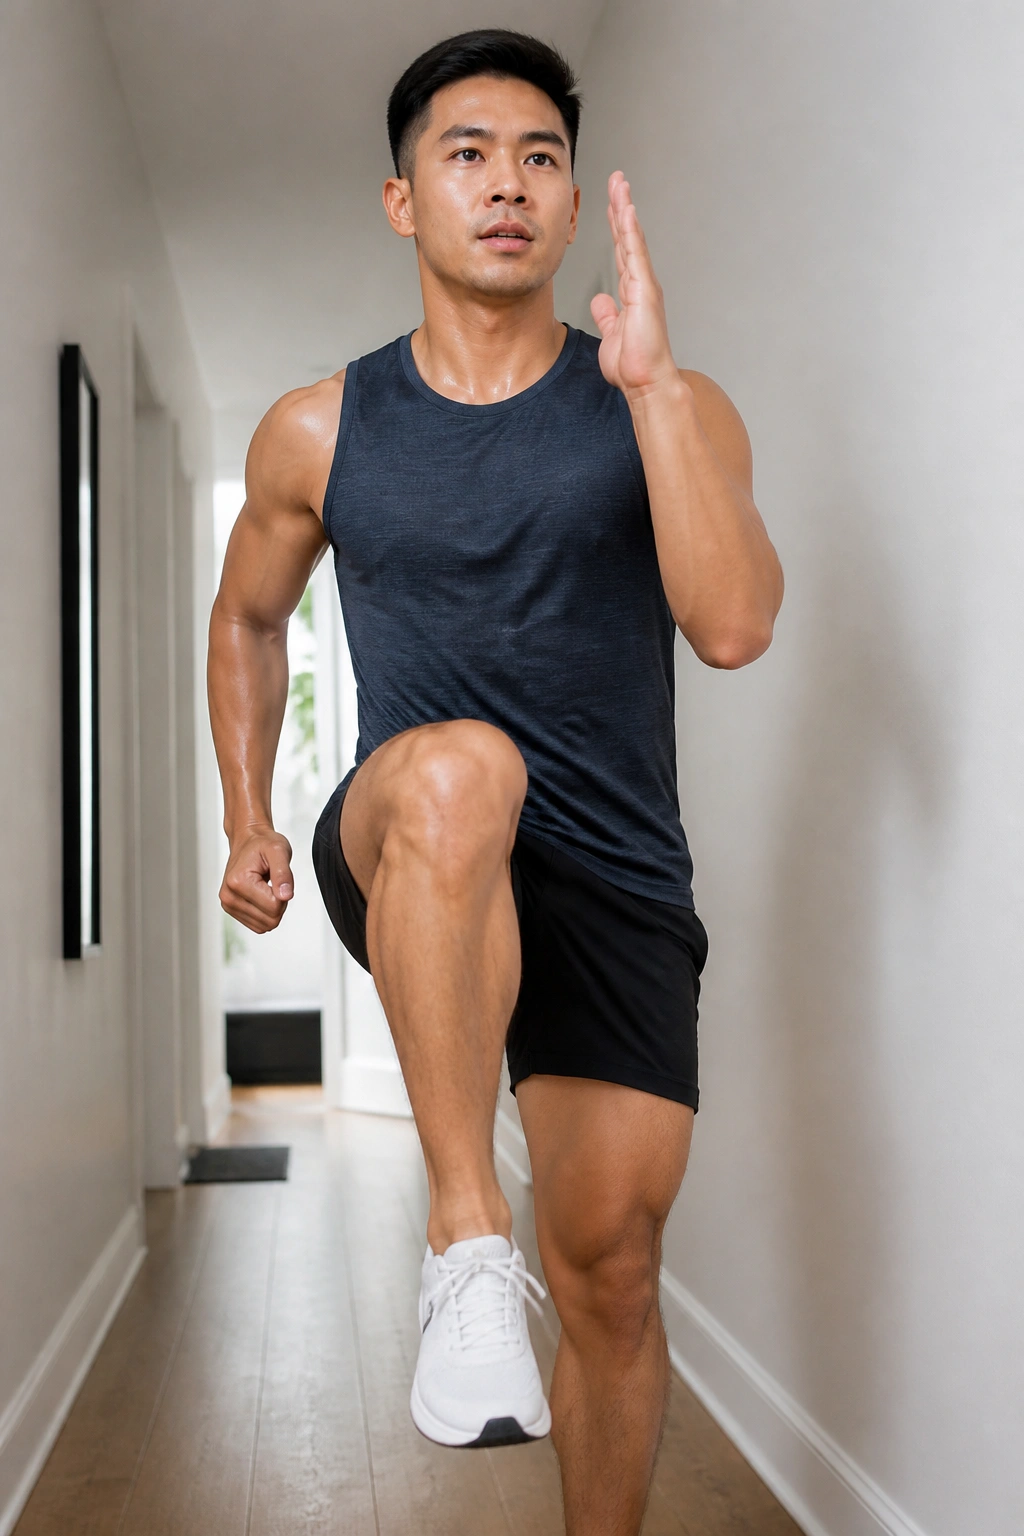
Need a cardio drill that fits in a narrow space and doesn’t ask for much setup? High knees do that job.
The move is simple: drive one knee up, switch fast, and keep your torso tall. The part people miss is posture. If you lean back, the work shifts around and the drill gets sloppy fast.
Try 20 seconds hard, 40 seconds easy for 6 rounds, or use 30 seconds on, 30 seconds off if you want a longer push. If your joints prefer less impact, march in place with purpose and lift the knees as high as you can manage without bouncing.
A good cue is to pump your arms like you mean it. That keeps the rhythm honest and helps the whole body work together.
High knees look simple. They stop feeling simple after about 15 seconds.
14. Burpee Ladders for a Short, Hard Finisher
Burpees have a reputation for a reason.
People love them for about 10 seconds, then they start bargaining. That’s normal. The move combines a squat, a plank, and a stand or jump, which means you get a lot of work from a small amount of space.
How to scale without cheating
- Start with a step-back burpee instead of jumping back.
- Leave out the push-up if your shoulders or wrists are tired.
- Skip the jump and stand tall if impact is a problem.
- Build a ladder: 1 rep, 2 reps, 3 reps, 4 reps, 5 reps, resting 30 to 60 seconds between rungs.
If your lower back hates burpees, keep your chest lifted when you step back and step forward. If your wrists are cranky, use a slower descent or swap in squat-thrusts.
This is a finisher, not a centerpiece. Five solid minutes of burpees can empty the tank fast, and that’s the point.
15. A 15-Minute Full-Body Circuit for Busy Days
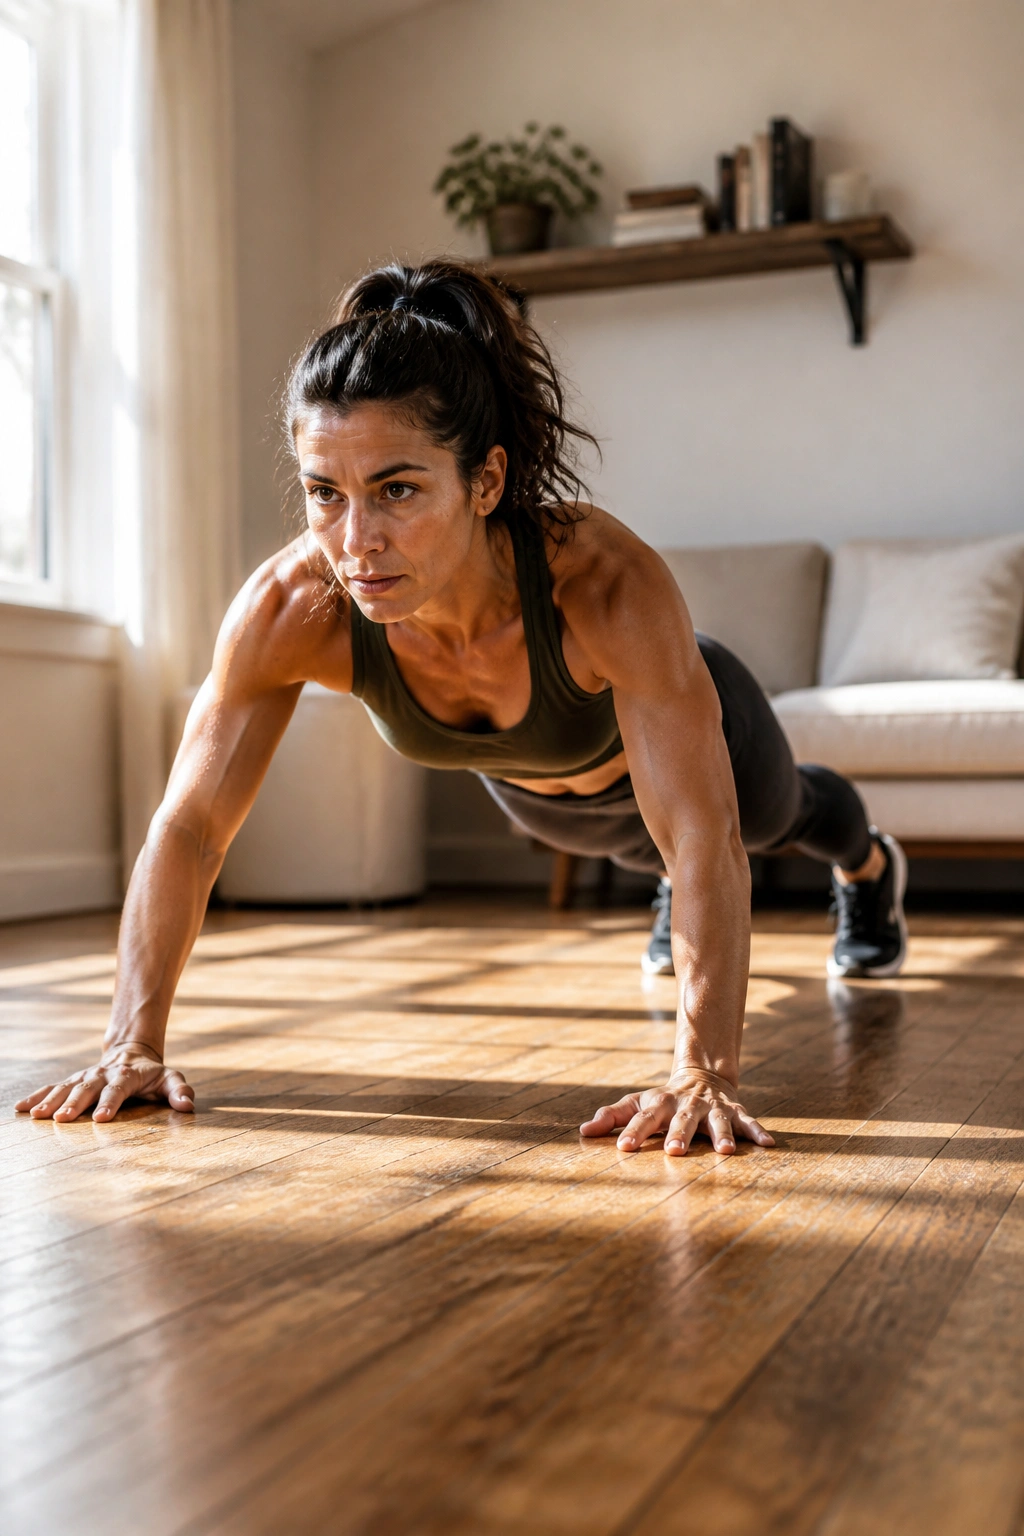
If you only want one no-gear routine to save and repeat, make it this one.
It covers legs, pushing, core, and cardio without turning the session into a mess of random exercises. The pace stays honest, the setup stays simple, and you can finish it in the time it takes to scroll through a few distracted messages.
The sequence
- 40 seconds of squats
- 20 seconds of rest
- 40 seconds of push-ups or incline push-ups
- 20 seconds of rest
- 40 seconds of reverse lunges
- 20 seconds of rest
- 40 seconds of mountain climbers
- 20 seconds of rest
- 40 seconds of plank
- 20 seconds of rest
Repeat the full circuit 3 times. That gives you about 15 minutes of work, plus a little breathing room.
If you’re newer to this, switch to 20 seconds work and 40 seconds rest for 2 rounds. If you’re stronger than that, keep the same order and shorten the rest. The beauty here is that nothing needs to change except the clock.
Final Thoughts
A no-gear workout works when the reps are honest. That’s the real separator. Not the room, not the floor, not whether you own a single piece of equipment.
Pick one move for your legs, one for your upper body, one for your core, and one that gets your heart rate up. Keep the form clean, keep the rest short enough to stay engaged, and raise the challenge by adding time, reps, or a slower lowering phase when the first version starts to feel easy.
Simple is not soft. Simple is repeatable.
And repeatable training tends to win.
