



The best postnatal workouts are usually the least dramatic ones. They’re the movements that make your body feel steadier instead of louder, calmer instead of braced, and more like yours again after birth.
That matters because the first year after giving birth is not one long recovery bubble. It’s a messy stretch of healing, interrupted sleep, changing hormones, sore shoulders, and a core that may need more patience than anyone on social media likes to admit. I’m not a fan of the advice that jumps straight to crunches, jumping, or long planks before the basics are back.
A smarter approach is boring in the best way. Breath work. Floor drills. Walking. Light strength. A few moves that wake up your hips and upper back. Then a little more load, a little more range, and a little more confidence. If something creates heaviness in the pelvis, leaking, pain, pulling at an incision, or a noticeable ridge down the middle of the belly, that’s your cue to back off and scale it down.
Start with the floor. Then stand up.
1. Diaphragmatic Breathing With Pelvic Floor Coordination
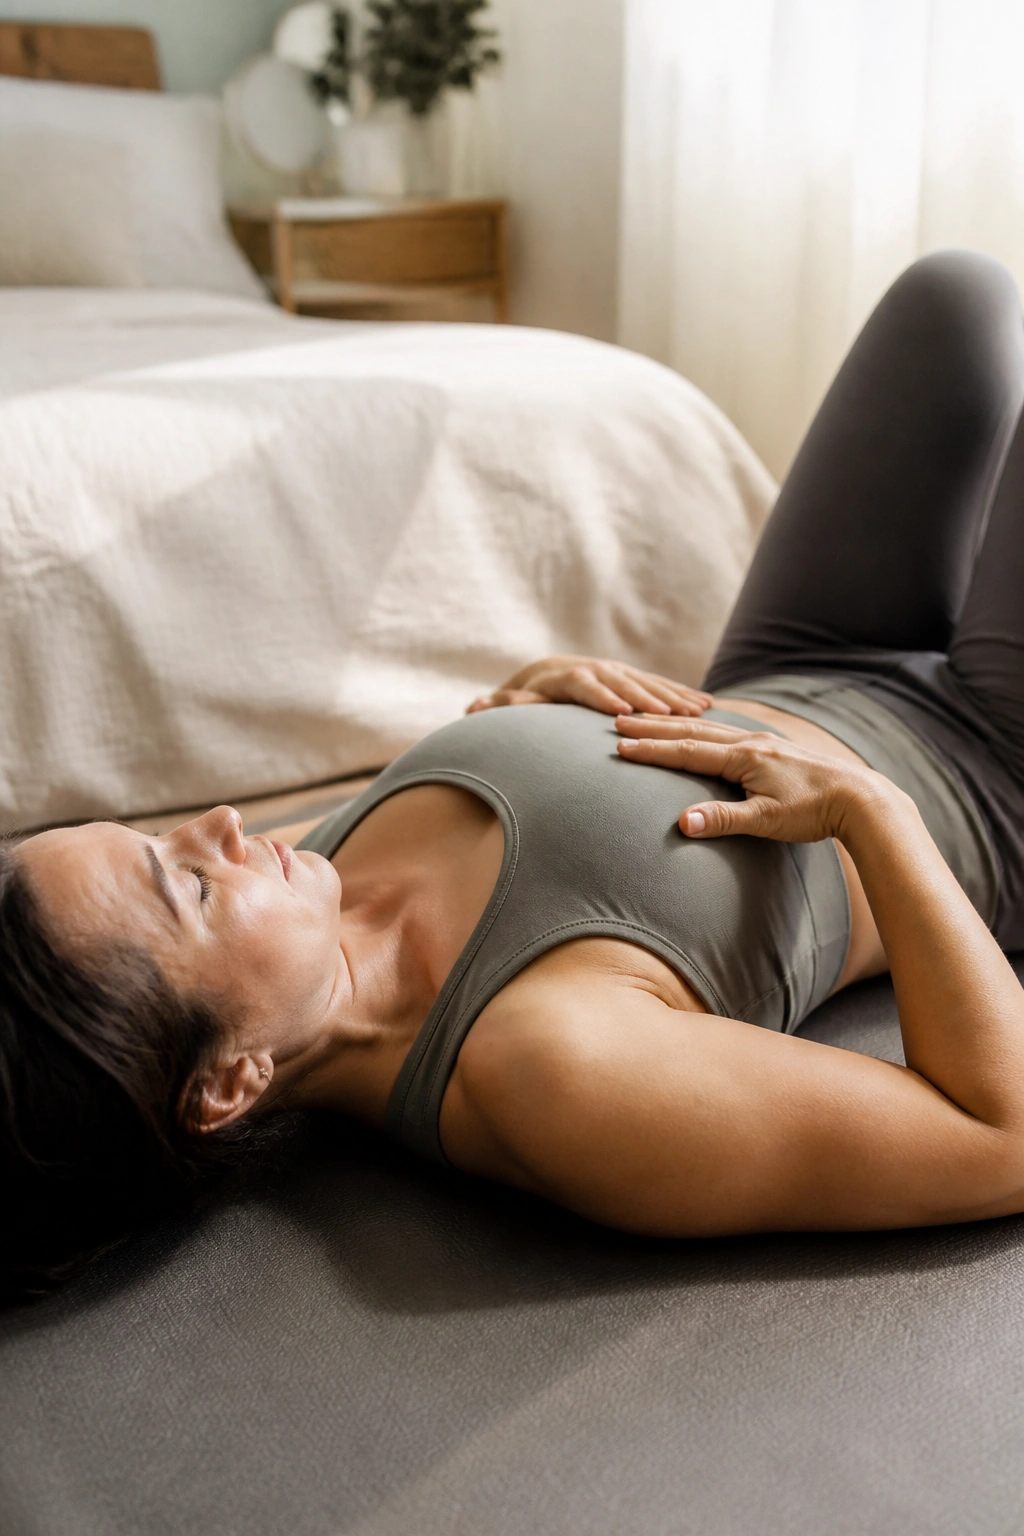
Breathing sounds too simple to count as a workout, and that’s exactly why it belongs at the top of the list. After birth, a lot of people hold their breath without meaning to, especially when lifting a baby, getting out of bed, or bracing for pain. That habit can make the core feel stuck and the pelvic floor feel either too tight or too sleepy.
Why it earns an early spot
A slow inhale that expands the ribs, followed by a long exhale, helps your trunk work as one unit again. You are not trying to suck your stomach in hard. You’re teaching pressure to move in a way your body can handle.
A good starting dose is 5 to 8 breaths for 2 rounds, lying on your back with knees bent or on your side. Inhale through your nose and feel the lower ribs widen. Exhale through pursed lips and think about the ribs melting down while the pelvic floor gently lifts. Gentle is the word. Not forceful.
- Keep your jaw soft.
- Let your shoulders stay heavy.
- If your belly pushes out a little on the inhale, that’s fine.
- If you feel dizzy, stop and sit up.
Pro tip: do this before every other exercise in the first few months. It changes how the rest of the session feels.
2. Pelvic Tilts on the Floor
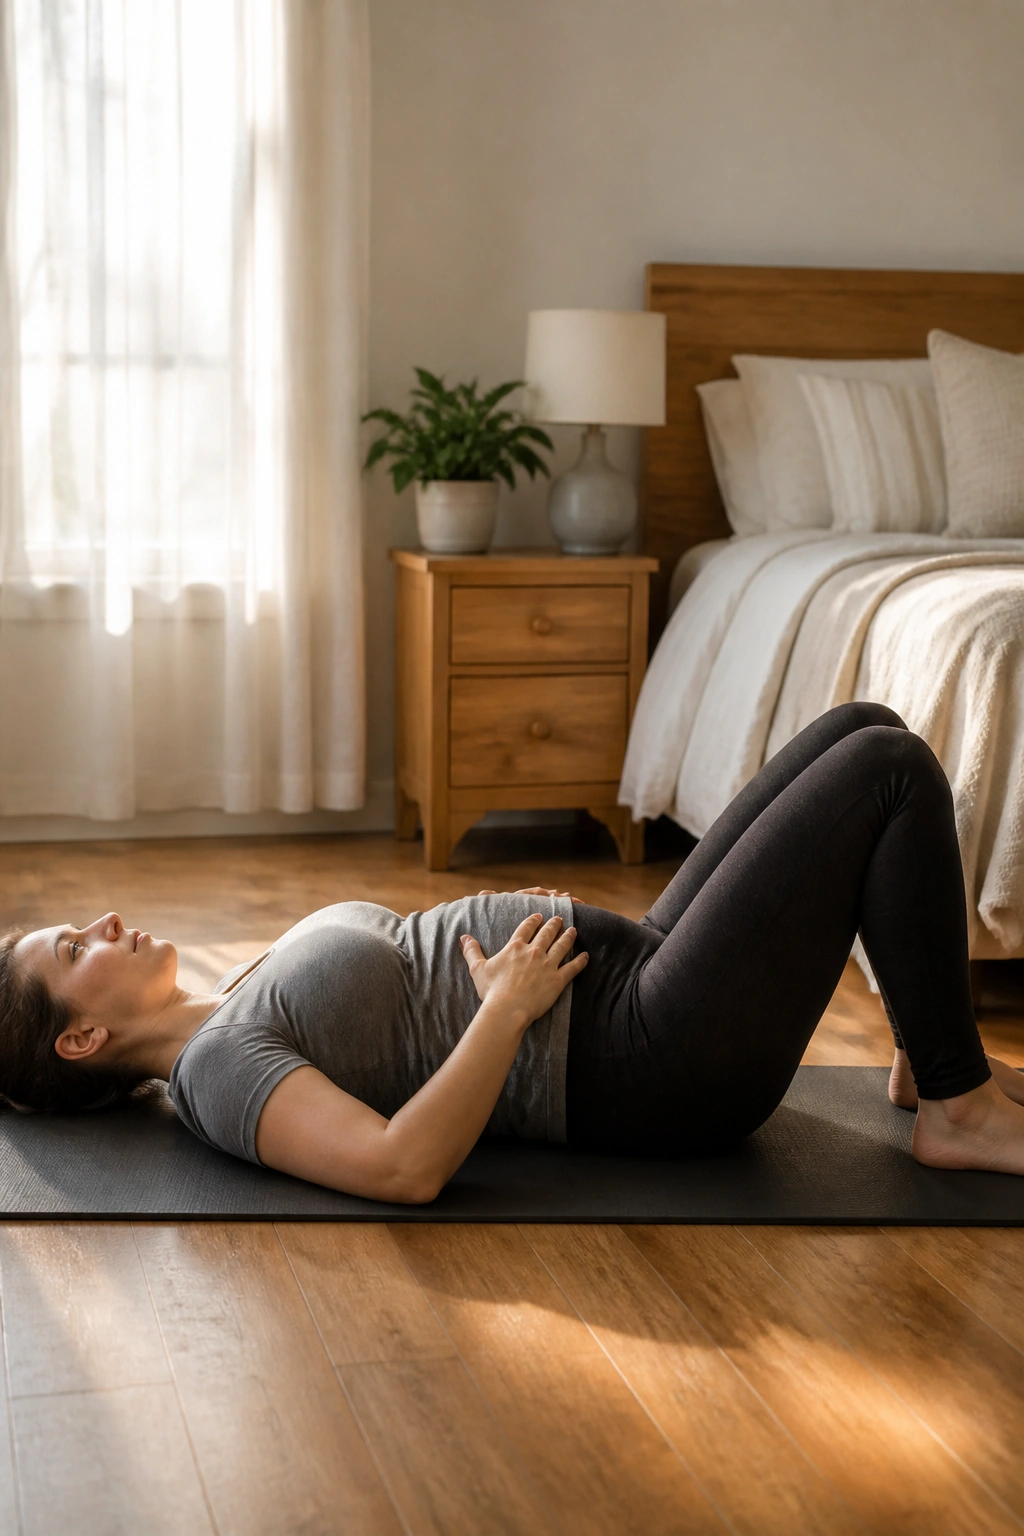
Pelvic tilts are small. That is the point. They help you find your low back again without asking the body to do anything flashy.
Lie on your back with knees bent and feet flat. On the exhale, gently tip the pelvis so your low back gets a little closer to the floor. On the inhale, ease back to neutral. The motion should be smooth and almost quiet. If your ribs flare or your glutes clench hard, you’re making it bigger than it needs to be.
I like pelvic tilts early on because they show you whether your abdomen can organize itself without strain. Ten controlled reps can wake up the deep core better than a bunch of aggressive ab work. Do 1 to 2 sets of 8 to 12.
A tiny move can still be useful. Especially here.
3. Heel Slides
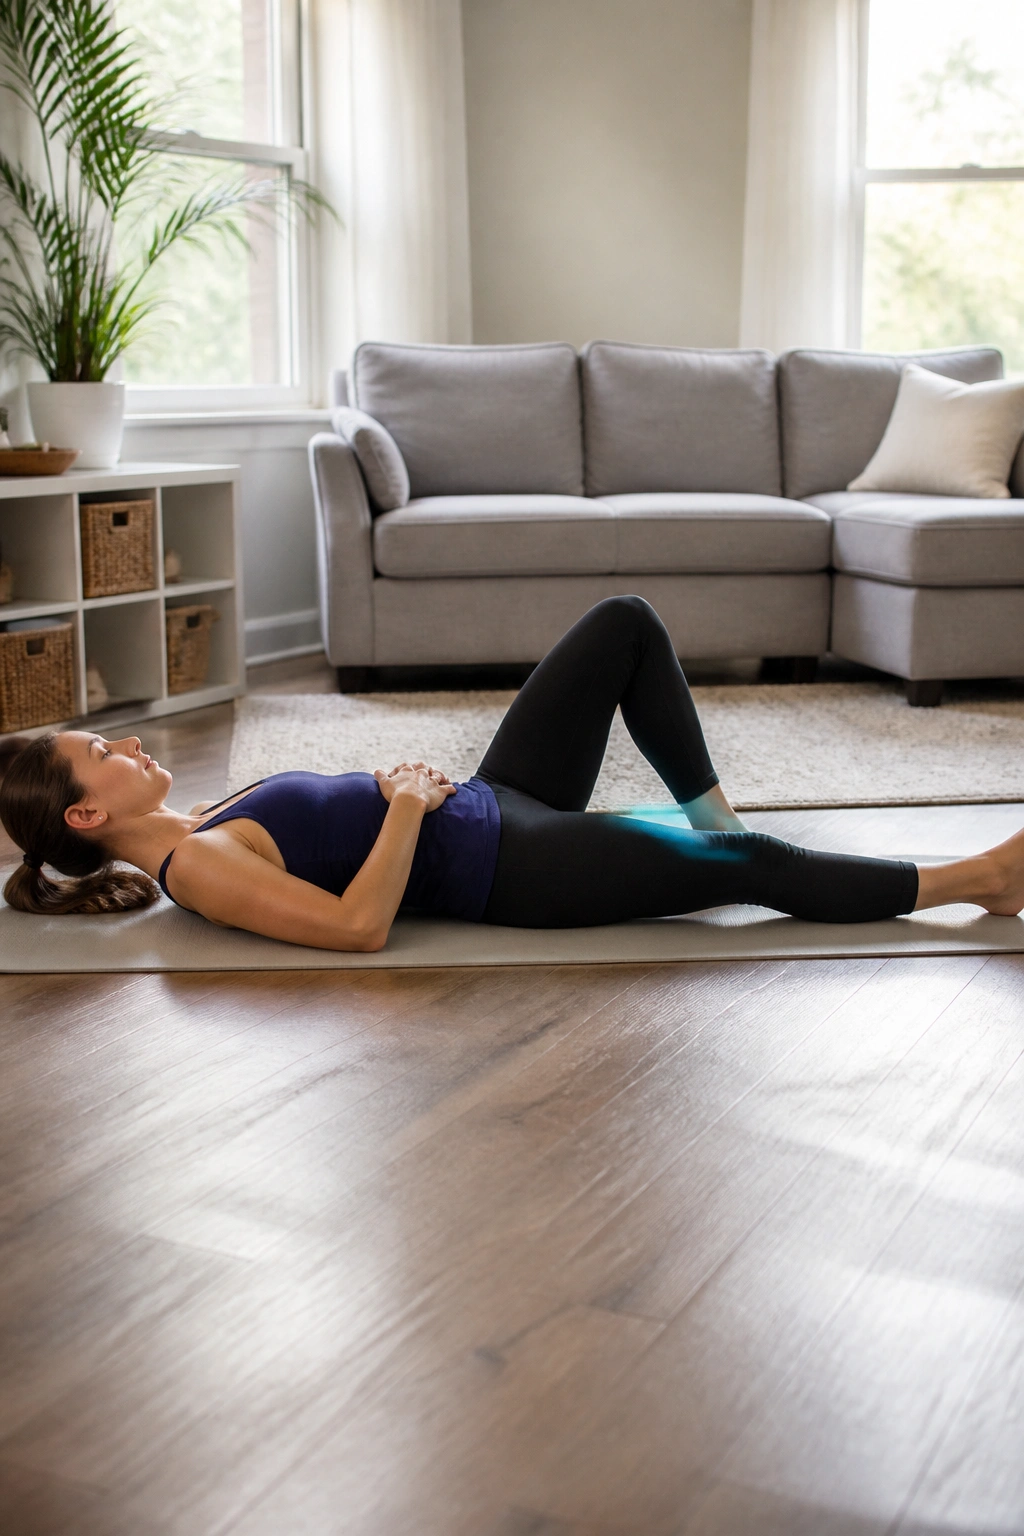
A heel slide looks almost too easy. That’s the point. It asks the core to stay steady while one leg moves away from your body, which is a very postpartum kind of challenge.
Keep the pelvis quiet
Start on your back with one knee bent and the other leg ready to slide. As you exhale, slowly slide one heel along the floor until the leg is nearly straight, then bring it back in. The lower back should stay fairly settled. If you feel the belly dome up in the middle, shorten the range.
Do 6 to 10 reps per side and keep the movement slow enough that you could stop halfway if needed. Socks on a smooth floor make this easier. A towel under the heel works too.
Heel slides are useful when you want to bridge the gap between breathing and strength. They teach the body to resist motion without gripping. That skill shows up again in walking, carrying, and eventually running.
4. Glute Bridges
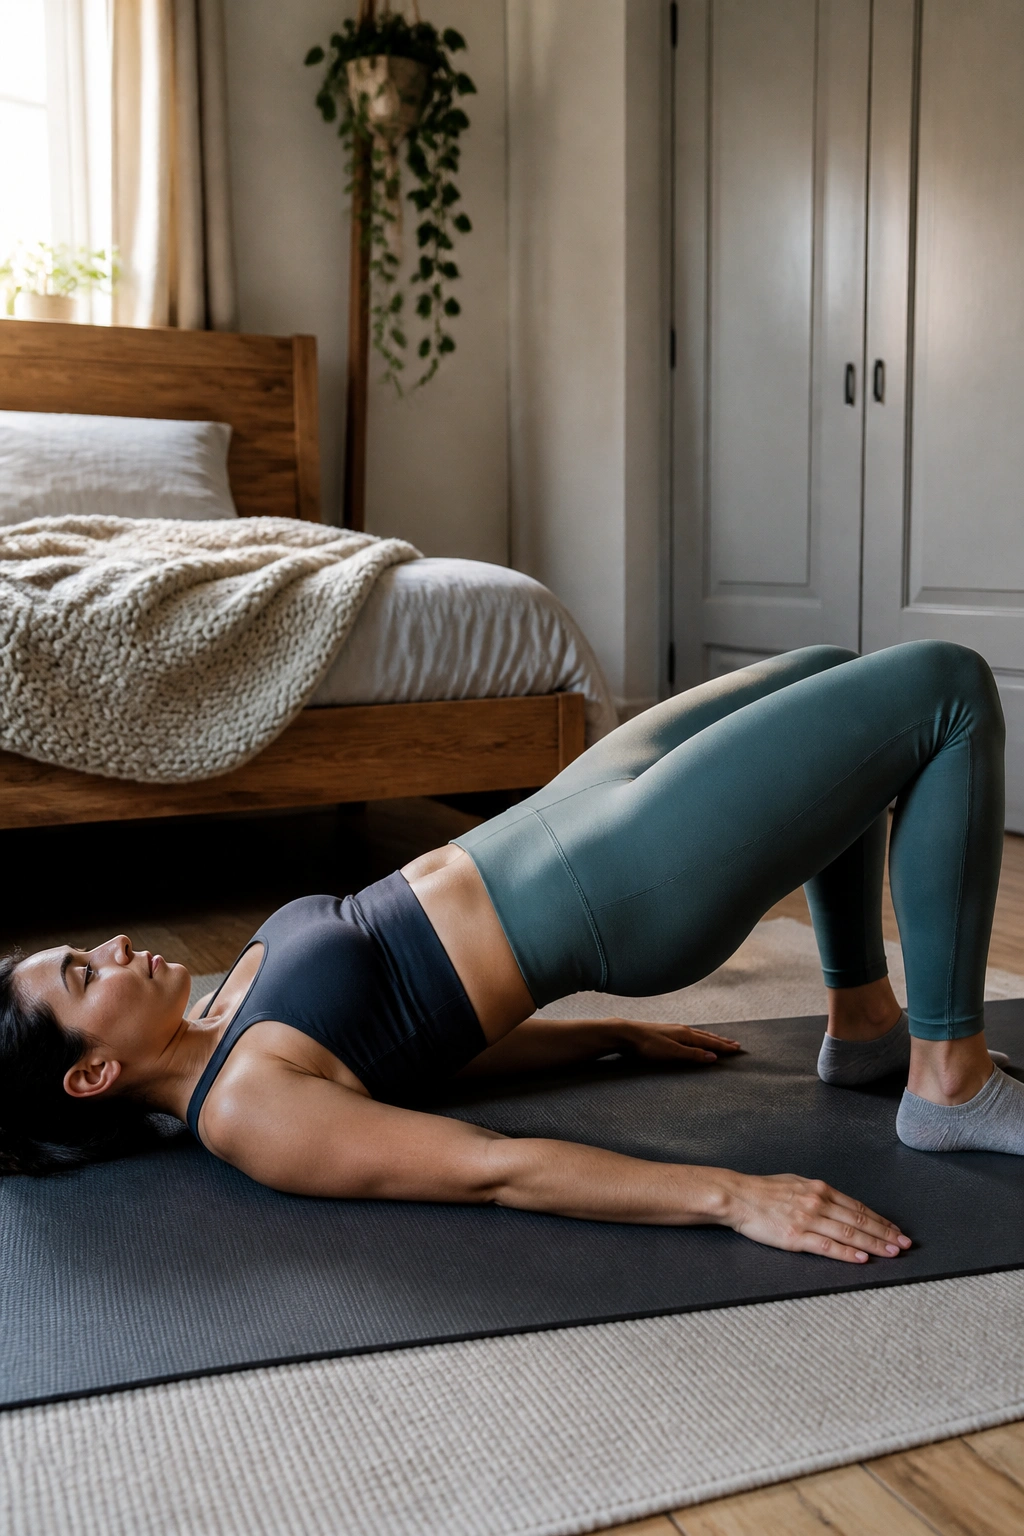
Glute bridges are one of the first moves that makes a lot of postpartum people feel upright again. They wake up the backside, which tends to get sleepy after weeks of feeding positions, rocking, and leaning over a bassinet.
Lie on your back with knees bent, feet hip-width apart. Exhale as you press through the heels and lift the hips until your body makes a long line from shoulders to knees. Pause for a second at the top. Then lower slowly. The lift should come from the glutes, not from arching the low back.
Do 2 sets of 8 to 12. If a full bridge feels sharp around a C-section incision or pulls in the front of the hips, make it smaller. Even a tiny lift counts.
A bridge that feels smooth should leave your hamstrings warm and your lower back pretty quiet. If the back is doing all the work, stop and shorten the range. No heroics.
5. Side-Lying Clamshells
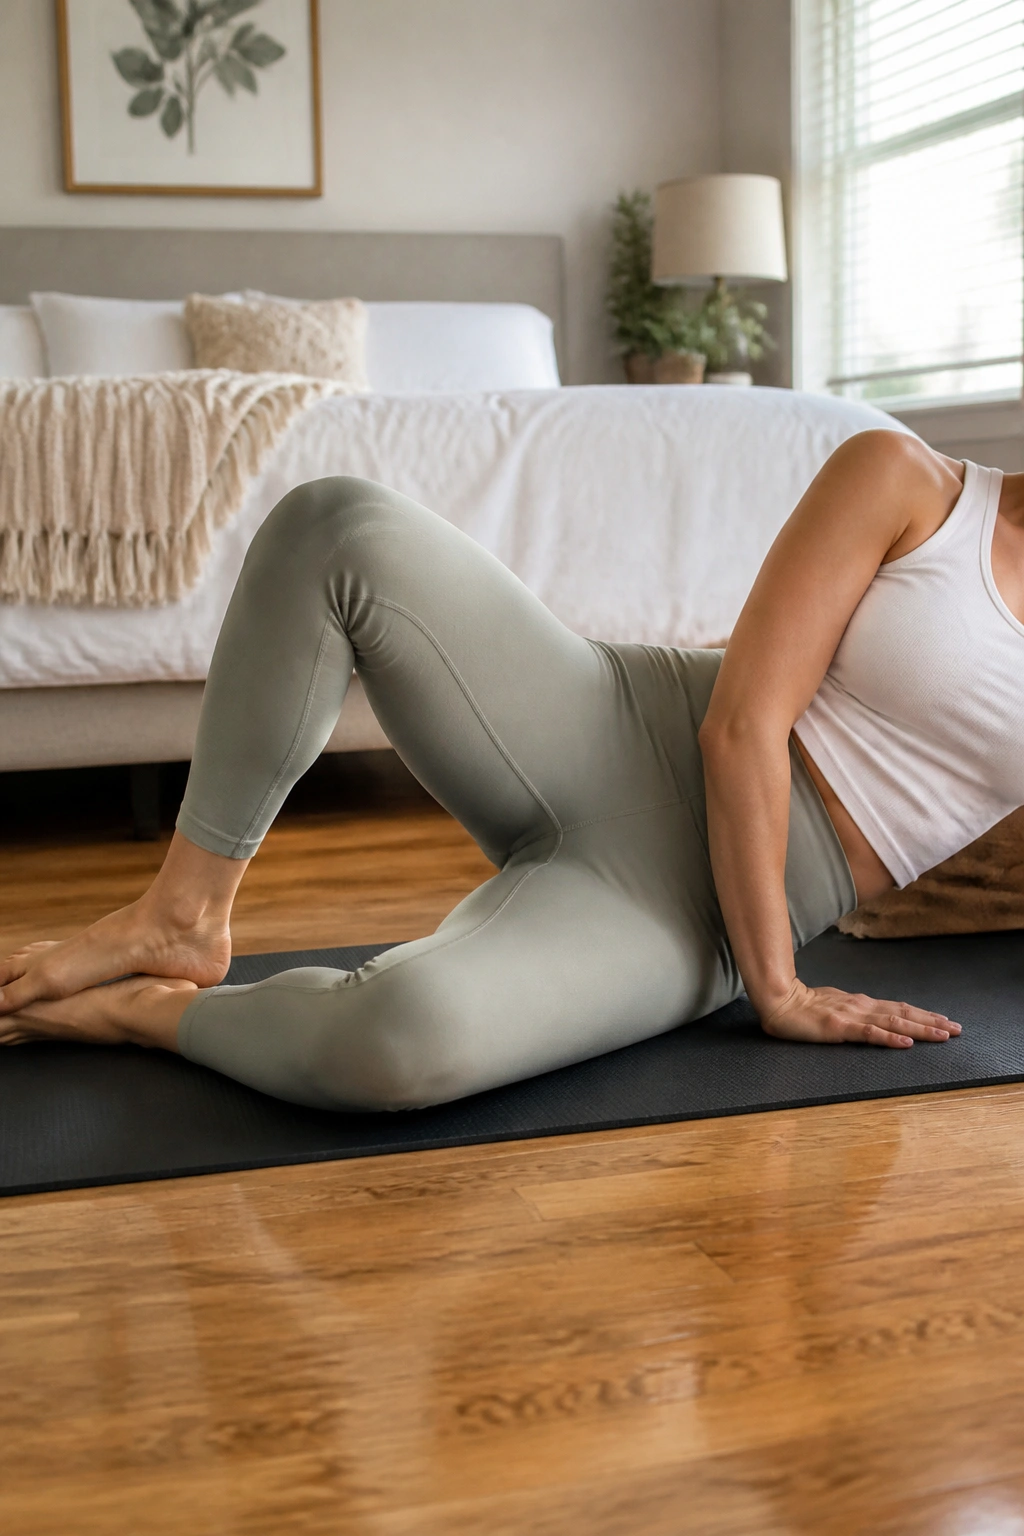
Not every hip move has to happen standing up. Side-lying clamshells are one of those deceptively plain exercises that help the pelvis feel less wobbly when you start walking more, climbing stairs, or carrying a baby on one hip.
Lie on your side with knees bent and feet together. Keep your hips stacked, then open the top knee without rolling backward. The movement is small. If the pelvis tips open, the glute med stops doing its job and the exercise turns into a lazy leg flap.
What to watch for
- Keep the waist long, not collapsed.
- Move slowly on the way up and down.
- Stop if you feel the front of the hip pinch.
- Add a light mini band only when the body can stay still.
A set of 10 to 15 reps per side is plenty. I like these because they feel unglamorous in the moment and useful in real life later, especially when one side of the pelvis feels a little more unreliable than the other.
6. Bird-Dog
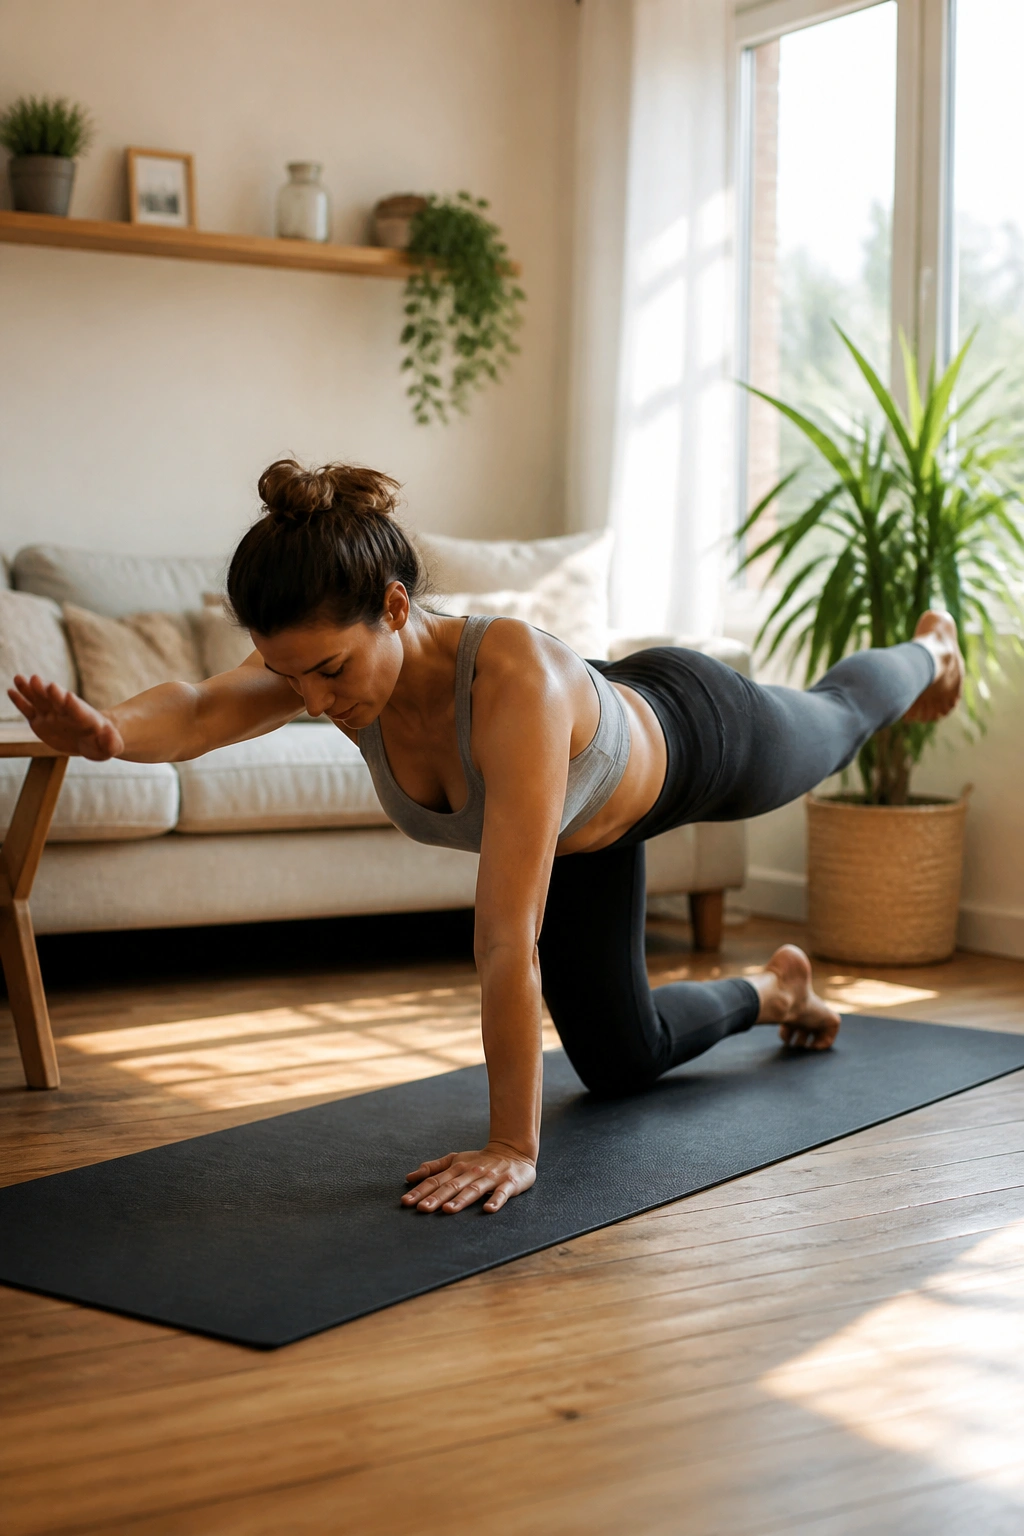
Why do bird-dogs show up in so many postpartum plans? Because they ask the trunk to stay honest. One arm and one leg move away from the center, and the center has to hold its shape without a hard brace.
Get on hands and knees with wrists under shoulders and knees under hips. Reach one leg back and the opposite arm forward. Keep the motion slow. Your goal is a straight line, not a high kick or a fancy balance pose. Hold for 2 to 3 seconds, then return and switch sides.
How to make it work
If your lower back sinks, lift less. If your belly domes, shorten the reach. If wrists hurt, come down to forearms or place hands on a bench. I also like this one for people who feel stiff after feeding or rocking all day, because it opens the front side of the body without dumping into the low back.
Do 5 to 8 reps per side. Controlled beats dramatic every time.
7. Wall Push-Ups
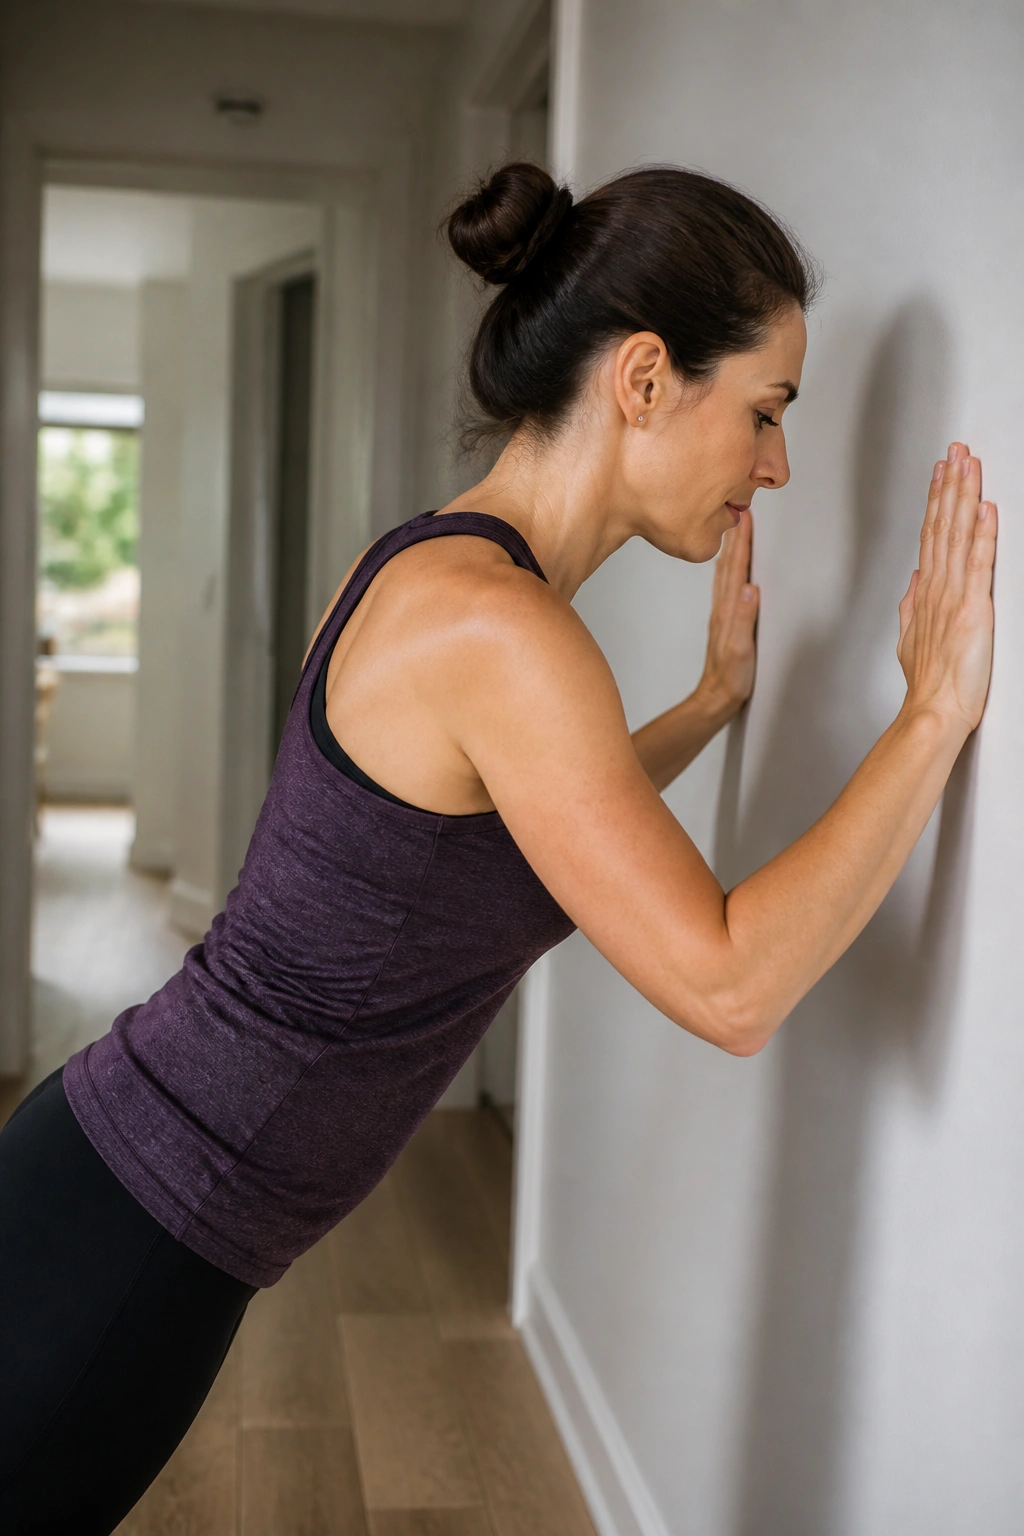
Wall push-ups are a clean way to bring the upper body back online without asking the core to brace hard. They’re also kind to wrists, which matters when you’ve spent months holding a baby in awkward positions.
Stand an arm’s length from a wall, place your hands at chest height, and bend the elbows to bring your chest toward the wall. Exhale as you press away. Keep your ribs from flaring and your neck long. The body should move as one line, not fold at the waist.
A higher hand position makes this easier. A lower hand position makes it tougher. That little change is handy when your strength is changing week to week and you want a simple way to scale the work.
Try 2 sets of 8 to 12. If the shoulders shrug toward your ears, slow down and reset.
8. Chair Sit-to-Stands
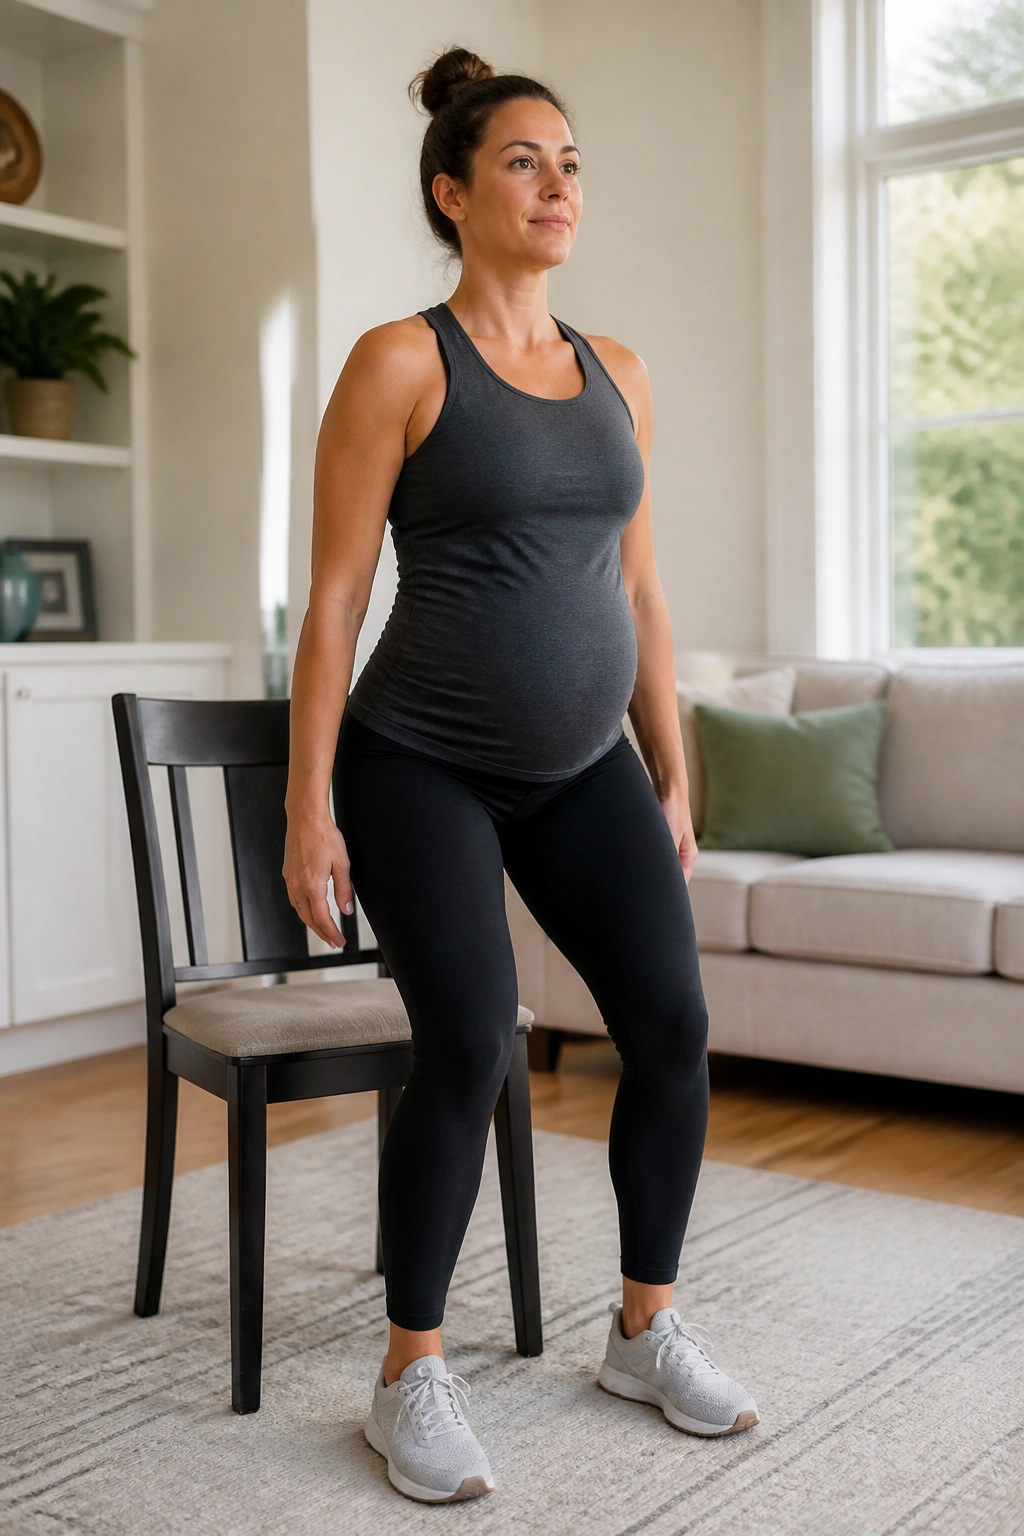
The first time you stand from a chair without thinking about your core, hips, or back, it feels oddly victorious. That’s because this is real life training, not exercise for its own sake.
Sit near the front edge of a sturdy chair with feet flat and about hip-width apart. Lean forward a little, exhale, and stand up without throwing the chest forward. Sit back down with control. If the knees cave inward, slow the descent and think about pressing the floor apart with your feet.
Do 8 to 10 reps to start. Holding a baby or a light dumbbell later can make this more challenging, but there’s no rush. A smooth sit-to-stand tells you a lot about leg strength, balance, and how well your core is helping without overworking.
It’s a plain move. It earns its keep fast.
9. Walking Intervals
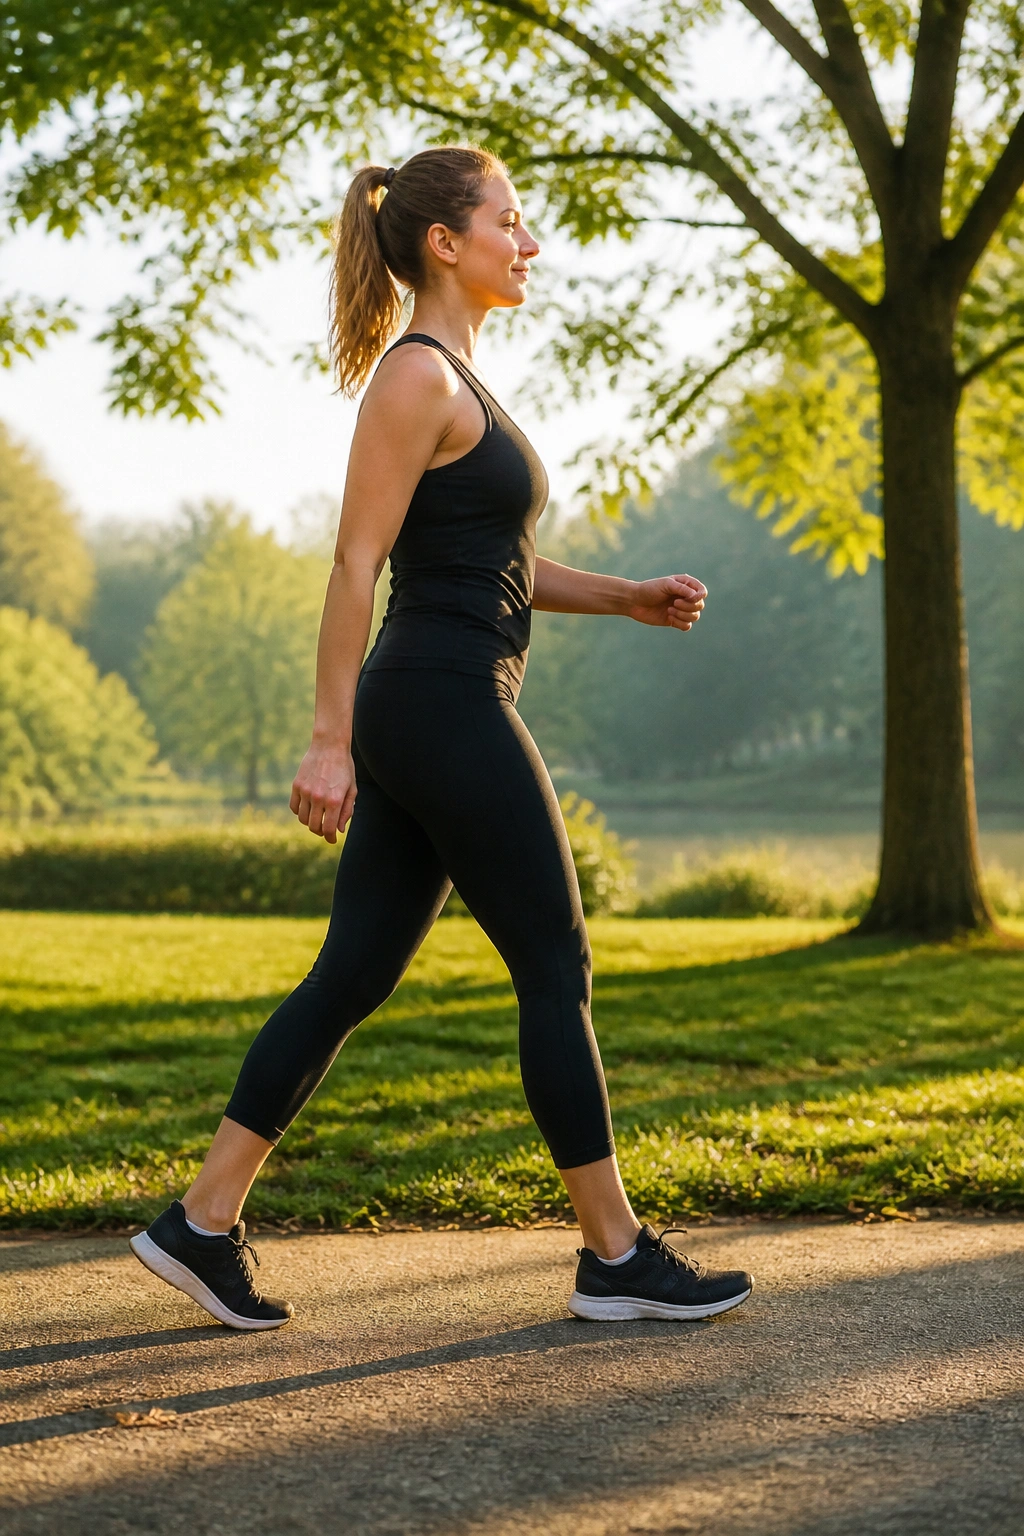
Walking is one of the best postnatal workouts because it’s easy to dose. You can make it shorter, slower, flatter, or more brisk without turning it into a whole event. That flexibility matters when sleep is broken and your schedule is a joke.
How to build it in
Start with 10 to 15 minutes on level ground if that feels comfortable. If you want more structure, walk easy for 3 minutes, then pick up the pace for 1 minute. Repeat that pattern for the length of the walk.
- Keep the stride a little shorter than usual.
- Let the ribs stay stacked over the pelvis.
- Use a supportive bra and shoes that don’t fight your feet.
- If you feel dragging, heaviness, or leaking, back the pace down.
Walking with a stroller can be lovely, but don’t lean your weight into it like it’s a walker. That changes your posture in a bad way. Stay tall. Arms relaxed. Nothing fancy.
10. Quadruped Rock-Backs
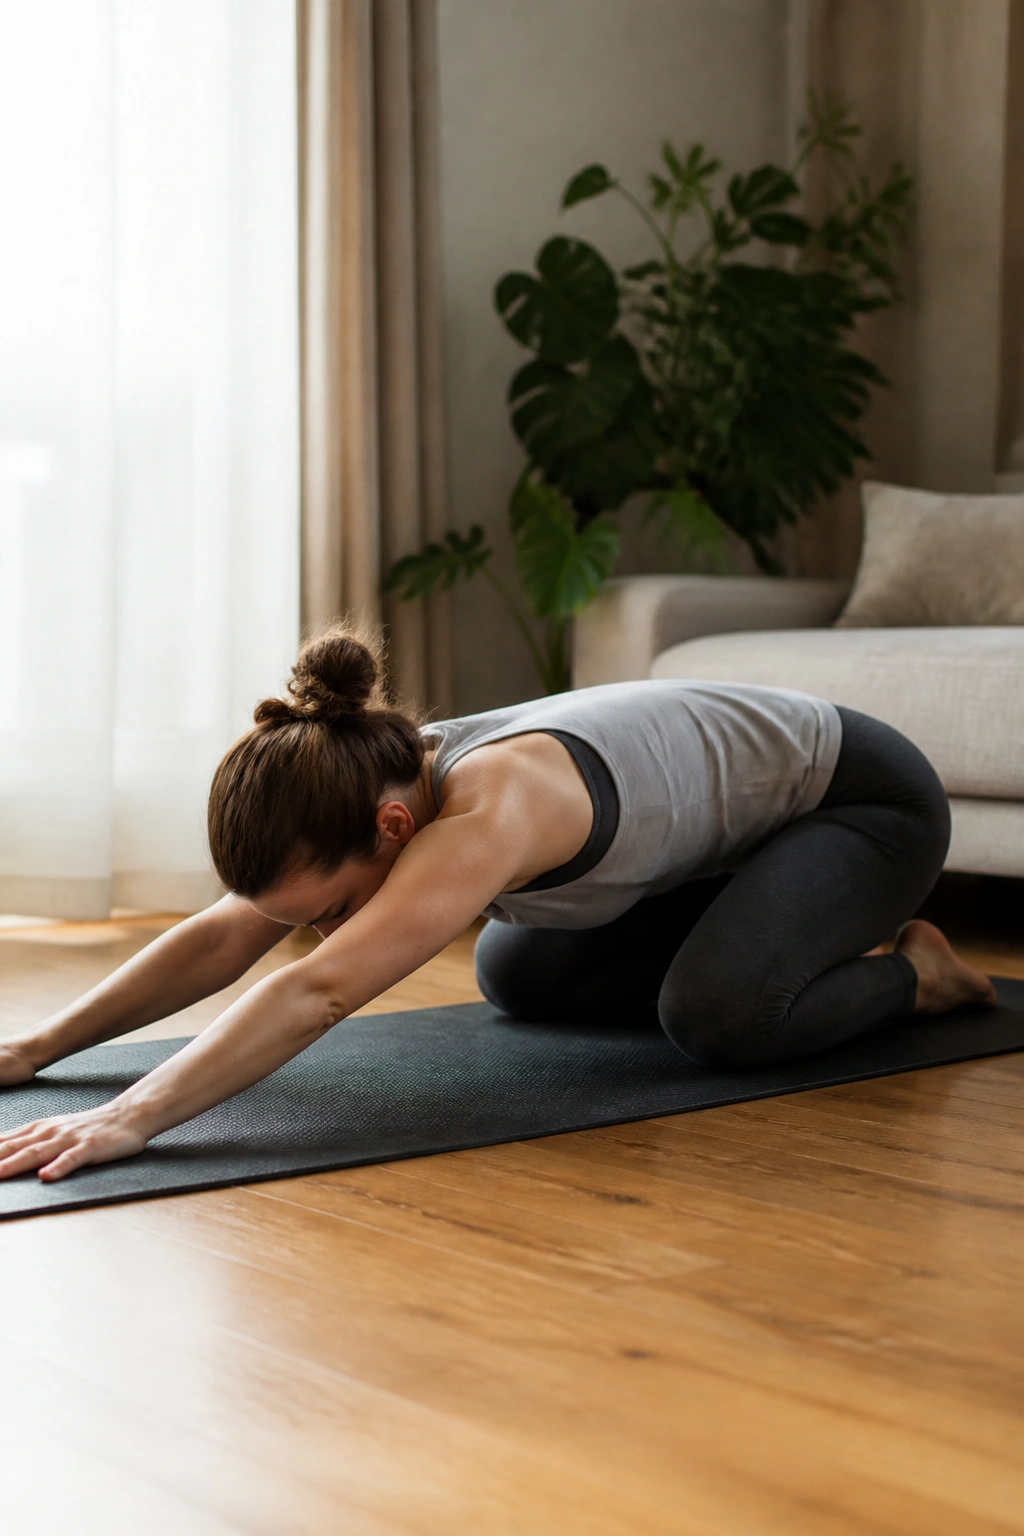
Quadruped rock-backs are a quiet fix for a lot of postpartum stiffness. Knees and hands on the floor, hips send back toward the heels, then return. That’s it. But it gives the back, hips, and deep core a nice reset.
The motion should feel like a gentle fold, not a stretch contest. Rock back until you feel the hips and thighs open, then come forward again. If your wrists complain, put your hands on blocks, fists, or a bench. If your knees don’t love the floor, use padding.
I like this move when the low back feels cranky after a long day of bending and feeding. It’s also useful before other floor exercises because it helps your body remember that the pelvis can move without strain.
Do 8 to 10 slow reps. If the belly falls heavily toward the floor, shorten the range and keep the exhale long.
11. Resistance Band Rows
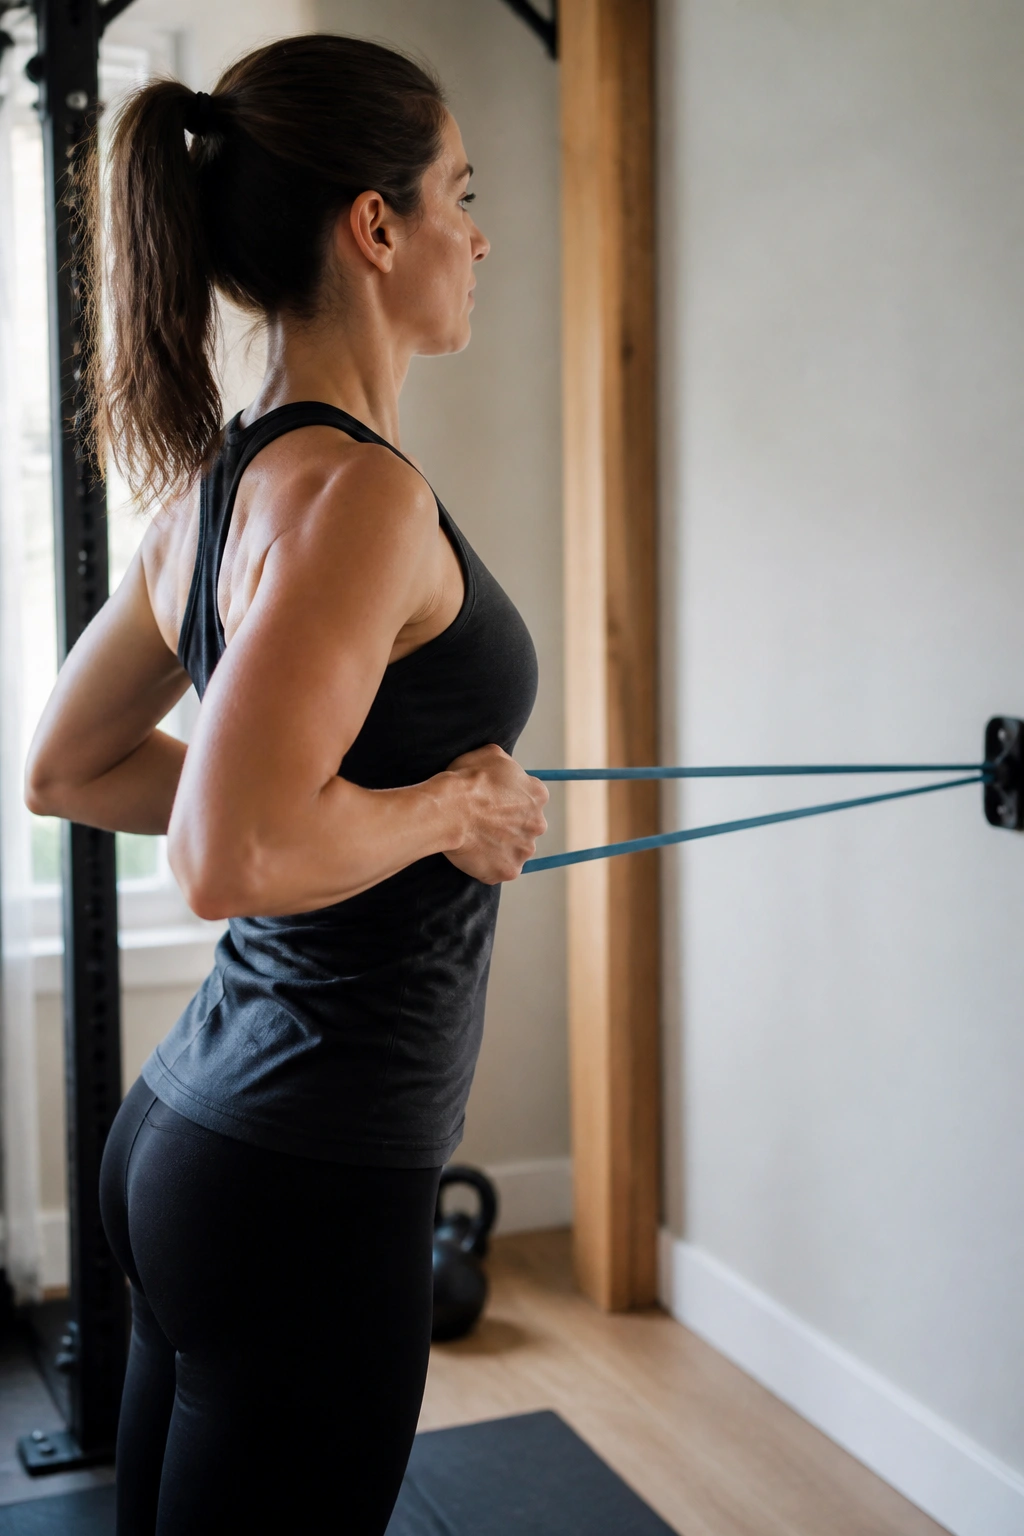
Unlike biceps curls, rows actually teach your upper back how to do some real work. That matters after birth, when shoulders spend too much time rounded forward over a phone, a baby, or a pump.
Anchor a light resistance band at chest height. Pull the handles or ends toward your ribs, then return with control. The shoulder blades should glide back and down, not pinch together hard. Keep the neck loose. Keep the ribs from popping up.
A lot of postpartum posture problems are not really posture problems. They’re strength problems mixed with fatigue. Rows help, because they give your back muscles a job that’s easy to understand and hard to fake.
Do 2 to 3 sets of 10 to 15. If one side feels weaker, slow that side down instead of adding more force.
12. Supported Split Squat Holds
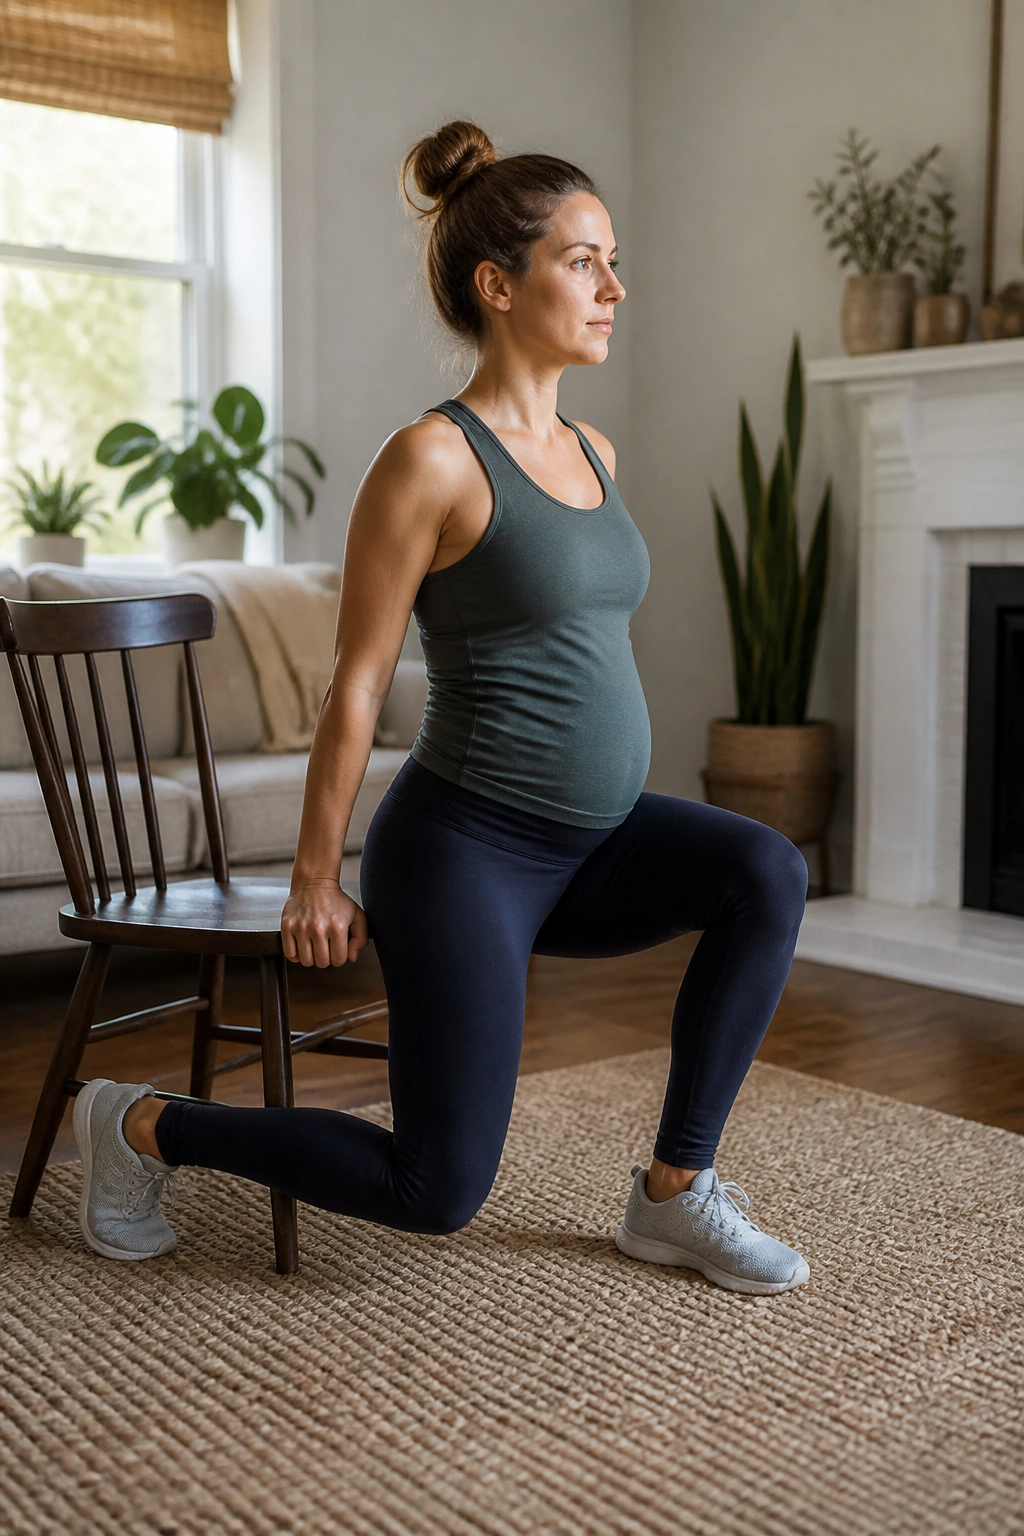
A supported split squat hold sounds tougher than it is. Put one foot forward and one foot back, hold a chair or countertop, and lower into a shallow lunge position. Then stay there for a few breaths.
This is a smart bridge between sit-to-stands and full lunges. It builds leg strength, balance, and a little pelvic control without the bouncing that can irritate a healing body. The front foot should stay planted, the back heel can lift, and the torso should feel tall.
Start with 10 to 20 seconds per side. If the front knee wobbles inward, reduce the depth. If the back hip feels tight, narrow the stance a bit. You don’t need to drop low to get the benefit.
It’s a useful one for everyday life too. Getting up from the floor, stepping into the car, chasing a toddler. All of it.
13. Dead Bug Heel Taps
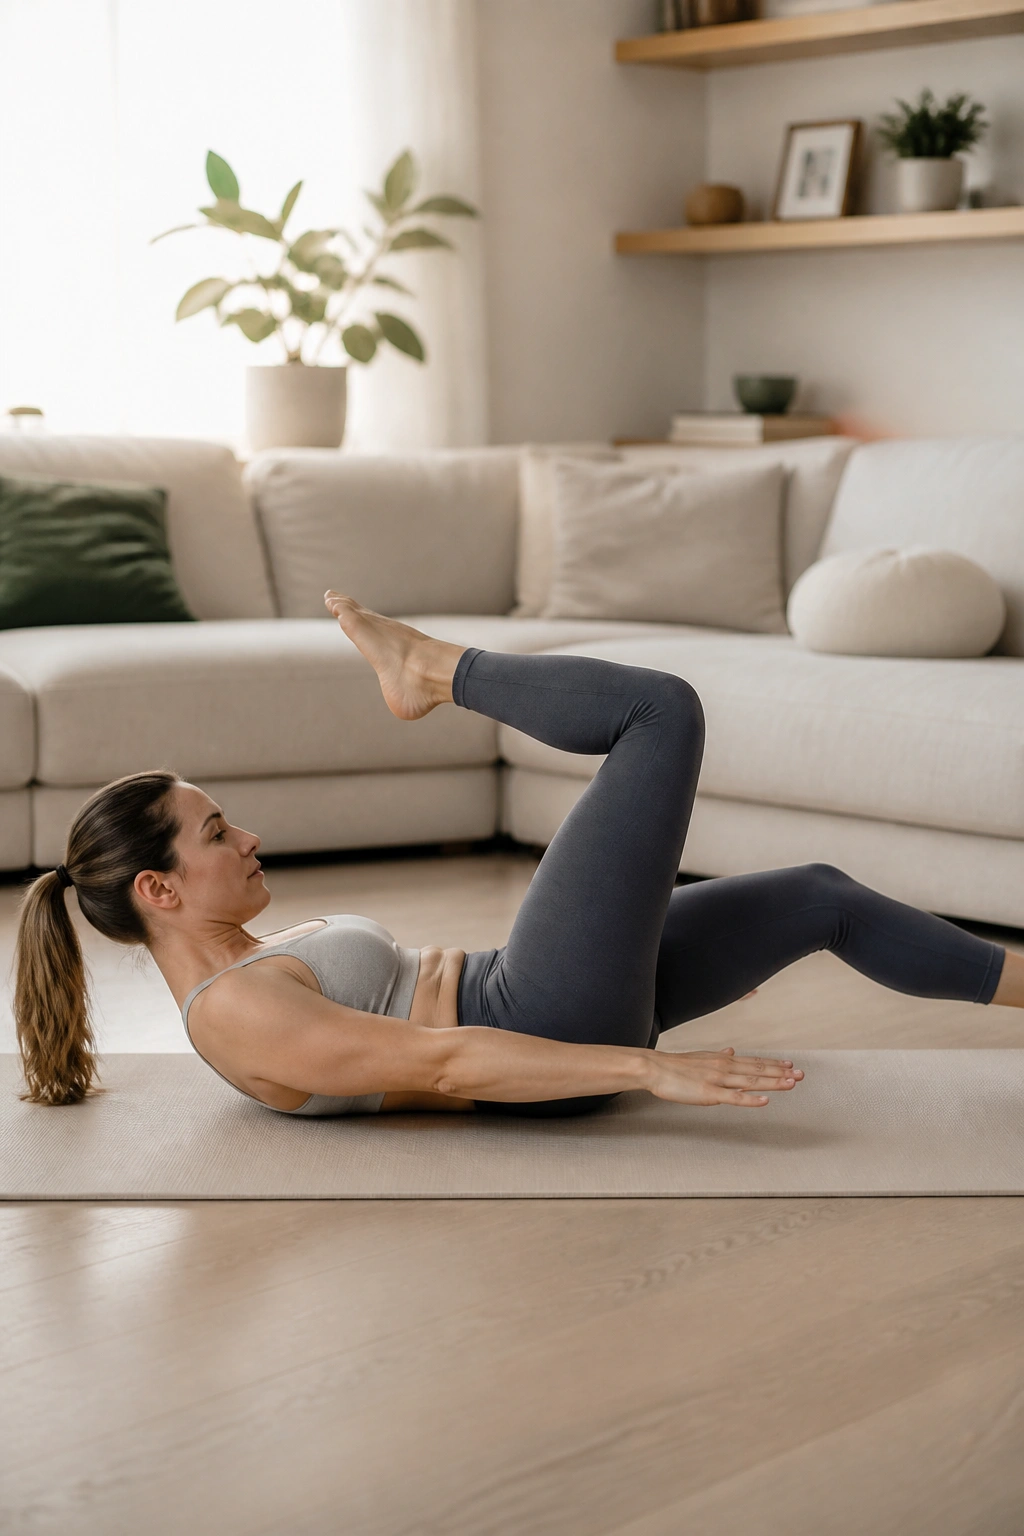
Dead bugs get used a lot in core rehab because they force the trunk to stay steady while the legs move. That is the whole game after birth: movement without chaos.
How to scale it
Start on your back with knees bent over the hips, or keep one foot on the floor if tabletop feels too hard. Lower one heel toward the floor, tap lightly, and bring it back. Then switch sides. Keep the exhale long and the ribs soft.
If you see a ridge or dome along the middle of the abdomen, reduce the range right away. That’s not a failure. It’s feedback. Sometimes the fix is as small as bringing the knees higher or keeping one foot planted.
Do 6 to 8 taps per side. I prefer heel taps over full-leg extensions for many postpartum bodies because they ask for control without too much load too soon.
14. Mini Squats
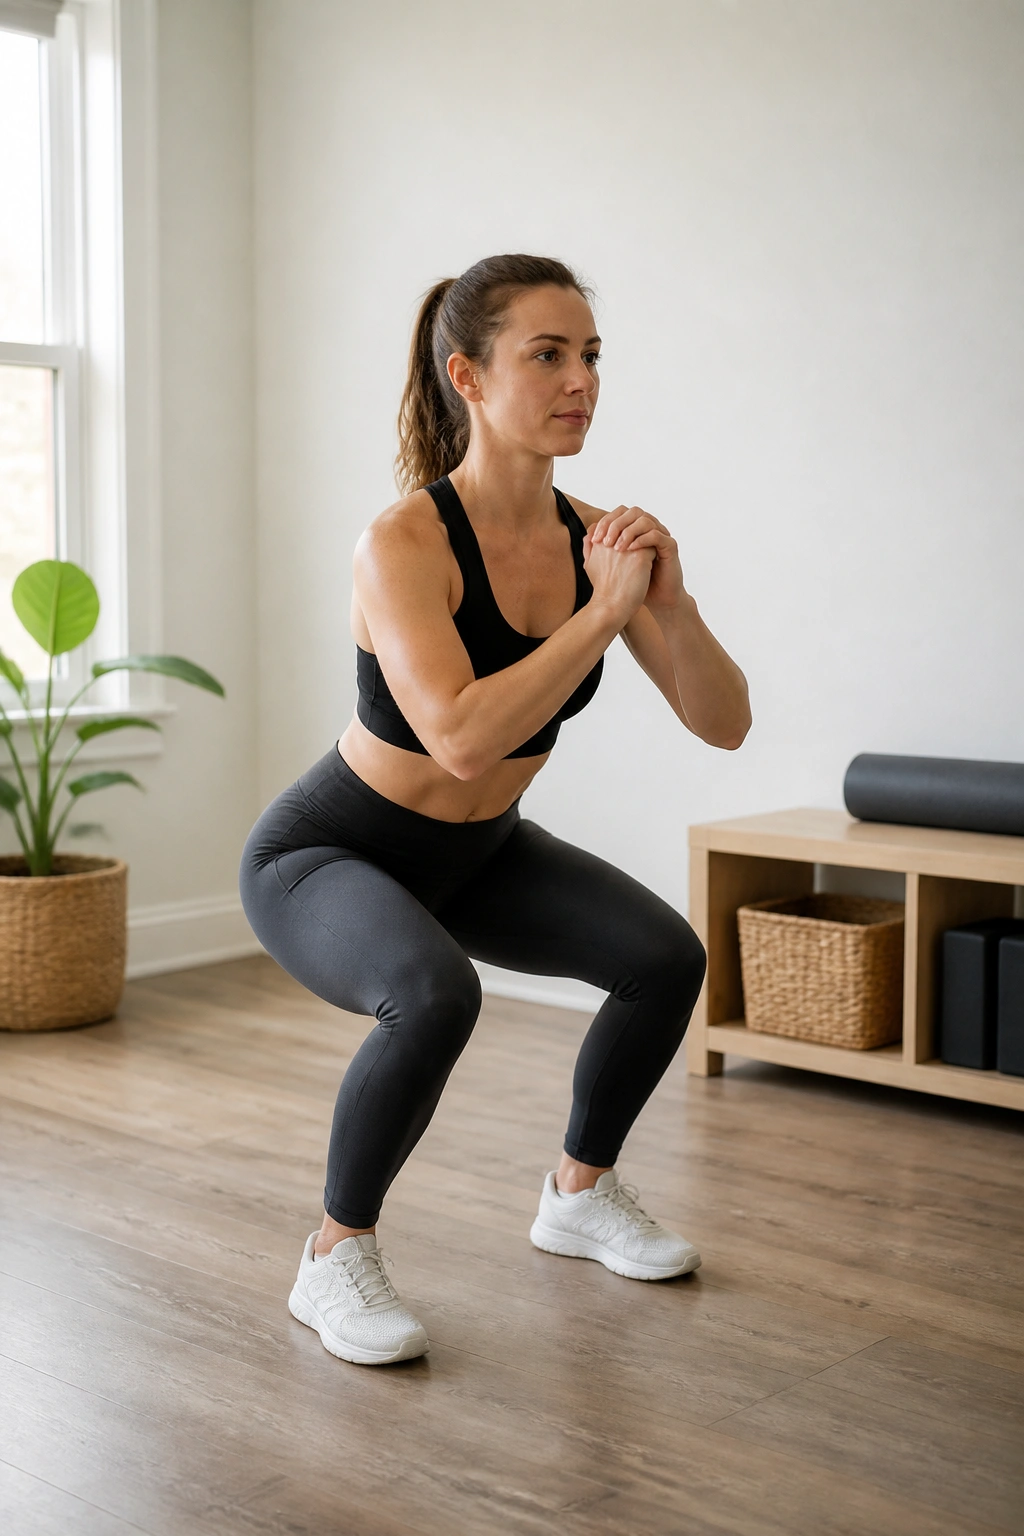
Mini squats are the squat version of training wheels. You bend the knees a little, sit the hips back a little, and stand again. Not deep. Not fast. Useful.
This move helps with all the random lifting that fills a new parent’s day: laundry baskets, diaper bags, a baby carrier, a toddler who wants up now and then wants down five seconds later. It also builds the legs without the pressure spike you can get from jumping straight into deep squats.
Keep your feet flat and weight balanced through the whole foot. On the way down, think “sit back.” On the way up, think “stand tall.” Exhale on the rise. If the heels lift or the knees cave inward, make the squat smaller.
Try 2 sets of 10 to 12. It should feel steady, not punishing.
15. Step-Ups
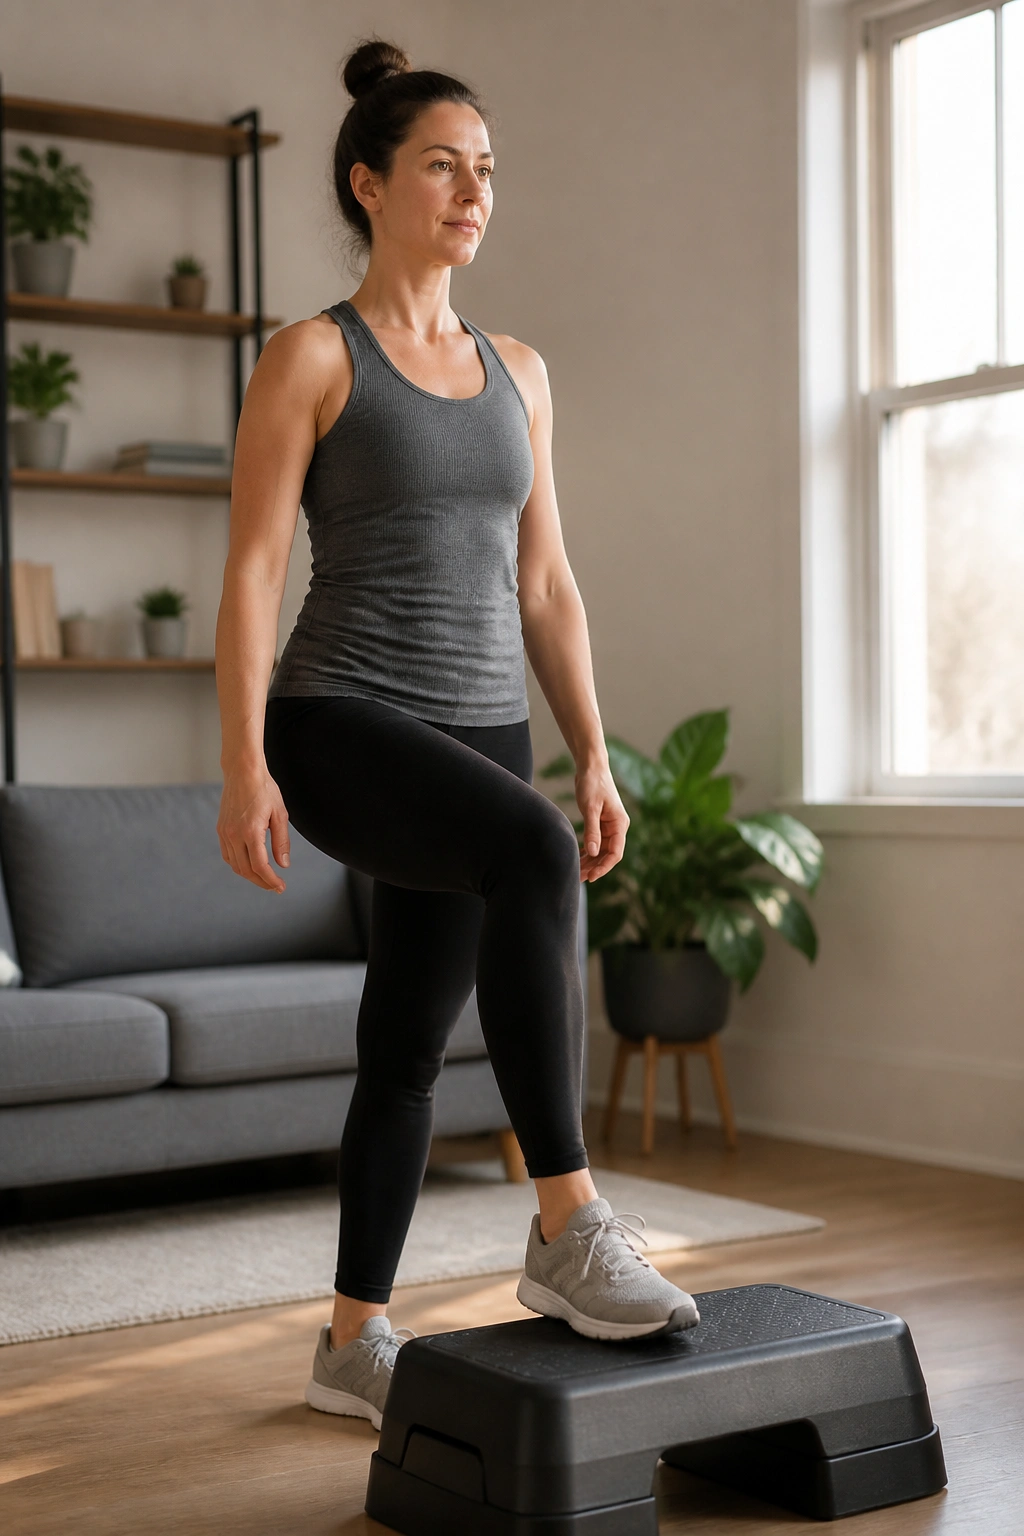
A low step can tell you a lot about how your hips are doing. Step-ups build strength on one leg at a time, which is useful because most of life after birth is not symmetrical. You carry a baby on one side. You pivot weirdly. You stand half-twisted at the counter.
Use a step about 4 to 8 inches high at first. Place one foot fully on the step, press through the heel, and stand up. Lower with control. The knee should track forward without wobbling inward. If it shakes, the step is too high or you need to slow down.
Do 6 to 10 reps per side. This can feel simple on paper and surprisingly honest in practice. One side often shows up more tired than the other, especially after months of favoring a hip or nursing on the same side.
16. Farmer Carries
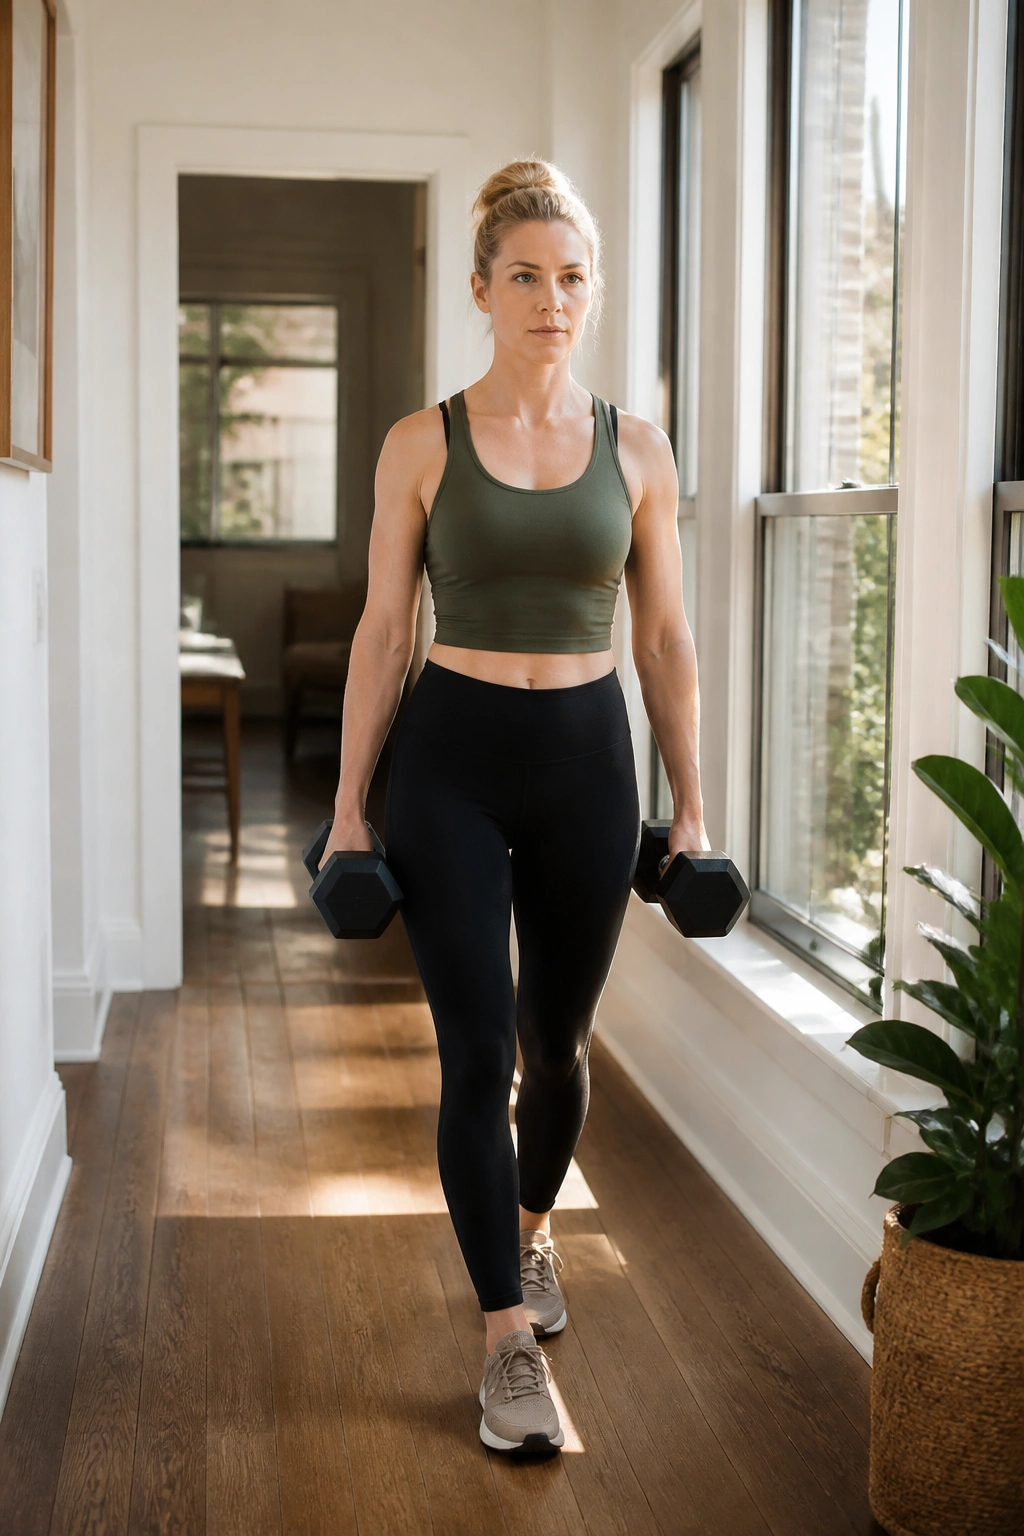
Farmer carries are one of my favorite strength drills because they look plain and feel adult. Pick up two moderately heavy objects—dumbbells, kettlebells, grocery bags—and walk for a set distance or time while staying upright.
The magic is in the posture. Ribs stacked. Shoulders quiet. No leaning. No rib flare. The weight wants to pull you down and sideways, so your core has to answer back without crunching hard.
Try 20 to 40 seconds to start. If you’re new to this, use lighter loads than you think you need. A carry should make your hands and upper back work while the belly stays controlled, not clenched.
A suitcase carry, where you hold weight on one side only, adds more anti-tilt work later on. That one is useful, but start with two hands first if your body still feels unpredictable.
17. Side Plank From the Knees
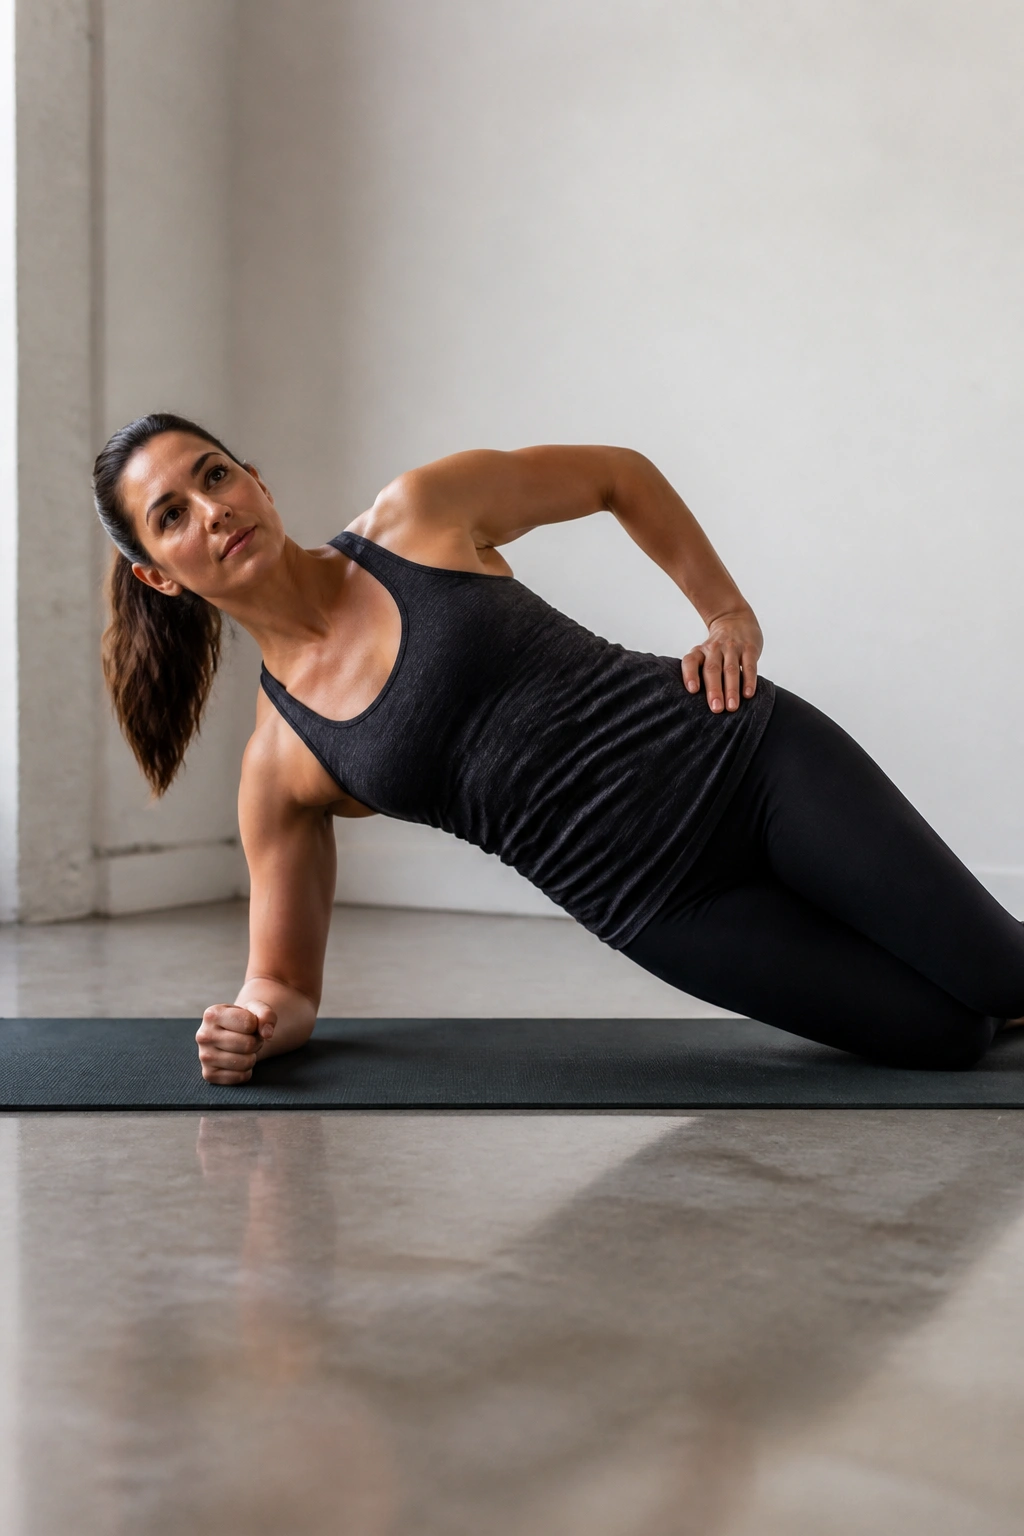
Side planks can be excellent postpartum. They can also be too much too soon if your core is still sensitive. The knee version gives you the same side-body work with less pressure.
Lie on one side, stack the knees, and prop up on the forearm. Lift the hips just a few inches and hold. The waist should feel active, but not strained. If the lower shoulder shrugs or the neck tightens, stop and reset.
What makes it different
A side plank trains the obliques and the muscles that help keep the pelvis level. That’s helpful for walking, carrying, and getting out of a car without feeling crooked. It also tends to show you whether one side is working harder than the other.
Hold for 10 to 20 seconds per side to start. If that still feels like too much, do a wall side plank with your forearm against the wall instead. Same idea. Much lower load.
18. Stationary Bike Intervals
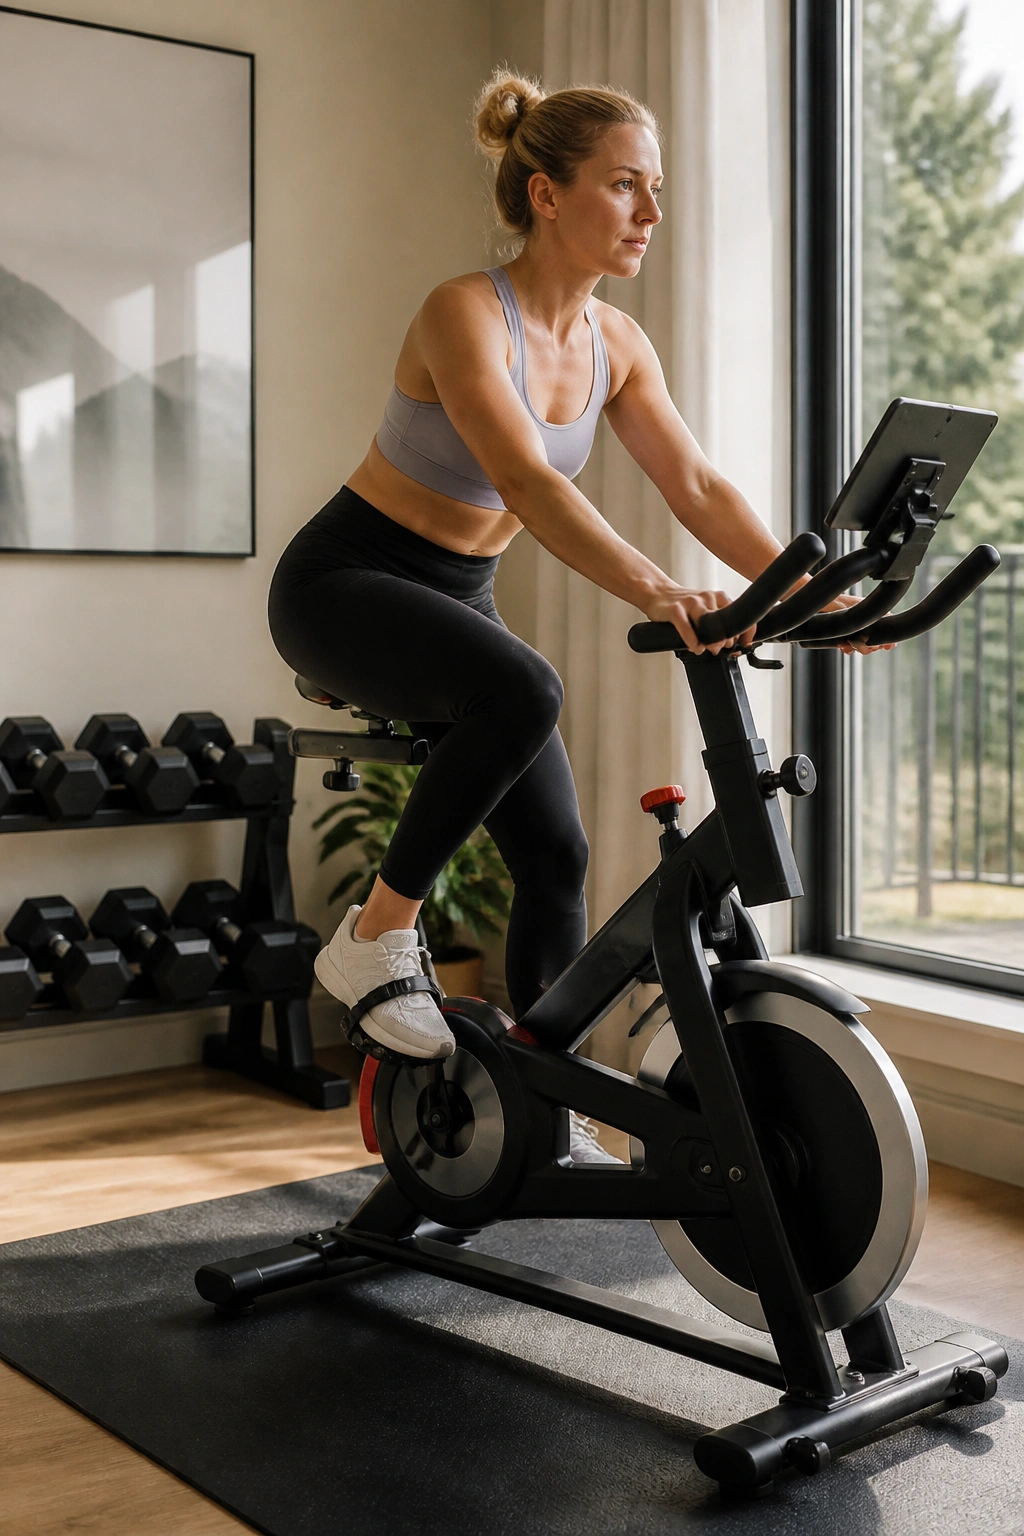
The stationary bike is a clean cardio option when walking starts feeling too easy but running still feels premature. There’s no pounding, no awkward arm swing, and no need to dodge weather or traffic.
Set the seat high enough that your knee stays slightly bent at the bottom of the pedal stroke. Begin with a very easy resistance. Pedal for 1 to 2 minutes at a comfortable pace, then bump up the speed for 30 to 45 seconds. Repeat for 10 to 15 minutes if that feels smooth.
If the saddle feels uncomfortable in the early months, that’s a sign to adjust the seat, shorten the ride, or choose another option. Some bodies need more time before cycling feels normal again. No need to force it.
The win here is consistency. You can sweat a little without creating a lot of impact.
19. Pool Walking or Water Aerobics
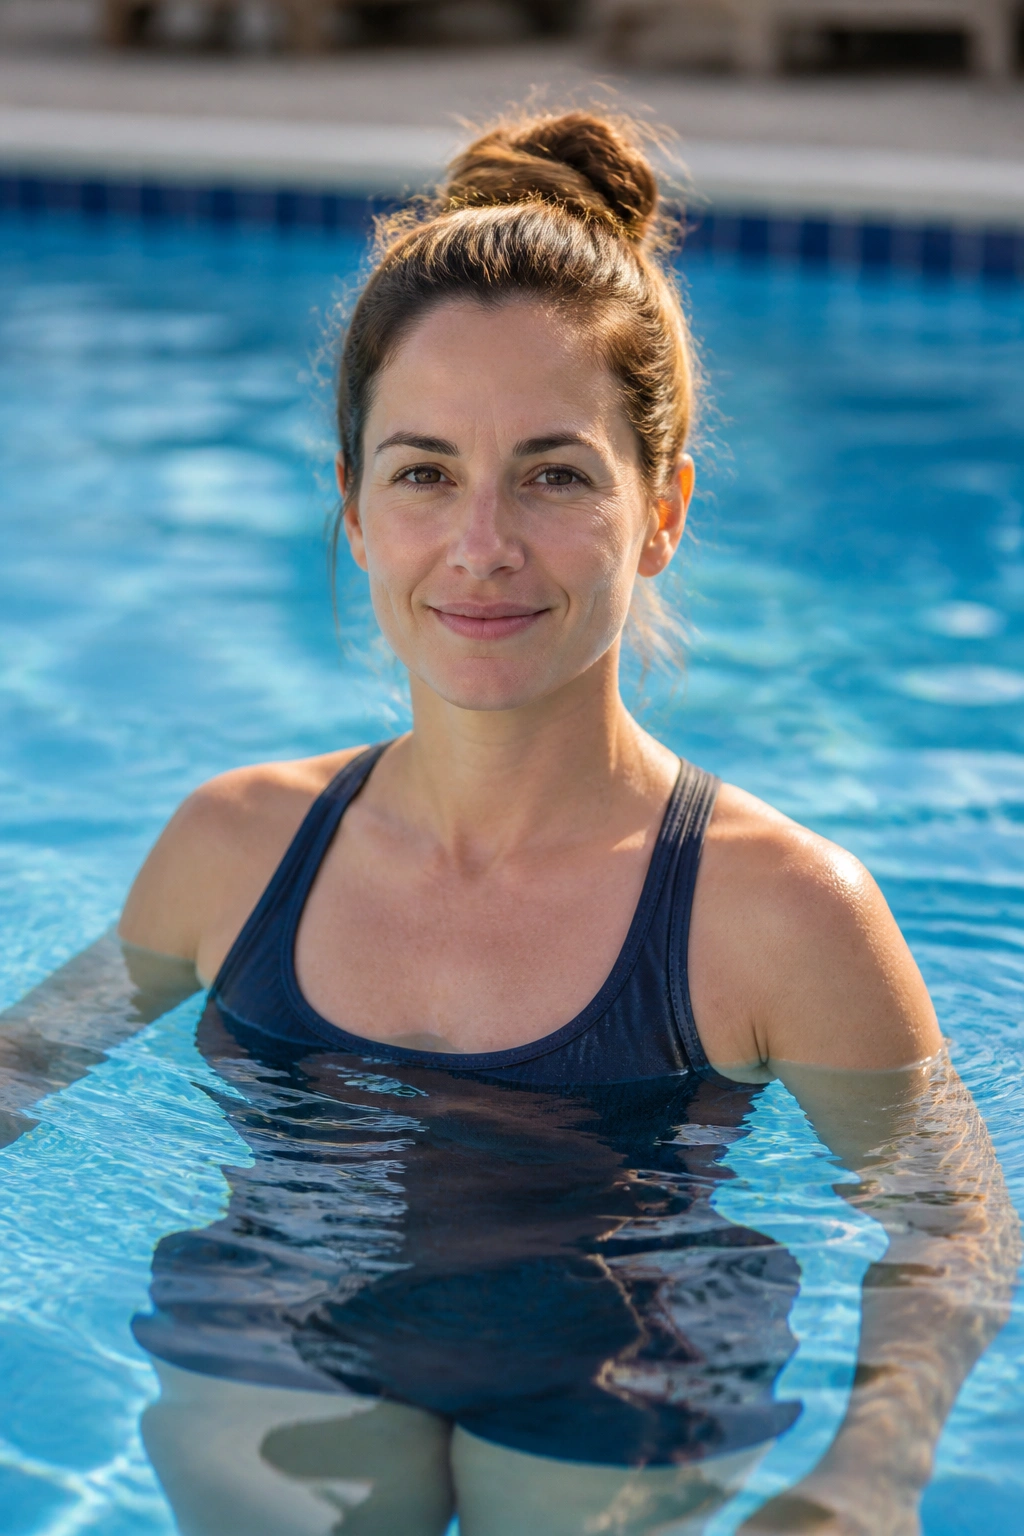
Water changes everything. It supports your weight, softens impact, and makes simple movements feel smoother. For some postpartum bodies, that support is a relief the first time they step into chest-deep water and realize nothing hurts.
Pool walking is exactly what it sounds like: walk forward, backward, and sideways through the water with relaxed arms and an easy pace. Water aerobics adds gentle arm work, knee lifts, and side steps. Keep the intensity low at first. You want buoyant, not breathless.
If you had a C-section, wait until the incision is fully closed and you’ve been cleared for pool time. Chlorine and open skin do not mix well. If everything is healed and symptoms are calm, water work can be a very kind way to rebuild stamina.
It’s also oddly good for mood. Hard to fake that one.
20. Incline Push-Up Progressions
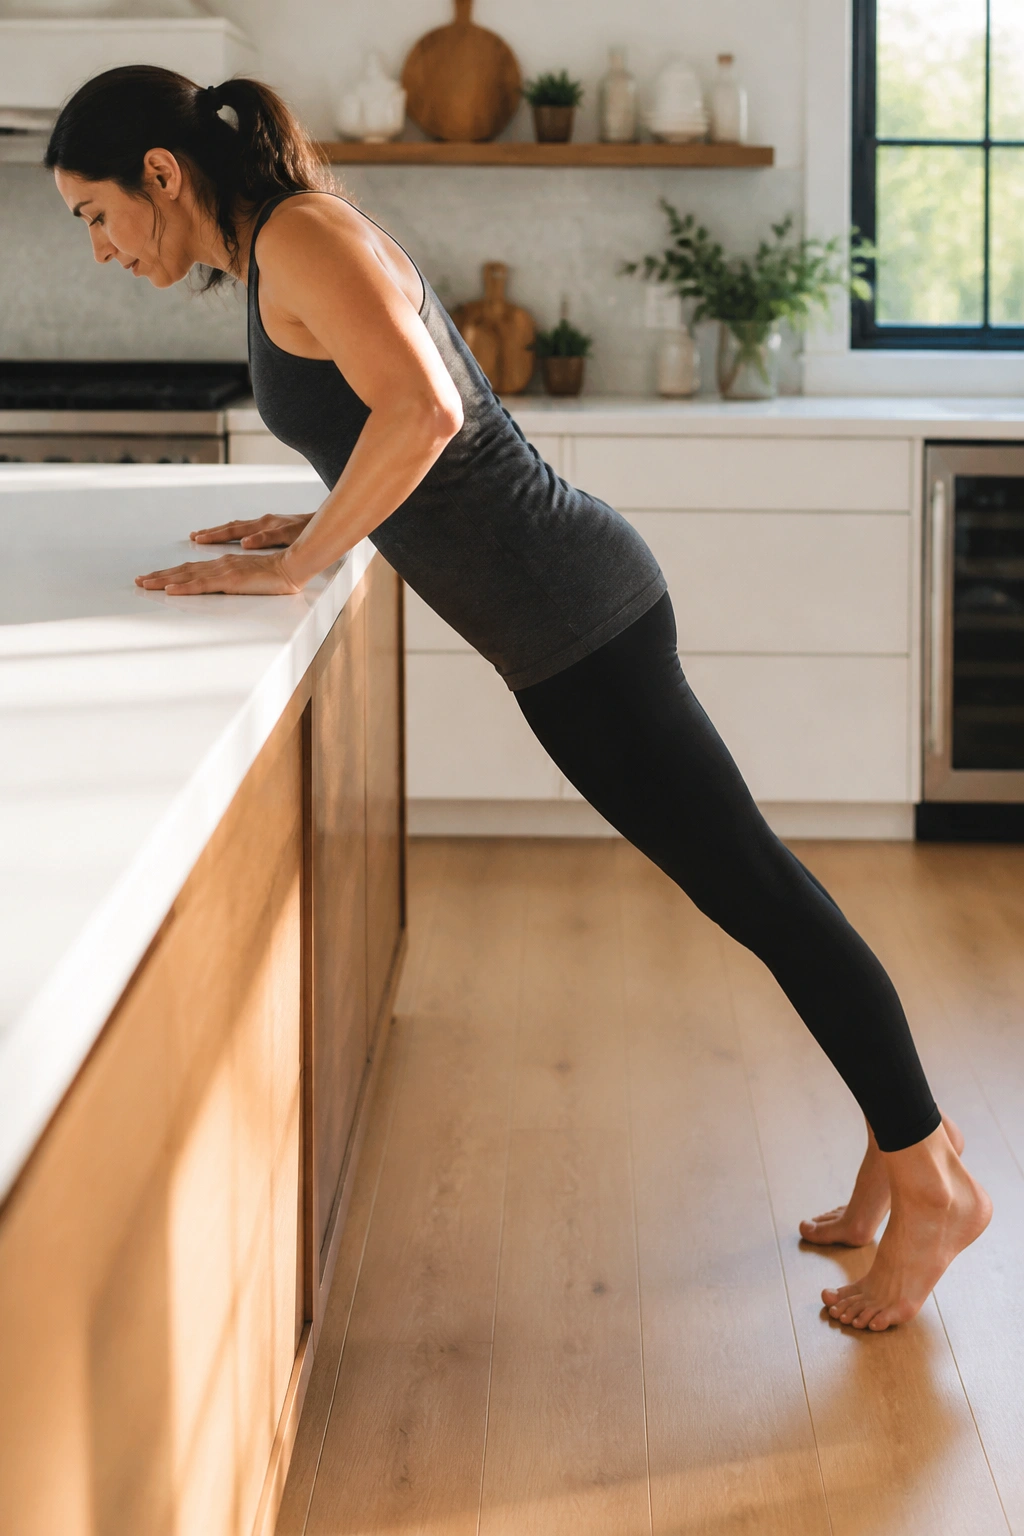
Incline push-ups are the next step up from wall push-ups. Hands on a counter, sturdy bench, or couch arm. The lower the surface, the harder the work. That makes them easy to progress without jumping straight to the floor.
Keep the body in one line from head to heels. Bend the elbows, lower with control, and press back up while exhaling. If the ribs jut forward or the low back sags, the incline is too low for the day.
How to move forward
- Start high, near countertop level.
- Move to a bench later.
- Lower the surface only when you can keep the trunk steady.
- Stop if the belly domes or the wrists flare up.
Do 5 to 8 reps at first. These are excellent for rebuilding chest, shoulder, and arm strength in a way that respects the core. They also feel a lot more like real strength training than wall work, which some people find encouraging.
21. Lateral Band Walks
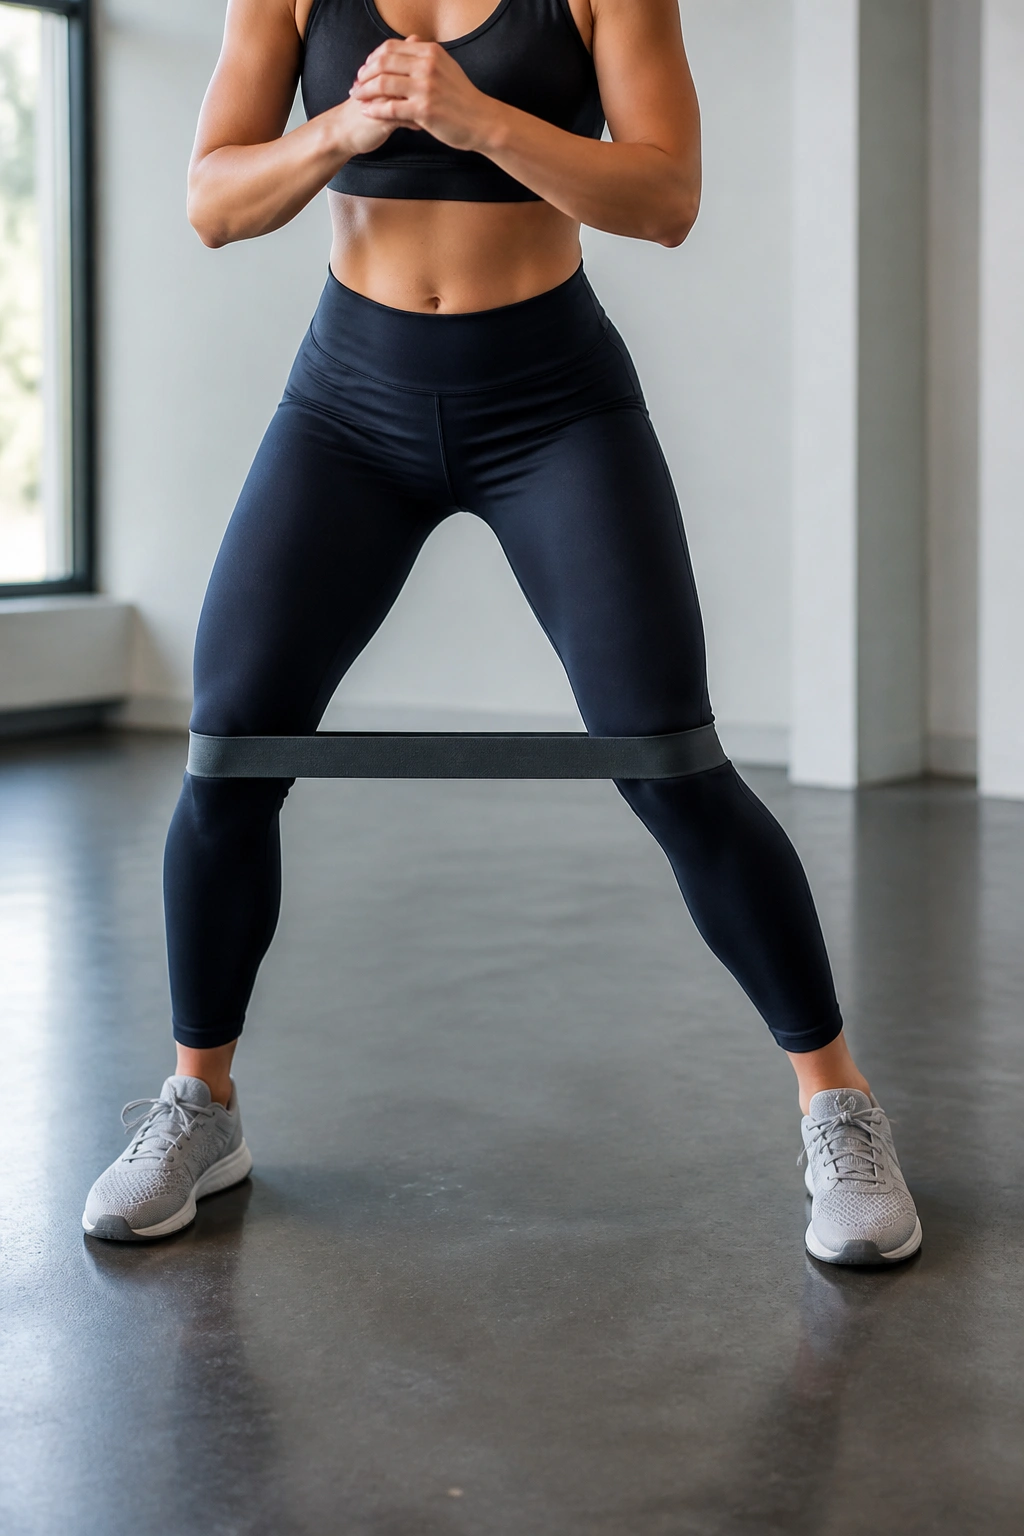
Lateral band walks are sneaky. They look like a warm-up, then your hips start talking. That’s why they work so well for postpartum pelvic stability and glute strength.
Place a mini band above the knees or around the ankles. Sink into a small athletic stance, then step sideways under control. Keep the knees soft and the torso steady. Don’t sway from side to side. The feet should stay parallel or nearly so.
A small band tension is enough. If the band drags your feet inward or makes you compensate through the low back, it’s too much. 8 to 12 steps each direction is enough to start.
This move helps with knee tracking, hip stability, and the kind of side-to-side control that makes walking and stairs feel cleaner. It’s not fancy. It works.
22. Light Dumbbell Shoulder Press
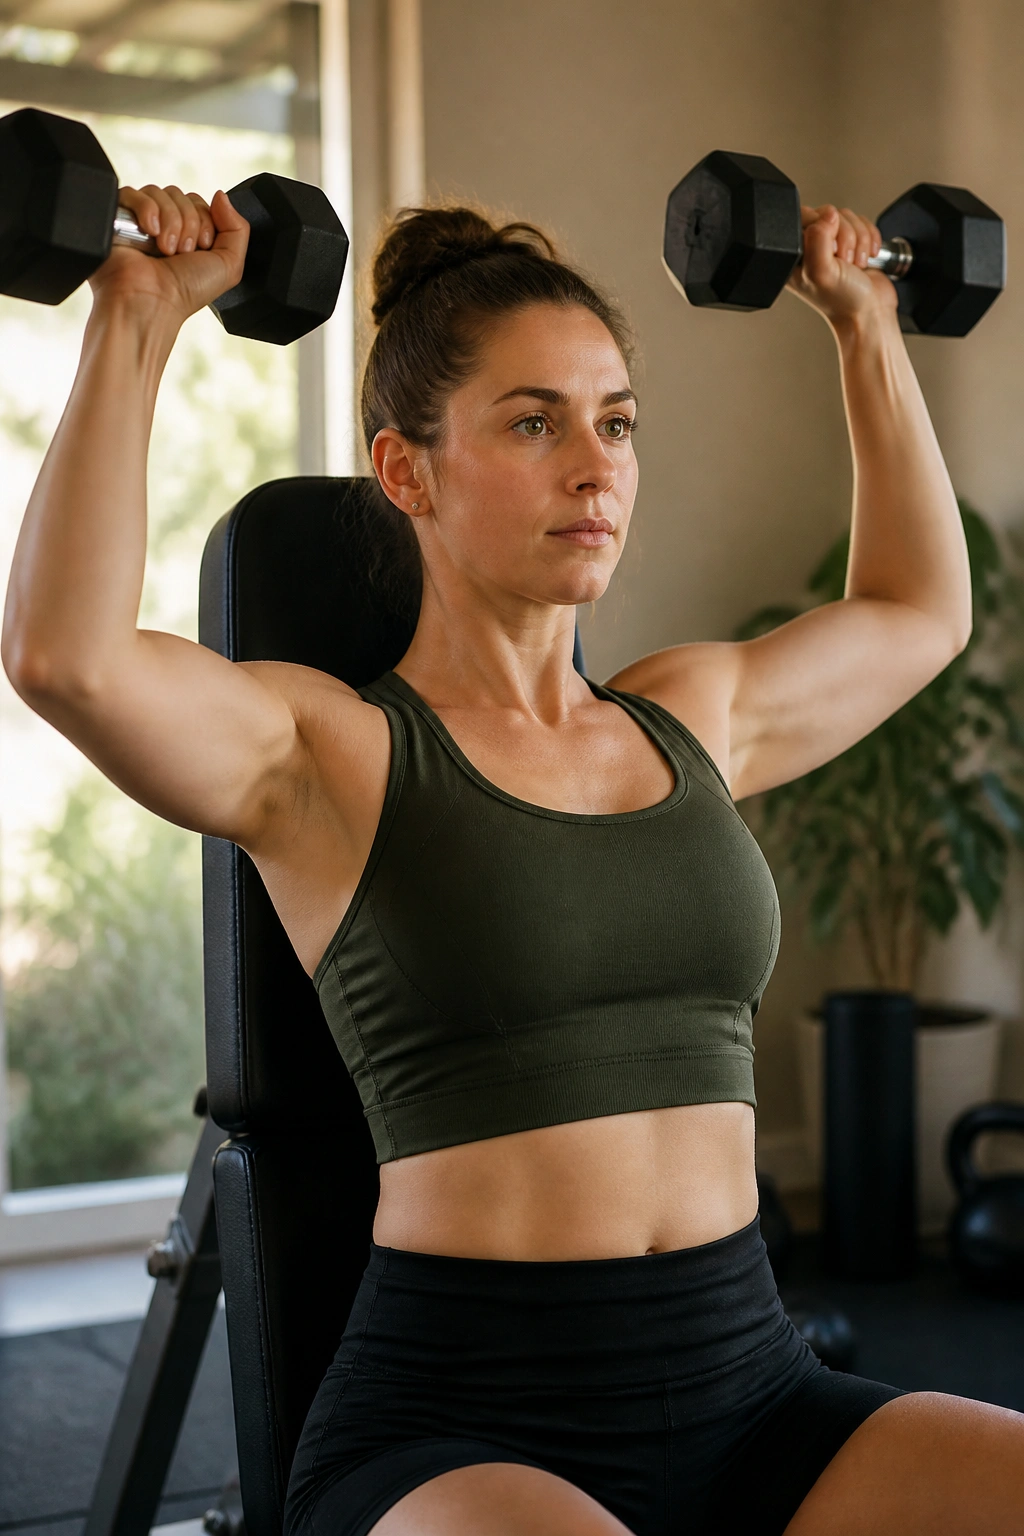
Overhead work comes back best when it’s light and honest. A seated dumbbell shoulder press uses the shoulders, triceps, and trunk together, but without the chaos of standing balance.
Sit tall with a light pair of dumbbells, maybe 2 to 5 pounds each to start. Press them overhead on the exhale, then lower them slowly. If your ribs flare or your neck takes over, the weights are too heavy or the range is too big for that session.
I prefer seated presses in the postpartum period because they cut down on balance demands. That lets you focus on the pattern itself, which is what matters. You can stand later. You do not need to rush that part.
Do 6 to 10 reps. If one arm lags behind, keep the pace matched to the slower side rather than chasing speed.
23. Stroller Power Walks
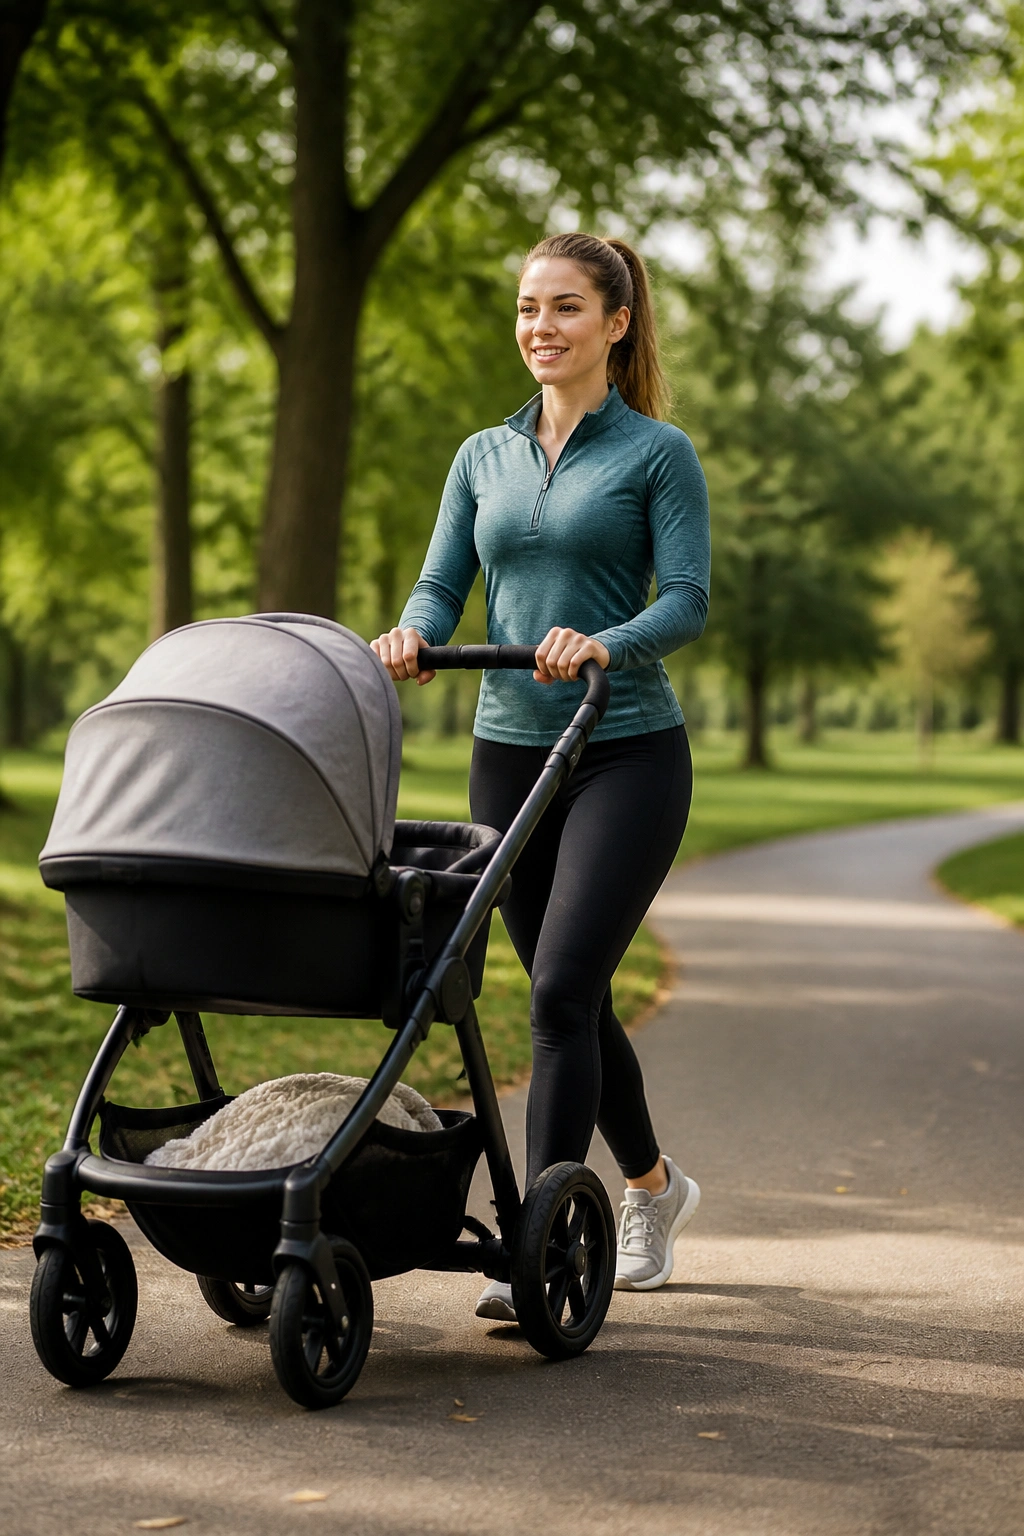
A stroller walk can be a real workout if you treat it like one. The mistake is leaning into the handlebar and letting the stroller do too much of the work for you. That turns your spine into a slump.
Instead, stand tall, keep the ribs stacked, and drive the walk with your own legs. Add short faster segments of 30 to 60 seconds, then return to an easy pace. A few hills can be great if your pelvic floor feels steady and your body handles them well.
This is one of the most practical workouts in the whole list because it fits into real life. Baby naps happen. Sometimes they don’t. A stroller walk gets you outside, gets your heart rate up, and keeps the whole thing simple enough to repeat tomorrow.
That repeatability matters more than elegance.
24. Return-to-Run Walk Intervals
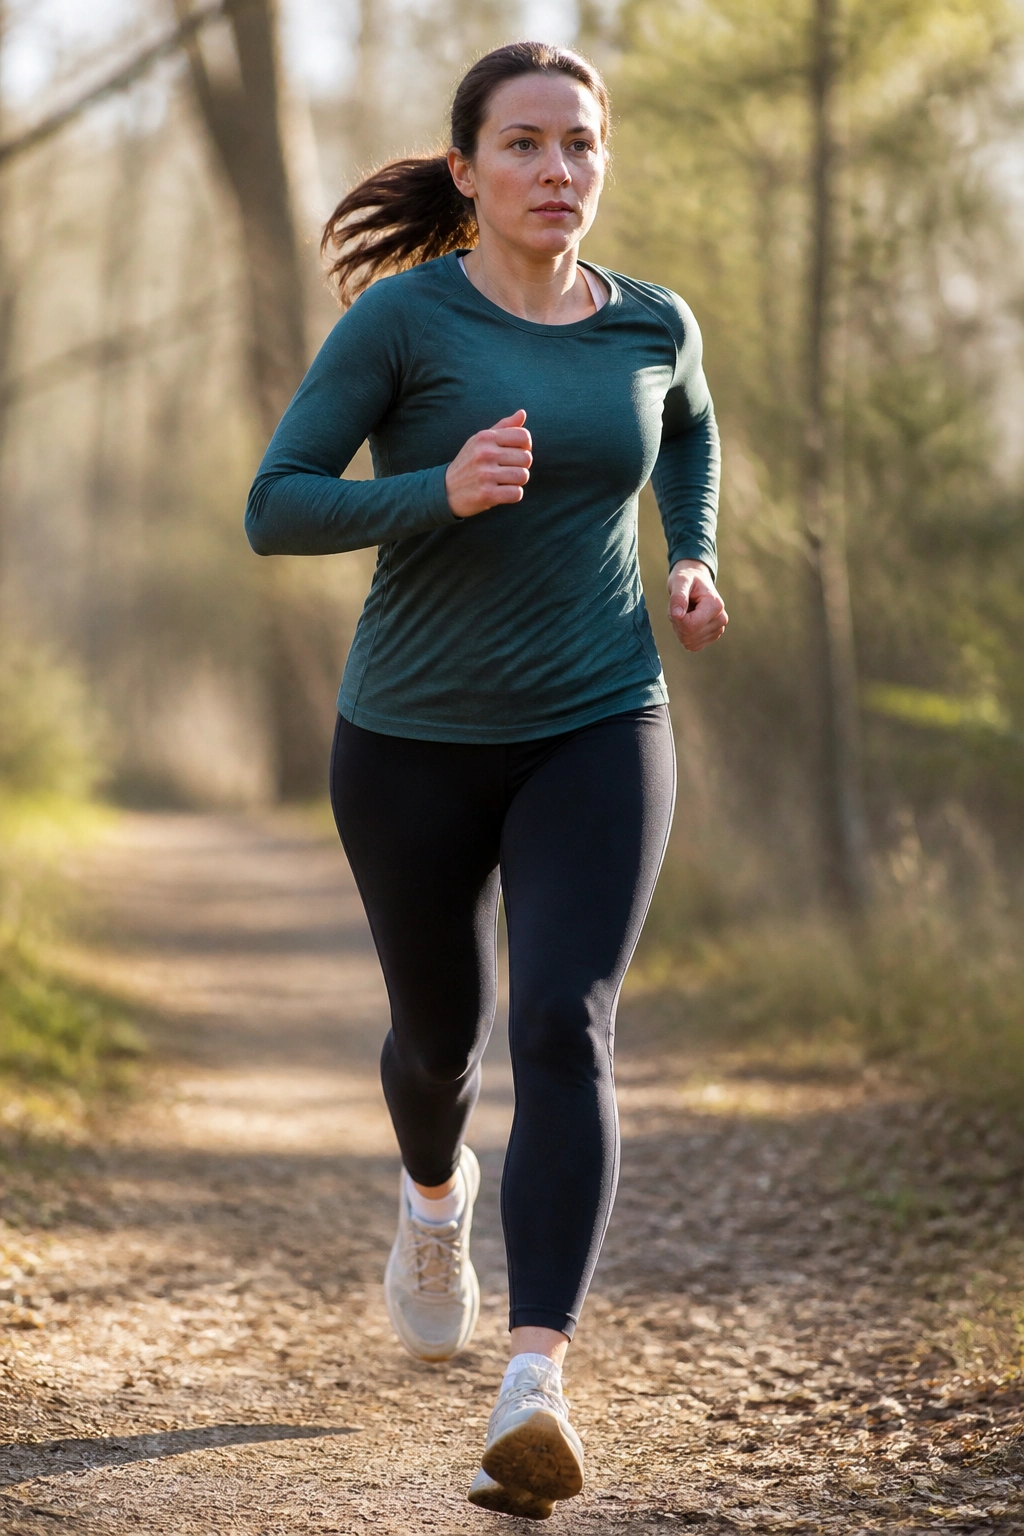
Running is not the enemy. Rushing is. The safest return-to-run plan starts only when the body can handle brisk walking, stairs, and daily lifting without leaking, heaviness, pain, or that unsettled feeling down low.
Readiness checkpoint
- You can walk briskly for 30 minutes without symptoms.
- You do not feel pelvic heaviness during or after exercise.
- Leaking is not happening with basic movement.
- Your core can handle planks, carries, or dead bug work without doming.
If those boxes are checked, begin with 1 minute of easy running and 2 minutes of walking for 15 to 20 minutes on soft ground. Keep the pace conversational. Keep the stride short. If symptoms show up, back off and return to walking for a while.
This is not a race back to speed. It’s a test of how the body tolerates impact. That difference matters a lot.
25. Low-Impact Dance or Cardio Circuit
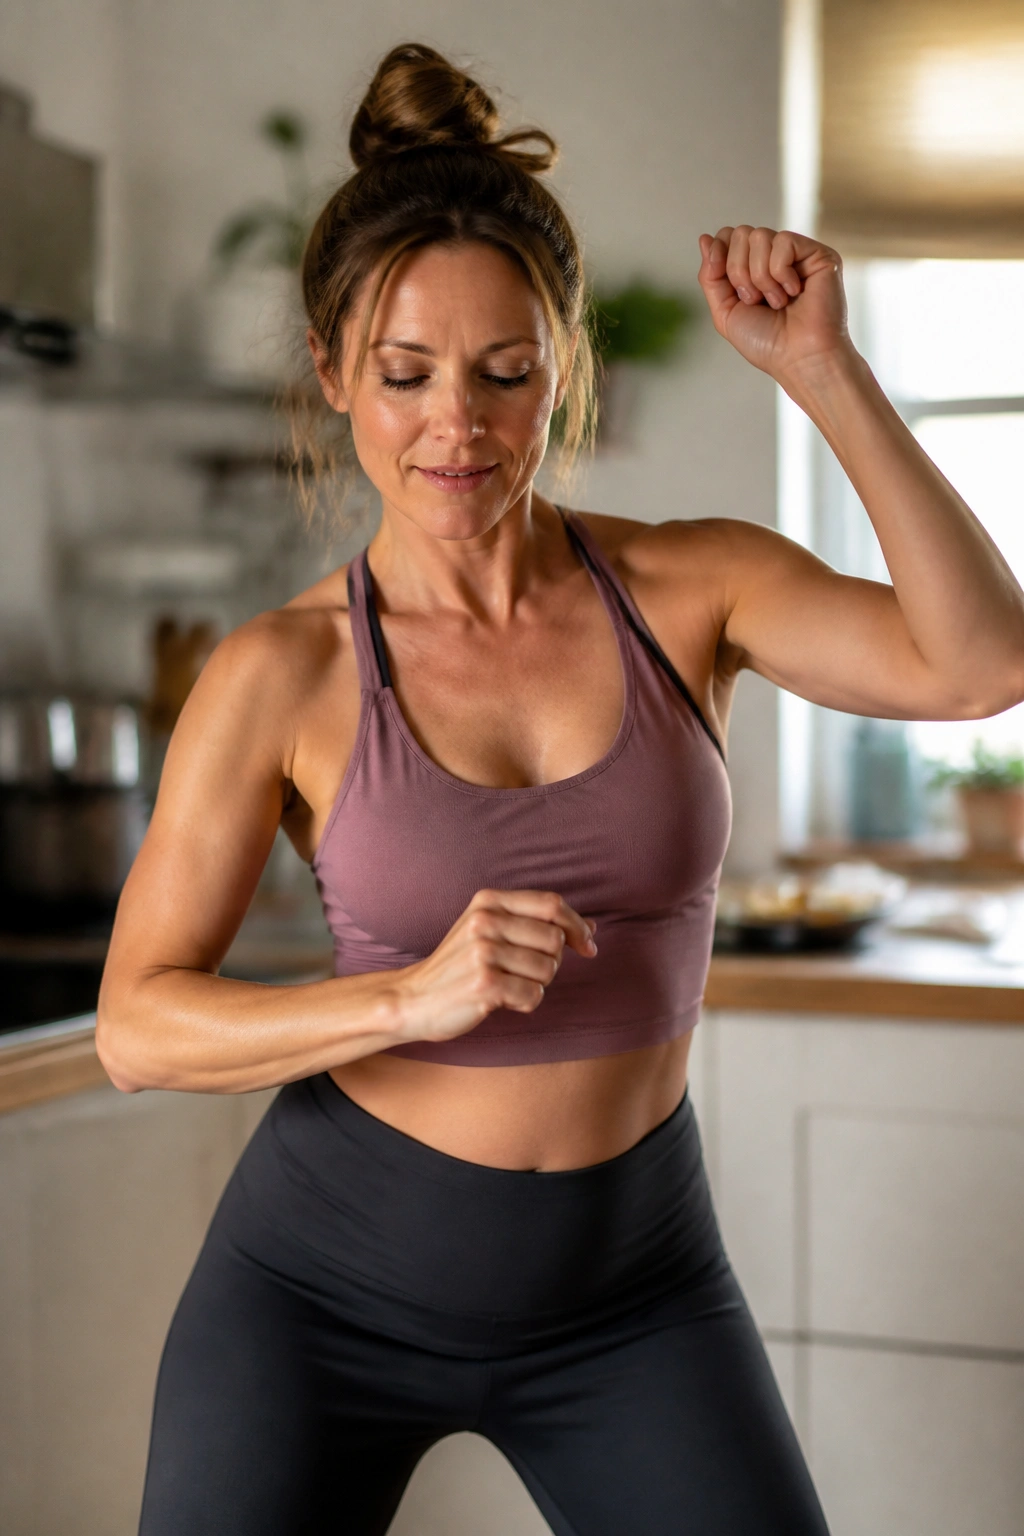
Sometimes the best workout is the one that doesn’t feel like a worksheet. A low-impact dance circuit can be marching in place, step touches, shadow boxing, side reaches, or knee lifts done to music in your kitchen while the baby watches from a mat.
Pick 4 to 5 moves and do each for 30 to 45 seconds, then rest for 15 to 20 seconds. Keep the bounce low and the landings quiet. If you feel the pelvis getting heavy, stay with marching and step-touch patterns instead of anything springy.
I like this one because it solves the motivation problem without pretending to be more serious than it is. Some days you need a plan. Some days you need a song and ten minutes of movement that make your body feel less stuck.
That counts. It counts a lot.
