



Walk into almost any gym, anywhere, and you will see someone struggling with a squat. It is the most foundational movement in the human repertoire, yet it is also the most frequently butchered. You watch people tip forward like they are about to face-plant into the floor, or you see knees collapsing inward like a fragile house of cards. It is painful to watch, largely because it doesn’t have to be this way. The squat isn’t just about moving weight from point A to point B; it is about organizing your entire skeleton to handle load efficiently.
If you are a beginner, you have a distinct advantage: you are a blank slate. You do not have years of ingrained, suboptimal motor patterns to unlearn. You are not fighting against a decade of “good enough” habits that have stiffened your joints and confused your nervous system. By focusing on the mechanics now—before you start stacking heavy plates on the bar—you are building a foundation that will serve you for the rest of your life. It is not about how much you can lift on day one; it is about how well you can move when you are seventy years old.
The pursuit of a perfect squat is not a destination. It is a constant, iterative process of refinement. You will tweak your stance, adjust your ankle mobility, and refine your bracing until the movement feels less like an exercise and more like a natural, rhythmic expression of strength. Let’s break down the technical nuances that separate a disjointed, risky movement from a smooth, powerful squat.
1. Master the Hip Hinge First
Before you even think about putting a barbell on your back, you must master the hip hinge. Most beginners treat the squat as a “knee-bending” exercise, which is exactly why they end up with knee pain or excessive forward lean. The squat is a knee-dominant movement, yes, but it must be initiated through the hips. If you lead with your knees, you immediately shift the stress away from your powerful posterior chain—your glutes and hamstrings—and dump it onto your quadriceps and patellar tendons.
The Mechanism of the Hinge
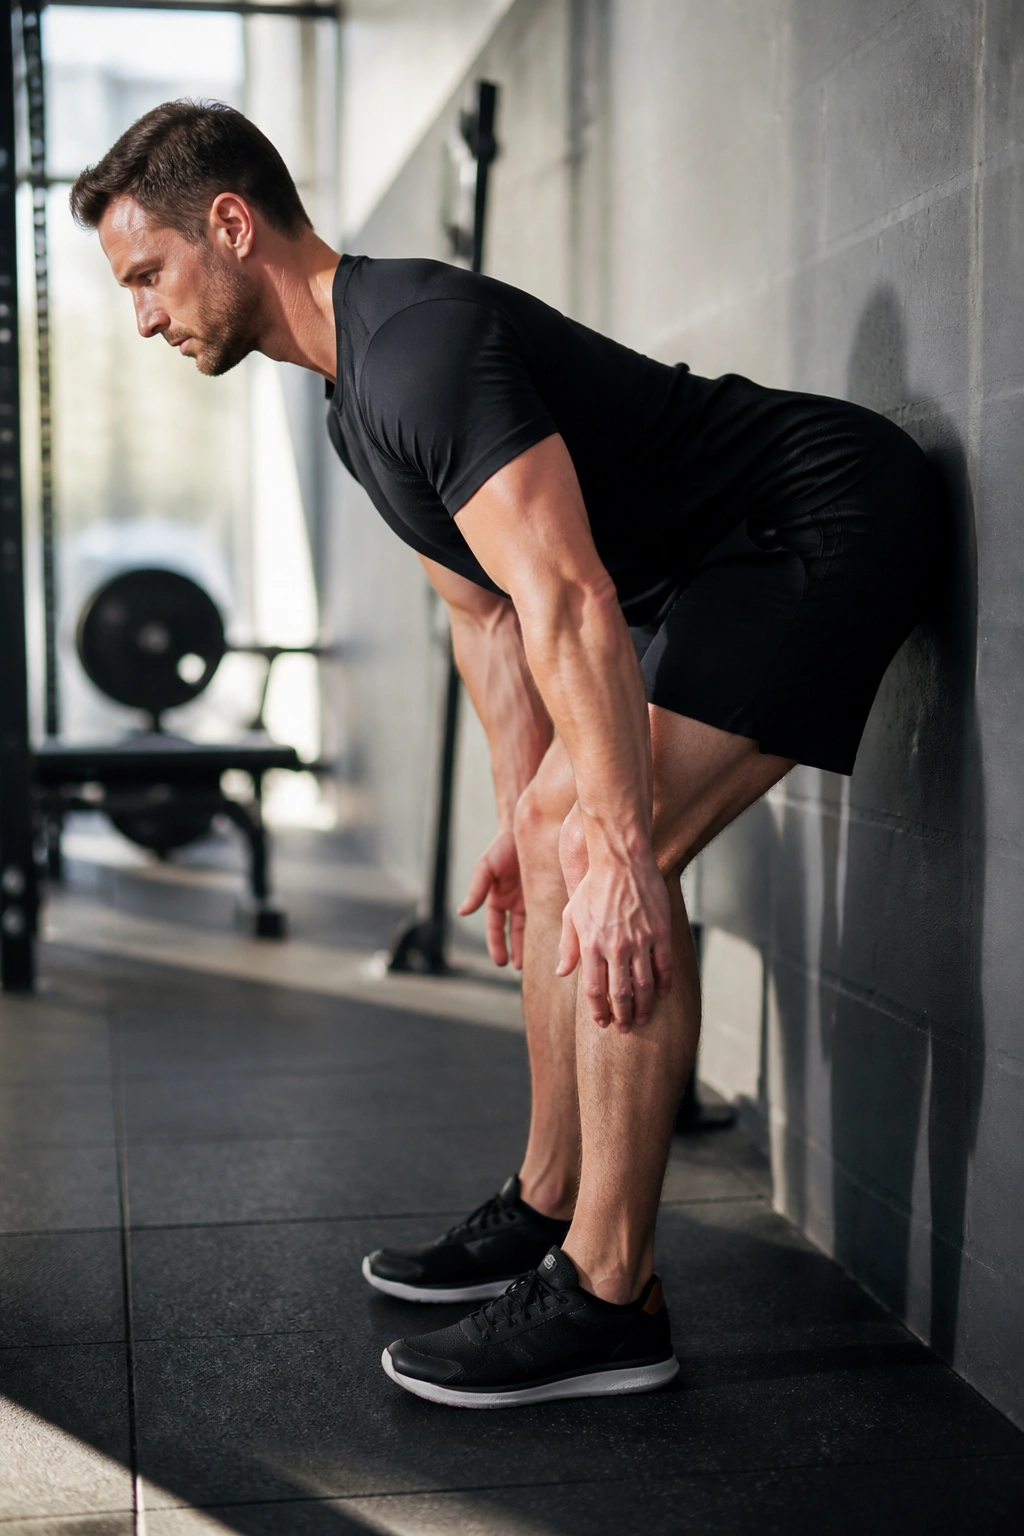
Think of your hips as a hinge, not a ball-and-socket joint that should rotate in every direction at once. To practice this, stand with your back about six inches away from a wall. Push your hips backward as if you are trying to touch the wall with your glutes, keeping your shins as vertical as possible. You should feel a significant tension build in your hamstrings.
Why This Matters for Beginners
- It teaches you to sit back rather than down.
- It engages the glutes before the load is ever applied.
- It prevents the common pitfall of the knees traveling too far forward too early.
Pro tip: Practice this hinge pattern with a kettlebell or a simple wooden dowel against your spine before you ever approach a squat rack. If you cannot hinge without rounding your lower back, you have no business trying to squat under heavy load.
2. Feet Positioning and Width
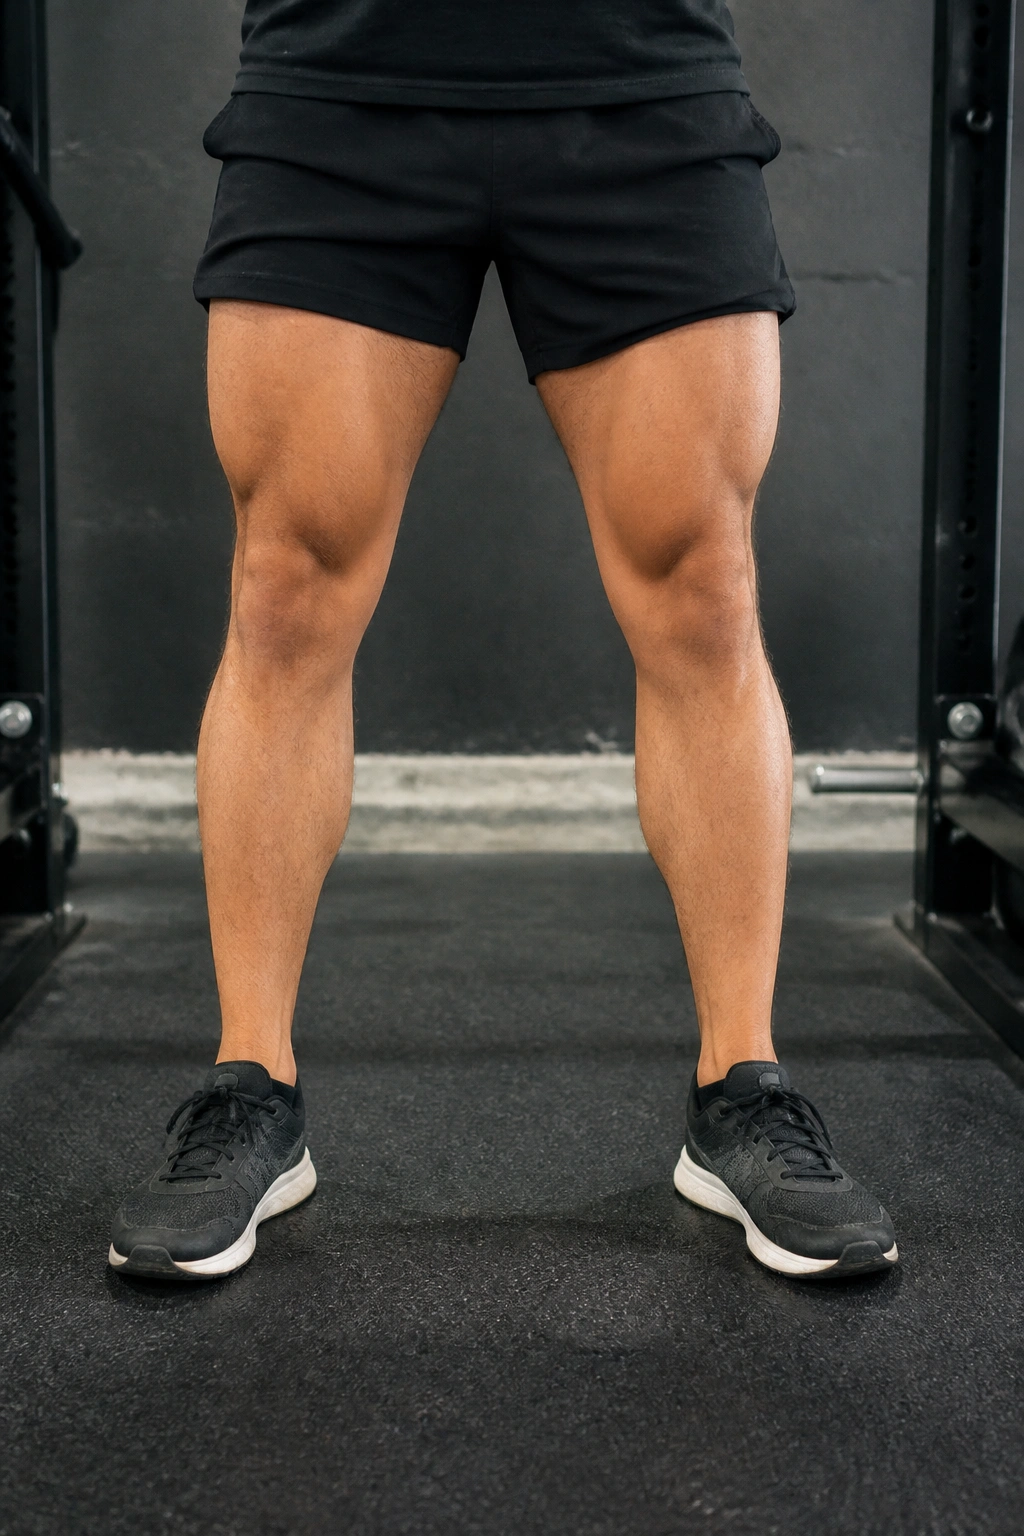
There is no single “correct” stance width for everyone. You will see people with feet right under their hips and others with a wide, sumo-style stance. The difference usually comes down to anatomy—specifically, the shape of your acetabulum (hip socket) and the length of your femurs. A person with deep hip sockets might find a wider stance much more comfortable, while someone with shallower sockets might prefer a narrower setup.
Finding Your Natural Stance
The best way to find your ideal width is to jump in the air and land naturally. Where your feet land is usually a good starting point for your squat. Adjust from there. If you feel like your hips are “pinching” or hitting a wall at the bottom of the squat, your stance is likely too narrow. If you feel unstable or like you cannot push through your heels, it might be too wide.
Toe Angle
- Most people find comfort with toes pointed out slightly, anywhere from 15 to 30 degrees.
- This external rotation allows the femur to clear the pelvis as you descend.
- It also helps activate the glutes, which are primary external rotators of the hip.
Don’t overthink this. If your feet are perfectly straight but your knees keep crashing inward, try widening your stance or turning your toes out slightly. Small adjustments often yield massive changes in comfort.
3. Depth: How Low Should You Go?
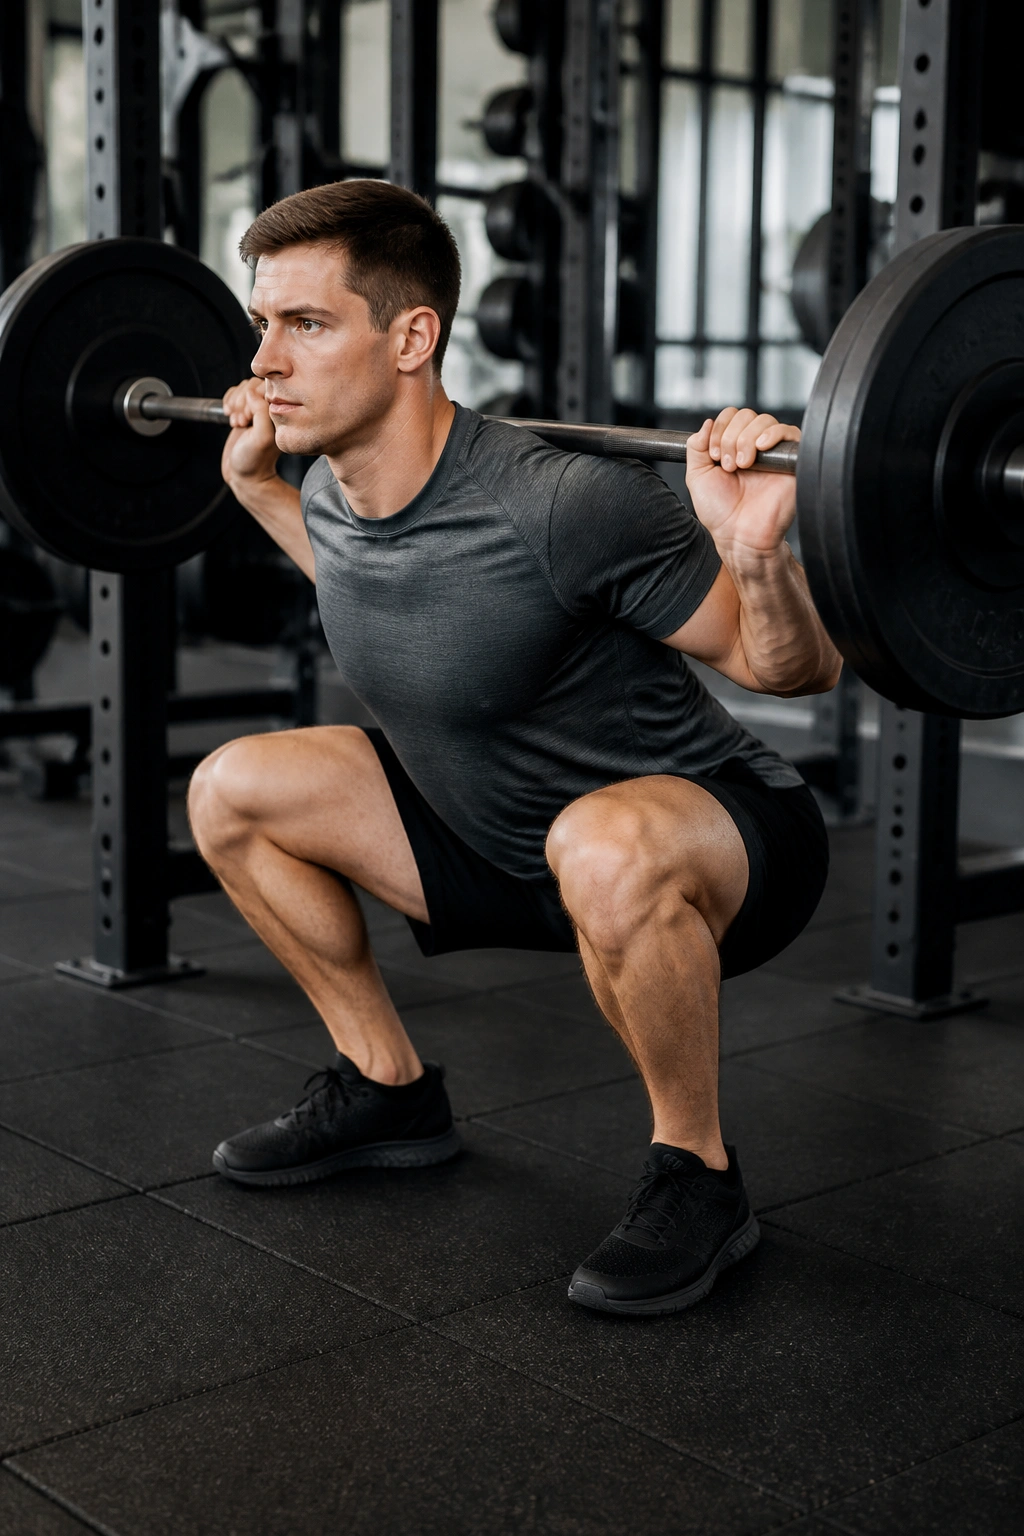
The internet is obsessed with the idea that you must go “ass-to-grass” on every repetition. While deep squats are fantastic for hypertrophy and mobility, forcing depth when your body isn’t ready is a recipe for injury. The goal is to reach a depth where your hip crease falls just below the top of your knee, often called “parallel.”
The Limit of Your Mobility
Your depth is limited by two main factors: ankle mobility and hip structure. If your ankles are stiff, your heels will lift off the ground, or your lower back will round, causing that dreaded “butt wink” (which we will get to later). If you reach your absolute maximum depth and your spine loses its neutral position, you have gone too deep.
Assessing Your Capacity
- Stop the descent the moment your lumbar spine starts to tuck under.
- Use a box or a bench as a target to maintain a consistent, safe depth.
- Do not ego-lift by adding weight if it means sacrificing three inches of range of motion.
Remember: Consistency is the real king. Hitting a perfect, controlled parallel squat with 135 pounds is infinitely more productive than grinding out a quarter-squat with 300 pounds. The range of motion is what builds the muscle; the weight is just the tool.
4. Keeping Your Chest Up
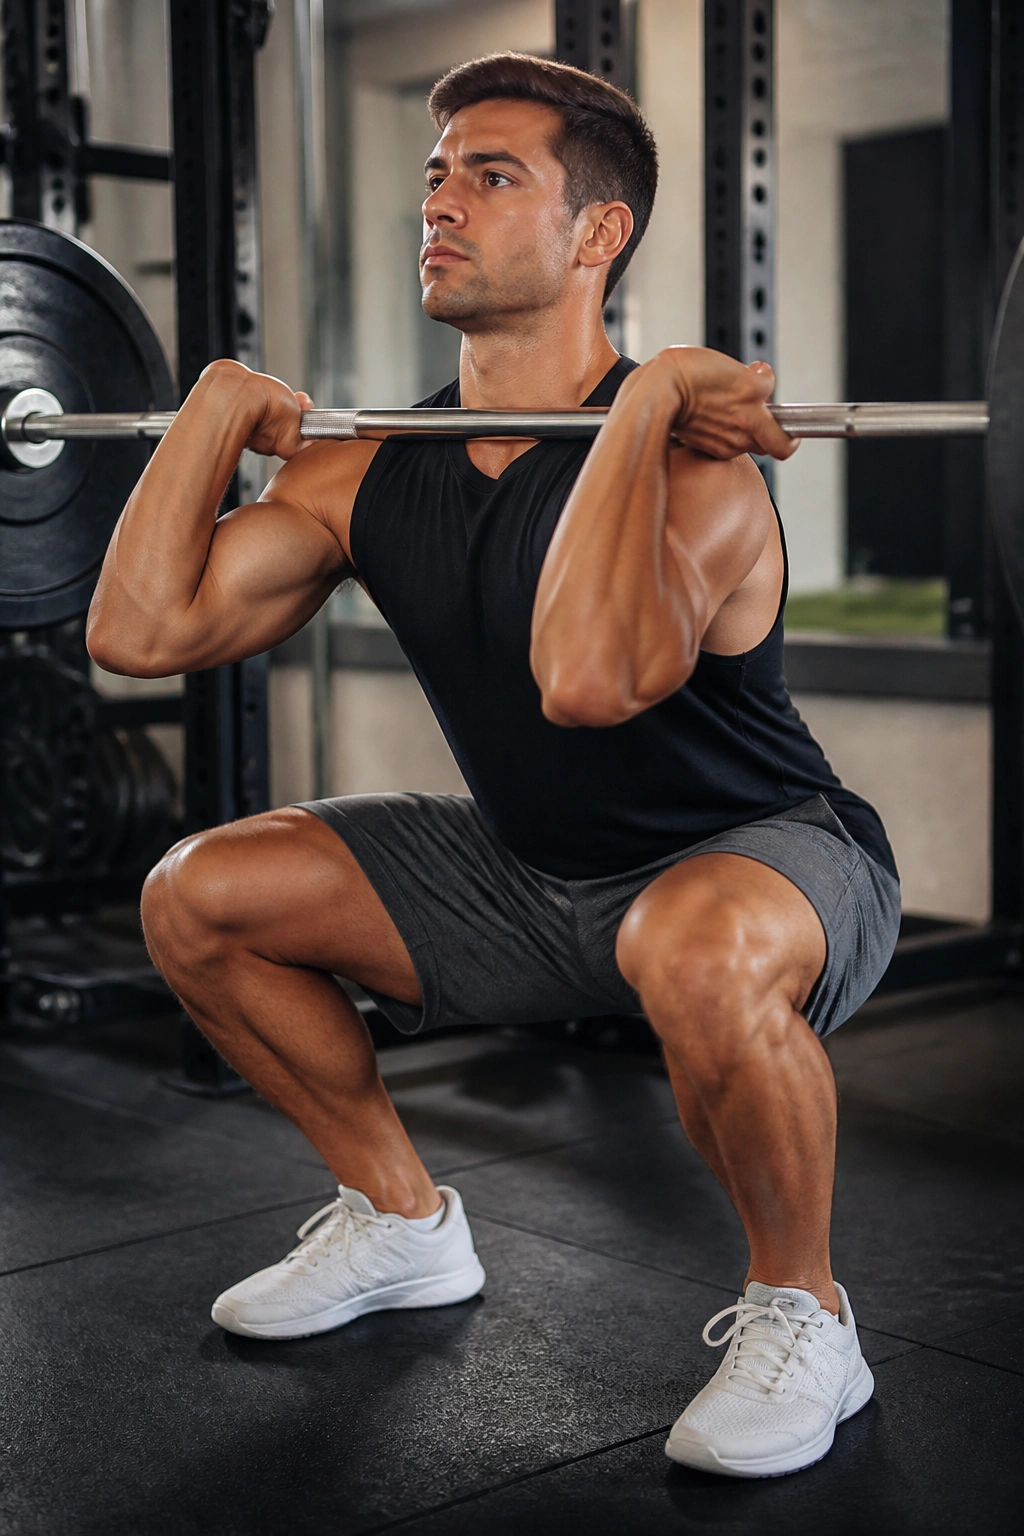
The “chest up” cue is one of the most common pieces of advice in the gym, but it is often misinterpreted. Beginners sometimes take this to mean “arch your back aggressively,” which creates a different set of problems. You aren’t trying to look up at the ceiling or puff your chest out like a pigeon. You are trying to maintain a rigid, neutral spine.
The Lat-Engagement Secret
Think about “pulling the bar down” into your back. If you are using a barbell, imagine trying to bend the bar over your shoulders. This engages your latissimus dorsi—the large muscles of your back—which creates a shelf for the bar and stabilizes your entire torso. When your lats are tight, your chest naturally stays upright, and your spine stays protected.
Why Collapsing Happens
- The weight is too heavy for your core to stabilize.
- You are losing tension in your upper back mid-rep.
- Your abdominal bracing is inconsistent.
If you find your chest falling forward, it is rarely a chest strength issue. It is almost always a sign that your core is failing to act as a rigid pillar, or your upper back isn’t tight enough to support the load.
5. Knee Tracking and Stability
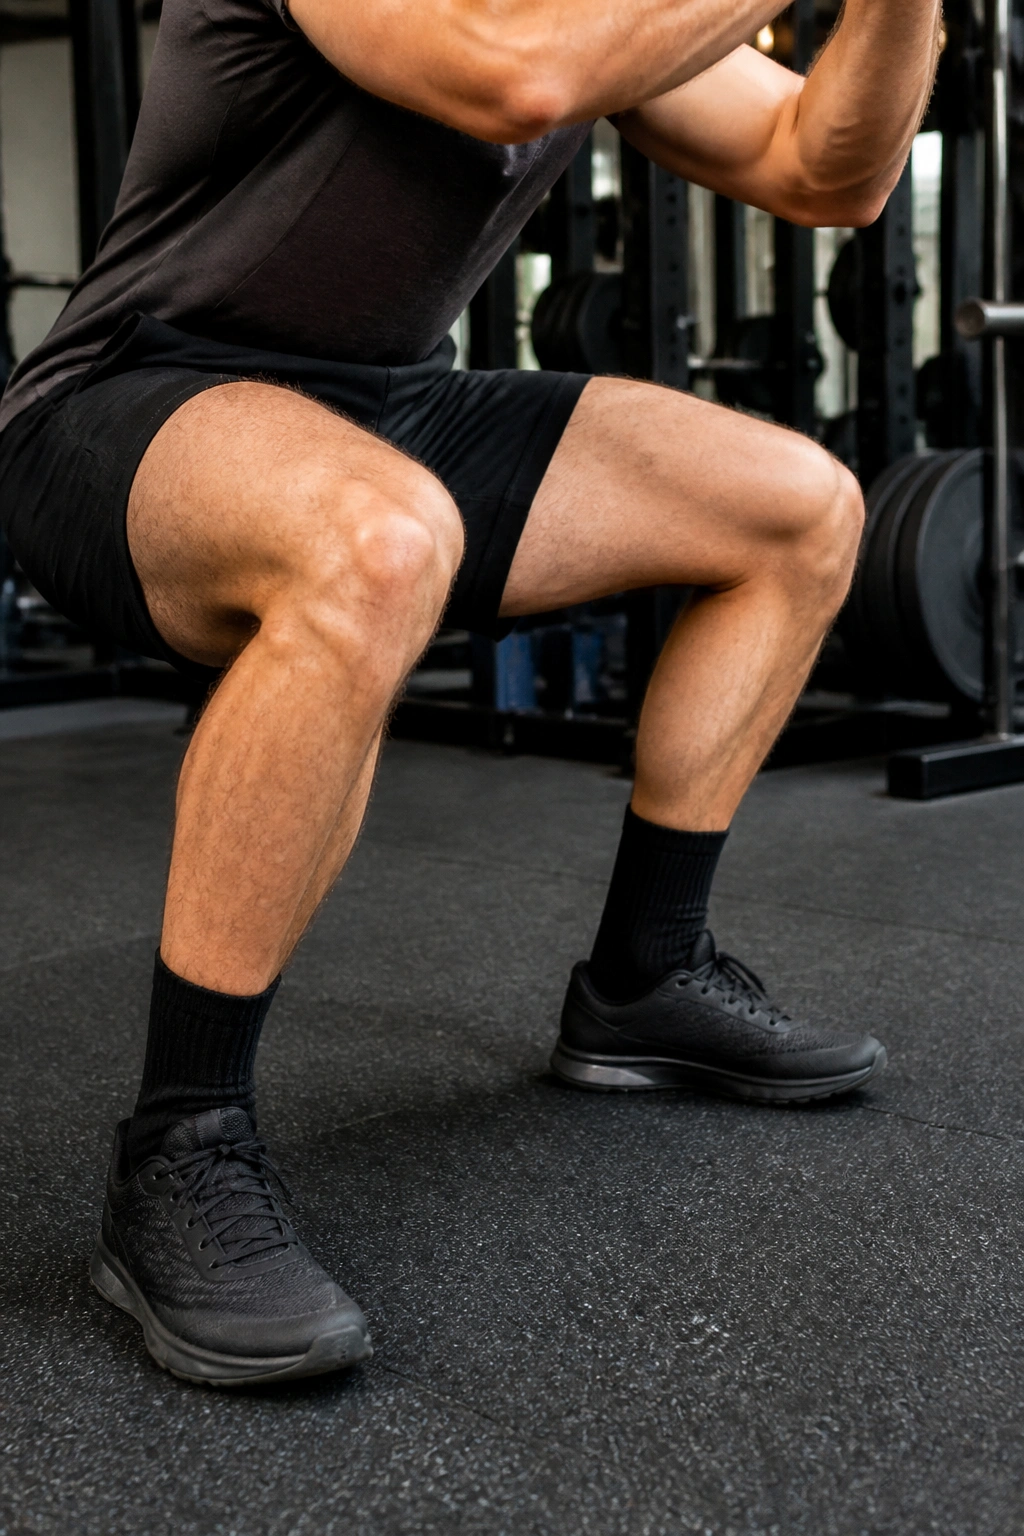
Nothing makes a coach cringe faster than seeing knees buckle inward toward each other during the ascent. This is known as “valgus collapse.” It places immense, shearing stress on the ACL and the medial meniscus. Your knees should track directly over your toes throughout the entire movement.
The “Spread the Floor” Cue
The most effective way to fix knee collapse is to imagine that you are standing on a giant sheet of paper and you are trying to rip it in half with your feet. You aren’t actually moving your feet, but you are creating outward rotational torque. This simple mental shift engages your gluteus medius, which is the primary stabilizer of the knee.
When Knees Still Cave
If your knees still cave despite the “spread the floor” cue, you might be dealing with:
- Weak glutes (the stabilizers aren’t firing).
- Excessive weight (your body is searching for a stronger lever).
- Tight adductors (the muscles on the inside of the thigh are pulling the knees in).
Focus on keeping the knees pushed out actively. It should feel like a conscious fight against the inward pull of gravity.
6. Breathing and Bracing
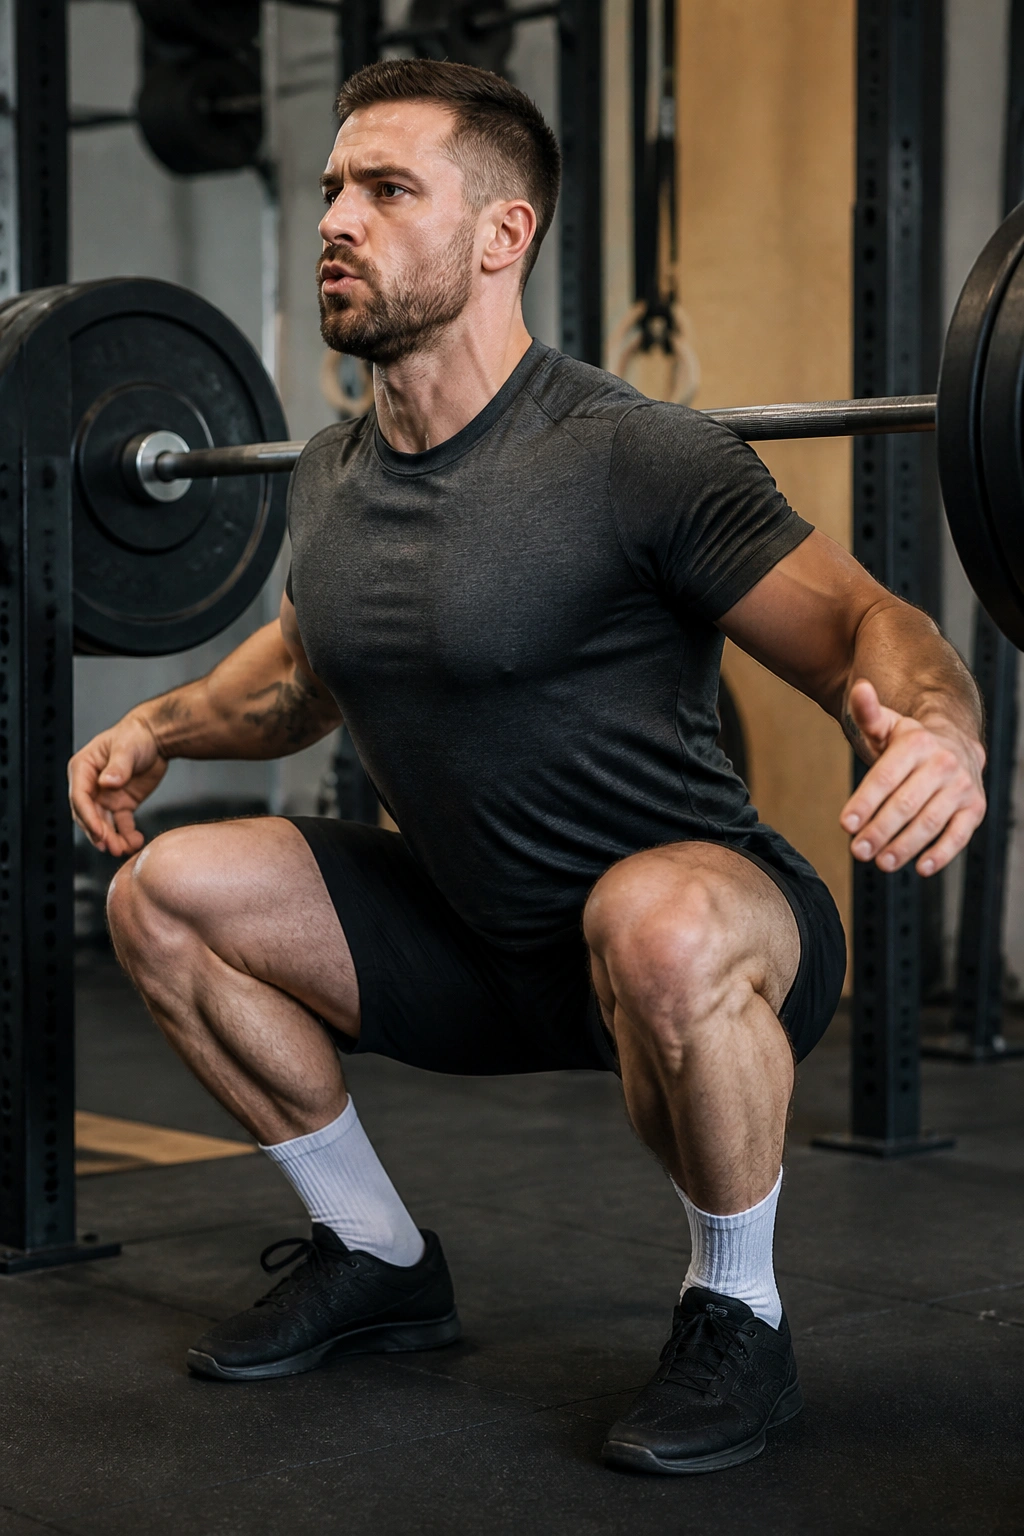
You cannot squat heavy weight with a loose core. If your midsection is soft, your spine will fold under the pressure of the load. This is where the Valsalva maneuver comes in—but do not confuse it with simply “holding your breath.”
The Intra-Abdominal Pressure Method
- Take a deep breath into your belly, not your chest.
- Push your breath out against your abdominal muscles as if you are preparing for someone to punch you in the stomach.
- This creates a cylinder of air pressure inside your torso that acts like an internal weight belt.
The Timing
You must perform this breath before you begin the descent. Once you are halfway down, it is too late to brace. You hold that breath through the most difficult part of the lift—the bottom and the initial transition—and you can exhale once you have passed the sticking point on the way up. This creates a rigid core that protects your lumbar spine from shearing forces.
7. The Importance of Ankle Mobility
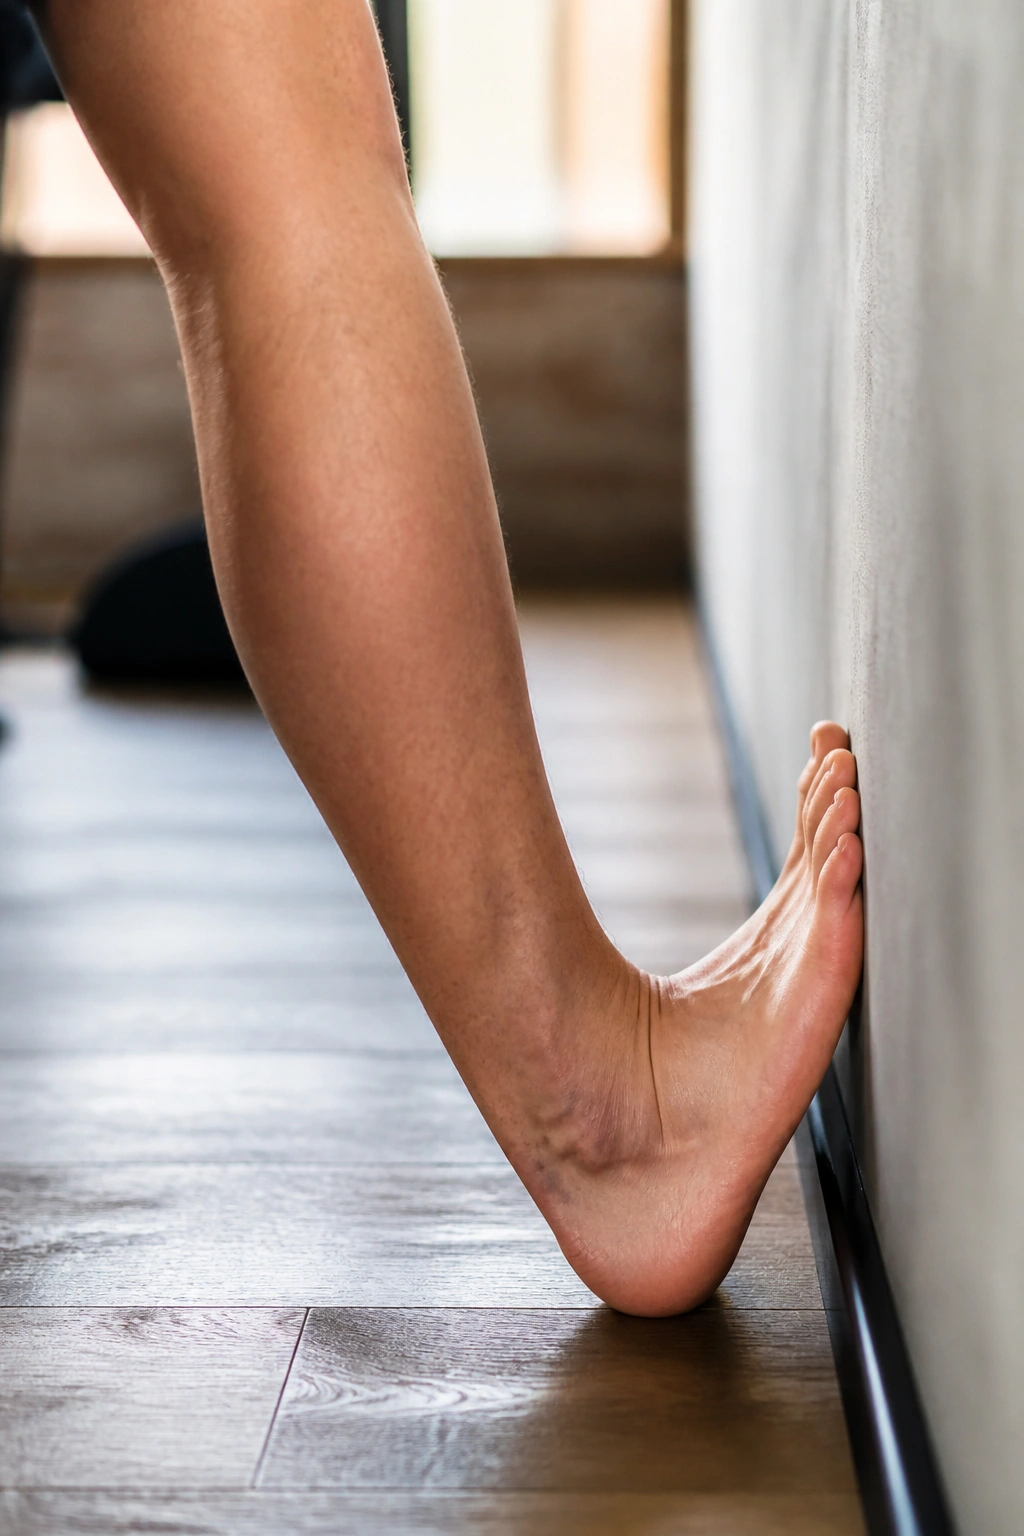
You can have the strongest glutes in the world, but if your ankles are as stiff as iron, your squat will fail. When you descend into a squat, your shin bone must travel forward to allow your knees to move over your toes. If your ankle joint is restricted, that forward shin travel is impossible.
The Compensation Effect
When the ankle can’t flex, your body finds the range of motion elsewhere. It usually forces your heels to lift off the ground or forces your hips to shift backward, causing your torso to tip forward dangerously. This is the single biggest “hidden” reason for bad squat form.
Testing Your Ankles
Stand facing a wall with your big toe about four inches away. Try to touch your knee to the wall without your heel lifting. If you can do it easily, your mobility is fine. If your heel lifts or your knee hits your toes before reaching the wall, you need ankle work. Daily calf stretches and tibialis raises can work wonders over time.
8. Weight Distribution: Mid-Foot vs. Toes
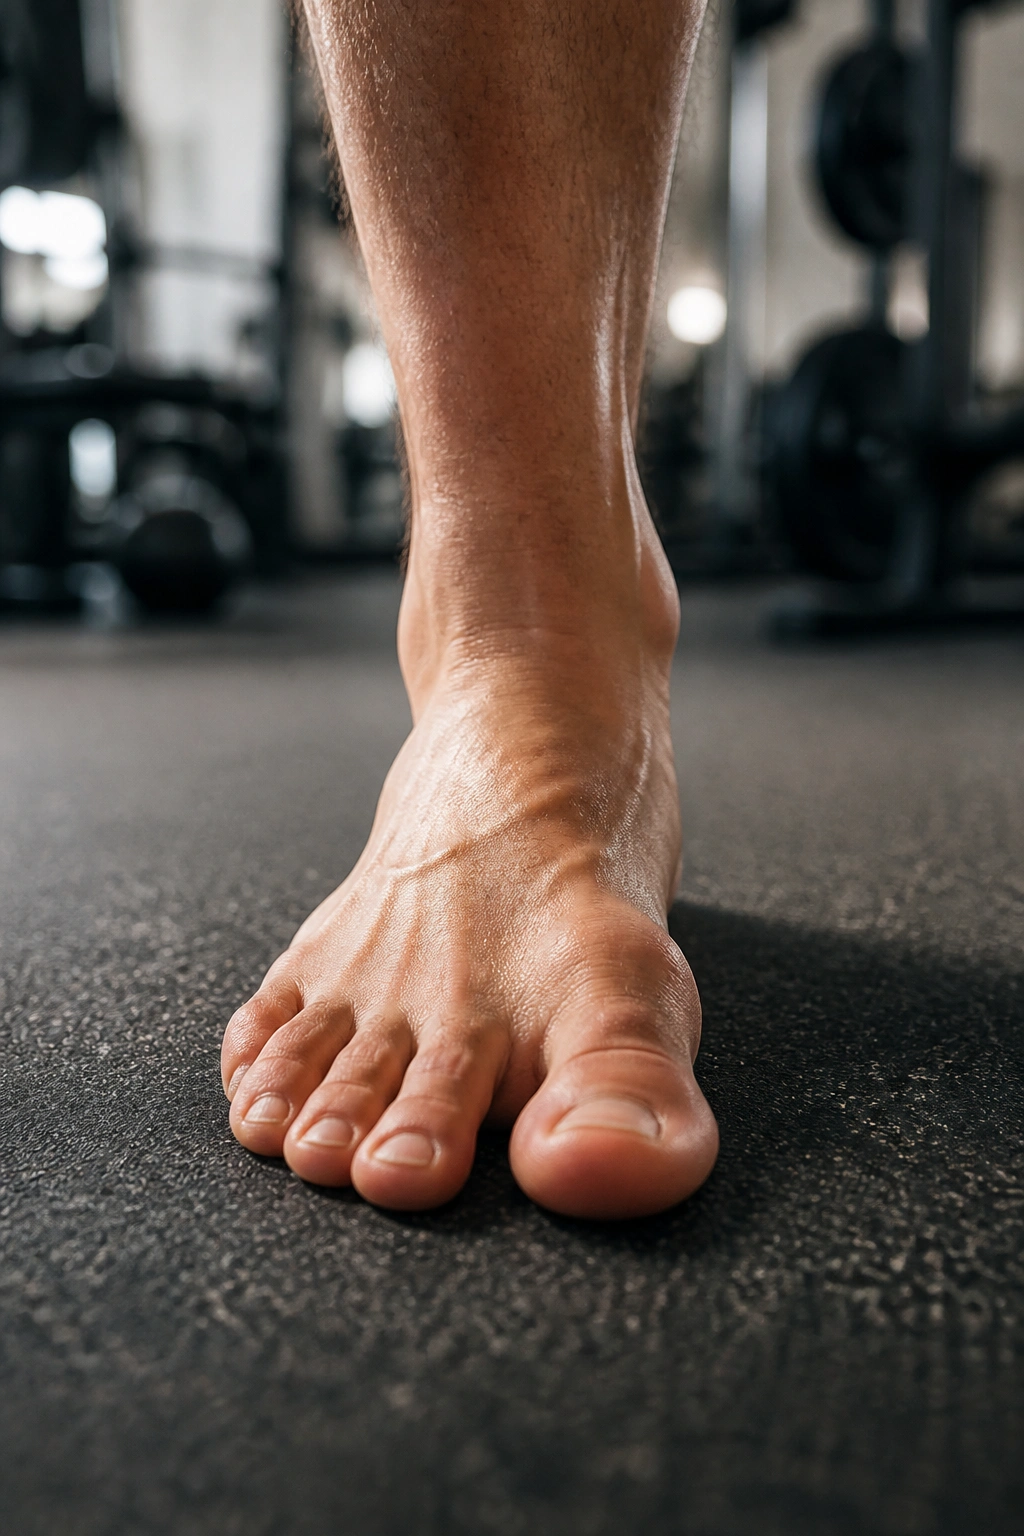
Beginners often make the mistake of shifting their weight entirely to their toes or entirely to their heels. Both are suboptimal. The squat should be performed with your weight balanced over the middle of your foot. Think of your foot as a tripod with three contact points: the heel, the base of the big toe, and the base of the little toe.
The Tripod Foot
When you stand, you should feel even pressure across all three of these points. If you feel like you are falling backward, you are likely too heavy on your heels. If you feel like your knees are drifting excessively forward, you are too heavy on your toes.
Correcting the Balance
- If you find yourself tipping, try placing a very thin plate (like a 2.5lb weight) under your heels to change the leverage.
- Focus on gripping the floor with your toes.
- Visualize the weight of the bar traveling in a perfectly straight vertical line over your mid-foot.
9. Eccentric Control
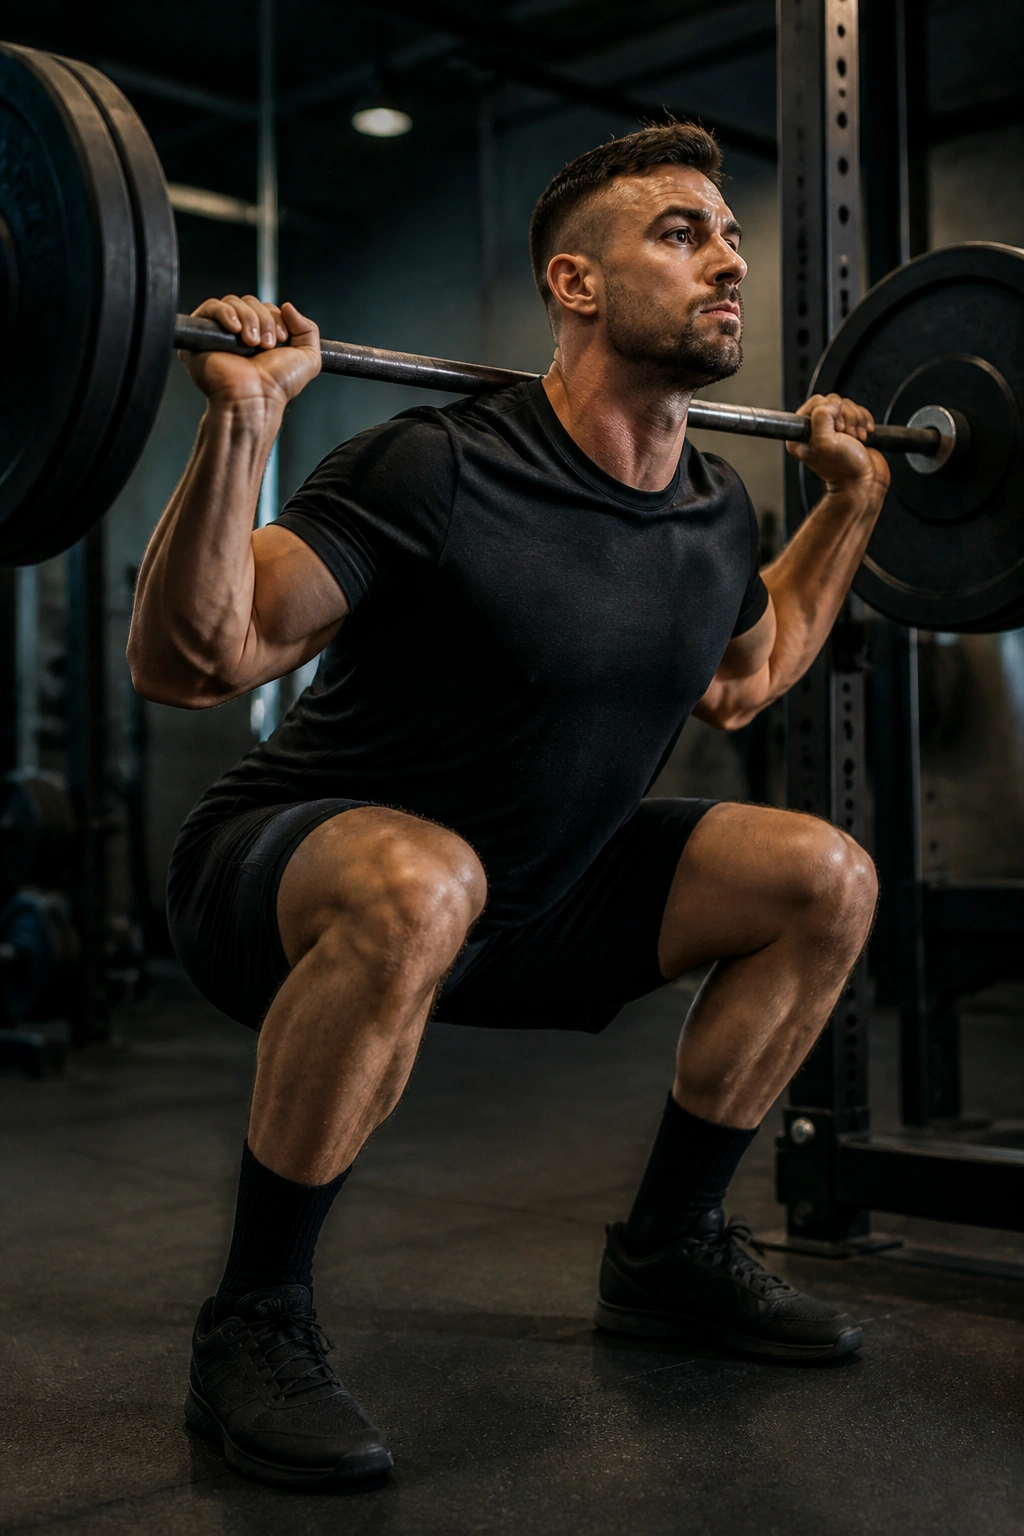
The descent (the eccentric phase) is not just a passive “falling” into the bottom position. It is an active movement that should be controlled. If you drop too fast, you lose your structural integrity and dissipate the tension you built during the setup.
The Three-Second Rule
As a beginner, try to control your descent for a count of three seconds. This slows things down and forces you to feel exactly where your joints are in space. It allows you to check your form—are your knees out? Is your chest up? Are you bracing?
Why Speed Kills (At First)
- It masks technical flaws that only show up under tension.
- It makes the transition at the bottom violent and jarring for your connective tissues.
- It prevents you from “finding” your groove in the bottom position.
Once you have mastered the control, you can speed up, but never sacrifice the “tightness” of the descent for pure velocity.
10. Driving Out of the Hole
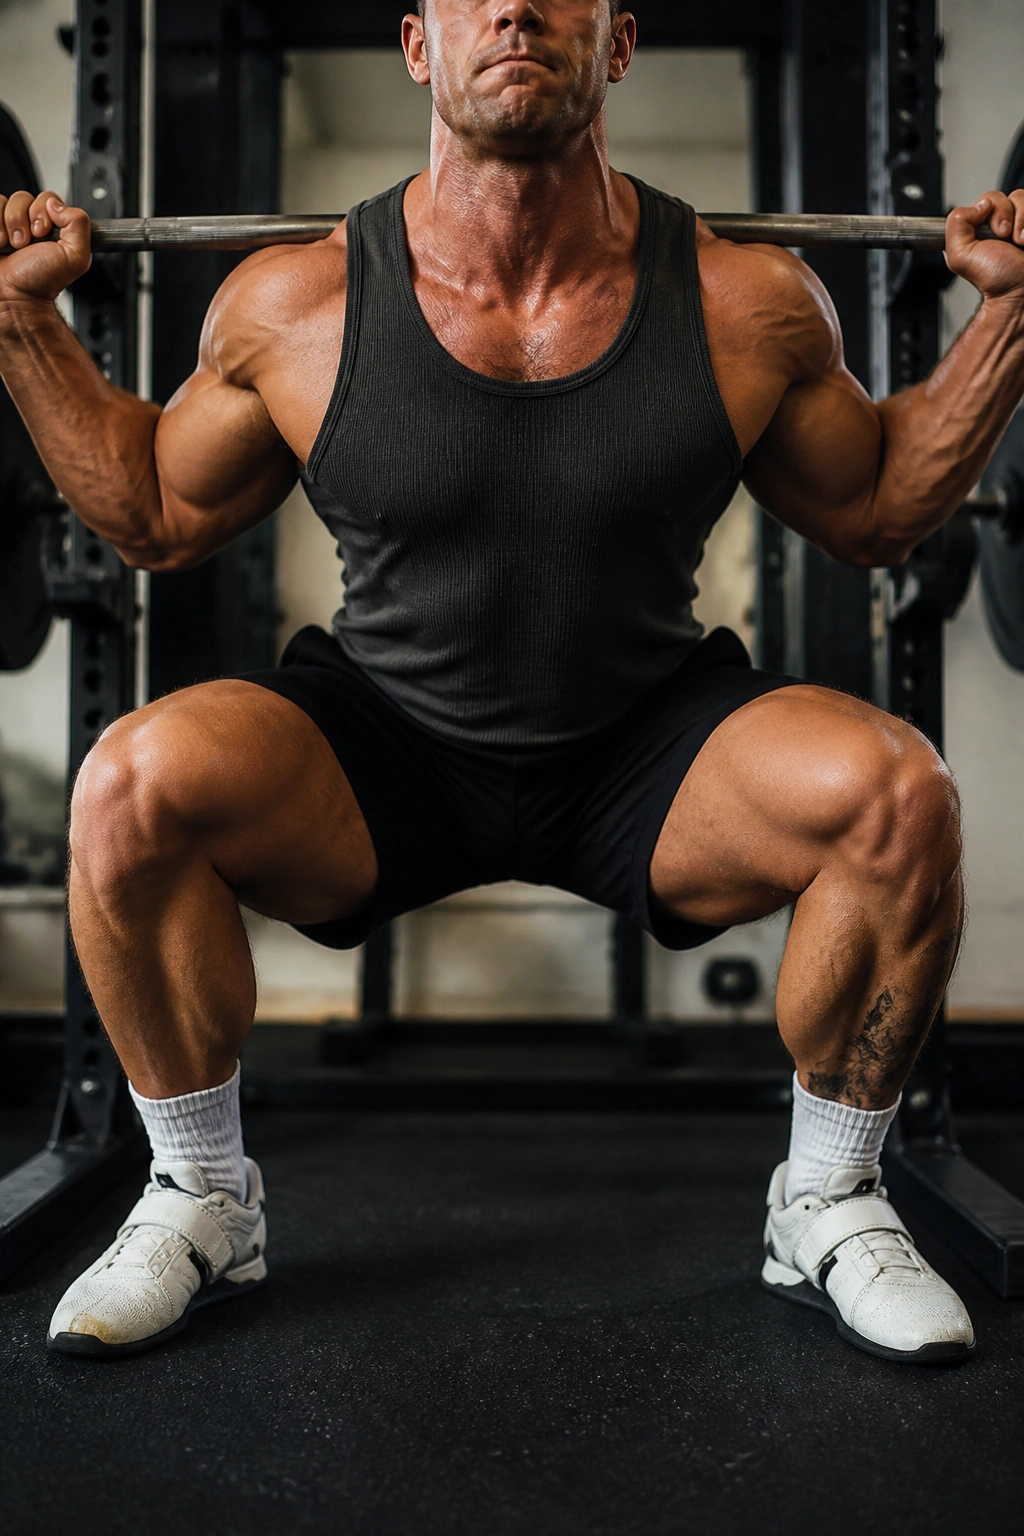
The “hole” is the bottom position of the squat, where the turnaround happens. This is where most people fail, and it is where the most energy is stored. Think of your muscles as rubber bands. As you descend, you are stretching them. When you hit the bottom, you want to use that stored potential energy to explode back up.
The “Bounce” vs. The “Muscling”
There is a difference between a controlled rebound and a loose, sloppy bounce. You want to use your natural elasticity, but you must maintain tension. Do not go limp at the bottom. The moment you hit depth, initiate the ascent by driving your upper back into the bar (or, if using a goblet squat, driving your elbows up).
Immediate Action
- Lead with your chest, not your hips. If your hips rise faster than your chest, you will end up in a “good morning” squat, which puts massive strain on your lower back.
- Keep your knees pushed out throughout the entire ascent.
- Keep your gaze fixed on a single point to maintain spinal neutrality.
11. Shoe Selection
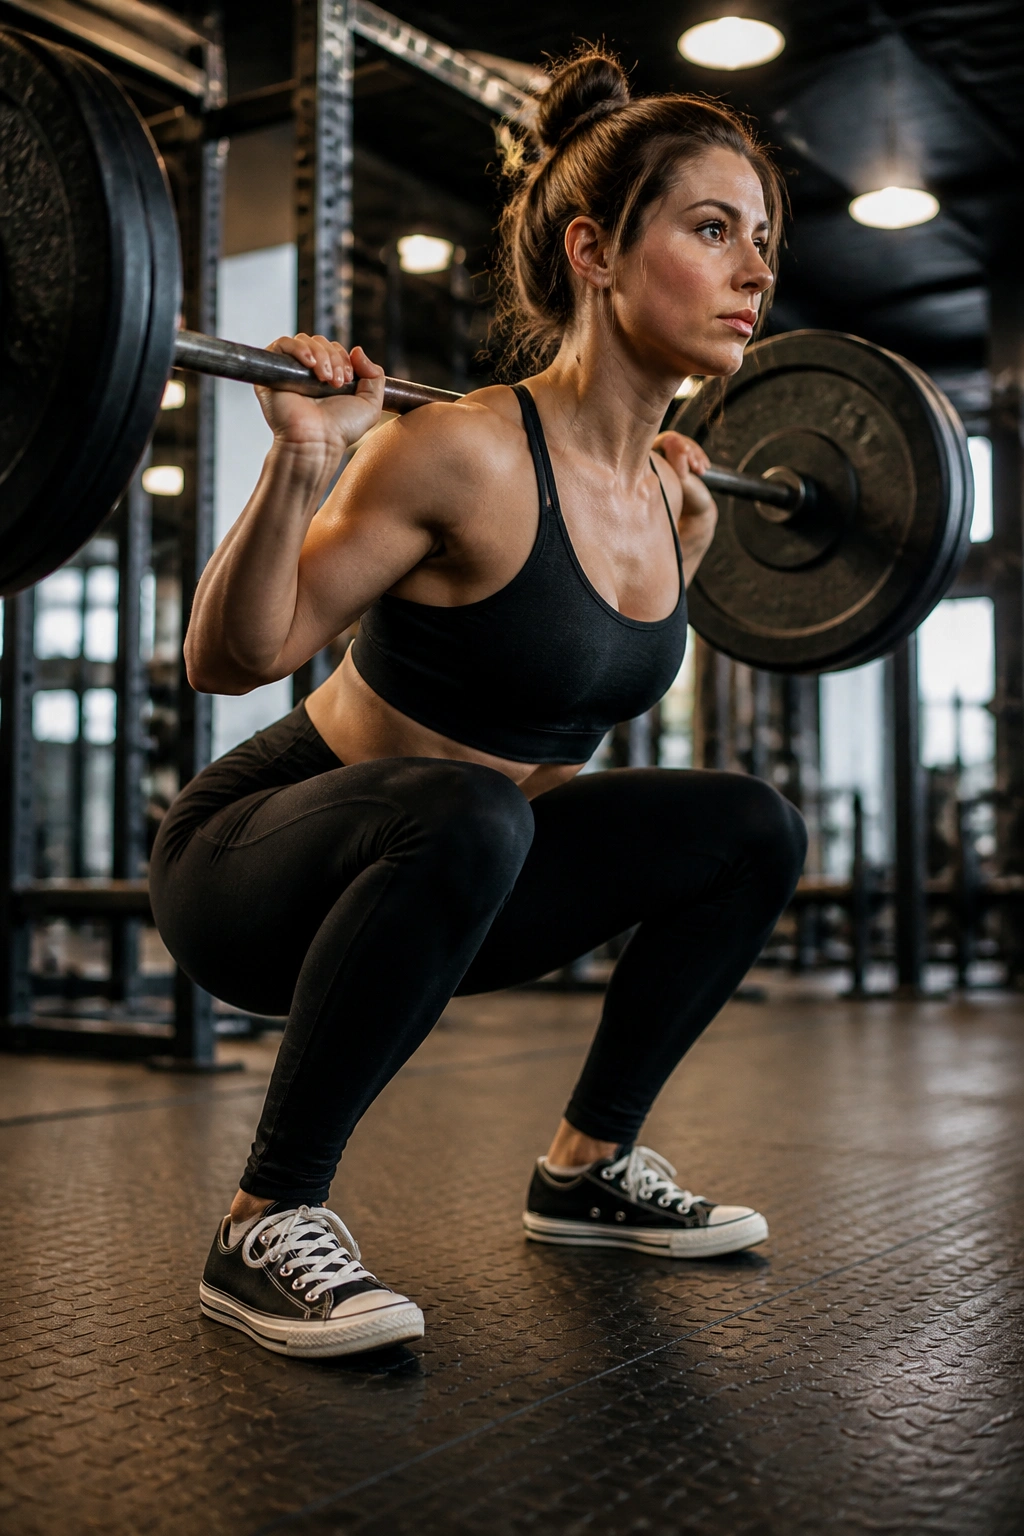
You might think that running shoes are the best choice for the gym because they are comfortable. For squatting, they are arguably the worst choice. Most running shoes have thick, squishy soles designed to absorb impact. When you have a heavy weight on your back, you do not want your foundation to be a sponge.
Why “Squishy” Soles Fail
When the sole of your shoe compresses, it creates an unstable surface. Your ankle becomes wobbly, your weight distribution shifts unpredictably, and you lose force transfer. You want a shoe with a flat, hard, and incompressible sole.
Better Alternatives
- Converse Chuck Taylors or Vans: Very flat and hard, perfect for beginners.
- Dedicated Weightlifting Shoes: These have a raised heel, which artificially increases your ankle mobility and allows you to stay more upright.
- Barefoot/Minimalist Shoes: If you have decent ankle mobility, these are excellent for proprioception.
Stop squatting in your jogging sneakers. Even switching to a pair of old, flat-soled dress shoes would be an upgrade over a pair of cloud-foam running shoes.
12. Using a Counterbalance or Box
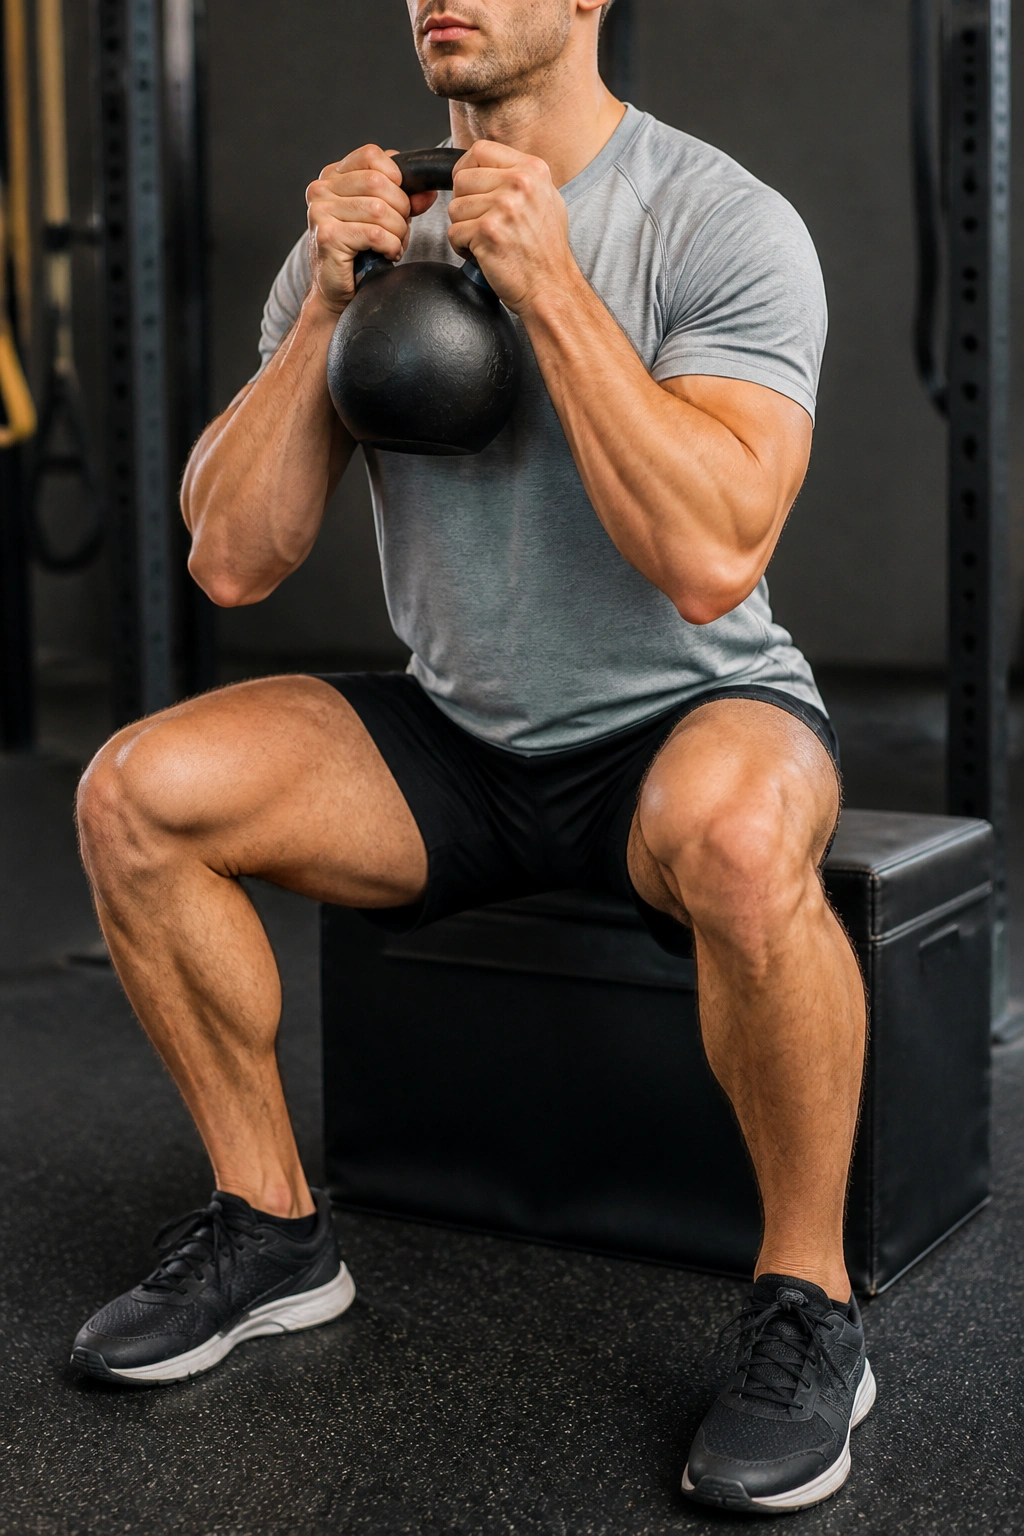
If you are struggling to maintain your balance or keep your chest up, you are likely failing to find your “center of gravity.” This is where a box squat or a goblet squat comes into play. These are not “easy” versions; they are teaching tools to force proper mechanics.
The Power of the Goblet Squat
Hold a single kettlebell or dumbbell close to your chest. The weight in front of you acts as a counterbalance. If you lean too far forward, the weight will pull you down, and you’ll know immediately. It forces you to keep your torso upright.
The Box Squat
- Place a box or bench behind you.
- Sit back onto the box until your glutes barely touch it.
- This teaches you to initiate with the hips (hinge) rather than the knees.
- It gives you a consistent “stop” point so you can learn exactly how deep you should go.
Use these variations until the movement pattern feels automatic. Once you can hit parallel with perfect form on a goblet squat, your body will have the “blueprint” it needs for a barbell back squat.
13. Avoiding the “Butt Wink”
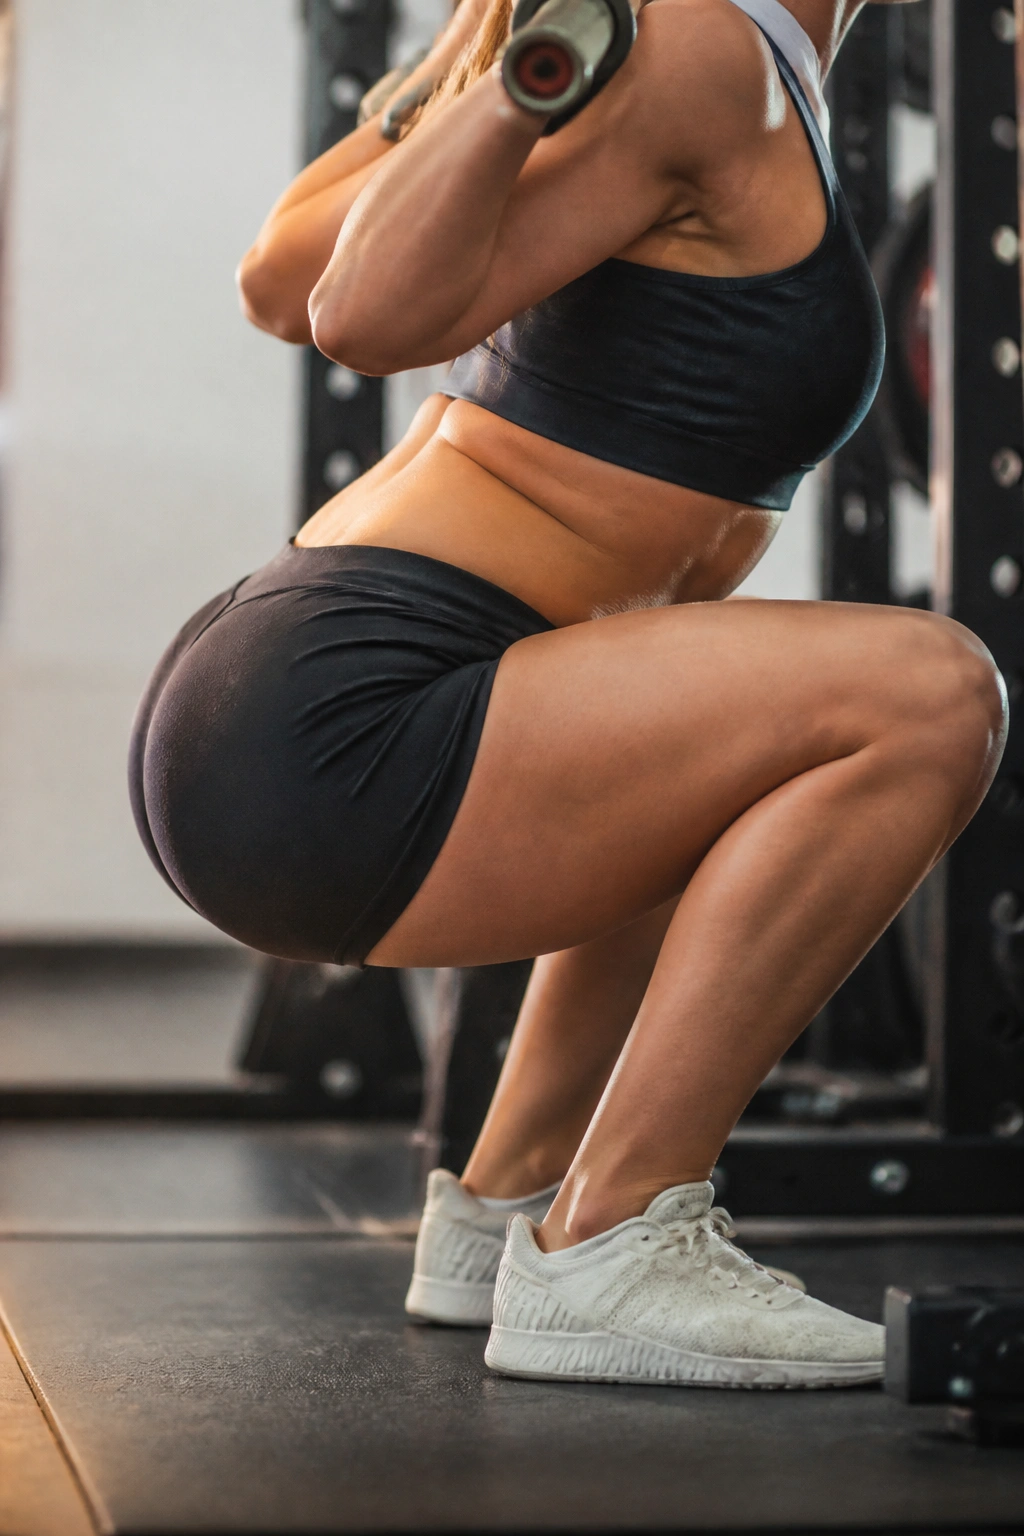
“Butt wink” refers to the posterior pelvic tilt that occurs at the very bottom of a squat. Your pelvis tucks under, causing your lower back to round. It looks like a little “wink” of your tailbone. While some degree of pelvic movement is normal in deep squats, excessive tucking under heavy load is a recipe for spinal disc issues.
The Causes
- Tight hamstrings pulling on the pelvis.
- Tight adductors.
- Lack of core bracing (not holding that breath).
- Trying to squat deeper than your anatomy allows.
How to Fix It
Stop your squat one inch above where the wink starts. You can strengthen your way into more depth over time. Also, work on your hip flexor and hamstring mobility. If you force the depth, your lumbar spine will be the one that pays the price, and that is a tax you do not want to pay.
14. Neck Neutrality
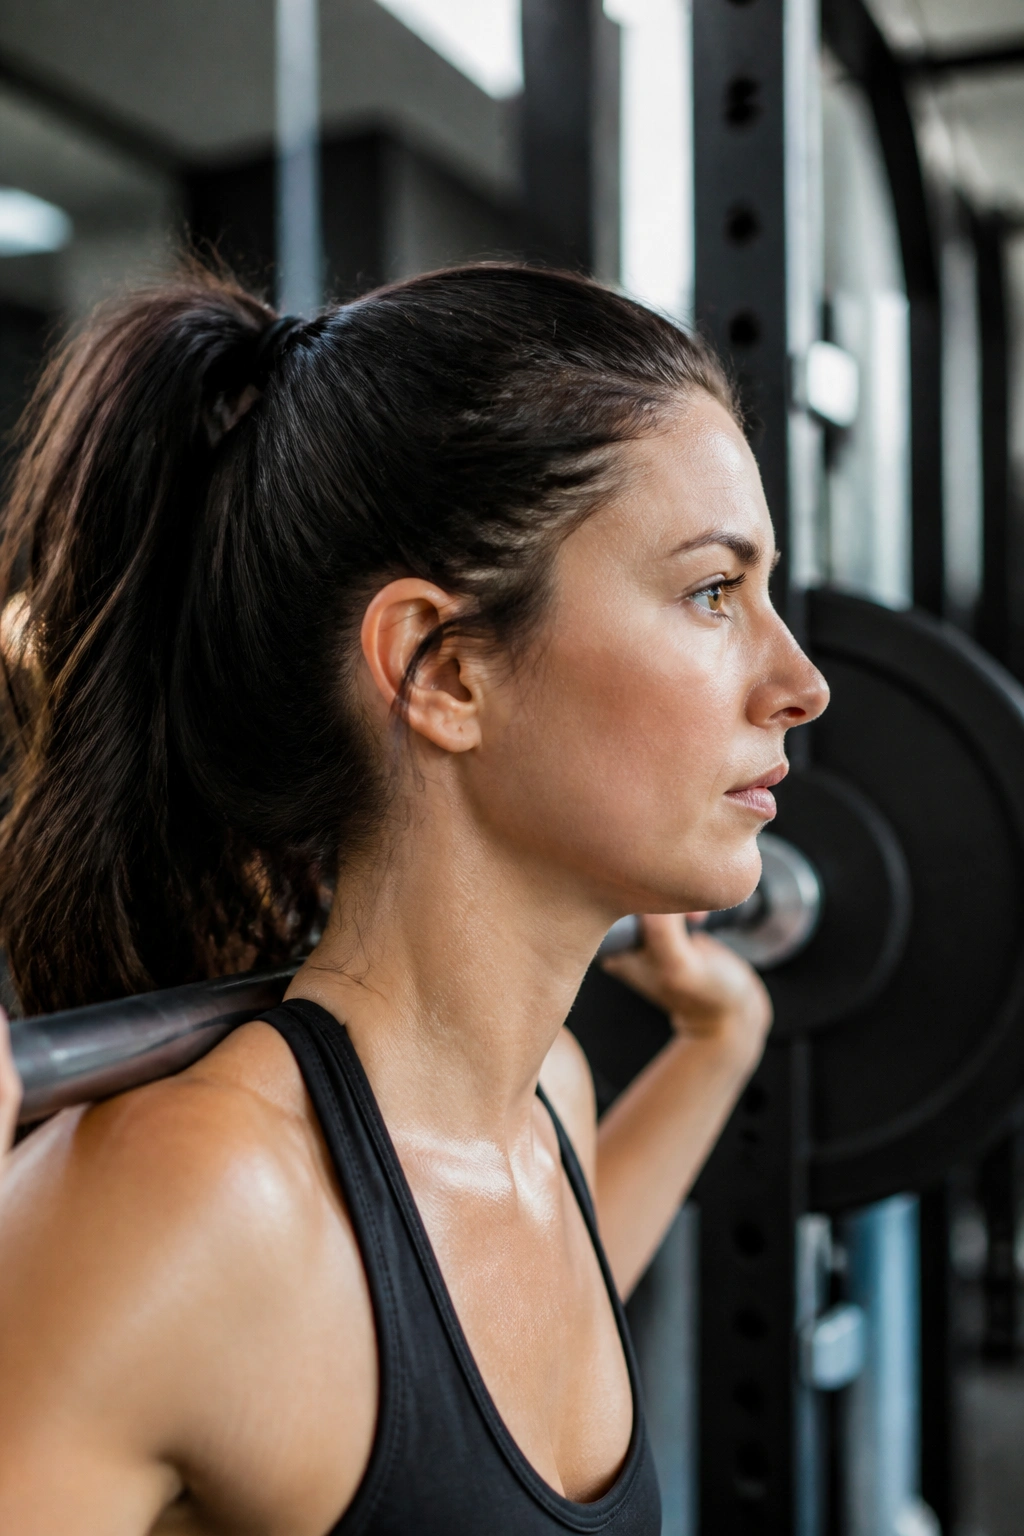
Where should you look when you squat? Some coaches say “look up,” but that jams your cervical spine. Others say “look down,” which can make you round your upper back. The correct approach is to keep your neck in a neutral alignment with your spine.
The “Double Chin” Method
Imagine you are making a double chin. You are tucking your chin slightly, keeping your neck in line with your thoracic spine. Pick a spot on the floor about six to ten feet in front of you and keep your eyes locked on it.
Why It Matters
- It keeps your spine straight from your tailbone to your skull.
- Looking up shifts your weight onto your toes.
- Looking straight ahead is fine, provided you aren’t cranking your neck.
Keep your head a rigid extension of your torso. When your torso angles forward, your head should angle forward with it. Do not let your head be the only thing looking forward while your chest points at the floor.
15. Consistency Over Intensity
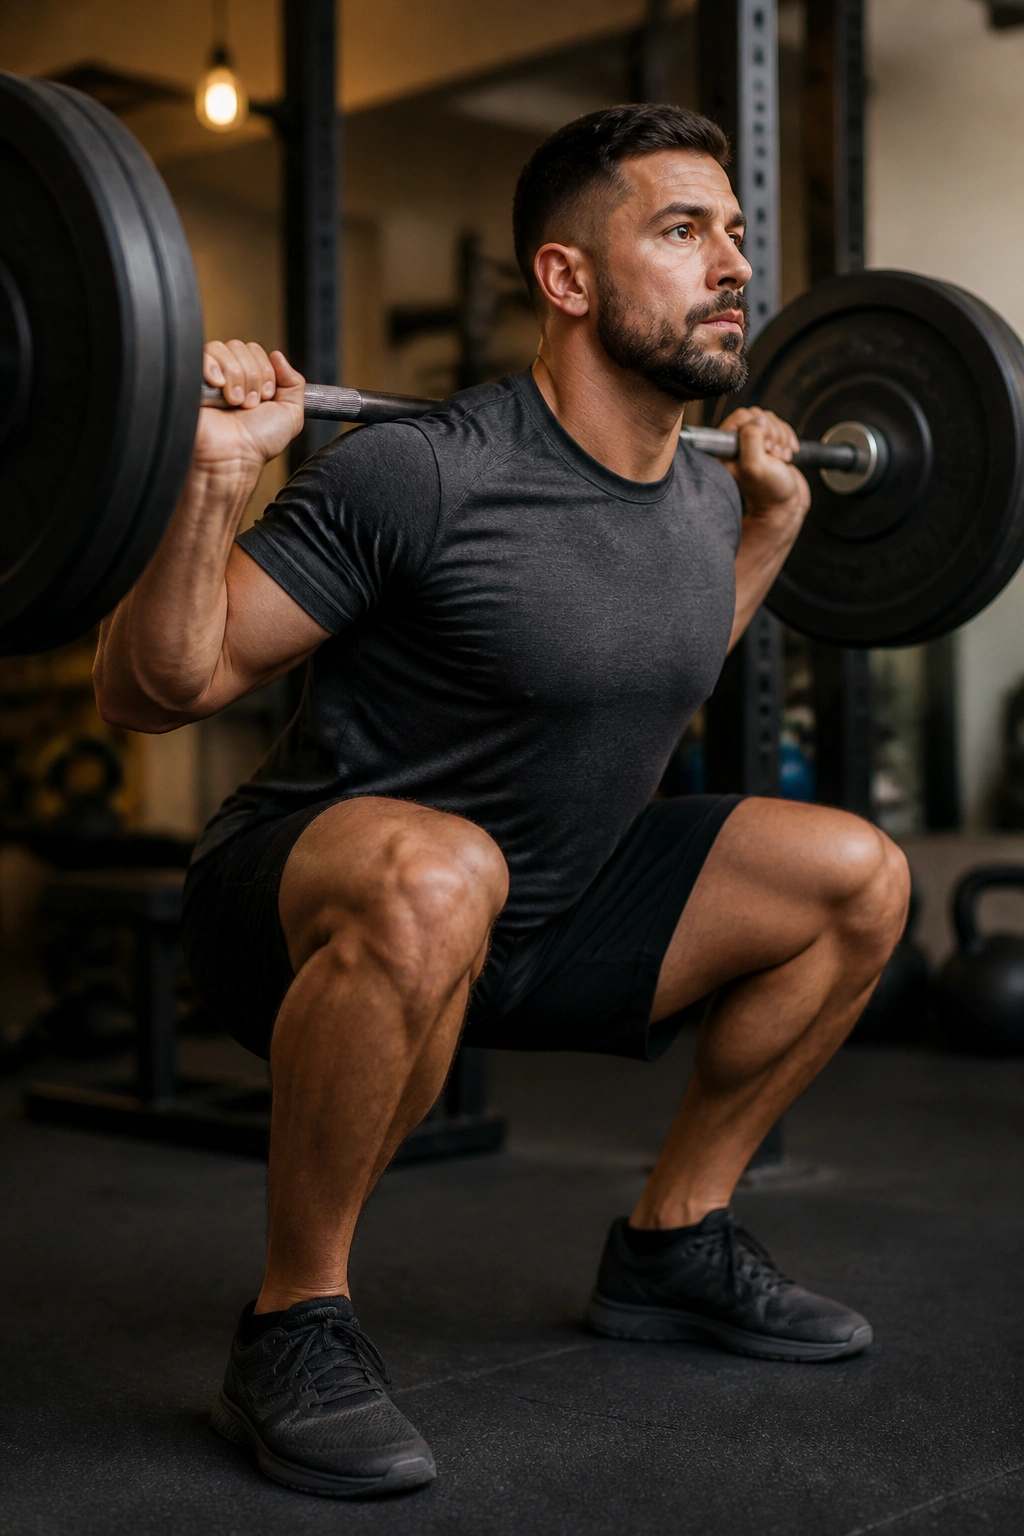
The biggest mistake beginners make is trying to add weight every single session. They treat the squat like a race. If you focus on adding five pounds every time you hit the gym, you will eventually reach a point where your technique degrades rapidly. The weight will go up, but your form will be a disaster.
The Progression Mindset
Treat every single squat like it is a heavy attempt, even if the bar is empty. Focus on the perfection of the movement. If your form breaks down at 100 pounds, do not add 105. Stay at 100 until you can control it with absolute ease.
How to Measure Progress
- Video Analysis: Record yourself from the side. Compare your form to the cues listed above.
- Rep Quality: Are your reps becoming more consistent? Is your depth identical on every single one?
- Speed: Are you moving the bar faster with the same weight?
Slow progress is fast progress in the long run. If you take an extra six months to reach your strength goals, you will still be there decades later. If you rush it and injure your lower back, you might not be squatting at all.
The Bottom Line
Squatting is not just about growing your legs or building a bigger rear end. It is about learning to control your own body under load. It is a fundamental skill, as essential as walking or picking things up from the floor. Treat it with the respect it deserves, focus on the details, and do not be afraid to dial the weight back to fix a flaw. The best squatter in the gym isn’t the one with the heaviest bar; it is the one who moves with the most intention. Take these tips, apply them slowly, and build something that lasts.
