



Most plank variations fail for one boring reason: people treat them like a breath-holding contest instead of a test of control.
A clean plank should look almost calm from the outside. Inside, it’s a different story. Your ribs are pulled down, your glutes are awake, your shoulders are active, and your midsection feels like a tight belt around the whole trunk. If your lower back is sagging or your neck is craning forward, the exercise has already gone off the rails.
That’s the part a lot of people miss. A stronger core is not only about visible abs, and it’s not only about surviving longer holds. It’s about resisting motion — arching, twisting, dipping, wobbling — while the rest of your body tries to move. That’s why plank variations matter so much: each one changes the angle, the lever, or the base of support just enough to expose a different weakness.
Start with the version you can own. Then make the floor a little less friendly.
1. Forearm Plank: The Base of Most Plank Variations
Start here. Really.
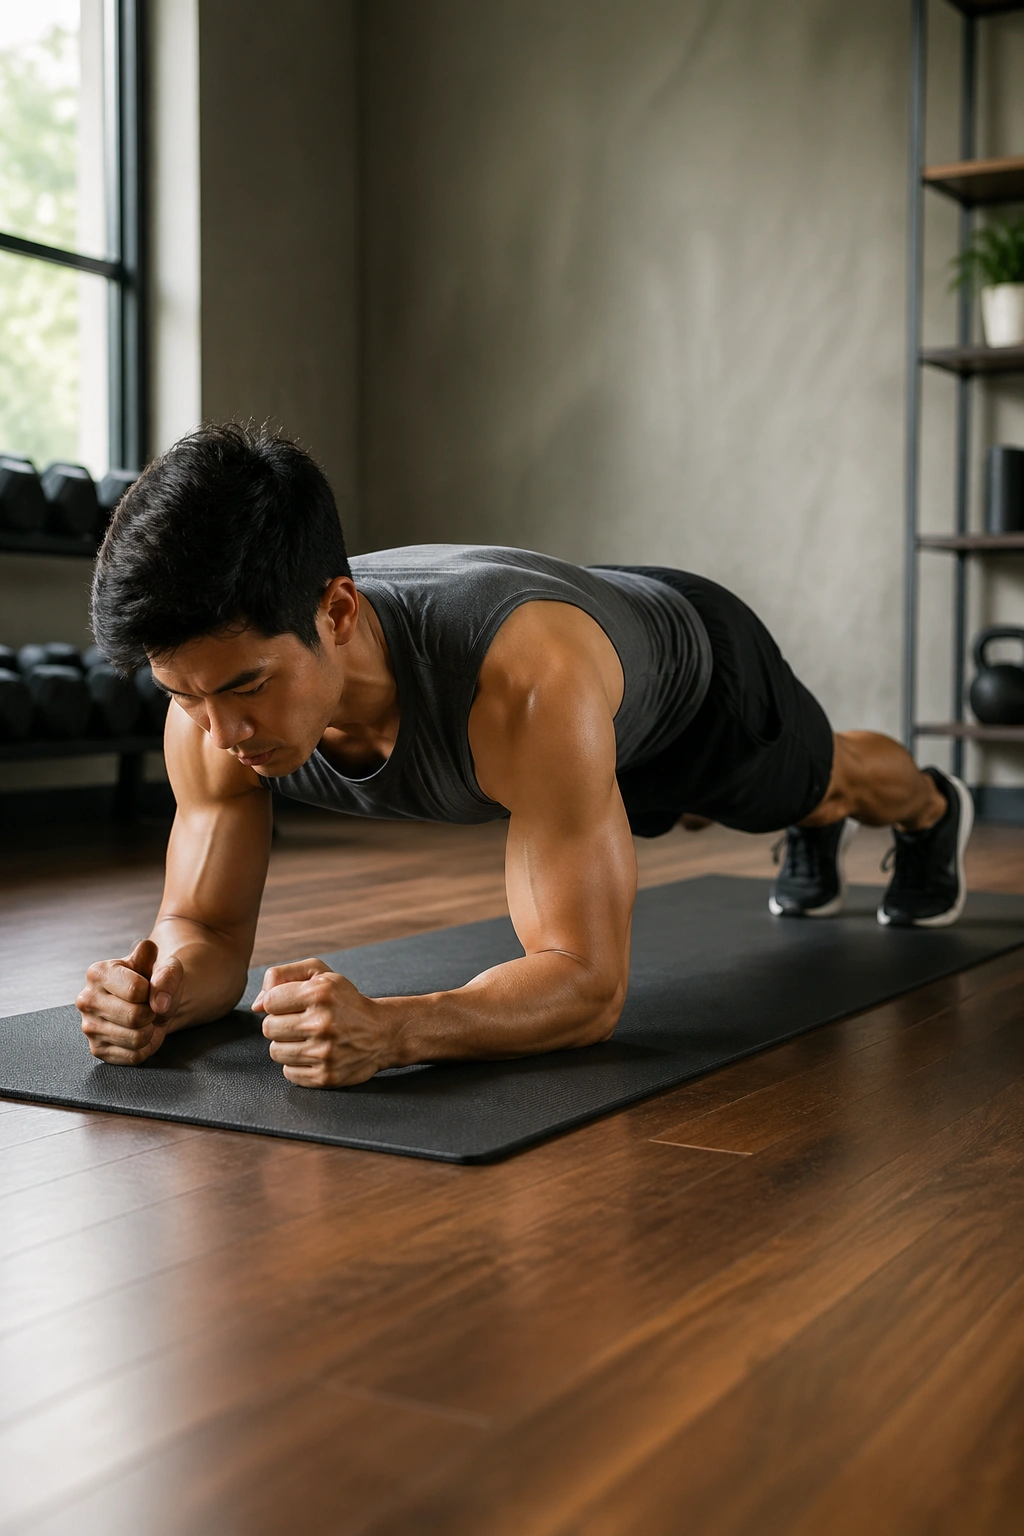
The forearm plank is still the cleanest place to learn what bracing feels like, because it strips away a lot of noise. Your elbows stay under your shoulders, your forearms press into the floor, and your whole body works like one stiff line from head to heels. If you can’t hold that shape without shaking apart, the fancier versions are mostly theater.
How to set it up
- Put your elbows directly under your shoulders.
- Spread your fingers and press your forearms down hard.
- Tuck your pelvis slightly so your lower back doesn’t sag.
- Squeeze your glutes like you’re trying to hold a coin between your cheeks.
- Keep your neck long and your eyes on the floor.
The best forearm plank feels solid, not frantic. You should feel your abs working, sure, but you should also notice your thighs, glutes, and even upper back waking up. That whole-body tension is the point.
A good rule: stop the set the second your hips start to drift or your belly starts to hang. Twenty clean seconds beats one sloppy minute every time. If the plank turns into a lower-back endurance test, you’re not training the core. You’re just hanging there.
Pro tip: breathe through short, controlled exhales. If you hold your breath the whole time, your brace gets sloppy fast.
2. High Plank
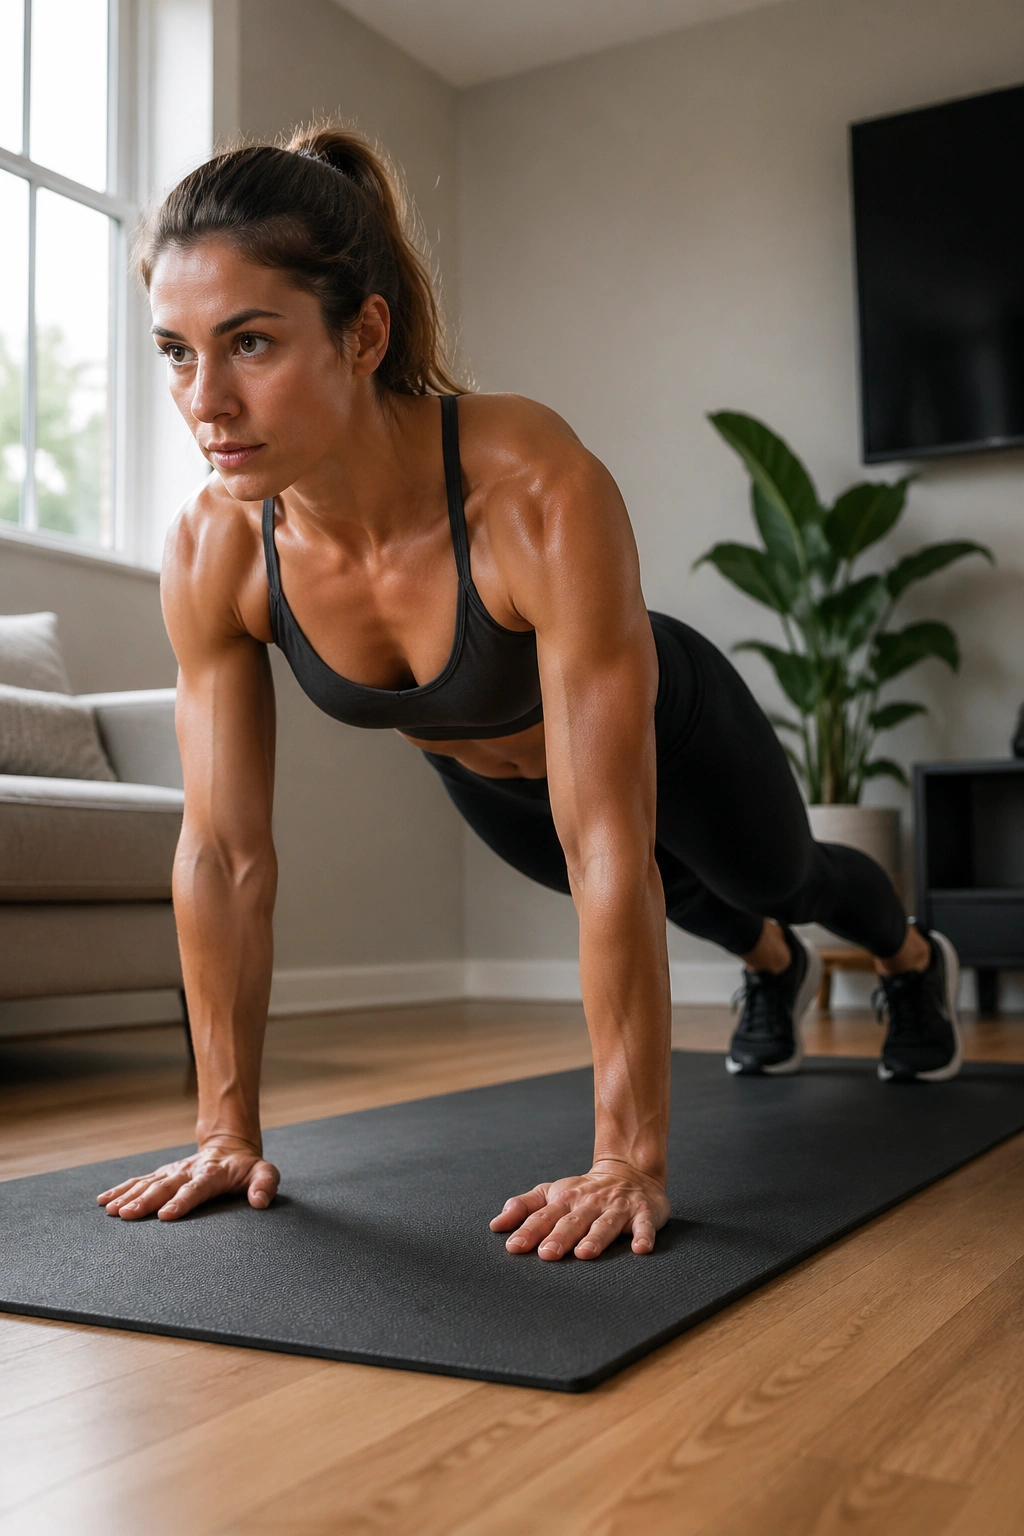
A high plank isn’t just a forearm plank on straight arms. It shifts a little more work into the shoulders, chest, and serratus, which is the muscle that helps keep your shoulder blades moving well against the rib cage. That sounds technical, but you can feel it right away: your arms have to support more, and your torso has to stop your ribs from flaring.
That makes the high plank especially useful if you want better push-up strength. It teaches you how to hold your body in a strong line while your hands are planted, which carries over to pressing work more than people expect. The trick is not to lock yourself rigid in a weird shape. You want active arms, not collapsed joints.
One sentence matters here: push the floor away. That single cue usually fixes more than half the problems. It wakes up the shoulders, keeps the chest from sinking, and makes the whole body feel more connected. If your hands drift too far in front of your shoulders, though, the position gets messy. Keep them stacked under the shoulders and let the tension build from there.
If the high plank feels easier than the forearm version, don’t assume you’re doing it wrong. It may just fit your current shoulder strength better. The real test is whether your hips stay level and your ribs stay tucked.
3. Side Plank
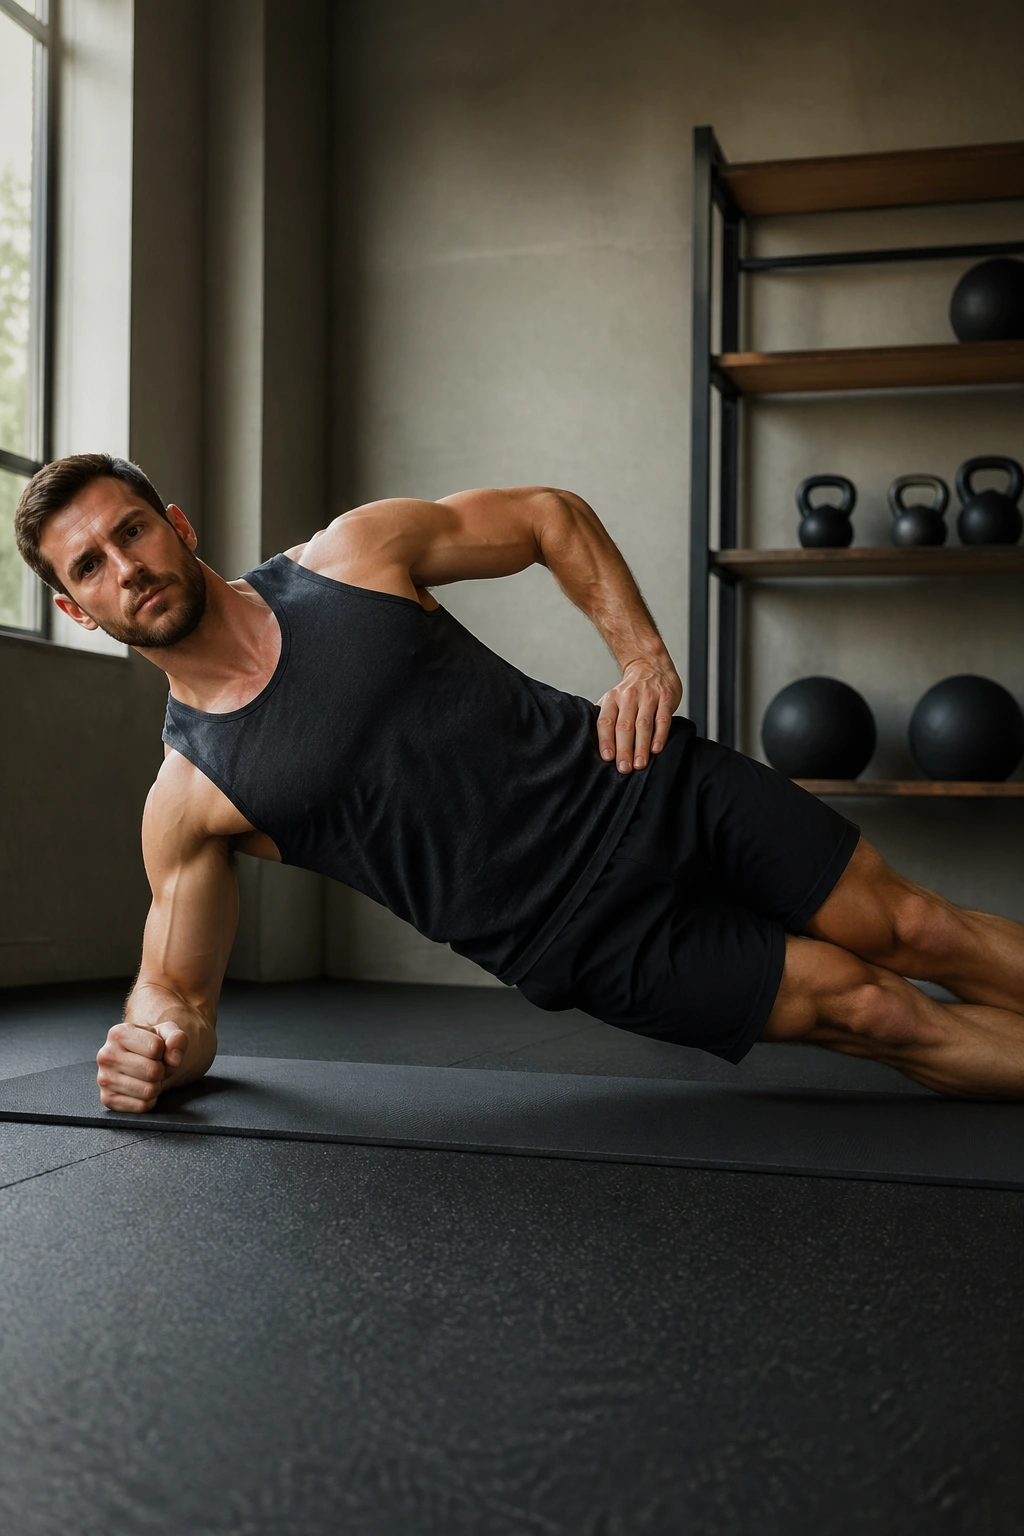
Why do side planks matter so much when most people only think about front-of-body core work?
Because your trunk doesn’t just stop extension. It also has to resist side bending, and that’s where the side plank earns its keep. It loads the obliques, the quadratus lumborum, and the glute medius in a way crunches never will. You feel it along the side of the waist, sure, but you should also feel the outer hip working hard to keep everything stacked.
How to keep the line clean
- Stack the shoulder directly over the elbow.
- Stack the feet if you want the full version.
- Stagger the feet if you need more balance.
- Lift the hips high enough that your body makes a straight line.
- Keep the top shoulder from rolling forward.
The common mistake is letting the bottom hip drop while the top shoulder creeps toward the ear. That turns the move into a shrug with poor manners. Better to hold a slightly shorter side plank with good shape than to flop around in a longer one.
I like side planks because they expose cheating fast. There’s no hiding. The body either holds the line or it doesn’t, and the feedback is immediate.
4. Side Plank Hip Dips
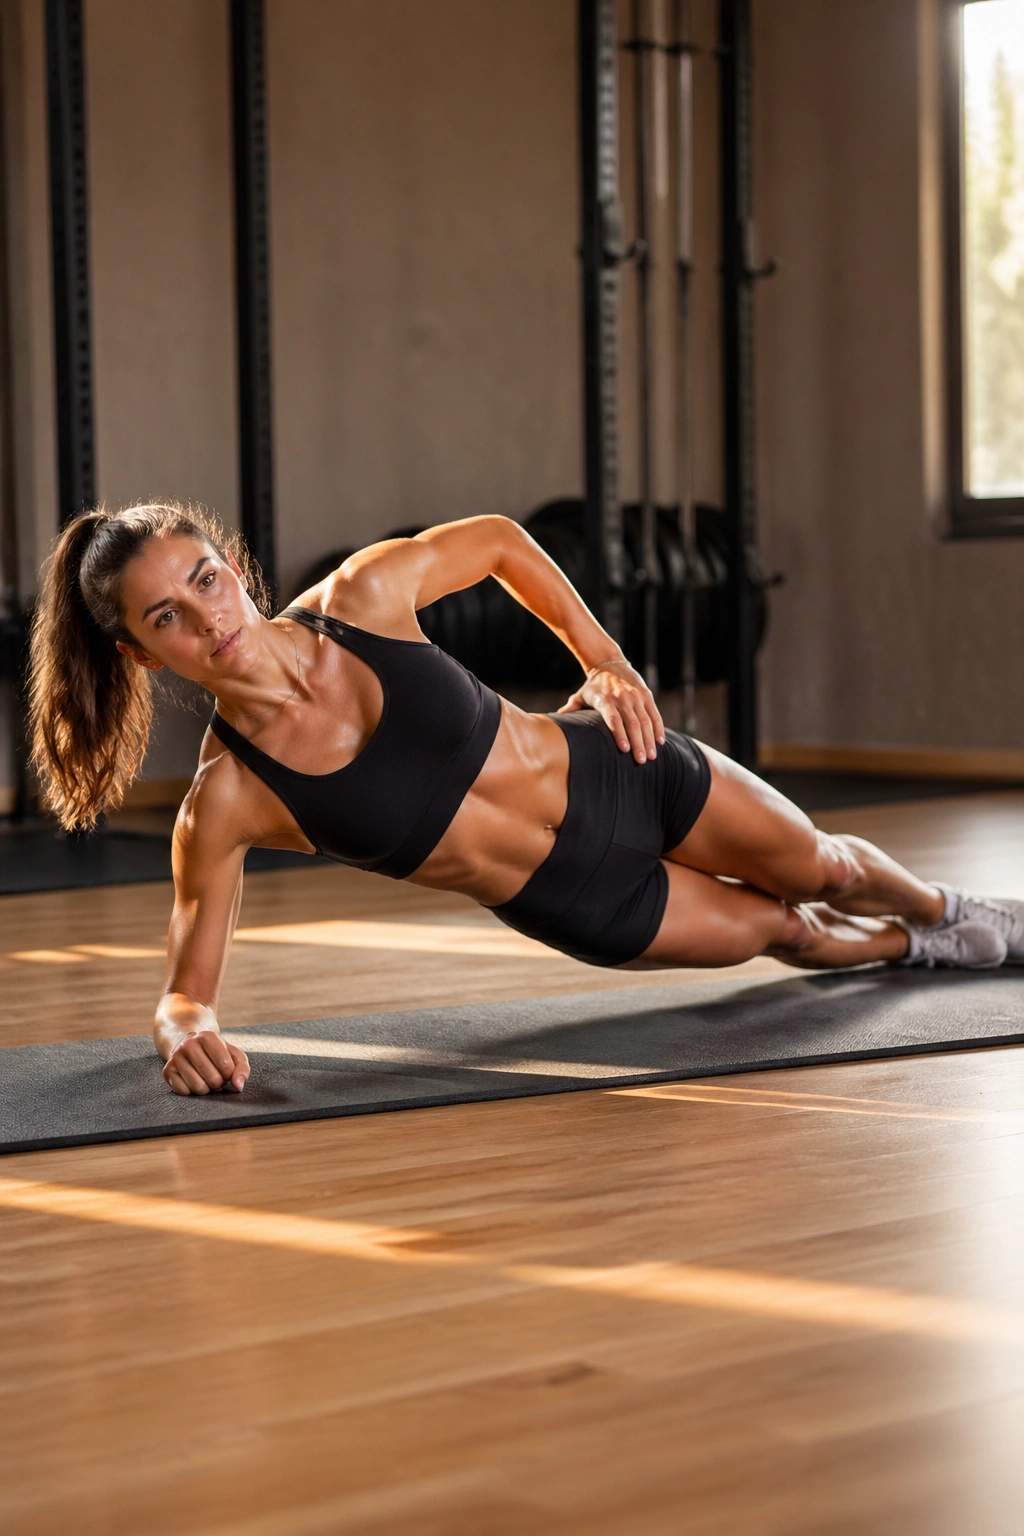
If a static side plank feels too easy, hip dips are the first honest step up.
The move is simple: lower the hips a few inches, then lift them back to the starting line without rotating your chest toward the floor. That little dip adds motion, which means your obliques and side glutes have to control both the lowering and the rise. It’s less about burning out and more about staying tidy while the body moves.
The tempo matters. A slow two-count down and a steady lift back up will teach control better than a fast bounce. If you rush it, the hips start swinging and the shoulder does too much work. That’s a waste of time.
- Keep the top ribs from opening.
- Stop the dip before the shoulder collapses.
- Use a smaller range if your waist twists.
- Try 8 to 12 controlled reps per side.
One reason I prefer hip dips over endless holds is that they reveal endurance gaps quickly. The first few reps feel fine. Then the side of the trunk starts to tremble, and that’s the good stuff. That’s the part that says the set is actually doing something.
5. Plank Shoulder Taps
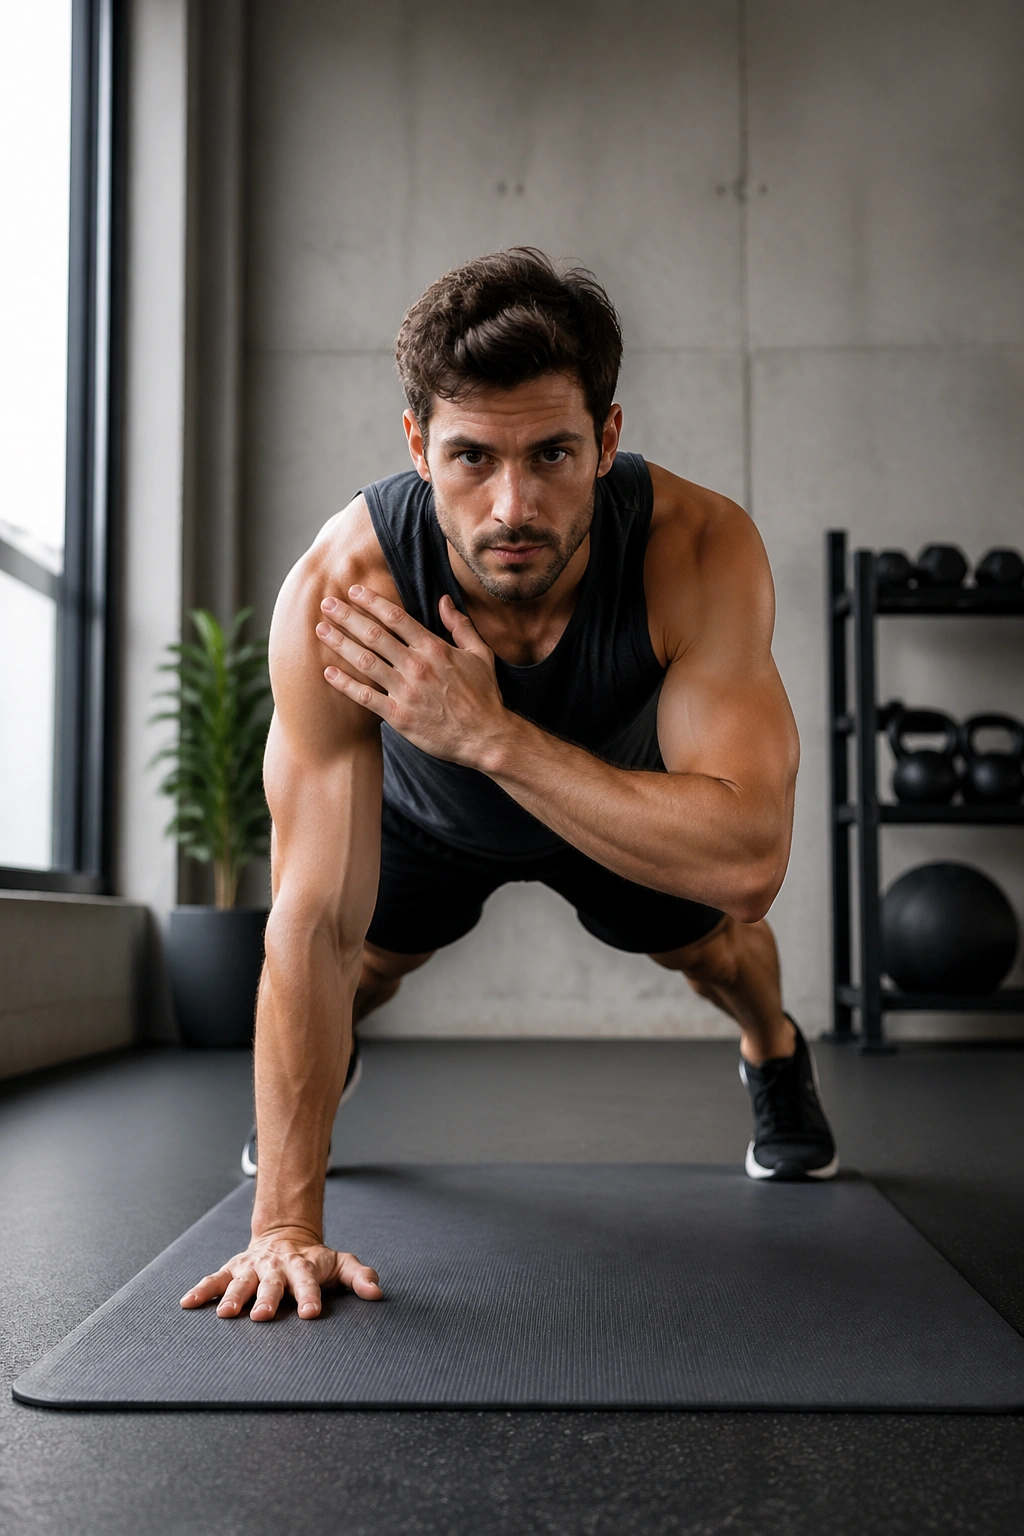
Speed ruins this drill.
Plank shoulder taps are all about anti-rotation, which is a fancy way of saying your torso has to resist twisting while one hand leaves the floor. The feet usually need to be wider than you think, because a narrow stance makes the body rock from side to side like a poorly loaded cart. Once the stance is set, each tap becomes a small test of patience.
A clean tap is quiet. The hips stay nearly level, the ribs don’t flare, and the planted shoulder doesn’t sink. If you slap the shoulder and your whole body swings with it, you’ve turned the move into a balance problem instead of a core exercise. That’s common. And fixable.
Slow taps beat fast mess. Keep the movement crisp, pause for a second on each shoulder, and make the planted arm do its job. A lot of people rush this because they want to feel busy. That’s a bad trade. Tension, not speed, is the point.
For harder work, bring the feet a little closer together. For cleaner work, spread them wider and slow the taps down. Either way, the goal is the same: stop the trunk from spinning when one arm moves.
6. Plank Reach
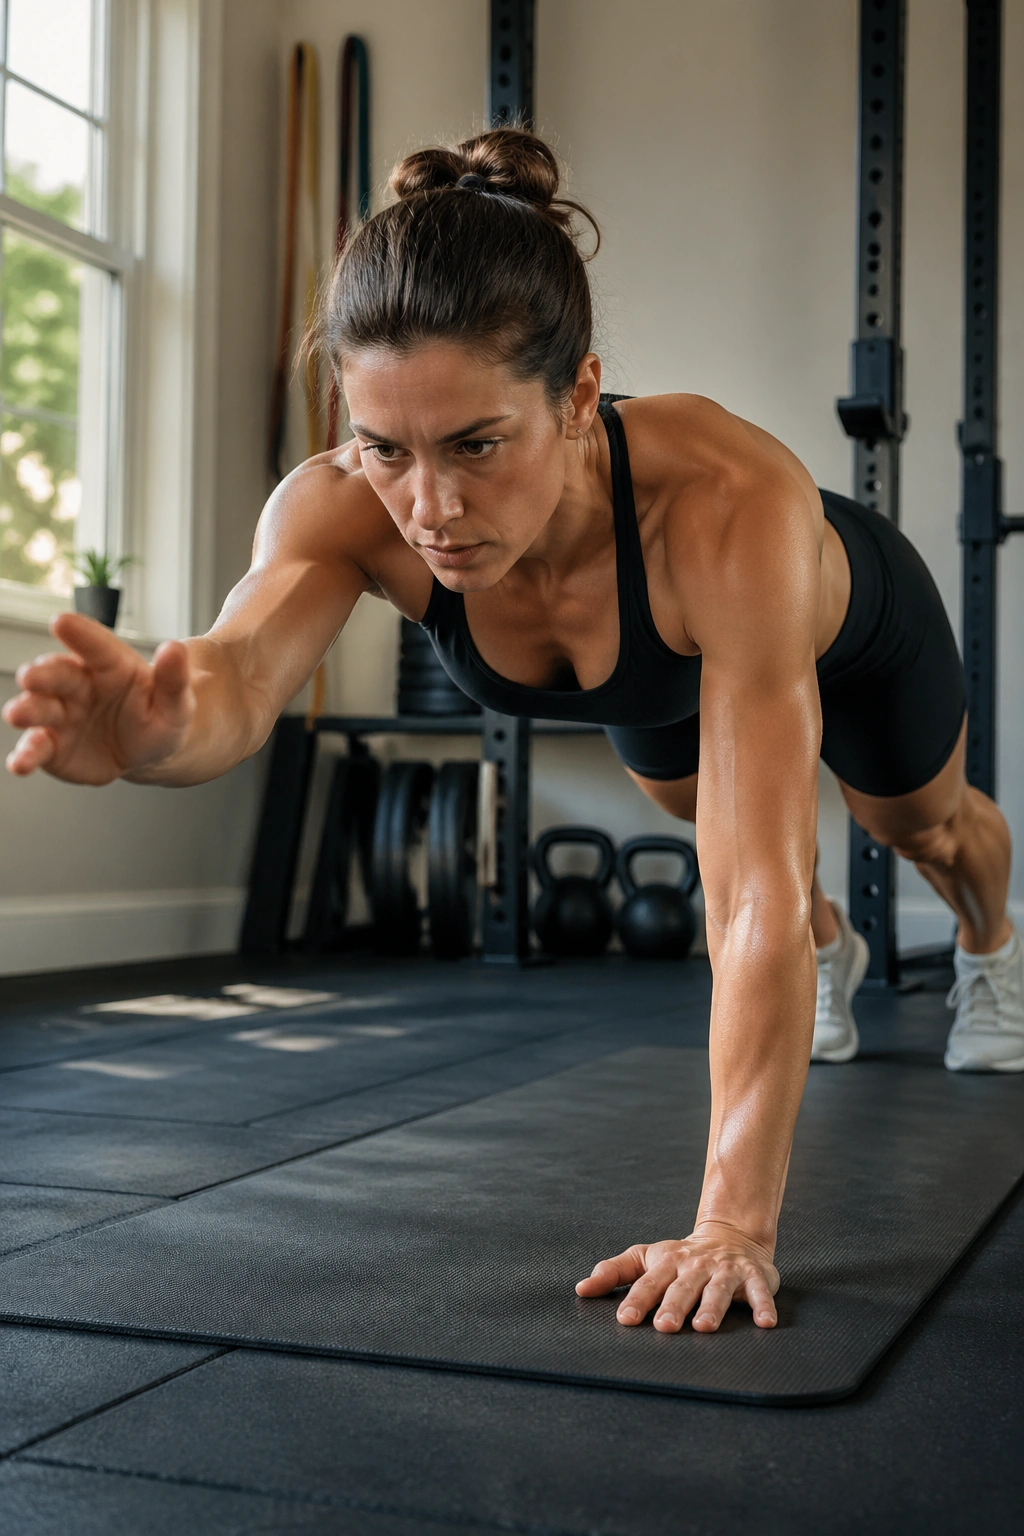
Unlike shoulder taps, the plank reach asks the body to control a longer lever.
Instead of touching the opposite shoulder, you reach one arm straight out in front of you, a few inches off the floor. That tiny change makes the core work harder because the body has to resist both rotation and forward pull. It also lights up the serratus and shoulder stabilizers in a way that feels a bit more demanding than a tap.
The reach works best when it’s slow enough to see. If the ribs pop up or the low back arches the second the hand leaves the floor, the lever is too long for now. Shorten the reach, widen the feet, and keep the movement boring. Boring is good here.
I’d use this with people who already own shoulder taps and want a more honest challenge. Six to eight reaches per side is enough to start. You’re not trying to win a race. You’re teaching the body to stay put while one arm extends and the center of mass shifts.
A little shake is fine. A lot of sway means the floor is still winning.
7. Plank With Leg Lift
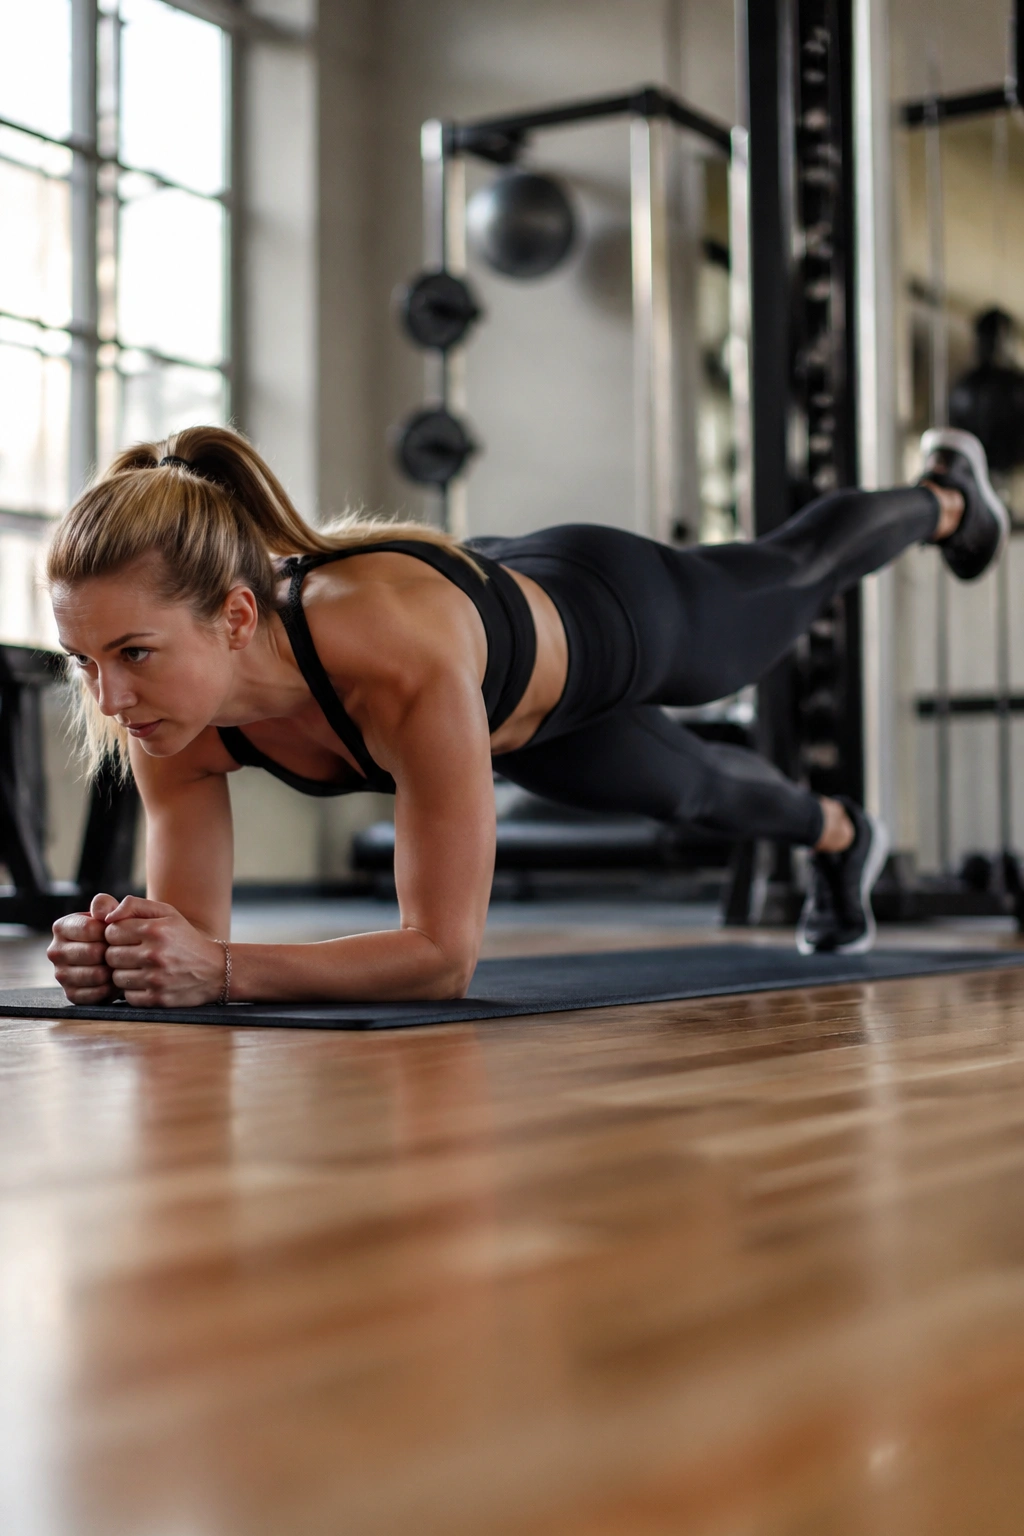
You do not need to lift the leg high.
One to two inches is enough to make the trunk work harder, because the pelvis now has to stay square while one glute fires and the opposite side keeps the body from twisting. That small lift can feel absurdly hard if you do it slowly and keep the hips level. Good. That means you’re in the right place.
The real job here is not the leg. It’s the trunk. If the low back arches or the body rolls to one side, the lift has gone too far or your brace has gone soft. Keep the movement tiny and honest. You should feel the glute on the lifting side and the abs fighting to keep everything still.
This version is useful for runners, field athletes, and anyone who wants better pelvic control. It also teaches a bit of patience, which people tend to need more than they admit. If you can keep your torso quiet while one leg moves, walking and running get a little cleaner too.
Three to five slow reps per side is plenty for a hard set. More is not automatically better.
8. Plank Walkouts for Better Plank Variations Under Fatigue
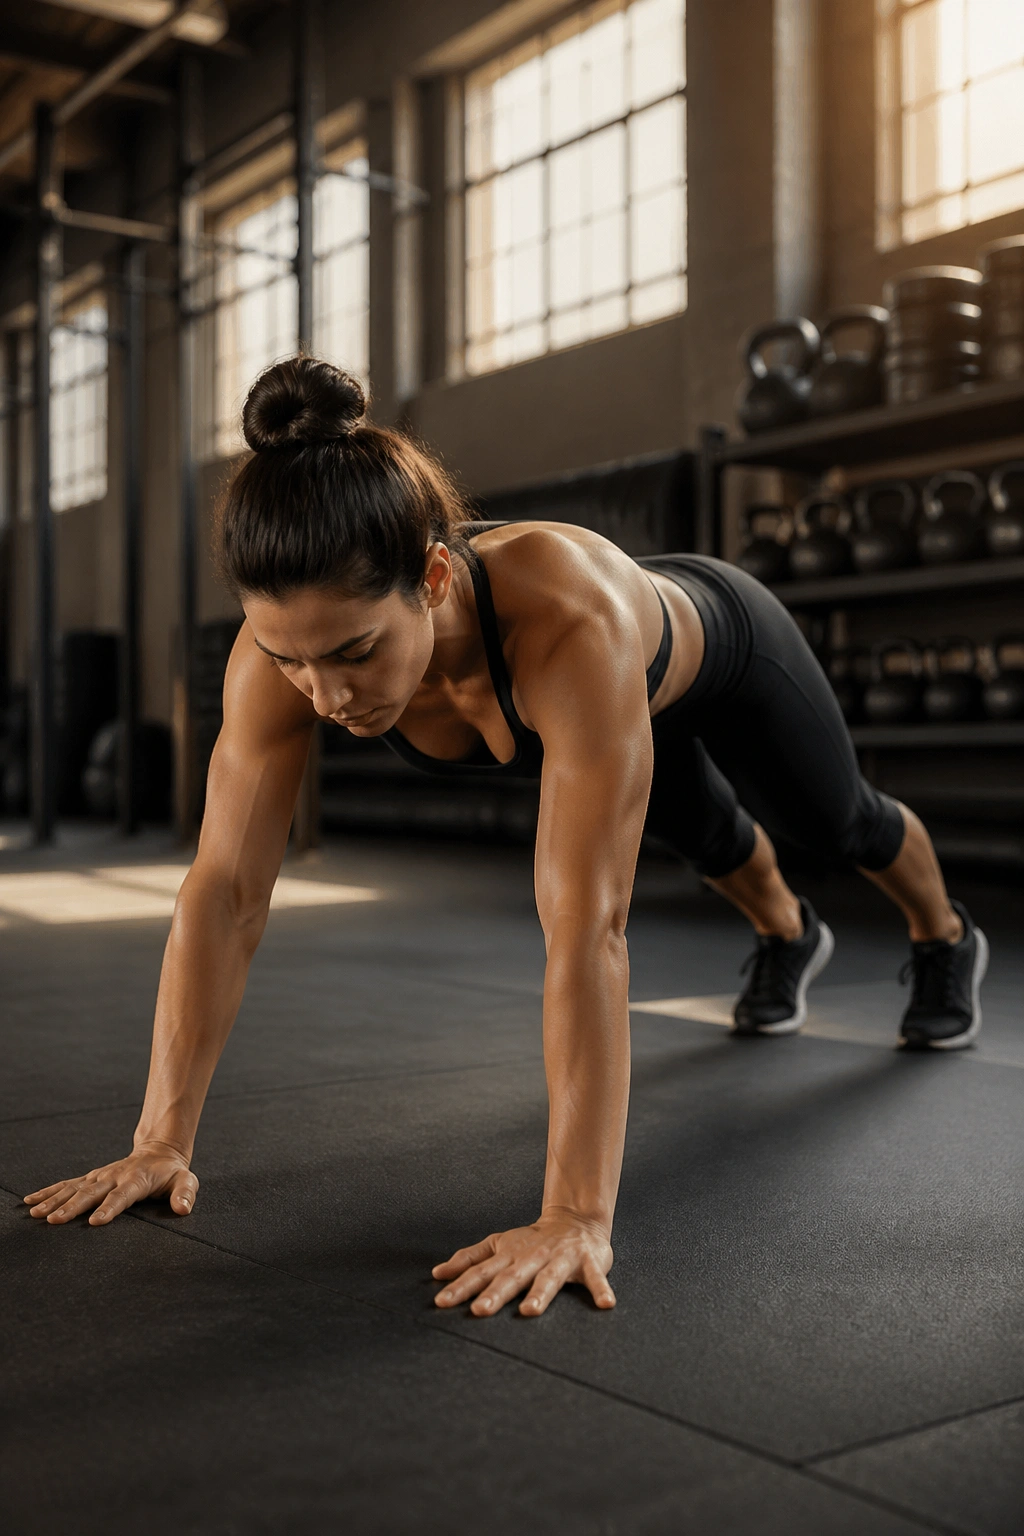
Picture standing tall, hinging at the hips, and walking your hands out until you land in a plank. That little transition is where the plank walkout earns its place. You’re not just holding position; you’re entering it under tension, which is a very different skill.
How to move without losing tension
- Stand with soft knees and a slight hip hinge.
- Walk your hands forward until your body forms a long line.
- Stop when your ribs want to flare or your back wants to sag.
- Hold for one or two breaths.
- Walk the hands back with control, not a collapse.
This drill is sneaky. By the time you’re a few reps in, the shoulders are warm, the hamstrings are awake, and the core has to keep everything tidy while the body keeps moving. That makes it useful for people who need more than a static hold. Athletes, lifters, and anyone who gets bored fast usually like it.
A small warning: if the walkout turns into a sloppy inchworm, slow it down. The point is control at the end range, not a race to the floor. Keep the feet planted, keep the hips from diving, and let the walk itself become part of the workout.
9. Body Saw
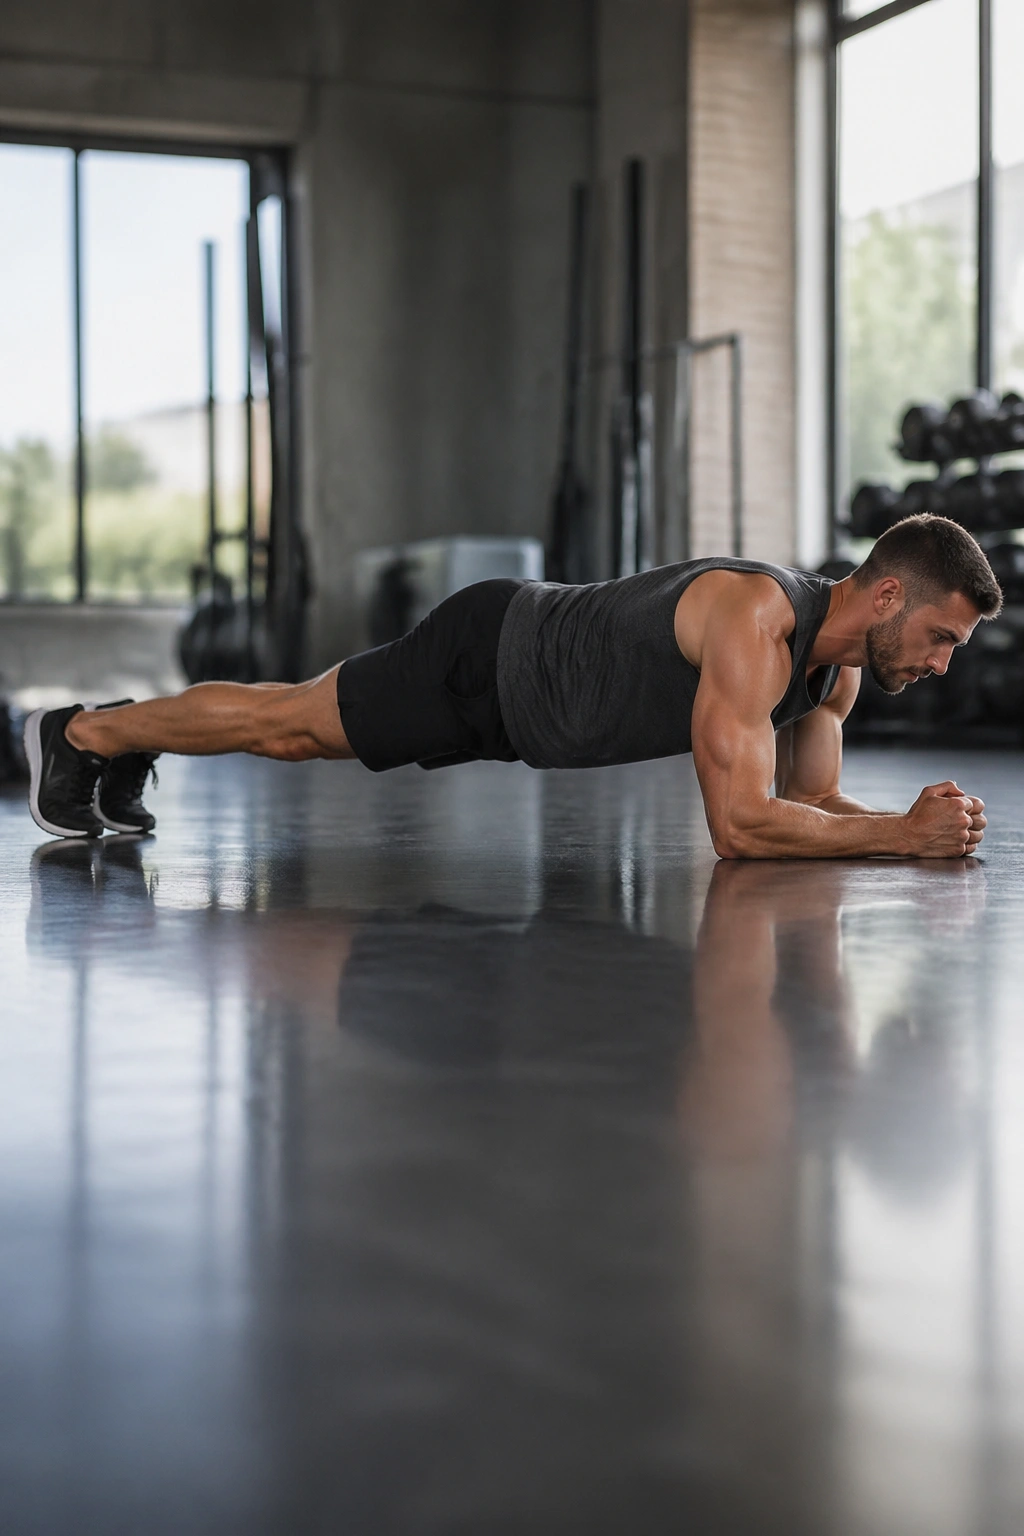
The body saw looks simple until you try to keep your ribs from drifting.
On paper, it’s just a plank with a little forward-and-back movement. In practice, it’s one of the best anti-extension drills around, because the body has to resist the temptation to arch as the center of mass shifts. You can do it with sliders, towels on a smooth floor, or even socks if the surface is slick enough.
What the body saw should feel like
- Forearms stay planted the whole time.
- Shoulders move slightly in front of the elbows and back again.
- The torso stays long and braced.
- The low back stays flat, not pinched.
A small range works best. Seriously. A few inches of movement is enough. If you slide too far, the abs stop doing the job and the lower back starts complaining. That’s the line you don’t want to cross.
I like the body saw because it punishes lazy bracing fast. There’s no hiding in a big, graceful motion. The body has to stay tight while the floor moves away and comes back, and that makes the exercise feel a lot more real than a pretty still hold.
10. RKC Plank
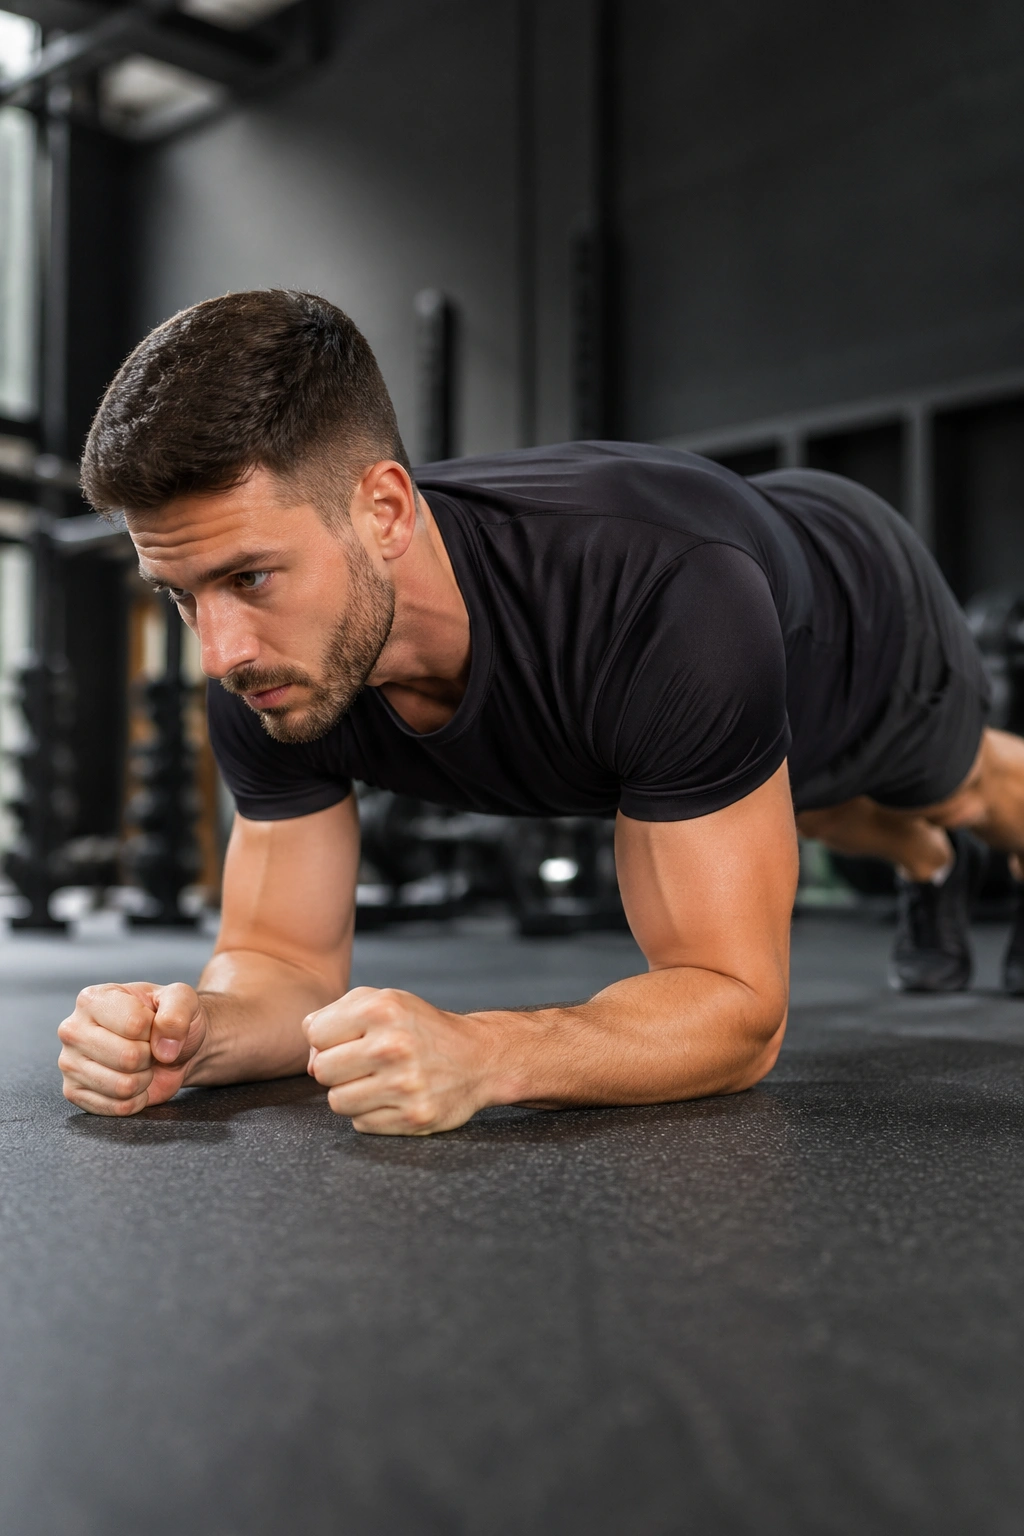
The RKC plank is short, brutal, and far more honest than a two-minute hold with a sagging middle.
RKC stands for a hard-style approach to bracing, and the point is simple: make the whole body tense on purpose. You pull the elbows toward the toes without actually moving them, squeeze the glutes hard, drive the forearms into the floor, and create full-body stiffness for a brief burst. Ten to twenty seconds is enough. Longer usually means the quality is slipping.
What makes it different
- It’s a maximal tension drill, not a long endurance hold.
- The abs, glutes, quads, and lats all work at once.
- You stop the set before the shape falls apart.
- It pairs well with strength training because it wakes everything up fast.
This is one of my favorite plank variations for people who think core training needs to be long to matter. It doesn’t. A hard 15-second brace can teach more useful tension than a lazy minute of surviving on momentum and pride. The whole thing should feel like you’re trying to shorten your body without moving it.
If your breathing gets wild, shorten the hold. If your lower back gets cranky, reset and build up more slowly. The RKC plank is not a place to posture. It’s a place to learn how much tension you can actually create.
11. Long-Lever Plank
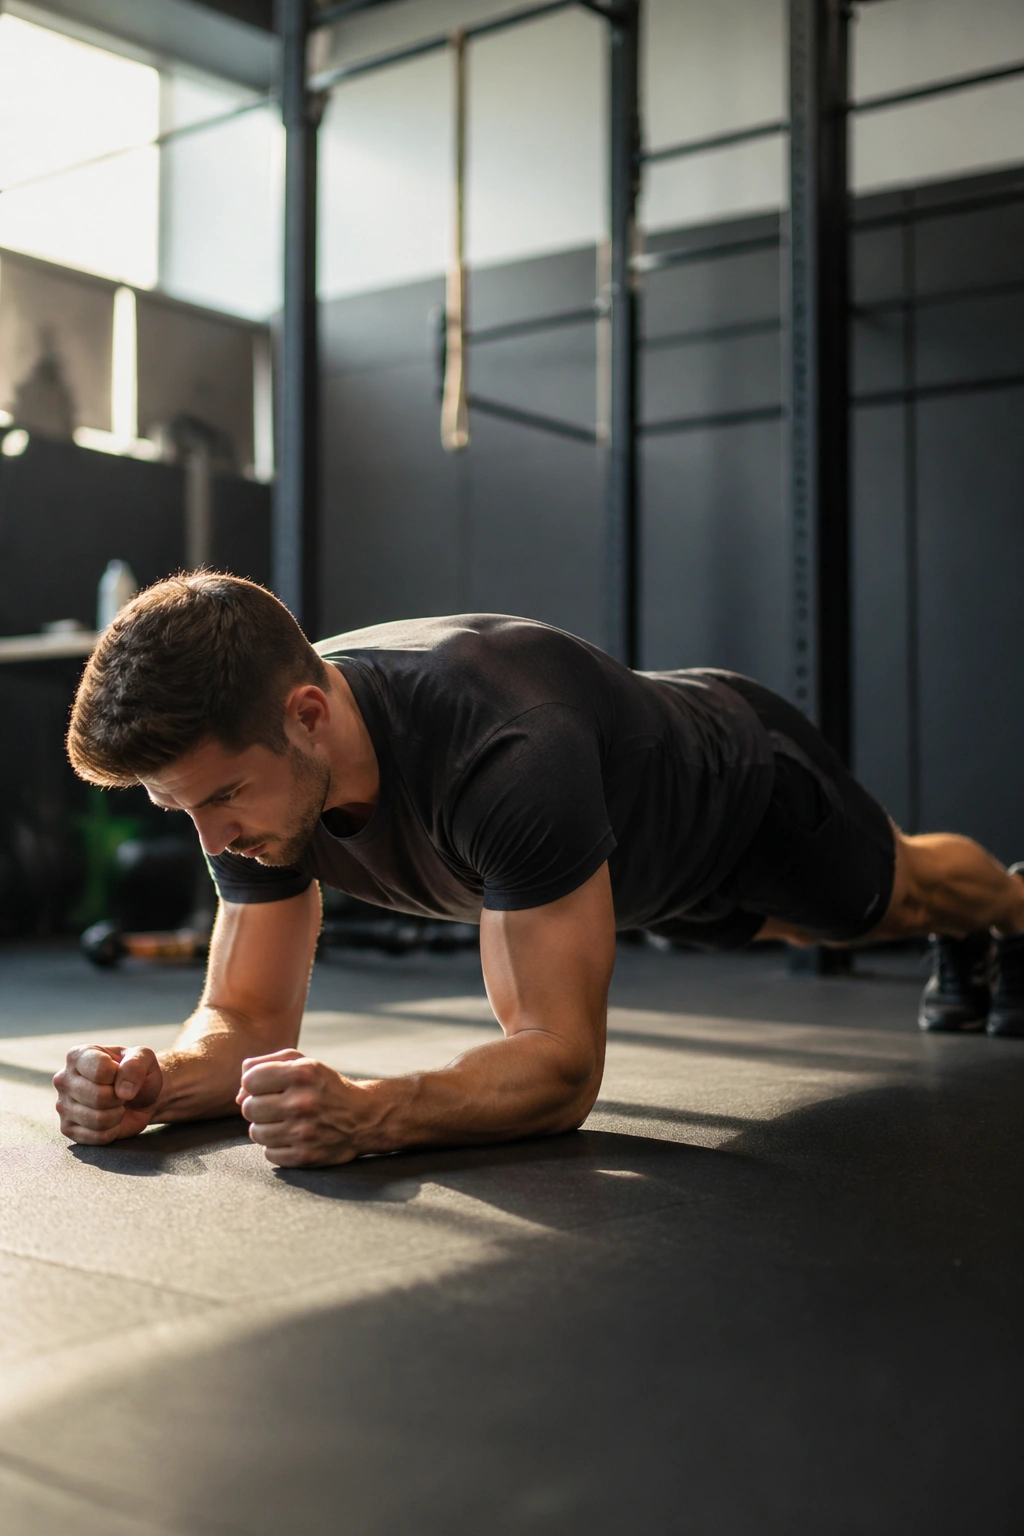
The long-lever plank turns a standard plank into a much less forgiving position.
All you do is move the elbows a few inches forward of the shoulders. That small shift changes the angle enough to increase the load on the abs and shoulders, because the body now has to resist a longer lever. It feels subtle for about three seconds. Then it starts getting honest.
Unlike a body saw, the long-lever version stays still. That makes it a useful bridge between a basic forearm plank and a sliding or moving drill. If you can hold a regular plank cleanly but want something tougher without changing the whole exercise, this is a smart move.
Try short sets first. Fifteen to twenty-five seconds is usually plenty, and the set should end when the ribs start to open or the shoulders begin to creep. A lot of people place the elbows way too far forward and end up in a weird, painful position. Don’t do that. A few inches is enough.
If the lower back starts to arch, bring the elbows back under the shoulders and rebuild from there.
12. Reverse Plank
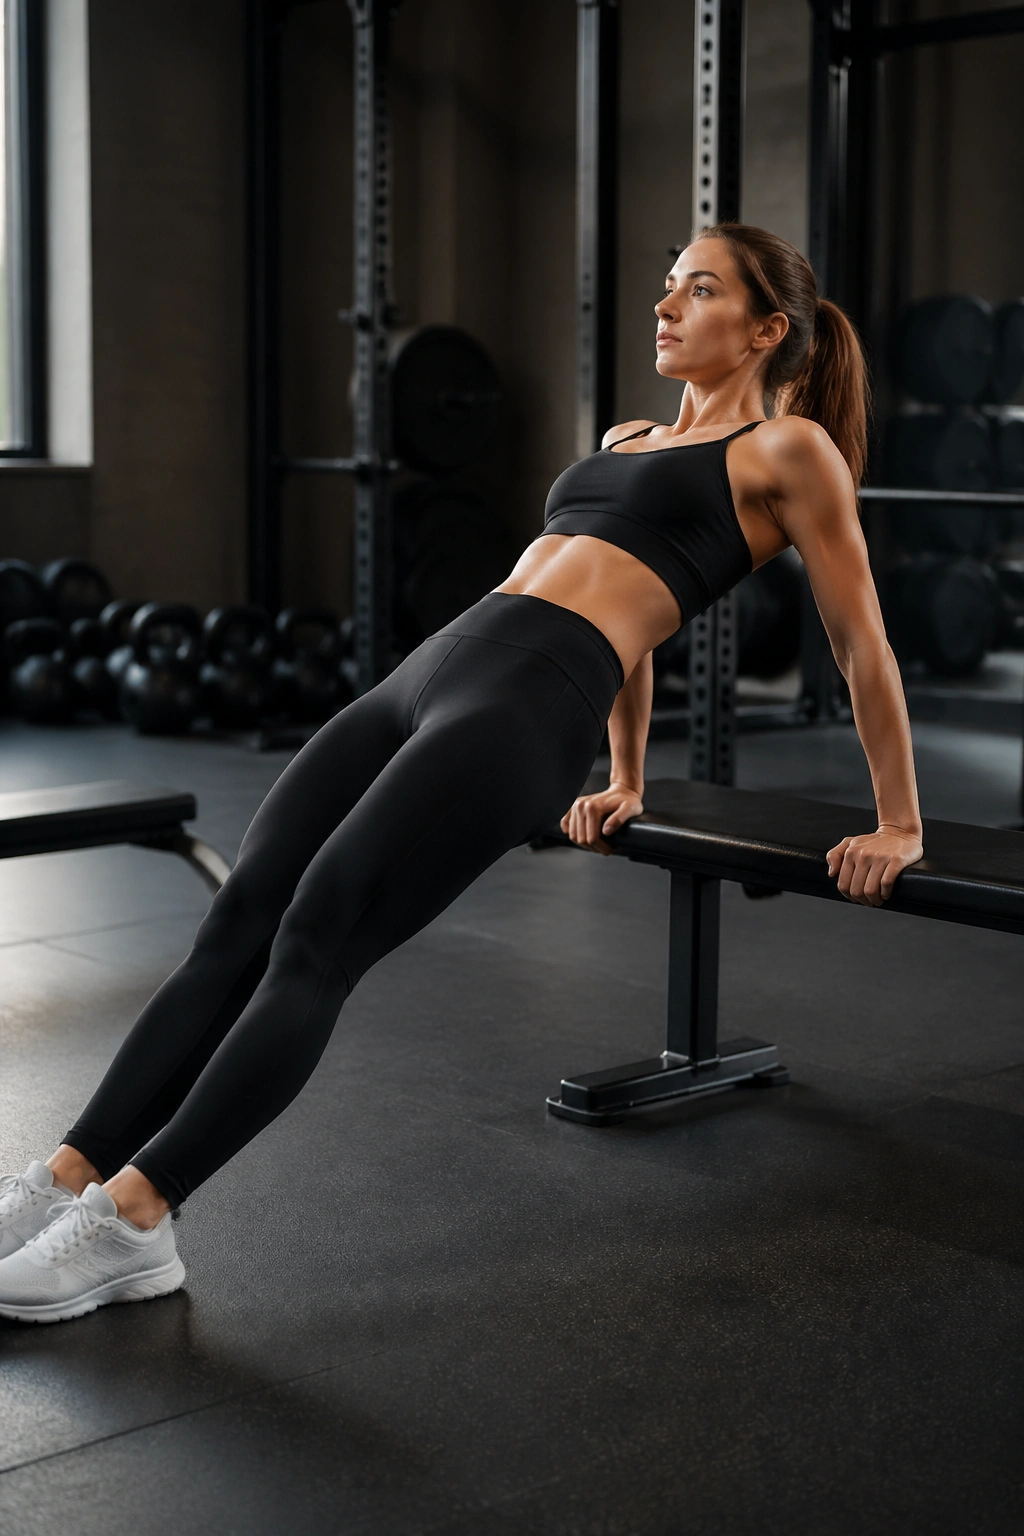
The reverse plank feels backward because it is.
Your hands go behind you, your chest opens, and your body faces up while the glutes, hamstrings, spinal erectors, and rear shoulders all have to work together to keep the hips lifted. It’s not the first drill most people reach for, which is exactly why it’s useful. The posterior chain tends to get ignored in core conversations, and that’s a mistake.
There’s a catch, though. Shoulder comfort matters here. If your wrists or shoulders hate the position on the floor, use a bench or a pair of boxes so your hands sit a little higher. That small change can make the movement workable instead of miserable. Fingers can point toward the feet or slightly outward, depending on what feels kinder on the joints.
This one is less about shaking and more about openness plus tension. You should feel the back of the body light up while the front stays long. If the hips drop or the chest collapses, shorten the hold and rebuild the line.
A strong reverse plank pairs nicely with front-facing plank work because it stops the trunk from becoming a one-sided problem.
13. Spiderman Plank
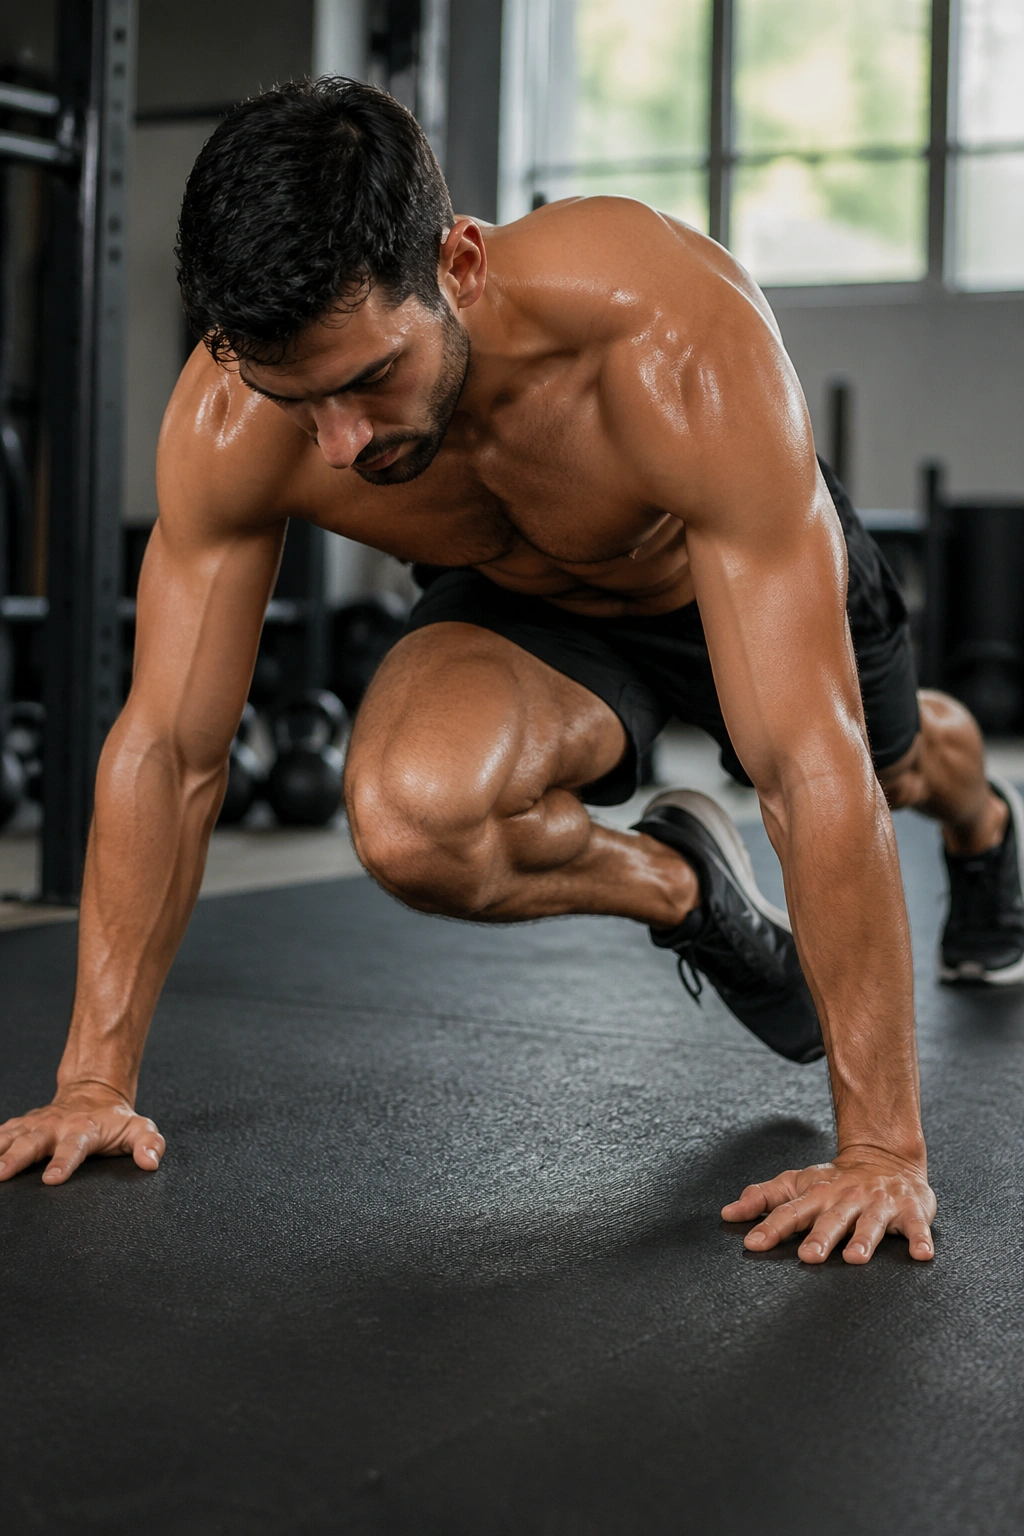
One knee driving toward the outside elbow does more than give the drill a dramatic name.
The spiderman plank blends anti-rotation with hip flexion, so the core has to stay organized while the leg moves across the body. That cross-body path catches a lot of people off guard. The obliques fire, the hip flexors work, and the shoulder on the planted side has to keep the upper body from folding.
Keep the knee travel controlled. You’re not trying to stomp the elbow. You’re trying to bring the leg forward without dropping the pelvis or twisting the chest. If the hips sag, slow down and widen the stance a little. If the lower back tightens, shorten the range and check the brace.
A useful cue is to exhale as the knee comes in. That usually helps keep the ribs down. Two to four slow reps per side is enough for a hard set if you do them with real control.
This variation is especially nice for people who want core work that feels more athletic than static holds. It looks dynamic, yes, but it should still feel precise.
14. Plank March
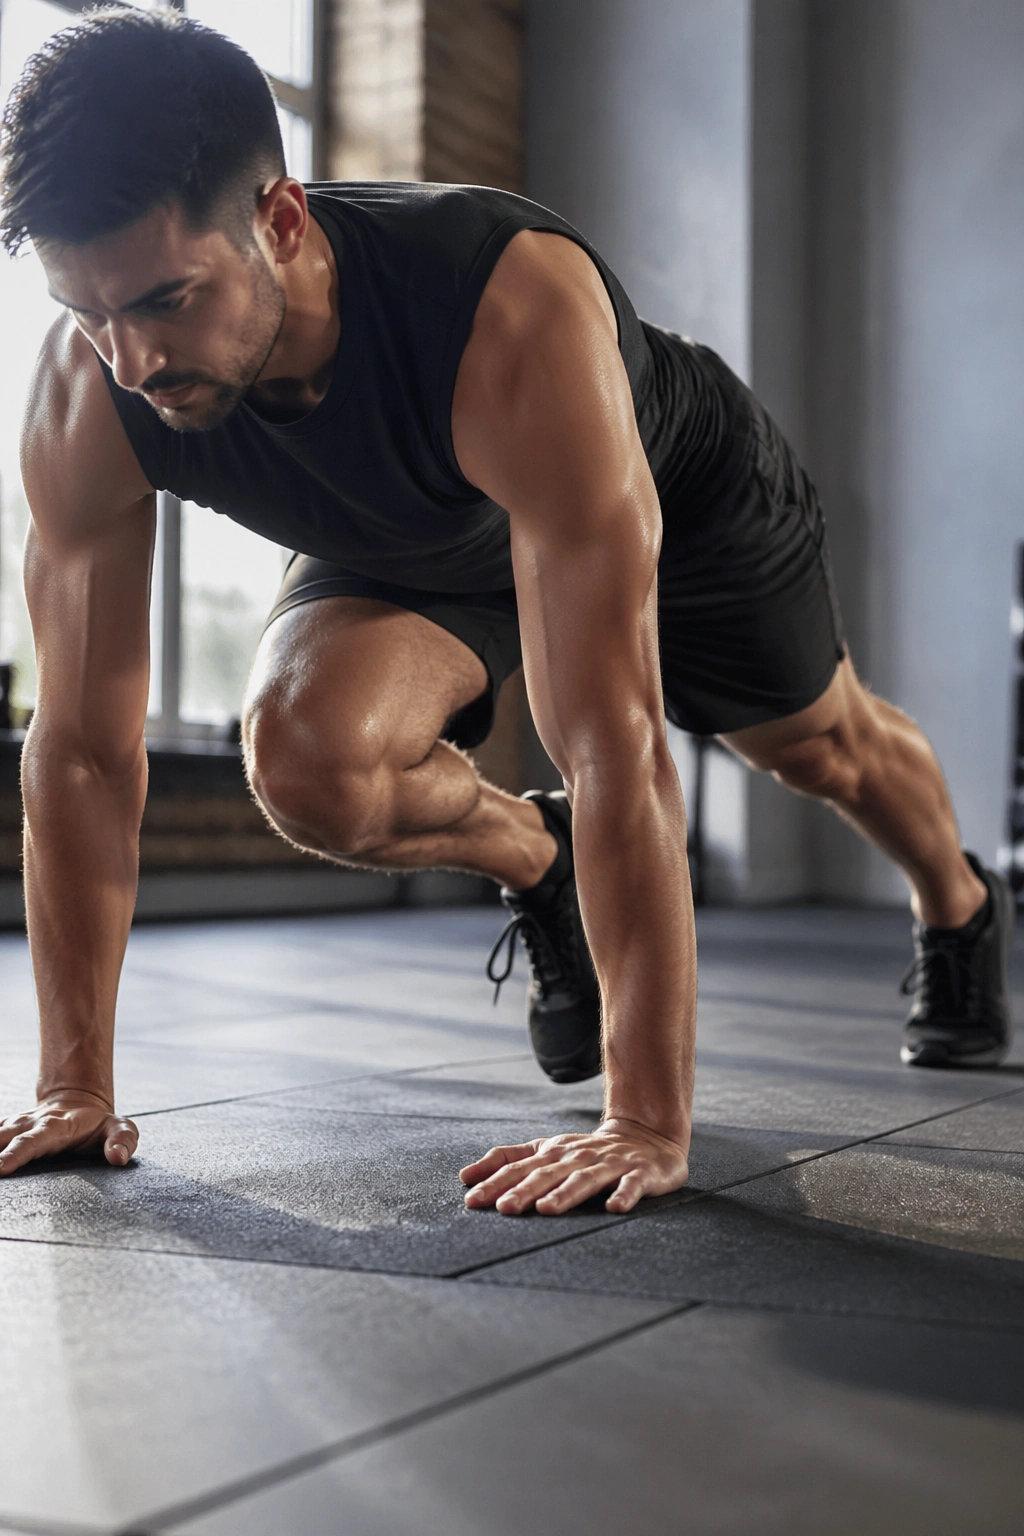
The plank march is slower than a mountain climber and much less flashy.
That’s why I like it. You lift one foot a few inches, set it back down, then switch sides while the pelvis stays as still as you can make it. The goal is not speed. The goal is to stop the trunk from swaying while the legs take turns moving. If the hips bob from side to side, the march is too fast or your stance is too narrow.
The rule that saves your low back
- Keep the feet a little wider than hip-width if needed.
- Lift one foot only as high as necessary.
- Pause for a beat before switching sides.
- Press both hands hard into the floor.
This is a good drill for runners, hikers, and anyone who wants better control when one leg is in swing while the other supports the body. It teaches a cleaner kind of stiffness, not the locked-up kind that feels rigid and ugly. The core should brace, but the rest of the body should still breathe and move.
If you want extra challenge, slow the march down to a near-freeze. That little pause at the top is sneaky. It makes the trunk work much harder than people expect.
15. Stability Ball Forearm Plank for Advanced Plank Variations
Instability is not magic. It’s just feedback.
A stability ball forearm plank gives you that feedback immediately. The surface shifts under your forearms, so the shoulders and trunk have to stay awake the entire time. Tiny wobbles are normal. Wild rolling is not. You want a small amount of movement that forces control, not a circus act where the ball becomes the star.
How to keep the ball useful
- Place both forearms on the ball with elbows about shoulder-width apart.
- Step the feet back until the body forms one long line.
- Spread the feet wider if the ball feels too slippery.
- Keep the ribs down and the glutes on from the start.
- Hold for 15 to 30 seconds, then rest before the shape fades.
This version works best after you’ve built a solid base with the simpler planks. If you jump in too early, the instability takes over and you spend the whole set trying not to fall instead of building useful tension. That’s not the goal. The goal is to keep the trunk quiet while the support surface keeps changing its mind.
I like this one near the end of a core session, after a few cleaner drills have already switched the abs on. It’s a good reminder that control beats drama. Always. A stable core is not the same thing as a tired one, and the best plank variations make that difference obvious fast.
