



Most people turn flutter kicks into a lower-back exercise. That’s the ugly little secret behind a move that looks simple from across the room and feels humbling five seconds later.
The fix is not to kick faster. It’s to choose the right flutter kicks variation for the job: some versions build control, some make the abs burn, some spare your low back, and some expose every weak link in your trunk the second you start moving.
That’s why the same drill can feel easy on one day and unbearable on another. Change the leg angle, change the support, change the tempo, and the whole exercise changes. Small tweaks matter here. A lot.
If you’ve ever felt your hip flexors take over, your neck tighten, or your pelvis start to rock side to side, you already know the drill can go wrong fast. The good news is that once you understand the variations, you can pick the one that matches your body instead of fighting a version that’s too aggressive for the moment.
1. Classic Floor Flutter Kicks
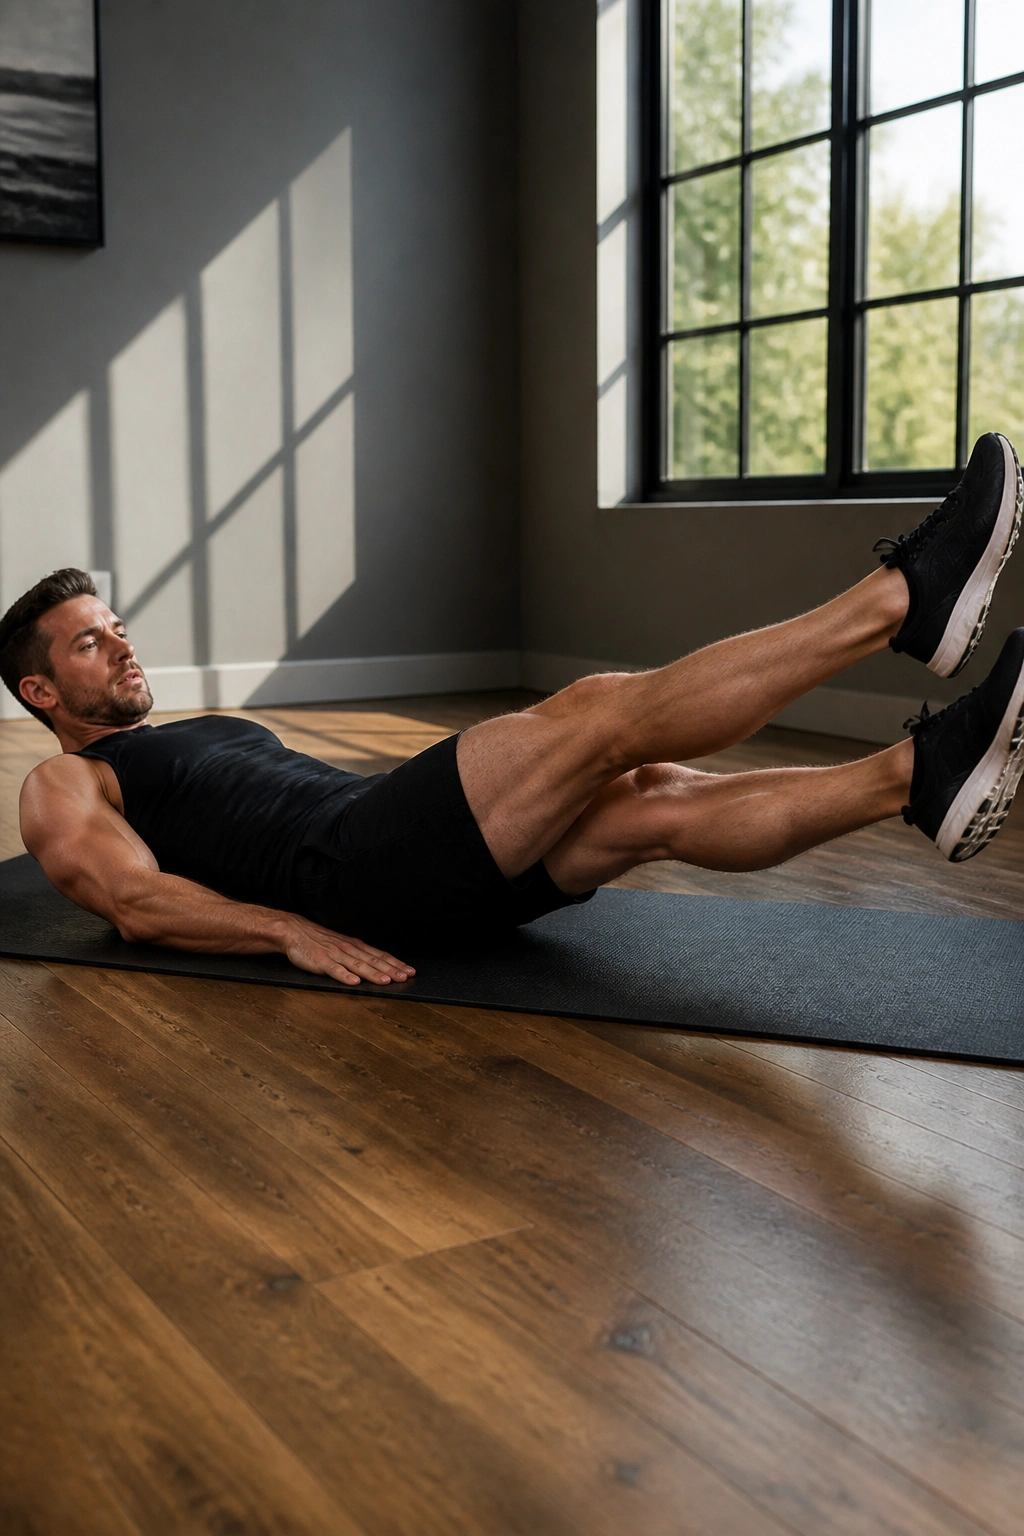
The basic floor version is the one worth learning first, because every other flutter kicks variation makes more sense once you can feel this setup cleanly. Lie on your back, press your lower ribs down, and keep both legs long with a small gap between them and the floor.
How to Set It Up
Your legs do not need to hover high. In fact, the lower they are — while still keeping the back flat — the harder the work gets. A good starting point is 6 to 10 inches off the floor, with the kicks staying small and even.
- Keep your chin slightly tucked.
- Make the kicks short, not wild.
- Exhale as one leg drops and the other rises.
Best cue: if your lower back starts to arch, raise the legs a little and slow down.
Most people try to “win” this exercise by moving fast. That’s a mistake. The floor version rewards control, not speed, and clean reps at 20 seconds tell you more than sloppy reps at 60 seconds ever will.
2. Bent-Knee Flutter Kicks
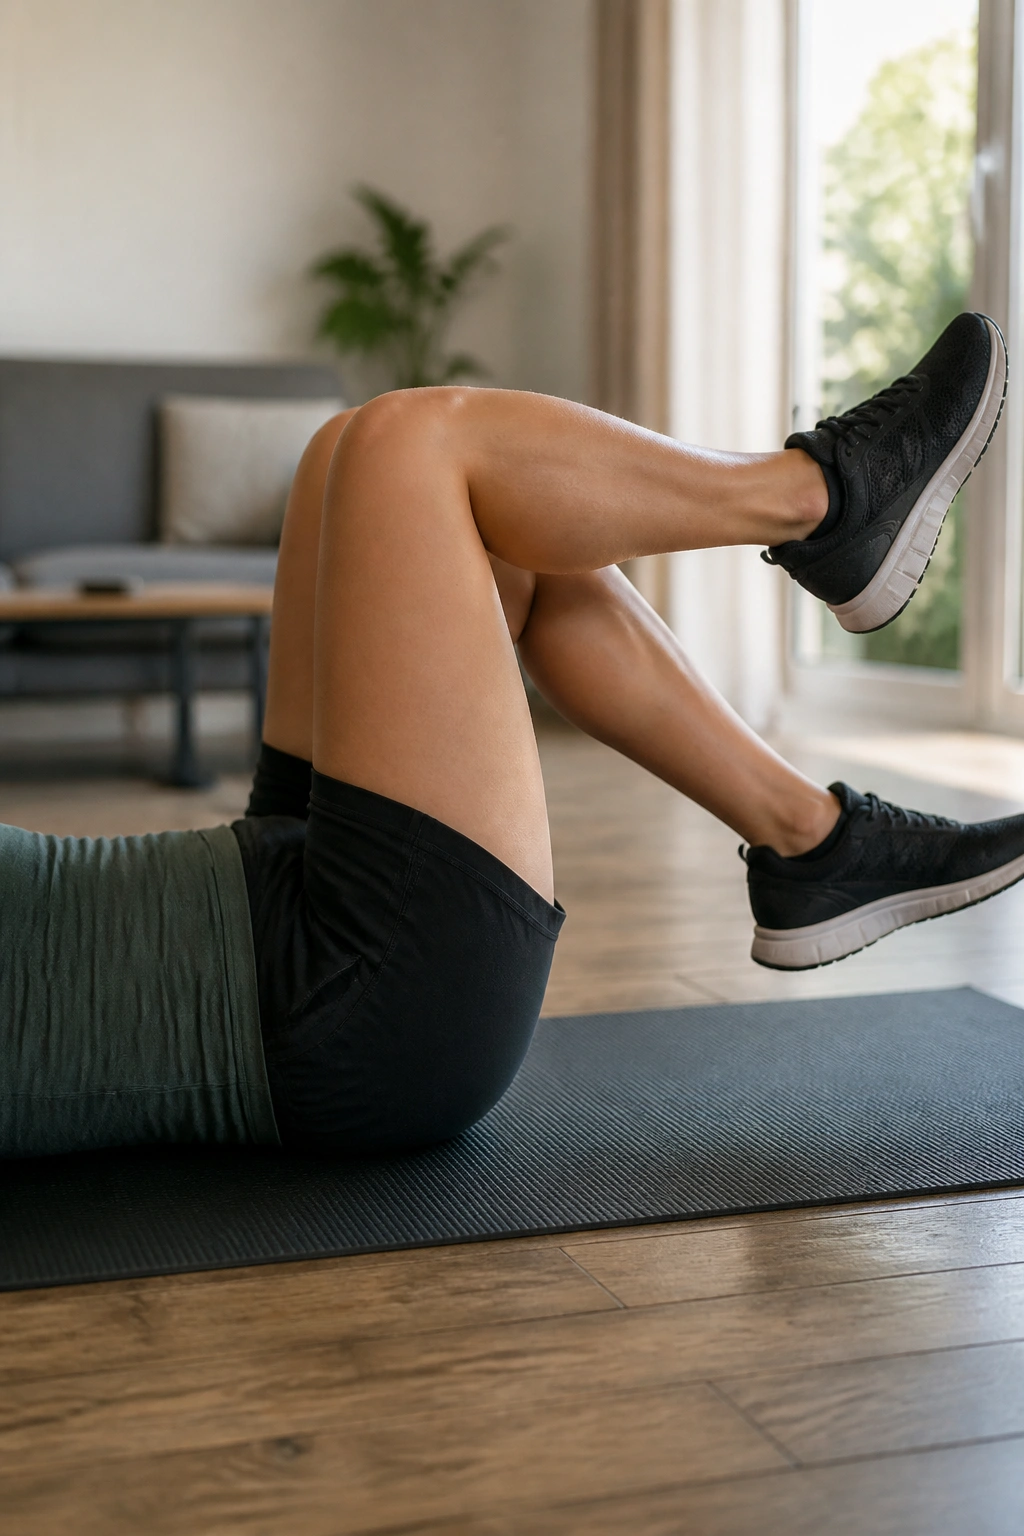
Bending the knees is the easiest way to make flutter kicks less punishing without turning them into a cheat. It shortens the lever, which means your lower abs and hip flexors don’t have to fight quite as hard to keep the legs from dropping.
What Changes When the Knees Bend
Try keeping each knee at roughly a 90-degree bend while the thighs stay angled low over the mat. The kicks are smaller, but the rhythm stays the same, and that rhythm matters more than people think.
This version is the one I’d hand to anyone whose low back arches the minute the legs straighten. It’s also useful after a hard lifting day, when your trunk is tired but you still want a decent core finisher.
A few reps into the set, you should feel the front of the hips working, but not clamping up. If the hips start to pinch, bring the legs higher and cut the set short. No prize is awarded for making a simple drill miserable.
3. Hands-Under-Glutes Flutter Kicks
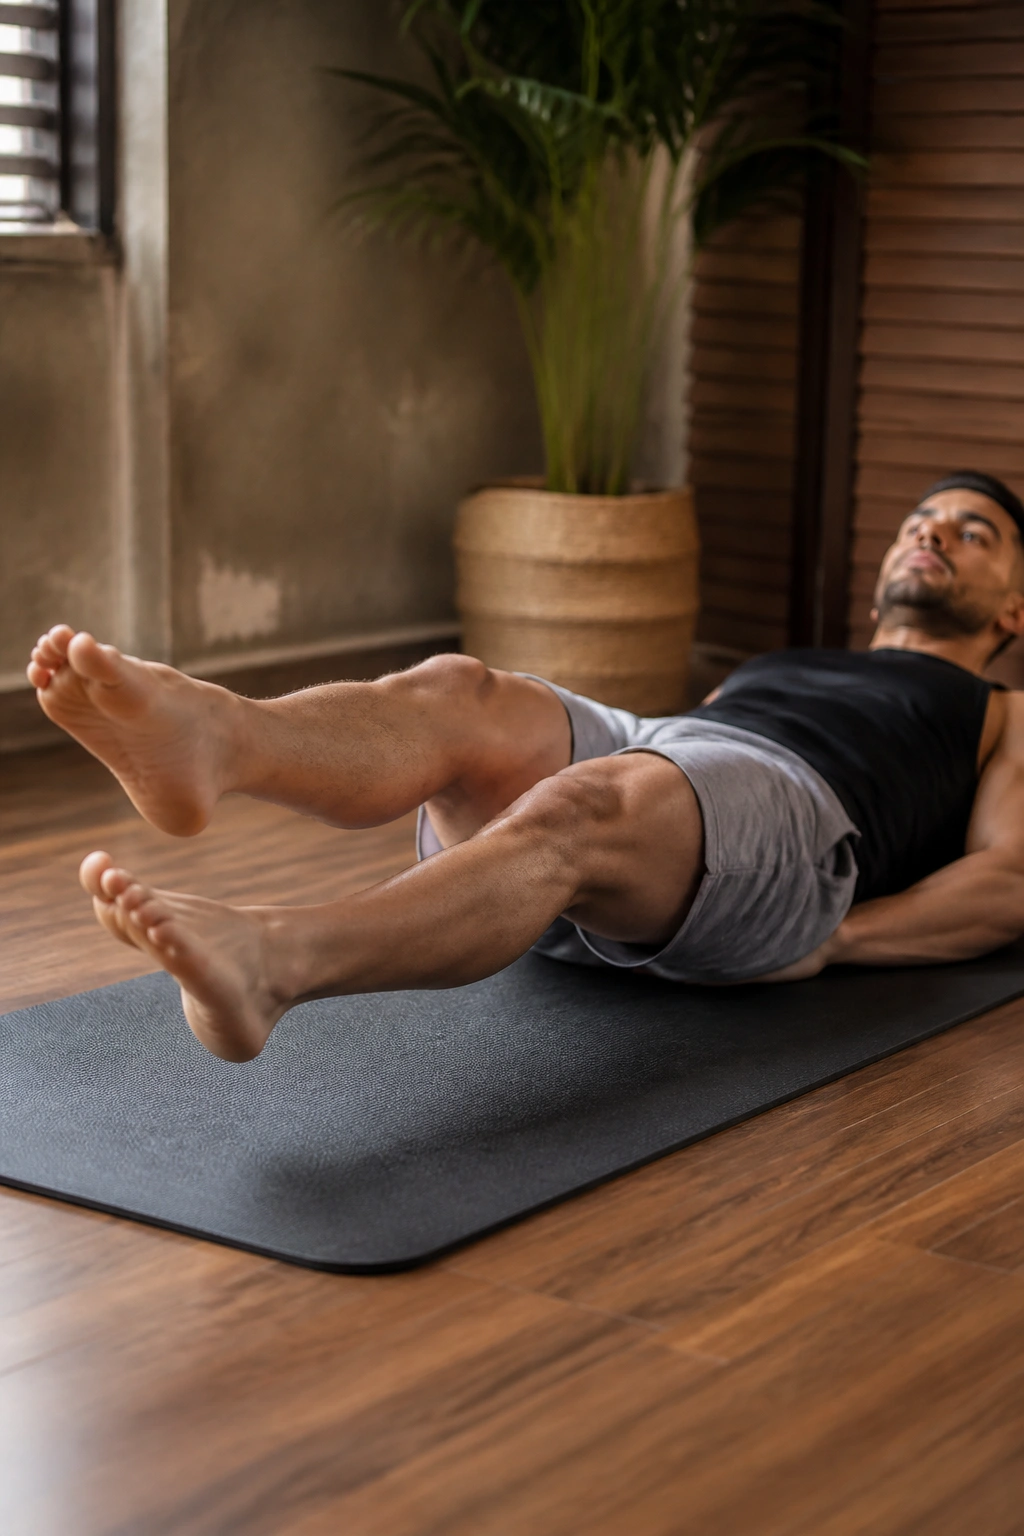
Why does sliding your hands under your hips help so much? Because that tiny bit of support can change the entire feel of the exercise. A folded towel or your hands under the sacrum gives the pelvis a better place to rest, which is gold when the floor feels too hard or the low back gets fussy.
What to Watch For
The setup is simple: lie back, tuck your hands beneath the base of your pelvis, and keep the kicks low and tight. You’re trying to create stability, not a pillow fort. The support should make it easier to hold a neutral pelvis, not encourage you to relax completely.
This is one of the best beginner-friendly flutter kicks variations because it reduces the “tailbone grind” some people feel on hard flooring. It also helps you notice whether the movement is coming from the hips or from an overactive lower back.
How to Use It
- Use it for 20 to 30-second sets.
- Keep the ribs down.
- Stop before your hips start sliding around.
Quick tip: if a thick yoga mat changes everything, that tells you your body’s main problem is pressure, not weakness.
4. Hollow-Body Flutter Kicks
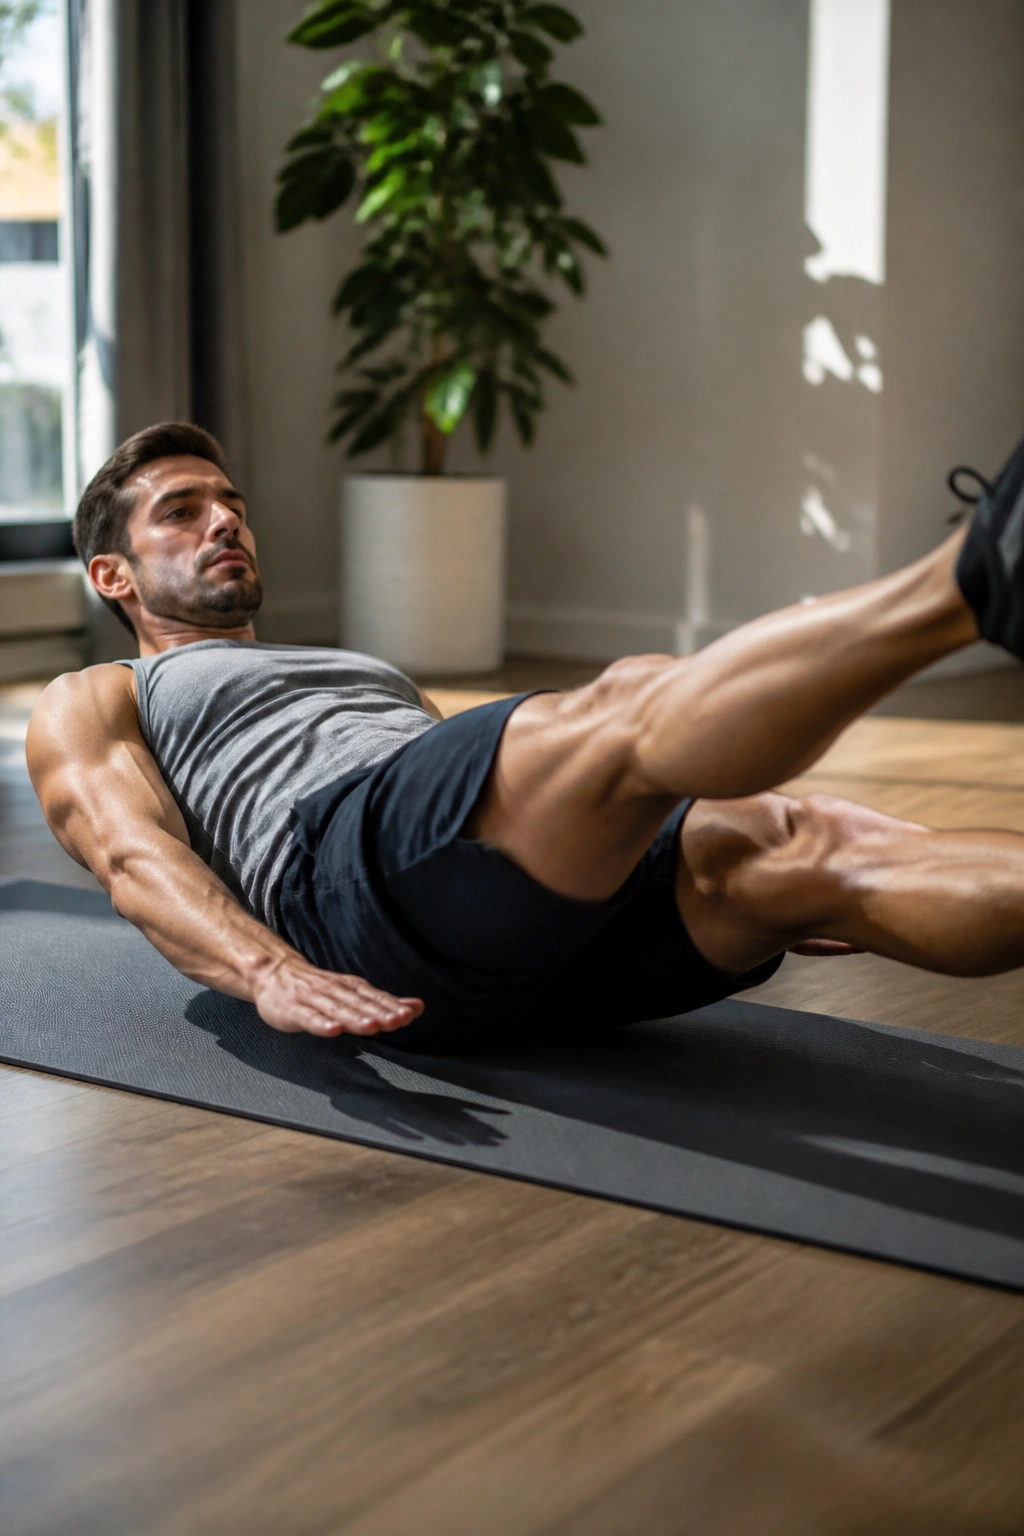
A hollow body changes the game fast. Once your shoulders come off the floor and your ribs stay pulled down, the exercise stops being a simple leg drill and turns into a full-core brace test.
You’ll know you’re in the right position when your torso feels like one solid piece and your legs feel heavier than they looked a moment ago. That’s not a bad sign. It means the abs are doing their job instead of letting the spine sag.
Why It Feels Harder
The hollow-body setup lengthens the lever and strips away a lot of hidden help from the floor. It’s a cleaner version of the movement, and it exposes weak bracing better than almost any other floor drill.
Start with 10 to 15 seconds if you’re new to it. Seriously. People overshoot this version all the time and end up turning it into a neck-and-hip-flexor contest.
If you can keep the low back gently pressed down while breathing in short, controlled breaths, you’re doing it right. If you cannot, bend the knees and earn the harder version later.
5. Shoulder-Lifted Flutter Kicks
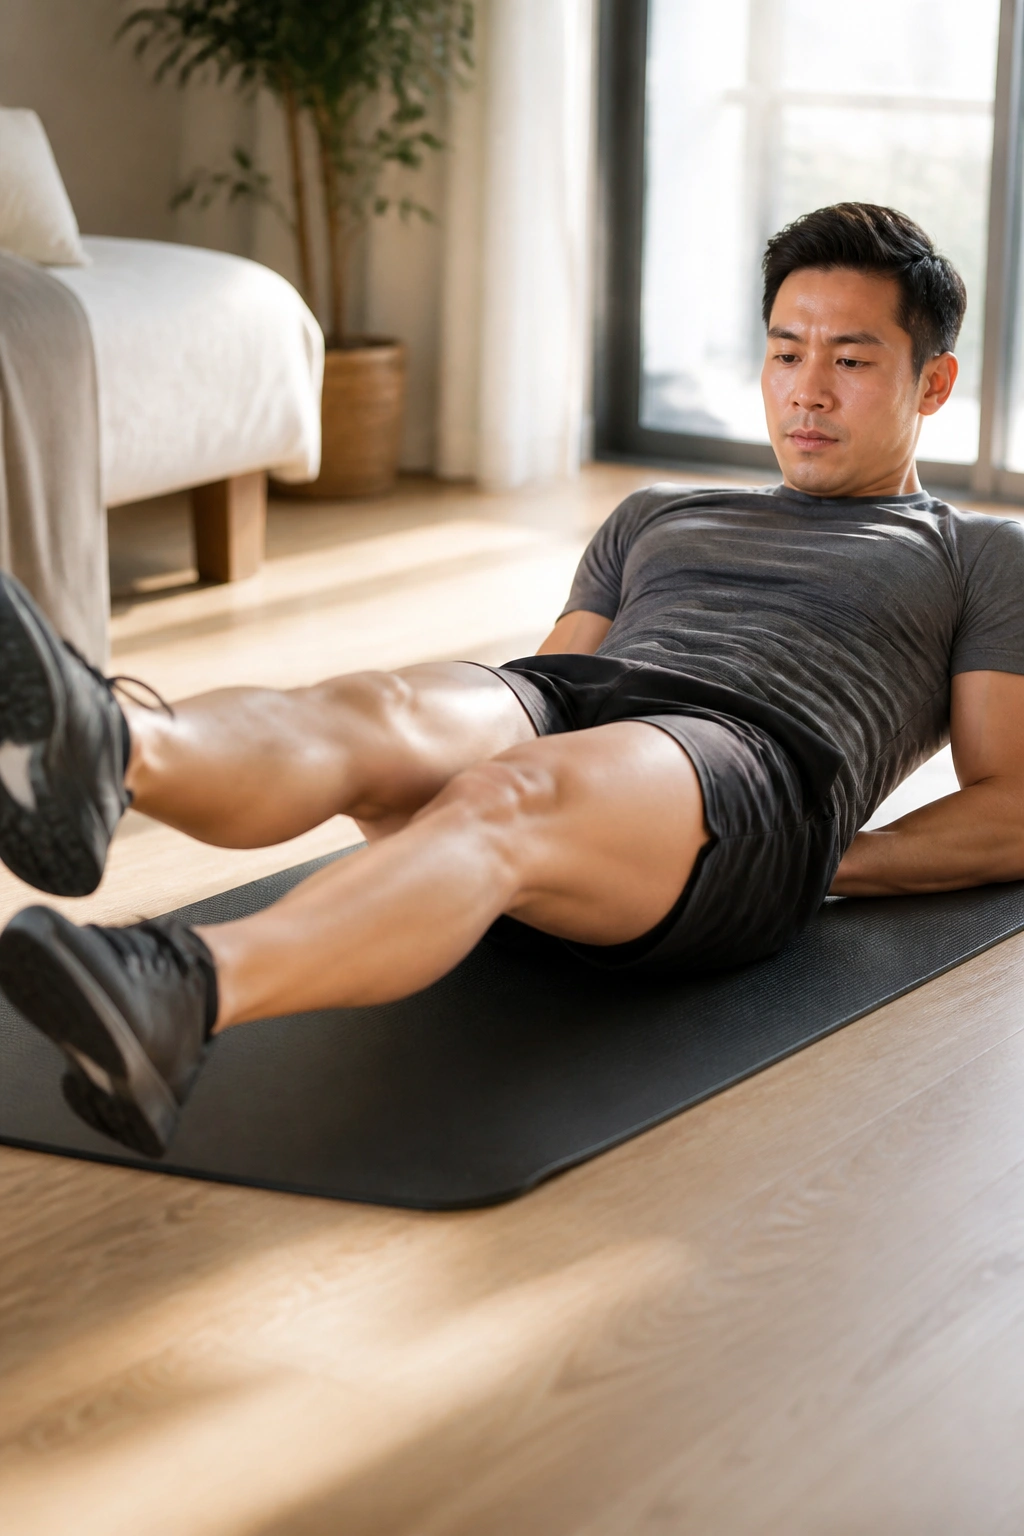
This one sits halfway between a crunch and a flutter kick, and it’s sneaky in the best way. Lift your head and shoulders a few inches off the floor, keep your eyes on your thighs, and start the kicks from that curled position.
The upper abs kick in more than they do in the flat version. So do the obliques, a little, because the torso has to stay braced while the legs keep moving.
Why It Works
The shoulder lift changes the angle of your trunk just enough to make the abs work harder without forcing you into a full sit-up. That matters if you want a core drill that burns but still leaves room for clean technique.
Use a small range and keep your neck loose. If your chin jams into your chest, you’ve gone too far. If your shoulders fall back to the floor every few seconds, shorten the set and come back with better control.
A Practical Dose
- Try 15 to 20 seconds.
- Keep the kicks about 4 to 6 inches high.
- Rest long enough to keep the next set sharp.
This version is not subtle. That’s the appeal.
6. Vertical Flutter Kicks Against a Wall
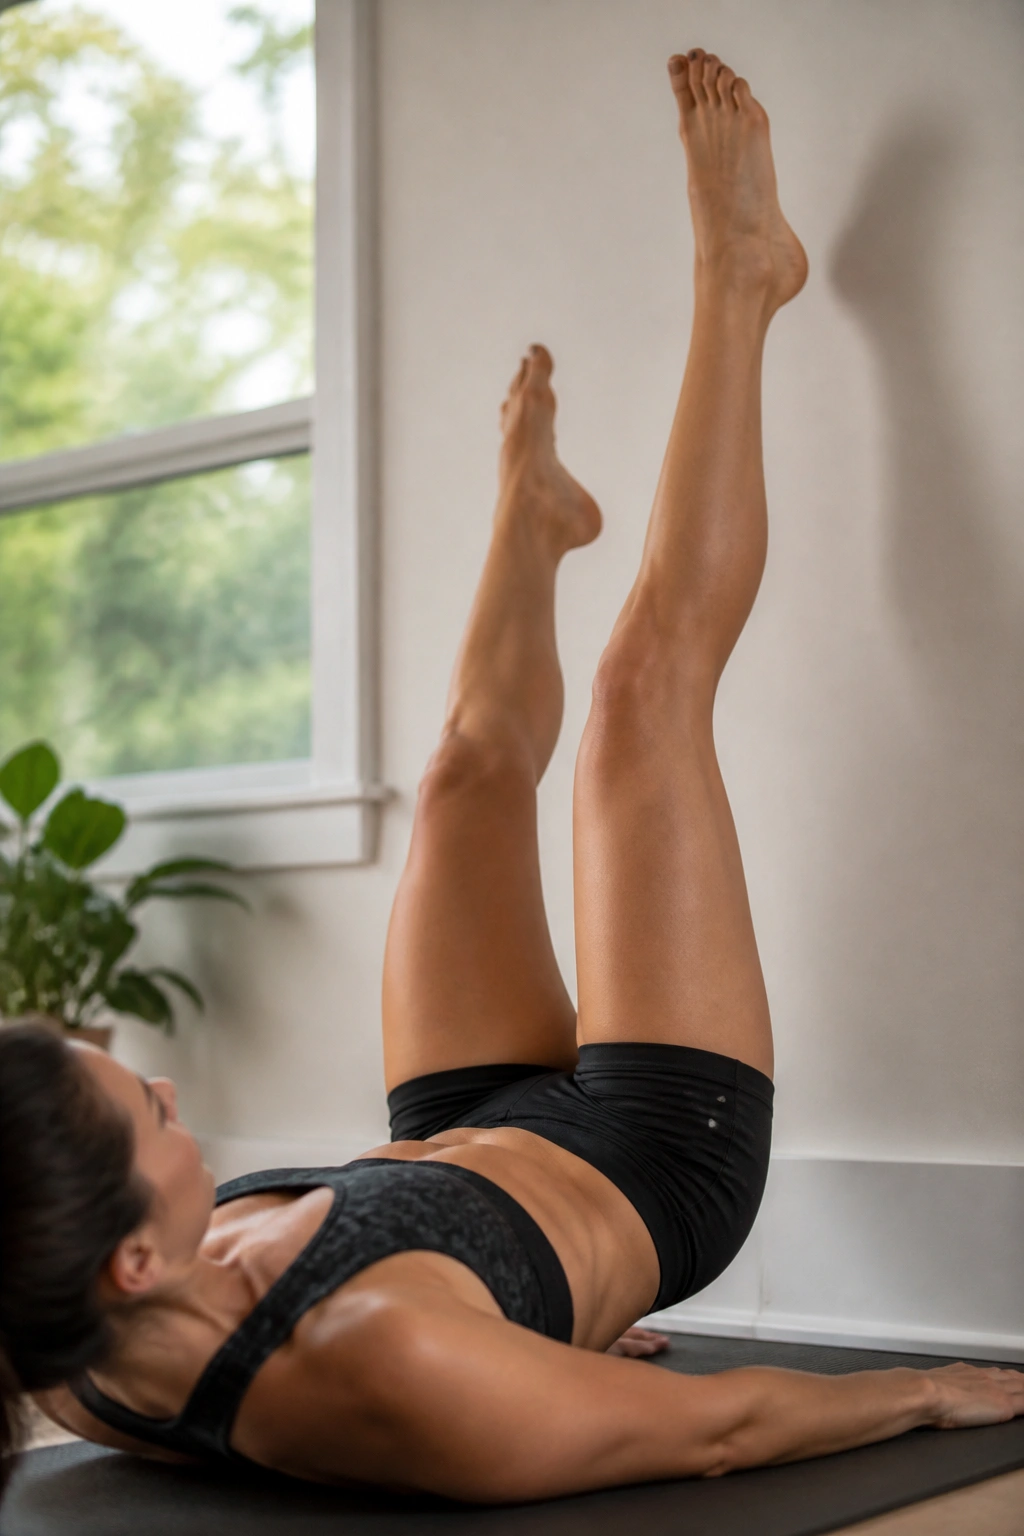
Put your legs up a wall and the whole rhythm changes. Gravity stops pulling them straight down, and you get a different kind of burn — less floor pressure, more hip control, and a cleaner feel in the front of the thighs.
The wall gives you feedback. If one leg wanders or your pelvis tilts, you’ll notice fast because the contact point changes. That makes this a solid choice for people who need more awareness before they jump back to floor work.
What Makes It Different
You’re not trying to press the entire leg into the wall. Keep a light touch with the heels or calves, then alternate tiny kicks away from that contact point. The movement is small, and the control is the point.
This is also a smart recovery option after heavy squats or long runs, when the low back is tired and the legs feel cooked. The wall version lets you train the rhythm without the same spinal demand.
Use it when: floor flutter kicks make your back tense up, but you still want a core hit.
7. Bench-Edge Flutter Kicks
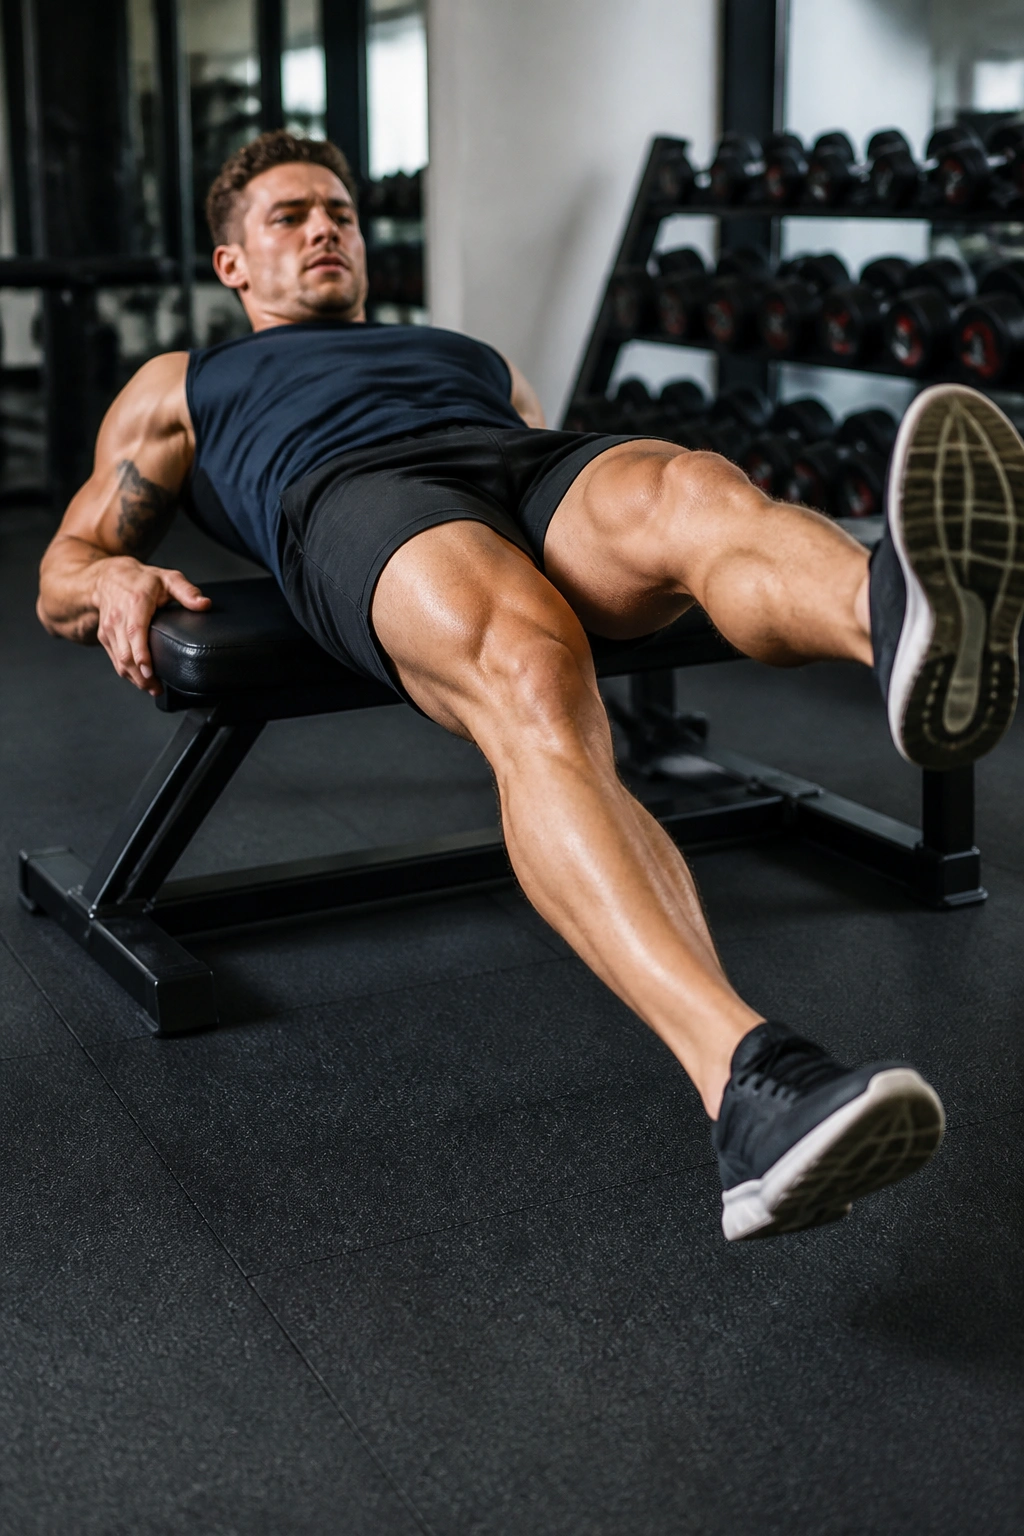
Picture this: your hips are near the edge of a sturdy bench, your torso is flat, and your legs are hanging free. That little change gives you more room to move and a deeper stretch through the hip flexors at the bottom of each kick.
The bench version feels more open than the floor version. It’s also a little less forgiving, because the lower half of the body has nowhere to hide.
Bullet Cues That Matter
- Hold the bench with both hands.
- Keep the glutes lightly squeezed.
- Kick from the hips, not the knees.
- Stop if the bench feels unstable.
A padded bench works better than a hard one. So does a bench with a real edge you can grip. If your hands slide, the set turns sloppy fast.
This is a gym-friendly version I like for people who’ve outgrown floor kicks but don’t want to jump straight into weighted work. It feels athletic. It also punishes lazy form without much mercy.
8. Prone Flutter Kicks
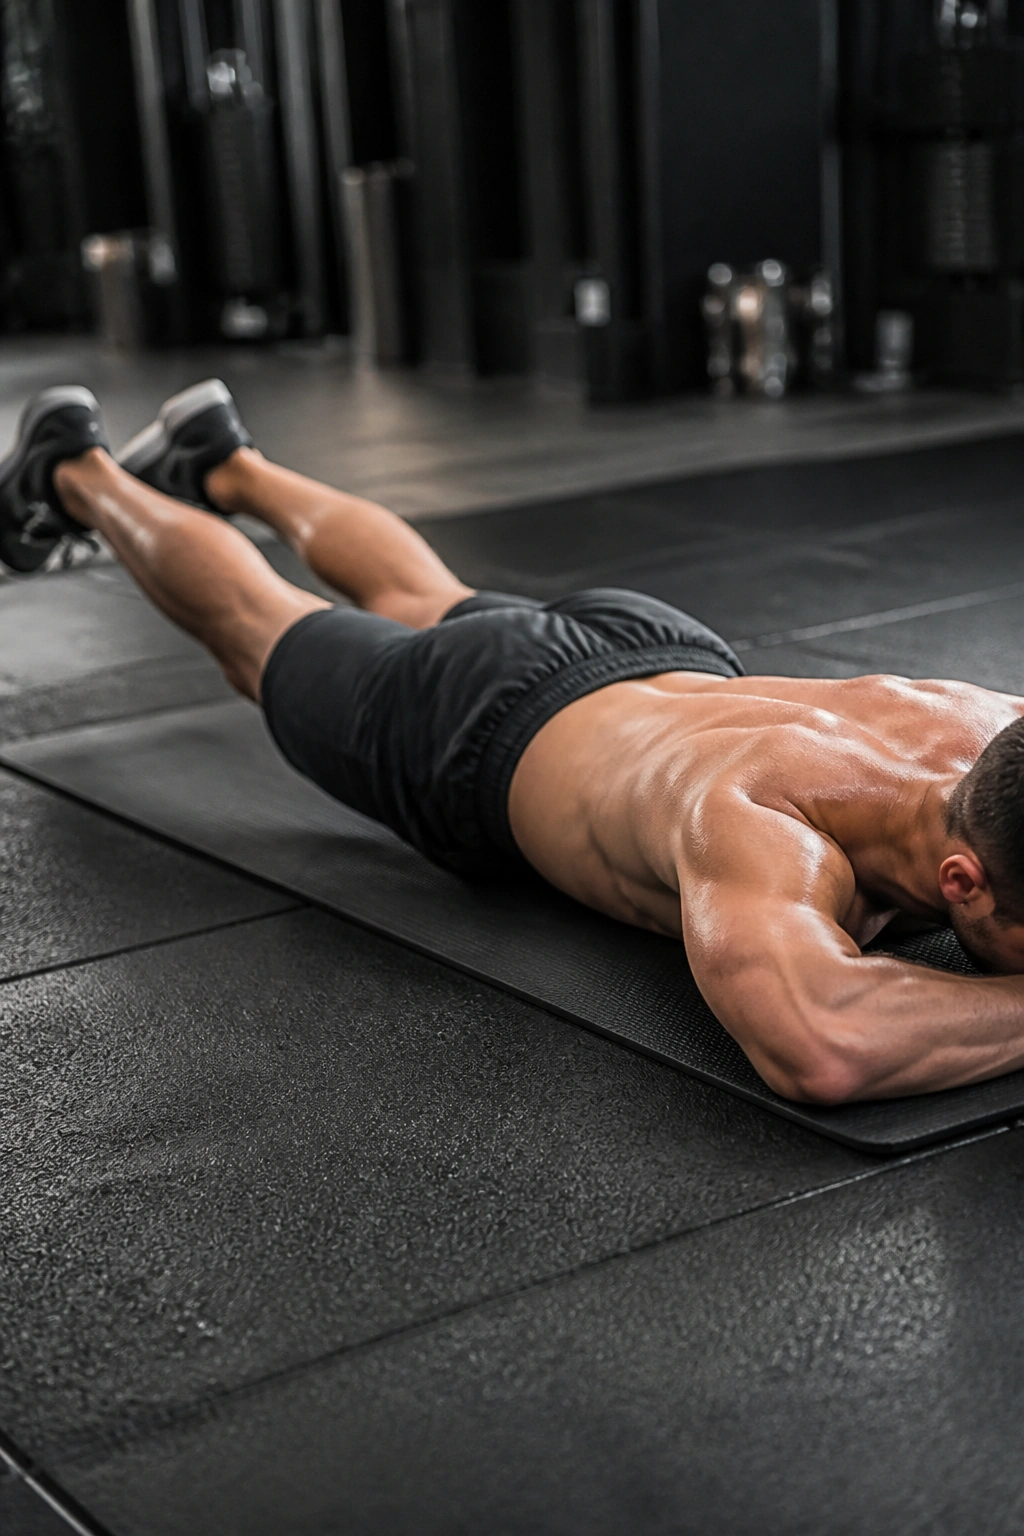
Face down changes everything. Instead of fighting to keep the low back from arching, you’re asking the posterior chain — glutes, hamstrings, and lower back — to stay active while each leg lifts in turn.
That makes prone flutter kicks a useful counterbalance to all the supine work. They still hit the hips and trunk, but the feeling is different. More back-side endurance, less “my hip flexors are angry.”
What the Movement Feels Like
The legs should hover a few inches off the floor and kick in a small, quick pattern. If you lift too high, the lower back takes over. If the legs stay glued to the mat, you’re not really moving.
The clean version feels like alternating tiny leg lifts with a steady torso. No swaying. No flinging. Just controlled movement and a little burn across the glutes.
A lot of people skip prone work because it looks less obvious than the floor-ab style. That’s a shame. It’s one of the better ways to teach the back side of the body to stay awake.
9. Side-Lying Flutter Kicks
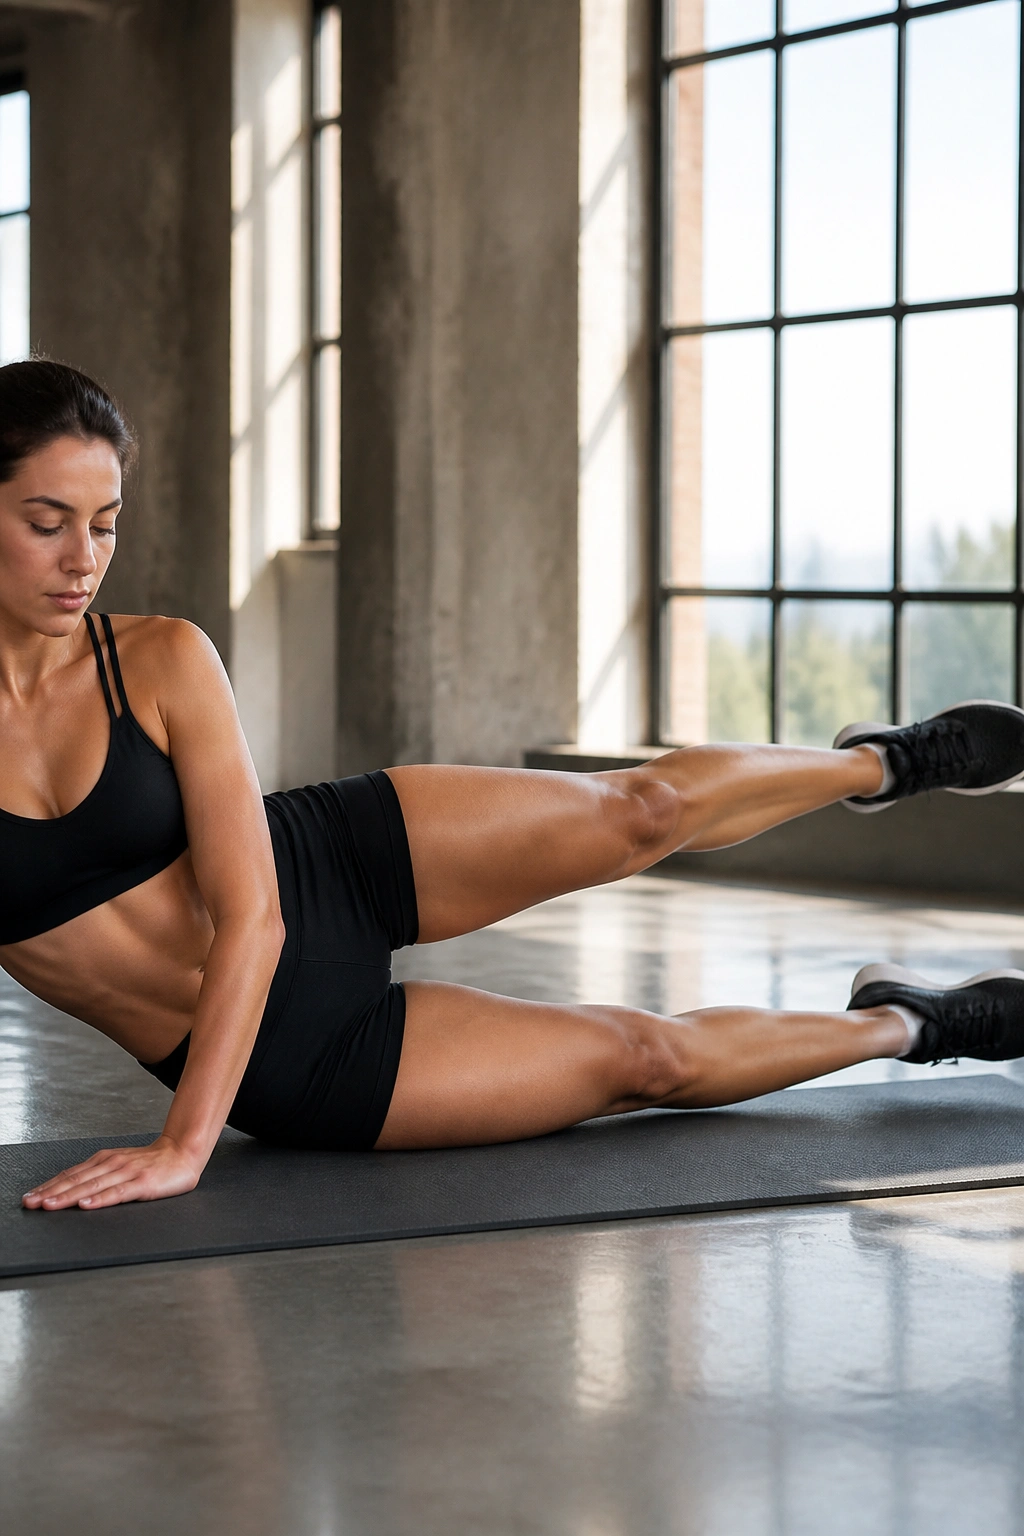
Why do side-lying flutter kicks matter? Because they pull the exercise away from the straight-ahead abs and into the outer hip and oblique zone. Lie on one side, stack the shoulders, and let the top leg flutter in a short range while the bottom leg stays quiet.
This version can feel oddly elegant when it’s done well. The challenge is keeping the hips from rolling backward or forward as the leg moves.
What It Trains
You’ll feel the glute medius, the side of the waist, and a bit of hip control that standard flutter kicks don’t touch as directly. That makes it useful for people who want better pelvic stability, not just more burn in the front of the body.
Try 15 to 20 kicks per side before switching. Keep the toes slightly forward or neutral, not aggressively turned up, unless you want the hip flexors to dominate.
Side-lying flutter kicks are underrated. They’re tidy, simple, and brutally honest about whether your hips can stay stacked.
10. Ankle-Weighted Flutter Kicks
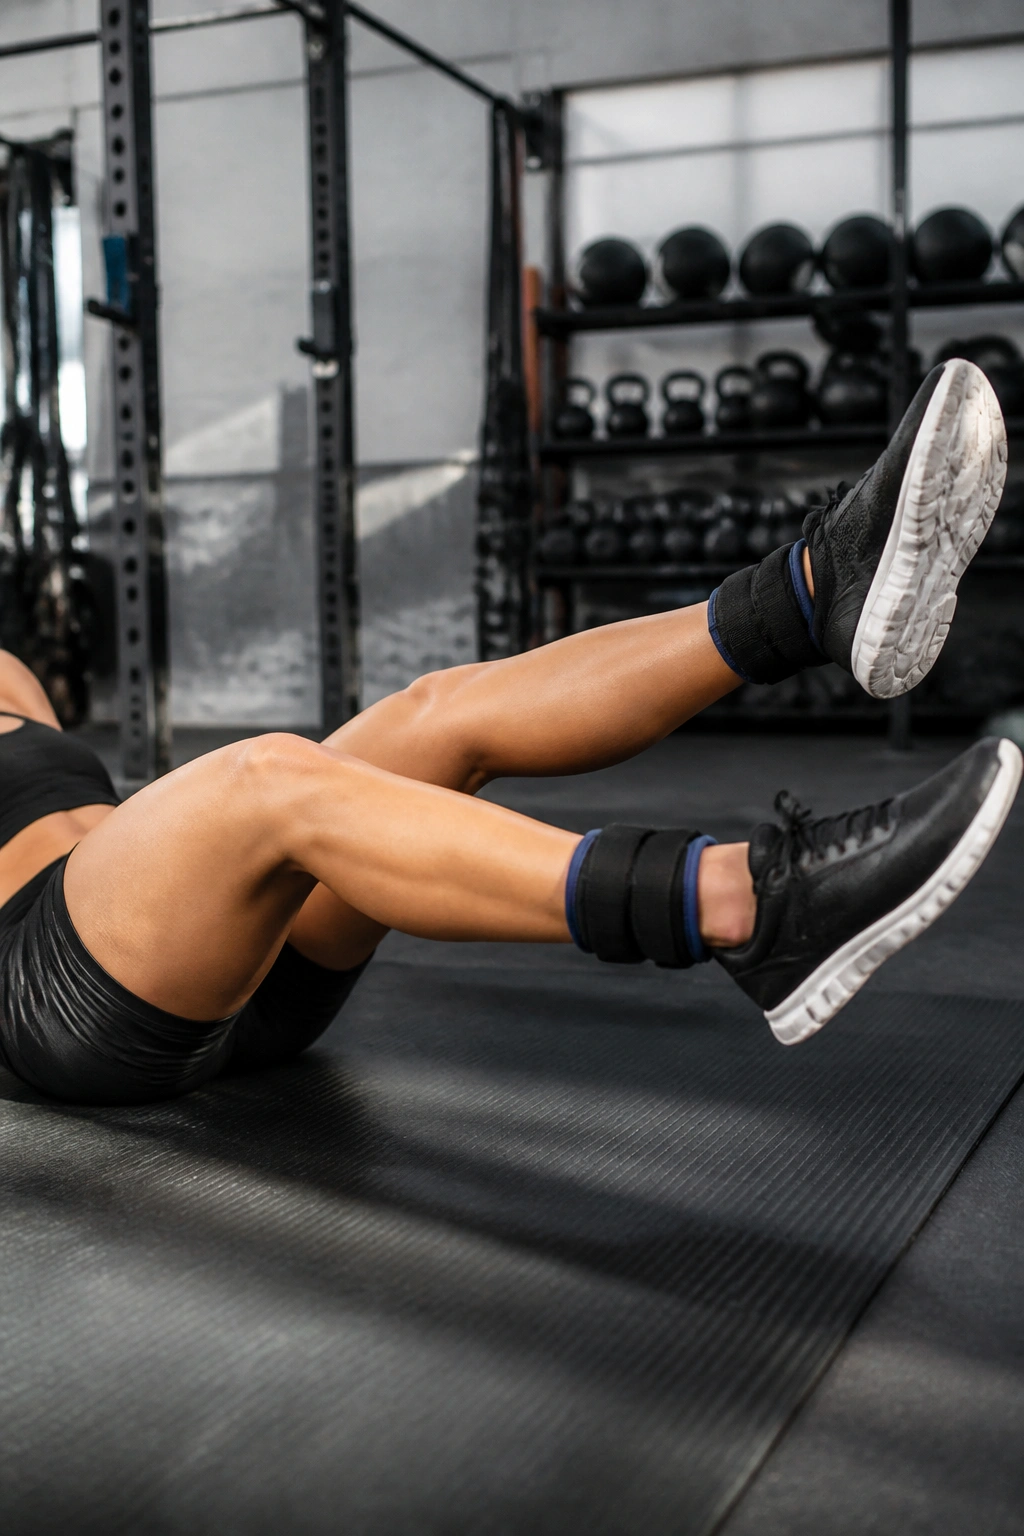
Adding ankle weights is the fast lane to making a familiar drill feel brand new. A pair of 1- to 2-pound ankle weights is plenty for most people. Much more than that turns the exercise into a sloppy grind and makes the legs yank at the pelvis.
The weights increase the lever, which means the abs have to work harder to keep the legs from dropping. Sounds useful, and it is — up to a point.
How to Use Them Without Wrecking Form
Start with very short sets, around 10 to 15 seconds, and see whether you can still keep the low back quiet. If the weights cause your hip flexors to clamp up instantly, they’re too heavy or the range is too big.
This is one of those variations where less is more. Heavy ankle weights are not a badge of honor. They’re usually a shortcut to ugly reps.
Use them when you already know the bodyweight version and want a harder overload. Skip them if your knees feel cranky or your pelvis already struggles to stay steady.
11. Band-Resisted Flutter Kicks
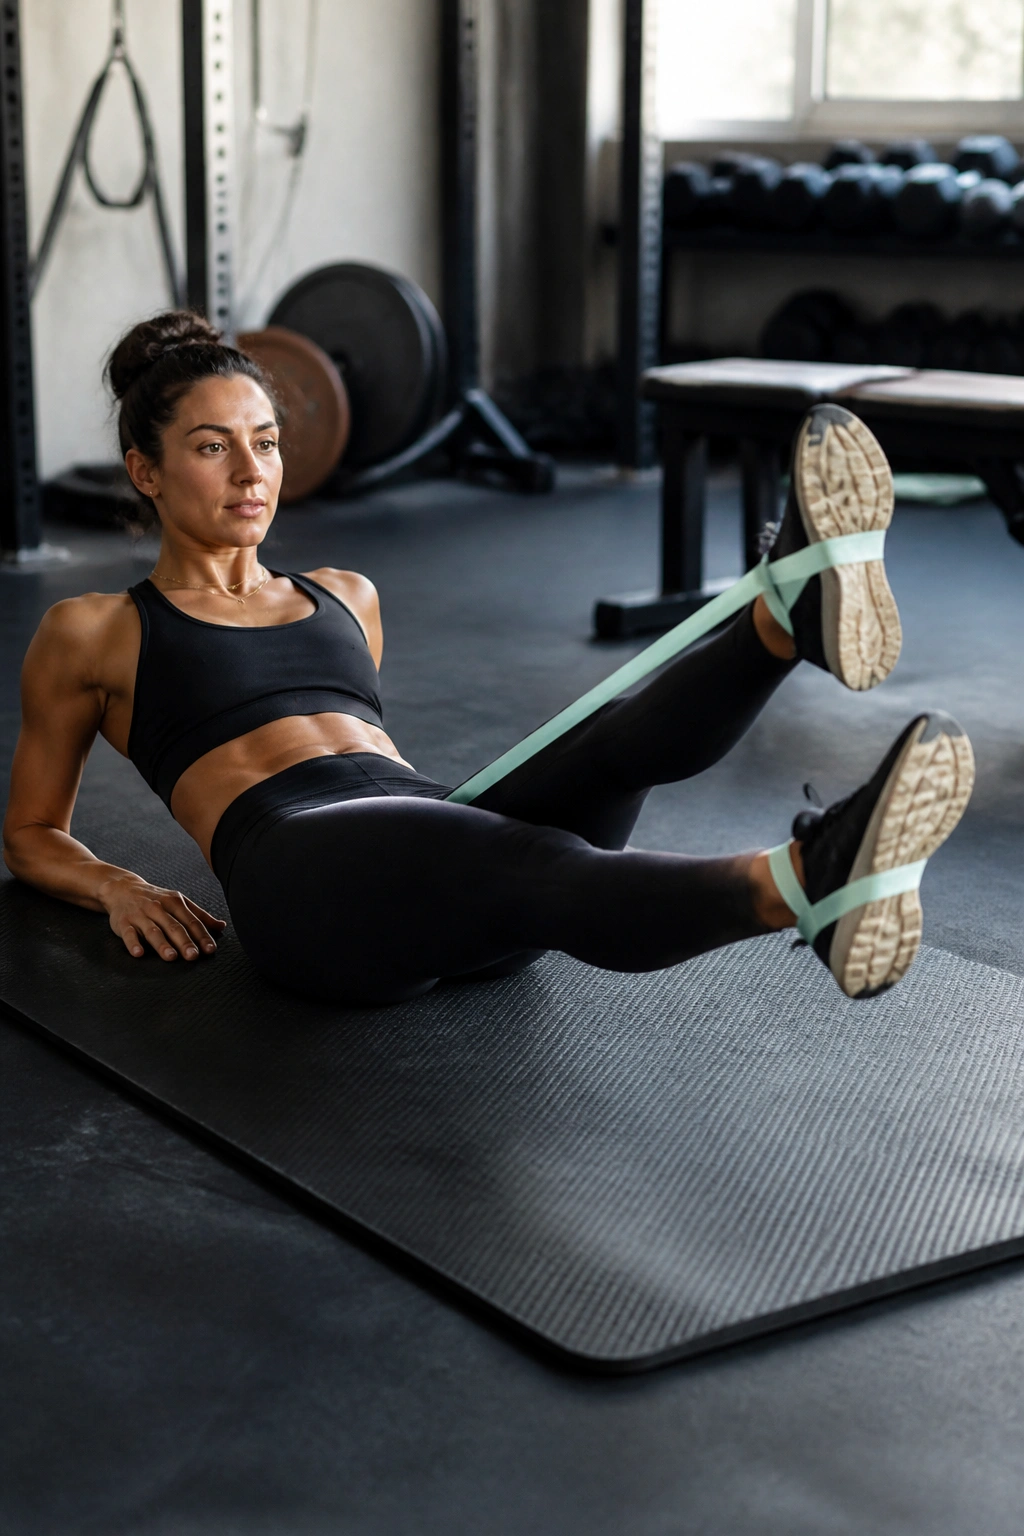
A light resistance band around the feet or ankles adds a tug that changes the whole pattern. Now each leg has to fight not just gravity, but the band’s pull toward the center or the anchor point.
The Science Behind It
The resistance makes the kicks more deliberate. You can’t coast through the movement because the band keeps reminding your hips and abs that they’re on the clock.
A mini band works best when it’s snug but not cutting into the skin. Place it around the feet for a more obvious challenge, or around the lower shins if you want the motion to stay a little cleaner. Either way, the legs should move slowly enough that the band never snaps you out of position.
- Use a light band first.
- Keep the kicks small.
- Stop if the band starts to slide.
This version is useful for anyone who likes feedback. The band tells on you quickly.
12. Slow-Motion Flutter Kicks
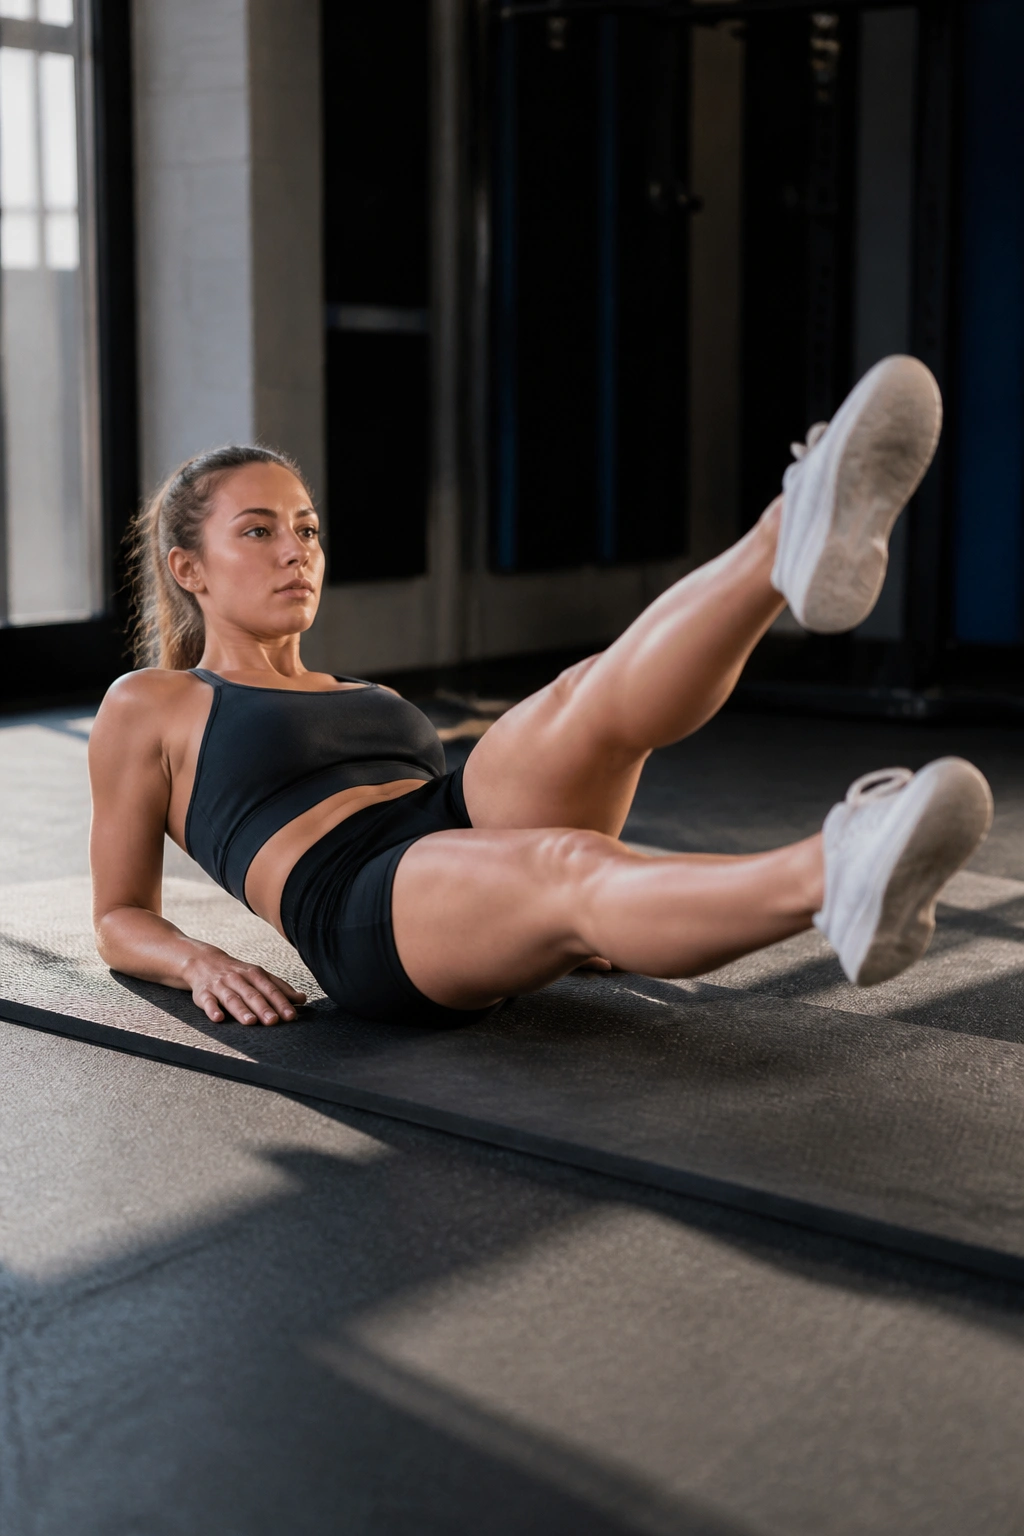
Slow flutter kicks are a different animal. They strip away the bounce and force you to own every inch of the movement, which means the abs and hip flexors have time to argue about who’s really in charge.
Count the tempo out loud if you have to: down for 2 to 3 seconds, up for 1 second, then switch. The point is tension, not speed.
Why Slowing Down Helps
The slower version removes momentum. That matters because momentum hides weak control. Once the swing disappears, even a small leg drop starts to feel serious, and that’s when you know the drill is doing its job.
This is a good choice if you want to clean up your form after using faster versions. It also works well as a finisher when you’re already tired and don’t want to get sloppy just to chase a burn.
Good rule: if you can’t control the descent, you’re not ready for a slower tempo yet. That sounds harsh. It’s also true.
13. Fast-Cadence Flutter Kicks
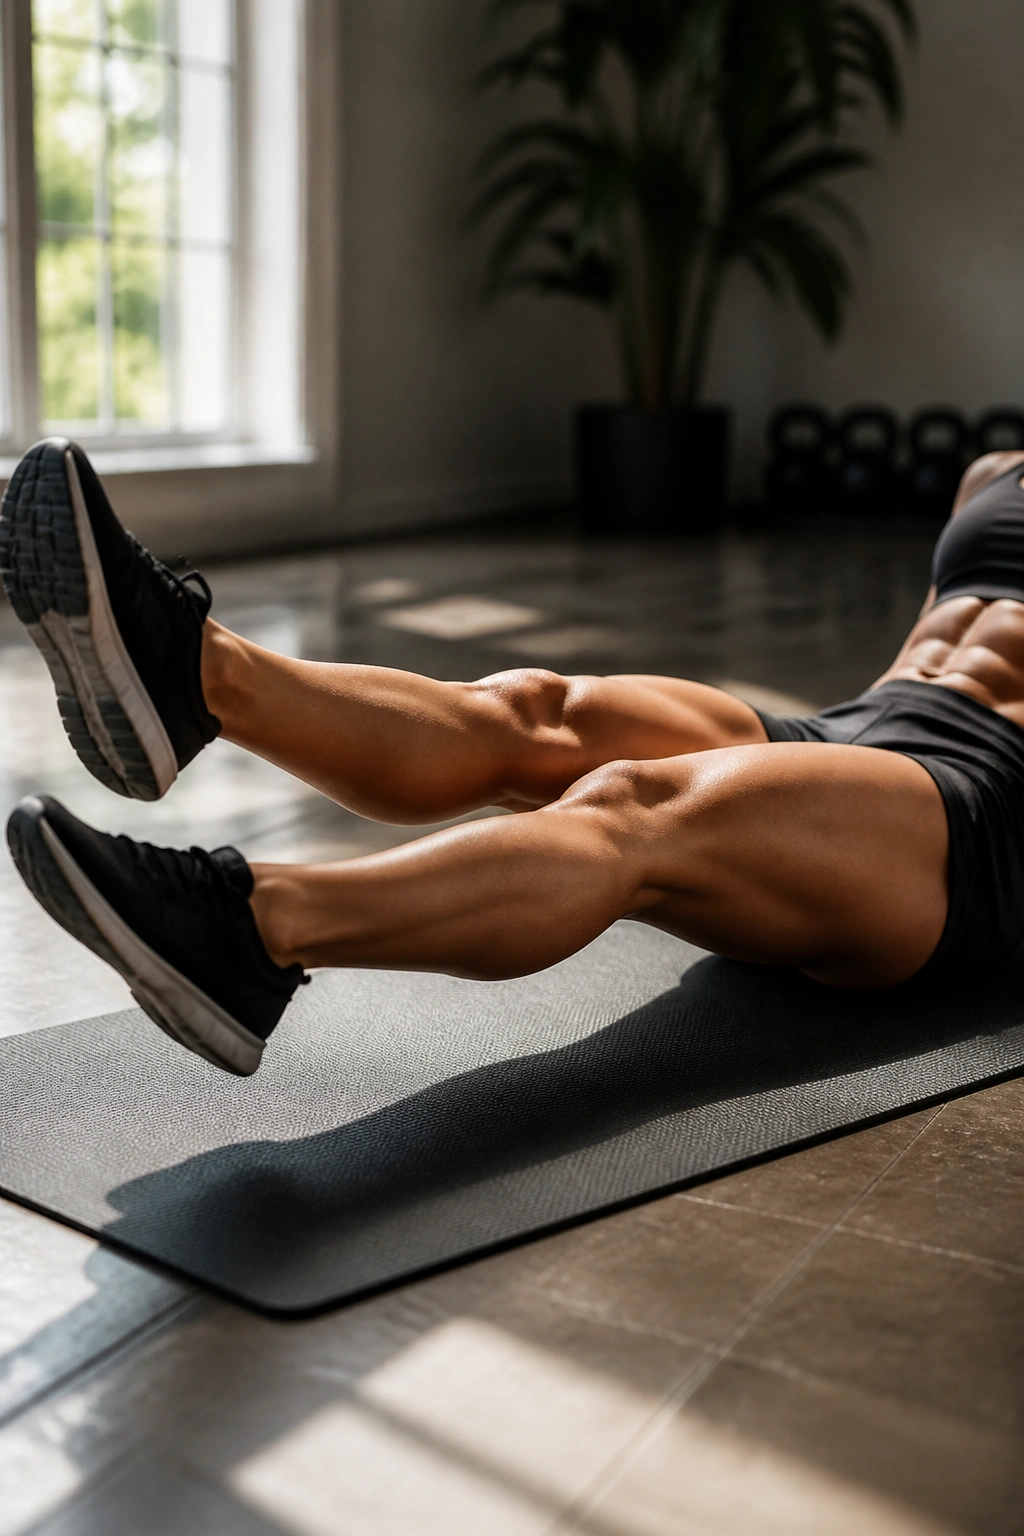
Fast-cadence kicks are the opposite of the slow version, but they’re not a free-for-all. The goal is a quick, tiny rhythm with the pelvis locked down, not frantic leg flailing.
Picture a metronome set a little too fast. That’s the feeling you want. Short, sharp, neat.
Quick Cues
- Keep the range tiny.
- Breathe in a steady pattern.
- Stop before the lower back starts to bounce.
This version can feel great in short bursts because the burn arrives fast. It’s also a decent test of endurance when you’re short on time. But here’s the catch: if the pace is so quick that your body twists, you’ve gone too far.
I like this version for people who already own the basics and need a simple, sweaty finish. It’s less about strength than staying composed while the legs move fast.
14. Pulse-and-Hold Flutter Kicks
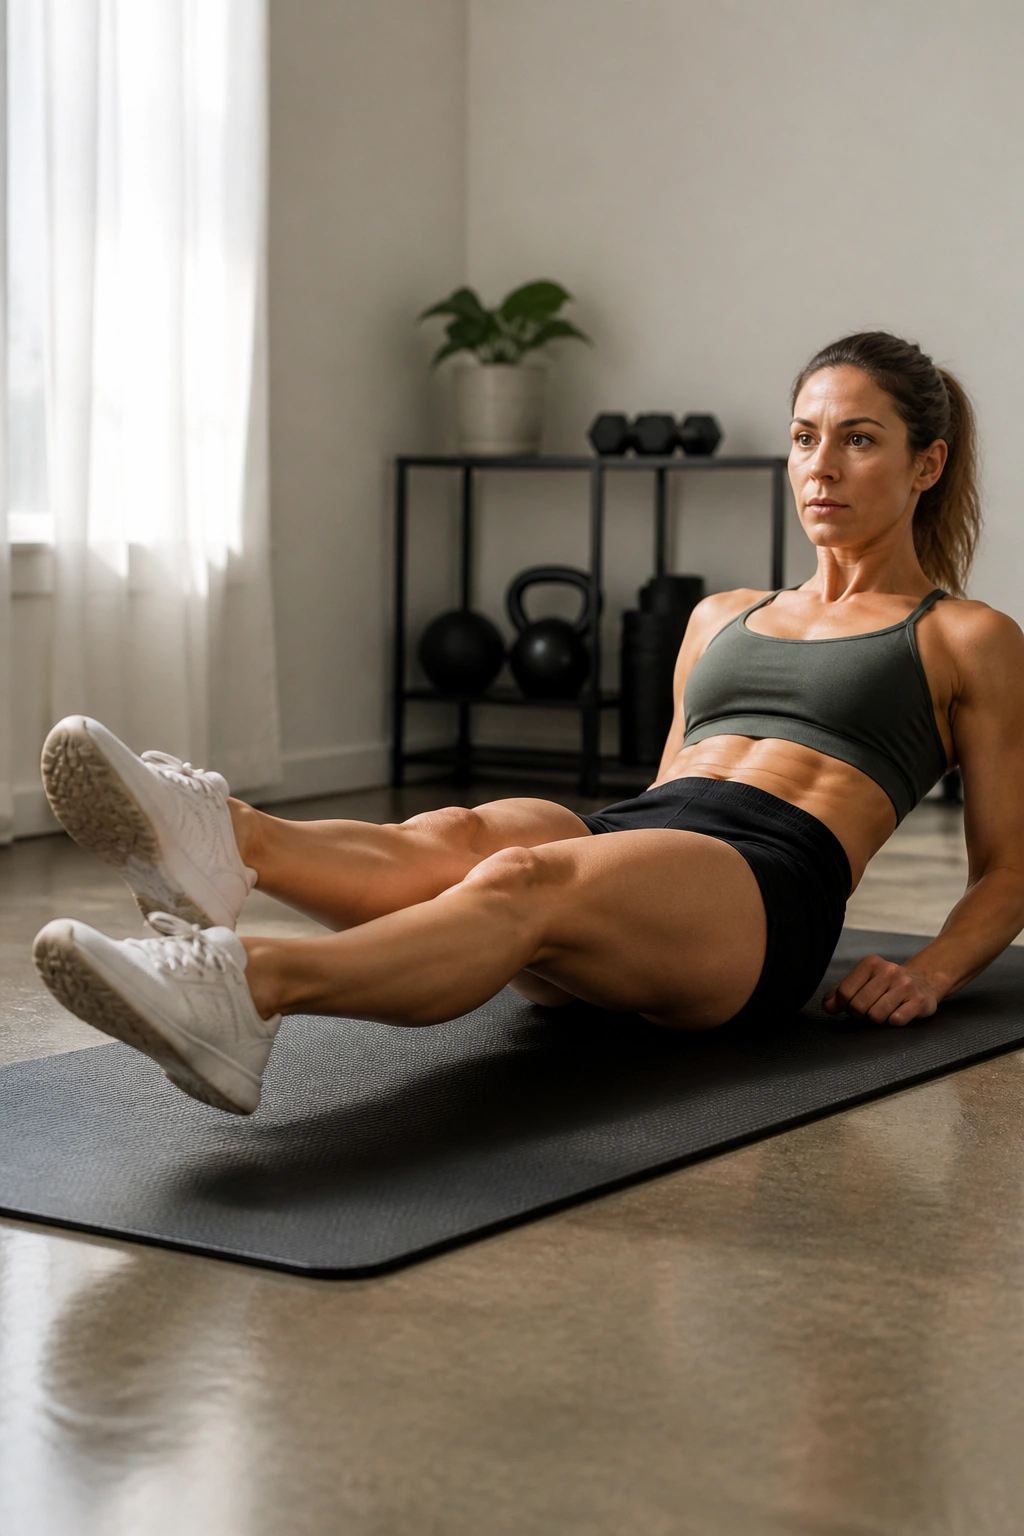
This one is sneaky. Do three or four small kicks, then freeze the legs just off the floor for a two- or three-second hold. Repeat that pattern for the length of the set.
The pulses make the abs work in a short burst. The hold makes them stay honest.
You’ll feel this in a different way than a steady flutter. The stop-start rhythm makes it harder to drift into autopilot, and that’s useful if your form tends to fall apart halfway through a set.
How to Use It
Try 4 pulses plus 1 hold for 15 to 20 seconds. Keep the hold low enough that the legs still feel heavy. If the pause turns into a rest, the effect disappears.
This is one of my favorite endurance variations because it punishes both speed and laziness. Nice little trap. Mean, too.
15. Scissor Flutter Kicks
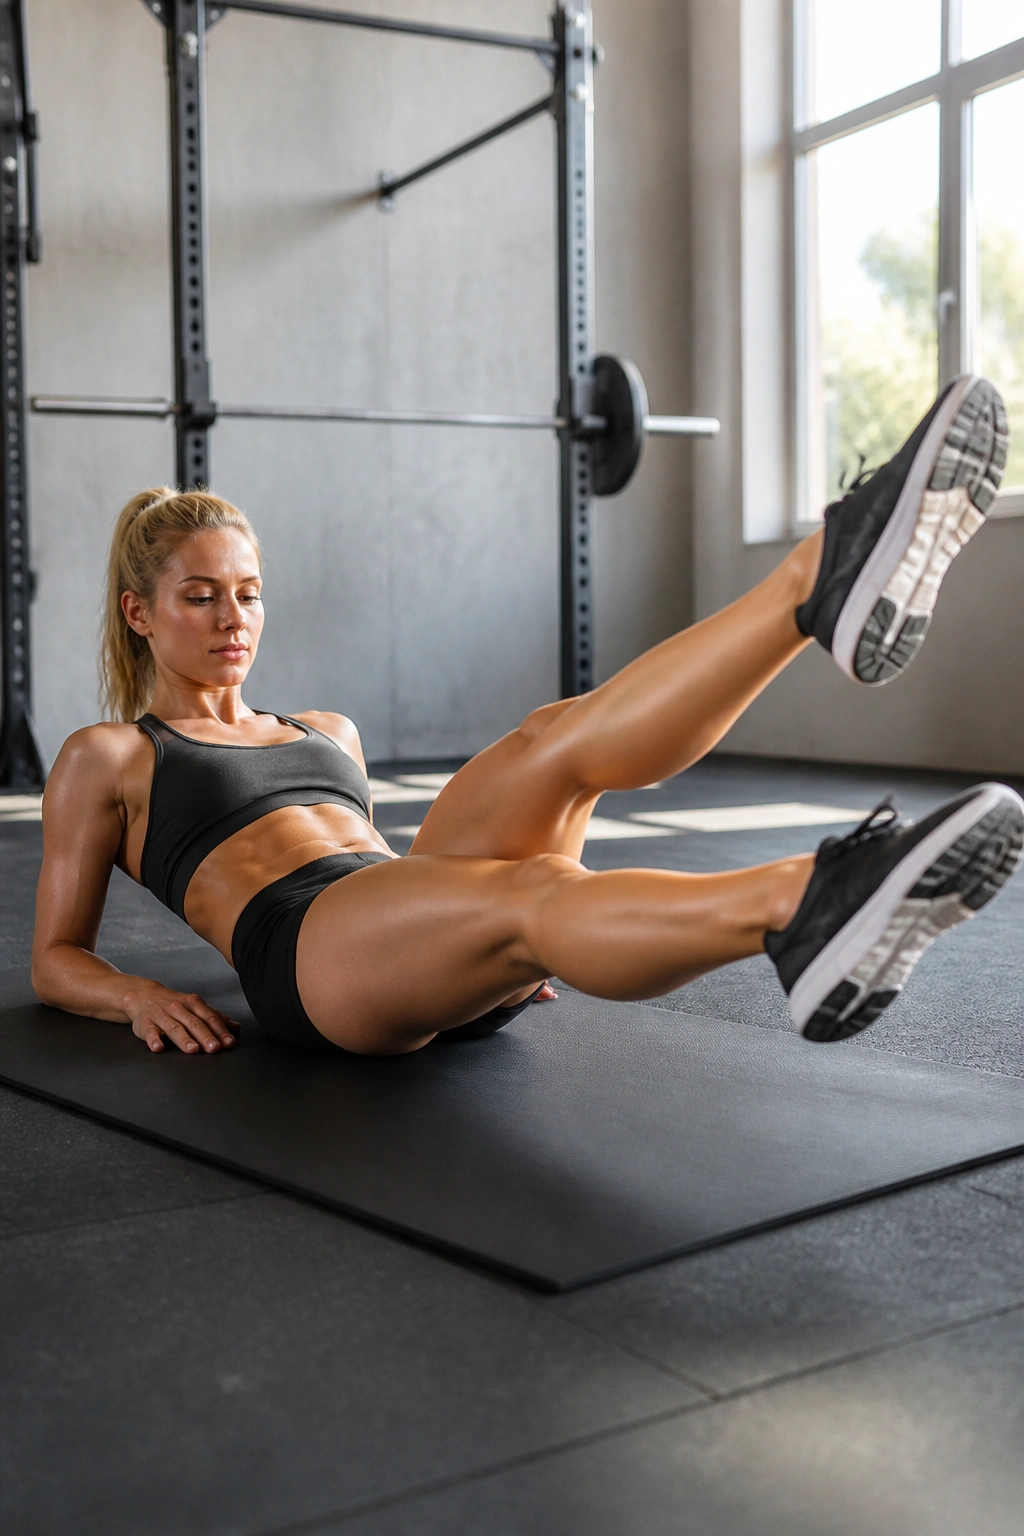
Scissor kicks widen the pattern by opening and closing the legs like a pair of blades. One leg rises while the other lowers, then they switch through the middle. The motion is a little bigger than a standard flutter, and that shift changes what you feel.
The inner thighs get involved more, and the hips have to control a wider arc. If standard flutter kicks feel too one-note, this variation wakes things up.
What Makes It Different
Unlike the straight-up-and-down rhythm of the classic version, scissor kicks ask the legs to travel past each other with a bit more range. That means more coordination and more load through the adductors.
Keep the movement clean. The legs should cross a little, not whip wildly across the midline. A wide, sloppy scissor just steals tension from the abs.
This is a good choice for advanced core days when you want variety without jumping to loaded equipment. It also gives you a little more room to breathe than a high-speed flutter set, which can be nice when the floor starts to feel like a punishment box.
16. Cross-Body Flutter Kicks
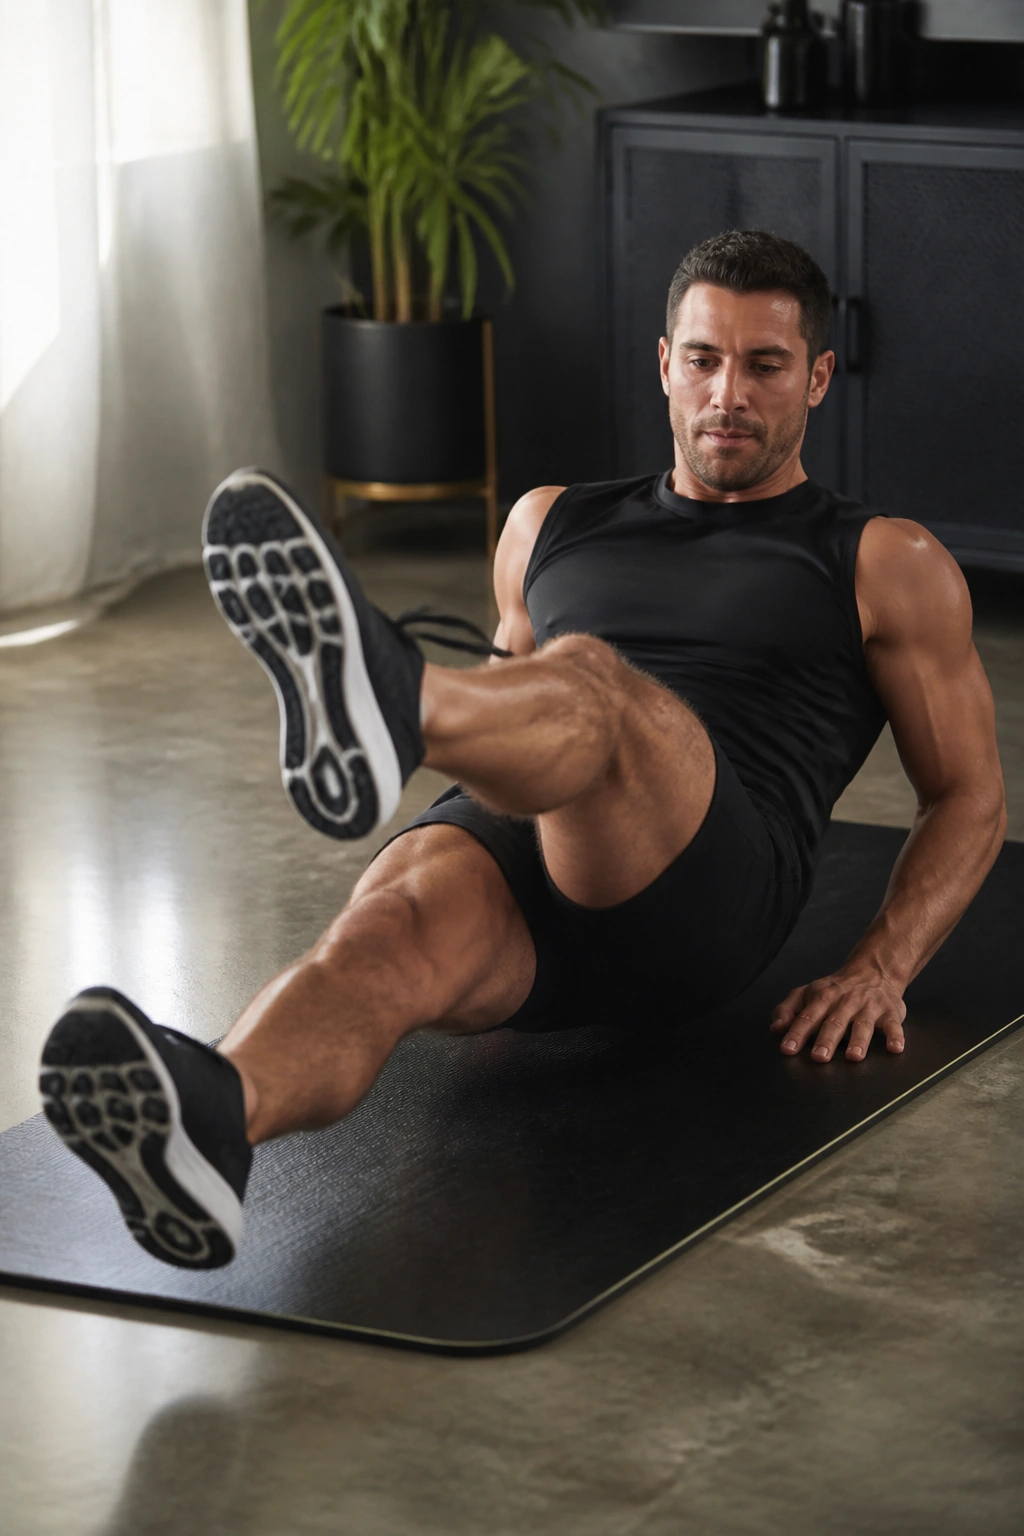
Cross-body kicks are a twist on the standard move. One leg dips across the midline slightly while the other stays lower on its own side. The pelvis has to resist rotation the whole time, which is where the challenge lives.
Think of it as a coordination drill with a core payoff. If your body wants to roll, this variation tells you right away.
A Brief Scenario
I like this one for people who can do straight flutter kicks but lose control the second the pattern gets less predictable. You’ll feel the obliques fire, especially if you keep the ribs down and the lower back pinned.
- Cross only a little.
- Keep both legs long.
- Stay slow enough to stop the hips from twisting.
The key is restraint. If the crossing becomes huge, the exercise turns into a mess and the abs stop being the driver.
17. Single-Leg Flutter Kicks
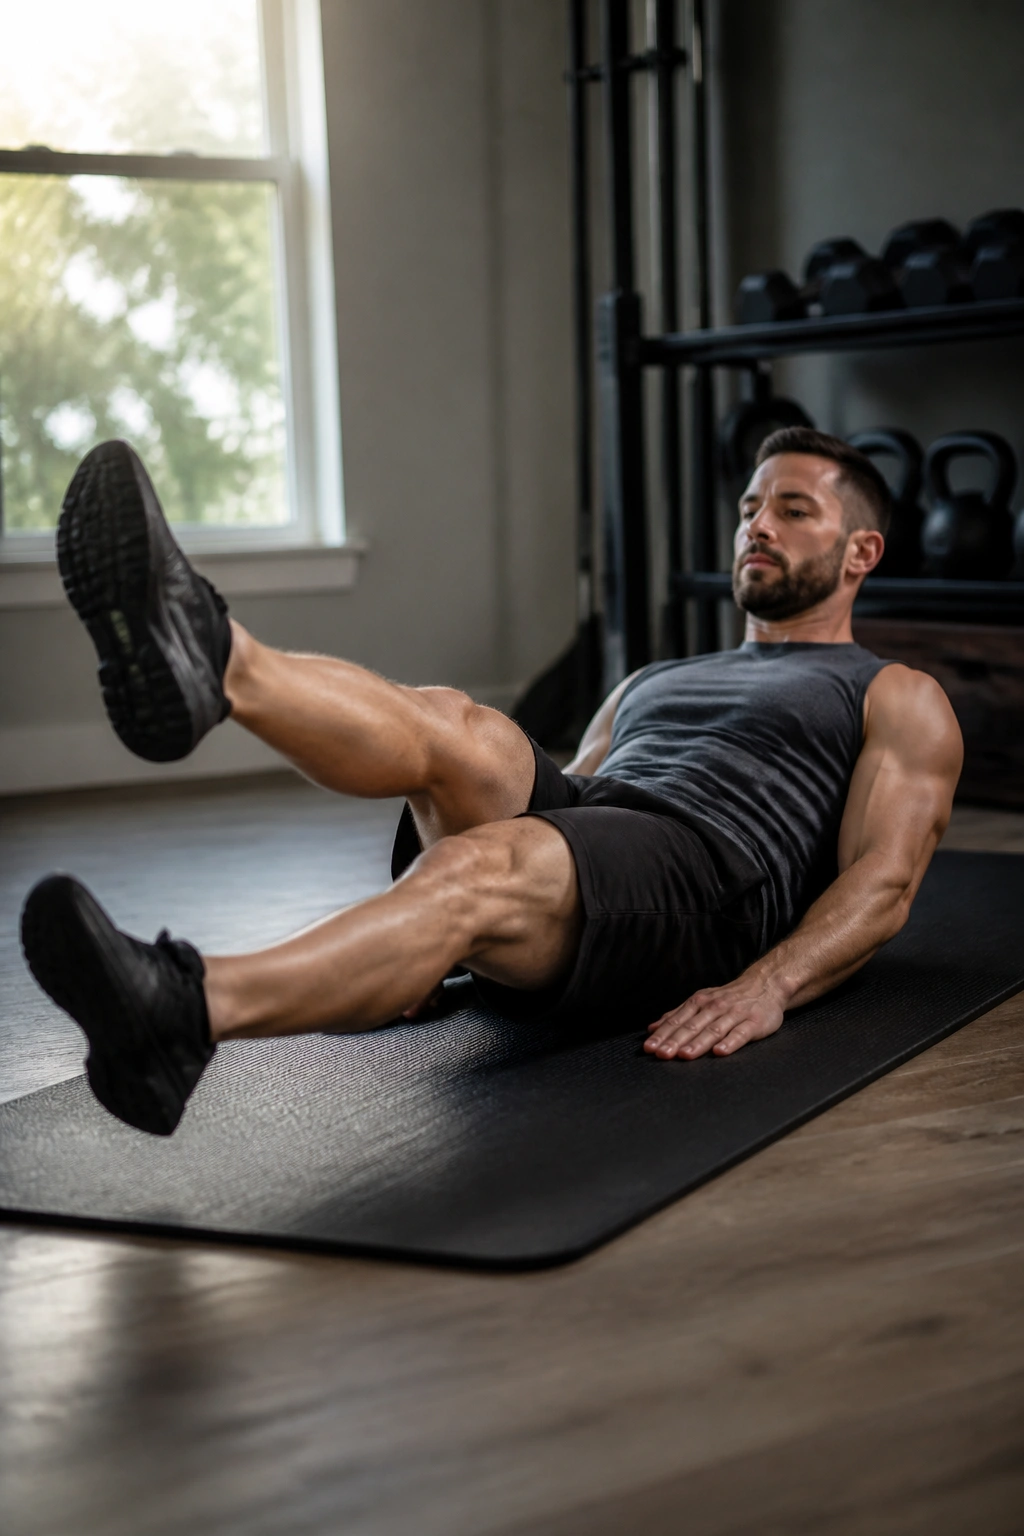
Hold one leg still and let the other leg flutter. That’s the idea, and it’s harder than it sounds because the still leg has to stay honest while the moving leg tries to drag your pelvis out of place.
This version exposes weak sides fast. If one hip is stronger or tighter, the body will tell on you immediately.
How to Keep It Clean
The fixed leg should hover low but stay quiet. The moving leg gets the rhythm. Switch sides after 10 to 15 seconds or after 8 to 12 controlled kicks, depending on how steady you feel.
This is a useful variation for side-to-side imbalances, especially if one hip flexor works overtime in the standard version. It also makes a good bridge from beginner work to harder hold-based drills.
No need to make it dramatic. The simpler it looks, the more honesty it demands.
18. Boat-Position Flutter Kicks
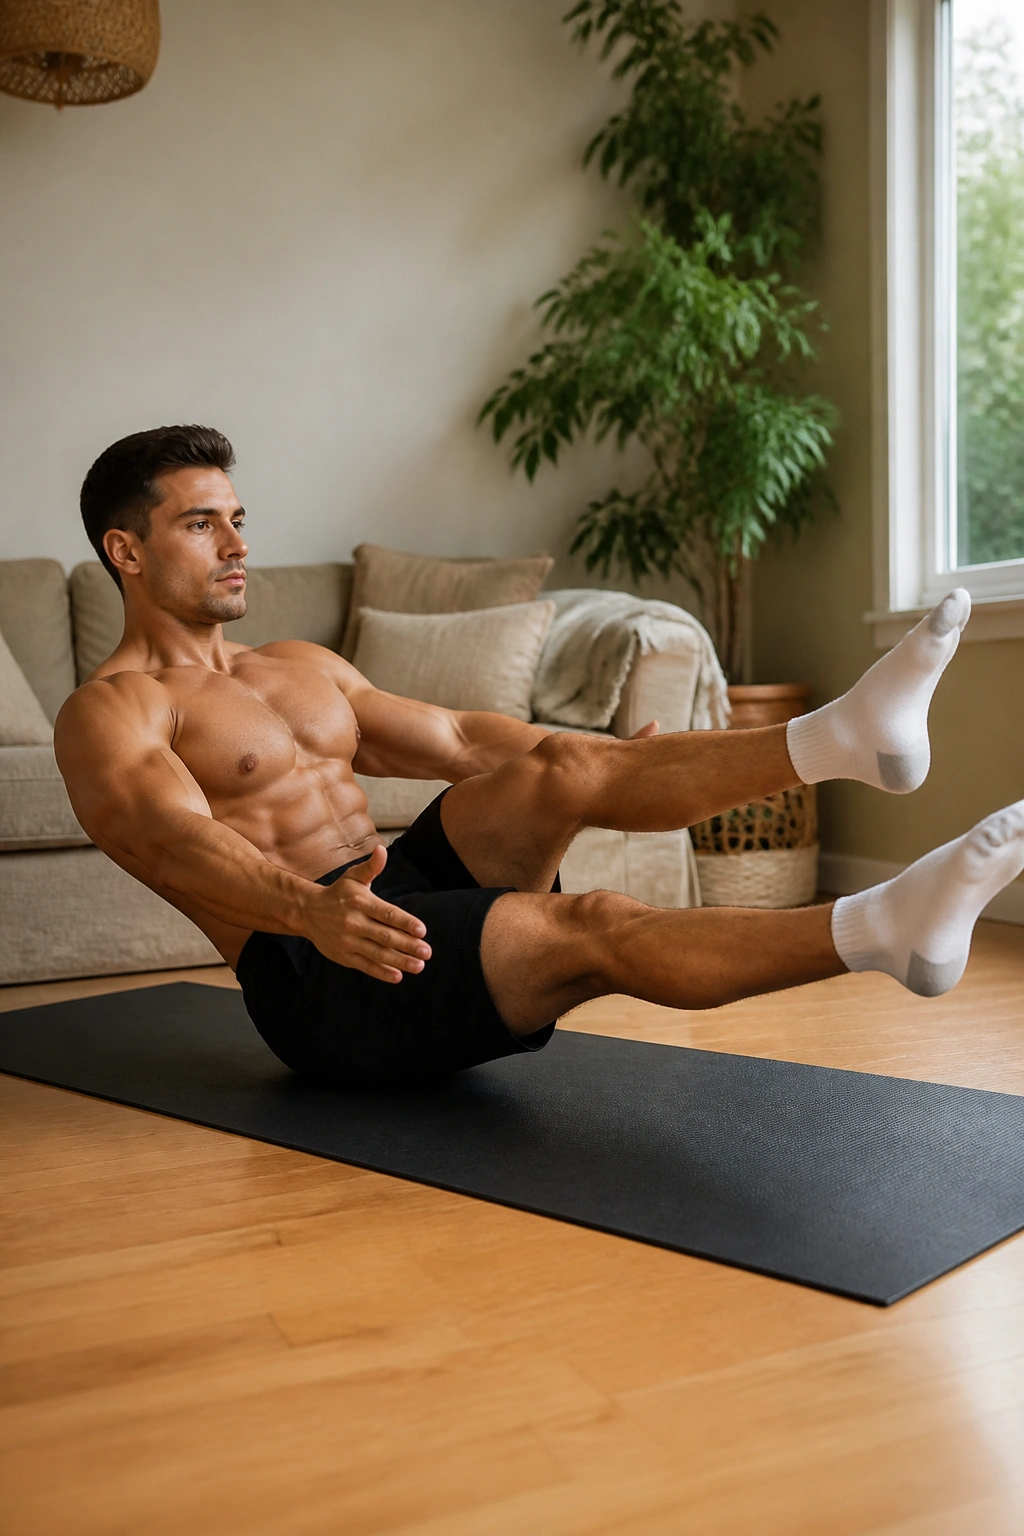
Boat position — or a V-sit if you prefer a more familiar label — turns flutter kicks into a full-body brace exercise. Balance on your sit bones, lean back a little, lift the chest, and kick from that curled shape.
The abs are working hard here. So are the hip flexors, which is why this version can get ugly if you rush it.
What to Feel
Your torso should feel compact and active, not collapsed. If the chest caves or the lower back rounds into a slump, reset. You want enough lean to challenge the core, not so much that you’re just hanging on.
This is one of the better advanced options for people who want a floorless drill that still feels crisp. It’s also a neat way to test endurance because you can’t cheat the torso position for long.
Use bent knees if the straight-leg version is too much. That tiny modification often keeps the whole set from falling apart.
19. Short-Range Flutter Kicks
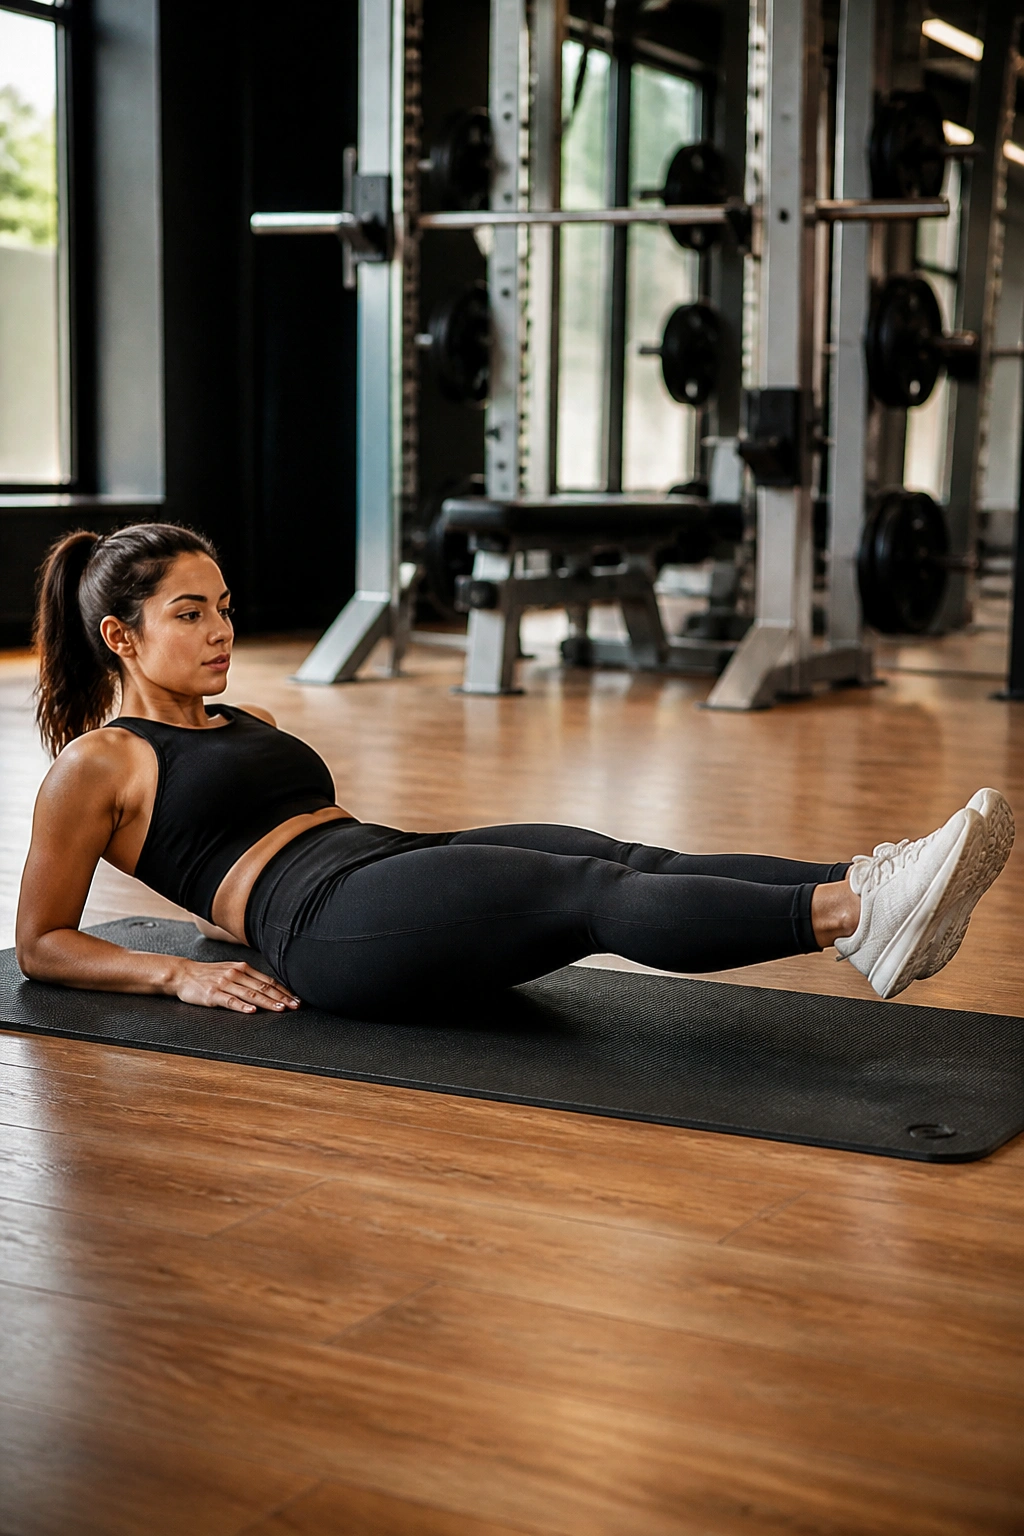
Tiny range, big honesty. That’s the whole point here. Keep the legs moving only 2 to 4 inches up and down, with the feet low and the pelvis glued down.
Short-range kicks are perfect when a bigger movement makes the low back arch or the legs swing out of control. They look almost too easy, which is exactly why people underestimate them.
When to Use Them
Use this version as a form reset after a harder set, or on days when your trunk feels cooked and you still want some work. The smaller range lets you keep tension without turning the drill into a hip-flexor tug-of-war.
You should feel steady heat, not panic. If the tiny motion still breaks your position, stop and rest. That means fatigue is already talking louder than technique.
This one deserves more respect than it gets. Clean little reps add up.
20. Captain’s Chair Flutter Kicks
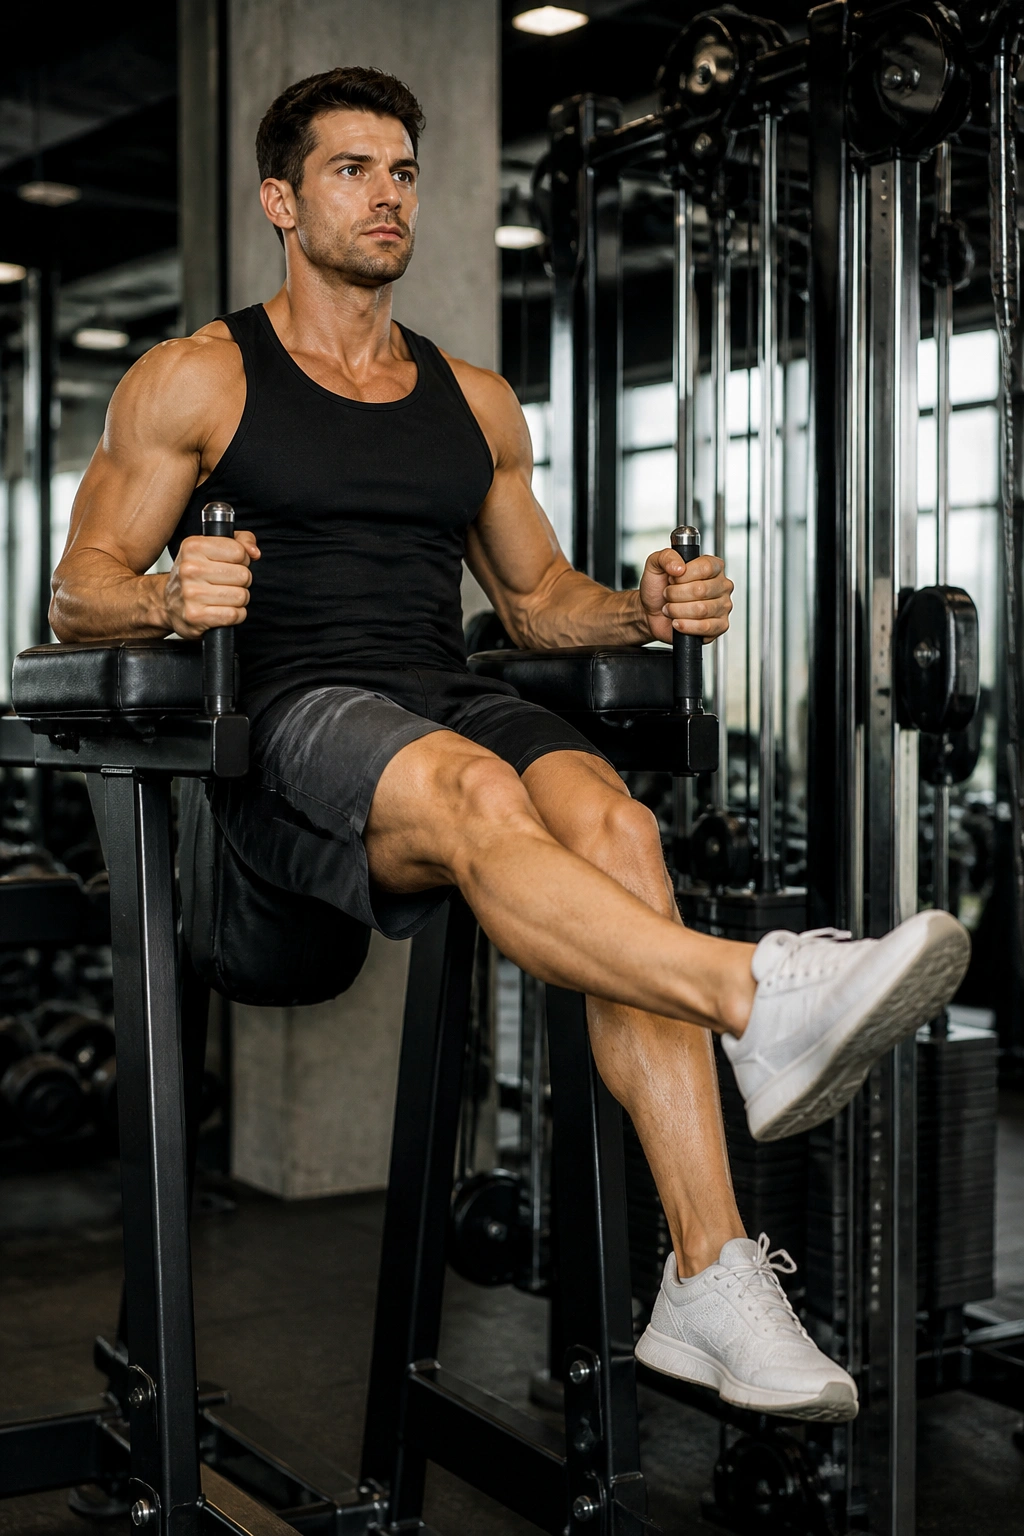
A captain’s chair changes the whole feel because your upper body gets support while the legs hang free. Grip the pads, brace your torso, and alternate the legs in a small flutter pattern while keeping the pelvis from swinging.
This is the most gym-looking version on the list, and it’s a good finisher when you want the abs and hip flexors to work without lying on the floor again.
Why People Like It
The support lets you focus on leg control instead of worrying about neck strain or a hard mat. That makes it a smart option for people who hate floor work but still want a serious core hit.
A few pointers make a big difference:
- Keep the shoulders packed down.
- Don’t swing from the torso.
- Use short, clean kicks.
- Stop when the body starts to rock.
It feels athletic, which is nice, but don’t let that fool you. Once fatigue sets in, the captain’s chair exposes sloppy control fast. That’s part of why it earns a place at the end of a workout or near the end of this list. Use it when you want a supported finish and a reminder that the core is never just about how fast the feet move.
