



Kettlebell circuit workouts work best when you treat them like strength practice, not a race. A clean rep with a bell you can control tells you more than five sloppy reps done in a panic.
That’s the trap with circuits. People chase sweat, then wonder why the swing turns into a squat, the press turns into a lean-back, and the whole session feels busy without getting much done. The better version keeps the heart rate up while the reps stay sharp. Crisp hinge. Strong brace. Breathing hard, but not falling apart.
A kettlebell is blunt in a useful way. It rewards a good hinge, punishes lazy posture, and makes you earn every overhead rep. If you’ve only used kettlebells for swings, you’re leaving a lot on the table. Presses, carries, cleans, squats, and get-ups all fit beautifully into short circuits, and each one teaches a different kind of strength.
The rule I like most is simple: if your form gets noisy, the bell is too heavy or the work is too dense. Quiet reps win. Loud, messy ones usually just feed the ego. Start with the cleanest circuit, then build toward the harder complexes once your body stops arguing with the movements.
1. The 10-Minute Swing-Squat-Press Ladder
Short and ugly is fine here. The point is to pile up clean reps before your grip starts bargaining with you.
This is one of the easiest kettlebell circuit workouts to understand and one of the easiest to mess up if you rush. Keep the bell moderate, not heroic. You should finish the first round feeling like you could have done more, which is exactly the mood you want.
How It Works
- 10 two-hand swings
- 8 goblet squats
- 6 single-arm presses on the right
- 6 single-arm presses on the left
- Rest 45 to 60 seconds
- Repeat for 3 to 4 rounds
The swing wakes up the hinge, the squat loads the legs, and the press forces the shoulders to stay honest after your heart rate climbs. If you’re new to circuit training with kettlebells, this is a tidy place to start because every move is easy to recognize the second your form slips.
I like this one for mornings when I want strength work without a lot of setup. It’s fast, it’s simple, and it doesn’t need fancy pacing tricks. Do not turn the swings into front raises. The bell should float from hip drive, not shoulder effort.
Best cue: if the press gets grindy by round two, cut the reps to 4 per side and keep the squat and swing crisp.
2. Clean and Press EMOM for Solid Shoulders

A clean-and-press EMOM beats a sloppy shoulder workout every time. You get force, timing, and a little fatigue, which is where the useful stuff starts showing up.
EMOM means “every minute on the minute,” and it works well when you want a strength stimulus without wandering around the gym. Pick a bell you can clean smoothly and press without side-bending. The minute-by-minute structure keeps the work honest. No drifting. No long breaks. No nonsense.
Start with 12 minutes. Minute 1, do 1 clean and 2 presses on the right. Minute 2, do the same on the left. Keep alternating sides until the timer ends. If that feels too light, go to 3 presses. If it feels too heavy, stay at 1 clean and 1 press and add more rounds another day.
The nice thing here is how quickly the shoulder line gets clearer. You’ll feel the upper back turn on, the ribs stay stacked, and the press path get cleaner because you can’t hide behind momentum. That matters. A lot.
Use a bell that lets you keep the bell quiet on the rack and the lockout solid overhead. If your elbow flares and your lower back starts arching, the bell is too ambitious for this format. Pressing hard is fine. Folding in the middle is not.
3. Single-Arm Swing, Row, and Suitcase Carry
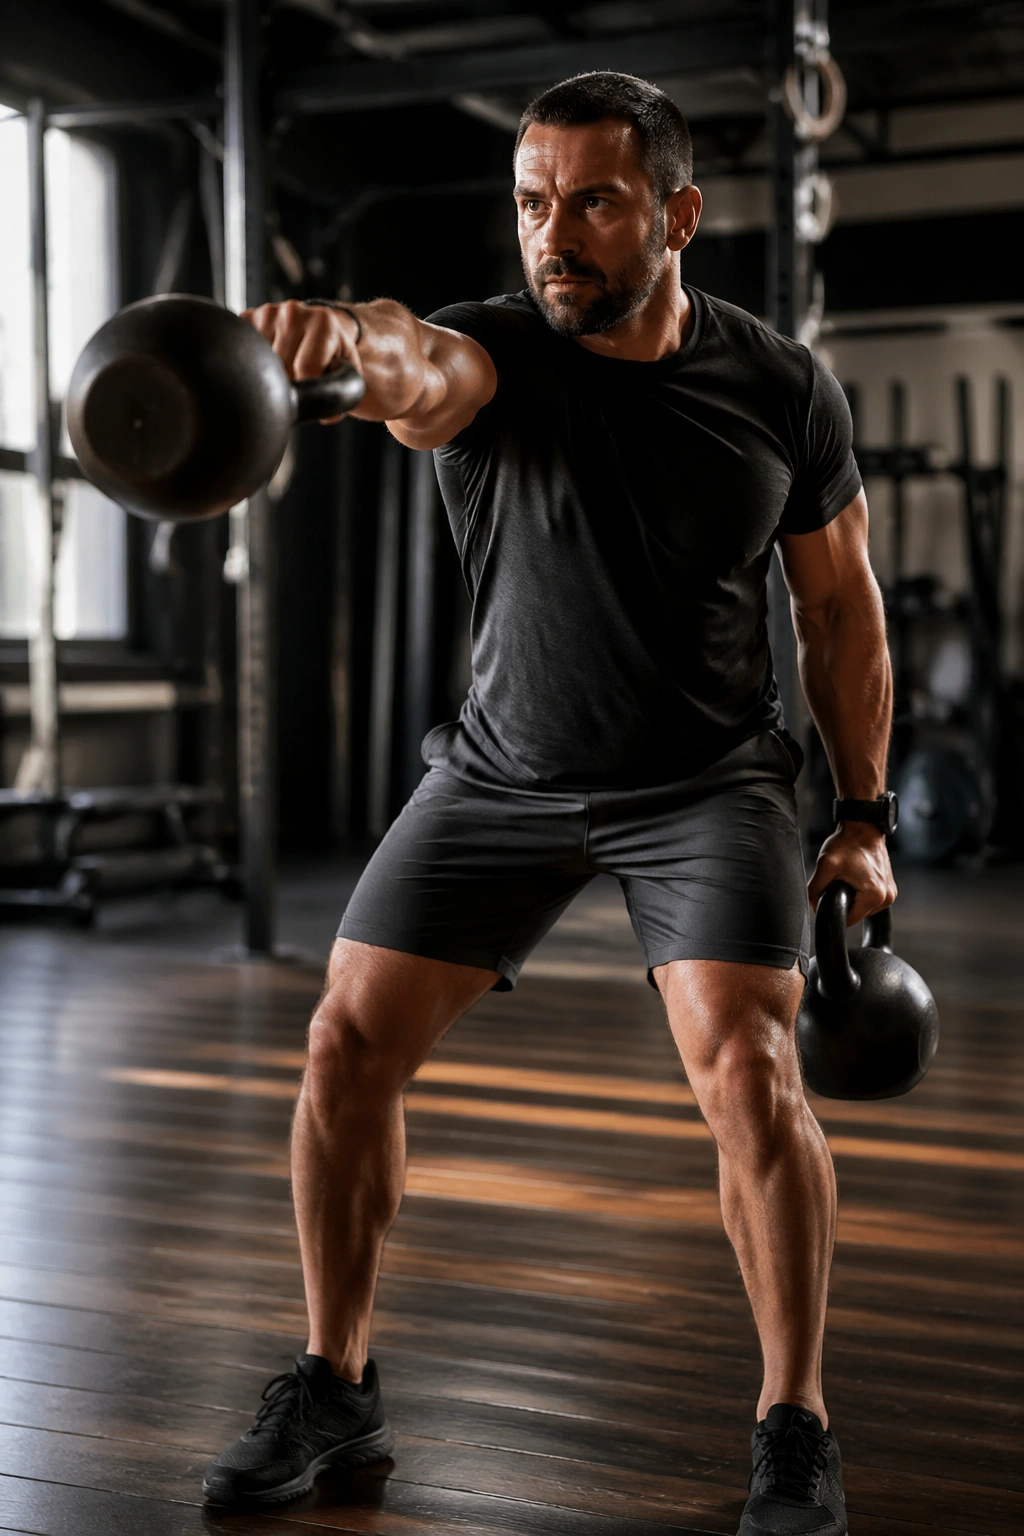
Why does one bell make the core work so much harder? Because every rep asks your body to resist twisting, and that changes the whole feel of the session.
This circuit is one of my favorites for people who want strength without a lot of wasted motion. You hinge, you pull, you walk. Three plain things. But the one-sided load forces your midsection to stay tight in a way two-handed work can’t always match. Your grip gets taxed too, and that’s a nice bonus.
How to Run It
- 8 one-arm swings on the right
- 8 one-arm swings on the left
- 6 bent-over rows on the right
- 6 bent-over rows on the left
- 20 to 30 meters suitcase carry on the right
- 20 to 30 meters suitcase carry on the left
- Rest 30 to 45 seconds
- Repeat for 3 to 5 rounds
The rows should stay strict. No rocking. No shrugging. The suitcase carry is the part that teaches the lesson, because your torso has to stay tall while one side of your body wants to collapse. That’s real trunk work, not the fake kind you get from flinging around a bunch of sit-ups.
If you only have a small space, march in place for 20 to 30 seconds per side instead of walking. Same idea. Different footprint. Keep the ribs down and the shoulders level. If you lean, you’re cheating the exercise, and the bell knows it.
4. Front Rack Squat and Reverse Lunge Cycle
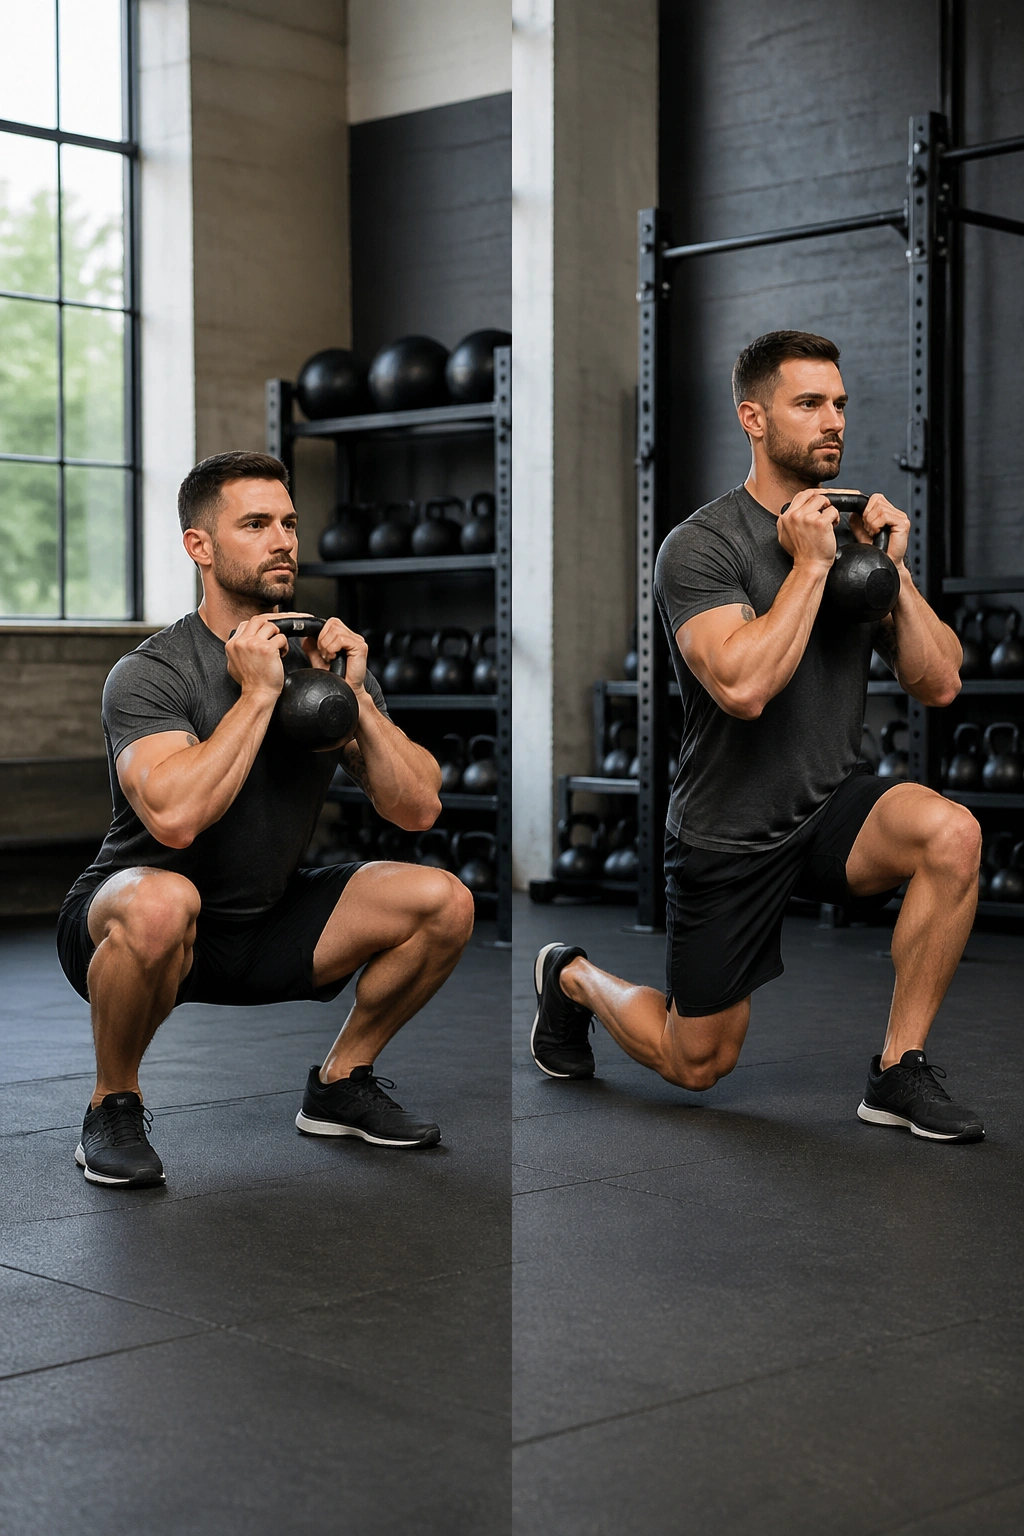
Picture a lifter who can goblet squat a decent bell, then folds on the first reverse lunge. That gap shows up fast, and this circuit closes it.
Front rack positions are awkward at first. Good. They should be. The rack asks your upper back to stay tight while your legs do the work, and the reverse lunge makes you own each step instead of bouncing through it. Put the two together and you get a very clean dose of leg strength with a little posture work baked in.
- 5 front rack squats on the right
- 5 reverse lunges on the right
- Rest 30 seconds
- 5 front rack squats on the left
- 5 reverse lunges on the left
- Rest 60 to 90 seconds
- Complete 3 to 4 full rounds
Use the bell in a true front rack, not drifting out in front of your chest. The elbow should stay tucked enough that the bell rests on the forearm and shoulder line. The first few reps will feel a little clumsy. That’s normal. By round two, the movement usually settles in and the legs start doing what they’re supposed to do.
I like this circuit for people who want stronger quads and glutes without turning the workout into a barbell day. It’s also kinder on the lower back than people expect, as long as you keep the torso tall. If the rack position hurts your wrist, move the bell deeper into the palm and relax the death grip.
5. Turkish Get-Up and Carry Chain
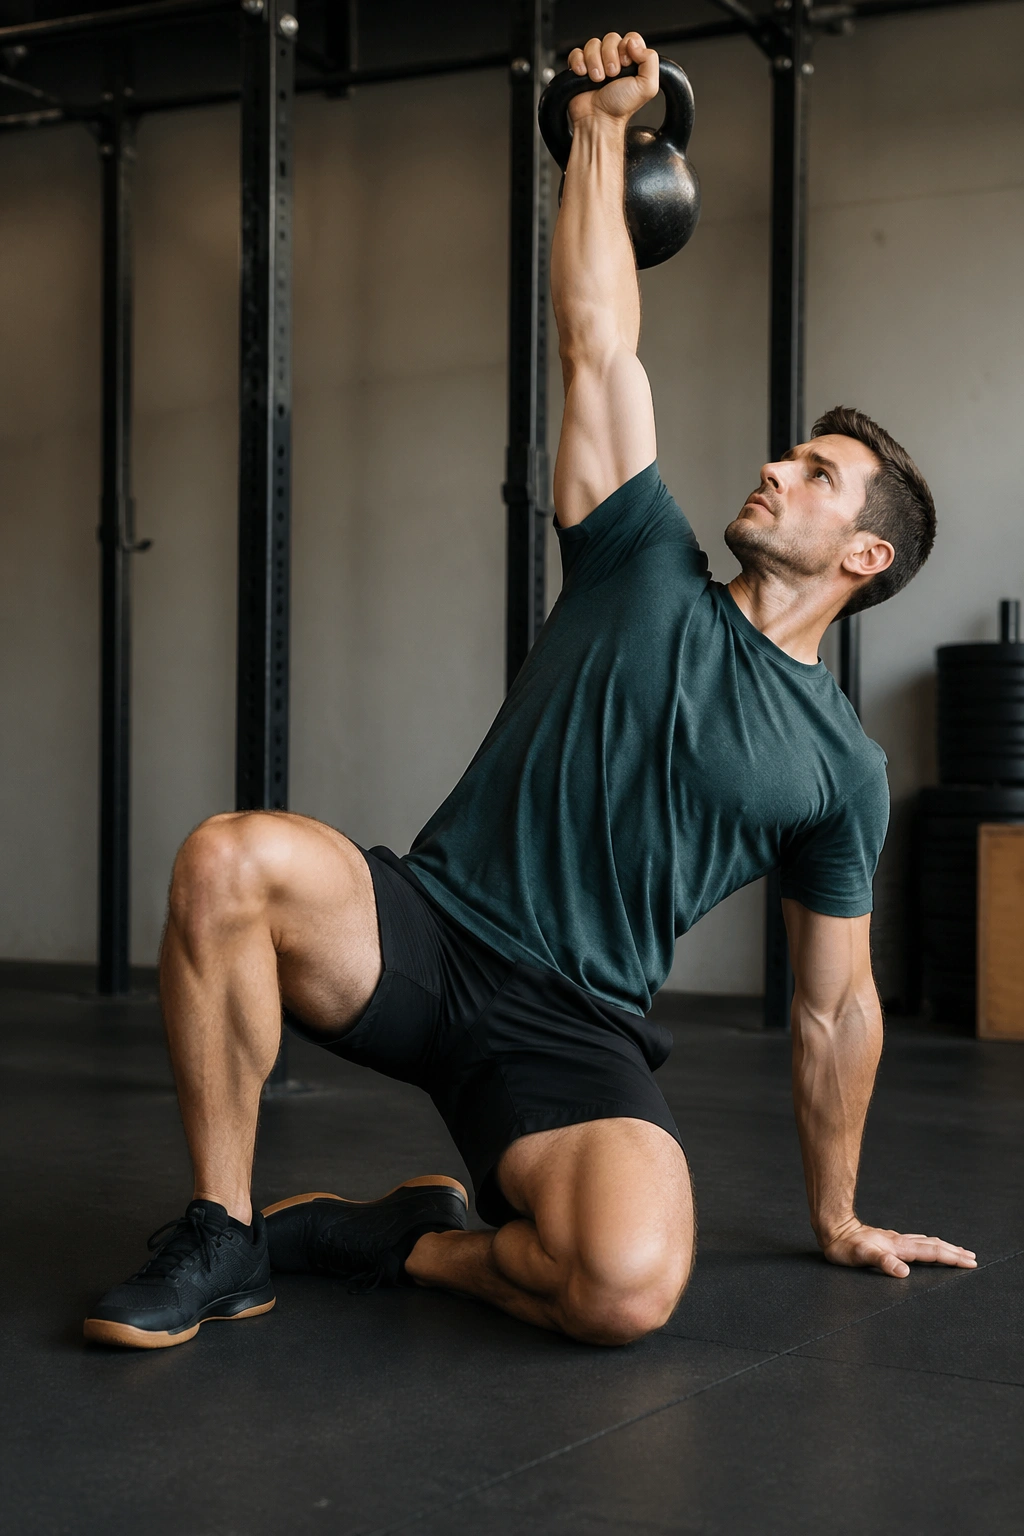
The get-up feels slow on purpose. That’s the point.
Nothing in this circuit is flashy, and I mean that as a compliment. The Turkish get-up teaches you how to move under load while your shoulder stays stacked, your trunk stays braced, and your eyes stay on the bell. Then the carry reminds you that strength only counts if you can hold it while walking around like a normal human being.
Run 1 get-up on the right, then 1 on the left. After that, take a 20-meter rack carry on each side. Finish with 5 goblet squats and rest 60 to 90 seconds. Three rounds is enough for most people. Four if you’re fresh and your technique is calm.
This circuit asks for patience. If you rush the get-up, the whole thing falls apart. I’d rather see a lighter bell and a smooth path from floor to standing than a heavy bell and a wobbly lunge. The same goes for the carry. Walk tall. Don’t lean. Keep your breath under control.
It’s one of the best pieces of kettlebell work for shoulder stability, hip mobility, and trunk strength all at once. And yes, it can feel a little boring compared with swing-heavy sessions. Boring is fine when the results show up in cleaner movement and less junk in your training.
6. Push Press and Bent-Over Row Pairing

Unlike a pure pressing workout, this pairing asks your back to earn its keep.
A lot of people treat shoulders like a small isolated island. That’s a mistake. Pressing gets better when the upper back knows how to brace, and rows help with that in a way you can feel almost immediately. The push press lets you move a heavier bell than a strict press, while the row balances the whole thing out.
Do 5 push presses per side, then 8 bent-over rows per side. Rest 45 seconds and repeat for 4 to 5 rounds. Keep the rack position tight on the press and the torso stable on the row. If your knees dive forward on the press or your chest opens and closes on the row, you’re using momentum instead of force.
Who It Fits
This one works well for people who want more upper-body strength without living under the bar. It also suits lifters who get tired of endless shoulder isolation. There’s more meat here.
How I’d Load It
Use a bell you can press for 5 solid reps if needed, even though the push press gives you a little help from the legs. That leaves room for honest work without turning the set into a grind. If your low back arches on the press, lower the bell before you chase extra reps.
7. Snatch, Squat, and Sprawl Power Circuit
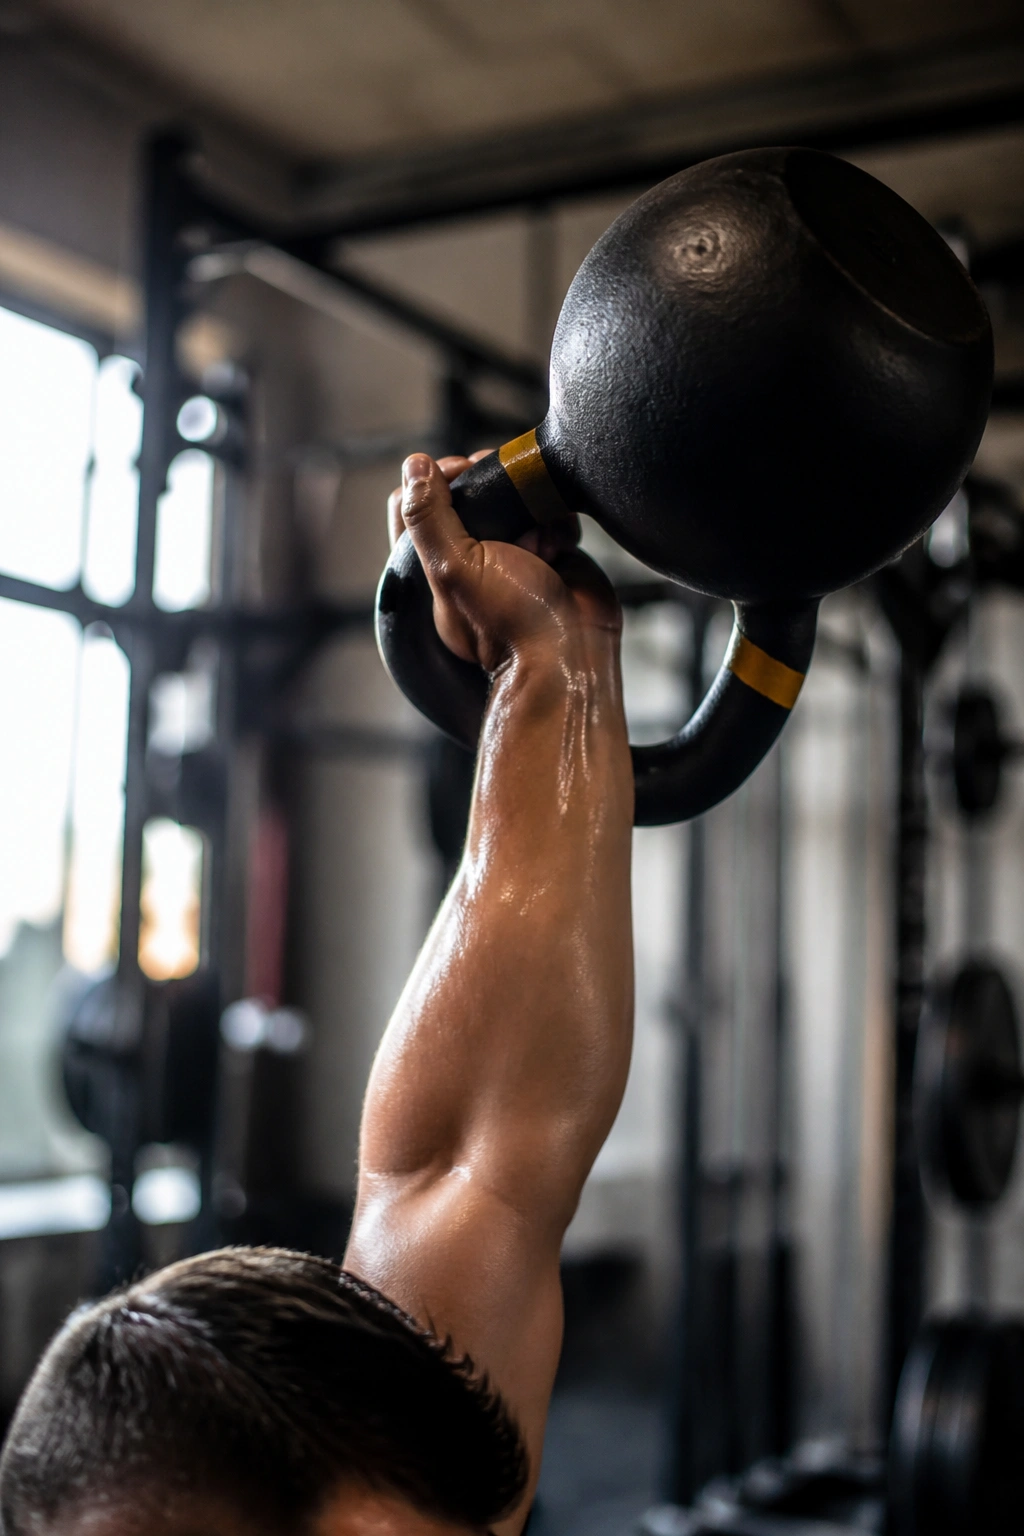
Snatches are loud. They should not be wild.
This circuit is for people who already know how the bell should roll around the forearm instead of slamming it. Done well, it gives you speed, power, and a hard breathing spike in a small amount of time. Done badly, it turns into a shoulder complaint and a bruised hand. So be picky.
- 6 snatches on the right
- 6 snatches on the left
- 8 goblet squats
- 4 sprawls or burpees
- Rest 60 seconds
- Repeat for 4 to 6 rounds
The squat keeps the lower body honest after the explosive pull of the snatch. The sprawl adds a sharp heart-rate bump and keeps the session from feeling too neat. I like this combination when a workout needs to feel athletic instead of merely heavy.
If the snatch is not in your toolbox yet, swap it for a one-arm high pull or a two-hand swing. No shame in that. The point is power with clean shape, not forcing a movement your shoulders don’t trust yet. The bell should glide, not slap. If it slaps, slow down.
8. Deadlift, Clean, and Floor Press Complex
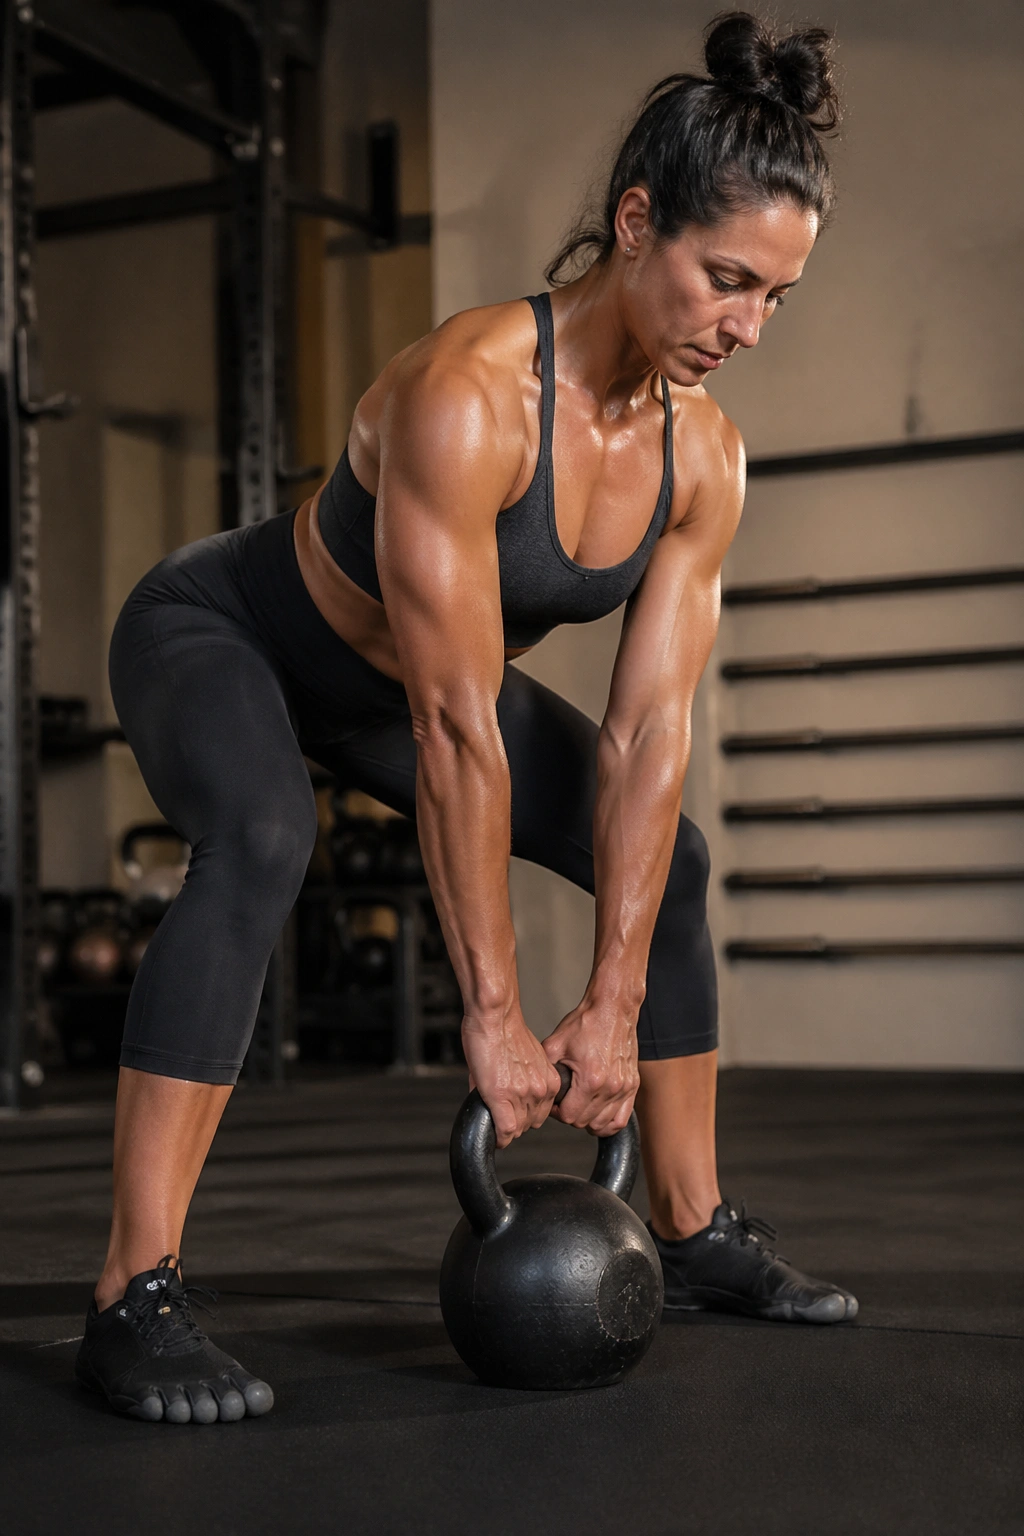
Why keep deadlifts in a circuit if they’re not flashy? Because the hinge is still the hinge, and strong hinges make everything else easier.
This is one of those kettlebell circuits that feels a little old-school in the best way. You’re loading the posterior chain, teaching the clean to stay compact, and then finishing with a floor press that lets the upper body push hard without cheating through the spine. It’s tidy. It works.
How to Use It
- 5 double-hand deadlifts
- 4 cleans on the right
- 4 cleans on the left
- 5 floor presses on the right
- 5 floor presses on the left
- Rest 60 to 75 seconds
- Complete 4 rounds
The deadlift should feel like a crisp hip hinge, not a squat with a handle. The clean should land softly in the rack. The floor press is useful because the floor stops the shoulder from wandering into weird angles and keeps the range of motion honest. If you have a bench and prefer to press there, you can, but the floor keeps the setup simpler.
I like this one when I want a strength session that feels grounded. Not frantic. Not flashy. Just hard enough to matter. If your grip gives out before your back or chest does, you may need to trim the reps or use a slightly lighter bell. That’s not failure. That’s useful information.
9. Halo, Goblet Squat, and Windmill Stability Flow

When the bell circles around your head, the shoulder should feel warm, not jammed.
This circuit looks gentle on paper. It isn’t, not really. Halos wake up the shoulders and upper back, goblet squats load the legs, and windmills force your trunk to stay stacked while the torso moves under control. It’s a nice mix when you want strength with a steadier pace and a little joint care baked in.
- 5 halos each direction
- 8 goblet squats
- 4 windmills on the right
- 4 windmills on the left
- Rest 45 seconds
- Repeat for 3 to 4 rounds
Keep the halo close to the head. No wide circles. The squat should stay upright and controlled. Windmills are the trickiest part, so use a lighter bell than you think and move slowly enough to feel your rib cage stay put. If you can’t keep your eyes on the bell and your hips stacked, shorten the range.
This is a smart choice on days when your body wants work but not punishment. I reach for it when the shoulders feel a little sticky or the hips need some wake-up time. Slow strength still counts. Sometimes more than the fast stuff.
10. Double Kettlebell Strength Circuit

Two bells change the story.
A single kettlebell asks for balance and control. A pair asks for all that plus more load, more bracing, and a lot less room to cheat. The rack position gets heavier immediately, the squats feel denser, and the presses demand a cleaner line because both sides have to work at once. It’s a different animal.
Run 5 double front rack squats, 5 double cleans, 5 double push presses, and a 20-meter double rack carry. Rest 90 seconds. Do 3 to 5 rounds. That’s enough. If the bells are truly challenging, you will not need much more.
The nicest thing about doubles is how honest they are. If one side is weak, you feel it. If your upper back is sloppy, you feel that too. There’s nowhere to hide, and I like that. It makes the workout feel direct instead of busy. You walk away knowing whether the load was right.
Double kettlebell work is best for people who already know how to hold a rack without shrugging into their ears. If that’s not you yet, spend time with a single bell first. Build the position. Then add weight. The front rack should feel heavy, not crushed. Big difference.
11. Core-Heavy Suitcase March Circuit

Sit-ups flex the spine. Suitcase carries ask the spine to stay put. I know which one I’d rather build around.
This is a sneaky little circuit because it looks easy until the third round, when your obliques start speaking up. The goal is anti-rotation strength, which means your trunk resists twisting while one side of your body carries the load. That’s a very useful skill in real life and in training.
What to Do
- 30 seconds suitcase march on the right
- 30 seconds suitcase march on the left
- 20 seconds front rack hold on the right
- 20 seconds front rack hold on the left
- Rest 30 seconds
- Repeat for 4 to 6 rounds
Use a bell heavy enough to make you stand tall but light enough that you don’t lean away from it. March in place if space is tight. Walk if you’ve got room. Keep the steps small and the torso steady. The trick is not speed. It’s not wobbling.
What to Watch For
If your hip hikes up on one side, the bell is too much or the set is too long. If your shoulder creeps toward your ear, reset the rack position and breathe out before you start again. That tiny exhale matters more than people think.
I like this circuit as a finisher after lower-body work, or on days when the core needs to do more than brace for a plank and call it a day. It’s blunt. It works.
12. Power Endurance Ladder
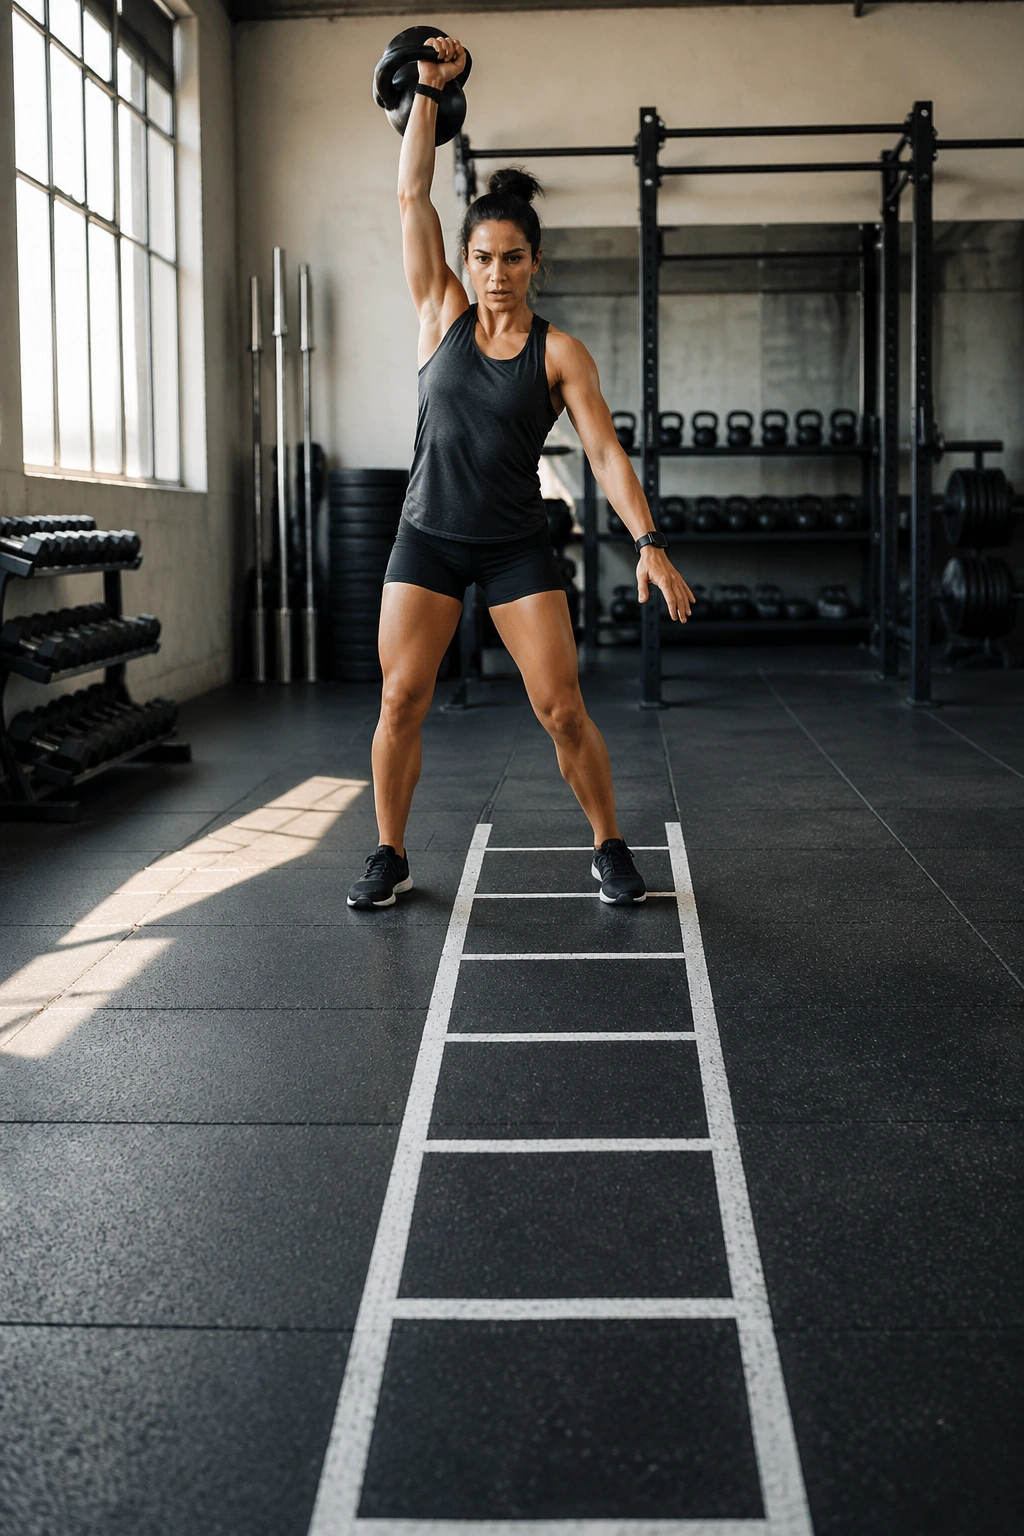
A ladder feels easy at rung one. That’s the point. It lures you into doing more honest work than you planned.
This circuit climbs in small jumps, which keeps the reps sharp without the monotony of a fixed-count set. It’s a good format when you want strength under a little fatigue, but not the kind of burnout that makes your technique slide all over the place. The early rounds should feel almost too manageable.
Start with 2 clean and presses per side, 4 goblet squats, and 6 swings. Rest 30 seconds. Then move to 3, 5, and 7. Rest 30 seconds again. Keep climbing by one rep each rung until your form starts to wobble. Most people stop around the 5 or 6 rung, which is plenty.
What matters here is pacing. Don’t blast the first rung because it feels small. That’s how you end up dragging through the later rounds. Instead, use the early sets as a way to settle in, find your breathing rhythm, and keep the bell path clean. The workout gets harder without needing bigger bells.
What to Watch For
If the clean starts looping away from your body or the squat turns into a bounce, end the ladder there. You are chasing quality, not a badge for surviving chaos. Small jumps, clean reps, strong finish. That’s the whole game.
13. Upper-Body Density Builder

If your shoulders burn before your lungs do, this one is for you.
Some circuits are mostly about legs or cardio. This one leans into presses, rows, and carries so the upper body has to keep working while fatigue builds in a slow, steady way. It’s a nice change from endless chest work, and frankly, it feels more useful than a lot of machine-based shoulder days.
Use one bell and run 5 strict presses on the right, 8 rows on the right, 5 strict presses on the left, 8 rows on the left, then a 20-meter carry on each side. Rest 45 to 60 seconds and repeat for 4 rounds. If strict pressing is too much with your chosen bell, swap in a push press for the first two rounds and earn your way back to strict work later.
The row matters here because it keeps the shoulder from getting overcooked. The carry matters because it makes you hold the whole stack together after you’ve already pressed and pulled. That little bit of extra demand is where the density comes from.
A few people will want to turn this into a race. Don’t. The bell doesn’t care how fast you moved if the last two reps were ugly. Keep the wrist straight, keep the ribs down, and make every press look the same. That sameness is a good thing.
14. Lower-Body Strength Grinder
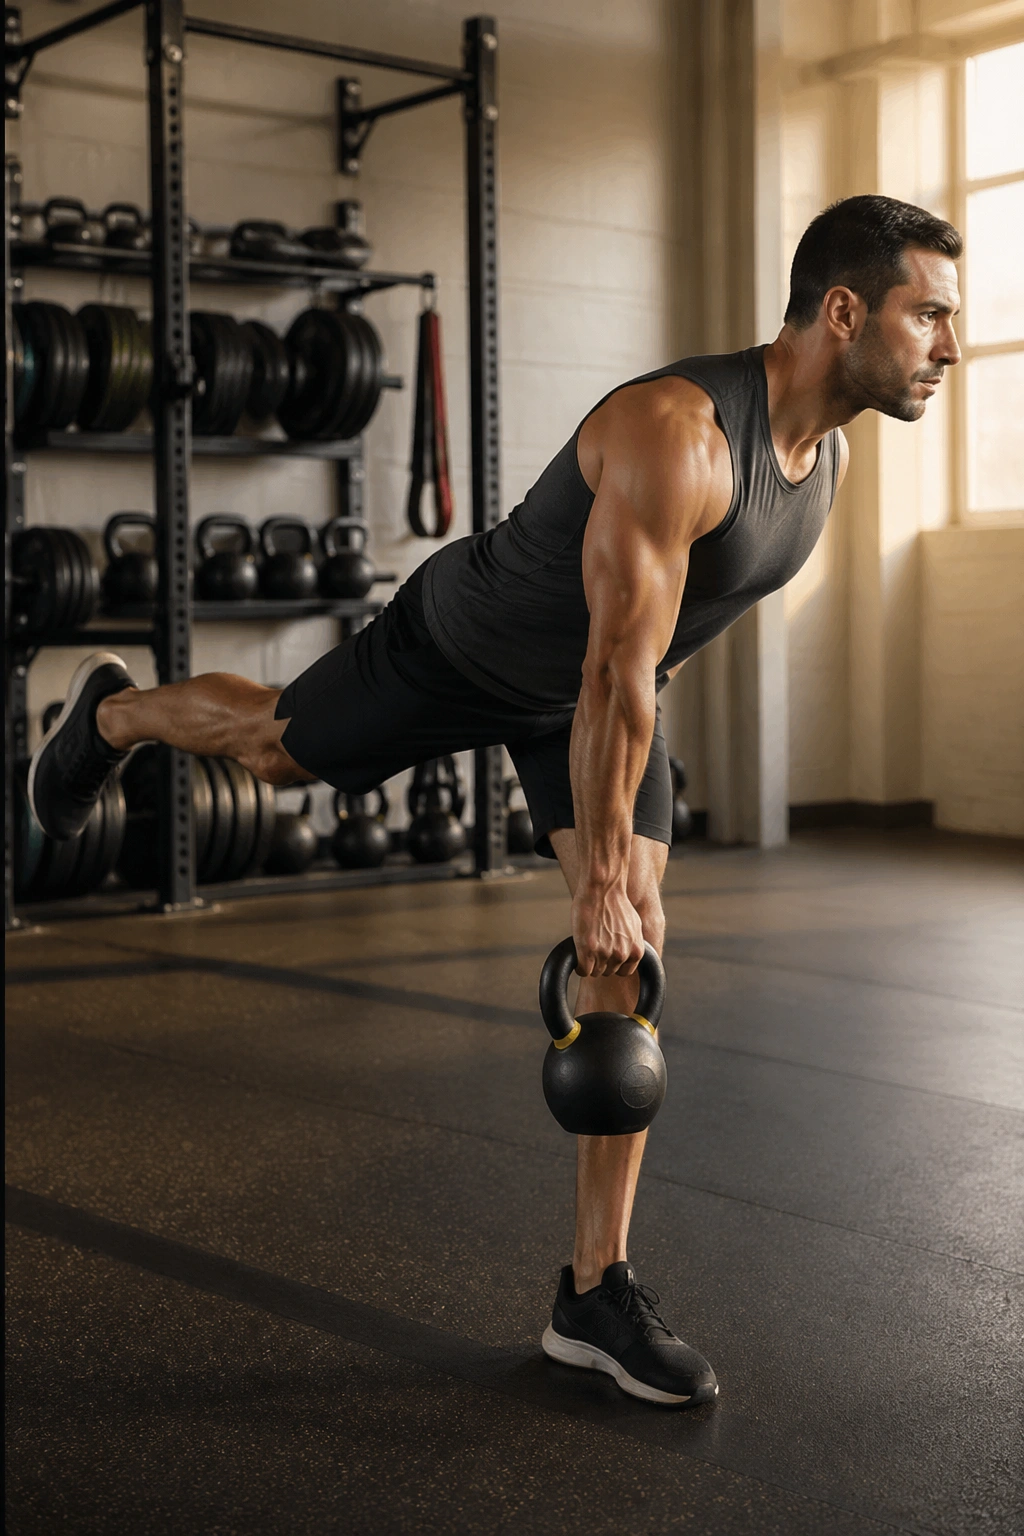
The best lower-body circuits leave your hips tired and your ego bored.
This one is all about single-leg control, hinge strength, and keeping the legs working after the first round has already asked for mercy. You’ll feel the hamstrings, glutes, and quads in different ways, which is exactly why I like this format more than a pile of random leg moves. It has shape.
- 6 split squats on the right
- 6 split squats on the left
- 8 single-leg Romanian deadlifts on the right
- 8 single-leg Romanian deadlifts on the left
- 10 two-hand swings
- Rest 60 seconds
- Repeat for 3 to 5 rounds
Keep the split squat torso tall and the back knee moving straight down. On the single-leg RDL, reach the free leg long behind you and keep the hips square. If balance is shaky, put one hand on a wall or rack until the hinge pattern settles in. That support is not cheating. It’s smart.
The swings at the end are there to remind your hips how to snap after all that slow work. They also help keep the session from feeling like a rehab drill. Which is fair. Nobody wants that for long. If your knee caves inward on the split squat, shorten the range and slow the descent.
15. Full-Body Benchmark Circuit

If a workout can be repeated with the same bell, same pace, and cleaner reps on round three, it is doing real work.
This is the circuit I’d use as a benchmark when someone wants to know whether their kettlebell strength is actually improving. It mixes hinge, squat, push, and carry work in a way that exposes weak links fast. You can score it by rounds completed, or by how steady the reps look after the halfway point. Either way, the test is honest.
Run this for 15 minutes:
- 8 two-hand swings
- 5 goblet squats
- 3 clean and presses on the right
- 3 clean and presses on the left
- 20-meter suitcase carry on the right
- 20-meter suitcase carry on the left
Rest only as needed, but keep the breaks short. The goal is not to sprint the first five minutes and crawl home. The goal is to keep the shape of the reps intact while the session gets harder. That shift tells you more than a stopwatch ever could.
Use this one every so often, not every day. It will show you very quickly whether your bell is too light, too heavy, or just right for circuit strength work. And if you want a simple way to organize the rest of your training, pick one lower-body circuit, one upper-body circuit, and one carry-heavy circuit from this list, then rotate them through the week. That’s enough to build real strength without making your schedule messy.
