



Building visible muscle at home is mostly about making simple movements hard enough to force growth. That sounds almost too plain, but plain is usually where the truth hides. You do not need a rack full of machines. You do need exercises that get close to failure, enough total sets, and a plan that keeps inching forward instead of drifting into random sweating.
A lot of home workouts miss that point. They feel busy, they leave you breathing hard, and they still do very little for your chest, back, shoulders, arms, or legs. The missing ingredient is usually tension. A push-up done fresh with perfect form and a hard last five reps can build more than twenty sloppy reps done with a grin and no strain at all.
And yes, food matters too. If you train hard and eat like a bird, the mirror stays stubborn. Muscle shows when it’s built and when it isn’t buried under poor habits, so the smartest home plan is one that keeps the training honest and the recovery boring in a good way. Simple tools can do a lot here: a backpack, a chair, a towel, a pair of dumbbells, a resistance band, or just the floor.
1. Push-Up Mechanical Drop Set
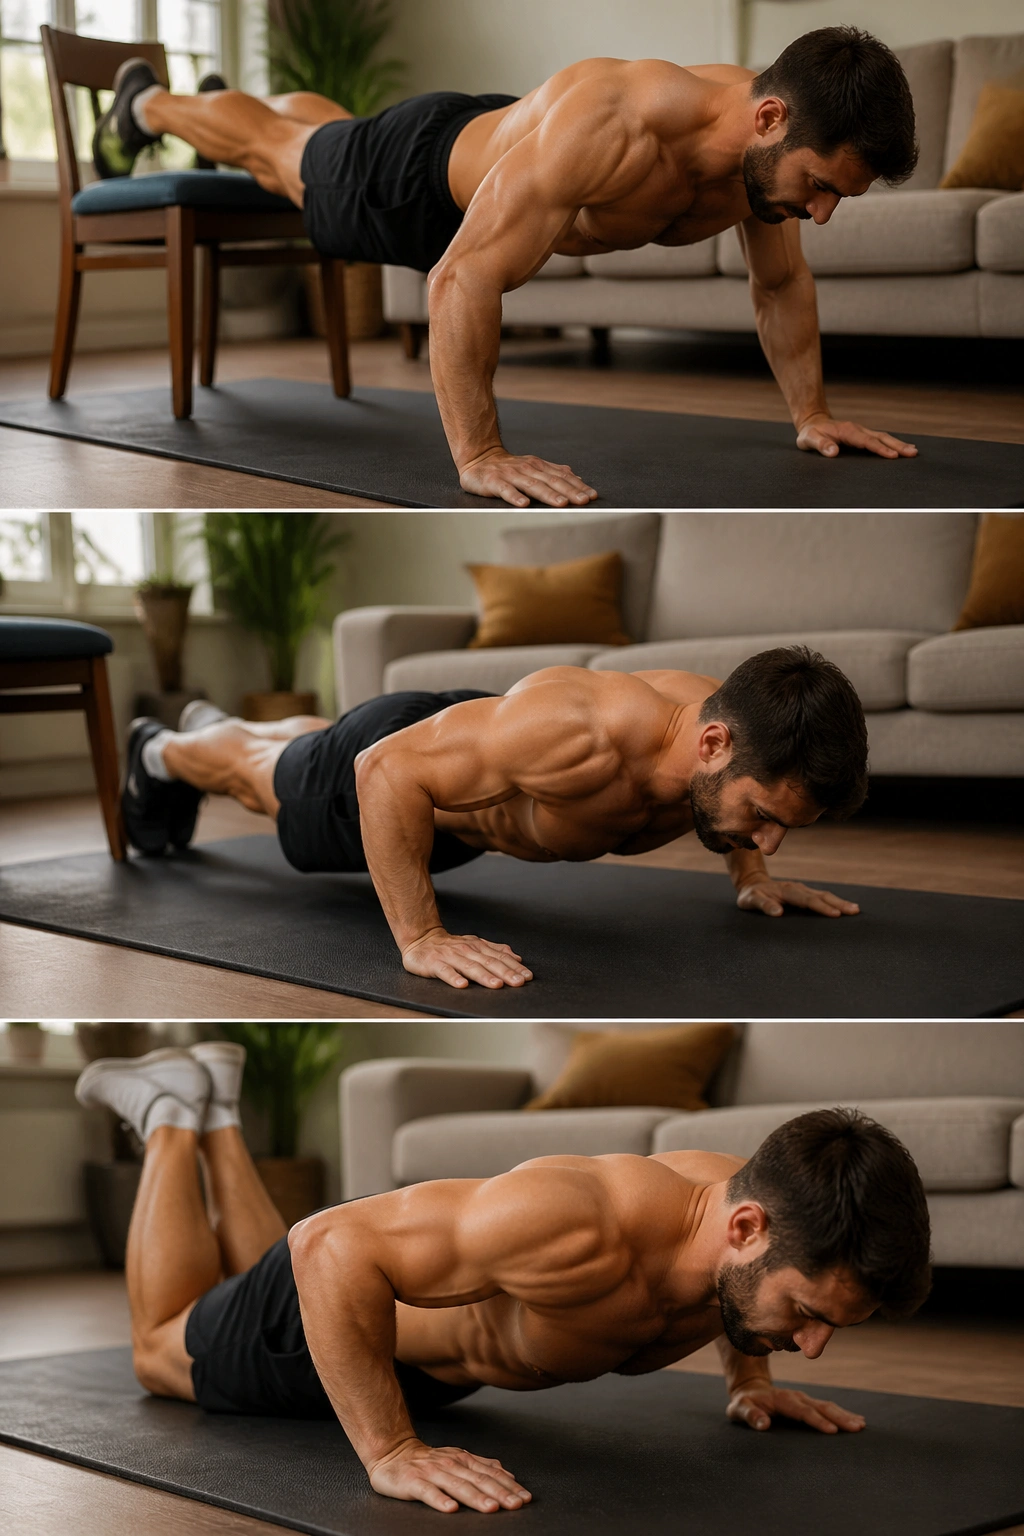
Push-ups are still one of the best chest builders you can do without leaving the house, but the trick is making them hard enough to matter. A lazy set of ten won’t do much. A set that starts with feet elevated, moves to standard push-ups, then finishes with a smaller lever or a partial range absolutely will.
How to Make It Count
Do 3 to 5 rounds. Start with feet-elevated push-ups for 6 to 12 reps, move straight into standard push-ups for as many clean reps as you can, then finish with knee push-ups or short-range reps for 8 to 15. Rest 90 seconds between rounds. The last rep of each phase should look a little ugly, but not broken.
- Keep your hands slightly outside shoulder width.
- Lower under control for 2 to 3 seconds.
- Stop when your chest is about an inch from the floor.
- Lock your ribs down so your lower back does not sag.
Tip: if you can breeze through the first stage, add a backpack with books. That tiny change turns the whole thing from warm-up into work.
2. Bulgarian Split Squats
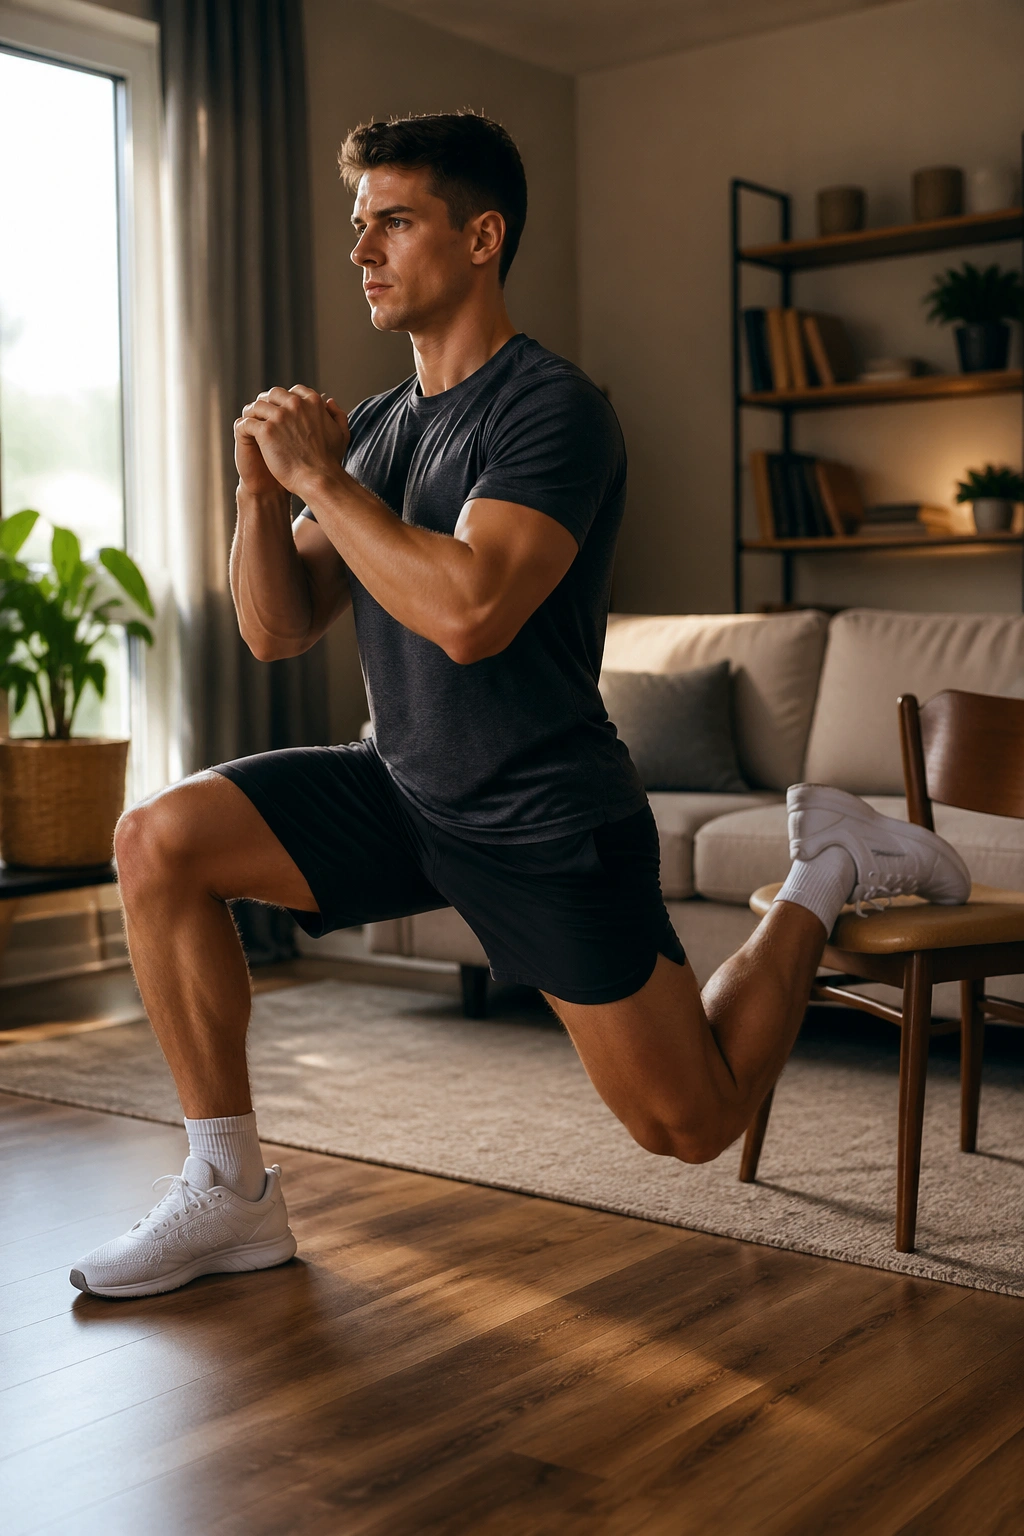
If you want legs that actually show through jeans, Bulgarian split squats earn their place fast. They load one leg at a time, which means you can make a pair of dumbbells or even a loaded backpack feel heavier than you expect. The front leg does most of the work, and the back leg mostly keeps you balanced.
Set your back foot on a chair or couch edge, step the front foot far enough forward that your heel stays down, and drop for 3 to 4 sets of 8 to 12 reps per leg. Use a 3-second lowering phase and pause for 1 second at the bottom. If you rush them, they get easier. If you stay honest, they bite.
The best cue is simple: your front thigh should do the talking. You should feel quads, glutes, and a little deep hip work, not knee pain or wobble. If you’re tipping forward, move the front foot farther out. If you barely feel the leg, add load and slow down.
One hard set can leave your quad looking pumped for hours. Good sign.
3. One-Arm Backpack Row Ladder
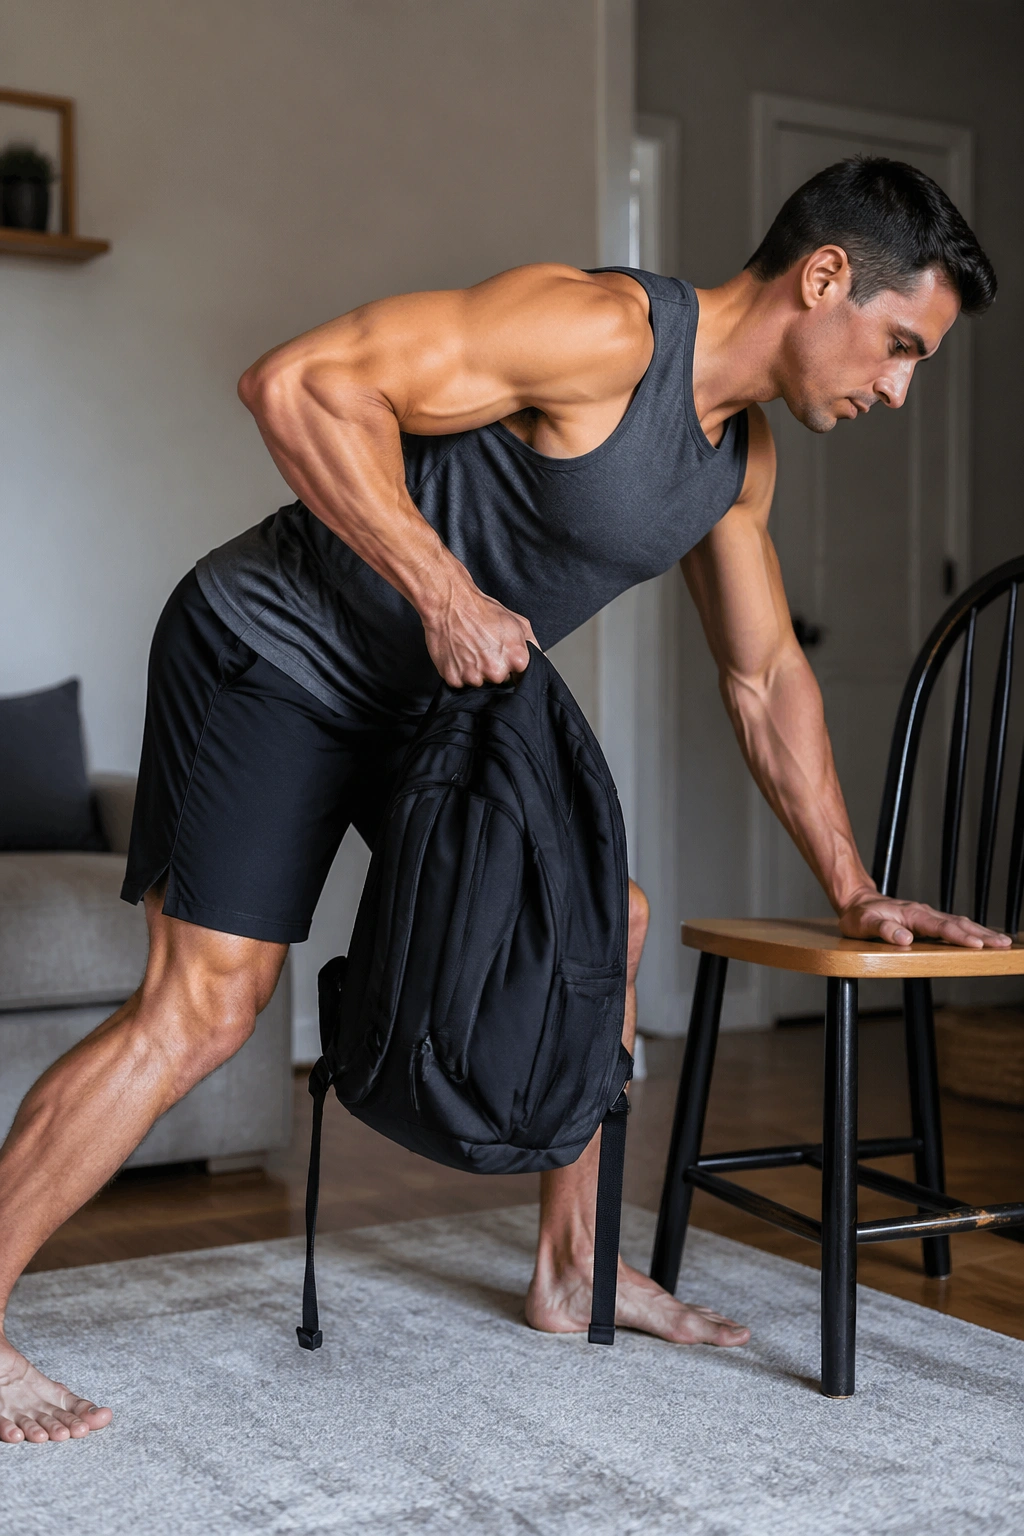
Need a pull workout at home? A loaded backpack is enough more often than people think. It’s not fancy, and that’s the point. You anchor one hand on a chair, let the other arm row the bag toward your hip, and suddenly your lats, upper back, and rear delts have something real to do.
Why It Works
Do 4 to 6 rounds of 12, 10, 8, 8, 10, 12 reps per side if you want a ladder feel, or stay simpler with 4 sets of 10 to 15. Pull with your elbow, not your hand. At the top, squeeze your shoulder blade back for 1 full second. At the bottom, let the arm straighten all the way so the stretch shows up.
How to Use It
- Put heavier items in the side of the backpack that sits farthest from your body.
- Brace your free hand on a chair, sofa, or kitchen counter.
- Keep your torso almost still.
- If the bag swings, the set is too sloppy.
What to watch for: if you feel this only in your biceps, you’re yanking the weight too high. Row toward the pocket line of your pants, not your chest.
4. Hip Thrust Pause Clusters
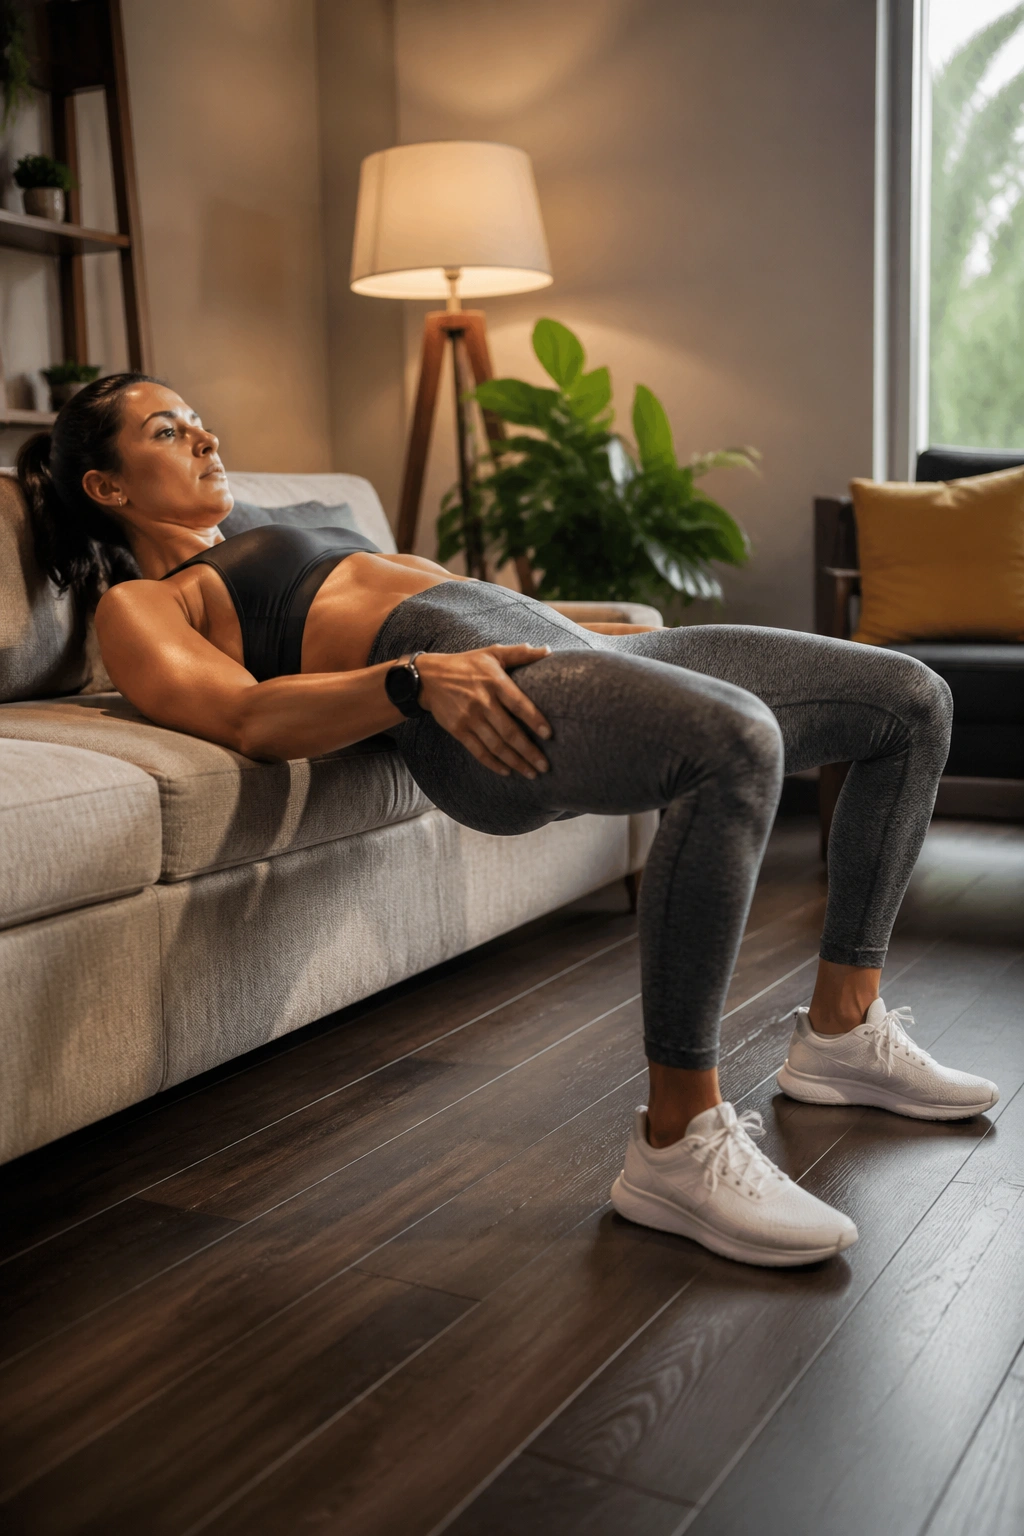
You can build glutes at home without pretending every bridge is the same. A hip thrust with pauses changes the whole feel of the movement. The top position gets a lot more honest when you stop for a breath and hold the squeeze instead of bouncing through it.
Set your upper back on a couch, plant your feet, and drive your hips up for 4 to 5 sets of 6 to 10 reps. At the top of each rep, hold for 2 seconds. If you want more tension, use a dumbbell or backpack across the hips. Rest 60 to 90 seconds. Keep the chin tucked a little and the ribs down so the lower back doesn’t steal the job.
A lot of people rush glute work and wonder why their legs grow but their backside barely changes. The pause fixes that. It makes the shortened position matter, and that’s where the glute squeeze is easy to feel. Not glamorous. Effective.
- Heels should stay flat.
- Shins should look close to vertical at the top.
- Stop when the hips are fully extended, not when the back arches.
5. Pike Push-Ups for Shoulder Size
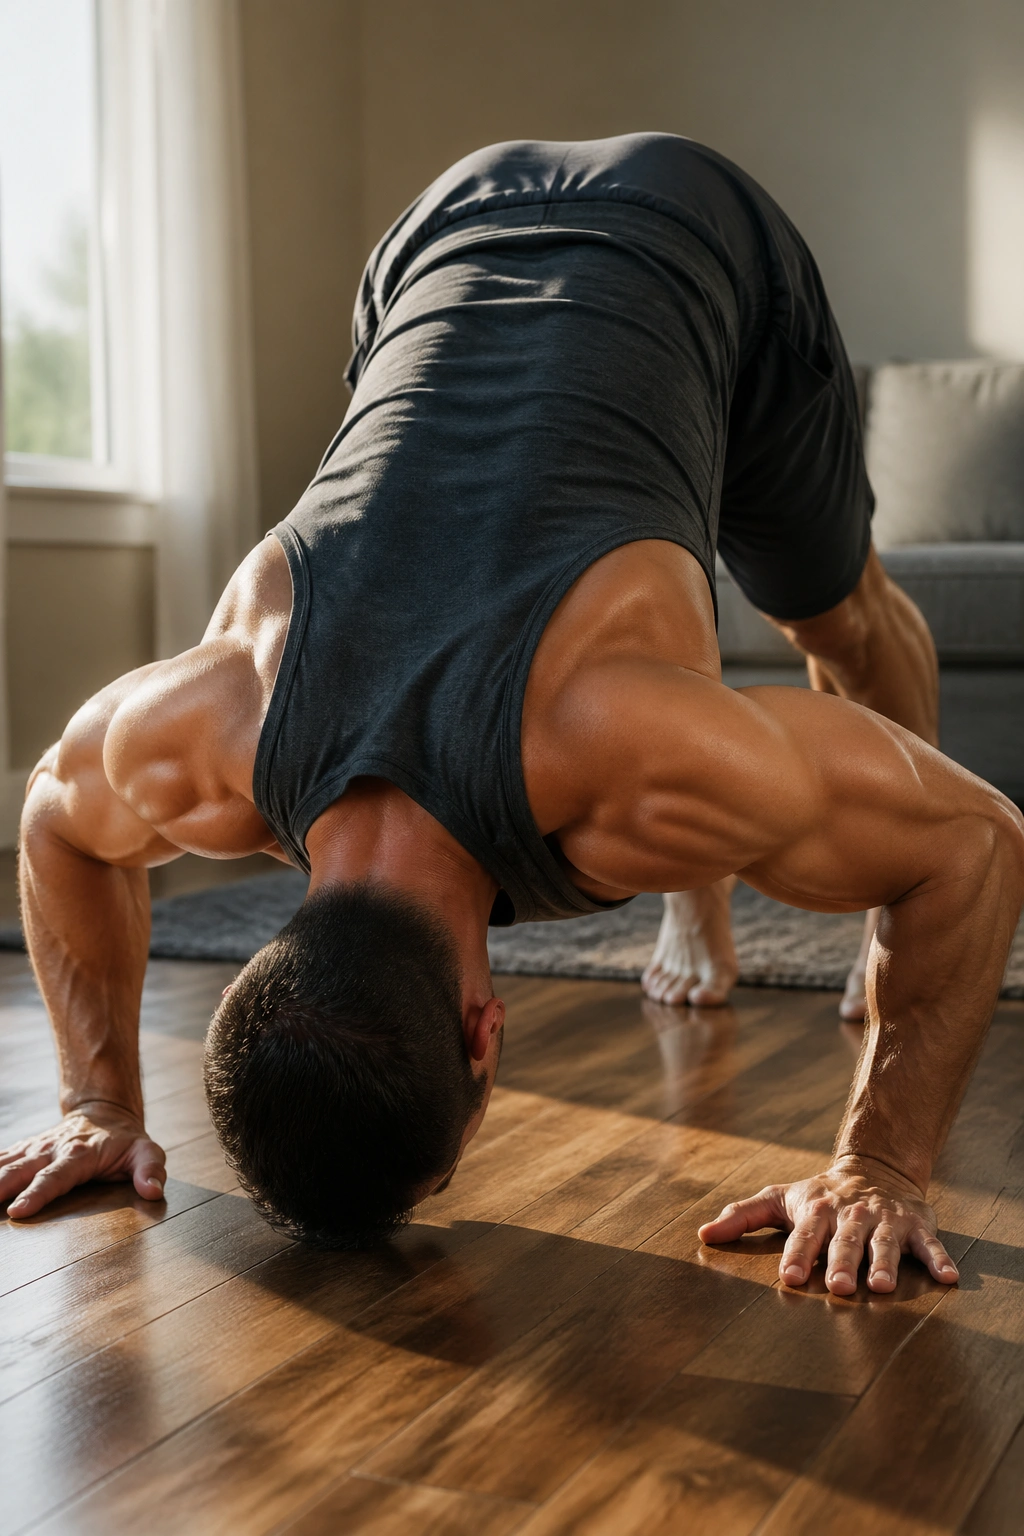
Pike push-ups are ugly in the best way. They ask a lot from the shoulders, and they do it without a bench, barbell, or any of the usual excuses. If your goal is visible upper-body shape, shoulders matter a lot. Broad delts change how a shirt sits. They change how you look from the side. They change everything.
Start with your hips high, hands planted firmly, and head moving toward the floor between the hands. Do 4 sets of 6 to 12 reps. If standard pike push-ups get too easy, put your feet on a chair. If they’re too hard, keep the knees bent a little. Lower for 2 seconds, pause for half a beat near the bottom, then press hard.
The path matters here. You want your head to travel forward and down, not just straight down like a weird triangle-shaped shrug. That angle keeps the shoulders honest and gives the triceps a job too. You’ll know the set is working when the second half of the reps slows down. It should.
A few reps. Then grind. That’s the point.
6. Resistance Band Chest Press With Slow Lowering
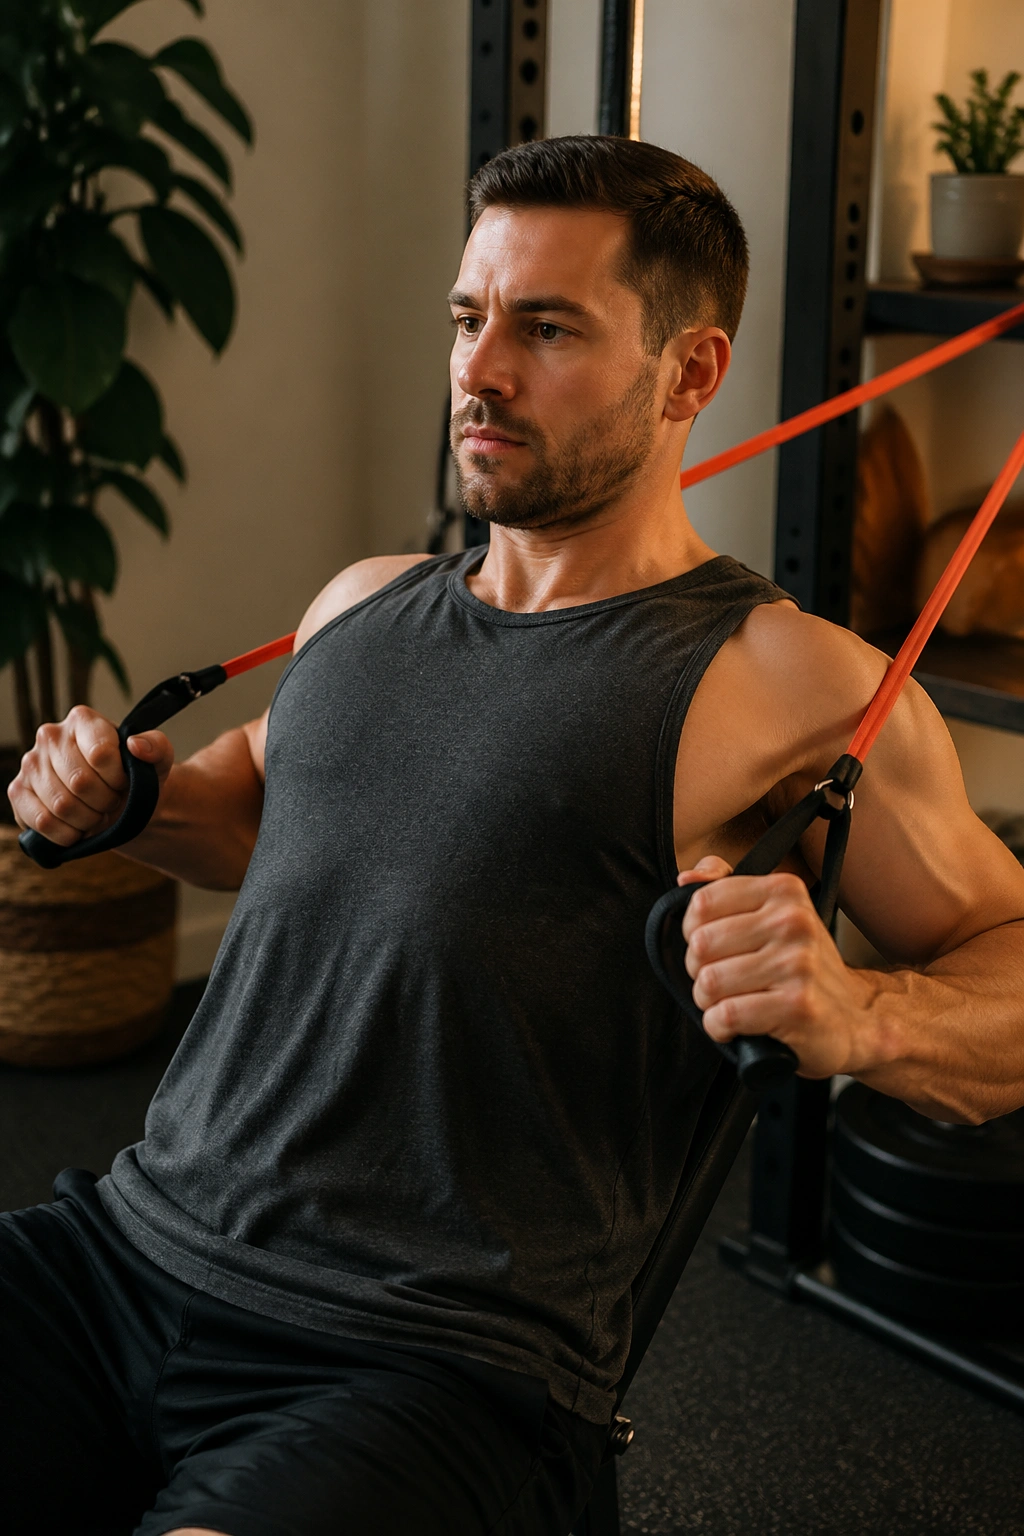
A resistance band chest press doesn’t look dramatic, which is exactly why people underestimate it. The band gives continuous tension, so the hardest part isn’t just the lockout. It’s the whole range. That makes it a strong choice when you want chest work without beating up your shoulders.
Anchor the band behind you at chest height, step forward until there’s solid tension, and press for 4 sets of 12 to 20 reps. Lower each rep for 3 to 4 seconds. Pause briefly when your hands are close to your chest, then drive forward until your elbows are almost straight. Keep your shoulders down and back. Don’t shrug.
Unlike a dumbbell press, the band gets harder as your arms extend. That means the finish matters more than people expect, and it’s a nice change if your chest usually gives up before your triceps do. If the band feels too easy, step farther from the anchor or shorten the rest to 45 seconds.
This is one of those workouts that looks mild until rep 14. Then it starts to sting.
7. Towel Hamstring Curl Burnout
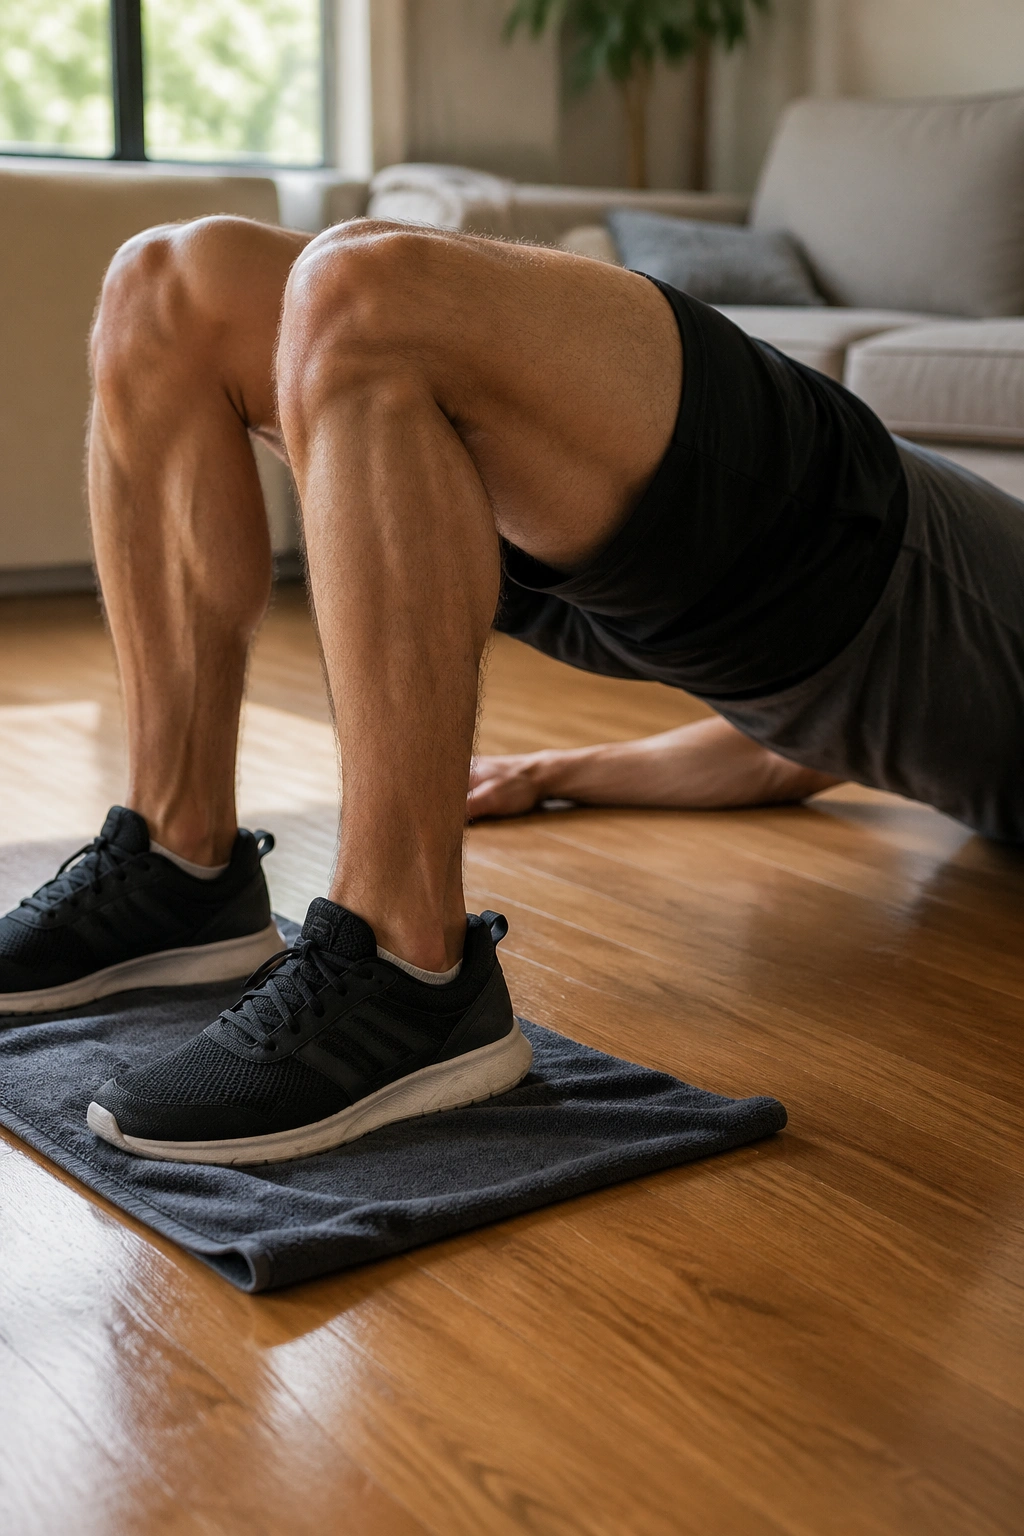
Try hamstring curls on a smooth floor and you’ll understand why this movement has a loyal following. All you need is a towel under your heels or a pair of socks on wood or tile. The body stays in a bridge while the legs curl and extend, and the hamstrings light up fast.
What the Floor Should Feel Like
Do 3 to 4 sets of 8 to 15 curls. Start in a glute bridge, slide the heels out until the legs are nearly straight, then pull them back in without dropping the hips. If your hips keep crashing to the floor, shorten the range a little and keep the bridge tighter. Rest 60 to 75 seconds.
- Keep the hips lifted the whole time.
- Move slowly on the way out.
- Pull in harder than you think you need to.
- Stop if the floor is too sticky to slide well.
Best use: pair these with split squats or RDLs on the same day. The front of the leg gets plenty of love in home plans. The back of the leg often doesn’t.
8. Chair Dips and Push-Up Giant Set
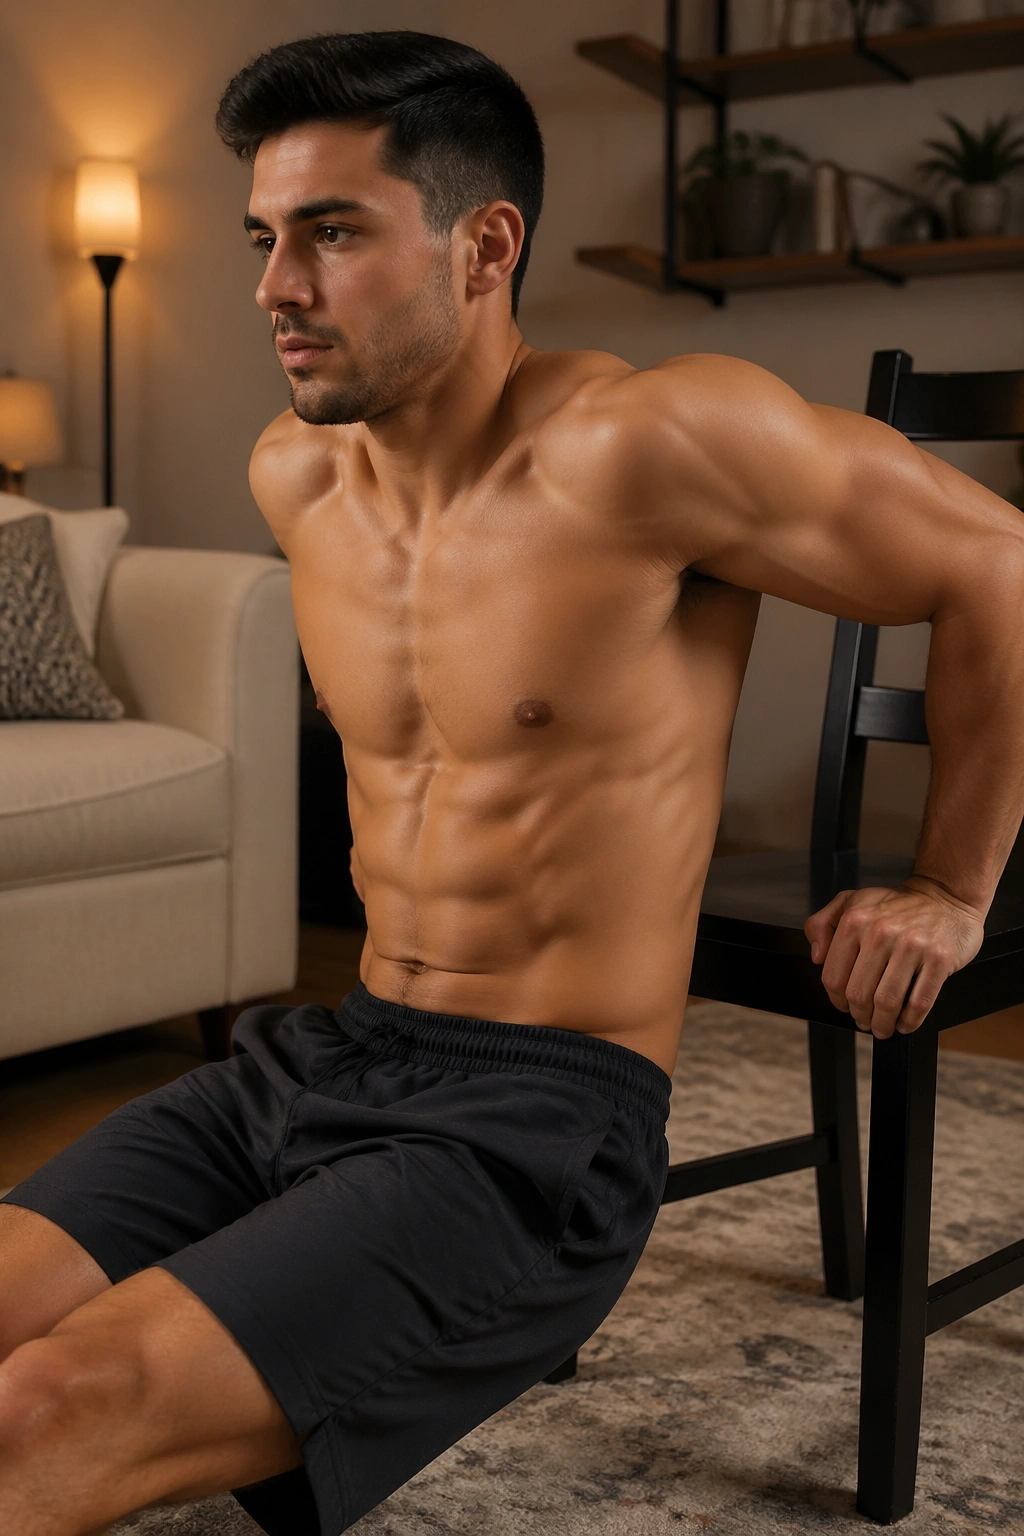
Chair dips are not old-school filler. Done properly, they hammer the triceps and lower chest in a way that bodyweight-only plans often miss. Pair them with push-ups and you get a fast upper-body giant set that piles on fatigue without needing much space.
Use a sturdy chair or couch edge. Do 8 to 12 dips, then immediately do 8 to 20 push-ups, then rest 90 seconds. Run that for 3 to 4 rounds. If dips bother your shoulders, swap them for close-grip push-ups and keep the same structure. That’s not a downgrade. It’s a smarter choice.
The key is keeping the dip shallow enough to stay smooth. You do not need to sink until your shoulders feel cranky. Elbows point back, chest stays open, and the triceps should be screaming by the last reps. Push-ups after that feel brutal in a good way.
Short rest. High tension. A little regret. That combination works.
9. Tempo Goblet Squats
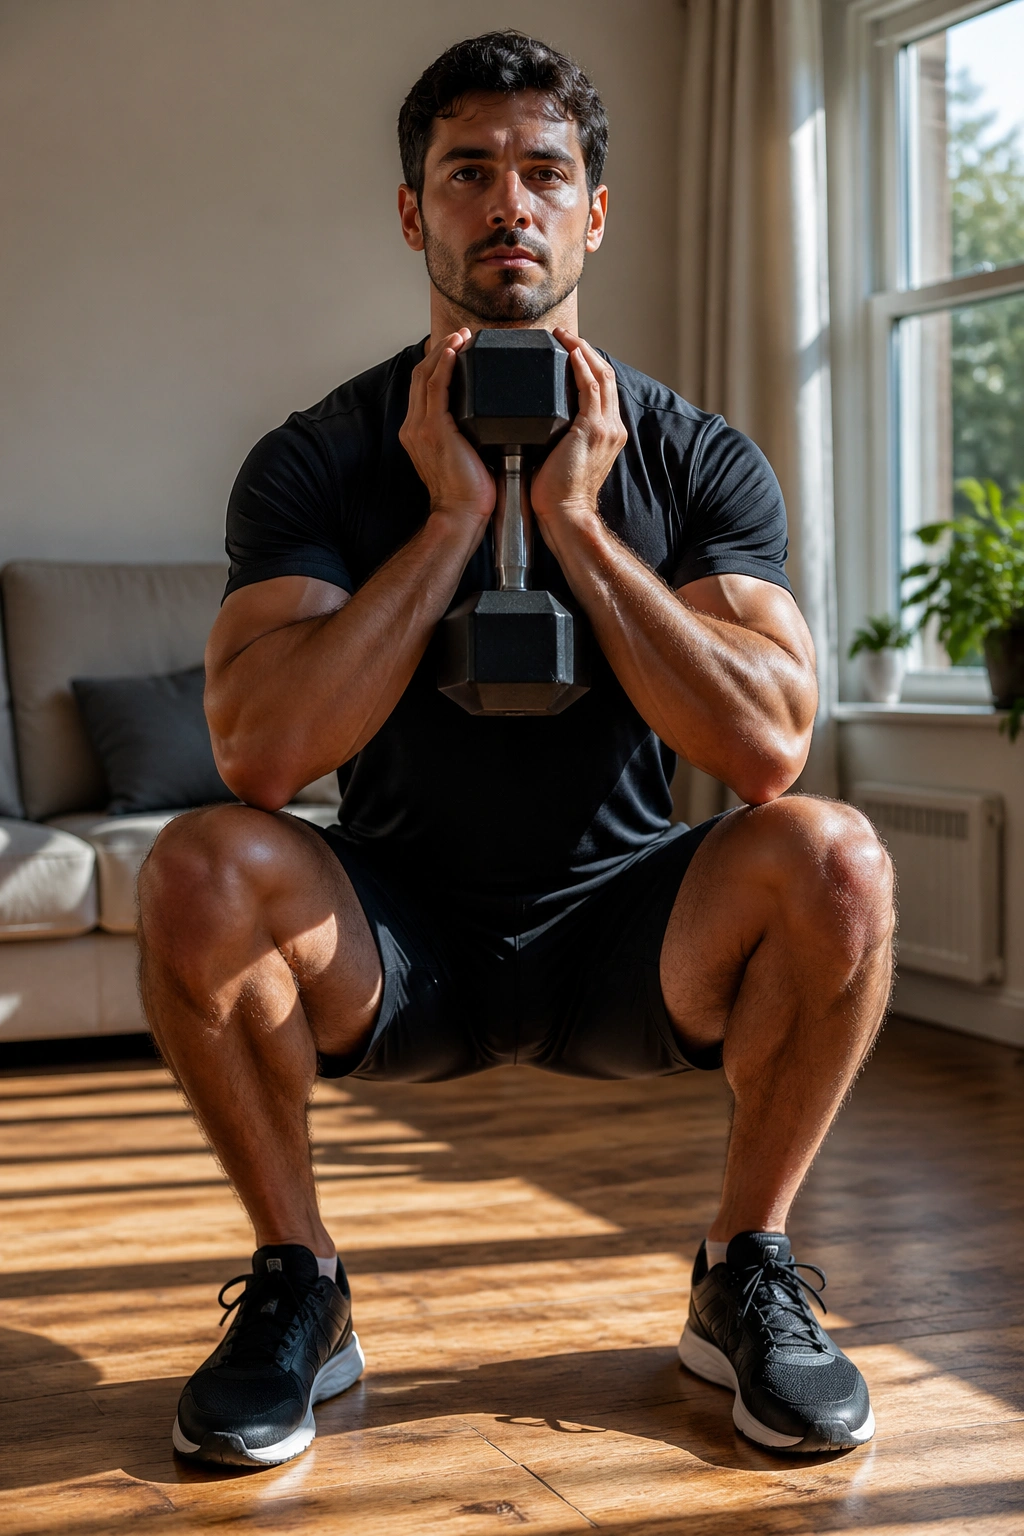
Can a squat built around a slow descent really add size? Absolutely. A goblet squat with tempo forces the quads to stay loaded longer, and the pause at the bottom kills the usual bounce that people hide behind. It’s one of the cleanest home workouts for legs when the load is modest but you still want a real stimulus.
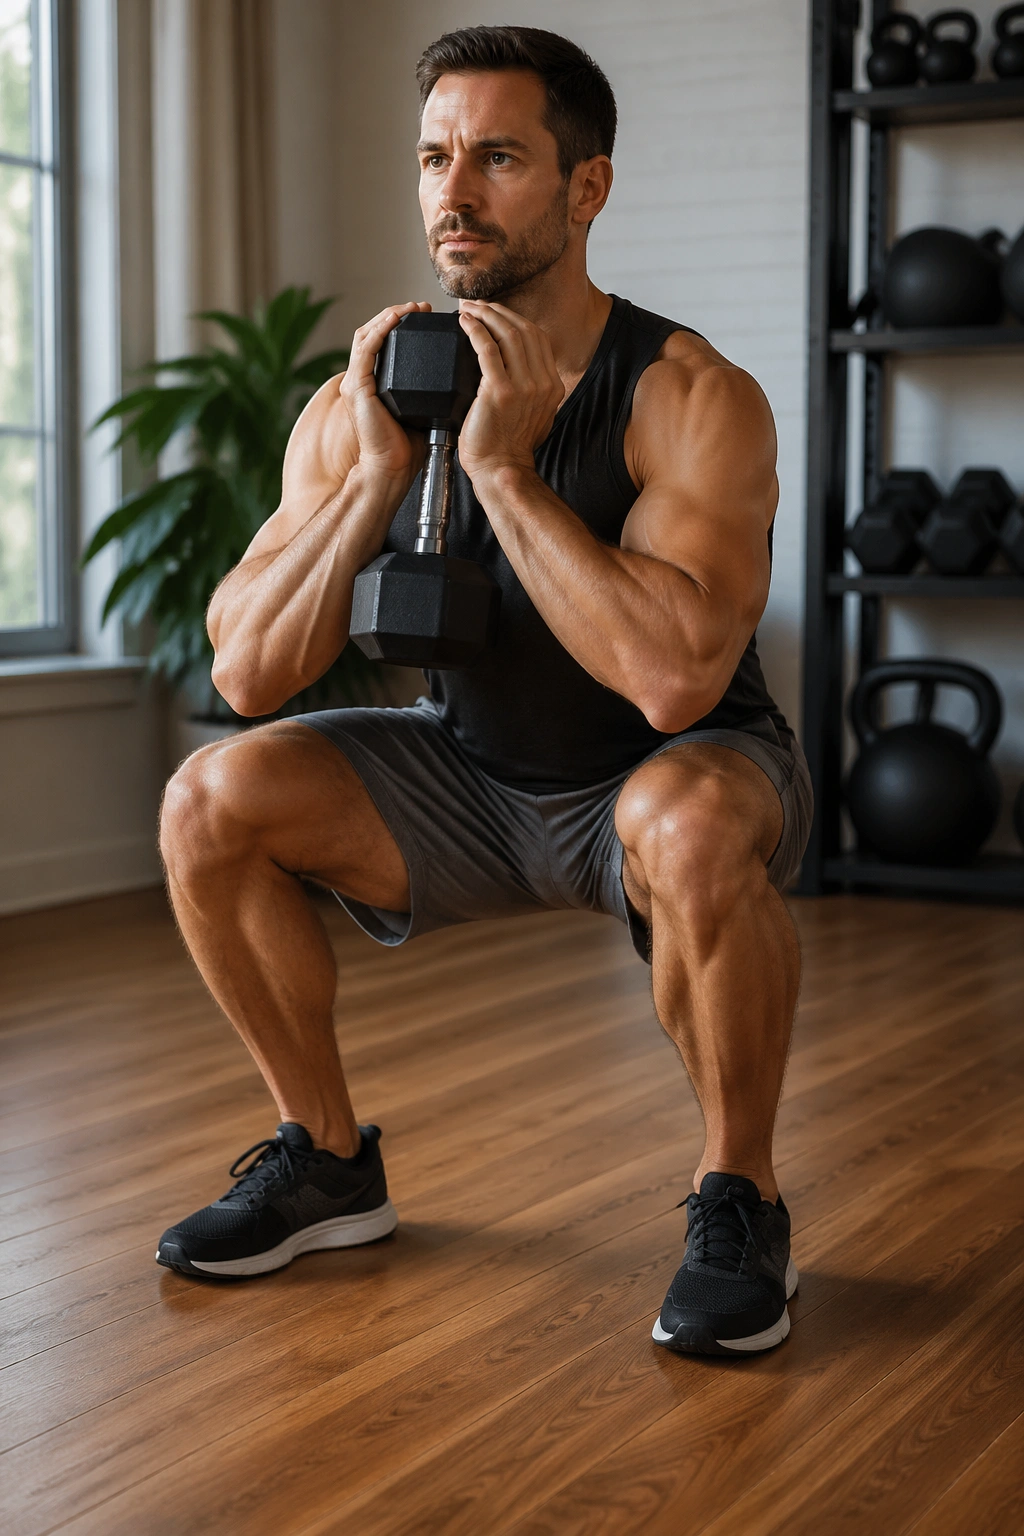
Hold a dumbbell, kettlebell, or heavy backpack at chest level. Do 4 sets of 8 to 12 reps with a 4- to 5-second lowering phase and a 1-second pause in the hole. Then stand up with force. Rest 75 to 90 seconds. If your knees cave in or your heels lift, the stance is off or the load is too much for your current control.
How to Get the Most From It
Keep your elbows inside your knees near the bottom. That makes the torso stay more upright and keeps the squat where it belongs: on the legs, not the lower back. If the weight is light, add reps before adding speed. Speed is the enemy here.
Slow squats are boring for about ten seconds. Then they get serious.
10. One-Arm Backpack Overhead Press
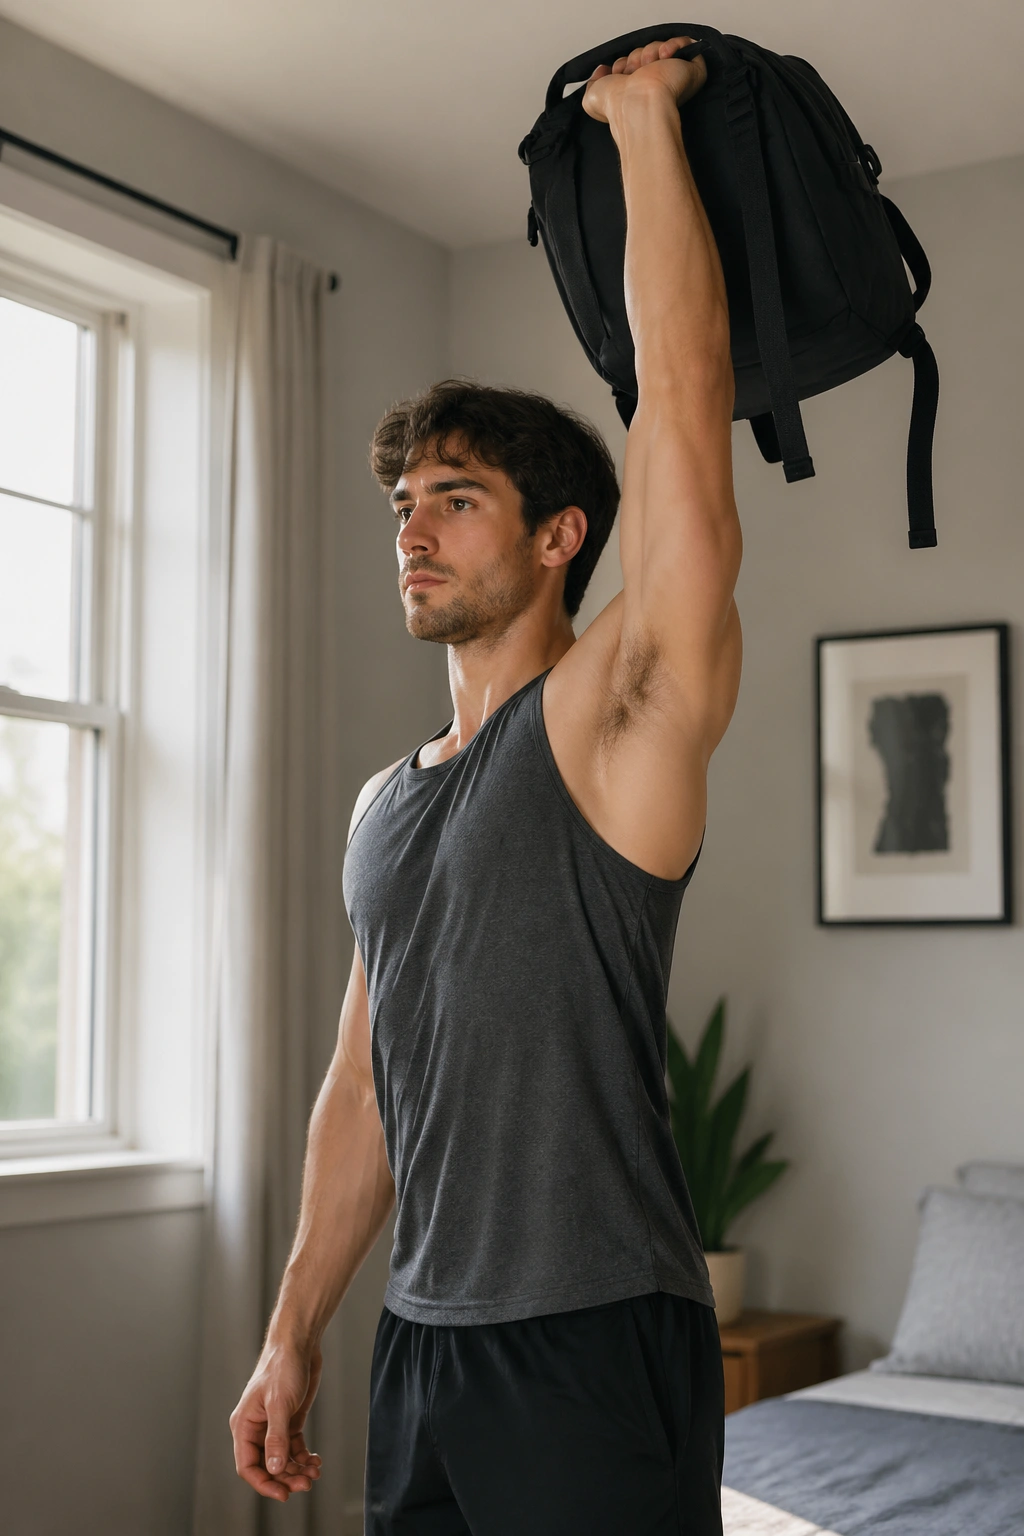
Pick up a backpack by one side, press it overhead, and the whole movement starts to wobble in a useful way. The shoulder has to stabilize the load, the triceps has to finish the press, and your midsection works harder than it would with two even dumbbells. It looks awkward. Good. Awkward can be productive.
Press for 4 to 5 sets of 6 to 10 reps per side. Stand tall, squeeze your glute on the working side, and keep your ribs from flaring. Lower the bag with control to shoulder level, then press it straight up until the arm is nearly locked out. Rest 60 seconds between sides or 90 seconds between full rounds.
If one side is much weaker, start there and match the stronger side to the weaker side’s rep count. Do not chase extra reps on the good side just because it feels nicer. That creates a gap, and the gap shows up in the mirror too.
The shoulder should burn. The waist should not twist into a mess.
11. Reverse Lunge to Knee Drive Finisher
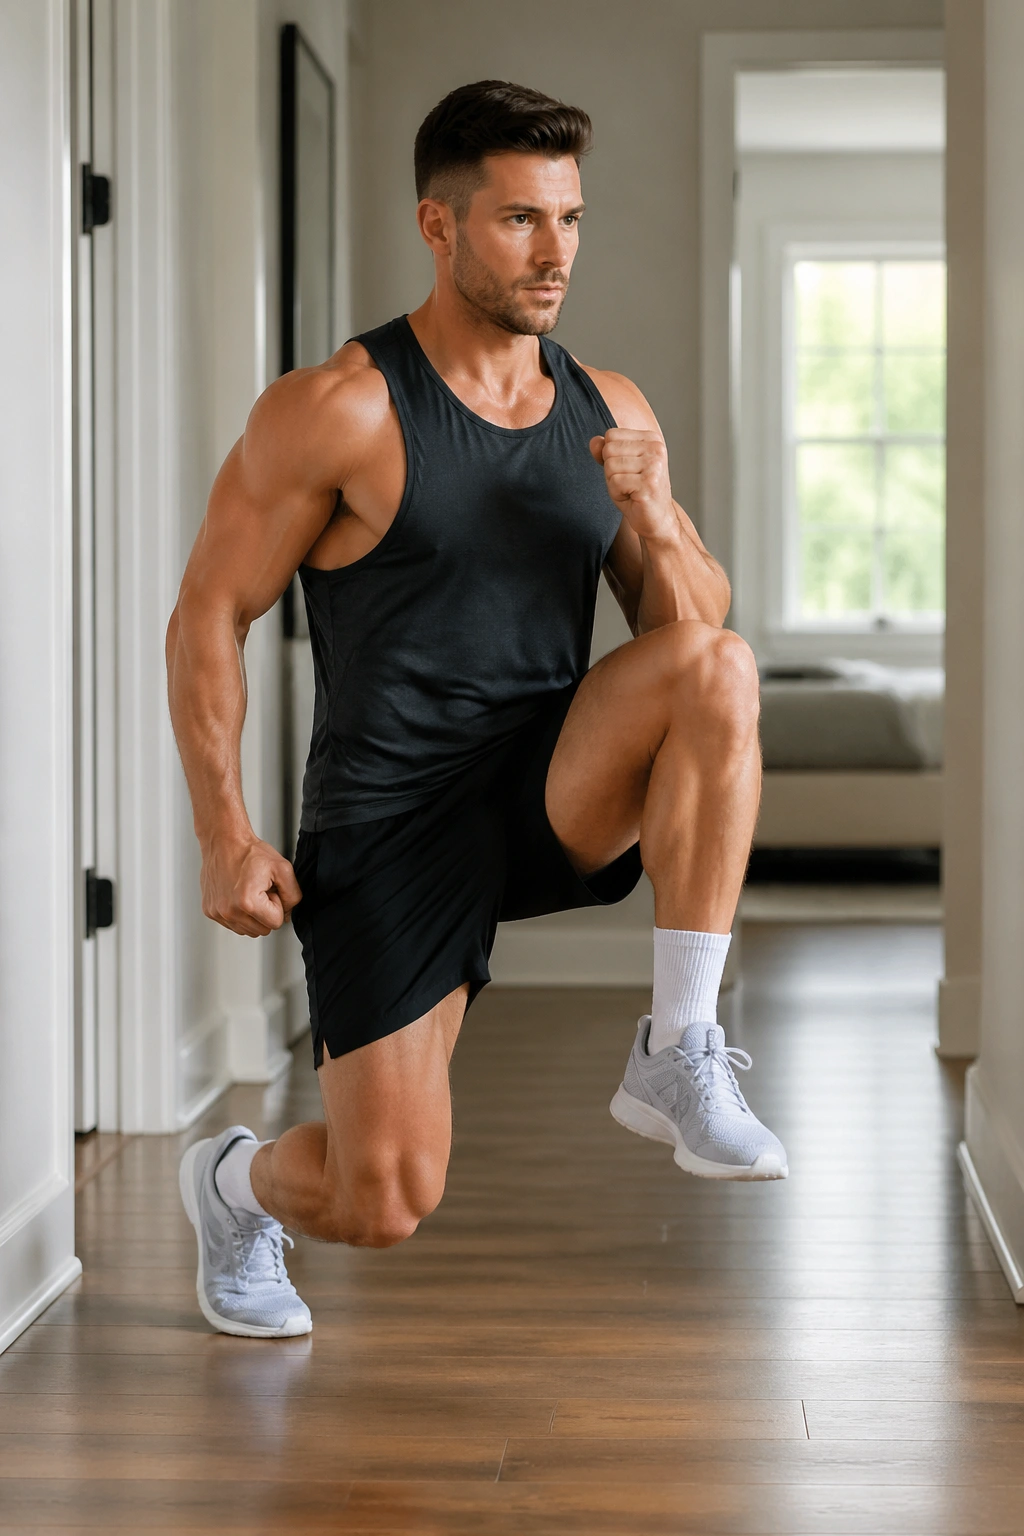
Legs do not need a barbell rack to grow. A reverse lunge with a knee drive gives you glutes, quads, and a little balance work all in one place, and the knee lift at the top adds a sharp finish that bodyweight work often lacks. It’s not flashy. It’s useful.
Do 3 to 4 rounds of 10 to 12 reps per side. Step back far enough that the front foot stays planted, lower until the back knee hovers just above the floor, then drive up and bring the back knee forward and up. If you’re holding dumbbells or a backpack, keep them at your sides so your torso stays honest. Rest 45 to 60 seconds.
The knee drive is not decoration. It forces a clean finish and helps you feel the glute on the standing leg. If you rush it, the exercise turns into a falling lunge. Slow down. Feel the front heel dig into the floor.
One more rep usually looks harder than it feels on paper.
12. Band Lat Pulldown Hold-Release Set
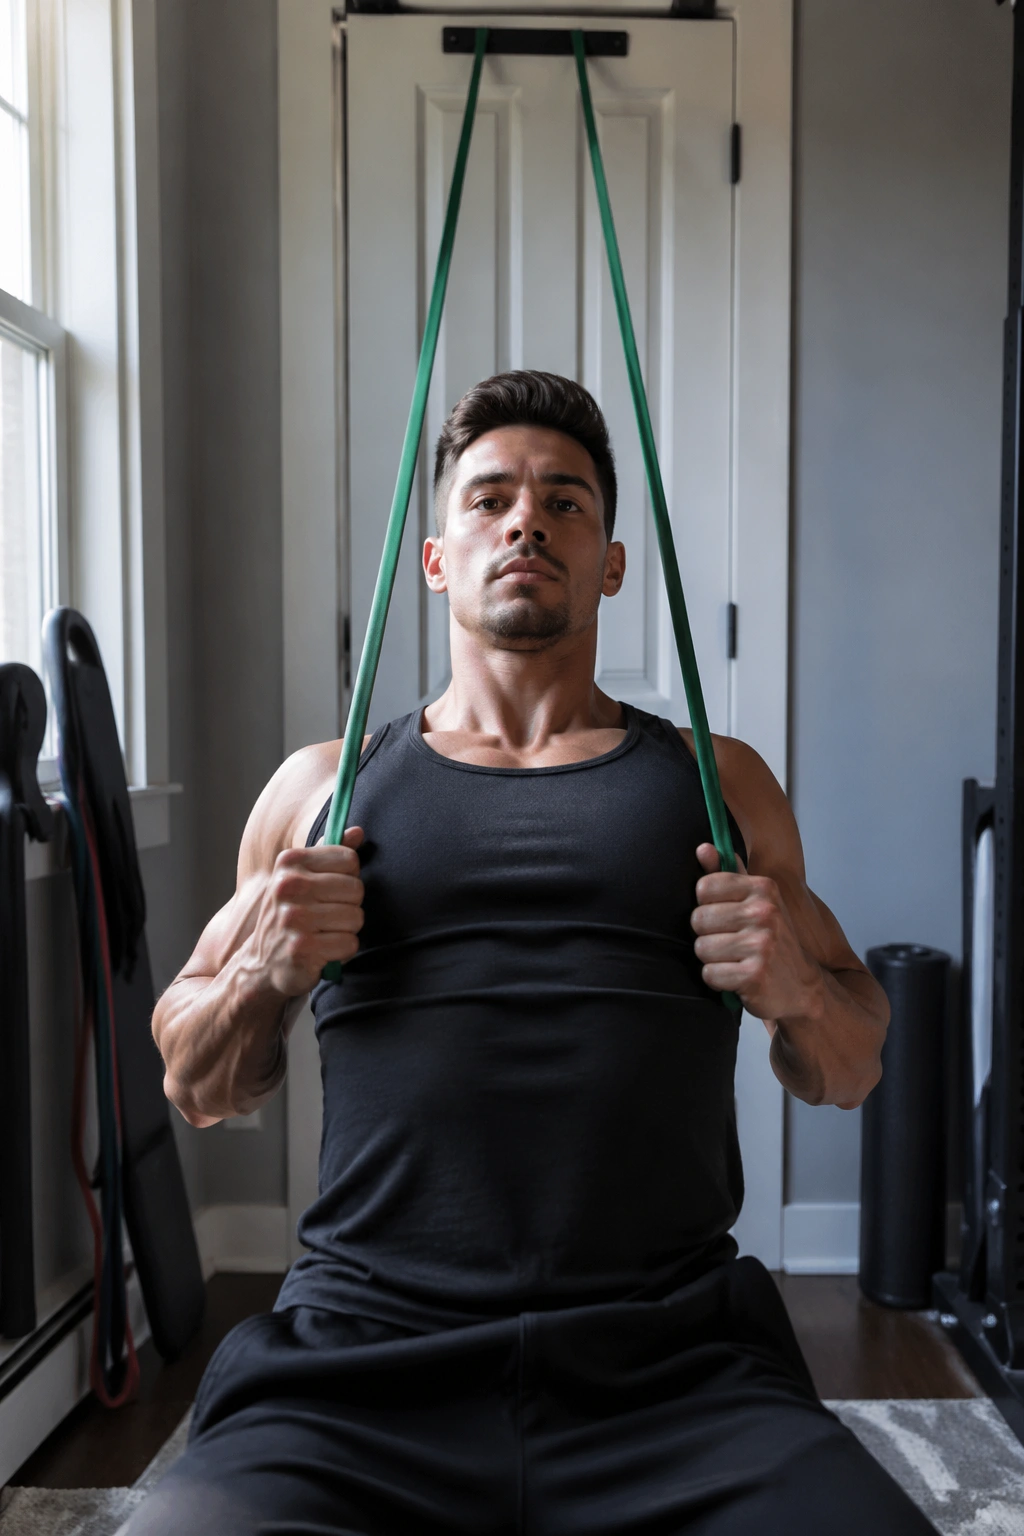
Band pulldowns beat a lot of random back moves when you want actual lat tension. Anchored high in a door or overhead mount, they let you pull from a stretched arm position and finish with the elbows tucked down close to the ribs. That’s the shape you want if the goal is a wider-looking back.
How to Set It Up
Use 4 sets of 12 to 15 reps with a 2-second hold at the bottom of each rep. After the last full rep, do 5 to 8 short partials from the halfway point. Rest 60 seconds. Kneel or sit so the band stays angled down toward your shoulders.
What Makes It Different
- Pull your elbows toward your back pockets.
- Keep your neck relaxed.
- Stop if the band slips from the anchor.
- Use a controlled return; no snapping upward.
If the resistance falls off too much near the top, step farther away or use a thicker band. A weak anchor ruins everything here, so check the door setup before you start. Boring precaution. Worth it.
13. Lateral Raise Density Block
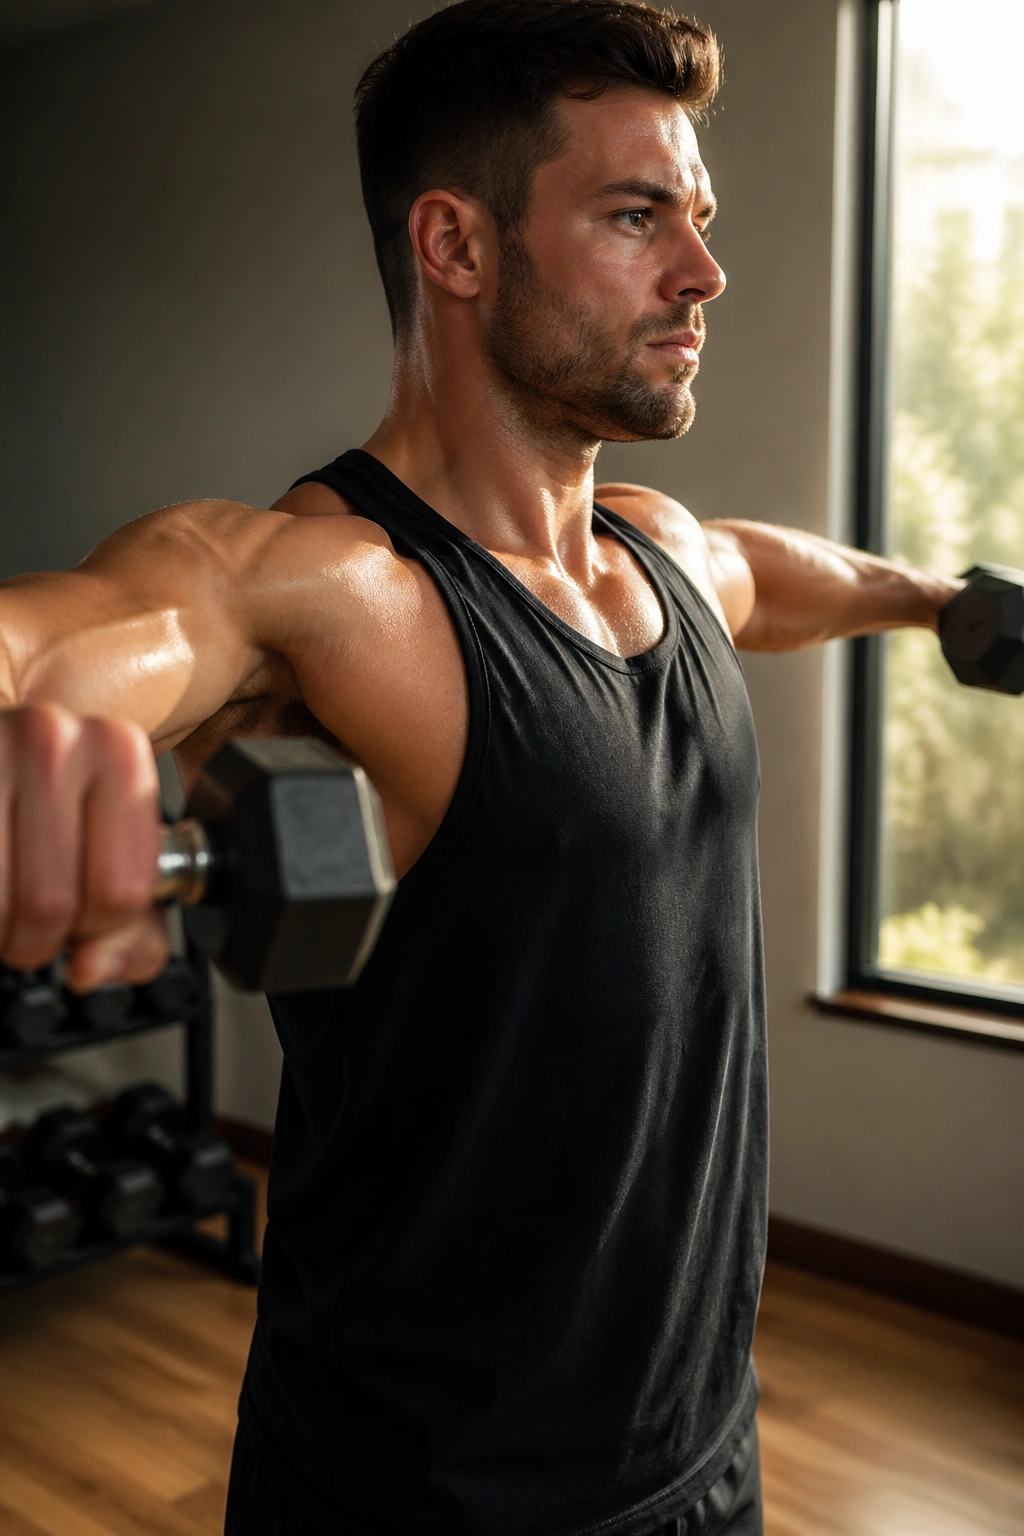
A side-delt workout can look almost too small to matter, then your shoulders are sore in places you forgot existed. Lateral raises are one of the fastest ways to make the upper body look broader, and they work especially well at home because light weights are enough when the reps are strict.
Set a timer for 10 minutes and perform 12 to 15 reps every minute with light dumbbells or bands. If you finish early, rest the remainder of the minute. Keep the elbows slightly bent and raise the weights to about shoulder height, no higher. Use a small lean if that helps you keep tension instead of swinging.
When to Stop the Set
The set ends when the top of the rep turns into a shrug. That’s the line. You want the side delt doing the lifting, not the traps taking over. If the last five reps look the same as the first five, the load is too light or your speed is too sloppy.
A tiny movement. A big visual payoff.
14. Floor Press With Squeeze Pause
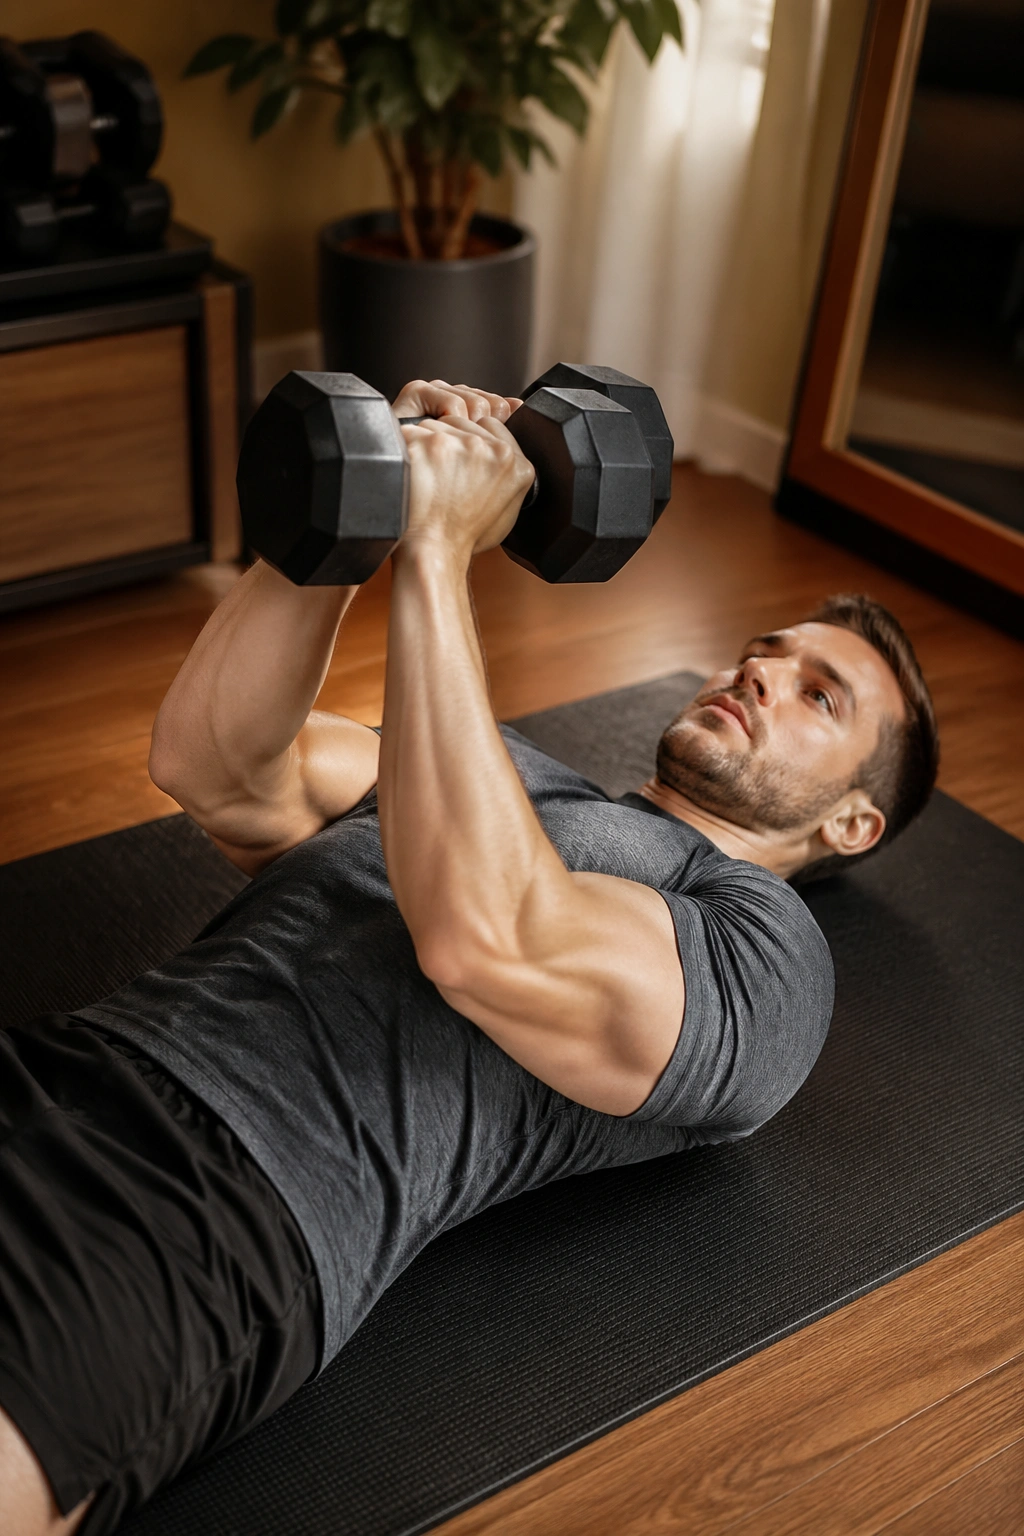
The floor press is what I recommend when people keep missing the chest with dumbbells. The floor gives you a built-in stop, which protects the shoulders and forces a cleaner press. Add a pause, and the whole thing gets more useful for size.
Lie on the floor with dumbbells or a backpack held across both hands. Lower until the upper arms touch the floor, pause for 1 full second, then press up hard. Do 4 sets of 8 to 12 reps. If you have dumbbells, press them slightly inward toward each other at the top to create a chest squeeze. Rest 75 seconds.
A bench press lets you bounce. The floor press doesn’t. That’s a good thing here, especially at home, where shoulder comfort matters more than ego. Keep the wrists stacked, elbows about 45 degrees from the torso, and the shoulder blades pinned down.
If the last rep feels slow, perfect. That means the chest and triceps had to work for it.
15. Full-Body EMOM for Size
Want a workout that leaves nowhere to hide? Run an EMOM. Every minute on the minute, you start a new task, and the rest of the minute is your recovery window. That structure keeps the pace honest while still giving you enough volume to build muscle if the movements are hard enough.
Try a 12-minute rotation:
- Minute 1: 12 goblet squats
- Minute 2: 10 push-ups
- Minute 3: 12 backpack rows
- Minute 4: 10 Romanian deadlifts with a backpack or dumbbells
Repeat that cycle 3 times. If you finish early, breathe and reset. If you are panicking by the last few seconds, the load is probably right. If you’re staring at the clock with time to spare, add weight or reps.
The beauty here is density. You get a lot done in a short block, and the whole body has to stay switched on. It is not a lazy workout pretending to be hard. It’s hard if you choose the right load.
16. Wall Handstand Shoulder Holds
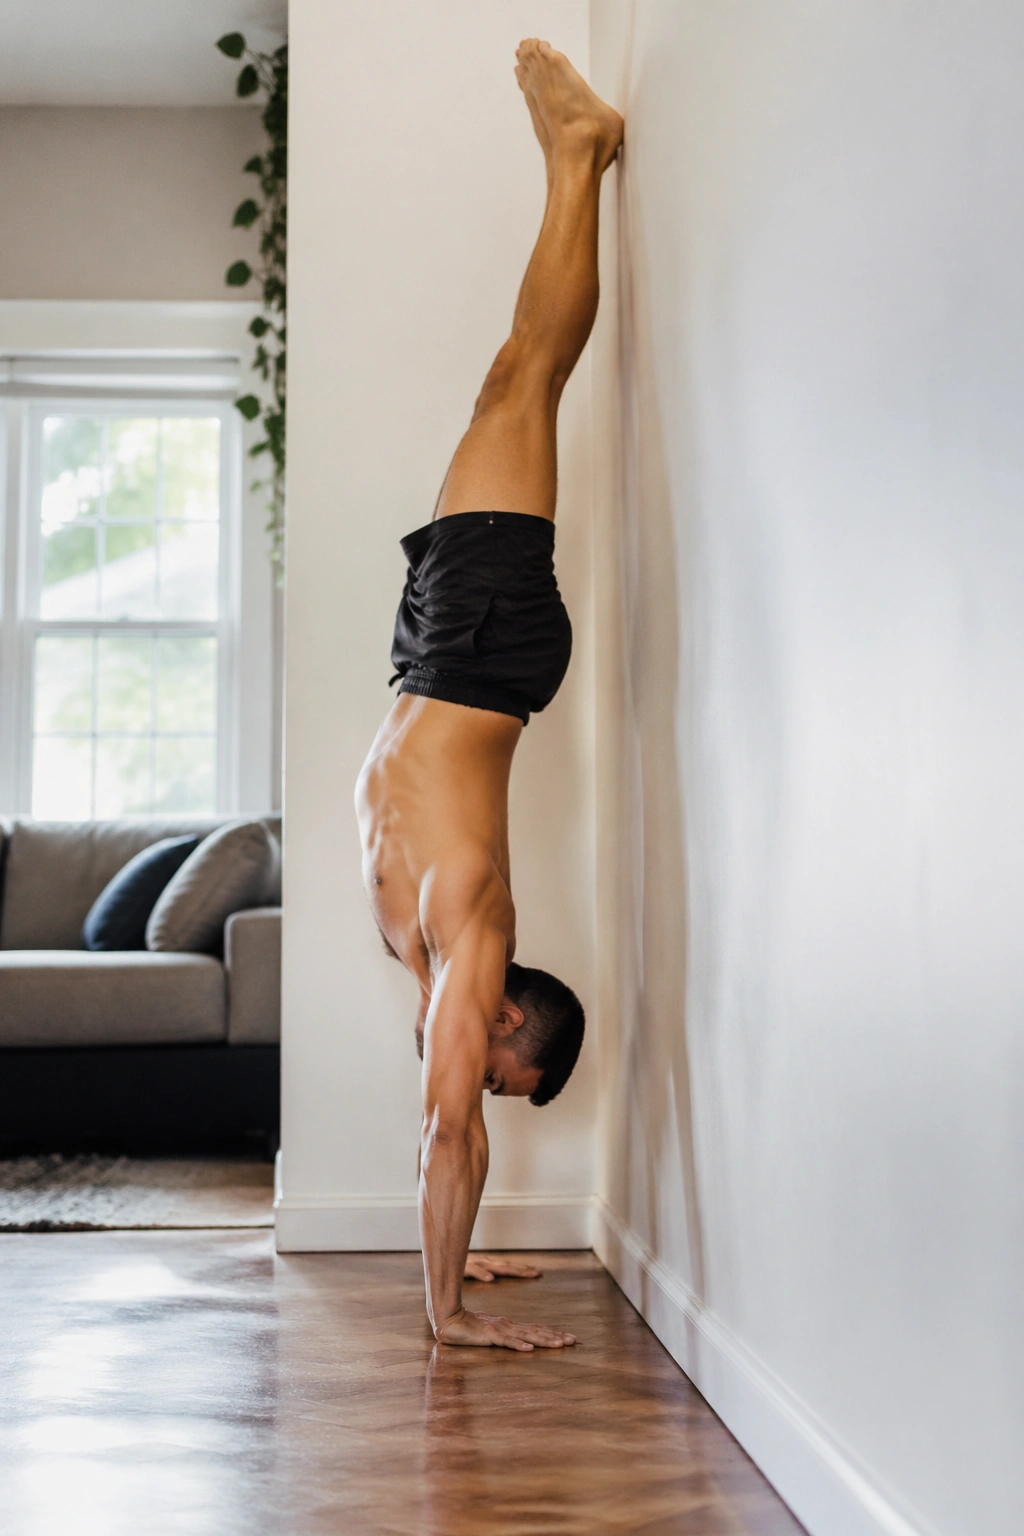
Kick up to a wall and the room gets quiet. There’s no hiding in a handstand hold. The shoulders shake, the wrists complain a little, and the core has to keep you from folding in the middle. If you want the upper body to look dense and athletic, this is a strong add-on.
Start with 5 holds of 20 to 40 seconds facing the wall or back to the wall if that feels safer. If you can’t hold a full handstand yet, do pike holds with your feet on a chair and your hips stacked high. Add 3 slow negatives if you’re strong enough to lower under control. Rest 90 seconds between attempts.
The shape matters more than the bravado. Hands shoulder-width apart, elbows locked but not jammed, ribs tucked, glutes tight. If your lower back arches hard, the hold is drifting. If your wrists feel awful, back off and work in shorter holds.
This is shoulder work with a spine attached to it.
17. Single-Leg RDL and Glute Bridge Pairing
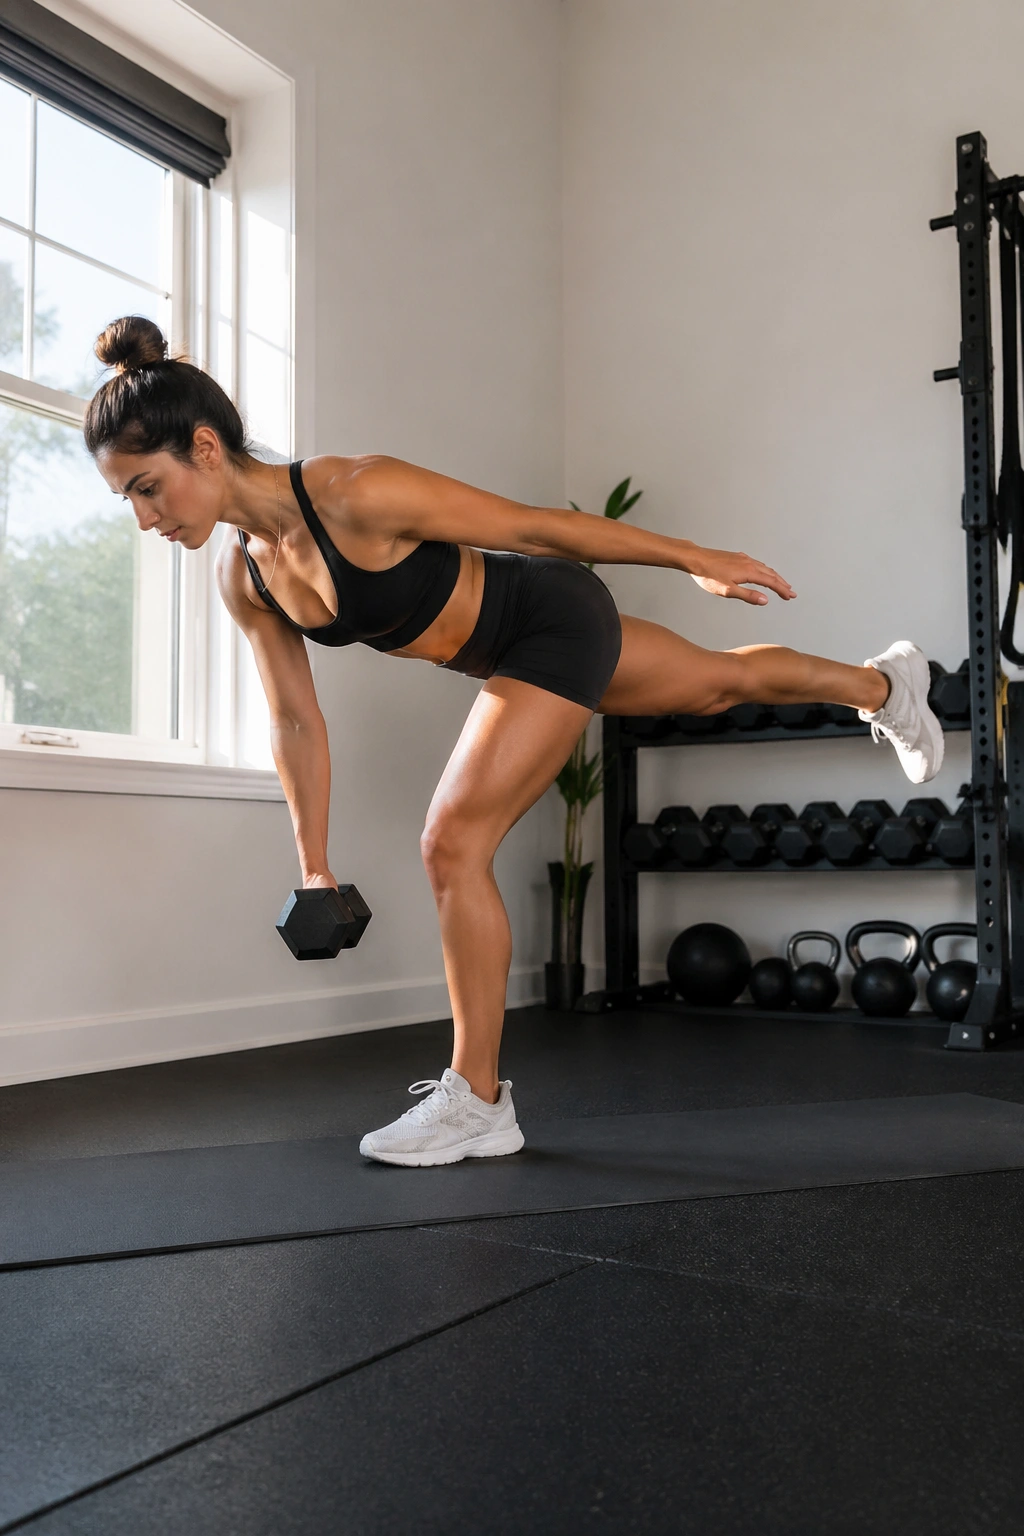
Single-leg RDLs are slow work. That’s why they work. They stretch the hamstrings, challenge balance, and make the glutes stabilize the pelvis in a way a two-leg hinge sometimes misses. Pair them with glute bridges and you cover the long and short positions of the backside without needing a lot of space.
Do 4 rounds of 8 to 10 single-leg RDLs per side, followed by 12 to 15 glute bridges. Hold a dumbbell or backpack in the opposite hand of the working leg. Keep the hips square to the floor and let the free leg travel back like a counterweight. Rest 60 to 75 seconds after each full round.
If you feel this in your lower back, the range is too deep or the load is drifting away from the body. Keep the weight close to the leg. Hinge, don’t reach. The standing foot should stay rooted, and the hamstring should feel stretched before it feels loaded.
The bridge after the hinge is a nice finish. Same muscles. Different angle. Cleaner fatigue.
18. Curl-Row-Press Arm Day
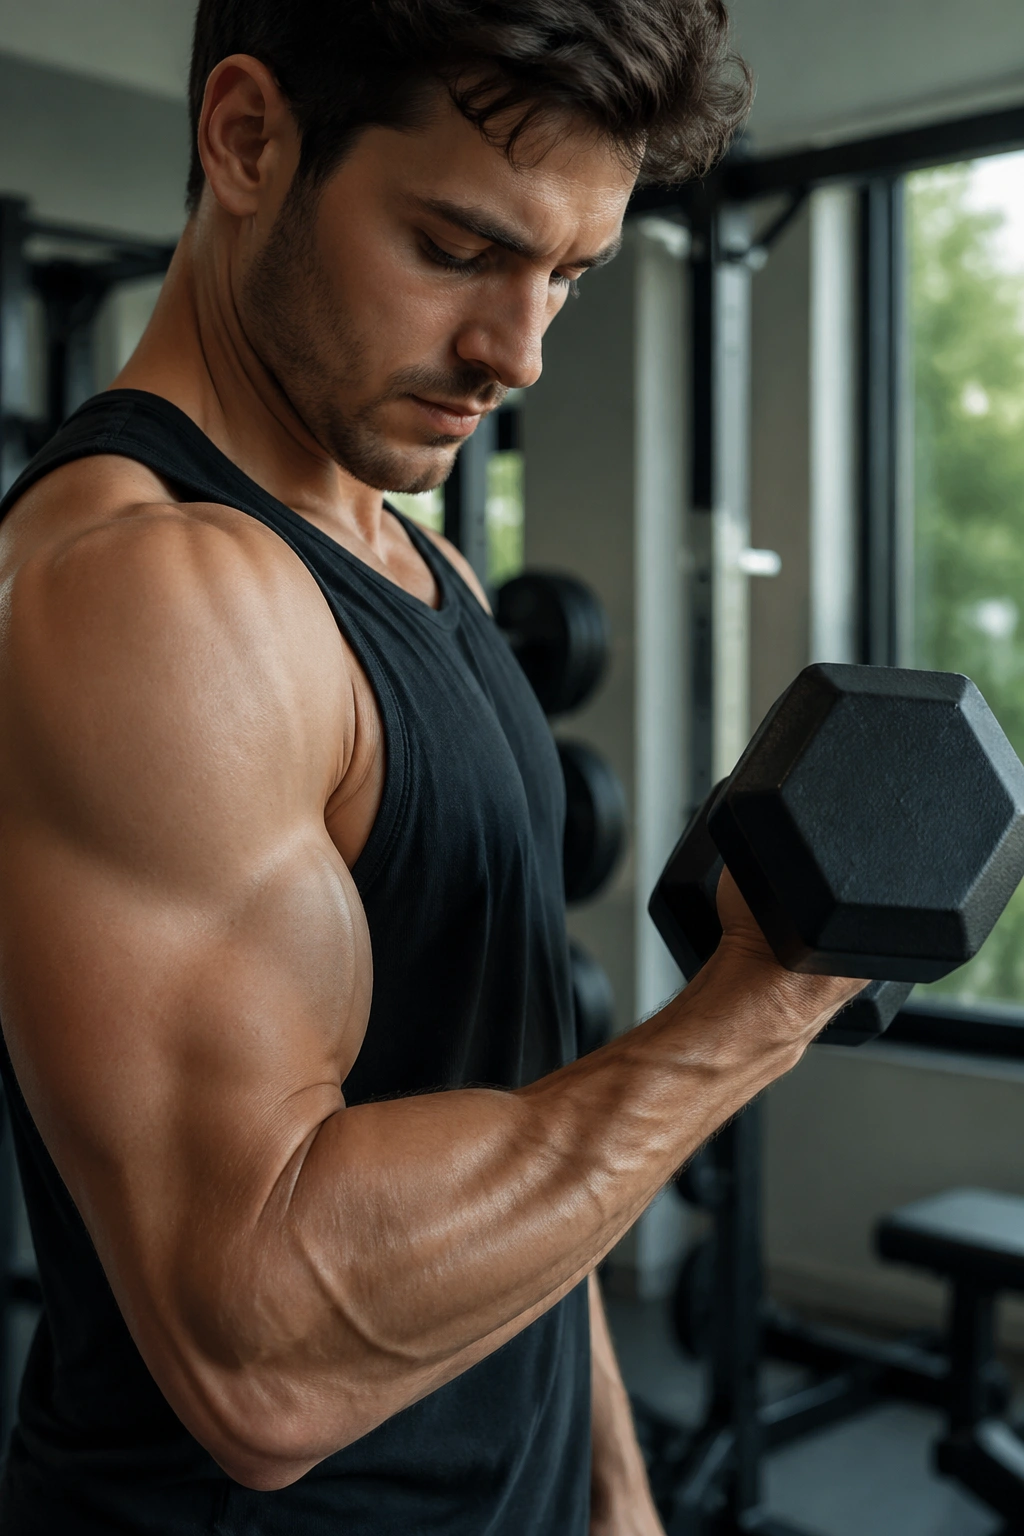
Arms grow faster when you stop treating them like an afterthought. A curl-row-press sequence hits biceps, triceps, shoulders, and upper back in one compact block, which is useful if you want visible upper-body size without spending an hour on tiny single-joint moves.
Use dumbbells or bands and do 3 to 4 rounds of:
- 10 to 12 curls
- 10 to 12 rows
- 8 to 10 overhead presses
Rest 60 to 90 seconds after each round. Keep the curl strict and the elbow near your side. Row with the elbow tracking back, then press without turning the whole thing into a lean-back contest. If the press is weak after the rows, that’s fine. It should be.
What Makes It Worth Doing
The row keeps the shoulders from turning into a vanity project. The curl builds the biceps that people actually notice. The press finishes the triceps and front delts, which gives the upper arm more shape from the side. If you only have one pair of weights, this is a smart place to use them.
Arms love tension. They also love not being ignored.
19. Mechanical-Advantage Push-Up Series
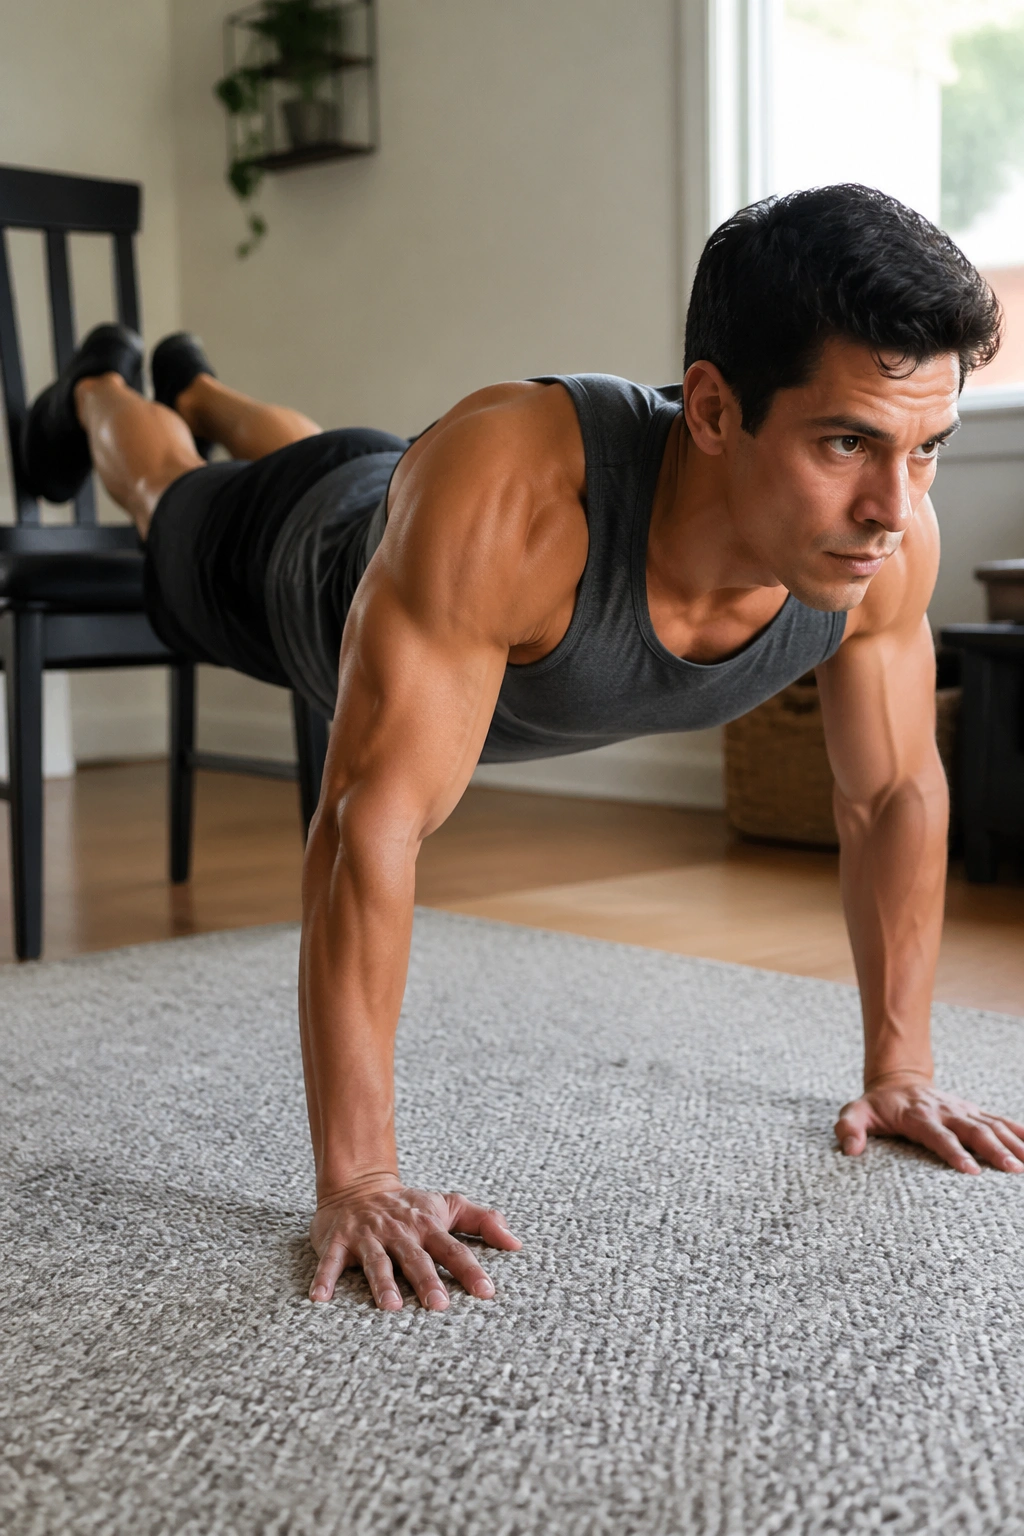
What if the set got easier as you got tired? That sounds backward, but it makes a great chest and triceps finisher. A mechanical-advantage push-up series starts in the hardest position and drops to easier versions as fatigue builds, so the muscles stay under tension longer without your form falling apart.
Why the Drop Works
Do 3 rounds of:
- Feet-elevated push-ups for 5 to 8 reps
- Standard push-ups for 6 to 10 reps
- Hands-elevated push-ups for 8 to 15 reps
Rest 90 seconds between rounds. Use a chair, couch, or sturdy step for the incline and decline positions. The key is moving quickly from one variation to the next without collapsing your torso. The set should feel like one long fight, not three separate exercises.
How to Get the Most From It
Keep the hands on the same line the whole time. That way the chest and triceps stay in the game instead of your shoulders changing the movement every five seconds. If the first round is too easy, slow the lowering phase to 3 seconds on every variation.
The pump from this one is hard to miss. Neither is the fatigue.
20. Backpack Complex for Total-Body Hypertrophy
A backpack complex looks clumsy on paper and terrific in practice. You load the bag once, then move through a chain of exercises without setting it down. That keeps tension high, saves time, and forces your grip, back, legs, and shoulders to work together. It is the kind of workout that feels old-school because it actually demands effort.
Do 4 rounds of:
- 6 backpack rows
- 6 front squats
- 6 overhead presses
- 6 Romanian deadlifts
- 6 reverse lunges per leg
Rest 2 minutes after each round. Choose a backpack weight that lets you finish all reps with clean form, but leaves you a little slower by the last movement. If you’re fresh at the end, add books or water jugs next time. If your posture turns into a heap halfway through, the load is too much.
This is a strong finisher because it builds a little of everything: upper back, quads, glutes, shoulders, and the trunk that keeps all of it together. It also teaches a useful lesson. Visible muscle at home is rarely about one magic exercise. It comes from repeated hard work, smart loading, and enough patience to let the mirror catch up.
A backpack, a floor, a chair. That is enough to start.
