



A hundred crunches can leave your abs burning and your waistband unchanged. That mismatch is why belly fat workouts confuse so many people: the work feels local, but the result comes from whole-body training, food intake, sleep, and how often you can repeat the effort without lighting up your lower back.
The old spot-reduction pitch never held up in a real gym. If your hip flexors grab during sit-ups, your neck tightens, and your breathing turns shallow, you are not training your midsection in the way that matters most for fat loss anyway. The sessions that help trim a waist tend to mix calorie-hungry movement, muscle-preserving strength work, and core drills that teach you to brace instead of folding in half.
There is also a difference between the soft fat you can pinch under the skin and the deeper visceral fat wrapped around the organs. You cannot target either one with a single move, but you can stack the week in your favor. Brisk walking, stair repeats, interval cycling, loaded carries, rowing, and slow controlled core work all earn their place for different reasons.
Some of these workouts take 8 minutes. Some need closer to 30. Pair them well, keep your hardest efforts under control, and the week starts to look a lot more useful than another round of floor crunches.
What Belly Fat Workouts Can and Cannot Do
You cannot crunch fat off one spot.
Fat loss happens across the whole body, not one square inch at a time. Belly-focused training still matters, though, because strong trunk muscles help you move harder, lift better, and keep your ribs stacked over your pelvis instead of drifting into that flared, low-back-arched posture that makes training feel sloppy and sore.
The deeper belly fat that gets the most medical attention is visceral fat. It sits behind the abdominal wall, around organs, and tends to respond well to the same big levers that improve health across the board: regular movement, hard-but-repeatable cardio, resistance training, and an eating pattern that does not erase your work by dinnertime.
Public-health exercise guidance keeps circling the same target: about 150 minutes of moderate work or 75 minutes of hard work each week, plus at least two muscle-strengthening sessions. That is one reason short workouts matter. Two 12-minute finishers and three 25-minute sessions can add up fast.
What a useful waist-loss plan looks like
A useful plan has three pieces:
- Workouts that burn energy, like incline walks, rows, stair climbs, and bike sprints
- Strength work that keeps muscle on your frame, like circuits, carries, swings, and thrusters
- Core training that teaches bracing, not endless spinal flexion
And yes, walking counts.
A better way to judge progress
Use more than the scale. Measure your waist at the navel or one finger above it, pick the same spot each time, and check it under the same conditions every couple of weeks. If your resting heart rate drops, your clothes loosen, your stair pace improves, and your waist measurement trends down, the plan is doing its job even if the mirror takes its time.
How to Schedule These 15 Belly Fat Workouts Across One Week
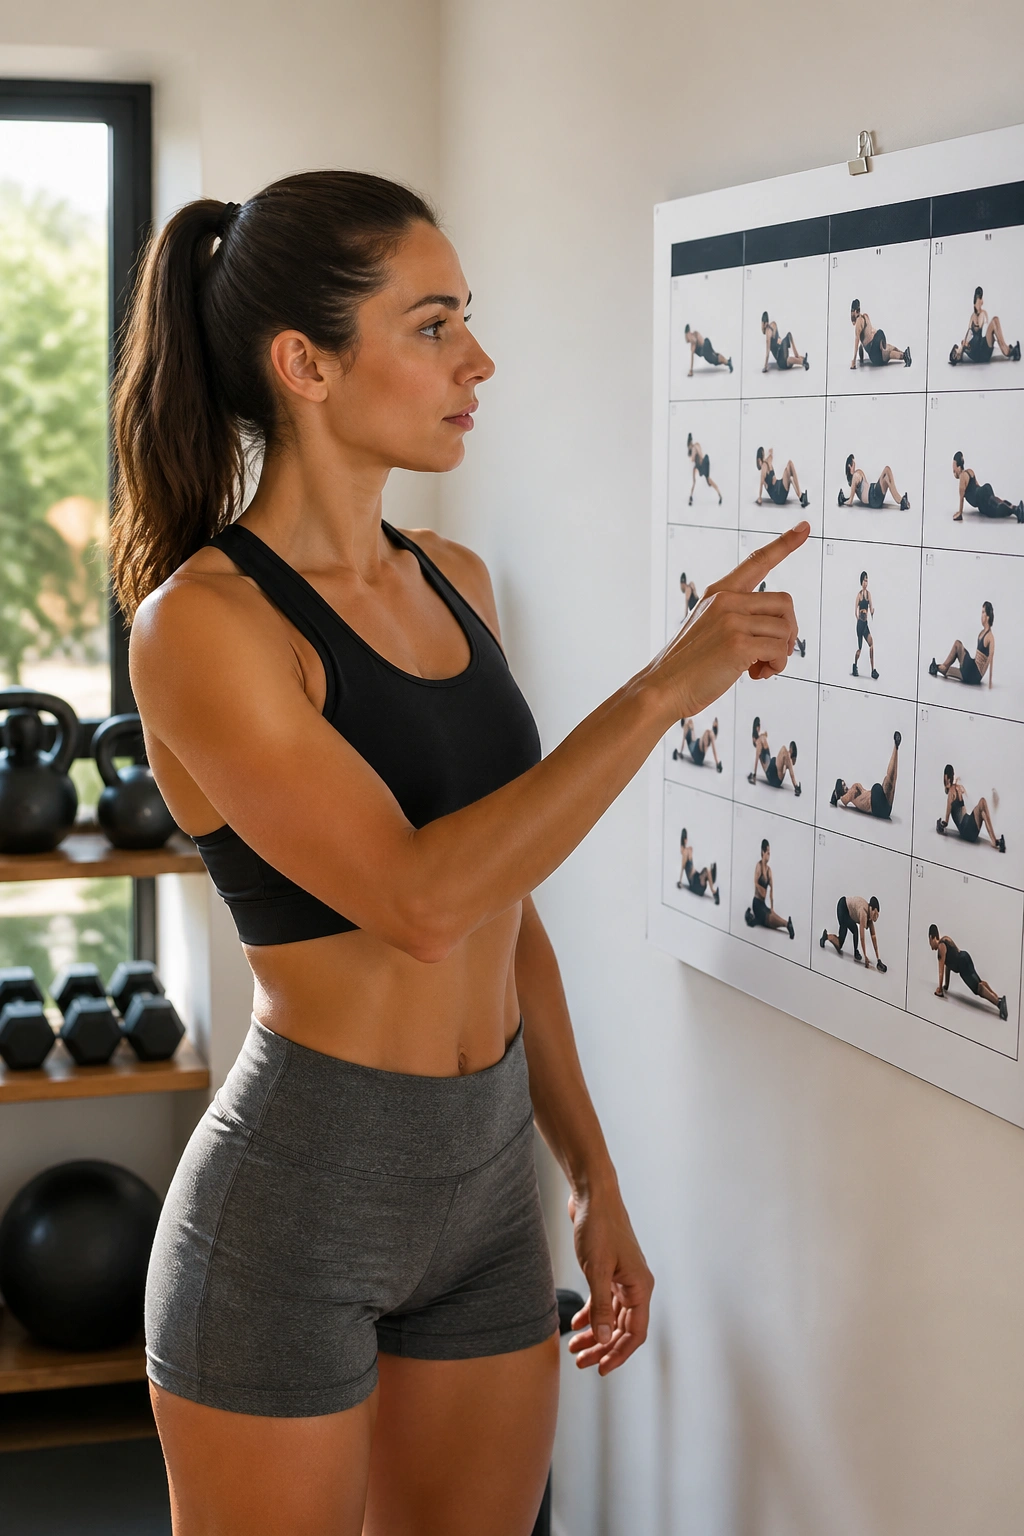
Trying all 15 full blast in seven days is a fast way to hate your life. The smarter move is to treat this list like a menu. If you are new to structured training, pick 7 to 9 sessions. If you already train, you can pair a longer workout with one short finisher and sample all 15 across the week.
Start each session with 3 to 5 minutes of warm-up: brisk marching, 10 bodyweight squats, 10 hip hinges, 20 arm circles, and 5 slow breaths with a full exhale. That little reset matters more than people think—especially if you sit for work and your hips feel locked when you stand up.
A sample seven-day rotation
- Day 1: Workout 1 + Workout 8
- Day 2: Workout 2
- Day 3: Workout 5 + Workout 13
- Day 4: Workout 14 + Workout 7
- Day 5: Workout 4 + Workout 12
- Day 6: Workout 10 or Workout 11
- Day 7: Workout 3, Workout 6, or Workout 15 depending on energy and sleep
That setup spreads the harder efforts out. You get lower-impact days, trunk work, conditioning, and enough recovery to come back with decent legs instead of dead ones.
How hard should these feel?
Use a rough RPE scale—rate of perceived exertion—where 1 is a nap and 10 is an all-out sprint you could not hold another second.
- Easy recovery work: RPE 4 to 5
- Steady cardio and circuits: RPE 6 to 7
- Short intervals and finishers: RPE 8
- Save RPE 9 for brief bursts, not every session
Chasing collapse is not the goal. The goal is to finish, recover, and show up again.
1. Brisk Incline Walking Intervals
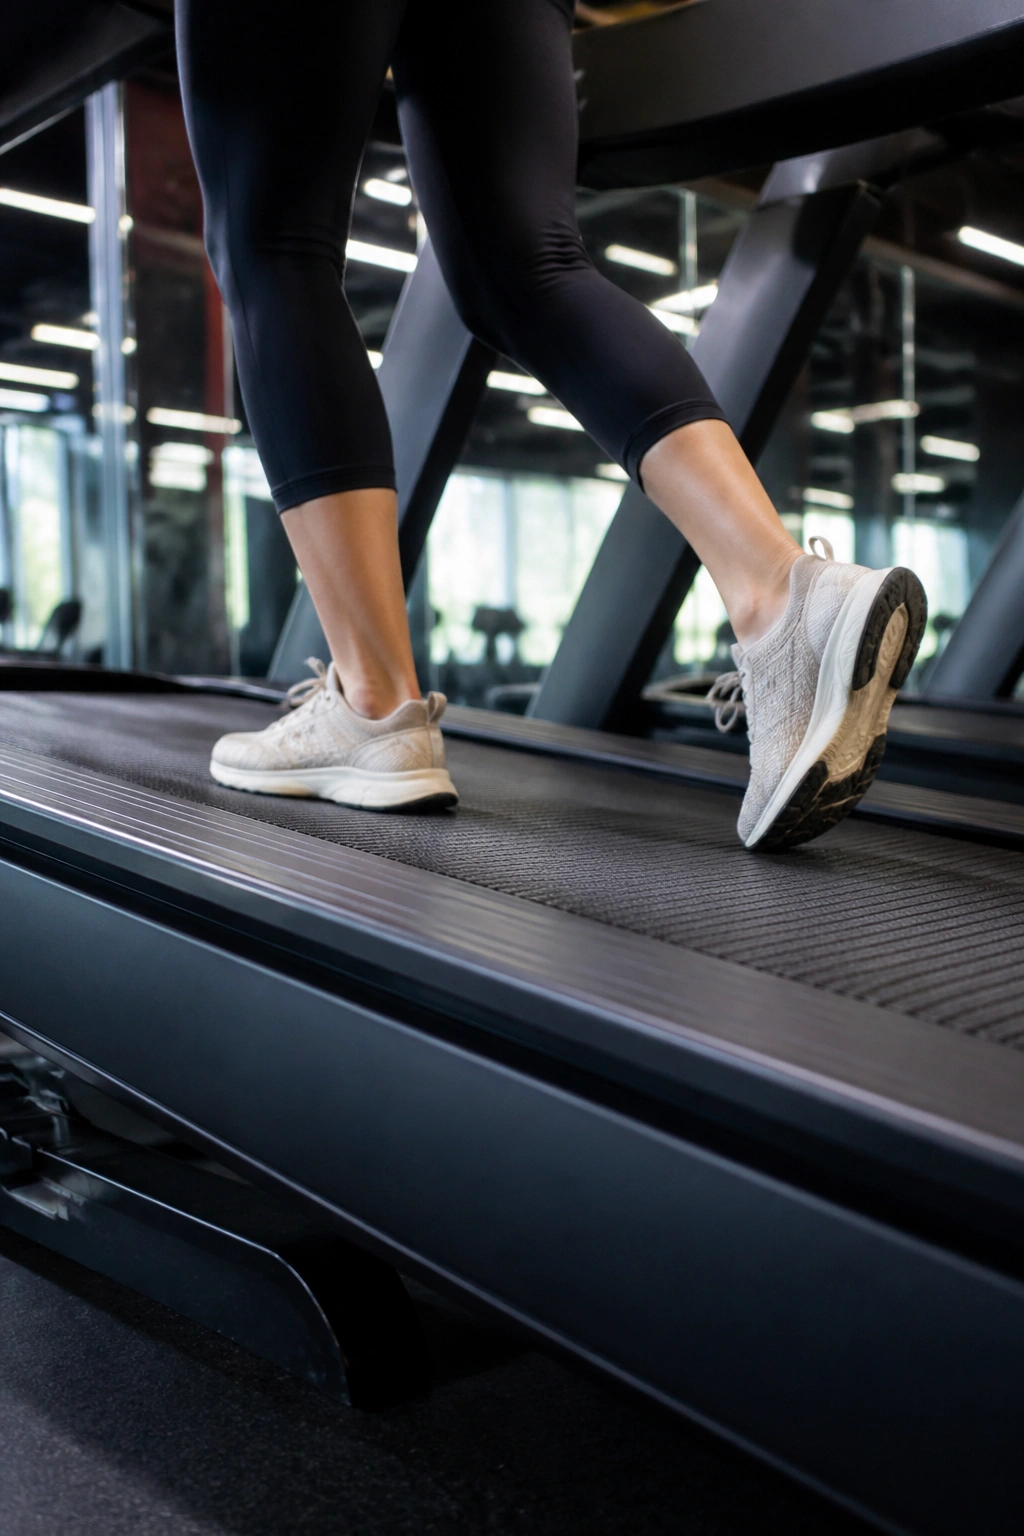
Walking gets dismissed because it looks too ordinary. That is a mistake. Incline walking is one of the cleanest belly fat workouts for people who want a hard training effect without pounding their joints.
A treadmill set to a 6% to 12% incline changes everything. Your glutes wake up, your heart rate climbs, and you can still keep the movement smooth enough to repeat three or four times each week if needed.
Why this one works
Unlike flat walking, hill or incline work raises the cost of each minute without forcing you into an all-out sprint. That matters if you carry extra body weight, deal with shin splints, or lose form when you run.
Quick setup
- Warm up for 5 minutes on flat ground
- Walk 1 minute hard at an incline where talking comes out in short phrases
- Walk 1 minute easy on a lower incline
- Repeat for 10 to 12 rounds
- Cool down for 5 minutes
Do not hang on to the rails unless you need a quick balance check. If you are gripping the machine, the incline is too steep or the pace is too fast.
2. Bodyweight Squat-and-Reach Circuit
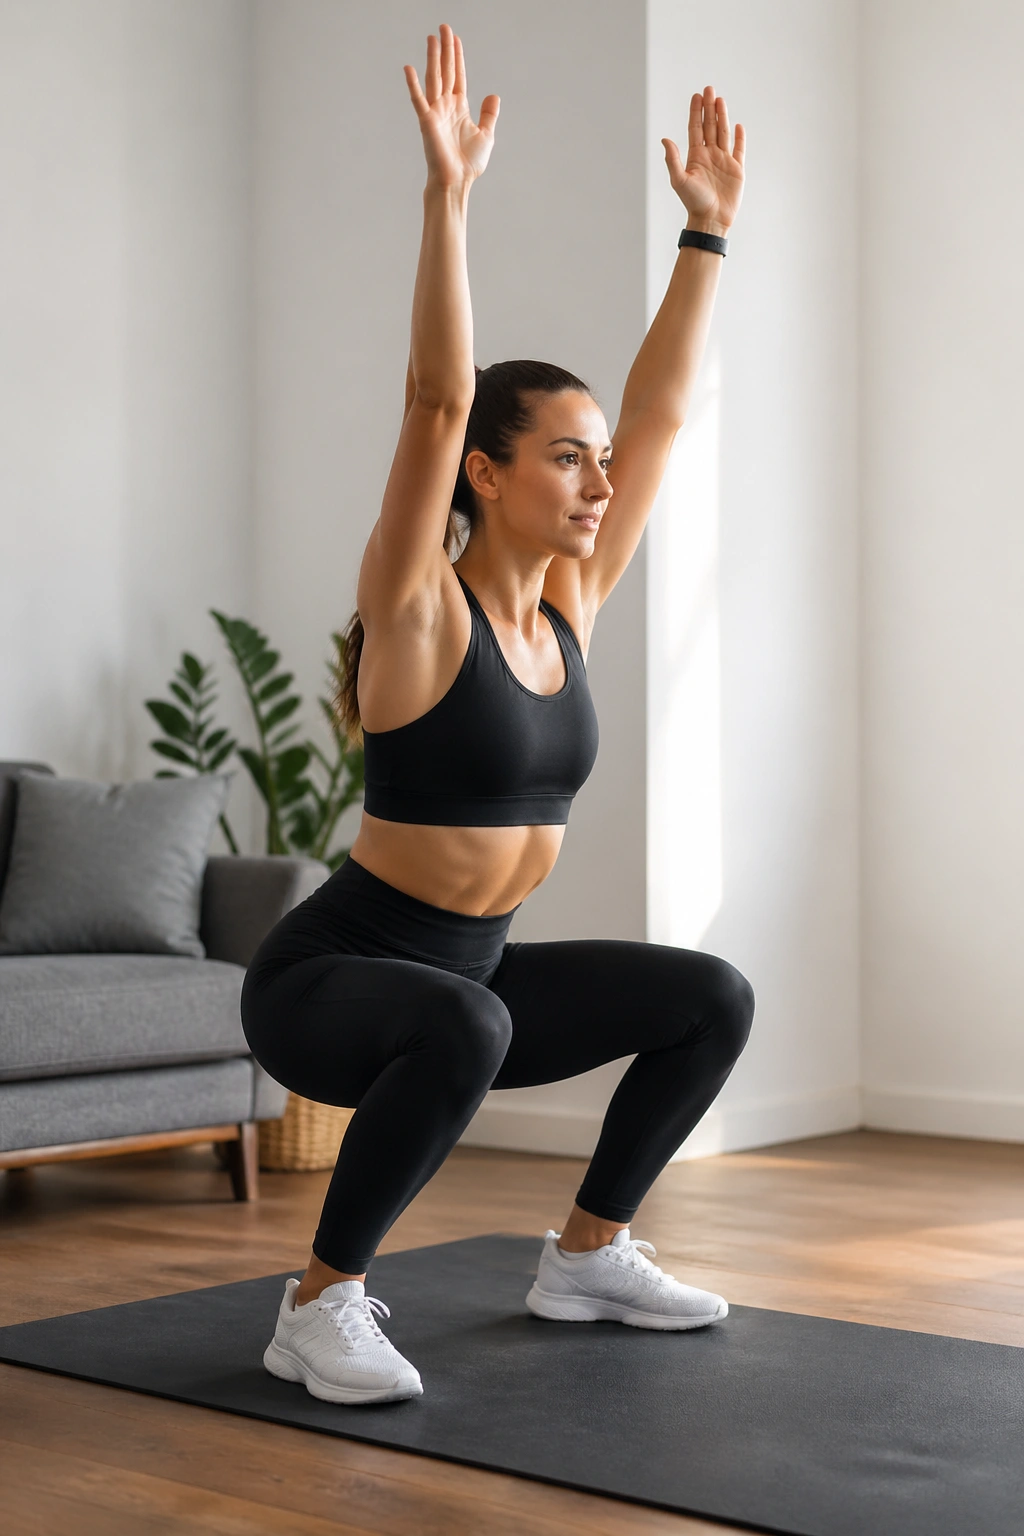
Give someone 15 minutes, a little floor space, and no equipment, and this is one of the first fat-loss circuits I would hand them. Bodyweight circuits work because they blend muscular effort with continuous movement, which drives your heart rate up without locking you into one pattern for too long.
Try this for 4 rounds: 12 squats, 8 reverse lunges per side, 10 incline push-ups against a bench or countertop, 30 seconds of fast marching with high arms, then 45 seconds of rest. If you have more gas in the tank, take a fifth round. If your knees bark on lunges, swap them for split-squat holds of 20 seconds per side.
The squat matters here because it trains the biggest muscles in your lower body. Bigger muscles use more energy. The push-up variation matters because upper-body work keeps the circuit from turning into a leg-only slog and forces your core to brace while your arms move.
Watch your breathing. Exhale on the way up from the squat and on the push part of the push-up. People often rush circuits and end up holding their breath, which turns clean effort into messy flailing fast.
This one is humble. It also works.
3. Mountain Climber Ladder
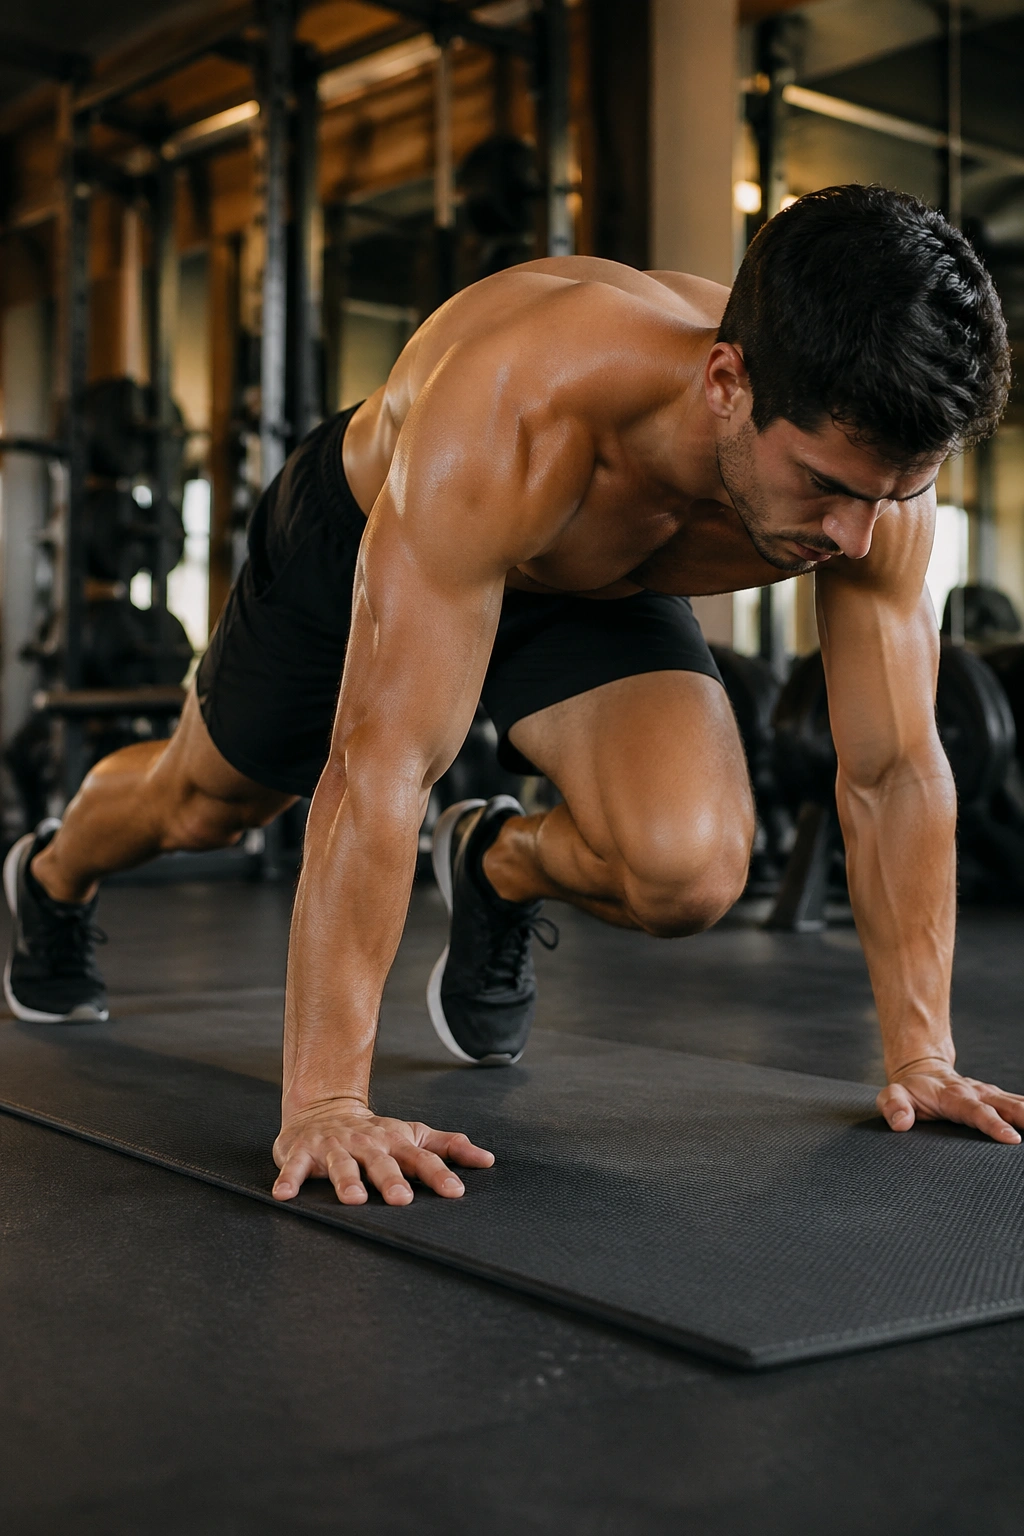
Why do mountain climbers hit so hard when they look so simple? Because they ask your shoulders, chest, abs, hip flexors, and lungs to cooperate at speed—and the weak link shows up fast.
The trick is not to go wild from the first rep. Use a ladder format so the intensity rises, then drops before your form falls apart. Start with 20 seconds on and 20 seconds off. Move to 30 on and 20 off. Then 40 on and 20 off. Drop back to 30 on, then 20 on. Rest 60 seconds. Run that ladder twice.
How to keep it from turning into a low-back mess
Push the floor away. Keep your shoulders stacked over your wrists. Pull one knee in at a time with intent instead of bouncing both feet and letting your hips pike up.
Cross-body climbers—right knee toward left elbow—bring more rotational demand through the trunk. Straight-ahead climbers feel faster and more cardio-heavy. Both work. Pick one version for the full ladder rather than switching every 10 seconds and losing rhythm.
If your wrists hate the floor, place your hands on a sturdy bench. Same drill, less joint angle at the wrist, and a lot more comfort for desk workers.
4. Kettlebell Swing Intervals

Kettlebell swings are not a shoulder exercise. They are a hip snap workout that trains power, posterior-chain strength, and conditioning at the same time.
The first time someone gets the pattern right, you can see it. The bell floats instead of being yanked. The hips drive. The abs lock in. The lower back stops complaining because it is no longer doing the whole job.
A clean starting point is 10 minutes on the minute. At the top of each minute, do 12 to 15 swings, then rest for the remainder of that minute. Use a bell you can deadlift with strong form for at least 10 reps. If the bell drifts low between your knees and pulls your chest down, it is too heavy or your hinge is off.
Key cues that matter
- Hike the bell back like a football, not straight down
- Snap the hips and squeeze your glutes at the top
- Let the bell float to chest height; do not lift it with your arms
- Keep your ribs down so you do not overarch your back
If it feels like a squat, reset. A swing is a hinge.
5. Rowing Machine 250-Meter Repeats
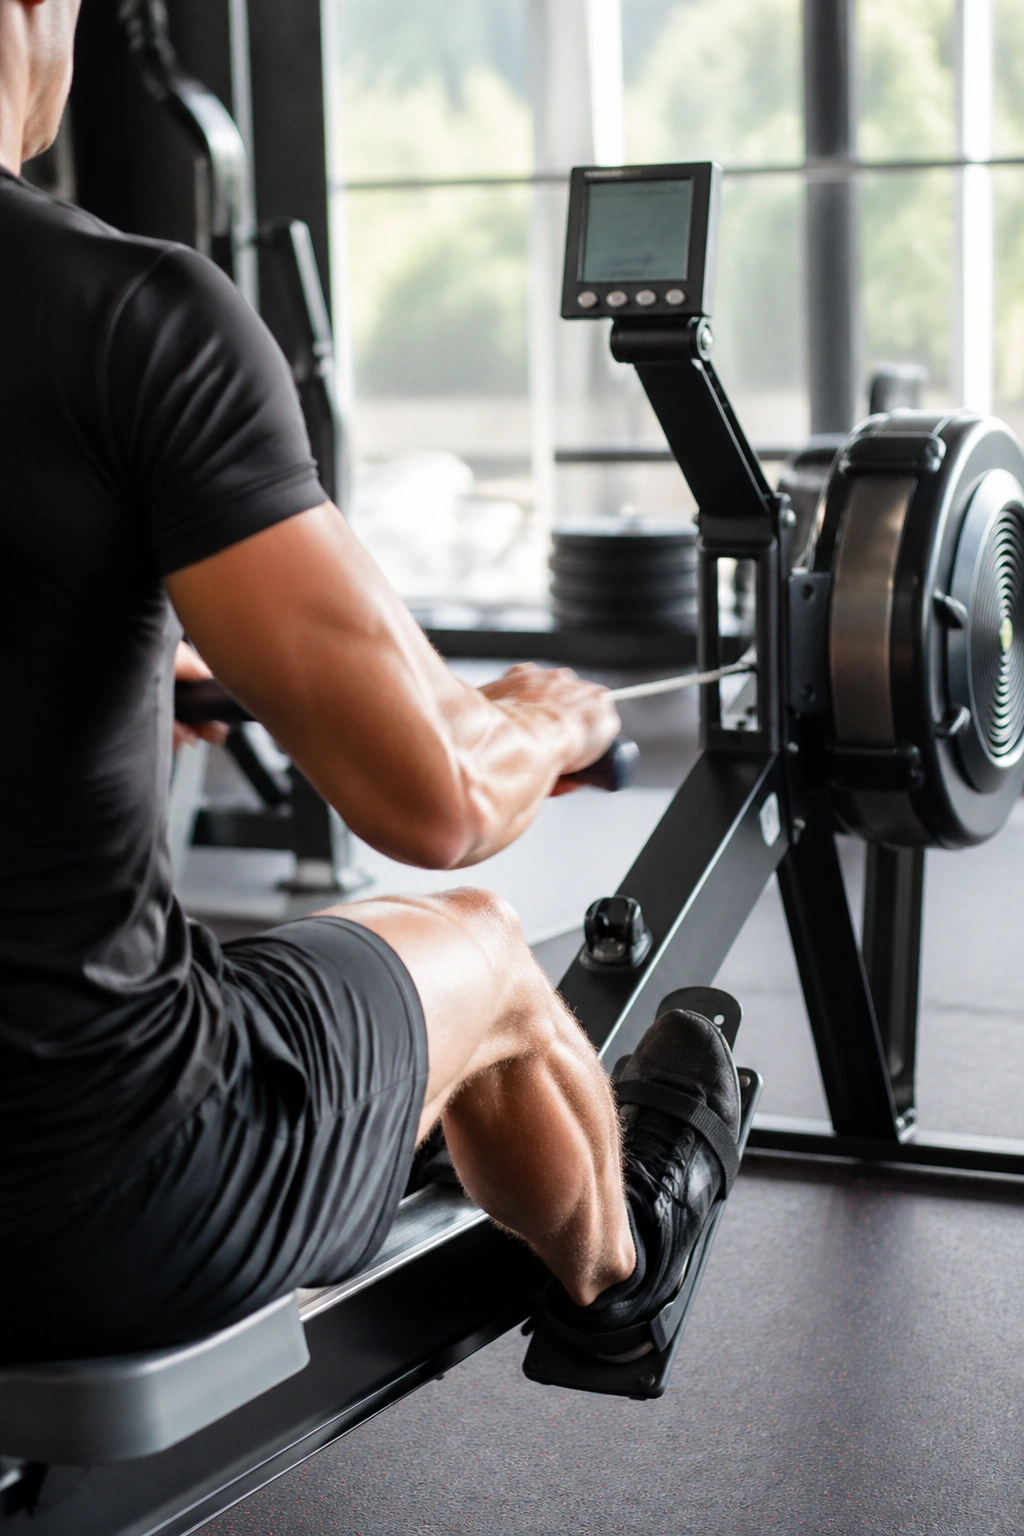
Unlike hard running, rowing lets you push the pace without the same impact on your ankles and knees. That makes rower intervals a strong pick for heavier trainees, people rebuilding fitness, and anyone who wants a hard session without a bunch of pounding.
Use 6 to 8 rounds of 250 meters hard, followed by 75 to 90 seconds of easy rowing. Hard means powerful leg drive and controlled breathing, not frantic yanking with your arms. A good row starts with the legs, then the body swing, then the arms. The return goes the other way: arms, body, legs. Get that order right and the machine feels smooth instead of jerky.
The rower also punishes sloppy pacing. Sprint the first 100 meters like a maniac and you will pay for it by the final pull. Hold a stroke rate you can own—often around 24 to 30 strokes per minute for interval work—and focus on strong drives rather than tiny rushed pulls.
Who gets the most from it? People who want a whole-body interval without jumping, and people who can keep technique together under fatigue. If your lower back rounds at the catch, shorten the stroke a hair and clean up the setup before adding speed.
6. Dumbbell Thruster and March Combo
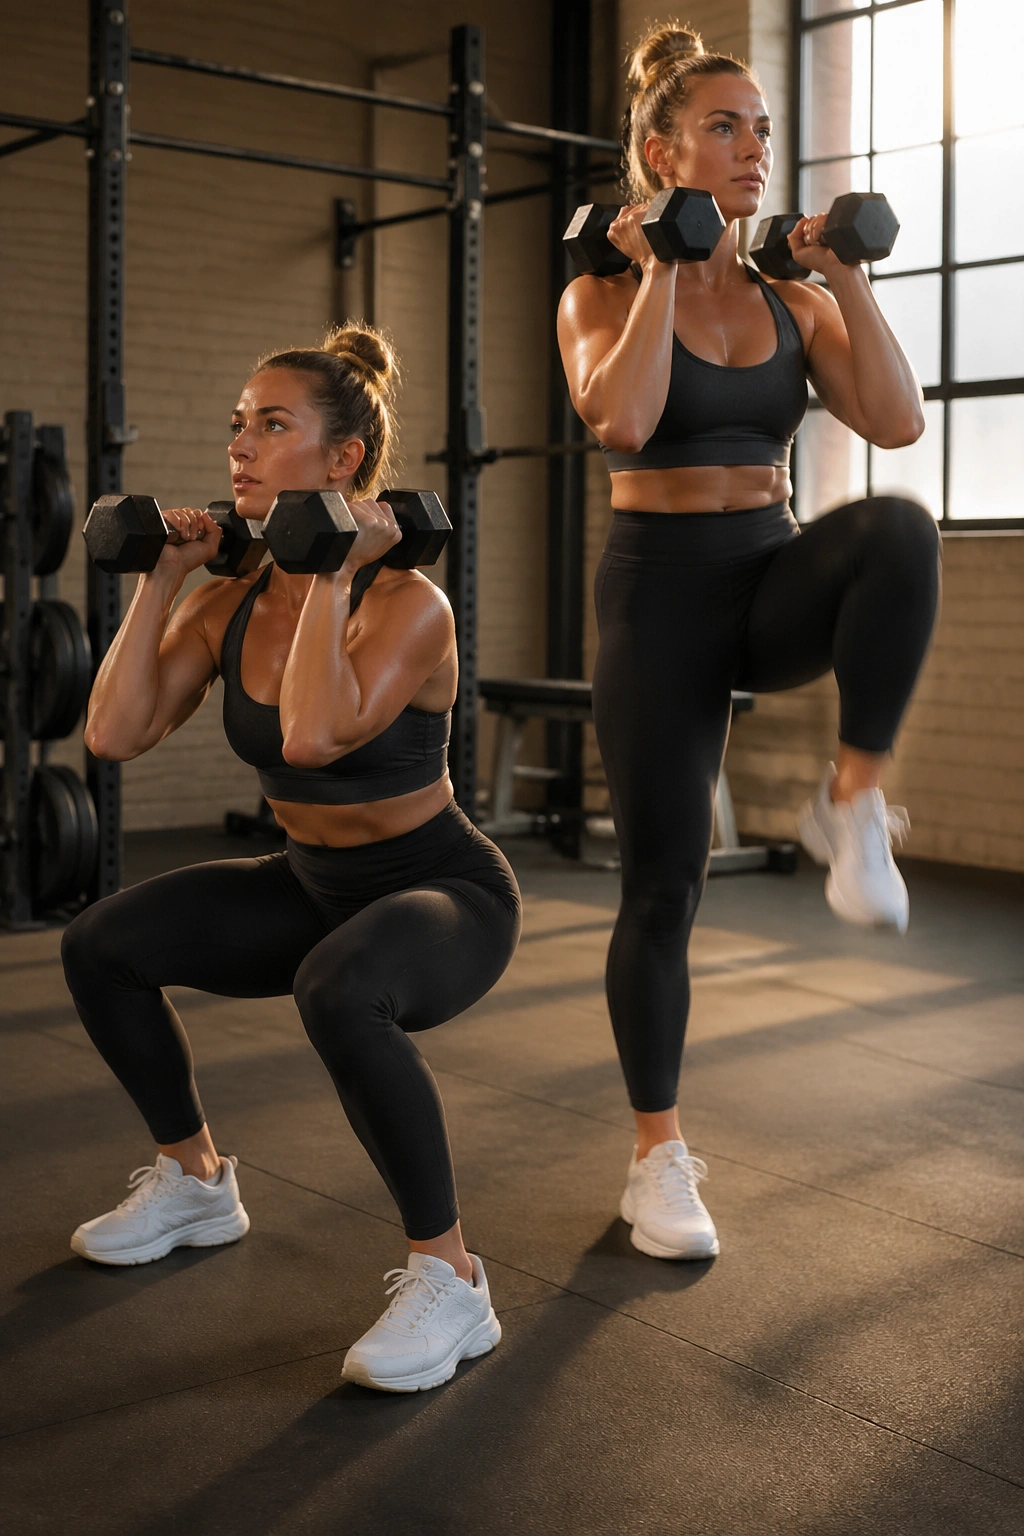
Thrusters drive your heart rate up fast. Add a loaded march after them and your abs have to work overtime to keep your torso from wobbling.
Here is the setup: hold a pair of dumbbells at shoulder height. Do 8 thrusters—a squat flowing into an overhead press—then keep the dumbbells either overhead or in the front rack and perform a 40-second march in place. Rest 60 to 75 seconds. Repeat for 3 to 5 rounds.
This combination works because the squat and press use a lot of muscle at once, then the march extends the set without more impact. Your trunk has to brace with each step. If you use one dumbbell instead of two, the anti-rotation demand climbs even more.
Watch these details
The lower ribs should stay stacked over the pelvis during the press. If your chest flies up and your back arches, the weight is too heavy or your shoulders are out of room. Front-rack marching is often the better call for beginners because it is easier to keep the torso tight.
One more thing: the squat part should hit a depth you can control, not the deepest squat your joints can survive for one ugly rep.
7. Shadow Boxing Cardio Rounds

Two minutes of fast shadow boxing will warm your shoulders, spike your pulse, and make your core work in a way floor exercises never quite match. Punching in space sounds easy until you keep your hands up, rotate through the ribs, and move your feet with purpose.
Run 6 rounds of 2 minutes on and 45 seconds off. During each round, throw simple combinations—jab, cross, hook, cross—then add slips, duck-unders, or a knee strike every 20 to 30 seconds. Stay light on your feet. If you have no boxing background, keep the patterns basic and clean.
The waist-training value comes from the rotation and the constant deceleration. Every punch has to stop. Every slip asks your trunk to stabilize. That repeated bracing adds up, and it does it without the neck strain a lot of people feel during old-school ab circuits.
This session also solves a common problem: boredom. Cardio machines make some people miserable. Shadow boxing feels more like play, or at least controlled chaos, and adherence matters. The best calorie-burning workout on paper is useless if you dodge it all week.
Keep the fists loose. Relax the jaw. Breathe out on the punches. You will feel the difference by round three.
8. Dead Bug, Plank, and Heel Tap Core Set
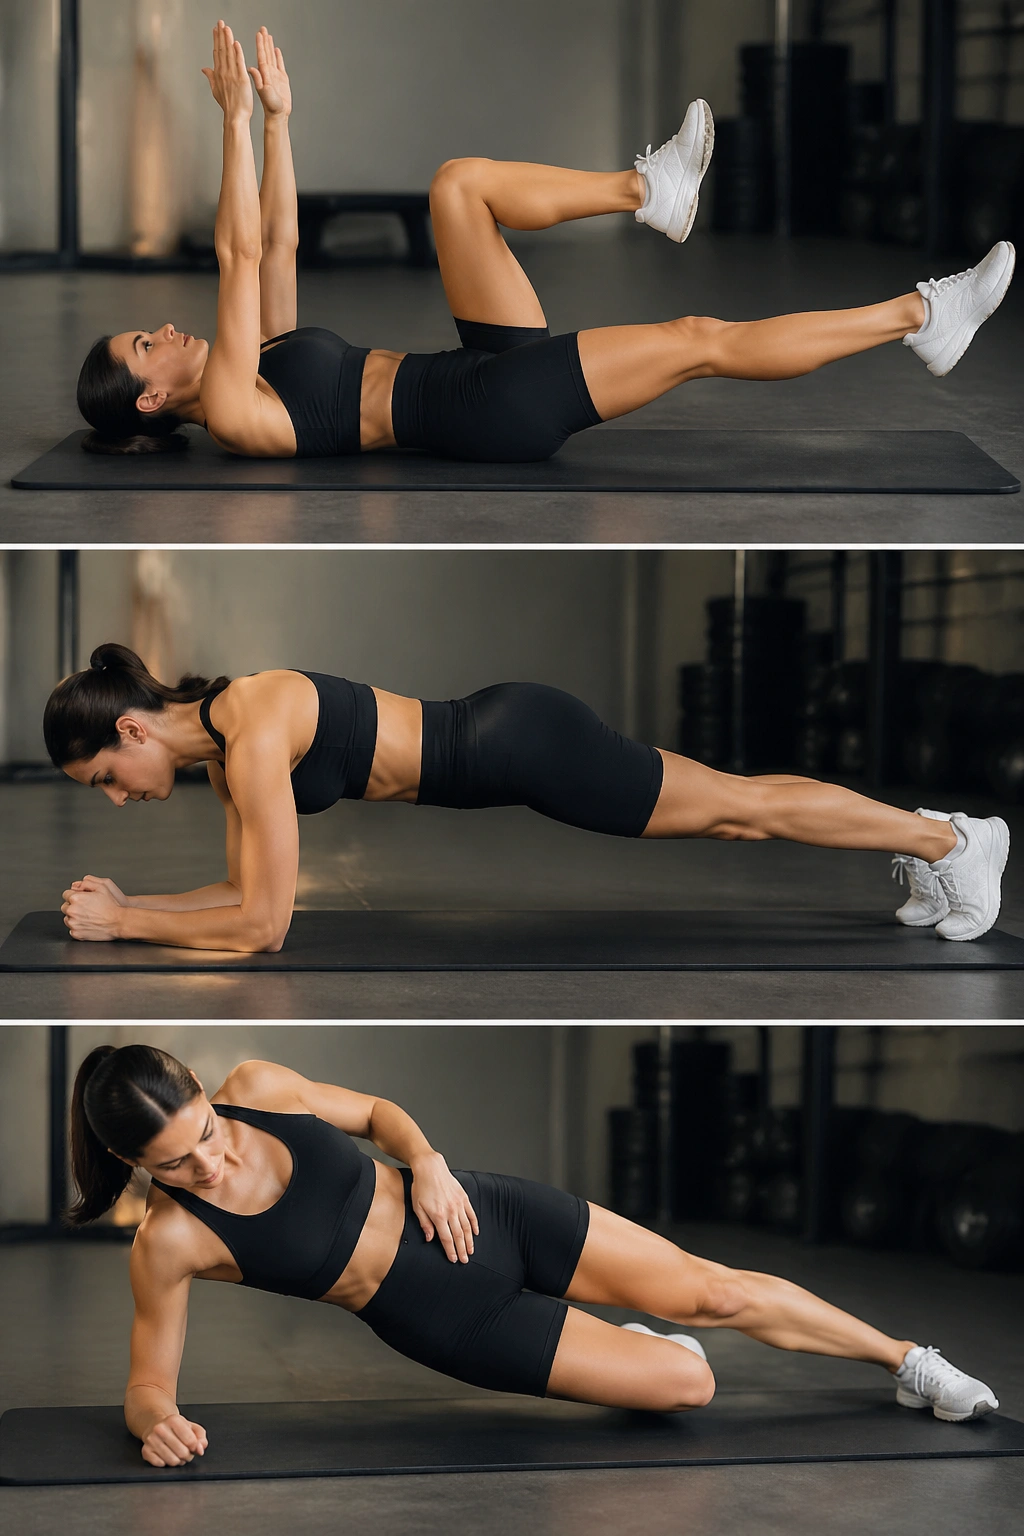
Slow core work does not look dramatic. It is still one of the smartest things you can pair with fat-loss training.
This set is built around anti-extension and anti-rotation, which is a fancy way of saying your abs learn to stop your spine from moving when your arms and legs do. That matters in carries, swings, rows, sprints, and daily life—especially if your lower back takes over whenever you get tired.
The sequence
- 8 dead bugs per side with a full 3-second exhale on each rep
- 30 seconds forearm plank
- 12 heel taps per side while lying on your back, ribs down
- 20 seconds side plank per side
- Rest 45 seconds
- Complete 3 rounds
What people mess up
- Letting the low back pop off the floor during dead bugs
- Holding the breath instead of exhaling fully
- Turning the plank into a shoulder endurance contest with hips sagging
- Racing heel taps with zero abdominal tension
If your back arches, the rep is over even if the timer says otherwise. Quality wins here.
9. Cycling Sprint Intervals
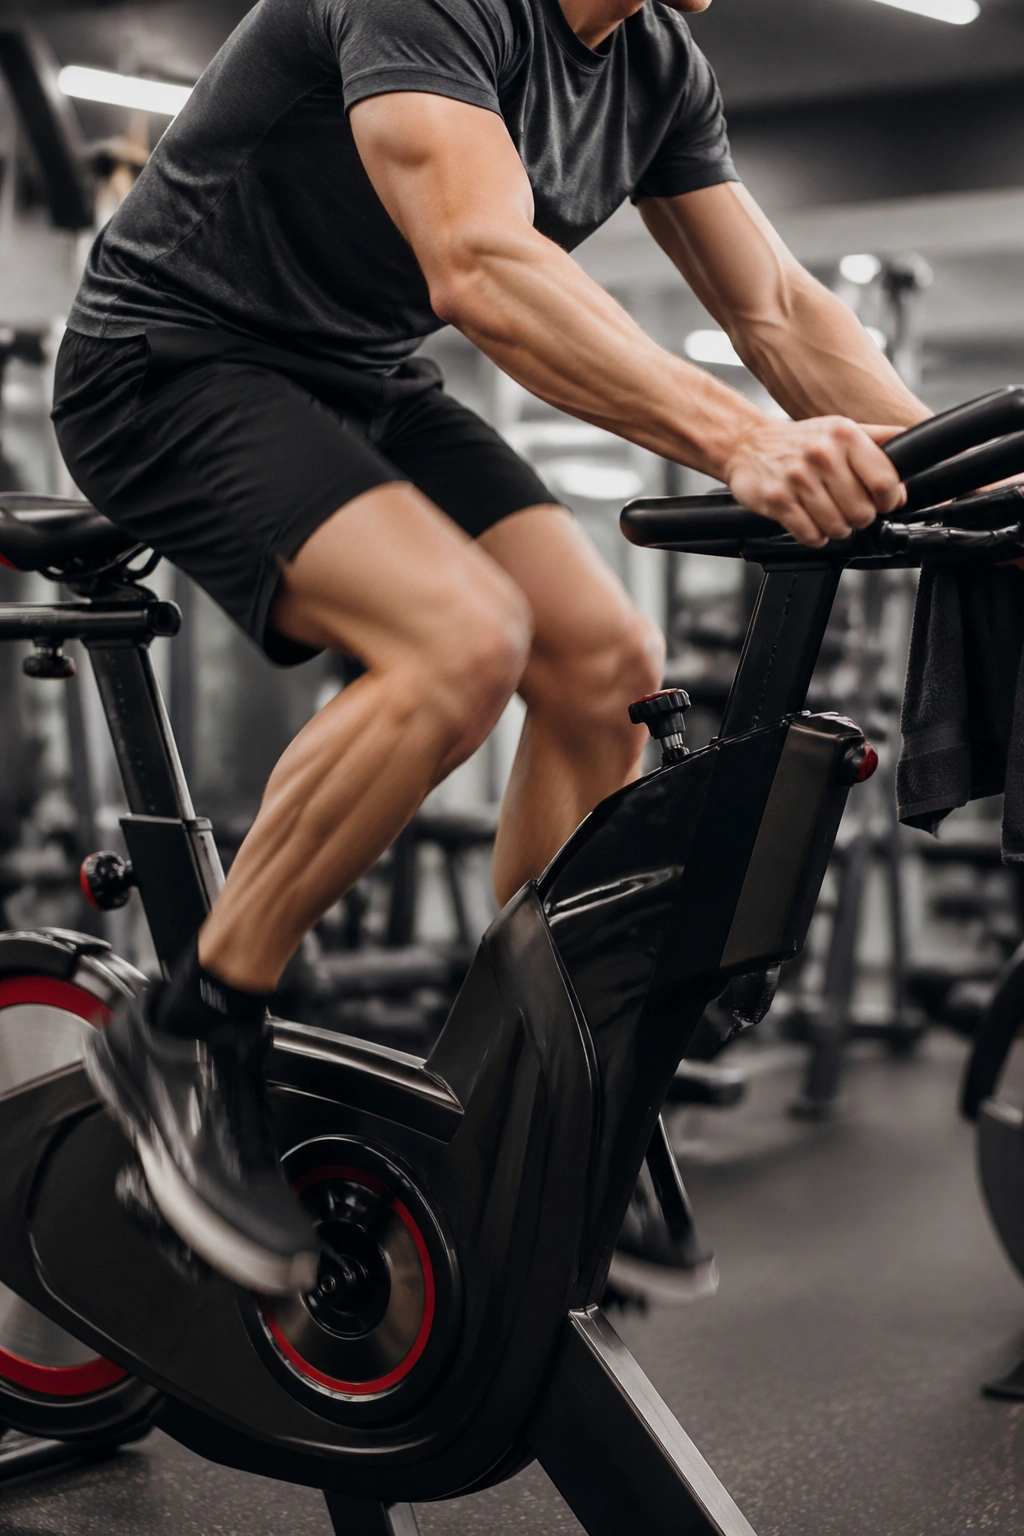
Need a hard interval day that does not beat up your joints? Bike sprints are hard to beat for that job.
Use a stationary bike or a safe outdoor stretch and try 8 rounds of 20 seconds hard and 100 seconds easy. Keep the work intervals seated at first. Most people produce better power and cleaner mechanics from the saddle before they start standing and rocking the bike around.
The sweet spot is a resistance level that lets you hit 90 to 110 rpm during the sprint without spinning out. Too light, and your legs blur with no force. Too heavy, and the sprint turns into a grind. You want fast, forceful pedal strokes with a smooth circular feel.
Why the bike earns a slot in a belly-fat plan
Hard bike intervals burn energy, improve work capacity, and ask a lot from the legs and trunk without the landing forces of jumps or sprints on concrete. That makes them a strong choice for people with cranky knees, sore calves, or a history of ankle issues.
Keep the easy intervals honest. Pedal lightly. Let your breathing come down. If every round feels identical to the sprint, you are not recovering enough to make the hard parts count.
10. Stair Climb Repeats

An ordinary staircase can turn ugly—usefully ugly—after the fourth repeat. Stair climbing is one of the fastest ways to raise your heart rate with zero fancy equipment.
Use one flight or multiple flights and climb hard for 20 to 40 seconds, then walk back down slowly for recovery. Repeat for 10 to 12 rounds. Shorter staircases work fine; you just turn and keep going until the time is up. Keep your whole foot on the step if you can. That helps your glutes and keeps the calves from doing all the work.
The key is posture. Lean forward a little from the torso, drive through the legs, and pump the arms. What you do not want is collapsing onto the banister and dragging yourself upward with your upper body.
Good uses for stair repeats
- Apartment buildings
- Stadium steps
- Office garages during lunch breaks
- Rainy days when outdoor walking is miserable
This session has bite. If you have touchy knees, start with 6 rounds and lower step volume before pushing the time.
11. Jump Rope 40/20 Intervals
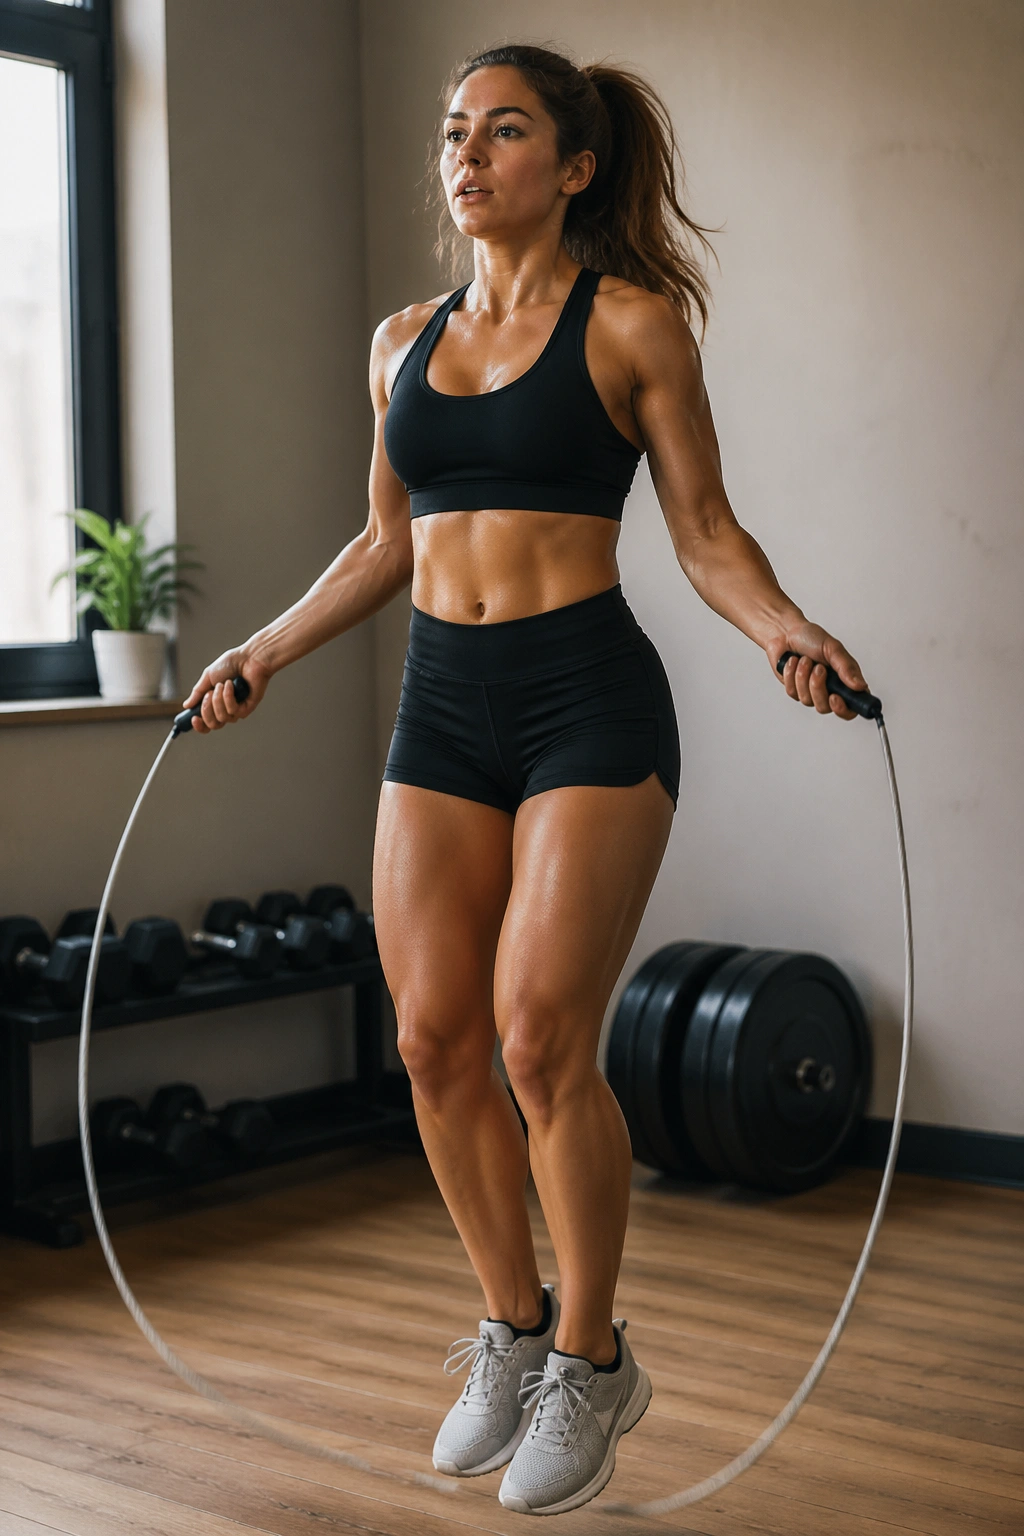
Jump rope punishes sloppy timing, which is part of why it works so well. You are not only training cardio. You are also training rhythm, spring through the ankles, hand timing, and a small but constant brace through the trunk.
Start with 10 rounds of 40 seconds on and 20 seconds off. Rest 2 minutes. Then do another 10 rounds if your calves still feel alive. Newer jumpers should use an alternating-foot step or boxer step rather than pogo-jumping straight up and down for the whole set. That tiny change spreads the load and keeps your shins happier.
A rope workout also keeps you honest in a way treadmills sometimes do not. Miss the rope and the rep stops. Your body has to stay organized. Shoulders down, elbows tucked near the ribs, wrists turning the rope, jumps low to the floor. The movement should look compact, not theatrical.
No rope? Mimic the same timing without one. It is not identical, though it still gives you a brisk, low-space conditioning option when travel or weather wrecks your plan.
Calves get sore with this one. Plan around that.
12. Medicine Ball Slam Circuits
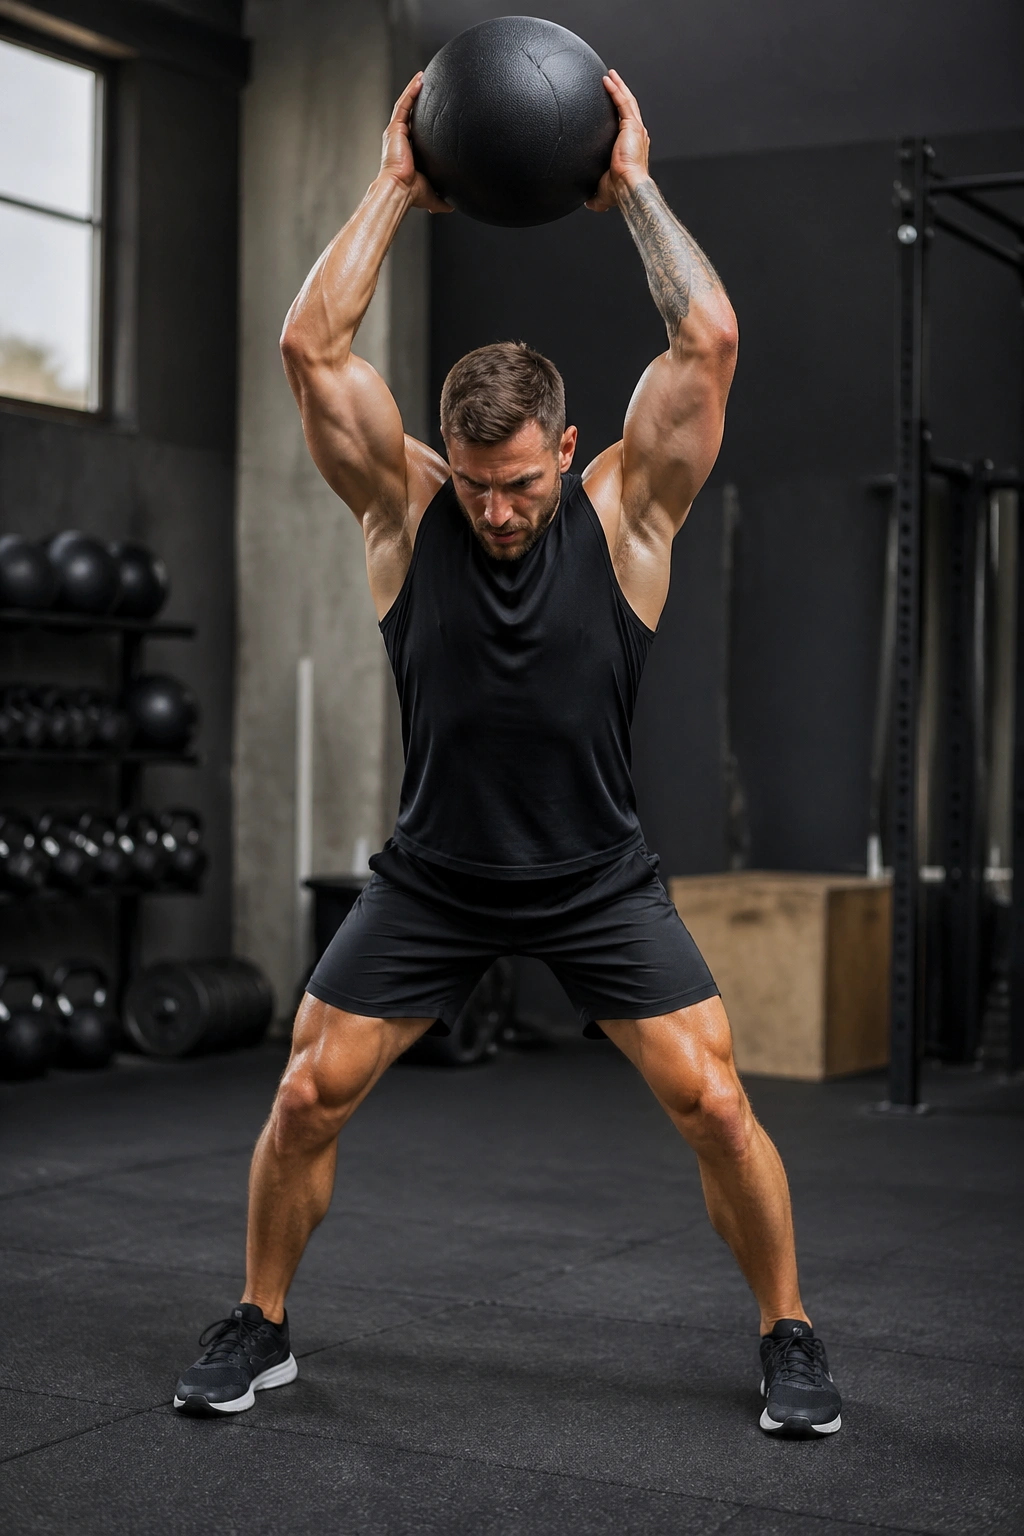
Medicine ball slams feel like stress relief, but that is not why they belong here. They let you produce force fast, brace hard, and recover in short bursts, which makes them a sharp conditioning tool when done with control.
Unlike crunches, slams train the trunk through a full explosive pattern. You reach tall, brace, drive the ball down, catch it cleanly, and repeat. The whole body joins in. That is the point.
Try 6 rounds of this mini-circuit:
- 12 medicine ball slams
- 8 squat-to-press reps with the same ball
- 30 seconds rest
Use a non-bounce slam ball if possible. A lively rubber ball can come back at your face faster than your reflexes.
Who is this best for? People who want a short, aggressive finisher and already know how to hinge and brace. If overhead range is tight or your shoulders feel pinchy, reduce the reach and make the slam more about trunk stiffness and hip drive than a giant arm swing.
The floor should shake a little. Your back should not.
13. Farmer Carry and Suitcase Carry Finisher
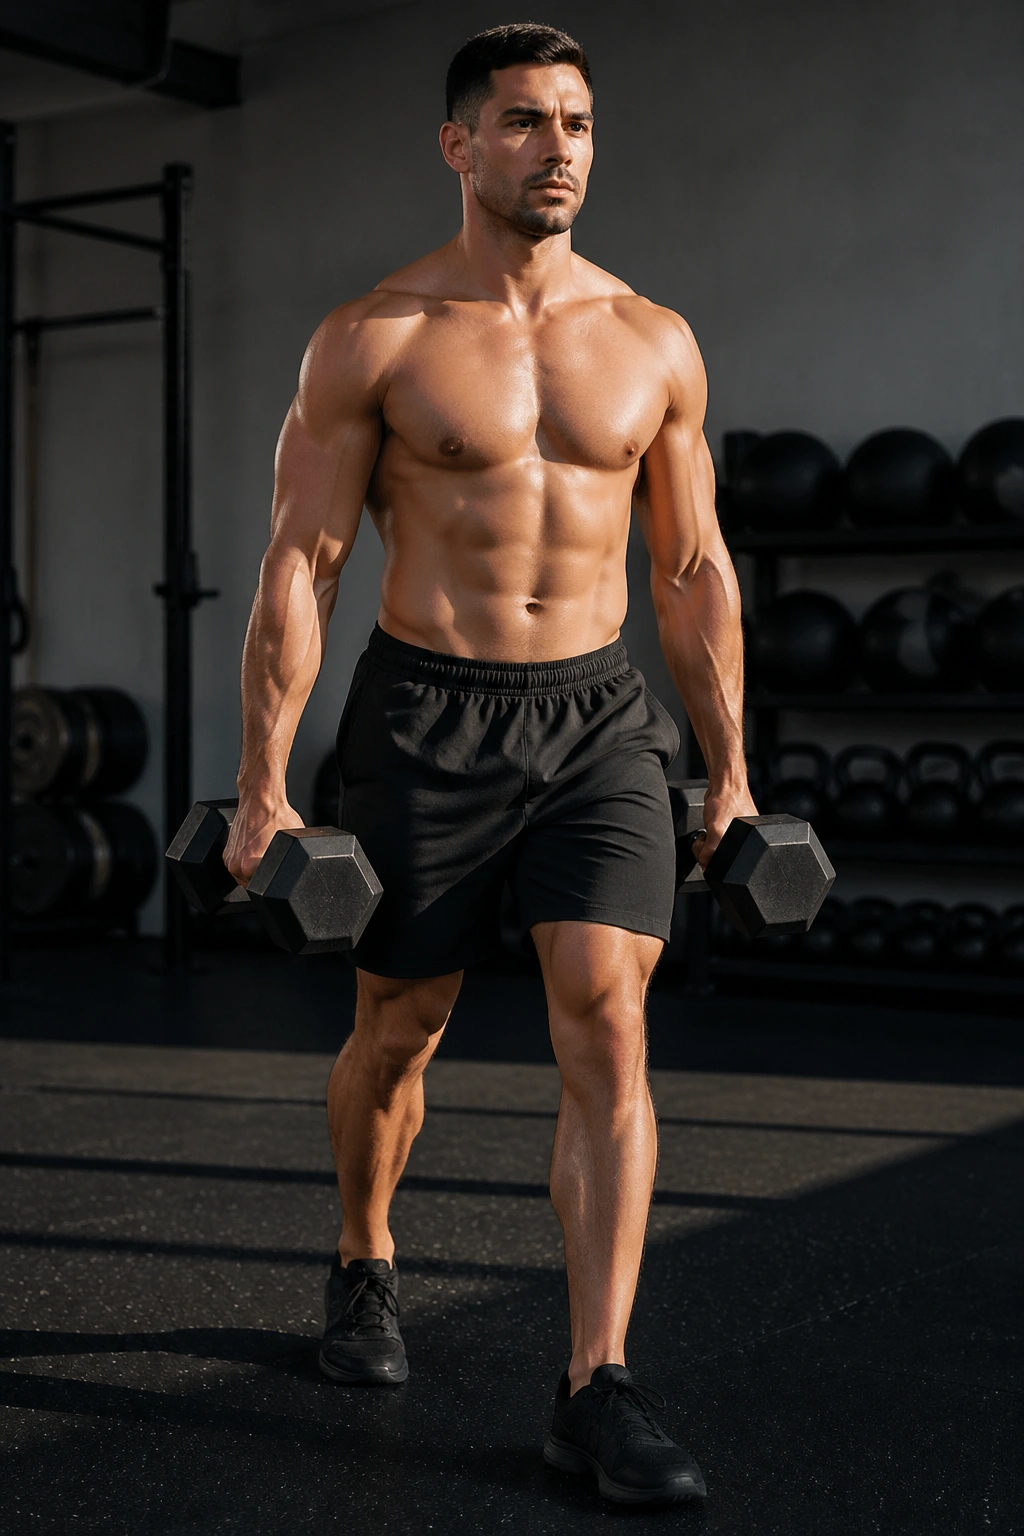
Carries humble people.
Load up two dumbbells or kettlebells and walk 30 to 40 meters with both hands in a standard farmer carry. Then carry one weight on the right side for 20 to 30 meters, switch hands, and repeat on the left. Rest 45 to 60 seconds. Do 4 rounds.
This does not look like a belly-fat workout until you try it and feel your obliques, upper back, forearms, and lungs all start negotiating. The unilateral suitcase carry is the sneaky part. One side wants to drag you off center, and your trunk has to resist that pull with each step.
Why carries hit the waist so well
Your abs are meant to transfer force and stop leaks in posture. Carries do that better than most floor drills because you stay upright, breathe under tension, and move through space instead of lying still.
A few carry rules
- Walk tall; do not lean into the weight
- Take short, quick steps rather than long stomping strides
- Choose loads that challenge you without twisting your torso
- If grip fails in 8 seconds, the weight is too heavy for this purpose
You should feel worked, not crooked.
14. Low-Impact EMOM With Step-Ups and Bands
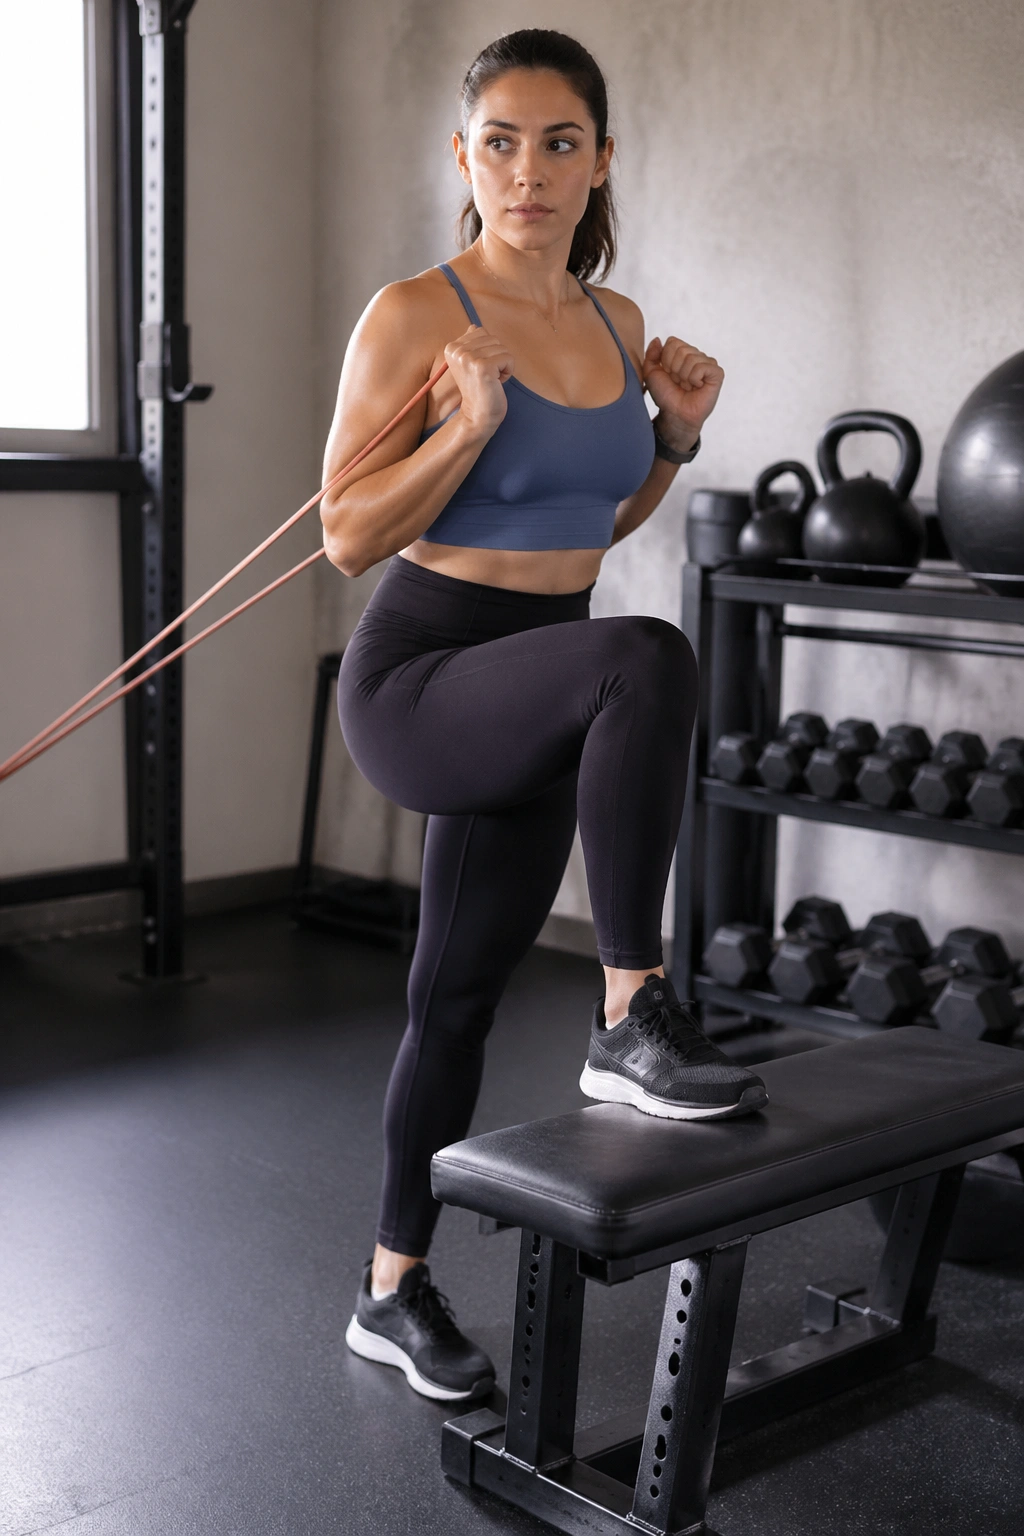
If jumping bothers your knees, this is your workaround. An EMOM—every minute on the minute—keeps you moving with structure, though the impact stays low and the pace stays under control.
Set a timer for 20 minutes. Each minute has one job:
- Minute 1: 12 step-ups, alternating legs
- Minute 2: 15 band rows
- Minute 3: 12 hip hinges or glute bridges
- Minute 4: 30 seconds fast march with strong arm drive
Repeat that 4-minute block 5 times.
Pick a step around 8 to 12 inches high. Higher is not always better. Too much height turns the move into a knee-grinding heave, and you stop getting the steady conditioning effect that makes EMOMs so useful.
The beauty of this setup is pacing. Finish the reps with 10 to 20 seconds left in the minute, breathe, then go again when the next minute starts. It feels organized. You still sweat hard. And if you train at home, it solves the classic problem of having bands, a step, and not much else.
15. Burpee-Walkout Intervals
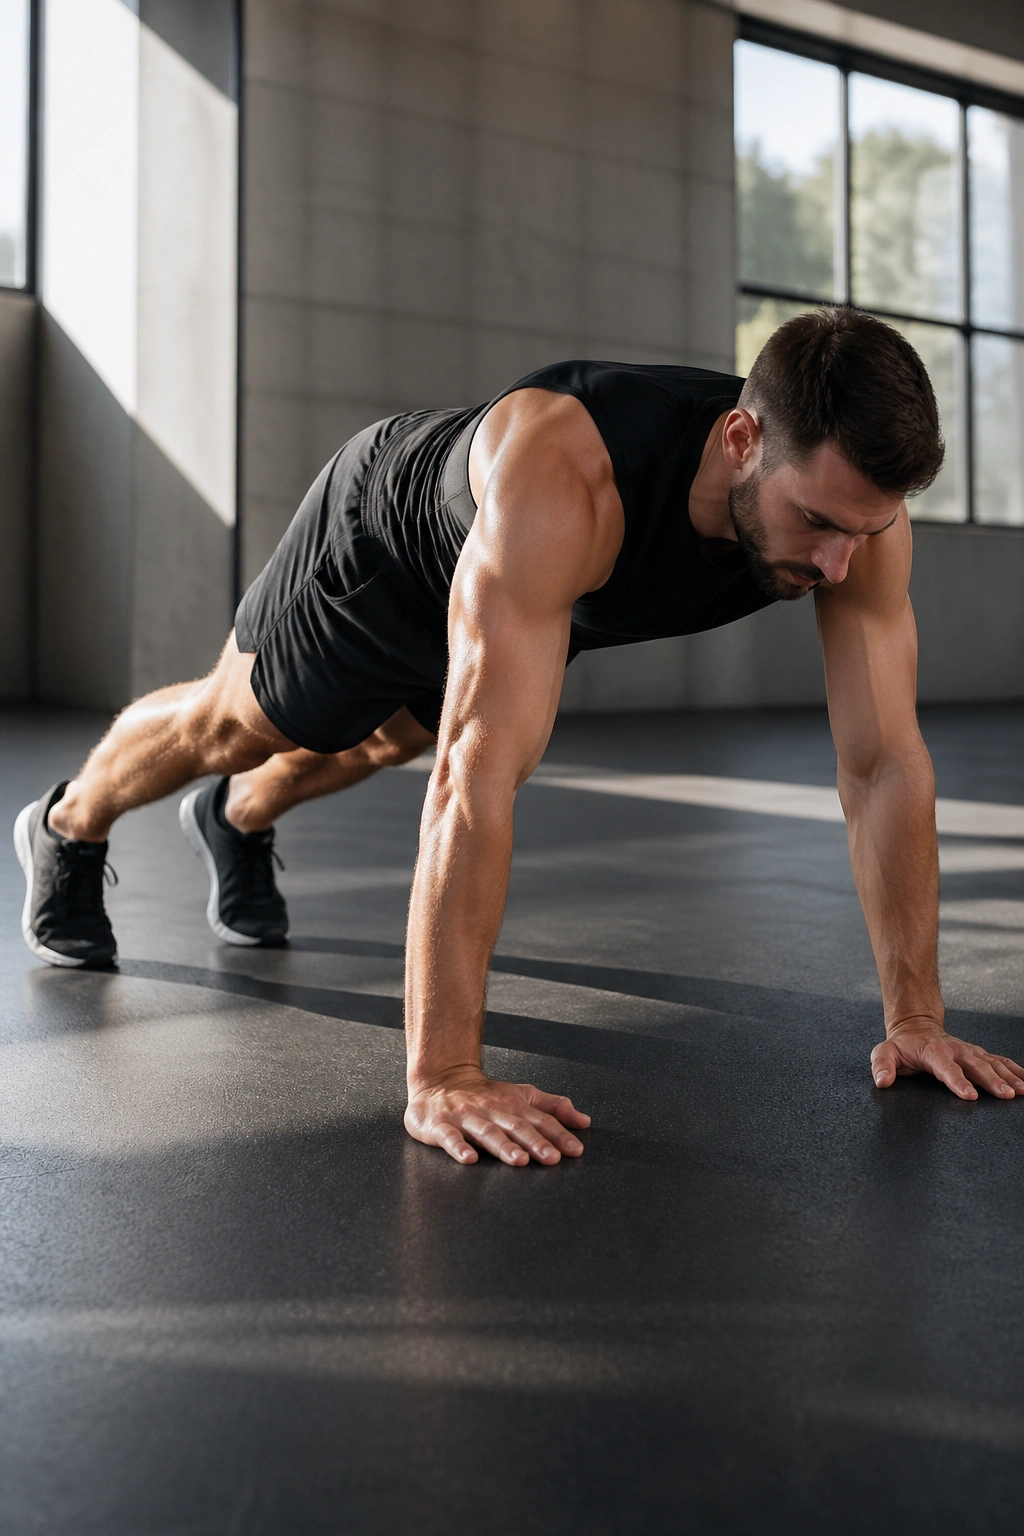
Burpees get abused. People rush them, flop onto the floor, snake their hips up, and call it grit. Clean burpee-walkouts are a different animal.
Use 8 to 10 rounds of 20 seconds work and 40 seconds rest. Squat down, place your hands on the floor, walk your feet back to a plank, hold one beat, walk your feet in, stand tall, and add a small jump only if your joints feel good. If you are advanced, you can turn the walkout into a hop-back version, though clean reps still come first.
This session works because it folds a squat pattern, a plank, and brisk pace into one repeatable movement. Done well, it drives your heart rate up fast and taxes the abs through the transition into and out of plank.
A short caution is worth giving here: if your back rounds badly or your hands slam the floor and your shoulders shrug up by your ears, regress the move. Elevate the hands on a bench or box. Same interval, better shape, less chaos.
Form first. Always.
Meals, Sleep, and Walking Between Sessions

You cannot out-train a week of loose eating and short sleep. There is no glamorous way to say that, though it matters.
If reducing belly fat is the goal, keep your protein high enough to protect muscle—about 25 to 35 grams per meal is a solid target for most adults—and put fiber on purpose into the day. Beans, Greek yogurt, eggs, fruit, potatoes, oats, vegetables, lean meat, tofu, cottage cheese. Boring foods often do the heaviest lifting.
Walking outside the workouts matters too. If your daily step count sits around 3,000, nudging it to 7,000 or more can change your weekly energy output far more than adding one extra death-circuit. And no, that is not exciting advice. I keep coming back to it because it works.
Sleep is where people lose the plot. Five hard workouts plus 6 hours of sleep tends to feel like hunger, cravings, and lousy recovery. Push that toward 7 to 9 hours, and training stops feeling like punishment.
Alcohol deserves a mention as well. A couple of drinks can slide into a late-night food spiral fast, and the math is not kind. Three tight workouts cannot erase a weekend of liquid calories and poor sleep.
Final Thoughts

Pick one lower-impact interval workout, one strength circuit, one carry or core finisher, and one session you enjoy enough to repeat. That mix gives you conditioning, muscle work, trunk strength, and enough variety to keep the week from going stale.
Track your waist, not only your body weight. Use the same tape position, the same time of day, and a short training log with notes on sleep, hunger, and energy. Patterns show up there before they show up in photos.
Most people do not need more ab exercises. They need better weekly training, cleaner recovery, and a plan they can stick with after the first burst of motivation burns off. When the week is built well, the waist usually follows.
