



Walking into a gym, you see the squat rack—it’s the throne of the weight room. Everyone talks about it like it’s the holy grail of leg training, but for a new lifter, the movement often feels more like a mechanical puzzle than a simple sit-down motion. You have likely heard a thousand cues: “knees out,” “chest up,” “break at the hips.” When you try to put them all together, you end up feeling like a malfunctioning robot, oscillating between tipping forward and losing your balance entirely.
The problem is rarely that you lack strength; it is that you lack the specific neural pathways to execute the pattern comfortably under load. You need to earn your depth and your form before you start piling on metal plates. These challenges are not about smashing personal records today; they are about mastering the movement so that when you eventually add weight, your body is built on a foundation of granite.
Squatting is a skill. It requires ankle mobility, hip stability, and the ability to brace your core while your limbs are moving through space. If you skip the learning phase, you just end up reinforcing bad habits that are incredibly difficult to unlearn later. Consider these fifteen challenges as your apprenticeship in human movement. Treat them with patience.
1. The Box-Touch Bodyweight Squat
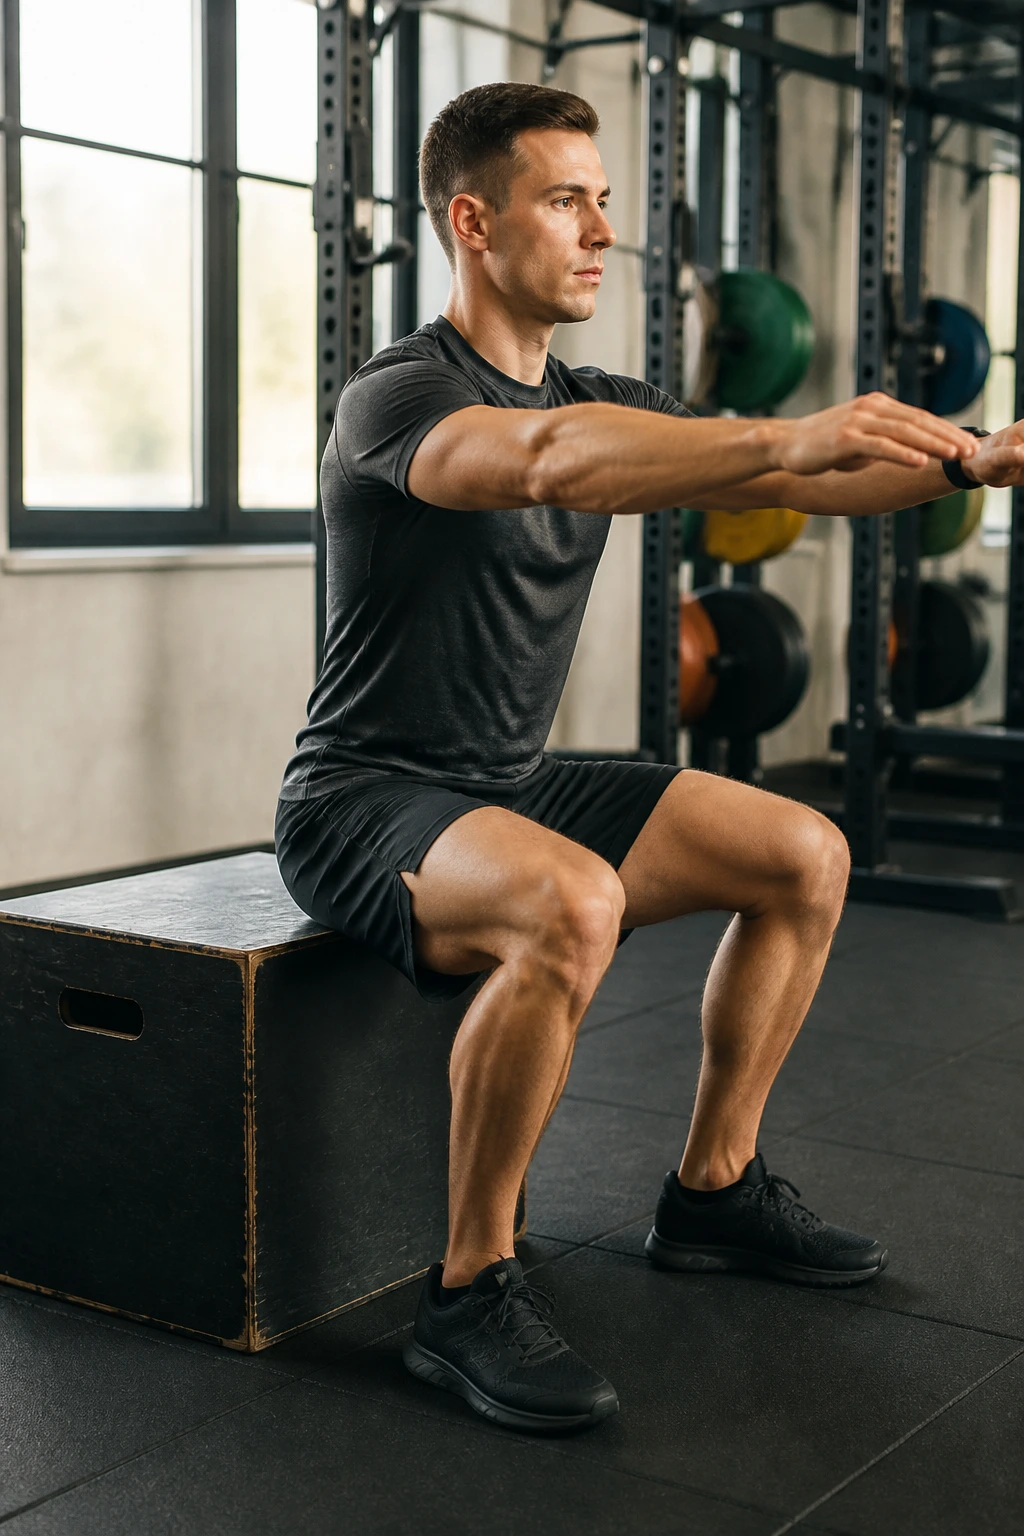
If your biggest fear is falling backward or not knowing when to stop descending, the box squat is your best friend. It provides a tactile, unforgiving signal for when you have hit your target depth. Many beginners stop halfway down because they are terrified of losing their balance, but a box—or a sturdy bench—removes that fear.
Why This Matters for Beginners
The box forces you to sit back rather than just down. Most new lifters initiate the squat by pushing their knees forward, which shifts the stress onto the patellar tendon rather than the glutes and hamstrings. By aiming your hips toward a box, you learn the “hinge” mechanics required for a proper squat.
The Execution Protocol
- Place a bench or a box behind you that puts your thighs parallel to the floor at the bottom of the movement.
- Stand with your feet shoulder-width apart.
- As you descend, push your hips back as if you are trying to close a door with your glutes.
- Tap the box lightly with your butt—do not sit and relax your muscles—then drive back up.
Pro Tip: If your knees cave inward when you stand up, place a mini-band around your knees. The resistance will force you to push outward, training the glute medius to stay active.
2. The Slow-Motion Tempo Squat
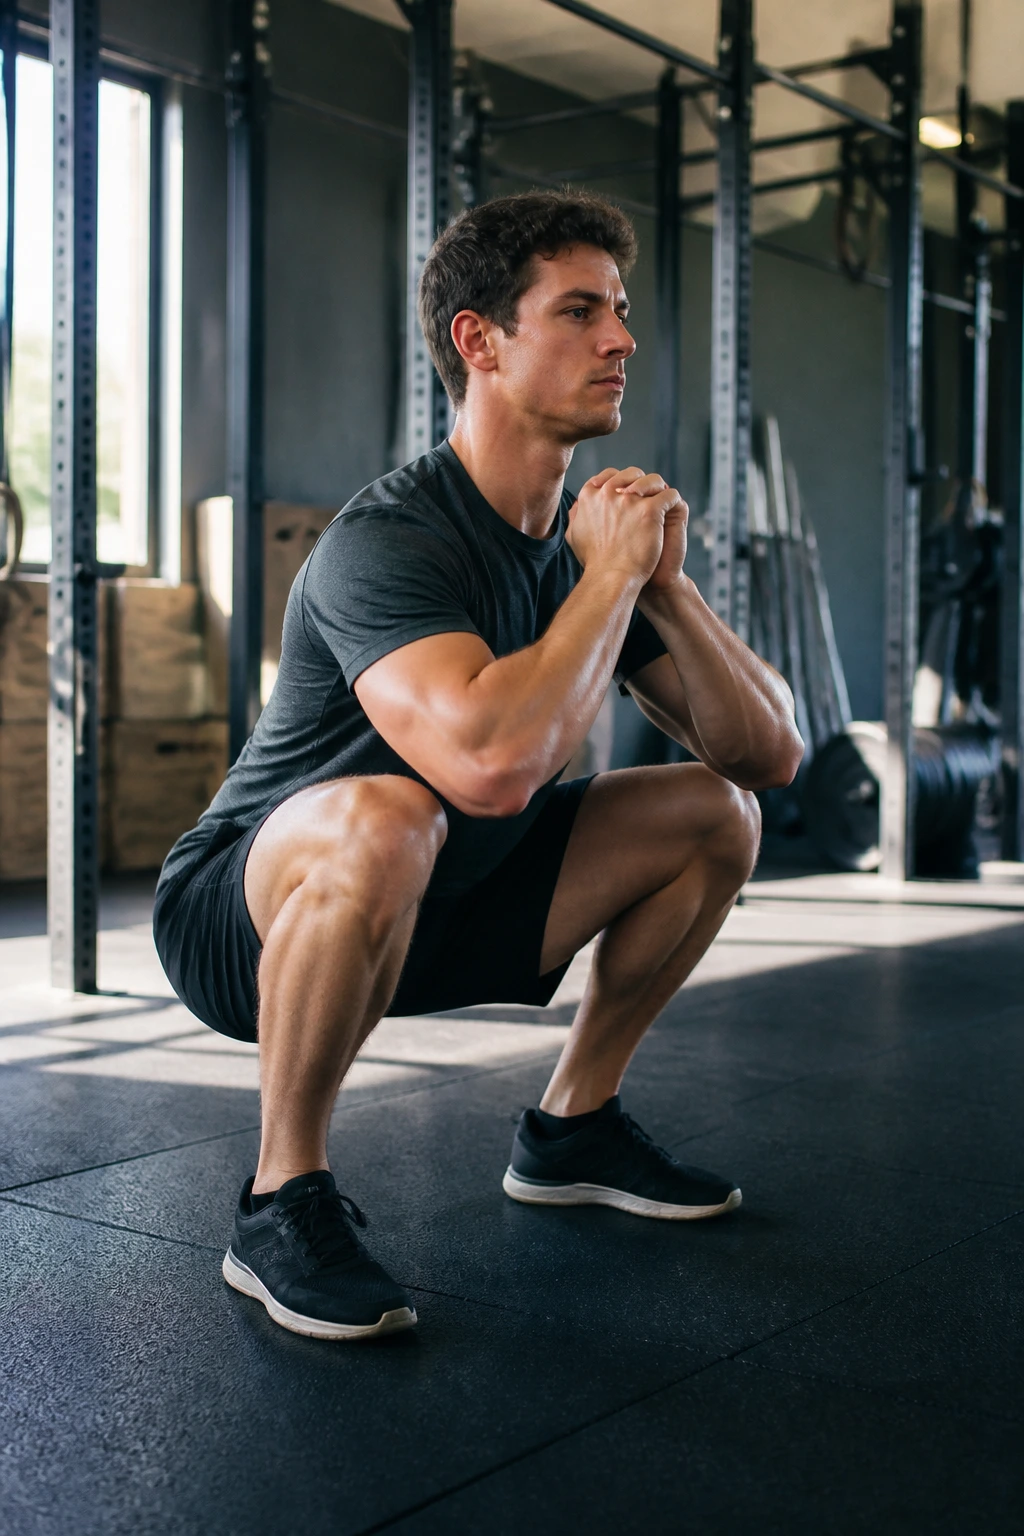
Speed is the enemy of form. When you are nervous about a movement, your brain’s natural instinct is to rush through the “scary” part—the descent—to get it over with. The tempo squat removes that ability to cheat. By slowing everything down, you remove momentum and force your muscles to carry the load through every single inch of the repetition.
This challenge is simple: a 3-1-1 tempo. That means three seconds to descend, one second to pause at the bottom, and one second to explode upward.
What You Will Discover
You will quickly realize that you are much stronger on the way down than you think, but much weaker in the stabilization phase. The three-second descent forces you to maintain tension in your core. If you relax your stomach at two seconds, you will feel your back round immediately.
Fixing the Wobble
- Control: Do not let gravity take over. Actively pull yourself into the squat.
- Tension: Keep your hands clasped in front of your chest to create counter-balance.
- Consistency: If you find yourself rushing the last second of the descent, you are likely losing core engagement. Reset and start the rep over.
3. The Goblet Squat Counterbalance
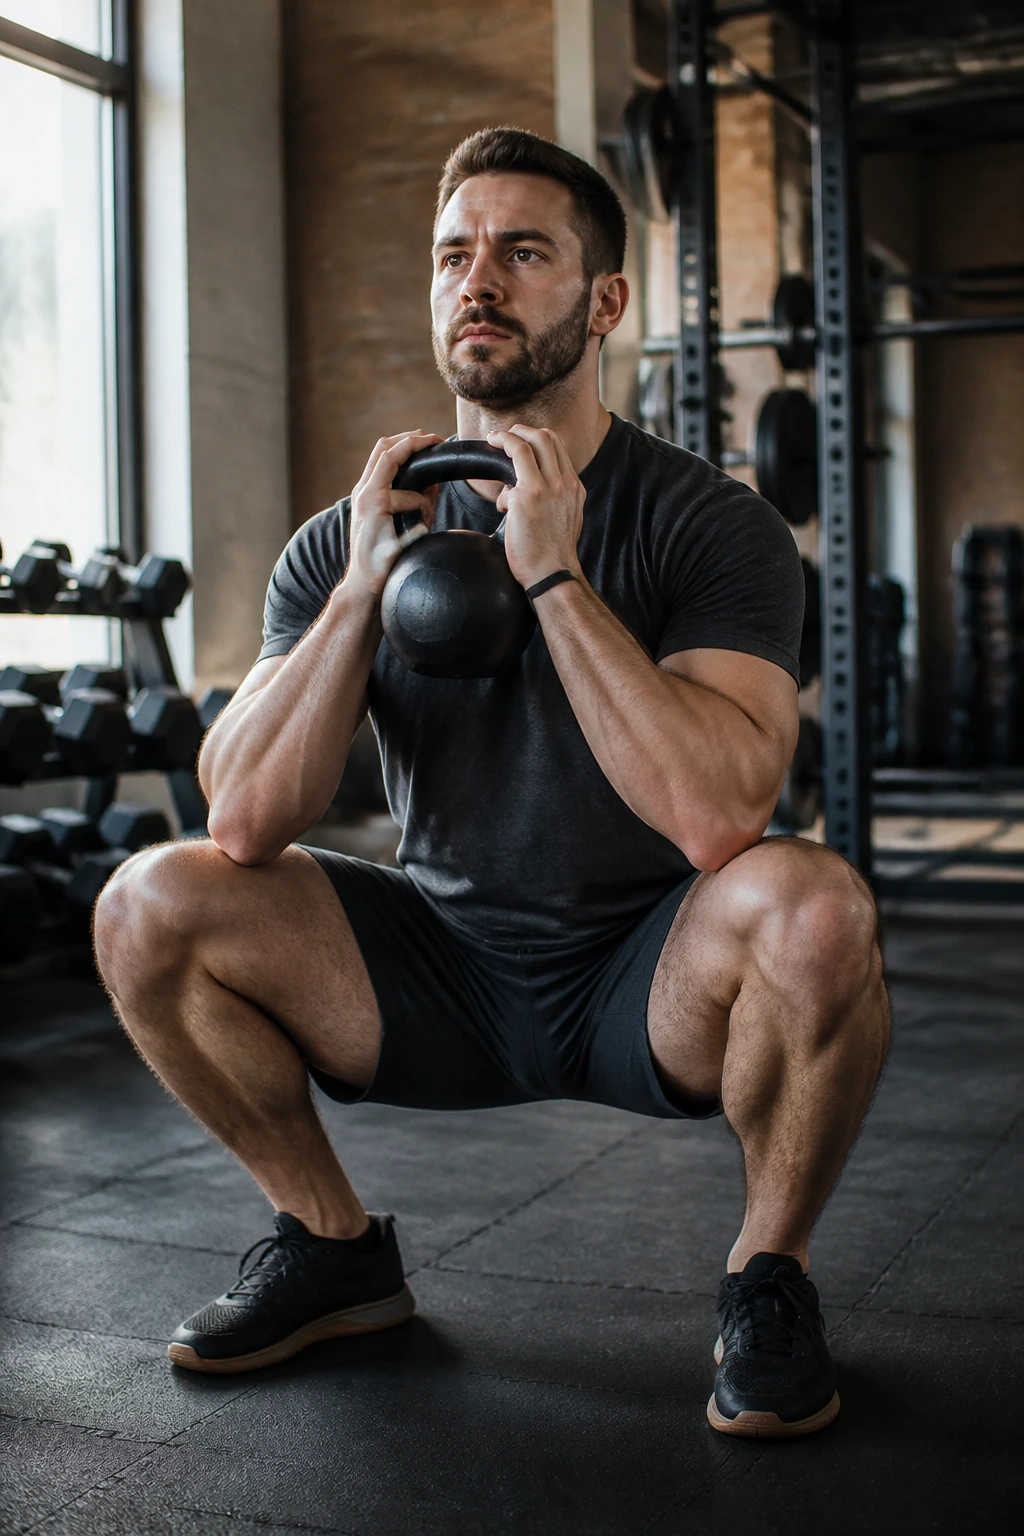
If you struggle to keep your chest up, you are likely battling a structural imbalance. The goblet squat—holding a single weight, like a dumbbell or kettlebell, against your chest—is the most effective way to force an upright torso. The weight acts as a counterweight, shifting your center of gravity forward just enough to counteract your tendency to tip over.
Why It Fixes Form
Without a weight, your body naturally pitches forward to maintain balance if your ankle mobility is poor. By holding 10 or 15 pounds in front of you, your body reflexively pulls your torso back to stay centered. It is an immediate fix for the “good morning” squat, where your butt shoots up faster than your chest.
Practical Application
Hold the weight vertically, like a goblet. Keep your elbows tucked in close to your ribs as you squat. If your elbows hit your knees at the bottom, that is actually a good thing—it means you have reached depth and your knees are in a safe, aligned position.
4. The Bottom-Position Isometric Hold

Sometimes, the hardest part of the squat is staying calm when you are at your most vulnerable. Holding a position at the bottom of the movement builds massive confidence and stabilizes the joints. It teaches you that the bottom of the squat is not a place of doom, but a place of stability.
The Challenge
- Squat down to your lowest comfortable point.
- Ensure your weight is distributed across your entire foot, not just the balls of your feet.
- Hold that position for 30 seconds.
- Stand up slowly.
It sounds simple, but you will find your legs shaking within fifteen seconds. This is the “jitter” of your nervous system learning to recruit muscle fibers that usually stay dormant. If you can hold the bottom position for 30 seconds without your heels lifting, your squat will be significantly more stable the next time you load a barbell.
5. The Single-Leg Split Squat
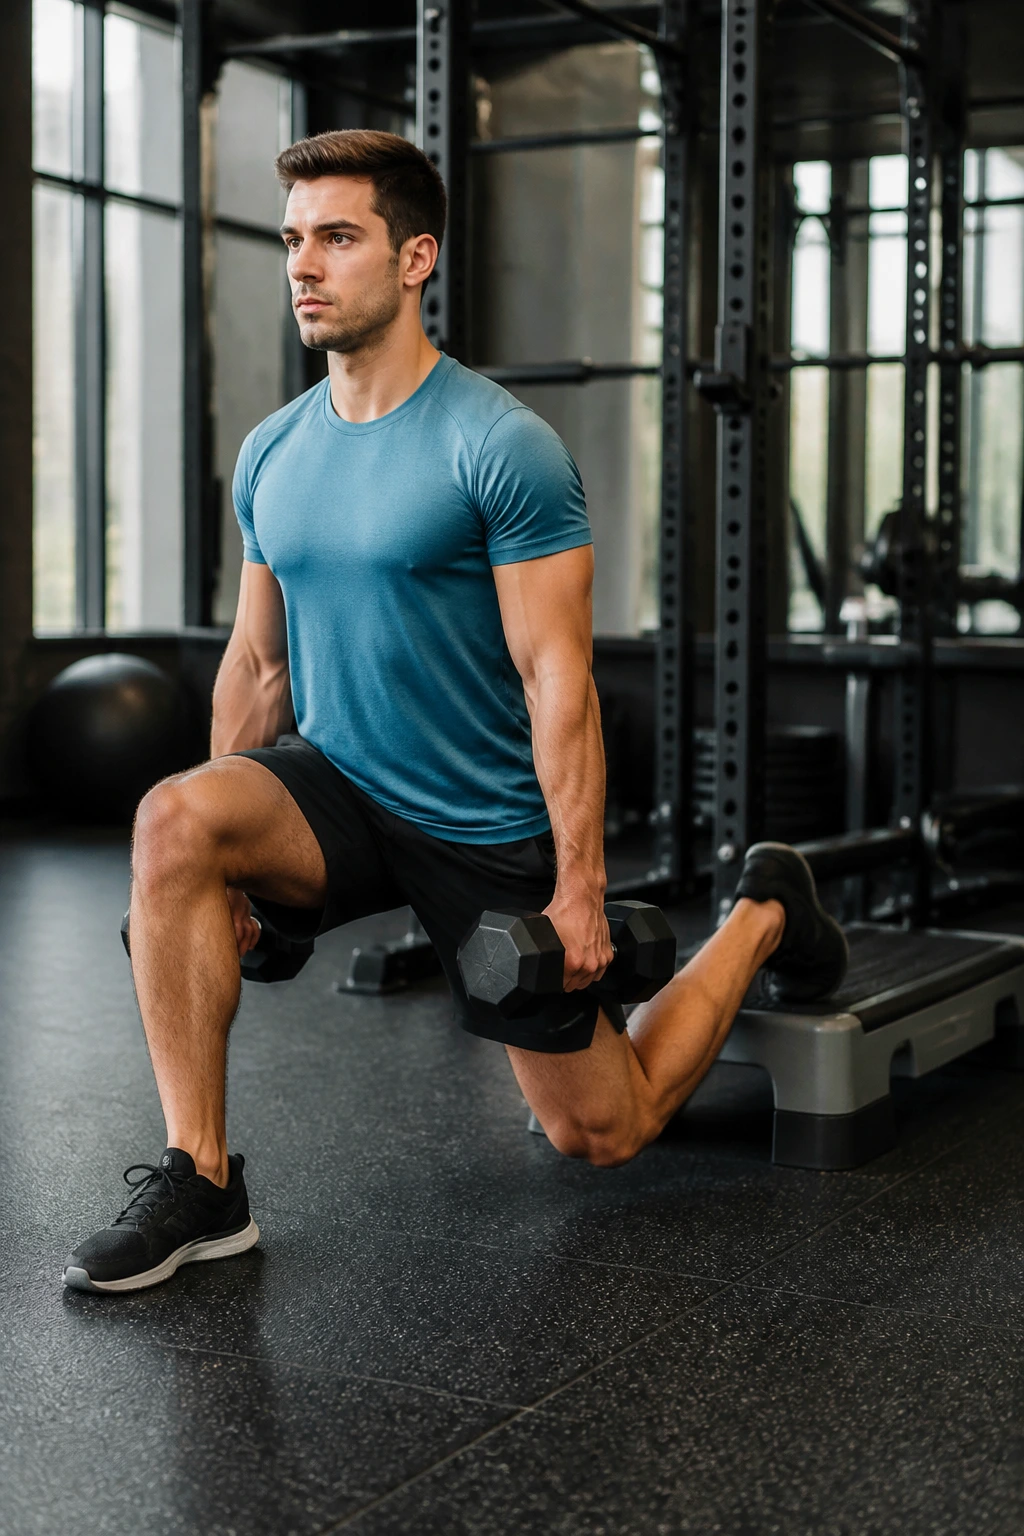
You might have a “dominant” leg that does 70% of the work during your regular squats. This is common, but it leads to hip asymmetries and lower back pain later on. The split squat, or Bulgarian split squat if you elevate the back foot, forces both legs to work independently.
Finding the Weak Link
When you perform a split squat, you will immediately notice if one leg is tighter or shakier than the other. This isn’t just about strength; it’s about balance. If you wobble like a leaf in the wind on your left leg, that is your primary area for improvement.
How to Progress
- Start with both feet on the floor in a lunge stance.
- Squat down until your back knee is an inch off the ground.
- Perform all reps on one leg before switching.
- Eventually, elevate your back foot onto a low step.
6. The Heels-Elevated Squat
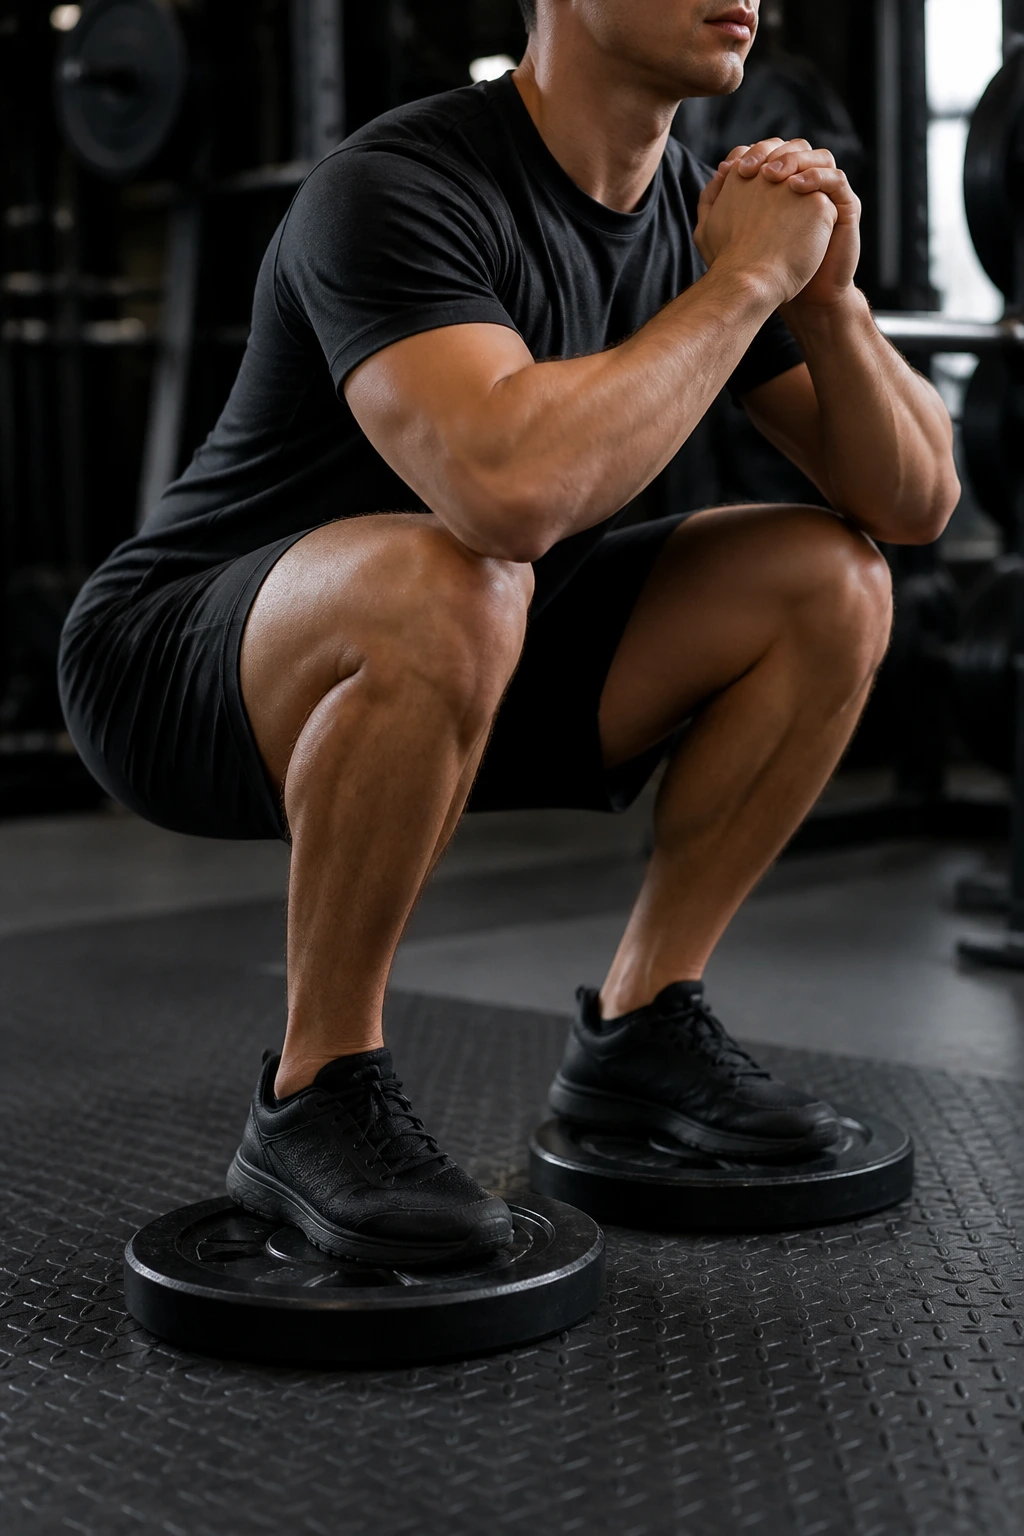
Ankle mobility is the invisible gatekeeper of the squat. If your ankles are stiff, your heels will lift off the floor, or your torso will collapse forward. Elevating your heels—by standing on a pair of small weight plates or a specialized wedge—dramatically reduces the requirement for ankle dorsiflexion, allowing you to squat deeper and more upright.
Why This Isn’t Cheating
Some people think using plates under your heels is a crutch. It is not; it is a tool. By reducing the mobility demand, you allow your brain to focus on the squatting pattern itself rather than fighting your tight calves. Once you master the pattern, you can slowly remove the elevation over several months.
The Setup
- Place two 2.5-pound or 5-pound plates on the floor.
- Stand with your heels on the plates.
- Perform your air squats.
- Notice how much easier it is to keep your chest vertical.
7. The Chair Sit-to-Stand Volume Challenge
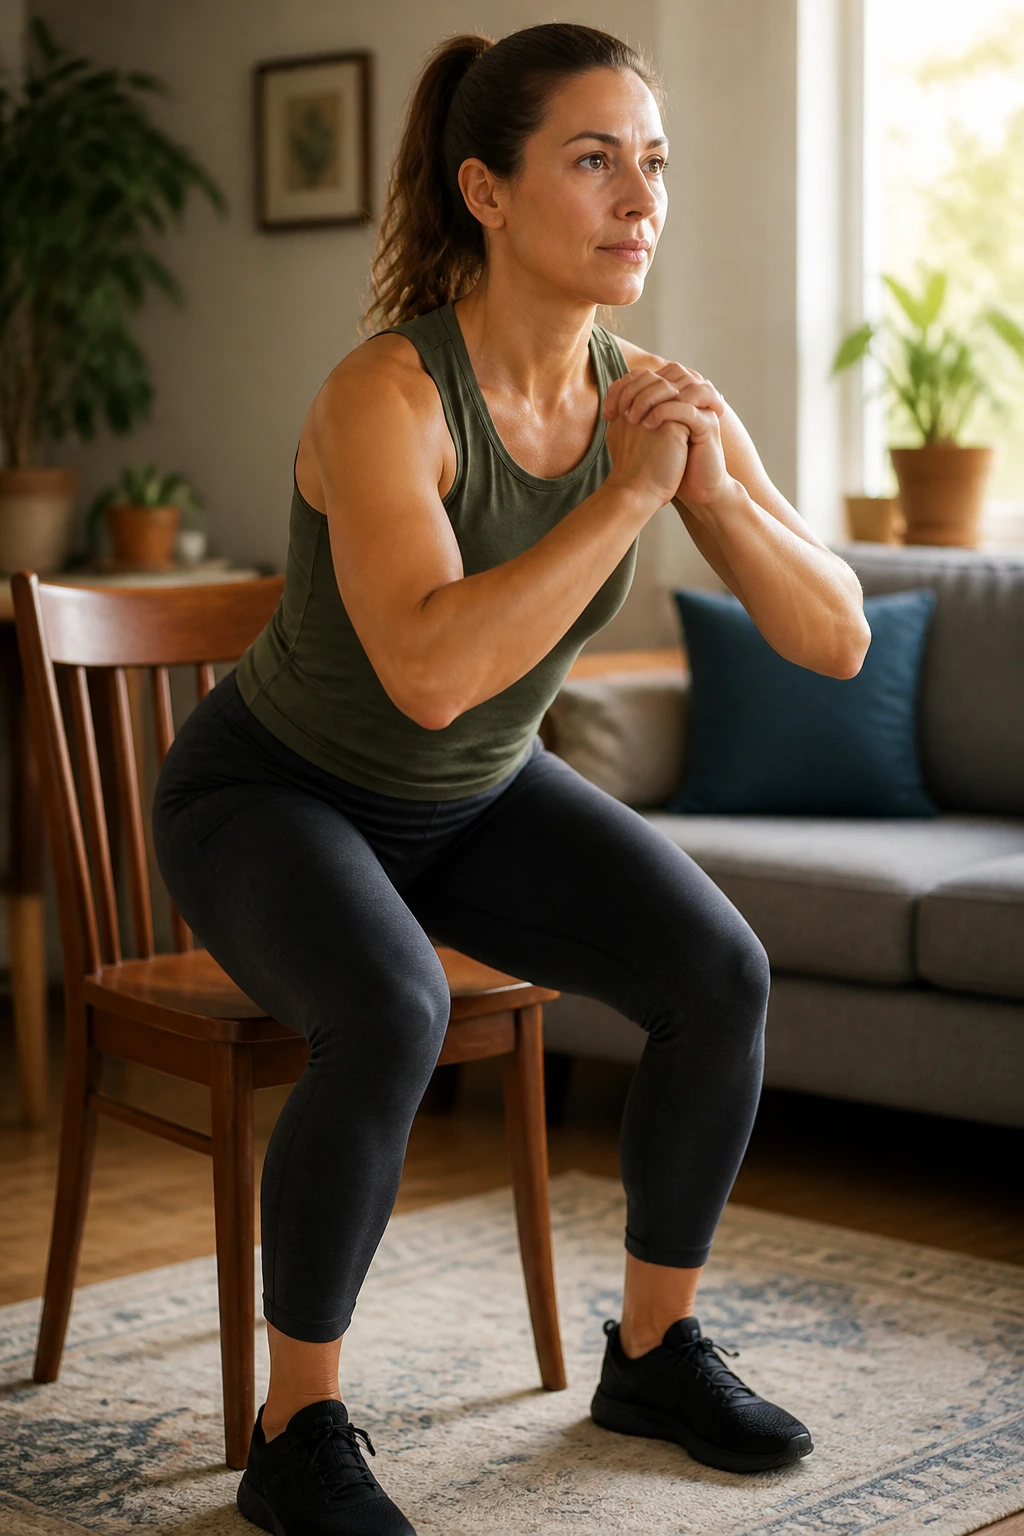
Sometimes you need to build muscle endurance without the complexity of a perfect, heavy lift. The sit-to-stand is the perfect, low-risk way to get your legs used to the volume of work. It is essentially a box squat, but you can do it in your living room while watching television.
The Goal
The goal here is volume. Try to complete 50 sit-to-stands in a single session. If that sounds like too much, break it into five sets of ten. Keep your chest high and do not use your hands to push off your knees. Use your legs. This trains the brain to recognize the motion and builds the work capacity of your quadriceps.
8. The Wall-Face Squat
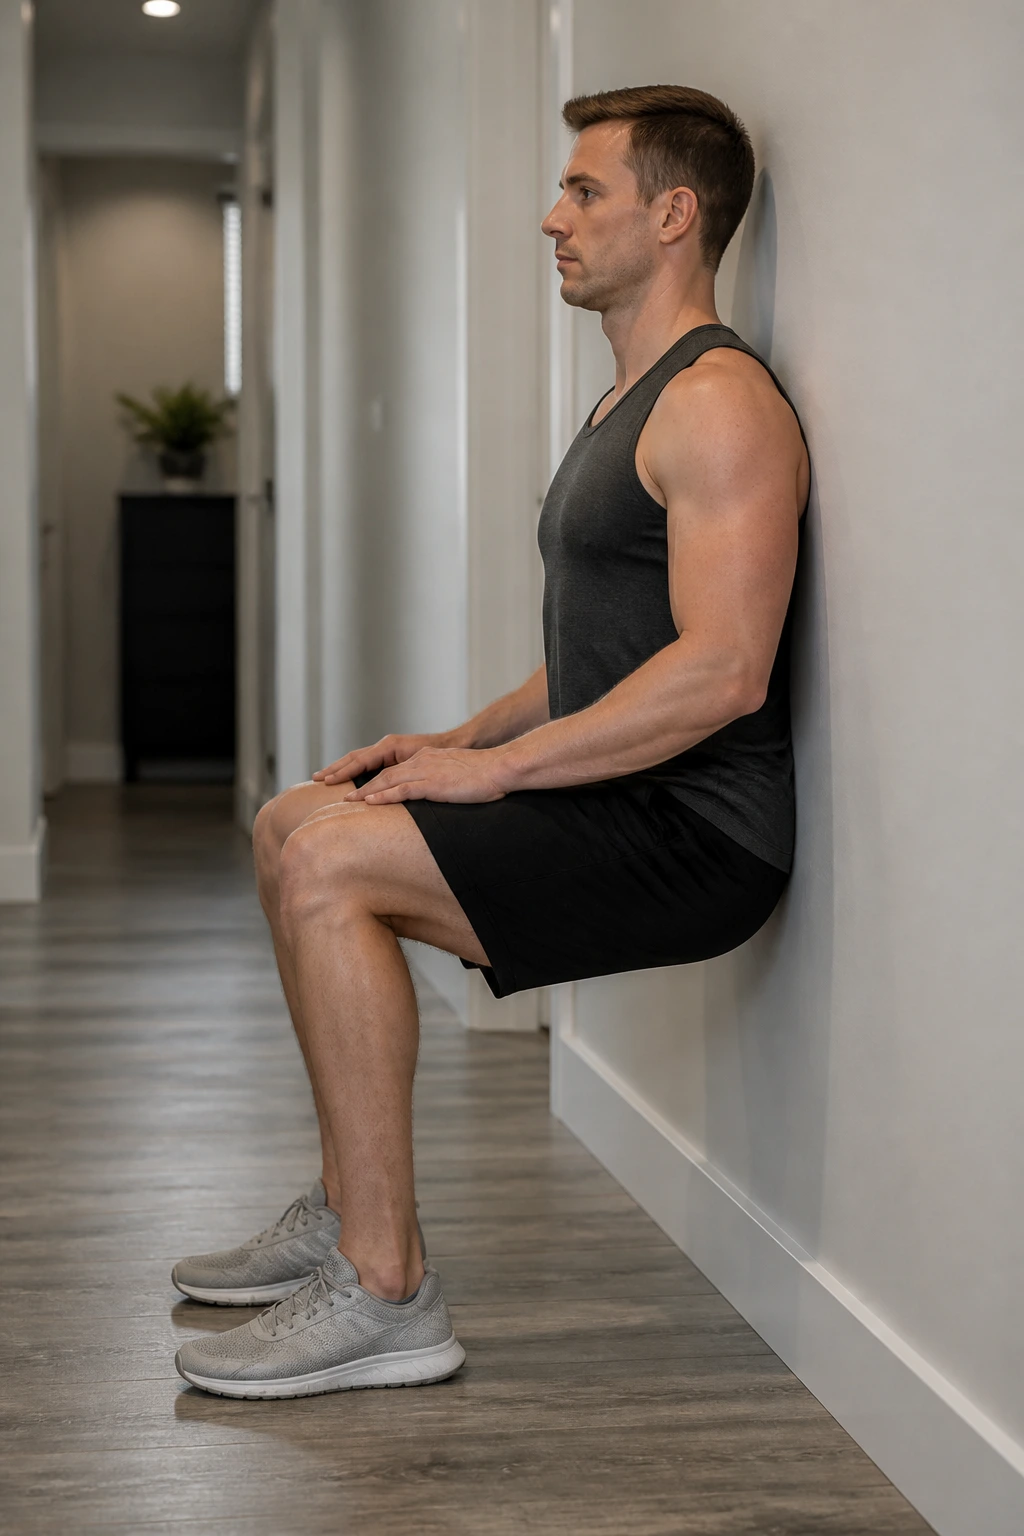
This is the ultimate test of your squat integrity. You stand facing a wall, about six inches away, with your toes touching the baseboard. Then, you squat. If your knees hit the wall, you are doing it wrong. If you cannot descend without your nose hitting the wall, you have a mobility issue that needs addressing.
What It Reveals
This challenge exposes “knee-dominant” squatters. If you try to squat with your knees forward first, you will immediately hit the wall. It forces you to sit back into your heels. It is uncomfortable, it is difficult, and it is the most honest feedback you will ever get from a piece of gym equipment—or in this case, a partition.
9. The Banded Lateral Squat
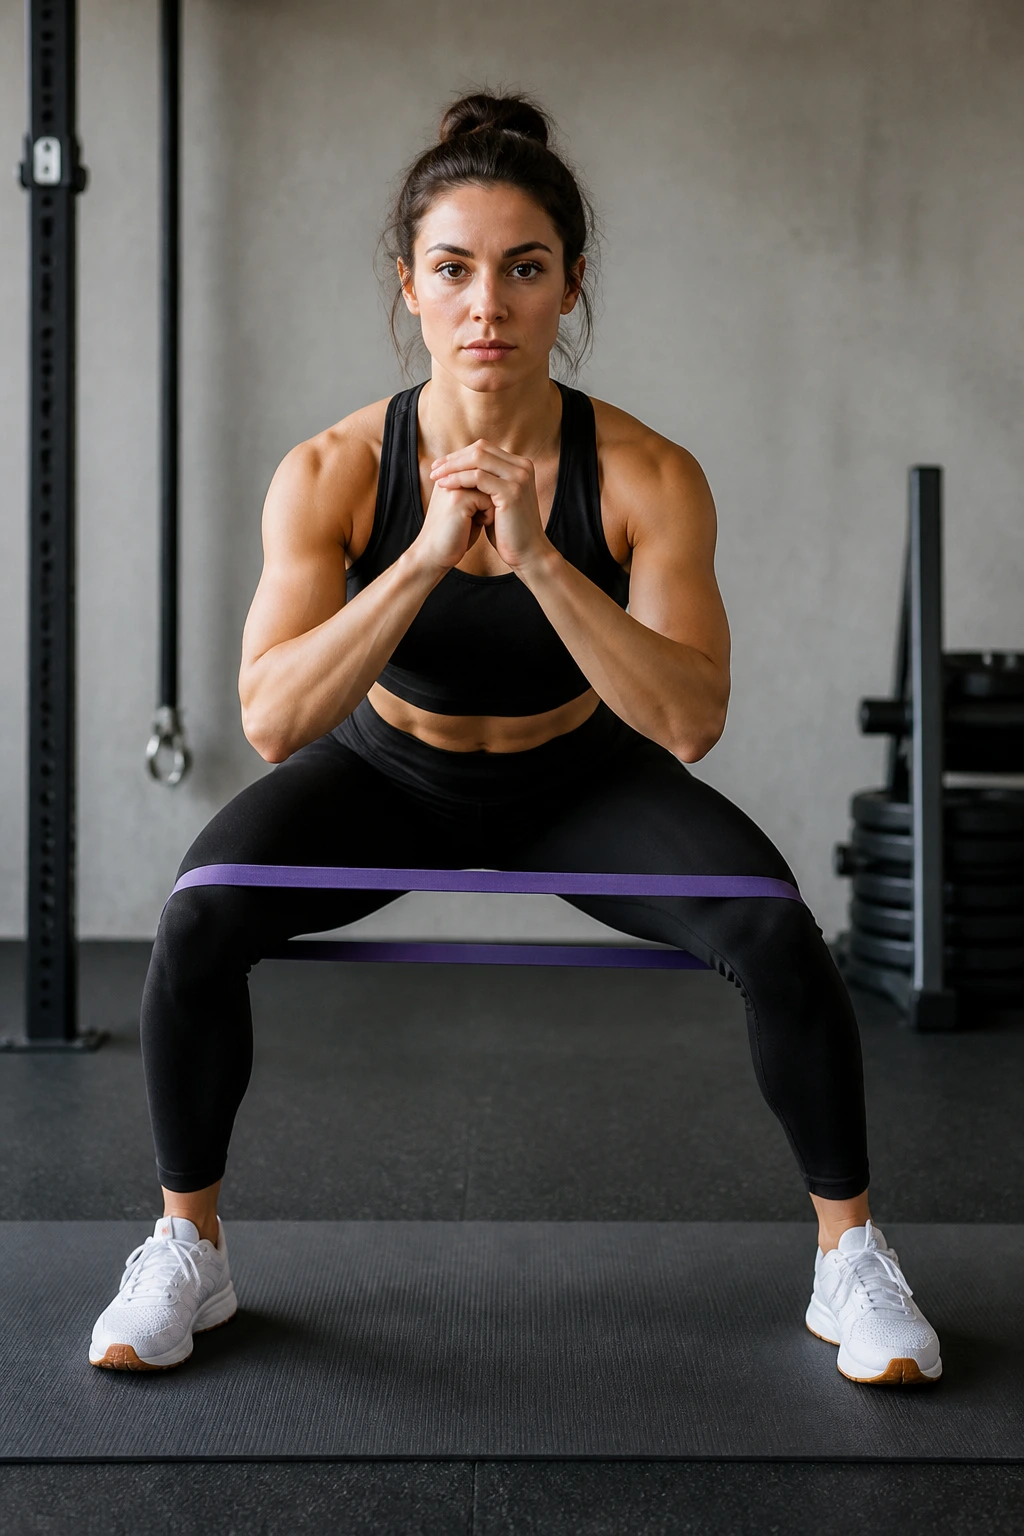
Squats are not just about up and down; they are about keeping the knees tracking over the toes. When your glutes are weak, your knees tend to cave inward during the squat, which is a major injury risk. A resistance band around your knees provides constant feedback to keep your legs tracking outward.
The Feedback Loop
The band pulls your knees together. Your brain naturally wants to fight that, so you have to actively push your knees out against the resistance. This fires up the gluteus medius, the muscle responsible for hip stability. If you do this for a few weeks, you will find that your “natural” squat form becomes much cleaner.
10. The Medicine Ball Squeeze Squat
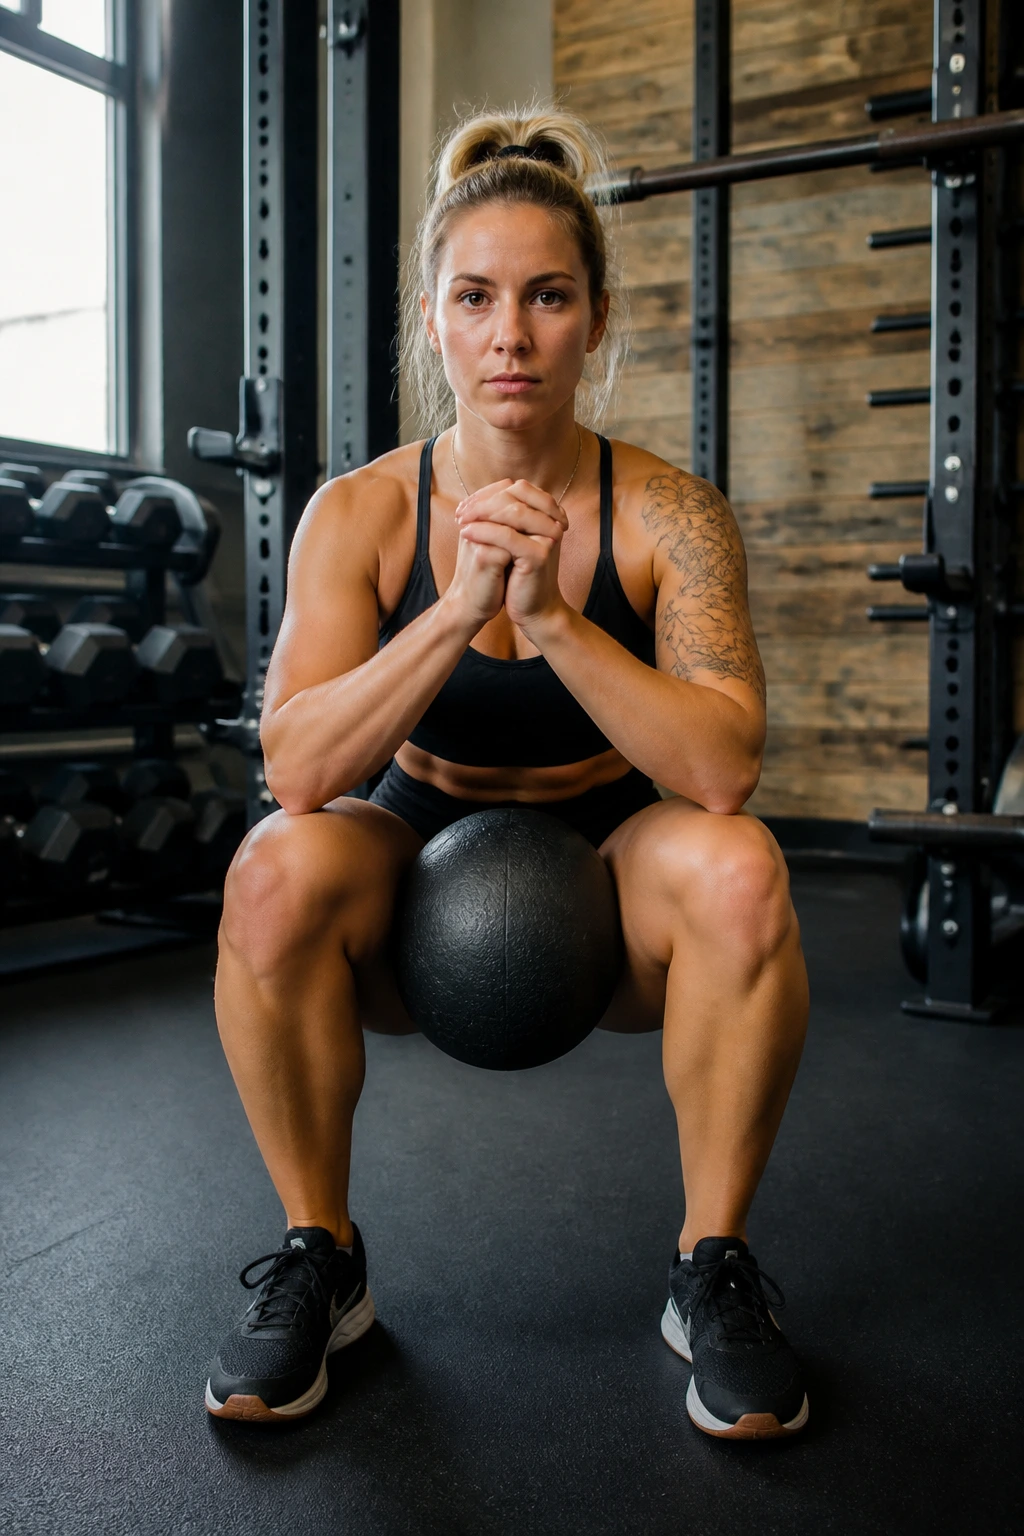
Place a medicine ball, a block, or even a thick towel between your knees while you squat. Squeeze it tight. This sounds counterintuitive because I just told you to push your knees out, but this is a different goal: it focuses on the adductors—the inner thigh muscles.
Why It Works
Many lifters are quad-dominant and glute-weak, but they completely ignore the inner thighs. Adductors are actually hip extensors at the bottom of a squat. By squeezing the ball, you engage the entire inner leg structure, which helps you drive out of the bottom of the movement. It creates a feeling of “compactness” that prevents your hips from feeling loose or uncontrolled.
11. The Eccentric-Only Focus
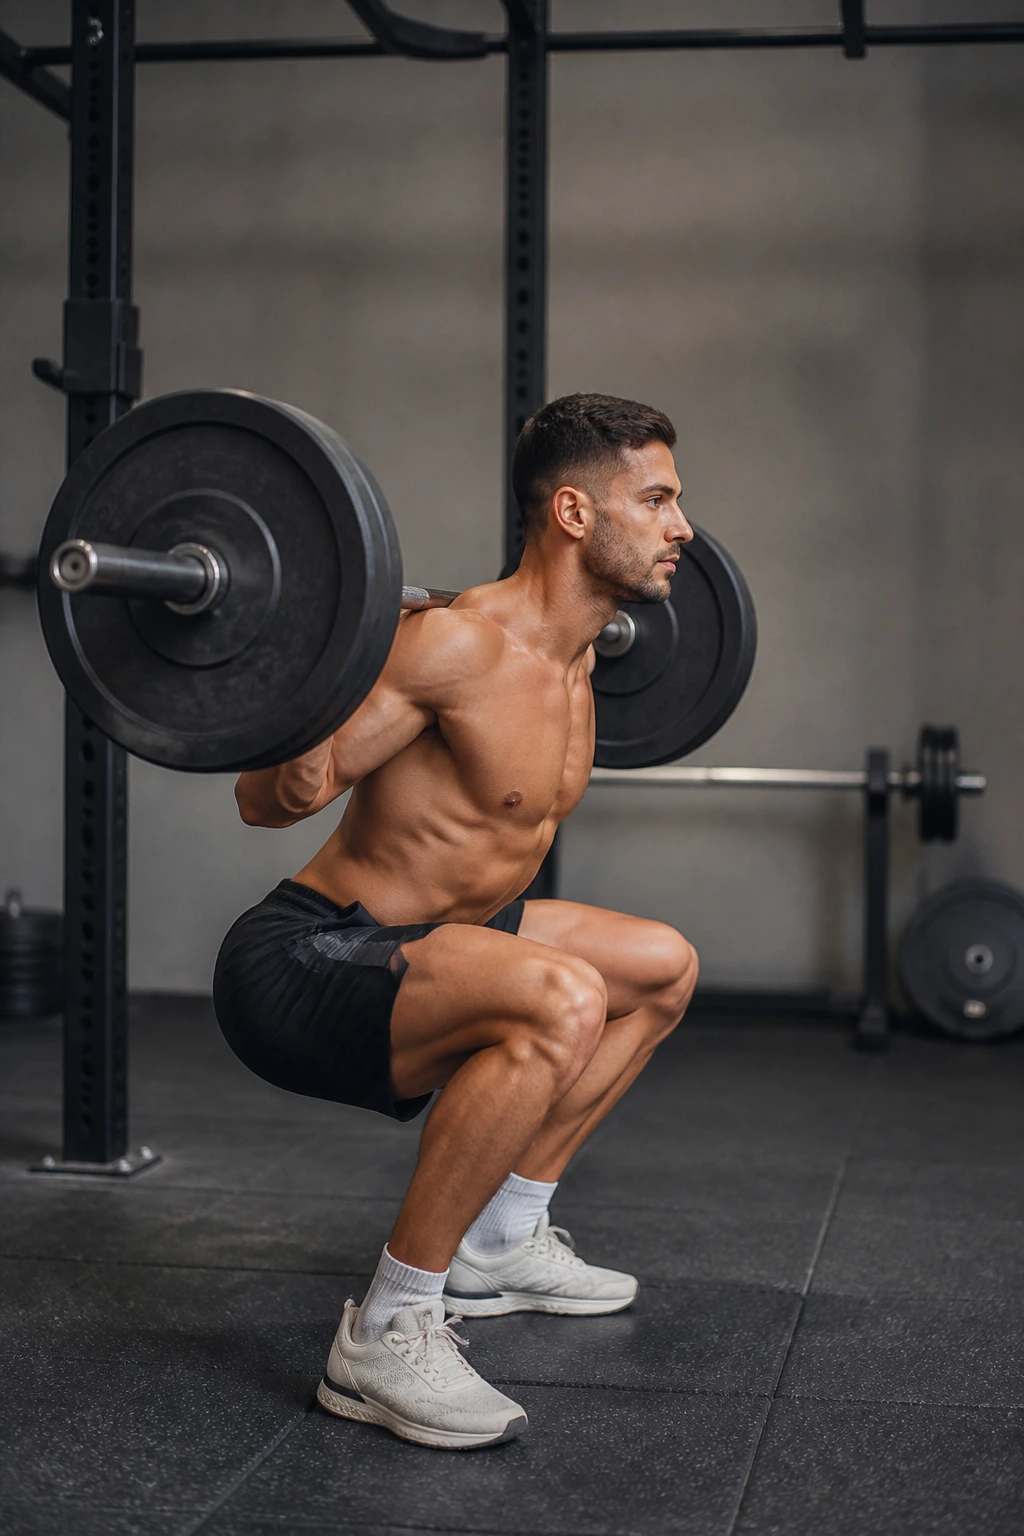
The descent is where the growth happens. Studies consistently show that the eccentric (lowering) phase of a lift is more effective for building muscle mass than the concentric (lifting) phase. In this challenge, you perform the descent as slowly as possible—shoot for five seconds—and then simply stand up normally.
The Burn
By the time you hit the bottom of that five-second descent, your quads will be burning. This is excellent for building “time under tension.” When you finally return to normal squatting, the load will feel manageable because you have trained your muscles to be comfortable under high levels of stress.
12. The Hands-Overhead Squat Challenge
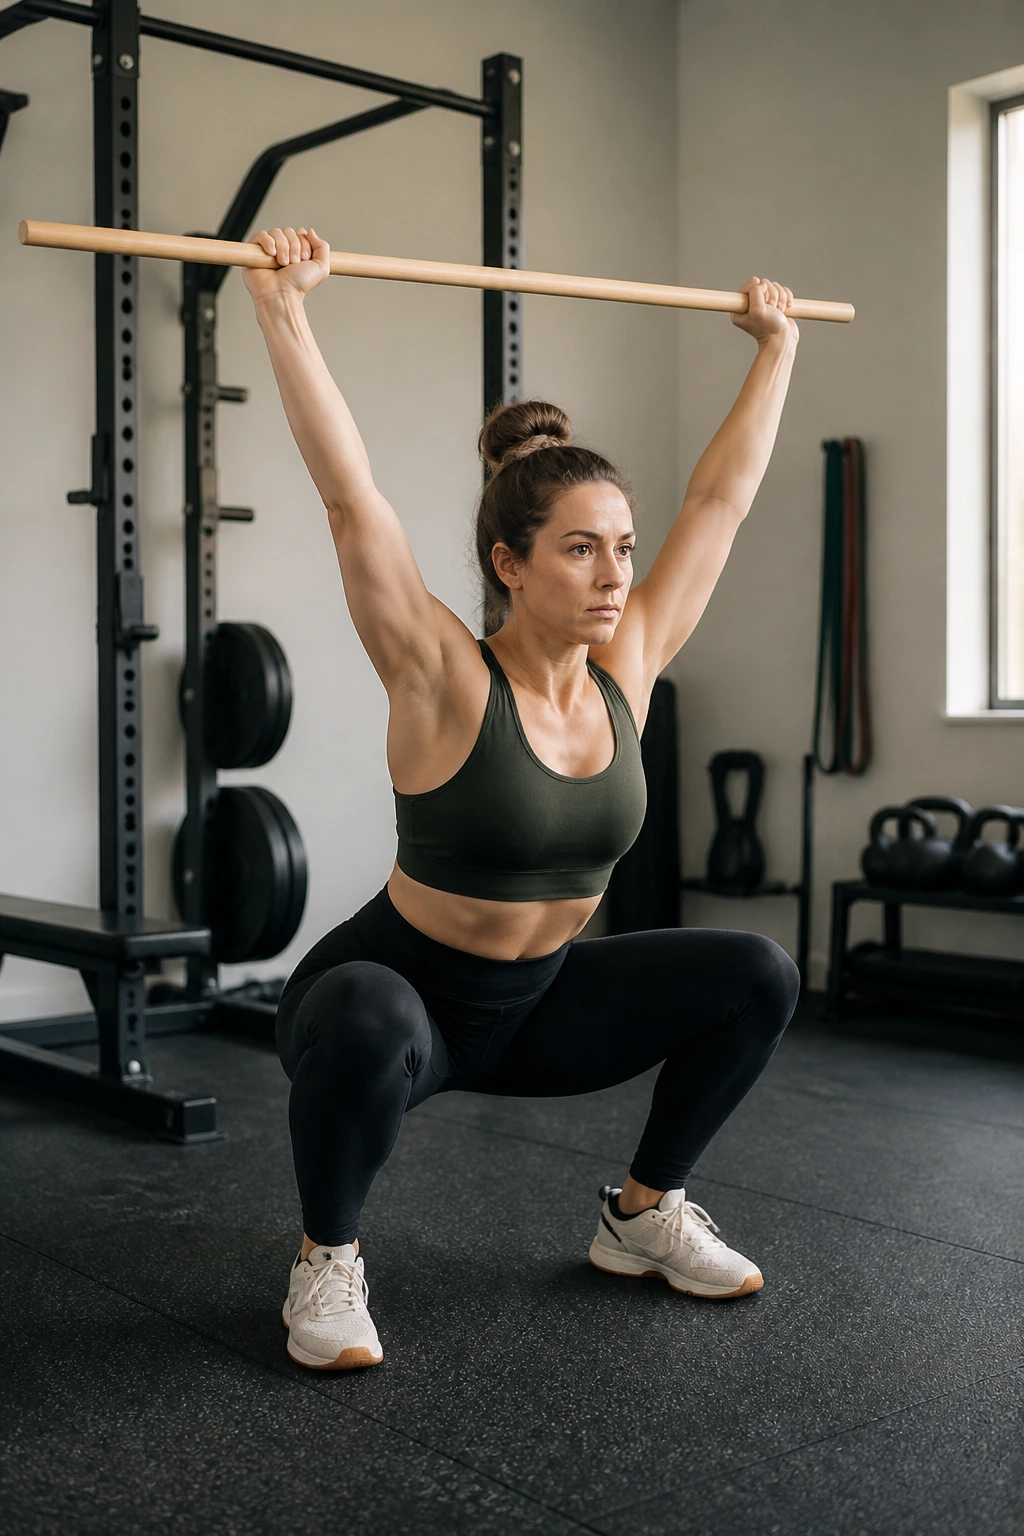
This is the hardest air squat challenge on the list. Interlace your fingers and hold them directly above your head, biceps by your ears. Now, squat. If you have any tightness in your shoulders, your chest, or your thoracic spine, your arms will drop forward.
What It Exposes
This challenge tests your “postural chain.” If you cannot keep your arms straight up while squatting, it means your upper back is likely too tight to support a barbell later on. Practice this with a light broomstick if your hands feel too heavy, but try to reach for the overhead position daily. It fixes the “forward lean” that haunts most beginners.
13. The “100 Reps a Day” Consistency Streak
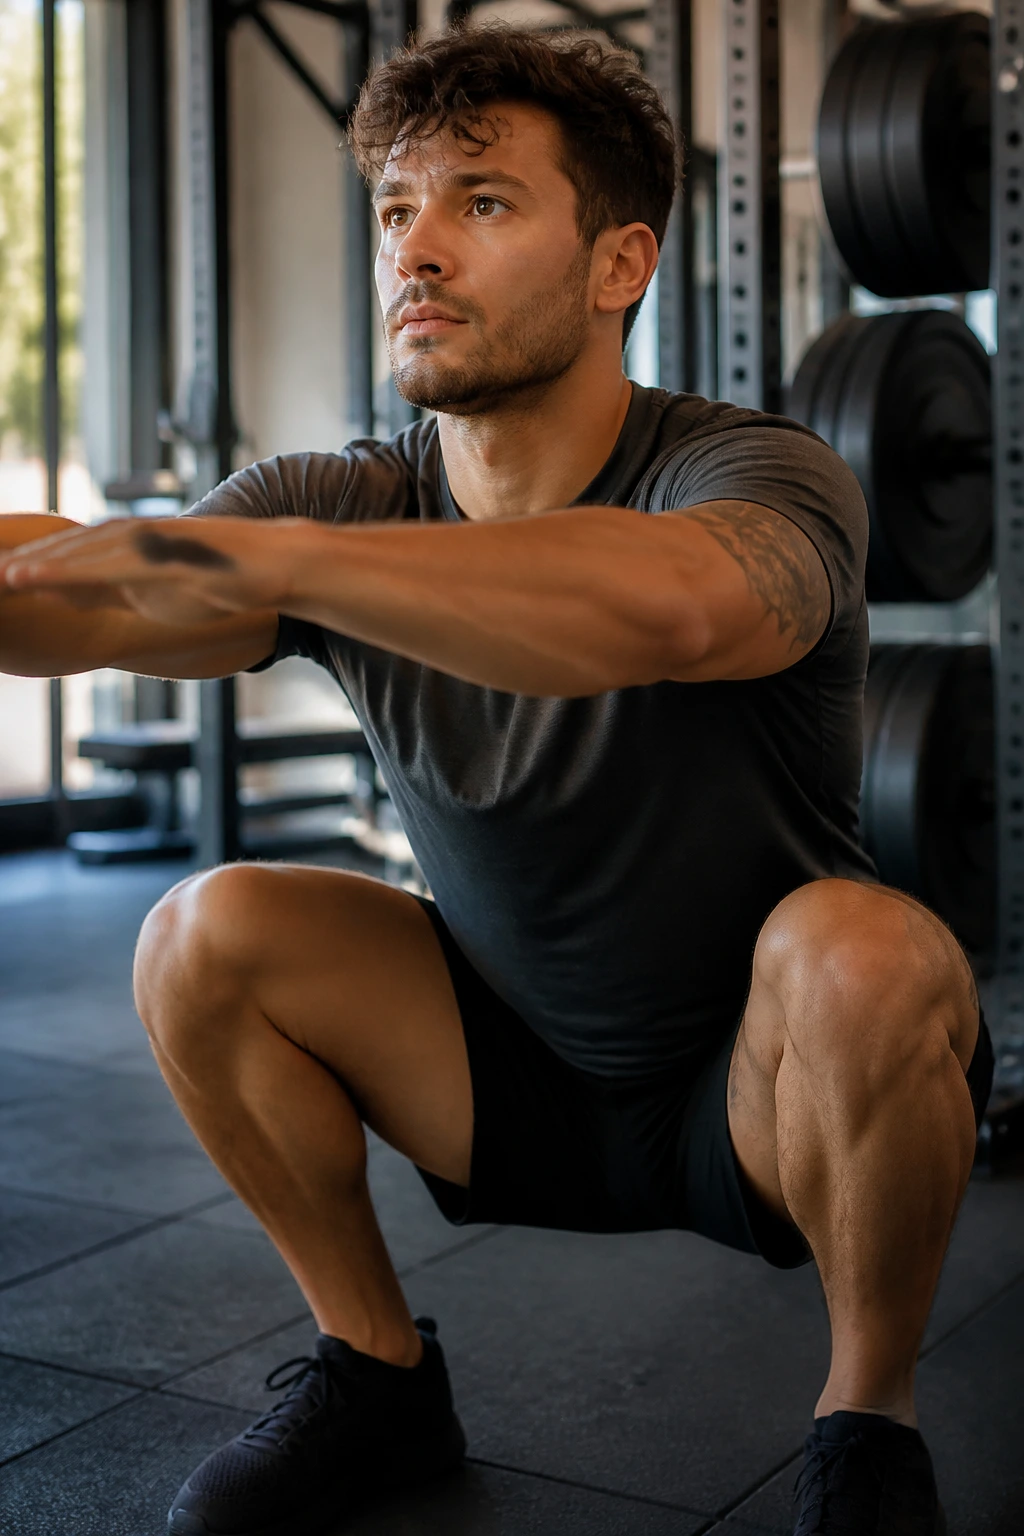
Consistency is the secret sauce that nobody wants to hear about. You don’t need a heavy rack; you need repetition. The challenge is simple: accumulate 100 bodyweight squats every single day for one month. Break them up however you want—ten sets of ten, or five sets of twenty.
Why This Works
The human body adapts to what it does frequently. If you squat 100 times a day, your body essentially upgrades its own software. By day seven, the movement will feel boring. By day fourteen, it will feel like second nature. By day thirty, you will be able to squat with perfect form under almost any conditions because you have ingrained the pattern into your nervous system.
14. The Feet-Width Variation Challenge
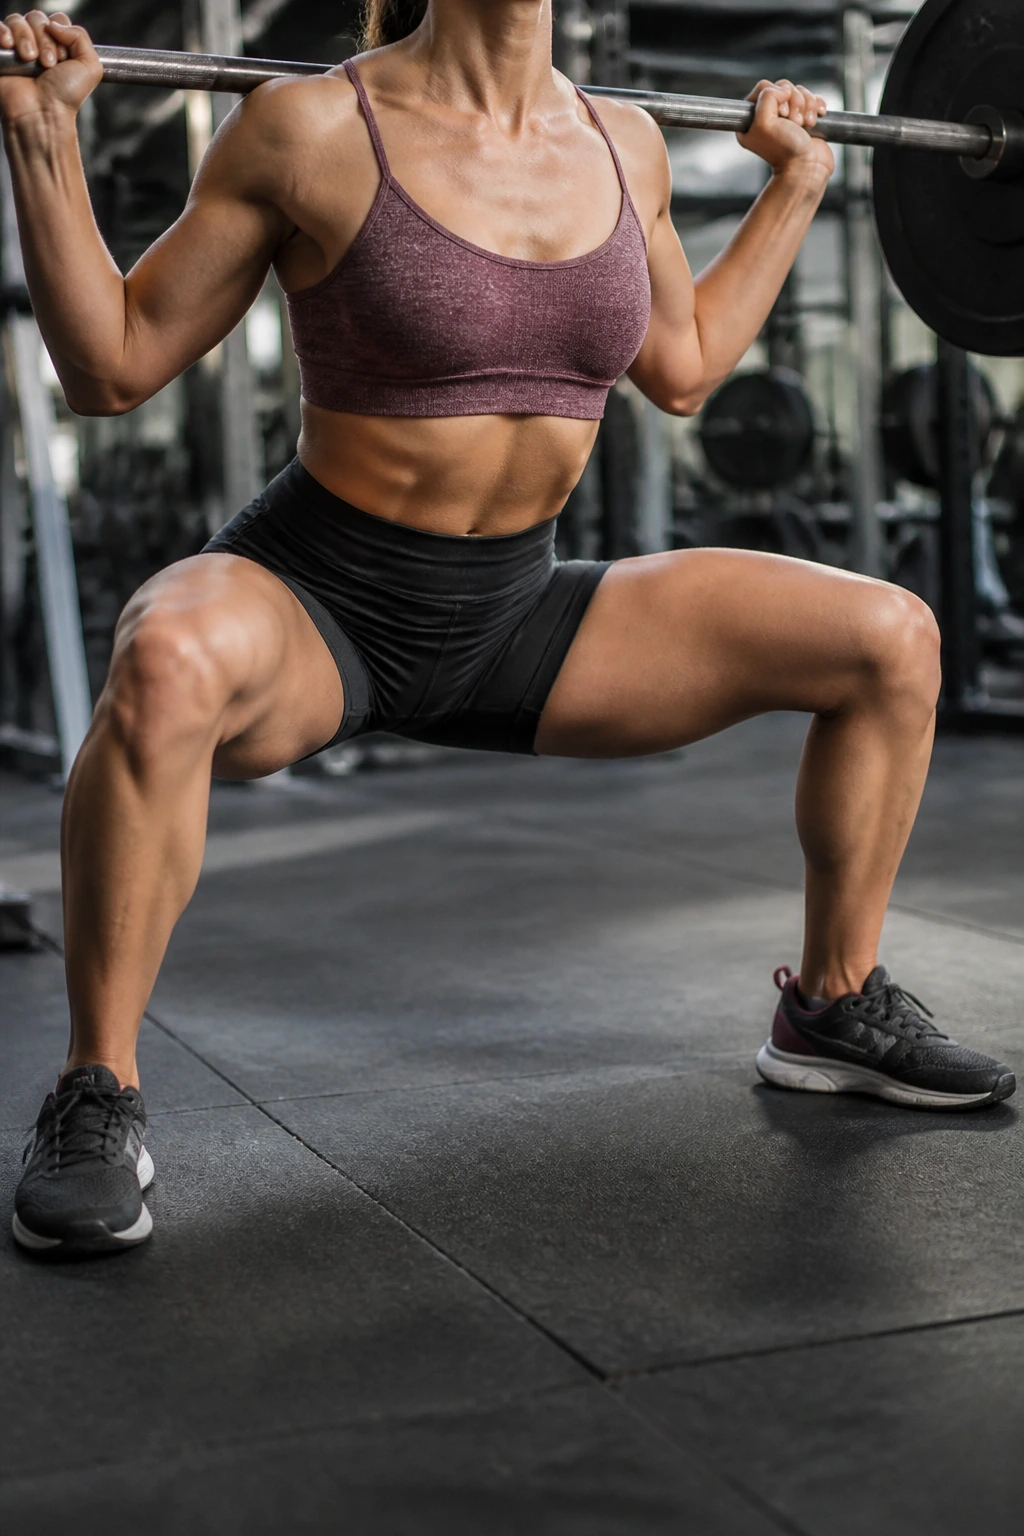
One squat stance does not fit all. Depending on your femur length and hip socket anatomy, a narrow stance might be uncomfortable, or a wide stance might feel impossible. This challenge is about exploration. Spend a week testing different foot widths—from narrow (heels touching) to wide (sumo stance).
Finding Your Anatomy
- Record a video of yourself from the side.
- Test a narrow stance. Do you feel your back rounding?
- Test a wide stance. Do you feel your hips pinching?
- Test a shoulder-width stance.
- Your “perfect” squat is the one where you can hit the lowest depth while keeping your heels flat and your back neutral.
15. The “Pause and Pulse” Challenge
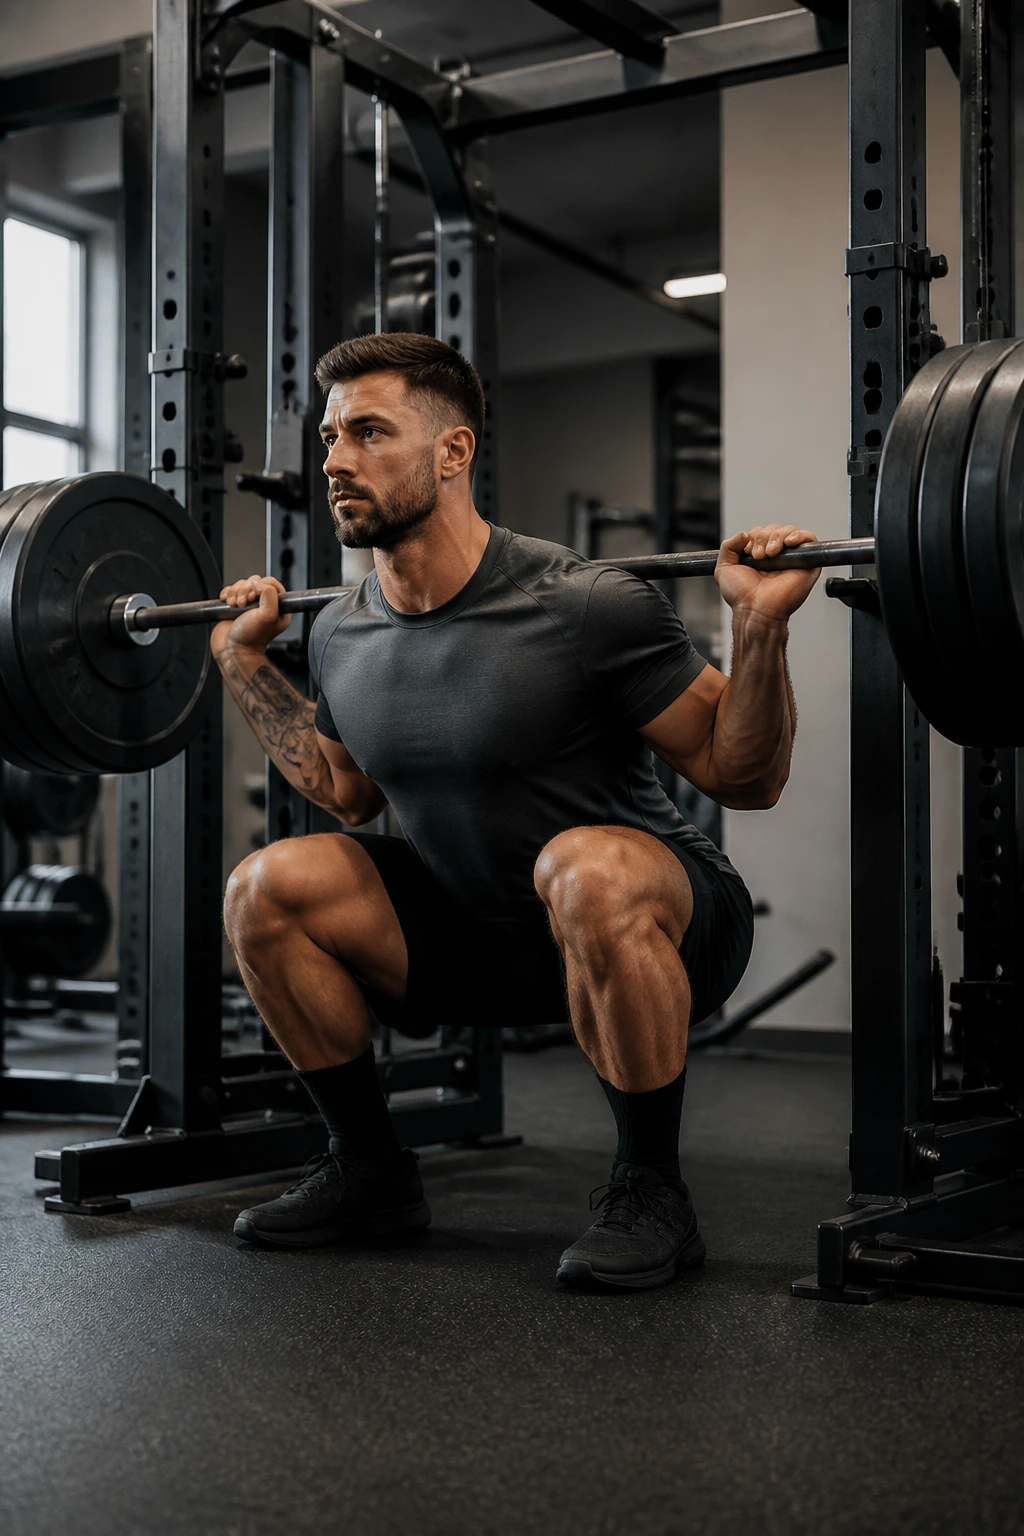
Once you have mastered the basics, you need to learn how to change direction at the bottom of the squat—the transition point. This challenge combines the pause with a pulse. Descend into your squat, hold for two seconds, pulse halfway up and back down, and then stand up.
The Mechanics
This teaches you how to generate force from a dead stop. In a regular squat, you are constantly moving. In this variation, you stop the momentum, then force yourself to regain it. It mimics the “sticking point” of a heavy back squat, which is the exact moment most lifters fail. If you can master the pulse, you will never get stuck at the bottom of a heavy rep again.
Final Thoughts
The squat is a lifelong pursuit, not a sprint to the finish line. Do not feel the need to rush into heavy weights just because you see others doing it. Most people in the gym are squatting with poor form because they were never taught how to move.
If you spend a few weeks or even months working through these challenges, you will develop a squat that is technically sound and physically robust. Your hips will be more mobile, your glutes will be stronger, and your back will be protected. When you finally do step up to the rack to put a bar on your shoulders, you won’t be guessing; you will be performing. That confidence is worth more than any amount of weight on the bar.
