



A row that lights up your lower back before your lats is a bad trade.
Back workouts work best when they hit more than one job at once: they build width, add thickness, clean up posture, and teach your trunk to stay tight when the load gets heavy. That usually means mixing vertical pulls, horizontal rows, rear-delt work, and one or two hinge patterns instead of hammering the same cable row over and over. The back is not one muscle anyway. It’s a stack of pieces — lats, rhomboids, mid traps, rear delts, spinal erectors — and each one likes a slightly different angle.
I like exercises that earn their place twice. They should build muscle, sure, but they should also make the next lift better. A decent back session can do that without turning into a circus of body English, jerking, and half reps. The trick is choosing movements that fit your current strength, your equipment, and your tolerance for loading the spine.
The 15 back workouts here start easy, get progressively more demanding, and give you room to scale up without getting sloppy. Some are almost impossible to mess up. A few ask for a tighter brace, steadier control, and a little more patience. That mix is the point.
1. Band Pull-Aparts for a Quick Upper-Back Reset
The band never lies. If you shrug, flare your ribs, or race through the reps, it tells on you fast. Band pull-aparts are small on paper, but they wake up the rear delts, mid traps, and rhomboids without asking much from the lower back, which makes them a smart first stop for almost any back day.
Why They Matter
The movement is simple: arms straight, band at chest height, and a controlled pull until the band touches your chest or nearly does. What matters is how you pull. Keep your shoulders down, not jammed toward your ears, and think about spreading the band with your hands rather than yanking with your wrists.
They work well as a warm-up before rows, pulldowns, or deadlifts because they remind your shoulder blades how to move. That sounds tiny. It isn’t. A few clean sets can make the rest of the session feel smoother, especially if you spend a lot of time sitting or pressing.
Quick Setup Notes
- Sets and reps: 2 to 4 sets of 12 to 20 reps
- Band tension: light to medium; you should feel work, not strain
- Tempo: 2 seconds out, 1 second pause, 2 seconds back
- Common mistake: pulling too high and turning it into a shrug
Tip: keep your thumbs pointed slightly up if your shoulders feel cranky. That small change often makes the movement feel cleaner.
2. Resistance Band Row for Simple Home Training

A band row can build a real back if you treat it like a row, not a lazy tug. That’s the part people miss. The band creates resistance that gets harder as you pull, so you have to own the middle and finish of the rep instead of relying on momentum.
Stand on the band, anchor it in a door, or loop it around a sturdy post. Start with the handles or ends at full arm extension, then row toward your lower ribs while keeping your chest tall. The shoulders should move back and down together. If your elbows fly too wide, you’ll feel more upper traps and less lat work.
For beginners, this is one of the easiest ways to learn the pulling pattern without chasing a heavy load. For stronger lifters, it still earns a place as a high-rep finisher or a travel-day backup. And yes, it gets harder if you step farther from the anchor or use a thicker band. That part is useful.
A good band row should feel smooth for the first few reps and then annoying in the last third of the set. That’s the sweet spot. If the band jerks you forward at the start, add more tension. If you have to twist or lean back just to finish, the band is too heavy for clean work.
3. Bird-Dog Rows for Core Stability and Back Strength
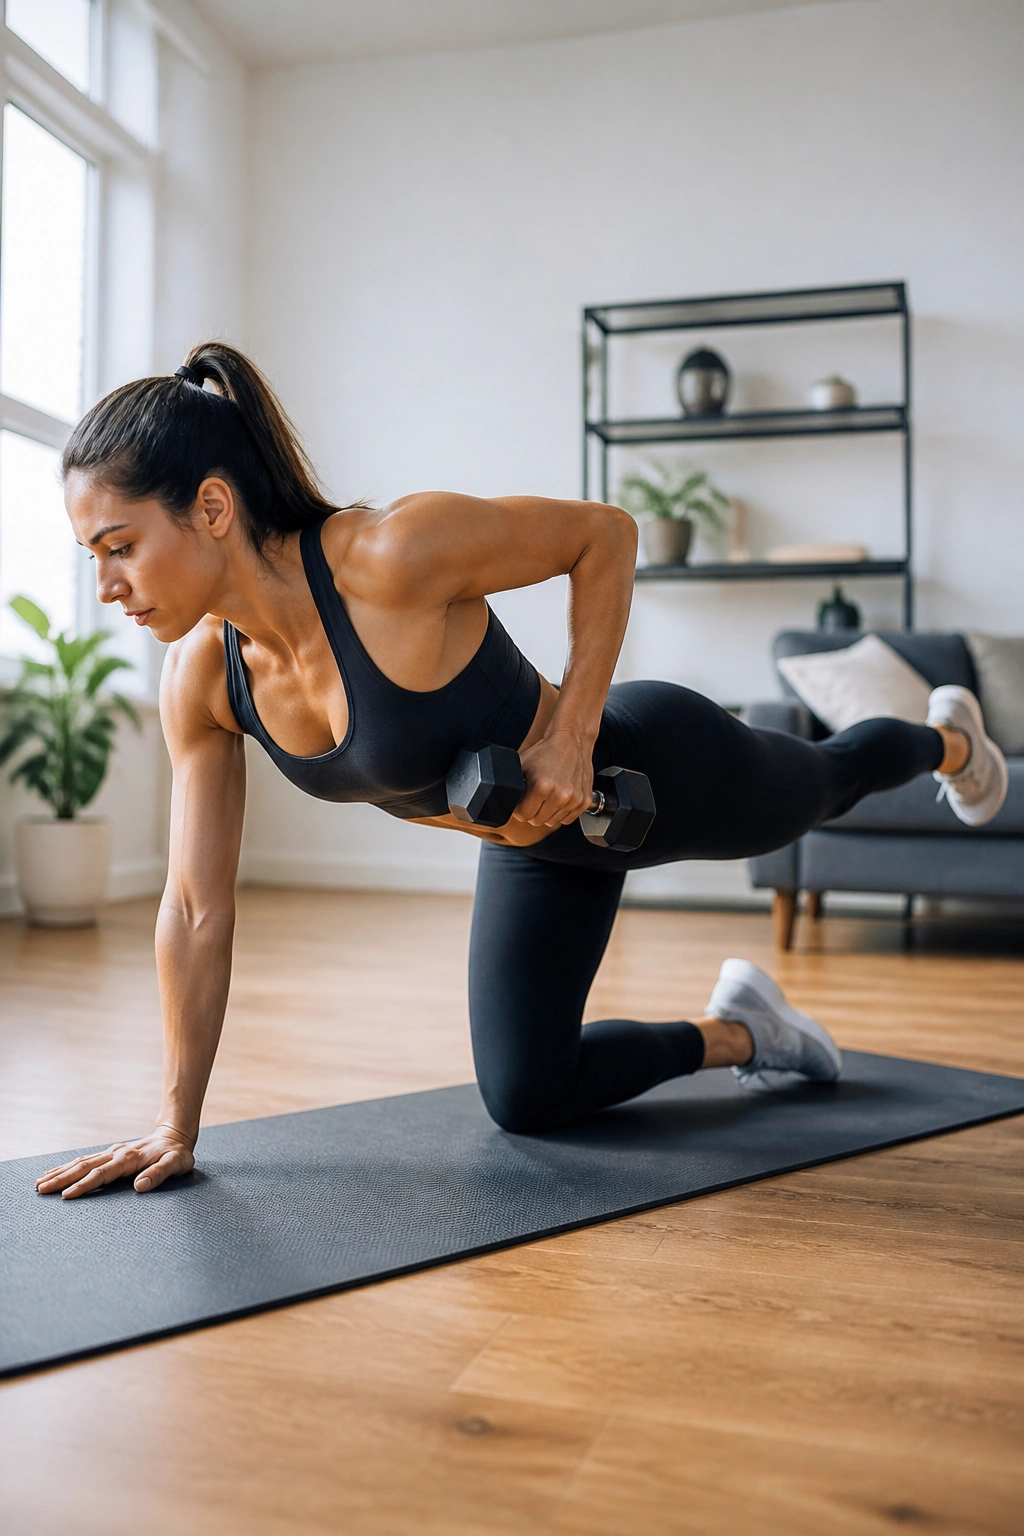
Want back work without loading your spine? This is one of the cleanest answers. Bird-dog rows blend a row with an anti-rotation drill, which means your lats and mid-back have to work while your core keeps your hips from wobbling all over the place.
How to Use It
Set one hand and the opposite knee on a bench or the floor. Extend the free leg straight back, then row a light dumbbell with the free hand. The goal is not to crush the weight. The goal is to keep your pelvis square and your rib cage quiet while the pulling arm does its job.
That little pause at the top matters. Hold the row for 1 to 2 seconds and feel the shoulder blade slide back instead of hiking up. If your hips twist open, the weight is too heavy or you’re rushing. Slow it down. Seriously.
Best Ways to Program It
- Beginners: 2 to 3 sets of 6 reps per side with no weight or a 5-pound dumbbell
- Intermediate lifters: 3 sets of 8 reps per side with a slow 2-second pause
- Advanced use: 3 rounds as a finisher after heavier rows
The bird-dog row is not flashy, and that’s part of the appeal. It teaches control. It also exposes cheating fast, which is rude but useful.
4. Inverted Rows Under a Bar or TRX Straps
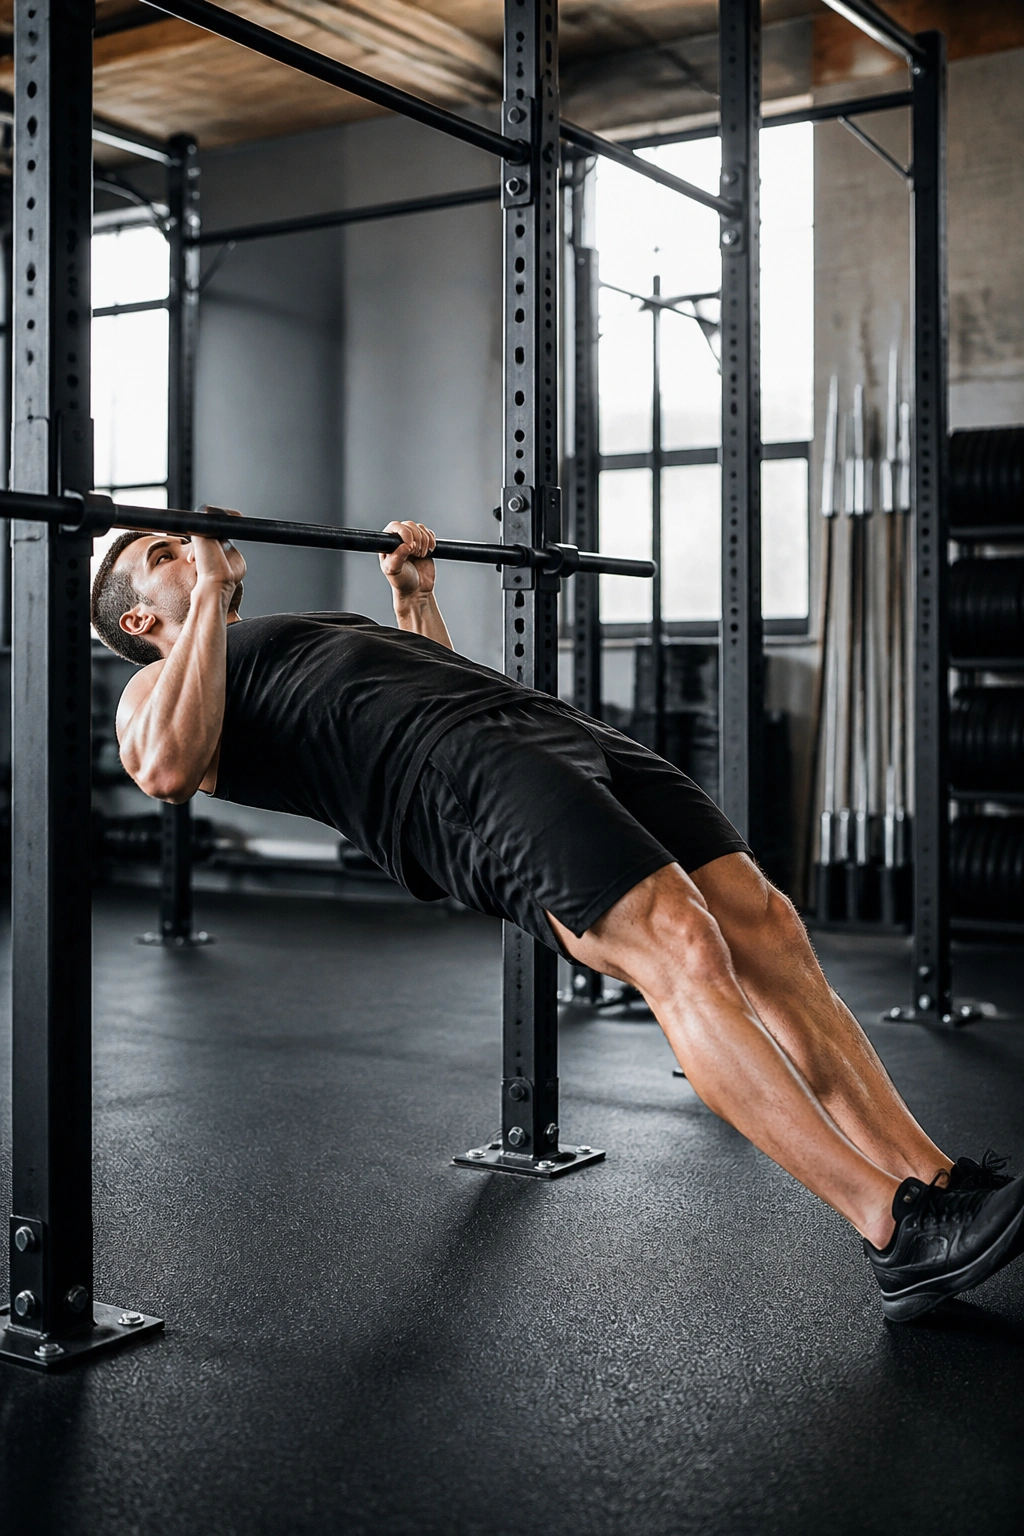
Put a bar in a rack at waist height and your own body becomes the weight stack. That’s the basic idea, and it’s why inverted rows are such a good middle step between band work and heavier rows. They teach you how to pull your chest toward something without losing your brace.
The angle of your body changes everything. Feet flat with bent knees is the easiest version. Straight legs raise the demand. Feet elevated raise it again. Same movement, different load, no machine required. That flexibility makes inverted rows useful in home gyms, commercial gyms, and anywhere you can find a sturdy setup.
What to Pay Attention To
- Grip: overhand for more upper-back bias, neutral grips if your wrists prefer them
- Body line: straight from head to heels, no sagging hips
- Top position: chest touches or nearly touches the bar
- Lowering phase: 2 to 3 seconds on the way down
If your shoulders hike toward your ears, shorten the set and reset the brace. If your lower back arches to save the rep, raise the bar or bend the knees more. The clean version is worth more than the hard version done badly.
The beauty here is obvious once you feel it. You get a solid horizontal pull, a strong squeeze between the shoulder blades, and a clear path to progress without needing a stack of plates.
5. Face Pulls for Rear Delts and Shoulder Health
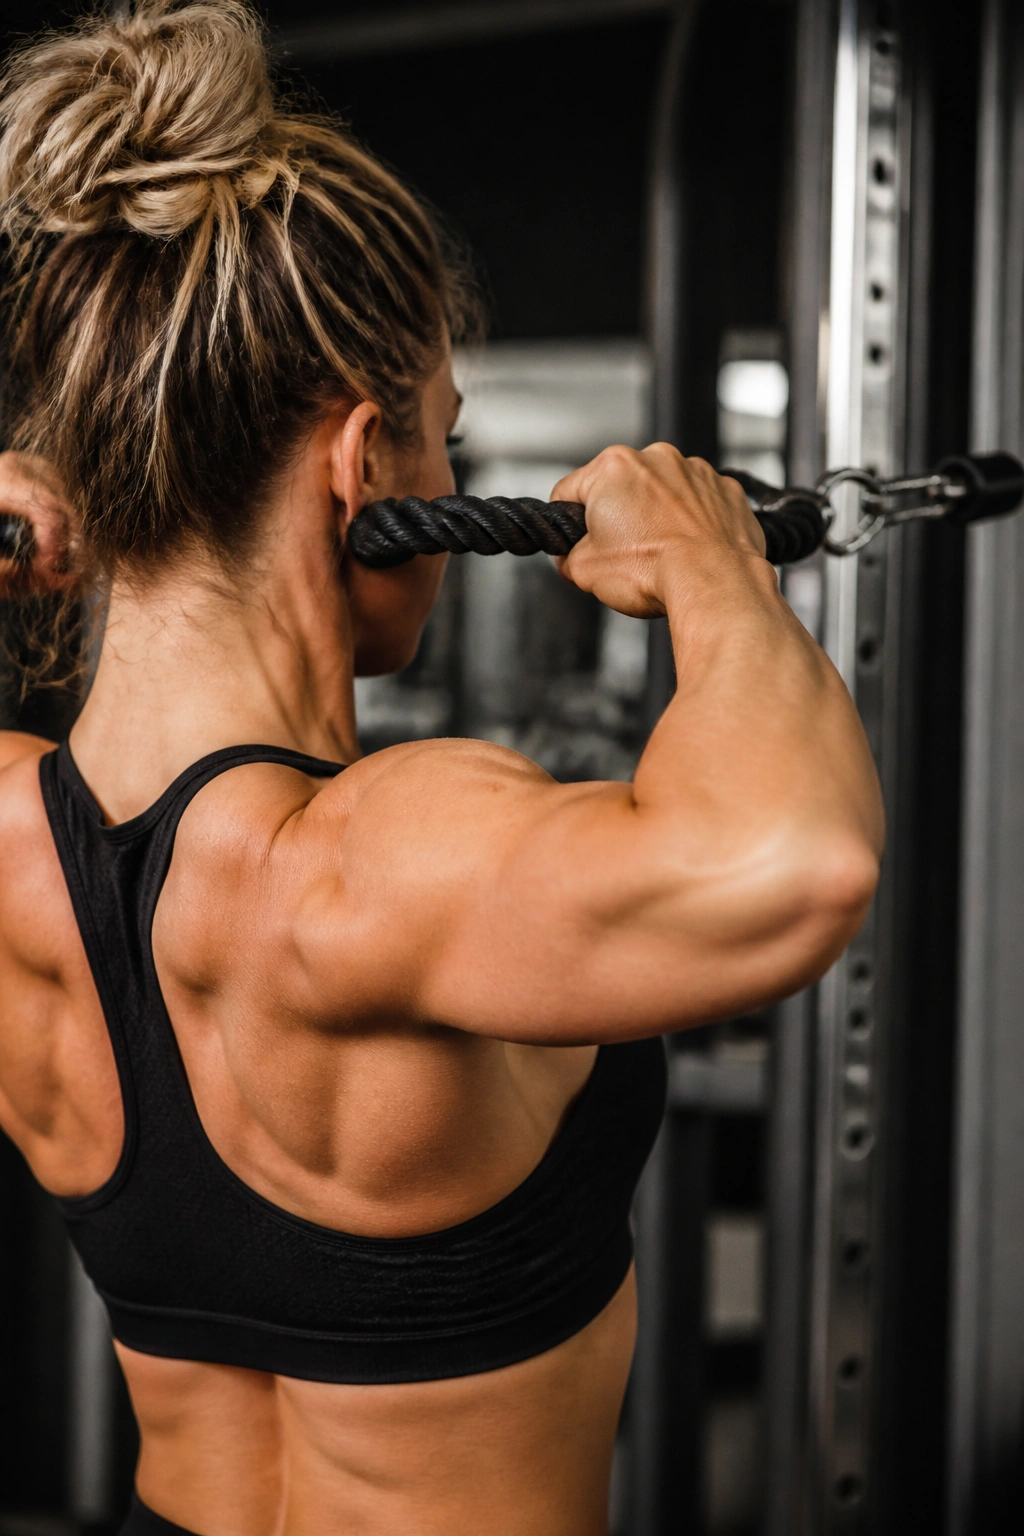
The rope should come to eye level, not your waist. That’s the first thing I’d correct in most gyms, because face pulls turn into weird low rows all the time. Done well, they light up the rear delts, upper traps, and rotator cuff while teaching the shoulders to sit in a better place.
The setup is straightforward. Use a rope on a cable machine, set the pulley around upper chest or face height, and pull the rope toward your forehead or nose while letting the hands separate at the end. The finish should look like a double biceps pose with a little extra external rotation. If that sounds fussy, it is — and it matters.
A lot of people yank the weight so hard that their torso leans back and the movement becomes a whole-body tug. That’s the part to avoid. Keep a small bend in the knees, stack the ribs over the hips, and think about moving the elbows out and back rather than just dragging the rope toward your face.
I like face pulls in the 12 to 20 rep range because they reward precision more than brute force. Two or three sets after pressing or rows usually does the job. When your upper back feels smoked and the shoulders feel cleaner afterward, you’ve got the setup right.
6. One-Arm Dumbbell Rows for Unilateral Strength
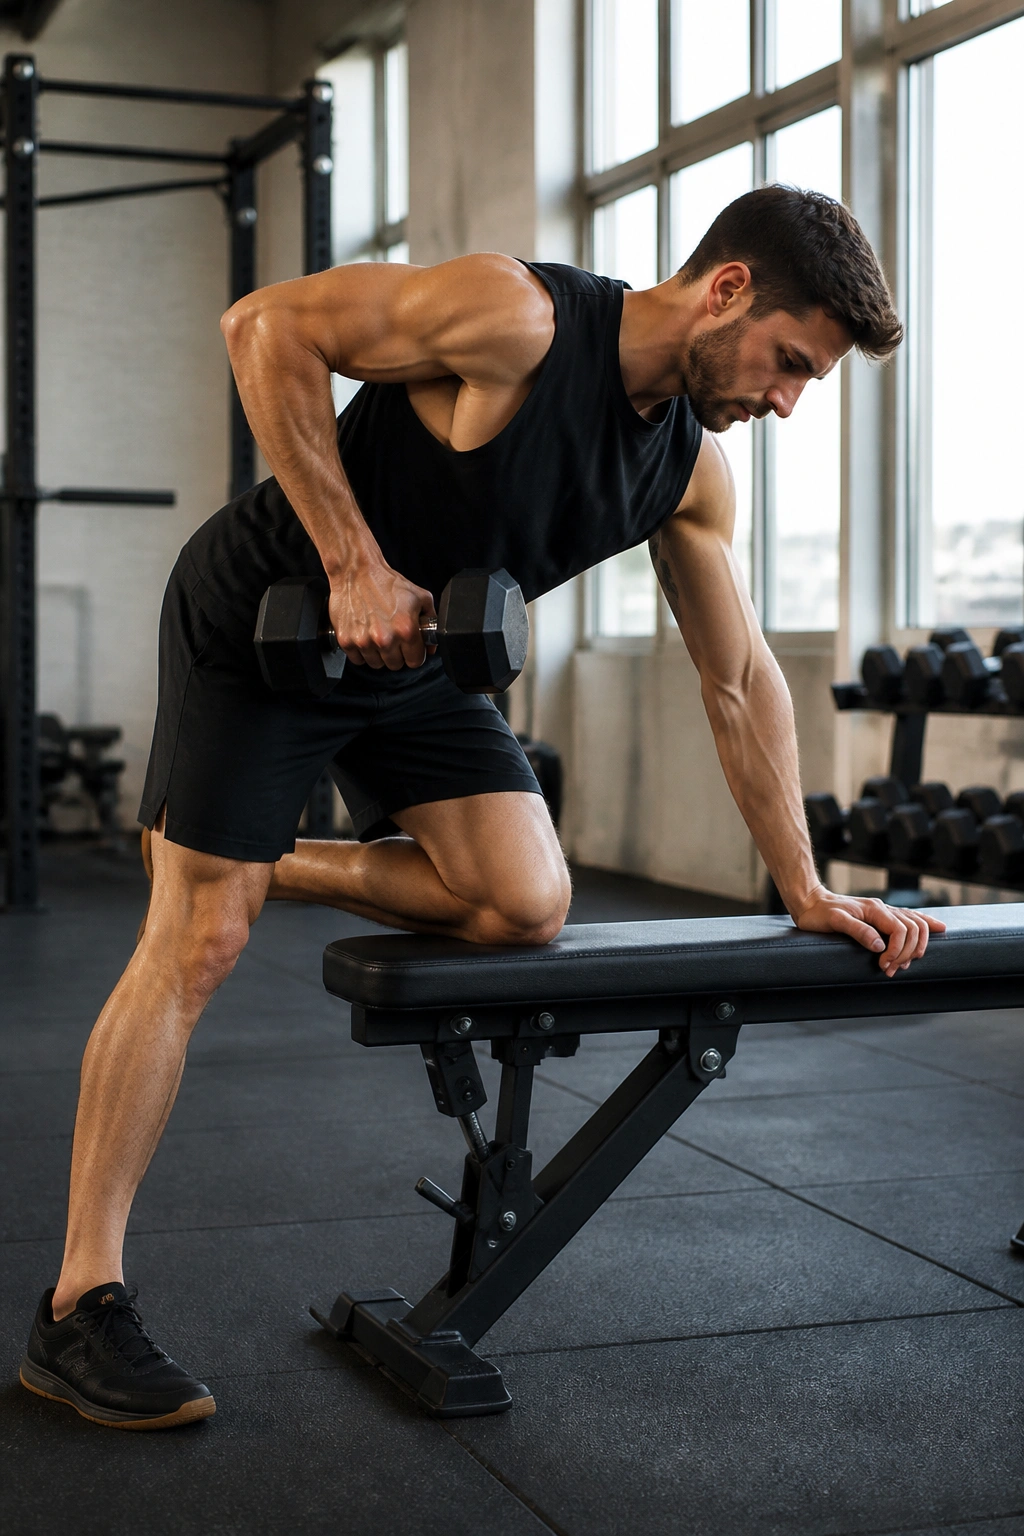
A one-arm dumbbell row gives you something a barbell row can’t: a clear look at side-to-side differences. One side is often stronger, tighter, or better at cheating. This movement exposes that fast, which is inconvenient and useful at the same time.
Brace one hand and one knee on a bench, keep the free foot planted, and row the dumbbell toward your hip or lower ribs. I prefer a slight pause near the top because it stops the rep from turning into a jerk. The elbow should track close to the body, and the shoulder should stay away from your ear.
Why This Version Stays Popular
Unlike a barbell row, the one-arm dumbbell row lets you load one side without forcing your lower back to hold the whole show together. That makes it a good choice if your hinge gets tired quickly or if you’re still learning how to keep your torso steady under load. It also makes the lat a little easier to feel, which helps people who keep turning every pull into a trap exercise.
Use a moderate weight for 3 sets of 8 to 12 reps per side. If the dumbbell starts swinging, it’s too heavy. If your torso rotates every rep, it’s too heavy too. A little body shift is normal. A full twist is not.
Best for: beginners who need more stability, intermediate lifters chasing lat size, and anyone fixing one side that lags behind the other.
7. Chest-Supported Dumbbell Rows to Spare the Lower Back
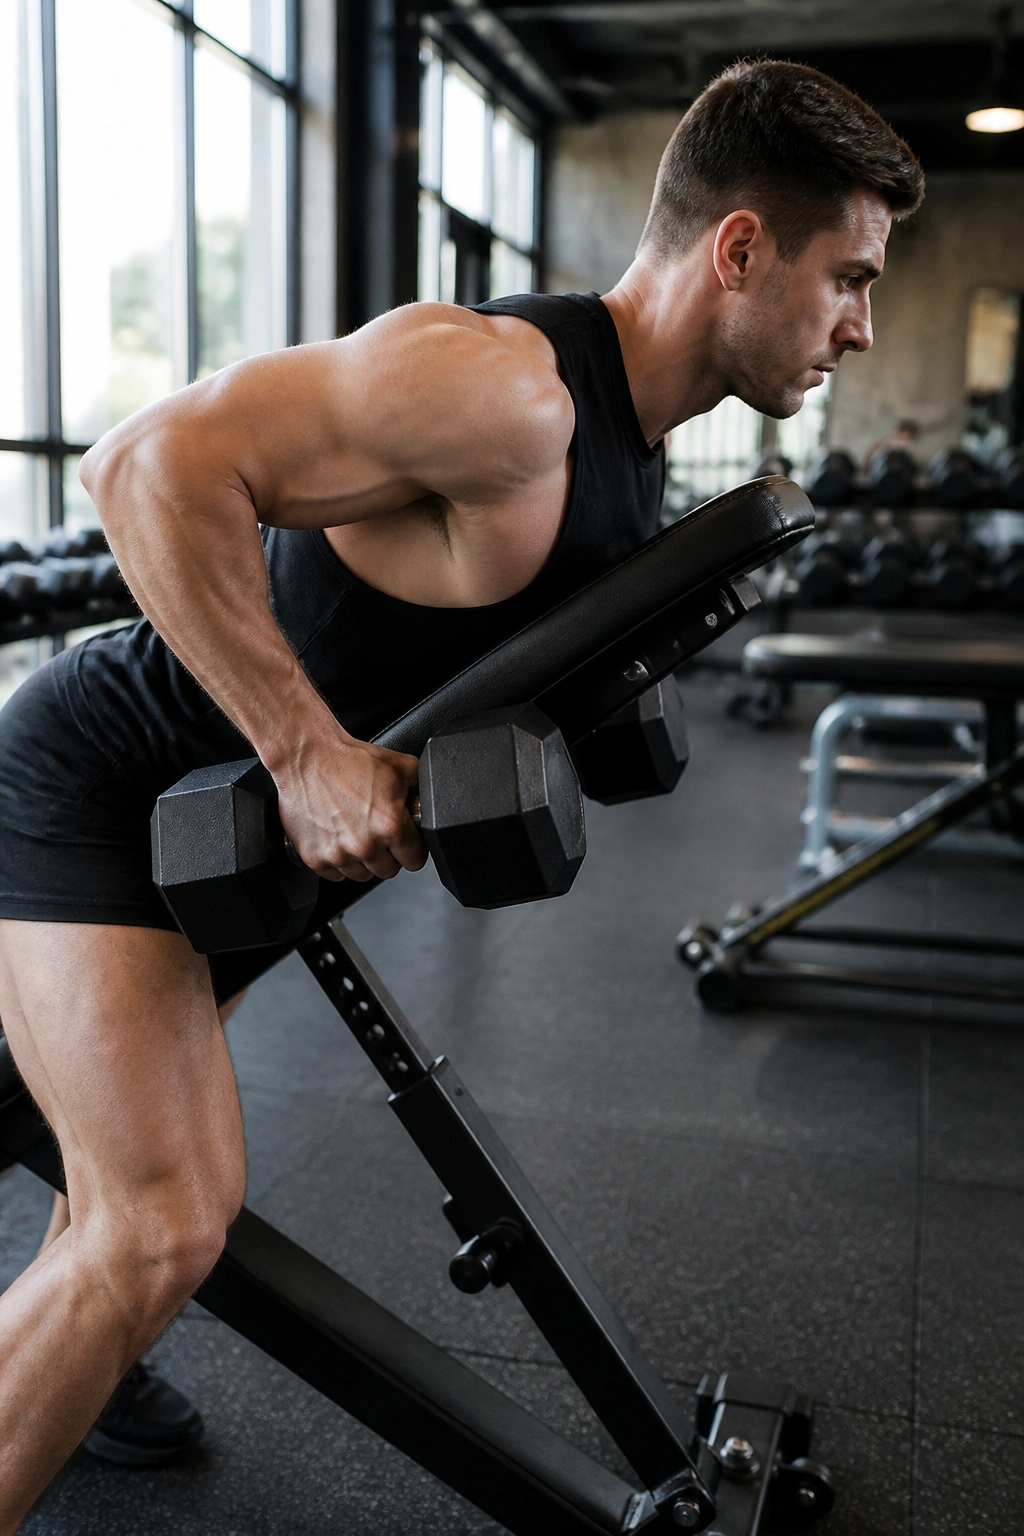
This is one of the smartest rows in the room. The bench takes most of the spinal load out of the picture, which means your lats, rhomboids, and mid traps can do their work without your lower back running out of gas halfway through the set.
Set an incline bench around 30 to 45 degrees, lie chest-down, and row the dumbbells with a neutral or slightly angled grip. Keep your neck long and your chin tucked just a bit so you are not craning upward. The row itself should be clean and boring in the best possible way: pull, squeeze, lower, repeat.
What to Feel
- Upper back: shoulder blades move together at the top
- Lats: elbows drive down and back, not wide and flared
- Lower back: mostly quiet, maybe working isometrically, but not doing the main lifting
- Tempo: 2 seconds up, 1 second hold, 2 to 3 seconds down
This is a great option after deadlifts, on a higher-volume back day, or anytime your brace is the weak link. It also suits beginners because the chest support removes a lot of the balance work that makes free rows messy.
If you want one row that stays useful even when you’re tired, this is a strong pick. Not flashy. Just useful.
8. Seated Cable Rows for Smooth, Constant Tension
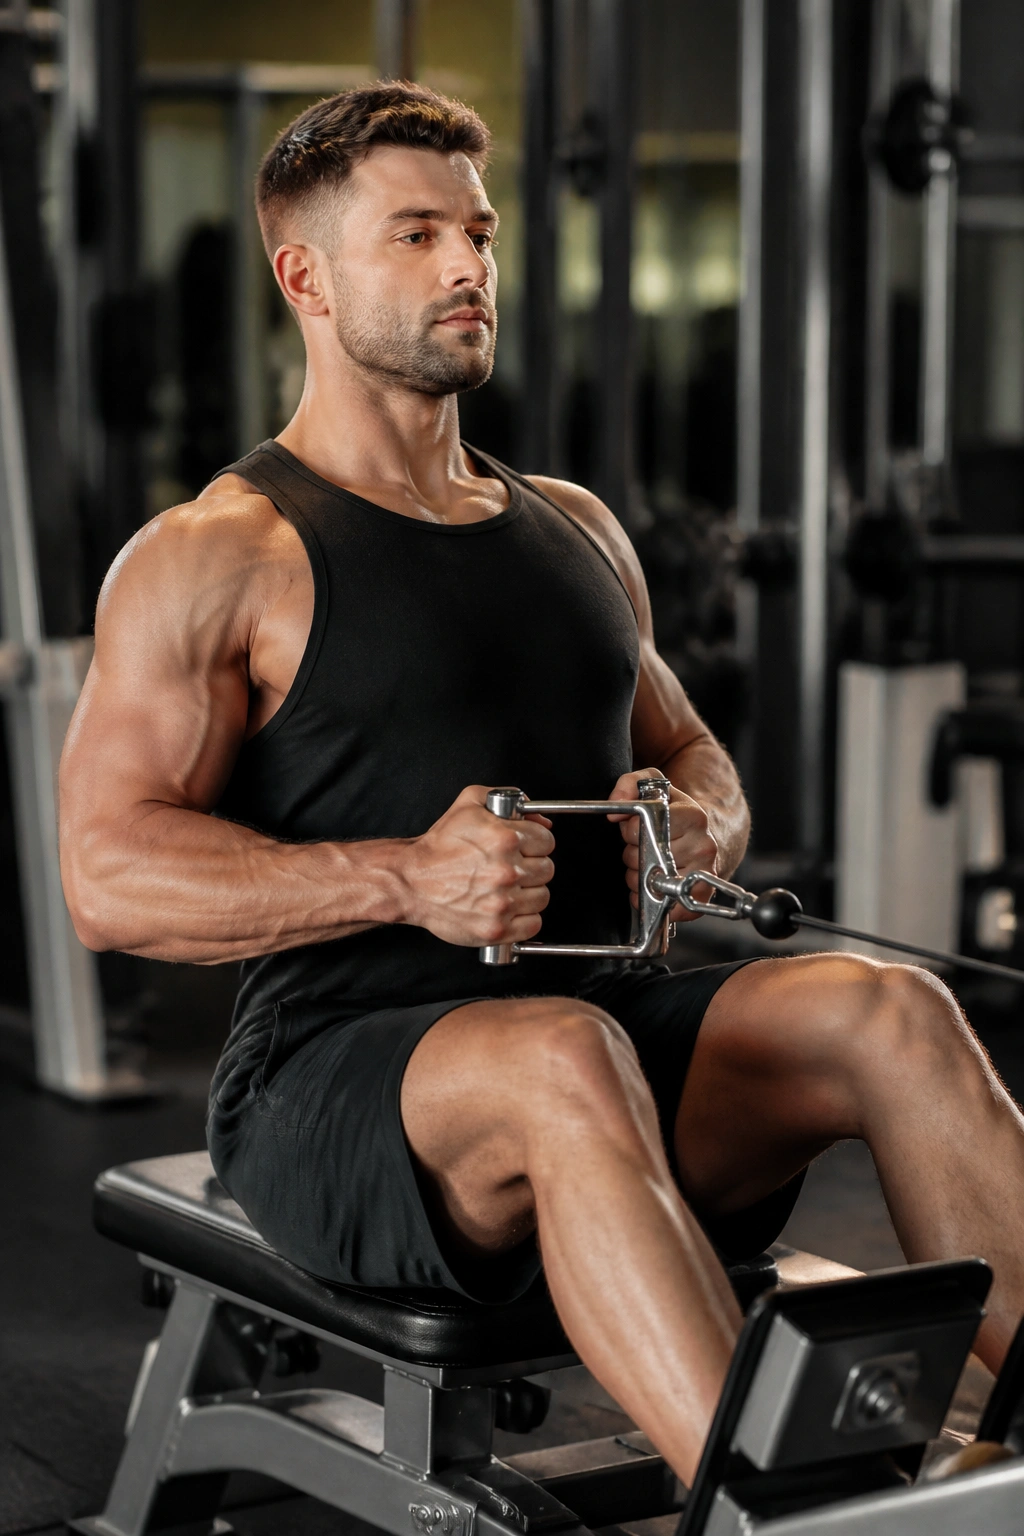
If you want one row you can load year-round, this is the one I’d start most people on. The cable row stays honest through the whole rep, which means you don’t get the dead spots that sometimes show up with dumbbells or barbells. That constant tension is a big deal when you’re chasing controlled volume.
Sit tall, plant the feet, and set the torso before you pull. The chest should stay proud without over-arching the lower back. Pull the handle toward the lower ribs for a lat bias or a little higher toward the belly button for more mid-back work. The difference is subtle but real.
What makes this exercise so useful is the way you can fine-tune it. A close neutral grip often feels friendlier on the wrists and elbows. A wider handle can shift the work a bit more toward the rear delts and upper back. You do not need twelve variations, though. You need one setup you can repeat well.
Useful Cues
- Start with the shoulders reaching forward under control.
- Drive the elbows back without leaning into a heave.
- Pause for a beat when the handle touches the body.
- Return slowly until the shoulder blades protract again.
If the stack slams at the bottom, you’re letting the weight do the job. Shorten the load or slow the return. Clean reps add up faster than ugly heavy ones.
9. Lat Pulldowns for Building a Strong Pulling Base

Not everyone owns a pull-up bar, and not everyone needs one right away. The lat pulldown gives you the same vertical pulling pattern with easier load control, which is why it shows up in so many good back programs.
Set the thigh pads so your legs stay pinned, then grab the bar a little wider than shoulder width or with a neutral grip attachment. Pull the bar toward the upper chest while keeping the chest tall and the shoulders down. The elbows should travel toward the ribs, not shoot behind your body like you’re trying to start a lawnmower.
How to Use It
Use the pulldown to learn the feel of the lats doing real work. If your biceps burn first, the grip may be too narrow or you’re pulling with your hands instead of your elbows. If your neck gets tense, the load is probably too heavy or you’re shrugging through the top half of the rep.
A useful rep range is 8 to 12 for standard hypertrophy work, though 12 to 15 can be nice when you want cleaner control and a little less joint stress. The stretch at the top should feel long, not painful. Do not force the bar behind the neck. That old trick buys you more awkwardness than muscle.
A good pulldown feels like your torso stays mostly still while your upper arms travel. That’s the point. Let the lats do the job.
10. Straight-Arm Pulldowns for Locked-In Lat Work
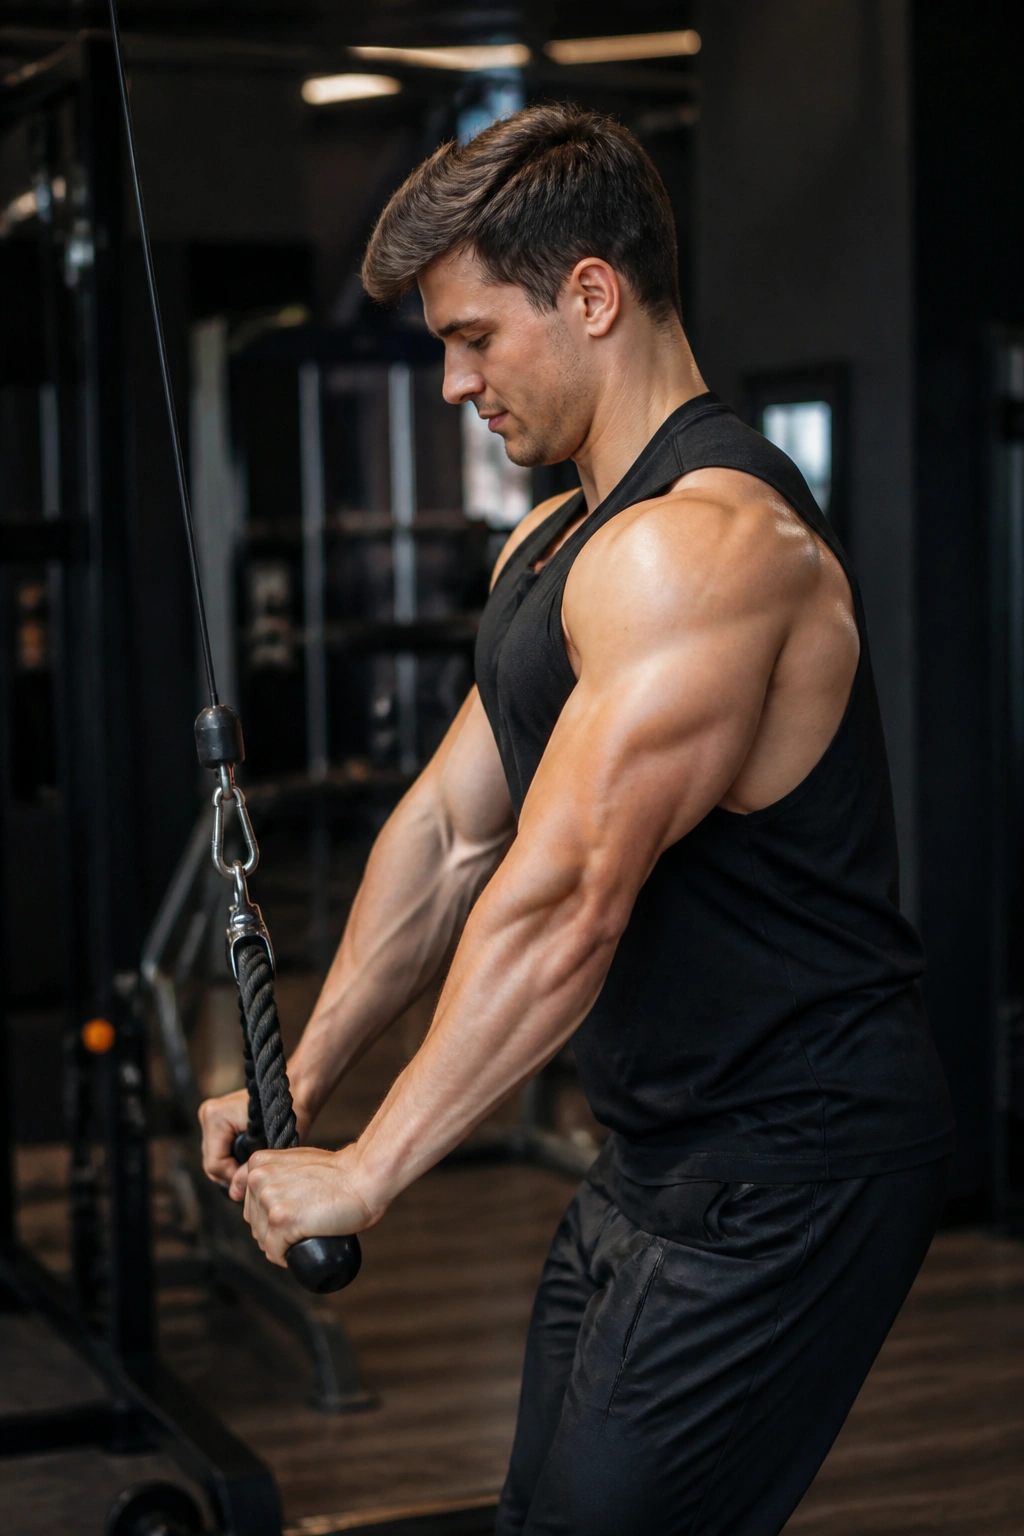
If your arms keep stealing the show on rows and pulldowns, this is the fix. Straight-arm pulldowns isolate shoulder extension with very little elbow bend, which puts the load squarely on the lats and teaches them to work without help from the biceps.
Set the cable high, hold a bar, rope, or straight handle, and take a small step back. Keep a soft bend in the elbows, brace the ribs down, and sweep the handle from about forehead level to the thighs. The motion is short, controlled, and far more specific than it looks.
The biggest mistake is turning it into a triceps pressdown or a full-body swing. Once the elbows start bending a lot, the exercise changes. Once the torso starts rocking, the lats lose the spotlight. Neither of those versions is terrible, but they are not what this movement is for.
Key Details
- Cable height: top pulley position
- Arm angle: nearly straight, with a small bend
- Rep range: 12 to 15 reps, sometimes 15 to 20
- Feel: lats should burn before the grip fails
This works well after heavy rows or pulldowns, when the big muscles are already warmed up and you want to finish them off without crushing your nervous system.
11. Pull-Ups and Assisted Pull-Ups for Vertical Pull Power
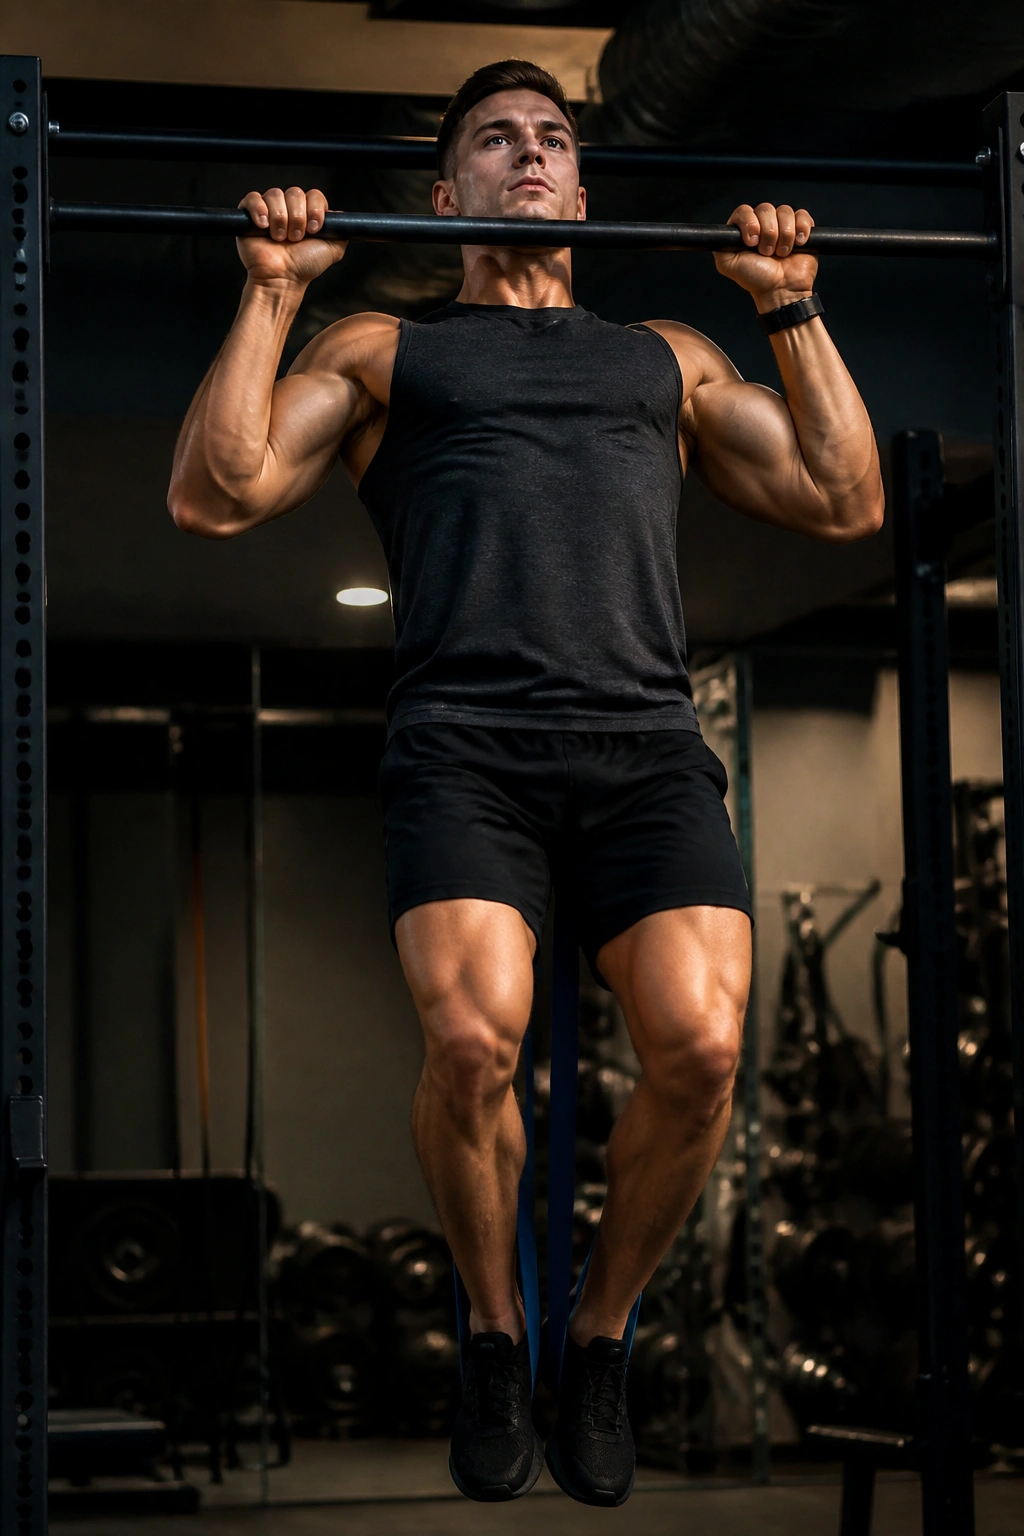
Pull-ups are honest. There is no hiding inside them. If you have the strength, they feel clean and powerful. If you do not, they tell you fast, which is why assisted versions deserve just as much respect as the full movement.
The main job here is getting your body from a dead hang or near-hang to the bar without turning it into a wild swing. Start with the shoulders set down, then pull the elbows toward the ribs while the chest rises. A neutral grip can feel easier on the shoulders, while a pronated grip often asks more from the upper back.
If you can’t get a full rep yet, that is not a dead end. Use an assisted pull-up machine, a sturdy band, or slow eccentrics. Even 3 to 5 negatives with a 3-second lower can build a useful base. One clean assisted rep is worth more than three ugly half reps.
I like pull-ups in low-to-moderate volume at first — maybe 3 sets, stopping a rep or two before failure — because the form drops off fast once people start flailing. That said, once you own them, they’re one of the most satisfying back exercises around. Hard, simple, direct.
12. Single-Arm Landmine Rows for Heavy, Controlled Pulling

A landmine row sits somewhere between a dumbbell row and a cable row, and that angled path is the reason people keep coming back to it. The bar travels in a natural arc, which often feels easier on the shoulders than a straight bar path and easier on the lower back than free-heavy bent-over work.
Load one end of a barbell into a landmine setup, straddle it or stand in a split stance, and row the sleeve toward your hip. One hand can brace on the thigh or rack while the working side pulls. The movement is smooth, but it still lets you go heavy enough to matter.
Why It Works So Well
Unlike a dumbbell row, the landmine version resists you in a fixed line, which makes the top end feel more demanding and the finish more honest. Unlike a seated cable row, it asks your trunk to stabilize a little harder, but not so hard that your form falls apart after set two. That middle ground is the appeal.
This one is best for lifters who want real load without a lot of fuss. Four sets of 6 to 10 reps per side is a strong place to start. Keep the chest square, pull toward the hip, and do not twist your whole body just to move the sleeve another inch.
If your gym has a landmine attachment, it deserves more use than it usually gets.
13. Barbell Bent-Over Rows for Dense Mid-Back Work

This is the most demanding row in the bunch for a lot of people, and it shows. A barbell bent-over row asks your hip hinge, upper back, grip, and brace to show up at the same time. Get it right, and the payoff is huge. Get lazy, and your lower back will complain before your lats do.
Set your feet about hip width apart, hinge until your torso is angled forward, and keep the bar close to your shins or knees at the start. From there, row toward the lower ribs or upper stomach without turning the rep into a full-body snap. The torso should stay fixed. If it keeps rising with each rep, the load is too high or the set is too long.
What Makes This Row Different
The barbell lets you load both sides evenly and usually heavier than a dumbbell or cable row. That makes it excellent for building thickness through the mid-back and for teaching the body to stay braced under fatigue. It also exposes weak hinges fast, which is rude but useful feedback.
A clean loading pattern here is often 3 to 5 sets of 5 to 8 reps if you want a heavier strength bias, or 8 to 10 reps if you want more muscle with less grind. Use straps only if your grip is failing way before your back is. Even then, earn that decision.
If your lower back is already fried from deadlifts or lots of standing work, this is not the day to force it.
14. Romanian Deadlifts for Erector, Hamstring, and Glute Strength

Does a hinge count as back work? Absolutely. Romanian deadlifts train the spinal erectors to hold position while the glutes and hamstrings do the main moving, which makes them one of the best ways to build the whole posterior chain without turning the session into a pure deadlift party.
How to Use It
Start standing tall with the bar in front of your thighs. Unlock the knees a little, then push the hips back while keeping the bar close to the legs. The torso tips forward as a unit. The spine stays long, not rounded. Stop the descent when the hamstrings stop giving you room and the back wants to change shape.
That last part matters. Do not chase the floor. The RDL is not a race to see who can reach the lowest point. It is a controlled hinge with tension the entire way down and up. If the bar drifts away from the body, your lower back takes a bigger hit than it needs to.
- Reps: 6 to 10 for most lifters
- Tempo: 3 seconds down, 1 second up
- Brace: ribs stacked over pelvis, breath held before each rep if the load is heavy
- Stop point: when hamstrings feel stretched but the back stays neutral
Used well, this lift builds the kind of back strength that shows up when you bend, carry, or brace for real life. Not glamorous. Very useful.
15. Back Extensions on a Roman Chair or Bench
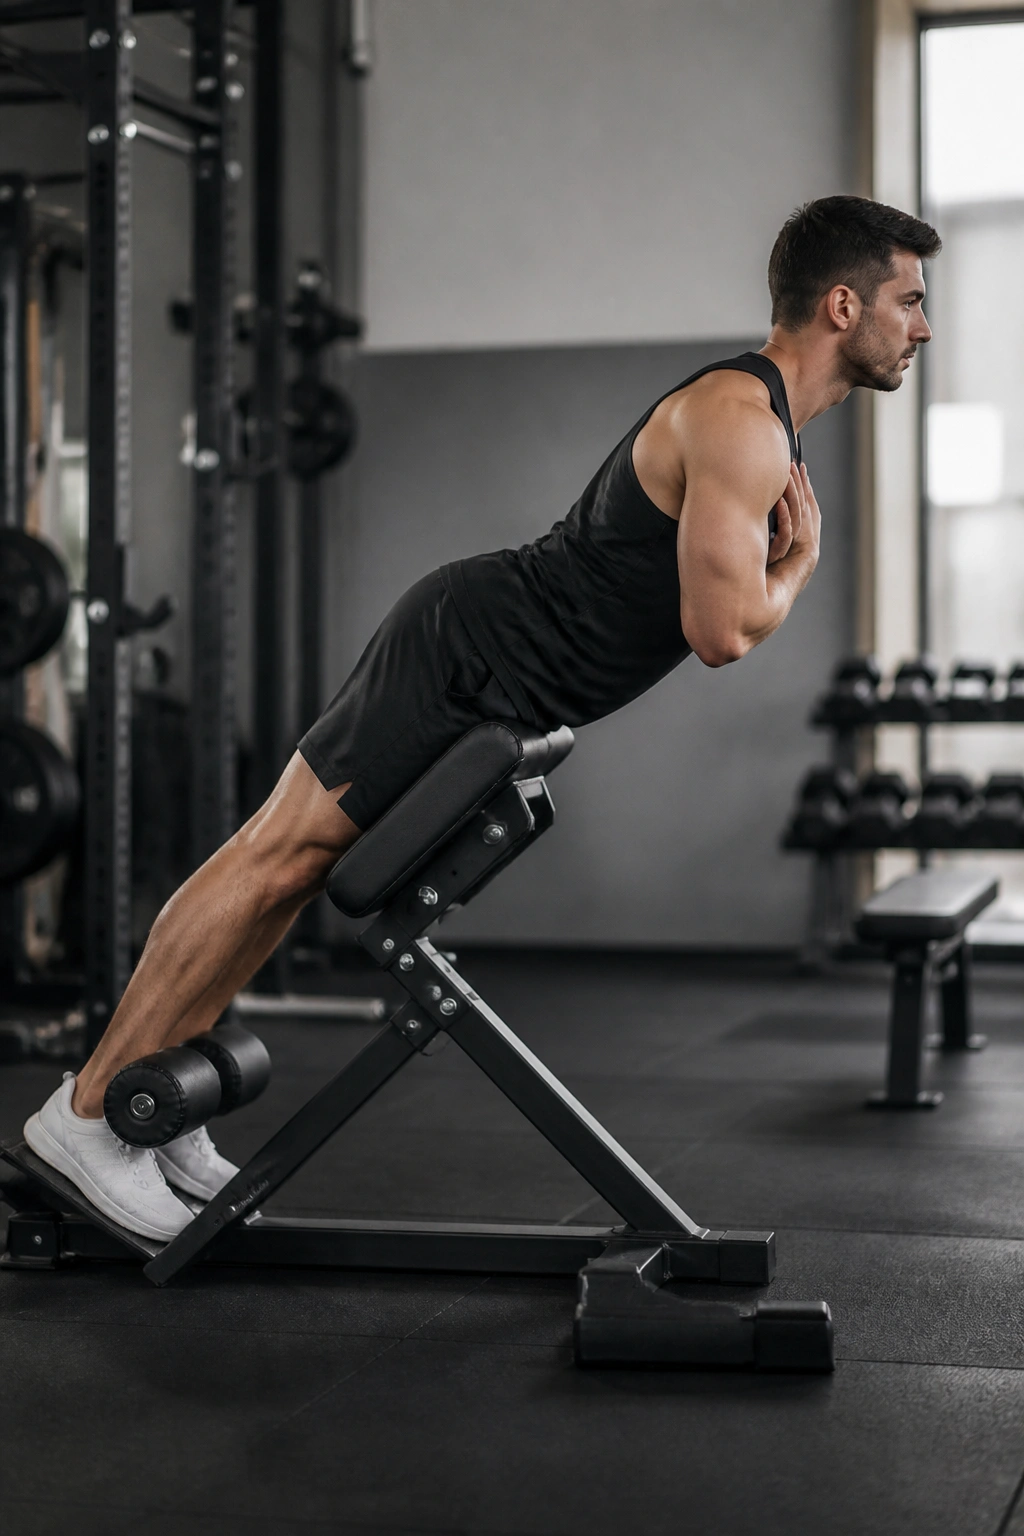
A back extension looks almost boring until you do it right. Then it becomes one of the best ways to train the spinal erectors, glutes, and upper hamstrings with a controlled range and far less load than a heavy hinge. That makes it a useful finisher, a lower-back endurance builder, and a smart option when the barbell is not the right tool.
Set your hips just above the pad so you can hinge freely at the hip joint. Lock your feet in, cross your arms or hold a plate against your chest, and lower your torso with a flat back until you feel tension through the posterior chain. Come up until your body is straight. Stop there. You do not need to crank into a big hyperextension at the top.
A Few Things to Watch
- Pad position: at the hip crease, not mid-thigh
- Top range: straight line from head to heel
- Load: bodyweight first, then a 10- to 25-pound plate when ready
- Tempo: 2 seconds down, 1 second up, small pause at the top
If you feel the movement mostly in your lower back and not the glutes, shift the focus to the hip hinge and shorten the top range. If your hamstrings cramp, you may be going too low too fast.
This is one of those exercises that looks humble and earns repeat use anyway. It’s hard to beat for controlled posterior-chain volume.
Final Thoughts

A good back week does not need fifteen exercises. It needs the right mix. One vertical pull, one honest row, one rear-delt move, and one hinge pattern will cover most people better than a pile of random lifts.
If your lower back gets tired quickly, lean on chest-supported rows, cable rows, pulldowns, and face pulls first. Save the barbell rows and Romanian deadlifts for days when your brace feels fresh and your setup is clean. That order alone fixes a lot of sloppy back sessions.
Start with perfect reps, then earn more load. The back usually responds well to patience, and it tends to punish the rep you rush.
