



Your arms do not need dumbbells to get sore. A tight set of push-ups, crawls, and hard bodyweight holds can light up your triceps, shoulders, and forearms faster than a lot of people expect.
The trick is leverage. A wall push-up feels friendly because your body is angled high; drop closer to the floor, slow the lowering phase, and the same bodyweight starts feeling a lot less polite. That matters because the triceps make up most of the upper arm, while the biceps need a little more creativity when you have no weights to curl.
Speed is the trap. A sloppy 20-rep set is noise. A controlled 8-rep set with a three-second lower and a hard pause can do more useful work, and your arms know the difference before your ego does. If you want a no-weights arm workout that actually earns the burn, start with the easy angles, then work toward the harder push-up and hold variations.
Pick 4 or 5 of these moves, run them for 2 to 4 sets, and give yourself 45 to 75 seconds between sets. That’s enough to make a bodyweight session feel real without turning it into a circus. Start with the wall push-up.
1. Wall Push-Ups
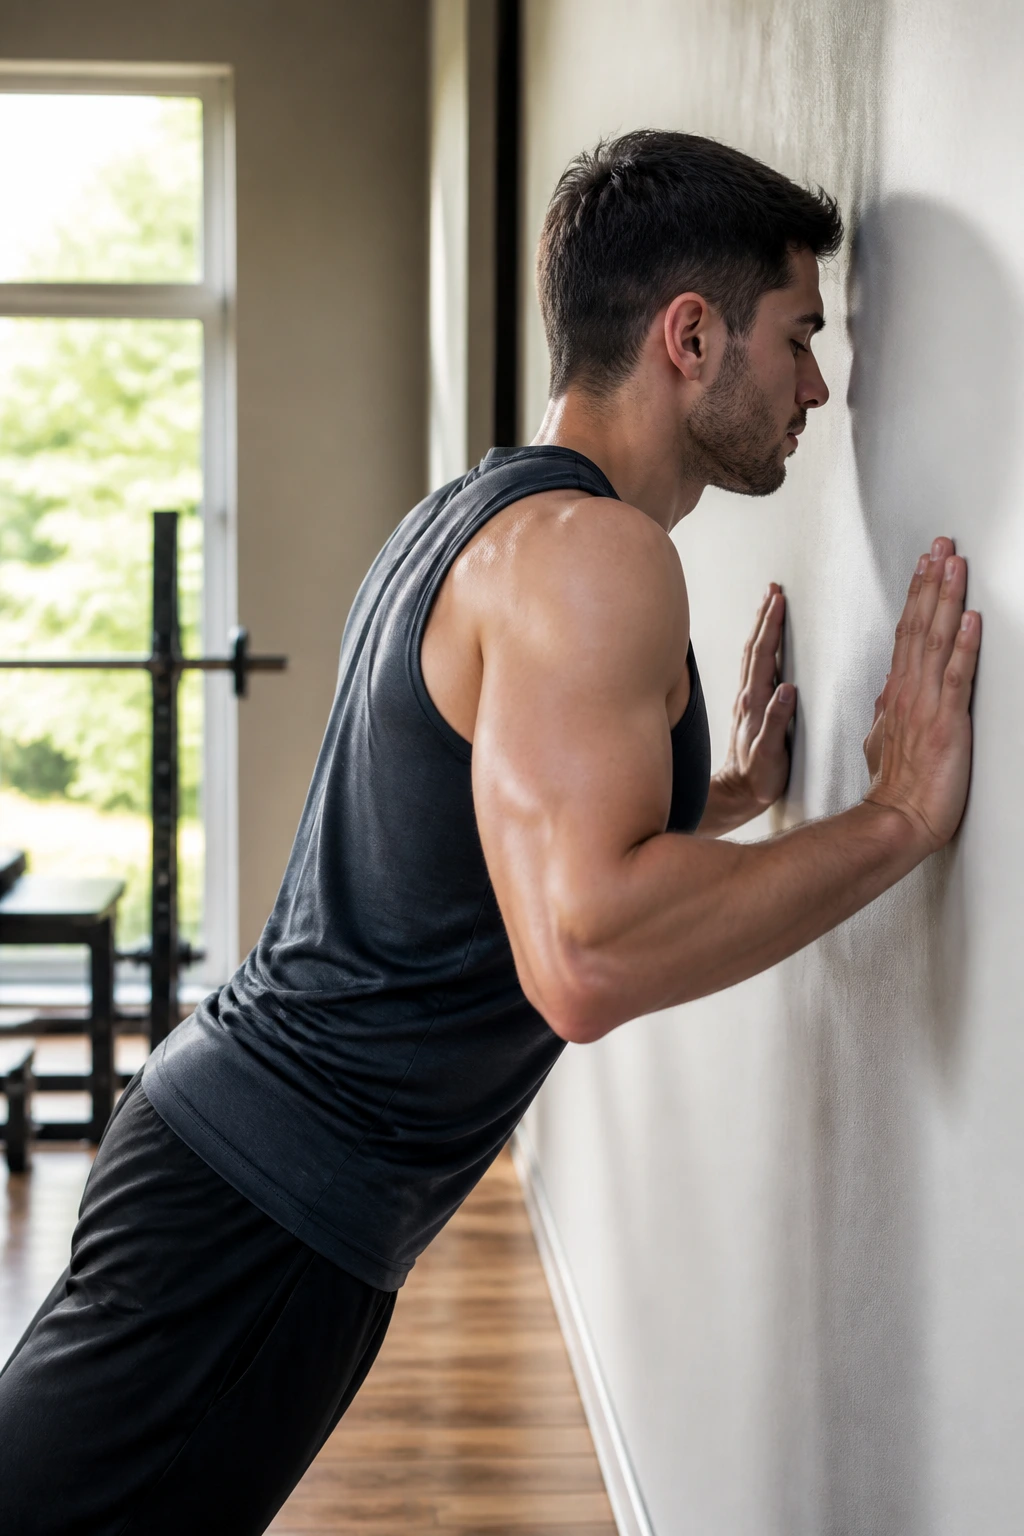
Start here if the floor feels rude. Wall push-ups look almost too easy, which is exactly why they belong at the front of a no-weights arm workout: they teach good arm path, stable shoulders, and a tight torso without burying you in fatigue before the real work begins.
Why They Belong First
A wall push-up loads the triceps, chest, and front of the shoulders in a cleaner, friendlier way than the floor version. You stand at arm’s length from a wall, place your hands at chest height, and lower under control until your nose or chest gets close to the surface. Then you push the wall away like you mean it.
That push matters. Don’t drift through the rep.
- Keep your body in one straight line from head to heels.
- Set your hands a little wider than shoulder width.
- Lower until your elbows bend to about 45 degrees, not flared out wide.
- Press through the whole palm, not just the heel of the hand.
Best cue: if you feel your lower back taking over, step your feet back and brace your stomach harder.
Wall push-ups are also a useful reality check. If you can’t keep your ribs from popping forward here, the harder versions will just expose the same problem faster. Fix the easy version first. That saves time later.
2. Incline Push-Ups
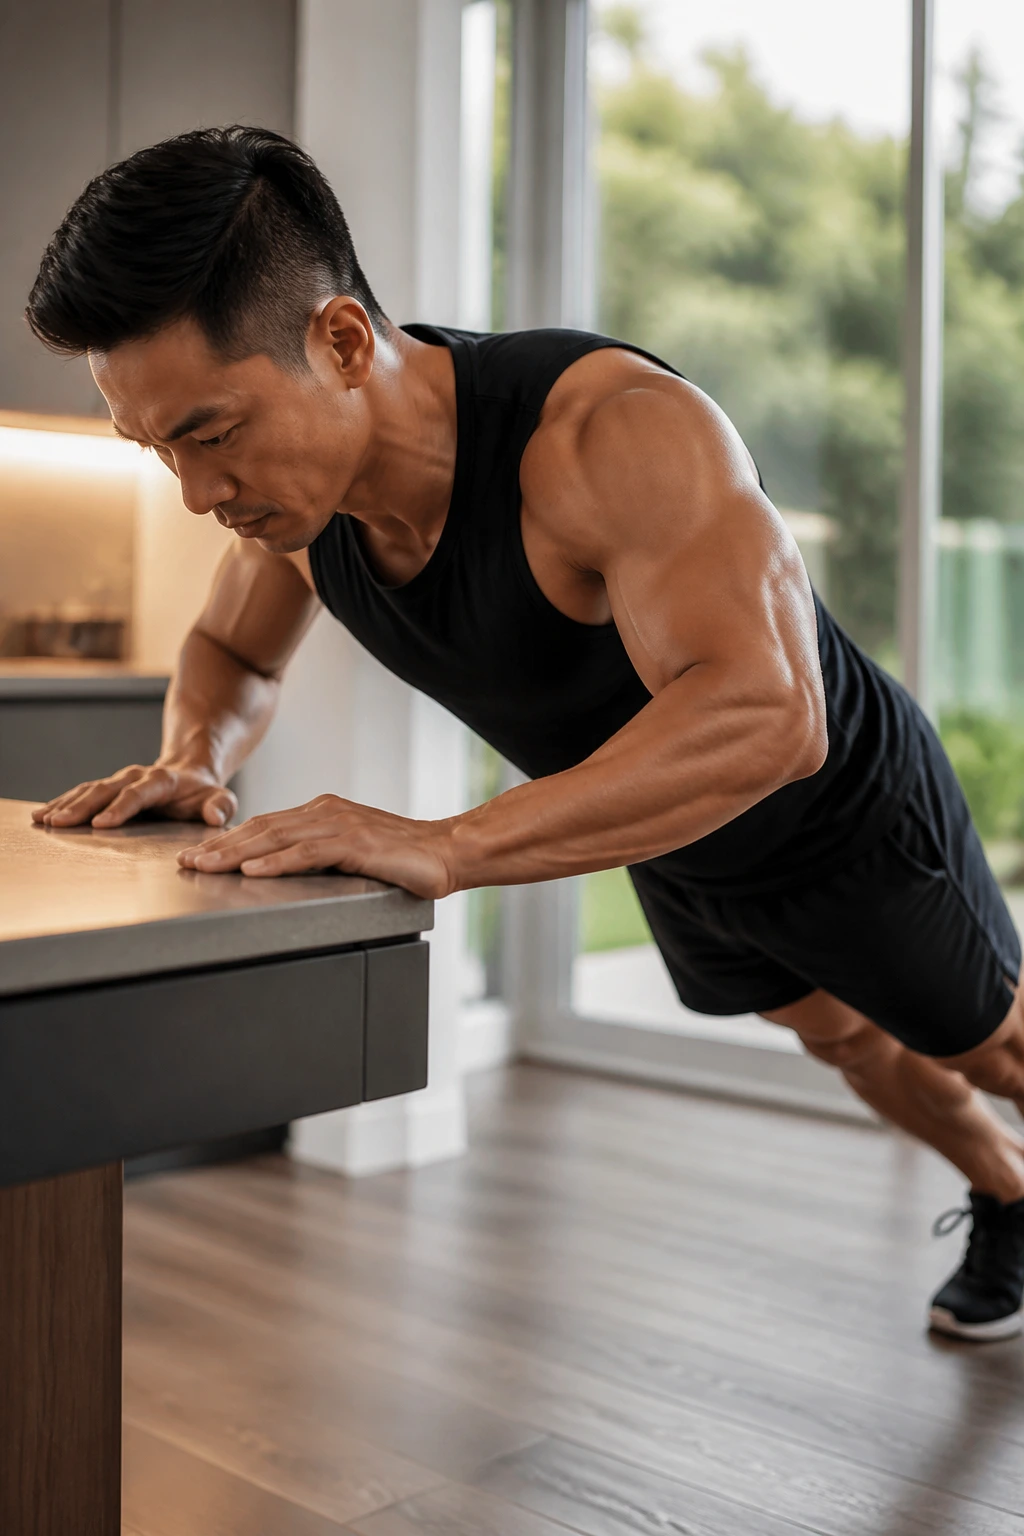
A countertop, sturdy desk, or bench turns this into a much better triceps drill than most people expect. Lower the hands, and the load climbs. Raise the hands, and the movement gets more forgiving. That’s the whole game with no-weights arm exercises: change the angle, change the challenge.
Incline push-ups sit nicely between wall work and floor push-ups. They let you practice a real push-up groove without losing your form the moment your arms get tired. Put your hands on a solid surface around hip to waist height, walk your feet back, and keep your body rigid while you lower your chest toward the edge.
The surface matters. Wobbly furniture ruins the rep.
A good set here is 6 to 12 clean reps for 2 to 4 rounds. If you can hit 12 with a calm face and no wobble in the hips, lower the surface next time. If your wrists bark, spread your fingers and press your thumb into the edge of the hand for a stronger base.
This one teaches patience. Rush it, and it turns into a shoulder shrug. Slow it down, and your triceps start doing real work.
3. Knee Push-Ups With a Slow Lower
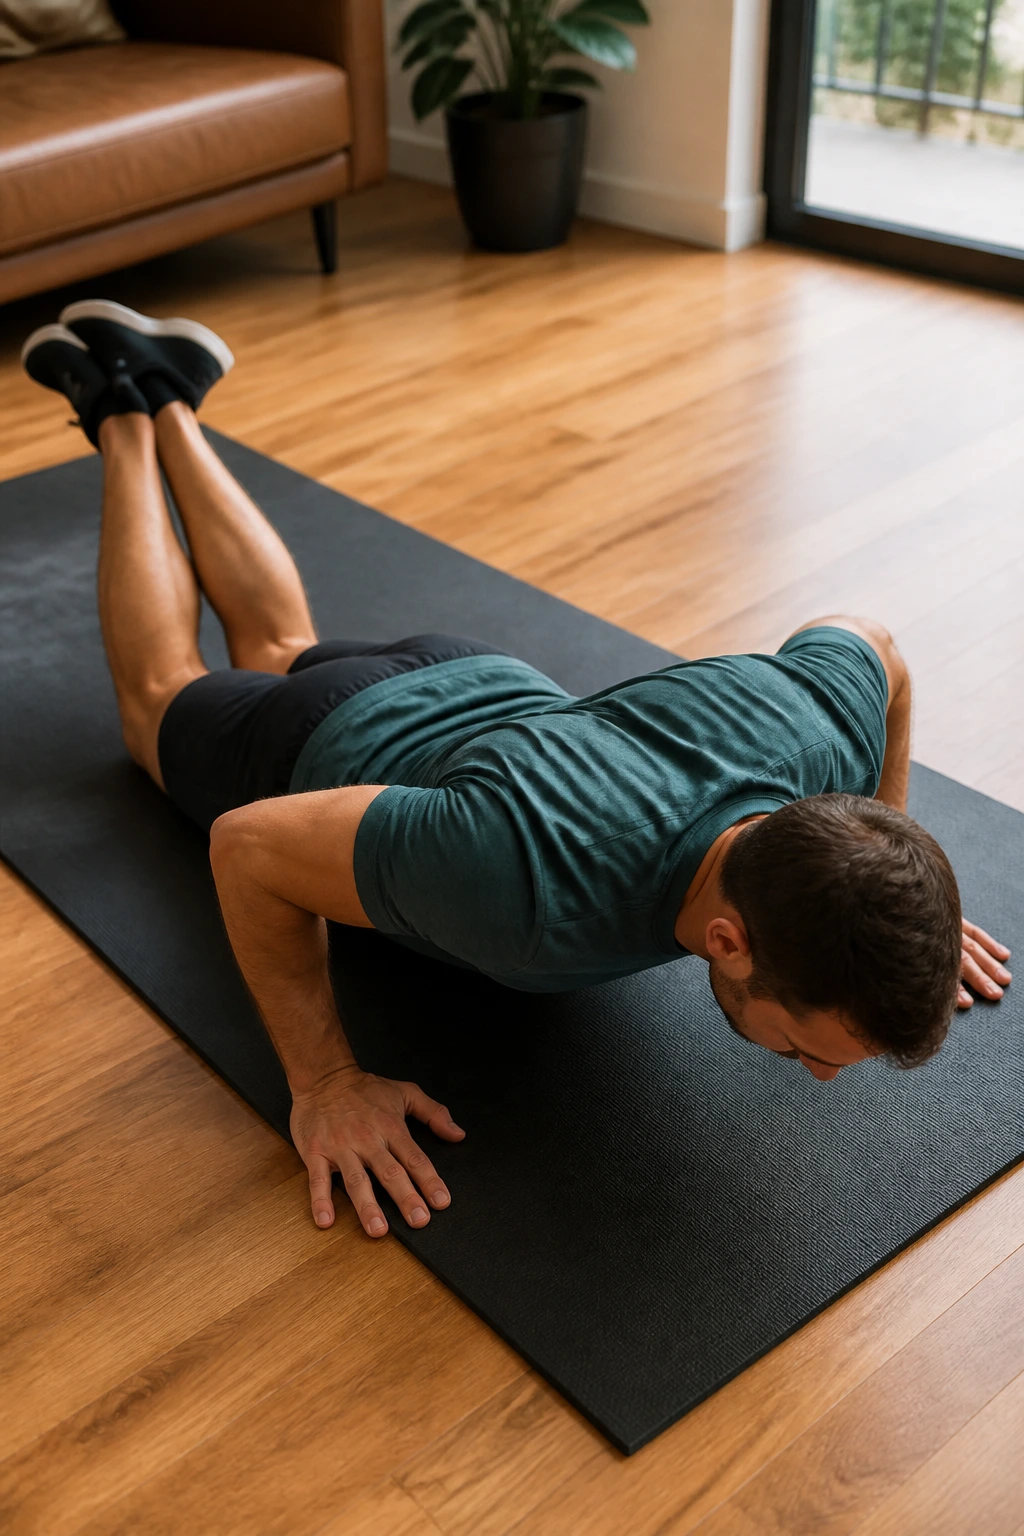
Why keep the knees down if you want stronger arms? Because a smart knee push-up can be harder, cleaner, and more useful than a rushed full push-up. The floor is still involved. The load is still there. You just get a little room to own the movement instead of surviving it.
How to Make Them Count
Set up with your hands under your shoulders and your knees on the floor. From there, keep a straight line from your knees to your head, brace your glutes, and lower for 3 full seconds. Pause for a beat at the bottom, then press up with control.
That slow lowering phase is the whole point. It turns a half-hearted arm motion into a strength exercise.
- Aim for 5 to 10 reps.
- Keep the elbows about 30 to 45 degrees from the ribs.
- Stop the set when your hips start sagging.
- Keep your neck long, not jammed forward.
A lot of people cheat knee push-ups by bending at the hips and turning them into a weird little collapse. Don’t do that. If the line from knees to shoulders breaks, the set is over.
This is a good one for building volume without trashing your joints. It feels plain. It works.
4. Close-Grip Push-Ups
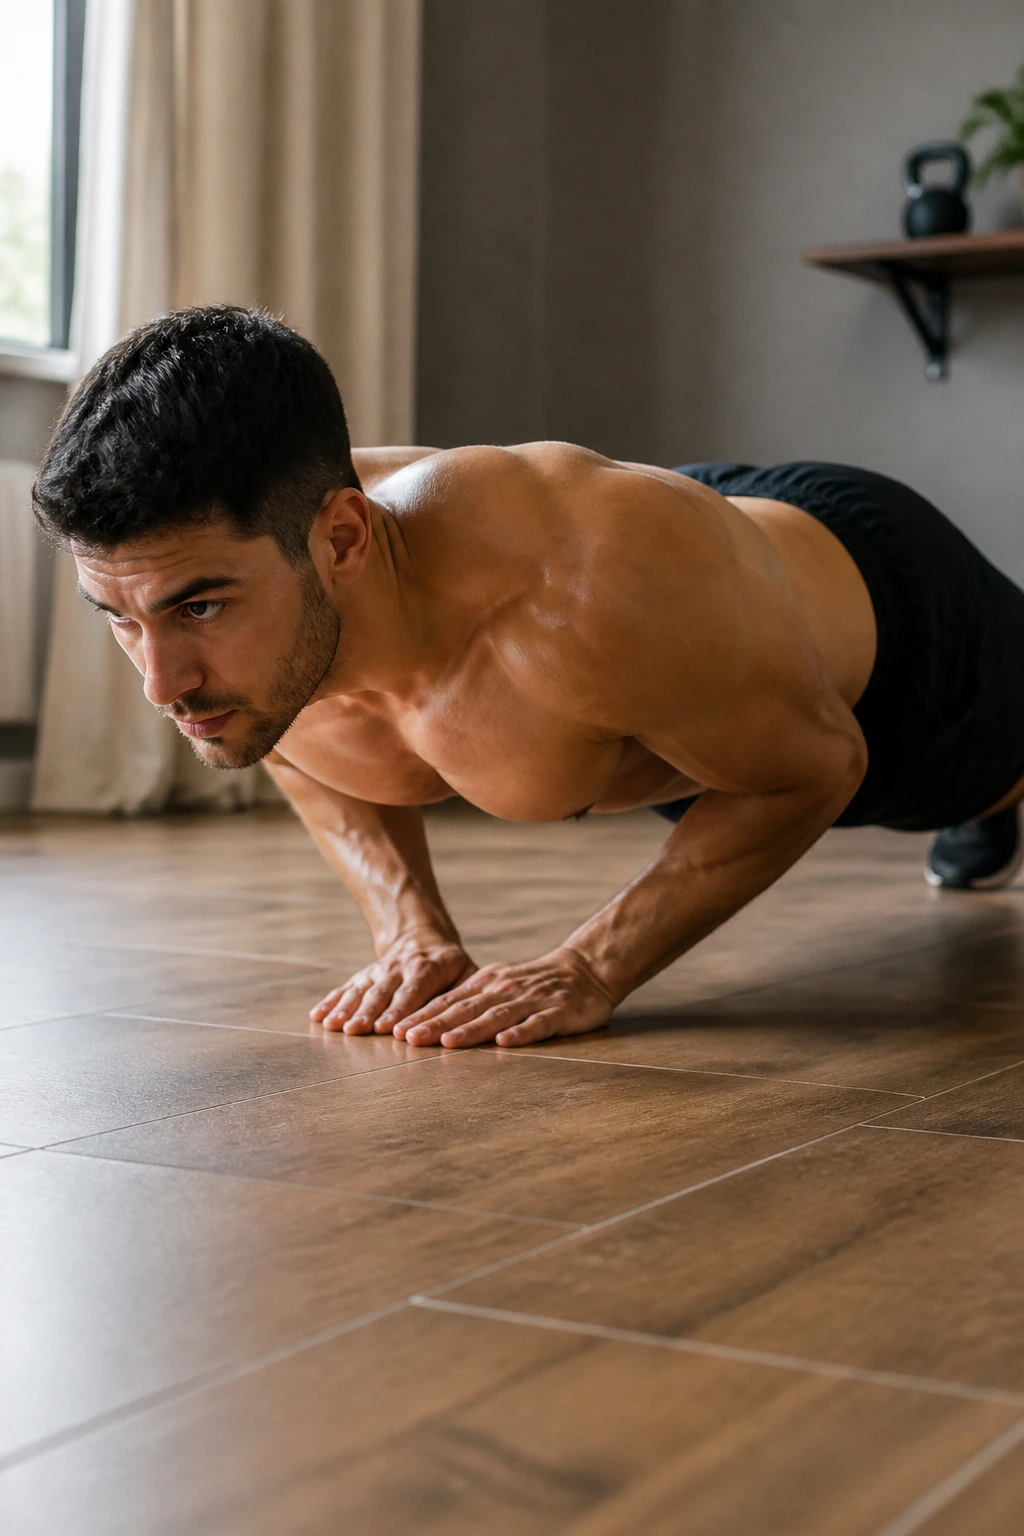
If your chest tends to take over every push-up, move your hands closer. Close-grip push-ups shift more of the work toward the triceps and inner chest, and they do it without needing anything except the floor. They’re blunt. I like that.
Think of your hands as a narrow base under your ribcage, not a diamond and not a super-wide stance. Lower with your elbows tracking back, not flaring sideways like a chicken trying to escape. The narrower the setup, the more your triceps have to take over, but there’s a limit. Too narrow and your wrists complain for no good reason.
A good range is 4 to 12 reps, depending on your strength. If full reps are too much, put your knees down and keep the same narrow hand path. If your elbows drift wide, reset. That tiny detail changes the whole exercise.
What to Watch For
- Hands under the sternum or just inside shoulder width.
- Elbows brushing close to the body on the way down.
- Chest and hips rising together on the press.
- No bouncing off the floor.
Close-grip push-ups are one of those moves that look simple and feel much heavier than they look. That’s a compliment.
5. Diamond Push-Ups
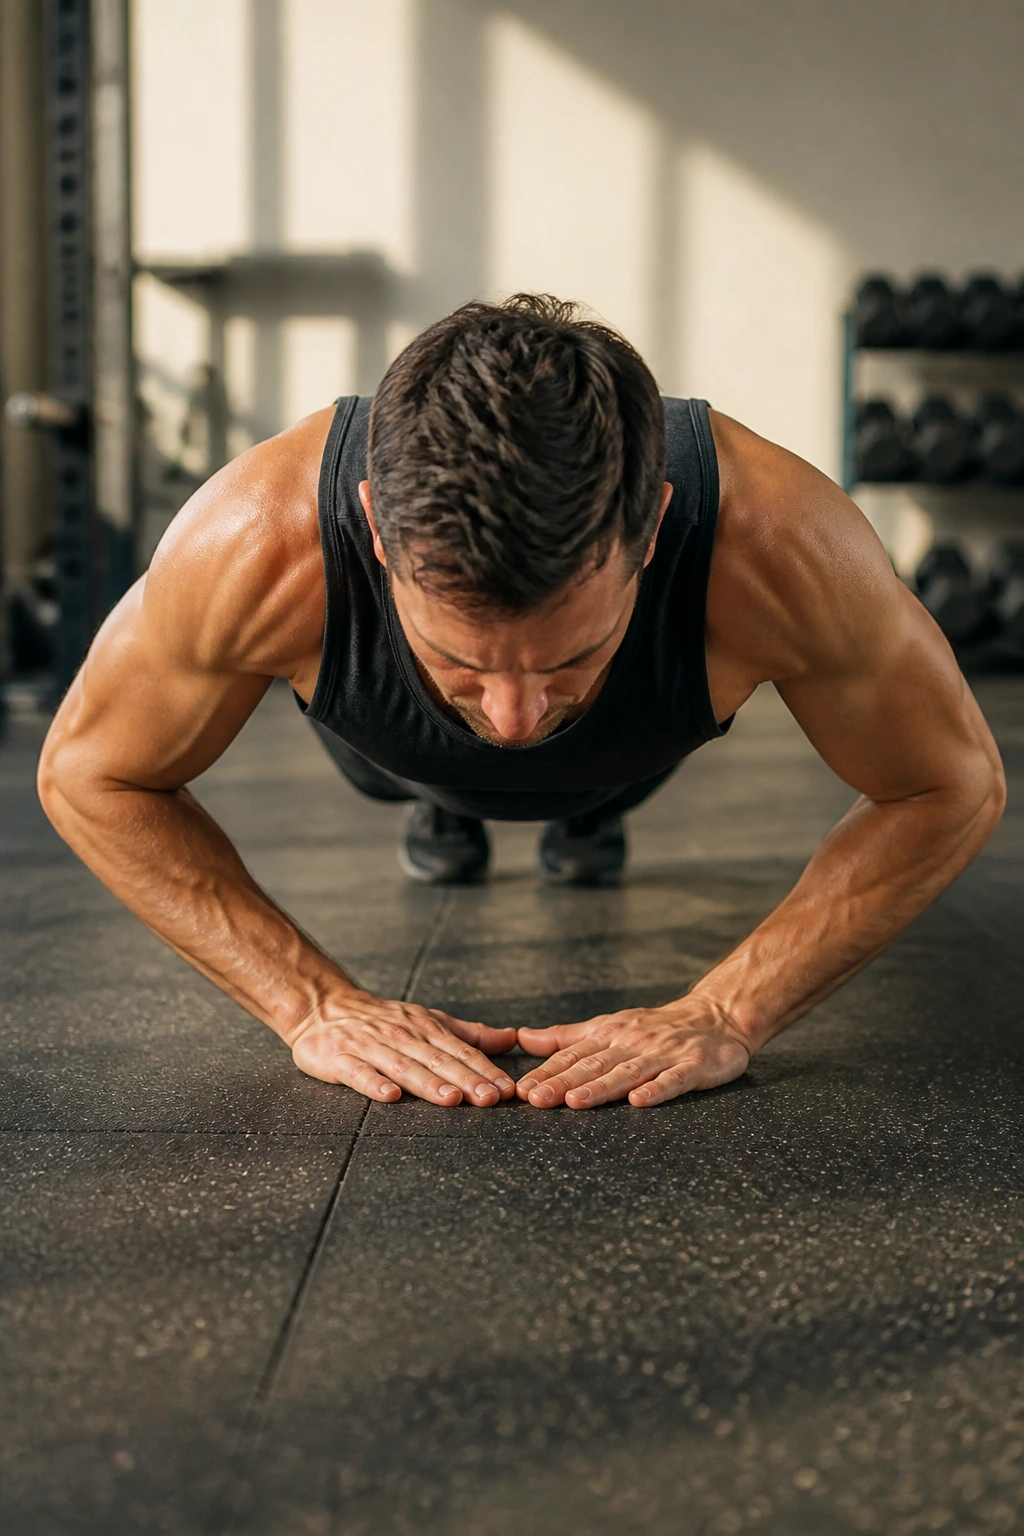
Diamond push-ups are not a personality test. They’re just hard. The tighter hand position shortens the base and puts a heavy load on the triceps, especially when you lower slowly and don’t bounce out of the bottom. If your wrists and elbows can handle them, they’re one of the most direct no-weights triceps builders you can do.
Set your hands under your chest and bring your thumbs and index fingers close enough to make a small diamond or triangle. Some people do better with the hands a little wider than a true diamond, and that’s fine. A perfect shape that hurts your wrists is a bad trade. Keep your body straight, lower until your chest is close to your hands, then press up without letting the elbows flare.
A couple of clean sets here can be enough. Three to 8 reps is a solid range for most people, because the exercise gets demanding fast. If you need to scale it, raise your hands on a step, couch, or counter and keep the diamond hand position.
Don’t force wrist pain. That kind of stubbornness is just a fast route to skipping arm work for a week.
Diamond push-ups are a small move with a nasty edge. I mean that in the best way.
6. Pike Push-Ups
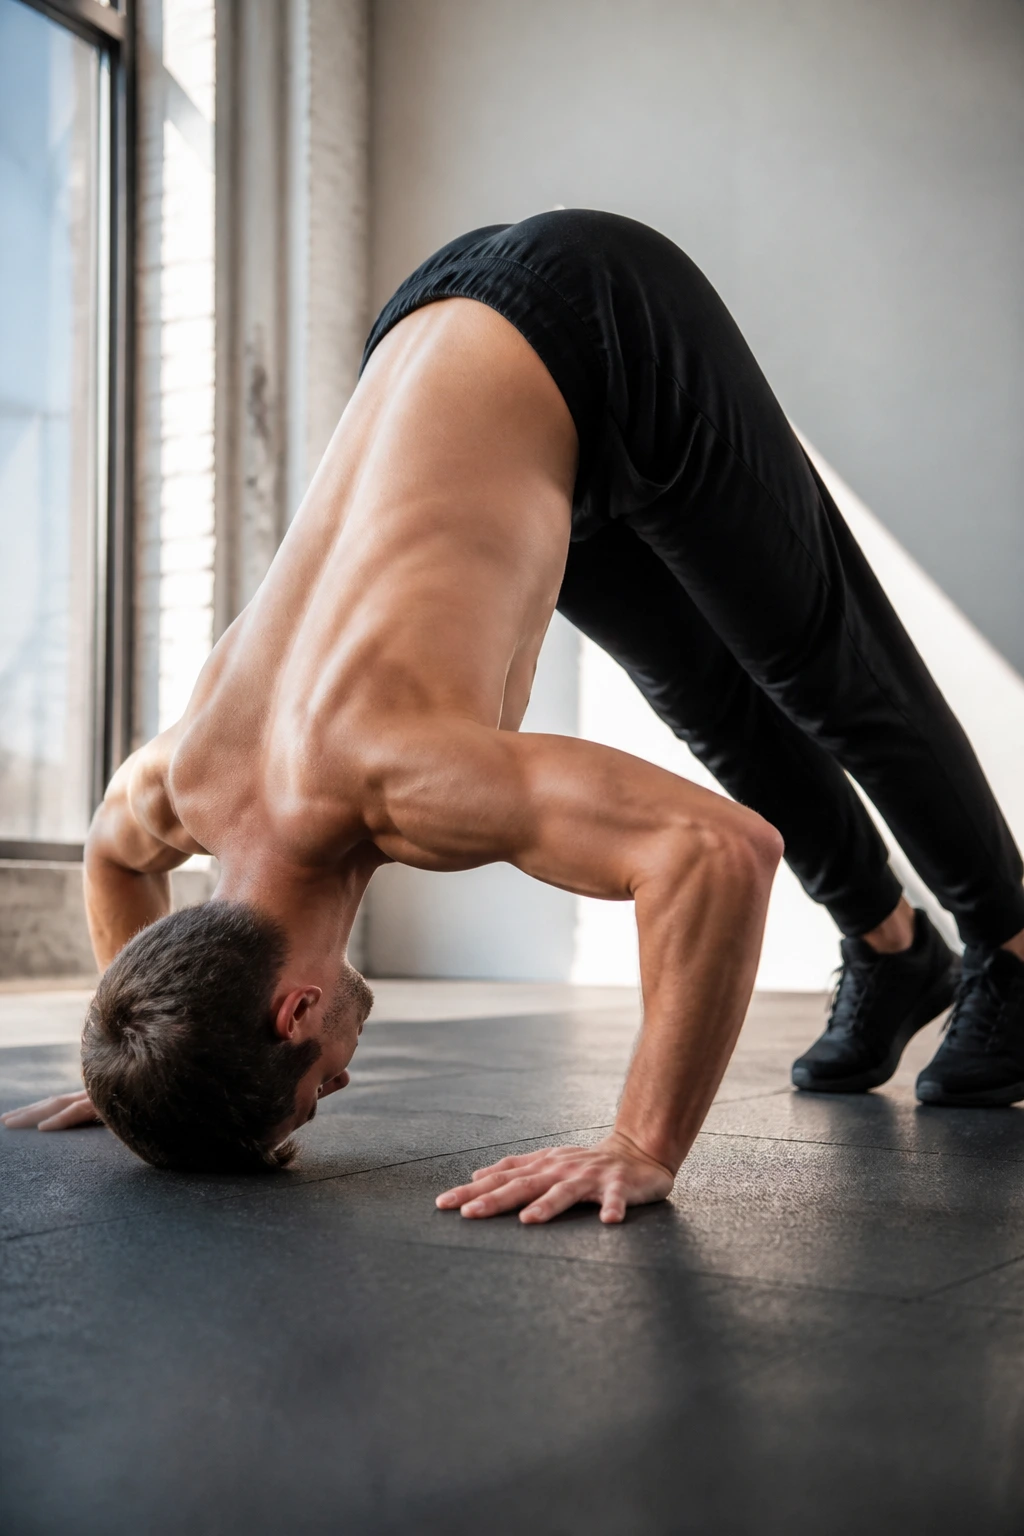
Unlike regular push-ups, pike push-ups shift more of the load onto your shoulders and upper arms. That makes them one of the best no-weights arm exercises if you want a pressing pattern that feels closer to an overhead press than a chest exercise.
Set your hands on the floor about shoulder width apart, lift your hips high, and make your body look like an upside-down V. Bend your elbows and lower the top of your head toward the floor between your hands, then press back up. The head should travel downward, not forward. That detail matters. It keeps the work where you want it.
Pike push-ups hit the front delts hard, but they also demand triceps strength and stable wrists. A lot of people rush the first rep and fold at the lower back. Don’t. Tuck the ribs, squeeze the glutes, and keep the movement controlled.
Best Way to Use Them
- Do 3 to 4 sets.
- Stay in the 5 to 10 rep range.
- Keep your elbows angled back, not straight out to the sides.
- Elevate your feet later if the floor version gets easy.
These are one of the few bodyweight moves that can make your shoulders feel honestly taxed without a single piece of metal in sight.
7. Plank Shoulder Taps
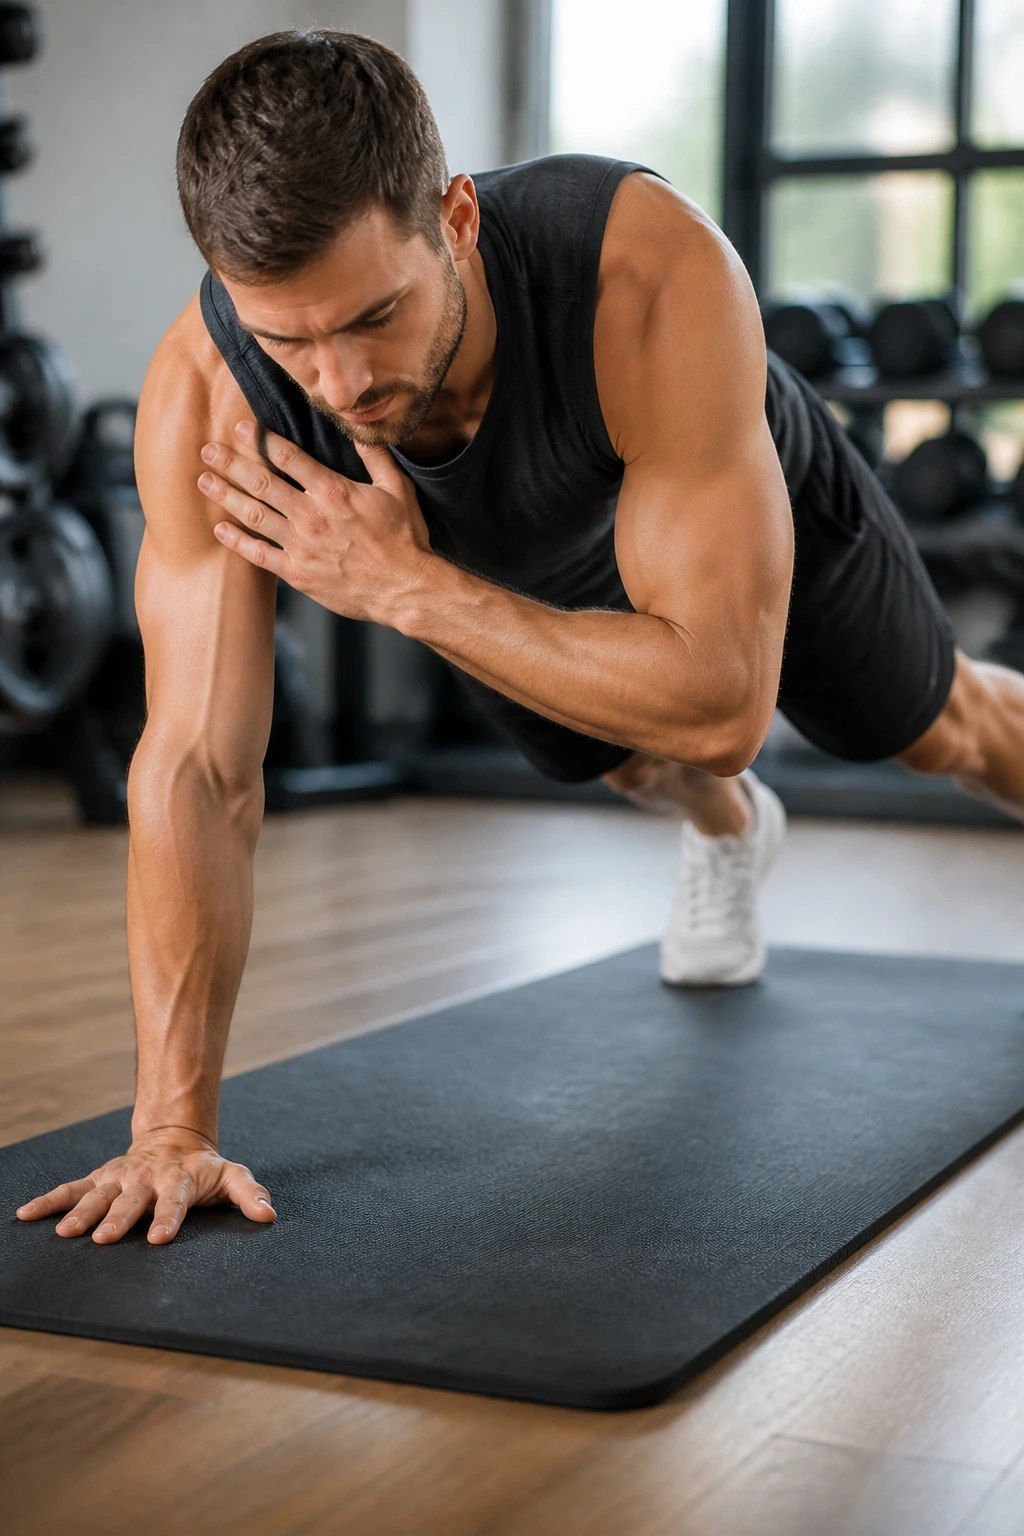
A plank shoulder tap looks tame until you try to keep your hips from swaying. Then it stops being a shoulder drill and starts feeling like a full-body control test. That’s why it belongs in an arm workout. The shoulders, triceps, and deep stabilizers all have to stay switched on while one hand leaves the floor at a time.
What Makes Them Sneakily Hard
Start in a high plank with your hands under your shoulders and your feet a little wider than hip width. Tap one shoulder with the opposite hand, set it back down, then switch sides. The goal is not speed. The goal is zero rocking.
If your hips twist every time a hand leaves the ground, widen your stance and slow down. It’s that simple.
- Tap each shoulder 8 to 20 times total.
- Keep the core tight and the glutes squeezed.
- Spread the feet wider if you need more stability.
- Pause for a half second after each tap.
The tap itself is small. The effort isn’t. That mismatch is part of why this exercise works so well.
I like shoulder taps as a finisher after push-ups because they smoke the stabilizers without needing much space or setup. They also make you honest. Sloppy form shows up immediately.
8. Up-Down Planks
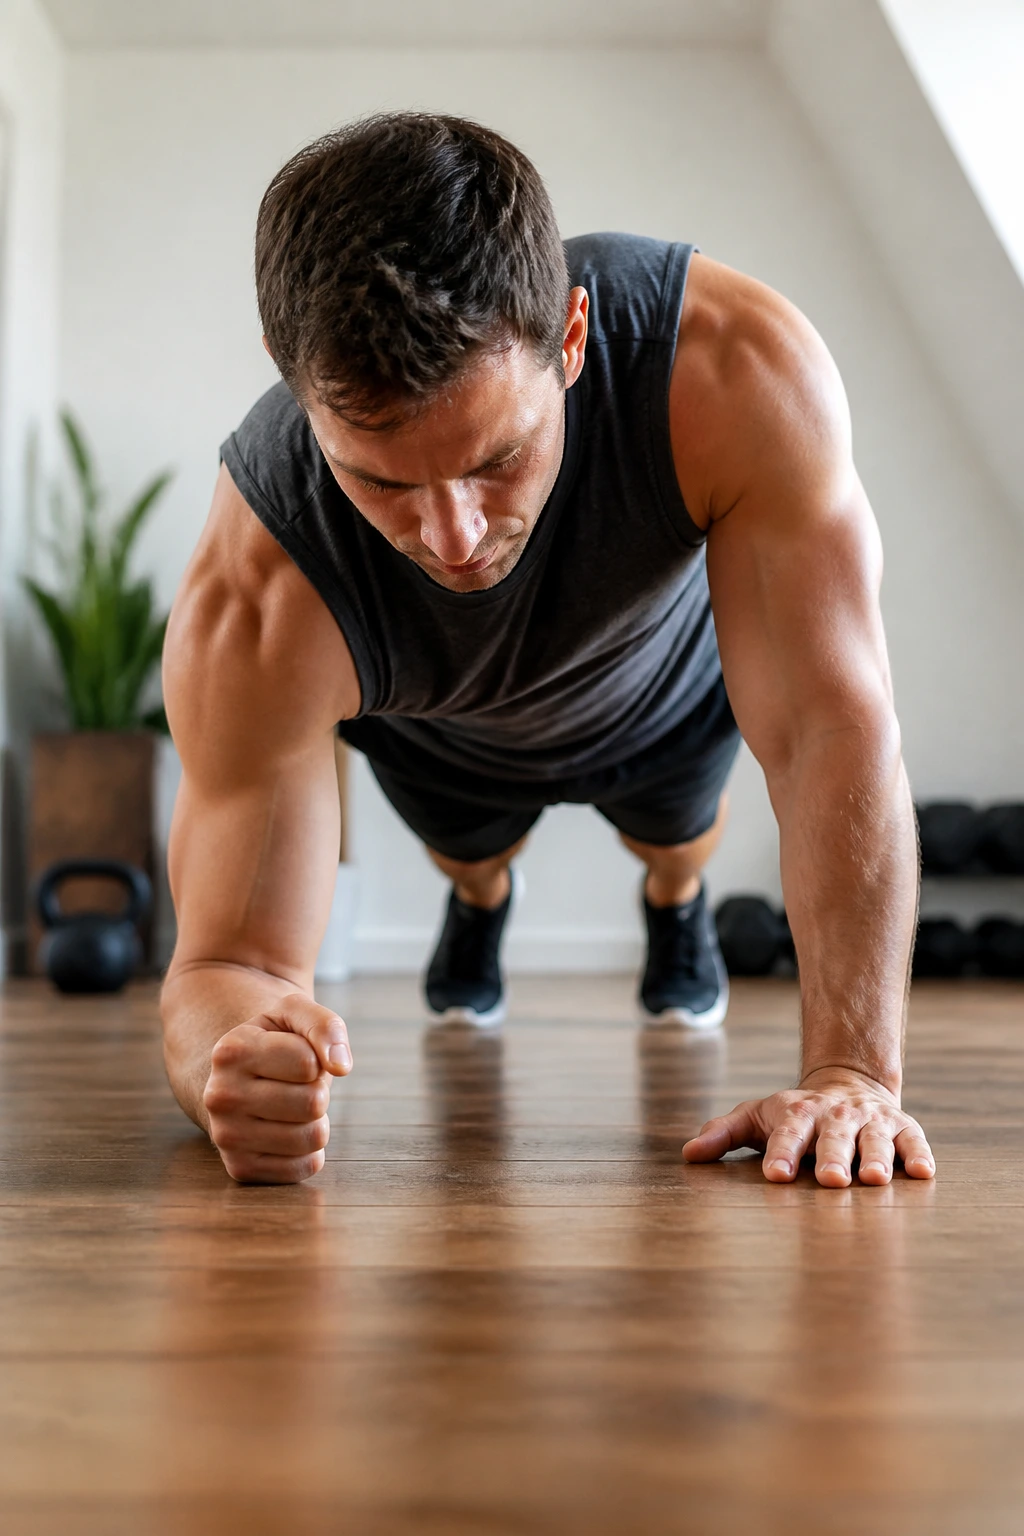
Your triceps will notice these faster than standard planks. Up-down planks move you from forearms to hands and back again, which means the arms have to support bodyweight while the shoulders keep the torso from wriggling around. It’s a sneaky little grind.
Start on your forearms in a plank. Press one hand to the floor, then the other, coming up into a high plank. Lower back down one arm at a time. Keep the hips as still as you can. If they sway side to side, the set is getting messy and the arms are doing less of the work than they should.
A clean set of 6 to 12 total transitions is plenty. If you can fly through them, you’re probably dropping your hips or rushing the descent. Slow matters here. A steady pace forces the triceps and shoulders to keep taking the load instead of letting momentum steal the work.
This one is less about a burn you can admire and more about a steady kind of fatigue. You finish it and realize your arms have been on the clock the whole time.
9. Bear Crawls
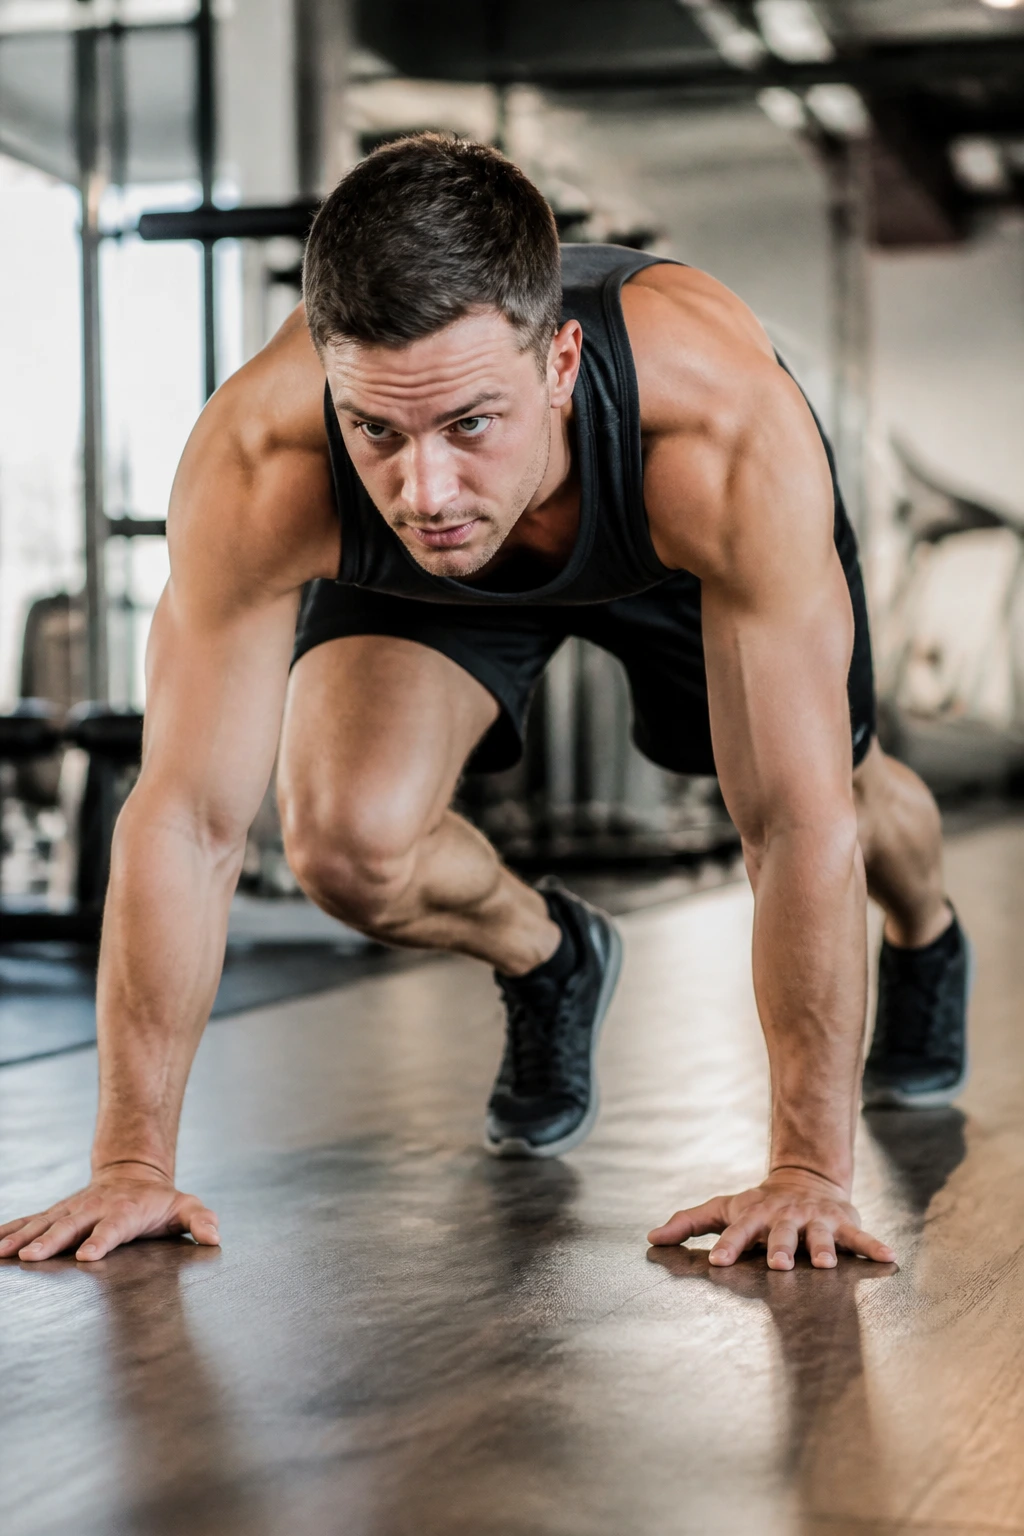
Can a crawling drill count as an arm exercise? Absolutely. Bear crawls load the shoulders, triceps, and forearms in a way that feels awkward at first and brutally useful once you learn the rhythm. Your knees hover a few inches off the floor. Your hands and feet move in opposite patterns. Everything wants to wobble.
That wobble is the point.
How to Use Them
Think small steps, not big lunges. Move one hand and the opposite foot, then switch. Keep your chest low, your back flat, and your neck long. If you take giant steps, your hips will bounce and the exercise turns sloppy fast.
- Crawl forward for 20 to 40 seconds.
- Crawl backward if you have room and want a bigger challenge.
- Keep the knees just off the floor.
- Breathe steadily instead of holding your breath.
Bear crawls also light up the forearms more than people expect, especially if your hands are planted hard and your fingers are spread wide. They’re a nice bridge between pure pushing work and more athletic bodyweight movement.
If push-ups feel too static, crawls bring the arms to life. They also make your shoulders work while your core is trying to keep the whole thing from falling apart. That’s a good bargain.
10. Crab Walks
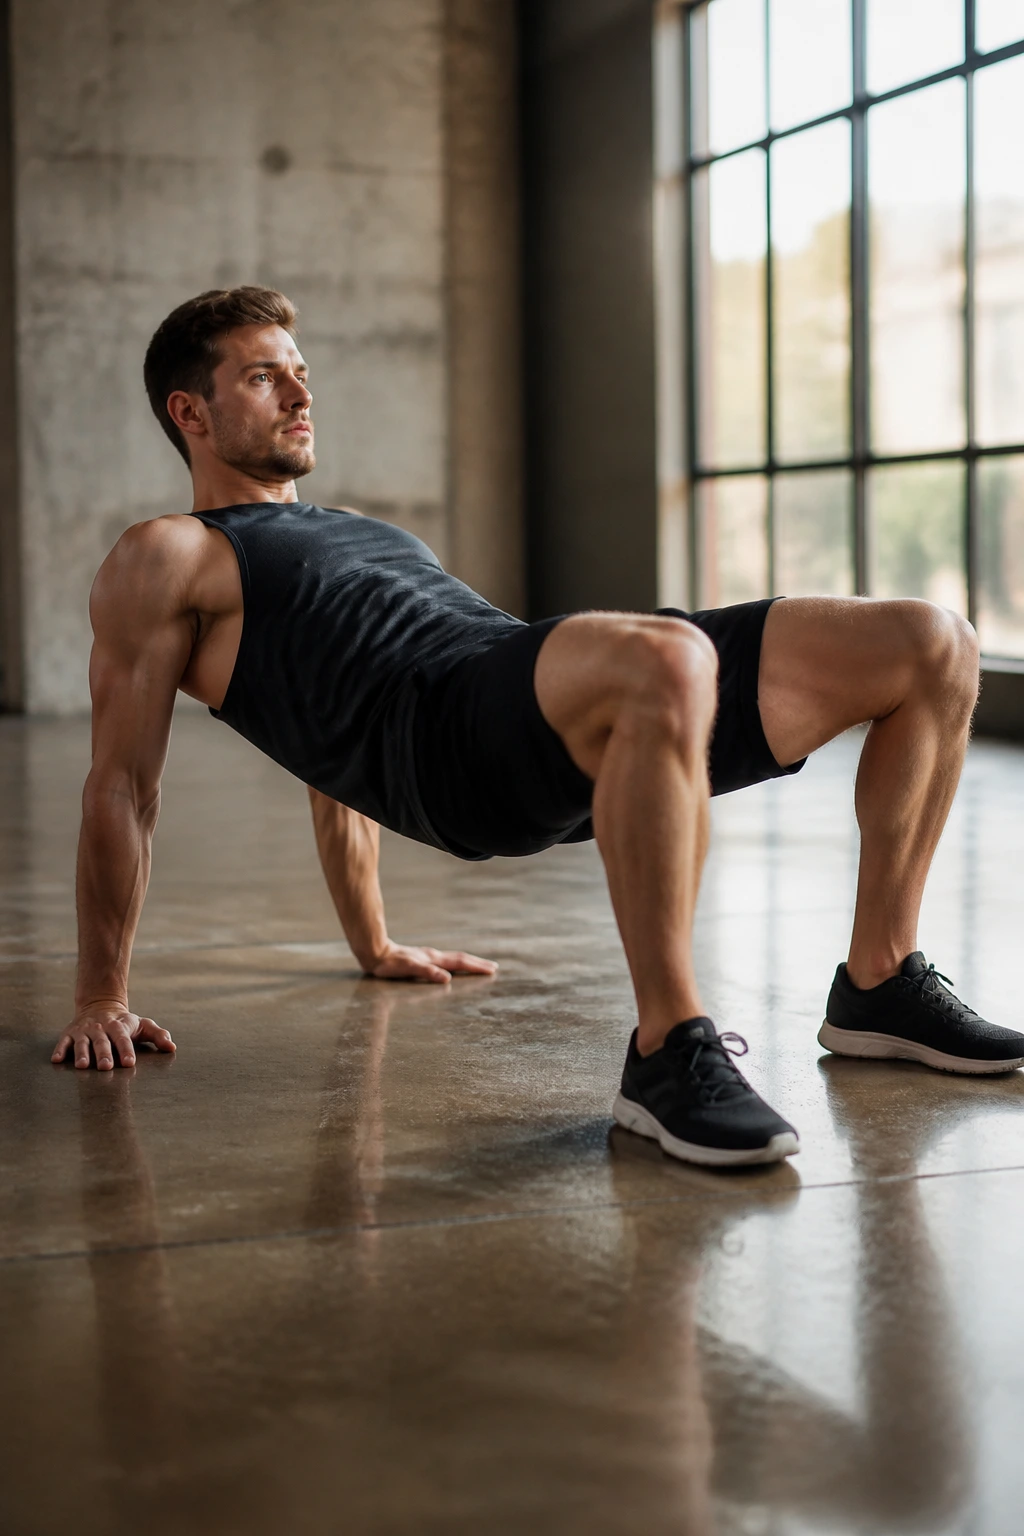
Crab walks are one of those exercises that looks almost playful until your triceps and shoulders start complaining. You sit with your hands behind you, lift your hips, and move forward or backward while keeping the chest open. It’s a reverse support position, and it asks more of the back side of the arms than most people expect.
The setup is simple. Sit on the floor, place your hands behind your hips with fingers pointing out or slightly back, lift your hips off the ground, and walk in short steps. Keep your shoulders from collapsing into your ears. If the wrists feel cranky, shorten the distance and keep the sets brief.
A lot of people forget to stay tall through the chest. Don’t. A collapsed crab walk turns into a seated shuffle, which misses the point.
- Do 15 to 30 seconds at a time.
- Move forward and backward if you have room.
- Keep the hips lifted the whole time.
- Press the floor away through the hands.
The best thing about crab walks is how fast they expose weak shoulder support. The arms either hold you up or they don’t. There’s no hiding in between.
11. Inchworm Walkouts
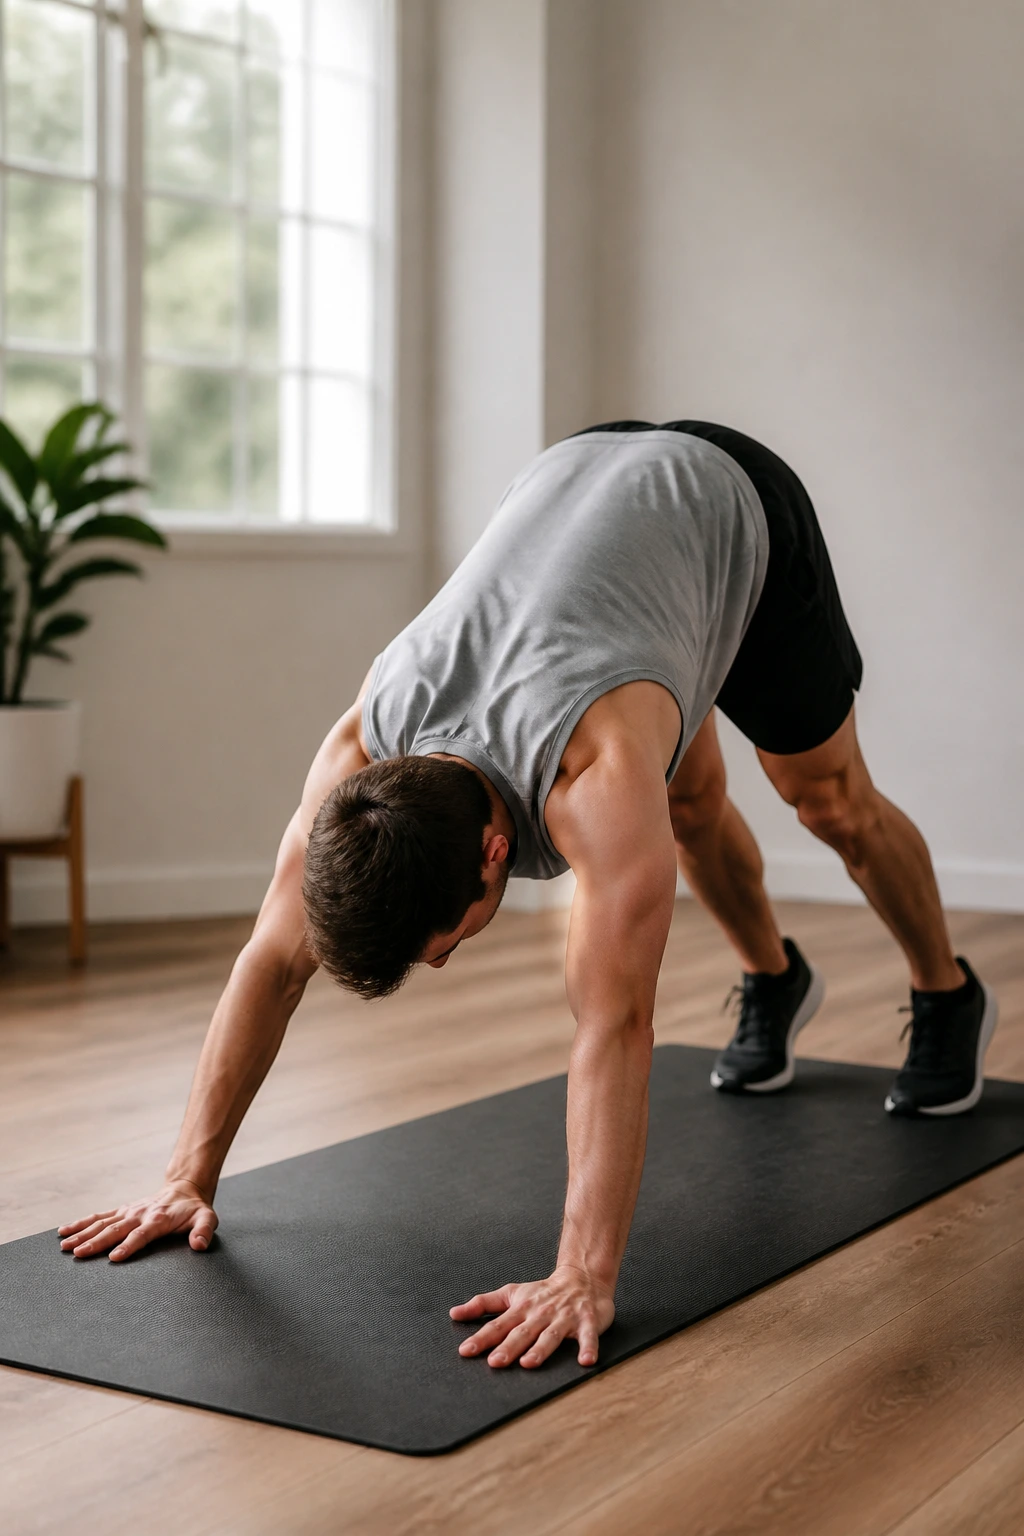
Inchworm walkouts are one of my favorite no-weights arm exercises because they feel easy for about six seconds, then the shoulders start talking. You fold at the hips, walk your hands out to a plank, maybe add a push-up if you’re feeling spicy, then walk your hands back toward your feet and stand up again.
They load the arms in a long, controlled way rather than a short burst. That means your shoulders and triceps have to support bodyweight through a longer range while your core keeps the middle from sagging. The hamstrings get involved too, but that doesn’t make the arm work less real.
Keep the walkout smooth. If your lower back dumps toward the floor, shorten the range or skip the push-up on the way down. A clean plank position is worth more than an extra rep you barely earned.
This is a good choice when you want something you can string together for 5 to 8 reps at a time. It feels athletic without being flashy. And that’s usually the stuff people stick with.
12. Arm Circles and Reach Pulses
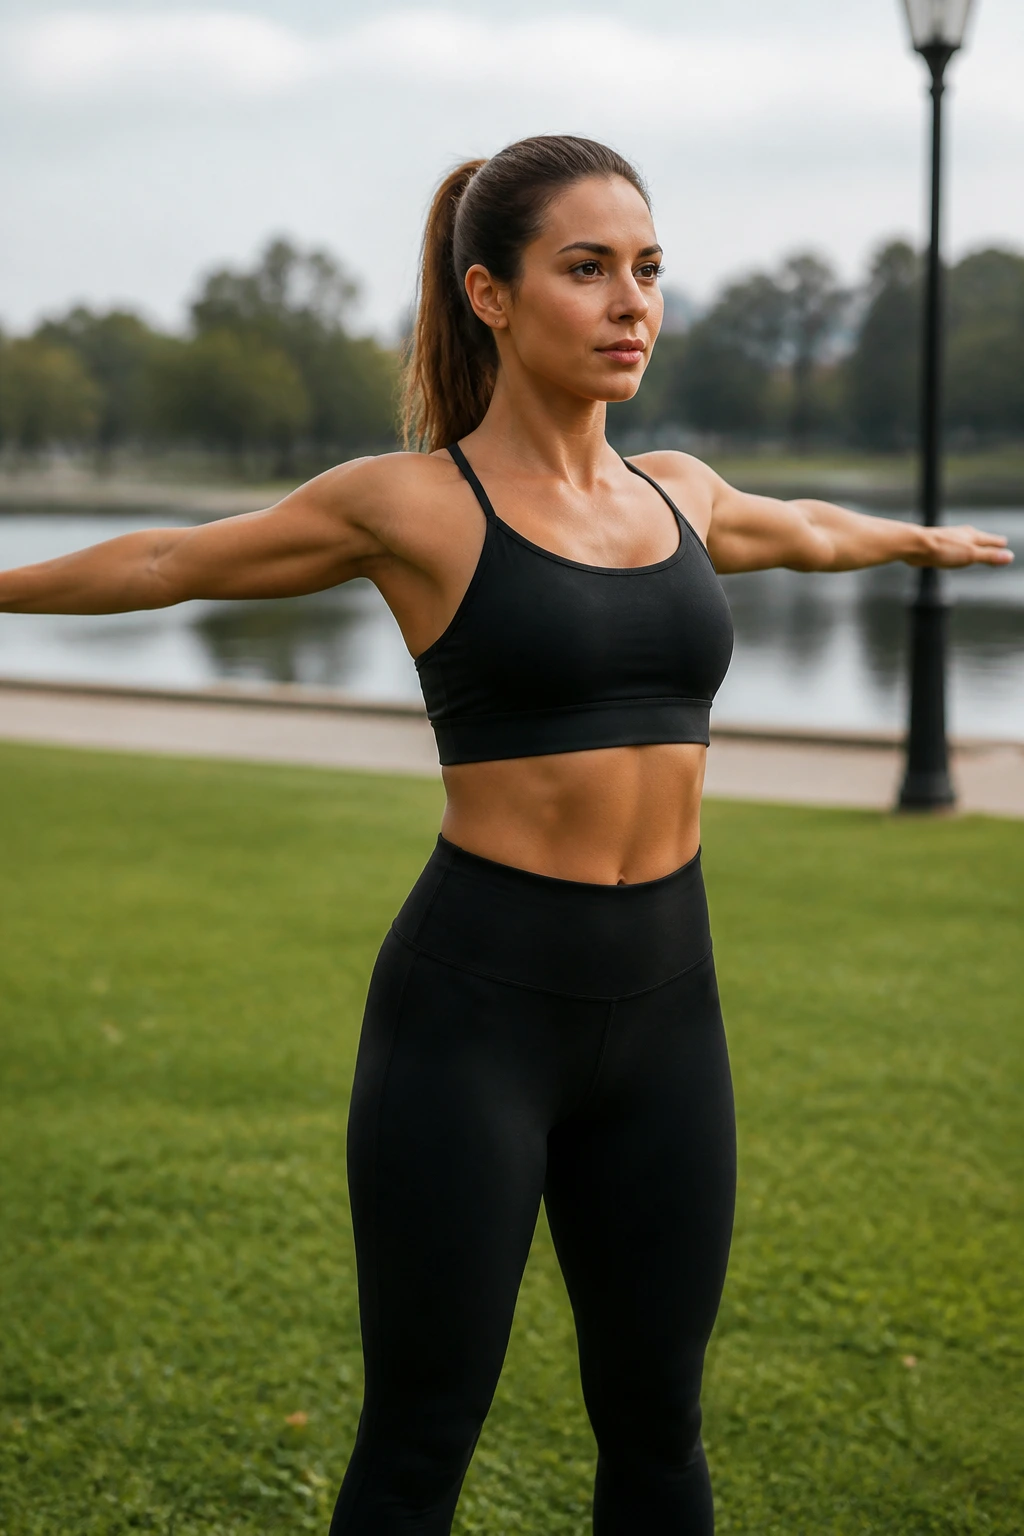
Unlike push-ups, arm circles and reach pulses won’t impress anyone who only cares about heavy effort in the moment. They’re quieter than that. But they’re useful, especially when your shoulders feel stiff and you want an exercise that builds endurance without smashing your joints.
Start with small forward circles for 20 to 30 seconds, then reverse them for the same amount of time. Keep the hands active and the shoulders low, not shrugged up by the ears. After that, move into reach pulses: extend the arms out to the sides or slightly overhead and make tiny controlled pulses for 15 to 20 seconds.
What Makes Them Different
These drills don’t rely on big range or brute strength. They ask for control, steadiness, and a lot of shoulder endurance. That makes them a decent warm-up, but they also work as a finisher when your push-up work is done and you still want the shoulders to feel loaded.
- Keep the circles small and precise.
- Move both arms at once or one arm at a time.
- Stop if the neck starts tightening.
- Use slow pulses, not wild swings.
If you want the kind of burn that creeps in and sticks around, these deliver it. Not glamorous. Useful.
13. Self-Resisted Biceps Curls
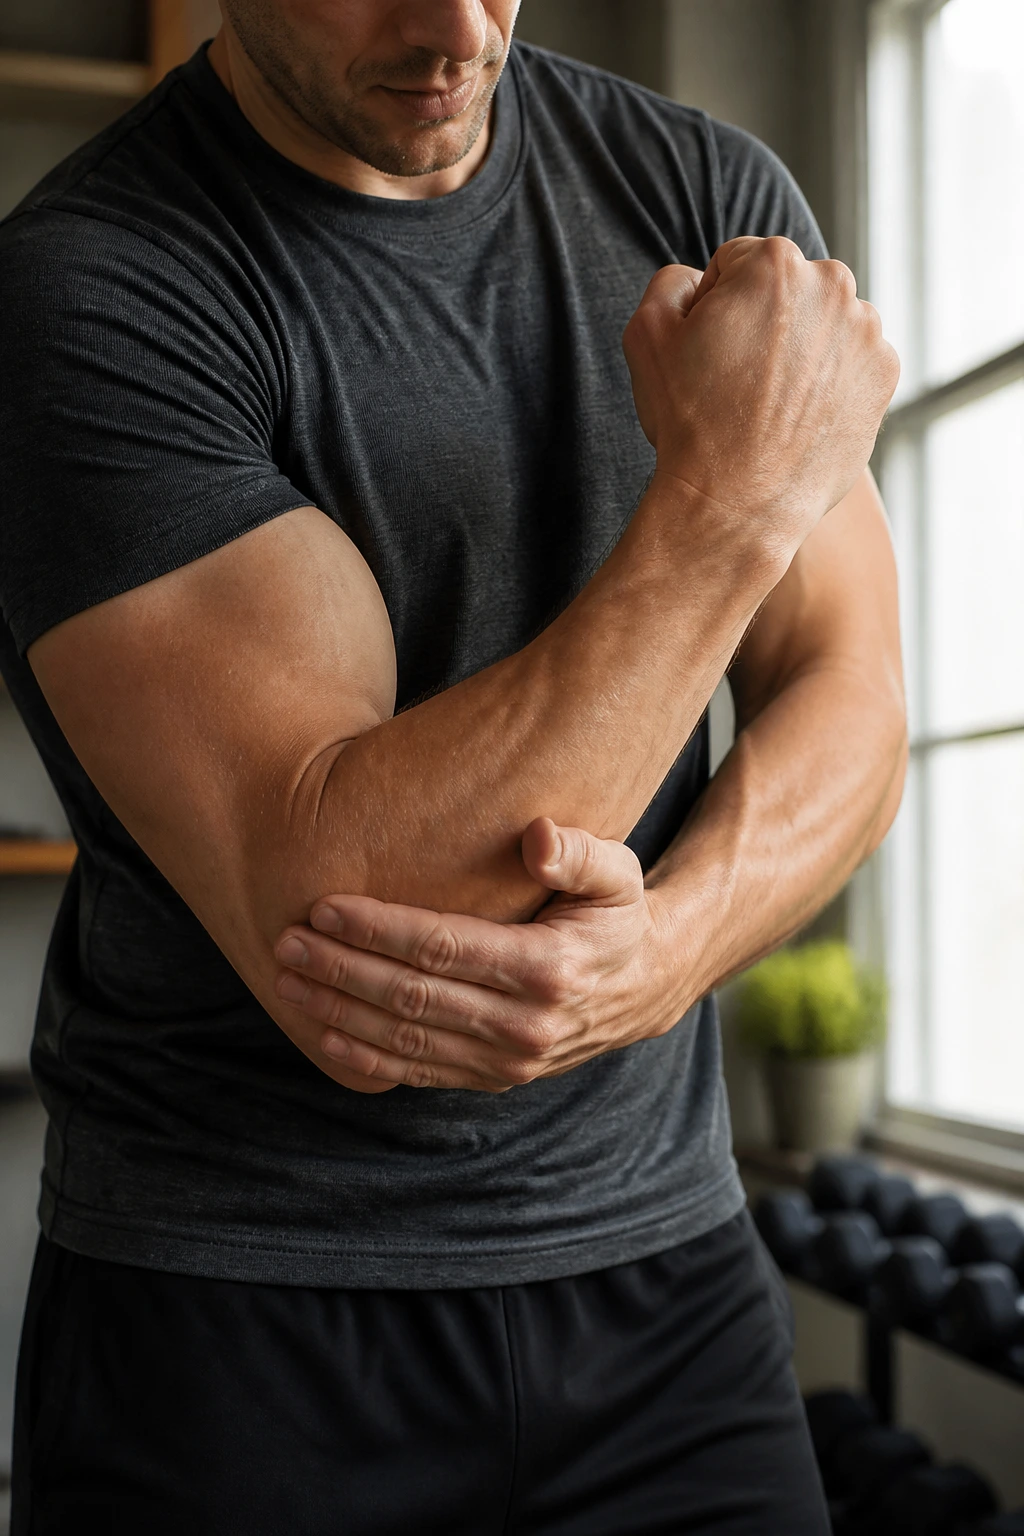
This is the closest thing to a curl without equipment, and it deserves more respect than it gets. Self-resisted biceps curls use one hand to create resistance while the other arm tries to curl upward. You can make the movement as light or as hard as you want, which is handy when you have no weights and still want to train the front of the upper arm directly.
Set one elbow close to your side with the palm facing up. Put the opposite hand on top of the working forearm and resist the curl as the arm bends up. Then resist again on the way down. That slow return matters. If you just yank the arm upward and let it drop, you’re missing half the work.
How to Set It Up
- Keep the elbow tucked near the ribs.
- Curl for 2 to 3 seconds.
- Lower for 2 to 3 seconds.
- Do 6 to 12 reps per arm.
The beauty of self-resistance is that you can adjust the pressure instantly. If it feels too easy, press harder. If your shoulder starts creeping up toward your ear, back off and reset. The biceps should feel like they’re doing the lifting, not the upper traps.
It’s a plain little move. It also solves a real problem: direct biceps work when you don’t have a single dumbbell in the room.
14. Isometric Biceps Squeezes
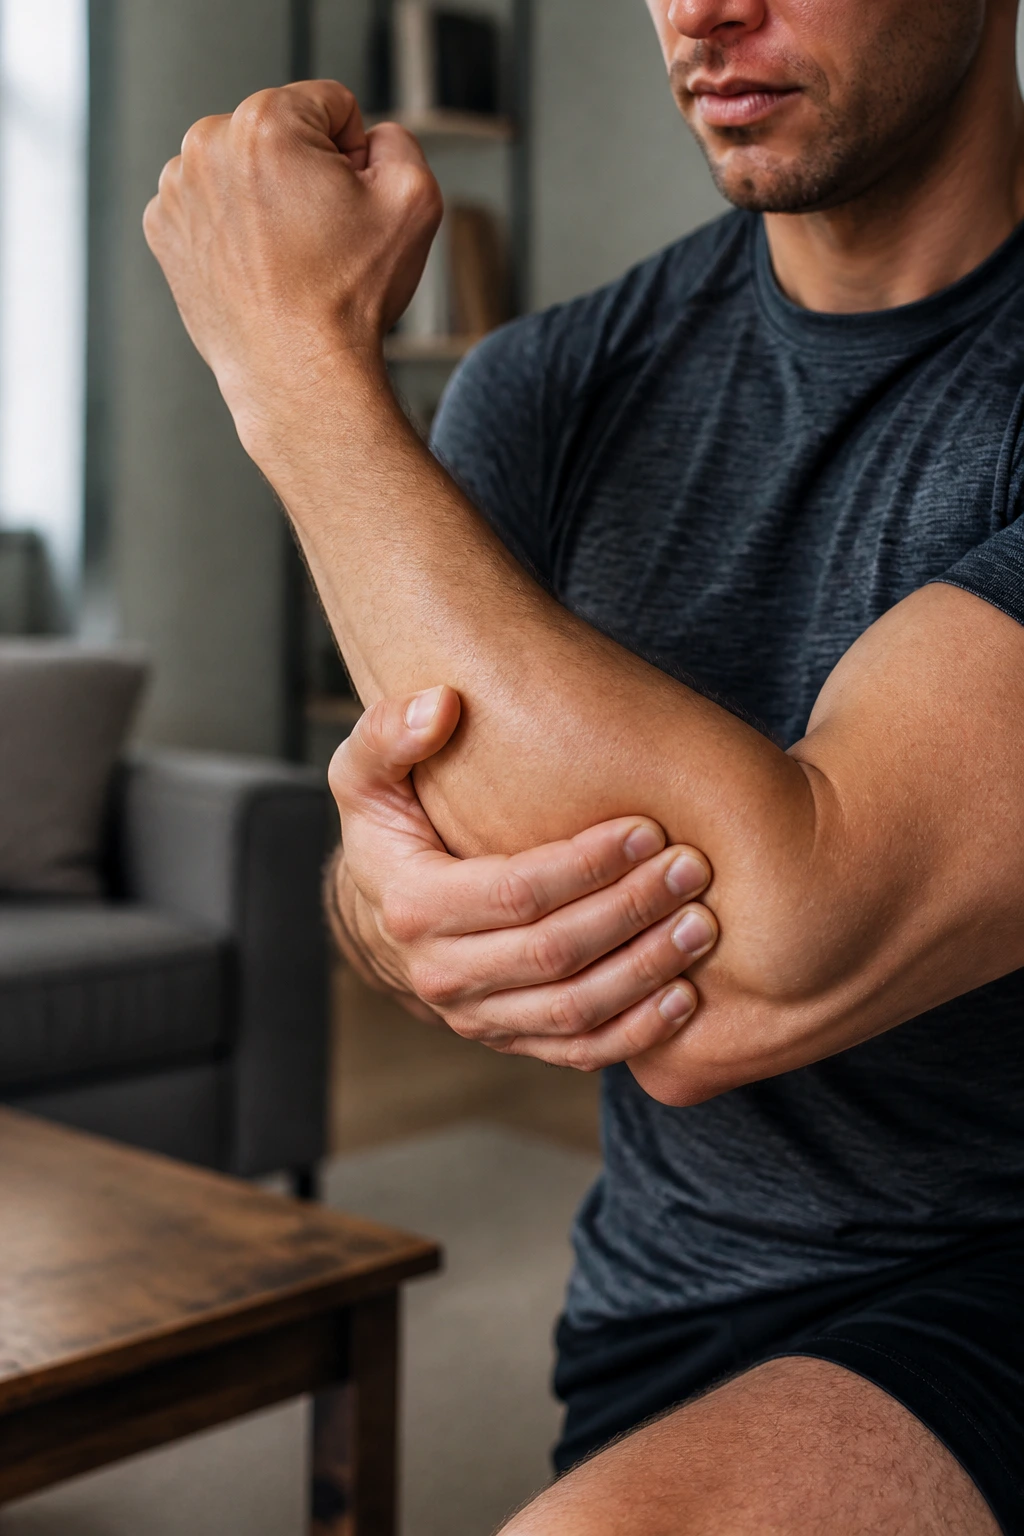
A still biceps contraction can burn faster than you think. Isometric squeezes are all about holding tension instead of chasing reps, and that makes them useful when you want arm work that doesn’t depend on movement speed or space.
Bend one elbow to about 90 degrees with the palm facing up. Use the opposite hand to press down on the forearm or wrist while the working arm tries to curl upward and stay put. Nothing should move much. The muscle should fight against the pressure and stay tight the whole time.
Hold each arm for 15 to 30 seconds, then switch. Two to four rounds is plenty. If that sounds too easy, press harder with the assisting hand or hold closer to the top of the curl. The closer you get to a true max hold, the more the biceps start to shake.
This kind of work is especially useful if you want a quick arm finisher or if movement-based curls bother your elbows. The hold lets you keep tension on the muscle without the same repeated joint travel. Clean, simple, nasty in a good way.
15. Wall Handstand Hold
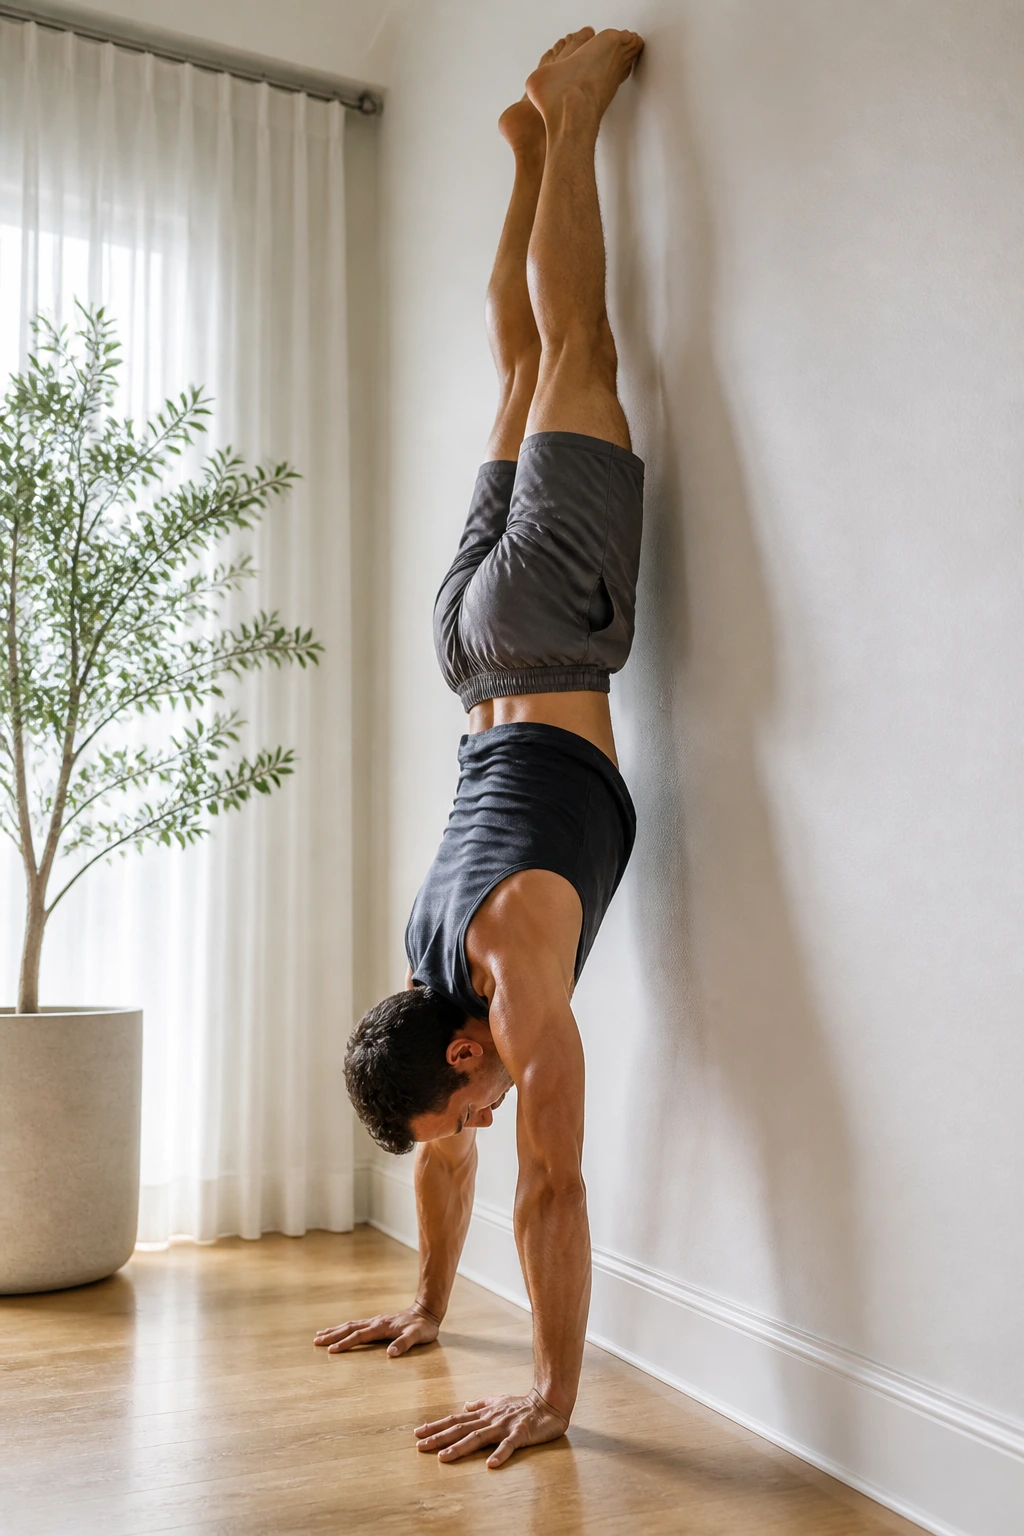
Want the shoulders and triceps to stop pretending they’re working? Put your feet on a wall. A wall handstand hold is one of the hardest no-weights arm exercises on this list, and it hits the upper body from a different angle than push-ups do. Instead of pressing forward, you’re supporting your whole body in a vertical line.
Kick up with control or walk your feet up the wall until your body is stacked. Hands should sit about 6 to 12 inches from the wall, fingers spread wide, with the ribs tucked and the glutes squeezed. If your lower back arches hard, you’ve lost the line and the shoulders will pay for it.
How to Build Up to It
- Start with a pike hold if full handstands are too much.
- Practice wall walks before long holds.
- Keep the hands active and press tall through the shoulders.
- Hold for 15 to 45 seconds, not forever.
The real trick is staying patient. People rush the kick-up, kick too hard, and then wonder why the wrists and lower back hate the set. Slow the entry down. Use a wall that lets you bail safely. And if the full hold feels like too much today, park yourself in a pike position and live there for a while.
That’s the nice thing about this whole list: you can start almost embarrassingly easy and still build a session that makes your arms feel worked. Wall first, floor later, vertical last. Simple path. Hard enough to matter.
