



Nothing exposes a shaky Pilates practice faster than the breath. A lot of new students lie on the mat, try to “breathe deeply,” and end up lifting the shoulders, gripping the neck, and flattening the lower back like they’re bracing for a shove.
Pilates breathing exercises for beginners often look simple on paper and feel awkward in real life. The part that throws people off is not the air itself; it’s the coordination. The ribs have to move, the abdomen has to stay responsive, and the whole thing needs to happen without turning the torso into a block of wood.
That tension is the problem. In Pilates, breath is not decoration — it helps organize the ribs, pelvis, and abdominal wall so movement stays controlled. I’m not a fan of the old cue to suck the belly in and hold it there. It usually makes the body stiffer, not stronger.
The better approach is more specific: let the ribs widen, let the exhale lengthen, and keep the neck quiet. Once that makes sense, even the smallest mat exercise starts to feel less messy. The first pattern below is the one I’d teach almost anyone, because it gives the ribcage a job before the rest of the body has to work.
Start there.
1. Pilates Lateral Rib Breathing on Your Back
Lateral rib breathing is the cleanest place to begin, and I’d put it before almost anything else. Lie on your back with your knees bent and your feet flat, then place one hand on the side of your rib cage and the other on the lower ribs or belly. The goal is not a giant belly rise. It’s a gentle widening of the ribs into your hands, especially out to the sides.
What to feel in the first few breaths
On the inhale, the ribs should feel like they’re spreading sideways and a little into the back. The shoulders stay heavy. The jaw stays loose. If your chest lifts toward the ceiling or your neck starts doing the work, shorten the inhale and make it quieter.
On the exhale, think “ribs soften, waist narrows, face stays calm.” That wording sounds a little simple, but it works. You do not need to force the air out. Let it leave on its own and notice whether the rib cage settles without the low back pressing hard into the mat.
- Knees bent, feet hip-width apart.
- One hand on the side ribs, one on the lower belly.
- Inhale through the nose for 3 to 4 counts.
- Exhale through the mouth for 4 to 6 counts.
- Keep the shoulders heavy and the neck soft.
Tip: if the shoulders rise, shorten the inhale before you change anything else.
2. The Slow Exhale That Brings Your Ribs In
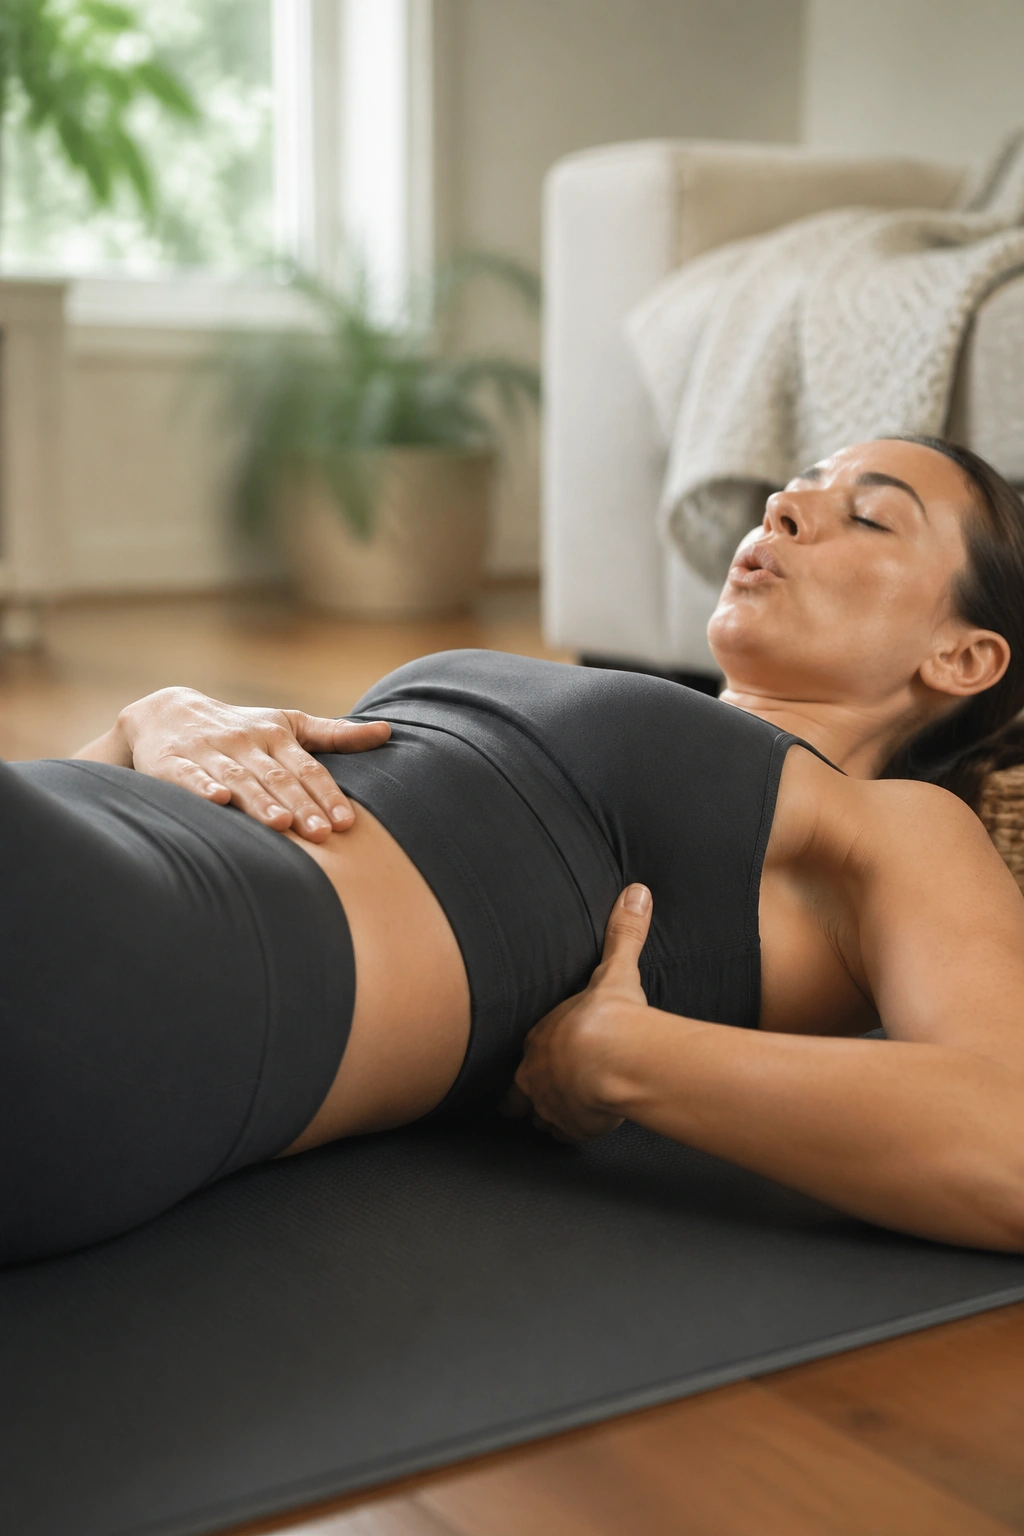
The exhale matters more than the inhale. That is the part beginners miss most often. A clean exhale gives the deep abdominal wall something to respond to, and it usually helps the ribs settle without a hard brace. If you rush it, the torso stays noisy. If you drag it out gently, the whole middle of the body starts to cooperate.
I like to think of the exhale as a “re-set” breath. The diaphragm lifts, the ribs narrow, and the waist gets a little quieter. That quiet matters. You are not squeezing every ounce of air out of your lungs. You are making room for control, and there’s a difference.
Try a 3-count inhale and a 6-count exhale for a few rounds. Keep the mouth relaxed and let the breath leave in a soft stream, not a forced blow. If that feels too long, use a 3-in / 4-out pattern first. The exact count is less important than the shape of it: inhale wide, exhale long, no shoulder drama.
Practical use matters here. Before any curl-up, leg slide, or tabletop hold, take one slow exhale first. It changes the tone of the movement. You’ll often feel less tempted to grip the front of the hips because the body isn’t trying to manage air and motion at the same time.
3. Breathing With Your Pelvic Floor Instead of Against It
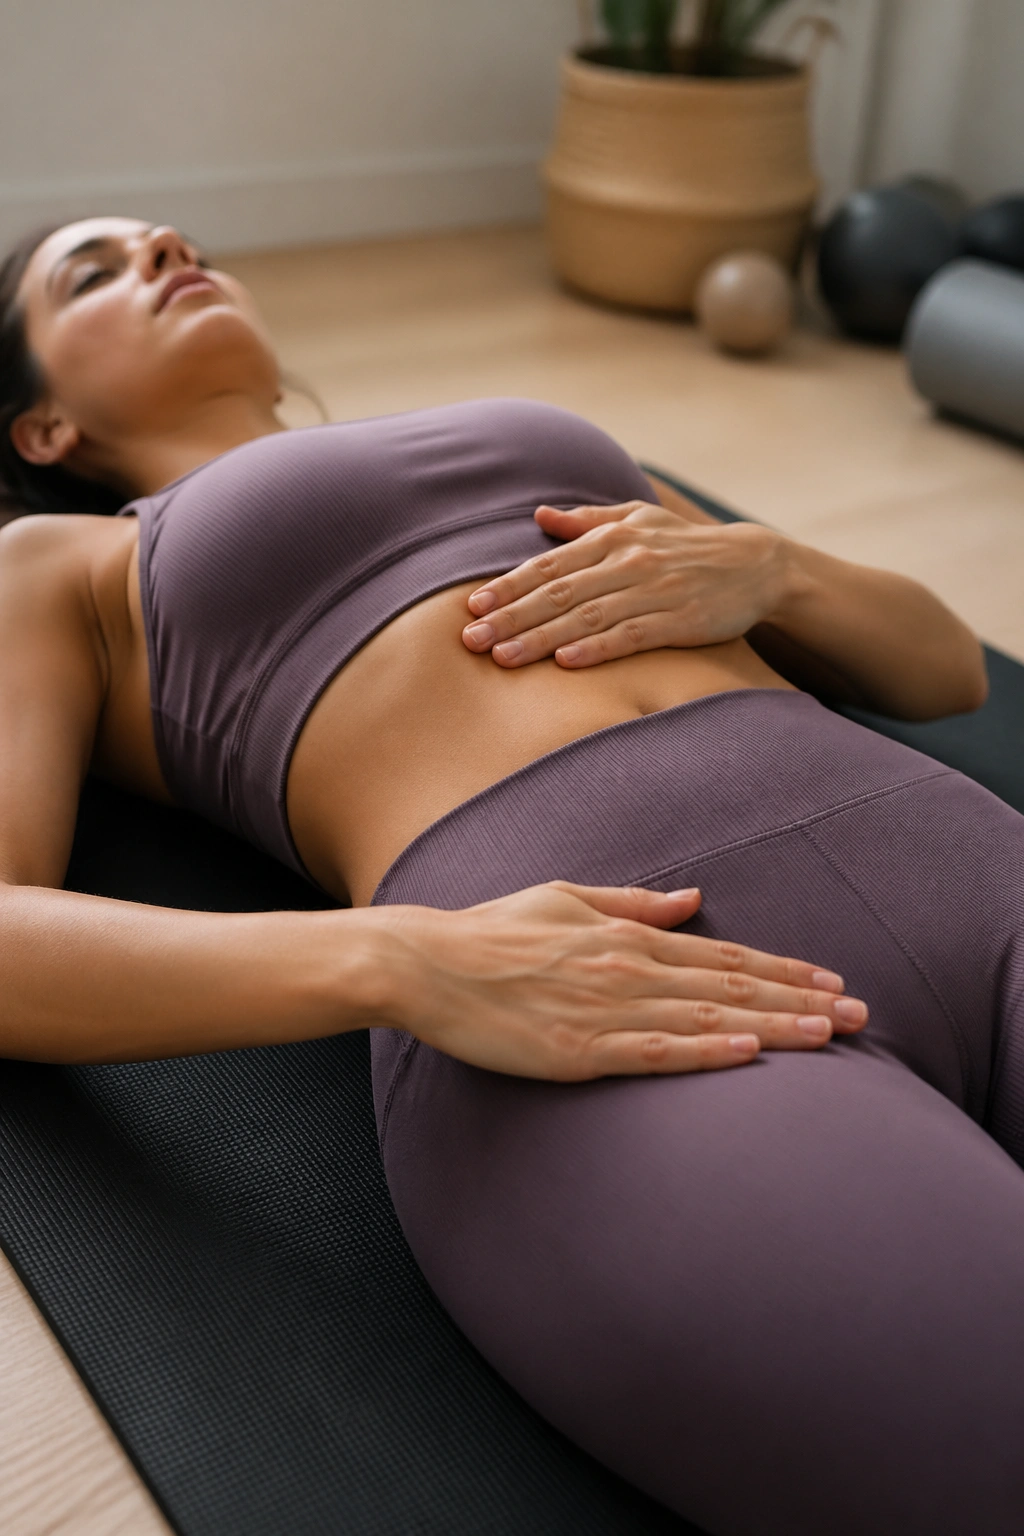
Can your pelvic floor and breath work together without making you tense? Yes, but only if you stop treating them like separate jobs. The diaphragm and pelvic floor move in a pressure system; when you inhale, they both need room, and when you exhale, they gently rebound. Nobody needs to bear down. That’s the part that ruins the exercise for a lot of beginners.
A useful image is an umbrella opening and closing inside the body. On the inhale, the pelvic floor softens and the ribs widen. On the exhale, the lower belly responds, the pelvic floor lifts a bit, and the torso feels more organized. It should never feel like pushing down into the floor or clenching like you’re trying to hold a coin in place.
How to practice without bearing down
Place one hand on the lower ribs and the other on the pubic bone. Inhale quietly and notice whether the lower belly softens. Then exhale and see if the area under the hand feels a little more lifted, not squeezed. If you feel pressure downward, the breath is too big or too forceful.
A lot of people overdo this because they think “core” means hard. It doesn’t. In Pilates, the deep support comes from timing and responsiveness, not from brute force. A soft, well-timed exhale is usually more useful than a heroic brace.
If you have ever felt a bearing-down sensation during abdominal work, back off and make the breath smaller. That’s not failure. That’s the body giving you useful information.
4. Neutral Pelvis and Rib Stack Before You Move
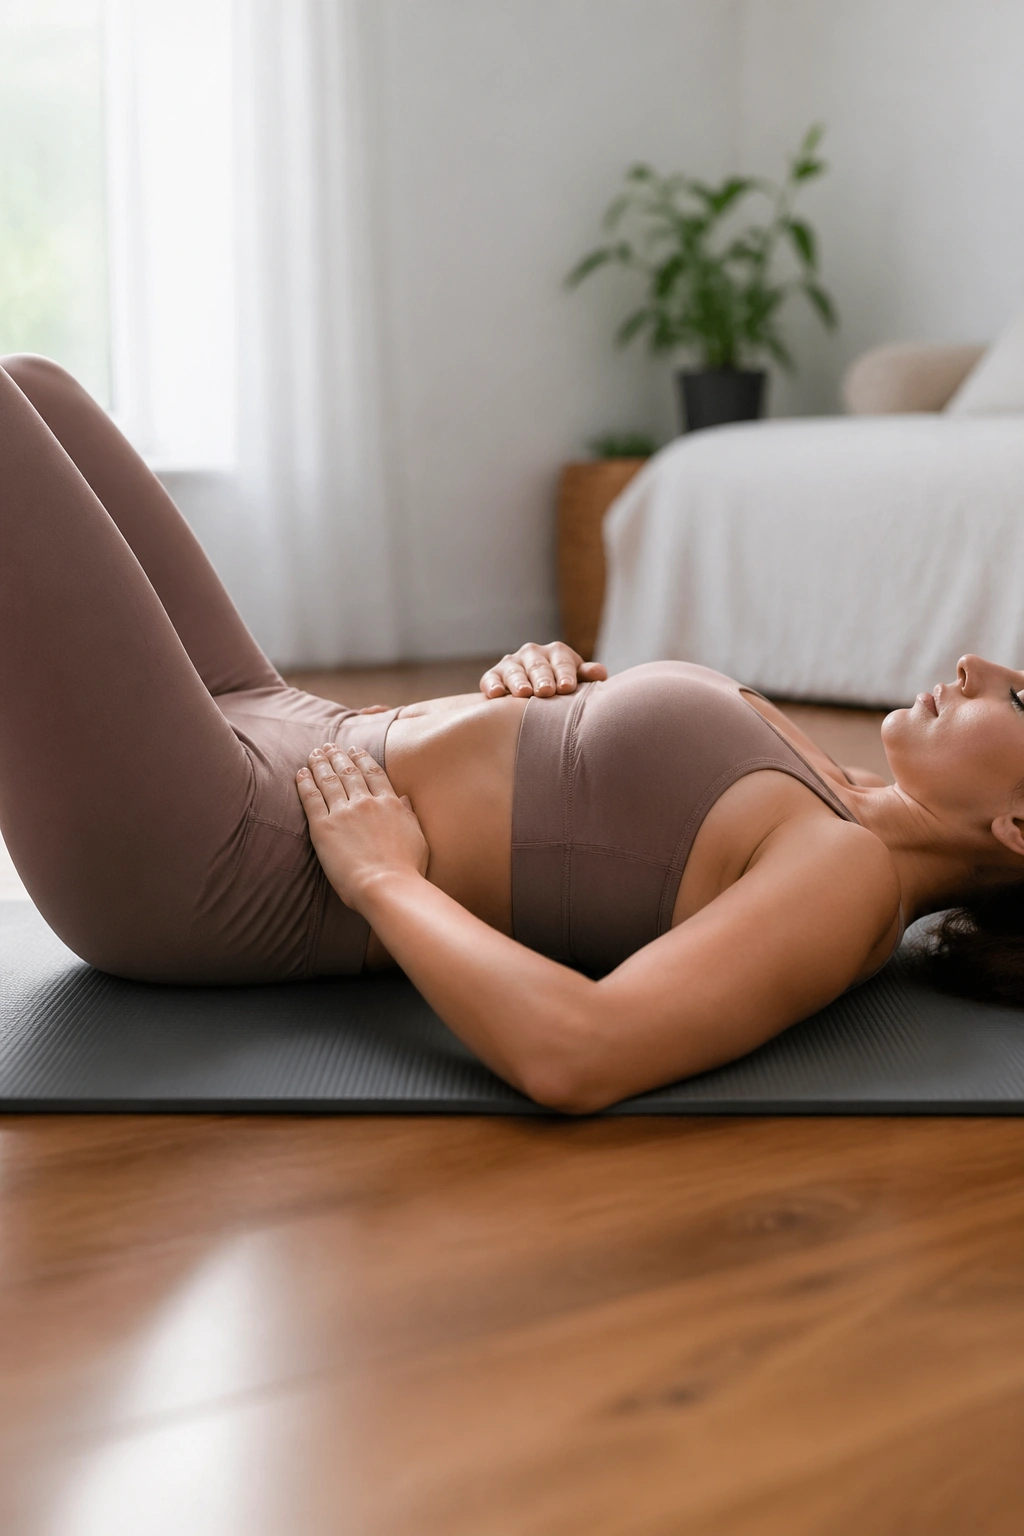
Picture someone lying on a mat with the ribs flared and the low back pinned to the floor. That setup is common, and it makes breathing harder than it needs to be. The body can breathe there, sure, but the ribs and pelvis are not helping each other. The breath turns shallow, and the effort spreads into the neck and hip flexors.
Neutral pelvis and a stacked rib cage give the breath a better home. The pelvis does not need to be jammed under you, and the low back does not need to be arched like a bridge. You want the ribs to sit over the pelvis in a way that feels balanced enough to breathe through. That balance is what makes the rest of Pilates feel less fussy.
A quick setup check
- Lie on your back with knees bent and feet flat.
- Let the pelvis rest somewhere between tucked and arched.
- Soften the front ribs so they don’t pop upward.
- Keep the back of the neck long, with the chin level.
- Breathe into the sides of the ribs before you add any movement.
If your low back is glued hard to the mat, back off. If your ribs are thrusting up, soften the exhale and let them settle. The setup should feel quiet, not forced.
This is one of those places where less effort usually wins. Once the torso stacks well, even a simple breath can feel more useful. Once that happens, the movement choices get cleaner too.
5. The Pilates Hundred Breath Pattern for Beginners
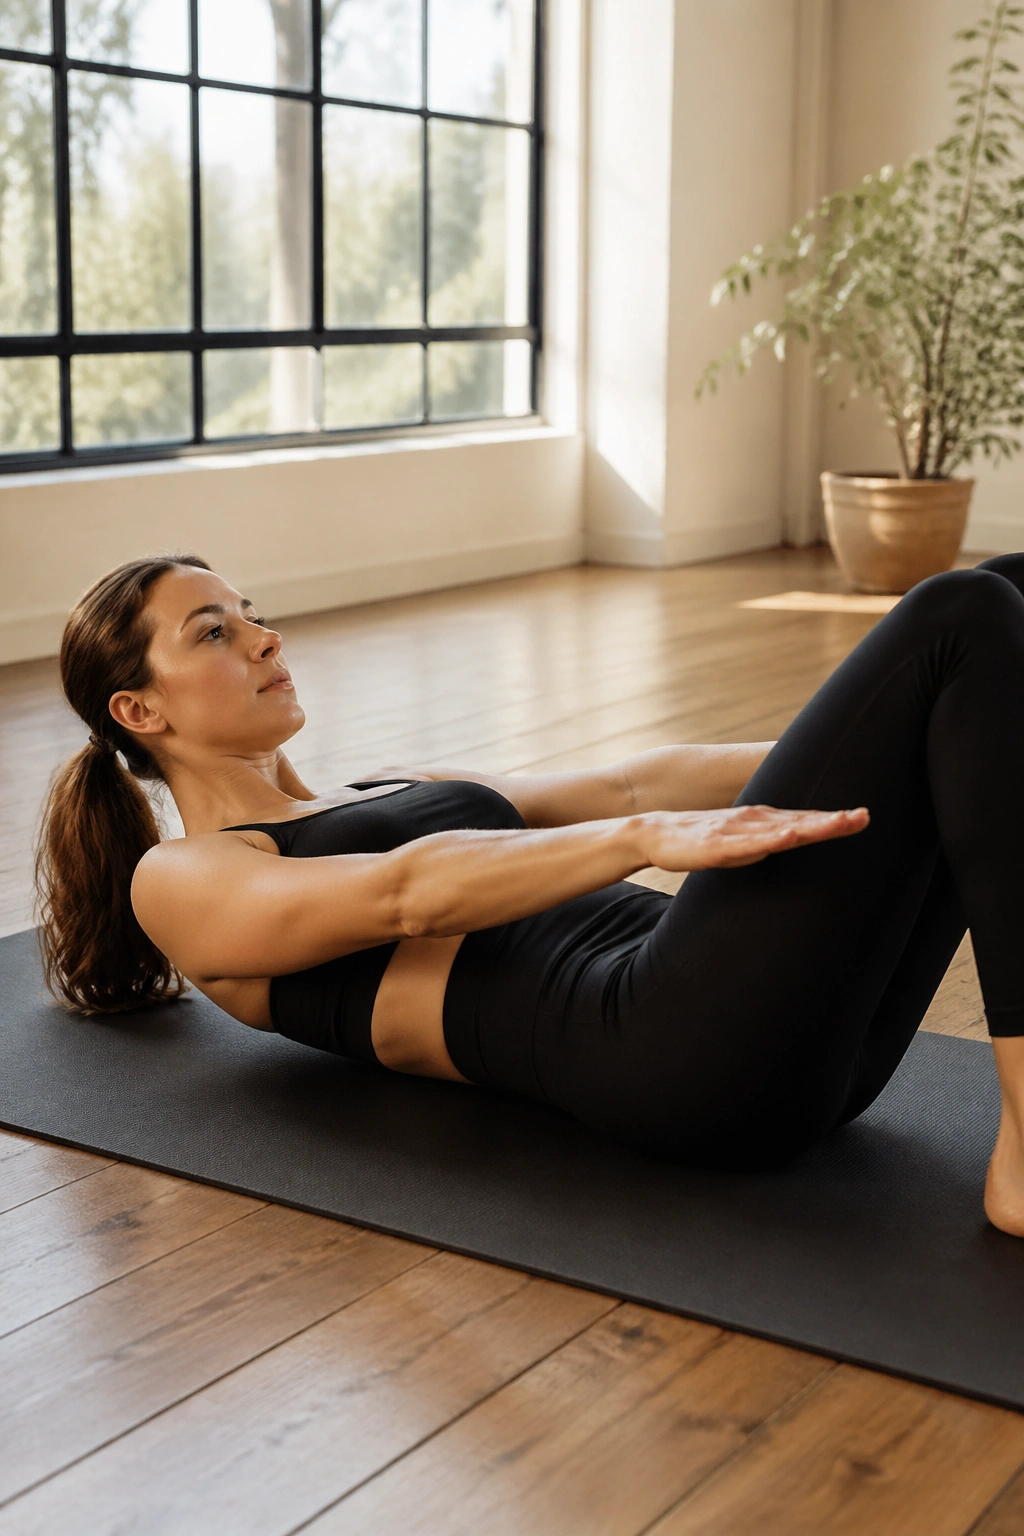
The Hundred sounds tidy until you try it. People hear the name and imagine something fast, athletic, and slightly punishing. That’s not the point, at least not for beginners. The useful part is the rhythm: a steady inhale for five counts, a steady exhale for five counts, repeated while the trunk stays controlled.
Start with the knees bent or the feet down if tabletop feels too much. Head and shoulders can stay on the mat if your neck is already working hard. If you do lift the head, keep the back of the neck long and stop before the jaw clenches. The breath pattern matters more than the exact shape of the legs.
What makes the Hundred useful is that it exposes sloppy breathing fast. If the inhale gets noisy, the shoulders creep up. If the exhale turns into a collapse, the ribs lose their shape. That feedback is useful, not embarrassing. The exercise is basically telling you where your control leaks out.
I prefer to keep the arm pumps small at first — just a few inches up and down — so the shoulders don’t steal the breath. Wide, dramatic arm swings look active, but they often muddy the pattern. Smaller movement with a cleaner exhale usually does more for a beginner’s practice.
If five-counts feel too ambitious, drop to three in and three out. The body learns the rhythm before it learns the stamina. That order matters.
6. Side-Lying Rib Expansion When Your Shoulders Hold Tension
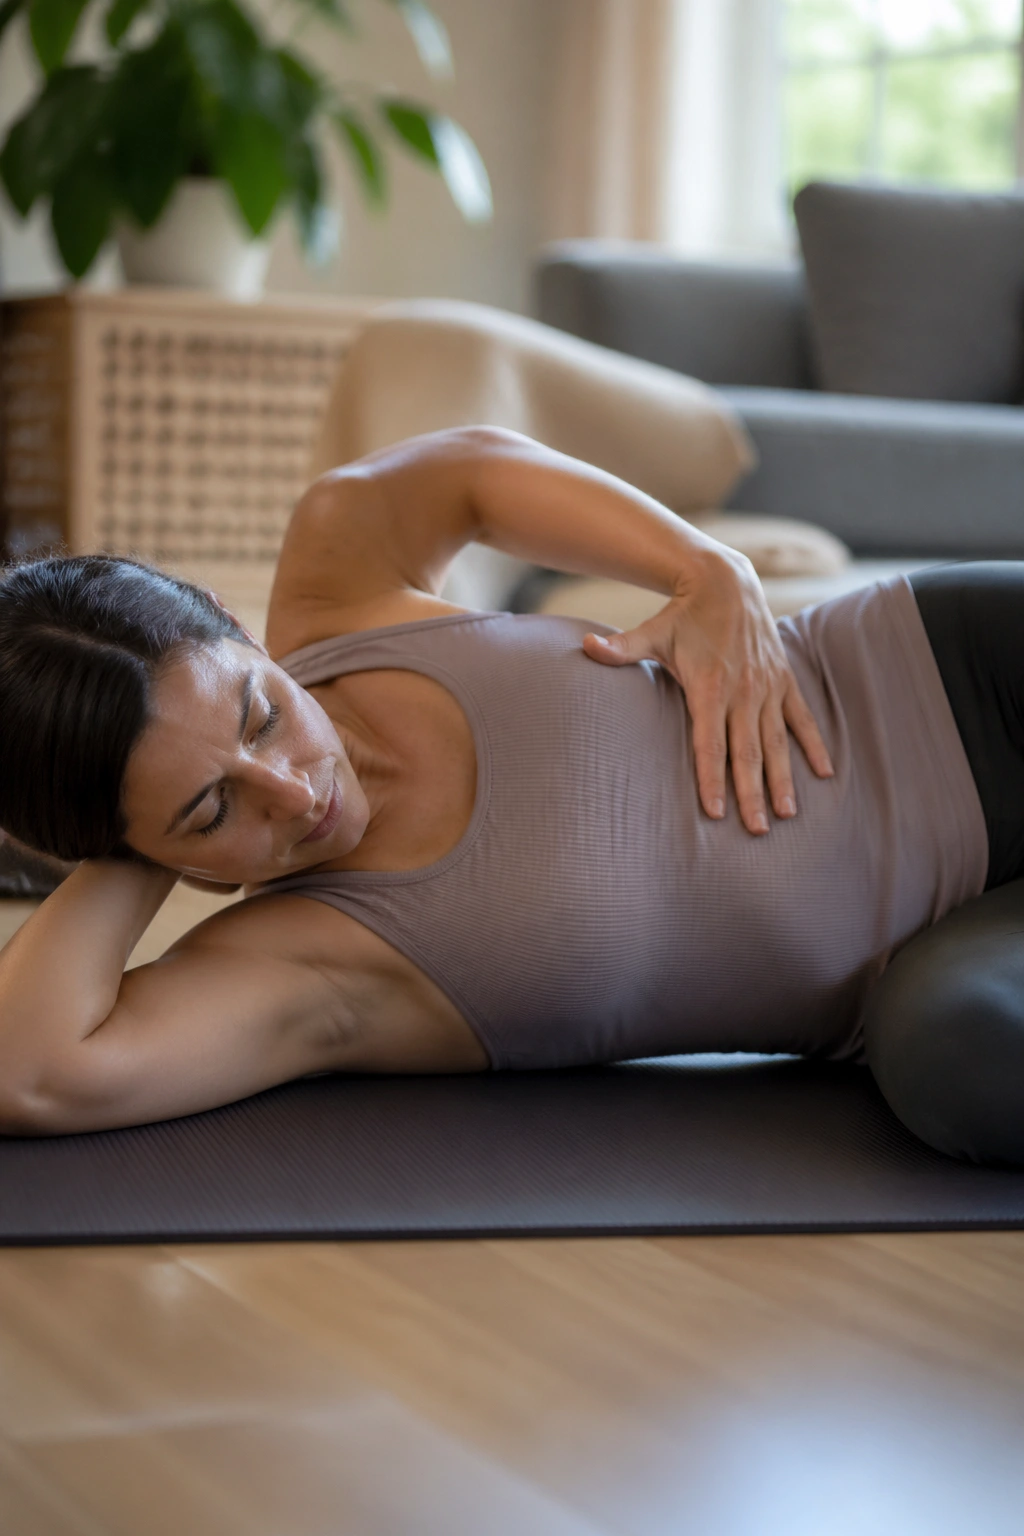
Unlike a big belly breath, side-lying rib expansion gives you a cleaner read on what the torso is doing. Lie on one side with the knees softly bent and the bottom arm stretched long or bent under the head. Stack the ribs and pelvis, then breathe into the open side of the rib cage. You’ll usually feel the upper ribs move more clearly than you do on your back.
That matters if your shoulders tend to hog the work. Side-lying makes it harder to hide. The top shoulder wants to drift forward, the waist wants to shorten, and the breath gets trapped if you’re sloppy. Good. That feedback is useful. It gives you a chance to notice the problem instead of guessing about it.
This variation is especially helpful for people who sit a lot, carry tension in one shoulder, or can’t tell whether one side of the rib cage moves more than the other. It also makes asymmetry obvious — one side may open easily while the other feels stiff or oddly flat.
I usually recommend five slow breaths on each side before mat work if the upper body feels tight. Keep the top hand on the ribs for feedback. If the neck starts to help, the breath has gone too high. Back off, soften the mouth, and let the side ribs do the talking.
7. Curl-Up Exhales That Wake Up the Deep Abdominals
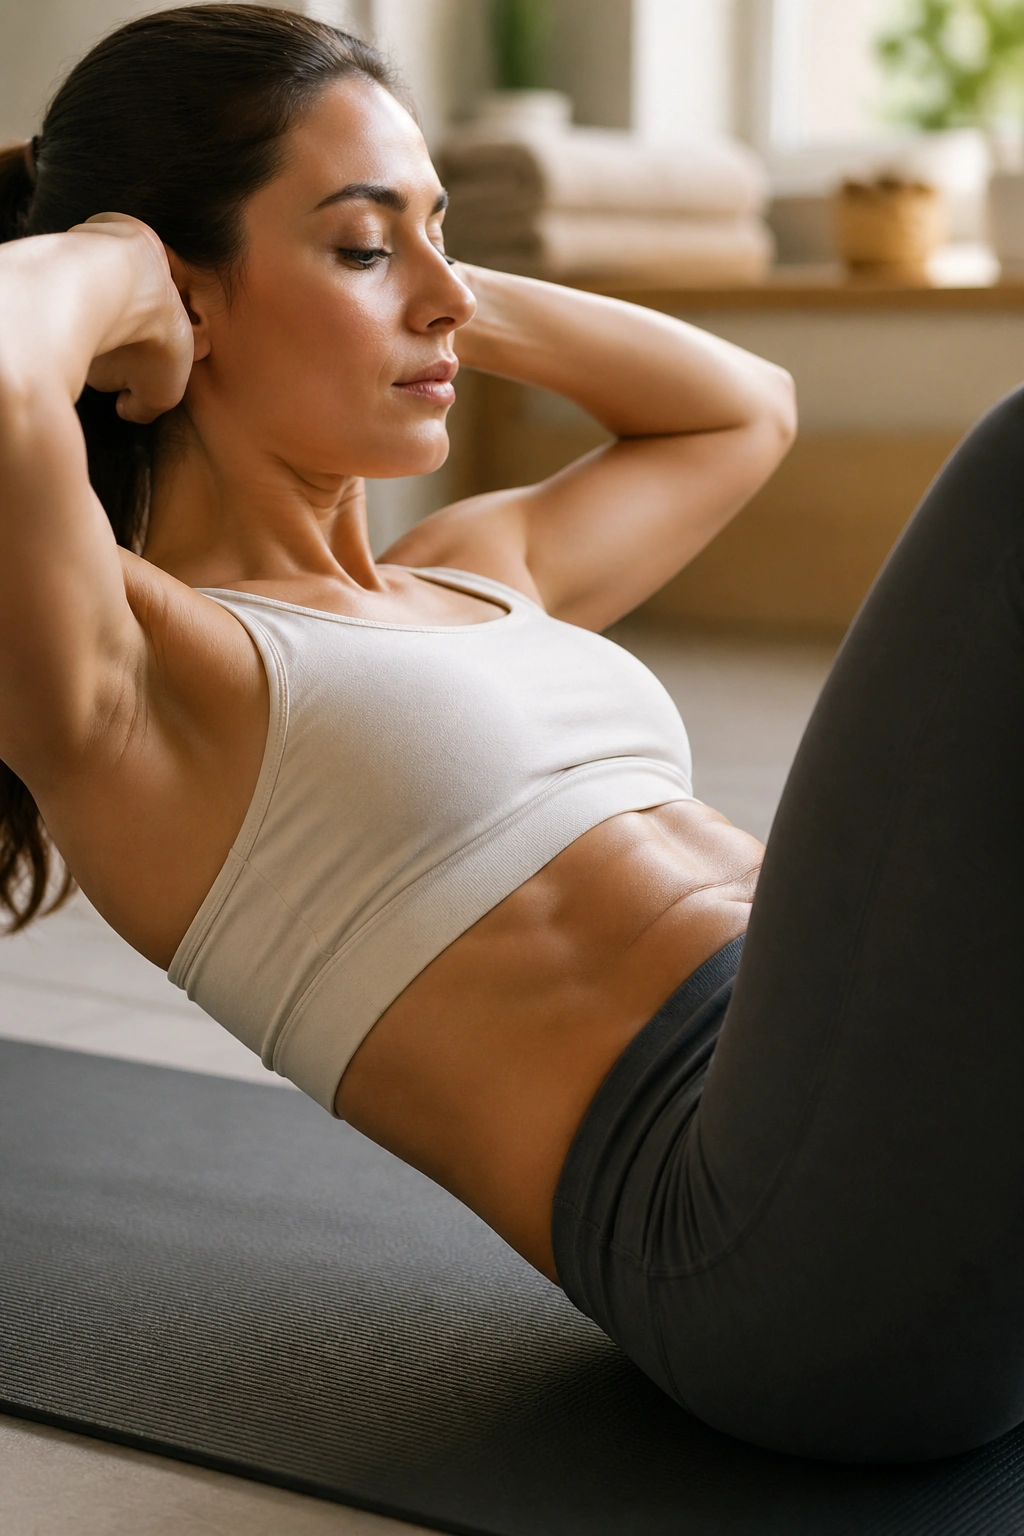
A small curl-up changes the breath more than most people expect. Even a tiny lift of the head and shoulders asks the front body to organize itself, and that makes the exhale more active. The trick is to keep the movement small enough that the ribs can still narrow without the hip flexors taking over.
What to feel
The front ribs should draw down a little on the exhale. The lower belly should feel supportive, not pushed out. The neck stays long, and the chin does not jam toward the chest. If the face tightens, you’ve gone too far. If the low back arches hard, the breath is trying to carry too much load.
- Start with knees bent and feet flat.
- Place one hand behind the head only if the neck feels calm.
- Exhale as you curl the upper ribs off the mat by 1 to 2 inches.
- Inhale as you lower with control.
- Keep the lift small until the breath stays smooth.
Watch for this: if you feel the hip flexors gripping first, lower the head and shoulders and make the curl smaller.
This is a good one for beginners because it shows the difference between moving from the ribs and yanking from the front of the hips. Once you can exhale into a tiny curl without strain, the more advanced mat work starts to make a lot more sense.
8. Inhaling Into the Back of the Ribs
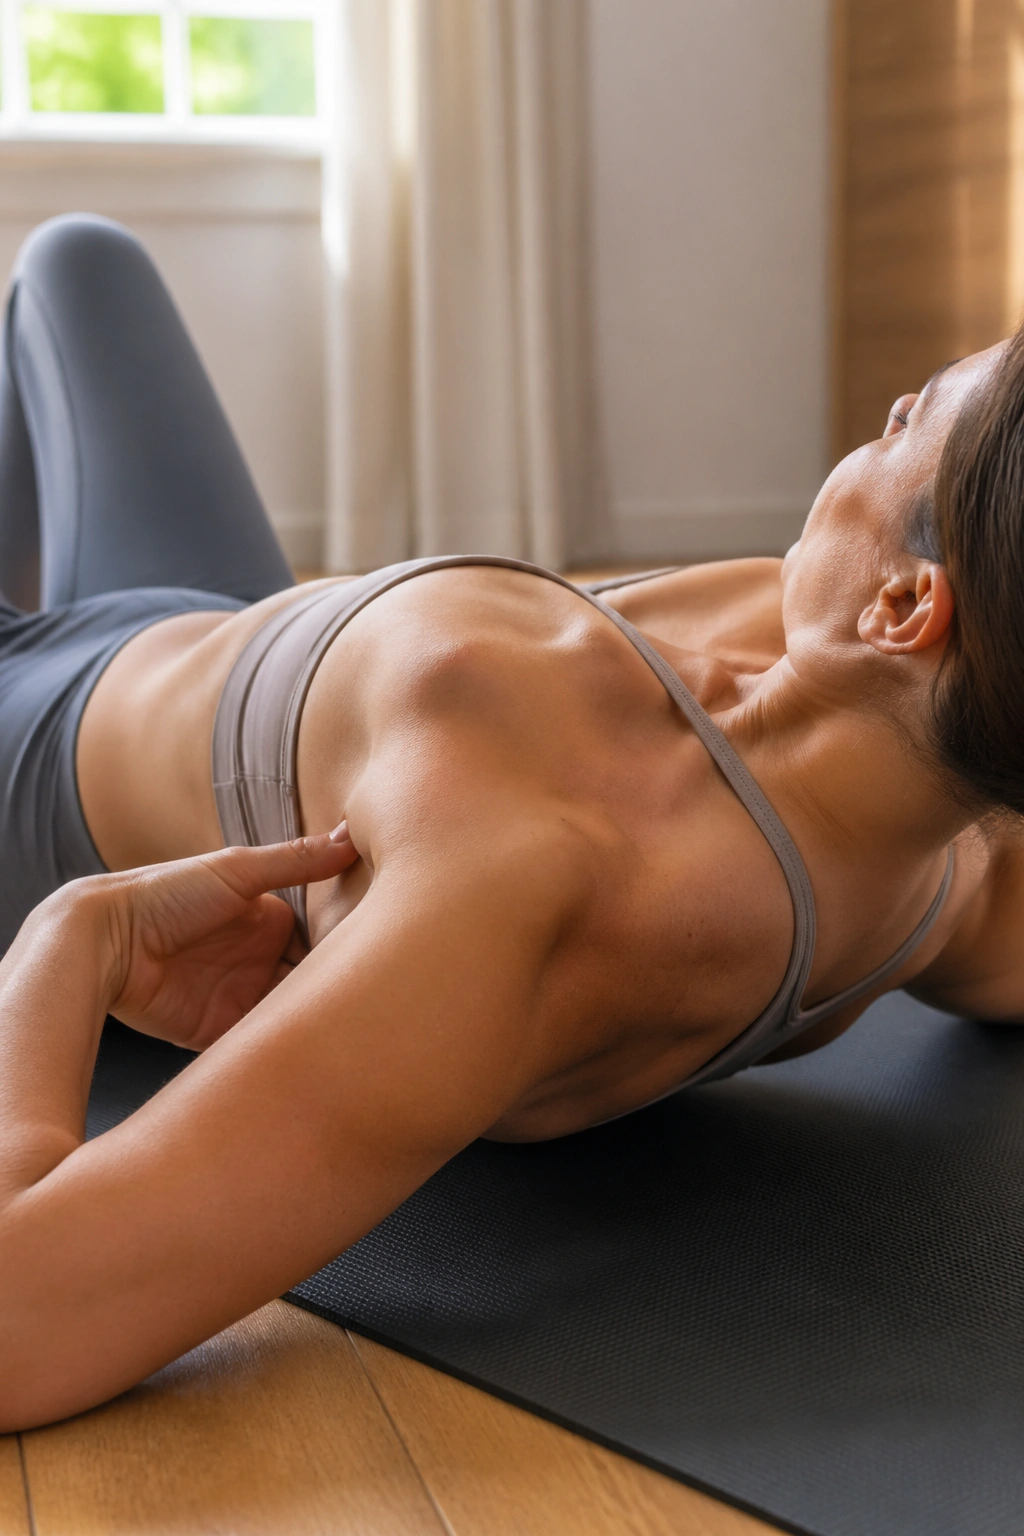
Back-of-rib inhaling is the missing piece for a lot of beginners. People usually feel the front of the ribs because that’s where attention goes. The back ribs matter just as much, though, and when they stay stuck, the whole breath gets shallow. The torso ends up breathing like a suitcase that only opens halfway.
Try this against a wall or on the floor. Stand with the back of your ribs lightly touching the wall, or lie with your knees bent and one hand on the lower back. Inhale and think about spreading the air into the back of the rib cage. You are not trying to crush the lower back flat. You’re trying to feel a wider shape around the whole torso.
The result is often immediate. The upper chest settles, the neck calms down, and the breath feels less like a shrug. It also helps people who only know how to breathe into the front belly. That pattern isn’t wrong for every situation, but in Pilates it often leaves too much of the rib cage unused.
Use this one before side planks, roll-ups, or any exercise where the front of the body wants to overwork. A few honest back-rib breaths can change the whole session. Quietly. No drama.
9. Arm Reaches That Keep the Breath Smooth
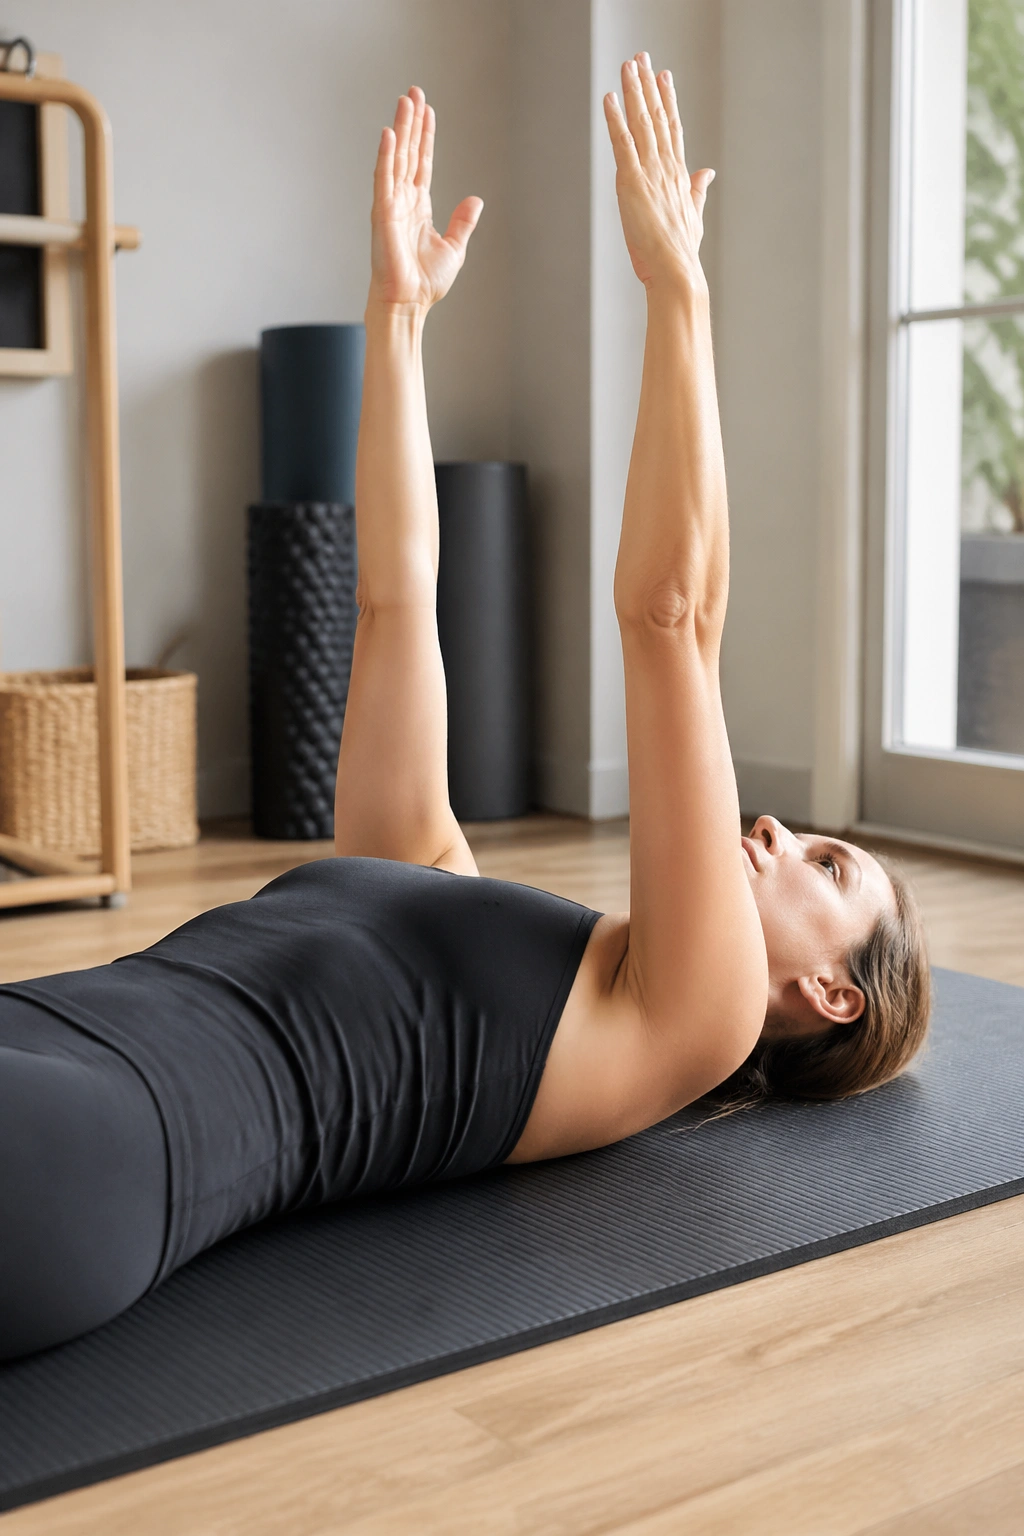
Why does a simple arm reach make the breath go choppy? Because the upper body is wired together more tightly than most people expect. The lats, shoulder blades, and rib cage all talk to each other, so when the arms move overhead or forward, the ribs want to follow. If the shoulders are already tense, the breath gets short fast.
That’s why arm reaches are such a useful beginner drill. Lie on your back or stand tall, raise both arms toward the ceiling, and keep the ribs from popping. Inhale as the arms float up or out. Exhale as they lower. The movement should feel like a smooth handoff between shoulder motion and rib control, not a wrestling match.
How to get the most from it
Use a small range first. The arms do not need to go all the way overhead if that makes the front ribs flare. Stop the reach where the torso can stay calm. If the neck starts to strain, bend the elbows a little and try again.
This is also a good place to notice side differences. One arm may feel easy while the other pulls the shoulder upward. That tells you something useful before you move into more loaded Pilates work. Five slow repetitions is enough. More is not better if the pattern falls apart.
I like this exercise for anyone whose breath disappears the moment the arms move. It is a plain drill, but it teaches a surprisingly important lesson: the arms and the ribs are never as separate as they look.
10. Counting Breaths to Stay in Rhythm
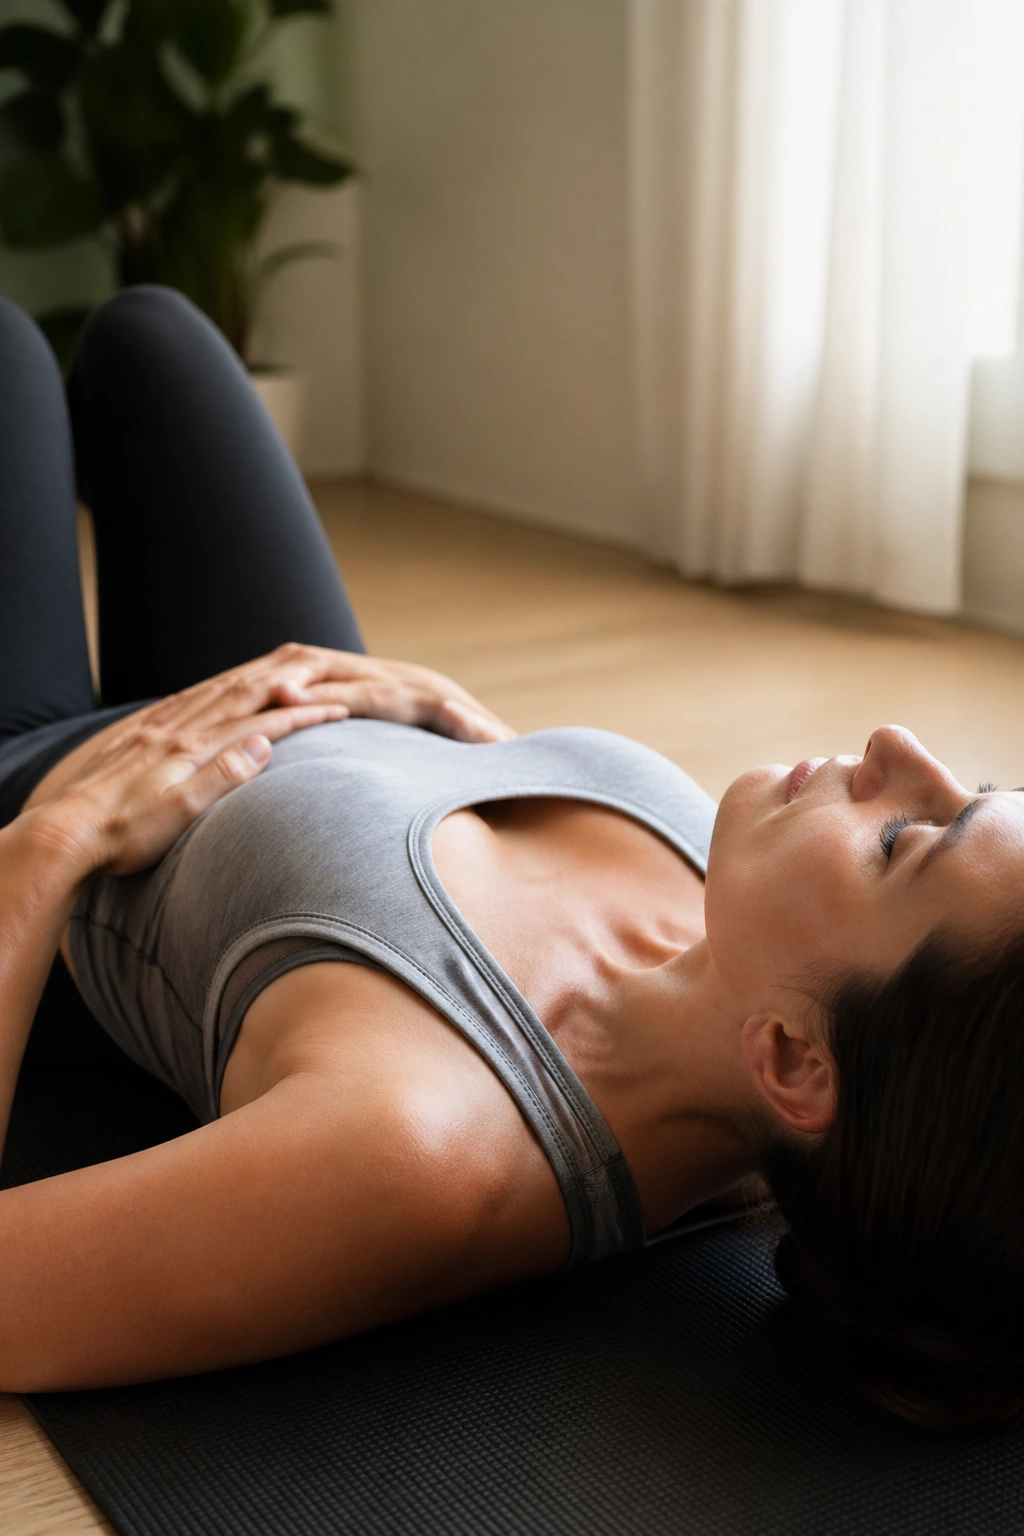
Count to four and most people speed up anyway. That’s not a criticism; it’s just what happens when attention spreads across too many things. A simple count gives the breath a lane to stay in, which is handy when you’re learning Pilates and trying not to let the torso get sloppy.
Different counts do different jobs. A 3-in / 5-out pattern is calm and helpful for setup. A 4-in / 6-out pattern gives a little more length on the exhale and works well before core work. A 2-in / 2-out pattern can help when the exercise needs a quicker rhythm, though beginners usually need a slower pace first.
- 3 in / 5 out: good for reset breathing between exercises.
- 4 in / 6 out: useful before curl-ups or leg work.
- 2 in / 2 out: better for brisker movement once control improves.
- One long exhale: helpful right before a hard rep.
Do not get obsessed with the exact math. If the count makes your face tighten, shorten it. If you run out of air and start gulping, shorten it again. The count should support the body, not boss it around.
A timer or metronome can help, but a quiet room works too. I’m a fan of simple counting because it keeps beginners from drifting into random breathing, which is where most of the mess starts.
11. Common Pilates Breathing Mistakes Beginners Make
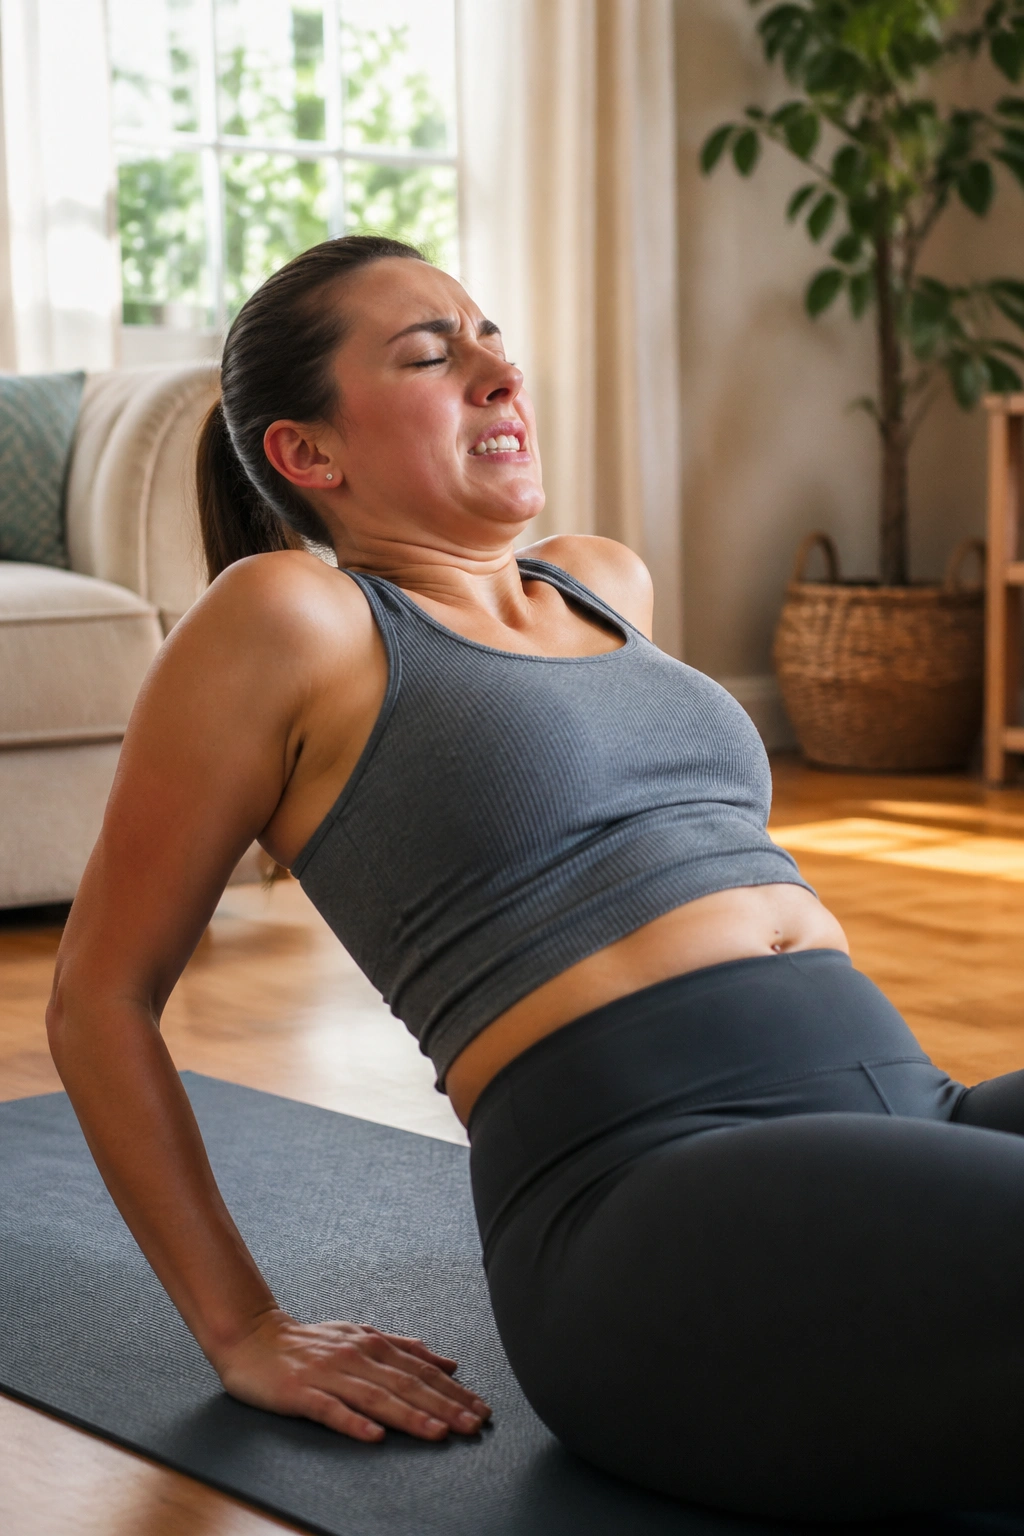
Pilates breathing is not the same as relaxation breathing from yoga or meditation. That trips people up all the time. In Pilates, the breath has to support movement, not just calm you down. So the shape of the breath matters. The timing matters. And the ribs need to stay organized enough that the torso can keep working.
The first mistake is over-breathing. A giant inhale can lift the shoulders, pop the ribs, and make the low back overarch. The second is holding the breath during effort, which makes the whole practice feel harder than it needs to. The third is pushing the belly out so hard that the deep support disappears. None of these are signs that you “can’t do Pilates.” They just mean the pattern needs tightening.
What to change first
- Shorten the inhale before you try to deepen it.
- Make the exhale quieter, not harder.
- Keep the shoulders heavy and the jaw loose.
- Reduce the leg or arm load if the breath gets noisy.
One more thing: if you feel dizzy, stop and rest. That usually means the breathing pace is too aggressive or too large for the moment. There’s no prize for pushing through a bad breath pattern.
The nicest part of fixing these mistakes is that the body often responds fast. You don’t need a new personality. You need a cleaner rhythm.
12. A Five-Minute Beginner Sequence You Can Repeat Anytime
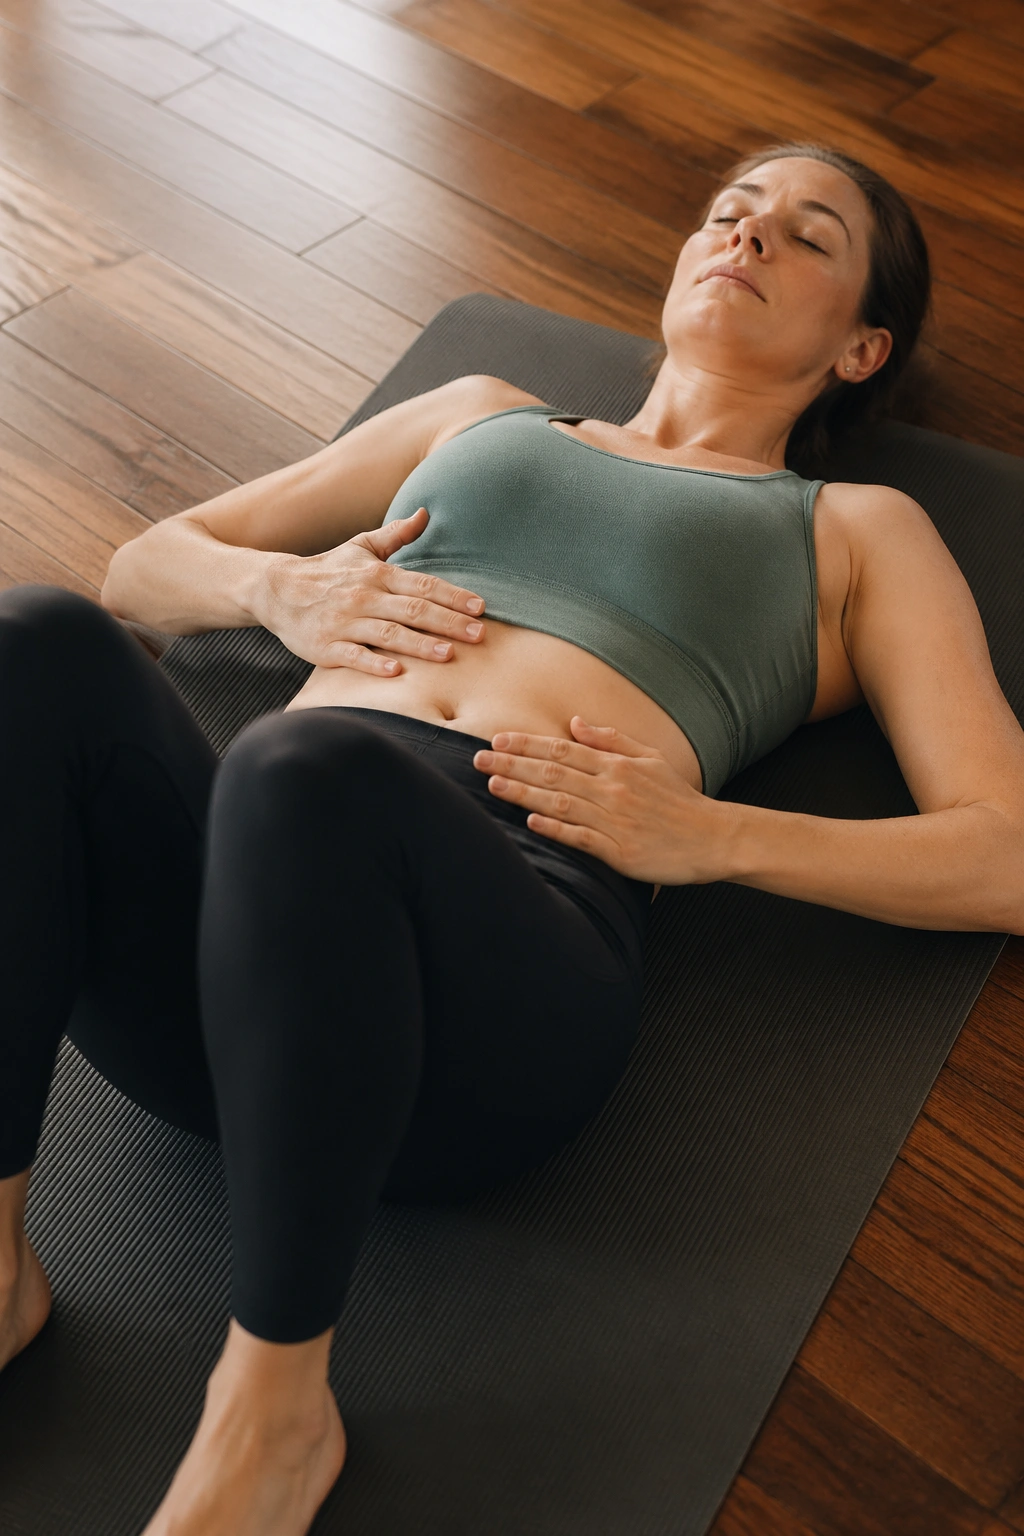
Five minutes is enough. Not forever. Not even close. But enough to get the ribs moving, wake up the exhale, and make the first few Pilates exercises feel less clumsy.
A short beginner sequence
-
Lie on your back and take 3 lateral rib breaths with knees bent.
-
Add 3 slow exhales that last one or two counts longer than the inhale.
-
Roll onto one side and take 5 side-lying breaths into the upper rib cage.
-
Return to your back and do 3 tiny curl-up exhales, keeping the lift small.
-
Finish with 3 back-of-rib breaths against the floor or wall.
That sequence is boring in the best way. No fancy moves. No need to “power through.” Just enough structure to show you where the breath lives and how it supports the rest of the body.
If you want to use it before a longer Pilates session, keep the reps low and the pace calm. If you want it as a stand-alone reset, repeat the side-lying breaths or the curl-up exhales once more. I’d rather see two clean rounds than one frantic one. Clean breathing changes movement faster than forced effort does.
And that’s the part I keep coming back to: in Pilates, the breath is not a warm-up you rush through. It’s the thing that teaches the torso how to behave. Get that part right, even a little, and the rest stops feeling like guesswork.
