



Pilates stretching routines for flexibility work best when they feel almost too controlled to count as stretching. That is the point.
A lot of people go after flexibility by pulling harder, holding longer, and hoping the body gives in. Pilates takes the opposite path. It asks for breath, precision, and small clean ranges that let the spine, hips, ribs, and shoulders lengthen without getting shoved around.
That matters because “tight” usually means more than one thing. A cranky hamstring may be reacting to stiff hips. A locked upper back may be wrapped up with rounded shoulders and shallow breathing. If you only tug at the obvious spot, you miss the chain of tension that keeps it coming back.
The routines below move from gentle spinal motion to deeper hip opening, with a few shoulder and side-body pieces mixed in. Use them as a warm-up, a cooldown, or a short reset after too much sitting. A little goes a long way, and the best version is the one you can do with good form, not the one that looks the deepest on the mat.
1. Pilates Cat-Cow with Rib Breath
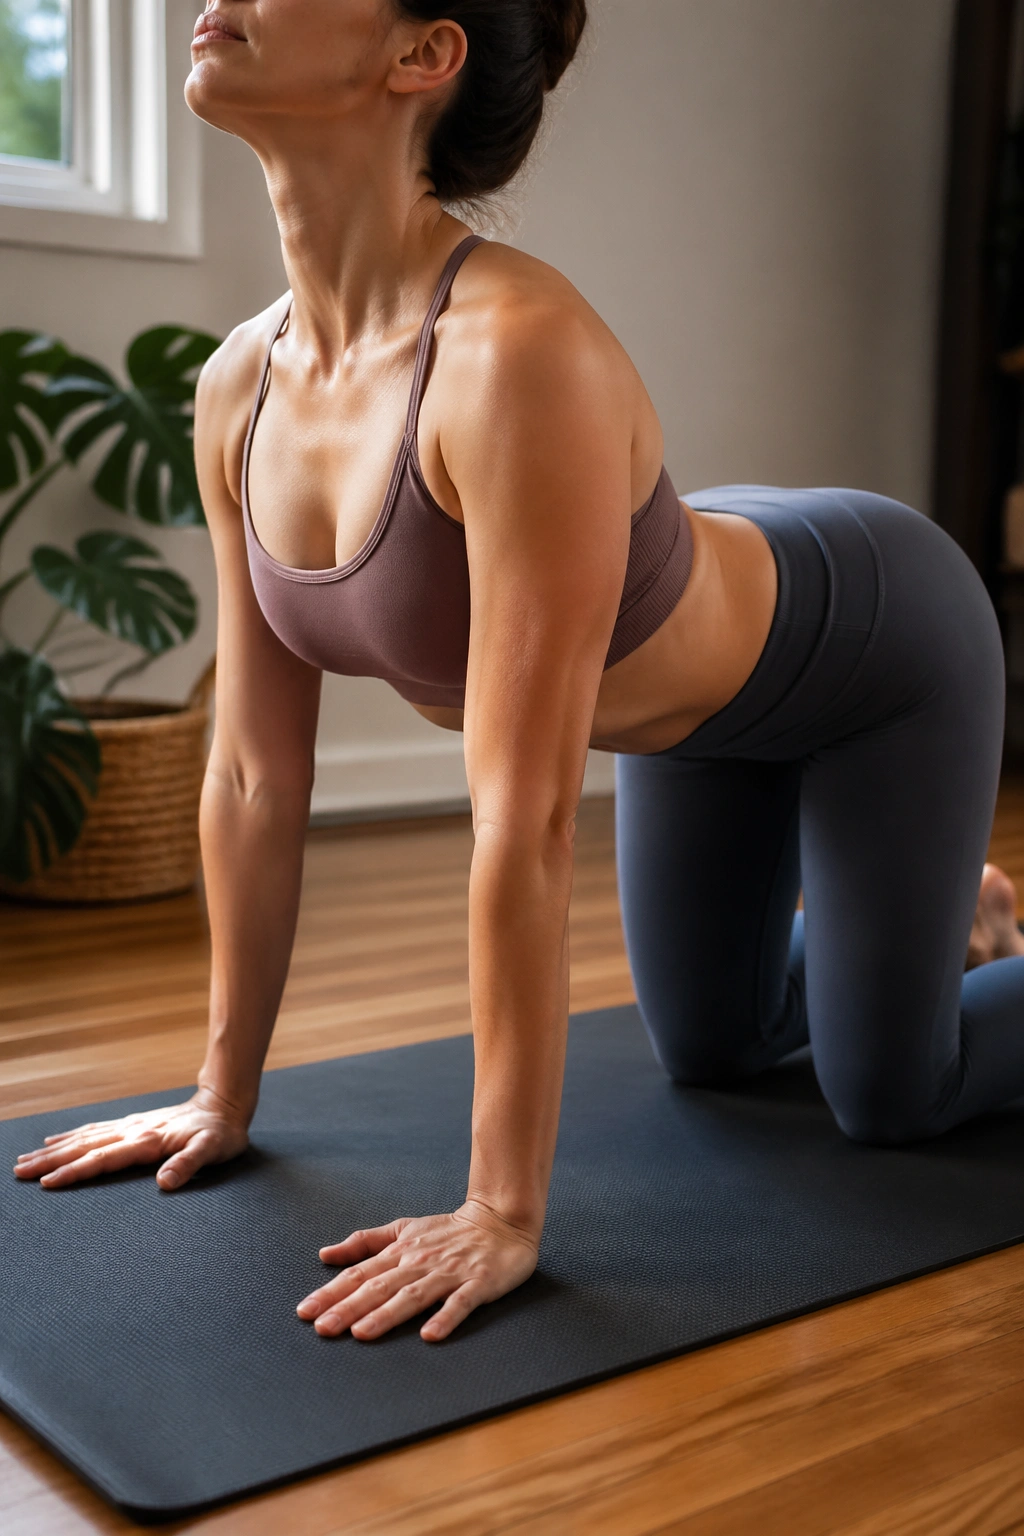
Start with the move that gets almost everyone to exhale a little longer. Cat-Cow looks basic, and that is exactly why it works so well: it wakes up the spine before you ask it to do anything fancy.
Come to hands and knees with your wrists under your shoulders and knees under your hips. On an inhale, tip the tailbone up and let the chest widen. On the exhale, round the spine from tail to head and feel the belly draw in. Keep the neck long. Do not dump into the lower back. The motion should feel like the whole trunk is moving, not just one hinge point.
What to feel
- The ribs should expand sideways on the inhale.
- The low belly should narrow on the exhale.
- Your shoulders should stay far from your ears.
- The movement should stay slow enough that you can count four to five breaths.
Try this: Pause in the rounded shape for one extra breath and notice whether your upper back softens. It usually does. That little pause can matter more than another ten fast reps.
2. Spine Stretch Forward from a Tall Seat
Why does a seated fold feel so different in Pilates? Because the goal is not to collapse. The goal is to lengthen while you fold, which gives the hamstrings and the back more honest work.
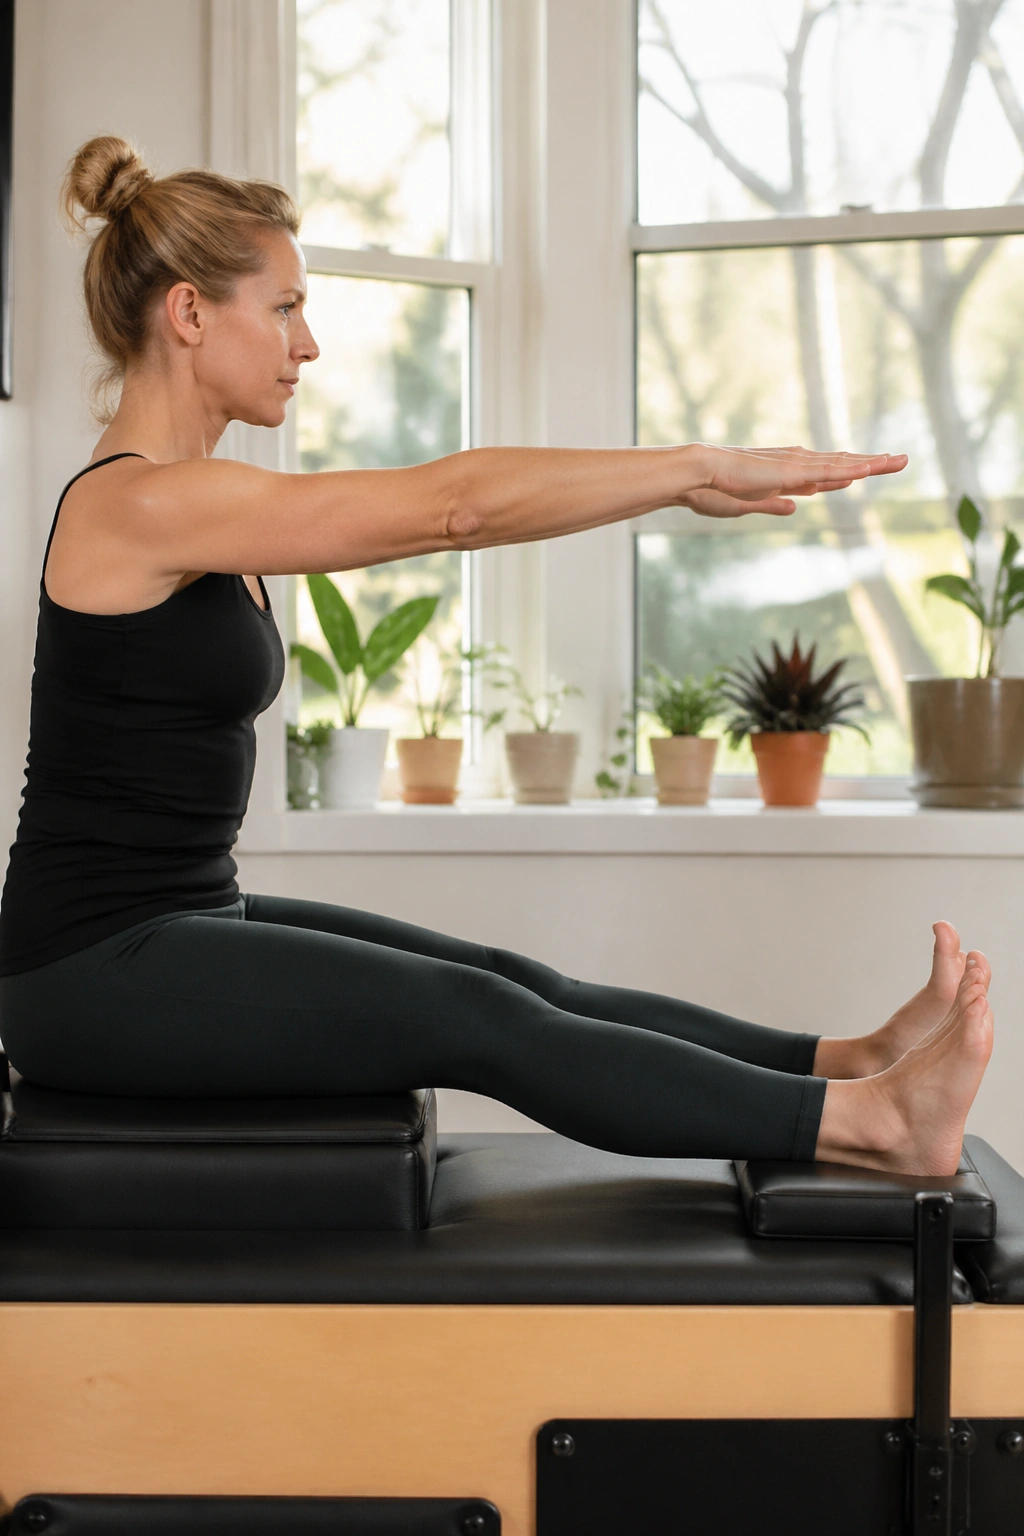
Sit tall with your legs straight in front, feet flexed, and hands reaching forward at shoulder height. Take a full inhale and stack the spine taller. On the exhale, nod the chin and peel forward one vertebra at a time, reaching over the legs as if you are trying to slide your chest past an invisible wall. Then inhale and roll back up with control. If the hamstrings are tight, bend the knees a little. That is not cheating. That is smart.
A lot of people yank their shoulders toward their knees here. Skip that. Let the arms lengthen from the back, not from the neck. The stretch should run along the spine, then into the backs of the legs, with a smooth feeling in between.
3. Pilates Mermaid Side Bend and Lift
If your side body feels squashed from sitting, Mermaid is one of the nicest ways to bring it back to life. It opens the ribs, the waist, and the outer hip in a way that feels civilized instead of aggressive.
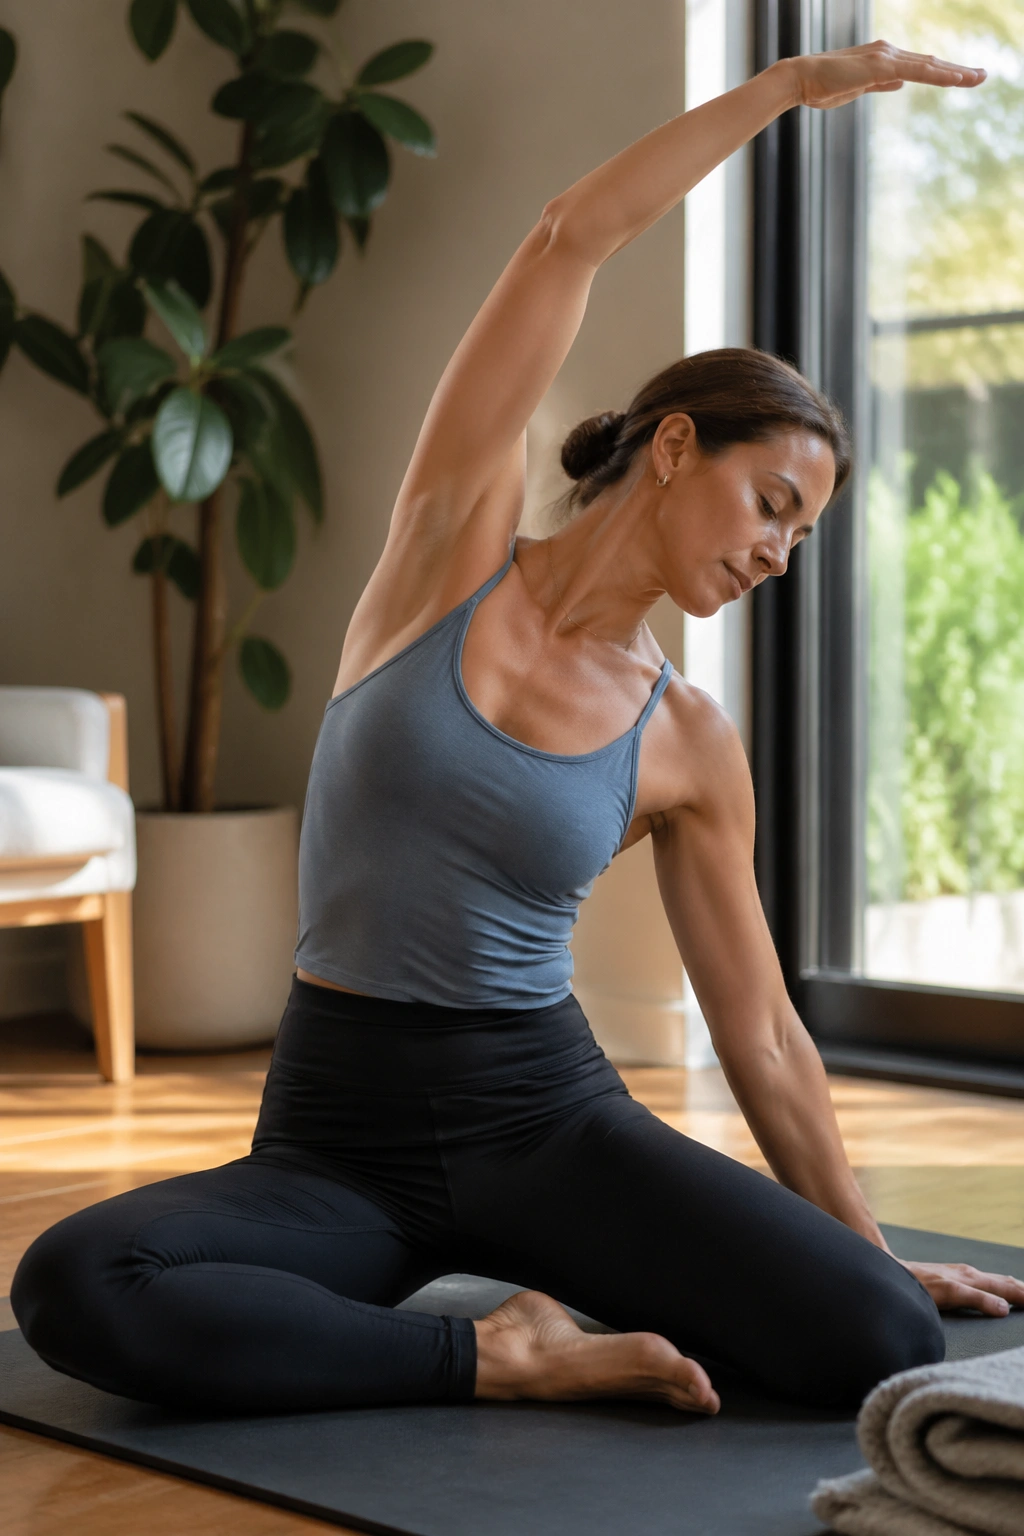
Sit with one knee bent in front of you and the other folded behind or to the side, depending on your mobility. One hand anchors lightly on the mat while the other arm arcs overhead. Inhale to lengthen up through the crown of the head. Exhale and side bend away from the anchored hand. Then circle the top arm forward and let the torso follow, almost as if you are drawing a long rainbow over your head.
What makes it worth keeping
Unlike a straight side stretch, Mermaid asks for lift before bend. That small detail changes everything. You get more room between the ribs, less crunch in the waist, and a cleaner stretch through the lats.
- Keep both sitting bones heavy.
- Keep the bottom shoulder soft.
- Breathe into the side ribs that feel short.
- Stop before the lower back starts pinching.
4. Saw With Long Spine
Saw is one of those Pilates moves that teaches rotation without turning into a sloppy twist. It stretches the back of the legs, wakes up the waist, and gives the spine a good, clean spiral.
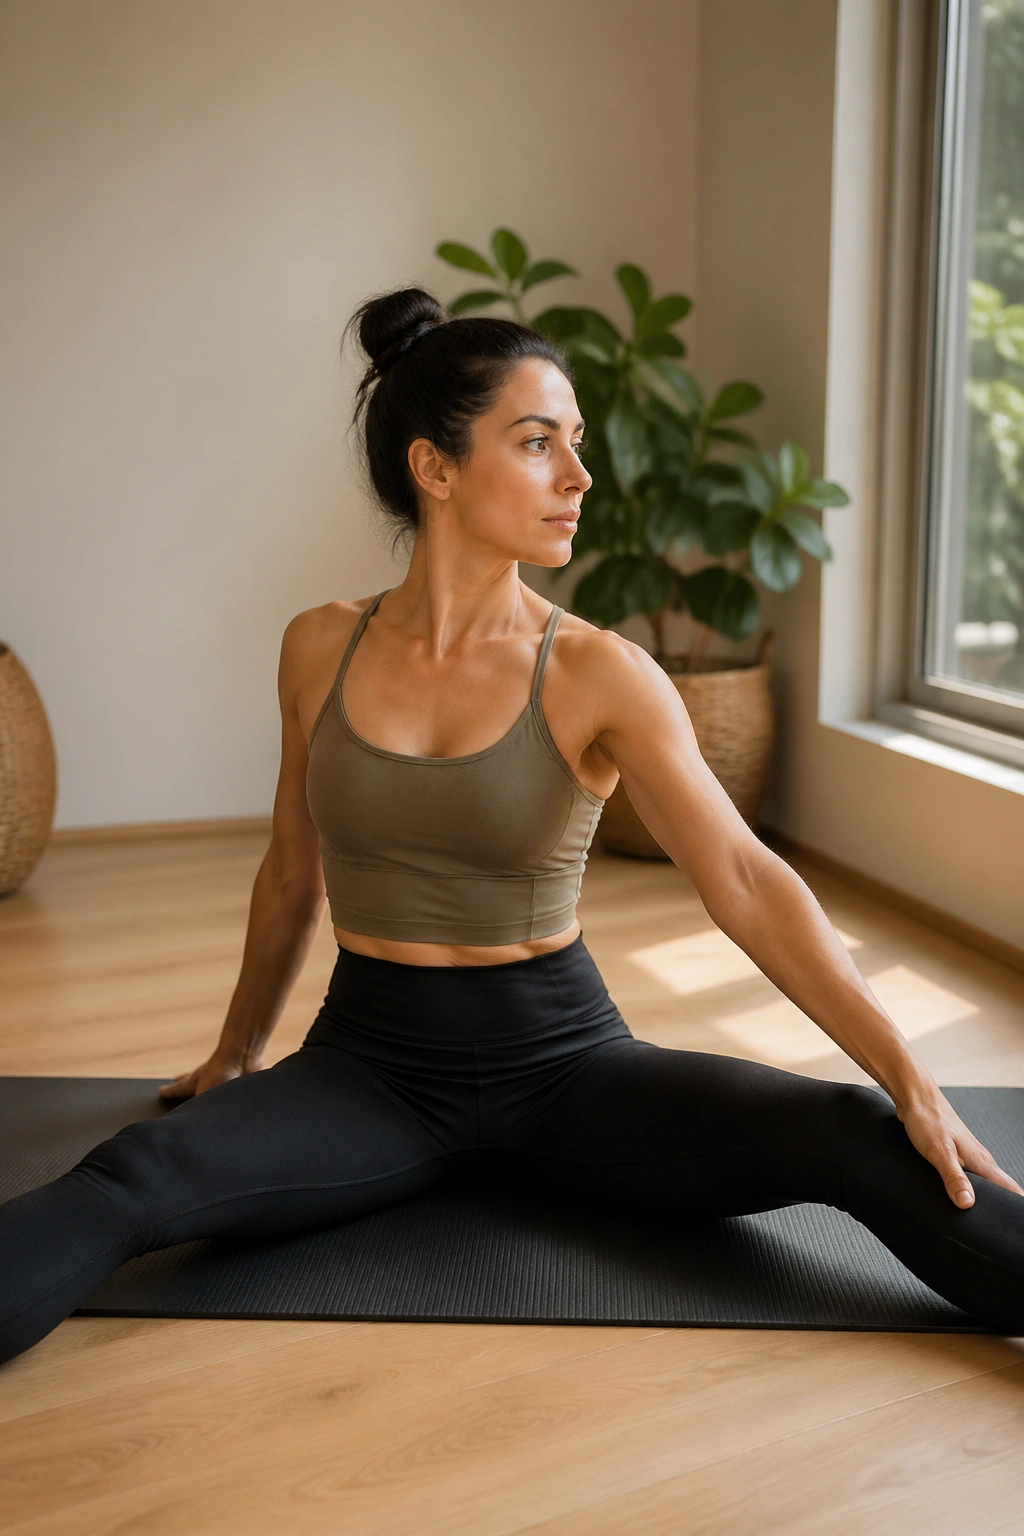
Sit with your legs open a little wider than your mat. Reach both arms out to the sides, palms down, and grow tall. Twist to one side on the exhale, then reach the back hand toward the opposite foot in a controlled “sawing” motion. The back arm reaches behind you, the front hand reaches toward the pinky toe, and the torso keeps length even while it rotates. Inhale to stack back up. Repeat on the other side.
The mistake here is hunching forward and calling it a stretch. No. Keep the seat bones rooted and the chest open enough that you can breathe through the twist. If the hamstrings tug hard, sit on a folded towel. That tiny lift can make the whole thing feel more workable.
5. Rolling Like a Ball for a Soft Back Massage
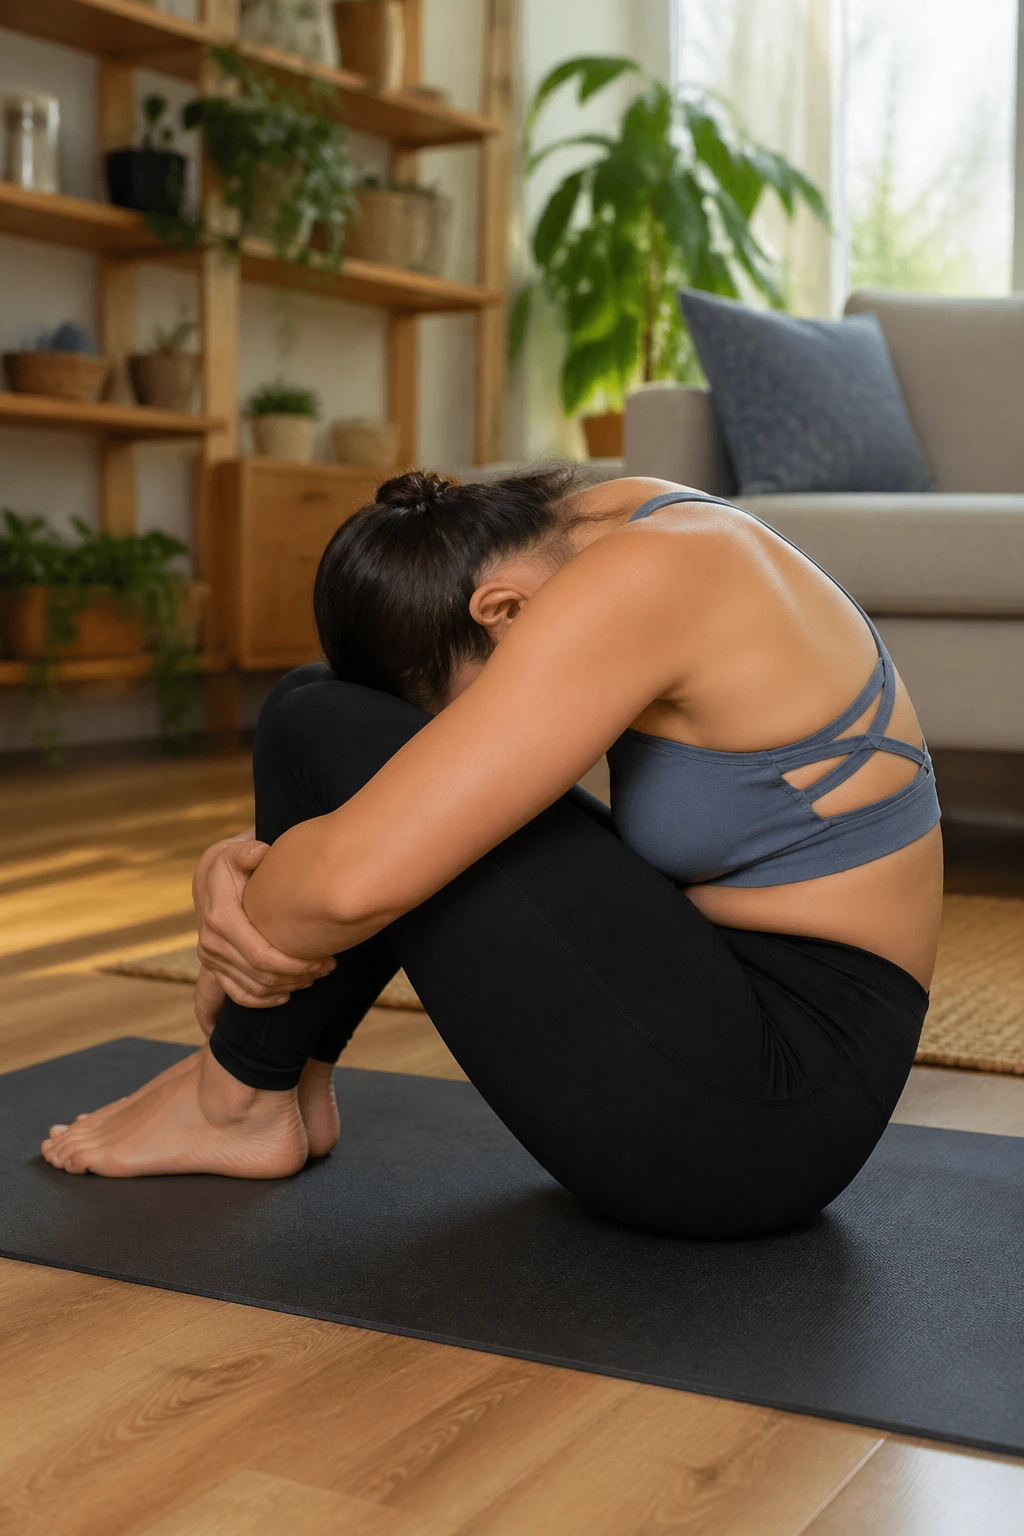
Rolling Like a Ball is playful, but it is not just playful. The rounded shape massages the spine, asks the deep abdominals to stay awake, and gives the back a little decompression. It can feel oddly satisfying after a day spent sitting in a chair that was never designed for humans.
Balance near the back of your sit bones, hold behind the thighs or shins, and curl into a compact ball. Keep the chin tucked enough that the neck stays long. Roll back only as far as your shoulders, then come back up without crashing into your feet. The movement should feel smooth and quiet. If your feet slam down, you went too far.
One good rule: roll back less than you think you should. That keeps the lumbar curve from getting chewed up and makes the return more controlled.
Some people love this one immediately. Others need a week or two to trust it. Fair enough. The body has opinions.
6. Open-Leg Rocker Prep
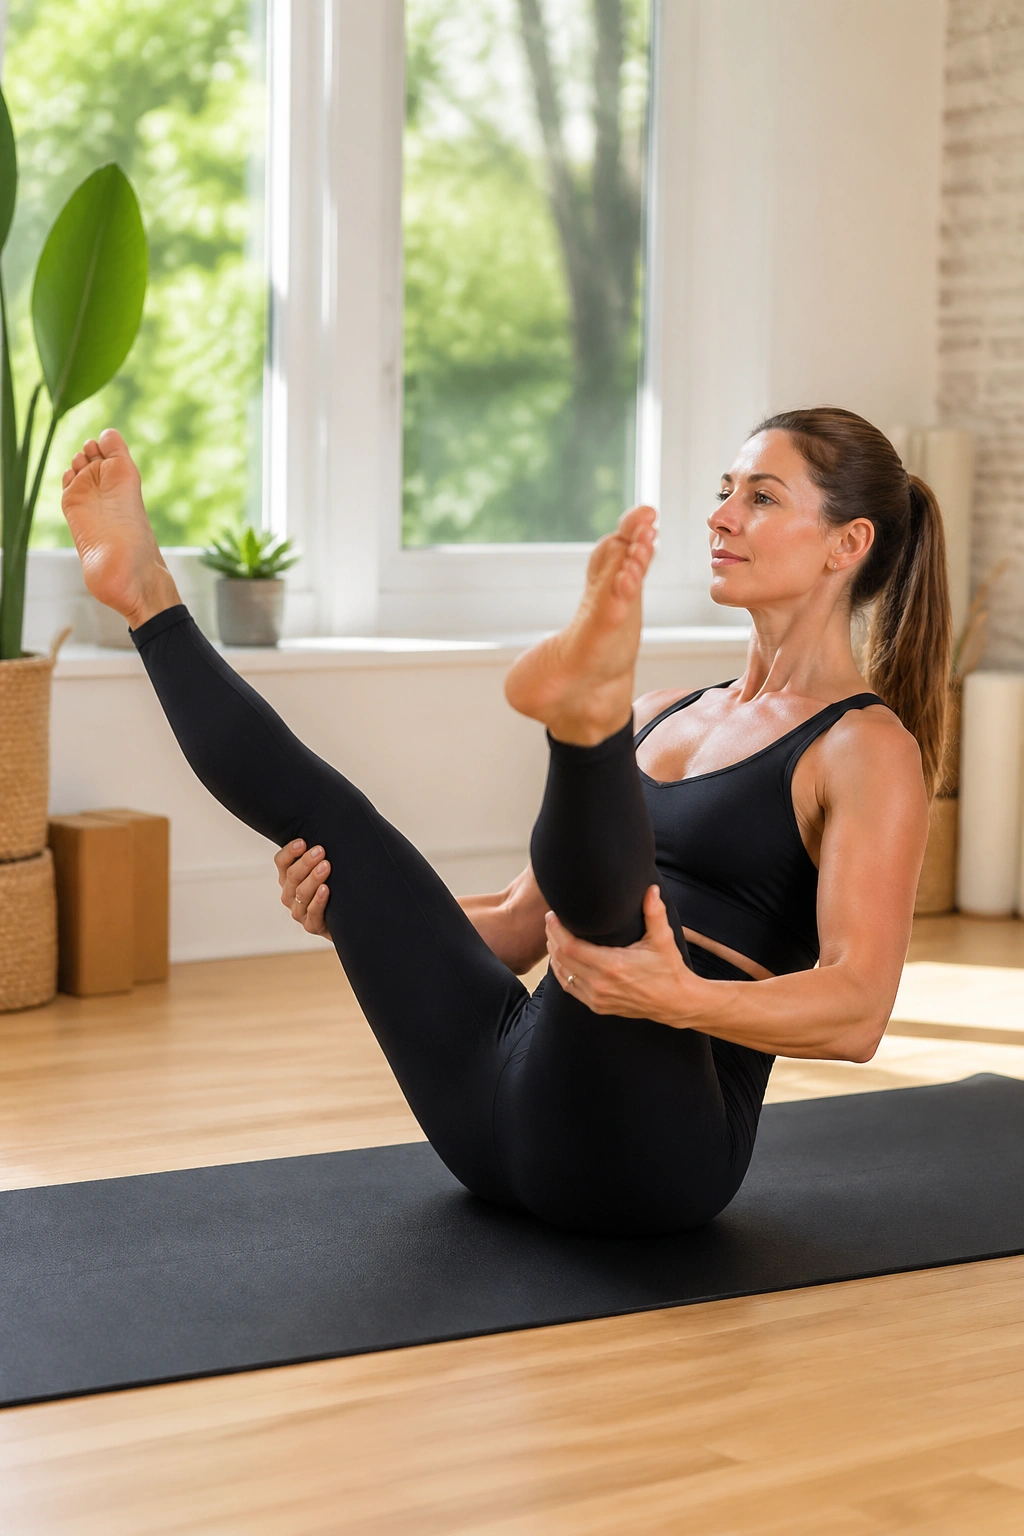
Open-Leg Rocker Prep is where flexibility and balance meet each other without a fight. It looks a bit like a hamstring stretch with a built-in core test, which is why it can be such a useful step up from a basic seated fold.
Sit tall and extend one leg, then the other, keeping the knees slightly bent if the hamstrings protest. Hold behind the thighs or calves, lift the chest, and tip the pelvis back just enough that the sit bones lighten. You are not trying to flop over. You are training the body to hold length while it shifts weight.
Unlike a static stretch, this one tells you whether your hips can stay organized under a little challenge. That matters. A lot of flexibility problems show up because the body cannot keep shape once the range changes.
If the full balance version feels shaky, stay with the prep and rock back only a few inches. That still counts.
7. Single-Leg Stretch Reach
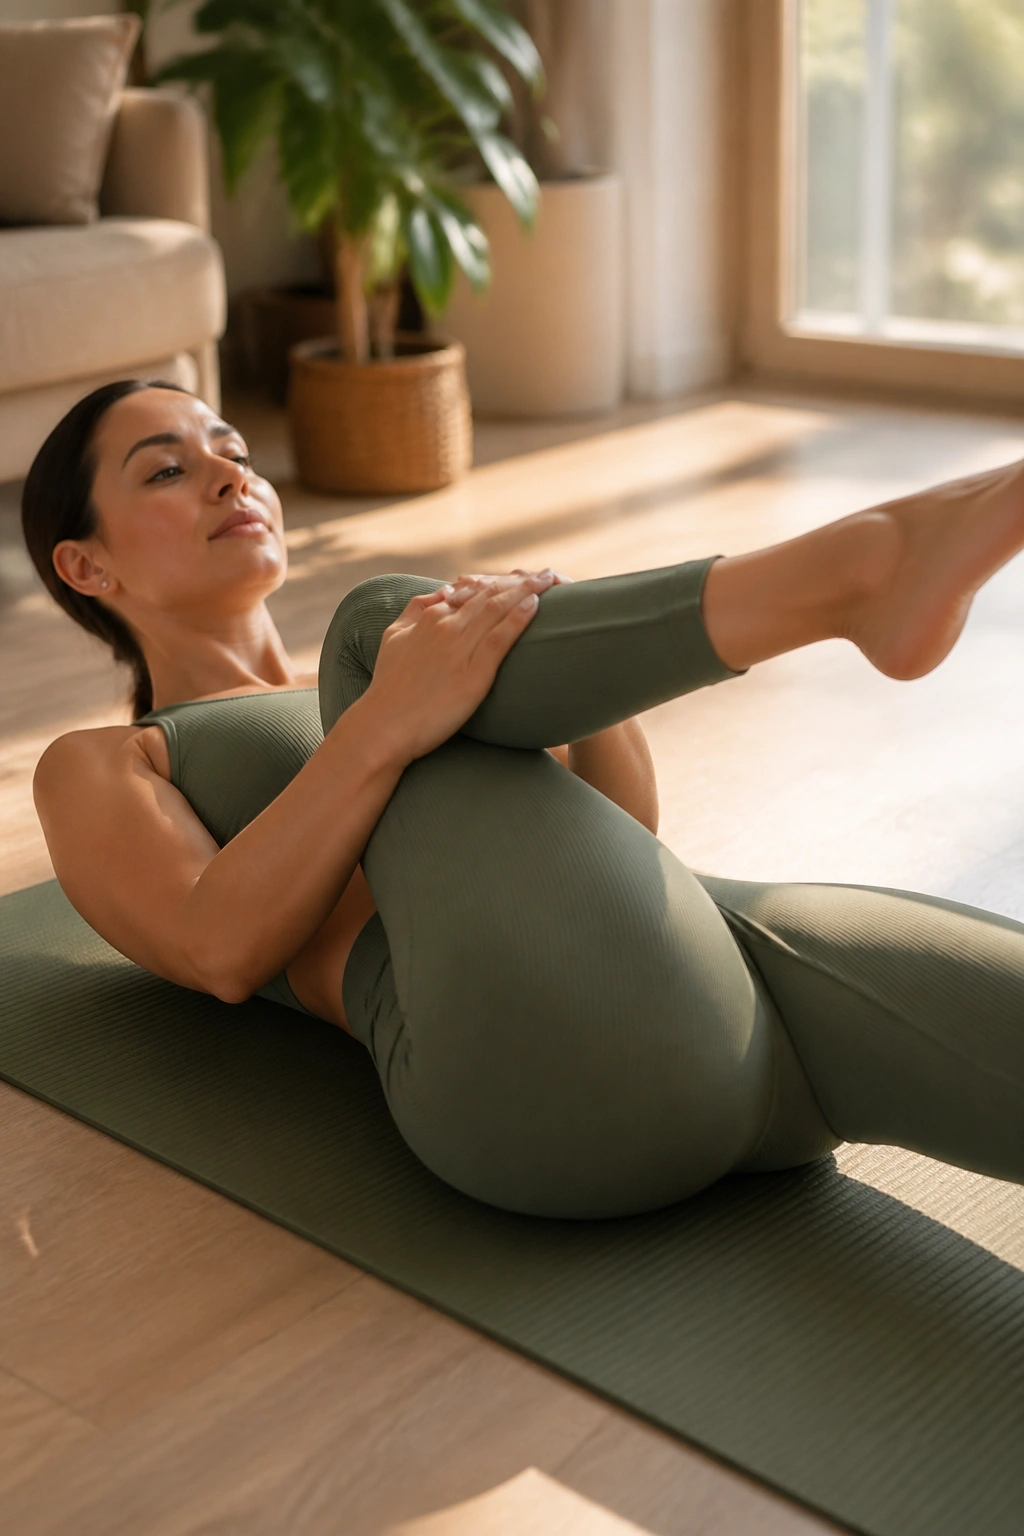
Single-Leg Stretch is one of the cleanest ways to stretch a hip flexor while the core does its job. It also has a nice side effect: it teaches you to move one leg without letting the pelvis wobble all over the place.
Lie on your back, bring one knee in, and extend the other leg long at a low diagonal. Switch slowly. The hands can support the shin or ankle of the bent leg while the other leg stretches away. The main job is not speed. It is control. Keep the low ribs heavy and the pelvis steady so the leg reach actually lands in the front of the hip instead of the lower back.
How to keep it useful
- Exhale each time the leg extends.
- Keep the reaching leg a little higher if your lower back arches.
- Let the neck rest if the shoulders start creeping up.
- Move for 6 to 10 controlled switches.
A fast version turns into a workout. A slower version becomes a stretch that does its job.
8. Double-Leg Stretch with a Long Reach
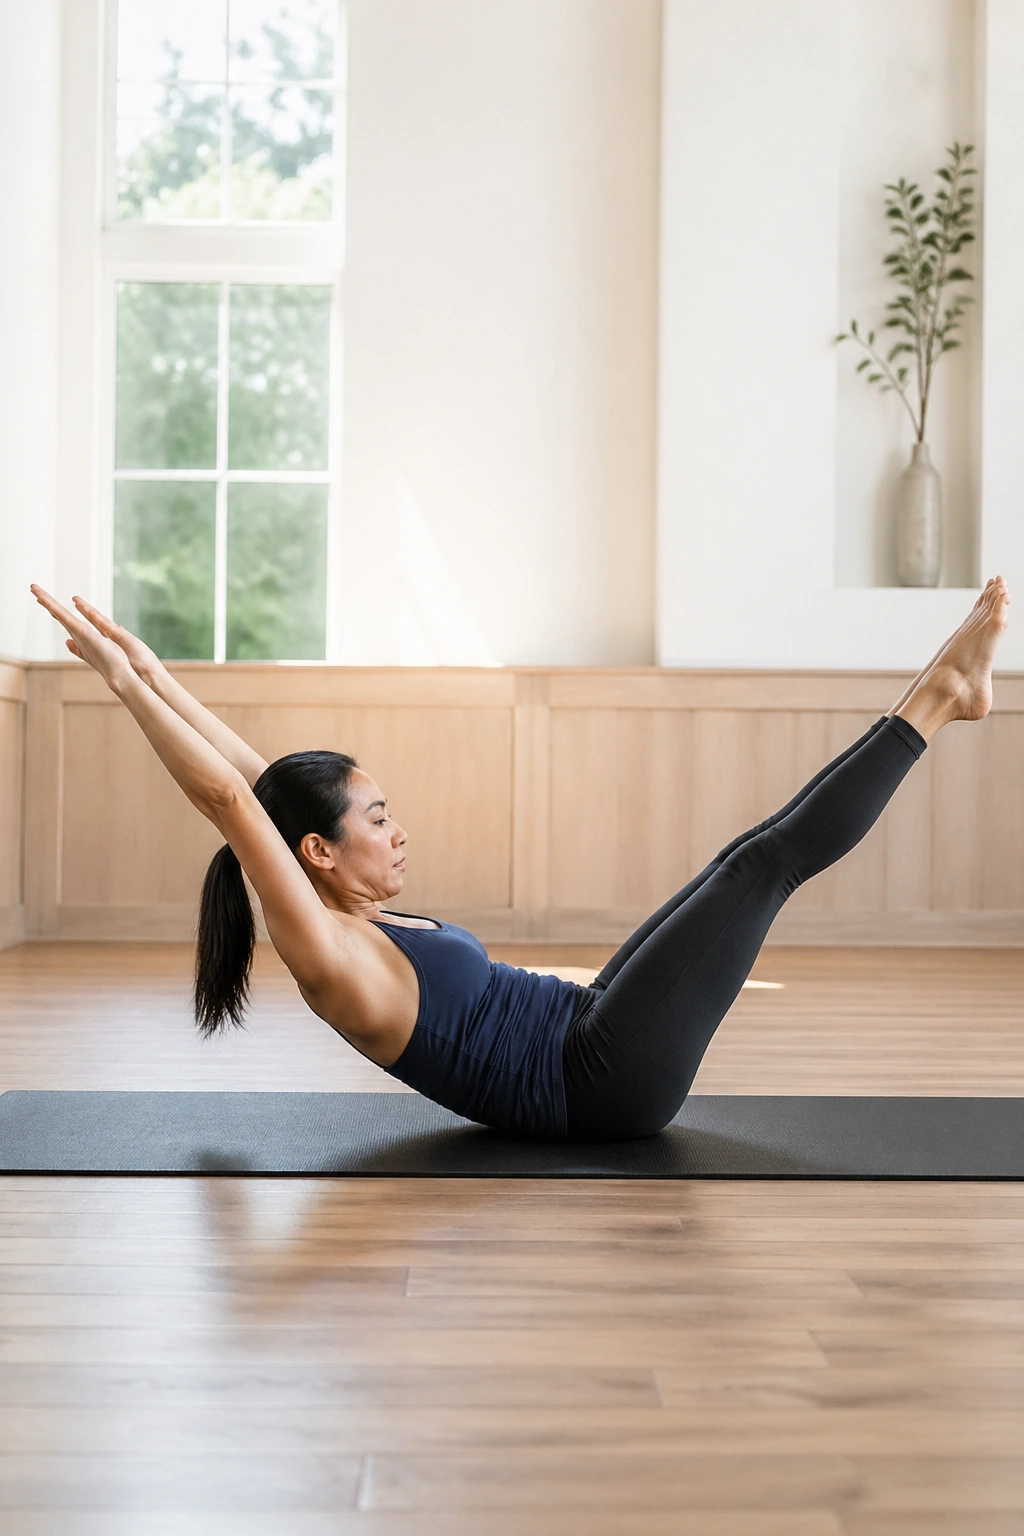
This one looks simple until the ribs decide to pop up and the lower back starts complaining. Double-Leg Stretch is a full-body reach that lengthens the front line while asking the trunk to stay anchored.
Start on your back with both knees drawn in. On the exhale, extend the arms overhead and the legs forward at a diagonal. Circle the arms back to the knees as you return. Keep the chin slightly nodded so the neck stays long, and keep the pelvis steady. The move is not about throwing the limbs as far away as possible. It is about reaching with shape.
The best cue I know is this: length first, range second. If the back arches, shorten the legs. If the shoulders tense, lower the arms. The stretch should spread through the belly, hip flexors, and rib cage in a way that feels broad rather than poky.
Do six or eight clean reps and stop before form gets sloppy. Sloppy ruins the point.
9. Supine Hamstring Stretch with a Strap
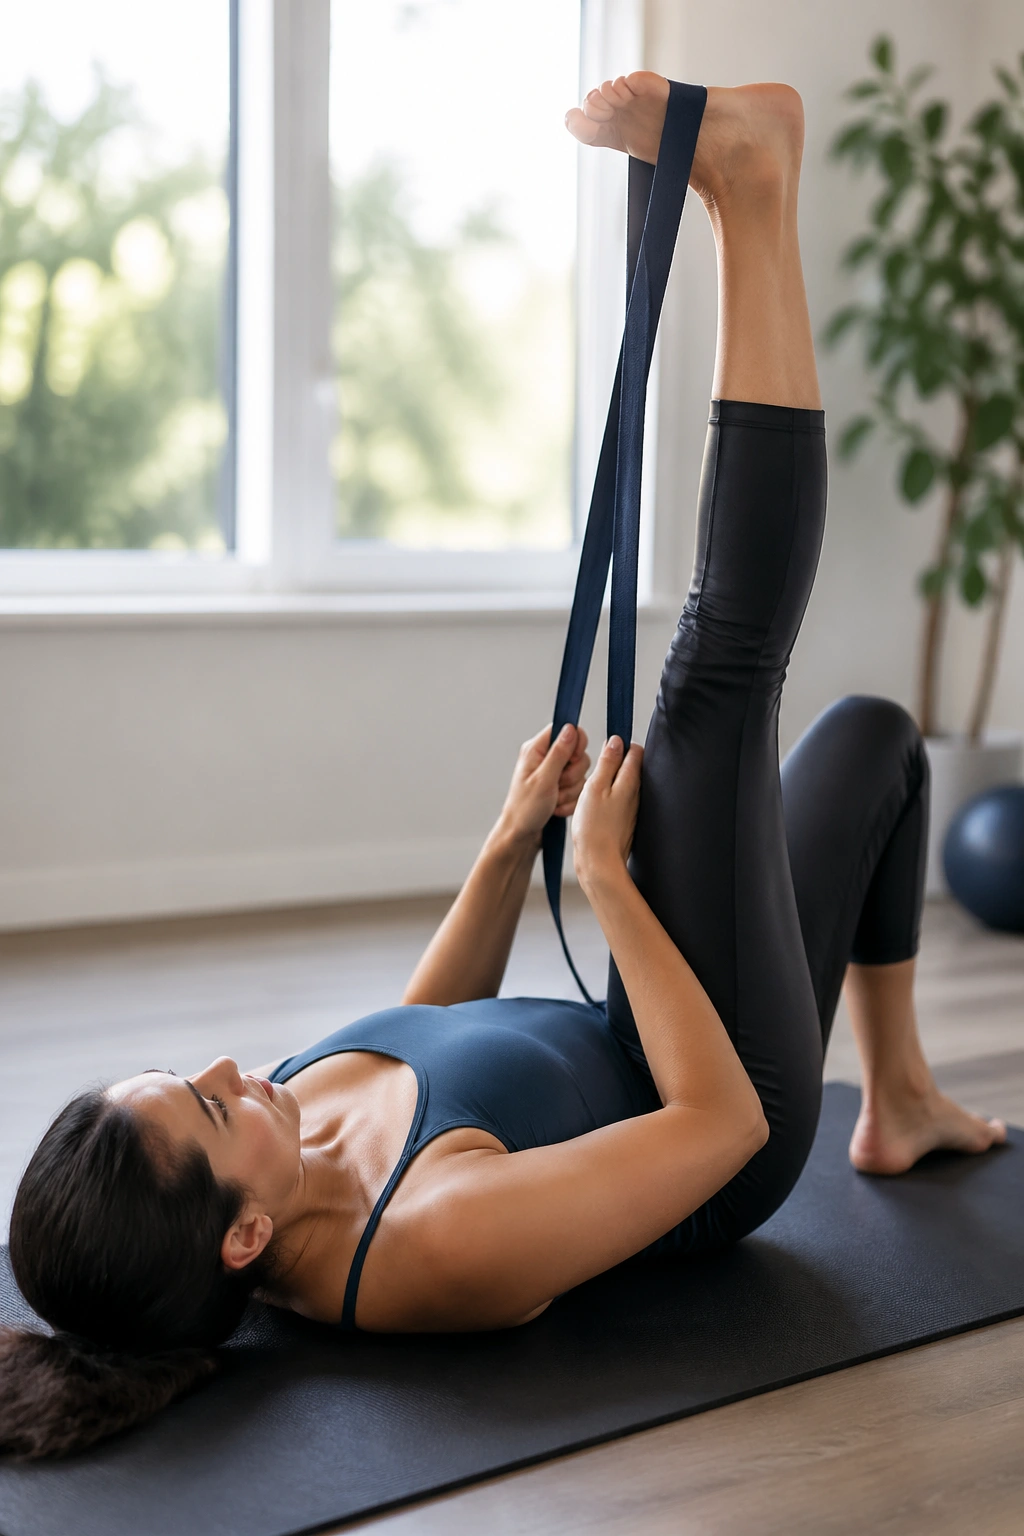
A strap changes everything for tight hamstrings. It gives the body a little leverage without the annoying habit of forcing the stretch through the lower back.
Lie on your back, loop a strap around the ball of one foot, and extend that leg toward the ceiling. Keep the other knee bent or long on the mat, depending on what your back prefers. Gently pull until you feel a steady pull behind the thigh. The knee can stay soft at first. Then, if it feels okay, slowly work toward a straighter leg.
The usual mistake is muscling the leg closer with the arms. Don’t do that. Ease into it, breathe, and let the hamstring lengthen over several breaths. You should feel a clean line down the back of the leg, not a sharp tug behind the knee.
A small ankle flex can change the sensation too. Flexing the foot often brings a deeper calf-and-hamstring connection, while a pointed foot may shift the stretch higher up the leg.
10. Thread the Needle Shoulder Release
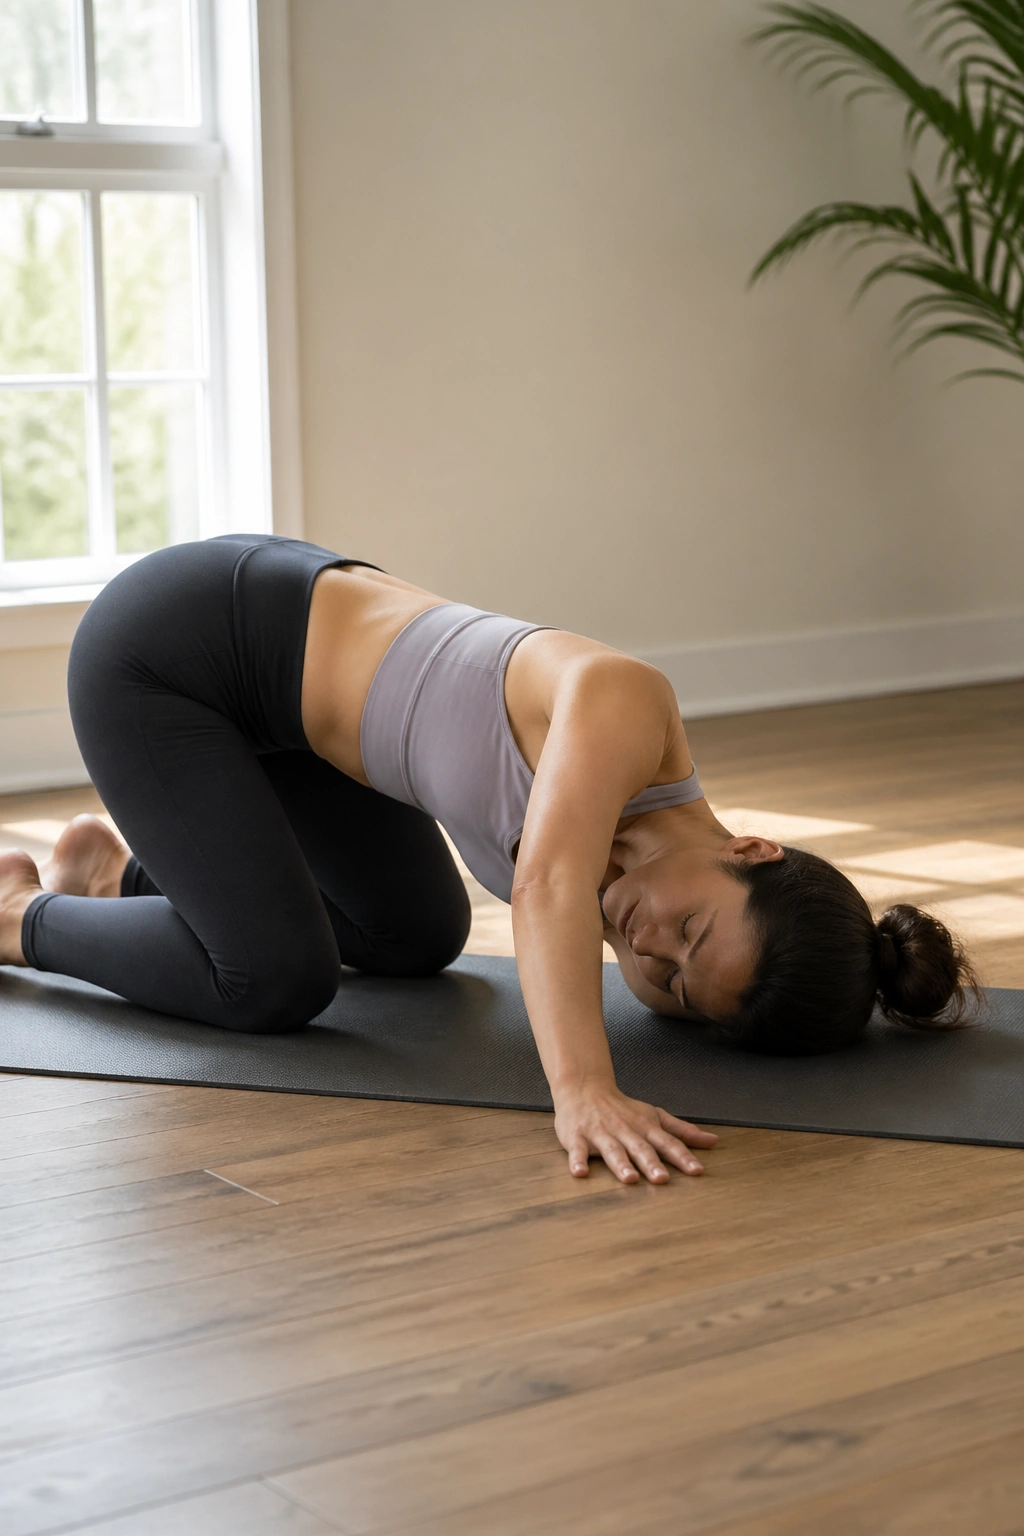
Thread the Needle is one of those stretches that looks unglamorous and then makes your upper back sigh. It is excellent when the shoulders feel glued forward and the thoracic spine needs a rotation that is more gentle than a full twist.
Start on all fours. Slide one arm under the other and let the shoulder and side of the head rest lightly on the mat. The top hand can stay planted for support or reach forward if that feels better. Breathe into the upper back and the side ribs. Then unwind and switch sides.
What not to force
The temptation is to shove the shoulder deeper. Skip that. The stretch should feel like the upper back is widening, not like the neck is being twisted into a shape it did not ask for. If the floor feels too far away, place a folded towel under the head.
This one is especially nice after planks, push-ups, or long desk work. The body often relaxes faster than you expect once the rotation is small and the breath is slow.
11. Chest Expansion with Clasped Hands
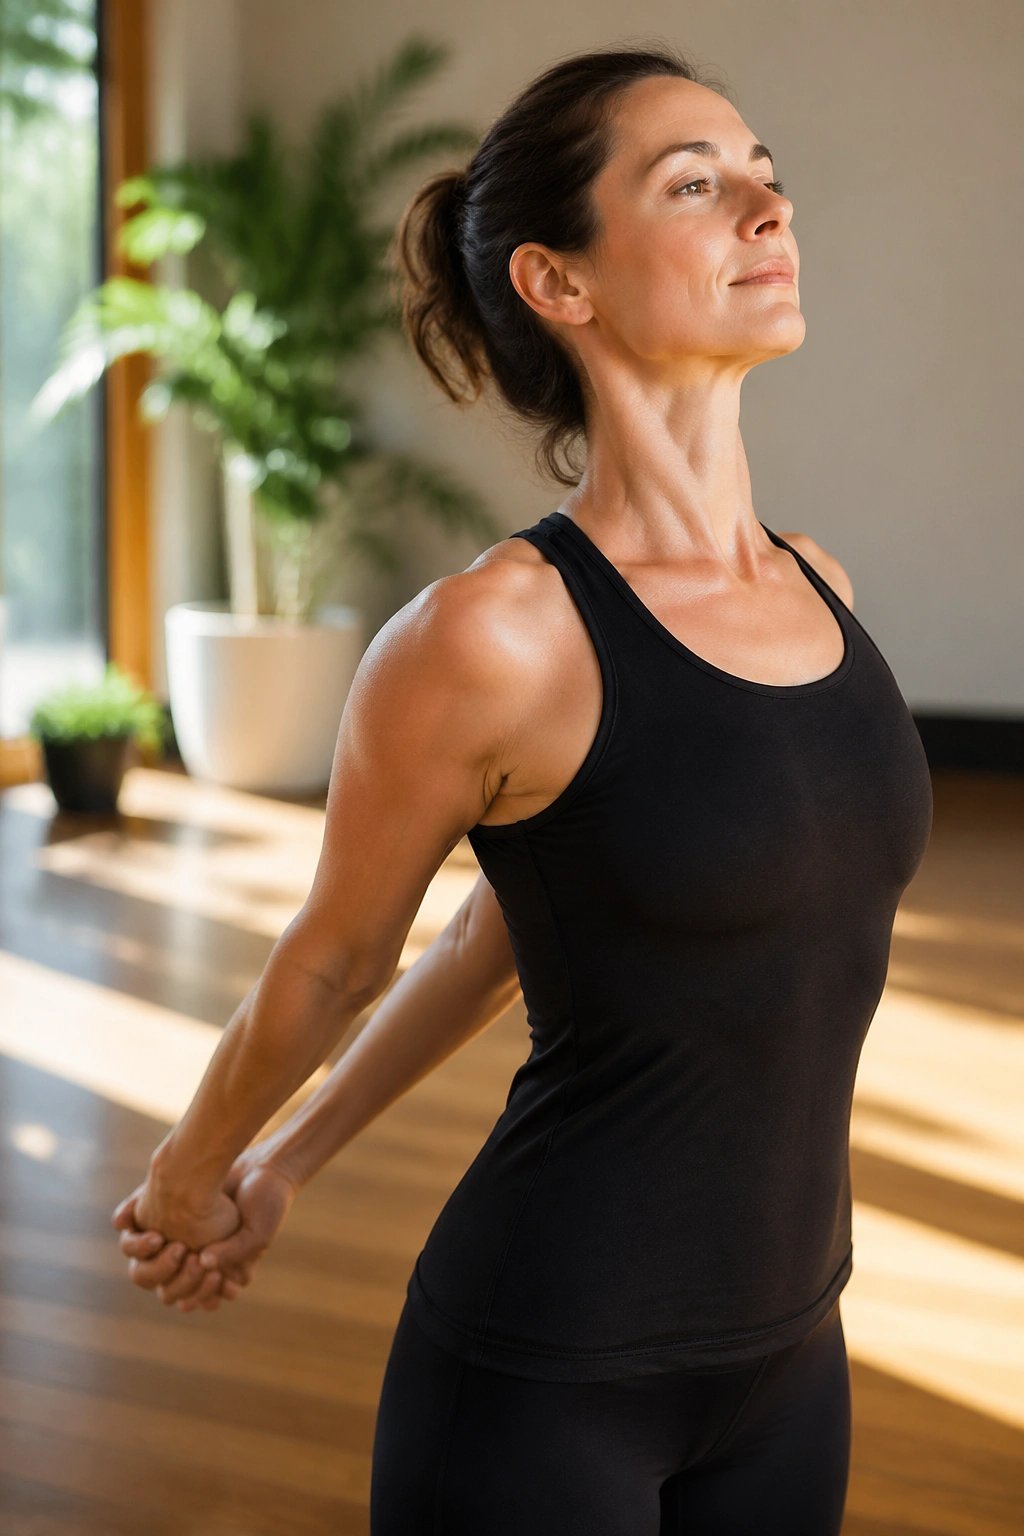
Chest Expansion is classic Pilates for a reason. It opens the front of the shoulders, lengthens the chest, and reminds the rib cage that it can move without the neck taking over.
Stand or kneel tall. Clasp your hands behind your back, slide the knuckles down a little, and let the shoulder blades soften toward the back pockets. Then reach the clasped hands slightly away from the body while keeping the chest open. You should feel the front of the shoulders and the pectorals stretch, but the lower back should stay quiet.
Here’s the part people miss: the rib cage should stay stacked over the pelvis. If you flare the ribs just to get a bigger reach, you lose the point and dump the work into the low back. A smaller shape usually gives a better stretch.
Try three breaths here. On the third one, many people notice the front of the body stops fighting so hard. That tiny release can make the next few shoulder exercises feel easier.
12. Swan Prep for the Front of the Body
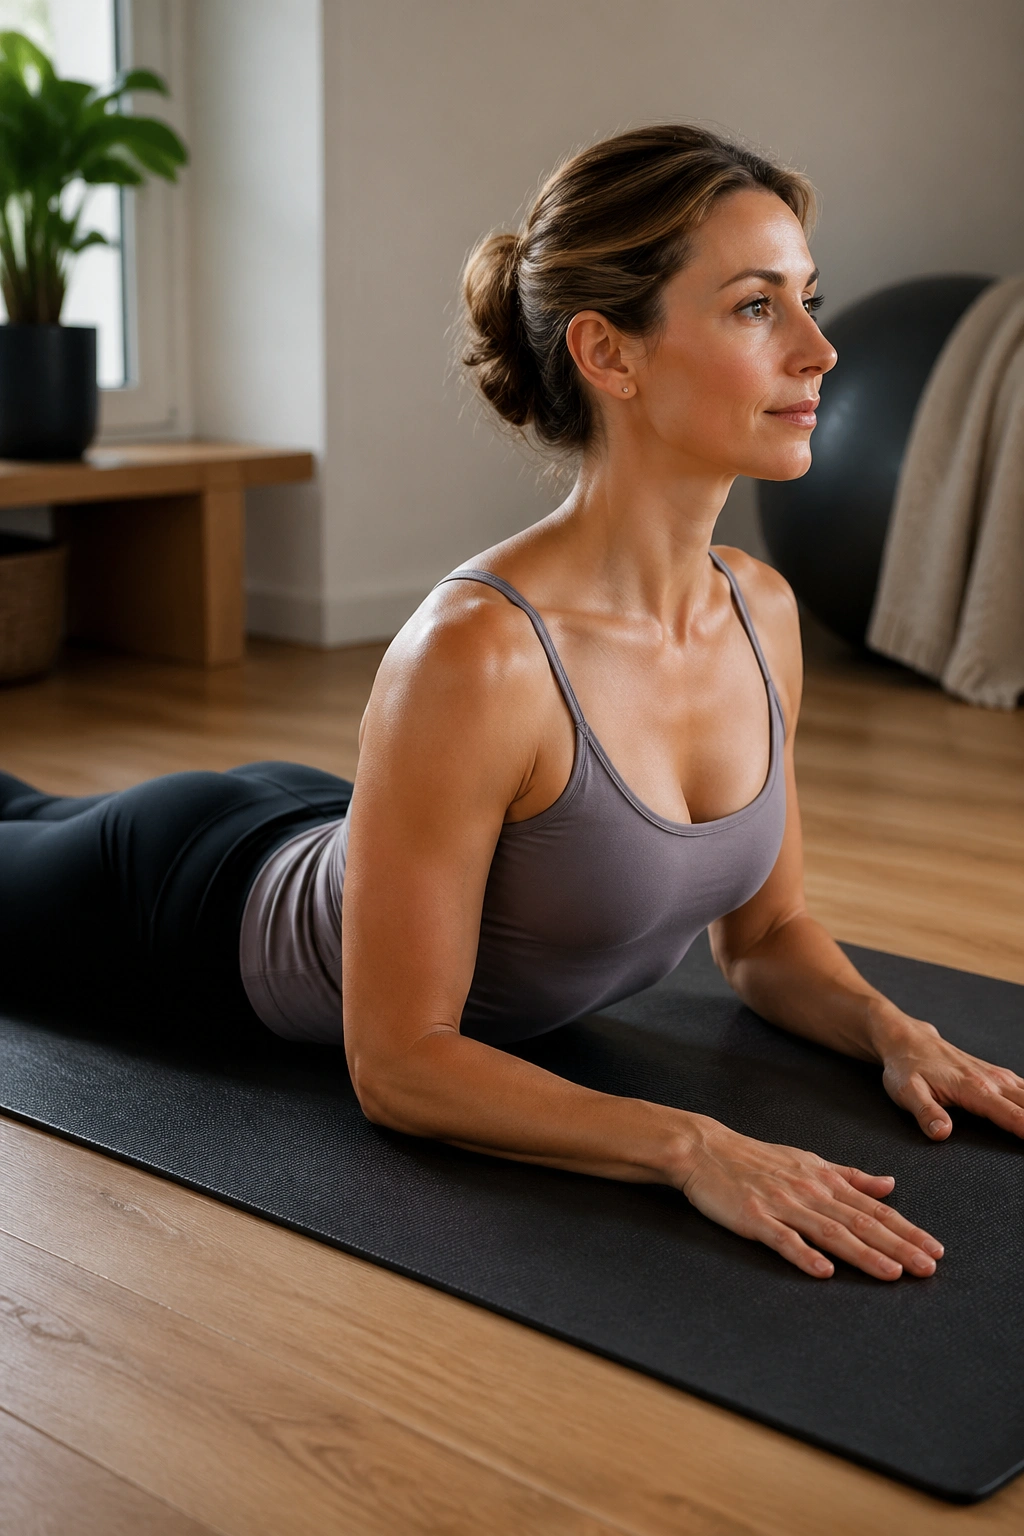
Backbends are not about flinging the spine backward. In Pilates, Swan Prep is about creating length through the front body while the back line supports you.
Lie facedown with your forehead on the mat and your hands under your shoulders. Keep the legs long and lightly active. On an inhale, lift the sternum a few inches and widen the collarbones, keeping the pubic bone rooted. The neck stays long, eyes down and forward. Exhale and lower with control. That is enough.
The stretch you want is across the chest, the belly, and the front of the hips, not a sharp pinch in the low back. If the low back grabs first, lift less and press a little more evenly through the forearms or hands. The body often wants to do too much here. Less is better.
I like this one after long periods of sitting because it feels like the front line has been uncrumpled, not yanked open. That distinction matters.
13. Child’s Pose with Side Walks
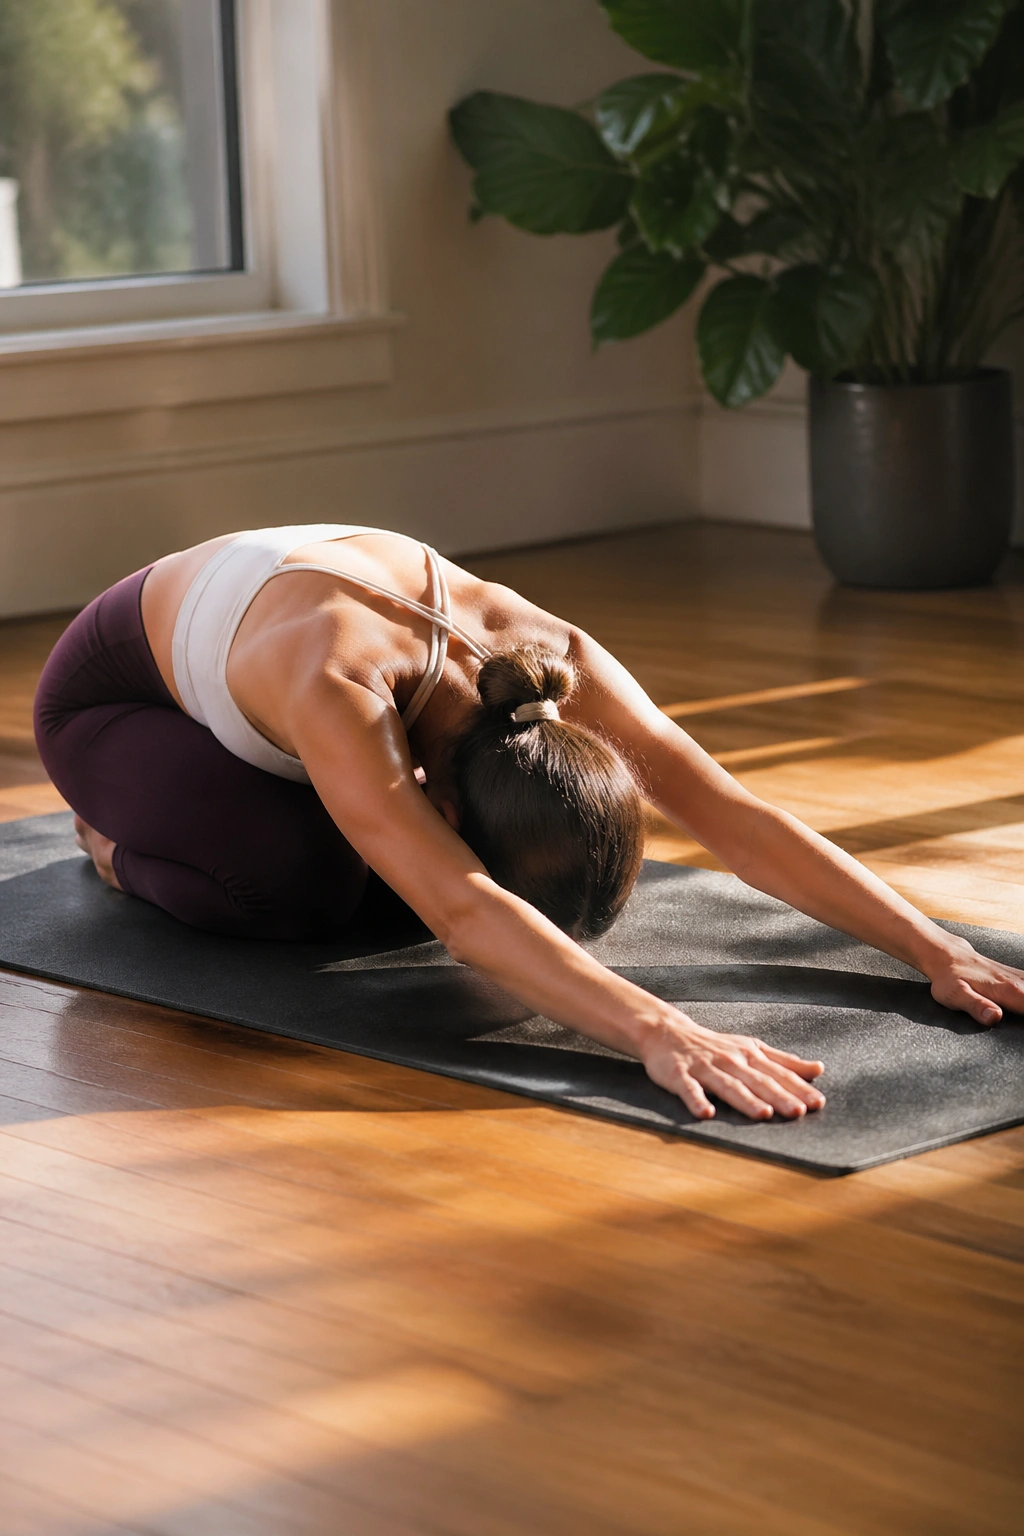
Child’s Pose gets more interesting when you stop treating it like a single pose and start walking the hands to one side and then the other. The lats, side ribs, and lower back all get a different kind of length.
Sink the hips back toward the heels, stretch the arms forward, and breathe for a moment. Then walk both hands to the right without moving the hips much. Breathe into the left side body. Walk through center and repeat to the left. Keep the forehead down or rest it on stacked fists if that feels better.
Why side-walking helps
A straight Child’s Pose usually favors the middle of the back. The side walk shifts the stretch into the waist and the outer ribs, which is where a lot of desk-related tightness lives. It also tends to feel better than cranking deeper into the center.
If the knees complain, place a pillow behind them or keep the hips slightly lifted. The point is to lengthen the back, not to win a kneeling contest.
14. Hip Flexor Lunge with Tailbone Tuck
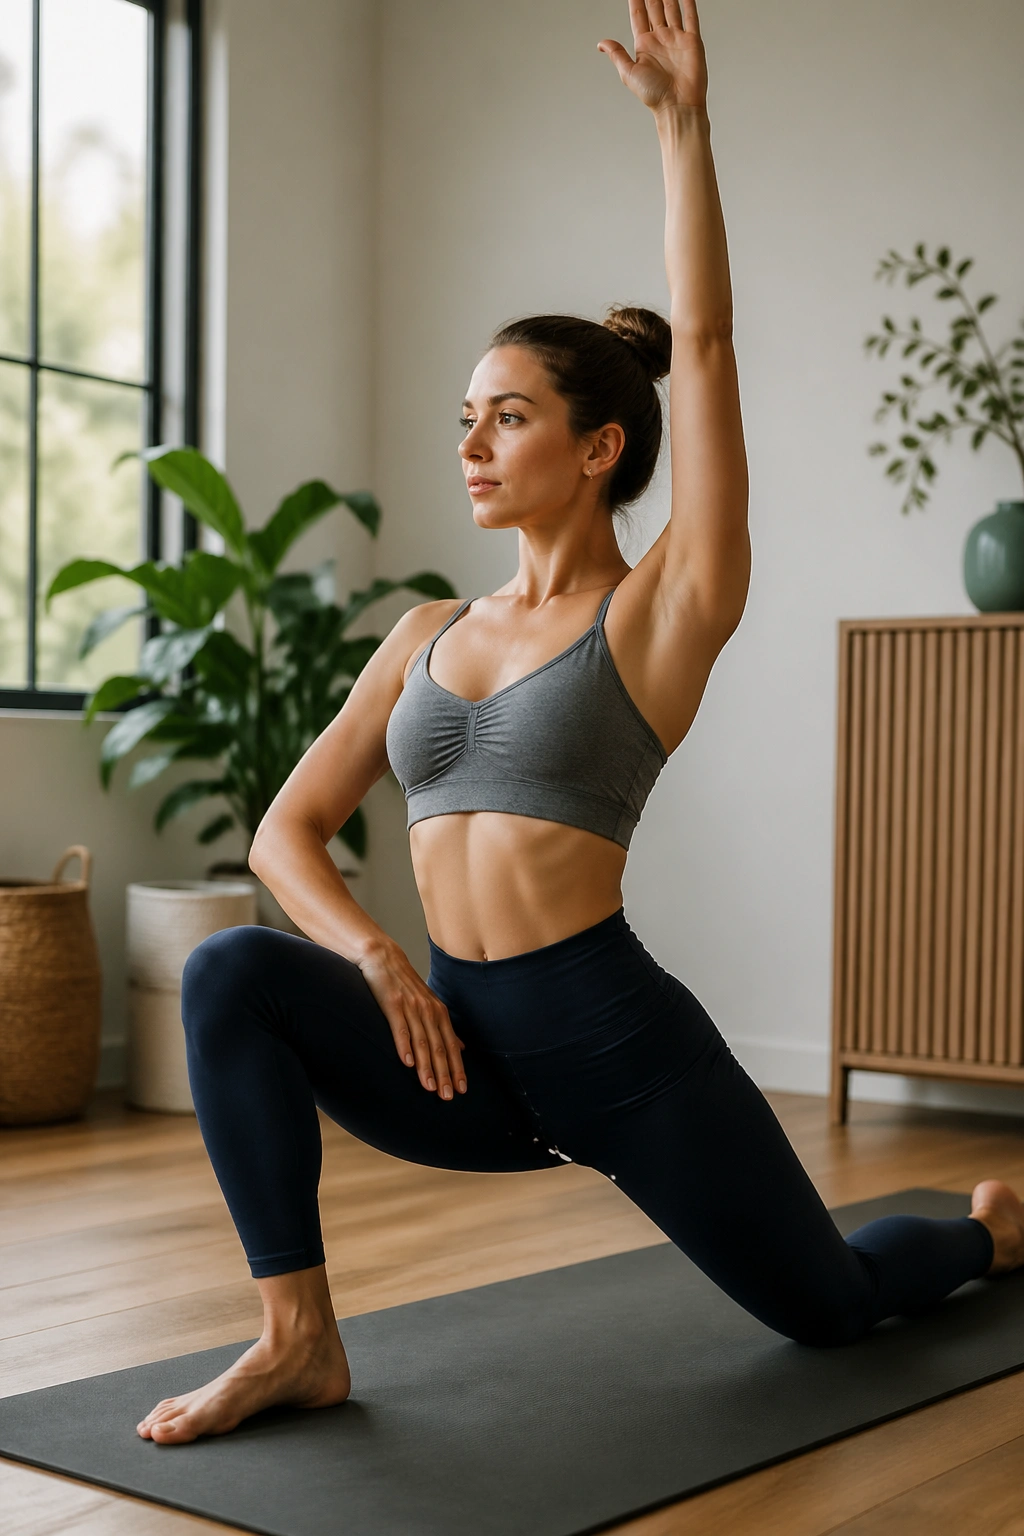
Hip flexors can get sticky fast, especially if you sit a lot or do lots of repetitive leg work. This lunge is simple, but the little pelvic tuck makes it far more effective than a sloppy hip drop.
Step one foot forward into a half-kneeling position. Keep the back knee cushioned. Gently tuck the tailbone under, squeeze the back-side glute, and shift the hips forward only a few inches. You should feel the stretch high in the front of the back hip, not in the low back. Raise the same-side arm overhead if you want a deeper line through the front of the body.
The trick is resisting the urge to arch. The lower ribs stay down, the pelvis stays organized, and the stretch lands where it should. If you want more, lift the back toes and shift a touch farther forward. Small changes can hit the psoas harder than a huge lunge ever will.
This is one of the most useful stretches on the list. Plain and simple.
15. Figure-Four Glute Stretch on the Mat
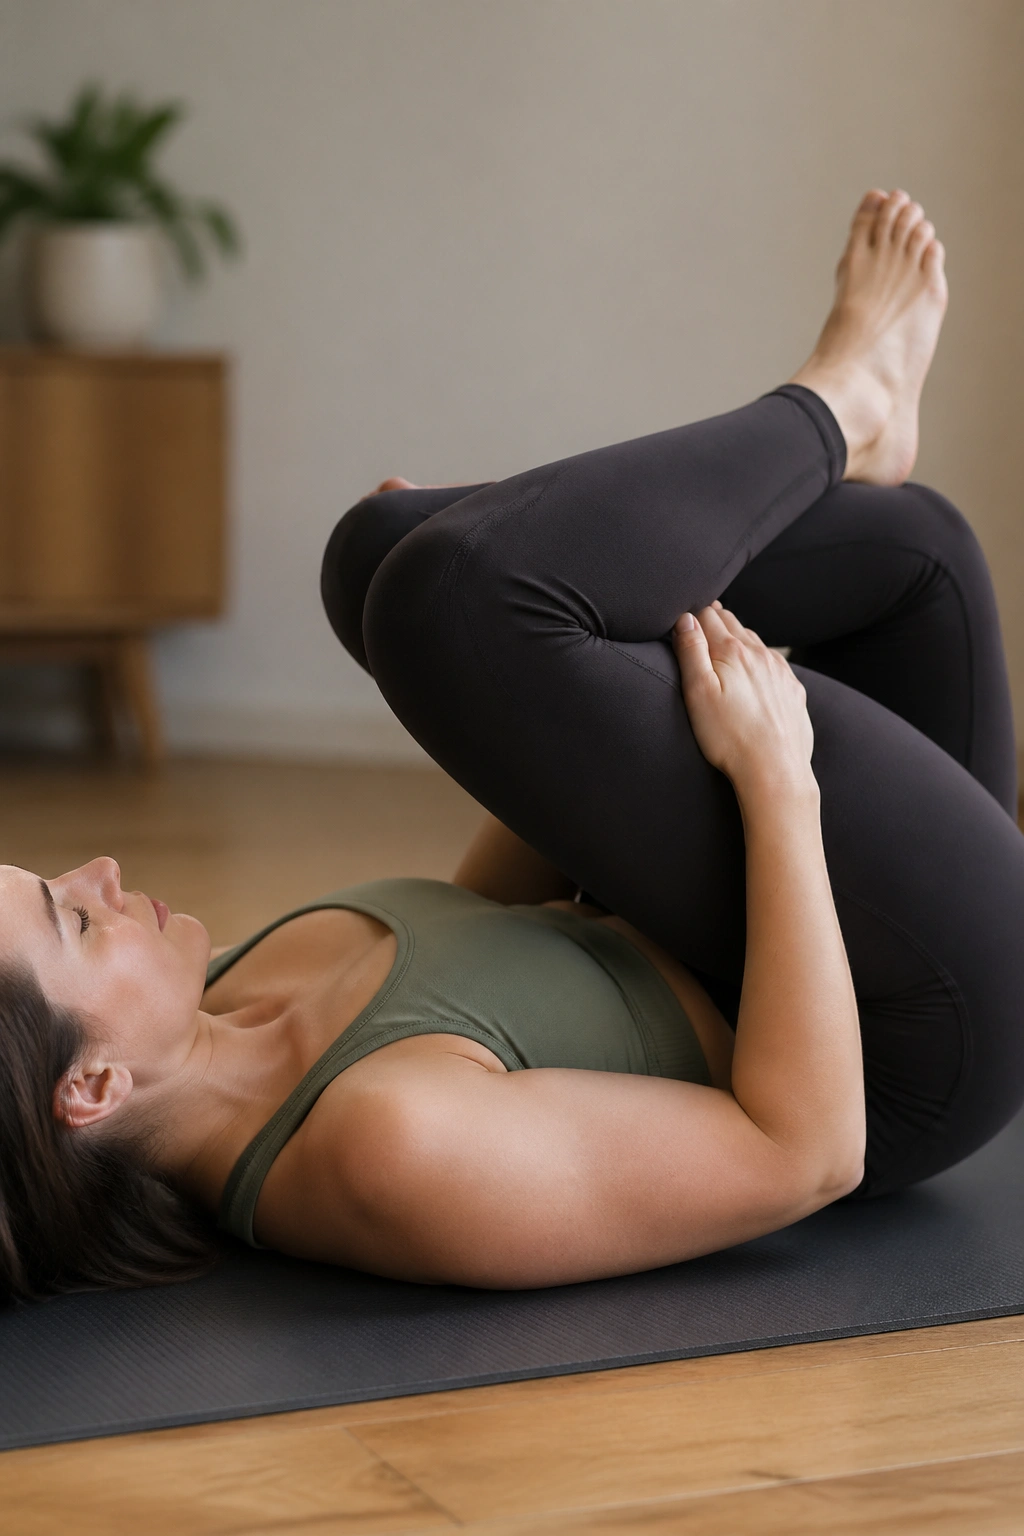
The Figure-Four stretch is a favorite because it reaches the glutes without needing much space or any fancy setup. It is also one of the few stretches that can be made more or less intense just by changing the angle of the legs.
Lie on your back with both knees bent. Cross one ankle over the opposite thigh, just above the knee. Thread the hands behind the supporting thigh and gently draw the legs toward you. Keep the foot of the crossed leg flexed if the knee feels sensitive. That usually makes the stretch kinder and more controlled.
What to watch for
- The stretch should sit deep in the outer hip.
- The knee should never feel jammed.
- The neck and shoulders should stay soft.
- The lower back should stay heavy on the mat.
If the pull feels too sharp, back off. A good glute stretch feels broad and steady, not pinchy. Some days, you may barely move. That still counts if the breath stays smooth.
16. Frog Stretch for Inner Thighs
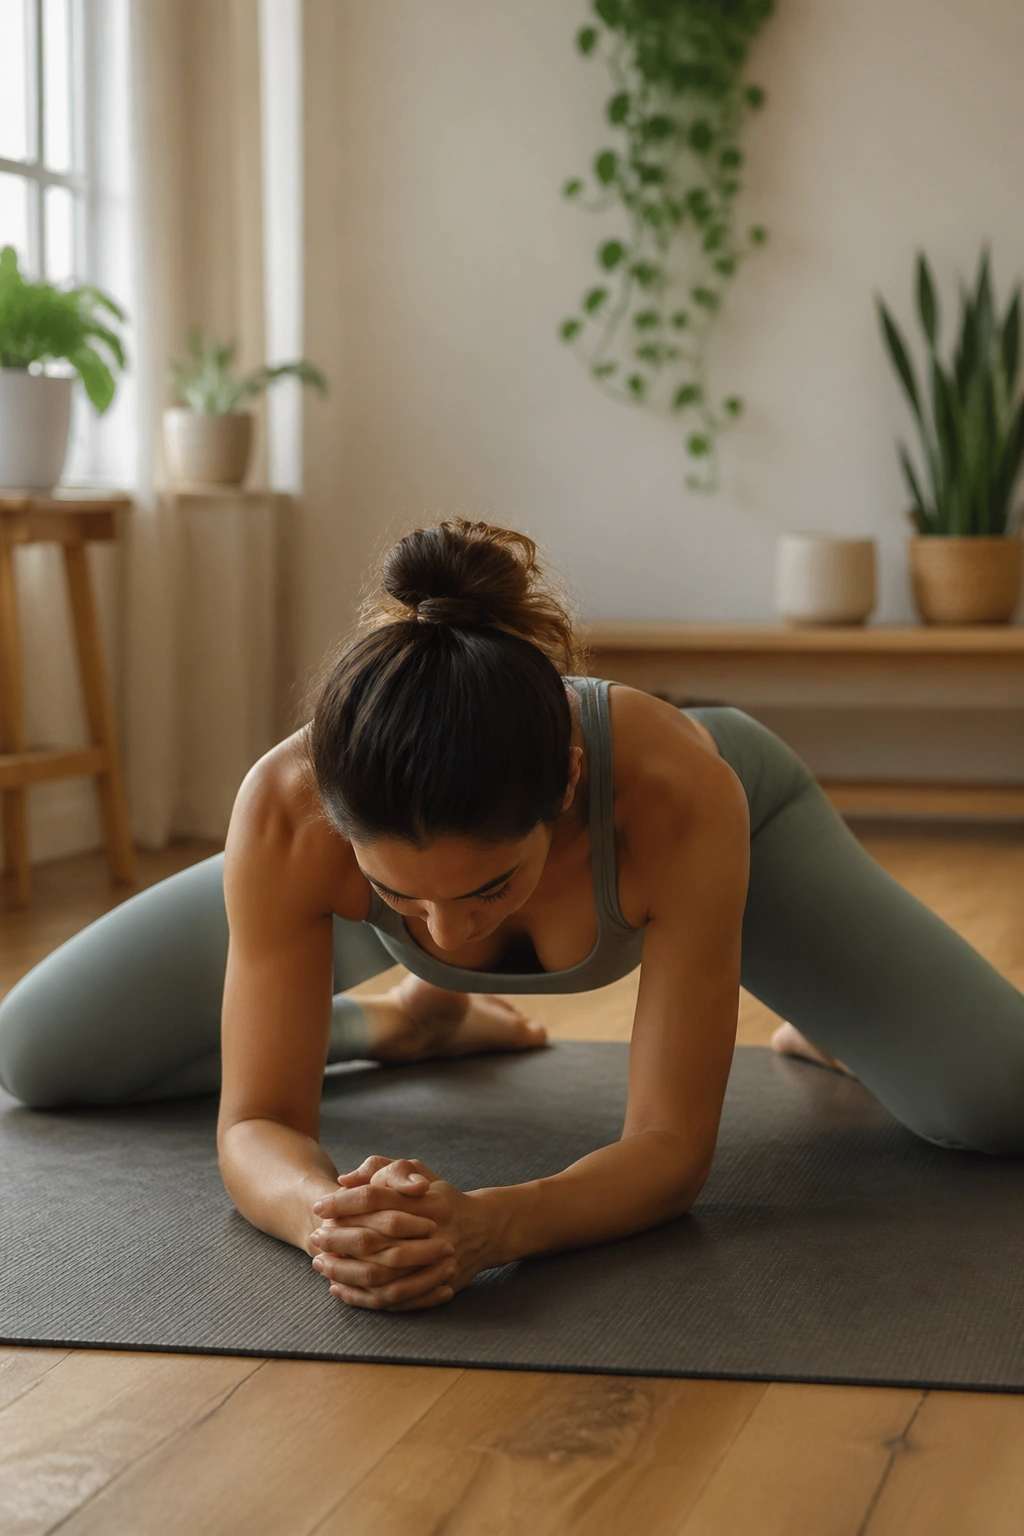
Inner thighs can be stubborn. Frog Stretch gets to them in a direct way, and yes, it can feel intense. Used well, though, it opens the adductors and gives the hips more room to move.
Come down onto forearms and knees, then open the knees wider while keeping the ankles in line with the knees. The feet can stay flexed so the inner leg stays active. Rock the hips back a few inches and then forward again, keeping the motion slow. You should feel the stretch along the inner thighs, not in the knees.
The mistake here is forcing the knees wider than the hips can support. That leads to a grumpy stretch and not much else. Stay within a range you can breathe through. If the floor feels too much, put folded blankets under the knees or shorten the stance.
This is the kind of stretch that works best when you stop trying to impress anyone. Breathe. Move a little. Stop. Repeat.
17. Seated Pike Reach with Flexed Feet
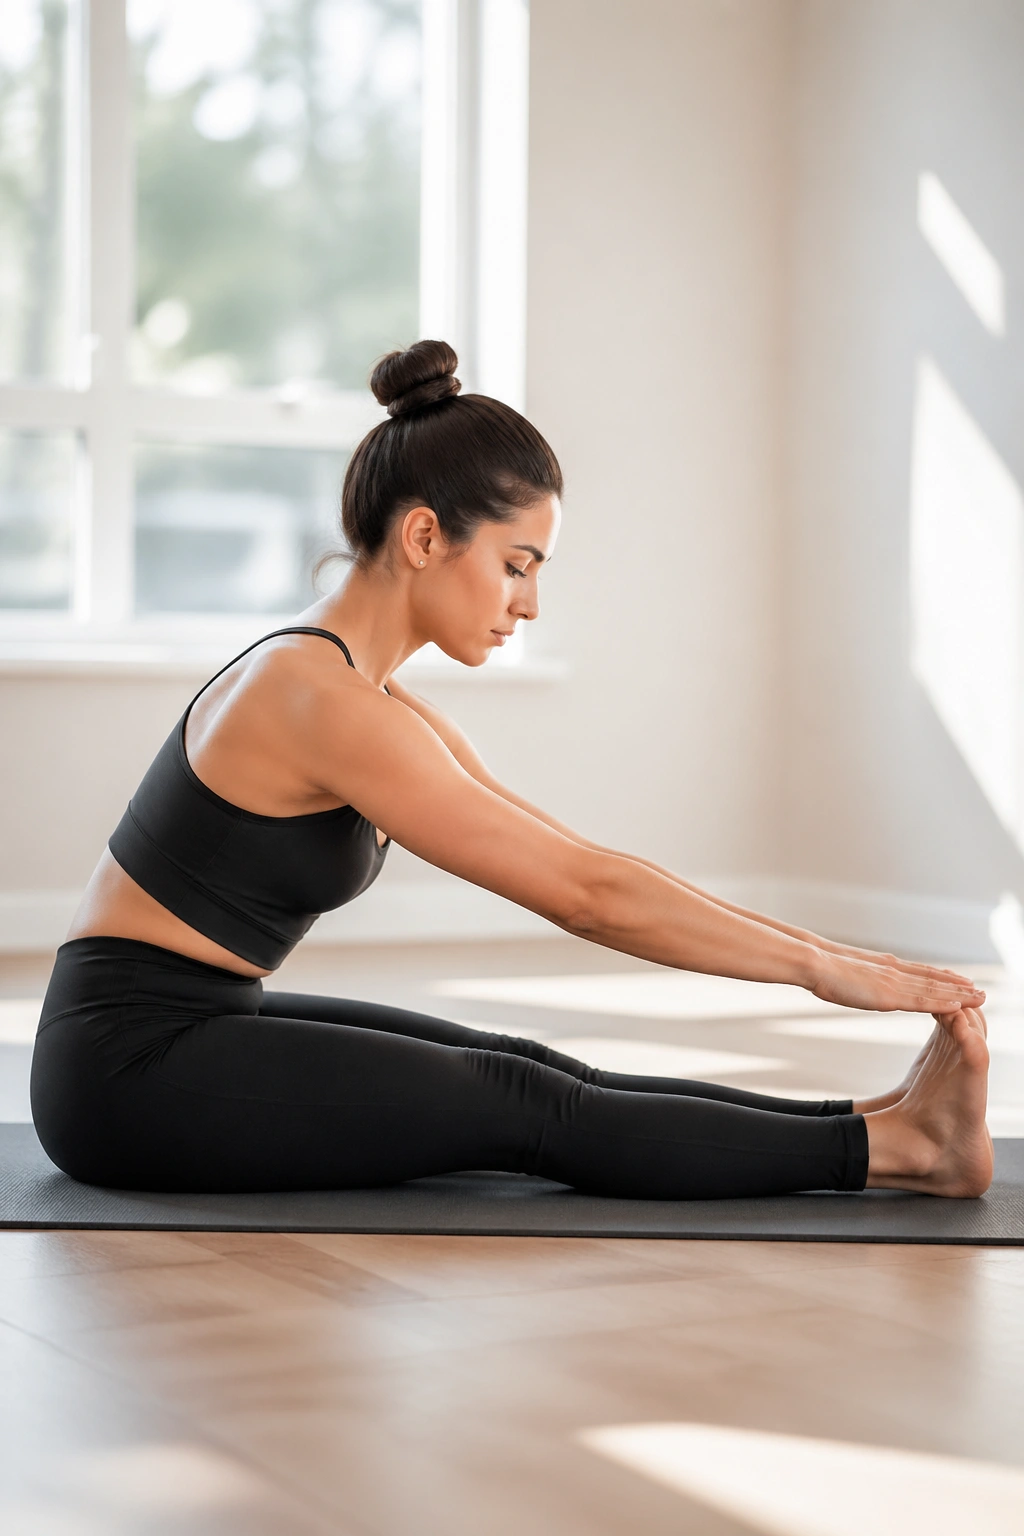
Pike stretches often get rushed because people think the goal is to touch the toes. That misses the point. In Pilates, the better aim is to lengthen the spine while the back of the legs opens without collapsing the chest.
Sit with both legs straight in front and flex the feet hard. Lift tall through the crown of the head, then hinge forward from the hips. Reach your hands toward the shins, ankles, or feet, whichever keeps the spine long. The knees can bend a little if the hamstrings are arguing.
Unlike a toe-touch, this version keeps the effort in the front of the pelvis and the backs of the legs. If you round too much, the stretch slides into the lower back and stops being as clean. A small forward hinge done well is usually better than a dramatic fold done badly.
If you want a little more calf work, keep the feet flexed and breathe into the backs of the knees. That area often gets ignored, and it matters more than people think.
18. Open Book Rotation on Your Side
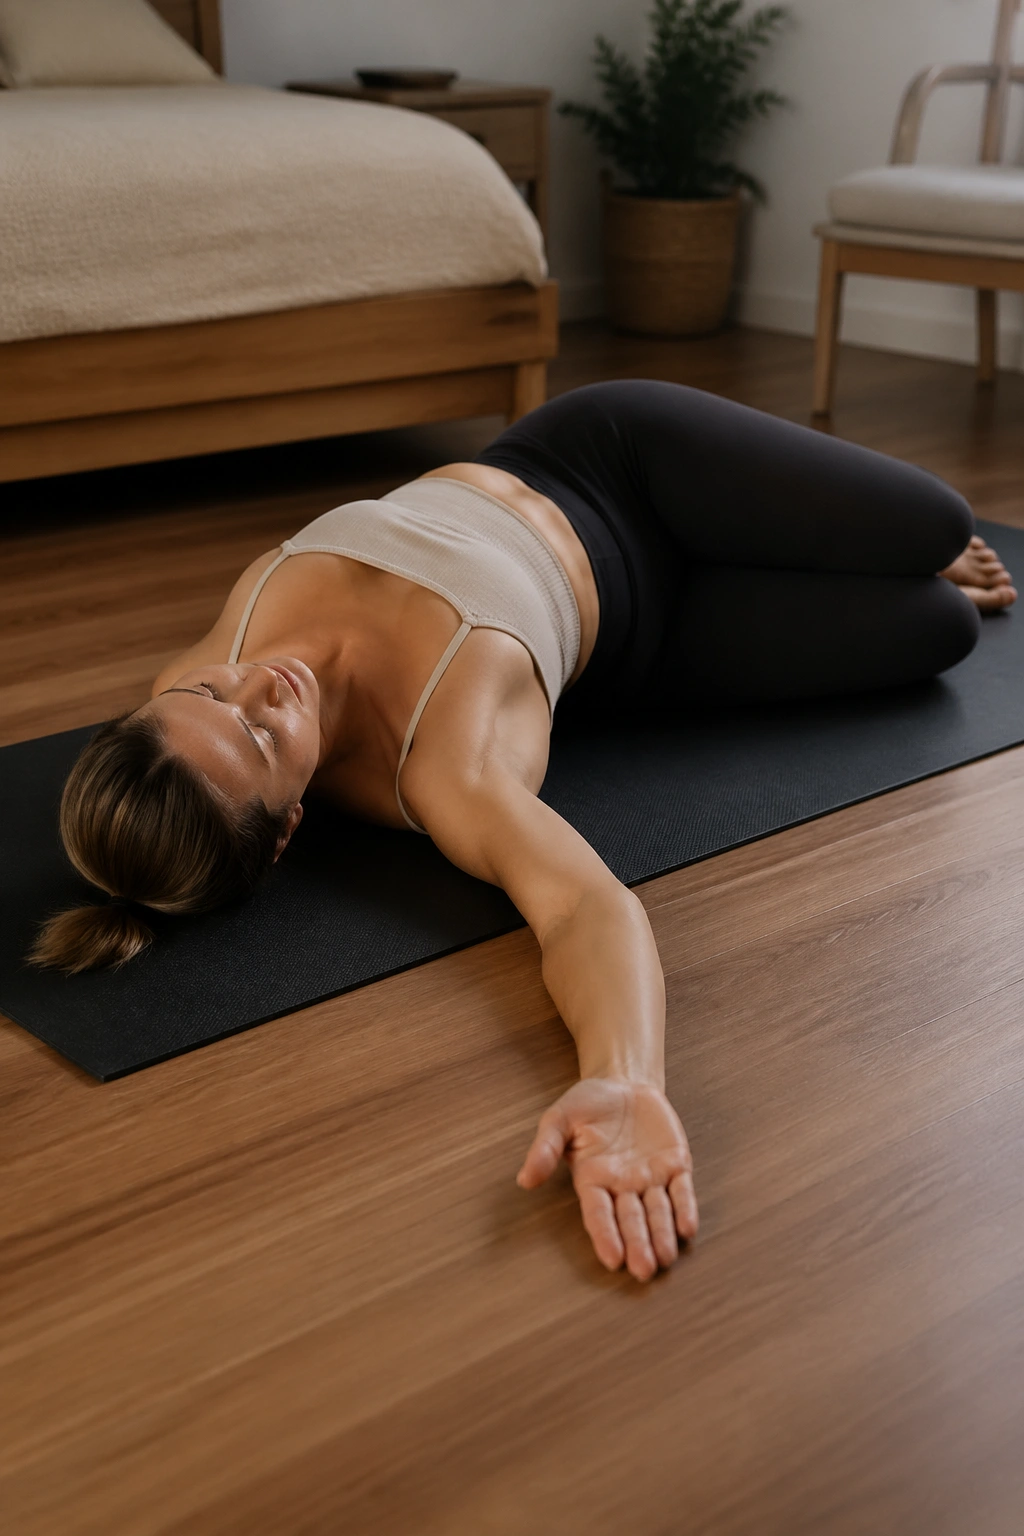
If your upper back feels welded after a day at a desk, Open Book is a very polite way to pry some motion back into it. It targets the thoracic spine, which tends to stiffen long before the lower back does.
Lie on one side with your knees bent and stacked. Extend the arms straight out in front, palms together, then sweep the top arm open and across the body as if you are opening a book on the floor. Let the head follow the hand if that feels fine. Breathe into the chest as the upper back rotates.
The key is to keep the knees mostly still. If the top knee flies away, the rotation comes from the hips instead of the ribs. That’s a different stretch altogether. A pillow between the knees can help the body stay quiet enough to feel the thoracic work.
This one is small, but it often changes how the whole spine feels. Strange how a few inches of movement can do that.
19. Pilates Standing Roll Down with Soft Knees
Standing Roll Down is one of the best no-equipment ways to make the back and hamstrings feel longer. It also teaches you where your spine likes to start moving and where it tries to cheat.
Stand with feet hip-width apart, knees soft, and arms hanging. Nod the chin, then peel the spine down one section at a time. Let the head, shoulders, ribs, and pelvis follow in sequence. Hang for a breath or two at the bottom, then roll back up slowly, stacking the spine from the pelvis all the way to the head. Keep the knees bent if the hamstrings are tight.
Why it works so well
The movement gives you a live map of your posterior chain. You feel where the tension starts, where it gathers, and where it releases. That kind of feedback is gold.
- Don’t bounce at the bottom.
- Keep weight evenly through both feet.
- Stop if dizziness shows up.
- Keep the neck soft on the way down and up.
Done slowly, this feels almost like resetting the body’s posture button. Not magic. Just clean mechanics.
20. Wall Angel Flow for the Upper Back
Wall Angels can be humbling. They reveal shoulder stiffness fast, and they do it without any drama. That makes them useful.
Stand with your back against a wall, feet a few inches forward, ribs gently down, and the back of the head touching if possible. Bend the arms into a goalpost shape and slide them up and down the wall. Keep the lower ribs from flaring and try to keep the forearms in light contact with the wall as the arms move.
A lot of people discover one side is smoother than the other. Fine. Work with that. The tighter side may need smaller range and slower breath. If the shoulders peel off the wall, reduce the lift instead of forcing the hands higher.
This is more than a posture drill. It is a stretch for the chest, the front of the shoulders, and the upper back all at once. Ten careful reps usually tell you more than fifty sloppy ones.
21. Kneeling Quadriceps Stretch
The quads rarely get much love until they start complaining, and then they complain loudly. This kneeling stretch reaches the front of the thigh in a direct way, especially after lunges, running, or lots of stair climbing.
Come into a half-kneeling lunge or a tall kneel with one foot behind you. If balance is shaky, keep a hand on a wall or chair. Bend the back knee and draw the heel toward the seat. Tuck the tailbone slightly so the pelvis doesn’t tip forward. That tuck keeps the stretch in the quads and away from the low back.
How to keep the low back out of it
The front ribs should stay stacked. The glute on the stretched side should stay lightly active. And the knee should feel supported, not jammed. If you need a strap around the ankle, use one.
This stretch can get intense fast, so ease in. The body often needs less force and more alignment than you’d expect. Weird, but true.
22. Side-Lying Quadriceps Reach
Kneeling quad work is not friendly for every body. Side-lying quad stretch gives you another route, and sometimes it’s the better one because balance stops being part of the equation.
Lie on one side with the lower leg bent for support. Bend the top knee and hold the top foot or ankle, then gently draw the heel toward the glute while keeping the hips stacked. A small backward reach of the top thigh can bring the stretch higher into the front of the hip. That line matters. The quadriceps connect farther up than most people think.
If your hand cannot reach the foot comfortably, use a strap. The goal is not to crank the heel close. The goal is to keep the pelvis from twisting while the front of the thigh lengthens. A little space between the knees is fine if that keeps the body calmer.
This one feels especially good after floor work that has the legs extending and lifting. The front line gets a quieter kind of release.
23. Bridge with Heel Slides
Bridge is often treated like a strength move, but it also makes a sneaky flexibility drill when you add heel slides. The hips open, the hamstrings lengthen, and the pelvis learns how to stay level while the legs move.
Lie on your back with knees bent and feet flat. Lift into a small bridge, keeping the ribs down. From there, slide one heel forward until the leg is almost straight, then draw it back in. Keep the hips from dropping or shifting. Switch sides. The stretch shows up in the hip flexors, hamstrings, and the front of the hips if you keep the bridge shape steady.
What matters here is the pelvis. If it tips or twists, shorten the slide. If the lower back takes over, lower the bridge height. The movement should feel organized, not flashy.
A lot of people expect this to be boring. It can be, frankly. But boring sometimes means effective, and this is one of those cases.
24. Supine Twist with One Knee Across
A floor twist is a nice way to calm the body down while opening the lower back, glutes, and outer hips. It also tends to feel better than a standing twist because gravity is not trying to help too much.
Lie on your back and draw one knee toward the chest. Let it cross the body gently while the opposite arm opens out to the side. Keep both shoulders as heavy as possible. If the knee does not reach the floor, that is fine. Put a pillow under it and let the breath do the rest.
A useful caution
Do not yank the knee across in search of a bigger twist. The lower back likes softness here, not force. The stretch should feel broad through the outer hip and lower back, with the chest still able to breathe.
Hold for a few slow breaths on each side. If you need a longer stay, use it at the end of a session when the body is already warm. Cold twists can feel choppy.
25. Constructive Rest with Overhead Reach
Constructive Rest is the quietest stretch on the list, and I mean that as a compliment. It gives the nervous system a chance to settle while the ribs, shoulders, and low back get a small dose of length.
Lie on your back with knees bent and feet flat, hip-width apart. Let the pelvis rest in a neutral shape. On an inhale, reach the arms overhead toward the floor behind you if it feels comfortable. On the exhale, return the arms to your sides or to the ribs. Keep the jaw loose, the tongue resting, and the breath easy. If your shoulders are tight, bend the elbows a little.
This is not a dramatic stretch. It is a reset. After a round of the more active routines above, this one gives the body a chance to absorb the work instead of clinging to it. That matters more than people admit.
If you only have time for a short sequence, pick one spine move, one hip opener, and this one. That trio covers a lot of ground without turning your floor session into a chore.
