



A scoliosis routine at home works best when it feels controlled, quiet, and a little underwhelming at first. That is not a flaw. It’s a clue that you’re training the body to stop bracing and start organizing itself from the inside out.
If one shoulder sits higher in the mirror, one rib cage feels more tucked, or your back always seems to lean into the same old habits, Pilates can be a smart fit. It focuses on breath, trunk control, rib movement, and length through the spine instead of forcing a straight line that your body may not make easily. That matters, because scoliosis is not just about shape. It’s about how the ribs, pelvis, and spine talk to each other when you move, breathe, reach, twist, and stand still.
A home routine does not need fancy gear. A mat, a wall, a pillow, and maybe a folded towel are enough for most of this. If a movement causes sharp pain, numbness, pain that shoots down a leg, or a sense that something is pinching deep in the back or ribs, skip it and get checked by a clinician. And if you already work with a physiotherapist on scoliosis-specific care, keep that plan in the driver’s seat.
The moves below start on the floor, where gravity is kind, and finish upright, where the body has to hold its shape without help. That order matters. Breath first. Control next. Then the standing pieces, where all of it has to hold together for real life.
1. 360-Degree Rib Breathing for Scoliosis
Can a breath change how your back feels? Sometimes it can, and not in a mystical way.
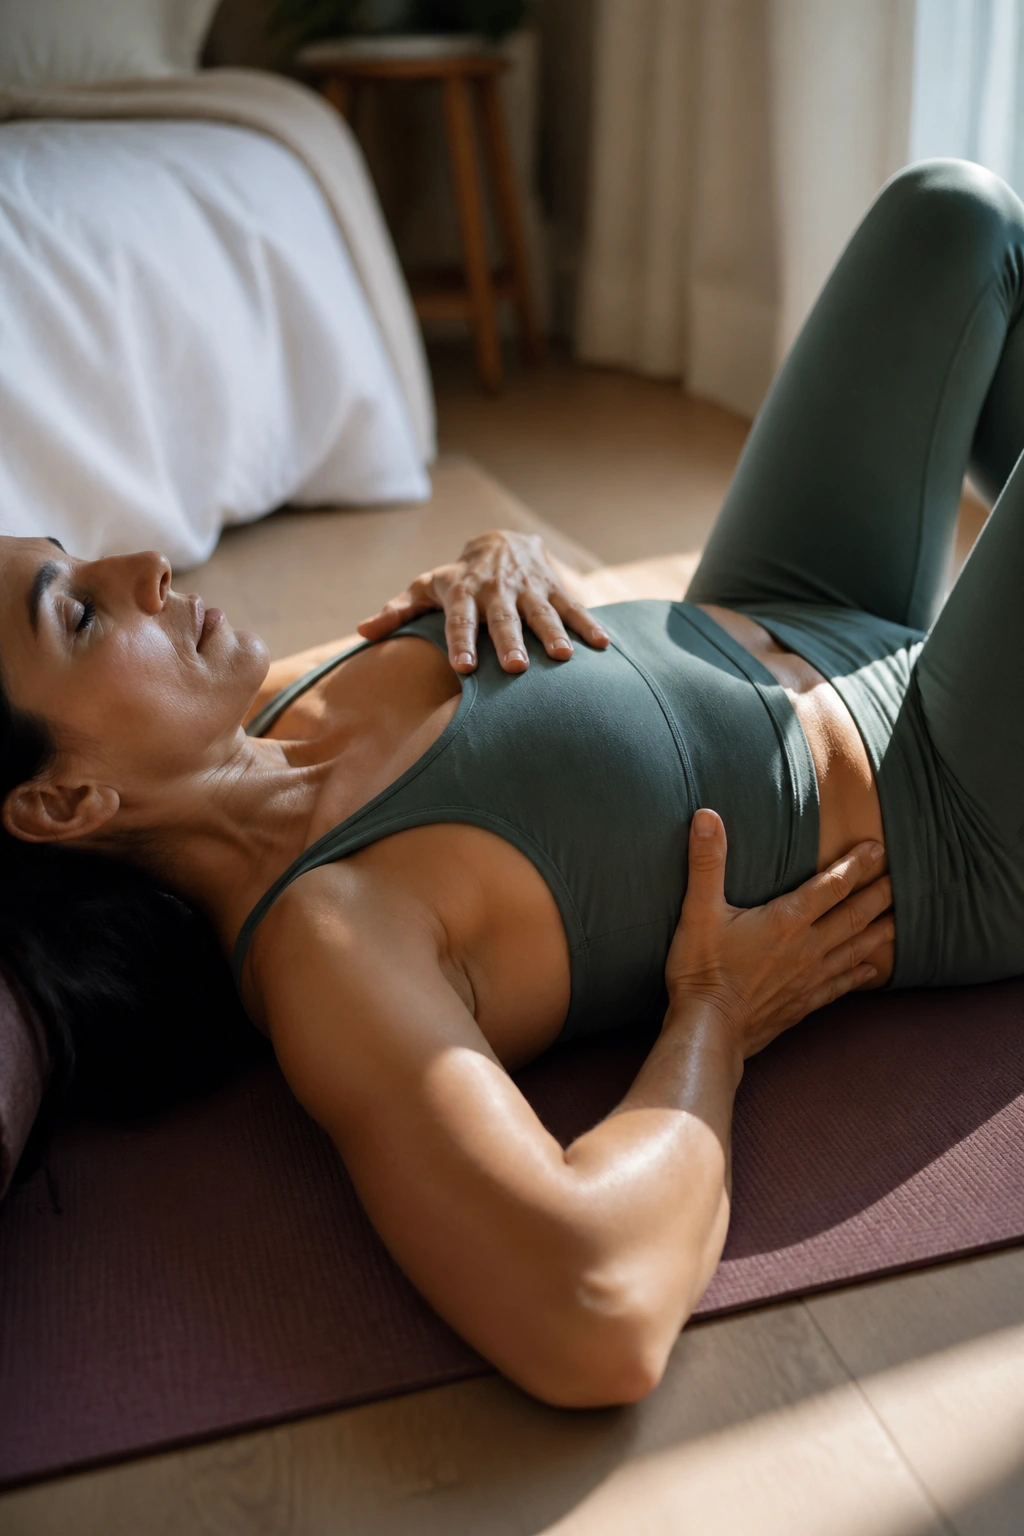
With scoliosis, the rib cage may rotate a little or a lot, which means the chest does not always expand evenly. A 360-degree breath asks the ribs to open to the sides and back, not just the belly in front. That gives the trunk a quieter, less clenched shape. It also gives you a better read on which side feels tight, compressed, or oddly stuck.
How to do it
- Lie on your back with your knees bent and feet flat.
- Place one hand on your sternum and the other on the side ribs.
- Inhale through the nose for about 4 counts, feeling the ribs widen under your hands.
- Exhale through the mouth for 6 counts, letting the front ribs soften and drop.
- Repeat for 5 to 8 breaths.
Do not force a huge inhale. If the breath becomes loud or you shrug your shoulders, you’ve gone too far.
A small folded towel under the head can help if your neck feels tight. If one side of the rib cage seems flatter, send the air there gently without trying to puff it up hard. Think wide, not deep. That tiny shift is often enough to wake up the part of the trunk that has gone quiet for too long.
2. Pelvic Clock and Gentle Tilts
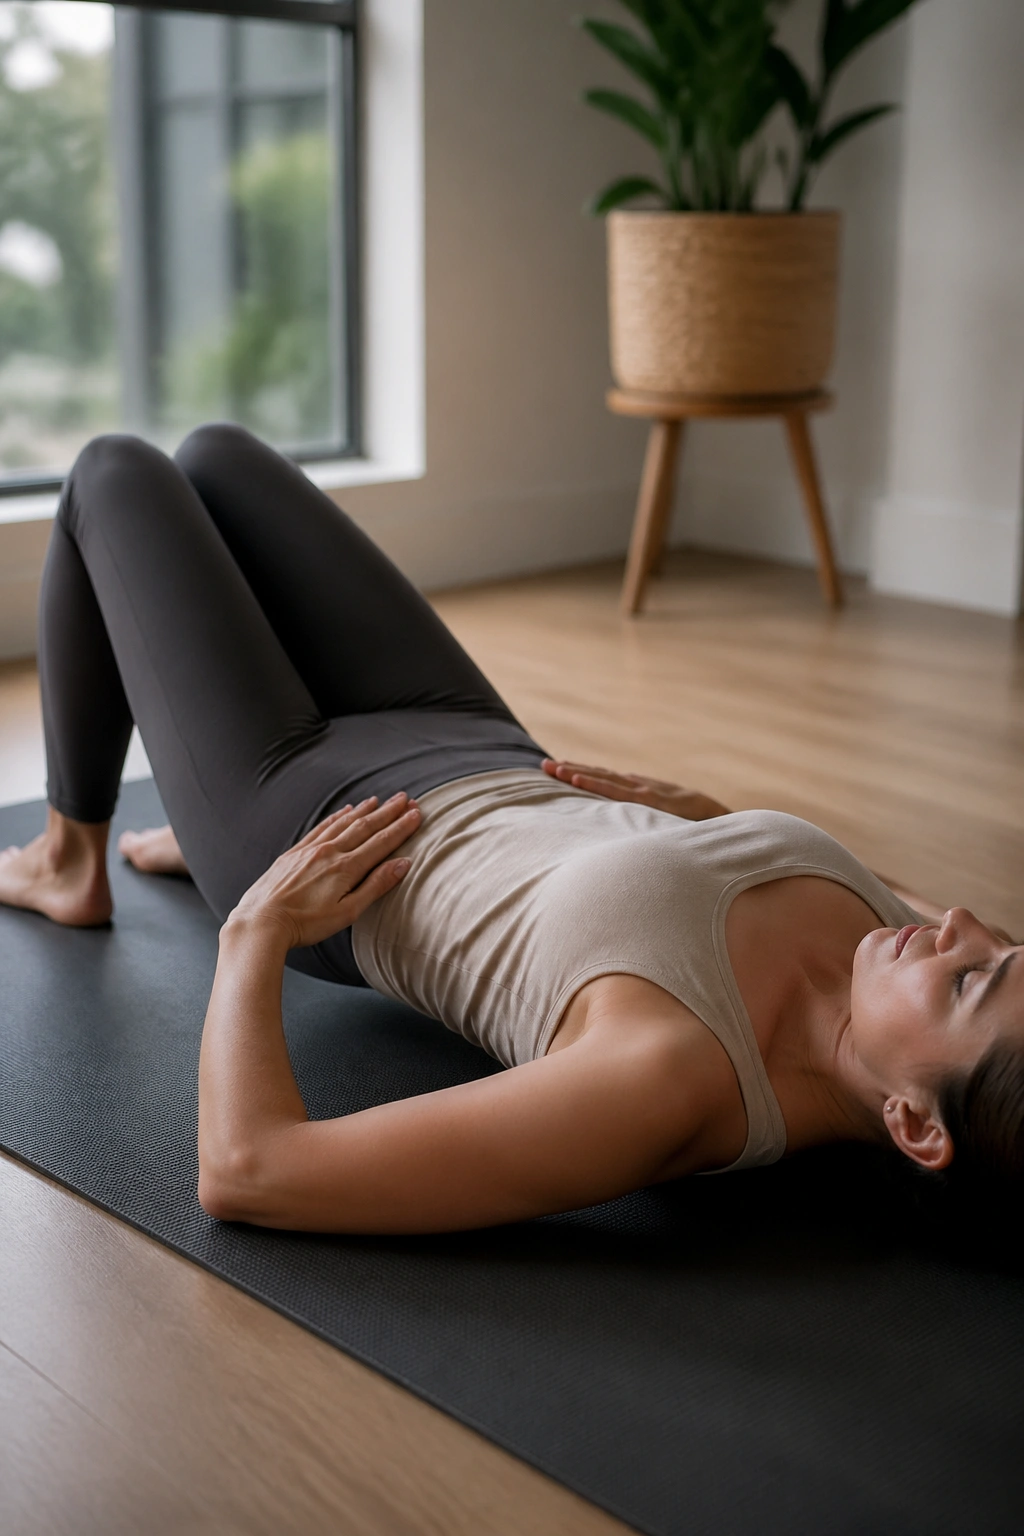
Pelvic work looks basic because it is basic. That is exactly why it helps.
When the pelvis tips forward, back, or side to side without a lot of drama, you start to notice how much the spine is borrowing from the hips. People with scoliosis often feel one low-back corner work harder than the others, so this move teaches the body to share the load a little better. The range should be tiny. Almost boring. Good.
Imagine the pelvis sitting on the center of a clock face. Rock toward 12 o’clock, then 6. Then 3 and 9 if that feels comfortable. If that sounds too abstract, start with plain pelvic tilts: gently flatten the low back toward the mat on the exhale, then let it return to neutral on the inhale.
Bigger is not better here.
If the movement starts to creep into the ribs, the thighs, or the neck, stop and shrink it by half. Six to eight slow rounds are enough for most people. You want a sense that the low back is listening, not fighting.
3. Small Cat-Cow on Hands and Knees
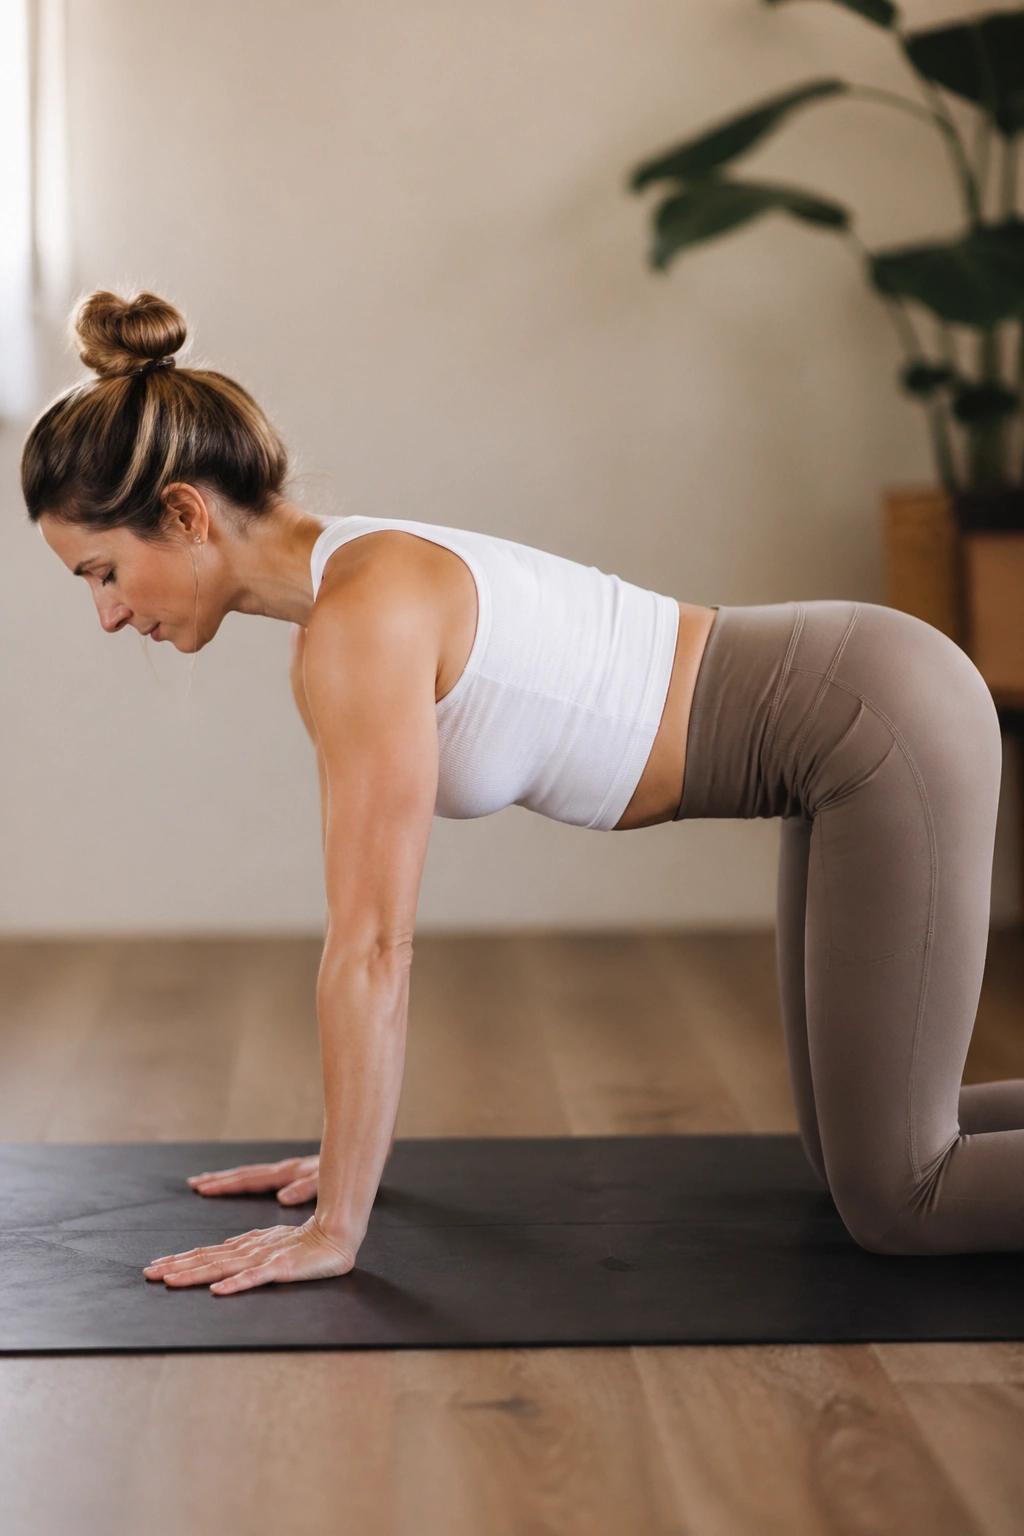
Hands and knees can feel awkward the first time. That awkwardness is useful.
Cat-cow is often taught as a big spinal wave, but scoliosis usually responds better to a smaller version. You are not trying to wring out the spine like a towel. You’re teaching each section to move without one end of the body stealing all the work. The ribs, shoulder blades, and pelvis should all soften a little, then organize again.
Start on all fours with hands under shoulders and knees under hips. Inhale to let the tailbone and chest tip slightly forward. Exhale to round the spine only as far as it moves easily, drawing the belly up and letting the back of the neck stay long. Five or six slow cycles are plenty.
What to avoid
- Dropping the belly so the low back collapses.
- Pushing the head forward.
- Sinking hard into the wrists.
- Chasing a big range just because it looks neat.
If your wrists complain, make fists, place your hands on blocks, or do it with forearms on a sturdy bench. A smaller shape is often cleaner anyway. The best cat-cow for scoliosis is the one that leaves you feeling more centered, not more twisty.
4. Open-Book Rotations for Scoliosis
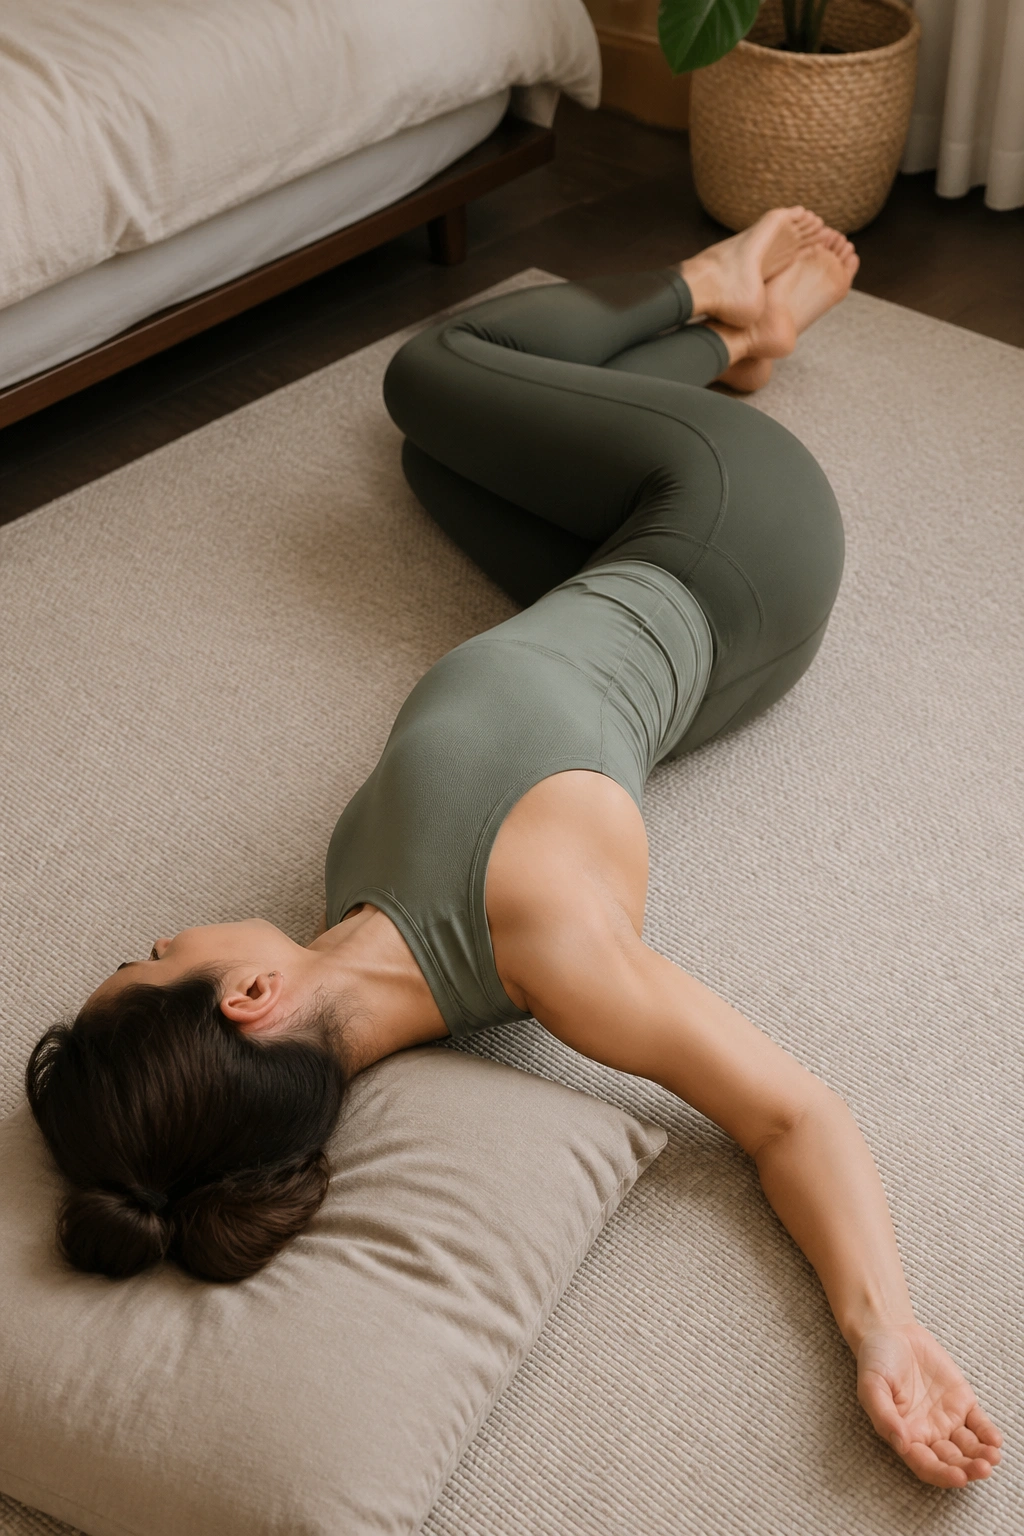
Big twisting exercises look impressive. Open-book rotation is the opposite: quiet, controlled, and much more honest.
Lying on your side with knees bent and stacked, you open the top arm across the body and then let it arc backward like a page turning. The pelvis stays as still as possible. That stillness is the whole point. You’re asking the upper back to rotate without dragging the lower back into a messy compensatory twist.
Put a pillow under your head and, if needed, another between the knees. Inhale to prepare. Exhale as the top arm opens. Stop the moment the ribs want to roll back too far. Hold for 1 to 2 breaths, then come back to start. Four or five reps on each side is enough for most home sessions.
If you work with a scoliosis-specific method such as Schroth, this move can fit inside that world nicely, but the side emphasis may be different from person to person. Follow the plan you’ve been given. Do not invent your own side rules from a mirror selfie.
A good open-book feels like the chest opens first and the low back stays calm. That’s the version worth keeping.
5. Dead Bug Toe Taps
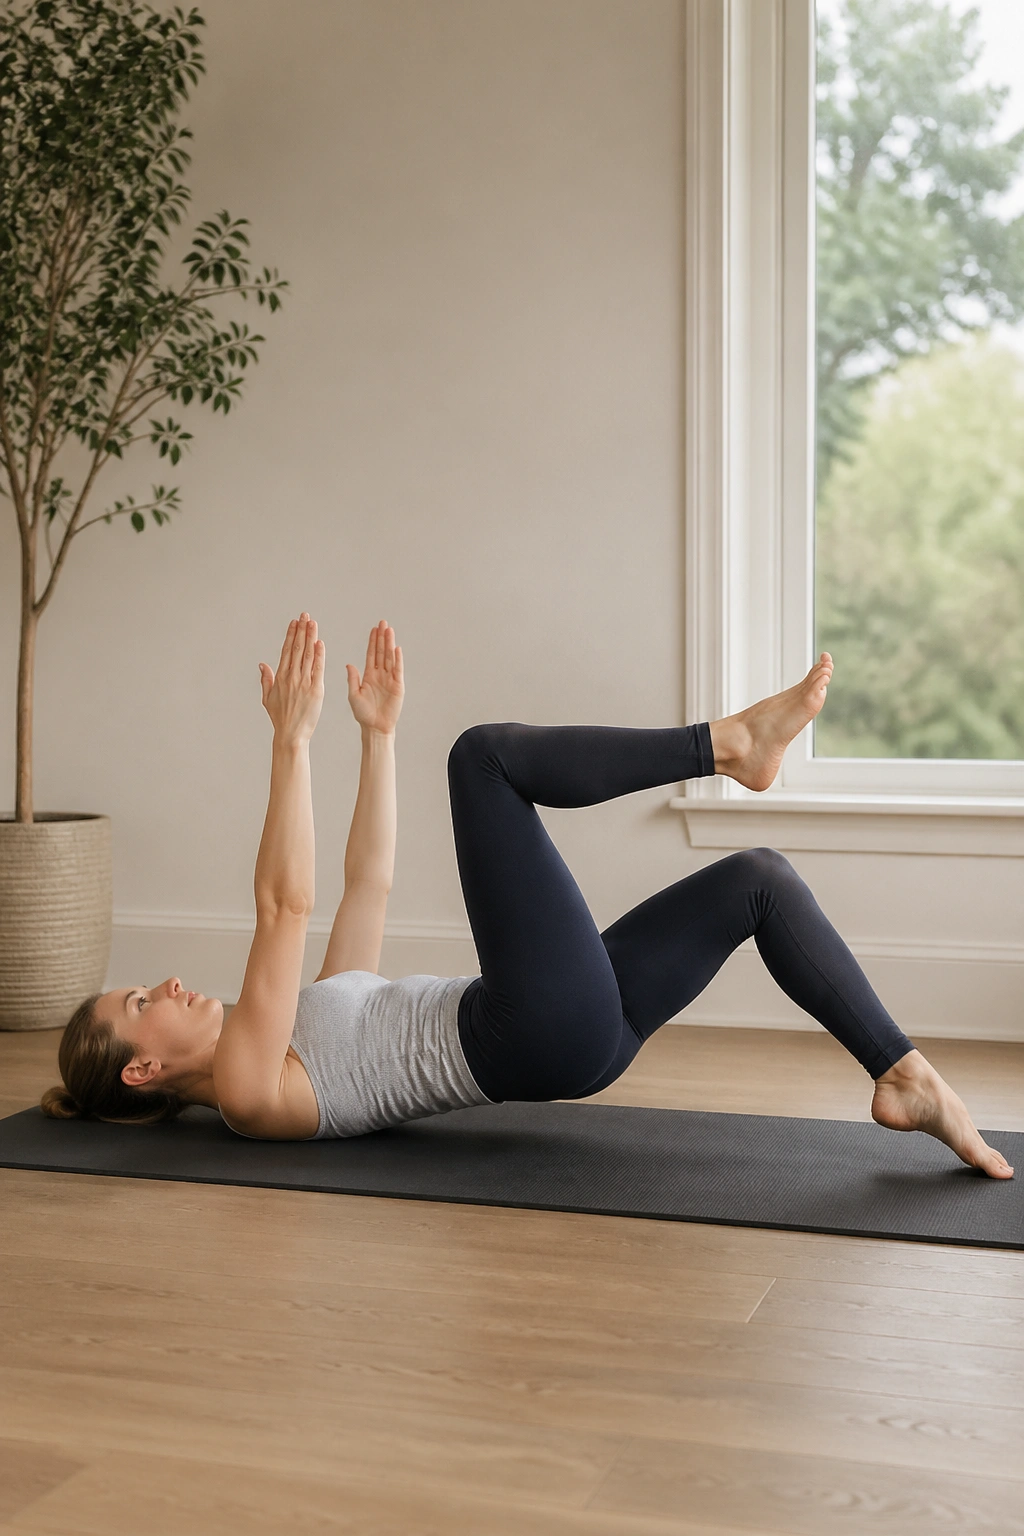
What if your back feels better when the legs move only a few inches? That is where dead bug shines.
This move trains the trunk to stay steady while the limbs move, which is a useful skill when your spine already wants to drift or rotate. It’s not flashy. It is, however, one of the cleaner ways to wake up deep core support without asking the back to bend, twist, or hold its breath.
Lie on your back with knees over hips and shins parallel to the floor. Exhale and lower one heel toward the mat for a toe tap, then bring it back. Alternate sides for 6 to 10 reps. If that feels easy, add the arms reaching toward the ceiling and lower opposite arm and leg together in a small, controlled pattern.
Keep the lower ribs heavy. If the rib cage pops up or the low back arches hard, shorten the leg range immediately. The movement should look almost too small to matter. That’s fine. Pilates has always liked precision more than drama.
One simple cue helps: exhale on the effort. The breath keeps the trunk from going stiff and breathless, which is where a lot of back discomfort sneaks in.
6. Shoulder Bridge with Level Hips
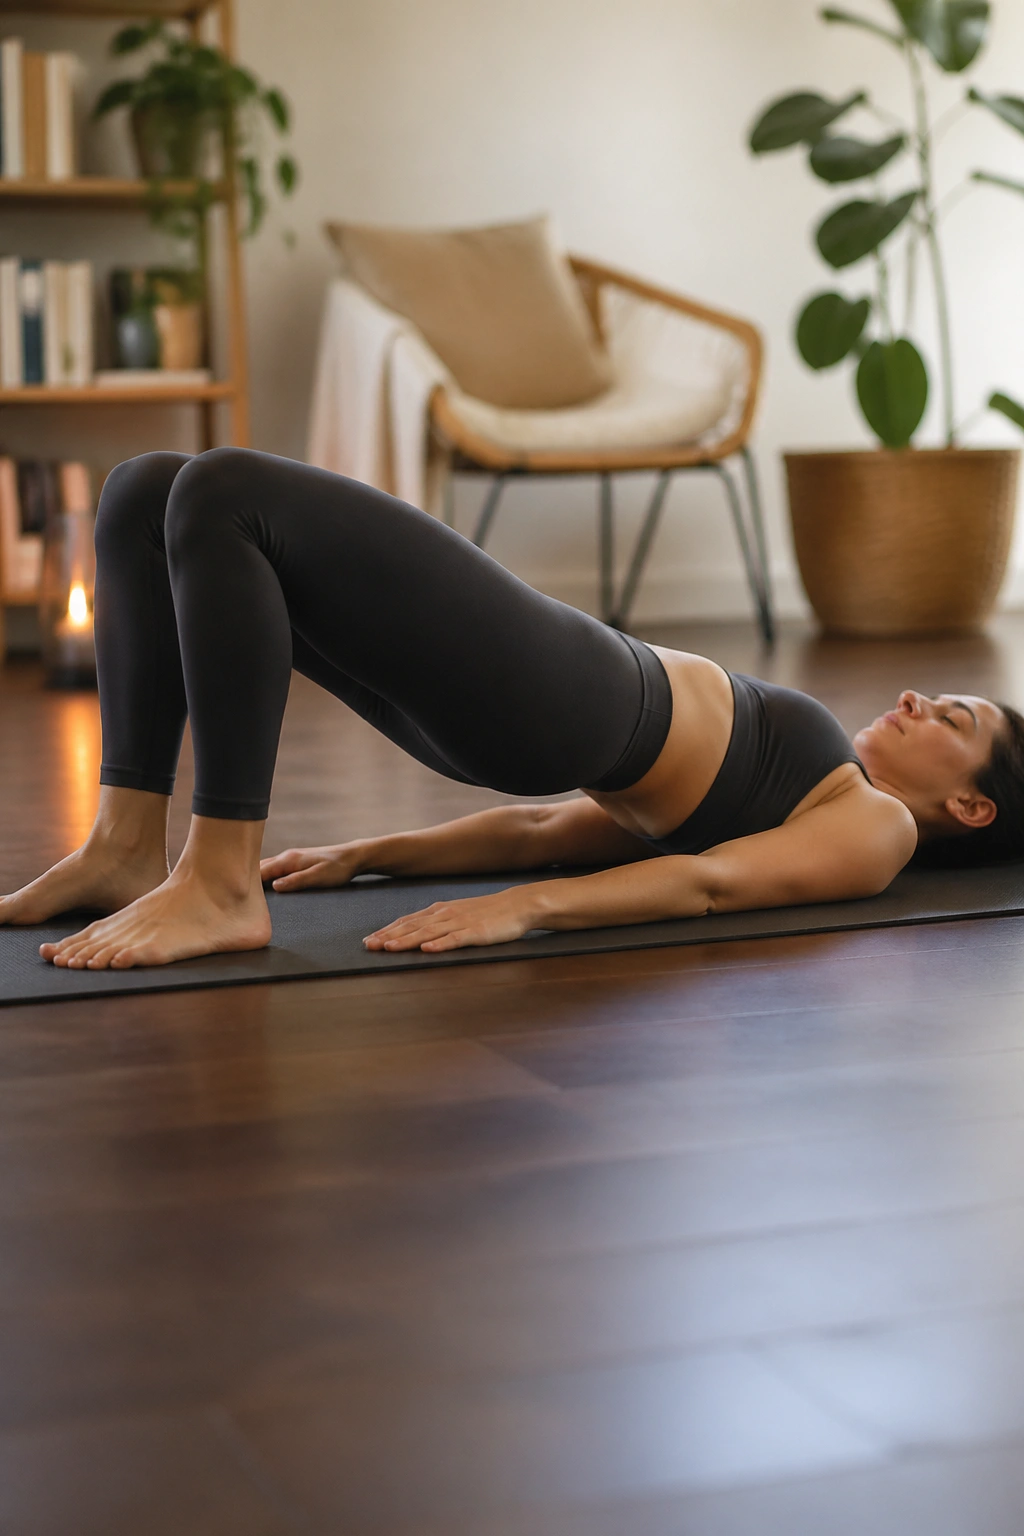
A bridge is not about height.
It’s about whether the hips rise level, the ribs stay quiet, and the glutes do their share without the lower back doing all the grumbling. That matters in scoliosis work because one side of the pelvis often wants to hike, rotate, or shift under load. A controlled bridge gives you feedback fast.
Lie on your back with knees bent and feet about hip-width apart. Press through the heels, exhale, and lift the pelvis just a few inches until the thighs and torso form a gentle slope. Pause for 2 breaths, then lower slowly, one vertebra at a time if you can manage it. Try 5 to 8 reps.
What a good bridge feels like
- Work in the back of the legs and glutes, not the low back.
- Keep the ribs from flaring.
- Make the knees stay aligned over the second or third toe.
- Stop before the body starts to wobble or cramp.
If your hamstrings grab, bring the feet a little closer to the hips. If the back pinches, lower the range and keep the tailbone heavy on the way up. A tiny bridge done cleanly is more useful than a high one with a rib flare and a complaint attached.
7. Side-Lying Clamshells and Leg Lifts
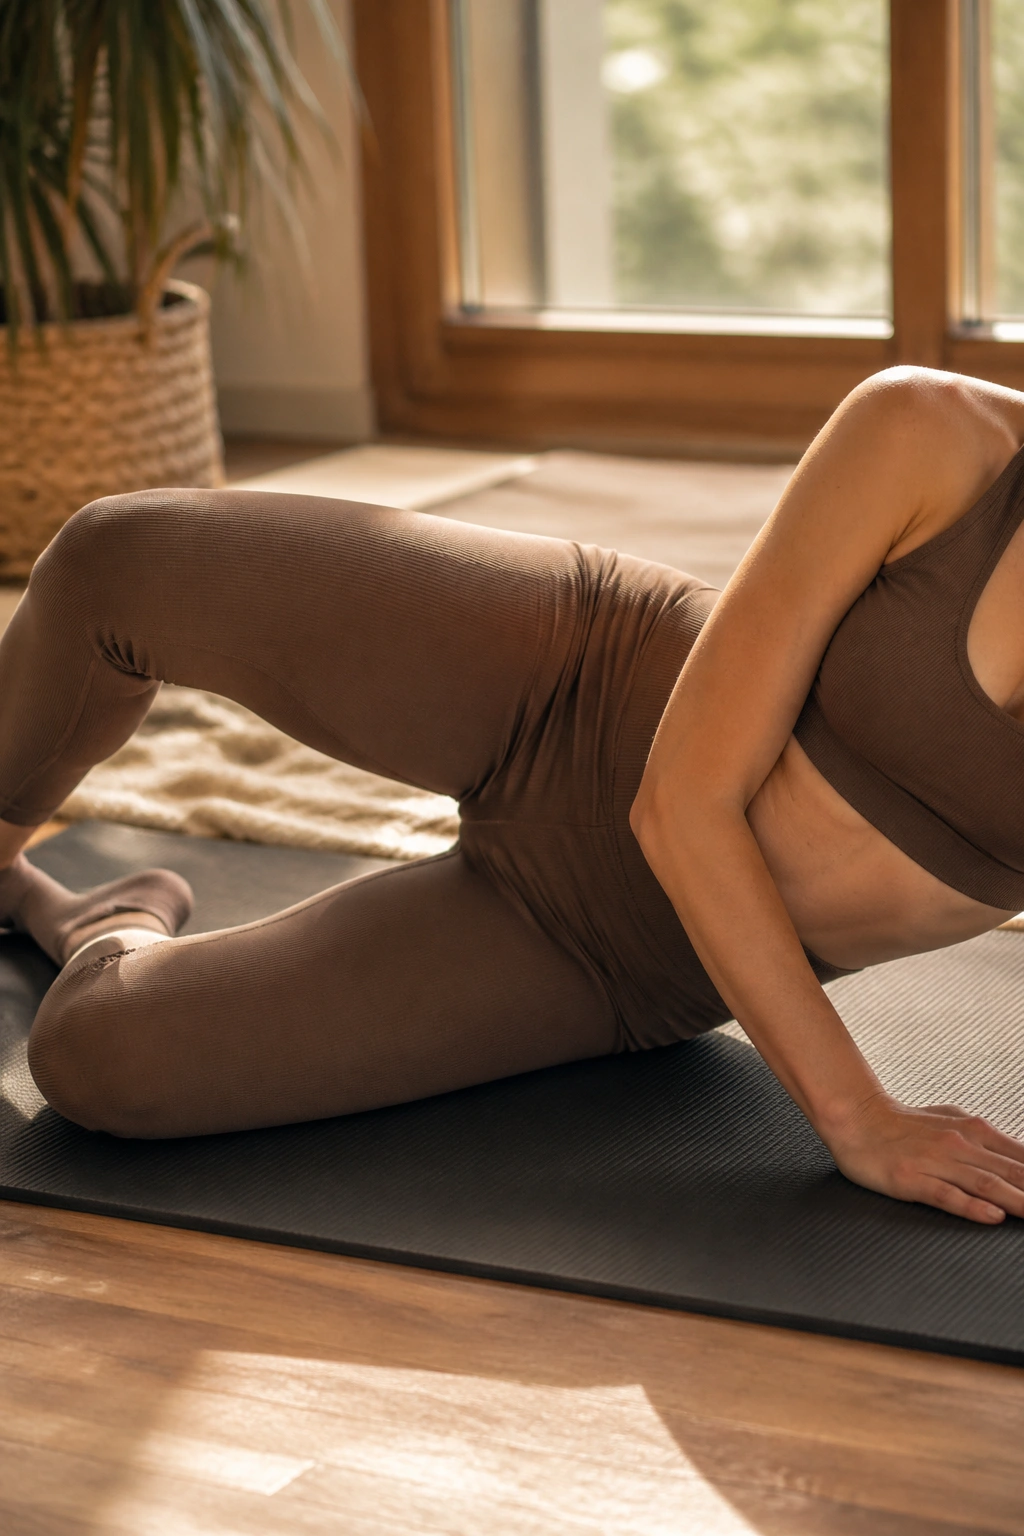
If one waist keeps collapsing into the mat, side-lying work shows it fast.
The clamshell and side leg lift build control along the outer hip and waist, which helps the pelvis stay steadier when you walk, stand on one leg, or shift weight. That’s worth paying attention to with scoliosis, because the trunk often cheats by leaning or rotating when the hips should be doing the job.
Lie on one side with your head supported by your arm or a pillow. Stack hips and knees. For the clamshell, keep the feet together and open the top knee only a few inches, then close it slowly. For the side leg lift, stretch the top leg long and lift it just off the floor, keeping the toes pointing forward instead of rolling the hip open.
A light resistance band can work here, but only if you can keep the pelvis stacked. If the body starts to spiral backward, the band is too much.
- Use 8 to 10 clamshells per side.
- Use 6 to 8 leg lifts per side.
- Move slowly enough that the waist does not wobble.
Follow any side-specific guidance you’ve been given by a clinician. Scoliosis is not a one-size-fits-all condition, and one side may need more control, not more force.
8. Bird Dog with a Long Reach
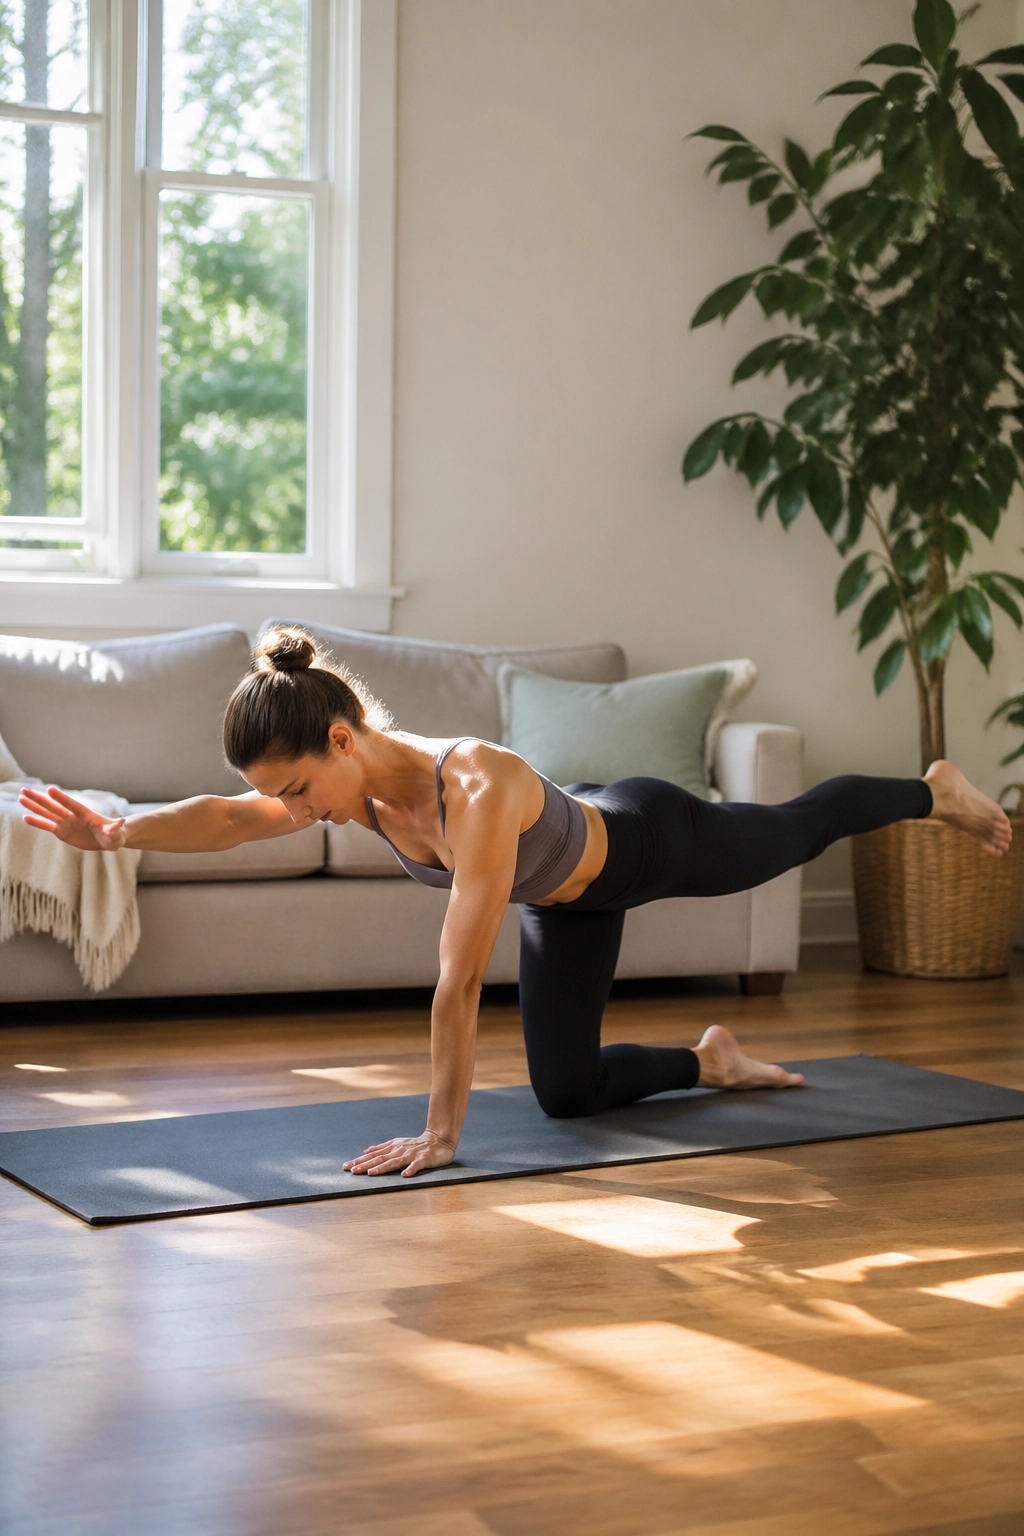
Bird dog is one of the best ways to teach the trunk not to wobble under pressure.
On hands and knees, extend the opposite arm and leg without letting the ribs fling open or the pelvis swing sideways. That cross-body reach asks the back to stay long while the shoulders and hips do their own work. It also gives you a clean test of balance. If the body shakes, you know exactly where the weak link is.
Set up with wrists under shoulders and knees under hips. Exhale and reach one leg back and the opposite arm forward. Hold for 4 to 6 seconds, then return with control. Start with five reps per side. If that is too much, keep the toes on the floor and just slide the leg back a few inches.
Make it smaller when form slips
A shorter reach is better than a crooked long one. If the low back dips, lift less. If the shoulders shrug, soften the reach. If the neck cranes, look down a little farther in front of the hands.
There’s a nice little lesson in this move: stability does not come from locking up. It comes from staying organized while the limbs move. That’s the whole game.
9. Modified Side Plank on the Knee
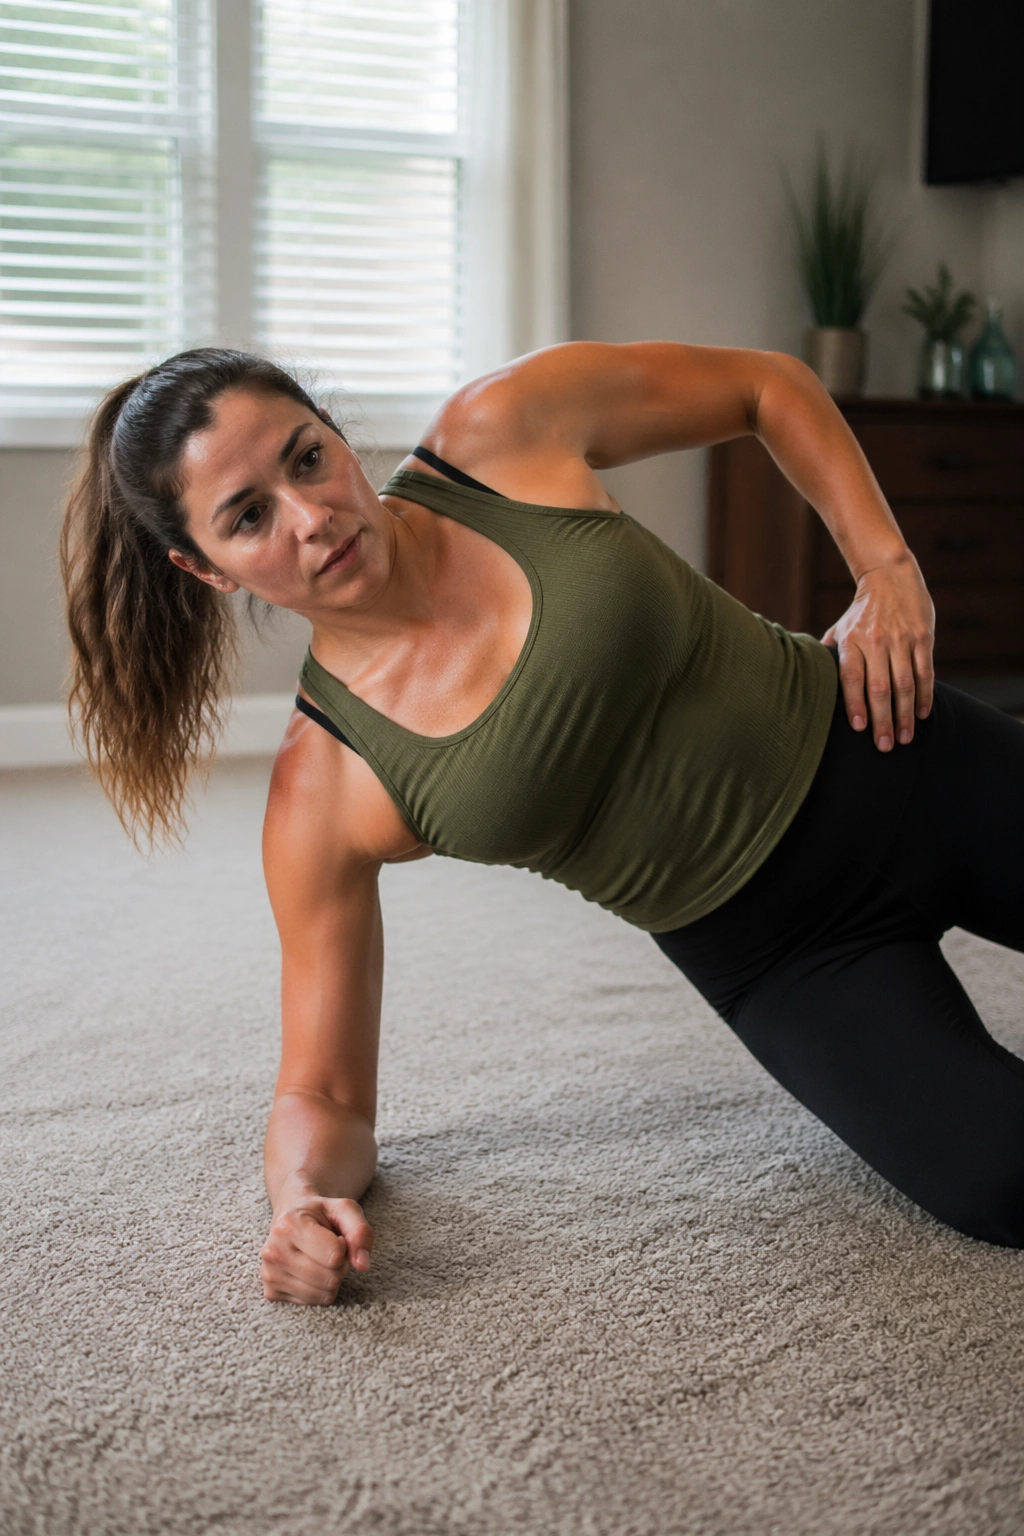
Side plank can be useful for scoliosis, but the full version is a bit much for a lot of home bodies.
The knee-down version keeps the load manageable while still waking up the obliques, shoulder, and outer hip. That makes it a cleaner choice when you want lateral support without turning the exercise into a fight. It also gives you an honest look at side-to-side differences. One side may hold easily. The other may shake like a chair with one short leg.
Place your forearm on the floor with the elbow under the shoulder. Bend the bottom knee and keep the top leg long, or stack the knees if that feels steadier. Lift the hips only a few inches, just enough to create a long line from shoulder to knee. Hold for 2 to 3 breaths, then lower. Three to five holds per side is enough.
Watch the top ribs. They like to twist open when fatigue shows up.
If the shoulder feels jammed, keep the floor hand a little farther forward and think about reaching the chest away from the waist. If the neck starts to pinch, come out. No move is worth neck strain. And if a clinician has asked you to bias one side because of your curve pattern, follow that cue rather than forcing symmetry.
10. Seated Spine Stretch Forward
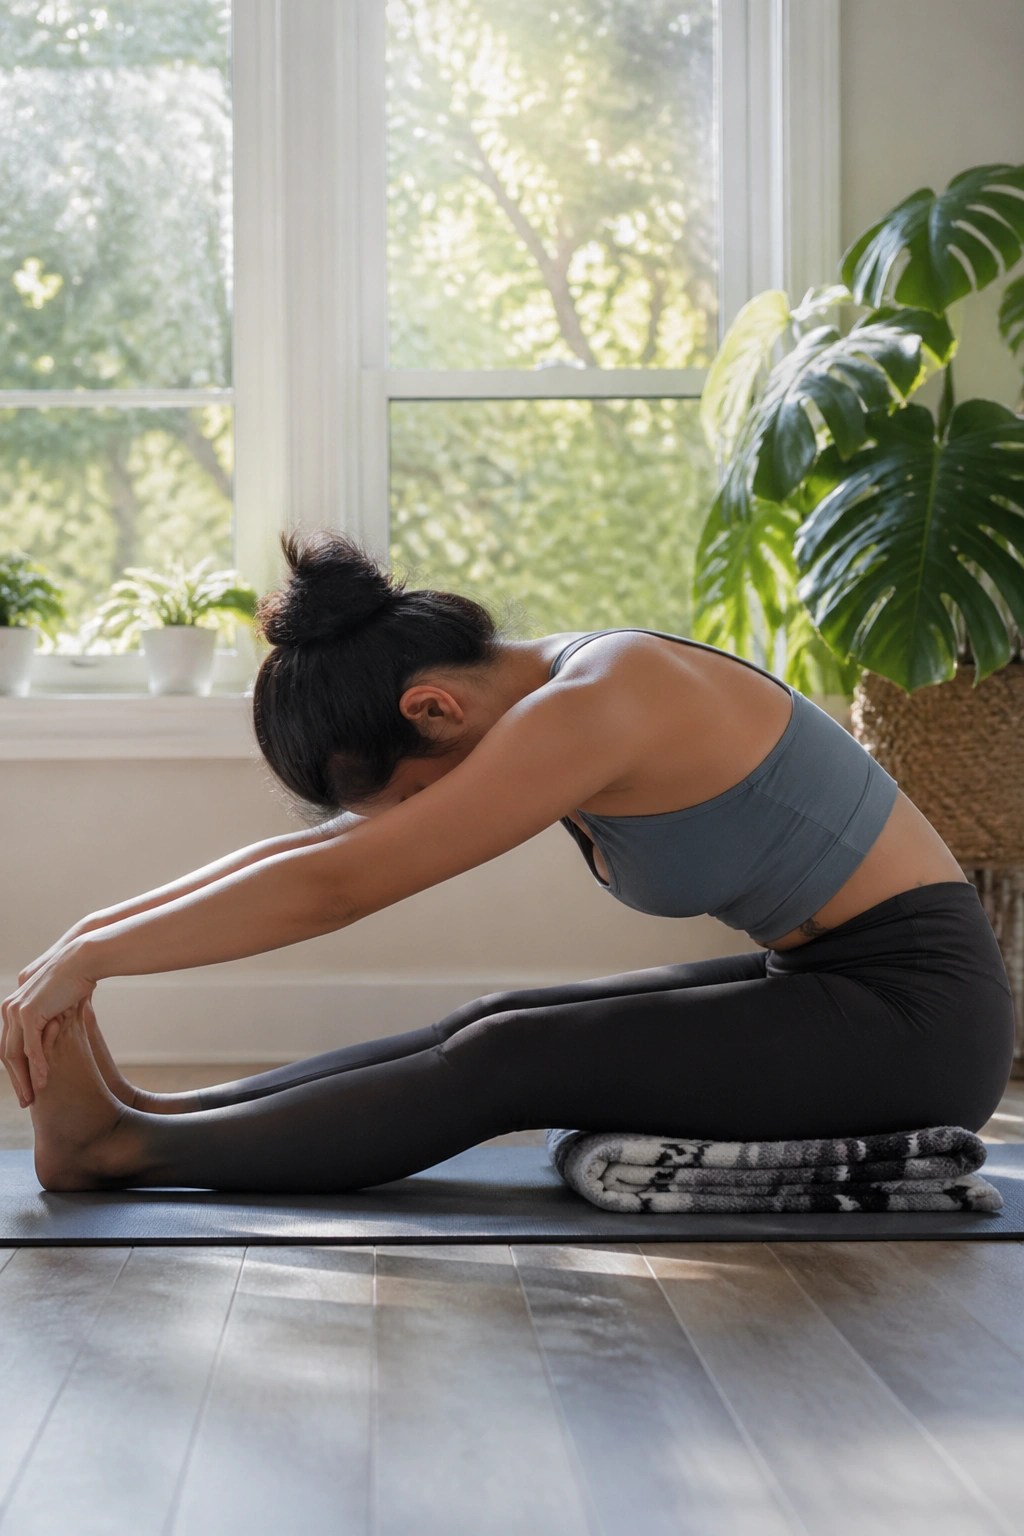
Can you fold without collapsing? That’s the useful part of this move.
The seated spine stretch forward asks for length first and flexion second. That matters in scoliosis work because people often fold by dumping into the lowest back or rounding the neck early. Here, the spine should travel like a stack of beads tipping forward one section at a time. No yanking. No reaching for the toes just to look flexible.
Sit on a folded blanket if your pelvis tilts backward when your legs are straight. Extend the legs comfortably apart or keep the knees bent if the hamstrings are tight. Inhale tall. Exhale to nod the chin and curl forward, keeping the belly gently lifted away from the thighs. Come back up on the inhale. Four or five rounds are enough.
A strap around the feet can help if the hands keep pulling. Don’t pull hard. That usually turns the move into a shoulder exercise and leaves the spine out of it.
This one is especially nice after bridge or bird dog work, when the back has been active and just wants to lengthen out for a minute.
11. Wall Angels with Rib Control
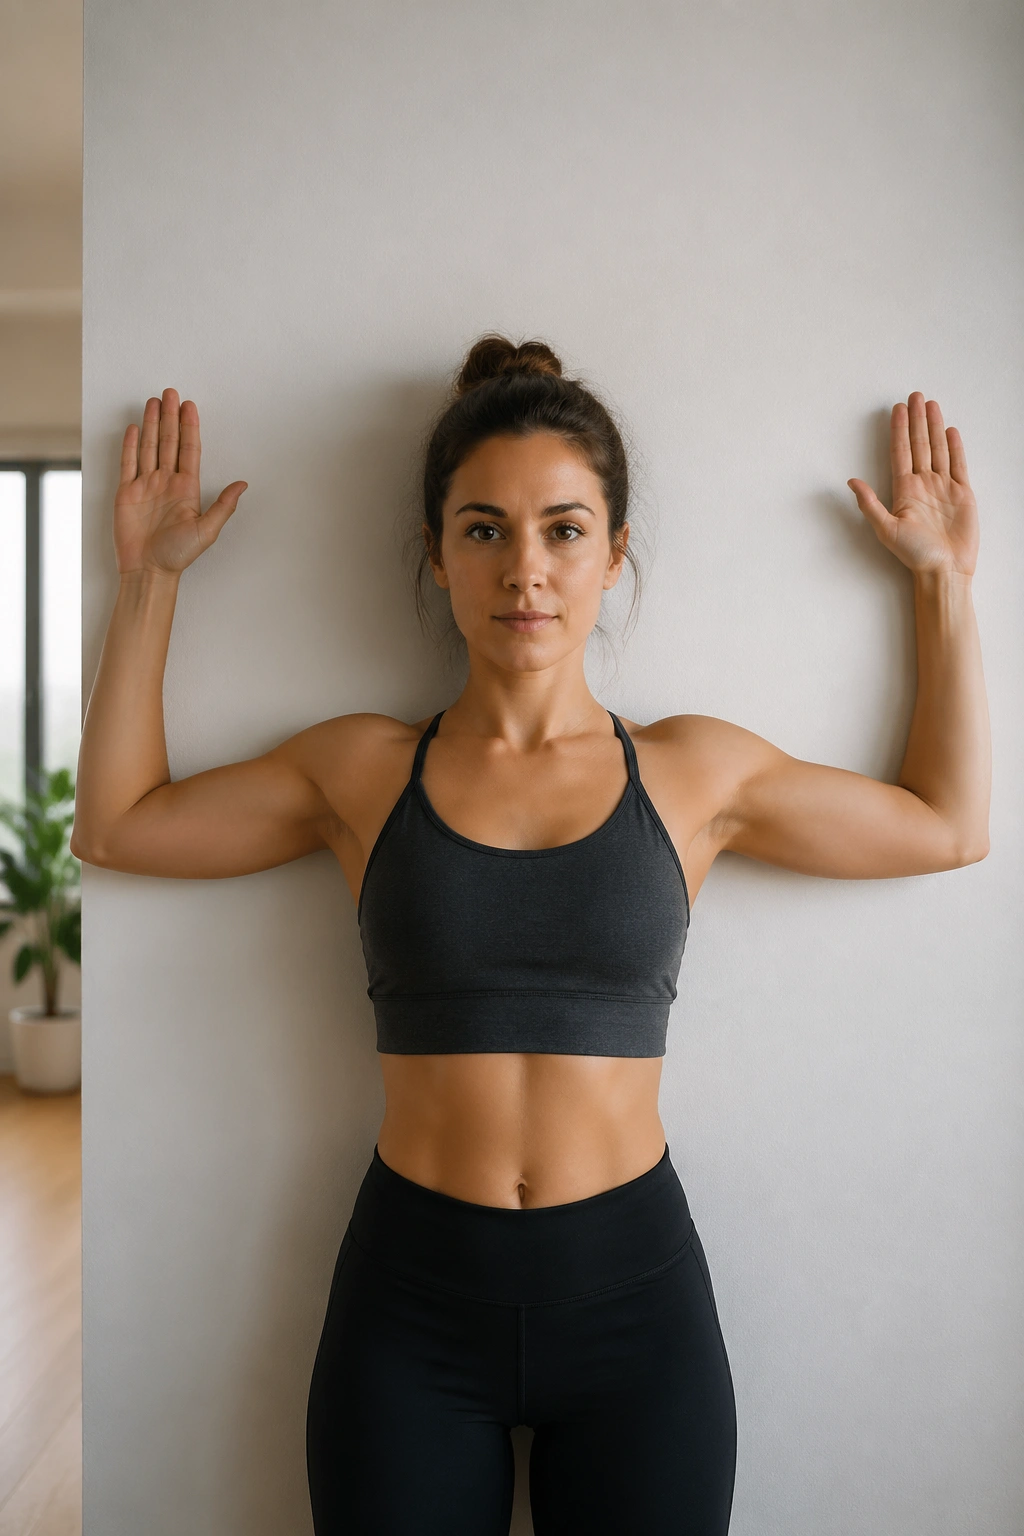
Wall angels tell on you fast.
Unlike arm circles in free space, the wall gives instant feedback when the ribs flare, the low back arches, or the shoulders shrug. That makes the move useful for scoliosis because it shows how much the rib cage wants to drift when the arms go up. And arms going overhead is real life. Reaching shelves, opening windows, putting on a shirt — all of it matters.
Stand with your back near a wall, feet a few inches forward, and knees soft. Let the back of the head, upper back, and pelvis settle as comfortably as they can. Bring the arms into a goal-post shape and slide them up and down in a pain-free range. Keep the ribs from popping open. Six to eight slow reps is enough.
What to watch for
- Lower back arching off the wall
- Shoulders creeping into the ears
- Chin jutting forward
- Arms pinning too hard and forcing pain
If both arms against the wall is too much, do one arm at a time. If the elbows can’t stay close, make the range smaller. A narrow range with clean rib control beats a bigger range that turns into a backbend.
12. Wall Roll-Down and Stack Back Up
Standing work makes all the floor practice feel less theoretical.
A wall-assisted roll-down is a tidy way to finish because it links breath, spinal articulation, and posture in one slow sequence. You stand, stack up, then peel down with control and return without collapsing. That’s a useful skill for scoliosis because it teaches the body how to move out of standing alignment and back into it without getting stuck in the ribs or low back.
Stand with your back near a wall, feet about 6 to 8 inches forward, knees soft, and arms relaxed by your sides. Inhale to grow tall. Exhale, nod the chin, and let the head, upper back, and ribs peel away from the wall in sequence. Go only as far as you can without the low back gripping. Inhale at the bottom. Exhale to stack back up one segment at a time.
If your hamstrings are tight, stop higher. If the neck feels compressed, keep the chin slightly tucked. Four to six slow rolls are enough.
Finish here, or repeat the breathing exercise if you want a quieter ending. On a short day, the best trio is usually rib breathing, bird dog, and the wall roll-down. That covers breath, control, and posture without turning the routine into a grind.
