



Pregnancy puts the pelvic floor in a strange spot. It has to support more weight, respond to more pressure, and keep working while your ribs, belly, hips, and posture are all shifting around it. That’s why so many pregnant people start searching for pelvic floor exercises safe while pregnant and end up with bad advice: endless squeezing, breath-holding, or weirdly intense routines that make everything feel tighter instead of better.
The truth is a little less dramatic and a lot more useful. Your pelvic floor does not need to be clenched all day. It needs coordination. It needs the ability to contract when you cough, lift, or stand up from a low chair, and the ability to release when you breathe, rest, or widen your stance. That balance matters more than brute force.
And yes, Kegels have their place. But they are only one tool. A strong pelvic floor during pregnancy usually comes from a mix of breathing, gentle strength work, hip support, and relaxation. If that sounds less flashy than the internet’s favorite “do this one move and fix everything” advice, good. It should.
If you’ve ever felt leaking when you sneeze, heaviness in the pelvis after standing a long time, or that weird “I’m holding tension everywhere” feeling in your lower belly and inner thighs, these kinds of exercises can help. The key is choosing movements that build support without creating pressure you can feel pushing downward. That line matters. A lot.
Why the pelvic floor works differently when your body is pregnant
Your pelvis is carrying a changing load, and the load is not static. As the uterus grows, the abdominal wall stretches, the center of mass shifts, and the ribs often flare a bit to make room for breathing. The pelvic floor sits under all of that, so it tends to respond to the new pressure pattern before you even notice it.
Hormones also change the picture. Connective tissue becomes a little more mobile, which can be useful, but it can also make some people feel less stable through the hips and lower back. That is one reason hip strength and breath coordination show up in a good prenatal routine. The pelvic floor rarely likes being treated as a lonely muscle group.
A lot of people think “stronger” means “tighter.” Nope. During pregnancy, a pelvic floor that can lengthen, brace, and recover usually serves you better than one that’s stuck in a permanent squeeze. That’s the difference between control and tension.
How to tell a move is safe, useful, and worth keeping
A safe pelvic floor exercise should leave you feeling more organized, not more pressured. You want a sense of lift or support on the effort, then a clean release when you exhale and relax. If the exercise makes you hold your breath, strain in your face, or feel heaviness downward, that’s your clue to back off.
A few warning signs deserve attention. Stop if you feel pain, bleeding, dizziness, contractions that keep building, a sharp pulling sensation, or any new vaginal heaviness that lingers after the set. If you’ve been told to avoid certain positions, intensity levels, or core work, follow that guidance first. Online routines are not worth guessing with.
Look for these good signs instead:
- Your breath stays smooth.
- Your ribs can expand on the inhale.
- Your pelvic floor can soften after a contraction.
- You can speak in short sentences while doing the movement.
- Your belly does not cone or dome hard outward.
If something feels off, simpler is usually better.
1. 360-Degree Breathing
This is the move I’d start almost every pregnant person with. It looks tiny, but it changes the whole system. Sit tall, lie on your side, or kneel with support, then breathe so your ribs expand forward, back, and out to the sides instead of only lifting upward.
What to feel
On the inhale, imagine the breath floating into your lower ribs and belly. On the exhale, let the ribs settle and feel the pelvic floor gently recoil upward, like a soft trampoline returning to center. That’s the feel you want, not a hard squeeze.
Do 5 to 8 slow breaths. If your shoulders are climbing, you’re working too hard. Keep the jaw loose. Keep the belly soft enough that you can actually feel movement.
Best use: before every other exercise, during a walk break, or when your lower back feels cranky.
2. Gentle Pelvic Floor Contractions on the Exhale
A pelvic floor contraction is still useful in pregnancy, but the size of the effort matters. Think about a 20 to 30 percent lift, not a full-body clench. Exhale first, then gently draw the muscles around the vagina and anus inward and upward as if you were stopping gas.
Hold for 2 to 3 seconds, then fully release for 4 to 6 seconds. That release is not optional. If you skip it, the muscle can get irritated and tired fast. Some people need this reminder more than the squeeze itself.
A nice rule: if your face is scrunched up, your effort is too big. Small wins here. Clean ones.
3. Quick Flicks
Quick flicks are the fast version of a pelvic floor contraction, and they can be helpful when you need a quick response for coughing, sneezing, or changing position. Contract gently, release fully, and repeat for 5 to 8 reps.
These should feel snappy, not frantic. The release matters just as much as the lift. If you rush the exercise and never let the muscles reset, it turns into a tense little shrug instead of useful training.
When to use them
- Before a sneeze, cough, or laugh.
- After you’ve already done a slower set of holds.
- As a short drill, not a marathon.
Skip them if you feel pelvic tightness, pain with penetration, or a “can’t let go” feeling. In that case, breathing and release work usually help more.
4. Pelvic Floor Release on the Inhale
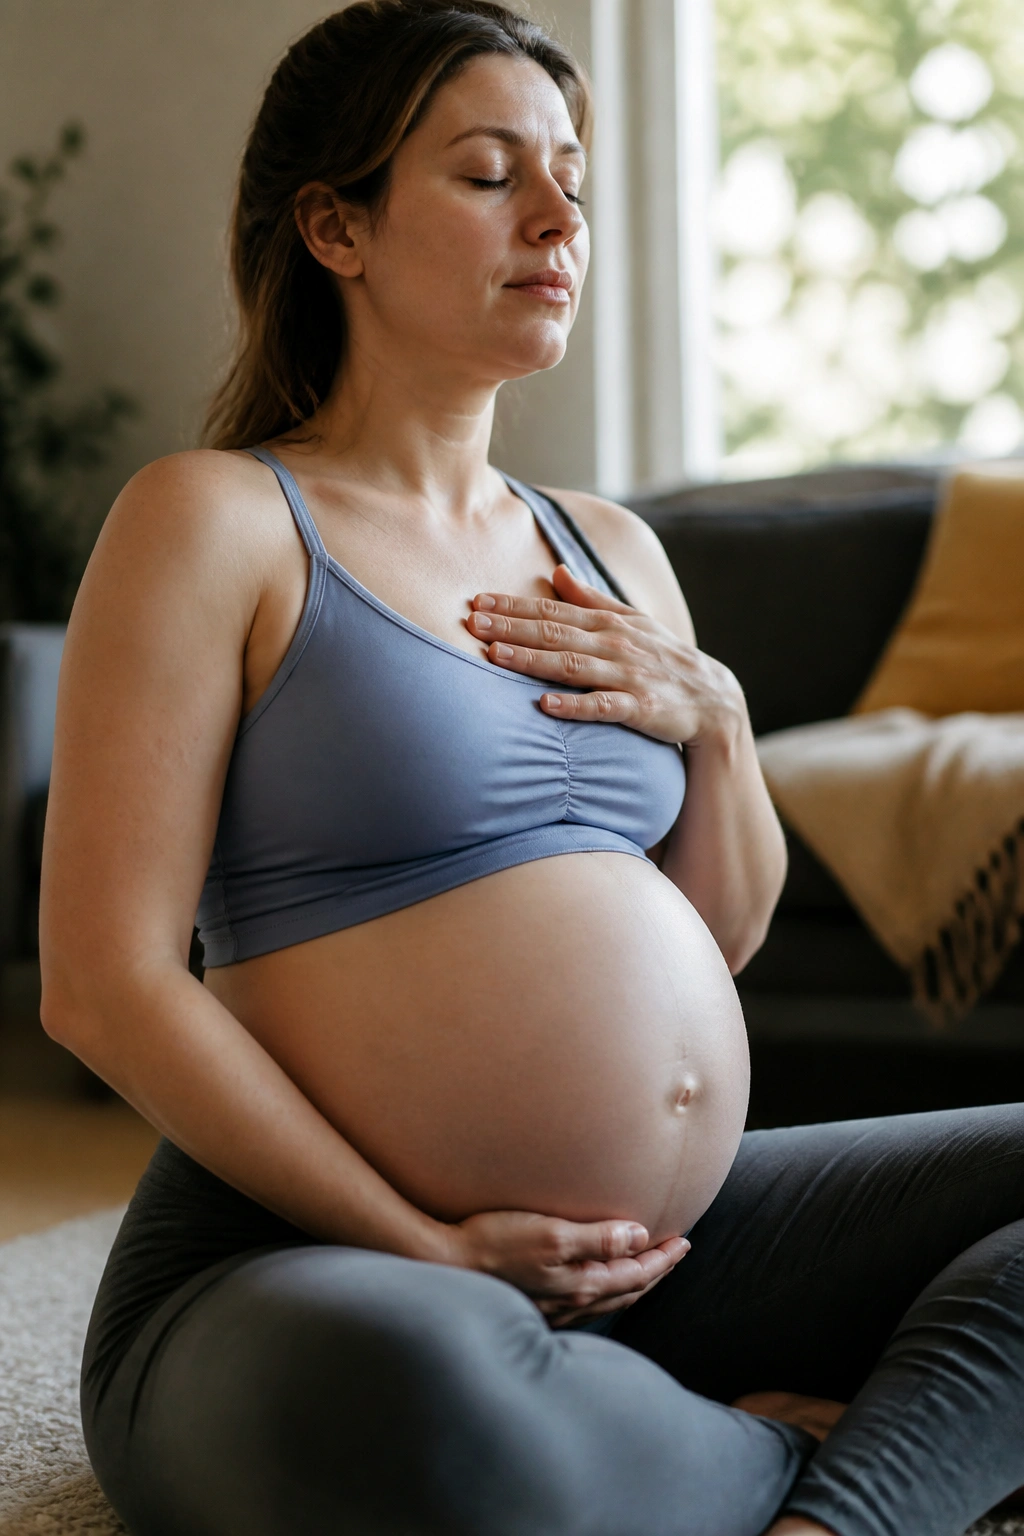
Most people hear “pelvic floor exercise” and think only about tightening. That leaves out the part your body may need just as much: the ability to drop and widen. Inhale and imagine the sit bones spreading apart and the pelvic floor melting downward like warm sand.
This is especially useful if you run tight, clench your jaw, grip your glutes all day, or feel aching in the tailbone. The goal is not to push. It’s to stop over-holding.
Try 5 slow breaths. On each inhale, let the belly and lower ribs open. On each exhale, return to neutral without forcing a lift. If your body tends to brace for everything, this one can feel almost too easy. That’s fine. Easy is often the point.
5. Hands-and-Knees Pelvic Tilts
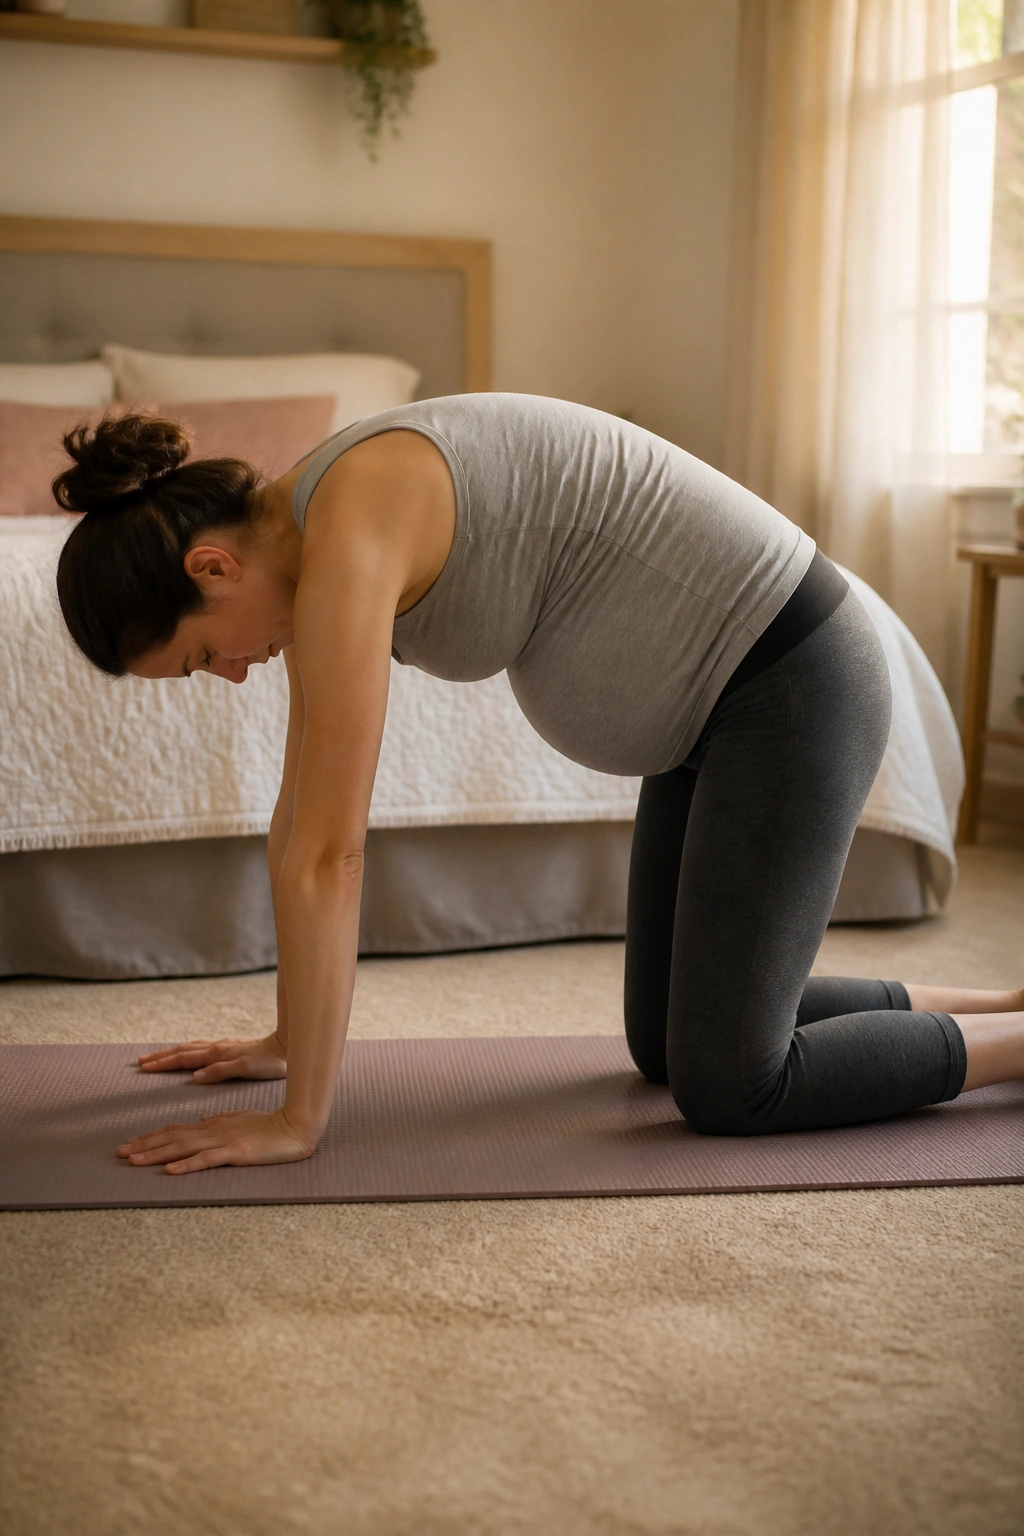
Get onto hands and knees with a folded blanket under the knees if the floor feels hard. Gently tilt your pelvis so your low back rounds a little, then return to a neutral position. Keep the movement small and smooth.
This is a smart prenatal exercise because it takes pressure off the belly and lets you feel how the pelvis moves under control. You’re not trying to force a big tuck. You’re teaching awareness.
Do 8 to 10 reps. If your wrists get sore, drop to forearms or elevate your hands on a bench. If your belly feels pulled, make the motion smaller. The point is coordination, not range.
6. Cat-Cow
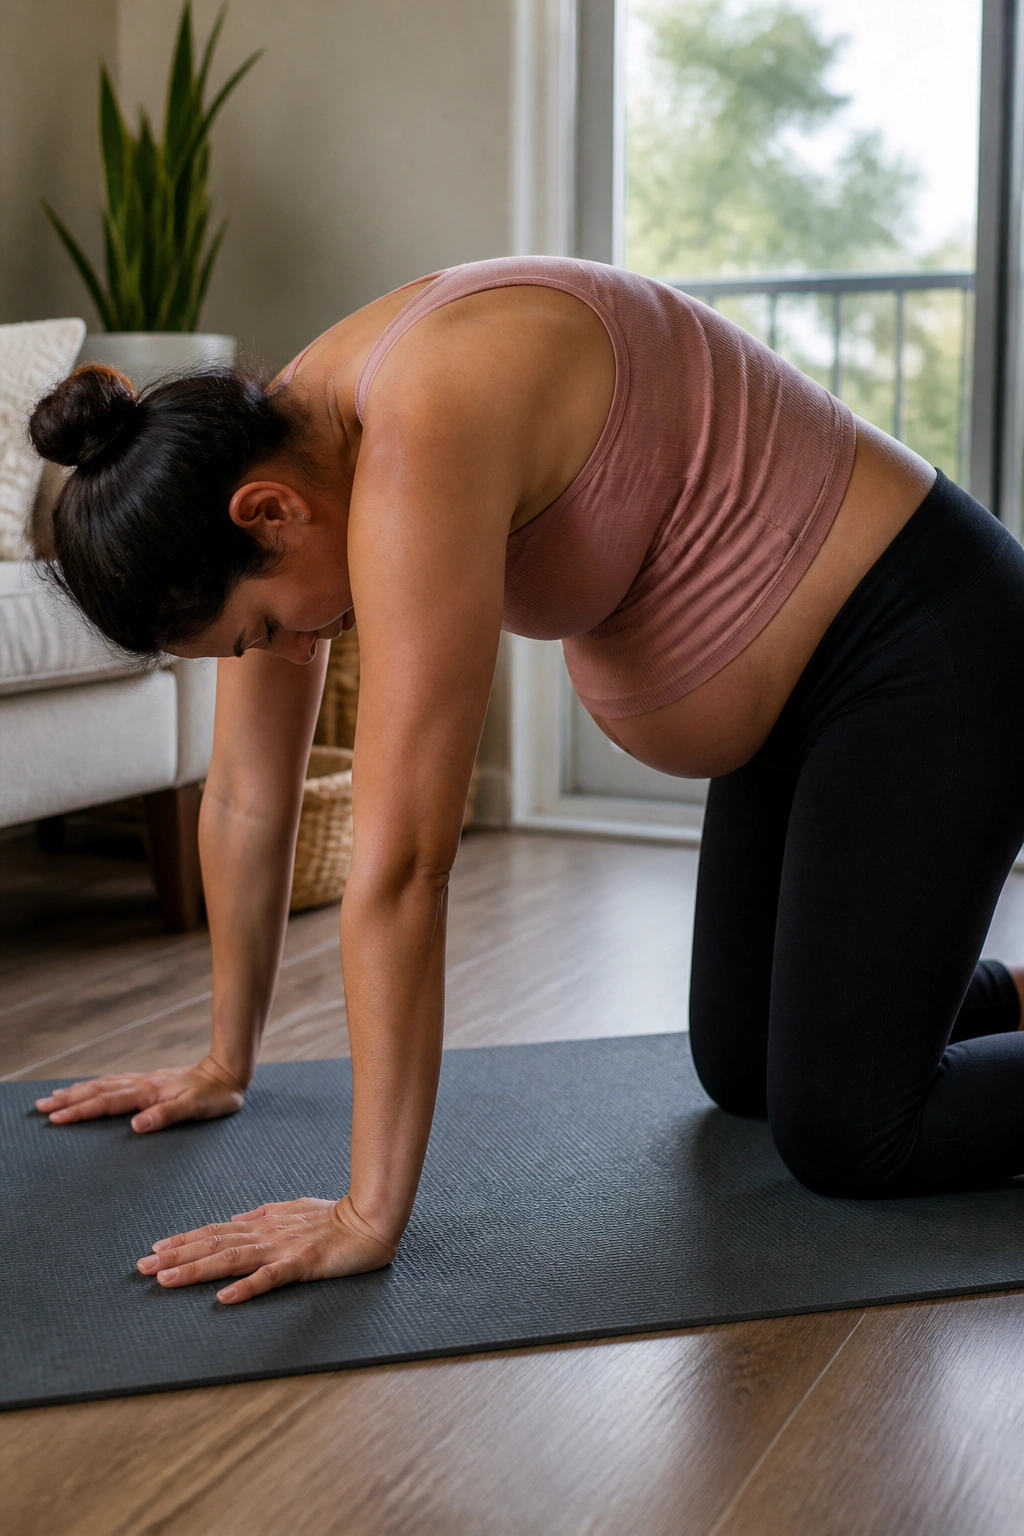
Cat-cow is the old reliable of prenatal mobility work. It gives the spine, ribs, and pelvis a chance to move together instead of locking up as one stiff unit. Start on hands and knees, inhale into a soft arch, then exhale into a gentle round.
The interesting part is how much the breath changes the feel. A long inhale into cow can create space in the ribs. A full exhale in cat can help the pelvic floor naturally recoil. That rhythm is the whole exercise.
Move slowly for 6 to 8 rounds. No yanking, no hanging out in the end range. And if your wrists dislike the floor, prop your forearms on a sofa or use a bed. Simple fix.
7. Tail-Wag Hip Circles on Hands and Knees
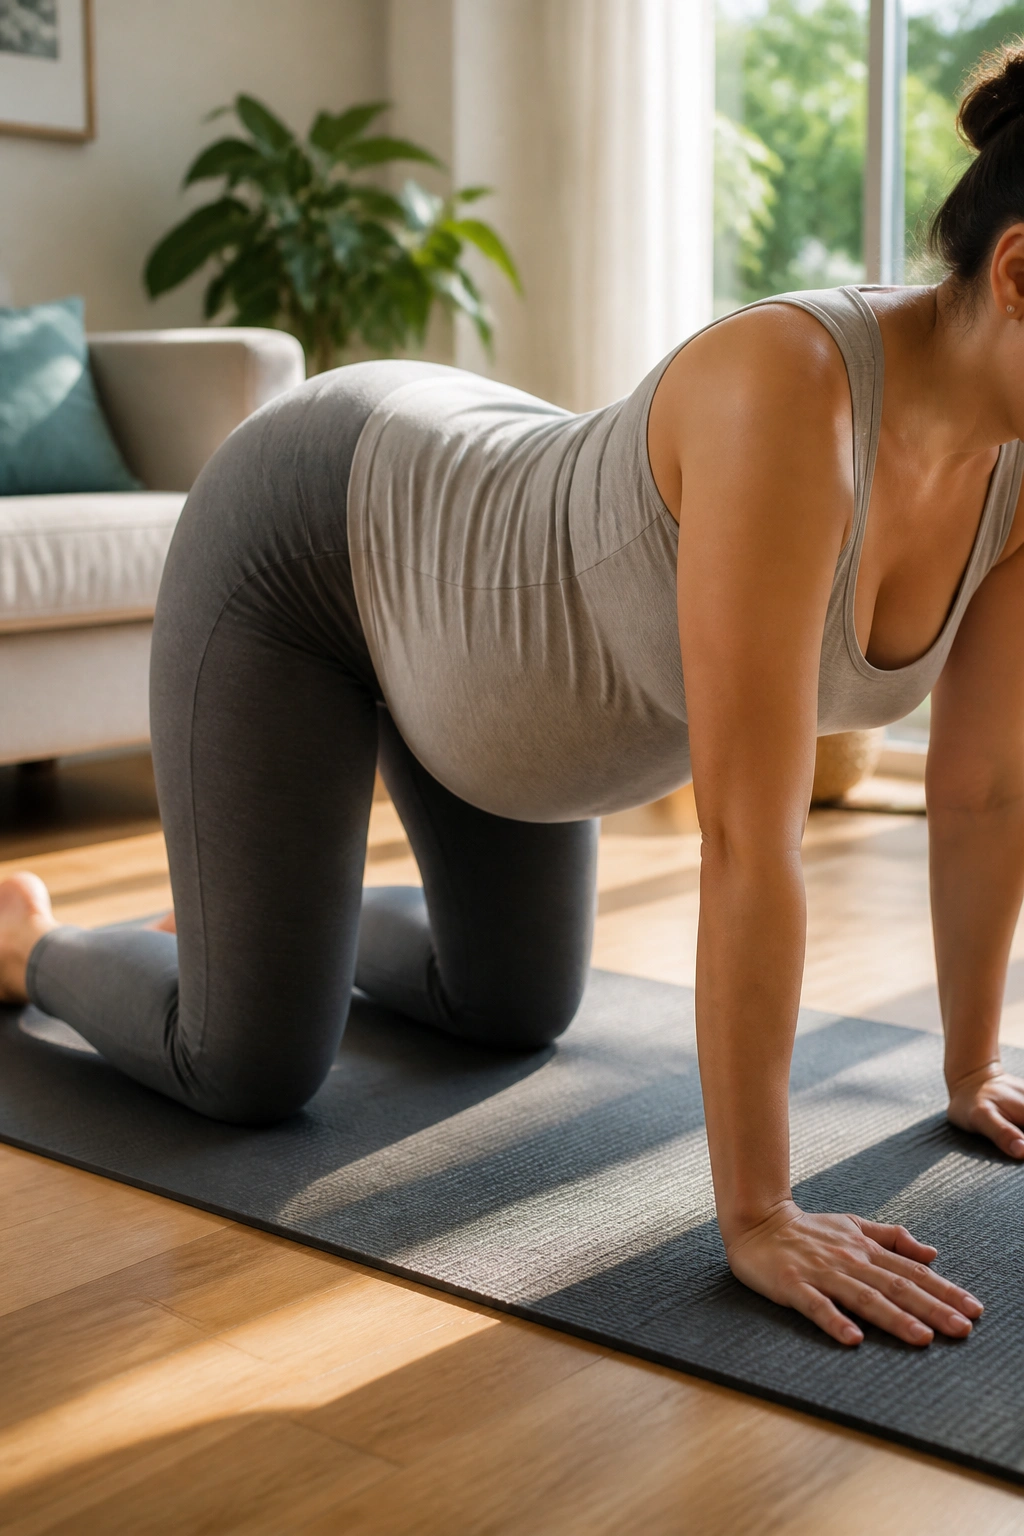
This one looks playful, which is exactly why people skip it too soon. From hands and knees, shift your hips a few inches side to side, making small circles or a gentle tail-wag shape. Keep the torso relaxed.
The real win here is asymmetry work. Many pregnant people lean to one side, stand with one hip popped out, or carry tension in one glute more than the other. Small circles help you find where things are stiff without forcing anything.
What to watch for
- Keep the circles small at first.
- Do 5 circles each direction.
- Stop if you feel pinching in the front of the hip.
A lot of these “tiny” moves are the ones that make walking feel easier later.
8. Side-Lying Clamshells
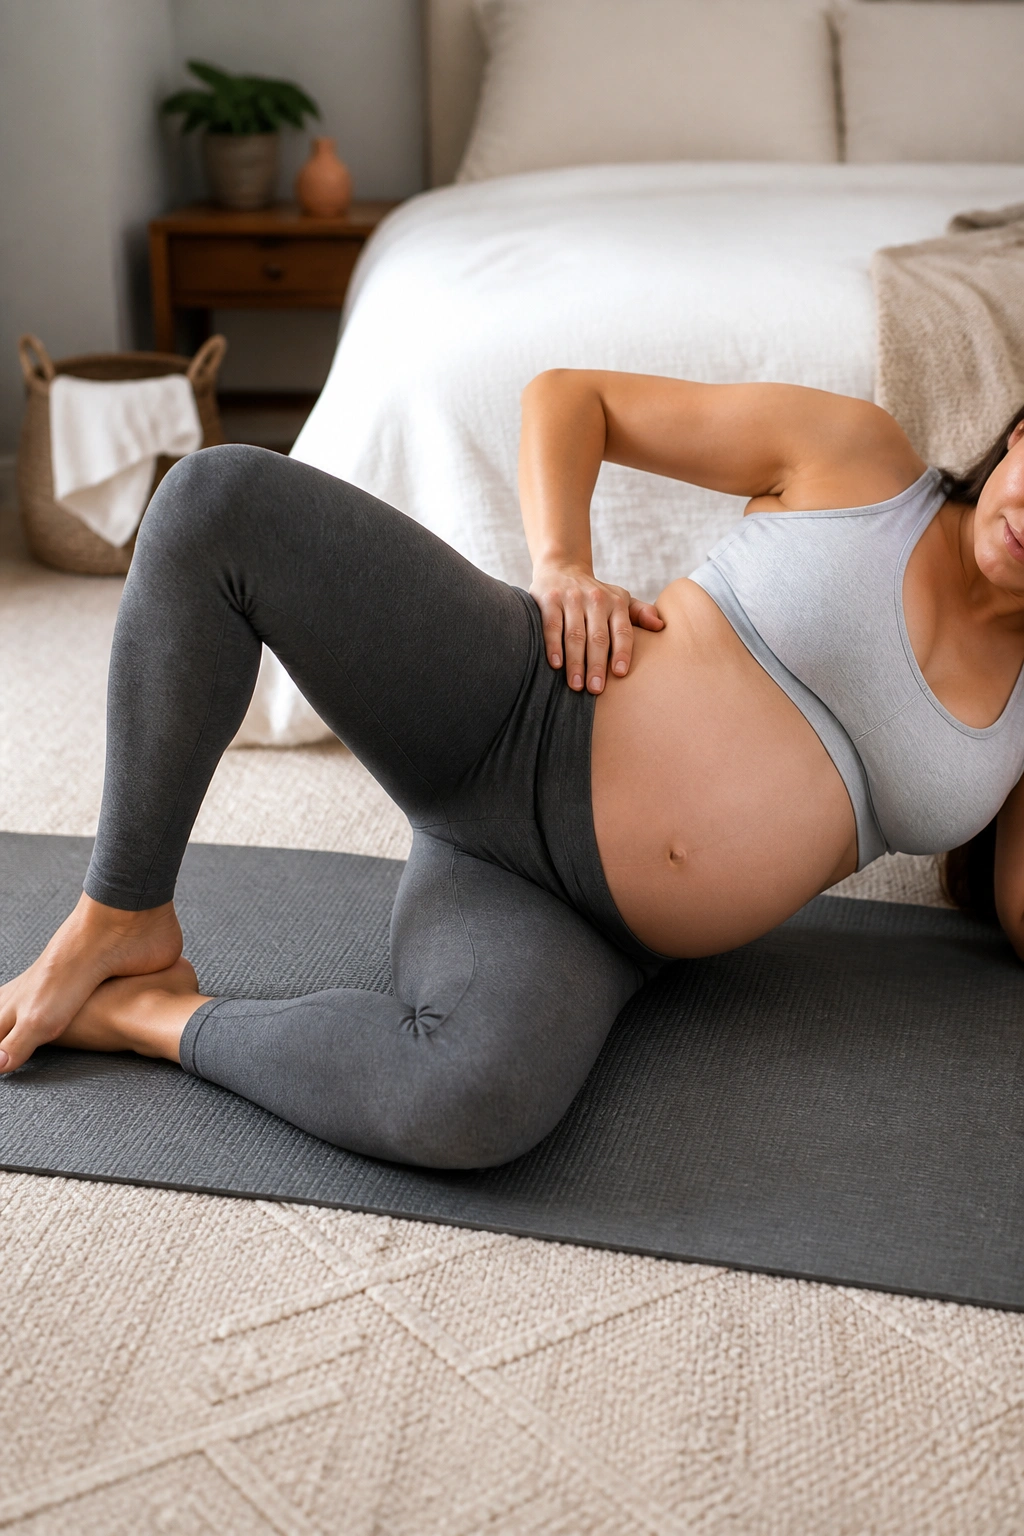
Lie on your side with knees bent and feet stacked. Keep the pelvis still, then open the top knee like a clamshell while the feet stay together. You’ll feel the side of the hip work, especially the glute medius, which helps stabilize the pelvis.
That matters more than people think. A steadier pelvis gives the pelvic floor less chaos to manage every time you walk up stairs or roll out of bed. Tight inner thighs can’t do all the work forever.
Use 8 to 12 reps per side. A light resistance band is optional, but not required. If the exercise makes your lower back rotate or your top hip roll backward, reduce the range. Small, clean reps beat big messy ones every time.
9. Side-Lying Leg Lifts
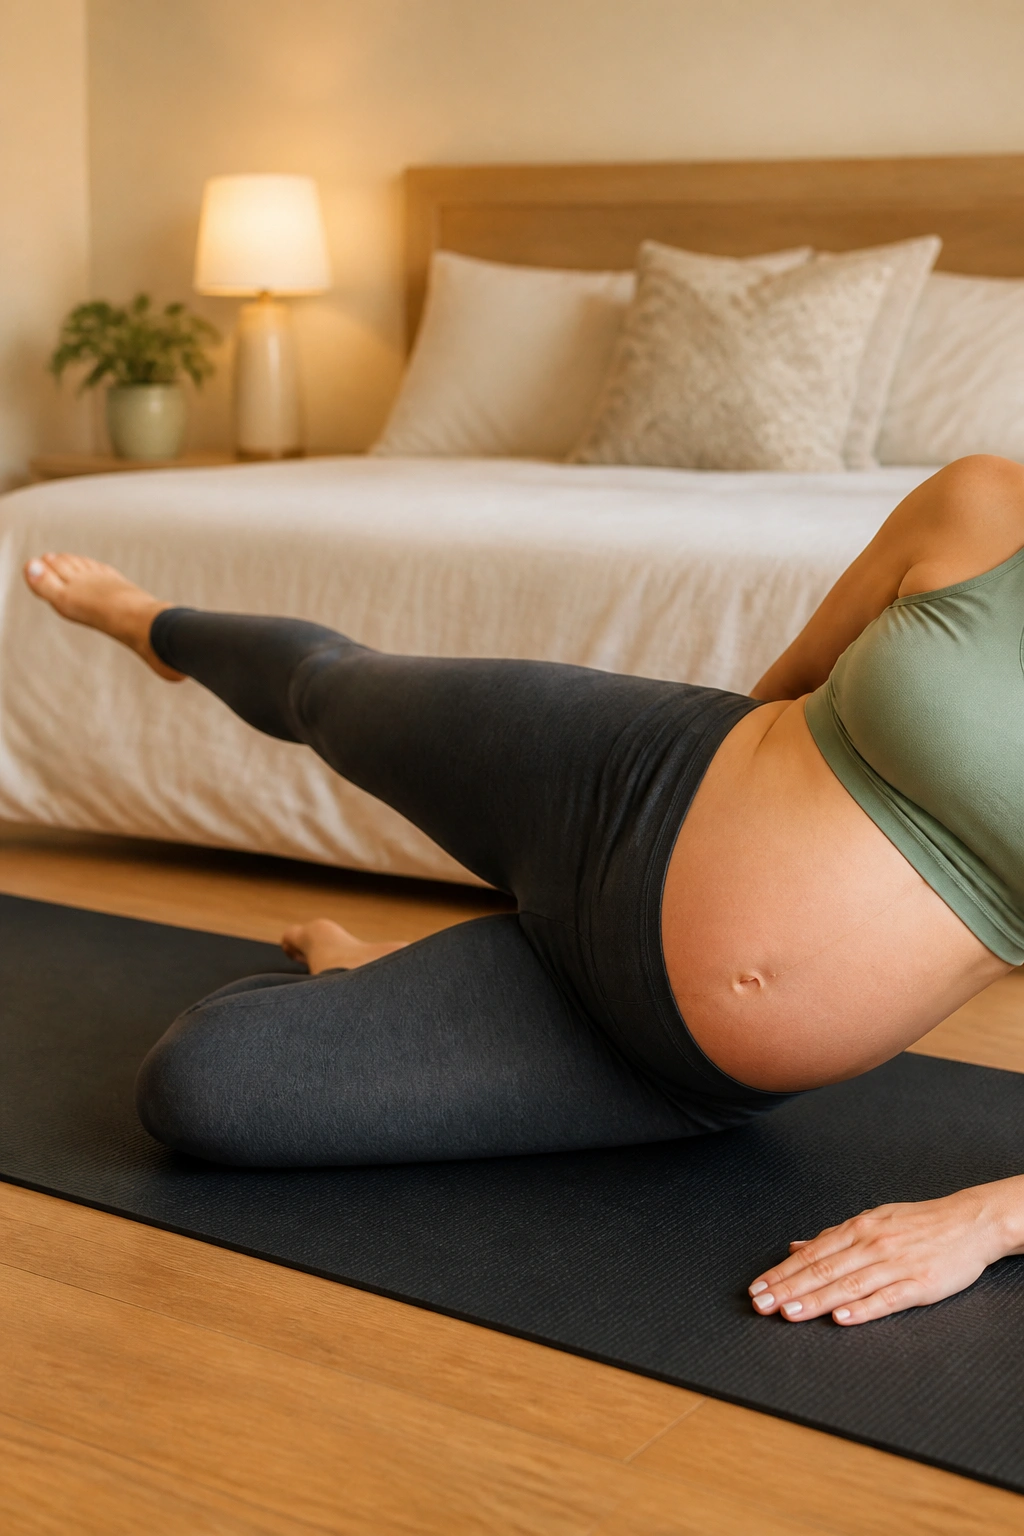
This is another side-lying favorite, and it’s useful when clamshells feel too small. Keep the bottom leg bent, straighten the top leg, and lift it a few inches with the foot slightly turned forward. You should feel the outer hip, not the front of the hip crease.
Pregnancy can make the pelvis feel wobbly. Side-lying work helps build support without putting you flat on your back for long periods or asking for a ton of abdominal pressure.
Do 8 to 10 controlled lifts. If you start swinging the leg, the set is over. If your low back tightens, lower the leg less. That’s the adjustment most people need.
10. Bird-Dog
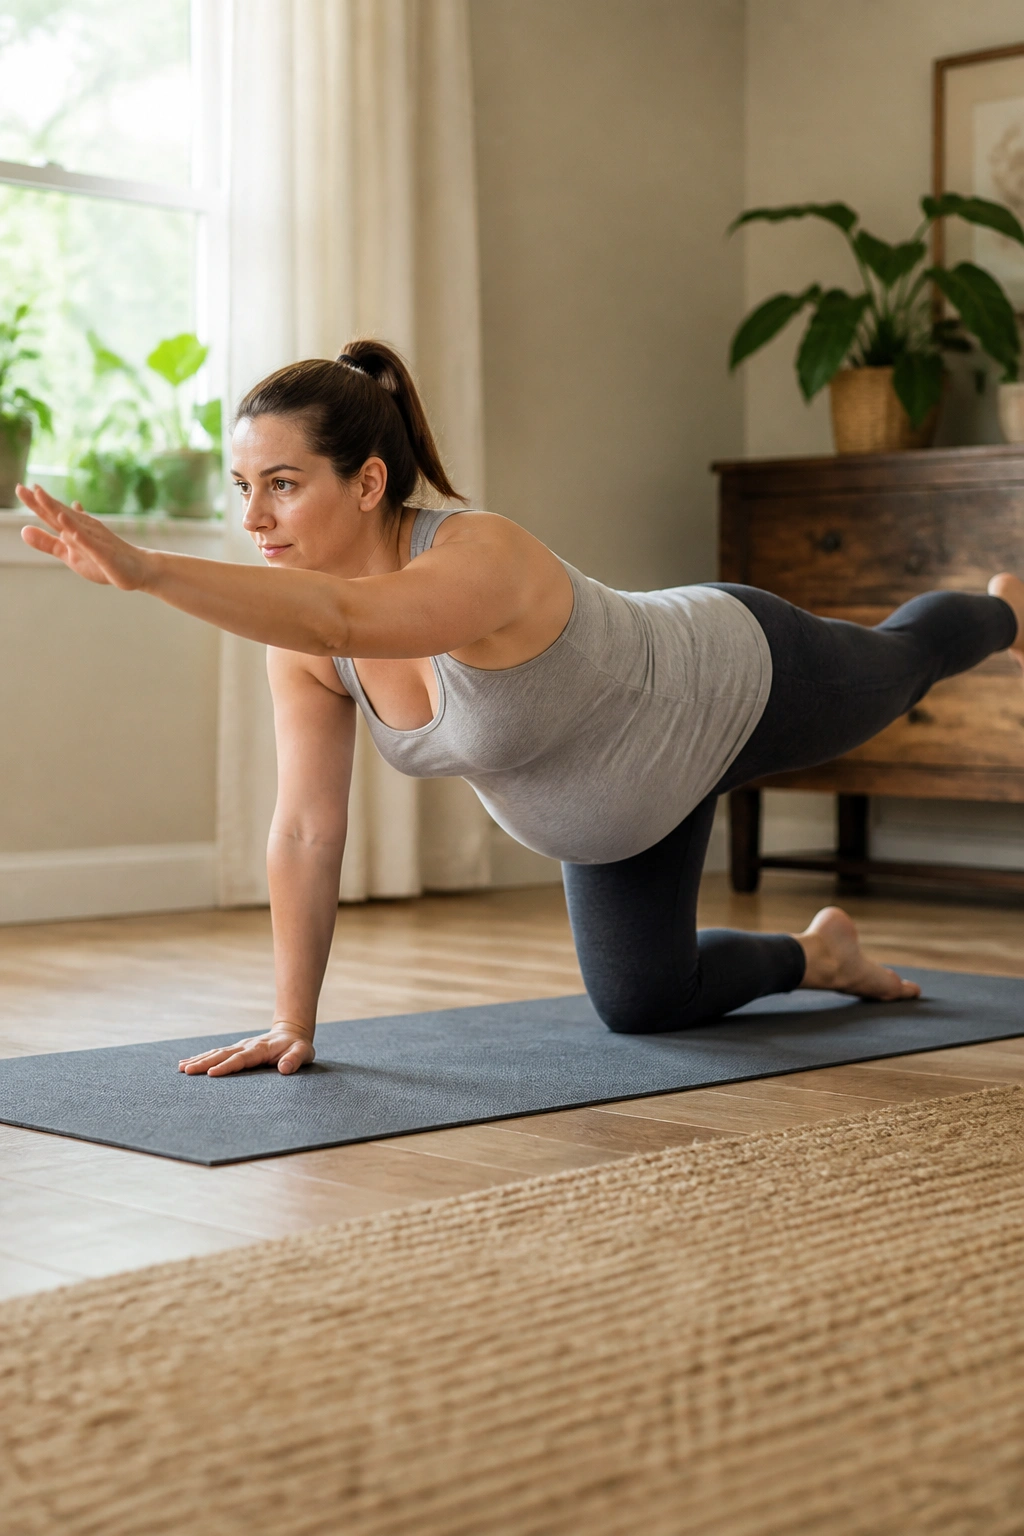
Bird-dog is one of the best pregnancy-safe coordination exercises if you keep it honest. From hands and knees, reach one leg back and the opposite arm forward, but only as far as you can keep the hips level and the ribs quiet.
You are not trying to look athletic. You’re trying to keep the trunk from wobbling while the limbs move. That’s a very pelvic-floor-friendly skill.
Hold for 2 to 4 breaths, or do 6 slow reaches per side. If a full arm-and-leg extension feels too much, start with just a leg slide or just an arm reach. The smaller version is still useful.
11. Chair Sit-to-Stand
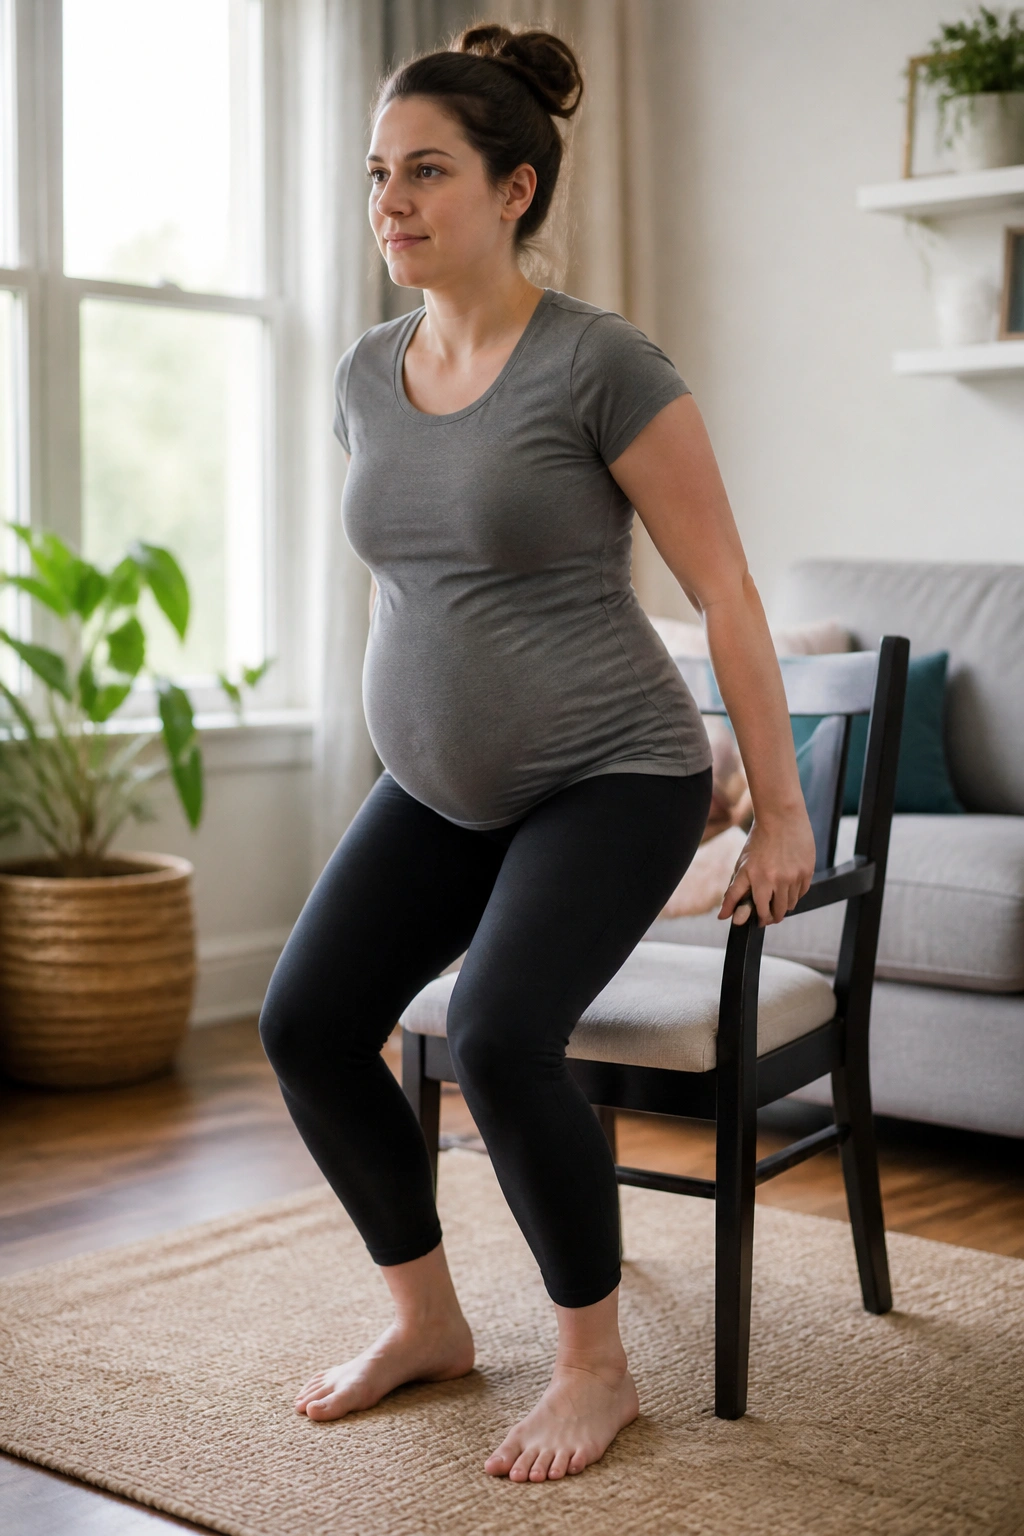
Sit in a chair with feet about hip-width apart. Exhale as you stand, keeping the ribs from flaring and the knees tracking over the toes. Then lower back down with control, instead of dropping into the chair.
This is functional strength, which is a fancy way of saying it matters in real life. If you can rise from a chair without breath-holding or pelvic heaviness, you’re training the exact pattern you’ll use a dozen times a day.
Aim for 6 to 10 reps. Use the arms of the chair if needed. If the seat is low, add a cushion. There is no prize for making the movement harder than it needs to be.
12. Supported Squat to a Box
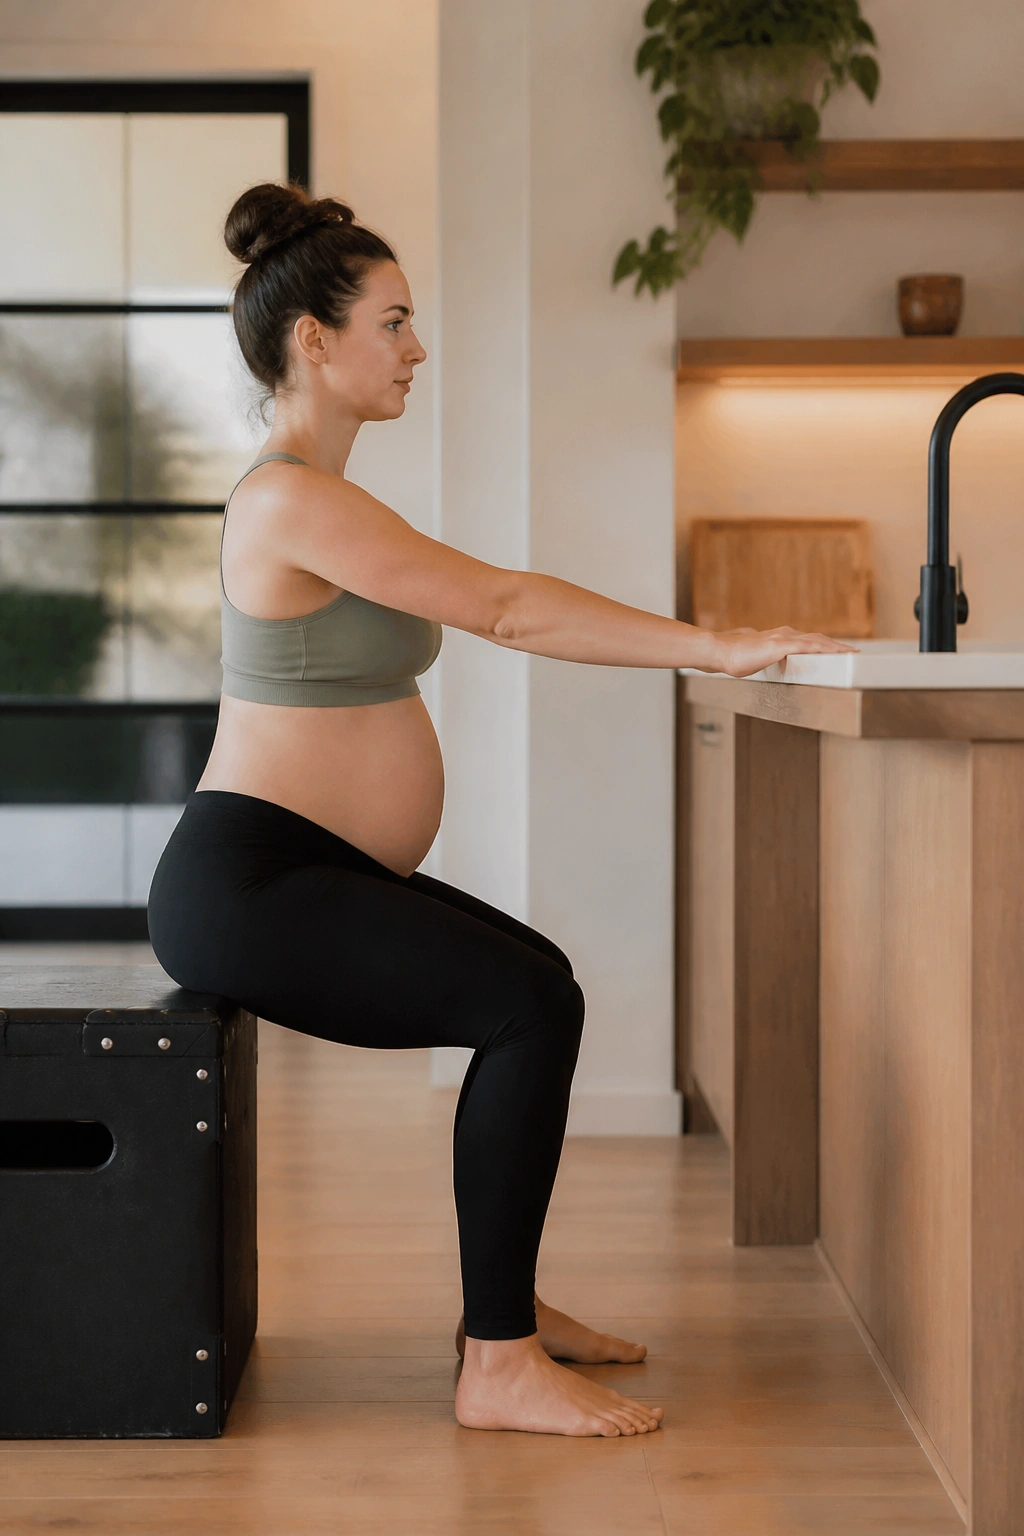
A supported squat can be one of the best pelvic floor exercises safe while pregnant because it builds leg strength while teaching the pelvis to open and close under load. Stand in front of a sturdy box, bench, or chair, hold a countertop if you need it, and lower until you lightly touch the seat.
Keep your weight through the whole foot. Let the knees bend and track over the toes. Exhale on the way up. The squat should feel grounded, not like a strain in your lower belly.
A useful cue
Think “sit back, breathe out, stand up.” That’s enough. You do not need to sink deep.
13. Wall Sit with Long Exhales
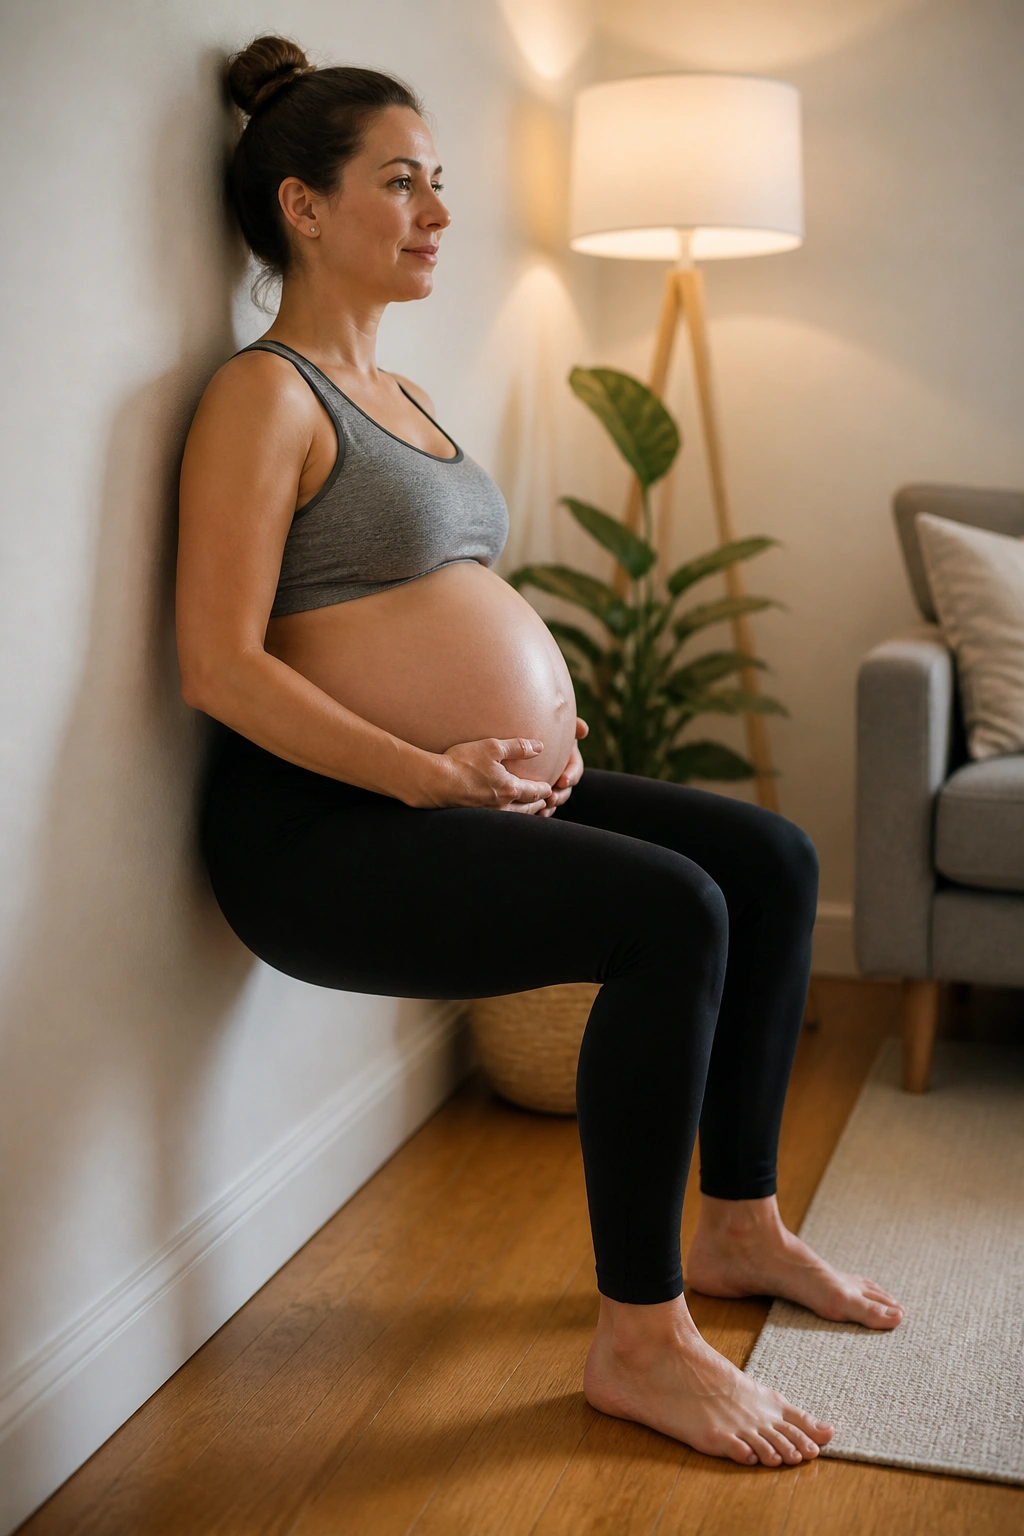
Lean your back against a wall and slide down only as far as feels comfortable. A shallow wall sit is plenty. Hold for 15 to 30 seconds while you make long, steady exhales.
The wall gives you feedback, which is useful when pregnancy makes posture feel slippery. You can feel whether your ribs are flaring or your pelvis is dumping forward. It’s a good place to practice staying stacked without over-bracing.
If your knees don’t love wall sits, keep the bend small or skip the static hold and do mini-squats instead. The thigh burn should be mild, not a white-knuckle event.
14. Standing Hip Hinge
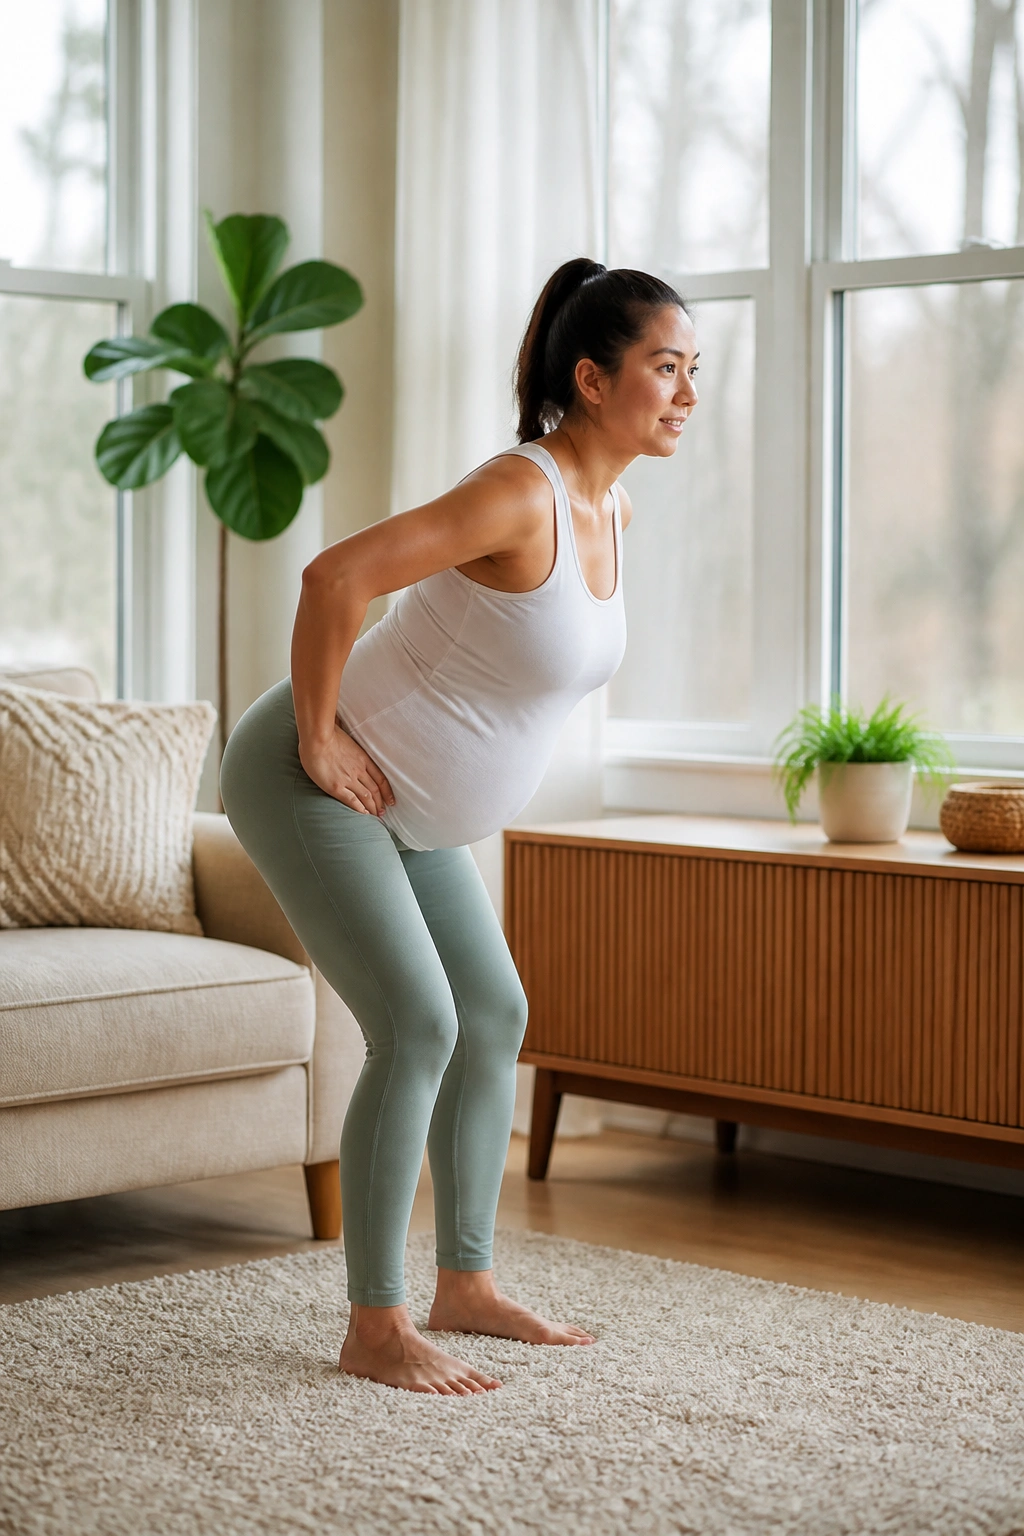
Stand with feet hip-width apart, a soft bend in the knees, and hands on your hips or thighs. Hinge back at the hips as if you’re closing a car door with your backside, then stand tall again with an exhale.
This movement teaches the glutes and hamstrings to share the load. That matters because when the hips do more of the work, the pelvic floor often gets less unhelpful pressure.
Do 8 reps slowly. Keep the spine long and the belly relaxed. If you feel the movement mostly in your low back, shorten the range and think “hips back” more than “torso down.”
15. Low Step-Ups
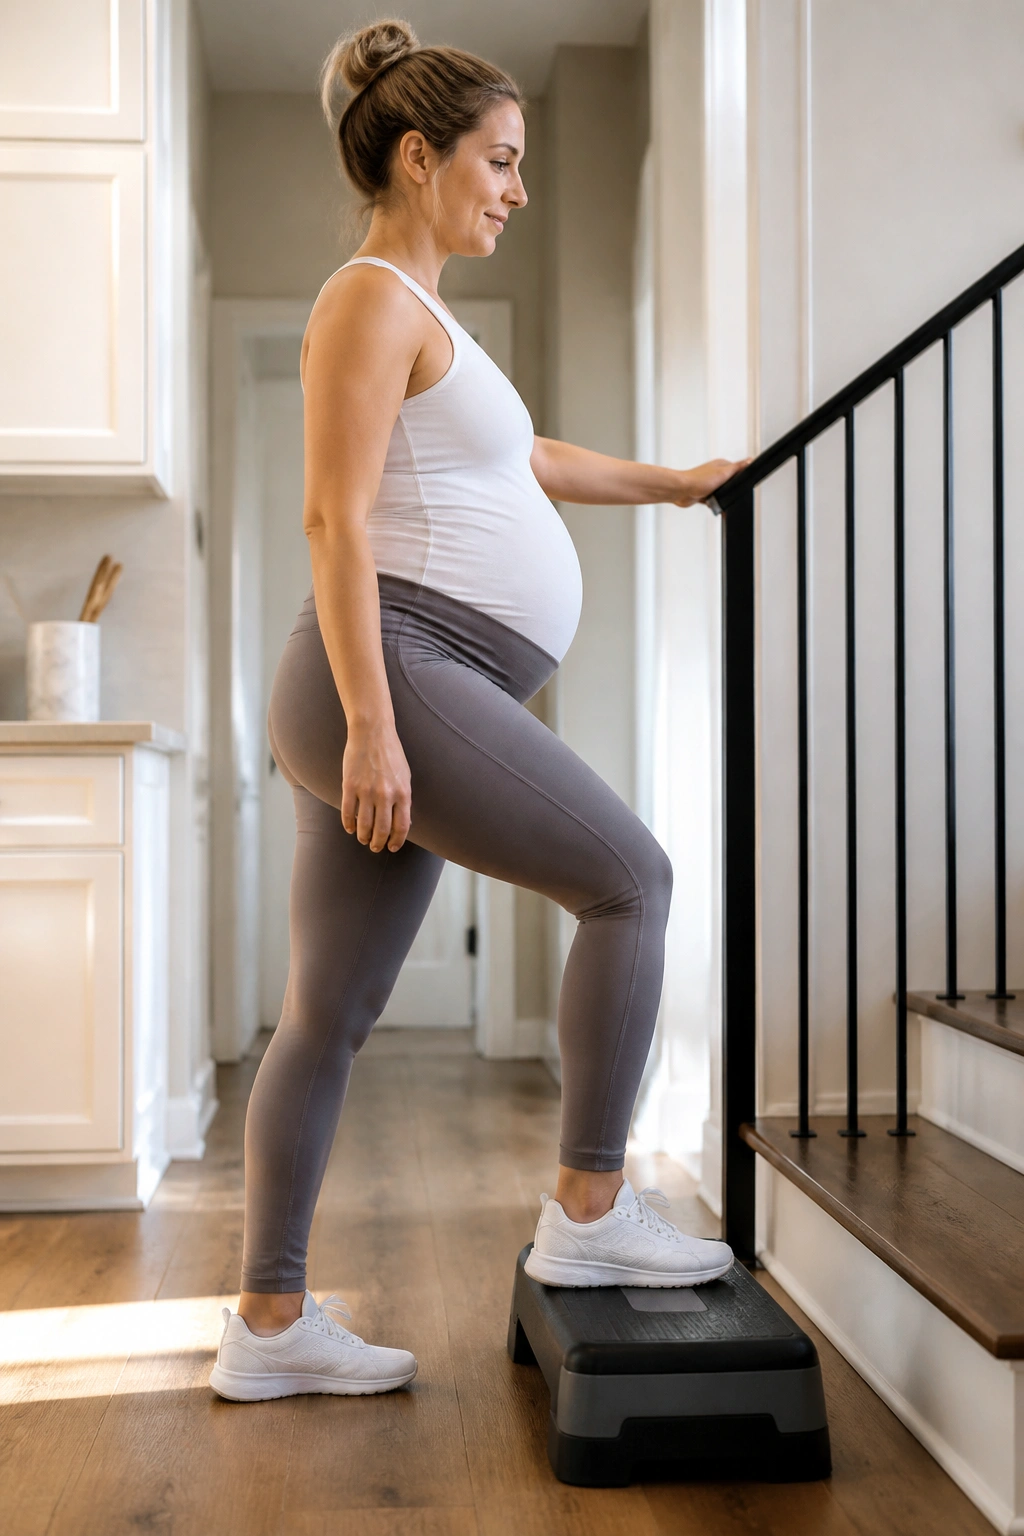
Use a low step, about 4 to 6 inches if that feels right, and step up one foot at a time while holding a railing or wall for balance. Exhale as you stand on the step. Lower with control.
Step-ups train single-leg support, which gets overlooked a lot. Walking, stairs, carrying groceries, and getting in and out of a car all ask for this. The pelvic floor likes a pelvis that can stay level when one leg is working harder than the other.
Do 6 to 8 reps each side. Keep the step low enough that you don’t have to lean or heave. If your balance is shaky, use both hands on support. Boring and stable is the winning combo here.
16. Standing March
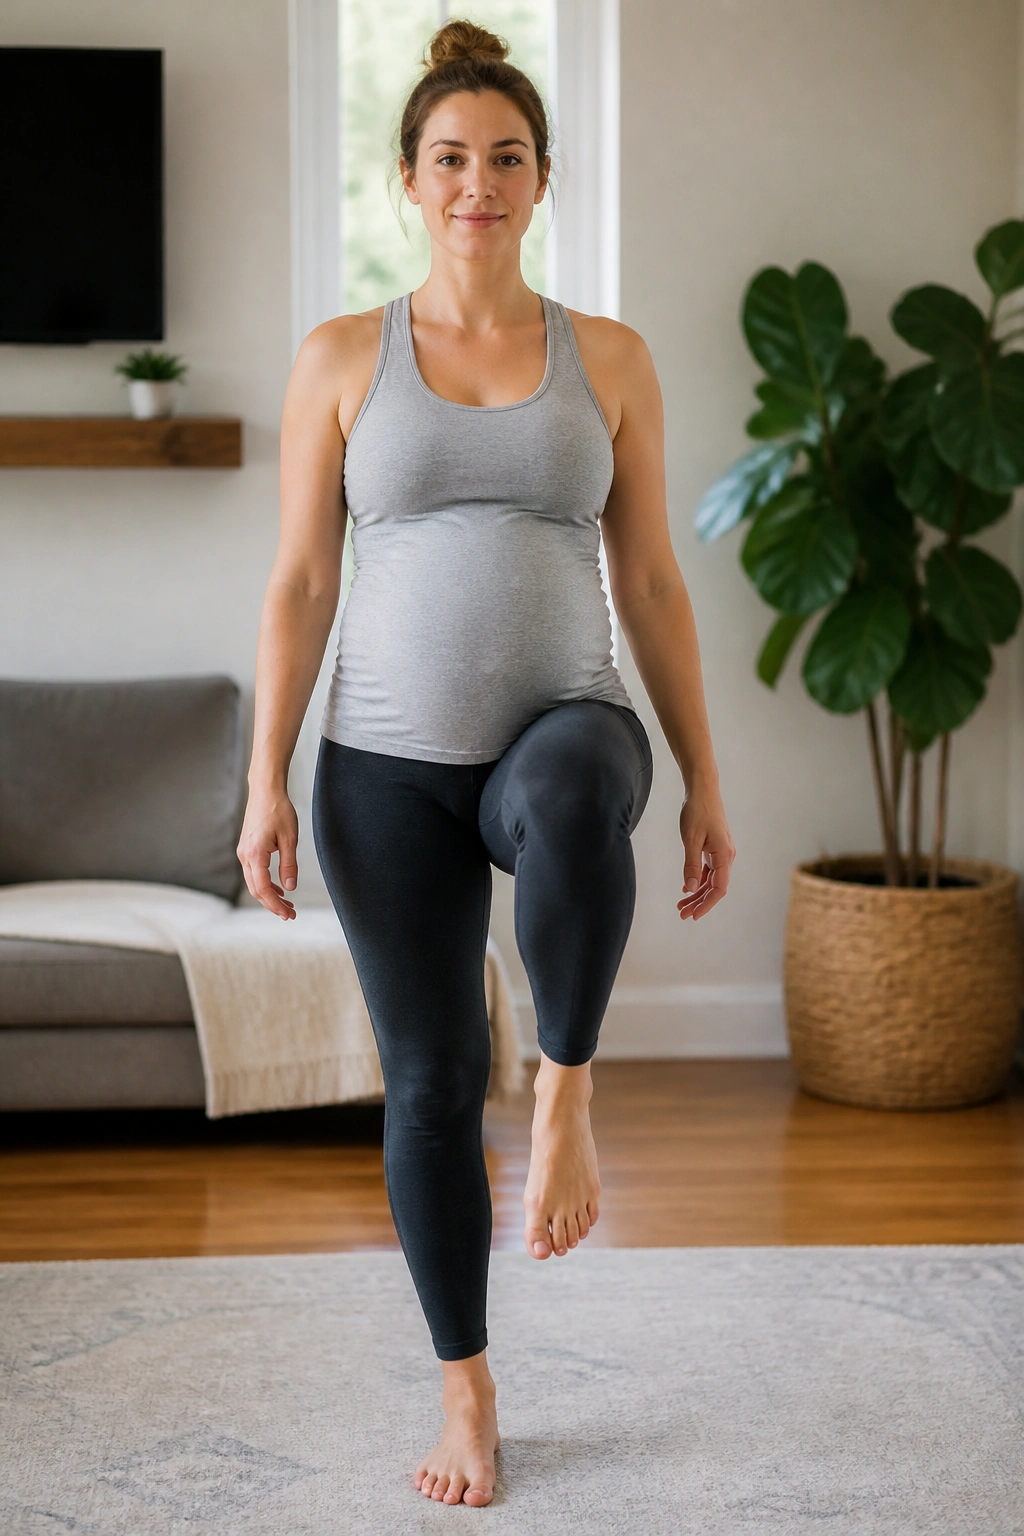
Stand tall and lift one knee a few inches, then lower and switch sides. Keep the ribs stacked over the pelvis and the pelvis as quiet as possible. If the body starts swaying, slow down.
This drill is simple, but it exposes control issues fast. If one hip hikes, one side of the low back tightens, or you hold your breath on every lift, the movement is telling you something useful.
Do 20 to 30 seconds. You can also add a light exhale on each lift. That tiny breath cue makes the core and pelvic floor respond together instead of separately.
17. Calf Raises with Relaxed Ribs
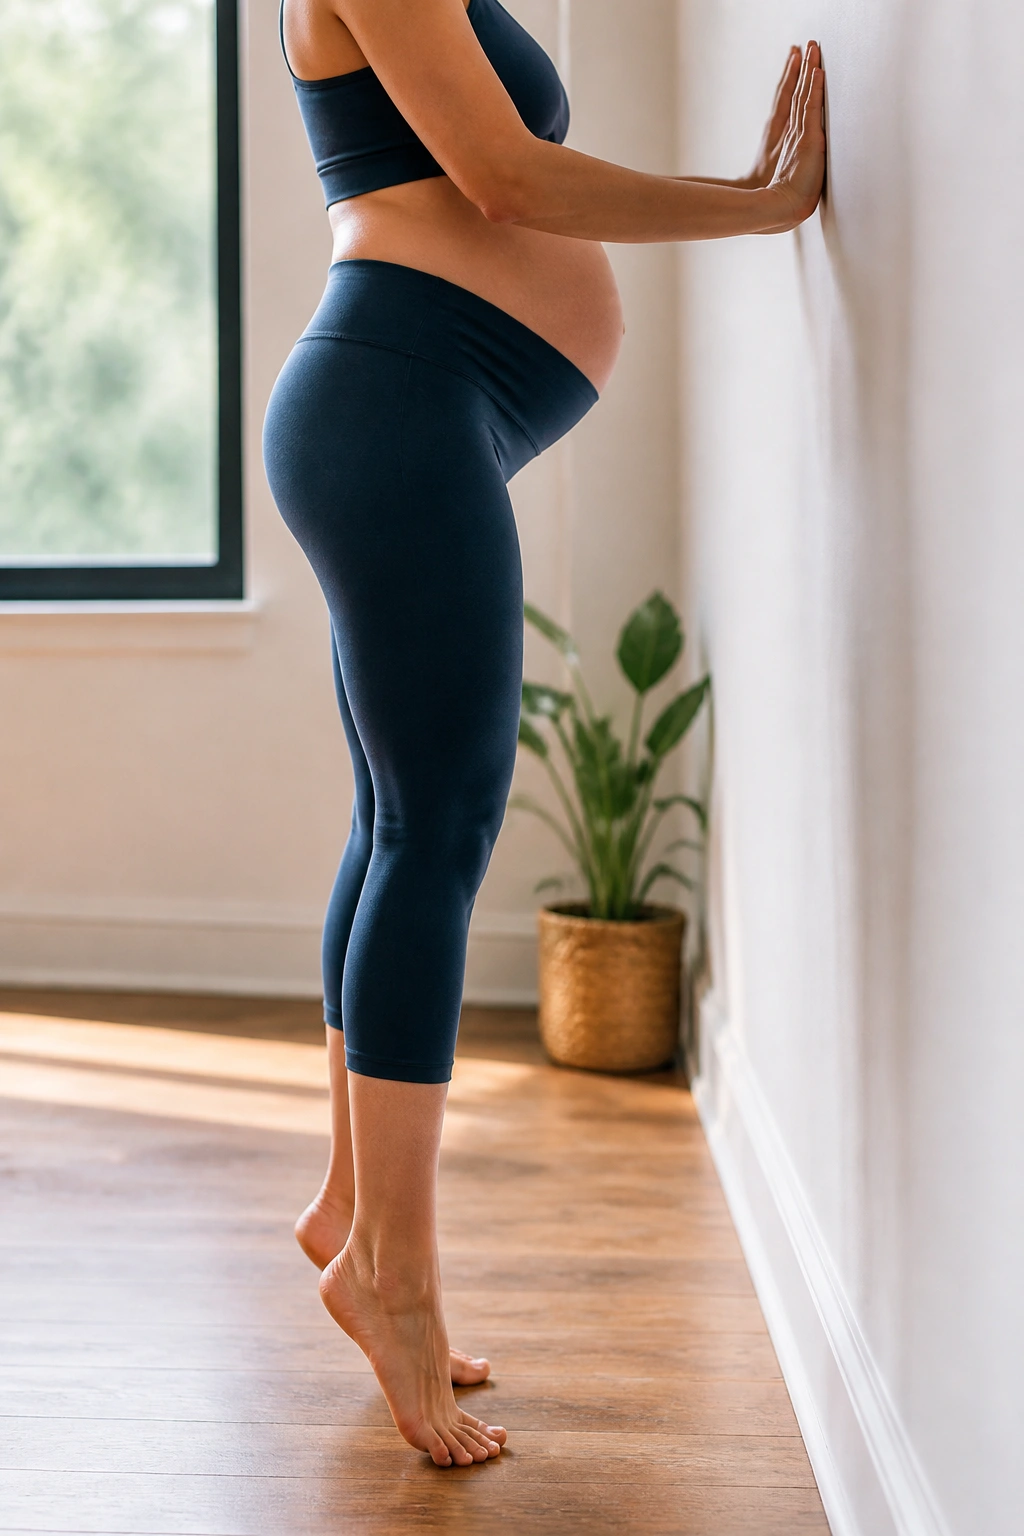
Stand with feet parallel and rise onto the balls of your feet, then lower slowly. Keep the ribs soft and the jaw loose. It sounds too small to matter, and then you feel how much balance and lower-leg strength it asks for.
The connection to the pelvic floor is indirect but real. Better ankle and calf strength can improve gait, and better gait can reduce the amount of awkward bracing your whole trunk has to do. Pregnancy often changes the way people walk before they notice it.
Do 12 to 15 reps near a wall or counter. If you’re wobbling, make the stance a touch wider. If standing still makes your back ache, do them in smaller sets.
18. Seated Ball Rocks
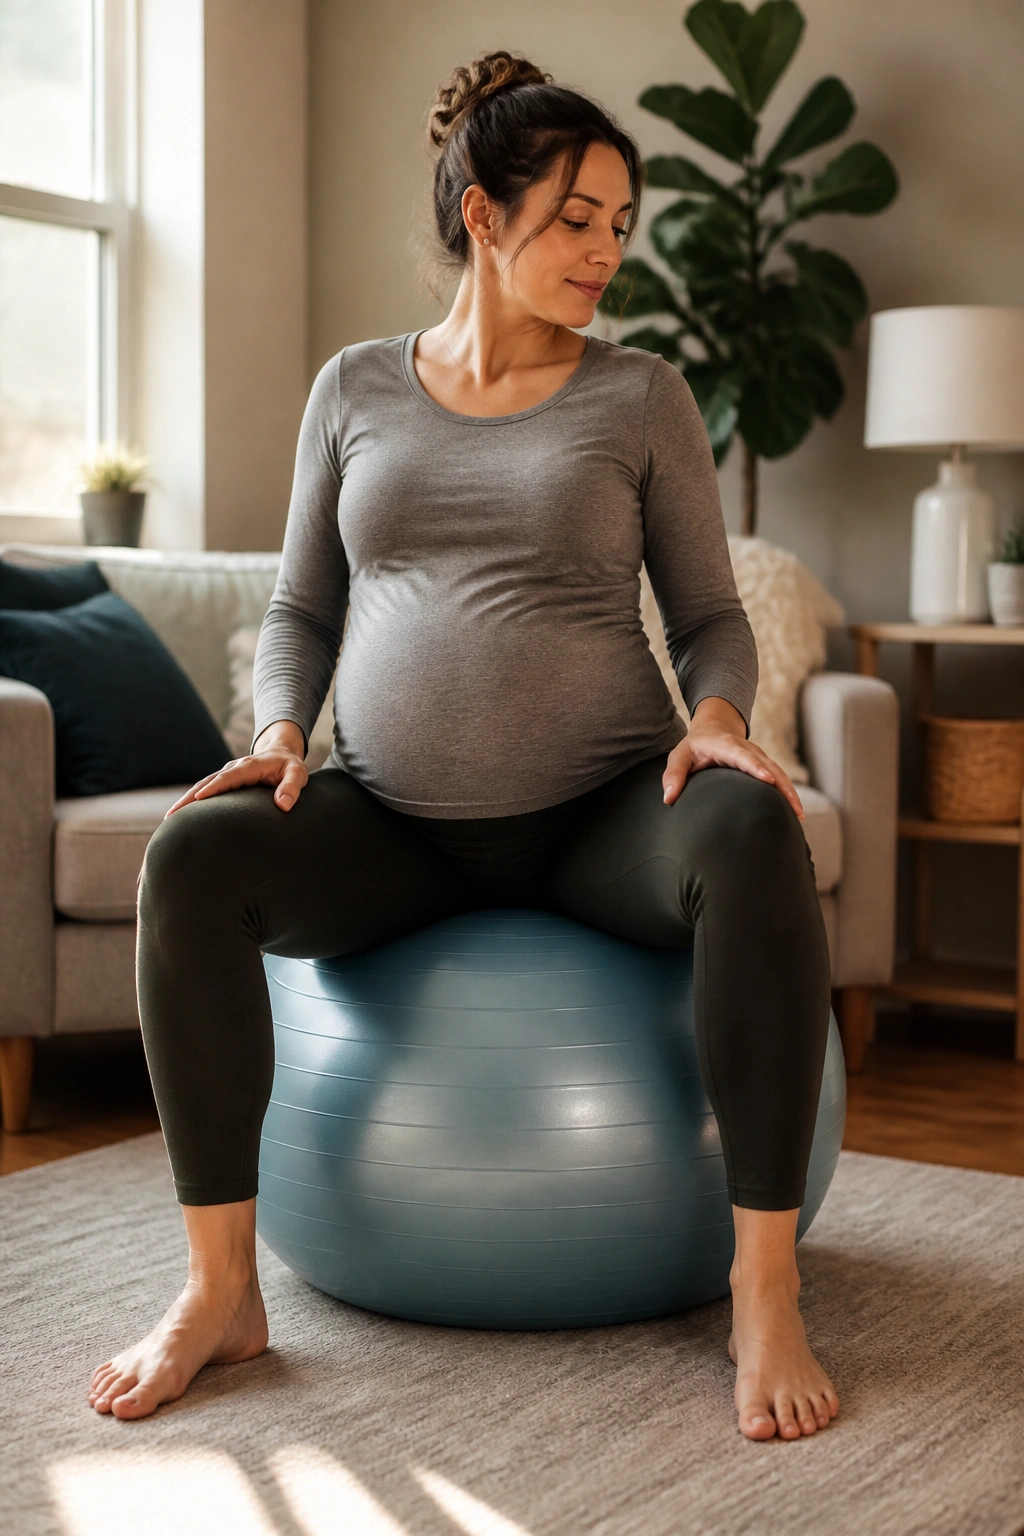
Sit on a stability ball or firm birth ball with feet flat on the floor. Rock your pelvis gently forward, back, and side to side. It should feel like a slow, loose sway, not a workout.
This is one of those prenatal moves people either adore or ignore. I like it because it gives the hips movement without loading the spine too hard. It can also be a nice reset when the pelvic floor feels grippy.
Best cue
Let the sit bones move under you. Don’t stiffen to “hold yourself up.”
Spend 1 to 2 minutes here, breathing steadily. If the ball makes you tense your thighs, sit on a firmer chair and do the same motion there.
19. Seated Ball Circles
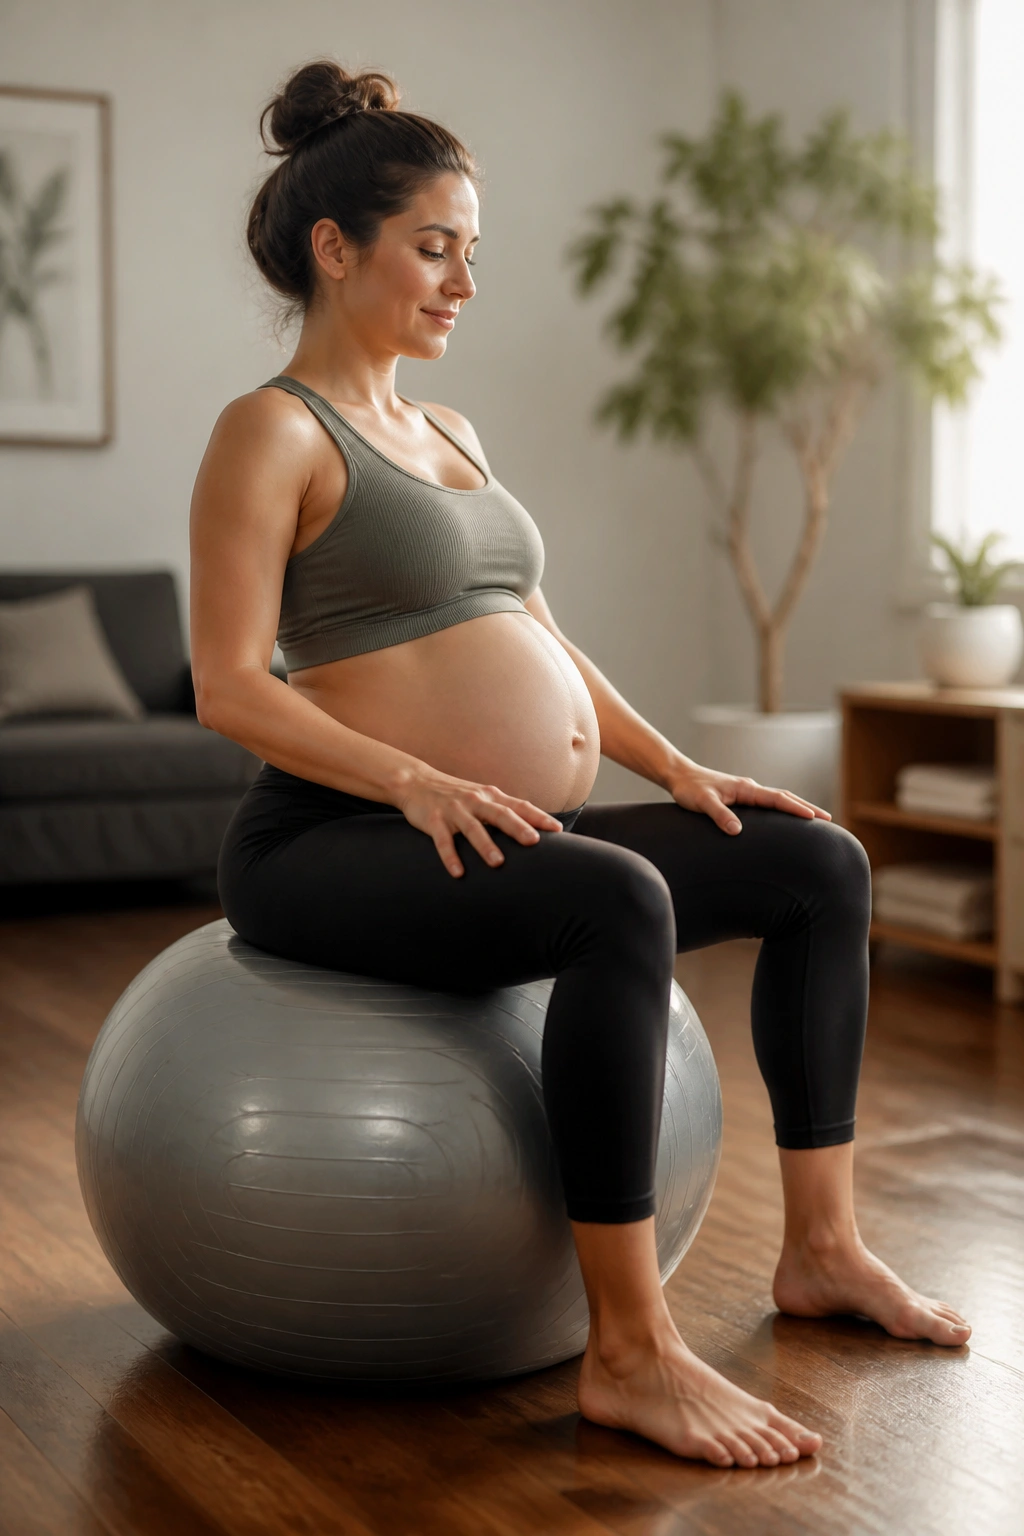
Once the rocking feels easy, make small circles with your pelvis on the ball. Keep them slow enough that you can tell which direction you’re moving. The circles do not need to be big.
This works well for people who feel asymmetrical in the hips or low back. It also helps the pelvic floor respond to tiny shifts in pressure instead of only big ones.
Do 5 circles each direction, then switch directions. If you feel dizzy, stop and go back to simple side-to-side rocks. The body usually tells you which version is enough.
20. Wall Press with Breath
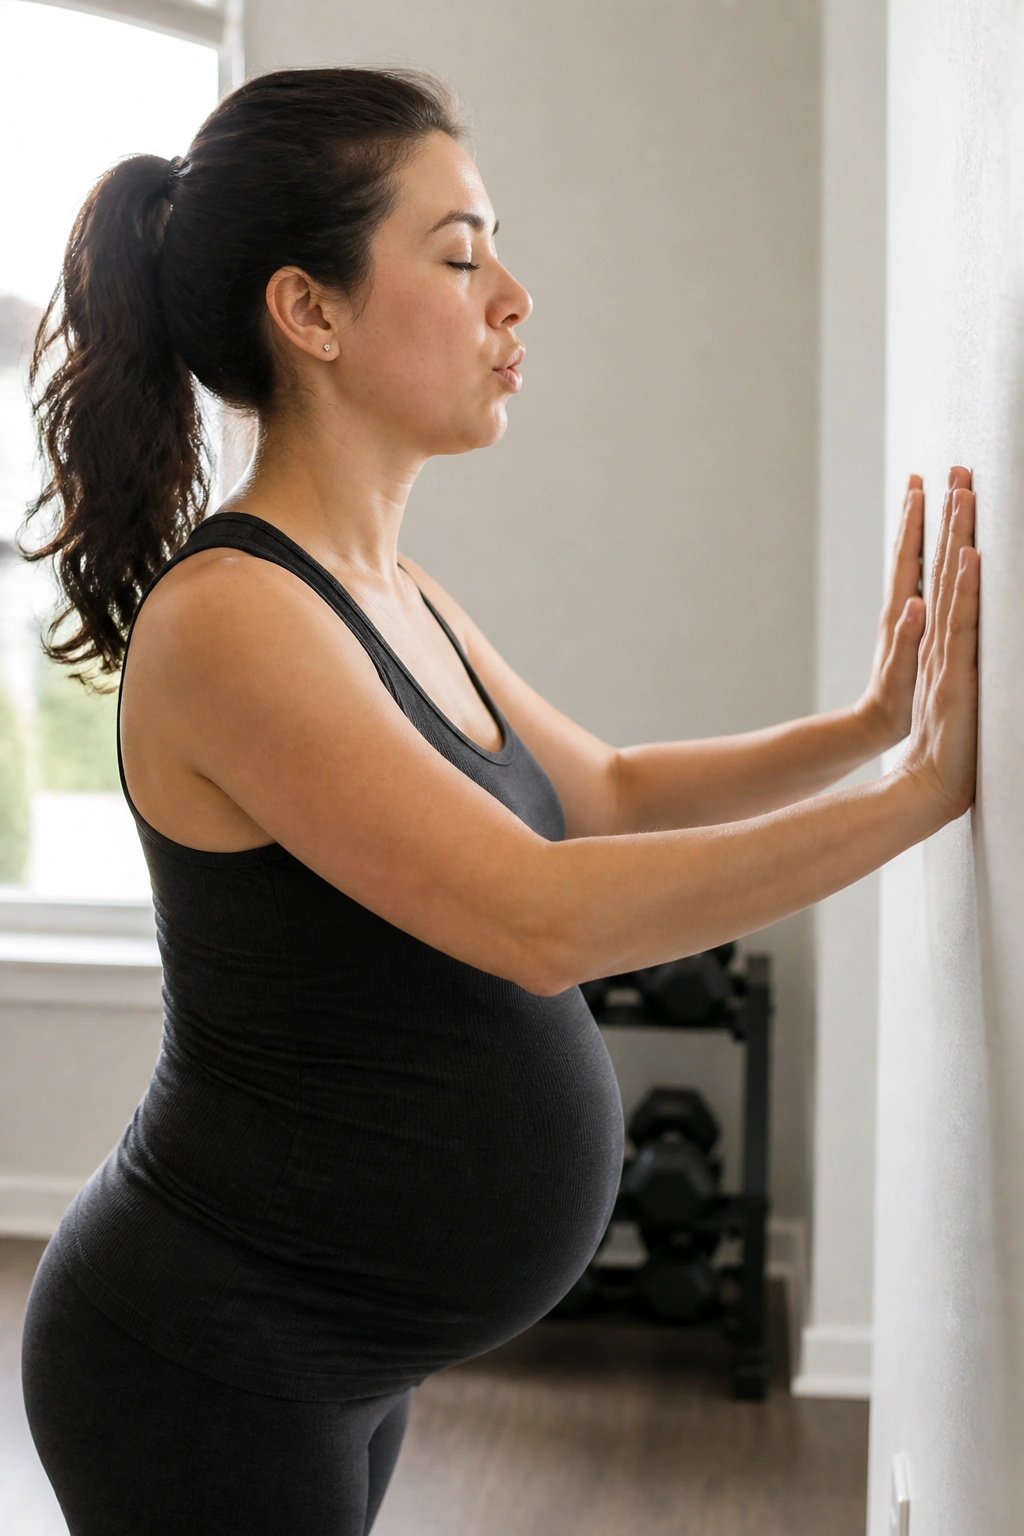
Stand facing a wall, place both hands on it, and press gently as you exhale. You should feel the shoulders, upper back, and deep core wake up without strain. It’s a sneaky good prenatal stability move.
The wall gives you resistance without load through the belly. That makes it useful on days when you want to move but don’t want to do anything that feels bouncy or unstable.
Hold each press for 3 to 5 seconds, then release fully. A few rounds are enough. If you press so hard that your neck tightens, the effort is too high.
21. Standing Side Bend
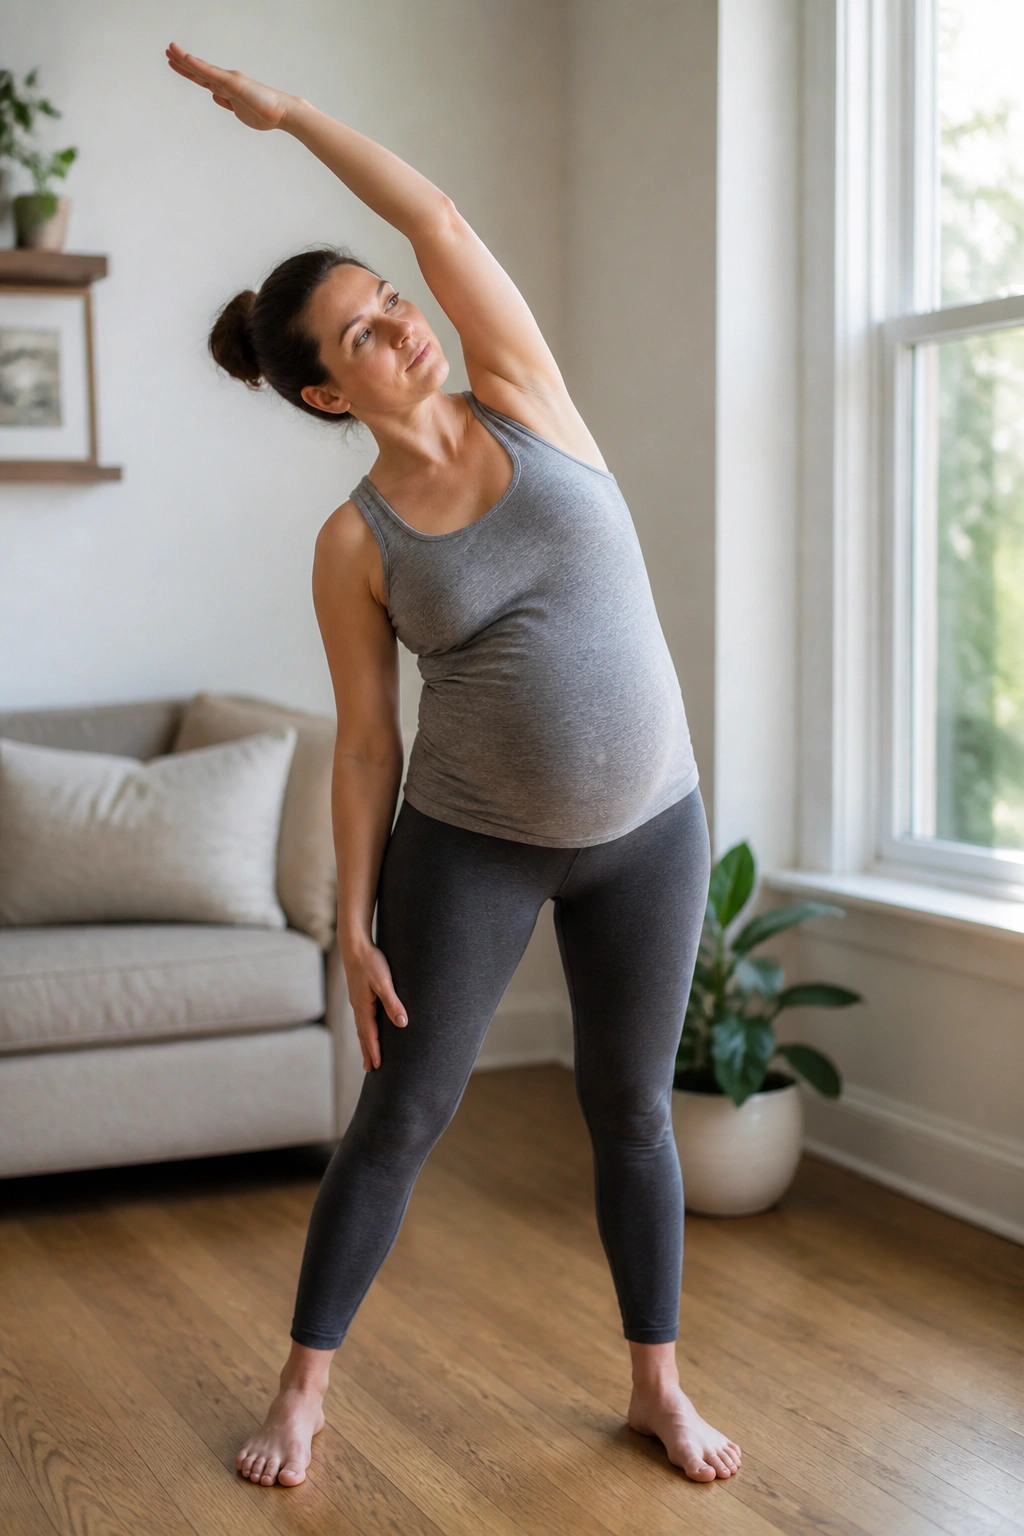
Stand tall, let one arm reach overhead, and bend gently to the opposite side. Keep both feet planted. Breathe into the open side of the ribs, then return to center and switch sides.
Pregnancy often makes the ribs feel locked and the sides of the torso feel short. A controlled side bend can help the diaphragm move better, which feeds right back into pelvic floor coordination.
Do 4 to 6 reps per side. Don’t collapse forward. If balance is shaky, do the move next to a counter and keep the range small. Grace is optional. Control is not.
22. Supported Lateral Lunge
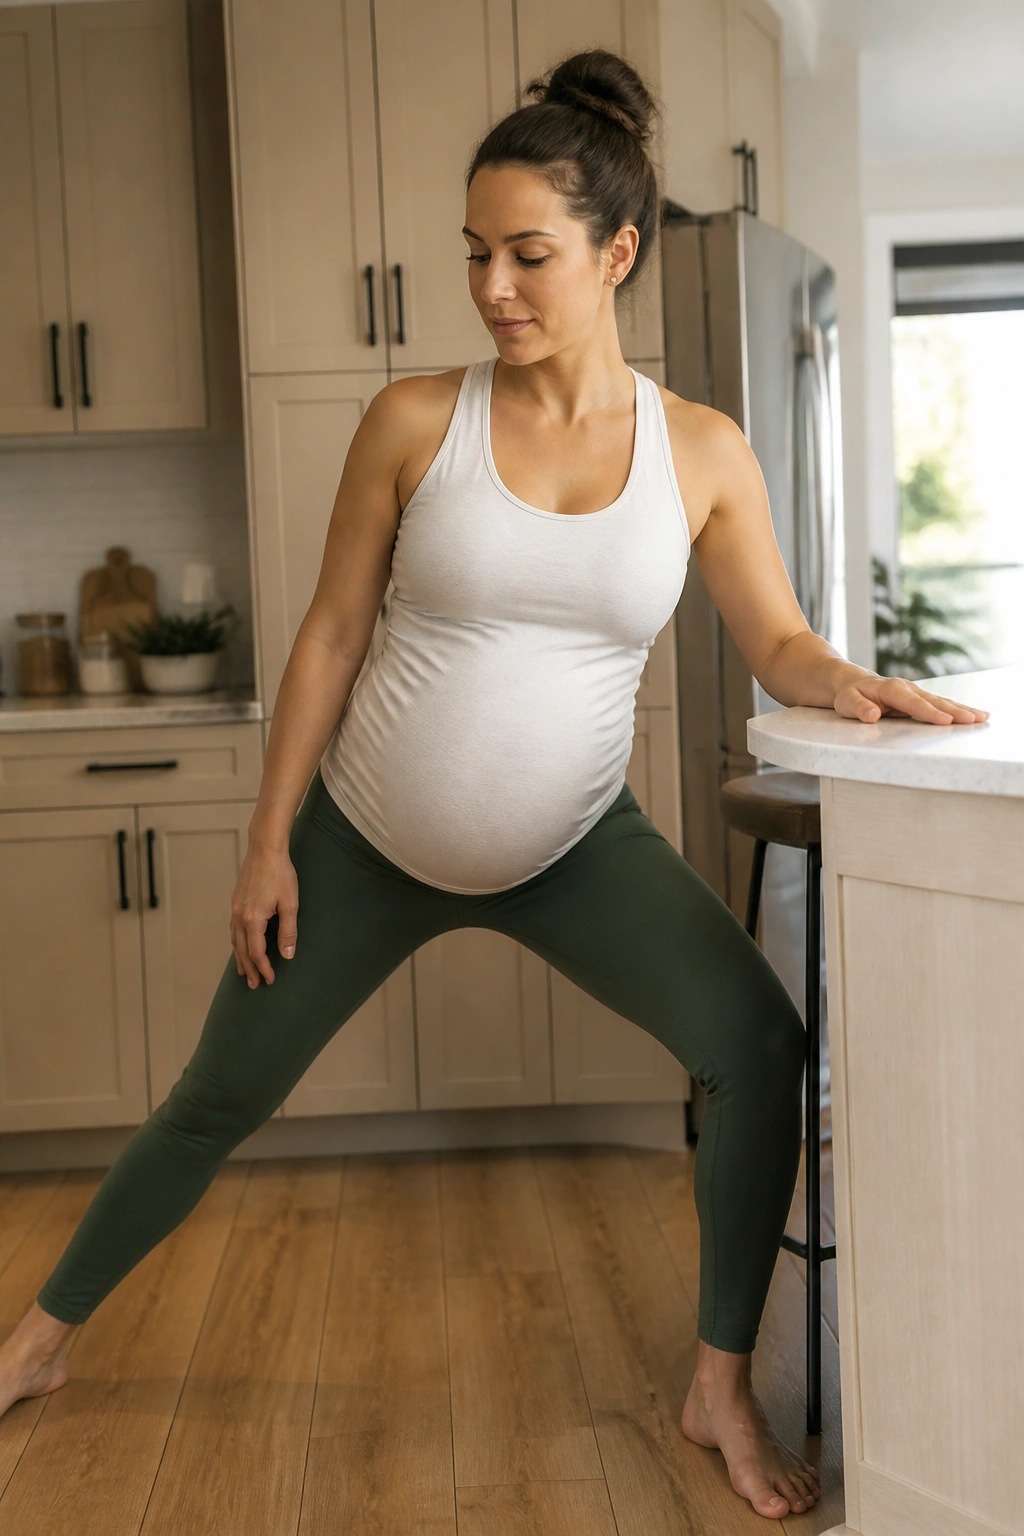
Take a wide stance, turn one toe slightly out, and shift your hips toward that side while keeping the other leg long. Hold a counter or chair if needed. Come back to center with a steady exhale.
This move wakes up the inner thigh on one side and the outer hip on the other, which is a nice combo for pelvic support. It also gives the adductors and glutes a chance to work together instead of fighting for control.
Go shallow. Seriously, shallow is fine. Do 5 to 8 reps each side and stop before the pelvis starts twisting. The point is support, not depth.
23. Pillow Squeeze with Breath
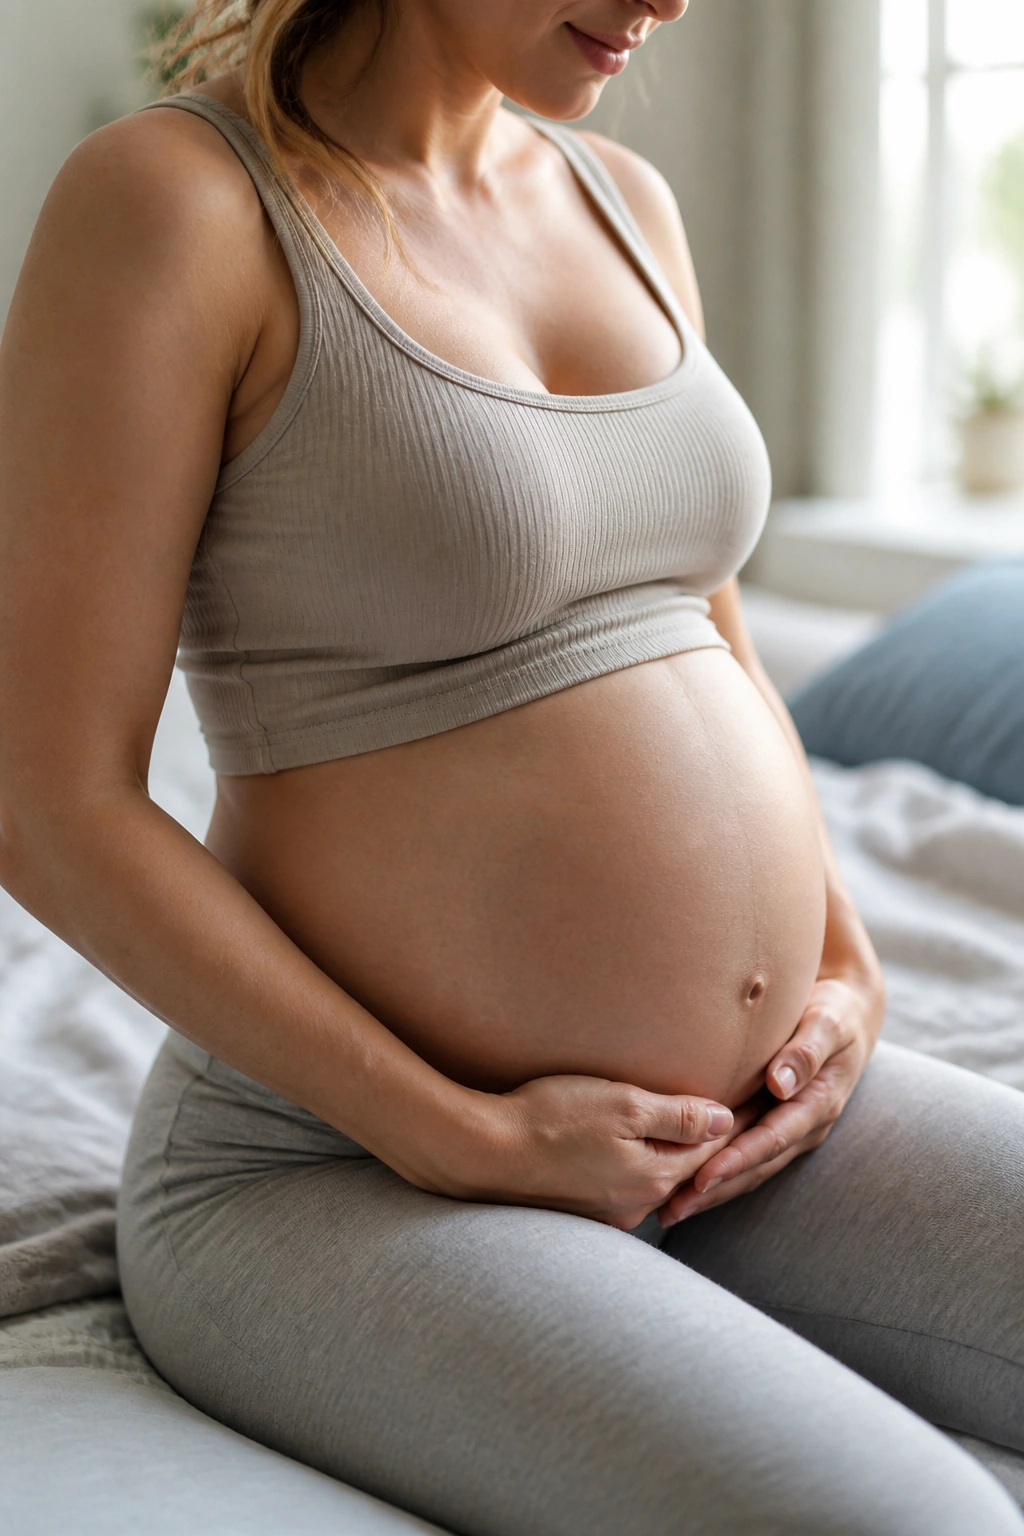
Sit tall or lie on your side and place a small pillow or folded towel between your knees. Gently squeeze it while you exhale, then ease off and let the legs soften on the inhale.
This one can feel almost too plain, but it gives the inner thighs and pelvic floor a way to coordinate without big movement. It’s also a nice choice if standing work feels tiring.
Hold for 3 seconds, release for 5, and repeat 5 to 8 times. If the squeeze makes your glutes clench hard, lighten it. The inner thighs should help; they should not take over.
24. Wide-Knee Kneel with Forward Support

If kneeling is comfortable, kneel with knees wide apart on a mat, then rest your forearms on a stack of pillows, a chair, or the edge of a sofa. Let the belly hang between the legs and breathe into the back and sides of the ribs.
This is less about strength and more about letting the pelvic floor have room. A lot of pregnant people need that space. The hips can relax, the low back can decompress, and the breath can get deeper than it does in upright positions.
If kneeling bothers your knees, skip it and use a supported seated position instead. The body does not care about the name of the pose. It cares about whether you can relax into it.
25. Pelvic Floor Relaxation Scan
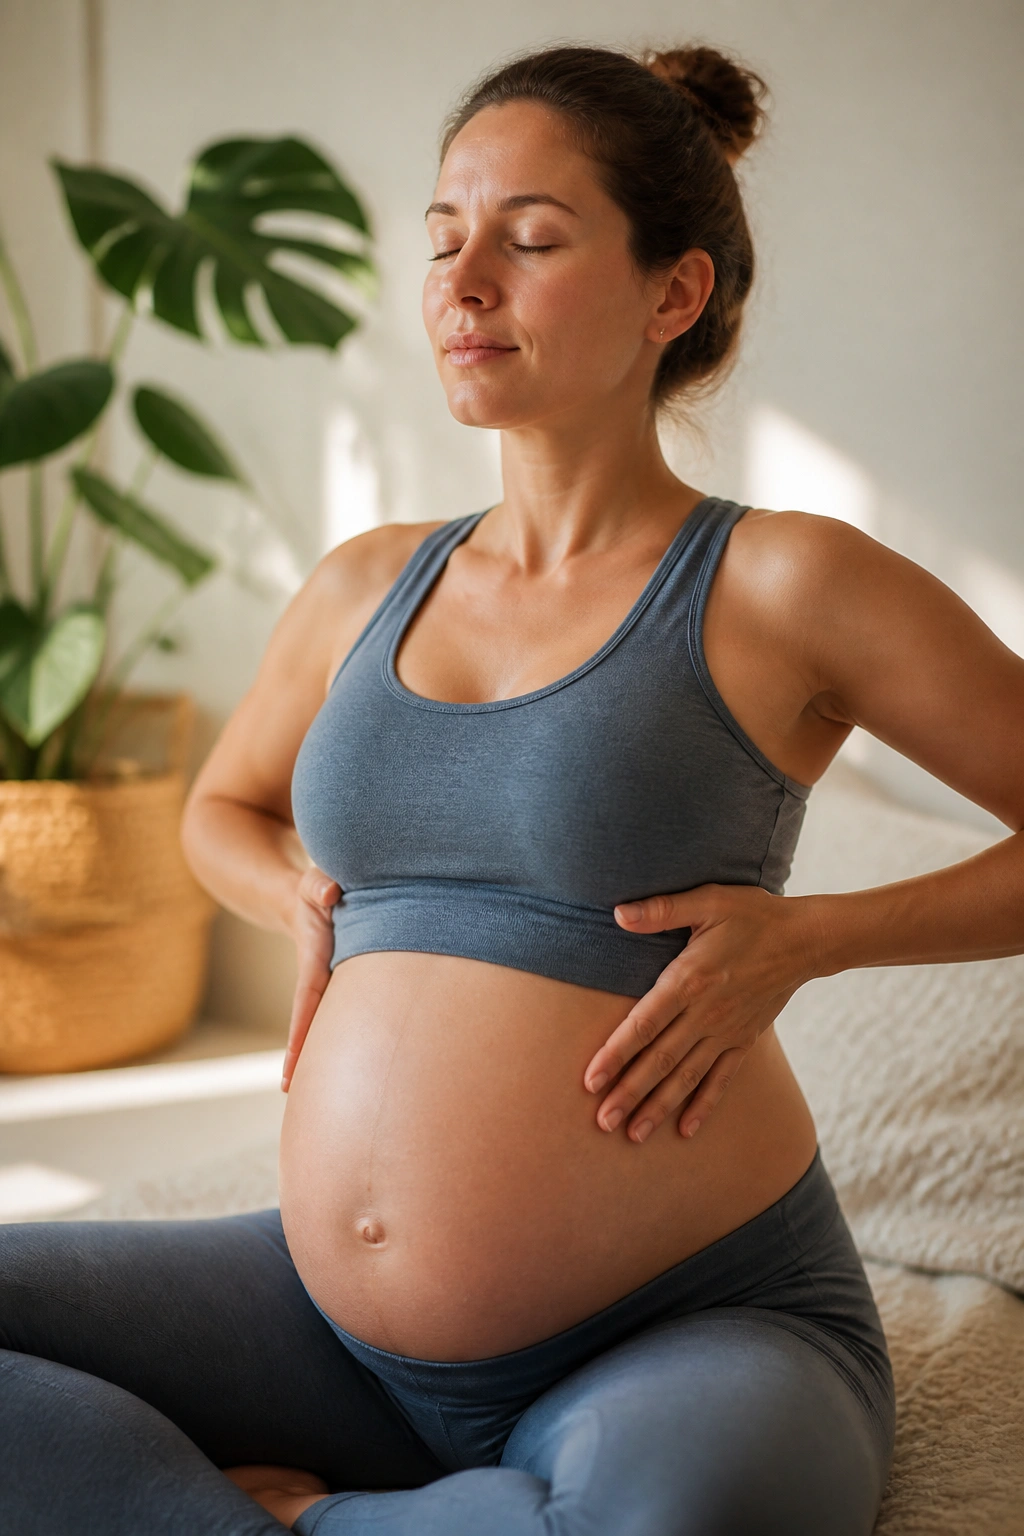
End with this one. Close your eyes if that feels okay, then scan from your forehead down through your jaw, shoulders, belly, inner thighs, and pelvic floor. Ask each area to soften by one notch.
That tiny shift matters. A pelvic floor that can soften on purpose is often easier to train, easier to rest, and less likely to stay braced when you do everyday things like stand up, cough, or carry laundry.
Take 5 slow breaths. On each inhale, imagine space. On each exhale, let the sit bones soften and the tailbone feel heavy. If this sounds almost too simple, good. Simple is usually what your nervous system understands best.
How to turn these into a short weekly routine

You do not need all 25 moves in one session. In fact, that would be overkill for most people. A short routine with 5 to 7 exercises is usually easier to stick with, and consistency matters more than heroic effort.
A useful structure is one breathing drill, one pelvic floor control drill, one release drill, two hip or glute exercises, and one standing strength move. That gives you balance without turning your workout into a chore. Two or three rounds can be plenty.
If you want a simple 10-minute plan, try this order: 360-degree breathing, gentle pelvic floor contractions, cat-cow, side-lying clamshells, chair sit-to-stand, wall press, and pelvic floor relaxation scan. That mix touches the muscles and the breath, which is the whole game.
And if a day feels off, shrink the routine instead of skipping movement entirely. Five slow breaths and one easy mobility drill can be enough. The body usually prefers regular, unflashy care over a perfect workout you never do again.
Final Thoughts
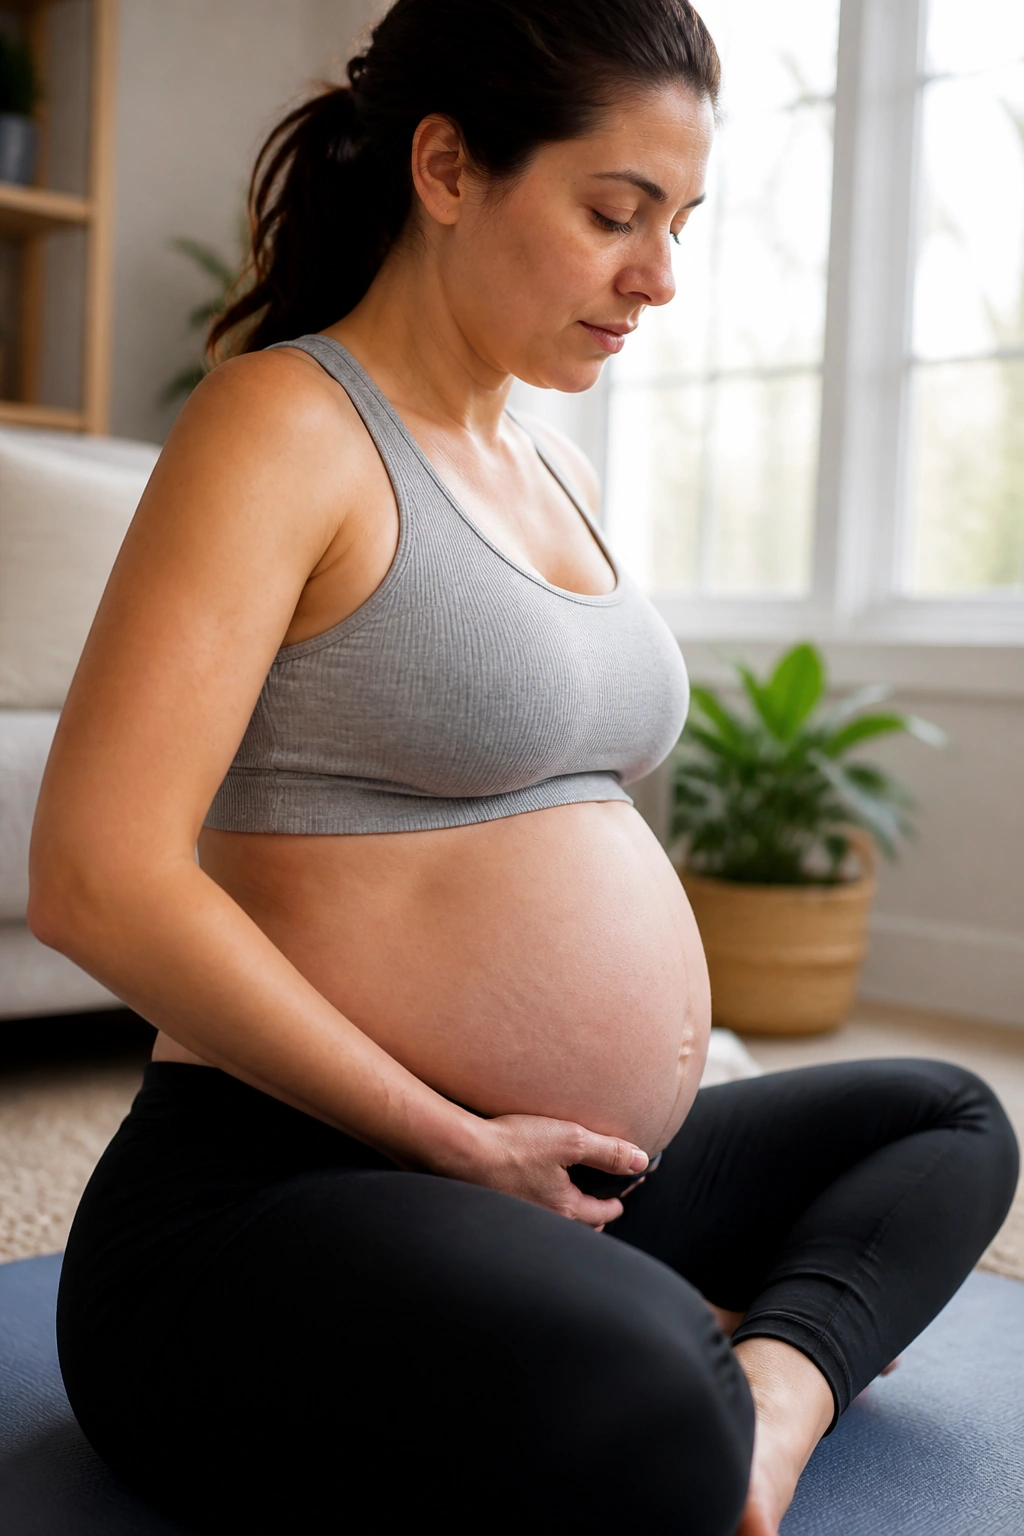
A good prenatal pelvic floor routine should leave you feeling steadier, not squeezed into a corner. The best moves build awareness, strength, and release at the same time. That balance is what keeps pressure from piling up in the wrong places.
If one exercise feels wrong, drop it. If one feels almost boring but leaves you walking better, keep it. Pregnancy has a way of rewarding the plain, practical stuff — the chair sit-to-stands, the side-lying work, the breathing you can actually repeat on a tired day.
And if you’re dealing with pain, leaking that’s getting worse, or a heavy dragging feeling in the pelvis, a pelvic floor physical therapist can be worth their weight in gold. Sometimes the smartest move is getting a real set of eyes on the problem instead of trying to guess your way through it.
