



A glute bridge looks simple until your hamstrings start cramping and your lower back decides it wants the spotlight. That’s the part most people miss. The movement itself is basic; the details are where the work happens, and those details change a lot once you start using different glute bridge variations for stronger glutes.
The right version can be a warm-up, a strength builder, a burn-out, or a smart fix for the person whose knees cave inward the second they load the hips. It can also expose weak links fast. One bridge may feel like a friendly floor exercise. Another may make your glutes light up in ten seconds flat. That’s useful, not annoying.
What matters most is not chasing the fanciest setup. It’s choosing the version that matches what your body needs right now: more load, more pause, more stability, more unilateral work, or just a cleaner way to feel the glutes doing their job instead of the low back. Pick well and the bridge stops being “that thing people do on a mat” and starts acting like a serious lower-body tool.
1. Bodyweight Glute Bridge
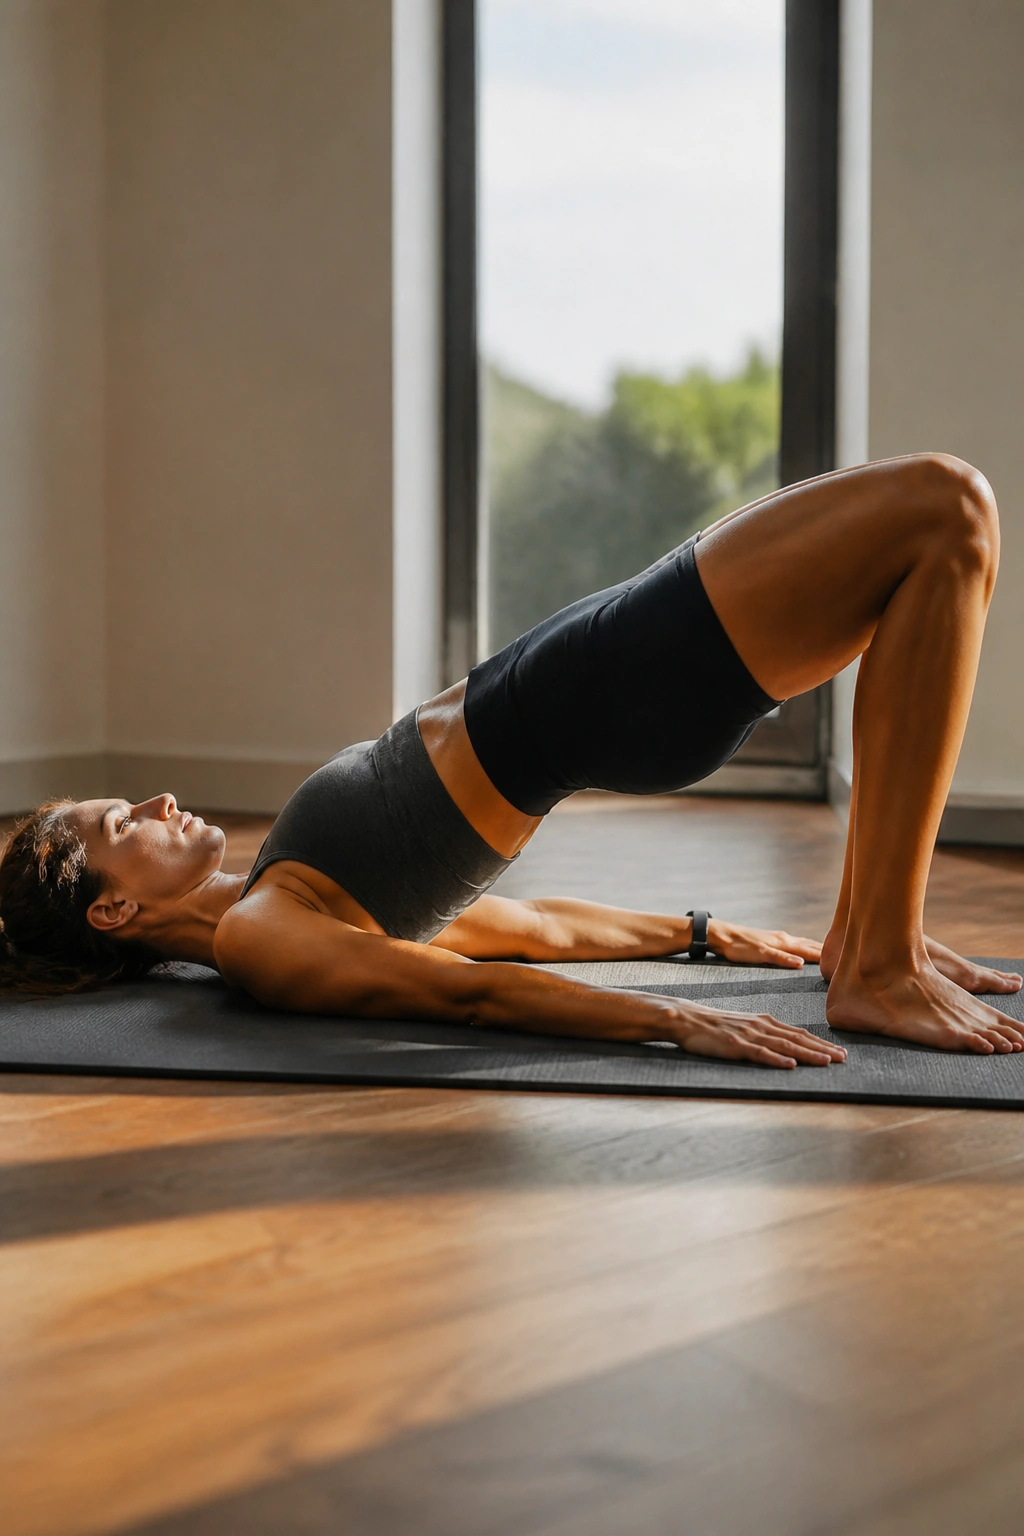
A plain bodyweight glute bridge is the version worth owning first. Lie on your back, bend your knees, plant your feet, and drive the hips up until your torso and thighs make one strong line. That line matters more than height. If you’re arching the low back to get an extra inch, the glutes are not getting the credit.
What to Feel
Your heels should stay heavy, your ribs should stay down, and your pelvis should finish with a slight tuck rather than a big flare. The top of the rep should feel like a clean squeeze in the back of the hips, not a pinch in the spine.
- Place your feet about 6 to 12 inches from your hips, then adjust from there.
- Press through the heels and keep the toes relaxed.
- Hold the top for 1 full second before lowering.
- Use 2 to 4 sets of 12 to 20 reps.
Big tip: if you only feel your hamstrings, slide your feet a little farther away and shorten the range until the glutes take over.
2. Paused Glute Bridge
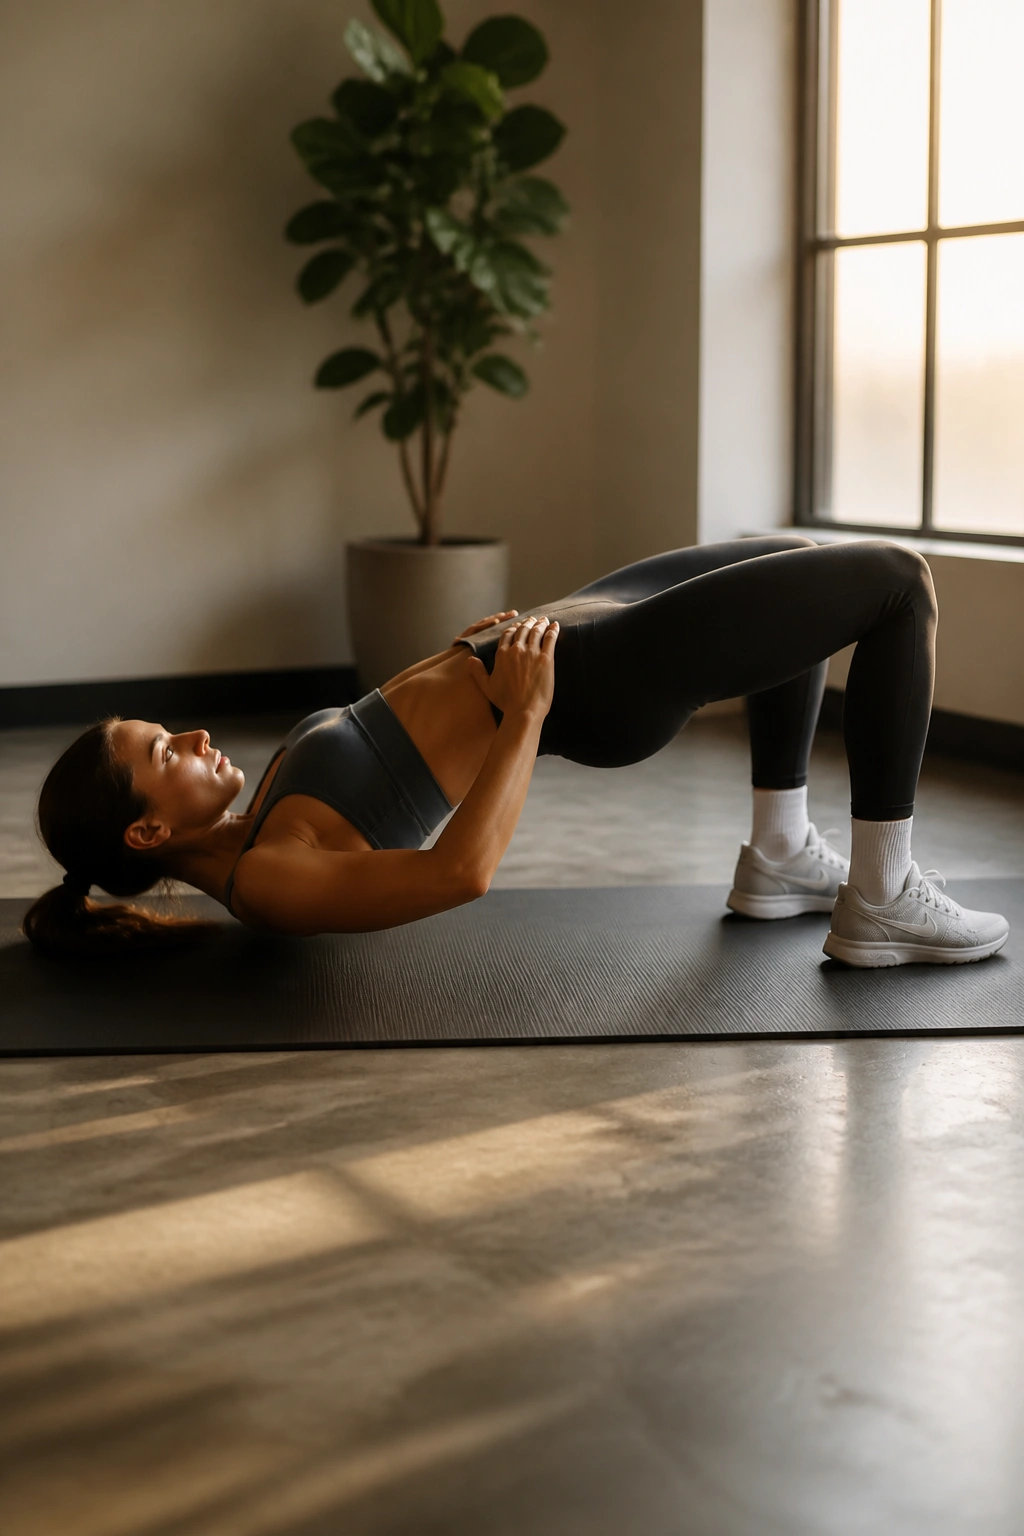
Why does a 2-second pause make such a small movement feel so much harder? Because the bounce disappears. Momentum disappears too. That leaves the glutes to hold the top position without any help from a quick hip snap or a sloppy rebound off the floor.
How to Use It
At the top, squeeze hard, keep your ribs from opening, and count the pause instead of rushing through it. The pause should feel calm and controlled, almost annoyingly strict. That’s the point.
Best Use
- Use it for 8 to 12 reps per set.
- Hold the top for 2 to 3 seconds.
- Keep the pause consistent on every rep.
- Great when regular bridges feel too easy but you are not ready to add load yet.
This version is especially useful if you tend to rush bridge work and turn it into fast, shallow reps. The pause forces honesty. No cheating. No blur.
3. Tempo Glute Bridge
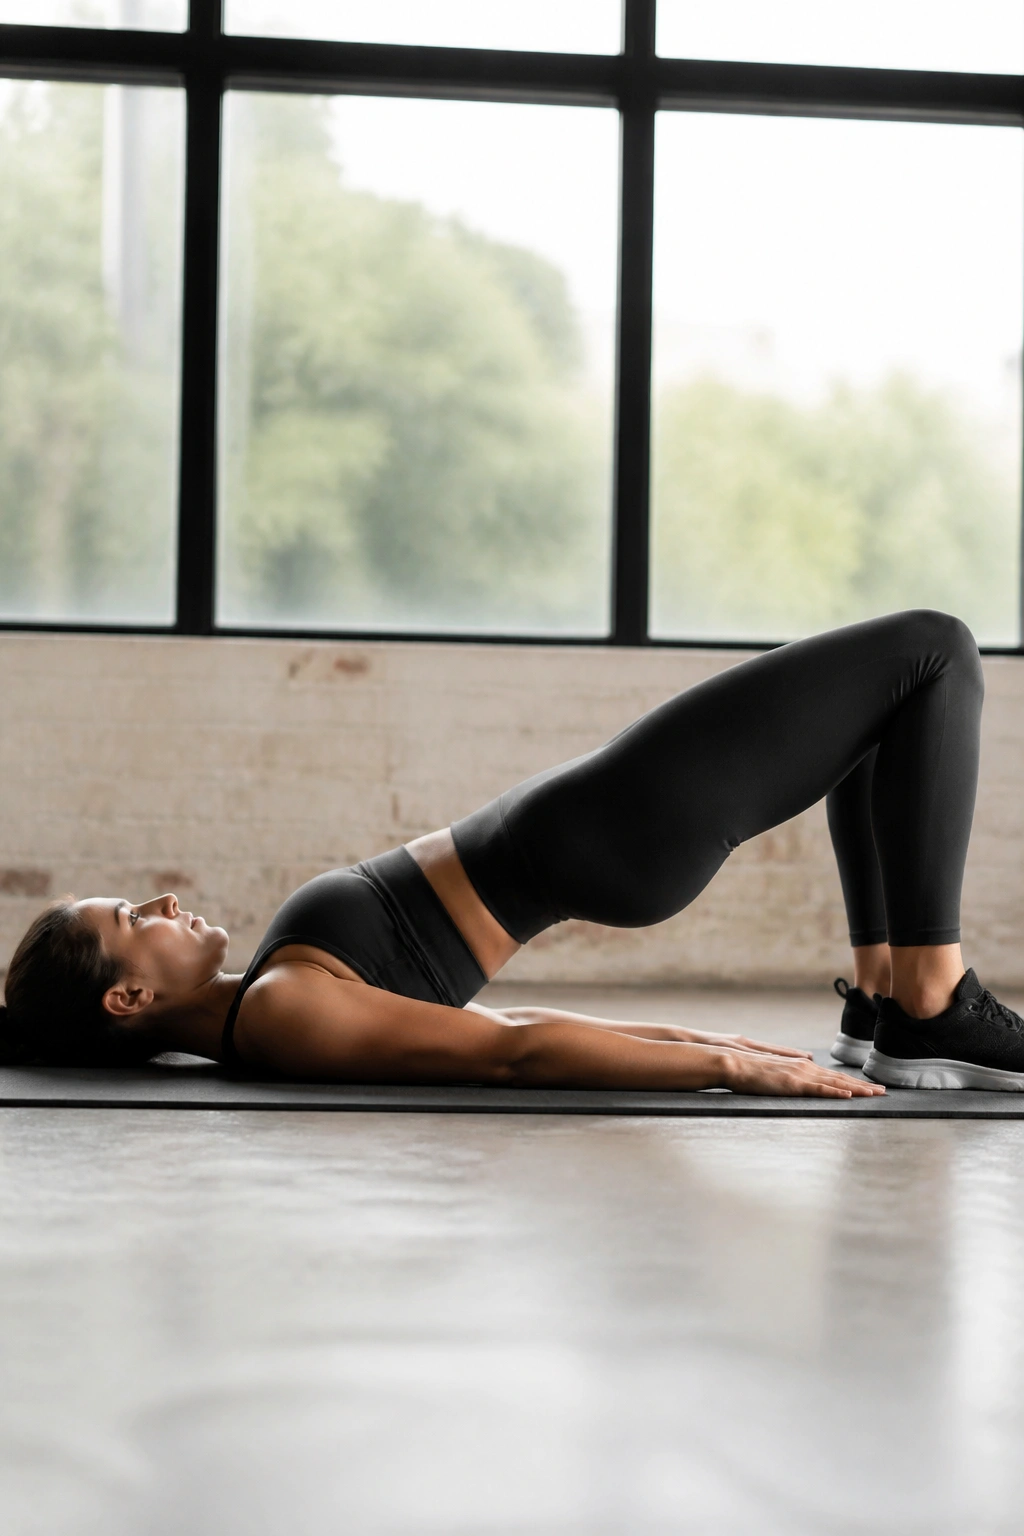
Slowing the lowering phase changes the whole exercise. A 3-second descent makes the glutes stay switched on as the hips come down instead of letting gravity do everything. It also teaches control, which matters more than people think when they keep losing tension halfway through a set.
The cleanest way to do it is simple: lift in 1 second, pause for 1 second, lower in 3 seconds. That tempo is demanding without needing a heavy load. It is also a good bridge variation for days when your setup is basic but you still want the set to count.
Try it for 8 to 10 reps with a slow, steady rhythm. The rep should look smooth, not theatrical. And do not rush the bottom just because you miss the burn. That slow descent is the work.
4. Frog Pump
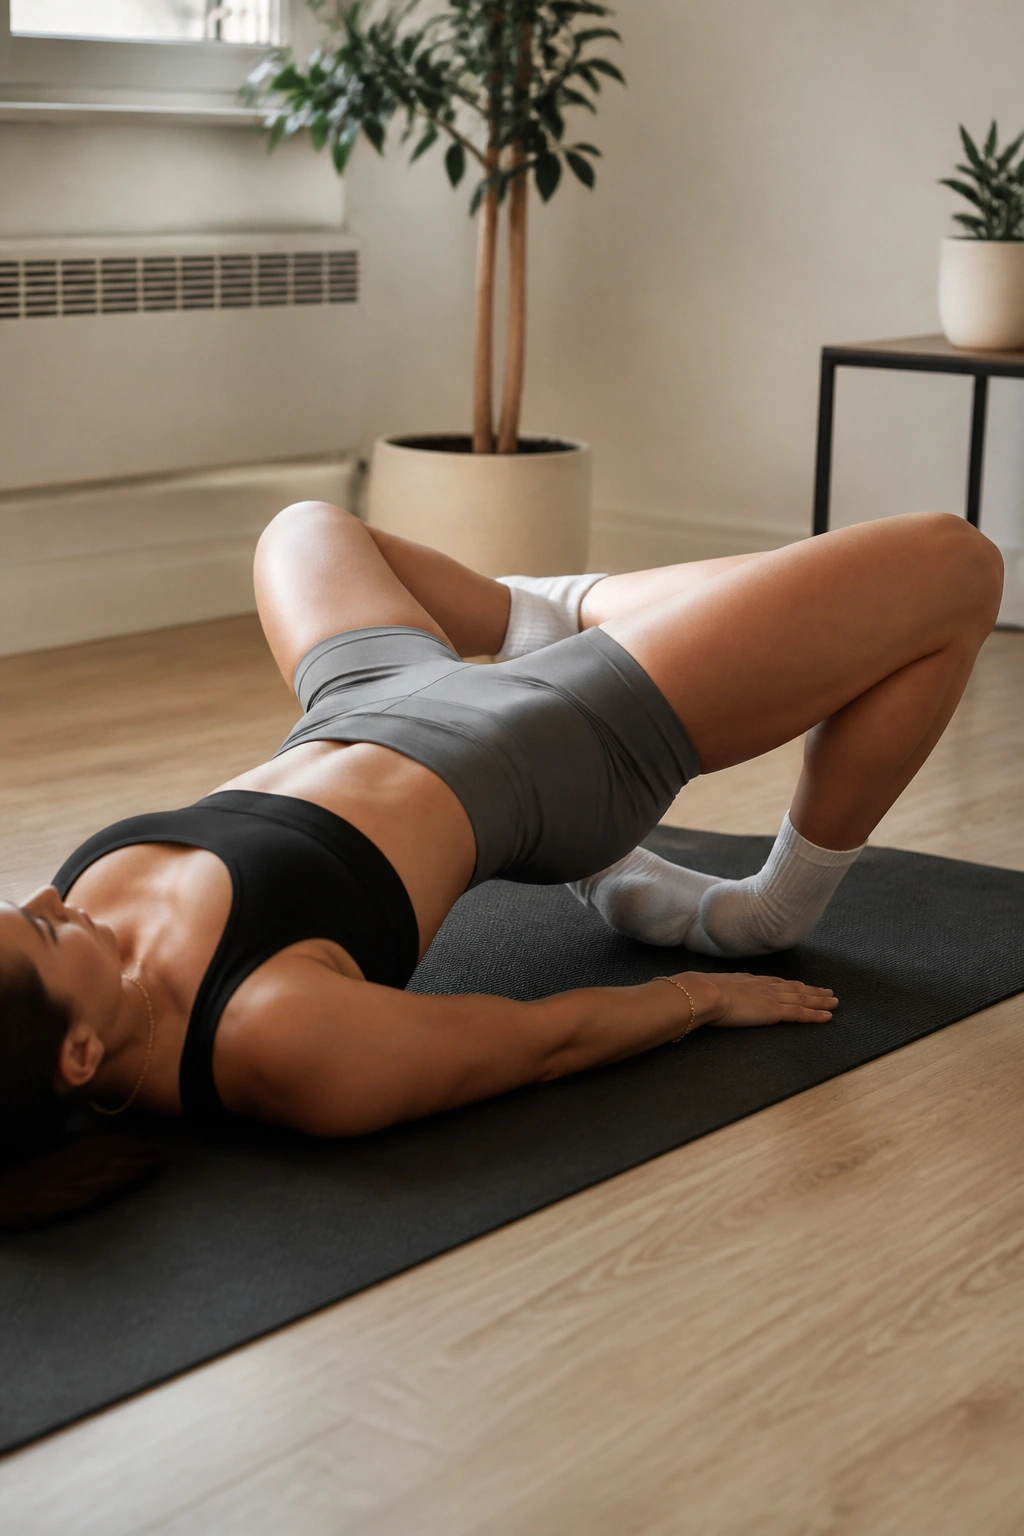
Frog pumps are the loud little cousin of the regular glute bridge. Soles together, knees open, hips up and down through a short range. Tiny motion. Huge burn. The setup looks almost silly until you realize how fast the glutes run out of excuses.
This version is not about heavy strength. It is about tension, fatigue, and that deep, hot feeling that shows up in the back of the hips after a few high-rep sets. I like it as a finisher after heavier bridge work because it gives the glutes one more round without requiring much setup.
Use 20 to 40 reps and keep the range tight. If the knees drift inward, the whole point gets messy. Hands can rest on the hips so you can feel whether the pelvis is staying steady.
Best for: high-rep burn, home workouts, and finishers when you want the glutes to complain a little.
5. Mini-Band Glute Bridge
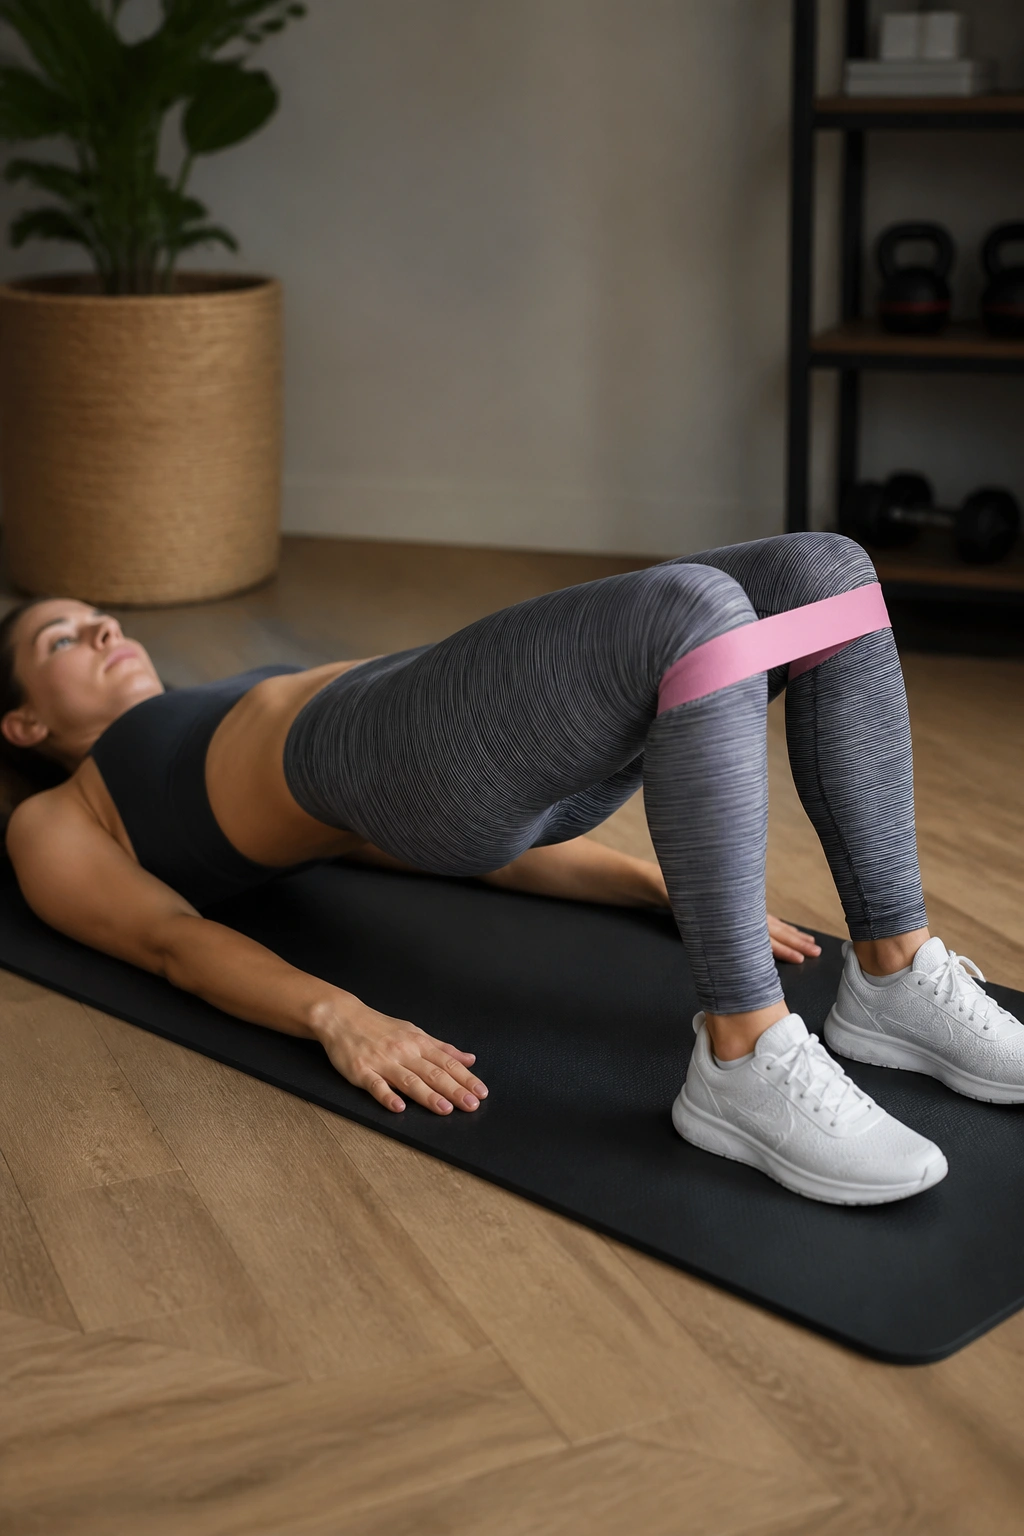
Unlike the plain bodyweight bridge, the mini-band version makes the knees work a little harder to stay in line. That tiny outward pressure matters. It keeps the glutes from getting lazy and gives the side of the hip, especially the glute med, more of a reason to stay involved.
What to Watch For
Put the band just above the knees, not on them. Then press the knees out only a few inches—enough to feel tension, not enough to roll the feet or twist the hips.
- Choose a light or medium band first.
- Keep the feet planted and the arches stable.
- Use 12 to 20 controlled reps.
- Hold the top for 1 to 2 seconds.
A lot of people go too hard here and shove the knees out like they are trying to split the room in half. That usually turns the feet into a mess. Small, clean pressure works better.
6. Glute Bridge March
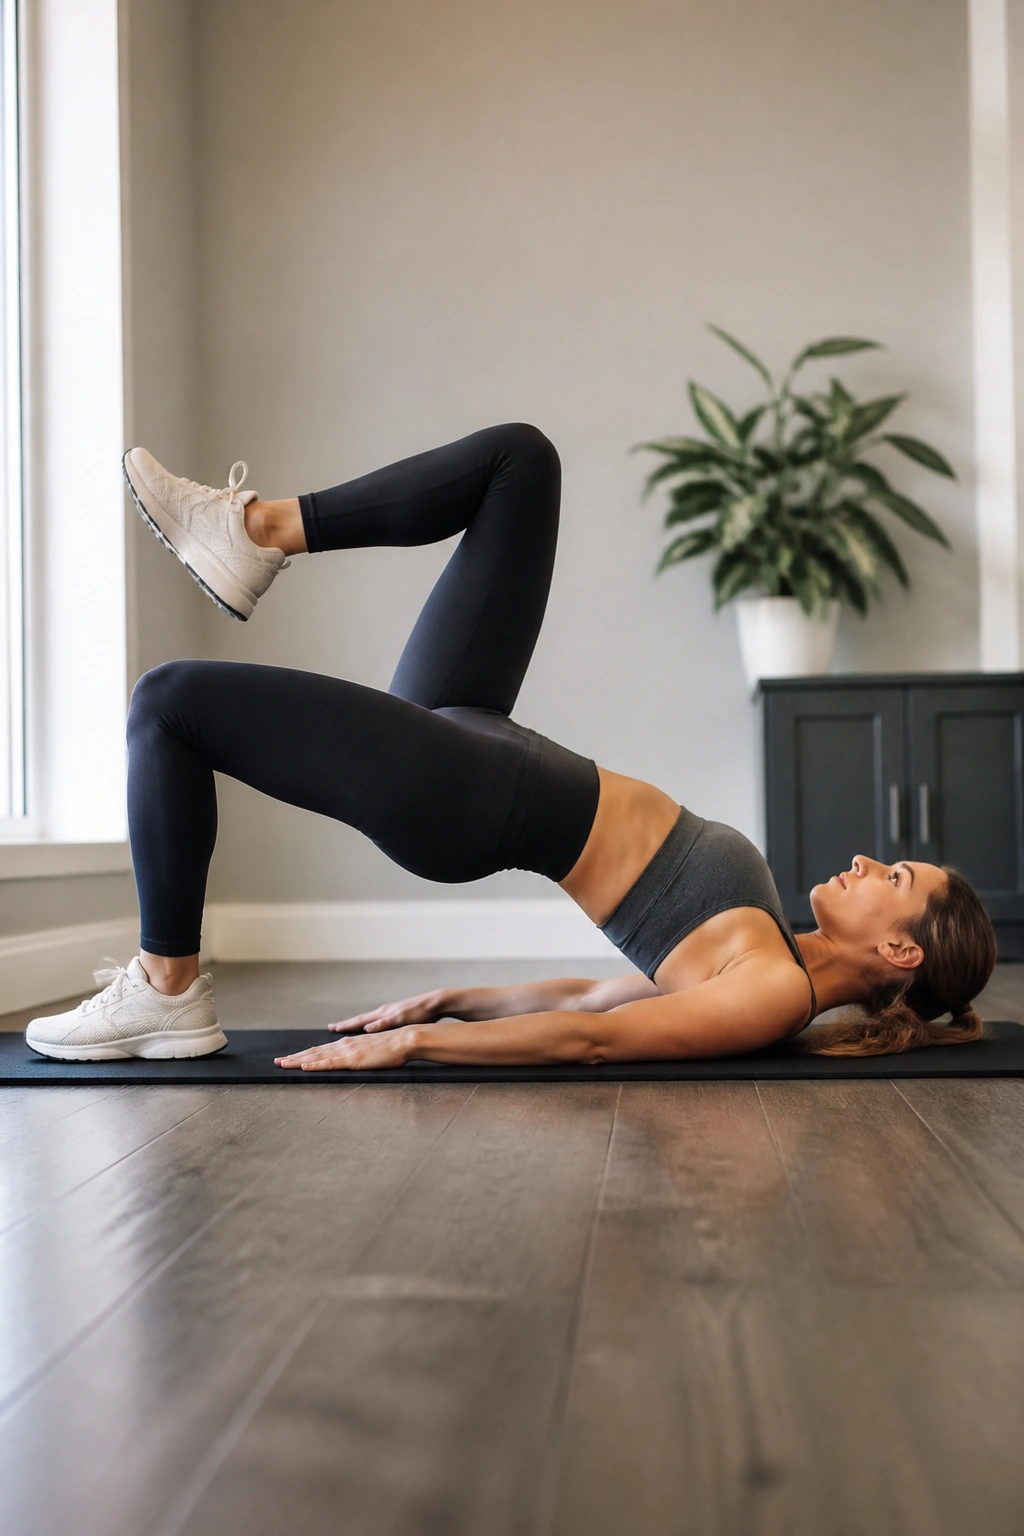
A marching bridge looks awkward the first time, and that is part of why it works. You are asking one hip to stay lifted while the other leg moves, which means the pelvis cannot just flop around and coast.
Why the March Feels So Different
The core has to keep the body from rotating. The planted glute has to hold the hips up while the marching side floats. That makes this one of the best glute bridge variations for stability, not just brute force.
- Start in a strong bridge first.
- Lift one knee a few inches without dropping the hips.
- Alternate sides slowly.
- Use 6 to 10 marches per side.
If your hips wobble like a shopping cart with a bad wheel, shorten the march. Smaller is cleaner. Clean is harder.
7. Single-Leg Glute Bridge
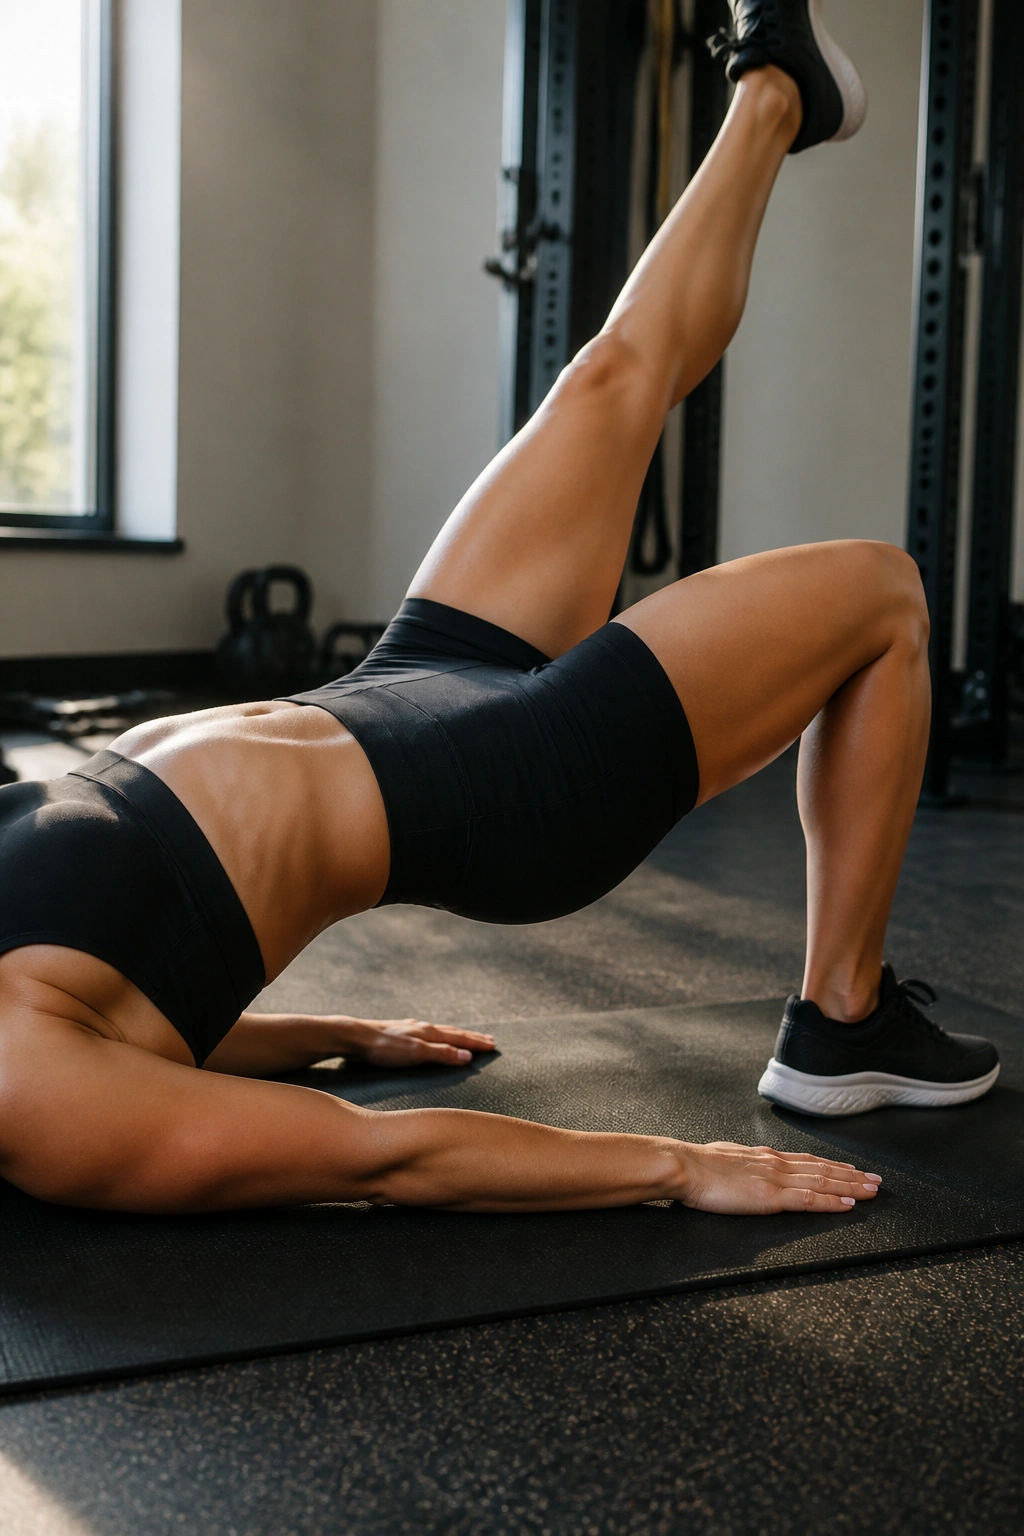
A true single-leg bridge has a way of exposing weak hips fast. One side will usually feel honest. The other side will feel like it needs a meeting.
The big job here is keeping the pelvis level while one leg does all the lifting. That means no twisting, no rushing, and no launching the hips just to fake range. The working heel should stay grounded, and the lifted leg should stay quiet instead of flailing for balance.
Use 6 to 12 reps per side. If the hamstring cramps, move the heel slightly farther away and lower the height a touch. A lot of people think the move is too hard when the setup is simply too close.
The single-leg version is one of the best ways to find left-right differences you may have ignored for years. Annoying? Yes. Useful? Also yes.
8. B-Stance Glute Bridge
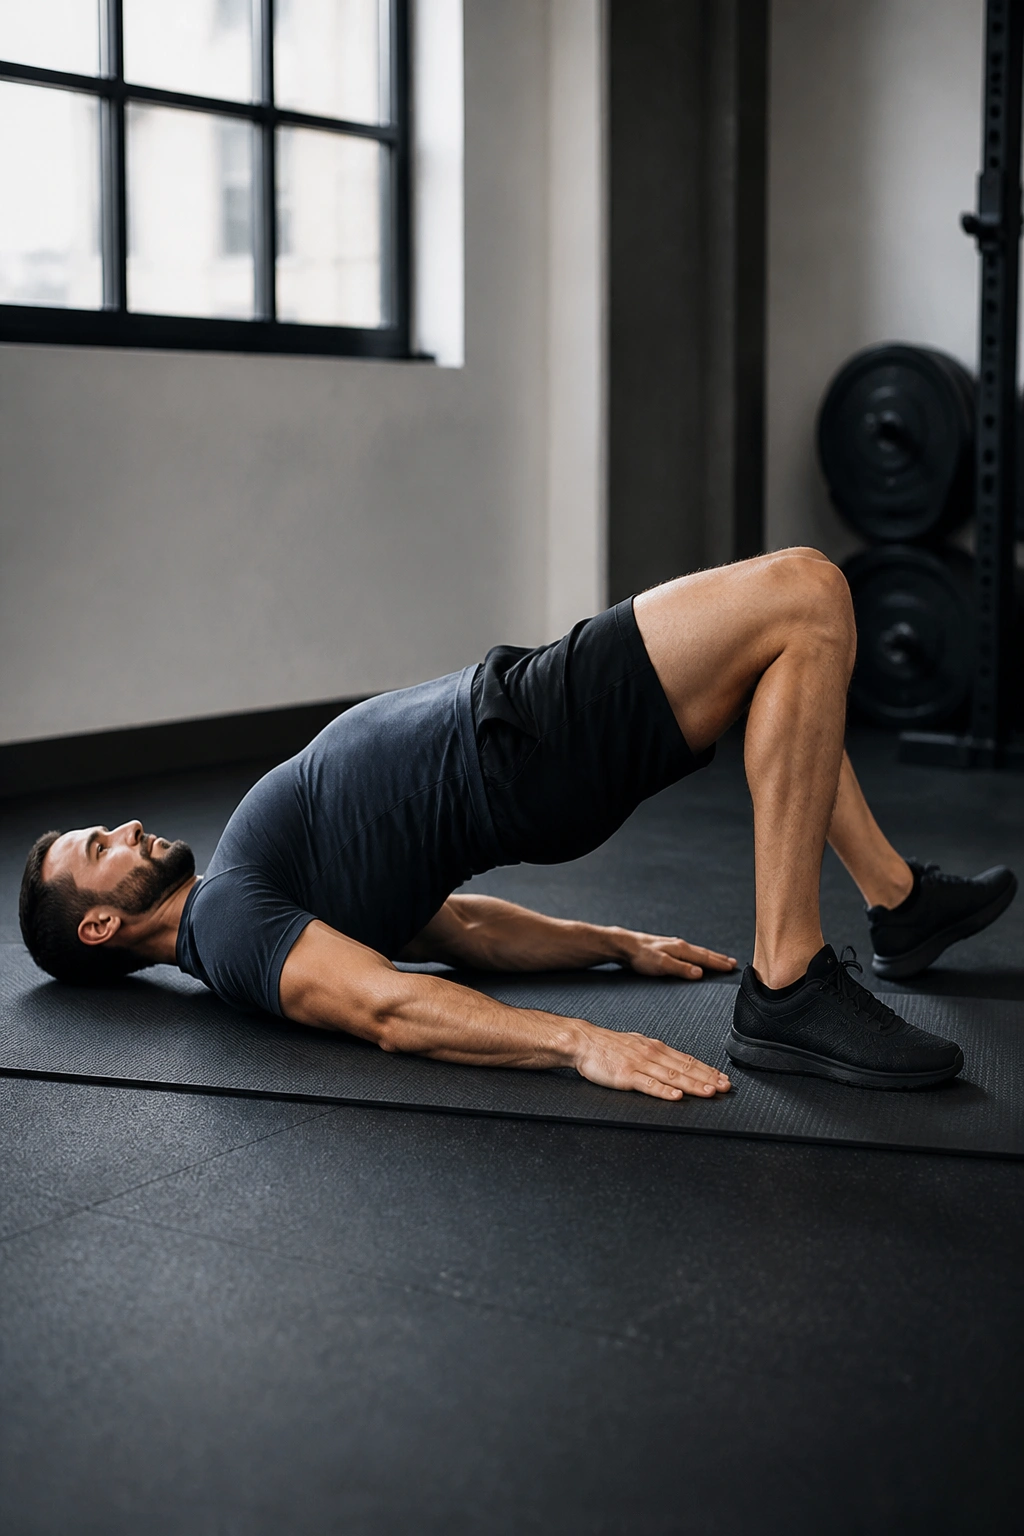
Can’t get a clean single-leg bridge yet? Use a B-stance. It gives you most of the one-sided challenge without the chaos of balancing on one leg.
Set one foot as the working leg and move the other foot back about 6 to 10 inches, with just the toes or the ball of the foot touching lightly. Most of your load still goes through the front heel, but the back foot keeps the movement from collapsing.
Why It Works So Well
The B-stance lets you keep tension on the target side while taking a little pressure off balance. That makes it a smart middle step between two-legged bridges and full single-leg work.
Use 8 to 10 reps per side and keep the hips square. If you feel the back foot taking over, move it farther back and make it even lighter. It should help with balance, not steal the set.
9. Feet-Elevated Glute Bridge
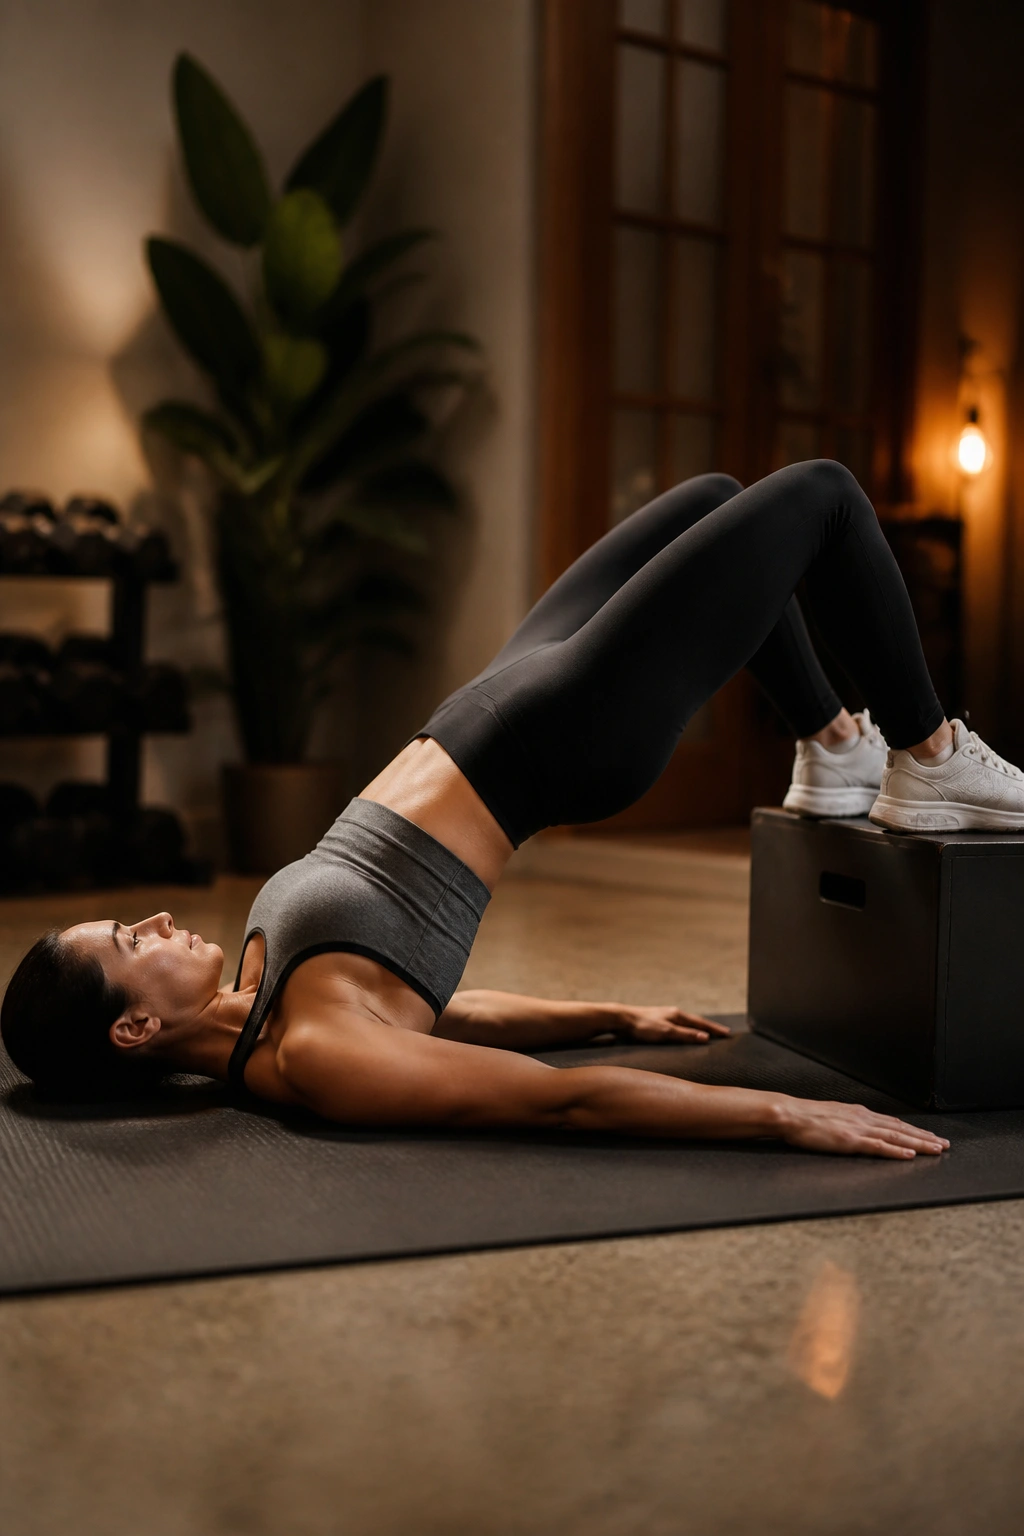
Feet-elevated bridges change the feel immediately. Put your feet on a low box, step, or sturdy bench and keep your shoulders on the floor. The extra lift changes the hip angle and usually makes the bottom position feel deeper and more loaded.
This is not the same as a hip thrust. Your upper back stays on the floor, and that keeps the bridge honest while still giving you a bigger range to work through. Some lifters love this variation because it stretches the glutes a little more at the bottom. Others find it exposes hamstring tightness fast. Both reactions are useful.
Try 8 to 15 reps with a smooth tempo. Keep the box low at first—about 4 to 8 inches is enough. If the low back starts taking over, reduce the range before you raise the height again.
10. Heels-Dig Glute Bridge
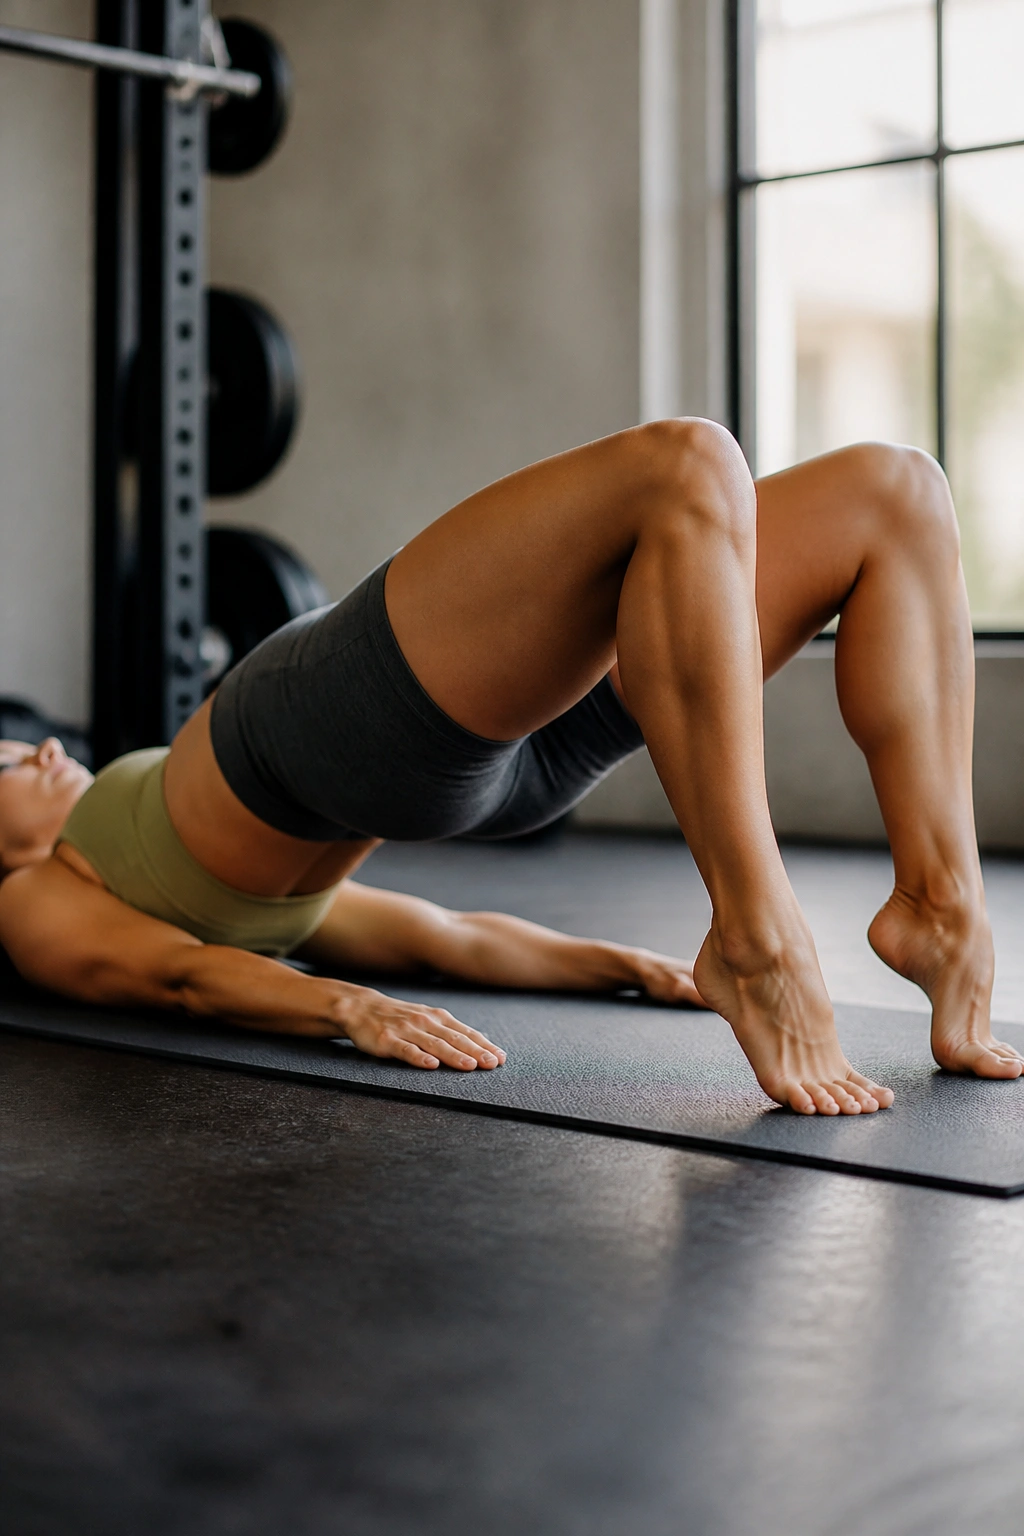
Toes up, heels down.
That tiny shift changes the line of force more than most people expect. With the toes lifted slightly, the heels stay more rooted, and the bridge often feels less like a calf exercise and more like a real posterior-chain movement. It is a simple trick, but it works.
Use this version if your feet tend to get busy during bridges. Some people push through the toes so much that the glutes barely notice. Lifting the toes a little strips that habit away. You can hold the toes off the floor the whole time or place them lightly on a plate.
Keep the reps in the 10 to 15 range and make each one slow enough that you can feel the heel pressure. If your hamstrings cramp, check foot distance first. Too close is often the culprit.
11. Dumbbell Glute Bridge
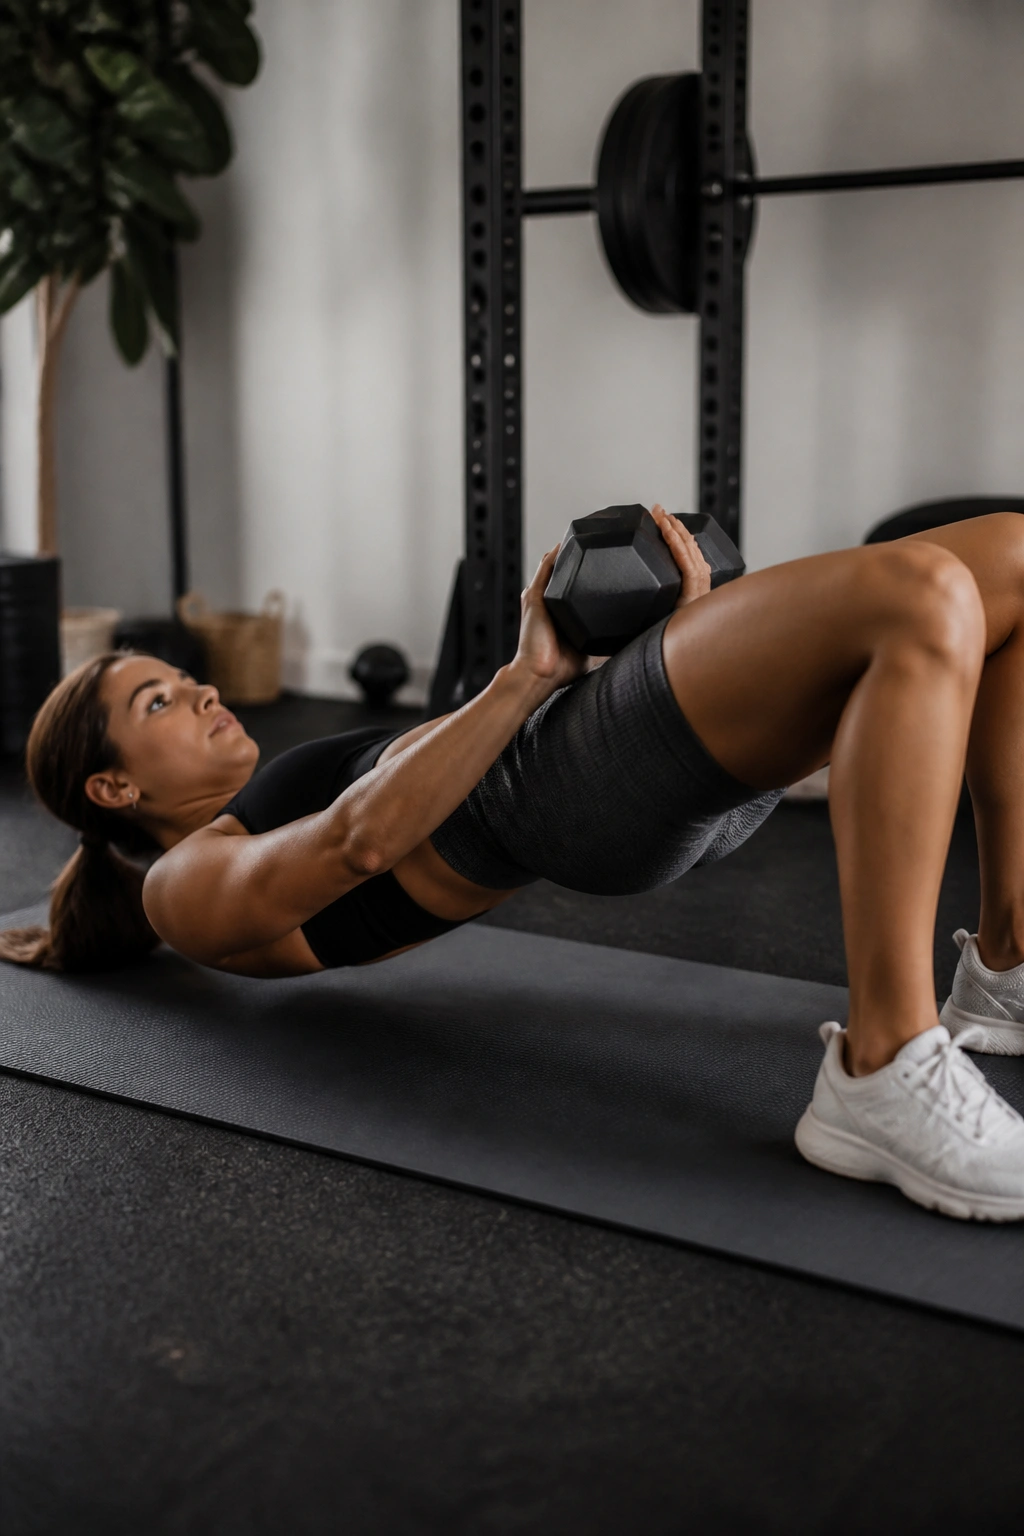
A dumbbell turns a warm-up move into a loadable exercise. That matters if bodyweight bridges stopped being challenging months ago but you do not want to drag a barbell into the room every time.
Place the dumbbell across the hip crease, not the stomach, and pad it with a folded towel if the edge digs in. A hex dumbbell is easier to manage because it does not roll around as much. Keep your feet planted, brace, and drive the hips up under control.
Quick Setup Notes
- Use 8 to 15 reps per set.
- Start lighter than you think.
- Keep the dumbbell centered.
- Pause briefly at the top so the weight does not bounce.
The dumbbell bridge is one of my favorite home-gym choices because it is simple, cheap to load, and easy to progress in small jumps. No drama. Just more weight over time.
12. Barbell Glute Bridge
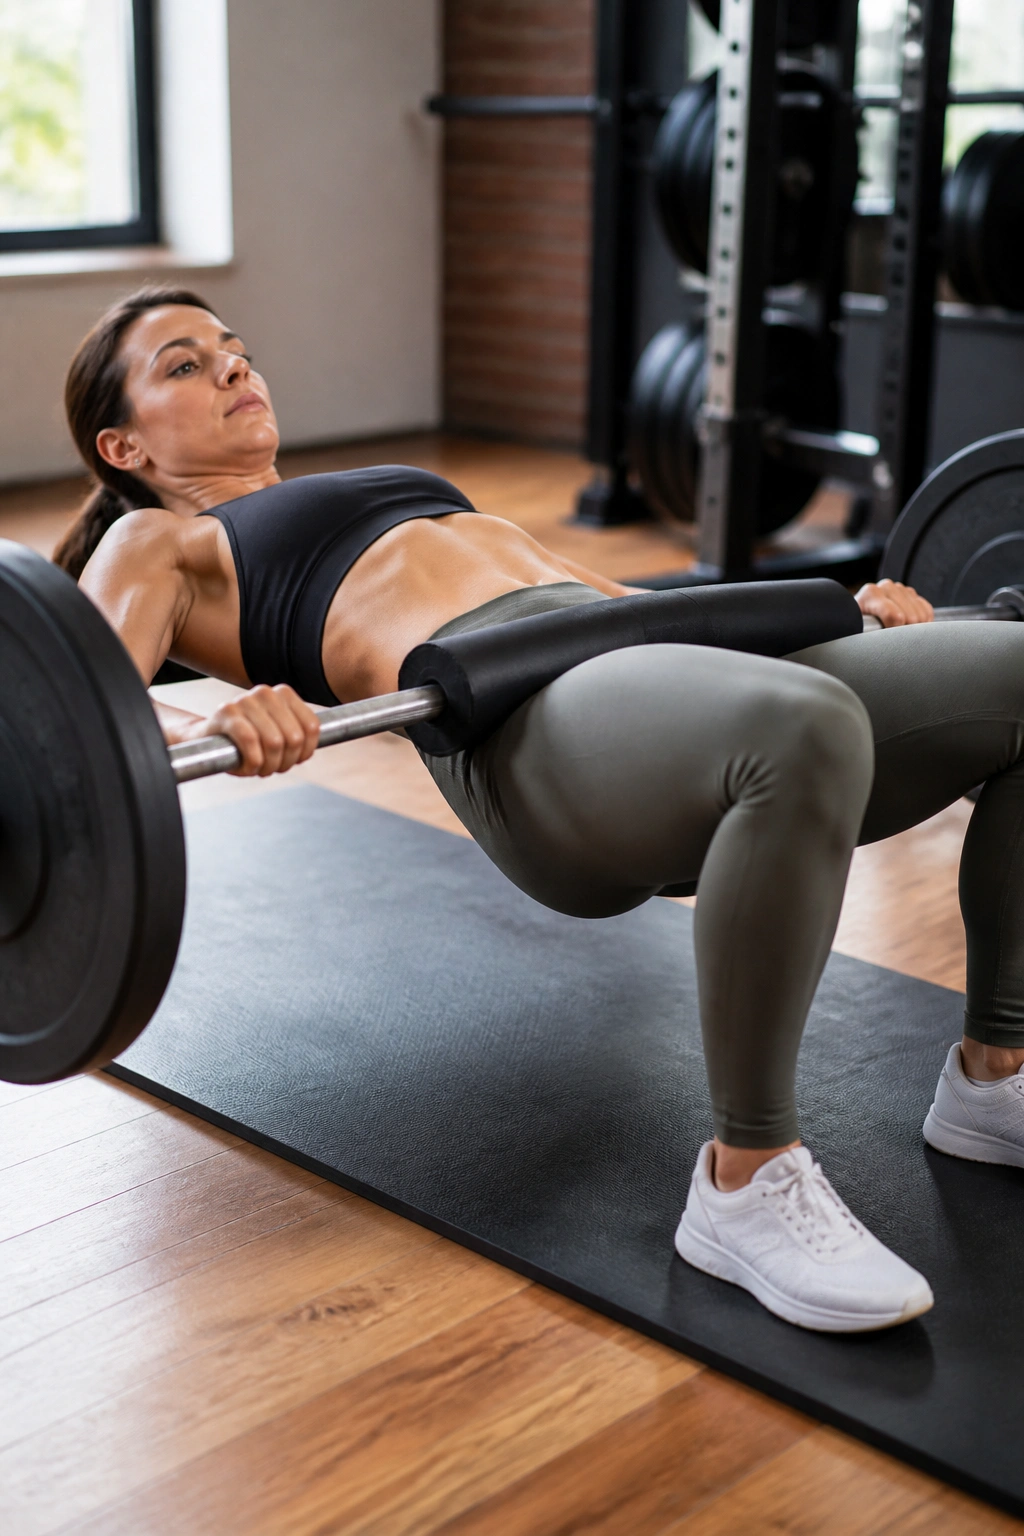
A barbell bridge is for the days you want real tension. The movement stays floor-based, but the load jumps fast, and that makes it one of the best glute bridge variations for raw strength.
Set the bar over the hips, use a pad, and plant the feet firmly. Start with an empty bar or light plates until the setup feels smooth. Then build slowly. The bar should rise in a straight path, and the top should feel strong without turning into a back arch contest.
Use 3 to 5 sets of 5 to 8 reps if strength is the goal. Use a bit more volume, like 8 to 10 reps, if you want size and work capacity. Either way, the key is control.
If the bar rolls on your pelvis, your pad is too thin or your setup is off. Fix that first. Cheap padding that shifts around will ruin a good set.
13. Smith Machine Glute Bridge
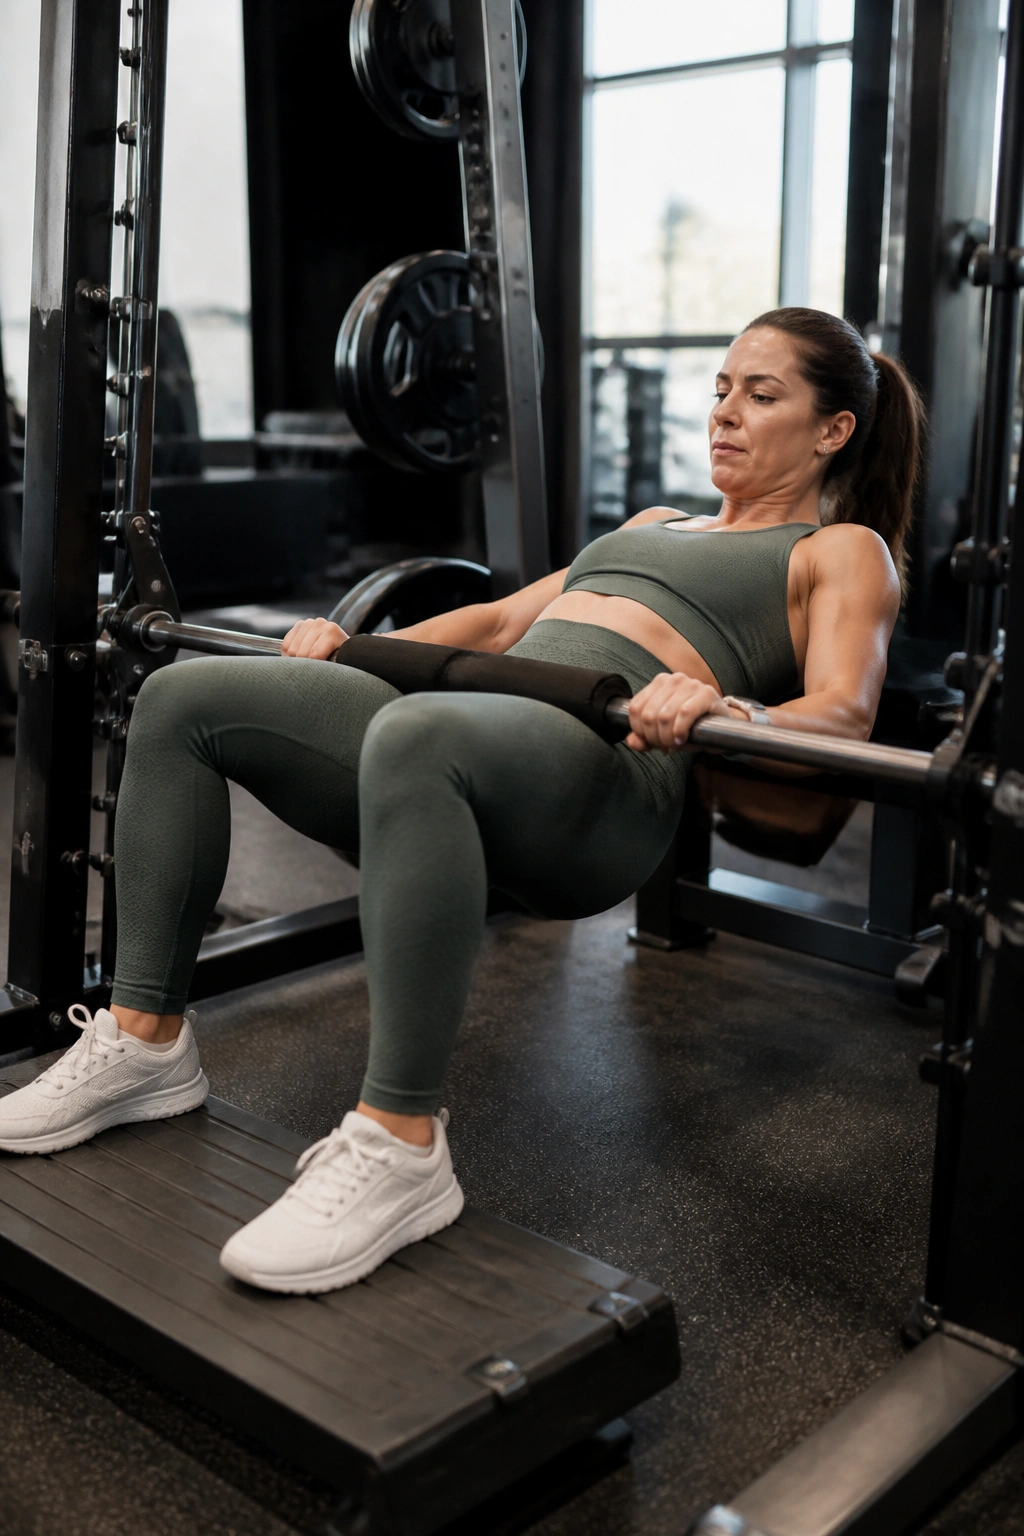
A Smith machine bridge removes a lot of setup drama. The bar path is fixed, which makes it easier to load alone and easier to repeat from set to set. That predictability is useful when you want to focus on tension instead of balancing a barbell with every rep.
Feet placement matters here. Because the bar tracks vertically, your feet often need to sit a little farther forward than they would with a free barbell. If the feet are too close, the quads take over and the glutes do less than they should.
Use 10 to 15 reps for moderate loads or 6 to 8 reps if you want heavier work. Keep the descent controlled and stop the bar softly on the hips. No bouncing.
This one suits lifters who train alone and want a heavy bridge without a spotter hovering nearby.
14. One-and-a-Half Rep Glute Bridge
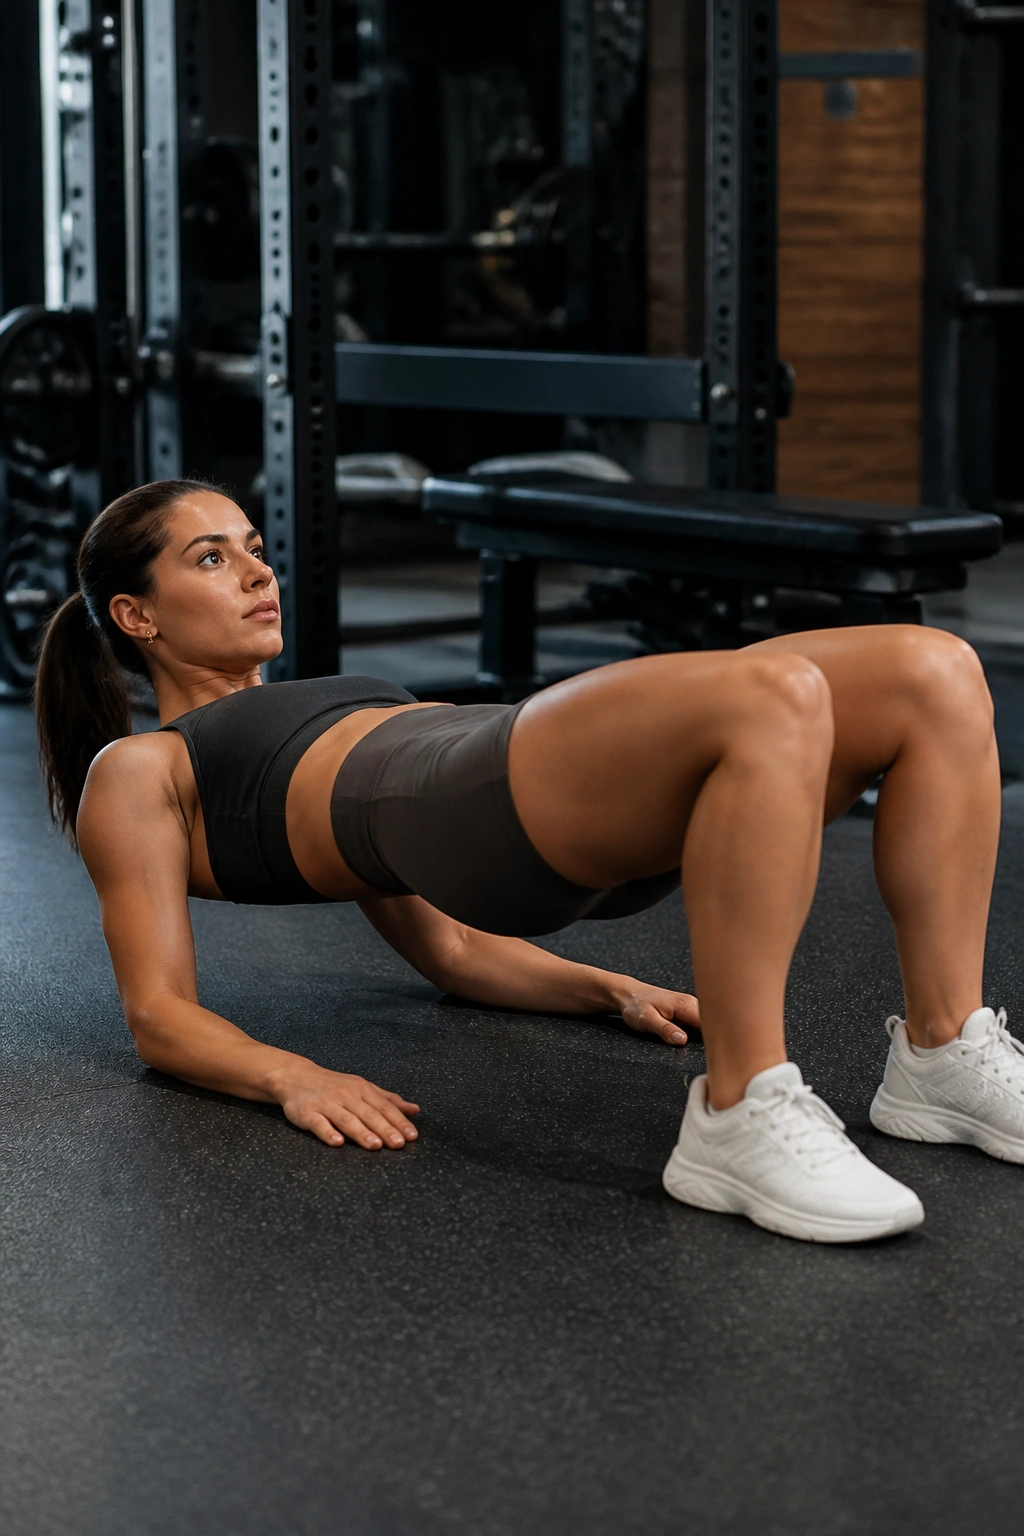
One rep, halfway down, back up—count that as one.
That tiny extra half-rep changes the whole feel because the glutes never get a full rest at the bottom. The tension stays on. The set gets meaner without needing heavier weight, which is handy when the available load is limited.
How to Do It
Lift into the top position, lower halfway, drive back up, then go all the way down. That is one rep. Keep the motion smooth so you do not turn it into a bounce-fest.
- Use 6 to 10 reps if the movement is loaded.
- Use 10 to 15 reps if you are going for a burn.
- Hold the top for 1 second on each rep.
This variation is great when regular reps feel a little too easy but full single-leg work is too much for the day. It sits in a nice middle ground.
15. Glute Bridge Pulses
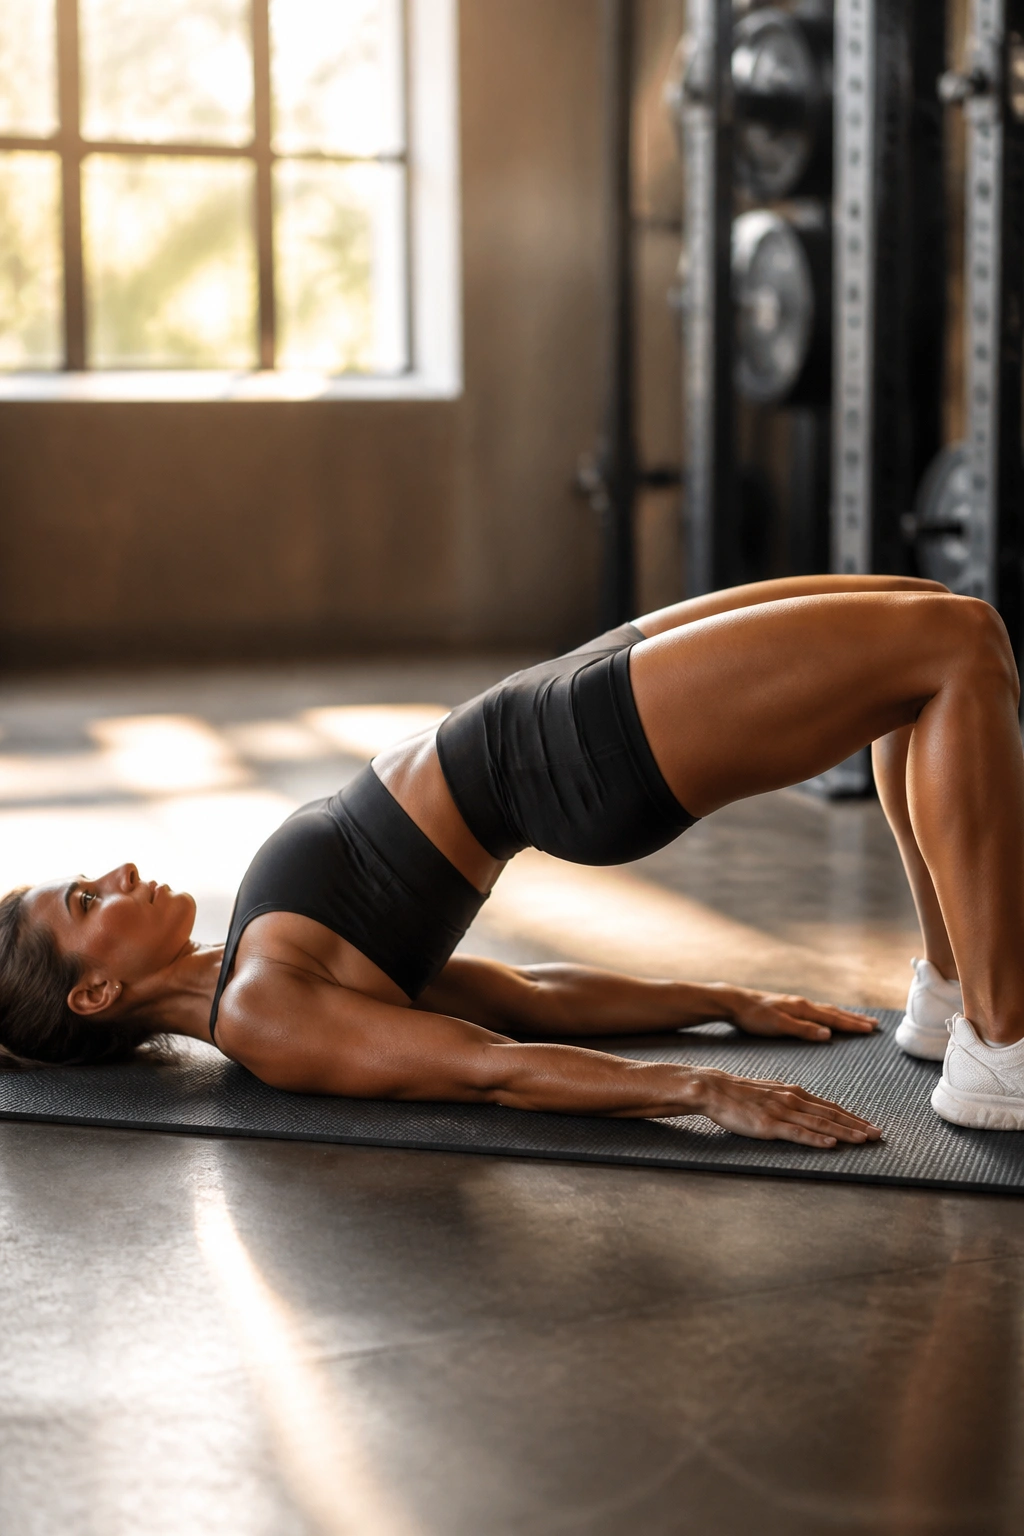
Tiny pulses at the top can be mean. That is the whole point.
After a full bridge rep or on their own, small pulses keep the glutes under tension in the hardest part of the range. The range is short, but the burn stacks up fast because there is no real recovery between pulses.
Do 20 to 30 pulses at the top after a set of regular reps, or use them as a finisher on their own. Keep the movement small enough that the hips stay mostly level. If the pelvis starts bouncing, the set is too sloppy to count.
This version is best used with intent, not as a random extra. It works when the goal is fatigue and a hard contraction. It is not the first choice for heavy strength work. Different job.
16. Glute Bridge with Abduction
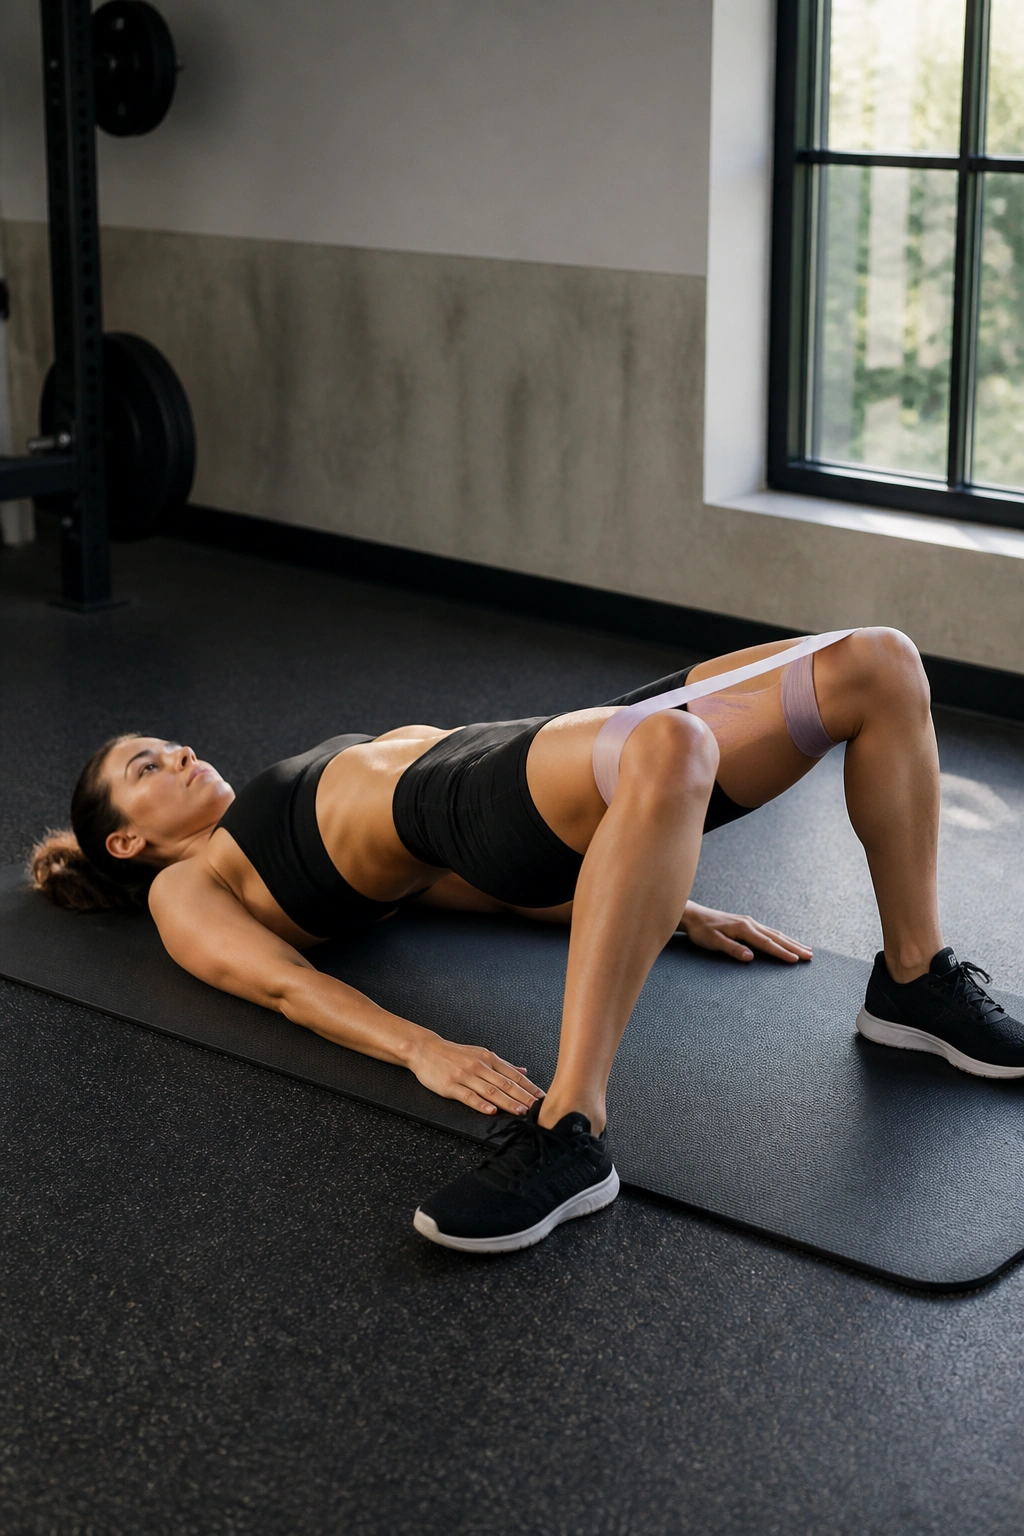
Add a band above the knees and the side glutes stop loafing. That outward pressure gets the glute med and smaller stabilizers involved while the hips move through the bridge.
How to Make the Band Matter
Press the knees out only a few inches as you rise. Keep the pressure steady, not explosive. You want tension that you can control from the first rep to the last.
- Use a light-to-medium band.
- Hold the top for 1 to 2 seconds.
- Aim for 12 to 20 reps.
- Keep the feet still; only the knees should gently open.
This one can be sneaky. If the band is too stiff, people turn it into a weird knee-cranking drill and lose the bridge pattern. Light tension done cleanly beats heavy tension done badly.
17. Stability Ball Glute Bridge
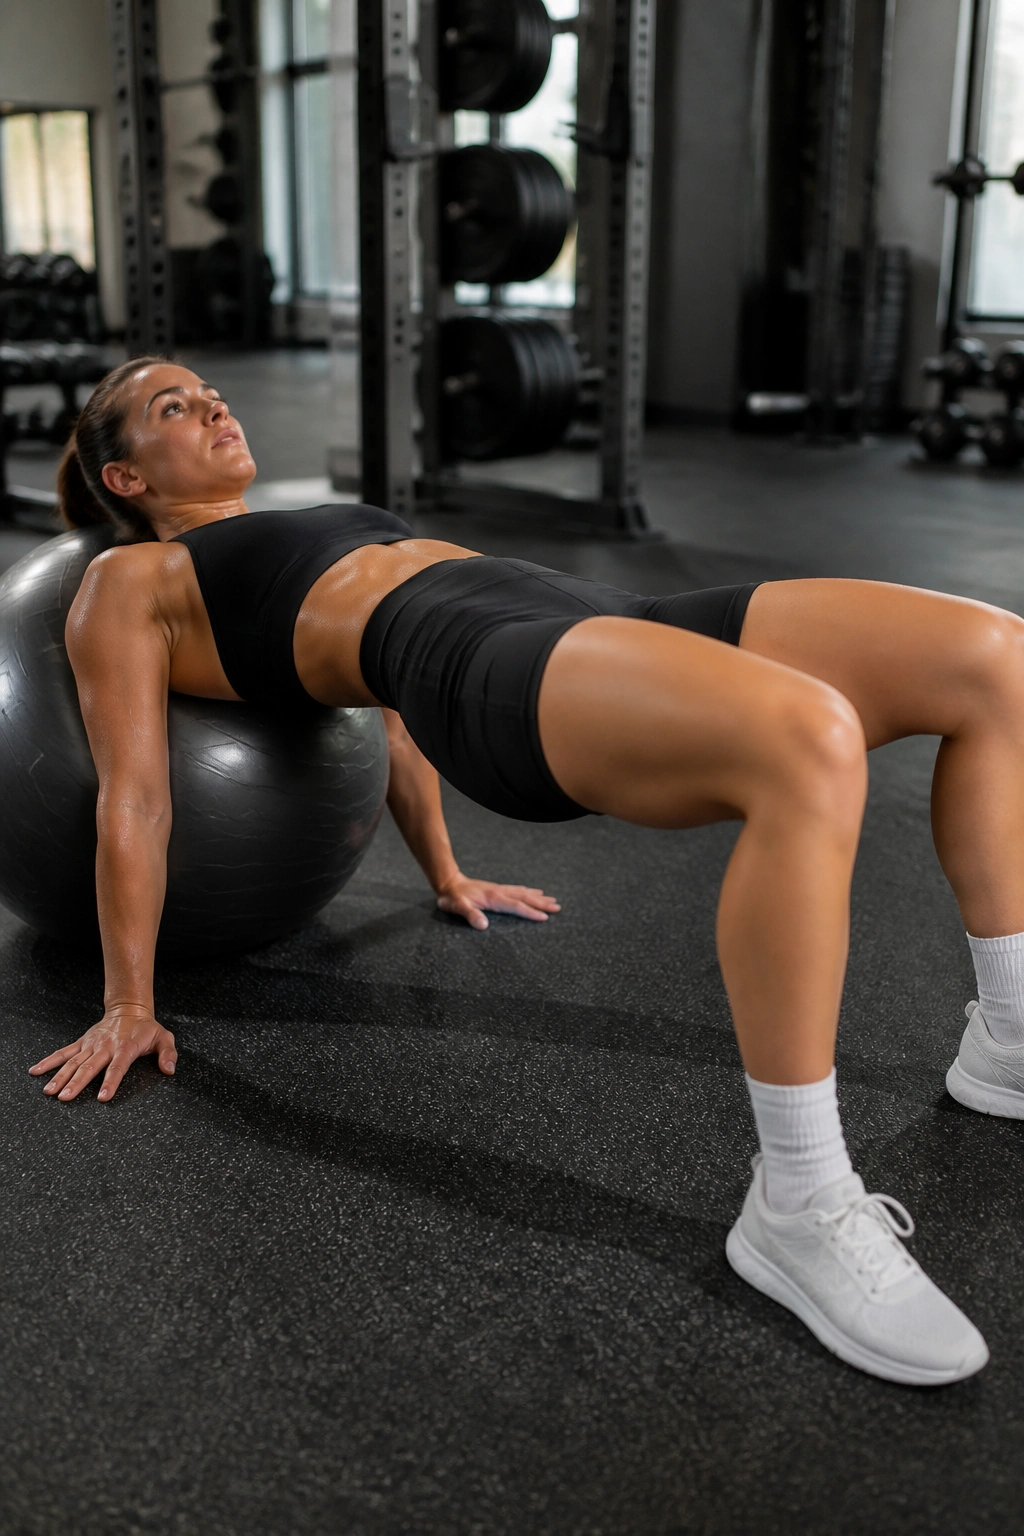
A stability ball makes the bridge wobble in all the right places. The feet have to work harder to stay planted, and the body has to keep the ball from rolling away while the hips rise.
That instability is useful if you want more hamstring involvement and better trunk control. It also makes cheating harder, which is always nice. Just know this version is less about raw load and more about control under movement.
Start with both heels on the ball and lift the hips slowly. If you can keep the hips level for 8 to 12 reps, the variation is doing its job. If the ball shoots out from under you, shorten the range and slow down.
This is a solid home-gym choice because a single ball can give you a lot of mileage. No fancy rack required.
18. Hamstring Walkout Bridge
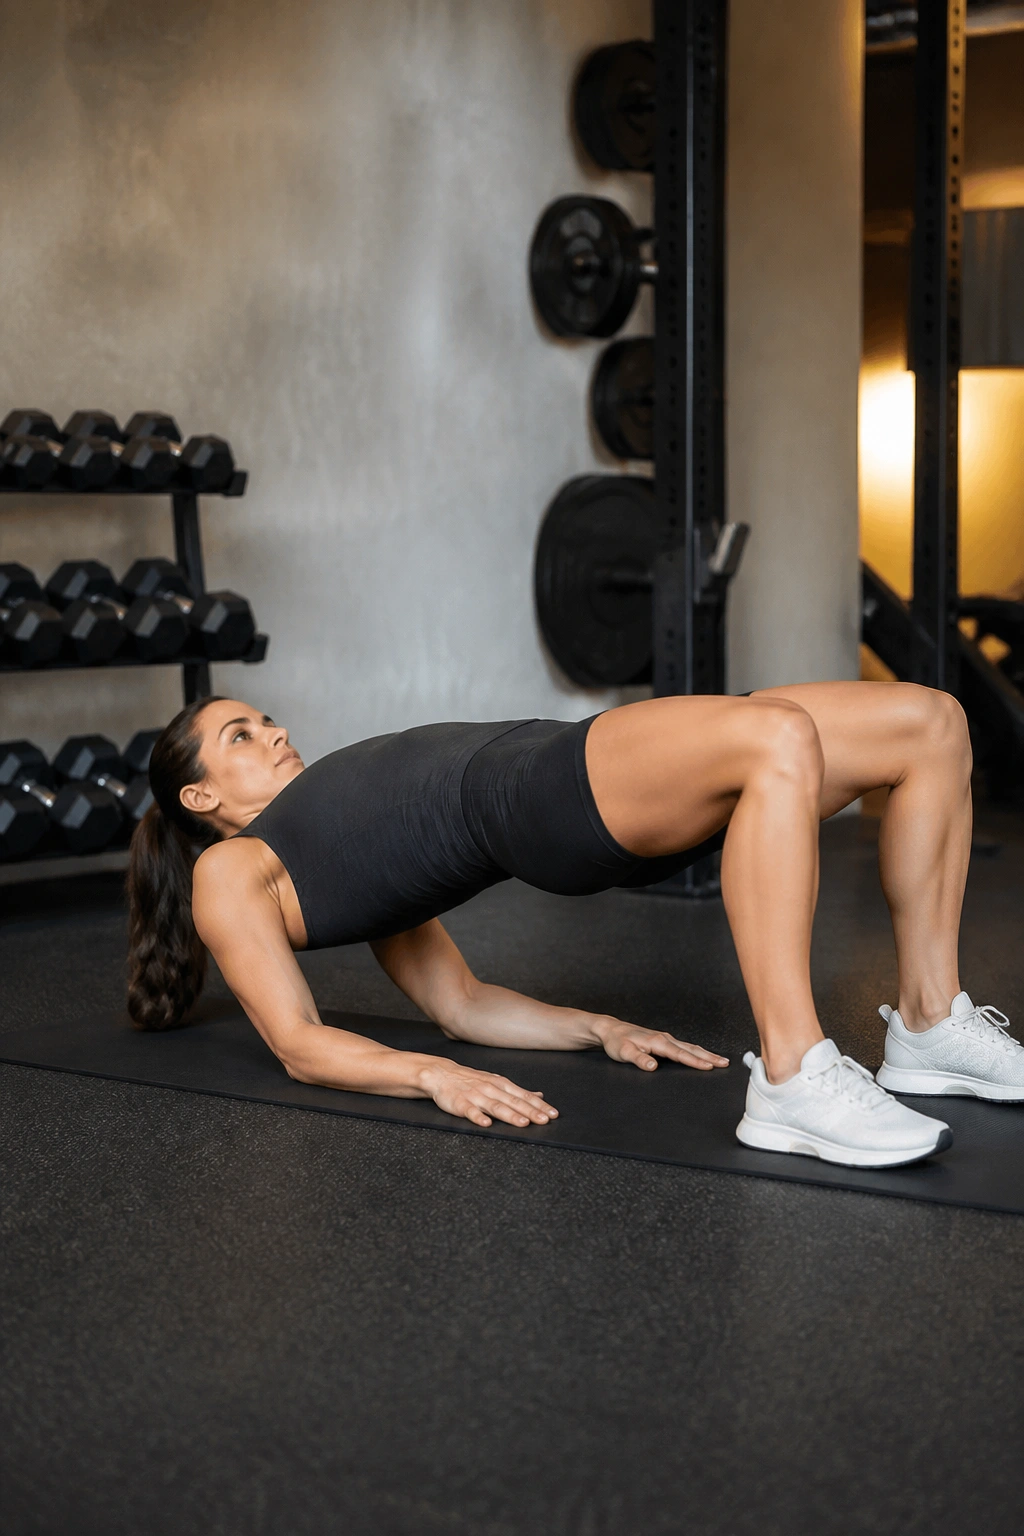
Walkouts are the version you’ll respect halfway through the set. They start like a regular bridge, then the feet walk away from the body one tiny step at a time while the hips stay up.
That changes everything. The glutes stay engaged, but the hamstrings get stretched and forced to hold tension as the feet move. It is one of the most effective bridge variations when you want posterior-chain work without a huge load.
How to Keep It Clean
- Lift into a strong bridge first.
- Take 2 to 4 small heel steps out.
- Walk the feet back in under control.
- Keep the hips from dropping between steps.
Use only 4 to 6 walkouts per set at first. The movement gets ugly fast if you rush it. Clean steps, quiet hips, hard tension. That is the whole game.
19. Slider Glute Bridge
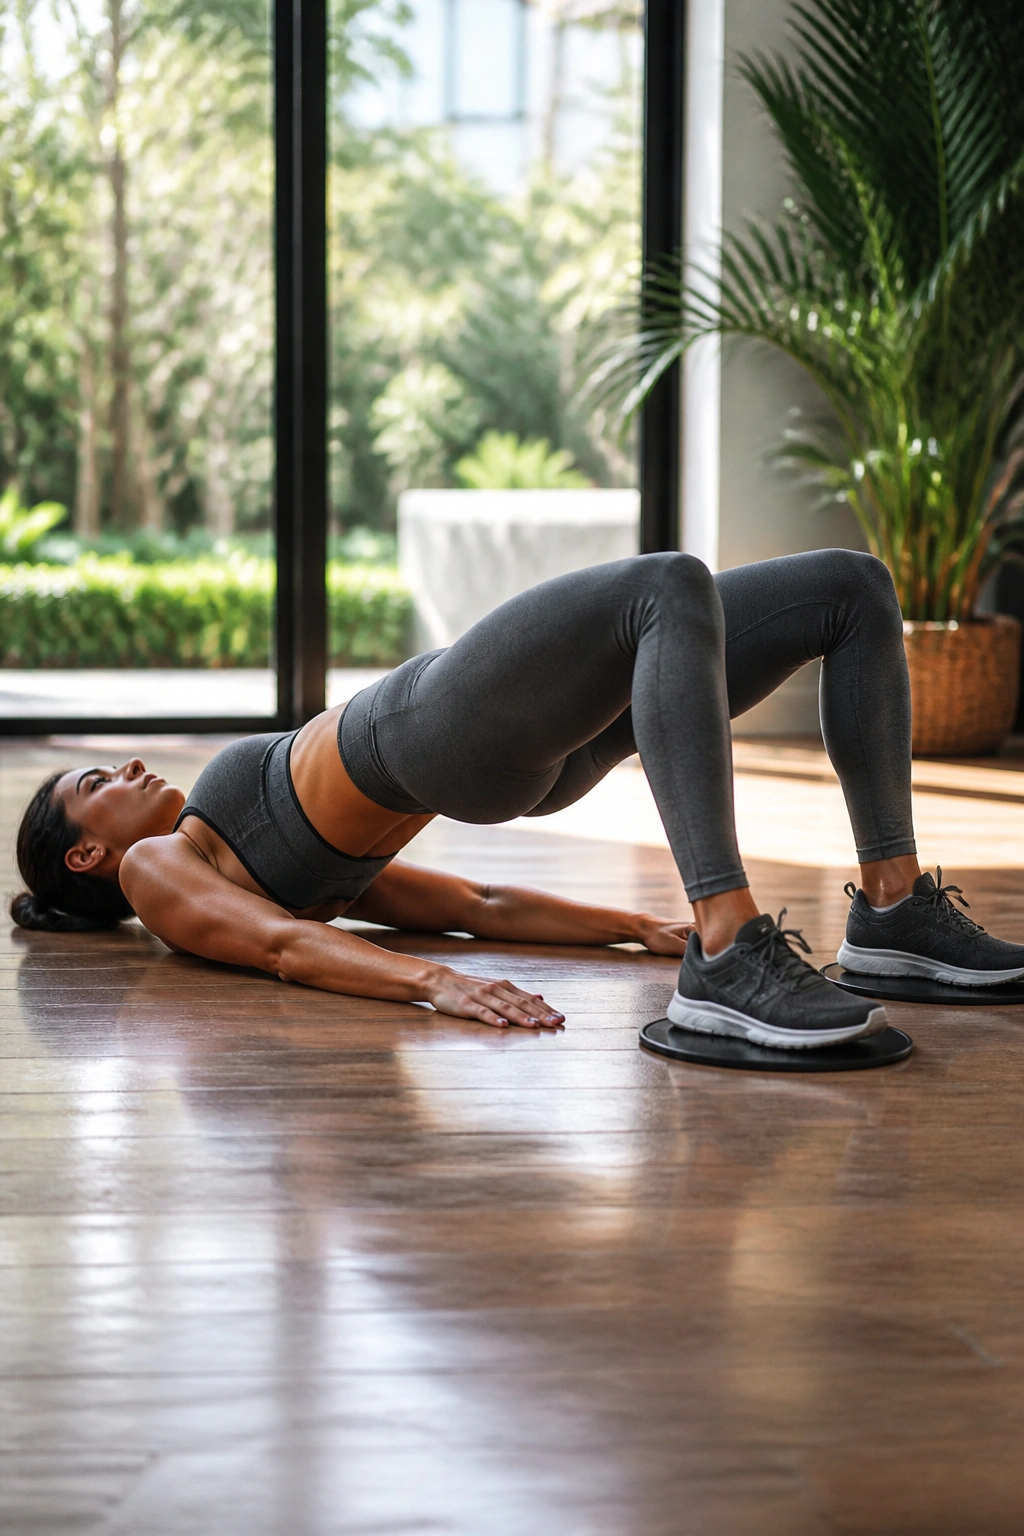
Sliding the feet out and back in turns the bridge into a moving target. If the floor is smooth, use socks, towels, or sliders; hardwood works best, carpet usually does not.
The appeal here is simple. You keep the glutes working while the legs extend and return, which adds a big control demand. It is a good choice when you want a bridge pattern that feels more athletic than static.
Start with both feet on sliders and extend the legs away while keeping the hips lifted as long as you can. Then pull the heels back in under control. If both legs at once feels too messy, do one leg at a time.
Keep the reps low, around 6 to 10, because the movement gets tiring quickly. The moment the hips sag, reset. No point grinding out bad reps.
20. Wall Glute Bridge
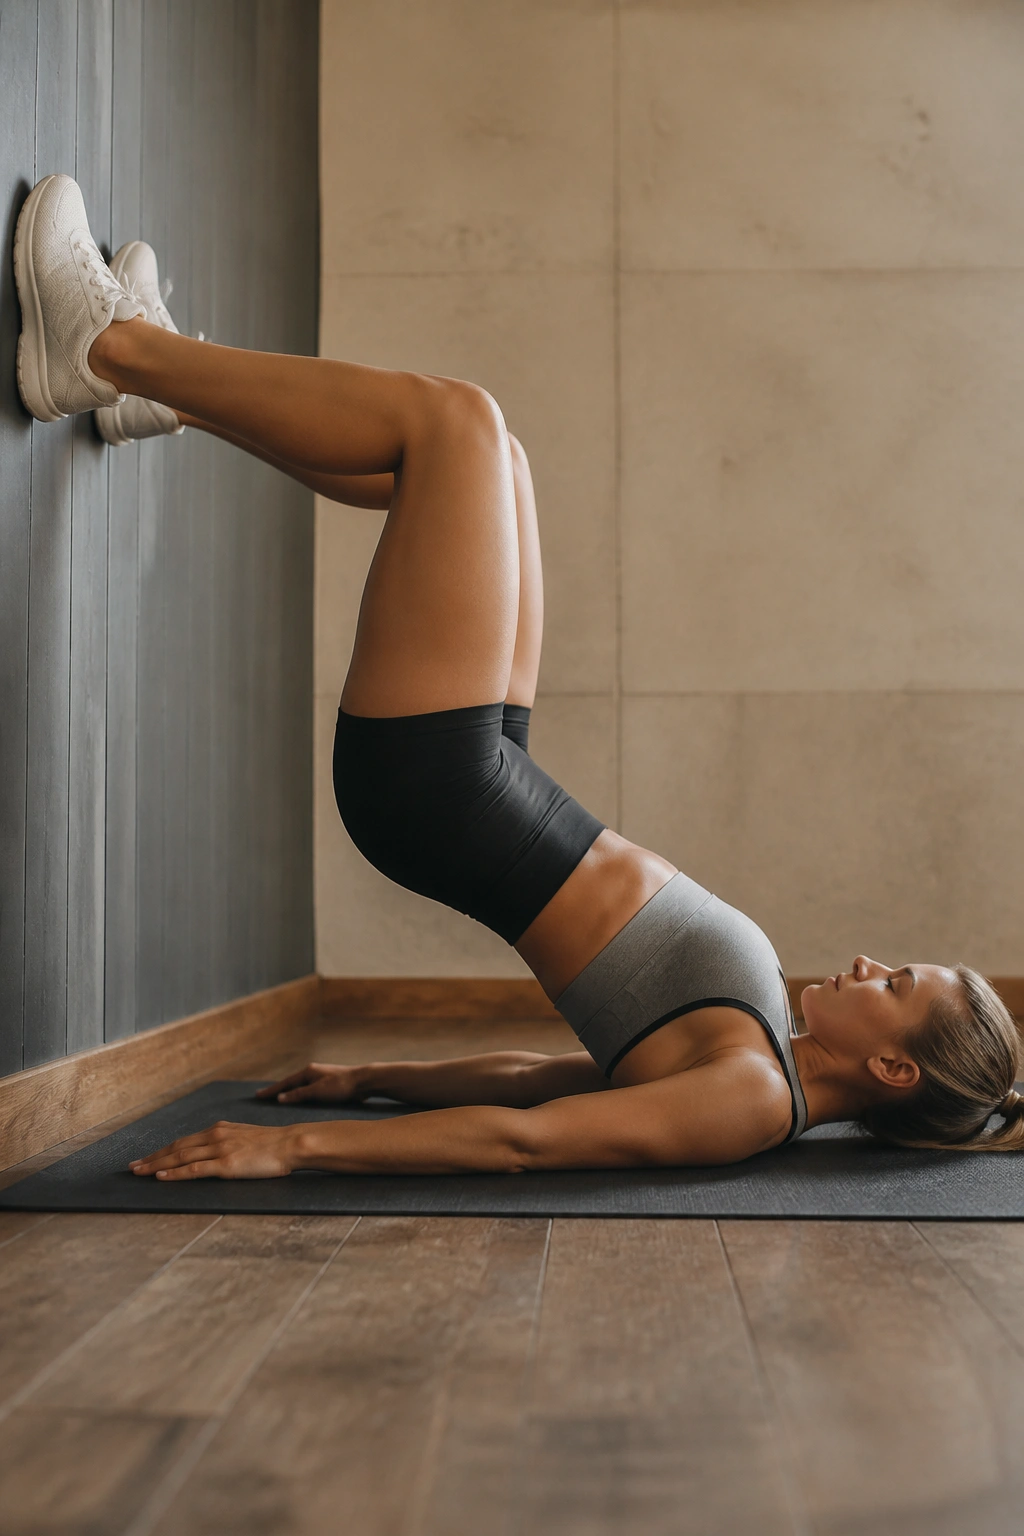
A wall bridge is one of those drills that feels almost too simple. Lie on your back with your feet on a wall, knees bent around 90 degrees, and press through the heels to lift the hips.
That wall gives you a target and a reference point. It can make it easier to find rib position, keep the pelvis tucked, and stay honest about where the force is going. It is also friendly for people who want a bridge without much equipment or floor space.
When It Helps Most
- Great for learning pelvic control.
- Useful when floor bridges feel unstable.
- Good for 20 to 30 second holds or 8 to 12 reps.
- Easy to pair with breathing drills.
If the low back tightens, lower the hips a bit and reset the ribs. The wall should help you feel organized, not jammed up.
21. Long-Lever Glute Bridge
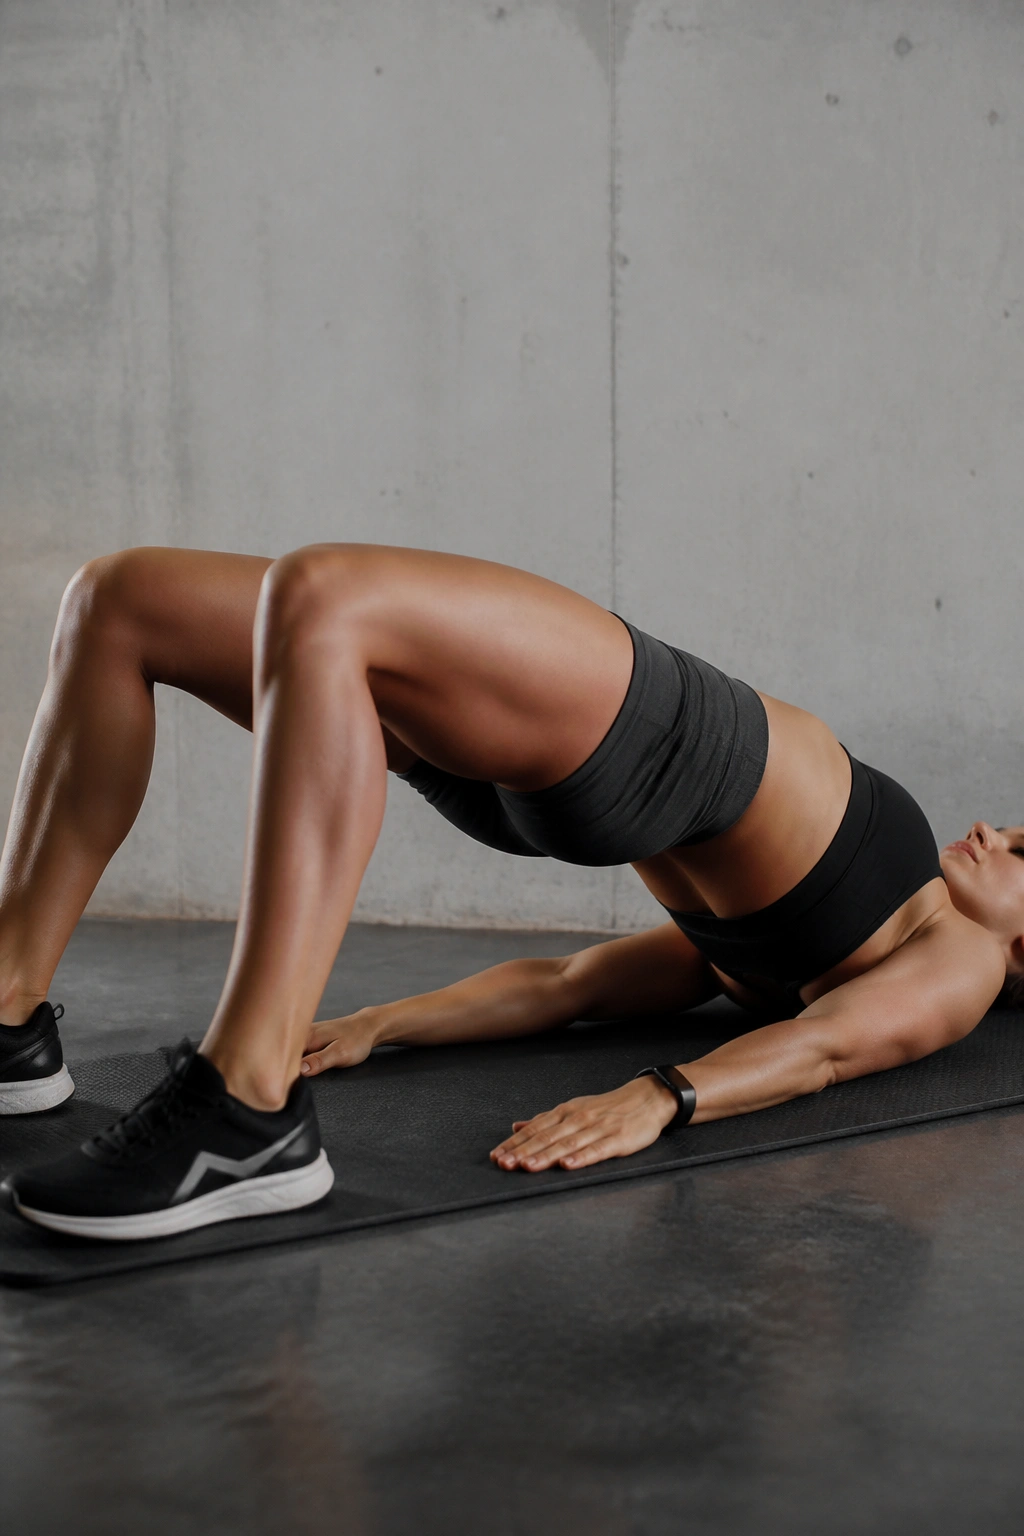
Move the feet farther away and the bridge changes character. The longer lever makes the glutes work harder through a tougher line of pull, especially near the top where the hips need to finish the job cleanly.
This version sounds small, but it is not. Even a few extra inches of foot distance can make the movement feel much more demanding. You will probably notice the hamstrings too, which is fine as long as they are assisting instead of taking over.
Use 8 to 12 reps and start with a modest change in foot position. Do not stretch the feet so far out that the low back starts arching or the hamstrings cramp. Adjust in small steps.
It is a smart choice for advanced lifters who need a harder bodyweight bridge without moving straight to heavy external load.
22. Short-Range Glute Bridge
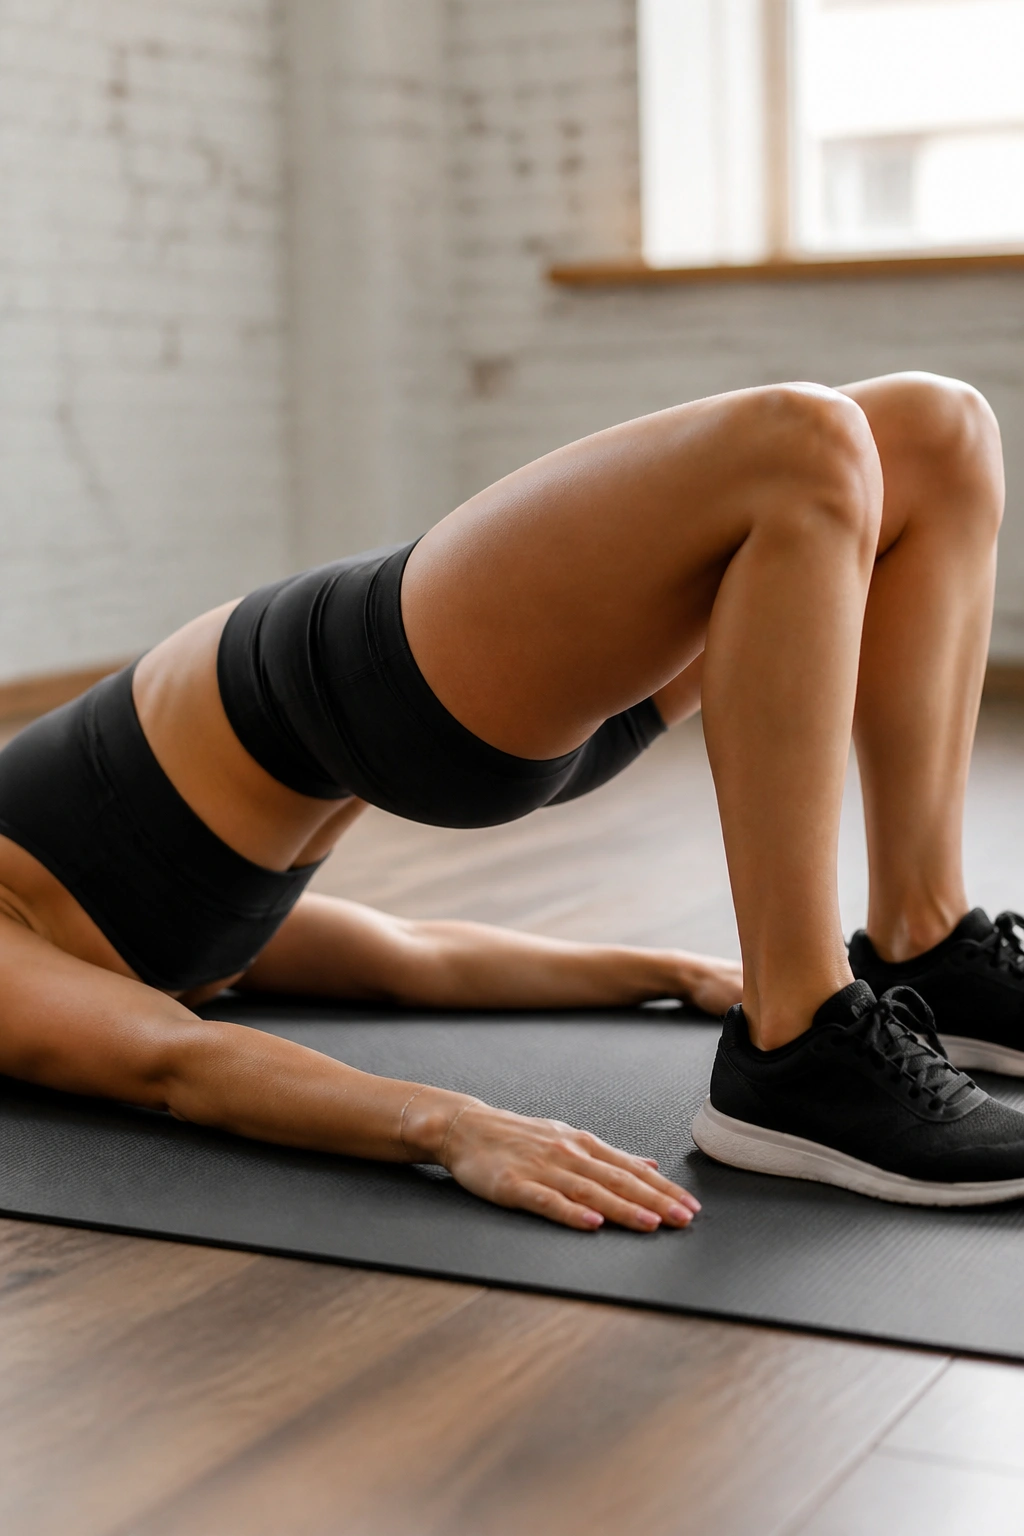
Short-range reps are not flashy. They are just useful.
Instead of moving through the full bridge, stay in the top half and keep the hips under constant tension. That tight little range can be brutal after heavier work because the glutes never get a break and the top contraction stays front and center.
Use 15 to 25 short reps or hold the top and pulse there for 20 to 30 seconds. Keep the motion small and controlled. No bouncing. None.
This version works well as a finisher, especially when you want a deep burn without loading the spine more. It is also a nice option when the floor setup is tight and you need something simple that still does real work.
23. Offset-Loaded Glute Bridge
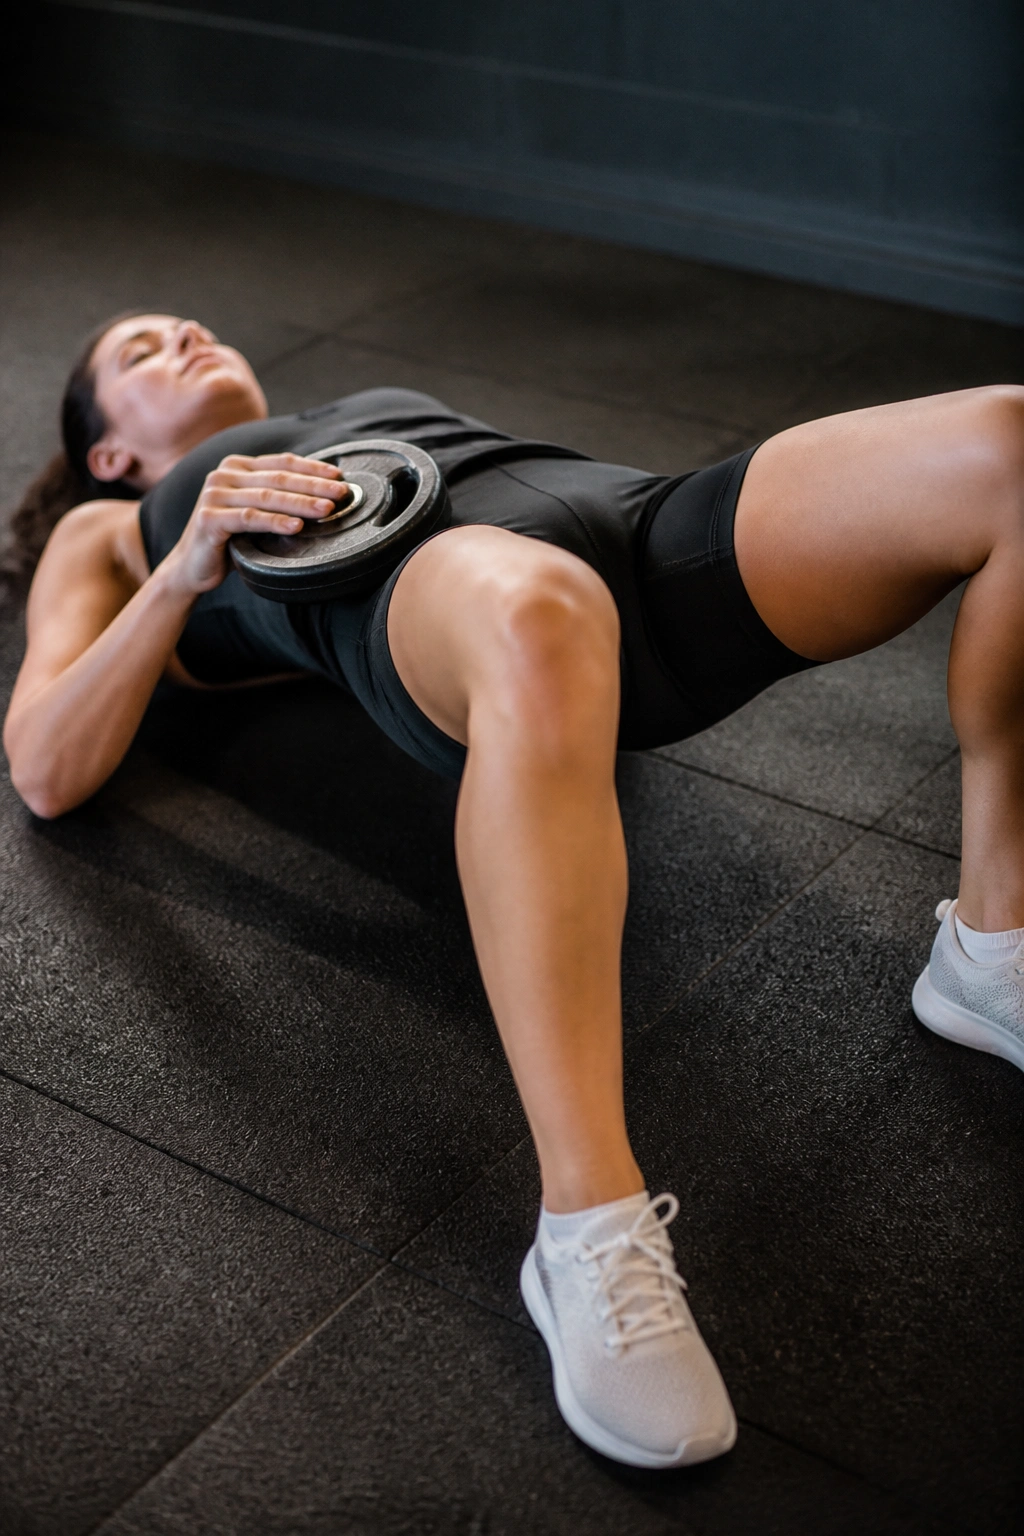
Offset loading looks lopsided for a reason. Put the weight slightly to one side of the hips and the body has to fight rotation while still driving the bridge upward.
That challenge changes the job. One side of the glutes works hard to extend the hips, and the core has to stop the pelvis from twisting. It is a sneaky way to train stability without adding a whole new exercise.
Practical Setup
- Use a light dumbbell or plate first.
- Place it a little left or right of center.
- Keep the shoulders and pelvis square.
- Use 6 to 10 reps per side.
The weight does not need to be huge. In fact, too much load makes the set sloppy fast. This is one of those drills where lighter and cleaner usually beats heavier and ugly.
24. Single-Leg Feet-Elevated Glute Bridge
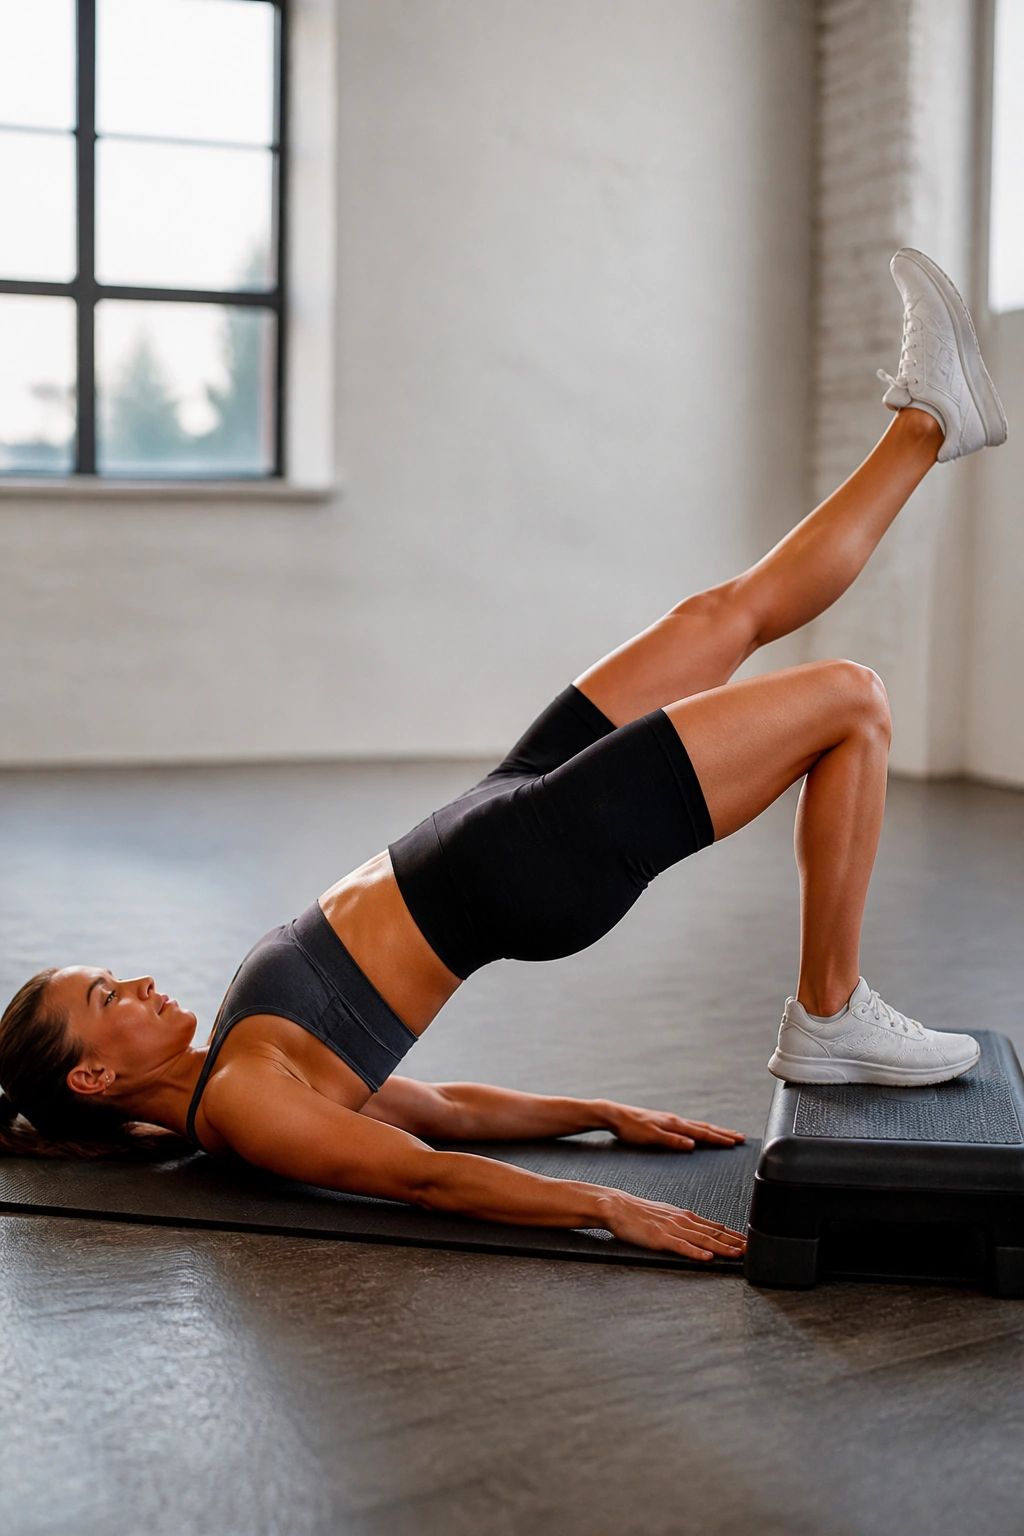
A single-leg bridge with the heel up on a step is a sneaky hard version. You get more range, more balance demand, and more work at the top and bottom of the rep.
The raised heel changes the leverage enough that the planted side cannot coast. If you already own the regular single-leg bridge, this is a good next step. If you do not, skip straight here at your own risk. It is a jump.
Keep the hips square, the lifted leg quiet, and the movement controlled. Use 6 to 8 reps per side to start. A lower step usually feels better than a tall one, and that matters more than looking advanced.
This is one of the cleaner ways to make unilateral bridge work harder without needing dumbbells or a bar.
25. Glute Bridge with Adductor Squeeze
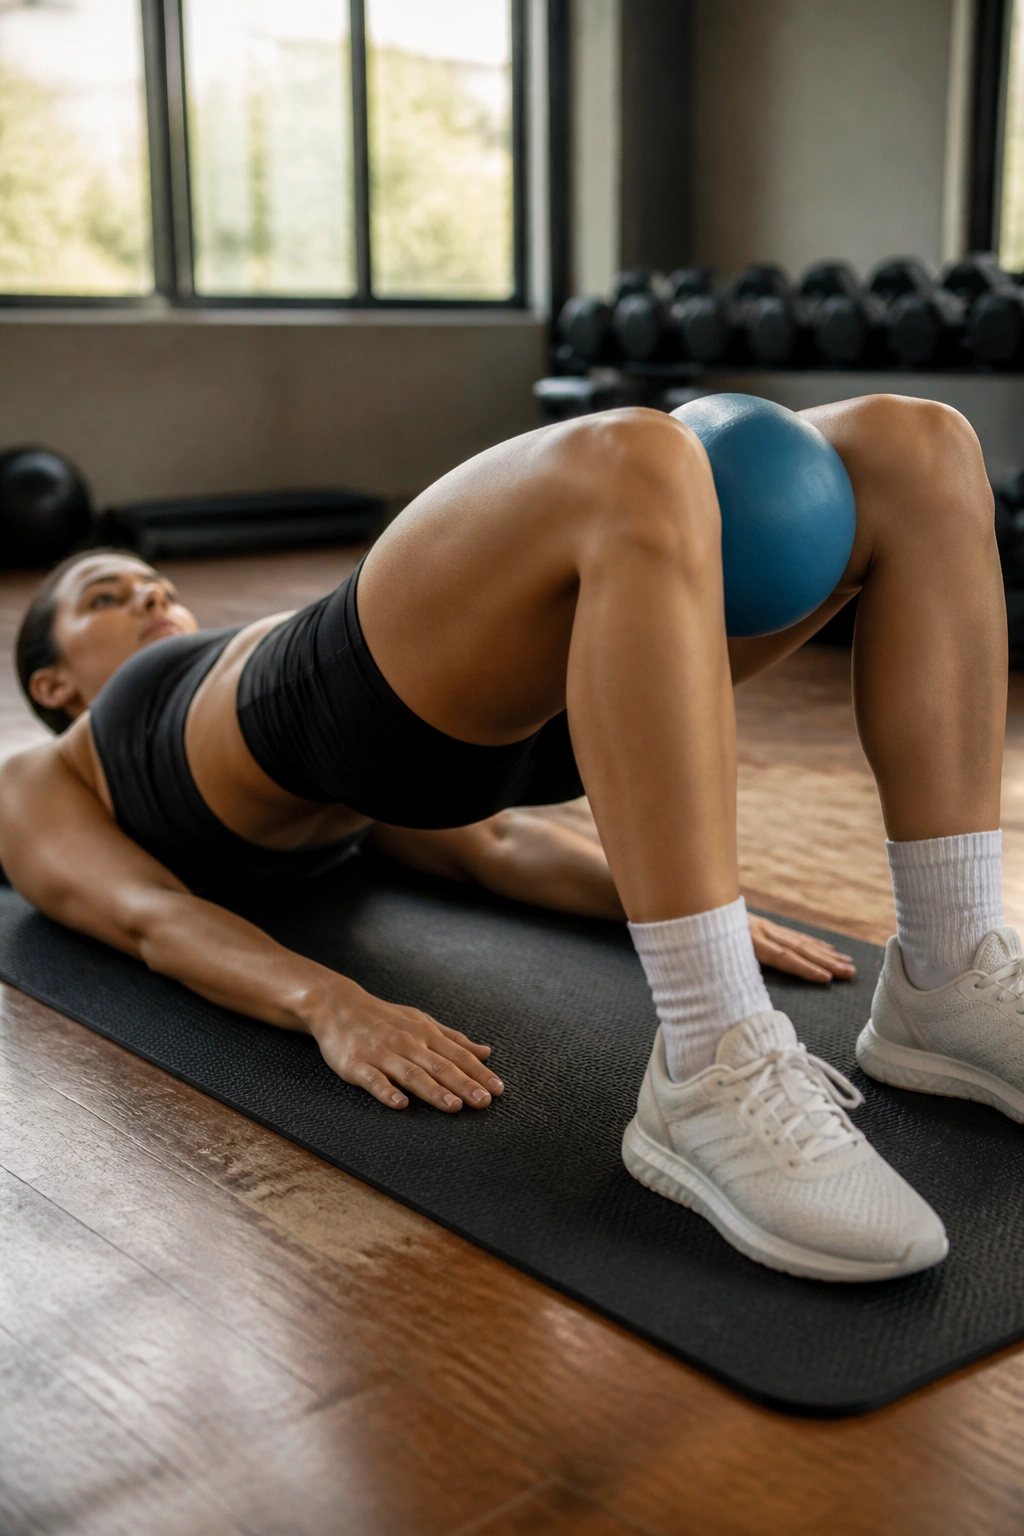
A pillow or ball between the knees changes the bridge more than you’d expect. The light squeeze wakes up the inner thighs, helps the pelvis stay organized, and gives the glutes a steadier base to work from.
The trick is not to crush the object. Press gently, almost as if you are trying to keep it from slipping rather than flattening it. That small squeeze often cleans up the rep and keeps the knees from drifting all over the place.
How to Program It
- Place a small ball, yoga block, or firm pillow between the knees.
- Squeeze lightly through the full rep.
- Use 10 to 15 reps or a 20-second hold.
- Keep the feet planted and the ribs quiet.
This one works well as a finishing drill or as a reset when your hips feel scattered. If you want a simple weekly rotation, pick one loaded bridge, one unilateral bridge, and one control-heavy variation. That mix gives the glutes enough variety to grow without turning the whole thing into homework.
