



That tight, aching sensation in your quads two days after a heavy squat session is a universal experience for anyone pushing their physical limits. It is the hallmark of progress, but it is also the primary barrier to getting back under the bar or hitting the pavement for another run. When muscles feel knotted and restricted, movement becomes inefficient and, frankly, unpleasant.
This is where myofascial release enters the picture. You are not just mashing soft tissue for the sake of it; you are encouraging blood flow, down-regulating an overactive nervous system, and helping muscle fibers slide past each other the way they were designed to. People often treat a foam roller like a torture device, but with the right technique, it should feel like a directed, controlled release of tension.
Consistency matters more than intensity. Spending forty-five minutes once a week rolling your entire body into a bruised mess is far less effective than spending ten minutes daily targeting specific areas that feel particularly restrictive. Focus on slow, rhythmic movements rather than rapid, frantic rolling. When you find a spot that screams at you, pause. Breathe. Let the tension dissipate.
1. Calves (Gastrocnemius and Soleus)
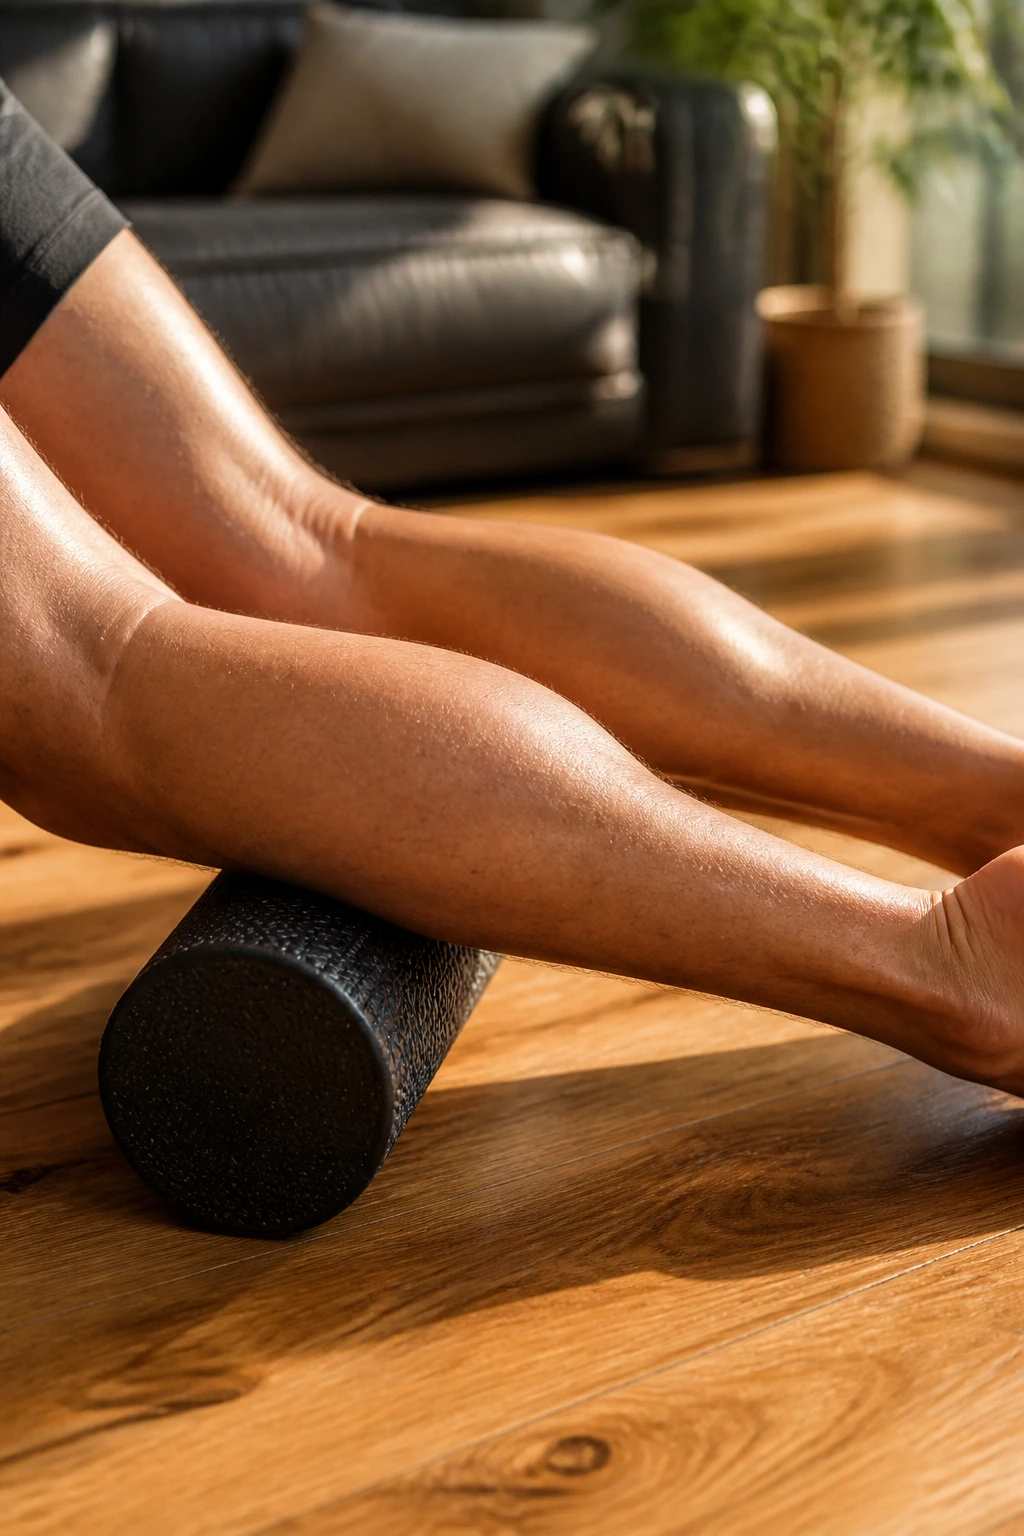
The calves take a beating from almost every athletic endeavor, from walking to sprinting. When they are tight, they pull on the Achilles tendon and change the mechanics of your entire stride. To roll them effectively, sit on the floor with your legs extended. Place the roller under your calves, then lift your hips off the ground, supporting your weight with your hands.
The Cross-Fiber Technique
Do not just roll up and down. That gets you nowhere. Once you find a tender spot, perform cross-fiber friction. Rotate your toes inward and outward while keeping the muscle pressed against the roller. This breaks up adhesions more effectively than linear movement ever could.
Pro tip: If one calf feels tighter than the other, stack your legs by crossing one ankle over the other. This doubles the pressure instantly, so proceed with caution if you are new to this.
2. Hamstrings
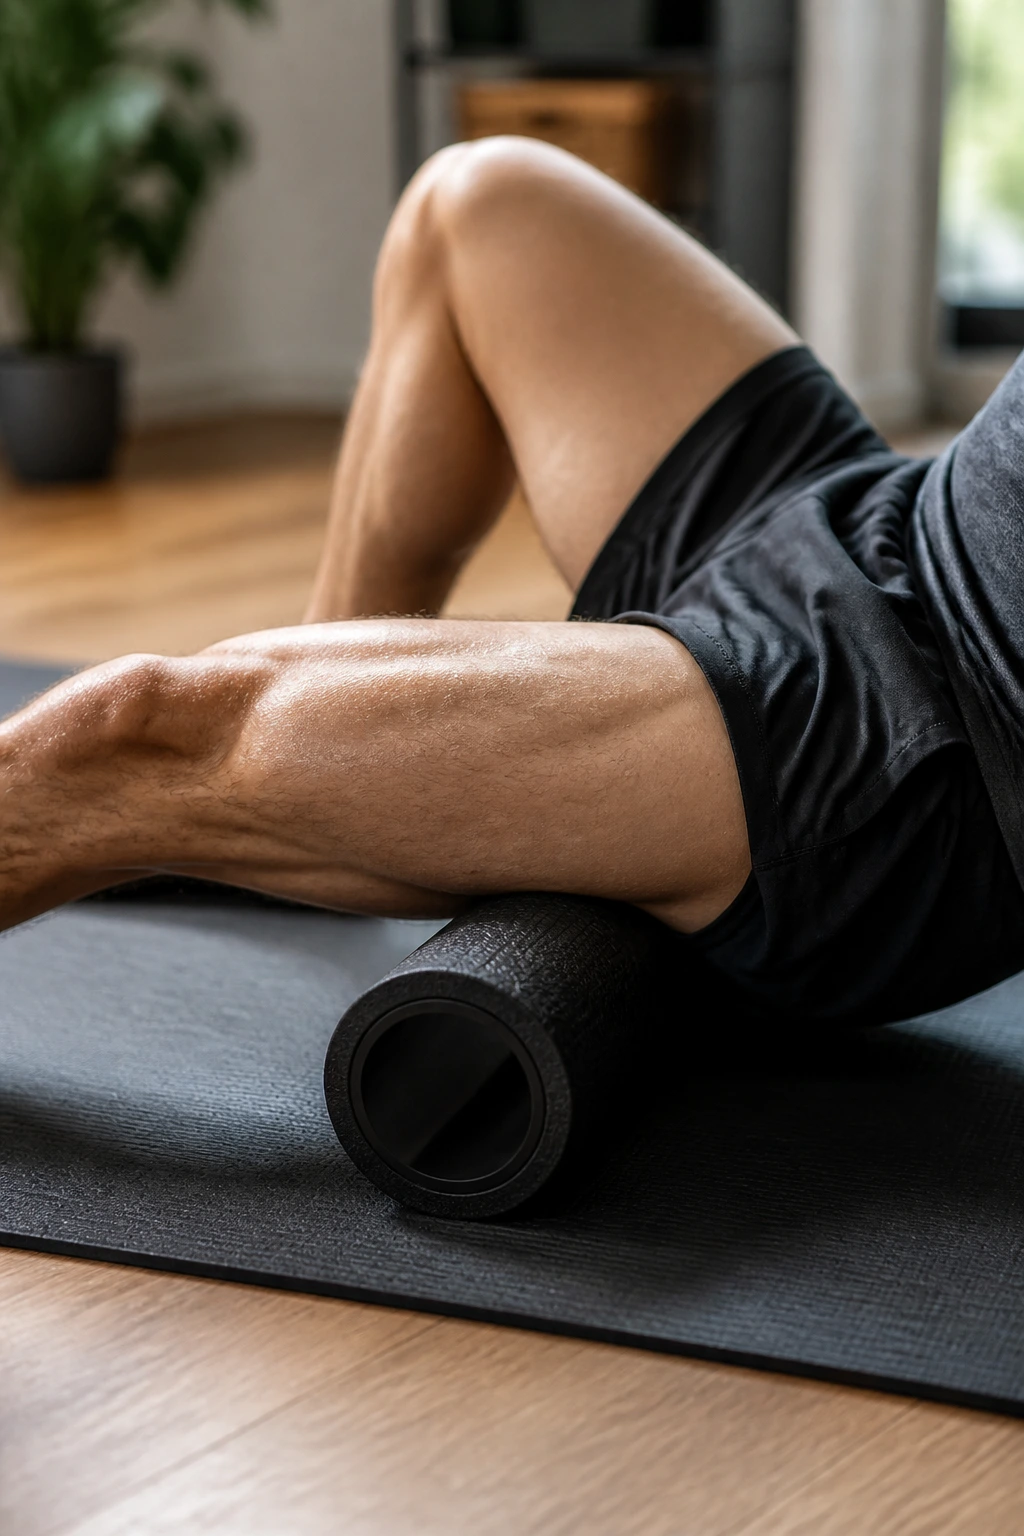
Hamstring tightness is rarely just about the hamstrings; it is often a compensation for weak glutes or tight hips. Start by sitting on the floor with the roller under your mid-thighs. Use your arms to support your weight and slowly move back and forth from just above the knee to just below the gluteal fold.
Why You Should Avoid the Knee
Never roll directly over the back of the knee joint. There are nerves and blood vessels there that do not appreciate being compressed against a hard surface. Stick to the fleshy part of the muscle belly. If you need more pressure, lean forward slightly from the hips, keeping your back straight rather than rounding your spine.
3. Quadriceps
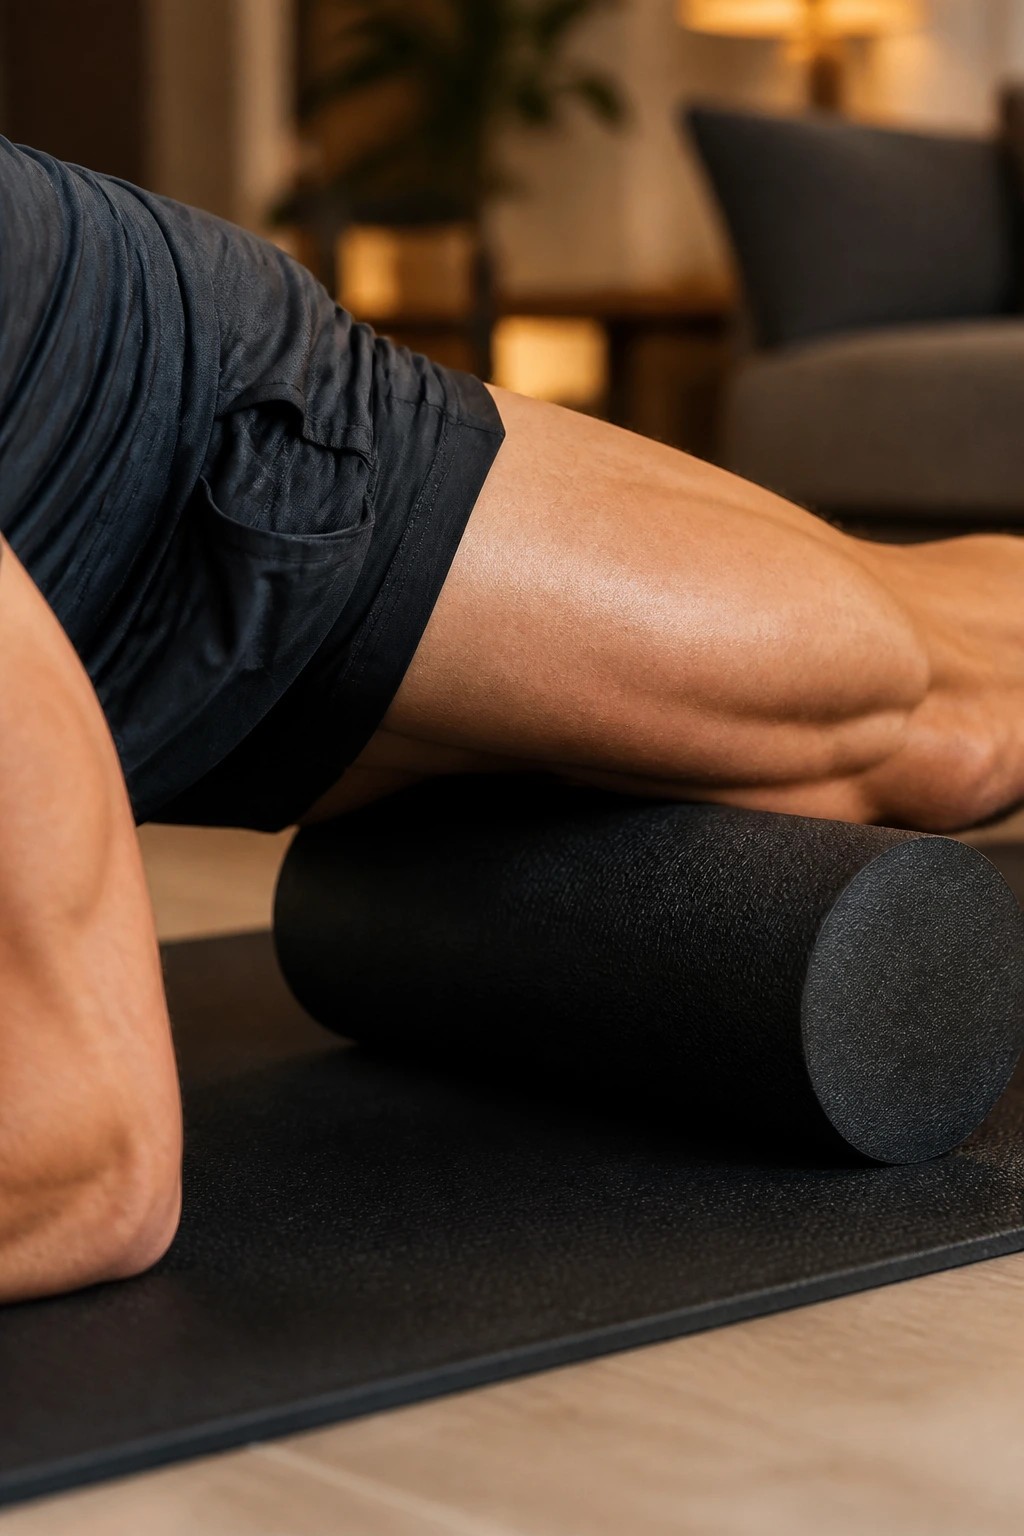
This is the classic, love-to-hate exercise. Get into a forearm plank position with the foam roller beneath your thighs. Keep your core tight—this is not a core workout, but your abs need to stabilize you so your lower back does not arch and take the brunt of the pressure.
- Start at the top of the knee and work your way up toward the hip crease.
- Keep your feet off the floor to put the full weight of your lower body onto the roller.
- If you find a particularly stubborn knot, stop and flex your knee, bringing your heel toward your glute, then release. This creates a shearing effect that helps “unstick” the tissue.
4. Gluteus Maximus
Sitting in a chair for hours or performing heavy hip hinges leaves the glutes feeling like bricks. Sit on the roller with your knees bent and feet flat on the floor. Shift your weight to one side, rolling the glute of the weighted leg.
The Figure-Four Variation
To get deeper into the muscle fibers, cross the ankle of the leg you are rolling over the knee of the opposite leg. This puts the glute in a stretched position, making it much easier for the roller to penetrate the thick layers of muscle. You will feel a dramatic difference immediately.
5. Iliotibial (IT) Band
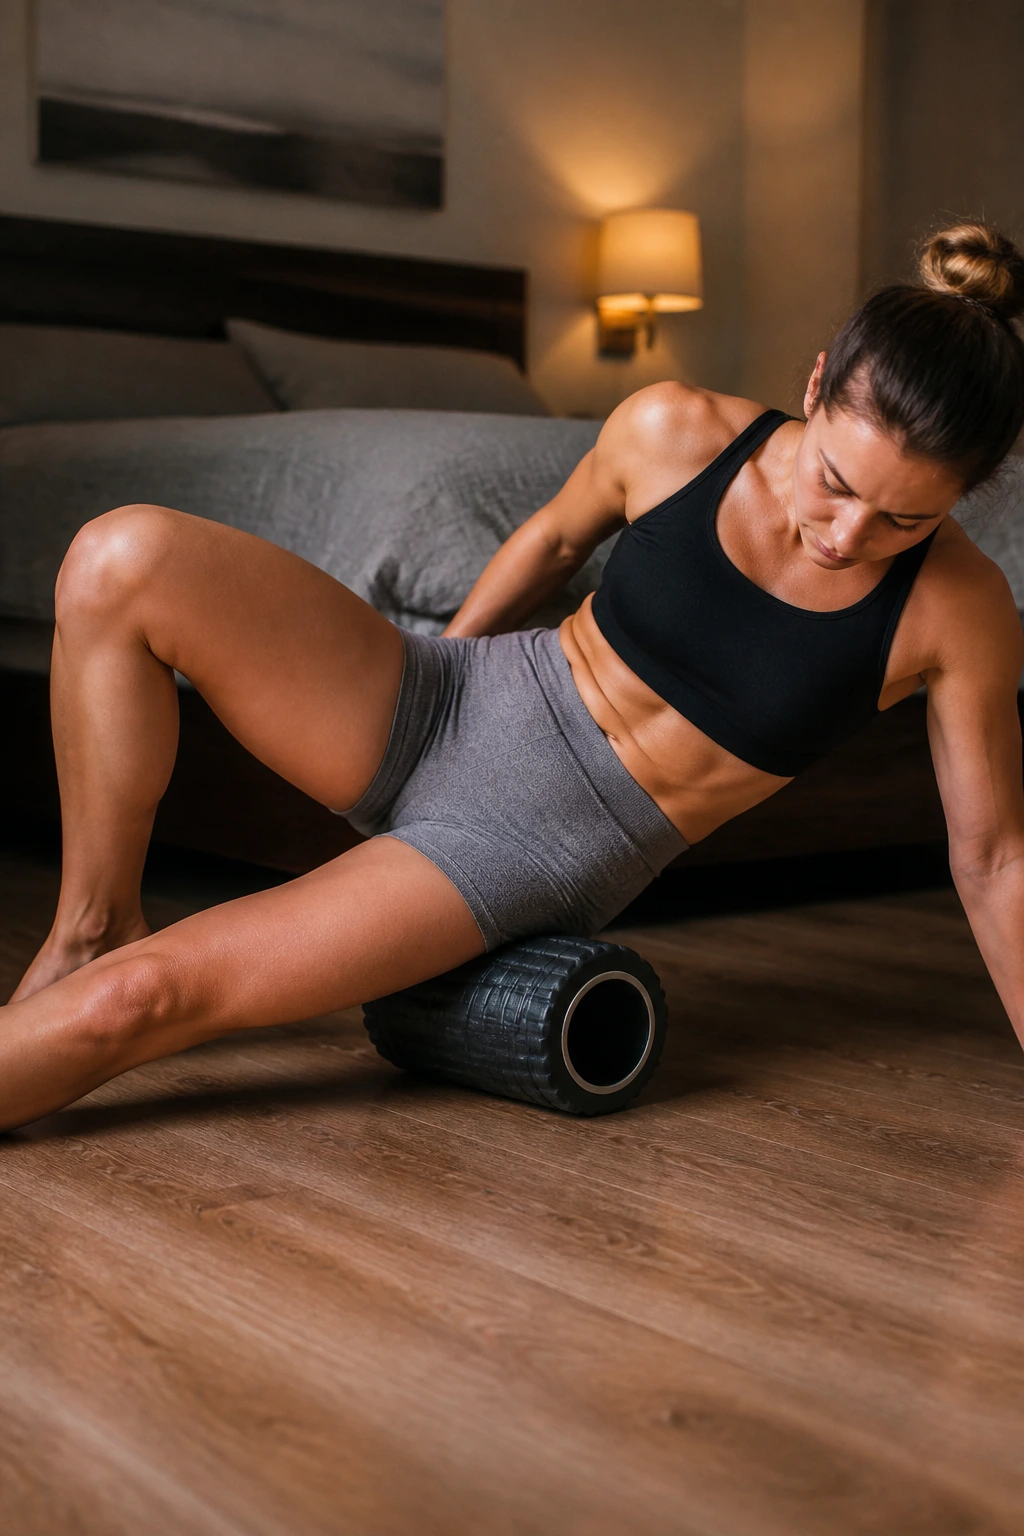
There is a lot of misinformation about the IT band. It is connective tissue, not a muscle, which means it does not “release” in the same way a calf or quad does. However, rolling the area can help alleviate the tension in the muscles surrounding it, specifically the TFL and glute medius. Lie on your side with the roller under your hip.
Keep the bottom leg straight and the top leg bent, with your foot planted on the floor for support. Move slowly from the hip down toward the knee, but stop before you hit the bony prominence of the lateral knee. If it feels like an electrical shock, move slightly off the center of the band—you are likely hitting a nerve or a sensitive trigger point.
6. Thoracic Spine (Upper Back)
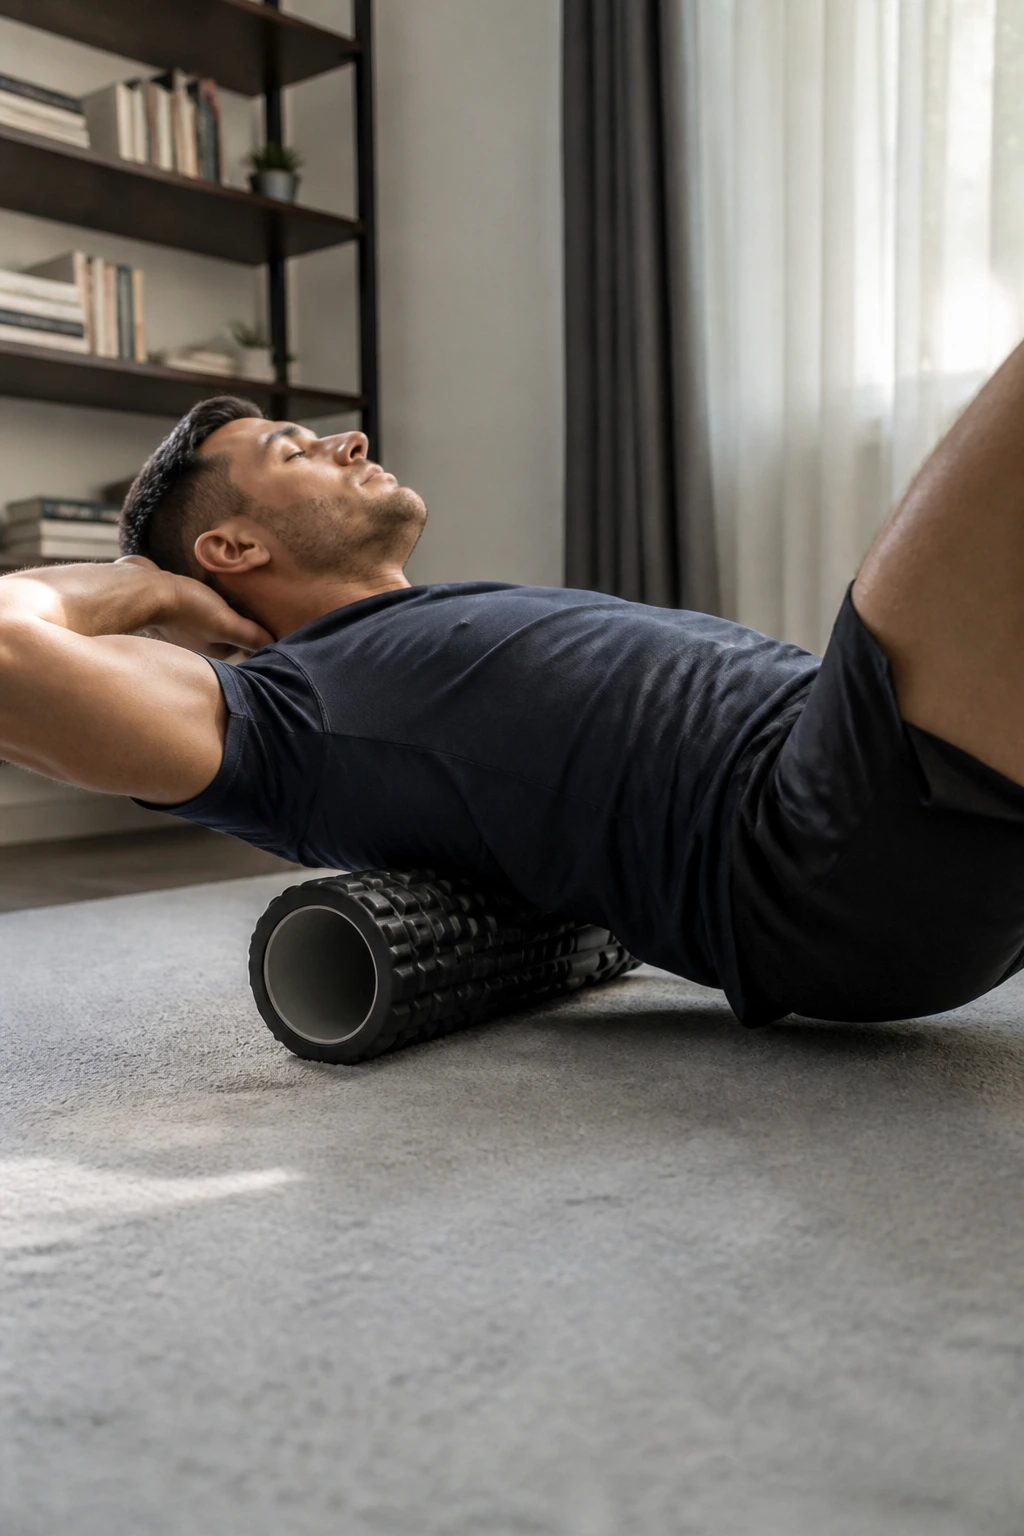
Most of us spend the day hunched over, leading to a stiff upper back. Lie on your back with the foam roller placed horizontally across your mid-back. Support your head with your hands to avoid straining your neck, and lift your hips just slightly off the floor.
How to Breathe Through the Extension
As you roll, drop your hips and let your upper back arch gently over the roller. This is not just about massage; it is about mobilizing the stiff joints of the thoracic spine. Inhale as you lean back, exhale as you roll forward. This combination of movement and breath-work helps open the rib cage and improves overhead mobility.
7. Latissimus Dorsi (Lats)
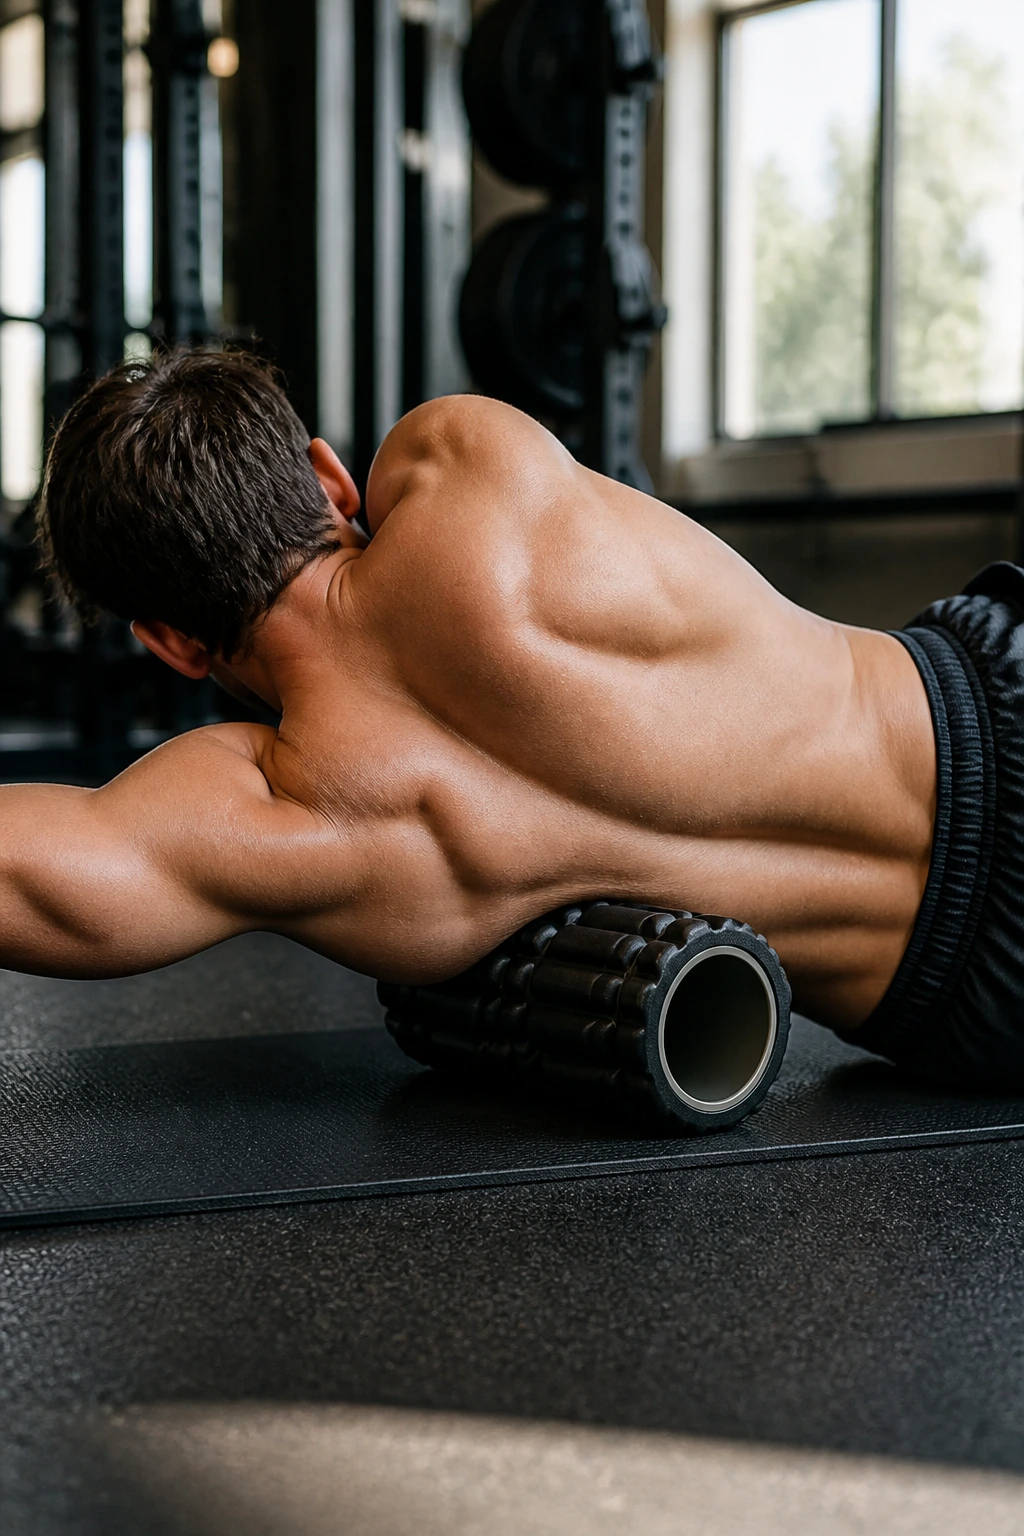
The lats are massive muscles that stabilize the spine and control shoulder movement. Tight lats feel like a weight dragging your shoulders down. Lie on your side with your arm extended overhead. Place the roller under your armpit and the side of your back.
Roll from the armpit down to the mid-rib area. You will likely find a “sweet spot” near the armpit where the muscle is thickest. Pivot your body slightly forward and backward to catch the different fibers of the lat. If you have been doing pull-ups or heavy rows, this is a non-negotiable part of your recovery routine.
8. Hip Flexors
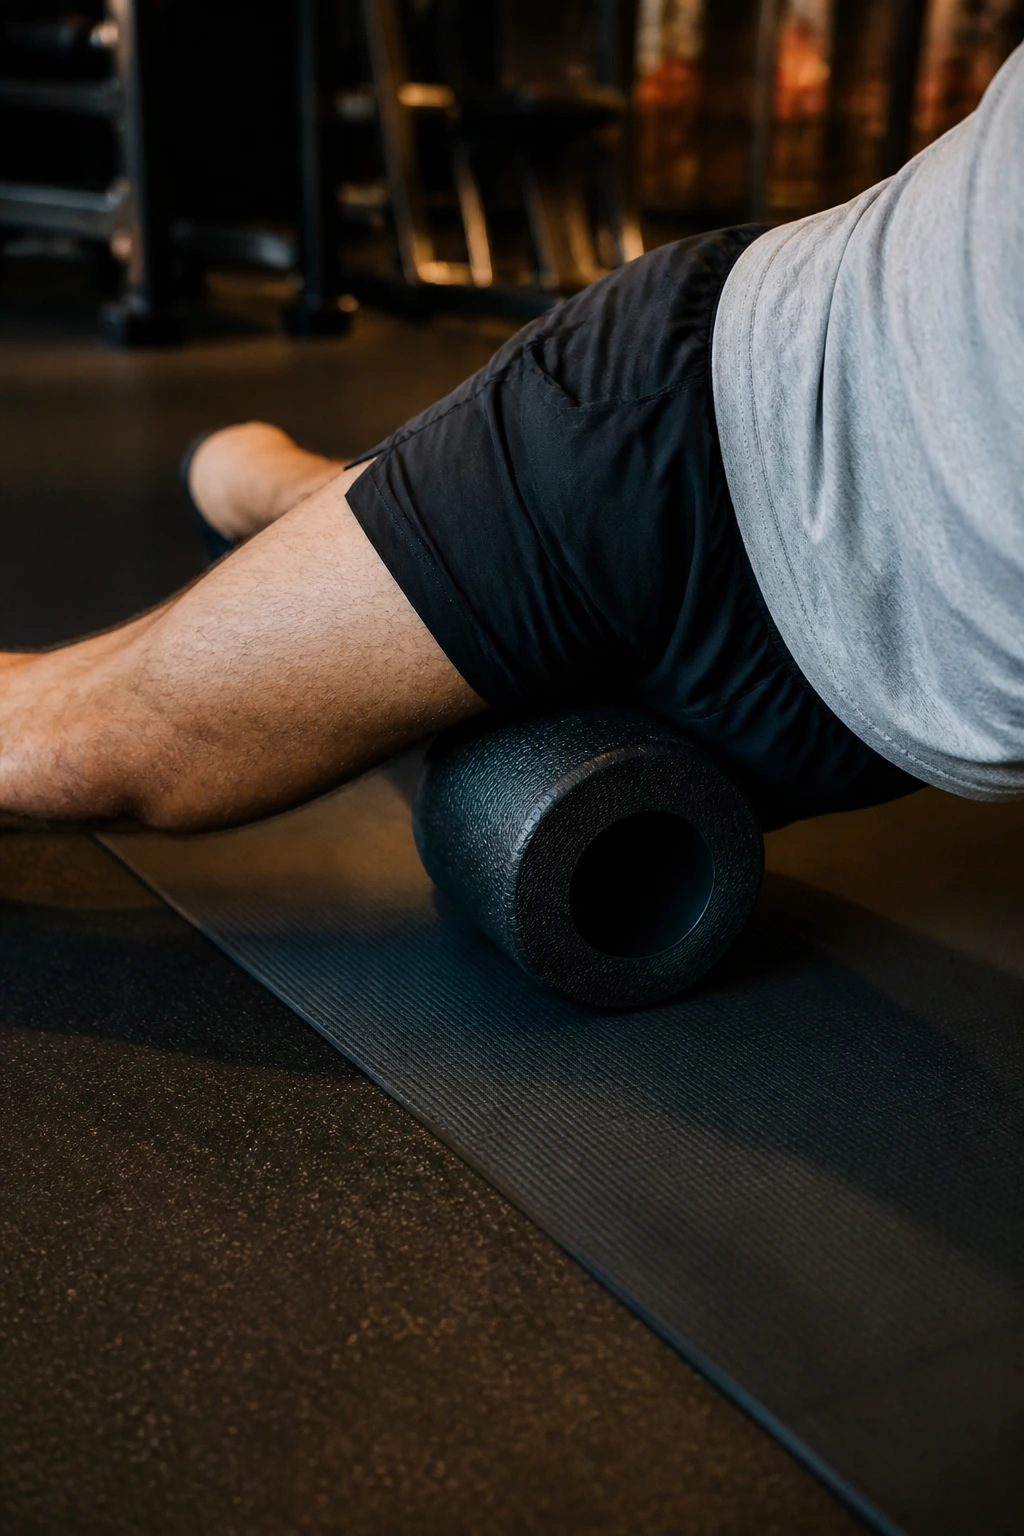
Tight hip flexors are the bane of the modern athlete. They pull the pelvis forward, causing lower back pain. Position the roller horizontally and lie face down. Place the roller in the crease where your thigh meets your pelvis.
The Single-Leg Focus
It is incredibly difficult to roll both hip flexors at once, so focus on one side. Keep the other leg out to the side for stability. Small, oscillating movements work best here. Do not try to roll long distances; just gently work that tight pocket of tissue. You are looking for a dull, aching sensation, not a sharp, stabbing pain.
9. Adductors (Inner Thighs)
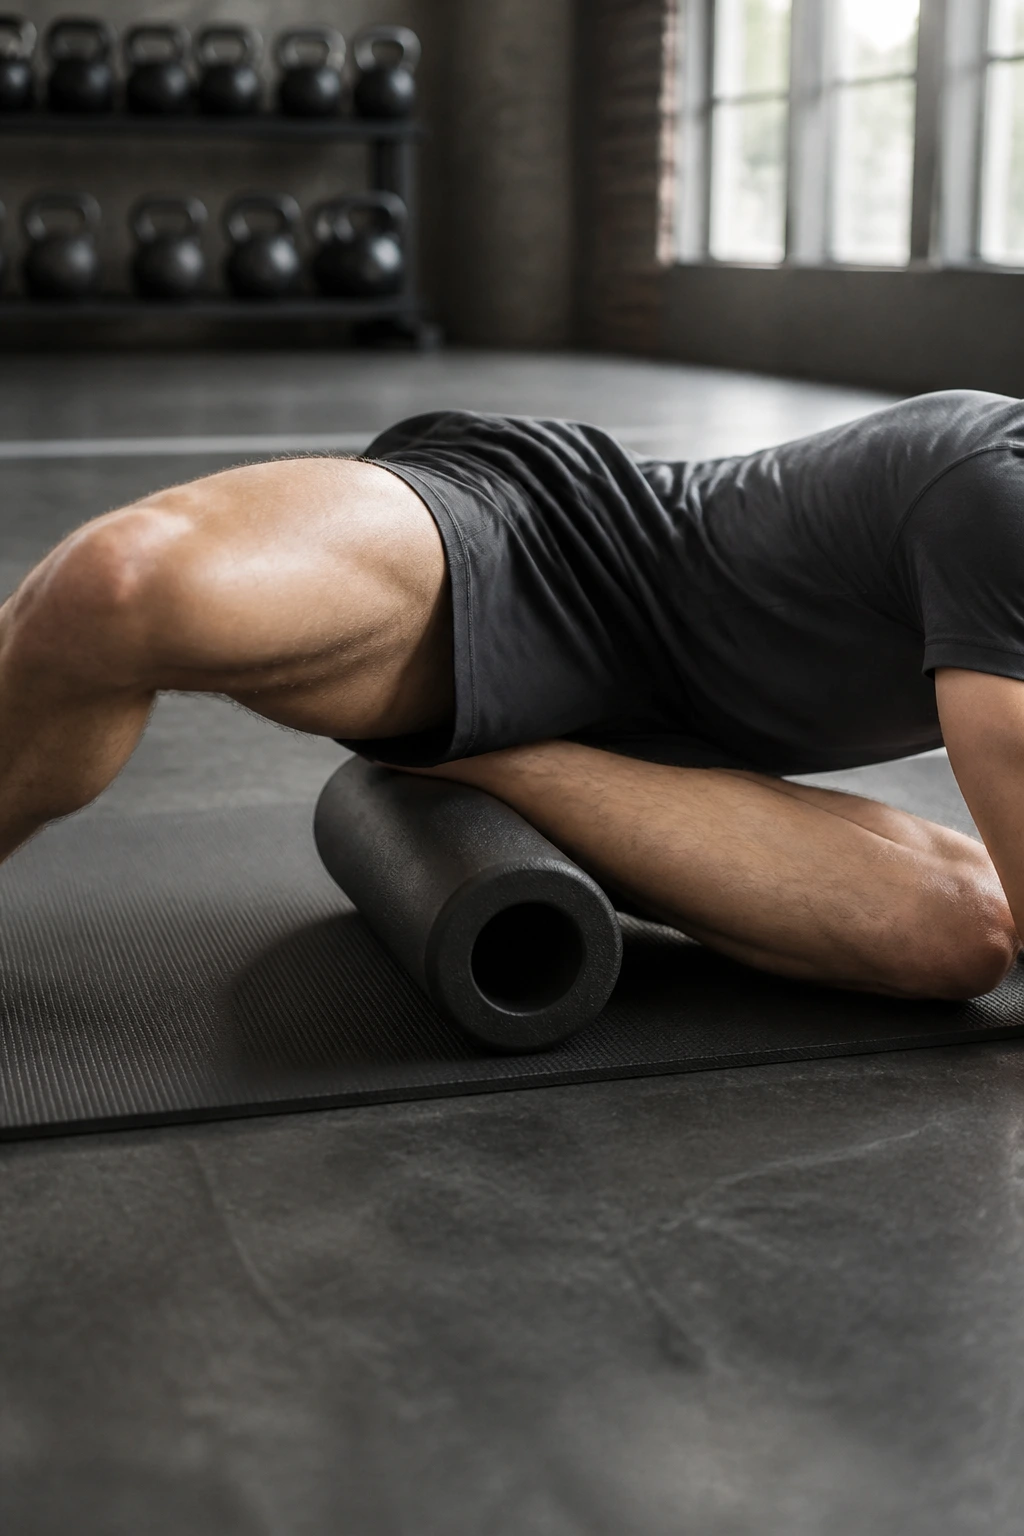
The inner thighs are often ignored, yet they are crucial for hip stability. Lie face down and bring one leg out to the side, bent at a 90-degree angle. Place the foam roller under the inner thigh of that bent leg.
Roll slowly from the groin toward the knee. This area is surprisingly sensitive for many people, so apply pressure cautiously. If the roller is too aggressive, try using a slightly softer roller or even a firm towel for the first few sessions. The goal is to flush out the tissue, not to see how much pain you can tolerate.
10. Shins (Tibialis Anterior)
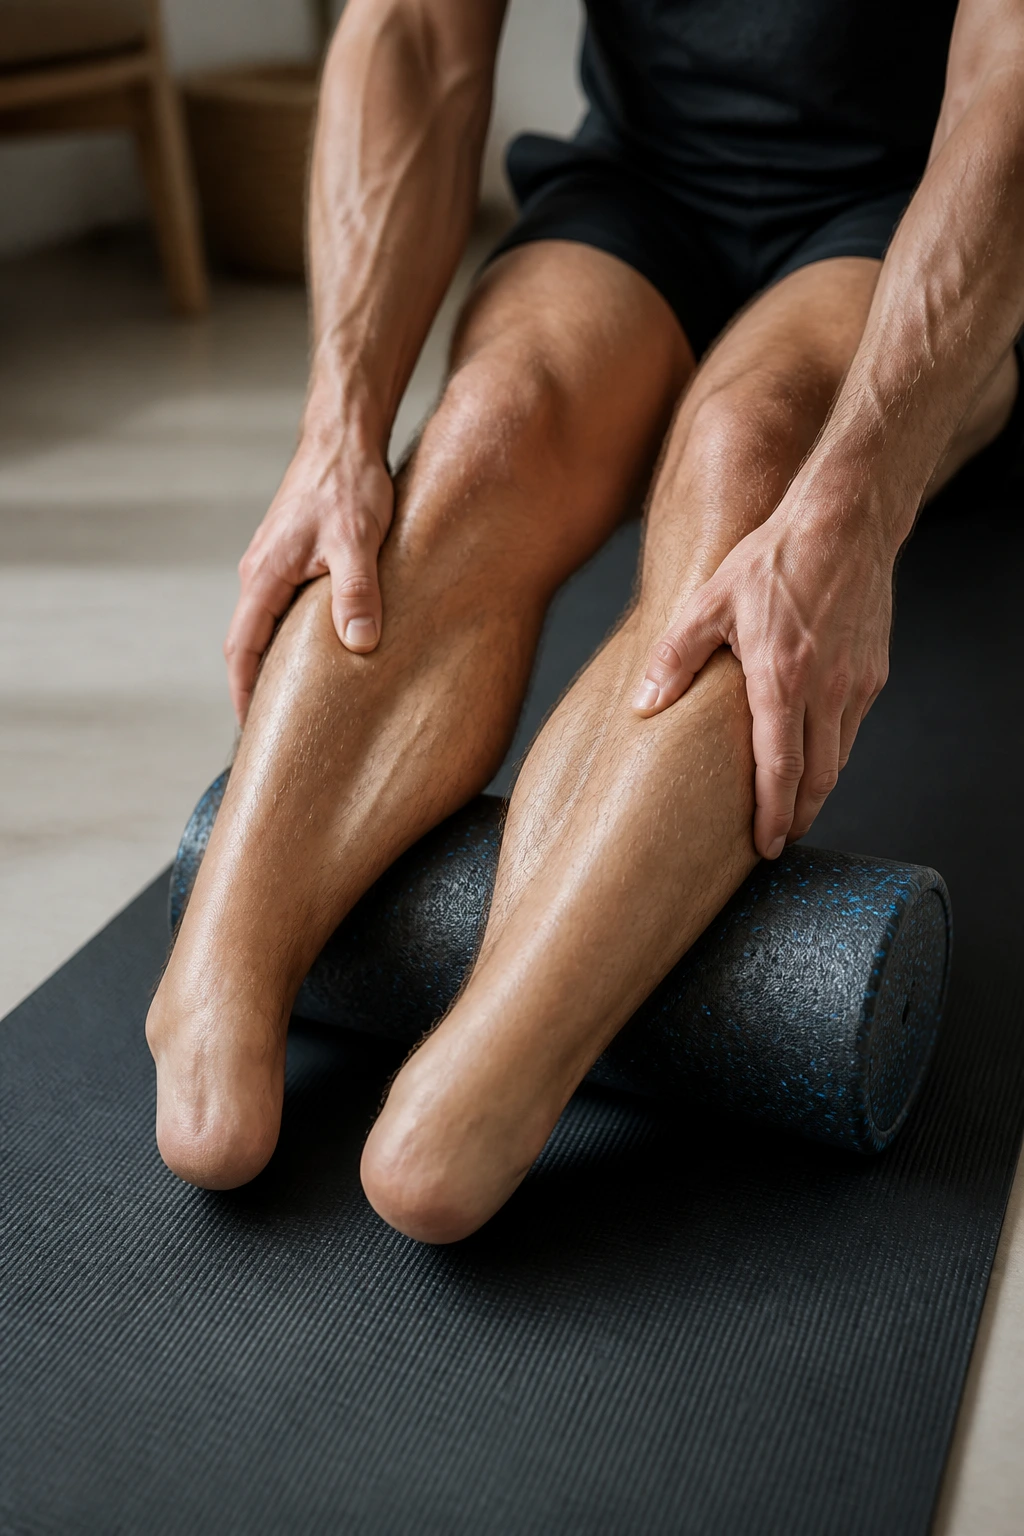
If you are a runner, you know the frustration of shin splints. While foam rolling will not cure structural issues, it can help manage the tightness in the muscles along the front of the shin. Kneel on the floor and place the foam roller in front of your knees.
Sit back onto your heels with the roller positioned under your shins. Slowly crawl your hands forward, letting the roller move down toward your ankles. This is a very targeted area. Do not roll over the sharp edge of the tibia bone; focus on the fleshy muscle pad located just to the outside of the shin bone.
11. Tensor Fasciae Latae (TFL)
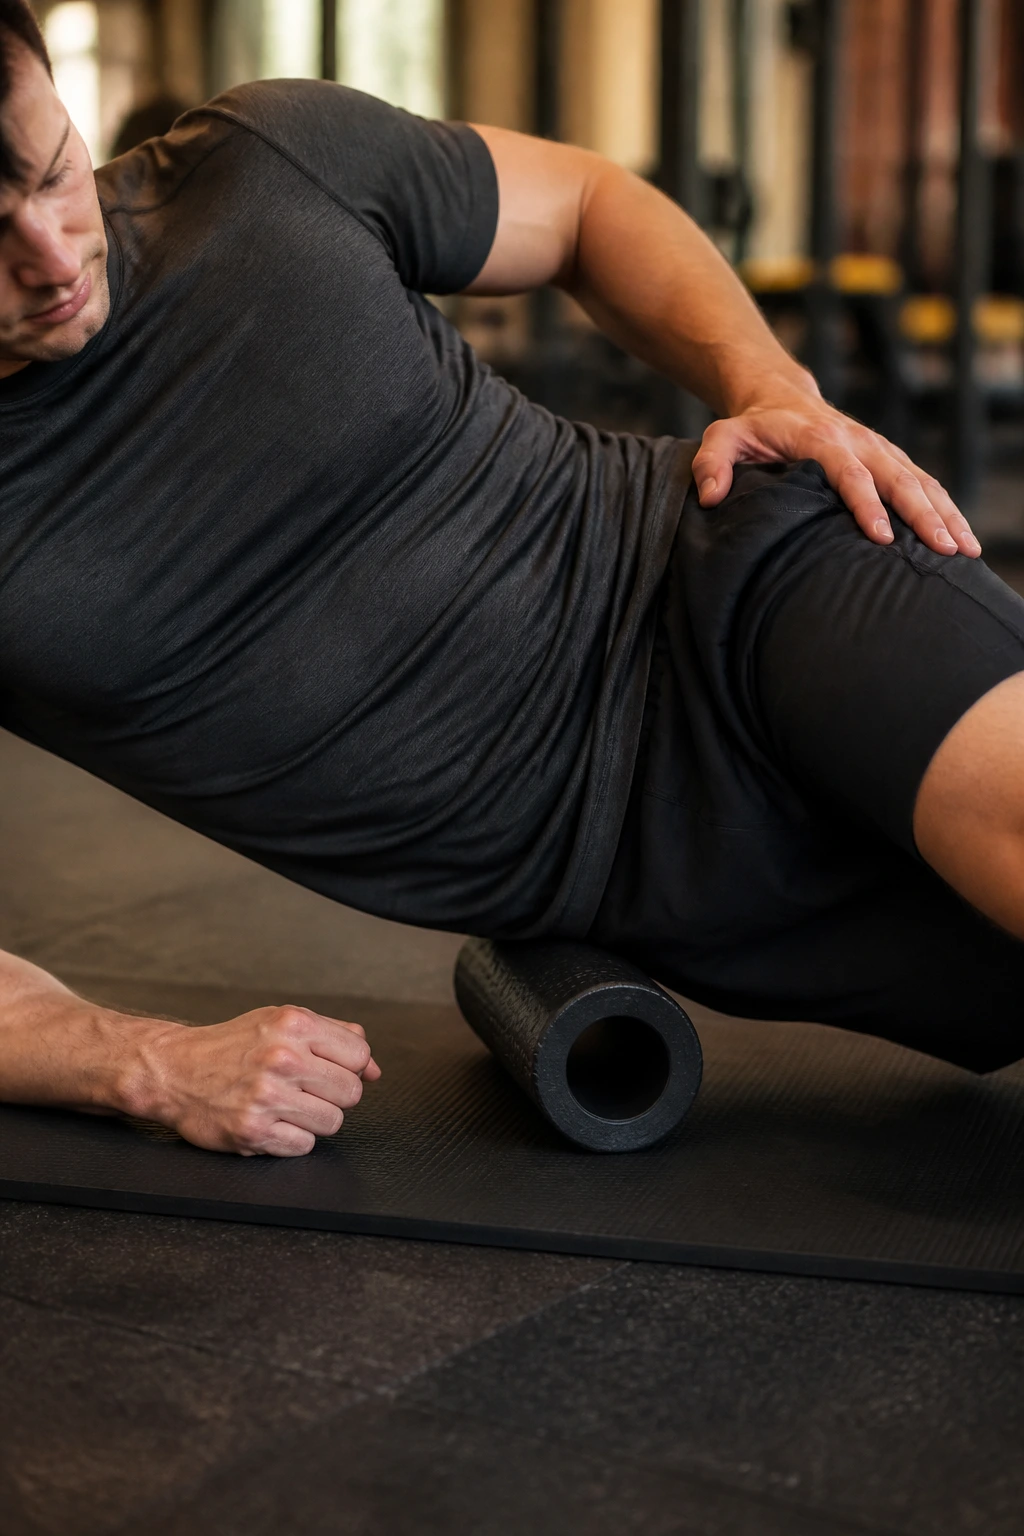
The TFL is a small muscle located on the side of the hip, and it is a major culprit in hip and knee pain. Finding it can be tricky. Lie on your side and place the roller just below your hip bone—that little bony protrusion on the side of your pelvis.
Micro-Movements
This is not a “roll back and forth” muscle. You need to use tiny, grinding movements to stimulate the TFL. It is a dense, small muscle, so you do not need much movement to get a significant release. If you find the right spot, you will know—it radiates a distinct, deep sensation down the side of the leg.
12. Piriformis
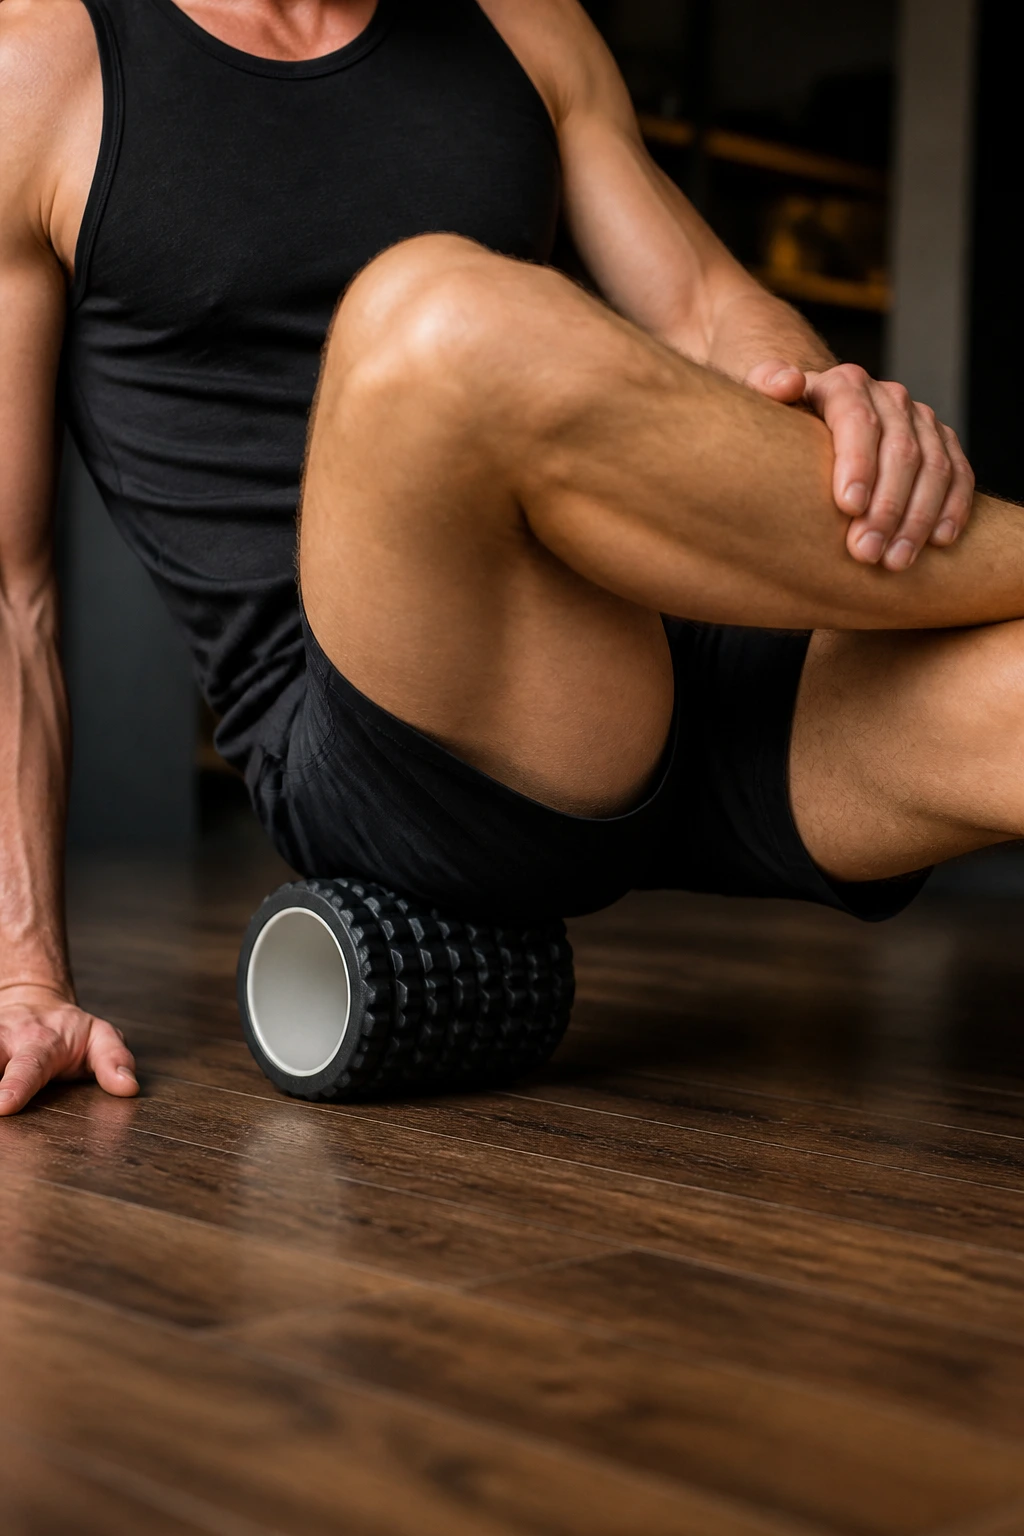
This small muscle deep in the glute can press on the sciatic nerve if it gets tight, causing all sorts of downstream issues. Sit on the roller, cross one leg over the other, and lean your weight onto the side of the crossed leg.
Precision is Key
Because this muscle is buried under the gluteal muscles, a standard foam roller might be too wide to hit it accurately. Many people prefer using a lacrosse ball or a specialized massage ball for the piriformis. However, if you only have a roller, work very slowly and try to sink into the deepest part of the glute to find the tension.
13. Chest (Pectorals)
Tight chests pull our shoulders forward, destroying our posture. While you can use a roller, a wall is your best friend here. Stand facing a corner or a doorframe. Place the foam roller vertically between your chest and the wall.
Lean your body weight into the roller, pressing it into the meaty part of your pectoral muscle. Keep your arm at a 90-degree angle—like a goalpost—to stretch the fibers while you roll. Gently move your body to hit the upper and lower portions of the chest. This is significantly more comfortable than trying to do this on the floor.
14. Neck (Trapezius)
This requires caution. Do not use a large, high-density roller for your neck. Use a smaller, softer cylinder or a foam neck roller. Lie on your back and rest the base of your skull on the roller.
The Gentle Pivot
Slowly turn your head from side to side. You are not trying to “massage” your neck; you are simply allowing the roller to apply steady, gentle pressure to the suboccipital muscles at the base of the skull. These are the muscles that tighten up when you stare at a screen for too long. Keep the movement minimal.
15. Feet (Plantar Fascia)
Foot pain can travel up the entire kinetic chain. While a foam roller is technically too big for the feet, you can roll your foot over it while seated. Place the arch of your foot on the roller and apply pressure, rolling from the ball of your foot to your heel.
Why Small Objects Work Better
For the feet, a tennis ball or golf ball is superior because it can target the specific arch points that a large roller misses. However, if you are at the gym and only have the roller, it does a decent job of providing a broad massage to the entire sole. Spend extra time near the heel, which is where the plantar fascia inserts.
16. Peroneals
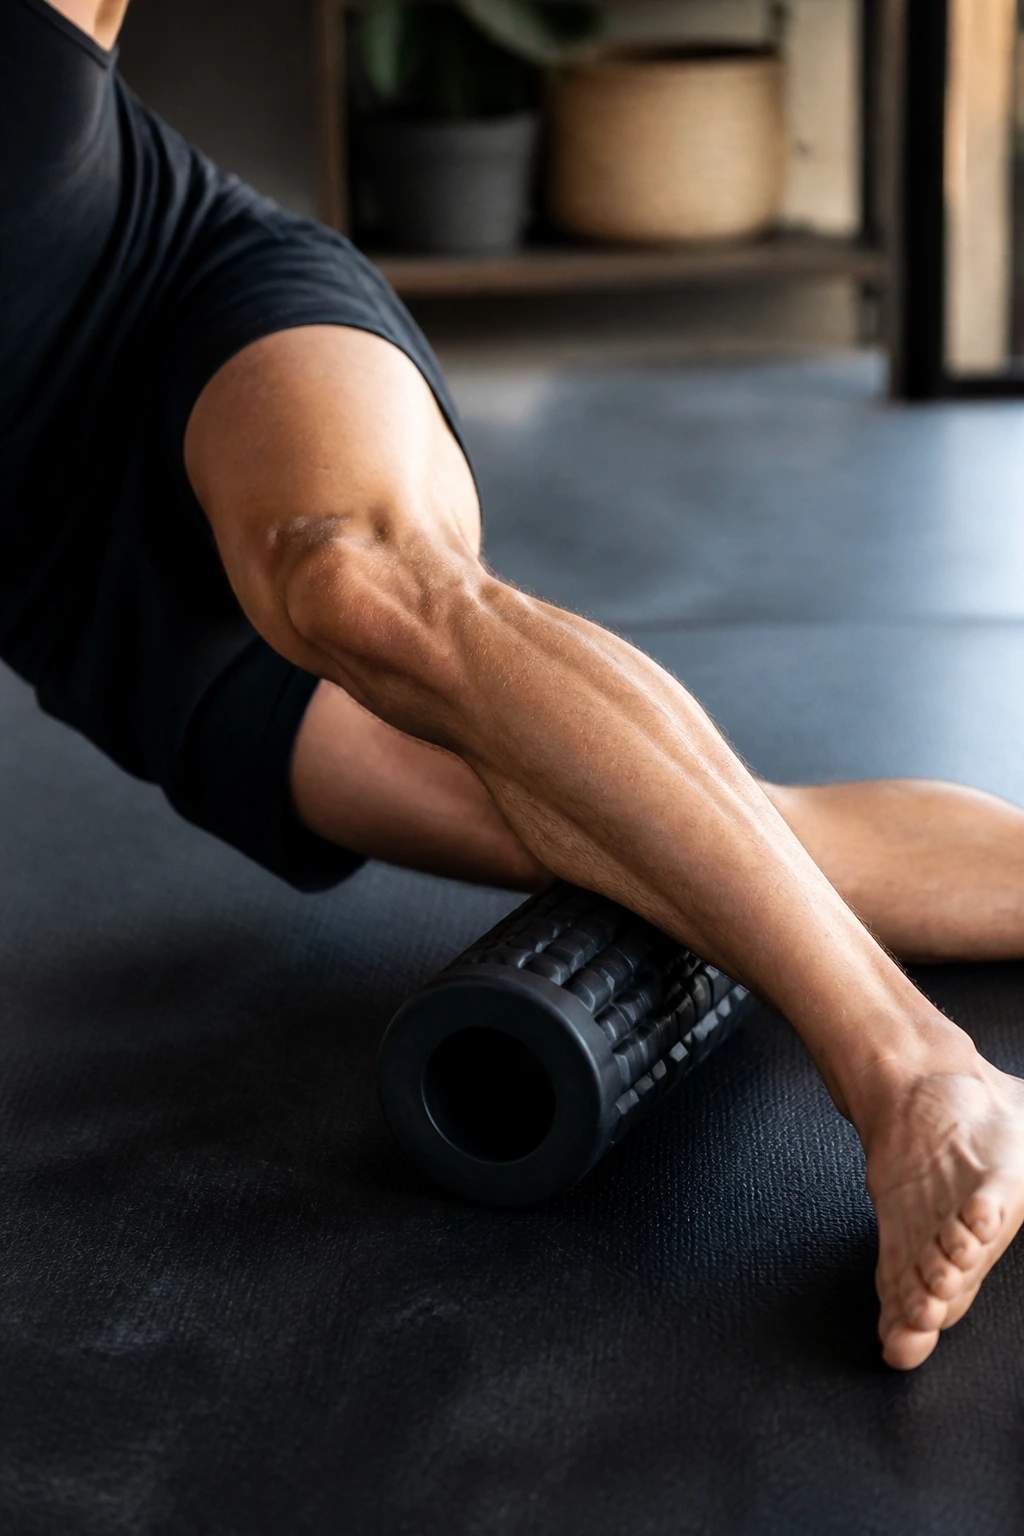
The peroneals run along the outside of the lower leg, providing ankle stability. If you have ever rolled your ankle, these are the muscles that were likely stressed. Lie on your side and place the roller under the outside of your calf.
Unlike the calf muscle itself, which is on the back, the peroneals are on the lateral side. You will need to tilt your body slightly backward to get the roller onto these muscles. Roll from just below the knee down to the ankle. This area can be surprisingly tender, especially for those who wear high heels or shoes with little arch support.
17. Lower Back (Lumbar Spine)
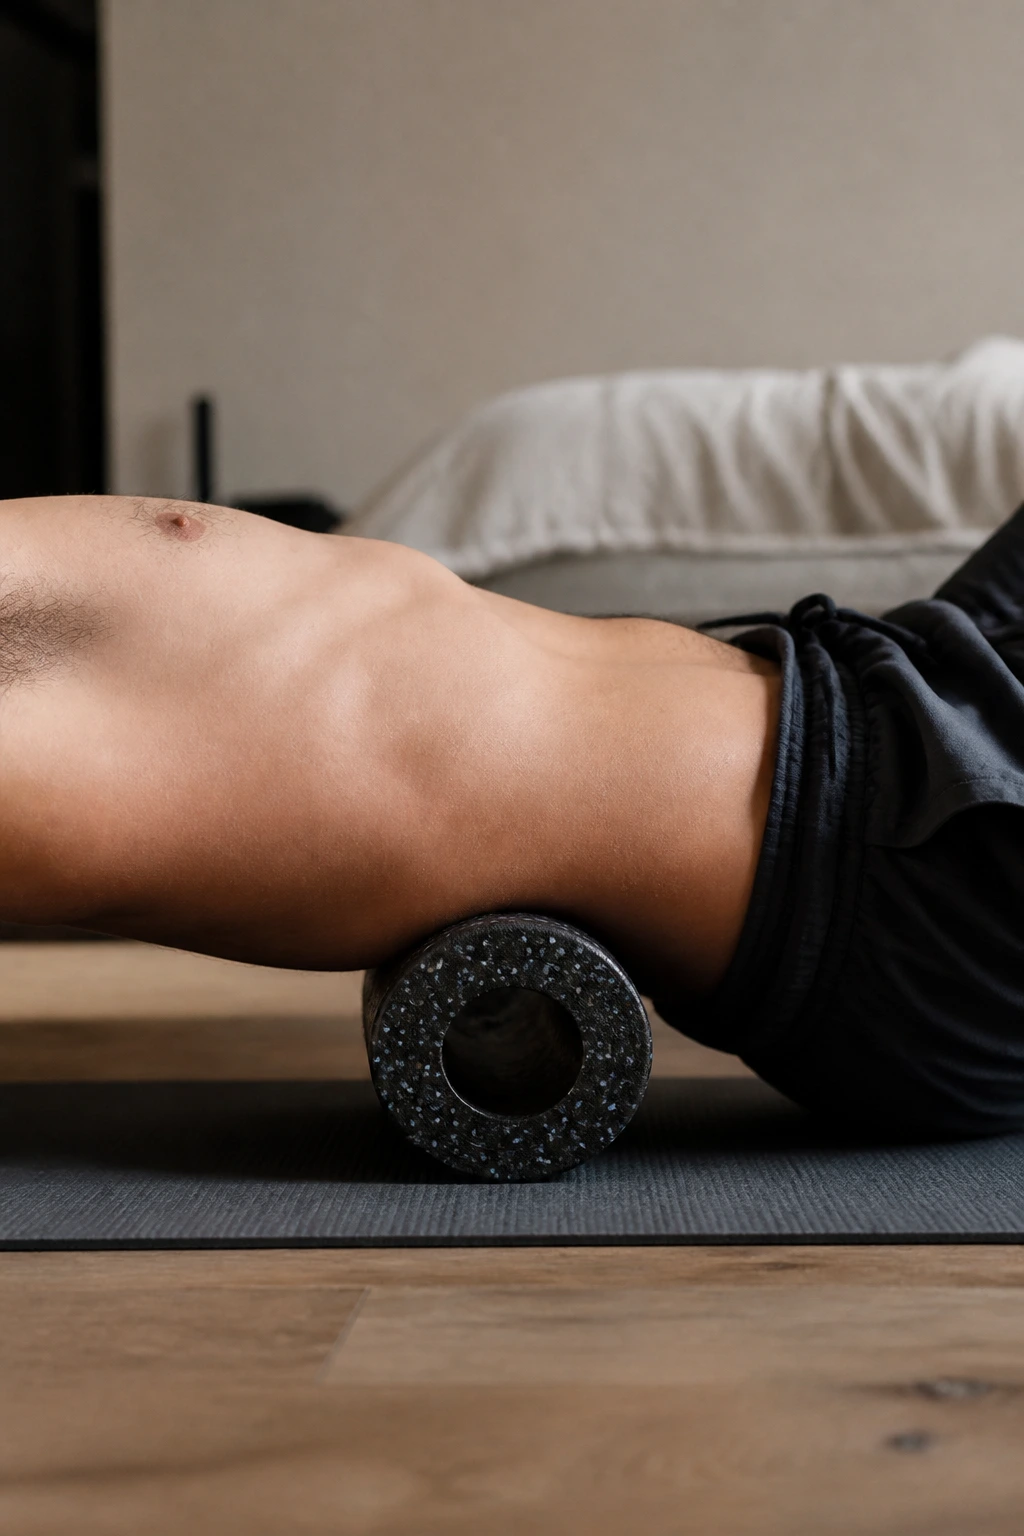
Be very careful here. The lower back has very little rib protection, meaning the muscles there are easily over-compressed. Do not roll up and down the lumbar spine with significant pressure. Instead, place the roller under your lower back and simply lie over it.
The Passive Release
Use this more as a supportive bridge than a rolling tool. Let your spine relax into the curve of the roller. This promotes a gentle extension of the lumbar spine, which can counteract the constant flexion of sitting. If you feel any sharp, shooting pain, stop immediately and reposition.
18. Deltoids
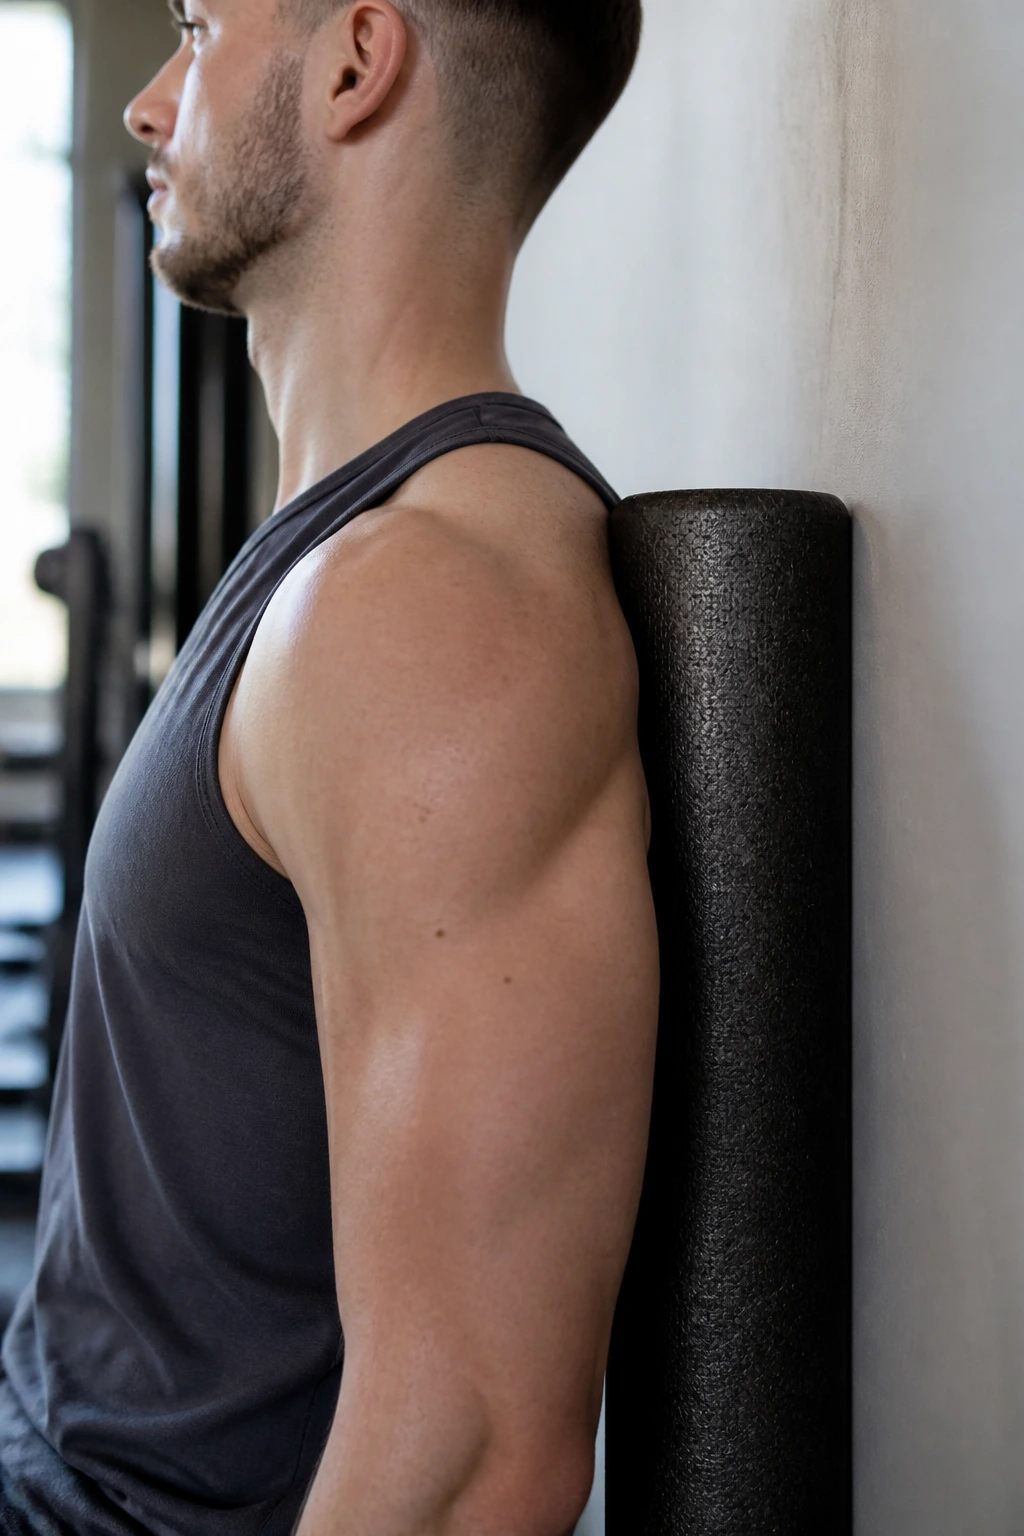
Your shoulders are involved in almost every upper-body movement, yet they rarely get the attention they need. Using a wall, place the roller vertically against the wall and lean the side of your shoulder into it.
Focus on the rear and middle deltoid. You can move your body vertically or shift your weight to hit different angles. This is a great pre-workout warm-up move to improve shoulder mobility before hitting overhead presses or pull-ups.
19. Obliques
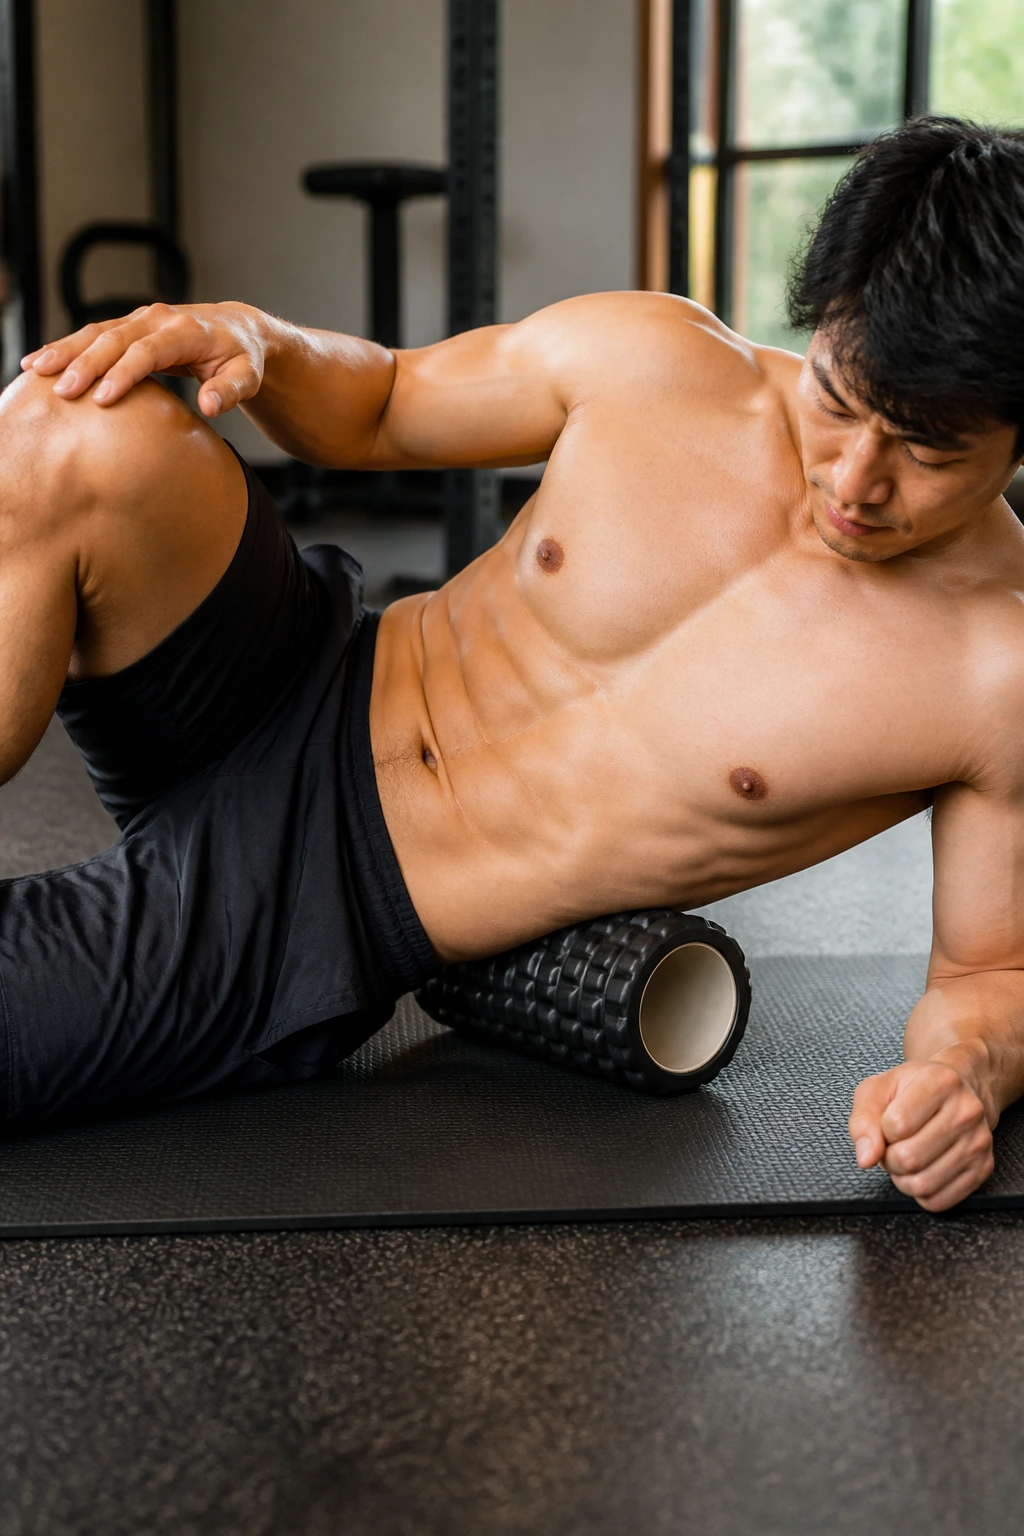
The sides of your core get stiff, especially after rotational movements like throwing or swinging a bat. Lie on your side, similar to the lat roll, but place the roller slightly lower, right between your rib cage and your hip.
Keep your bottom leg straight and your top leg bent. Support your weight with your forearm. Move back and forth in short, controlled segments. Avoid rolling directly over the floating ribs, as that can be quite uncomfortable. Stick to the soft muscle tissue between the rib and the hip bone.
20. Biceps
Biceps get tight from heavy pulling and can restrict elbow extension. Use the edge of a table or a bench. Place the foam roller on the surface and lay your arm over it, palm facing up.
Keep It Light
Because the biceps are a smaller muscle group, you do not need heavy pressure. Use your other hand to apply gentle downward force onto your bicep while you roll back and forth over the roller. You are looking to lengthen the muscle, not crush it.
21. Triceps
Triceps are often the culprits behind restricted shoulder mobility. Kneel next to a bench or table. Place the roller on the surface and rest your tricep on it, with your arm overhead.
This position puts the tricep in a lengthened state. Slowly move your arm up and down, letting the roller traverse the length of the muscle. This is a very effective way to work out the stiffness that follows a heavy day of pressing movements.
22. Forearms
If you do a lot of grip work, your forearms are likely a roadmap of tension. Place your forearm on the foam roller, which should be resting on a table. Roll from your wrist up toward your elbow.
The Rotation
Rotate your arm internally and externally as you roll to catch both the flexors and the extensors. You might be surprised at how much tension is held in the forearm. This is a simple, effective way to combat the “pump” or soreness that lingers after a brutal grip-heavy training session.
23. Lateral Hip (Glute Medius)
The glute medius is the “side glute,” responsible for stabilizing your pelvis when you walk or run. Lie on your side, with the roller tucked under your hip. It is very similar to the TFL roll but slightly further back.
Move your body in small, circular motions. This muscle is deep and often very tight in people who spend a lot of time on their feet. If you find a knot, stay on it. This area is notorious for holding onto stress.
24. Soleus
The soleus is the deep calf muscle that is activated when your knee is bent. It is often ignored because we focus on the gastrocnemius. Sit on the floor with your knees bent and feet flat. Place the roller under the lower part of your calf.
The Dangling Leg
Lift your hips and roll the lower calf area. Because your knee is bent, you are targeting the soleus more effectively than when your leg is straight. This is essential for anyone who deals with chronic lower-leg tightness or foot discomfort.
25. Full Back Vertical Roll
For a final, relaxing stretch, place the foam roller vertically along your spine. Lie back so your entire spine—from tailbone to the base of your skull—is supported by the roller. Reach your arms out to the sides.
The “Snow Angel” Effect
While lying on the roller, move your arms in a slow, controlled “snow angel” motion. This helps open the chest and stretch the muscles between the ribs. This is not about deep tissue work; it is about alignment and relaxation after a long, intense session of foam rolling.
Final Thoughts
Foam rolling is a tool, not a cure-all. If you treat it like a chore, you will skip it. If you treat it as an essential part of your body’s maintenance—like changing the oil in your car—you will find that your recovery time shrinks and your movement quality improves.
Be patient with your body. Some days, a specific area will feel loose and pliable. Other days, it will feel like a steel cable. That is normal. Respect the feedback your muscles are giving you by adjusting your pressure and pace accordingly. You are the architect of your own recovery, and these techniques give you the blueprint you need to keep moving well for the long haul.
