



A sturdy chair can do more for a stiff body than most people expect. If your neck tightens after screen time, your hips feel glued after a long drive, or floor poses make you uneasy, chair yoga sequences for beginners offer an easier way to move without asking for perfect balance or deep flexibility.
That support matters. A chair takes some of the drama out of getting started, which is why seated yoga works so well for people who want gentle stretching, low-impact mobility, and a calmer nervous system all at once. The trick is not to force a shape. The trick is to give your joints enough room to move and your muscles enough time to stop guarding.
Use a chair that does not roll, sit close to the front edge, and keep the first round of every movement small. If anything pinches, back off a few inches. That tiny adjustment usually makes the difference between a useful stretch and a cranky one, and the chair helps you find that range without a fight. Start with the neck, because that is where a lot of people feel their day first.
1. Neck and Shoulder Reset at the Chair Back
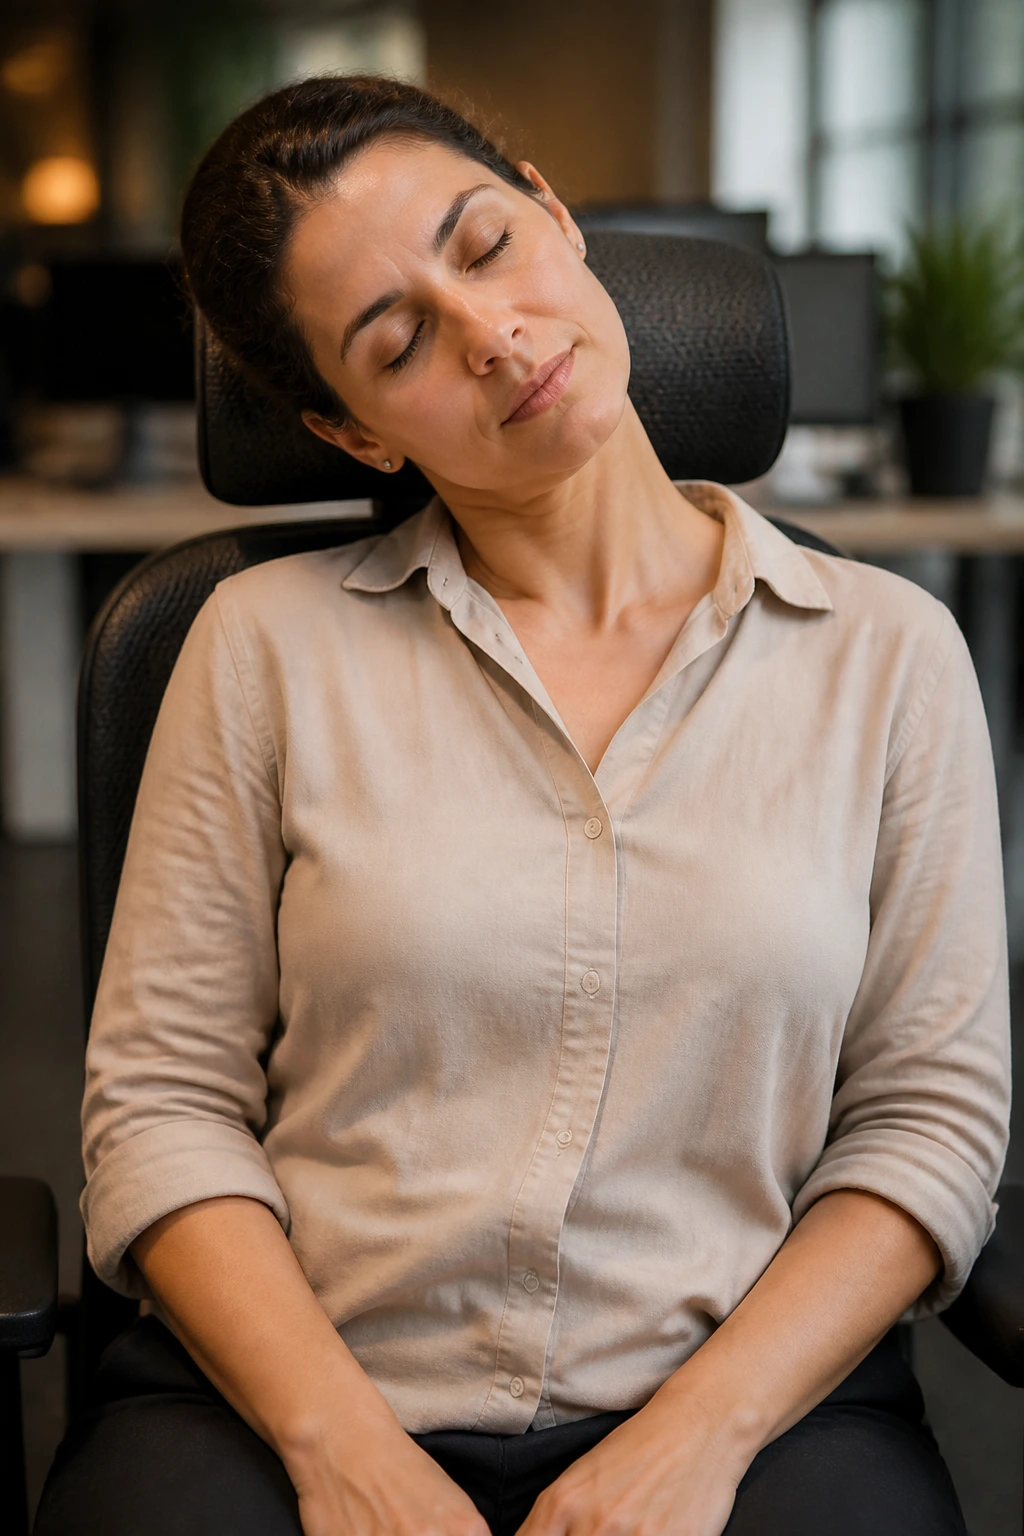
A tight neck can ruin a day. This first sequence is the kind I reach for when the upper body feels compressed from typing, driving, or carrying too much tension up near the ears. It is slow, plain, and not flashy at all.
Sit tall with both feet flat and let your hands rest on your thighs. Drop your right ear toward your right shoulder, then keep the movement tiny and breathe for 3 slow breaths. Roll your shoulders up, back, and down 5 times, then switch sides. Finish by letting your chin nod once or twice, as if you are saying a quiet yes to the floor.
Do not chase a big stretch here. The goal is to create space, not to tug on the neck like a rope. If your shoulders tend to creep up without warning, this is a good place to pause and notice that habit before it takes over the rest of the sequence.
2. Seated Cat-Cow for a Stiff Spine
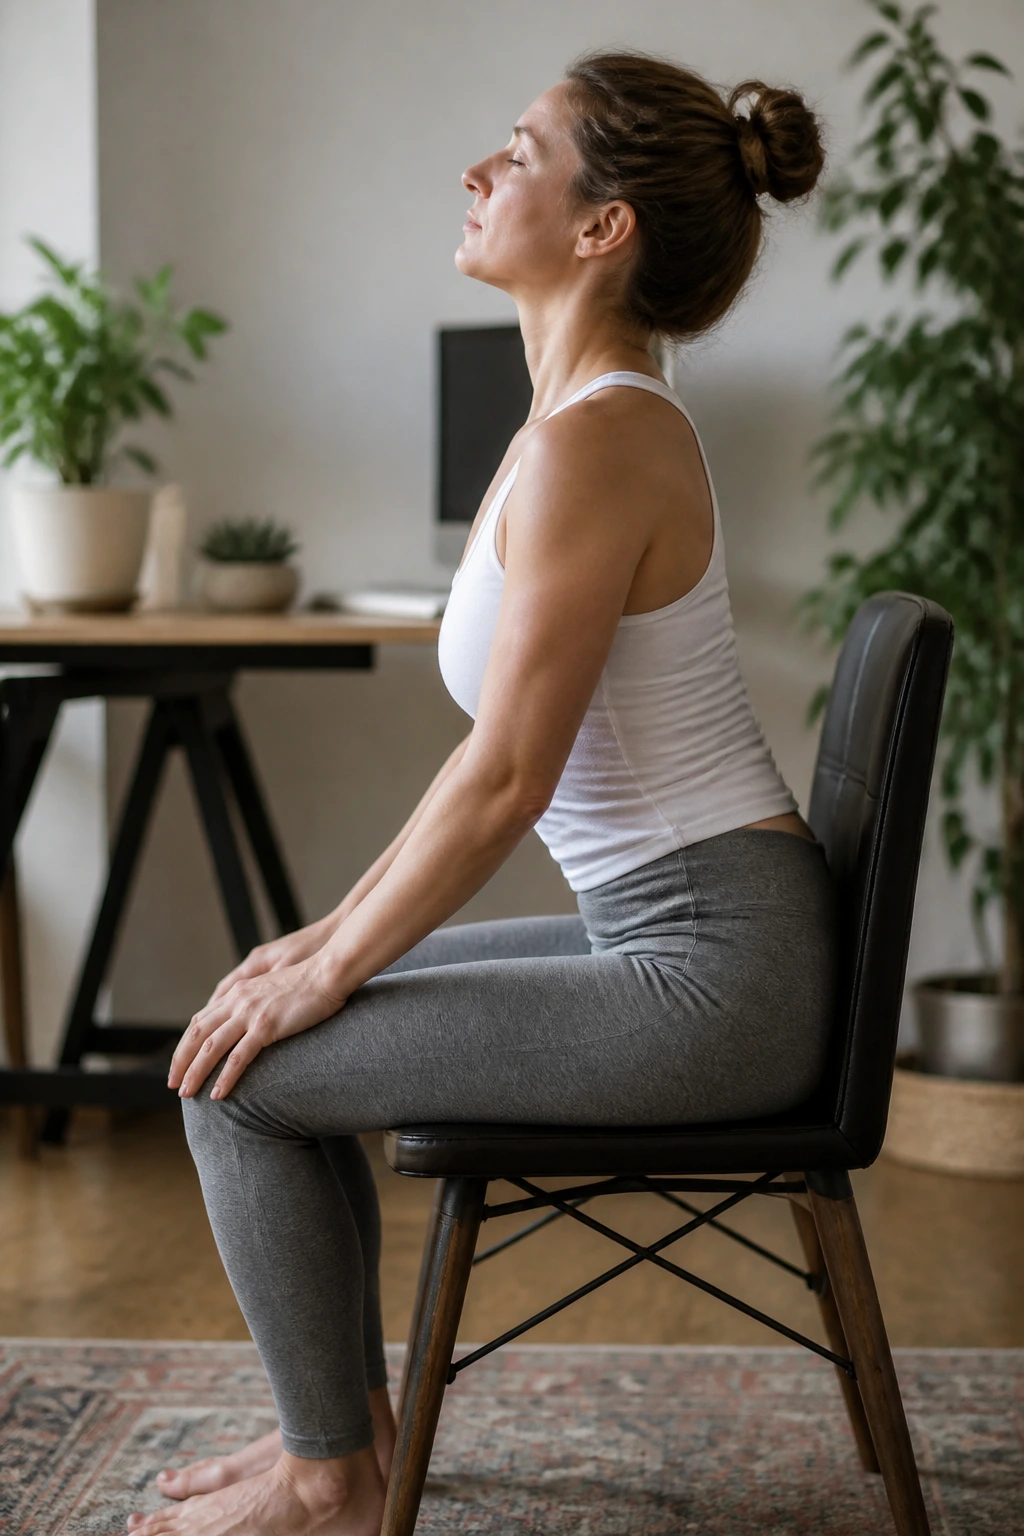
Cat-cow is the move that makes a stiff spine feel a little more cooperative. On a chair, it becomes cleaner and easier to control because your feet can stay planted while the pelvis and rib cage do the work.
Why This One Helps So Fast
Place your hands on your knees. Inhale and lift your chest, tip the sitting bones slightly back, and let the belly soften. Exhale, round your spine, tuck the chin a little, and press your hands lightly into your knees for feedback. Move through 6 to 8 rounds, keeping the motion smooth and small.
Keep the Shape Friendly
- Stay on the front half of the chair so the pelvis can move.
- Let the movement come from the whole spine, not only the neck.
- Keep your breath long enough to notice it.
- Stop the rounding before your shoulders clamp forward.
The nice part is how ordinary it feels by the third round. Nothing dramatic. Just a spine that has more room than it did a minute ago.
3. Wrist and Hand Warm-Up for Desk Hands
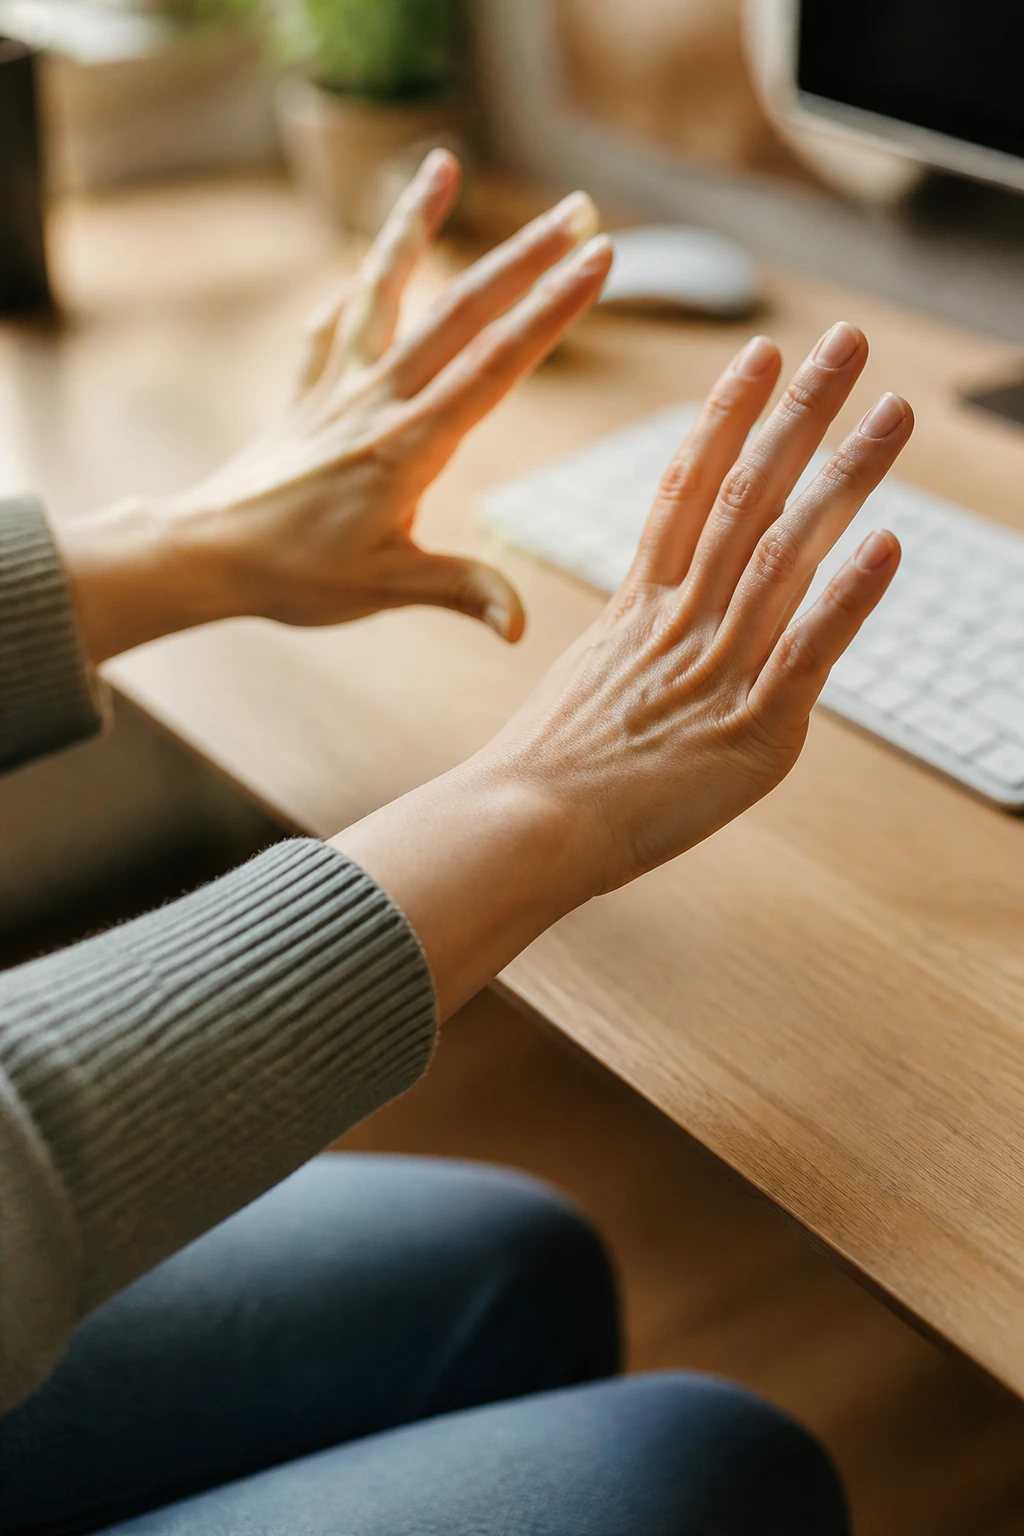
If your hands feel wooden after typing, this sequence pays off fast. It is short, and it does not need a lot of space, which makes it easy to repeat between meetings or before a walk.
Hold both arms forward at chest height and open your fingers wide for 5 counts. Make fists, then spread the fingers again. Rotate both wrists 5 times in each direction, then press one palm forward and gently draw the fingers back with the other hand for 3 breaths. Switch sides. Finish with the backs of the hands on your thighs and a slow lift and lower of the elbows.
What to Watch For
A lot of people rush this part and move the hands like they are trying to get it over with. That misses the point. The fingers should feel warm, not strained. The stretch through the forearm should be noticeable but never sharp, and the wrist should keep a soft bend.
It is a small sequence. It matters more than people think.
4. Side Stretch With One Arm Overhead
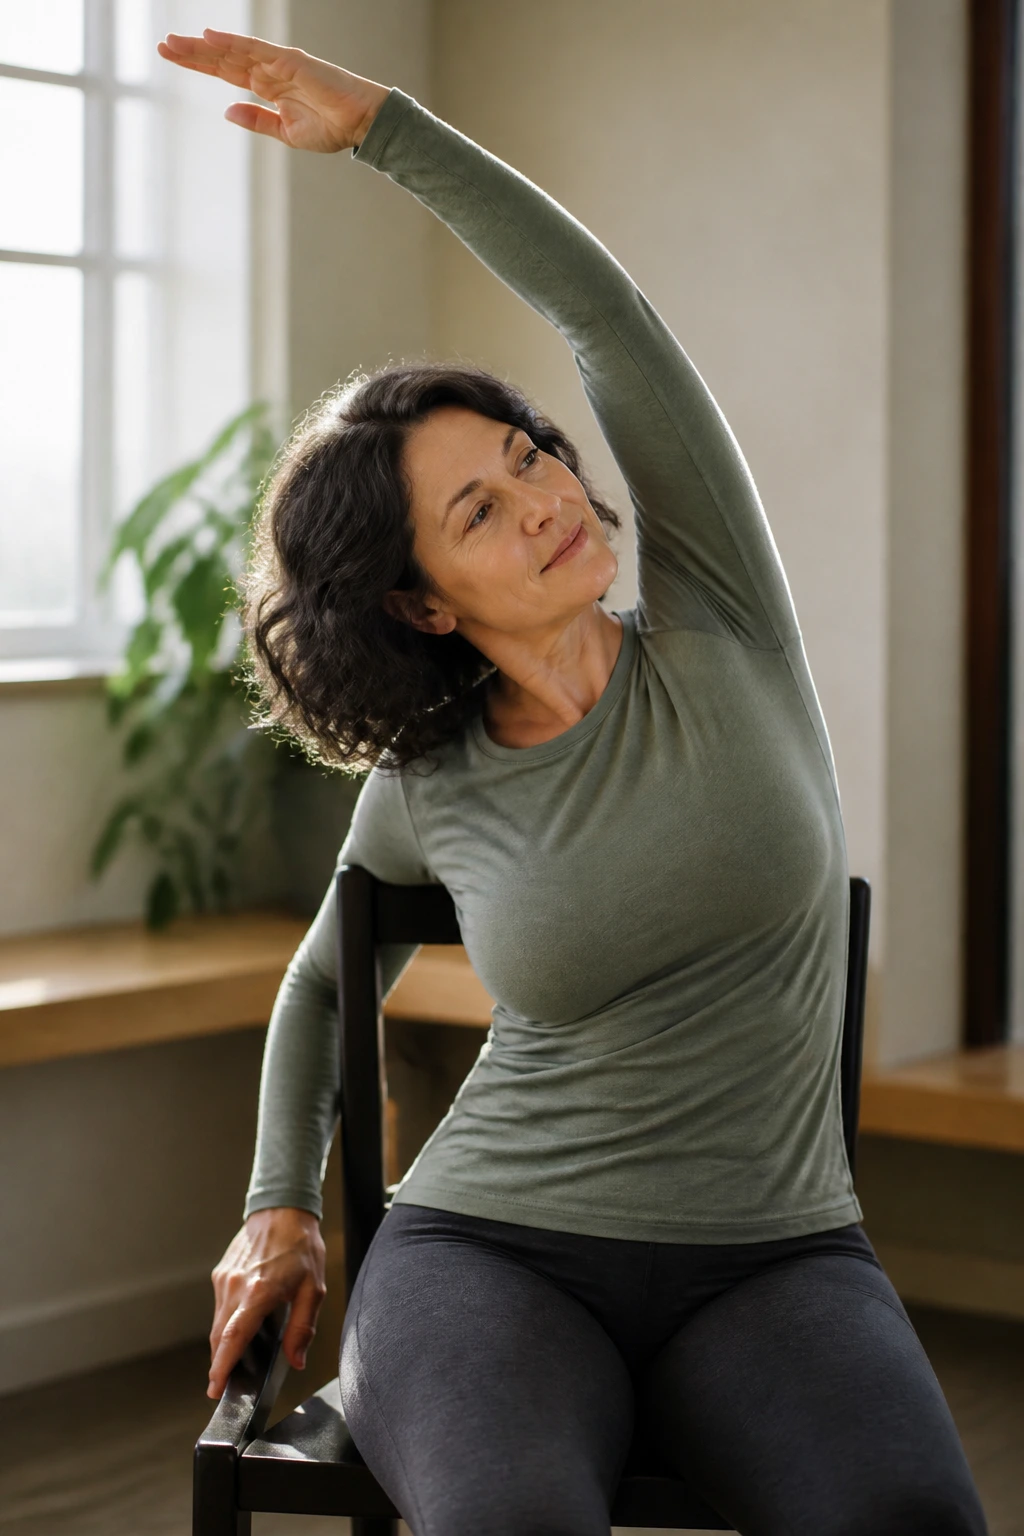
Side bends are underrated. Most people know they feel good, but they do not realize how much the ribs, waist, and even the lower back wake up when one arm reaches and the other side lengthens.
Sit with both feet grounded and your left hand on the chair seat or thigh. Reach your right arm up, then arc it slightly to the left. Keep the chest open instead of collapsing forward. Hold for 3 to 5 breaths, and imagine the right side of your ribs expanding on each inhale. Come back to center, then switch sides.
The stretch should feel like a clean line from hip to fingertips. If your shoulder is cranky, keep the top arm a little in front of your ear instead of right beside it. That tiny angle often helps a lot. A chair gives you enough support to explore the side body without wobbling around, which is half the battle.
5. Ankle Pumps and Foot Circles to Wake Up the Legs
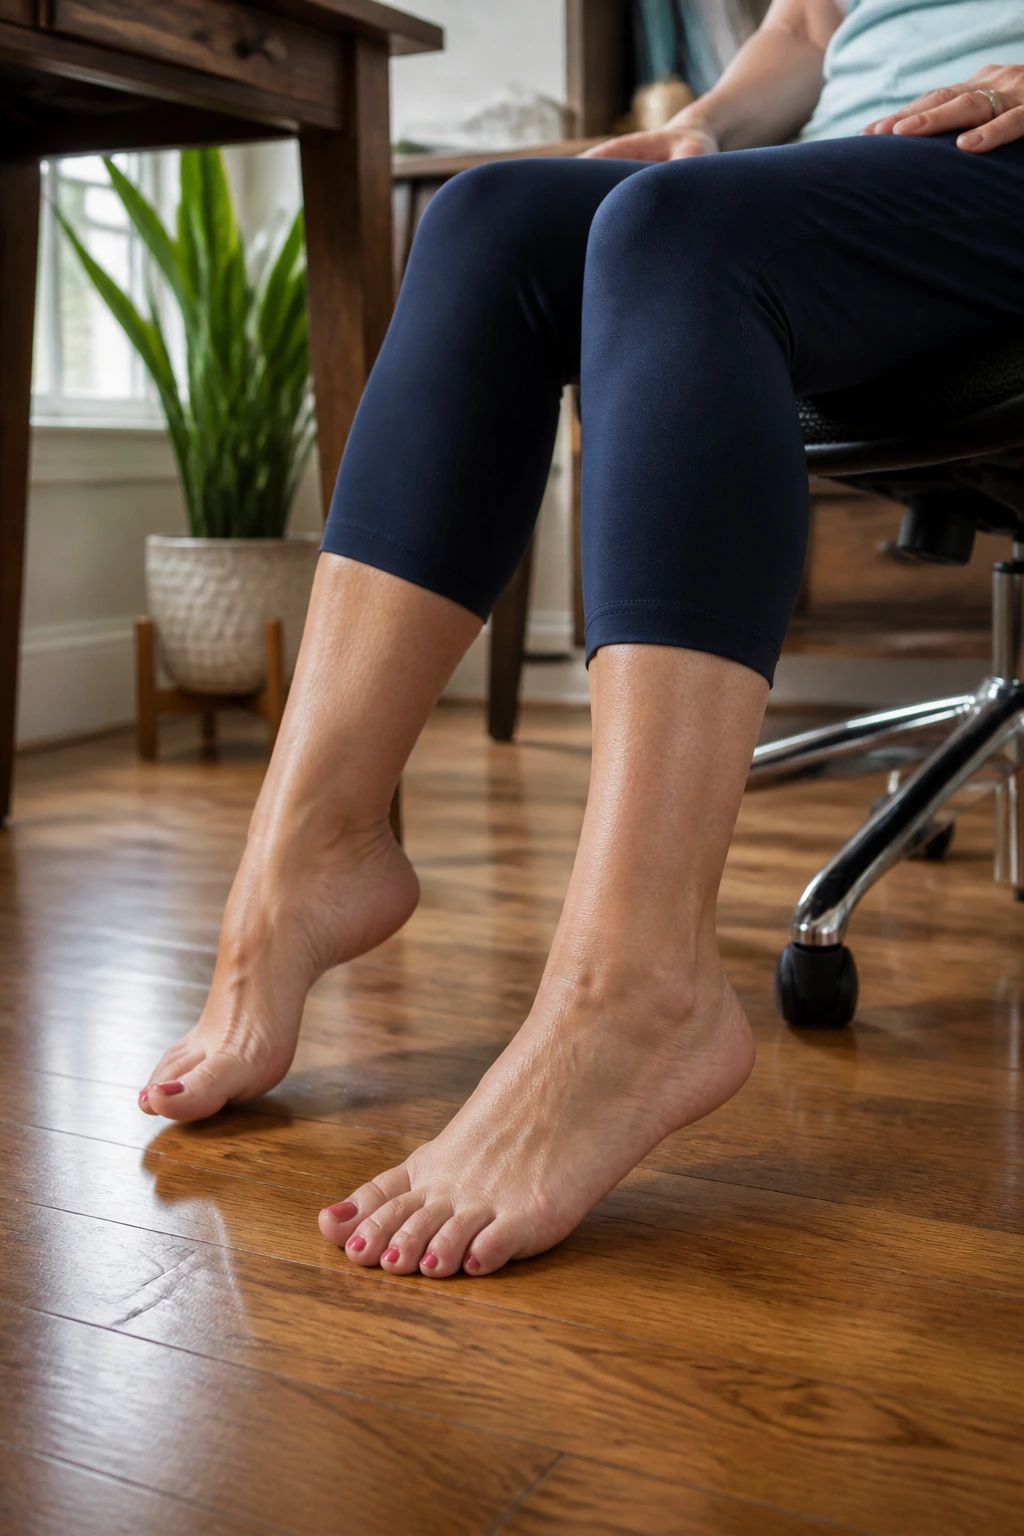
Unlike a standing calf stretch, ankle work in a chair can happen while your coffee cools. That is a gift if your feet swell, your lower legs feel sleepy, or you sit for long stretches and want your circulation to perk up a bit.
Lift one foot a few inches off the floor and point and flex the ankle 10 times. Then make 5 slow circles in each direction. Put that foot down and repeat on the other side. If you want a little more, press the ball of the foot into the floor and lift the heel, then switch to pressing the heel and lifting the toes. Two rounds is plenty.
Your feet should feel awake when you are done. Not sore. Awakened. A lot of people ignore this area until the ankles feel stiff enough to complain, and that is a shame because this little sequence is easy to repeat any time the legs get heavy.
6. Easy Seated Twist With a Tall Spine
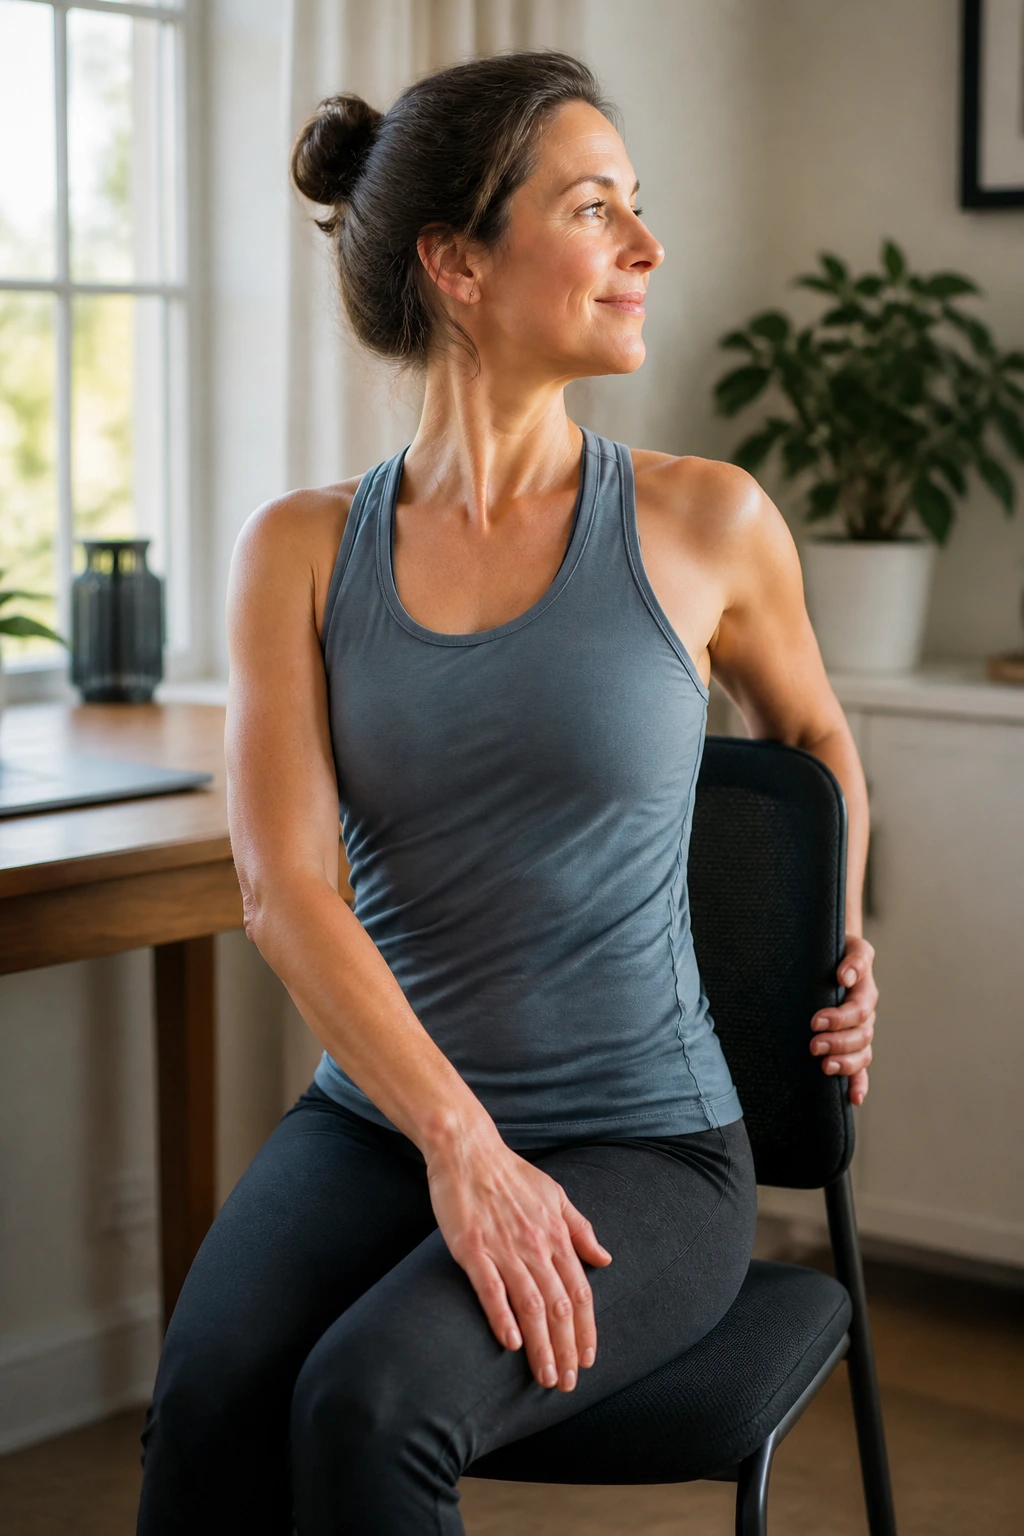
A seated twist is one of those shapes that looks bigger than it is. Done well, it feels like wringing out the middle of the back rather than cranking on the low spine.
The Gentle Version
Sit sideways if that feels easier, or stay facing forward and place your right hand on your left thigh. Inhale to lengthen the spine, then exhale and rotate from the ribs a few degrees to the left. Keep both hips heavy and both knees pointed forward. Hold for 3 breaths, come back to center, then switch sides.
What Not to Do
- Do not yank the shoulder around.
- Do not let the knees drift off to the side.
- Do not force the twist deeper on the exhale if the low back feels pinched.
- Keep the head soft; it can follow the torso, not lead it.
This one works best when it feels almost too small. That is not a flaw. That is the point.
7. Forward Fold Over the Thighs for a Quiet Reset
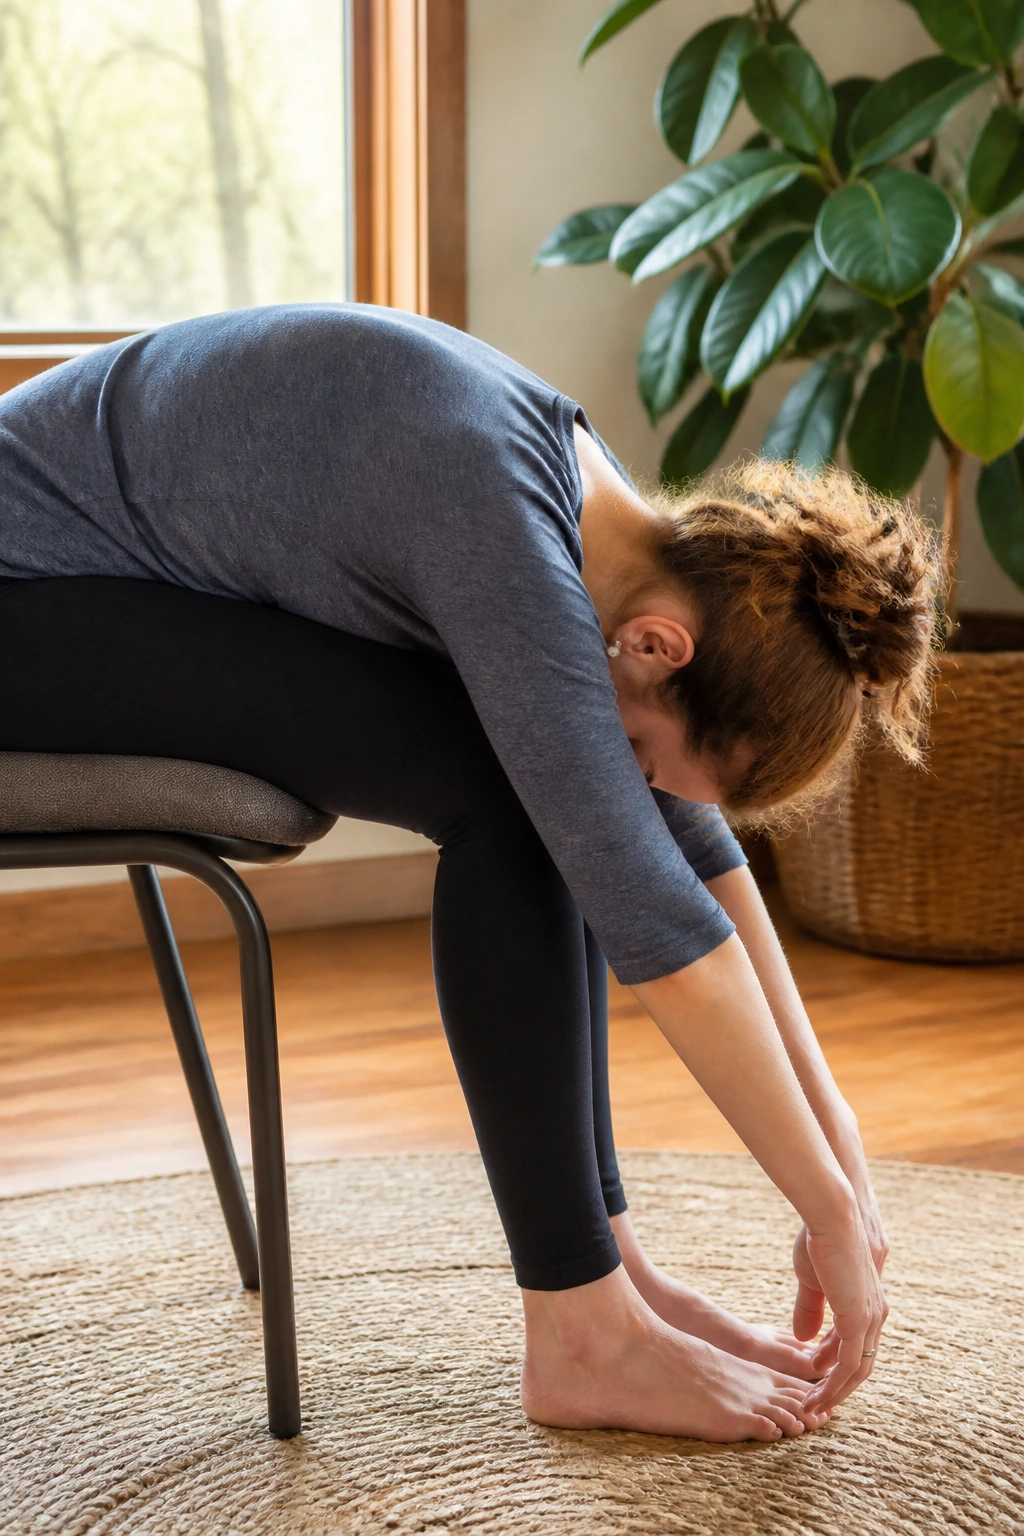
Sometimes the body wants silence more than movement. A supported forward fold gives the nervous system a break and lets the back of the body spread out without needing the floor.
Sit near the front edge of the chair, feet a little wider than hips. Hinge from the hips and drape your torso over your thighs. Let your arms hang or stack the forearms on top of each other. Breathe into the back ribs for 5 slow breaths. If your head wants to stay higher, that is fine. No one gets extra points for folding lower.
A lot of beginners discover that this shape feels better than they expected because the chair removes the balance issue. The spine can unclench. The jaw often softens too, and that is not a small thing. This is a good place to stay a little longer if your day has been noisy.
8. Seated Mountain Pose With Breath Counts
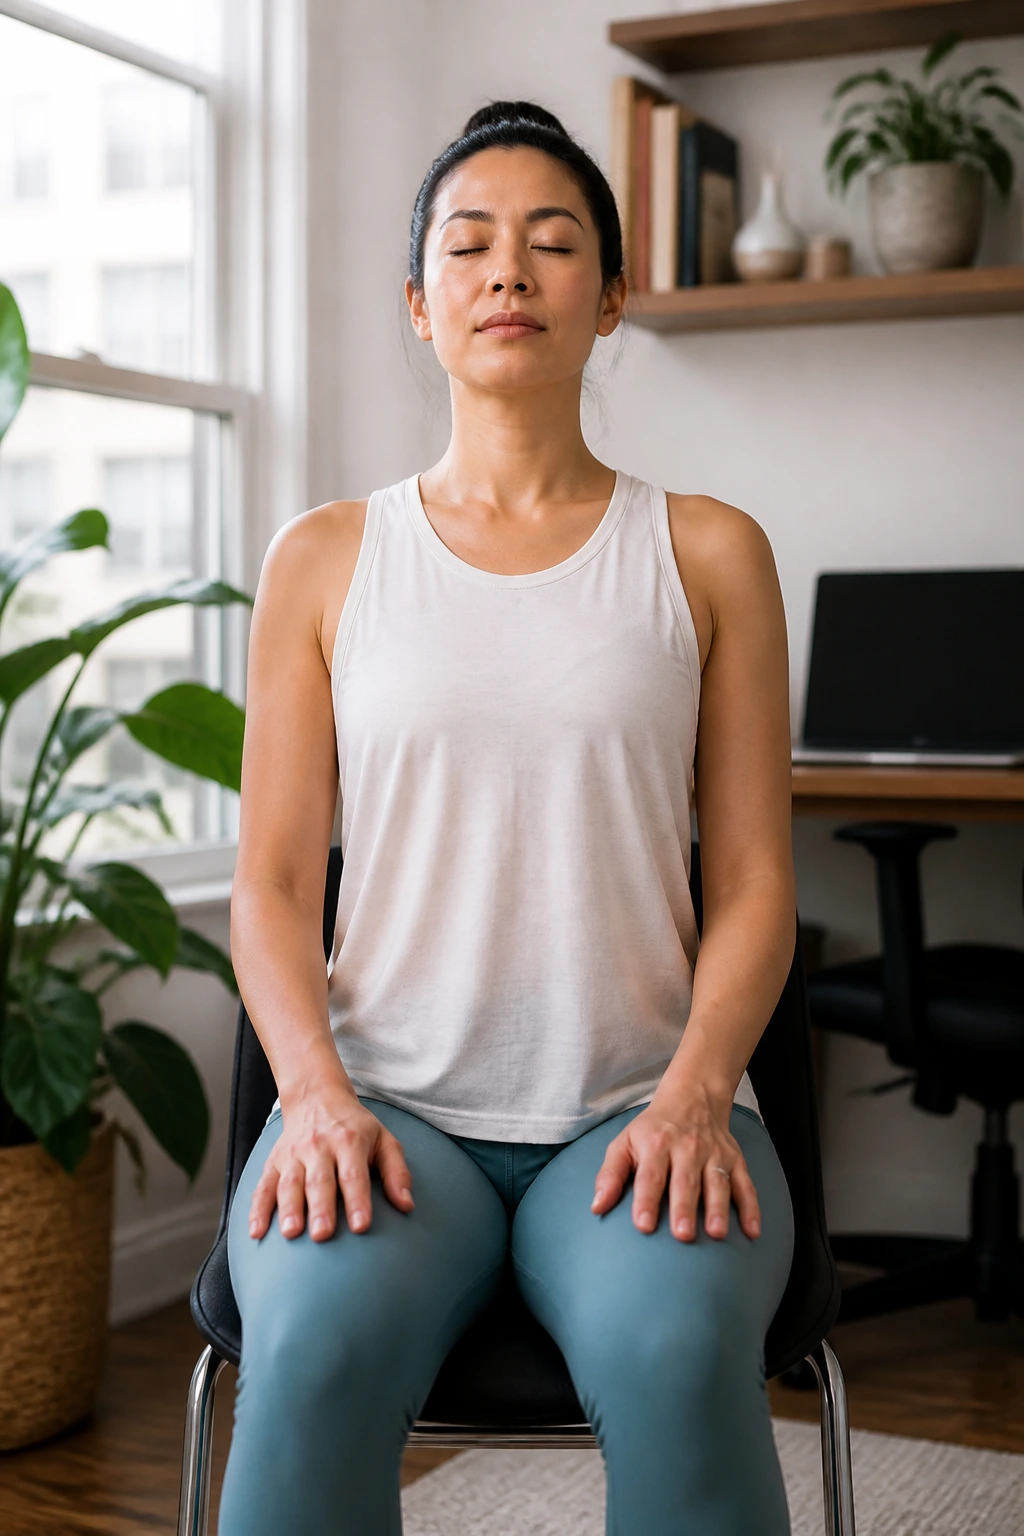
Mountain pose on a chair sounds almost too simple to count, and that is exactly why it belongs here. A lot of beginners need a place to learn what tall and steady actually feel like before they add more movement.
Sit with your feet flat, weight even across both sit bones, and the crown of your head reaching up. Let your hands rest on your thighs. Inhale for 4 counts, exhale for 6 counts, and repeat that pattern for 5 rounds. If you want a tiny upgrade, lift the arms on the inhale and lower them on the exhale.
What you are looking for is a sense of stacked posture without stiffness. The ribs should not flare. The shoulders should not clamp. This is one of those low-key chair yoga sequences for beginners that looks like nothing on paper and ends up changing the whole tone of the practice.
9. Eagle Arms to Open the Upper Back
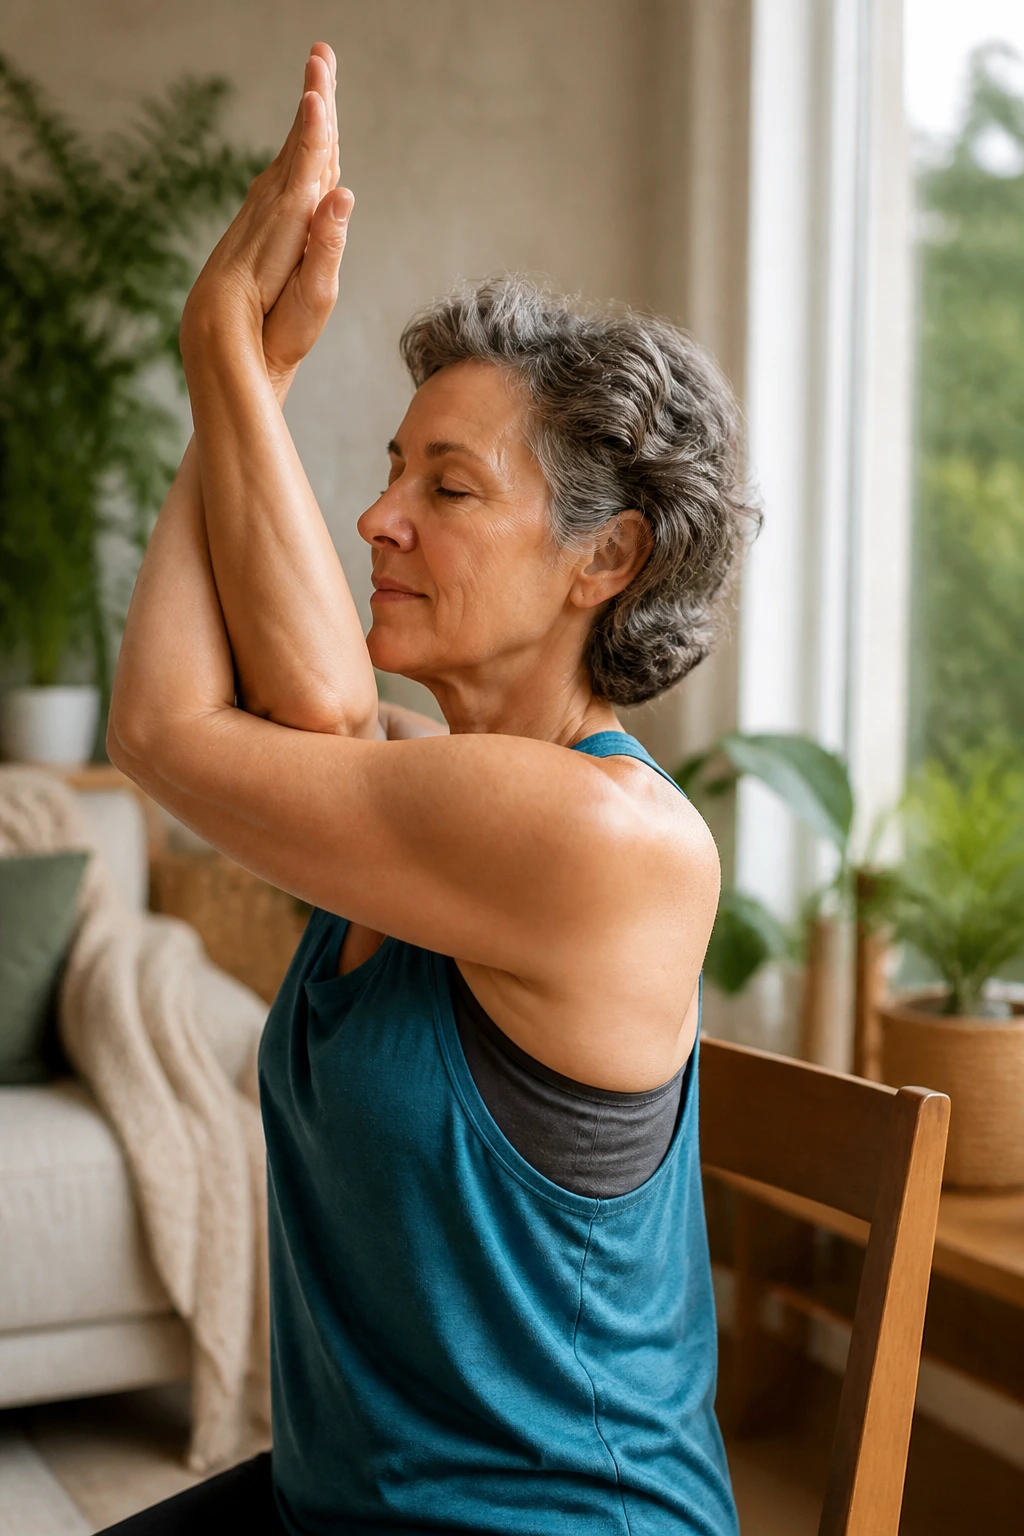
Eagle arms are sneaky. The shape looks compact, but the effect travels into the back of the shoulders and the upper spine in a way that feels almost like the body was waiting for it.
Wrap your right arm under your left, or cross the forearms and bring the backs of the hands together if the full wrap is annoying. Lift the elbows to shoulder height, then breathe into the space between the shoulder blades for 3 to 5 breaths. Keep the chin slightly tucked. Unwind slowly and switch the arm position.
If your shoulders are tight, do half the shape. Really. One arm under and the other hand resting on the opposite shoulder can be enough. The point is not to force a perfect knot with the arms. The point is to give the upper back a chance to broaden and the neck a chance to stop bracing.
10. Figure-Four Hip Opener for Tight Hips
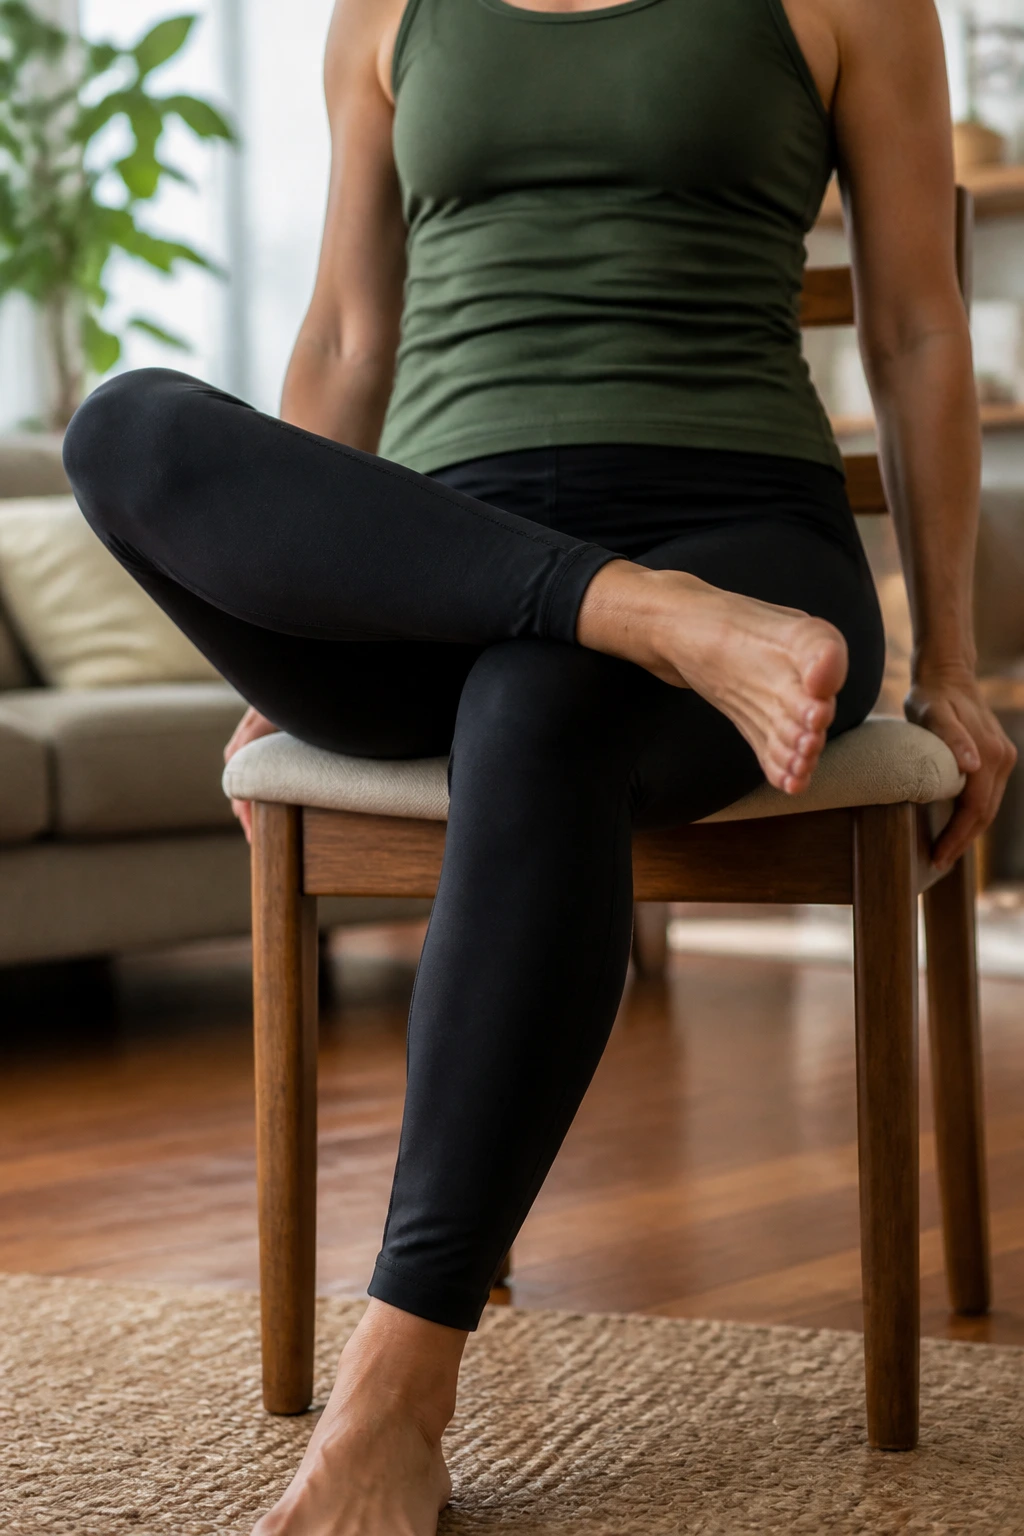
If your hips feel like old hinges, this one tends to help more than people expect. It is also one of the clearest examples of how chair yoga can take a floor pose and make it far more accessible.
Cross your right ankle over your left thigh near the knee. Flex the right foot so the ankle stays active, then sit tall or hinge forward a few inches if that feels okay. Hold for 4 to 6 breaths. Uncross slowly and switch sides. If the knee complains, keep the crossed leg lower or skip the fold and stay upright.
Small Details That Matter
- Flex the lifted foot to protect the knee.
- Keep the fold mild at first.
- Use the chair seat with both hands if balance feels shaky.
- Compare both sides before deciding which one needs more time.
This stretch can feel intense in the outer hip. It should not feel angry in the knee.
11. Supported Warrior Stance Beside the Chair
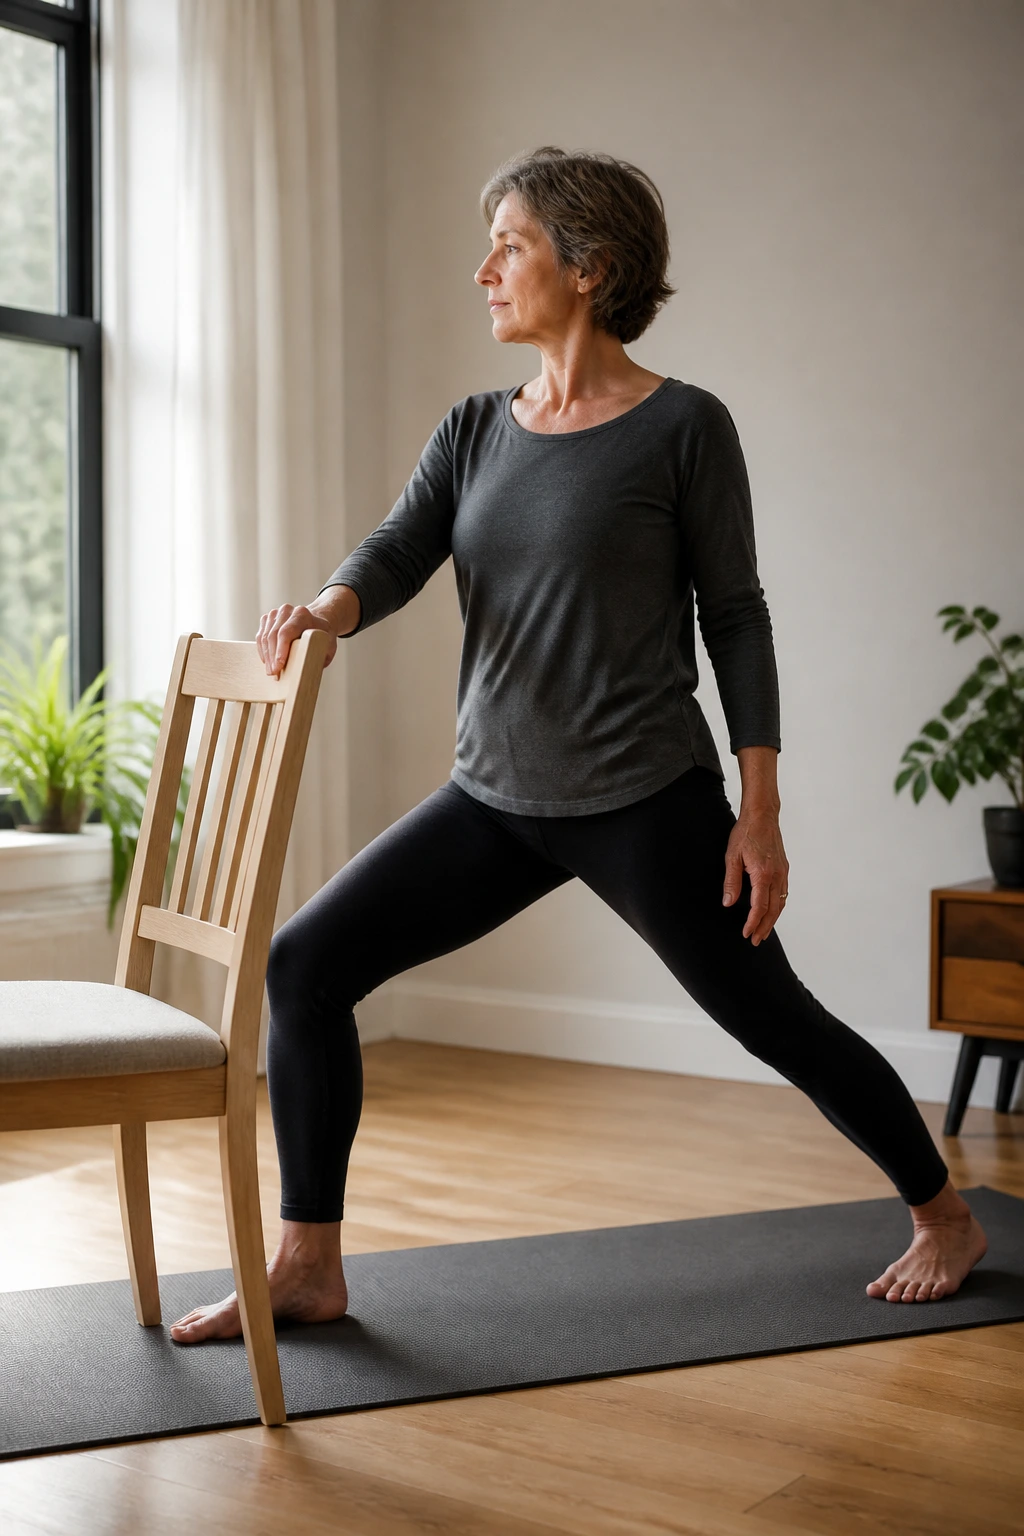
Standing chair work gives you a little more heat without losing the safety net. This version of warrior stance is friendly for beginners because one hand can stay on the chair back the whole time.
Stand with your left side beside the chair and your left hand resting lightly on the backrest. Step your right foot back about 2 feet and turn the toes slightly out. Bend the front knee a little and reach the right arm forward or out to the side. Hold for 3 breaths, then switch sides.
The legs should feel engaged, not shaky. Keep the chest broad and the front knee tracking over the middle toes. If the stance feels too wide, shorten it. If the back leg feels lazy, press the heel down and wake it up. This sequence brings a little standing strength into chair yoga without turning the practice into a balance contest.
12. Straight-Leg Hamstring Reach
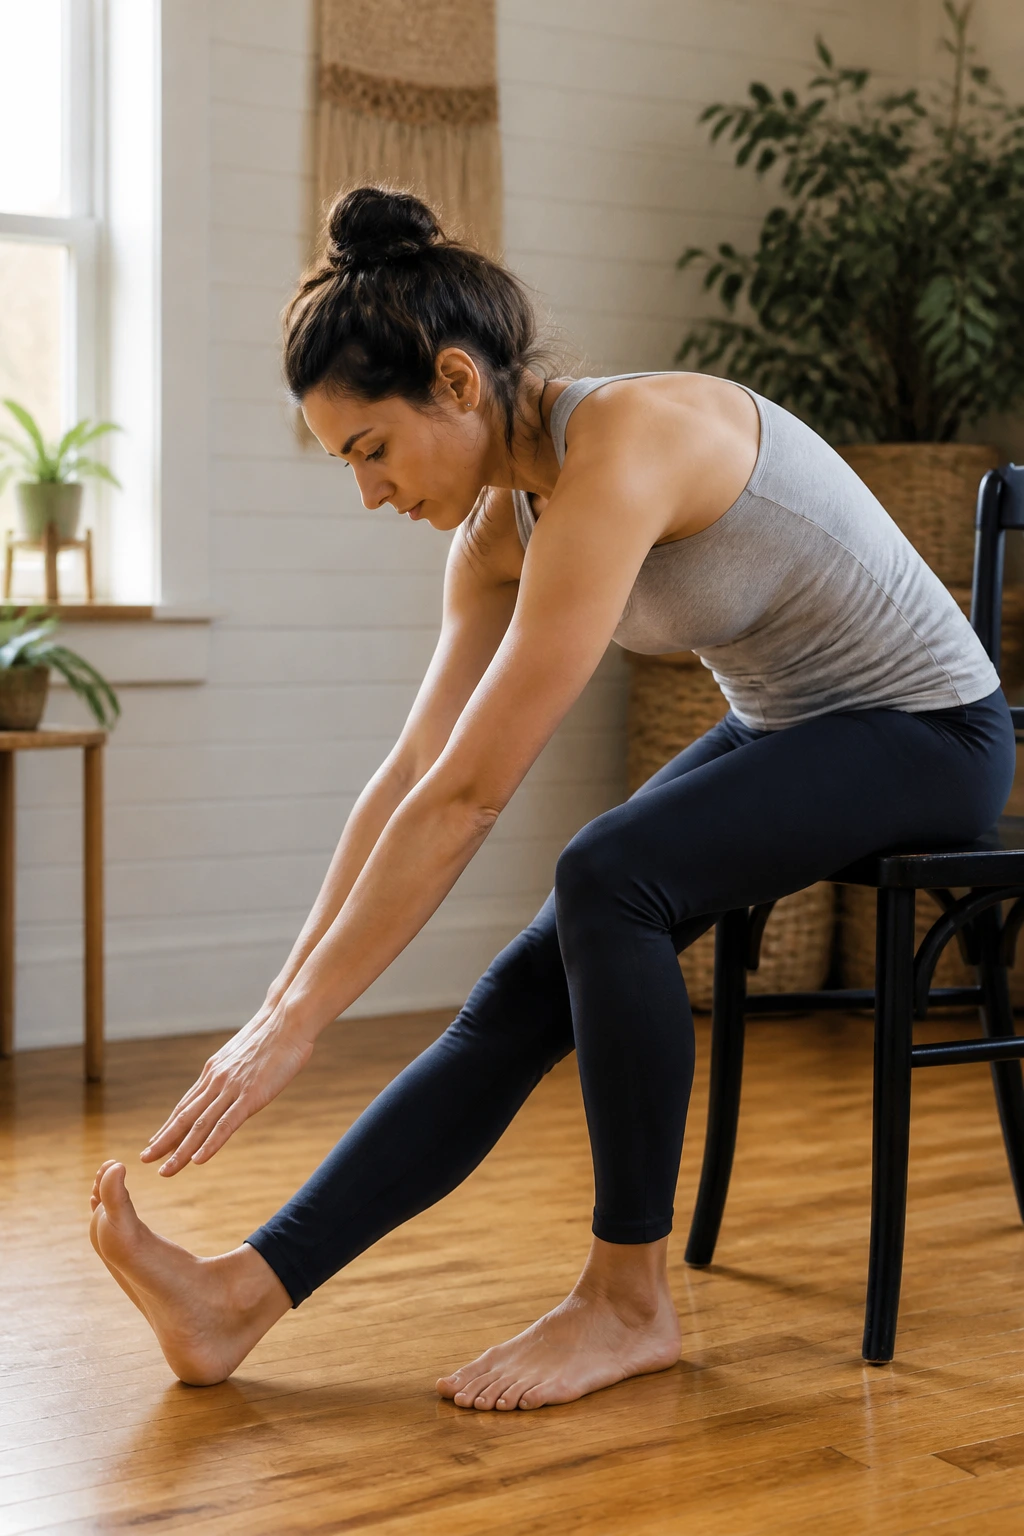
A hamstring stretch does not need a dramatic fold to work. On a chair, a slight hinge with a long spine often does more good than bending until the back rounds and the breath shortens.
Extend your right heel forward with the heel on the floor and the toes pointing up. Keep the knee soft, not locked. Hinge from the hips until you feel the back of the thigh stretch, then hold for 4 breaths. Come up slowly and switch sides. If the stretch grabs behind the knee, bend it a little more and shorten the reach.
The useful part here is the alignment. The spine stays long, the pelvis tips forward just enough, and the stretch lands where it should. No wrestling. No bouncing. Just a steady pull down the back of the leg that usually feels better by the second round.
13. Chest Opener With Interlaced Fingers
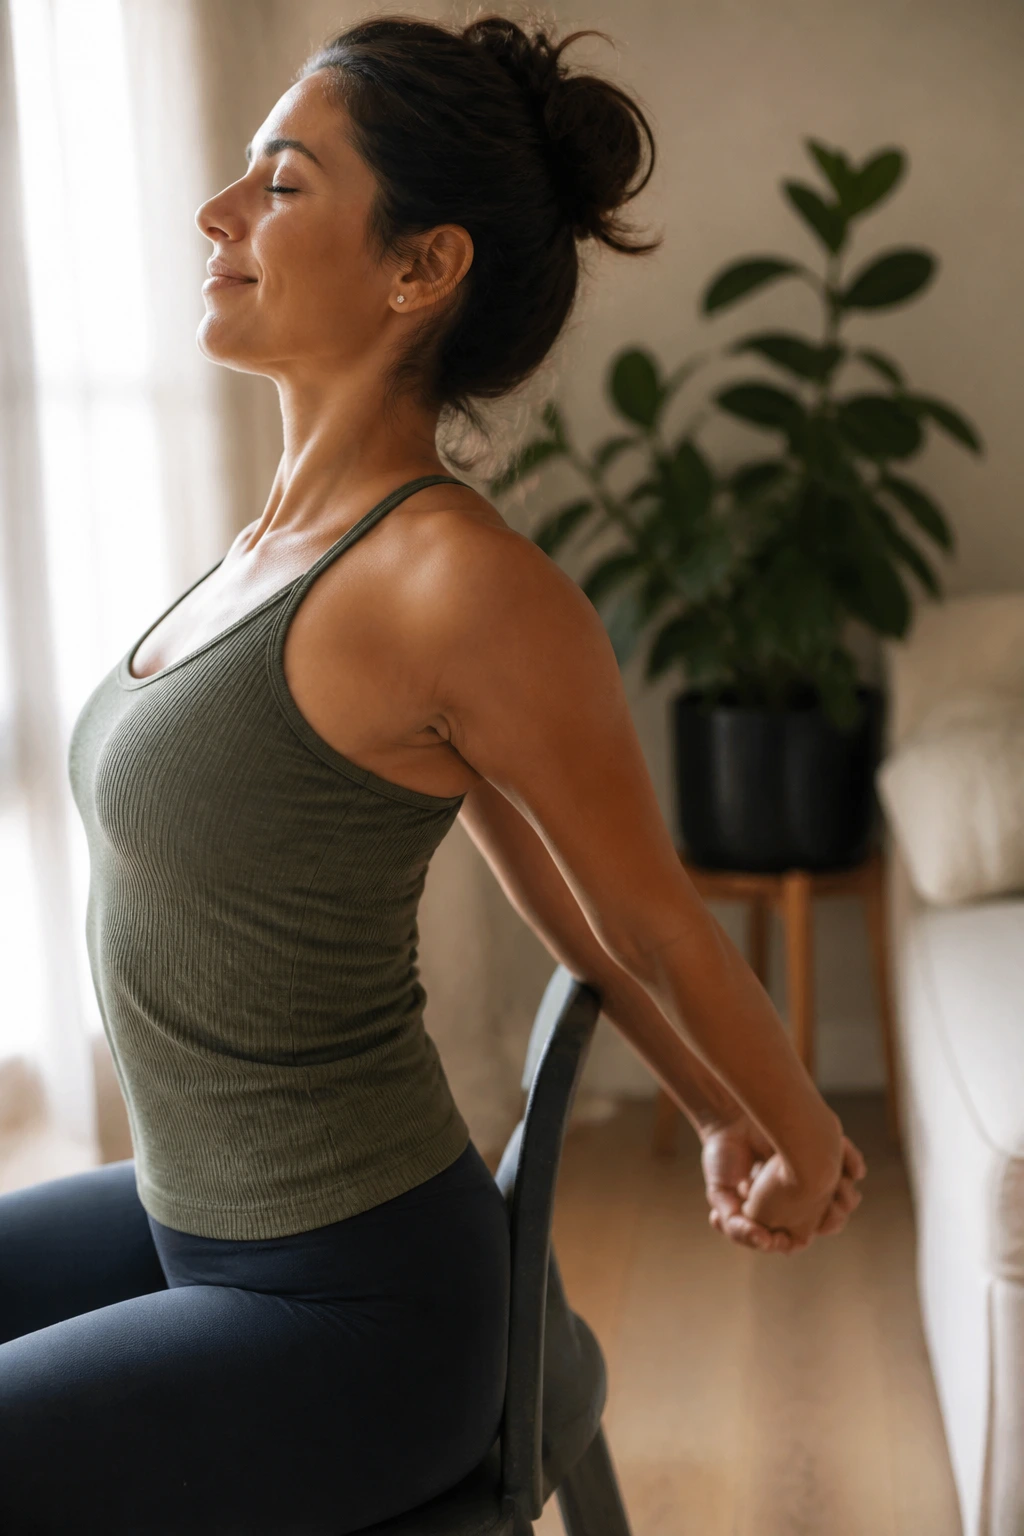
Rounded shoulders love to hide in plain sight. This sequence opens the front of the chest and gives the upper body a better chance to stand upright without forcing it.
Interlace your fingers behind your back or hold opposite elbows if the hands do not meet. Let the shoulder blades slide down the back, then gently lift the chest. If it feels good, lengthen the arms a little and let the knuckles drift toward the floor. Stay for 3 to 5 breaths.
A Few Helpful Tweaks
- Keep the ribs from popping forward.
- If the shoulders are tight, bend the elbows more.
- A strap between the hands works fine.
- Looking slightly upward can make the chest opening feel bigger, but only if the neck likes it.
This is one of those shapes where less squeezing creates more opening. The front of the body tends to breathe easier afterward.
14. Chair Sun Flow: Reach, Fold, Rise
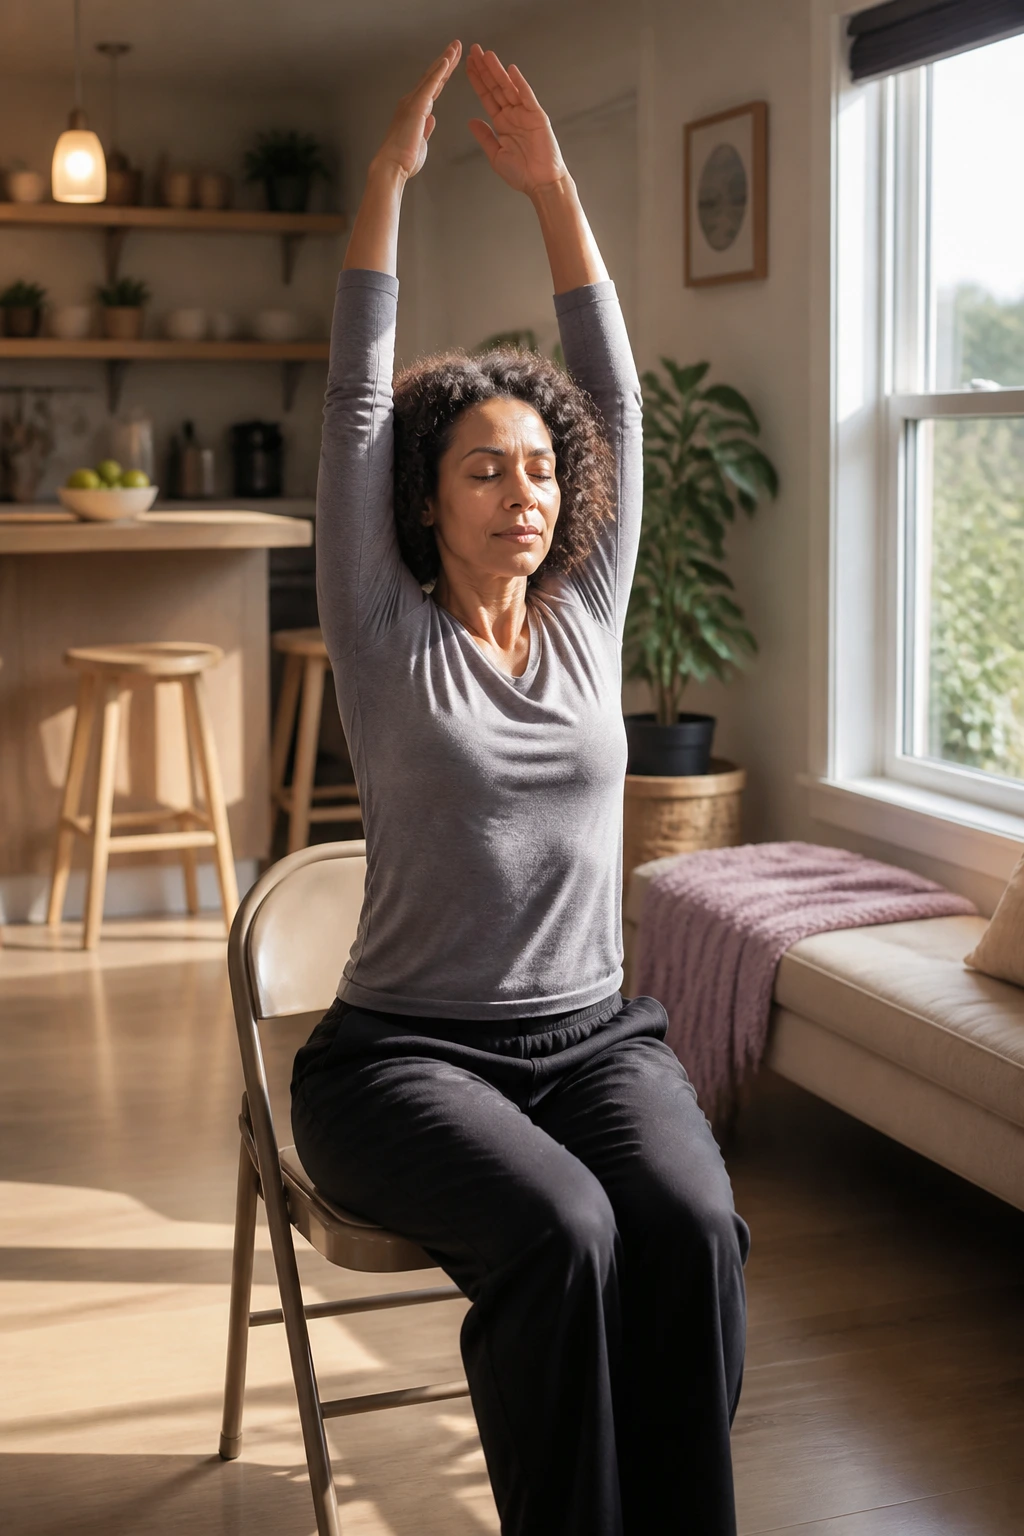
A mini flow keeps the practice from feeling chopped into pieces. This one has a little rhythm to it and works well when you want movement without leaving the chair.
The Flow
- Inhale and sweep the arms overhead.
- Exhale and fold over the thighs.
- Inhale and come halfway up with hands on the shins or thighs.
- Exhale and sit back up tall.
Repeat the pattern 3 times, moving slowly enough that the breath stays smooth. If standing feels good, this same shape can be done with hands on the chair back for support before the fold.
The sequence is useful because it links the spine, hips, and breath in one loop. You can keep it tiny and still feel the change. That makes it a smart bridge between the slower stretches and the more active work later in the list.
15. Pelvic Tilts and Belly Breath
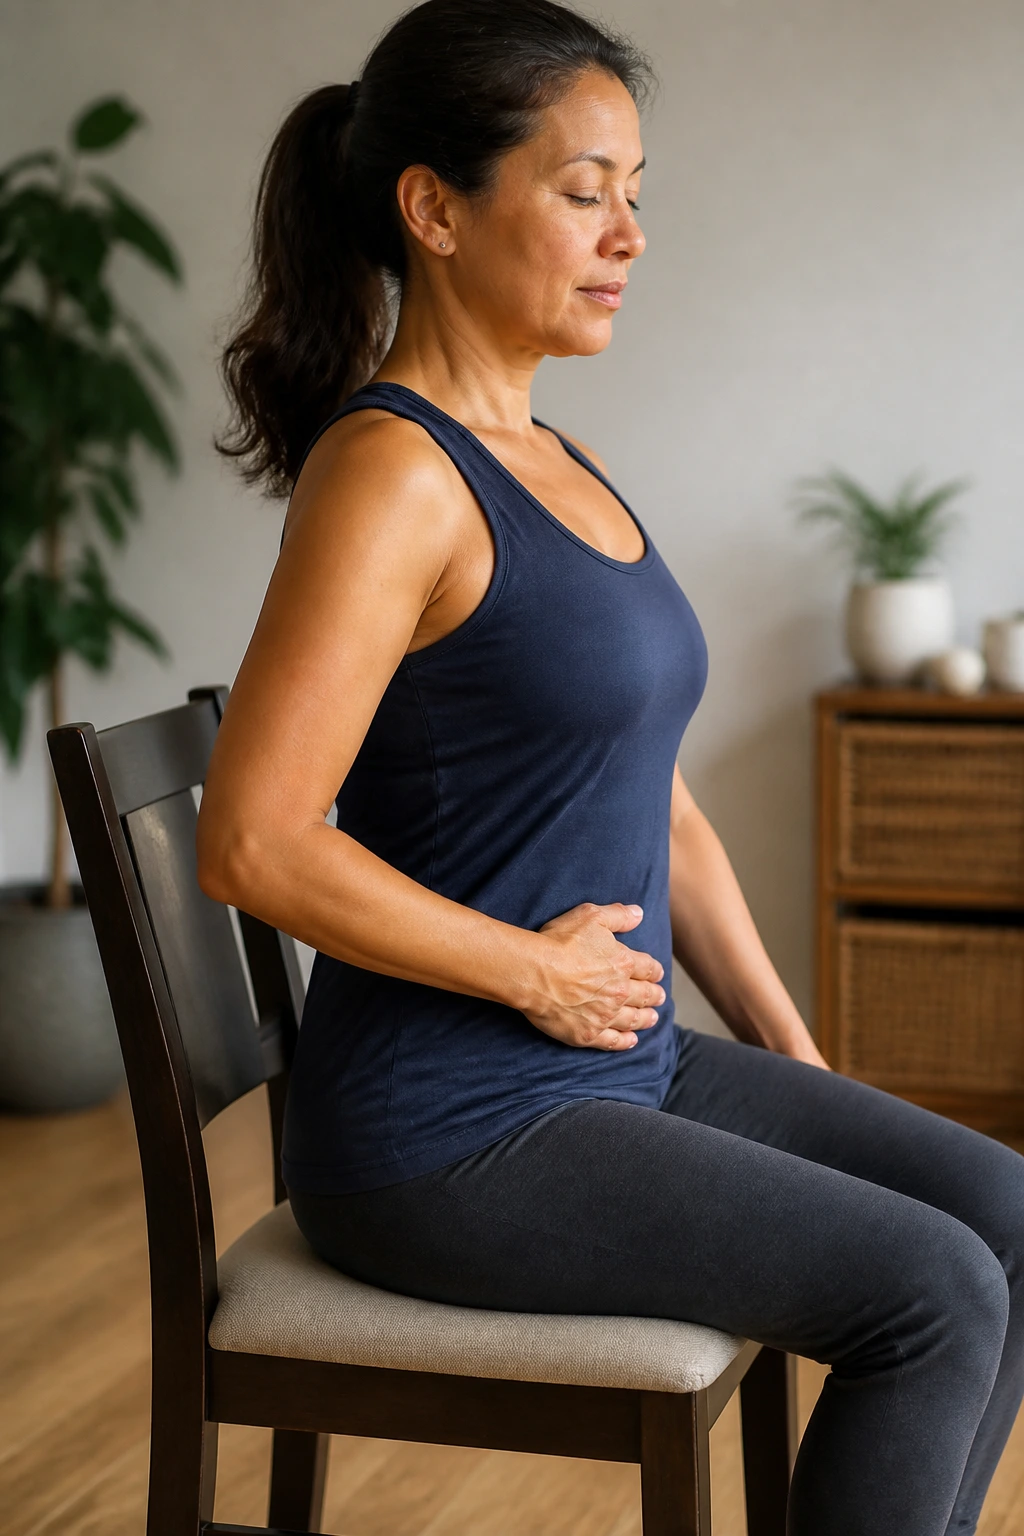
Lower backs often feel better when the pelvis moves instead of staying frozen. This sequence is small, but it can loosen the area that gets cranky after sitting too long.
Sit near the front edge of the chair and place one hand on the lower belly. On the exhale, tuck the tailbone slightly and let the low back round just a touch. On the inhale, return to neutral and let the sit bones tip back. Do 8 slow tilts. Keep the movement smooth and obvious enough to feel, but not so large that the ribs start flaring.
A lot of people discover that this is the first time their lower back has moved all day. That alone can make the rest of the practice feel easier. Pairing the tilts with belly breath helps the abdominal wall stop gripping so hard, which is part of why the whole thing can feel so relieving.
16. Mermaid Stretch Along One Side
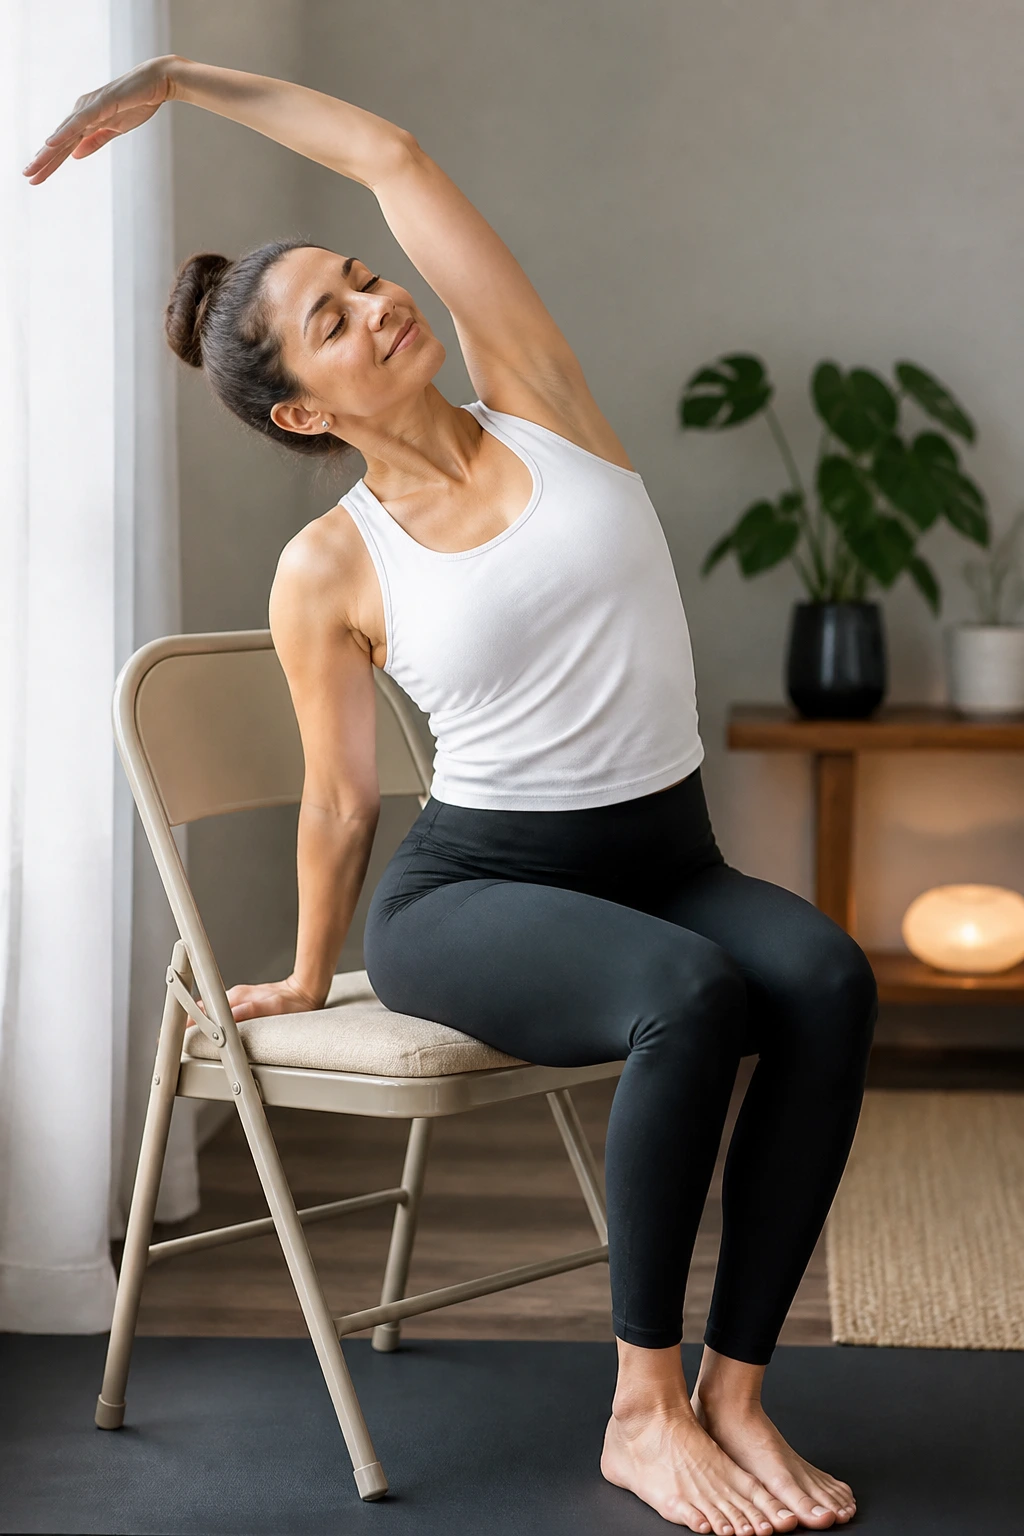
Mermaid stretch has a nice, easy elegance to it, and the chair makes it a lot more accessible than it looks in photos. It opens the side body, the ribs, and a little of the shoulder line at once.
Sit tall, place your left hand on the seat or thigh, and let your right arm arc overhead. Slide the right ribs up and over to the left while keeping the chest open. Hold for 3 breaths, then add a tiny roll forward and back if you want to change the angle. Switch sides.
This one feels especially good after a lot of forward-reaching work. The side body tends to get shortened and forgotten, and then it complains later with that dull tightness around the ribs. Mermaid stretch gives that area a clean, simple line to follow.
17. Seated Core March for Stable Hips
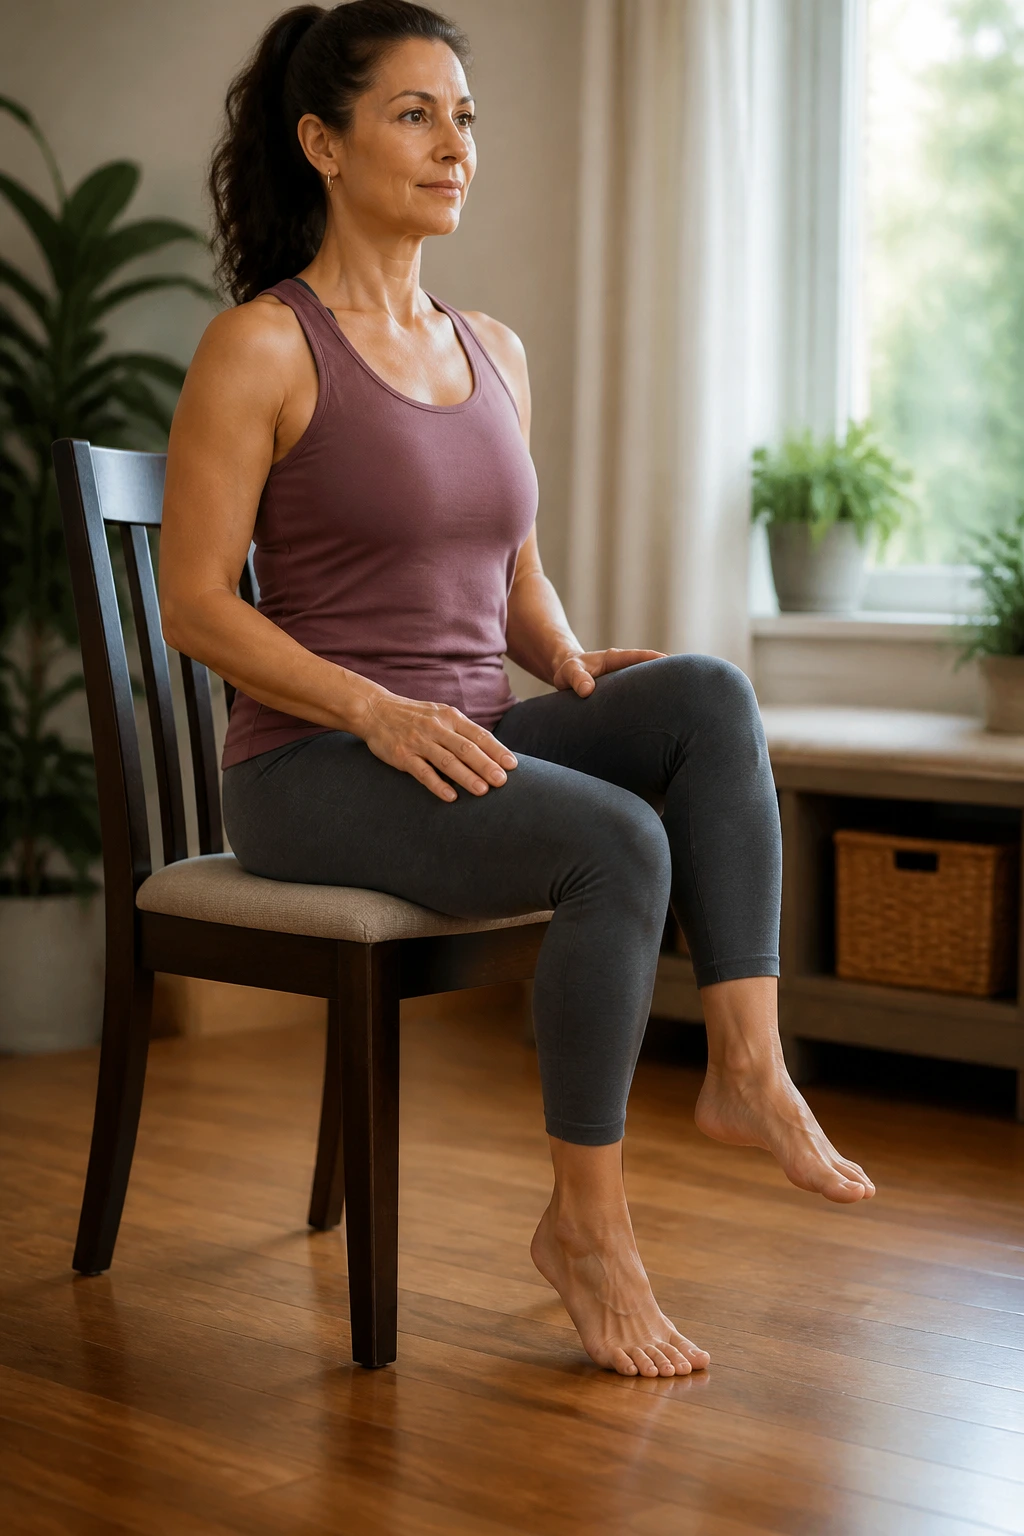
Core work does not have to mean crunches. In a chair, a quiet marching pattern can wake up the lower abdomen and help the hips move with more control.
Sit tall near the front of the chair and place your hands lightly on your thighs. Lift the right knee 1 to 2 inches, lower it, then lift the left. Keep alternating for 8 to 12 slow lifts. If that feels easy, reach the opposite arm forward as each knee rises. Stay upright and avoid leaning back.
What to Notice
- The waist should stay long.
- The breath should stay smooth.
- The movement should look small.
- The hips should not twist side to side.
This is a smart sequence for beginners because it teaches control without load. If the abs wake up a little and the hip flexors feel organized instead of grabby, you are doing it right.
18. Wide-Knee Hip Opener Over the Chair
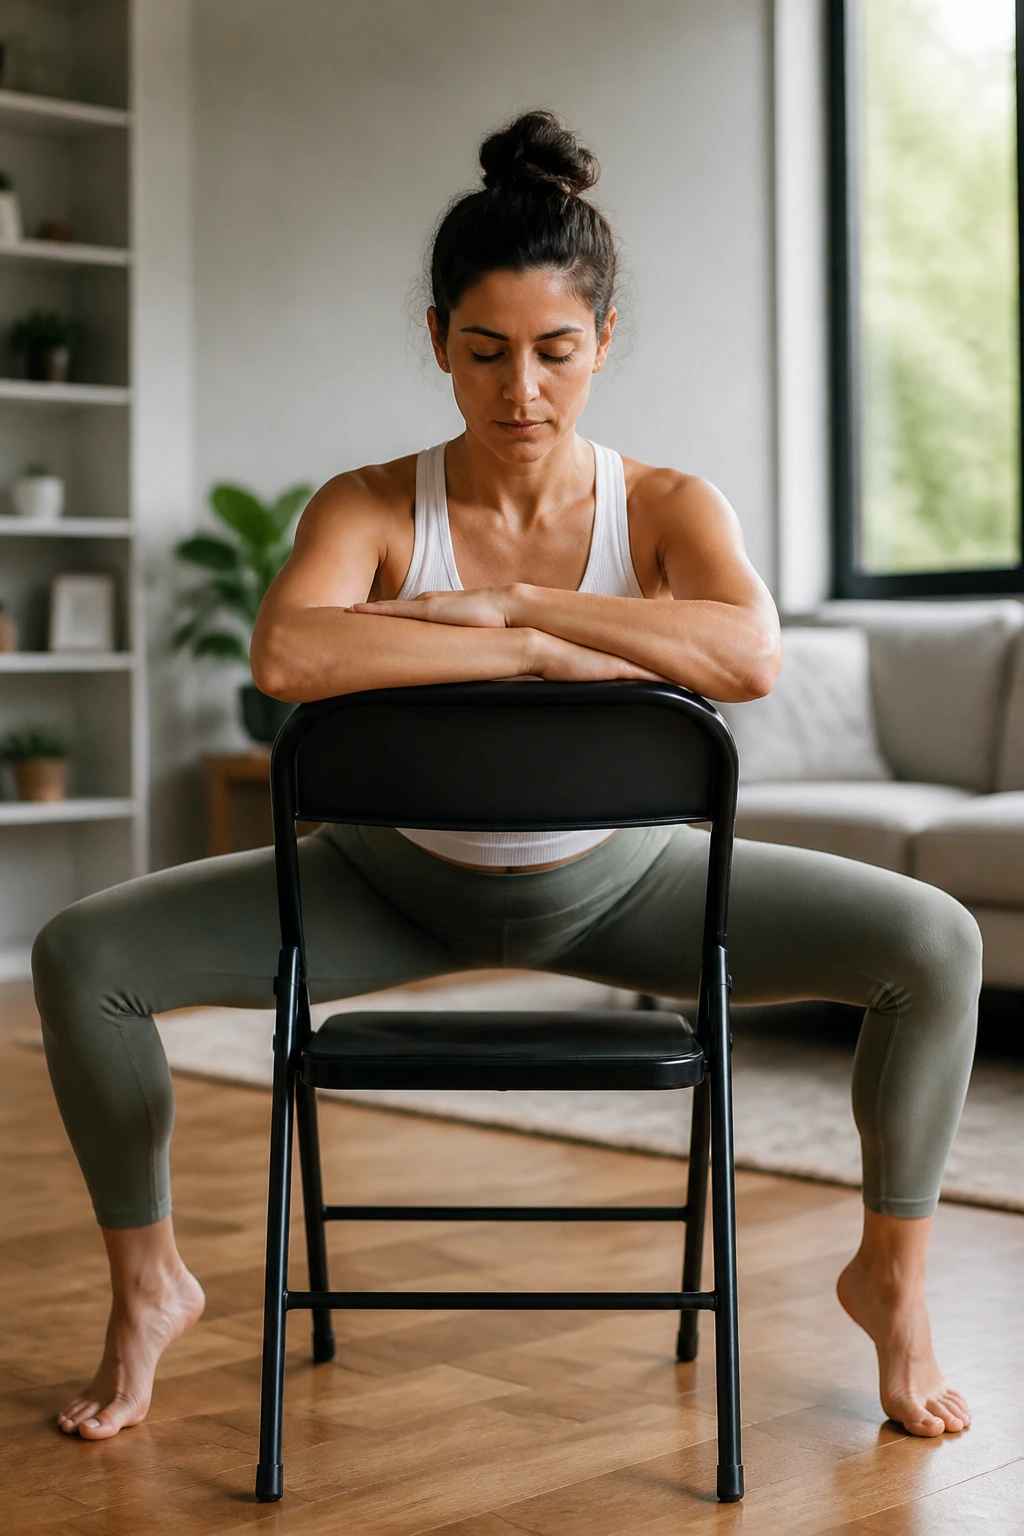
This one looks humble, but it can feel surprisingly good after too much sitting. Unlike the figure-four shape, both feet stay on the floor and the knees open outward in a wide, relaxed angle.
Bring your feet a little wider than hip-width apart and let the knees fall open softly. Sit tall for a few breaths, then hinge forward an inch or two and rest your forearms on your thighs. Hold for 4 breaths. Come back up slowly and repeat once more if the hips are willing.
The point is to let the inner thighs and groin stop guarding for a minute. Keep the fold small, especially if your low back likes to complain when you bend. This is a good shape to pair with easy breathing because the whole front of the pelvis often feels less clenched by the end.
19. Chin Tucks and Jaw Release
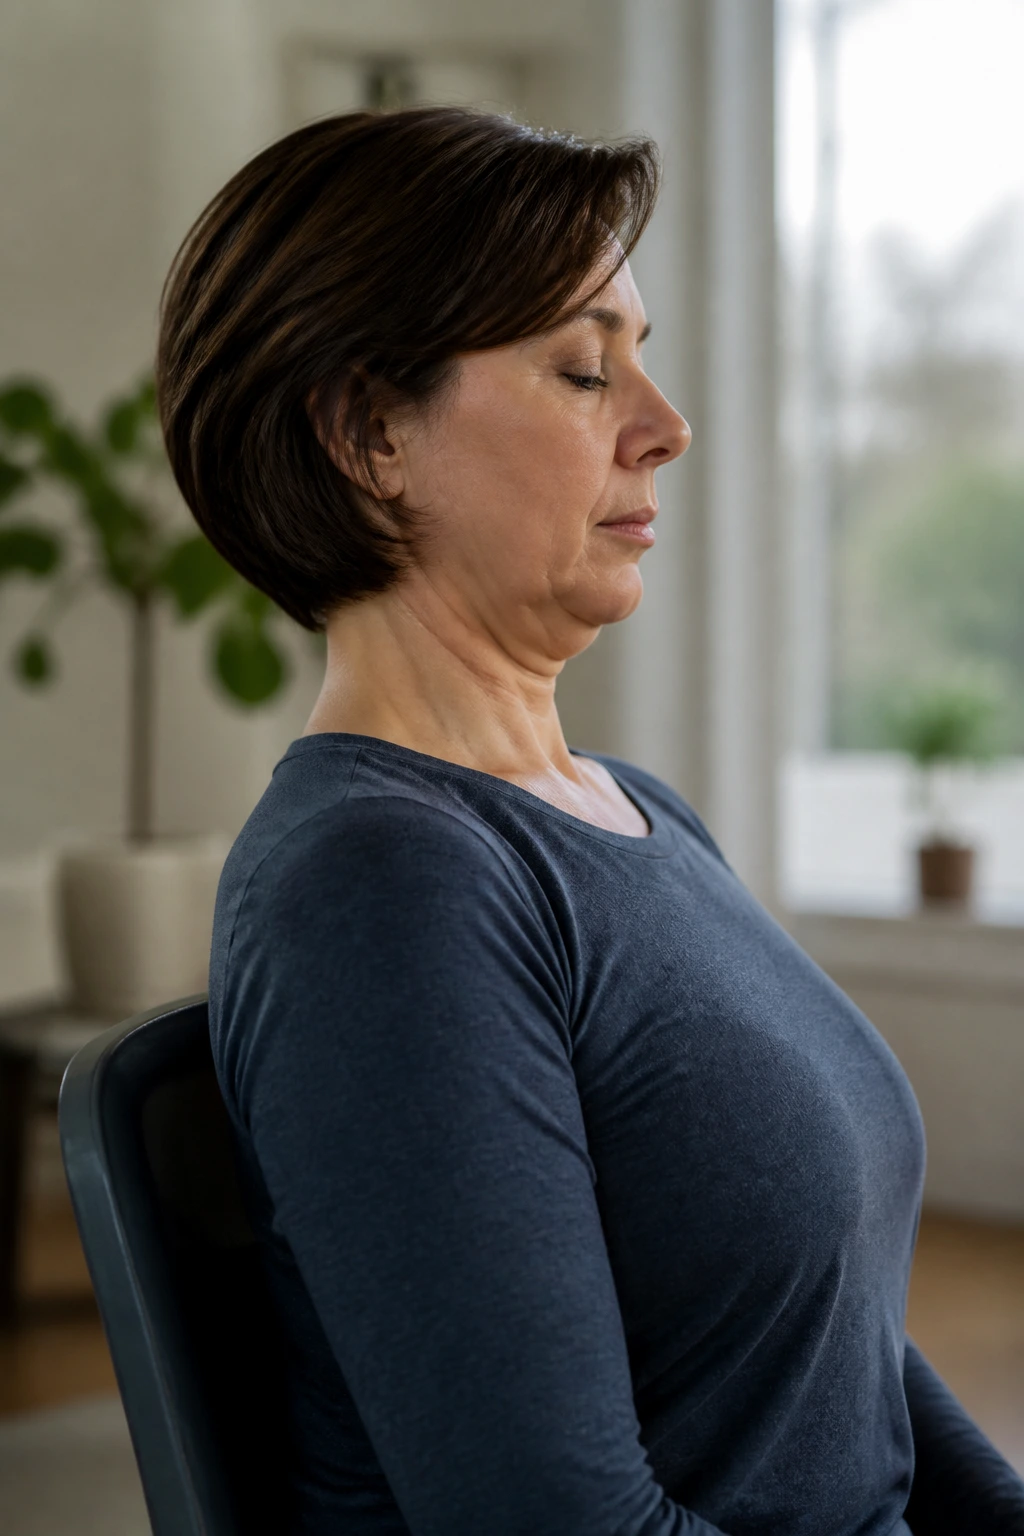
The neck is not the only thing that gets tense around the face. The jaw carries a surprising amount of stress, and it often tightens without the person noticing.
Sit tall and draw the chin straight back, like you are making a tiny double chin. Hold for 2 breaths, release, and repeat 5 times. Then let the jaw hang slightly open, press the tongue lightly to the roof of the mouth, and roll the shoulders down once. Finish by turning the head a few degrees to each side.
That little chin tuck can feel odd at first because most people are used to pushing the head forward. A mirror helps if you want feedback. The jaw release is even simpler, but it changes the tone of the whole face. A tired desk body often needs this as much as it needs a hamstring stretch.
20. Calf Stretch Against the Floor
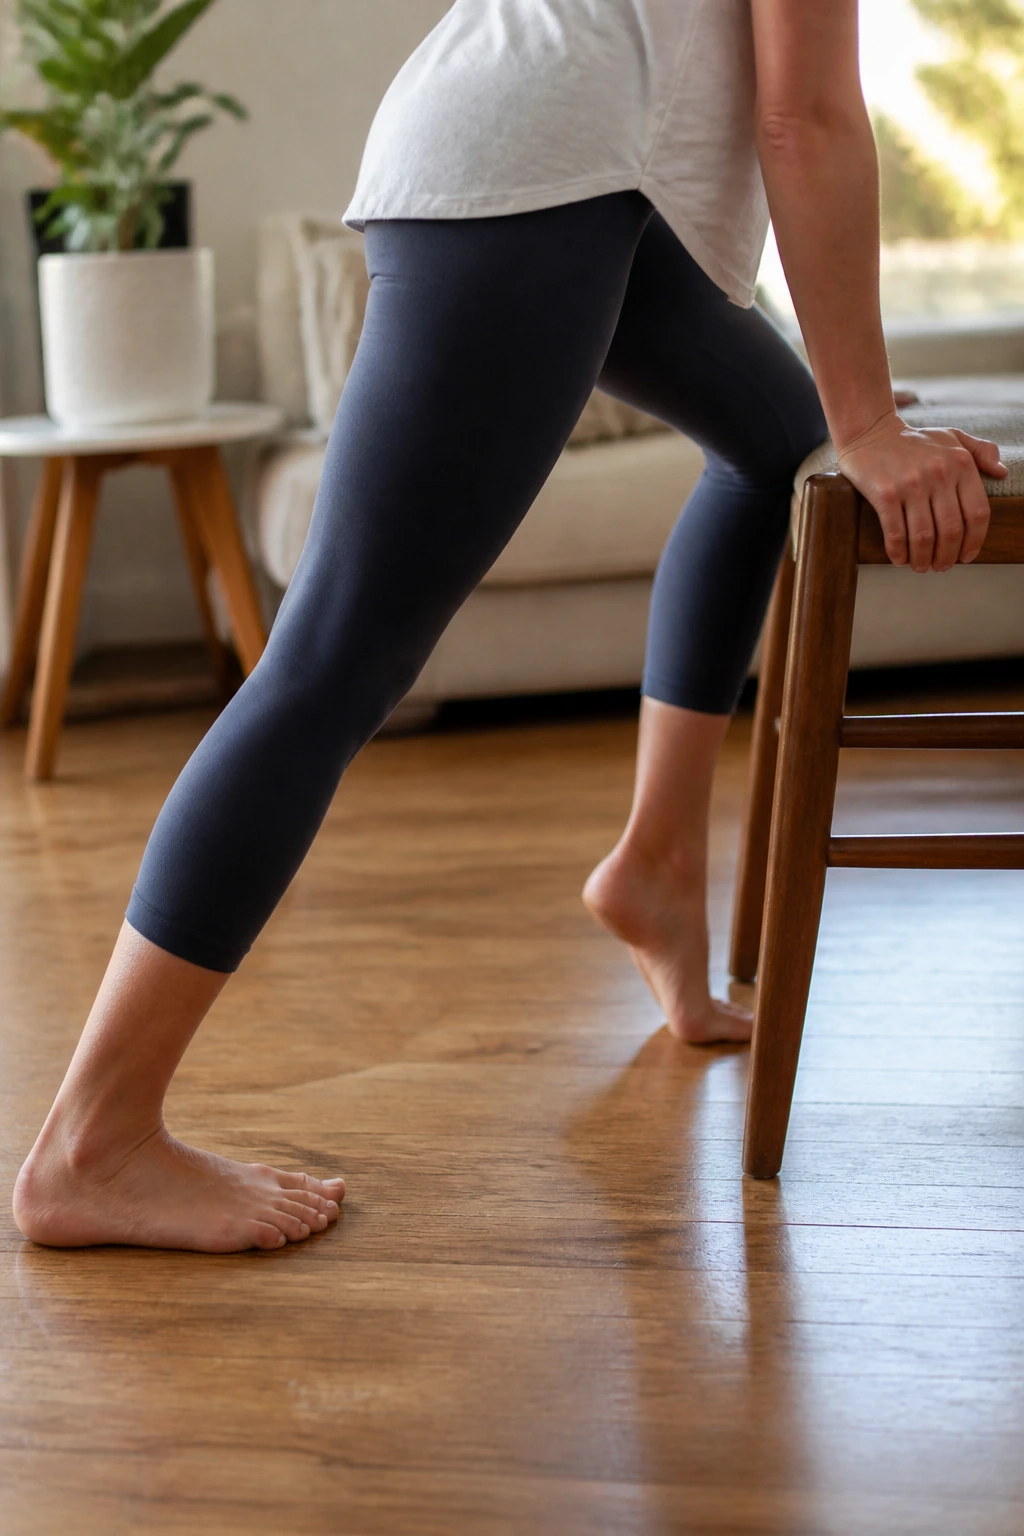
Calves get ignored until they feel tight enough to complain in stairs, walks, or long bouts of sitting. This standing-supported version uses the chair for balance and keeps the stretch easy to control.
Stand behind the chair with both hands on the backrest. Step your right foot back about 18 to 24 inches and keep the heel heavy on the floor. Bend the front knee slightly while the back leg stays long. Hold for 4 breaths, then pulse the back heel gently down 3 times before switching sides.
Quick Cues
- Keep the back foot pointed forward.
- Do not let the front knee collapse inward.
- If the back calf still feels short, step the foot farther back.
- A small bend in the back knee changes the stretch from the calf to the Achilles area.
This sequence is handy before walking or after a long sitting stretch. It wakes the lower legs without making them feel overworked.
21. Supported Backbend Over the Chair
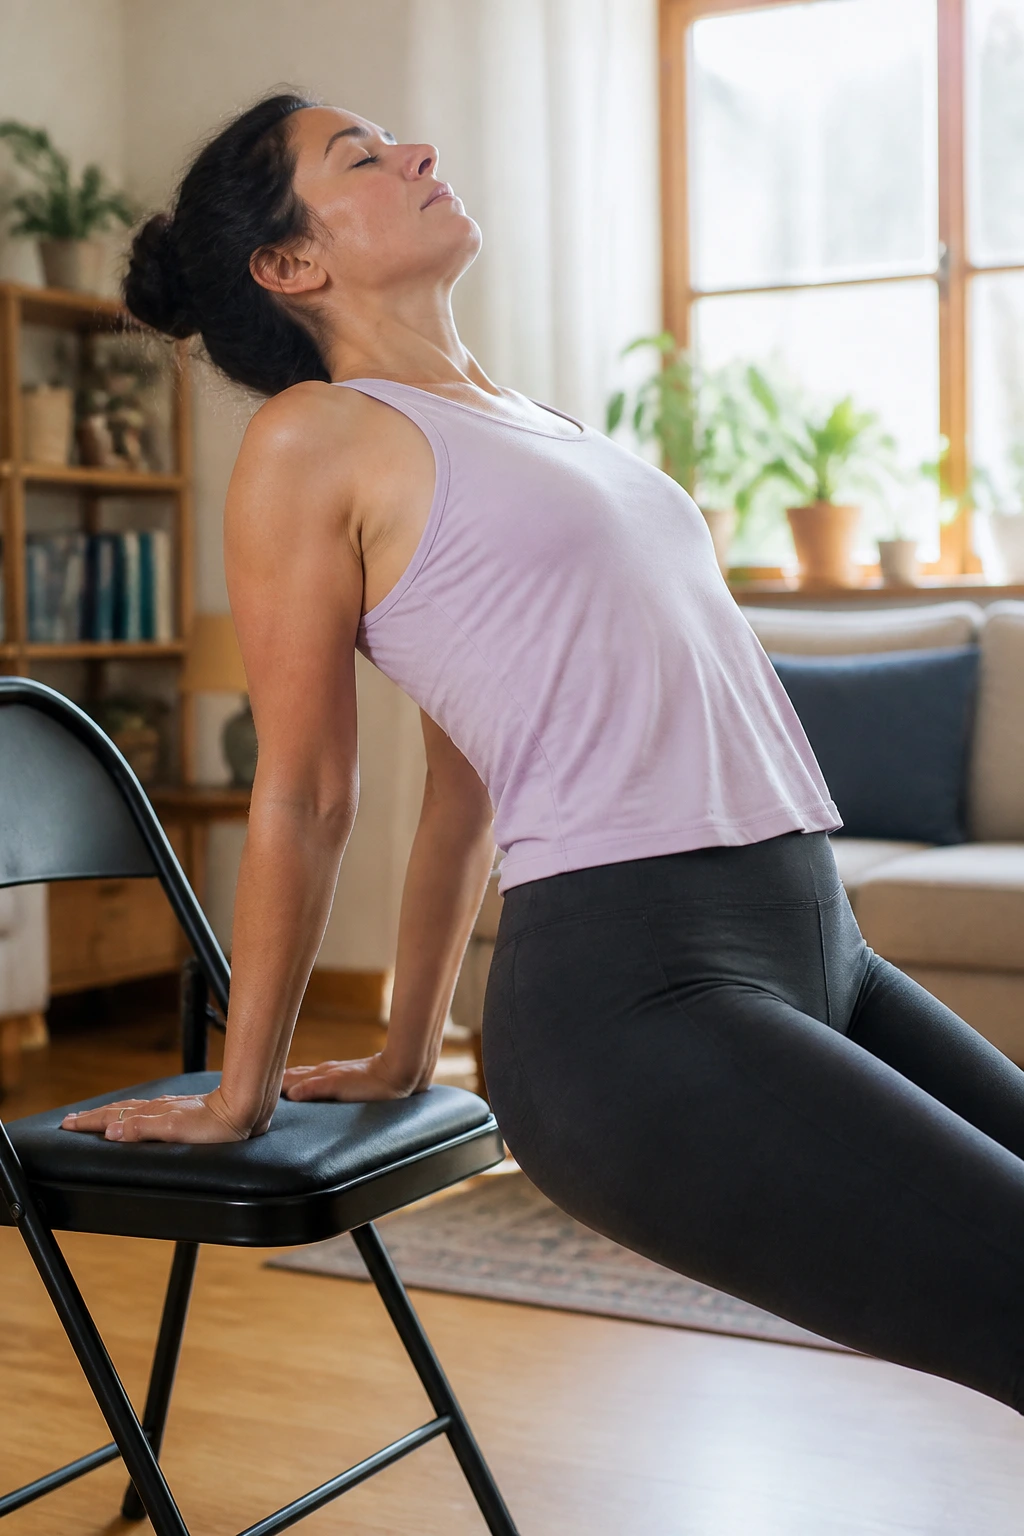
A lot of beginners avoid backbends because they think the shape has to be big to count. It does not. A supported backbend on a chair can open the chest and wake the front body with a much kinder curve.
Sit toward the front edge of the chair, place your hands on the seat behind your hips or on the chair back if that feels steadier, and lift the sternum a few inches. Let the shoulder blades slide down, keep the chin level, and breathe for 3 to 4 rounds. If the neck likes a little more room, glance upward only slightly.
The backbend should feel spacious, not jammed into the lower spine. Think of lengthening up before you open back. That tiny order matters. A lot. The chair gives you enough support to explore extension without collapsing into it.
22. Shoulder Rolls and Elbow Lifts
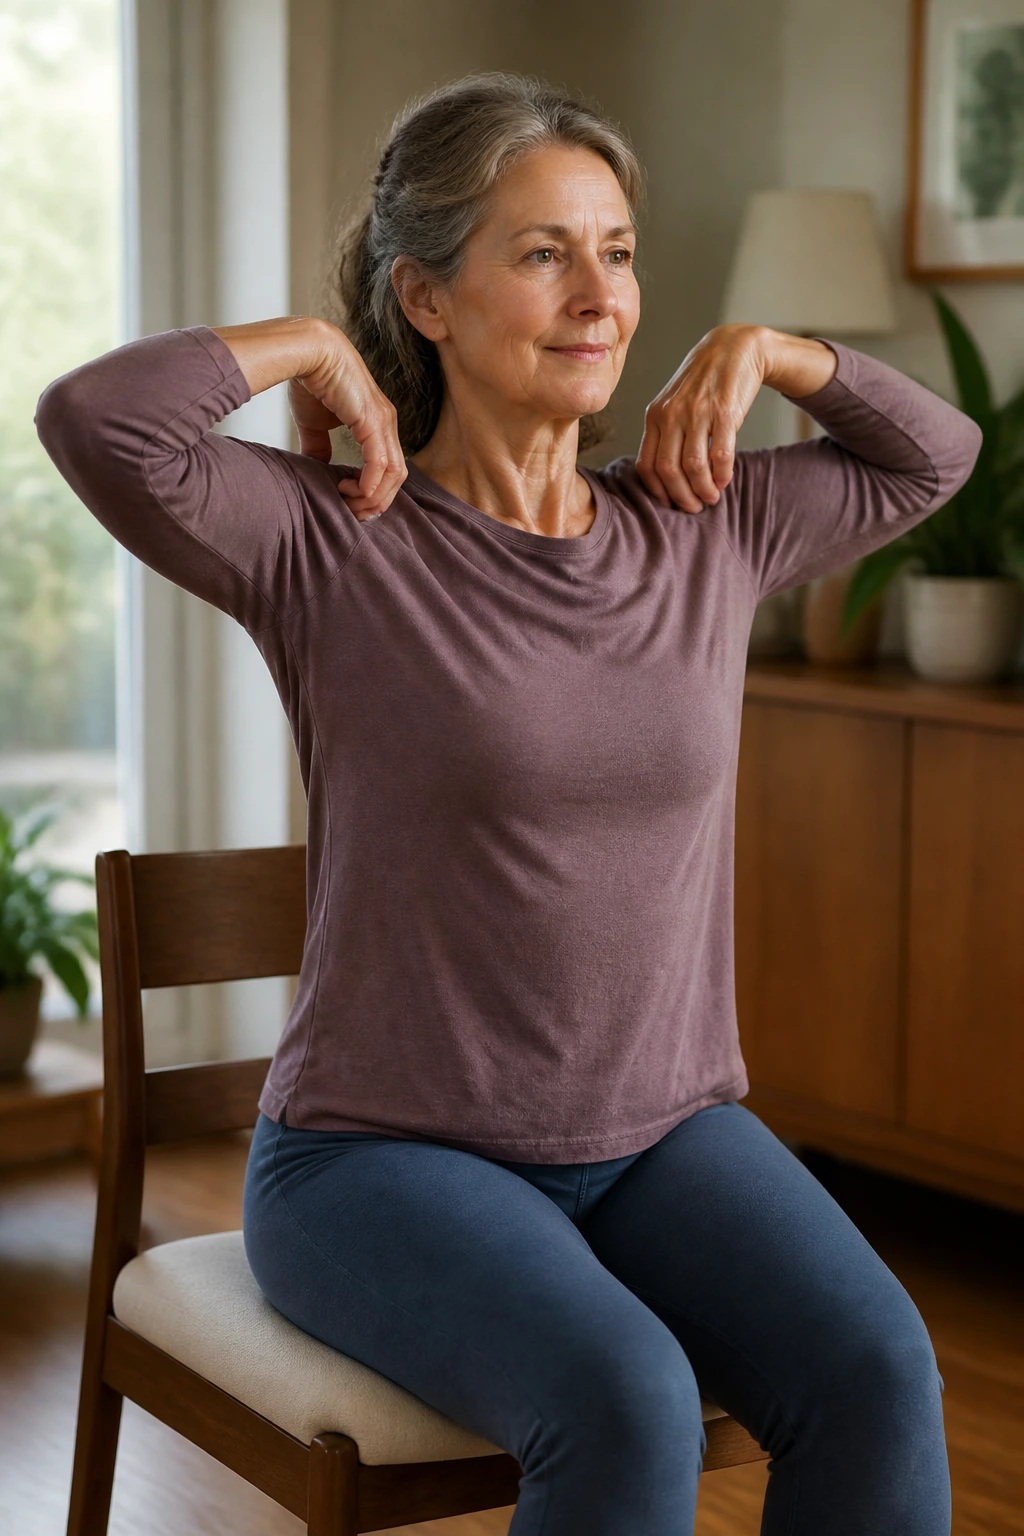
Shoulder rolls are easy to dismiss because they are familiar. Then you do them slowly and realize how much junk was sitting there in the first place.
Lift both elbows out to the sides at shoulder height, then roll them forward 3 times and backward 3 times. Next, place your fingertips on your shoulders and circle the elbows again, this time keeping the chest quiet and the movement smooth. Finish by dropping the arms and taking 2 deep breaths.
The useful part here is precision. Fast rolls tend to turn into flinging. Slow rolls expose where the stiffness lives, and that makes the work cleaner. If the neck starts to help too much, shrink the circles. The goal is to free the shoulder girdle, not to prove a point.
23. Cross-Body Side Reach With a Soft Twist
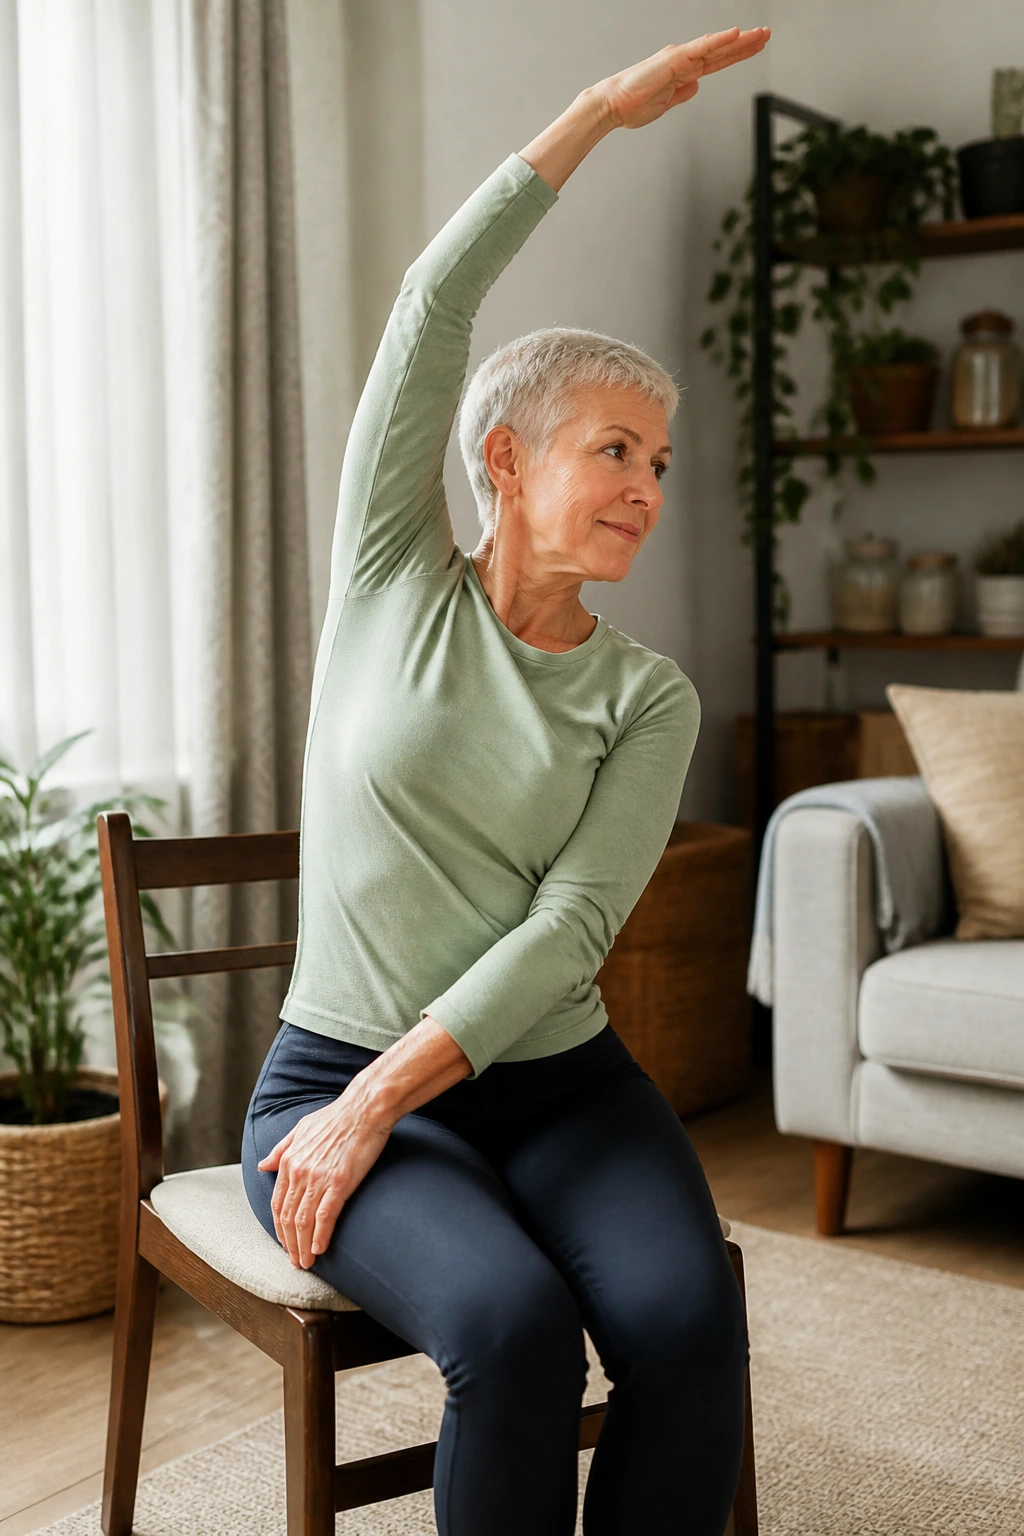
This is not a full twist and not a pure side bend. It lives in the middle, which makes it useful when you want to reach across the body without compressing the spine too much.
Sit tall, place your left hand on the right thigh, and lift the right arm overhead on a diagonal. Let the chest turn a few degrees to the right while the right side lengthens. Hold for 3 breaths, then come back through center and switch sides. If the shoulder feels pinched, keep the arm a little forward of the ear.
That diagonal line can wake up the waist in a different way than a standard side bend. It also tends to feel nice for people whose ribs get stiff after long sitting. There is a lot of value in shapes that are not trying to be dramatic. This is one of them.
24. Full-Body Wake-Up Flow
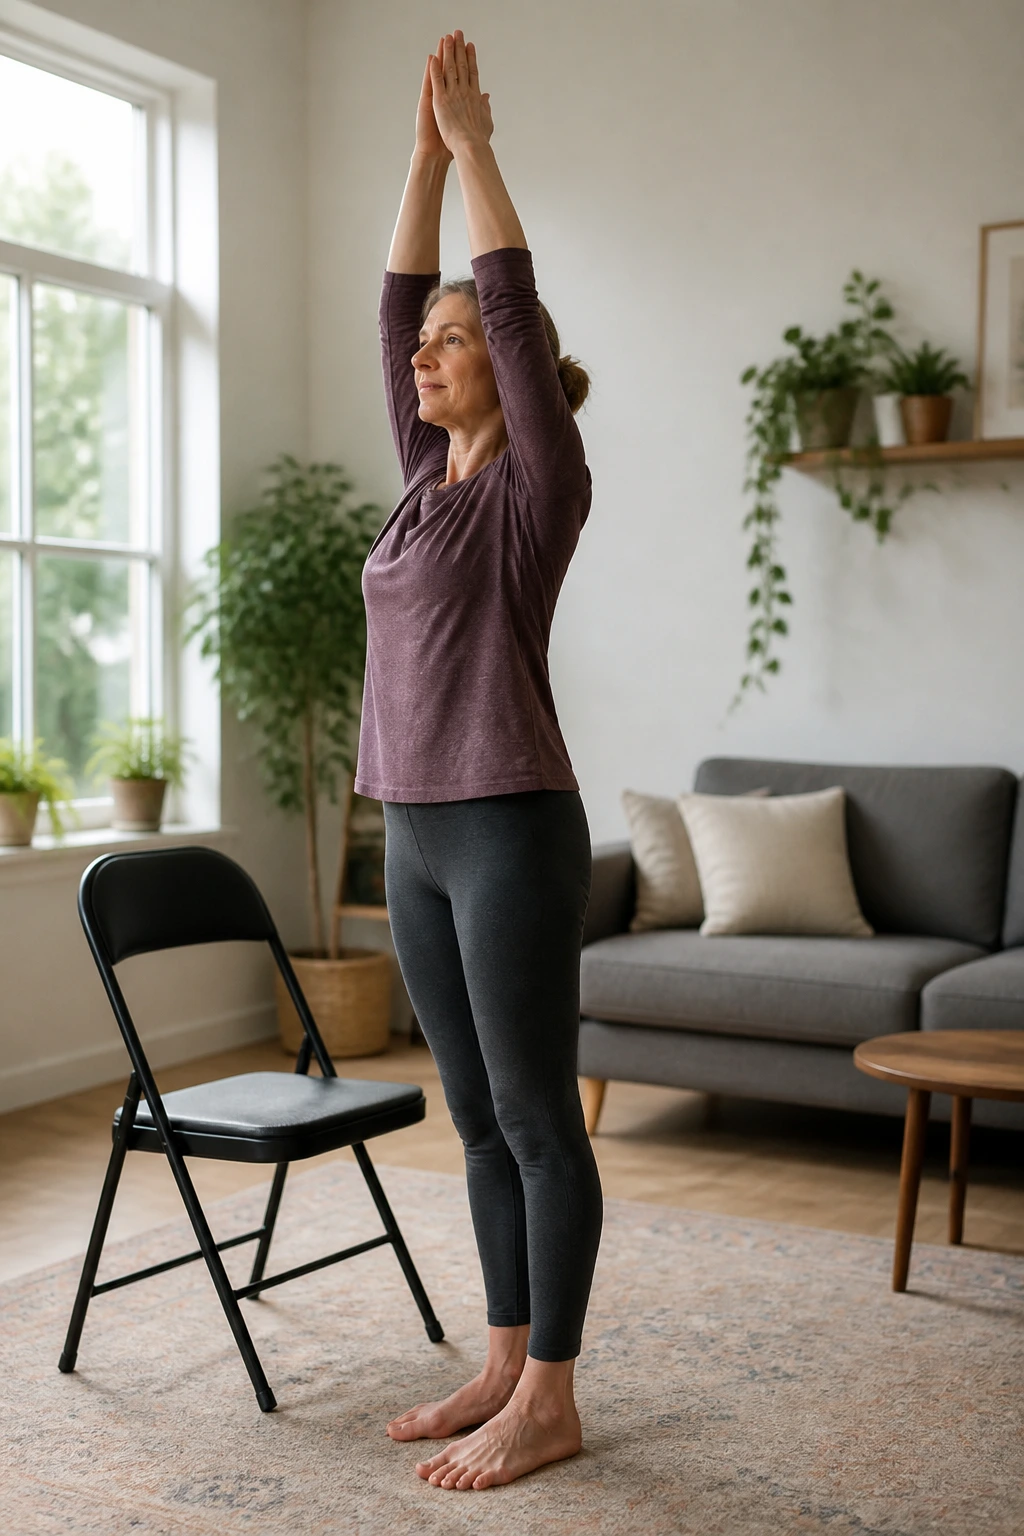
When the body wants variety, a short mixed flow can stitch the practice together without turning it into a performance. This sequence blends posture, reach, twist, and ankle work into one continuous loop.
Try This Round
- Sit tall and lift the arms overhead on an inhale.
- Fold forward over the thighs on an exhale.
- Return to upright and place one hand on the opposite thigh for a small twist.
- Rise back to center and lift one knee, then the other, for 4 alternating marches.
- Finish with ankle circles and a slow shoulder roll.
Repeat the whole loop 2 times. Keep every shape smaller than you think it needs to be. That is the part that keeps the practice friendly. A full-body sequence does not need to be intense to be useful; it needs to connect the pieces so the body stops feeling like separate parts.
25. Bedtime Relaxation Sequence
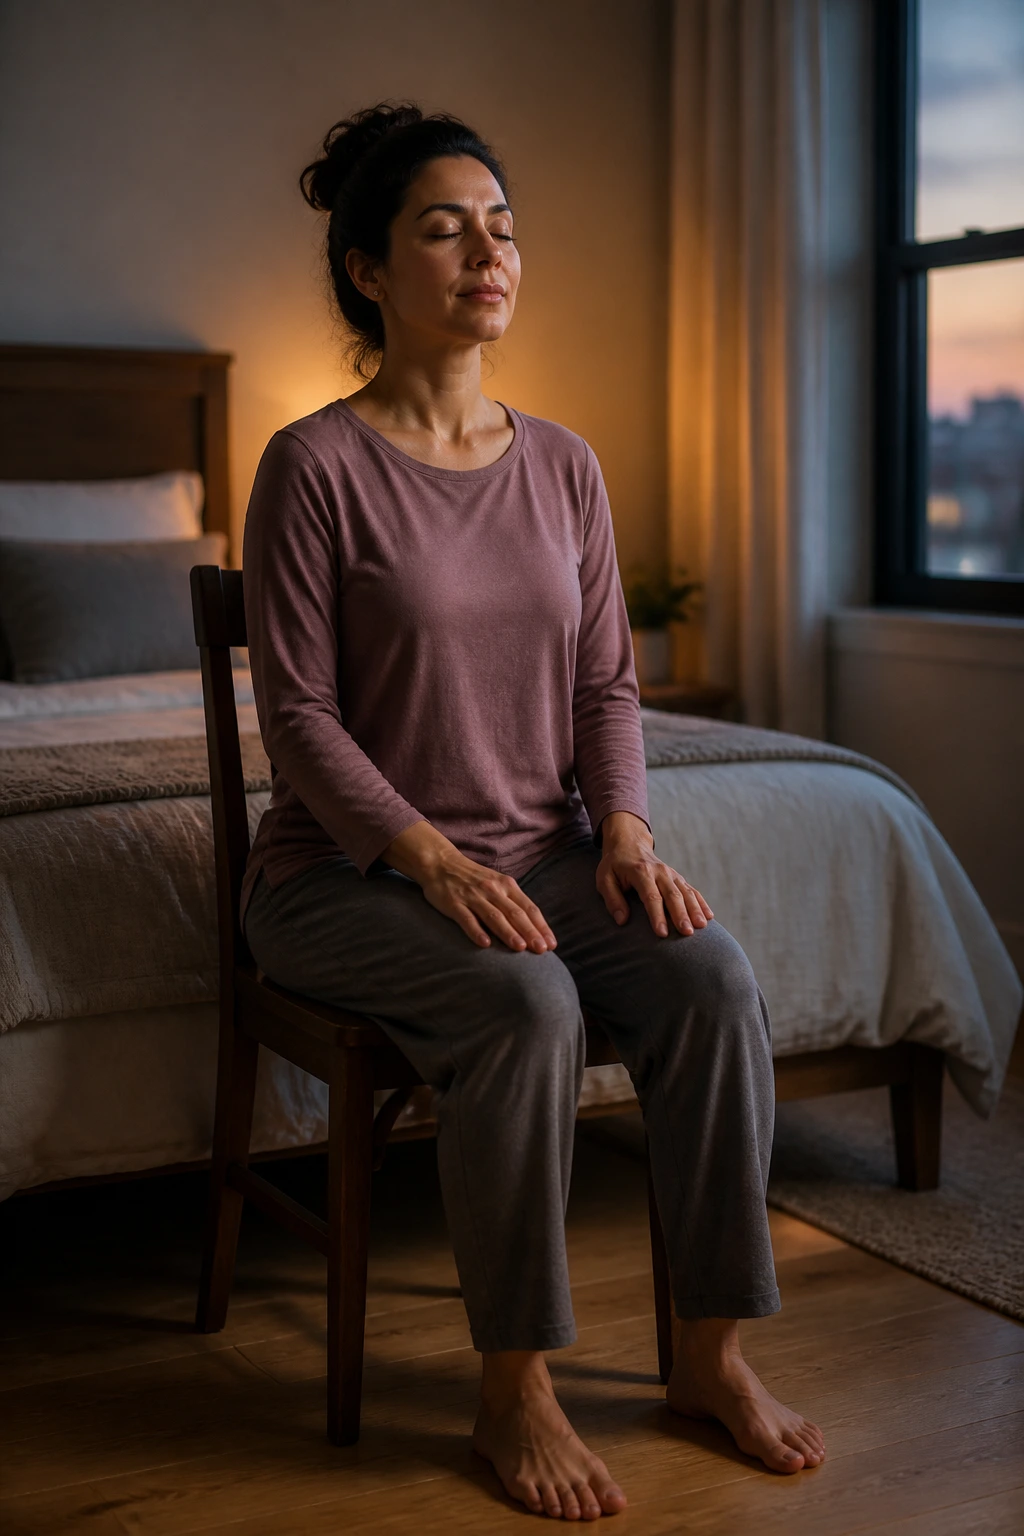
Some chair yoga sequences are for wake-up. This one is for backing out of the day without carrying it into bed. Keep the lights low if you can, and let the pace get almost comically slow.
Sit with both feet flat, hands on the thighs, and close the eyes or soften the gaze. Inhale for 4 counts, exhale for 6 counts, and repeat 5 rounds. Add 2 gentle neck nods, 3 shoulder drops, and a slow forward fold over the thighs if that feels soothing. End with the hands resting in the lap and the breath settling on its own.
This is the sequence to use when the mind keeps running after the body is done for the day. You do not need much movement here. A few measured breaths, a little softness in the jaw, and a supported fold can be enough to change the tone. Sleep tends to like that.
Final Thoughts
A chair makes yoga feel less fussy. That alone is useful. Add in a few slow breaths, a small spinal motion, and one or two hip openers, and you have a practice that can fit into a break, a warm-up, or the last quiet minutes before bed.
Start with the sequences that match what your body complains about most. Neck and shoulders. Hips. Ankles. Pick three, repeat them for a week, and notice which ones make you stand up a little easier afterward. That is usually the honest signal.
You do not need to do all 25 in one sitting. A short, steady routine beats an ambitious one that stays on a page.
