



The first week on a mat can feel oddly awkward. Your hamstrings are tight, your shoulders seem to live somewhere near your ears, and every pose you thought would be easy has a small surprise tucked inside it.
That is normal. And honestly, it’s useful.
The first month of practice is not the time to chase your deepest hamstring fold or your prettiest backbend. It’s the time to teach your body a calmer language: slow breath, steady balance, and stretches that open you without making you guard the next day. A good beginner stretch should leave you feeling looser, yes, but also clearer in your joints, steadier in your feet, and less likely to wince when you stand up from the couch.
I’d rather see someone do five modest stretches well than force one dramatic pose and spend the rest of the evening muttering about their lower back. That’s especially true in yoga and stretching, where the line between useful tension and dumb overreach can get crossed fast. Keep the pressure low, hold the shapes long enough to matter, and pay attention to the spots that feel sticky rather than the ones that already move easily.
1. Cat-Cow Spine Warm-Up
Cat-cow looks simple, and that is the point. On hands and knees, it gives your spine a chance to move segment by segment instead of all at once, which is exactly what a stiff beginner needs after sleeping, sitting, or staring at a screen.
Why It Works
In cow, you tip the tailbone up, soften the belly, and let the chest slide forward. In cat, you round the back, press the floor away, and let the shoulder blades widen. That easy back-and-forth helps your spine remember that it is supposed to bend in more than one direction.
- Start with wrists under shoulders and knees under hips.
- Inhale into cow for 3 to 4 counts.
- Exhale into cat for 3 to 4 counts.
- Keep the movement smooth, not jerky.
Tip: If your wrists complain, drop to forearms for a few rounds or make fists on the mat.
2. Child’s Pose with Side Reach
Child’s pose is the stretch people skip right before they need it most. The side reach version opens the ribs, lats, and outer waist a little more than the standard shape, which makes it a smart first-month choice for anyone who feels tight across the back.
Sit your hips toward your heels, walk your hands to the right, and let your left ribs lengthen. Then switch sides. You should feel a long pull from the outer hip line all the way into the armpit, but not a pinchy ache in the shoulder joint.
A lot of beginners try to sink straight down and miss the point. Better to keep the forehead heavy, breathe into the side body, and let the stretch get wider on each exhale. That slow widening matters more than how low you get.
3. Downward Dog Pedal
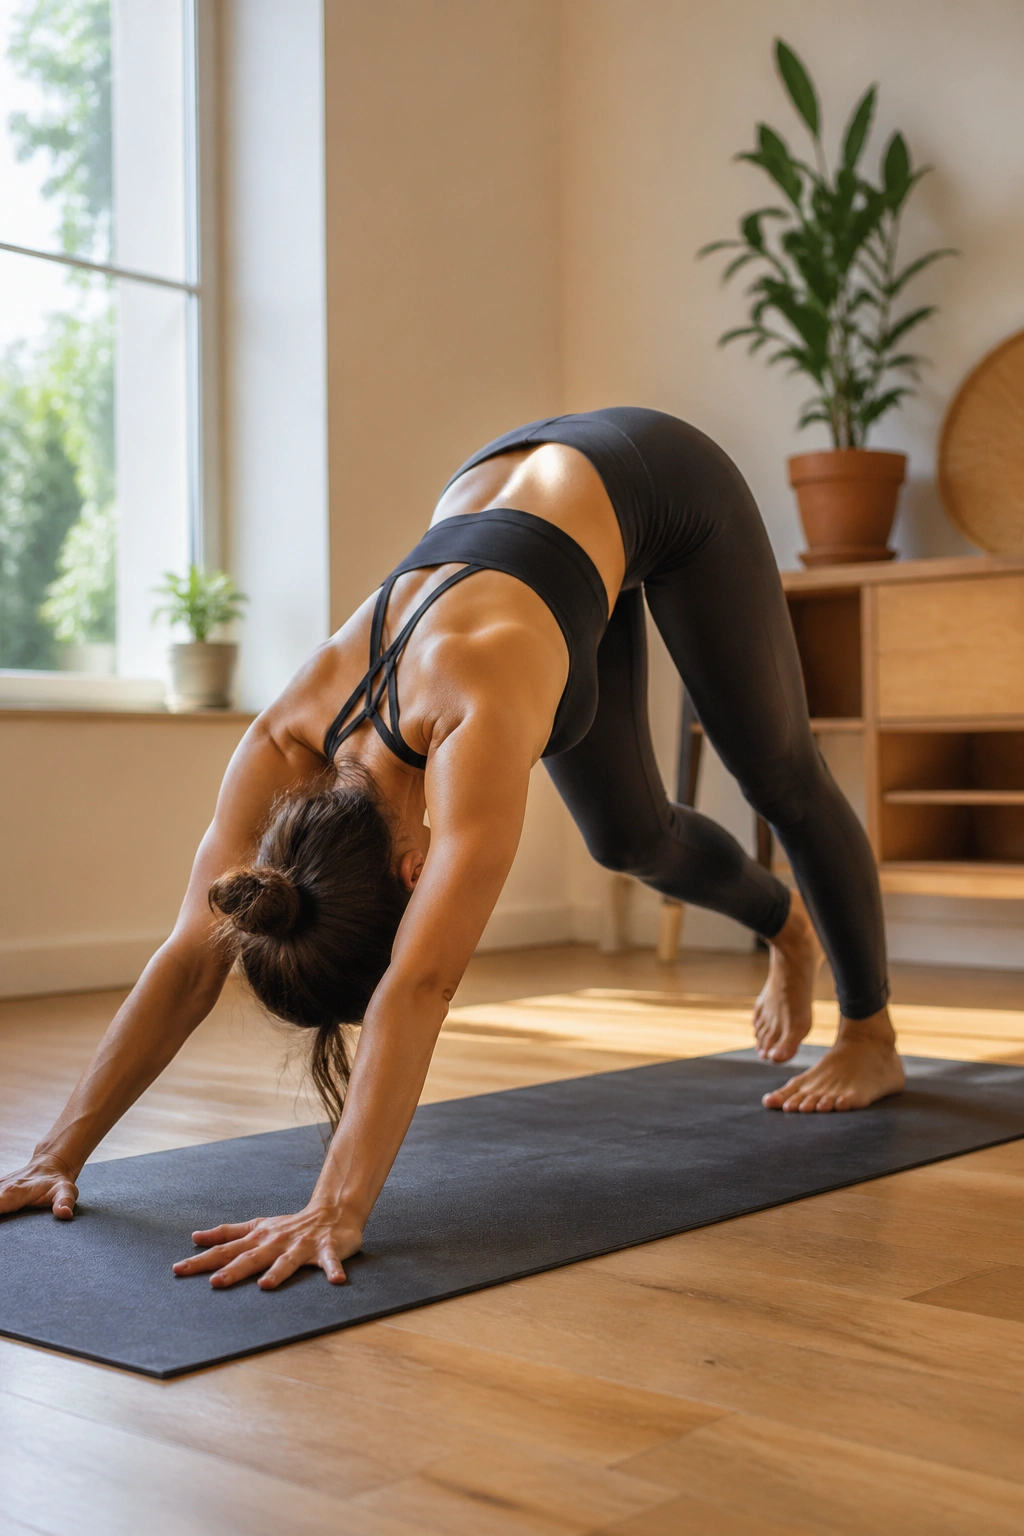
Why put a beginner into downward dog before they can straighten their heels? Because the pose is less about touching the floor with your feet and more about learning how to distribute weight through the hands, calves, and hamstrings without collapsing.
How to Use It
Start with bent knees and a long spine. Pedal one heel toward the mat while the other knee bends, then switch sides for 5 to 8 slow rounds. The goal is not a perfect triangle. The goal is a shape that feels alive in the backs of the legs and calm in the shoulders.
If your back rounds a lot, bend your knees more. Seriously. That one adjustment makes the pose friendlier and usually more effective. Push the floor away through the base of the index finger and thumb, and keep the neck loose so you’re not jamming your chin forward.
4. Low Lunge with Back Knee Down
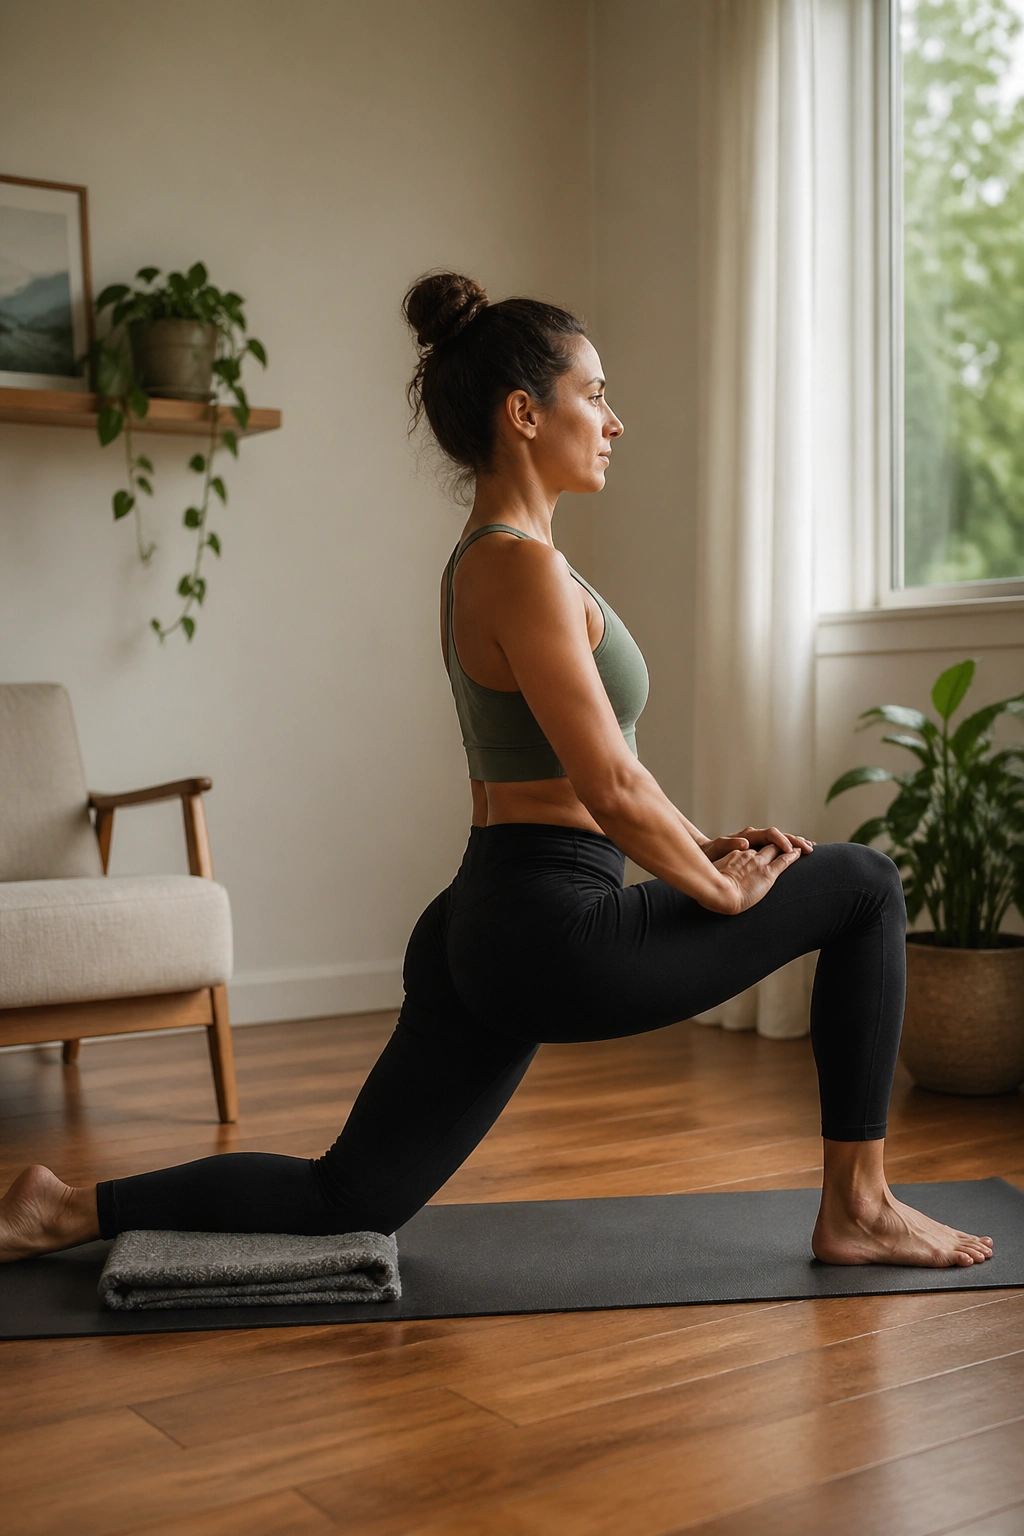
If your hips feel glued after a day of sitting, this is the stretch to keep close. Low lunge is one of those poses that looks mild from across the room and then quietly does useful work where people usually complain: the front of the hip, the quad, and the groin on the back leg.
Put your back knee on a folded blanket if the floor is hard. Stack the front knee over the ankle, tuck the pelvis slightly under, and squeeze the back-side glute. That last piece is what makes the stretch land in the hip flexor instead of just dumping into the lower back.
- Keep the torso tall for 3 to 5 breaths.
- Shift forward only 1 to 2 inches if you need more sensation.
- Avoid letting the front knee drift far past the toes.
- Use blocks under the hands if balance feels shaky.
A controlled lunge teaches alignment fast. And for the first month, that matters more than depth.
5. Half Split Hamstring Stretch
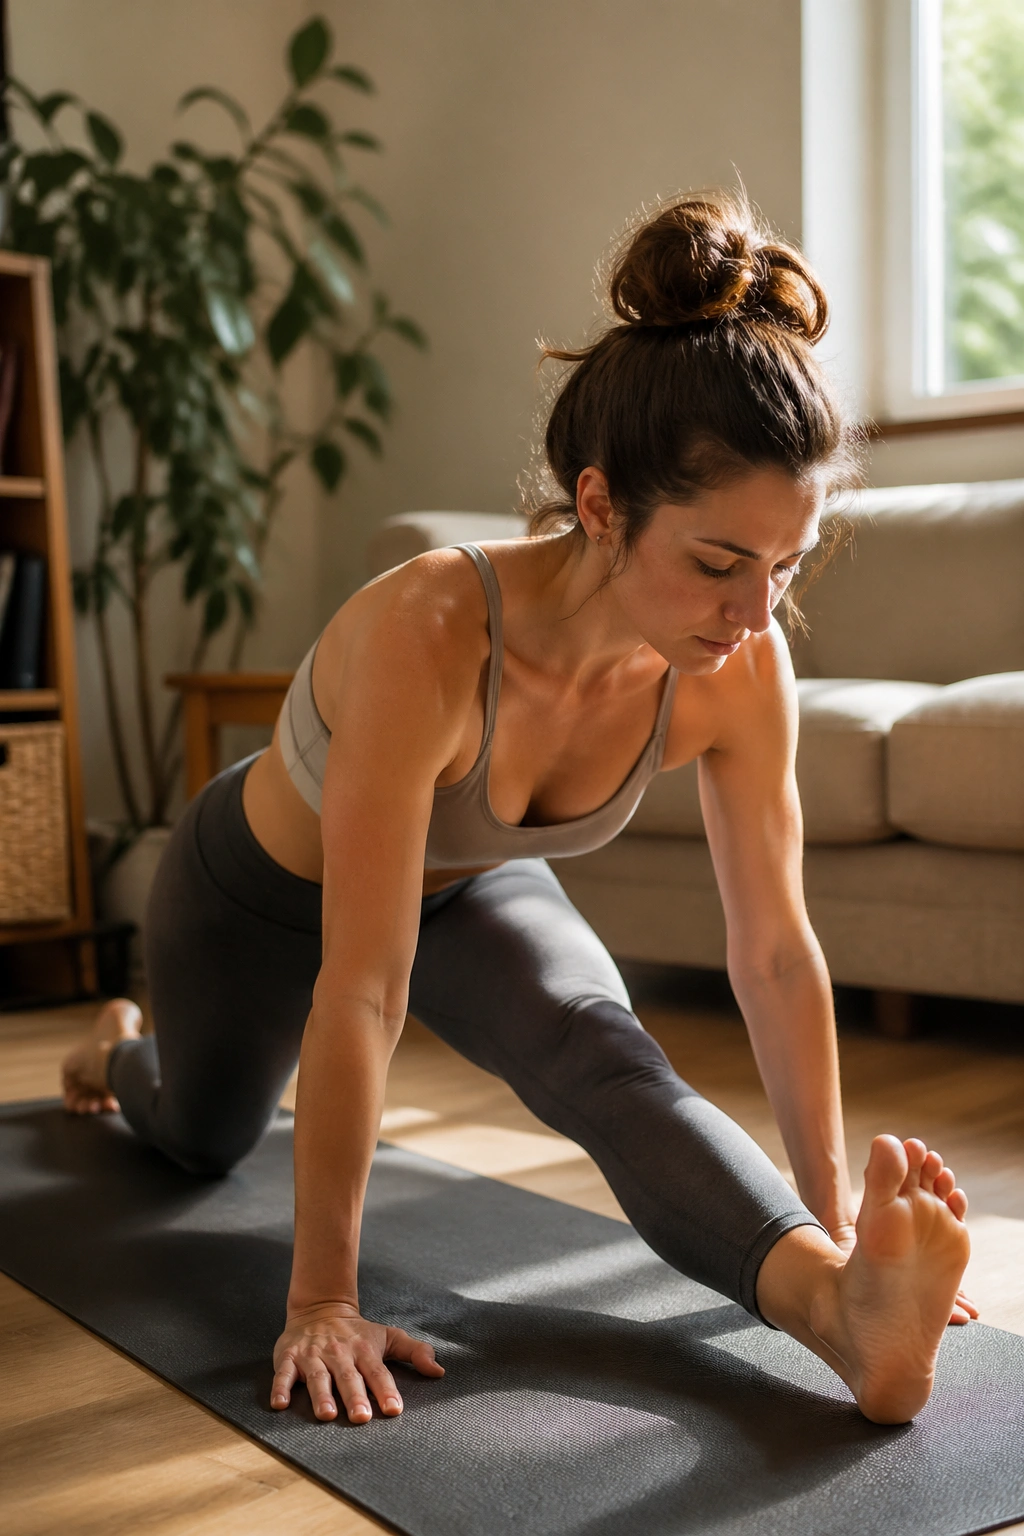
Half split is the hamstring stretch I trust most for beginners, mainly because it lets you stay honest. One leg is forward, one knee is down, and you can feel pretty quickly whether you are folding from the hip or just curling your back and pretending.
Keep the front foot flexed, toes pulling back toward the shin. Walk your hands onto blocks or the floor, then tip your chest forward from the hips until you feel a clean line down the back of the thigh. If your lower back rounds hard, come up a little. That is not failure; it’s information.
I like this stretch more than seated hamstring folds for many beginners because it gives you room to adjust the angle. You can micro-bend the front knee, raise the blocks, or shift the hips back an inch. Small changes make a big difference here.
6. Standing Forward Fold with Bent Knees
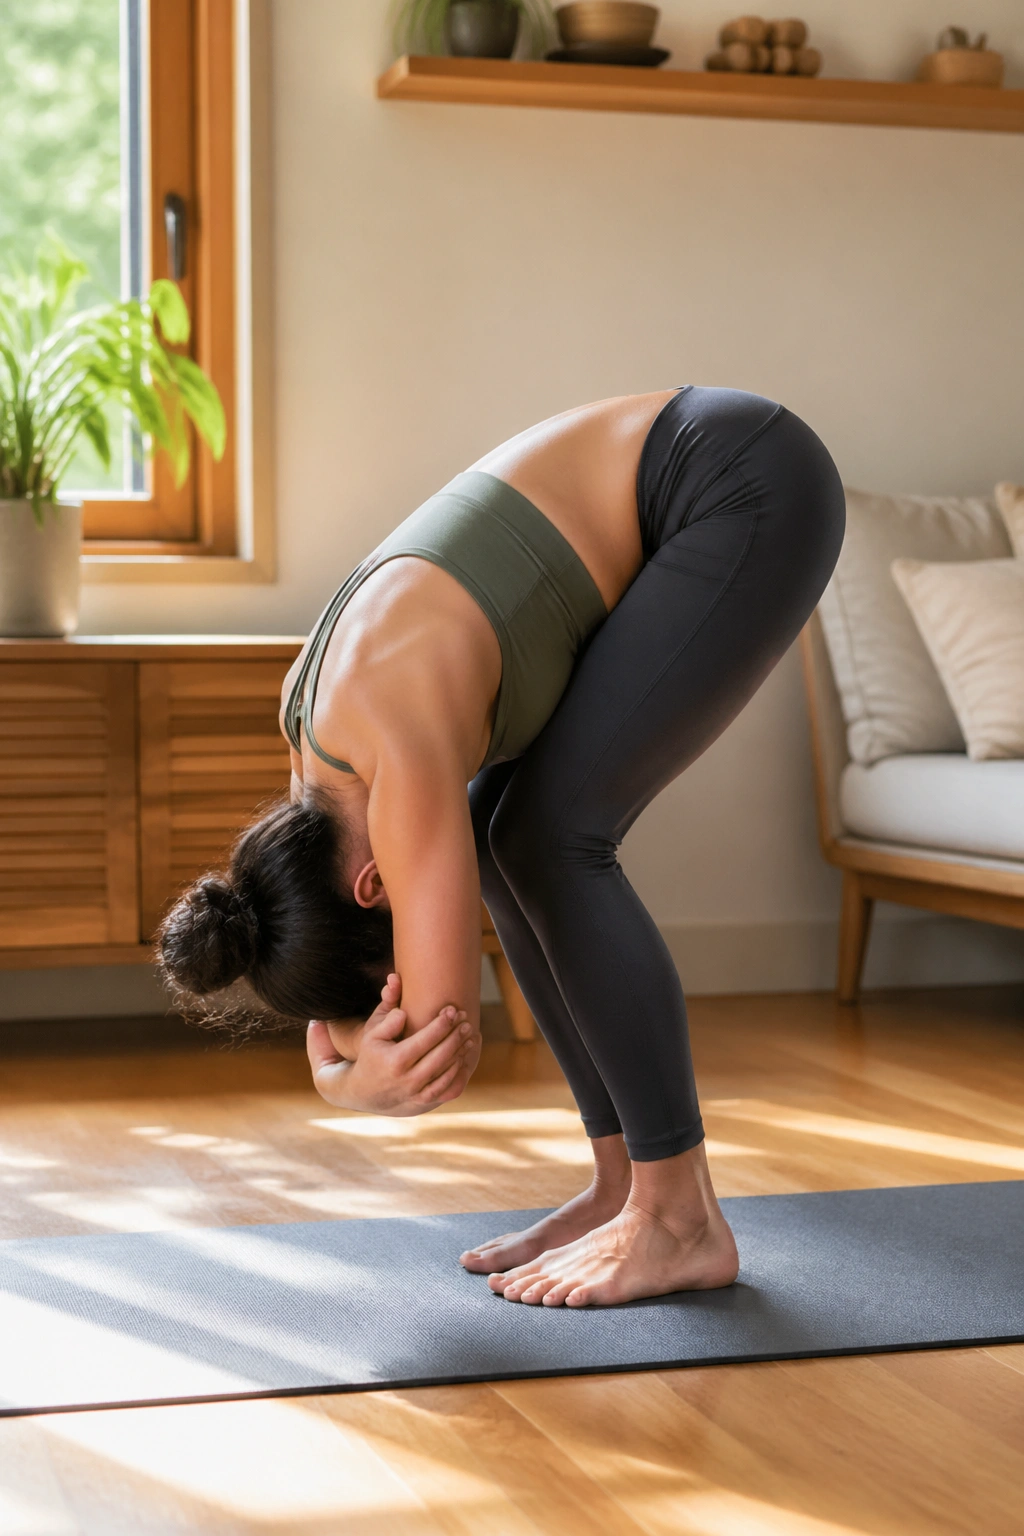
This is not a toe-touch contest. Bent-knee forward fold gives you a long spine, a quieter neck, and a much better chance of actually relaxing the back of the body without turning the pose into a fight.
Compared with straight-legged folding, this version asks less from tight hamstrings and more from your ability to let go through the upper body. Let your knees bend enough that your belly can soften toward your thighs. Then let the head hang, or rest the forearms on opposite elbows if that feels nicer.
You’ll know it’s working when your breath smooths out. If you’re gritting your teeth, the fold is too aggressive. A beginner fold should feel like a release valve, not a test. Keep the weight balanced through the whole foot instead of dumping into the balls of the feet.
7. Figure-Four Glute Stretch
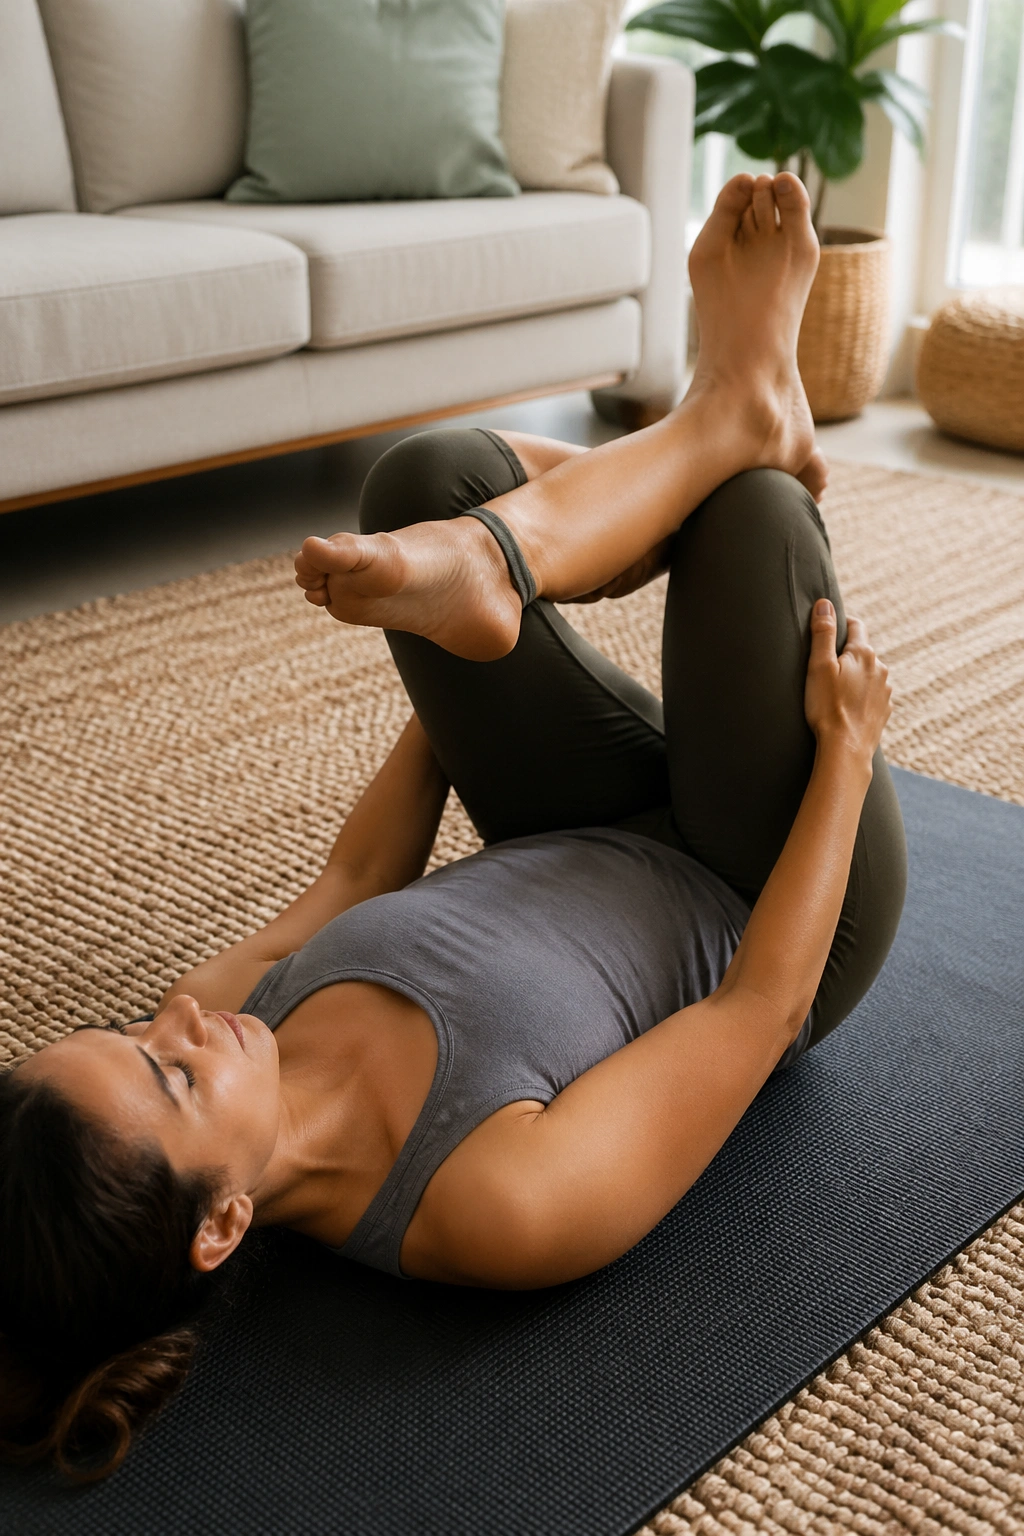
This one helps more people than they expect. The glutes and outer hips get cranky from sitting, from walking uphill, from standing oddly on one leg, and from carrying tension that never seems to leave the pelvis. Figure-four stretches the back of the hip without the balancing drama of a standing stretch.
Lie on your back, cross one ankle over the opposite thigh, and draw the legs toward you. You should feel the stretch in the outer hip of the crossed leg, not a sharp stab in the knee. If the knee feels cranky, back out immediately and make the ankle position smaller.
What to Watch For
- Keep the foot of the standing leg flexed.
- Pull the thighs in only until the stretch is steady.
- Stay for 5 slow breaths.
- Drop your shoulders if they start creeping up.
A small, patient figure-four usually does more than an aggressive one. That’s the whole trick.
8. Supine Knee-to-Chest
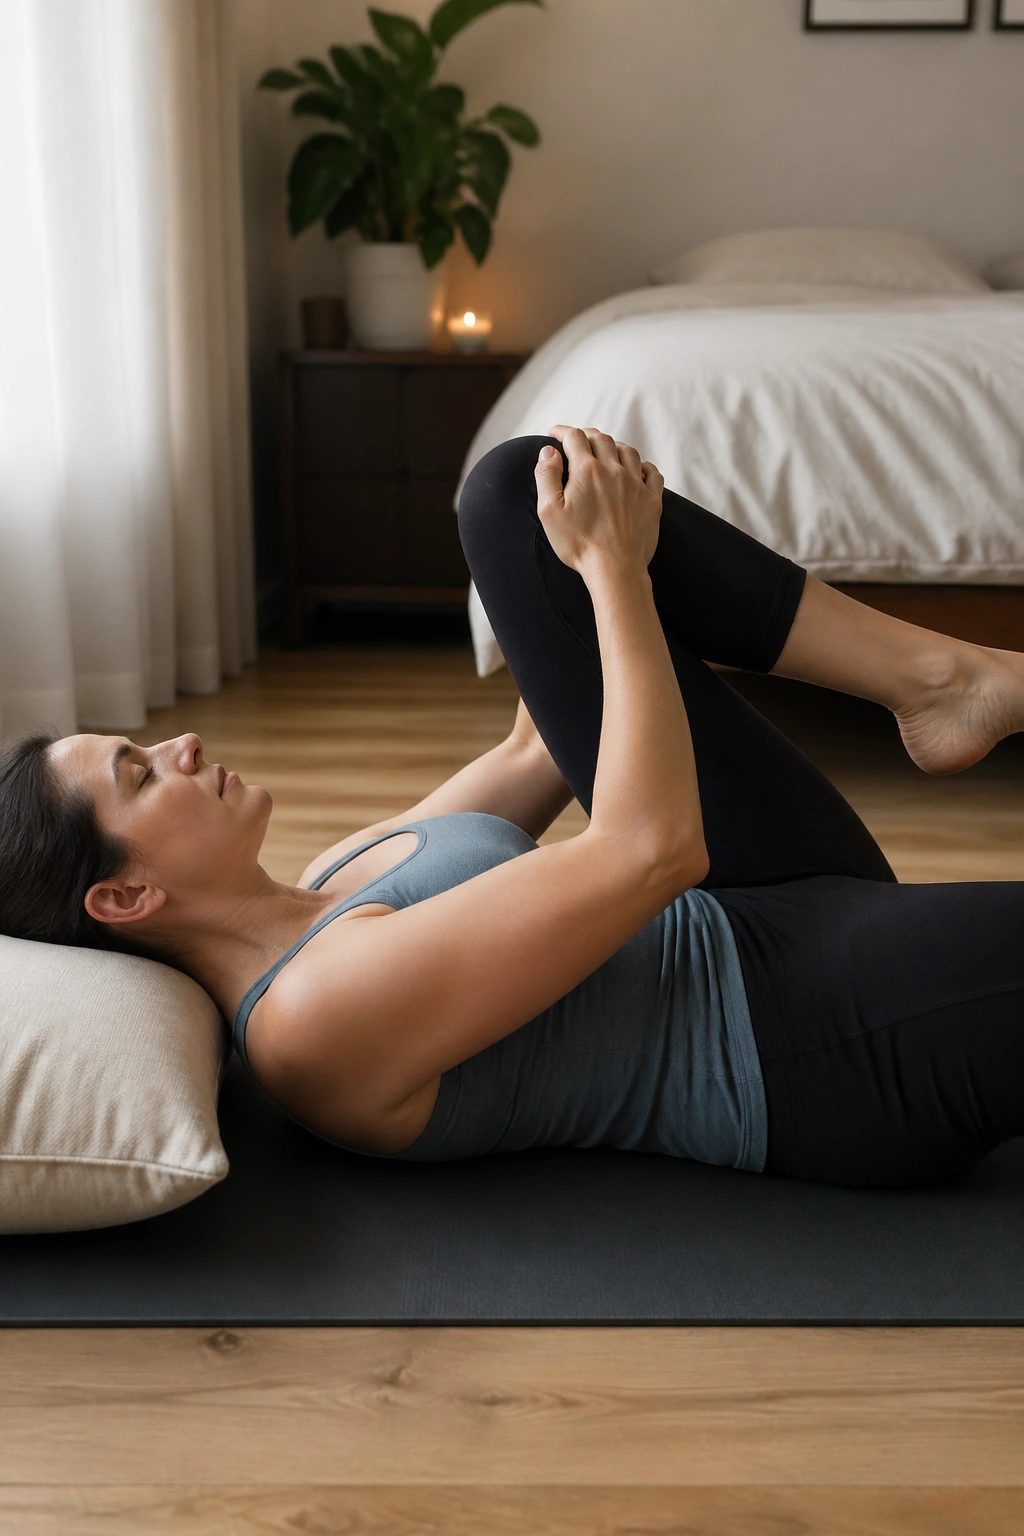
There’s something almost boring about knee-to-chest, which is probably why it gets ignored. But boring does not mean useless. It’s one of the gentlest ways to ease the low back and give the sacrum a little space after standing, walking, or doing a deeper hip opener.
Bring one knee toward your chest while the other leg stays long, or hold both knees in if that feels better. Keep the tailbone heavy and the breath slow. If your neck tightens, place a thin pillow under your head. Simple fixes matter here.
I like this stretch as a reset between more active poses. It is not flashy. It’s the pose you use when your body needs a clean slate before moving on.
9. Reclined Twist
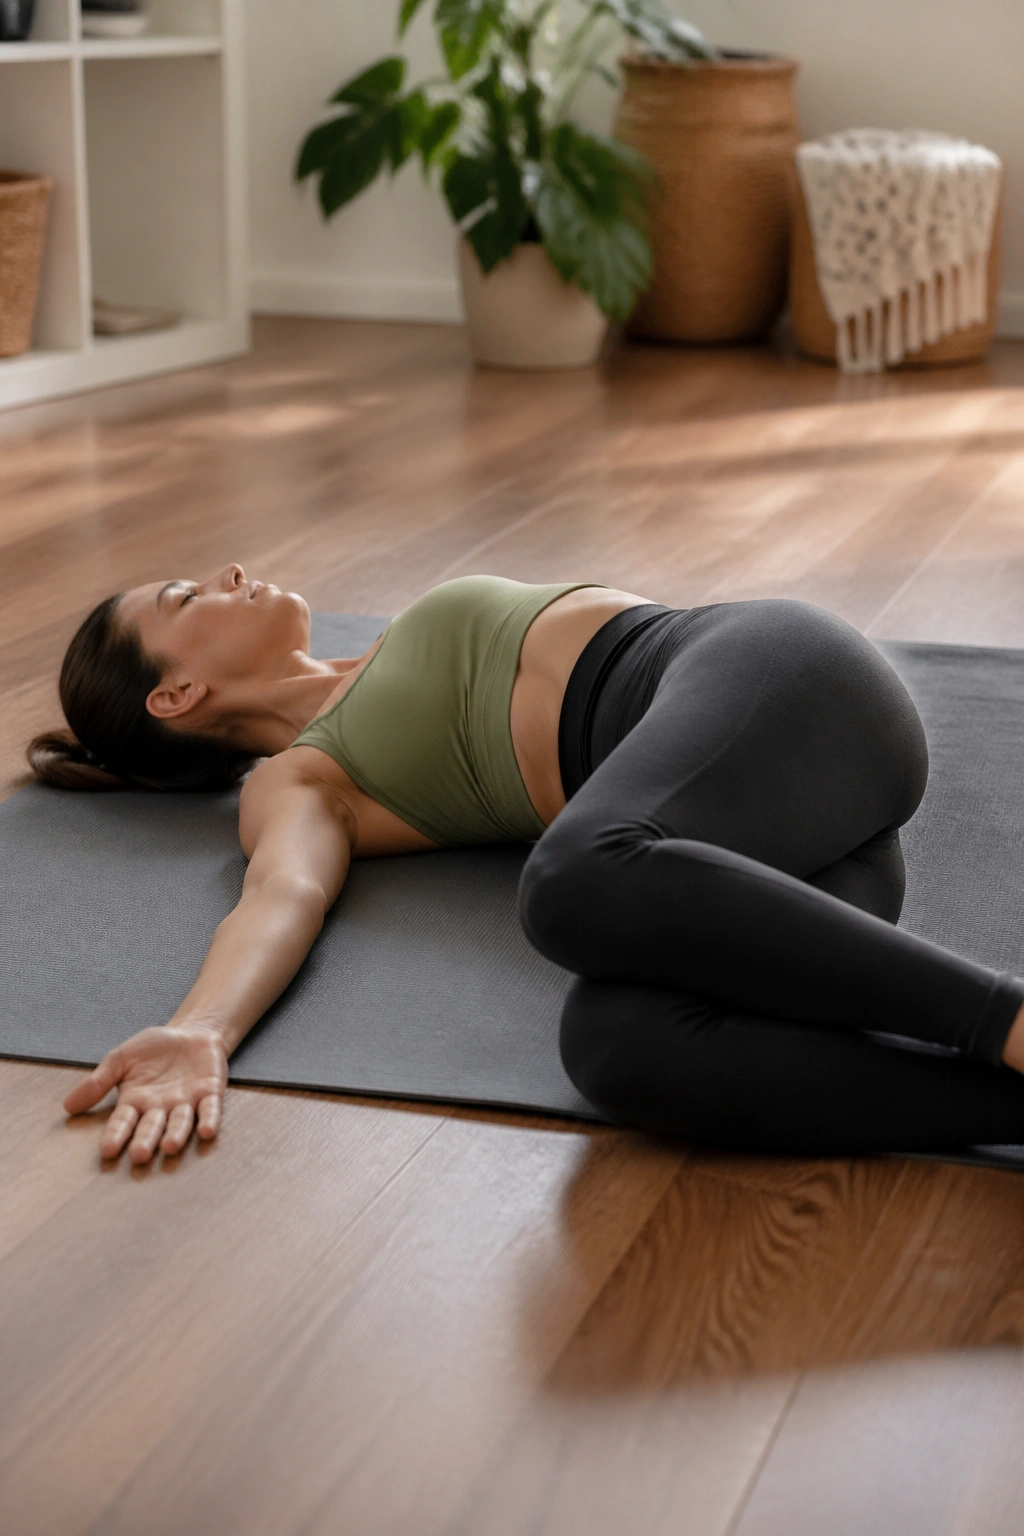
A reclined twist can feel like turning a stubborn key in a lock, except the lock is your mid-back. The beauty of the pose is that it asks for rotation without making you balance, which makes it one of the friendliest twists for a first month of practice.
Lie on your back, draw one knee in, and guide it across the body with the opposite hand. Keep both shoulders heavy. The knee does not need to touch the floor. In fact, if it does, the twist may be too deep for where your body is right now.
Breathe into the side of the ribs that feels compressed. That’s the part people forget. Twists are not just about the spine; they also create space around the breath. A slow exhale tends to soften the front of the hip and the belly enough that the pose deepens on its own.
10. Sphinx Pose
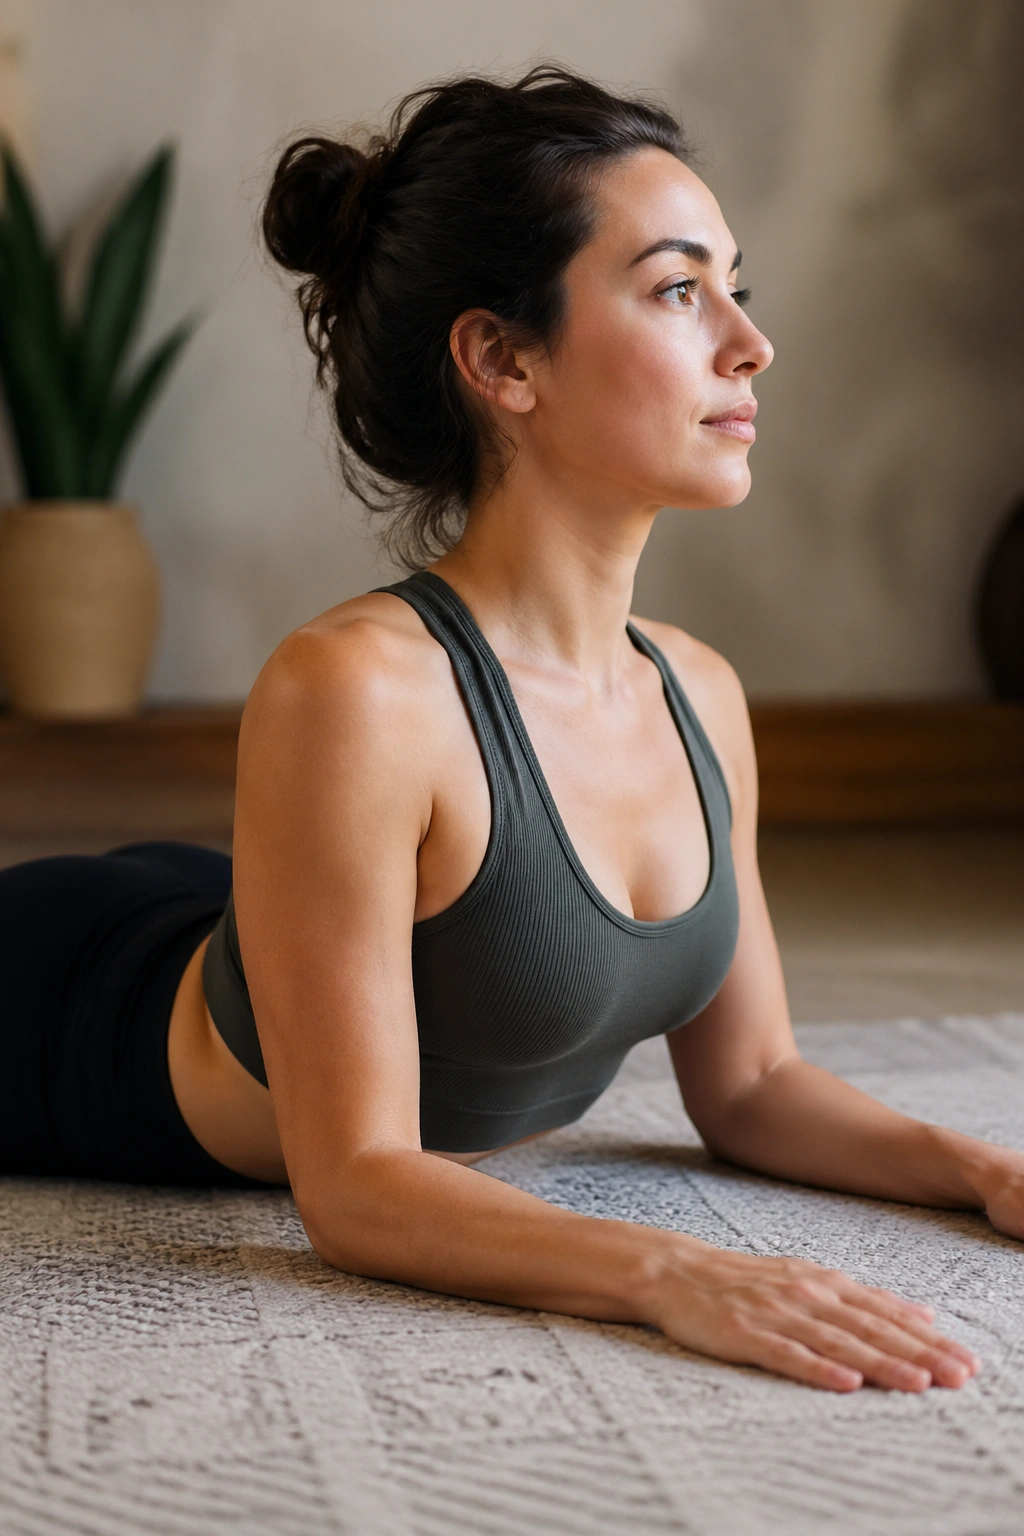
Sphinx is the backbend I wish more beginners trusted. It gives the front of the body a stretch, but the floor supports most of the work, so you can open the chest without throwing the low back into a tantrum.
Lie on your belly and stack your elbows under your shoulders. Press the forearms down, lift the sternum forward, and keep the pubic bone heavy. If the lower back starts to pinch, slide the elbows a little farther forward or lower the chest.
This pose is a better starting point than a deeper backbend because it teaches the shape of spinal extension with less strain. You’re not trying to bend like a gymnast. You’re learning to lengthen the front body and keep the back body awake.
11. Cobra Lift
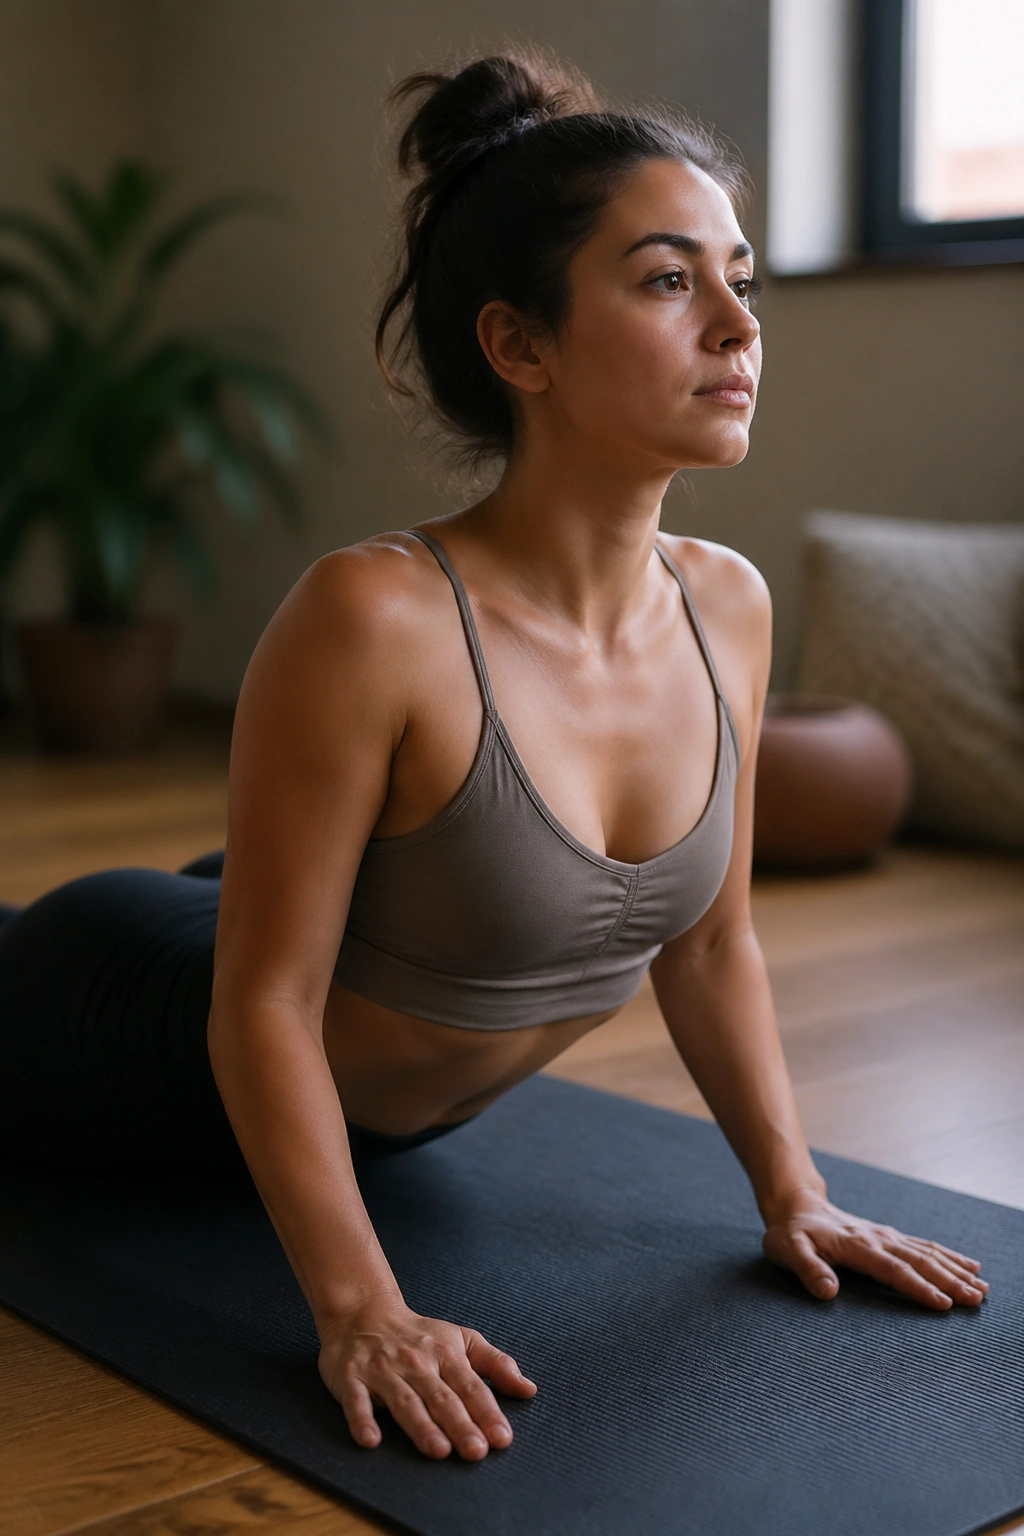
Cobra is the next small step after sphinx, not a contest to see how high your chest can go. A tiny cobra done well beats a big cobra with a squeezed neck every single time.
Start with hands under the shoulders or slightly forward, legs long, tops of the feet pressing down. On an inhale, lift the chest just a few inches, keeping the elbows soft and the shoulders away from the ears. The lift should come from the upper back and chest, not from yanking with the hands.
Here’s the useful part: cobra helps beginners learn where the rib cage ends and the low back begins. That boundary matters a lot. If you feel all the bend in your lumbar spine, lower down and shorten the lift. The pose should feel open, not crunched.
12. Thread the Needle
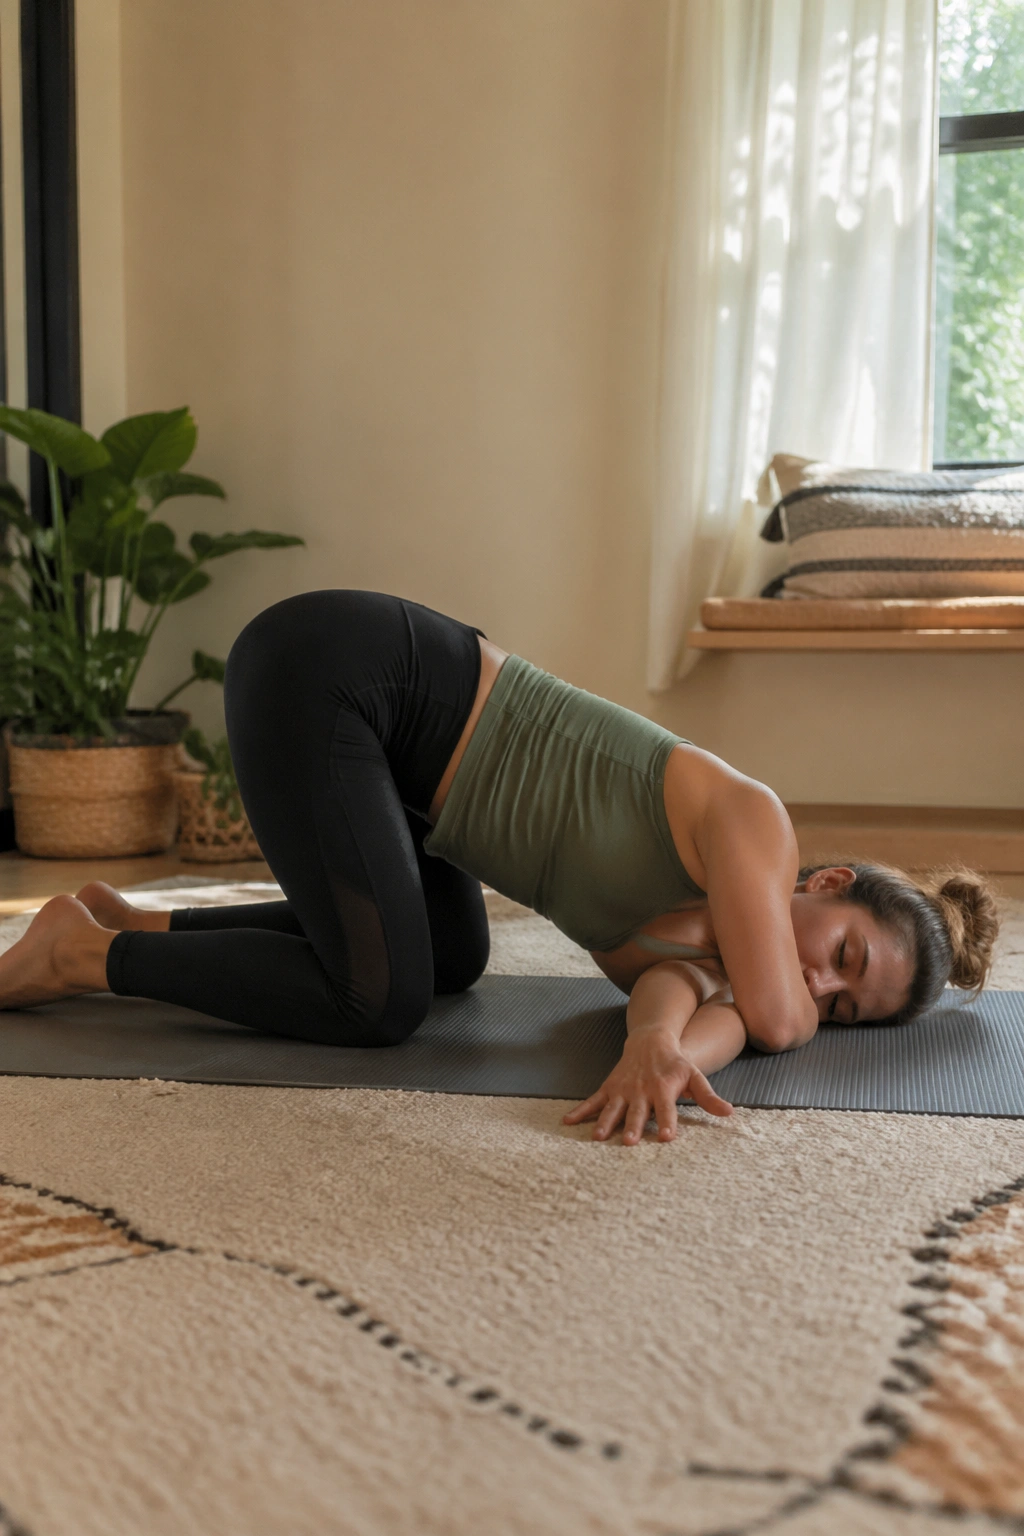
If your upper back feels like a board, thread the needle is a gift. It twists the thoracic spine, eases the back of the shoulder, and gives a rested feeling that desk work almost never delivers.
Why It Feels Different
Come onto hands and knees, slide one arm under the other, and rest the shoulder and ear on the mat. The top arm can stay active, or you can leave it where it lands. I prefer the version where the hips stay mostly stacked above the knees instead of collapsing backward, because it gives a cleaner shoulder stretch.
You can hold for 4 to 6 breaths on each side. If your neck gets crampy, look straight down rather than turning the head. That tiny change often makes the stretch much kinder.
13. Seated Forward Fold
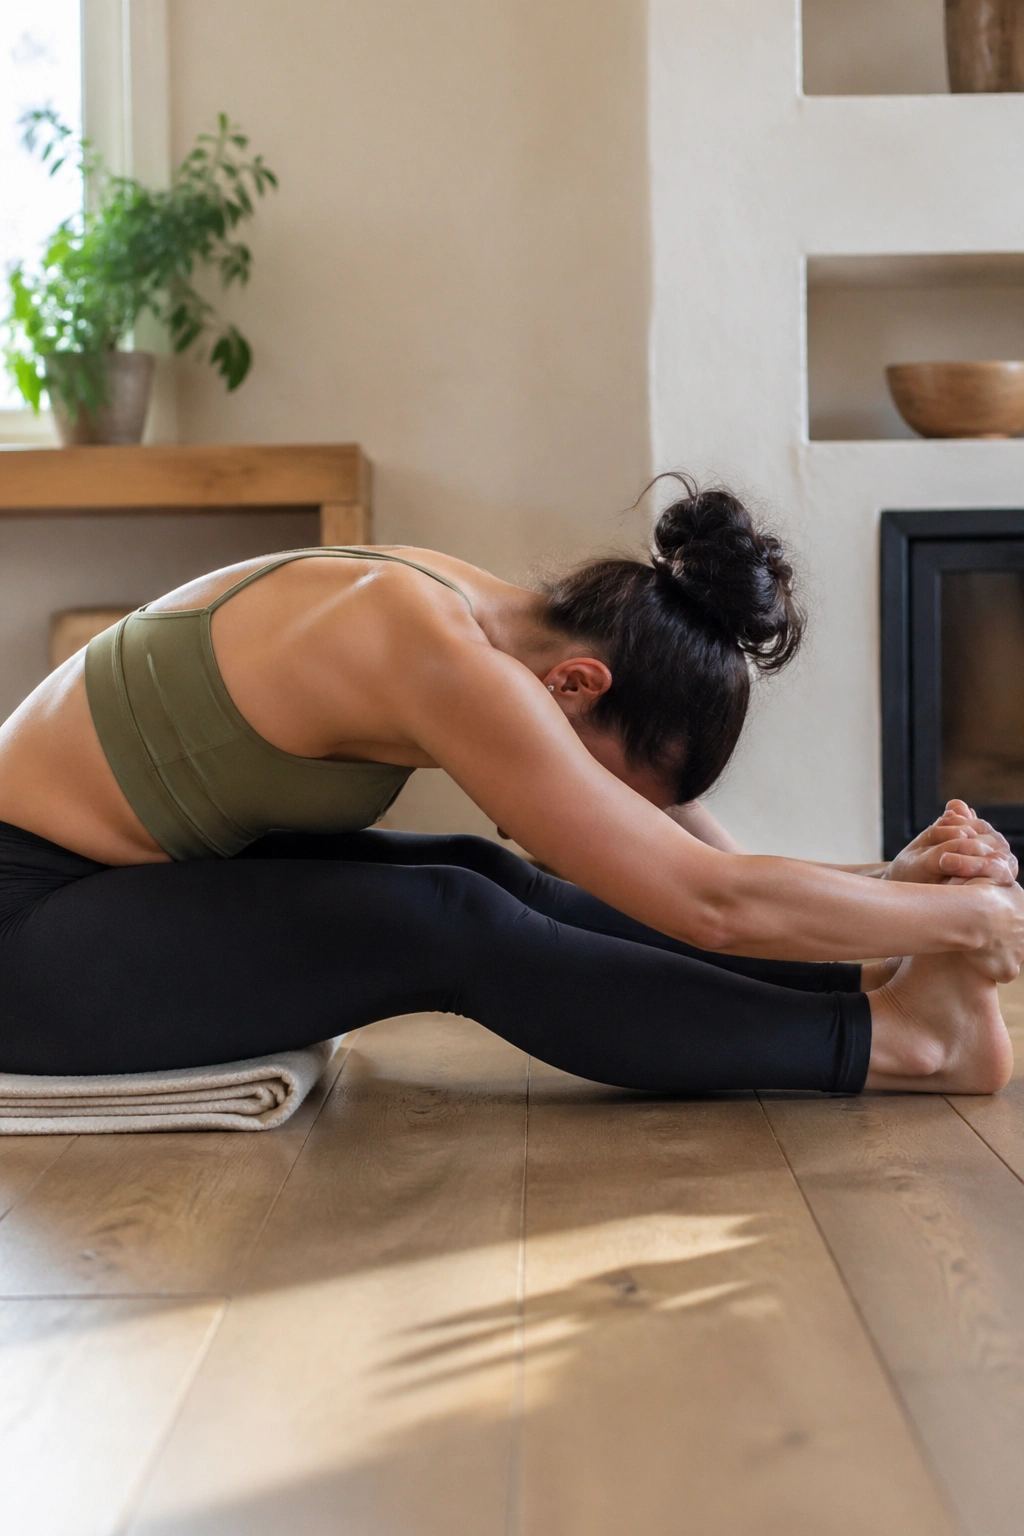
Seated forward fold can be humbling. It looks calm, but it will reveal exactly how your hamstrings, calves, and lower back are behaving that day.
Sit on a folded blanket so your pelvis tips slightly forward. Keep a micro-bend in the knees if needed, and fold from the hips with a long spine before letting the head drop. The extra height under the sit bones helps a lot; without it, many beginners slump and feel the stretch only in the back, which is not the point.
Unlike standing folds, seated folds ask you to stay still without gravity doing quite as much of the work. That makes the pose a little more introspective and, honestly, a little more stubborn. Stay patient. Three slow breaths is rarely enough here; 5 to 8 is better.
14. Butterfly Stretch
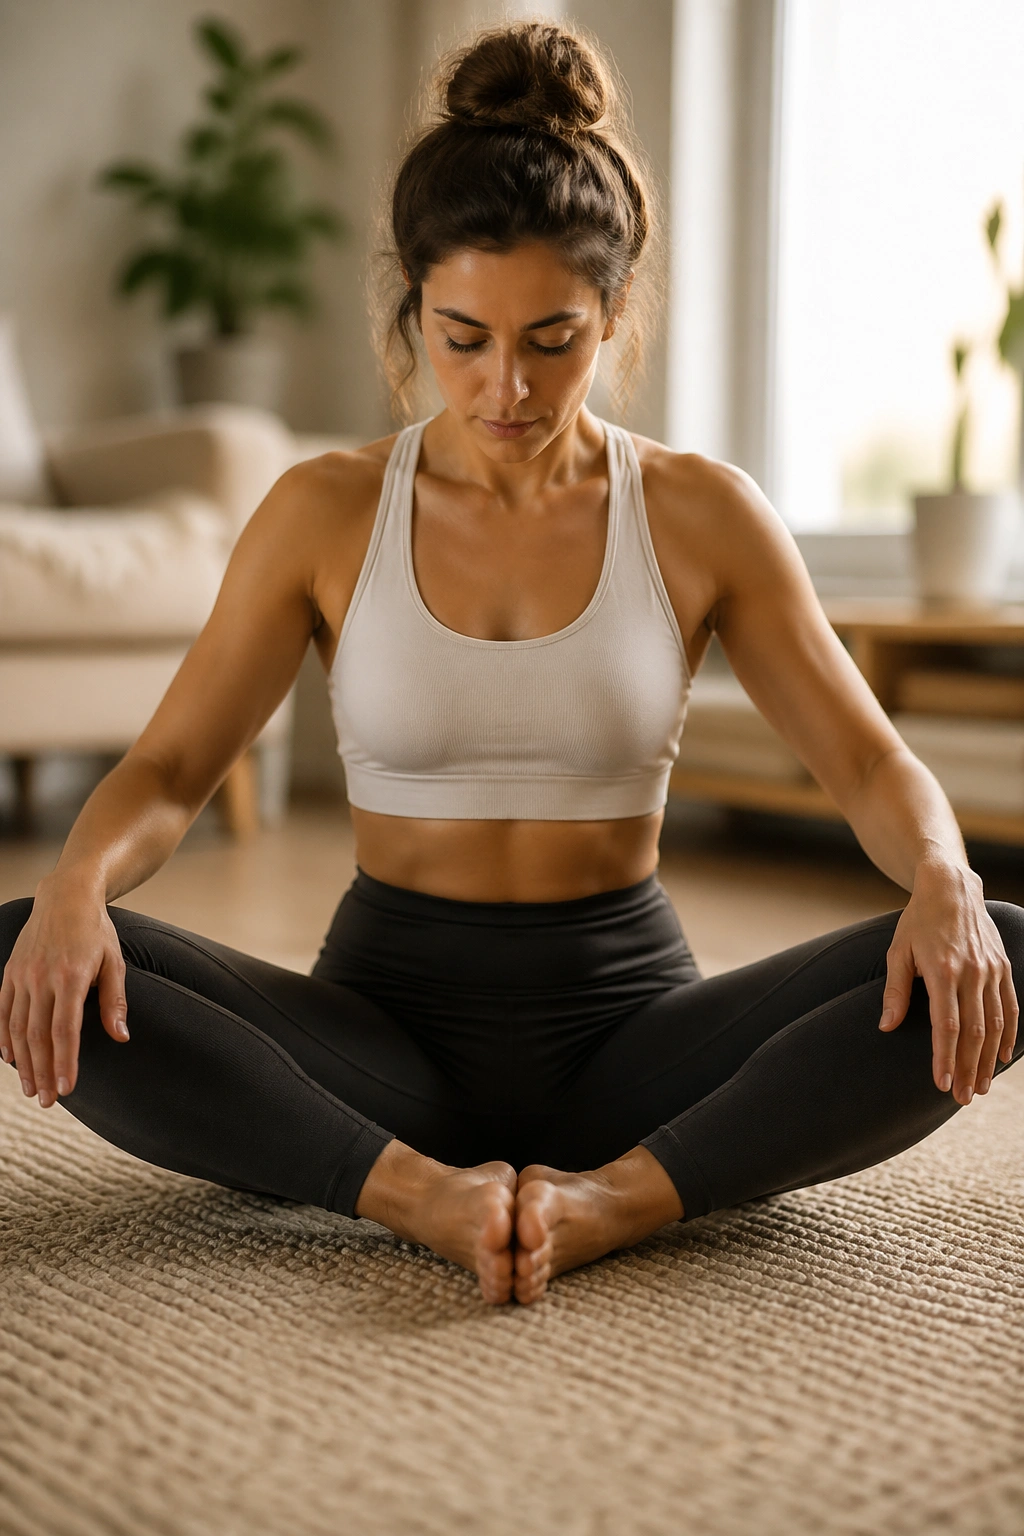
Butterfly is one of the cleanest ways to open the inner thighs, and it’s friendlier than forcing the knees wide on the floor. Sit tall, bring the soles of the feet together, and let the knees fall where they naturally do.
What Makes It Different
The shape is small, but the details matter. If you round forward too hard, you’ll mostly feel your back. If you press the knees down with your hands, you’ll probably irritate the groin instead of opening it. The better move is to keep the spine long, hinge forward a little, and let the weight of your legs do most of the work.
A folded blanket under the hips helps if your knees sit high. That one prop changes the whole pose. It gives the pelvis a bit of tilt so the stretch can land in the inner thigh rather than your lower back. Sometimes the fix is that simple.
15. Neck Side Bend
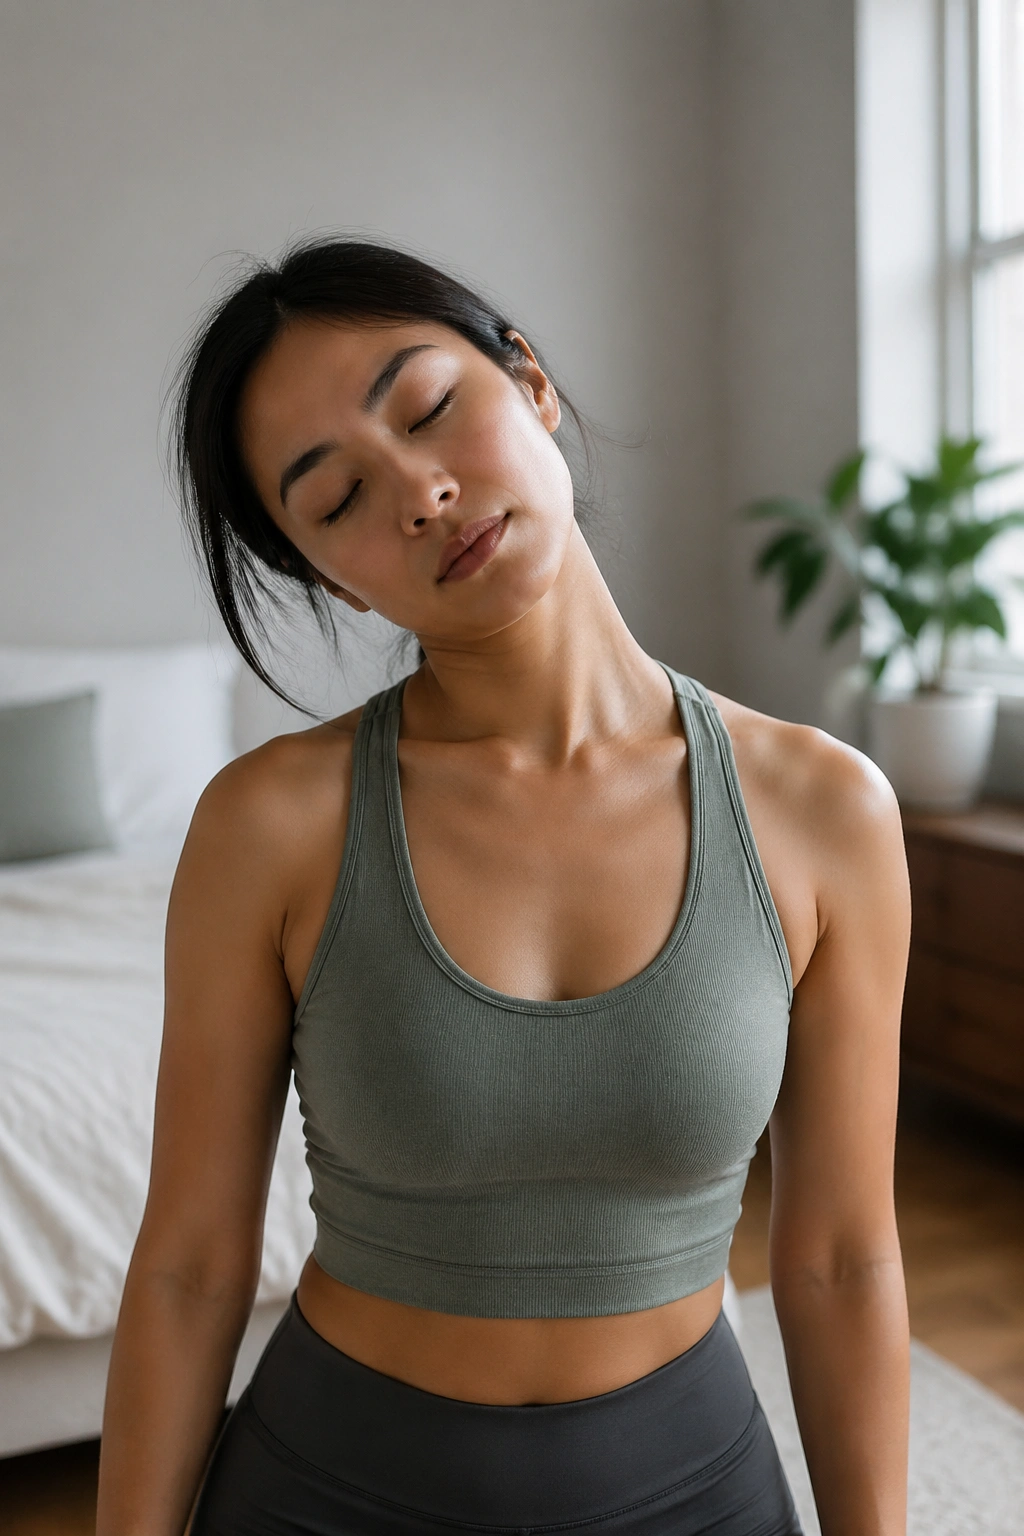
Neck stretches get overlooked because they feel small. But if you carry tension high in the shoulders, a slow side bend can take the edge off in a way that chest openers never quite do.
Sit or stand tall, drop one ear toward one shoulder, and keep both shoulders low. You can let the opposite hand rest beside you or reach down to increase the length across the side of the neck. No pulling. That habit is common, and it’s a bad one.
Use 20 to 30 seconds per side. That is enough. Longer can be fine, but the first month is about learning the line between “stretching” and “hanging on your joints.” The neck responds better to gentleness than force.
16. Shoulder Rolls and Arm Circles
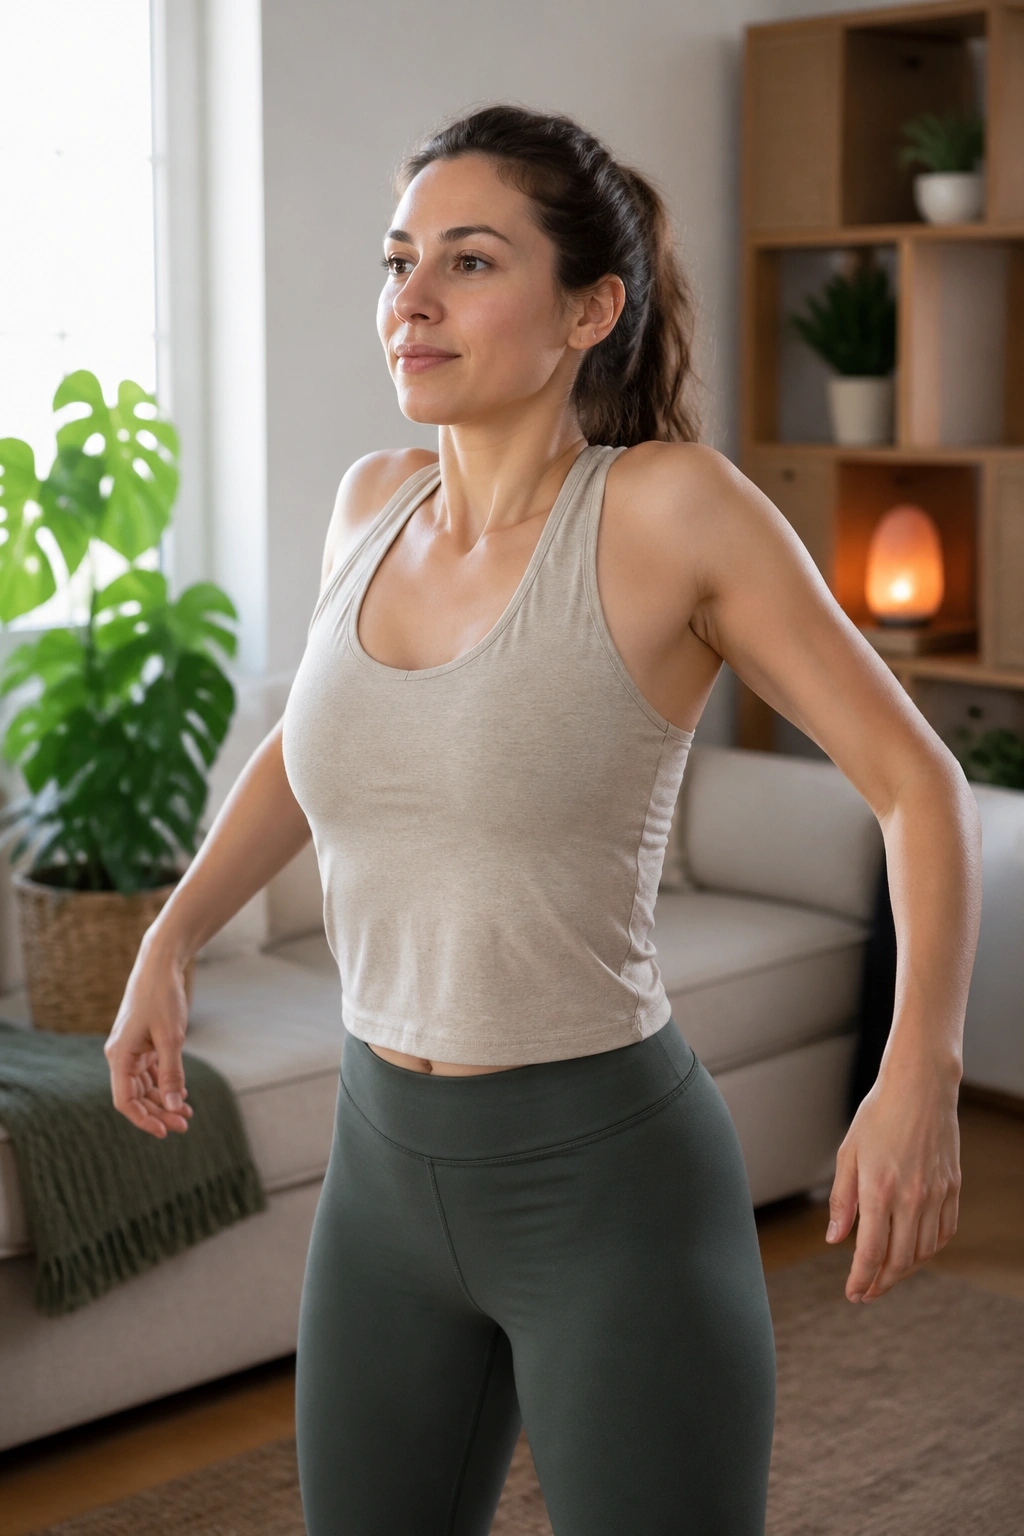
Shoulder rolls are not glamorous, and I like them for that exact reason. They are the kind of movement that quietly teaches your upper body to stop bracing all day.
Roll the shoulders up, back, and down for 5 to 8 slow rounds, then reverse them. Add arm circles with straight or softly bent elbows, keeping the circles small at first. If your shoulders click a little, that can be normal; if they feel sharp or unstable, keep the range smaller and slower.
A Small Detail That Helps
Try breathing out as the shoulders roll down. It sounds tiny, but it helps more than people expect. A lot of upper-body tension is just bad habit plus shallow breath, and this kind of movement gives both a chance to loosen.
17. Standing Quad Stretch with Wall Support
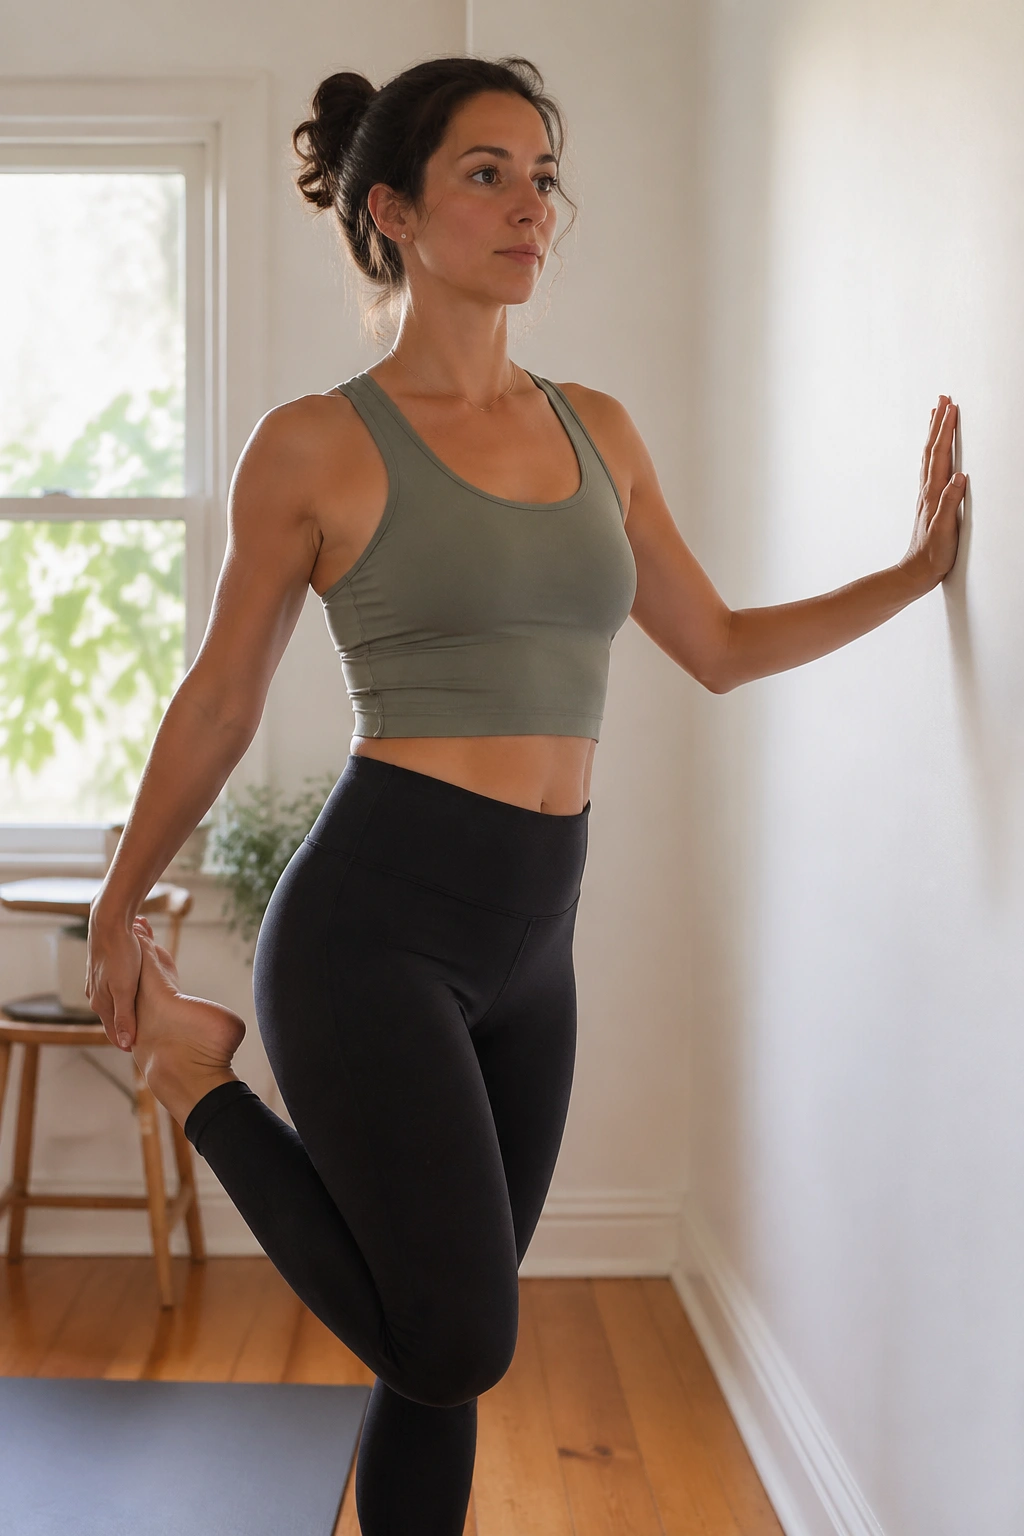
A standing quad stretch can wobble all over the place if you rush it. The wall makes it sane.
Hold the wall with one hand, bend one knee, and draw the heel toward the seat. Keep the knees close together and the pelvis neutral instead of arching the low back to make the heel reach farther. That arch is a cheat, and your lower spine usually pays for it later.
Small Alignment Fixes
- Keep the standing foot rooted firmly.
- Aim the bent knee straight down.
- Squeeze the glute on the stretched side for a cleaner line.
- Hold for 4 to 5 breaths, then switch.
If your ankle protests, hold the top of the shoe or use a strap around the ankle. Simple support turns this into a much more useful stretch.
18. Ankle Dorsiflexion Stretch at Wall
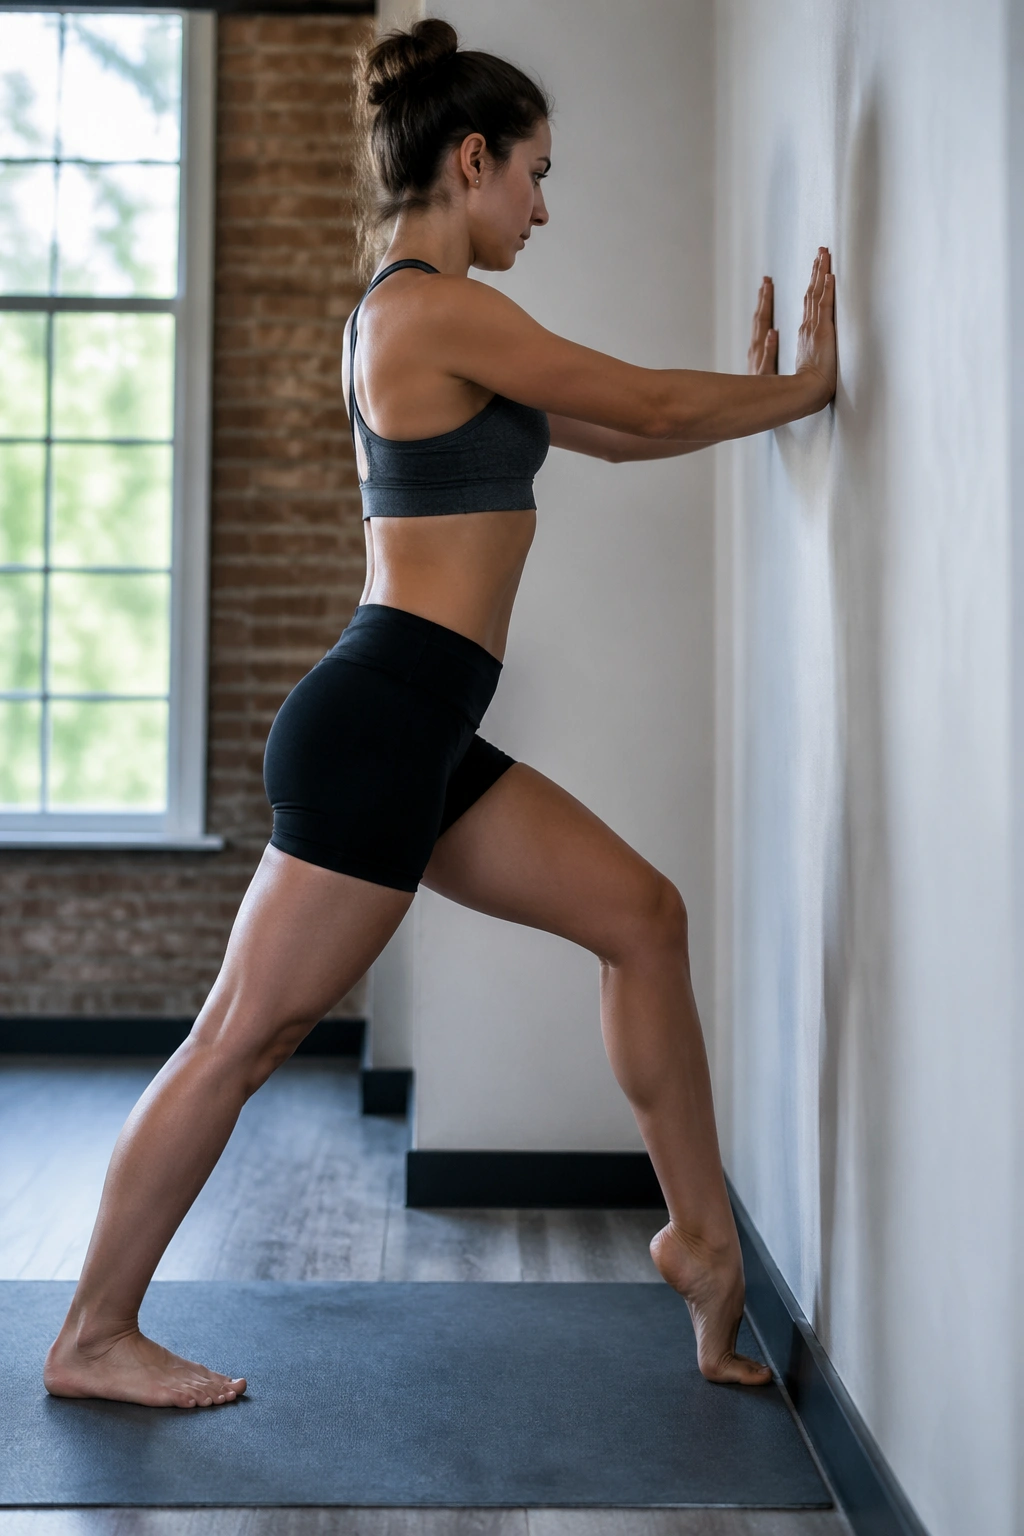
Ankles matter more than people think. Tight ankles change how you squat, how you walk up stairs, and how stable you feel in standing yoga poses. This little wall stretch helps them bend the way they should.
Face a wall, place one foot a few inches away, and drive the knee toward the wall while keeping the heel planted. If the knee can’t touch the wall without the heel lifting, move the foot a little closer and try again. The motion should feel like a firm stretch in the calf and ankle, not a grind in the front of the knee.
Do 5 to 8 slow reps on each side, pausing for a second at the end range. That active approach often works better than a passive hold for beginners because it teaches control as well as length.
19. Wrist Flexor and Extensor Stretch
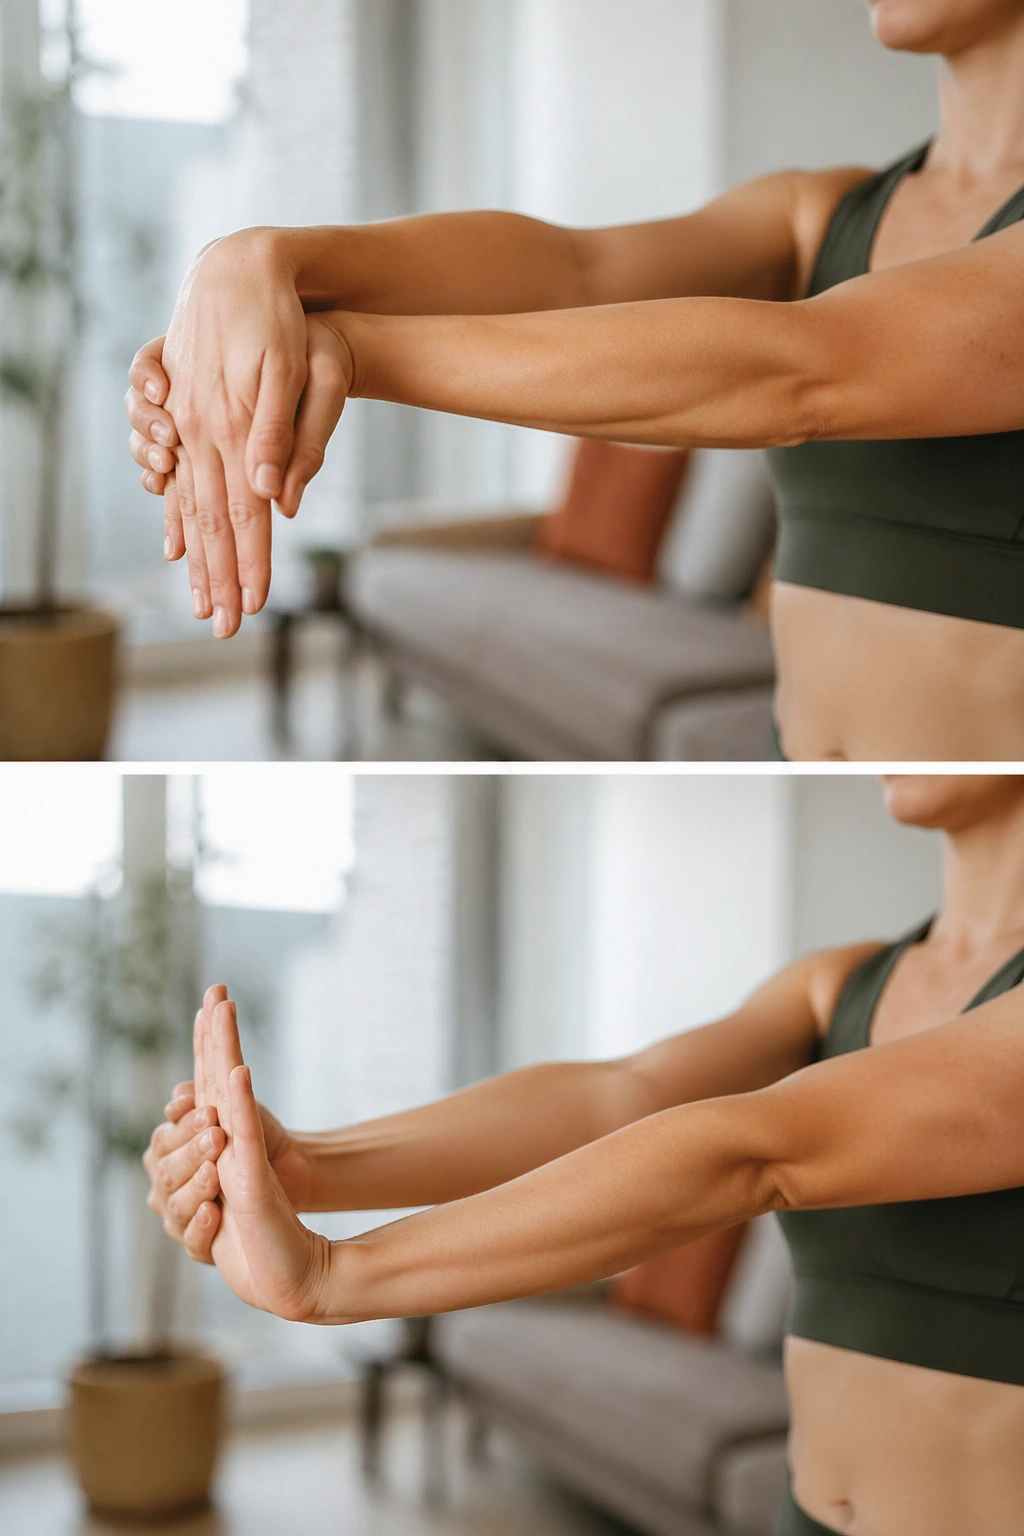
If you plan to do planks, downward dog, tabletop work, or any floor-based yoga, your wrists deserve attention. Ignoring them is how a warm-up turns into a complaint session halfway through practice.
Extend one arm in front of you, palm down, and gently pull the fingers toward the floor with the other hand to stretch the forearm extensors. Then turn the palm up and draw the fingers back for the flexors. Keep the elbow soft. Hard locking tends to make the stretch feel sharper than it needs to.
Palm-Up, Palm-Down, and Why Both Matter
The two sides of the forearm do different jobs, so they need different angles. Palm-down stretches the top side, which often gets tight from typing and pushing. Palm-up stretches the underside, which helps when your hands feel cranky in tabletop or plank. Hold each side for 15 to 20 seconds, then shake out the hand before switching.
20. Lizard Pose on Blocks
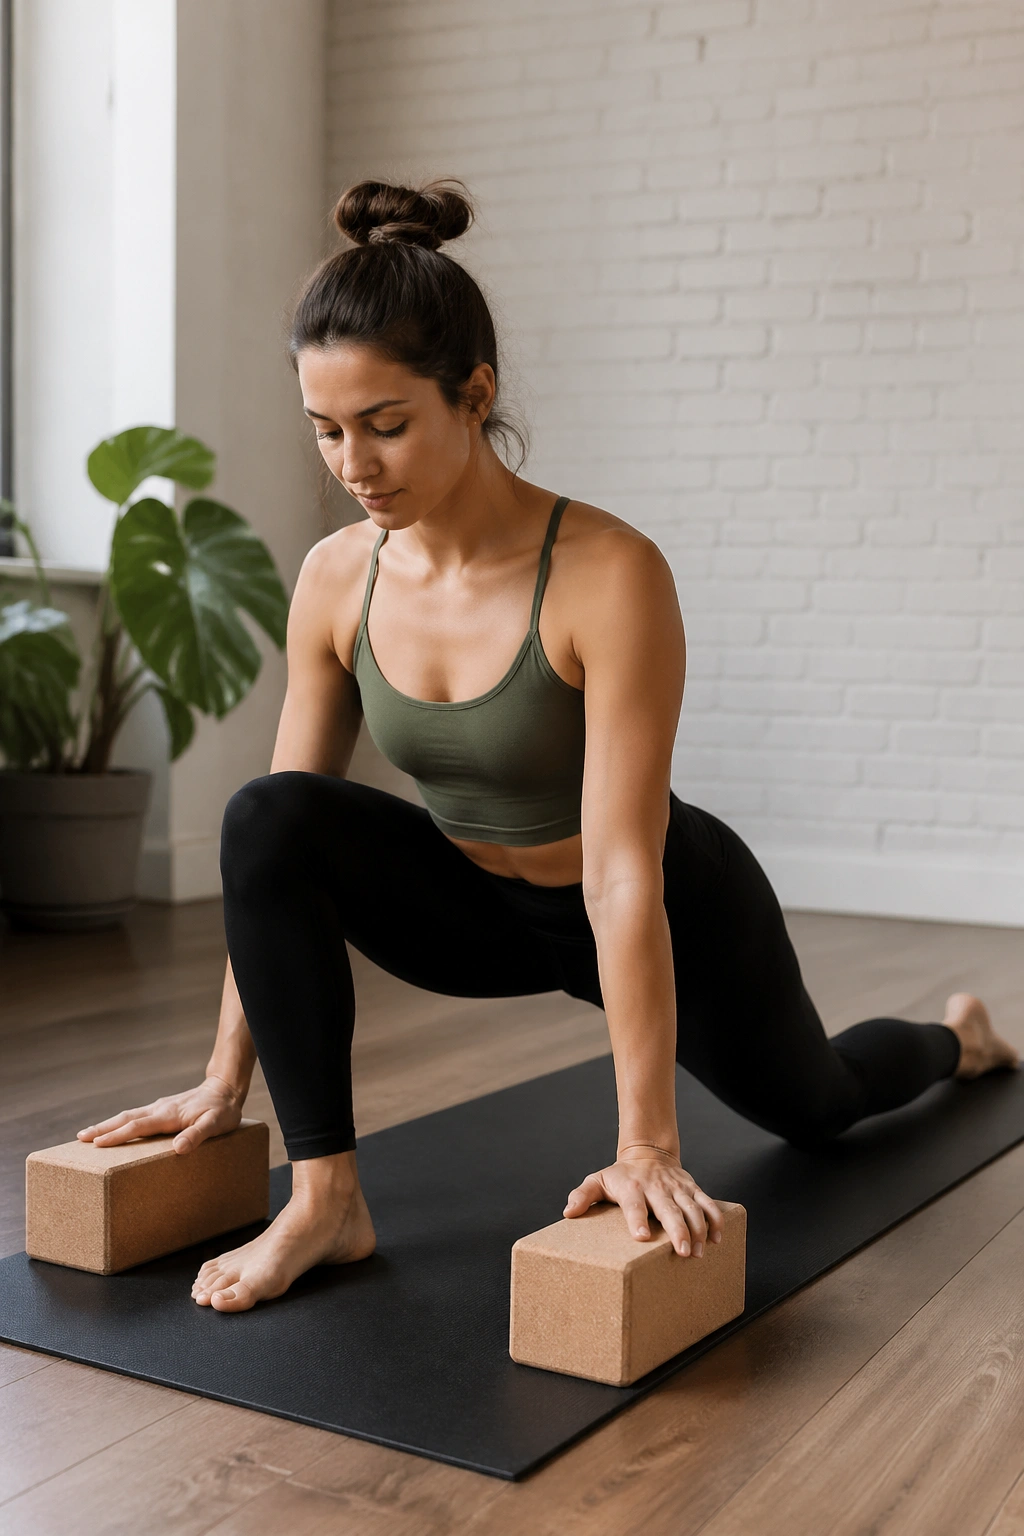
Lizard is where a lot of beginners get overly ambitious. It can be a useful hip opener, but only if you keep it friendly. A pair of blocks changes the whole experience.
From a low lunge, walk both hands to the inside of the front foot and place them on blocks if the floor feels too far away. Stay on the back knee if you need to. The stretch should land in the groin, outer hip, or front of the thigh, not in the knee joint or the low back.
Make It Friendly
Don’t chase the floor with your chest. That’s the rookie mistake. A high, supported lizard is still lizard, and in the first month that version teaches you more because you can actually breathe inside it. Hold 3 to 5 breaths, then come out slowly and switch sides.
21. Supported Bridge
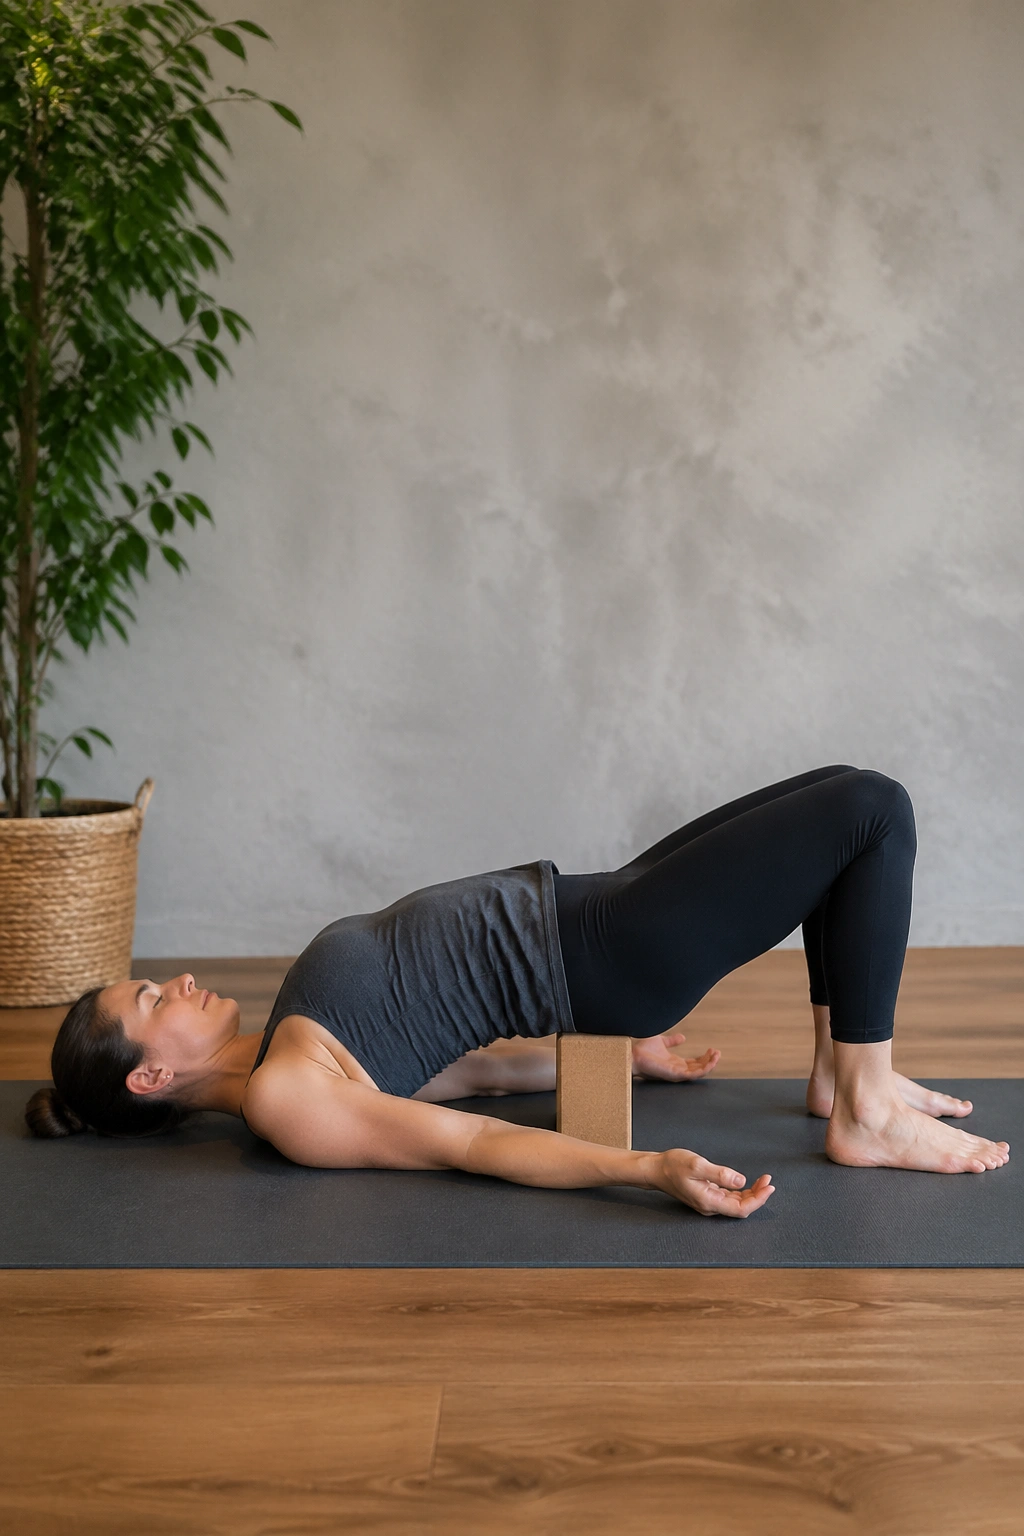
Supported bridge is a quiet stretch with a lot going on underneath. It opens the front hips, gives the chest a little lift, and can feel delicious after a day of slouching.
Lie on your back, bend your knees, and place a block under the sacrum for a passive version. The block should feel stable, not wobbly. If you prefer a little more work, press into your feet and lift the hips before lowering onto the support. Keep the knees tracking forward, not splaying out.
What I like here is the dual effect: your hip flexors lengthen while your lower back gets to rest. That combination is hard to beat in a beginner practice. Stay for 5 to 10 breaths and notice whether the front of the hips softens on the exhale.
22. Happy Baby
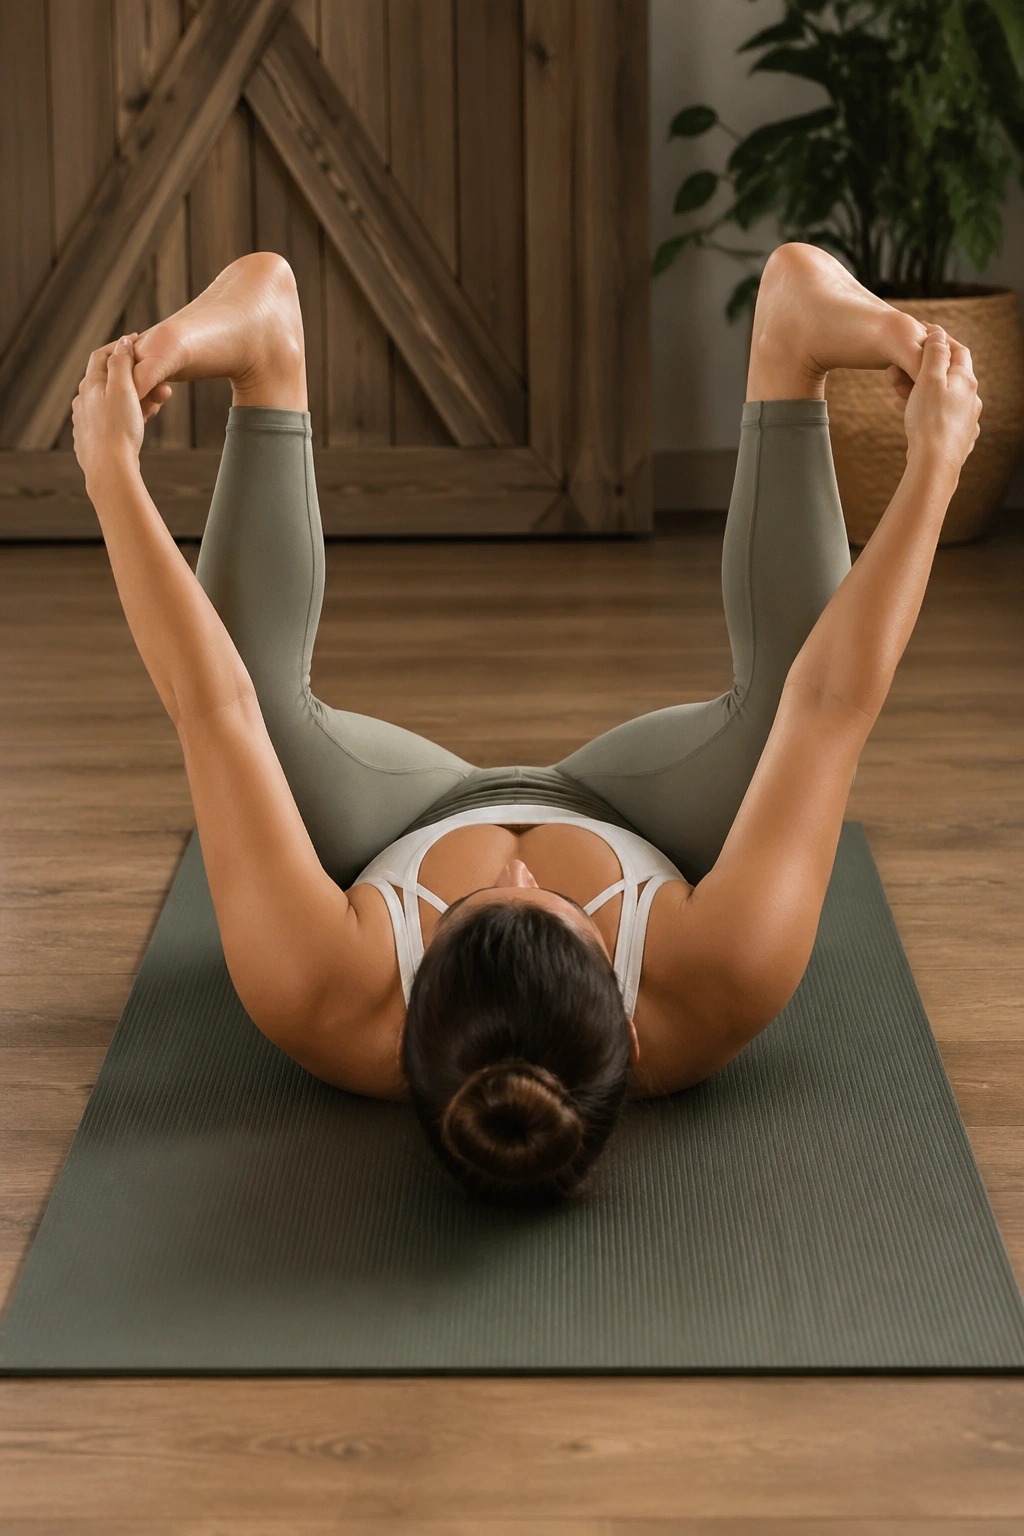
Happy baby looks playful, and it often feels that way too. But underneath the silly shape is a serious inner-thigh stretch that many beginners need badly.
Lie on your back, bend the knees toward the sides of the ribs, and hold the outsides of the feet or the backs of the thighs if the feet are out of reach. Keep the tailbone heavy and gently rock side to side if that feels good. The rocking should stay small. Big swings turn the stretch into a balancing act.
A lot of people feel this in the low back before they feel it in the hips. That’s okay. The position can decompress the lumbar spine while it opens the adductors, which is a nice two-for-one in a first-month routine.
23. Crescent Lunge Hip Flexor Stretch
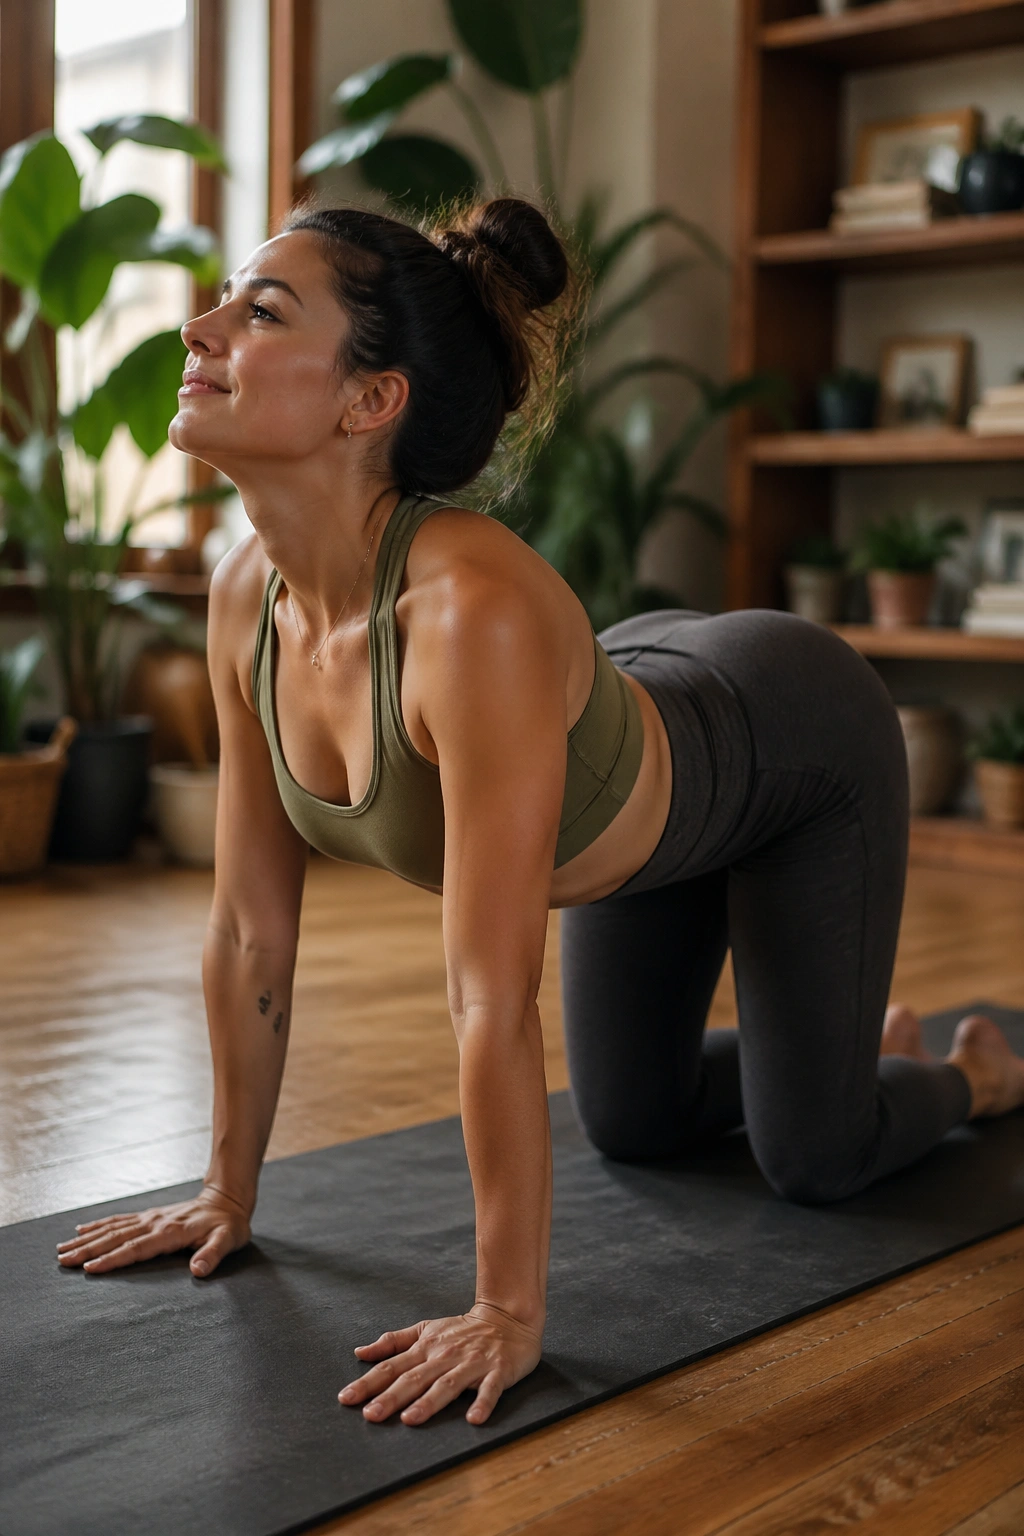
Crescent lunge is the stronger cousin of low lunge. Where low lunge gives you more stability, crescent asks you to keep the back leg active, which deepens the stretch along the front of the hip and thigh.
Stand in a lunge with the back heel lifted, then lower the back knee if needed until the position feels manageable. Press the back thigh long, tuck the pelvis a touch, and reach the arms up if your shoulders allow it. If the chest caves forward, lower the arms and keep the torso upright.
When to Choose It
Pick crescent when low lunge starts to feel too easy or too static. It’s also useful if you want a stretch that blends mobility with a little bit of strength. Beginners often like it once they realize they can reduce the depth and still get plenty of sensation.
24. Pigeon Pose Prep
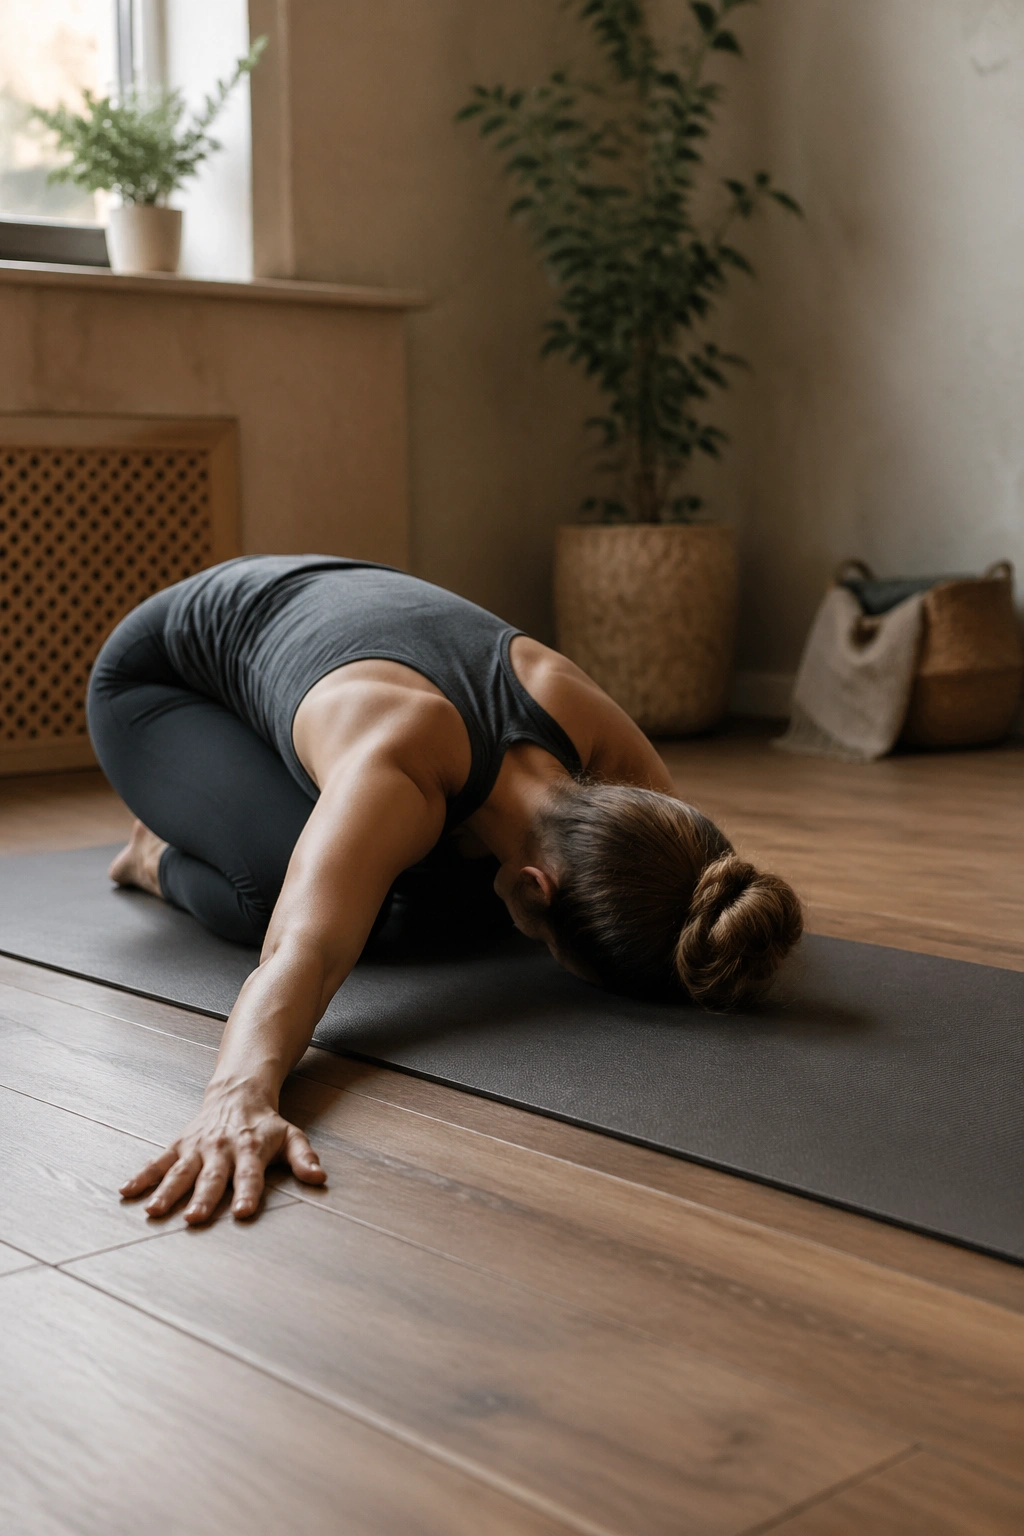
Pigeon pose gets a lot of attention, and for good reason: it reaches deep into the outer hip. The catch is that many beginners rush it and end up dumping weight into the front knee or twisting the pelvis in ways that don’t help.
Set the front shin at a comfortable angle, keep the back leg long, and place a folded blanket under the front hip if the body tilts to one side. Stay upright first. Only fold forward if the upright version feels steady and calm. That is the version worth keeping.
This is a prep, not a proving ground. If the knee feels sharp, back out and choose figure-four instead. The outer hip can be stubborn, but it responds better to support than force.
25. Legs-Up-The-Wall Reset
Legs-up-the-wall is the stretch I’d pick for the end of a practice almost every time. It gives the calves a break, lets the hamstrings soften, and settles the whole system without asking for effort.
Scoot your hips close to the wall, swing your legs up, and let your arms rest open or by your sides. If the hamstrings tug too much, move the hips a few inches farther from the wall. If your lower back feels compressed, place a folded blanket under the pelvis. The position should feel restful within the first minute.
Five minutes is good. Ten is better if your day has been heavy on standing or walking. This is the pose that reminds your body that a stretch does not have to be active to be useful.
Final Thoughts
The first month of stretching works best when you treat it like skill-building, not a contest. A few well-done shapes, repeated often, will change how you move more than a random grab at a deep pose ever will.
If you remember only one thing, make it this: steady breath and small, honest ranges beat dramatic effort every time. That’s where flexibility starts to feel useful instead of fragile.
And if a stretch feels good enough that you want to do it again tomorrow, that’s usually the right one to keep.
