



A strong midsection does not come from chasing the burn with endless crunches. A few smart at home core exercises can teach you to brace, resist twisting, and keep your ribs stacked over your pelvis — the same control that helps when you lift groceries, carry a suitcase, or sit up without rounding your back.
Your lower back knows the difference.
The useful stuff is usually the boring stuff: dead bugs, planks, side planks, crawling drills, and slow leg lowers done with zero cheating. Those moves train the muscles that hold you together — the transverse abdominis, obliques, rectus abdominis, and the smaller stabilizers around the spine — without needing a machine, a bench, or much space at all.
Most people rush this part. They fling their legs around, hold their breath, and call it core work even when the hips are doing all the work. The better approach is cleaner and a little less dramatic, which is why this list leans on movements that can start easy and get uncomfortably demanding when you slow them down and do them properly.
Start with control, not chaos.
1. Dead Bug
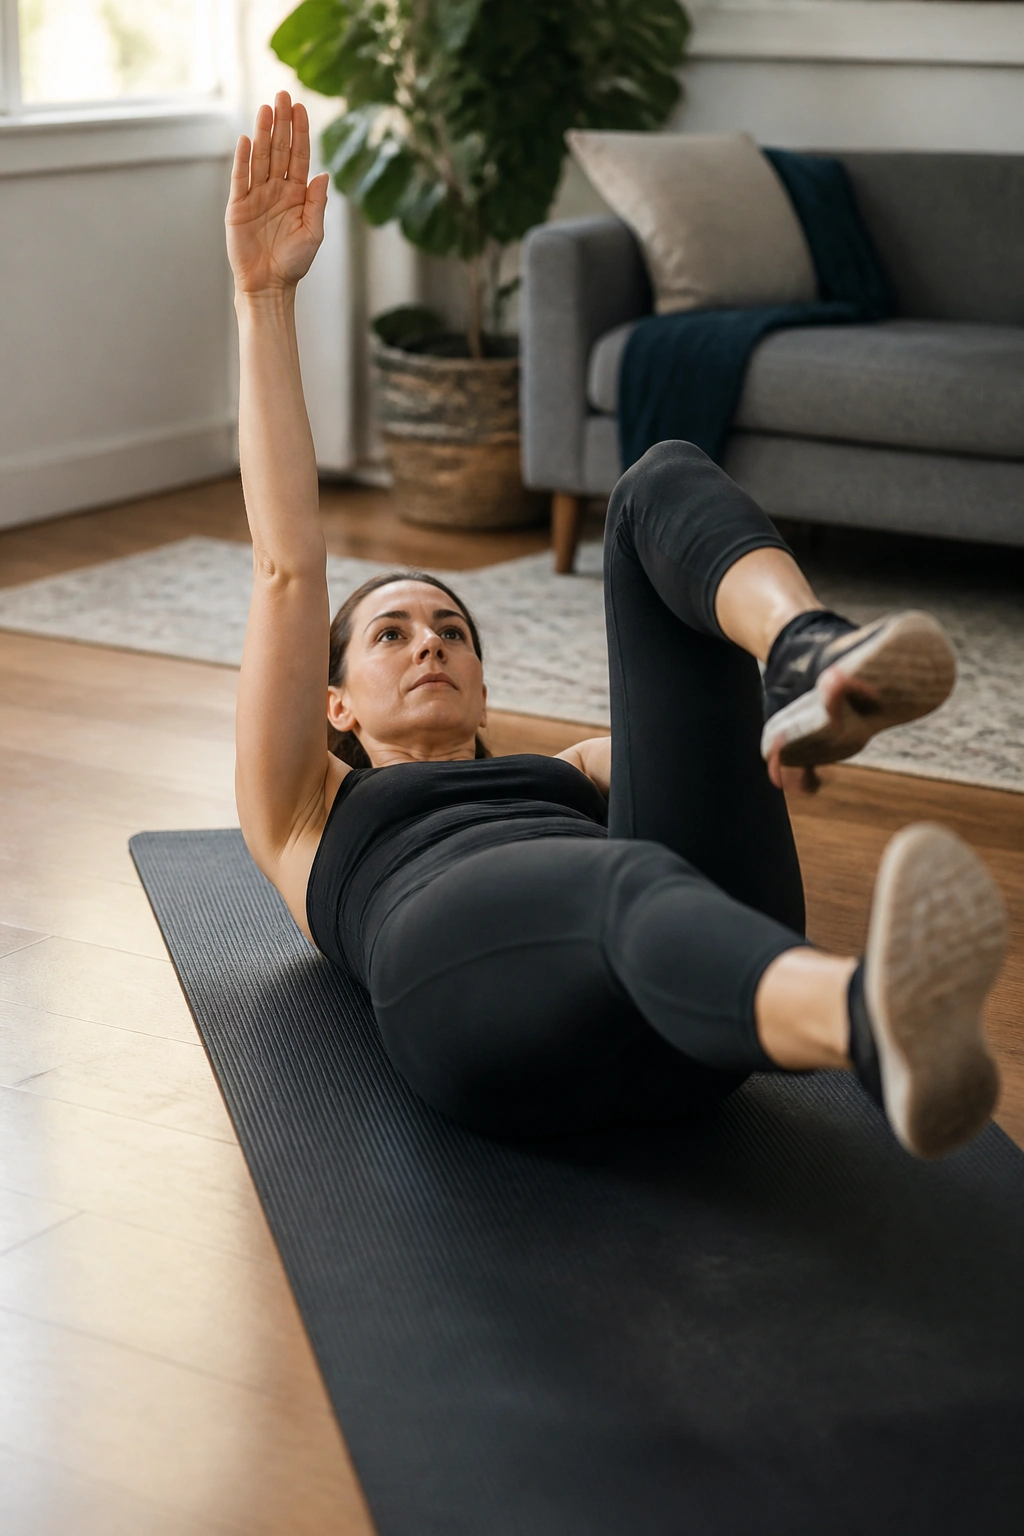
The dead bug is one of those rare moves that looks almost too easy until you try to keep your lower back glued to the floor. That is the point. It teaches your core to stay steady while your arms and legs move away from center, which carries over to planks, lifting, and almost every other core drill worth doing.
How to make it count
Lie on your back with your arms pointed toward the ceiling and your knees bent at 90 degrees. Press your lower back gently into the floor, then slowly extend one leg and the opposite arm until both hover just above the ground. Bring them back with control and switch sides.
- Keep your ribs pulled down, not flared.
- Move slowly enough that your low back stays quiet.
- Exhale as the arm and leg reach away.
If your back arches, shorten the reach. A smaller range done cleanly beats a long, sloppy rep every time. Beginners can keep the knees more bent; stronger lifters can pause for a second or two at full extension and feel the shake start to creep in.
2. Forearm Plank
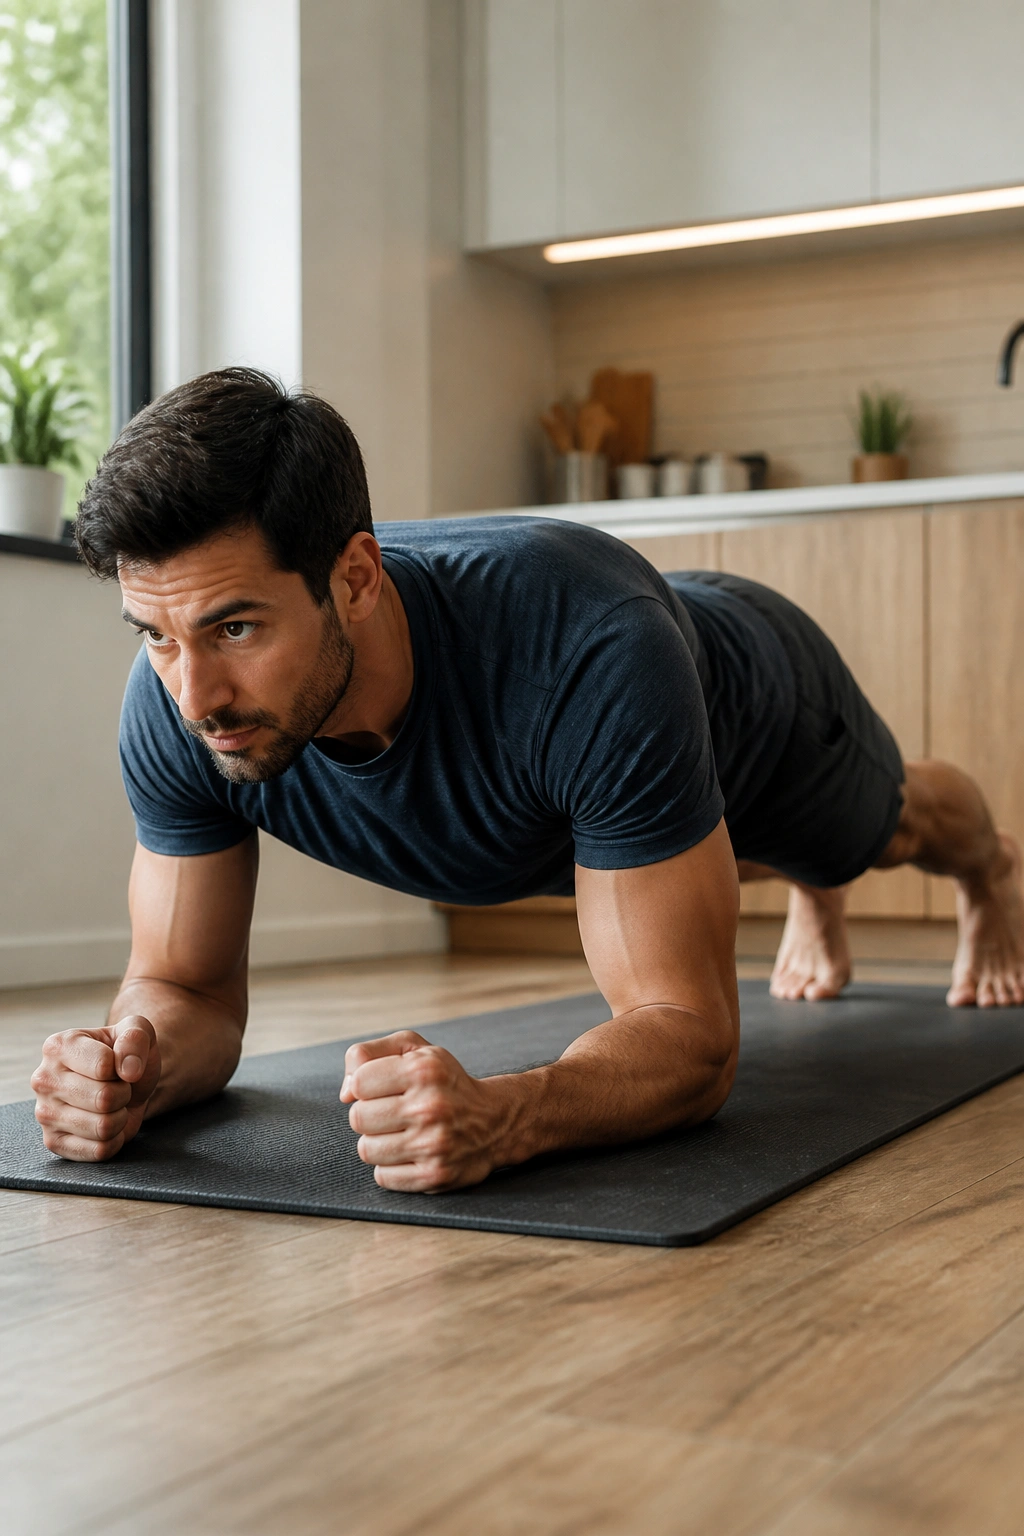
A good plank is a brace, not a punishment. If your midsection sags, your hips pike, or you hold your breath like you’re about to dive underwater, the set has already gone off the rails. What you want is a solid line from shoulders to heels, with enough tension through the glutes and abs that the position feels organized instead of limp.
Elbows under shoulders. Feet a little apart. Squeeze your thighs and glutes, then pull your ribs down without hunching your upper back. A clean 20-second hold is more useful than a messy 60-second grind.
One smart trick: imagine dragging your elbows toward your toes without moving them. That tiny isometric pull wakes up the whole trunk. If the floor starts to feel far away, bend your knees for a kneeling plank and rebuild from there.
3. Side Plank
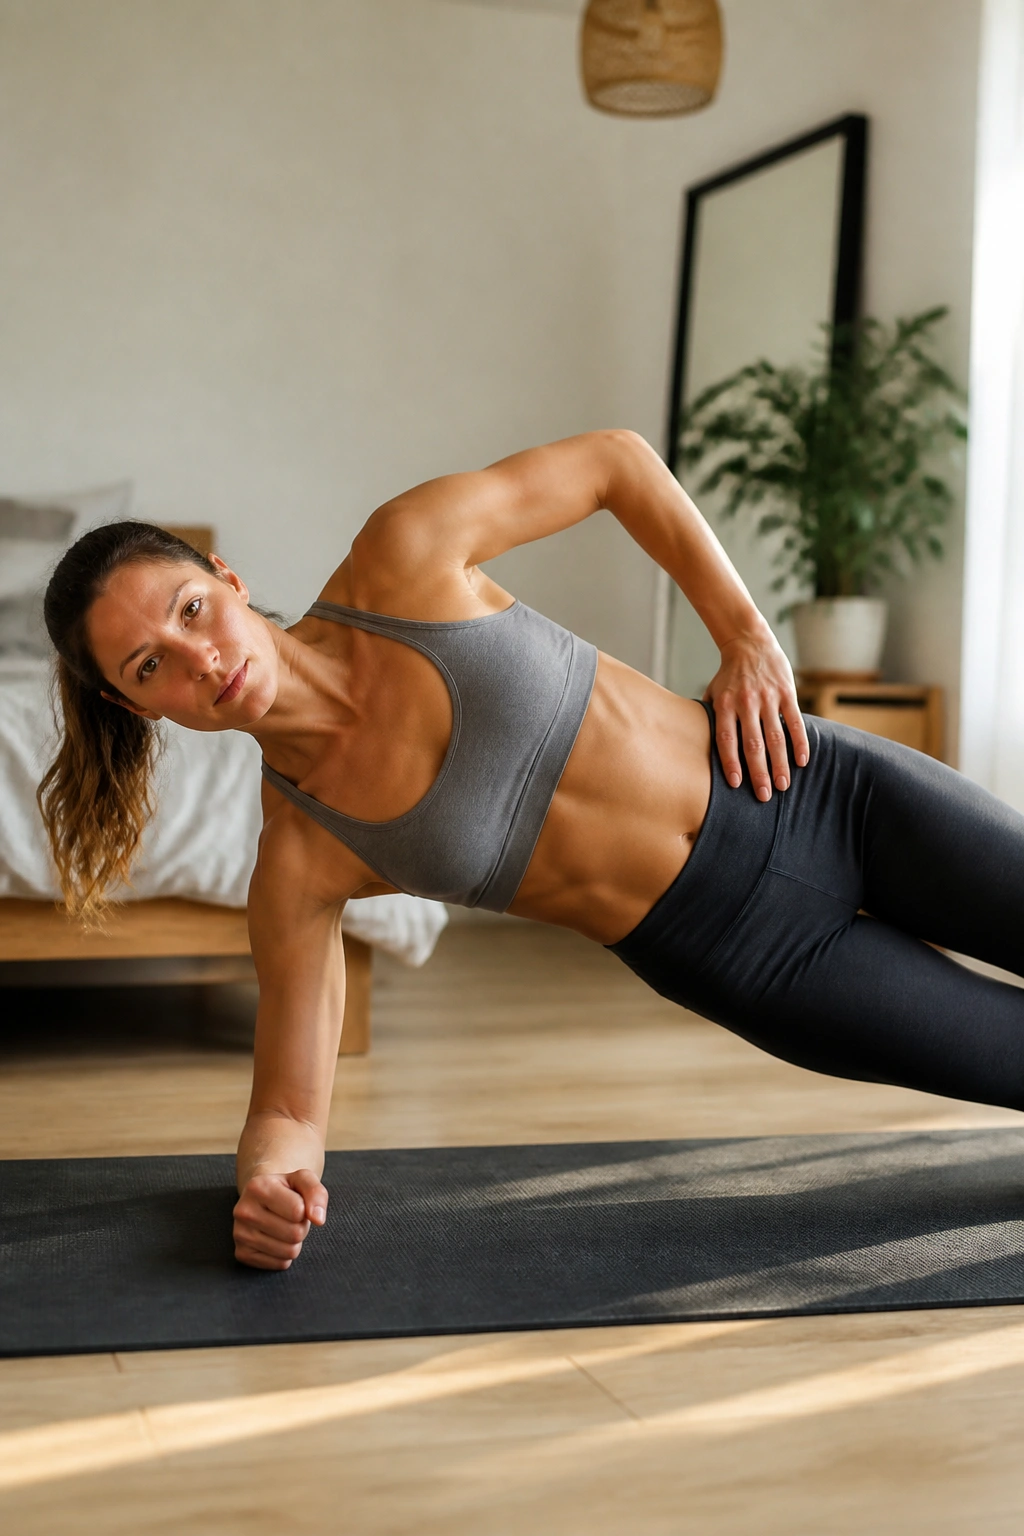
Why does the side plank show up in so many solid core routines? Because it hits the obliques and the side of the hip at the same time, which is a pairing most people ignore until one side starts feeling weaker than the other. It also teaches the body not to fold sideways under load.
Start with the elbow under the shoulder and the feet stacked if you can manage it. If that feels wobbly, drop the bottom knee to the floor and keep the top leg long. Lift the hips until your body makes one clean line, then breathe without letting the waist collapse.
Make it easier or harder
- Easier: bottom knee bent, top foot in front for balance.
- Harder: top leg lifted a few inches.
- Harder still: hold a small reach through the top arm.
The hip should stay forward, not roll open. That tiny detail changes the whole exercise. You should feel the side of the waist and the outer hip working together, not the shoulder doing all the panic work.
4. Bird Dog
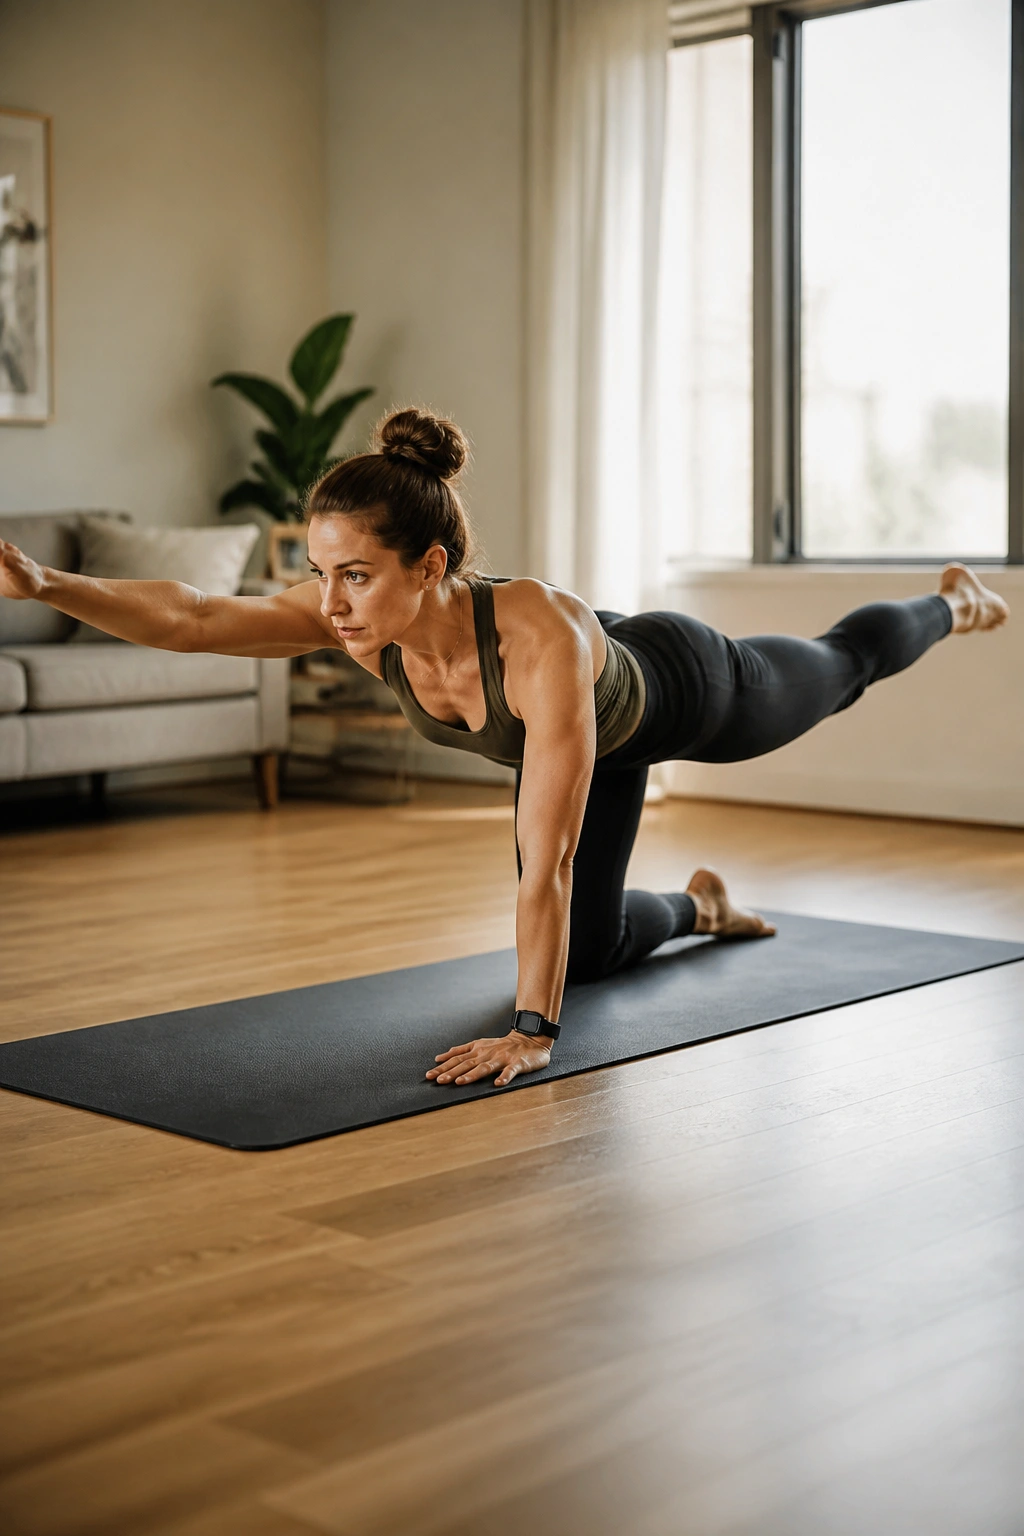
If your lower back gets cranky, bird dog is the move I reach for first. It feels calm on the surface, but that slow opposite-arm, opposite-leg reach forces your trunk to resist twisting while your limbs move in different directions. That skill matters more than people think.
Set up on hands and knees with your wrists under shoulders and knees under hips. Reach one arm forward and the opposite leg back, but do not let the pelvis swing open. A two-second pause at full extension makes the rep far better than rushing through ten sloppy ones.
The easy mistake is lifting the leg too high. That turns the whole thing into a back arch. Keep the heel reaching long instead, almost as if someone is pulling your foot away from the wall behind you. The goal is stillness through the middle.
5. Reverse Crunch
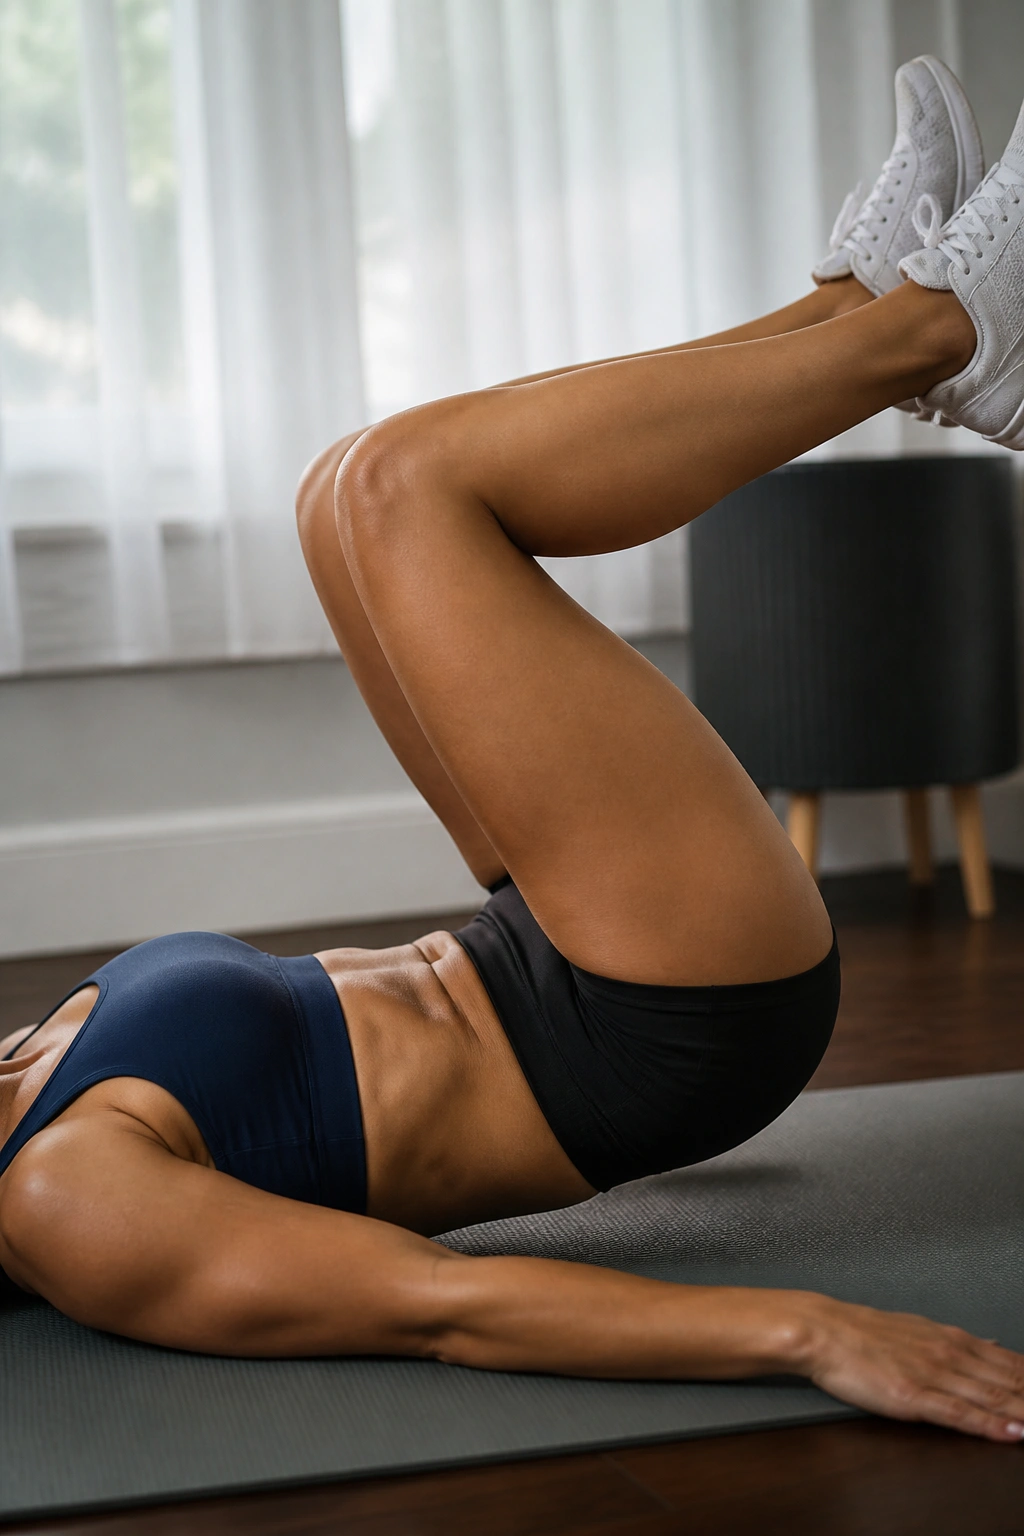
A reverse crunch works better when the curl starts at the tailbone, not with a leg swing. That little distinction is huge. Once the pelvis tips upward, the lower abs have to do the work of lifting the hips off the floor instead of letting momentum drag the knees in.
Lie on your back with your knees bent and shins roughly parallel to the floor. Exhale, pull the knees toward your chest, and lift your hips a few inches as the tailbone rolls up. Then lower with control until your lower back touches down again.
Do not kick your legs. That wastes the rep. If you feel hip flexors more than abs, slow down and shorten the motion. A small lift done cleanly is enough; you do not need to fling your knees over your face to make this count.
6. Hollow Body Hold
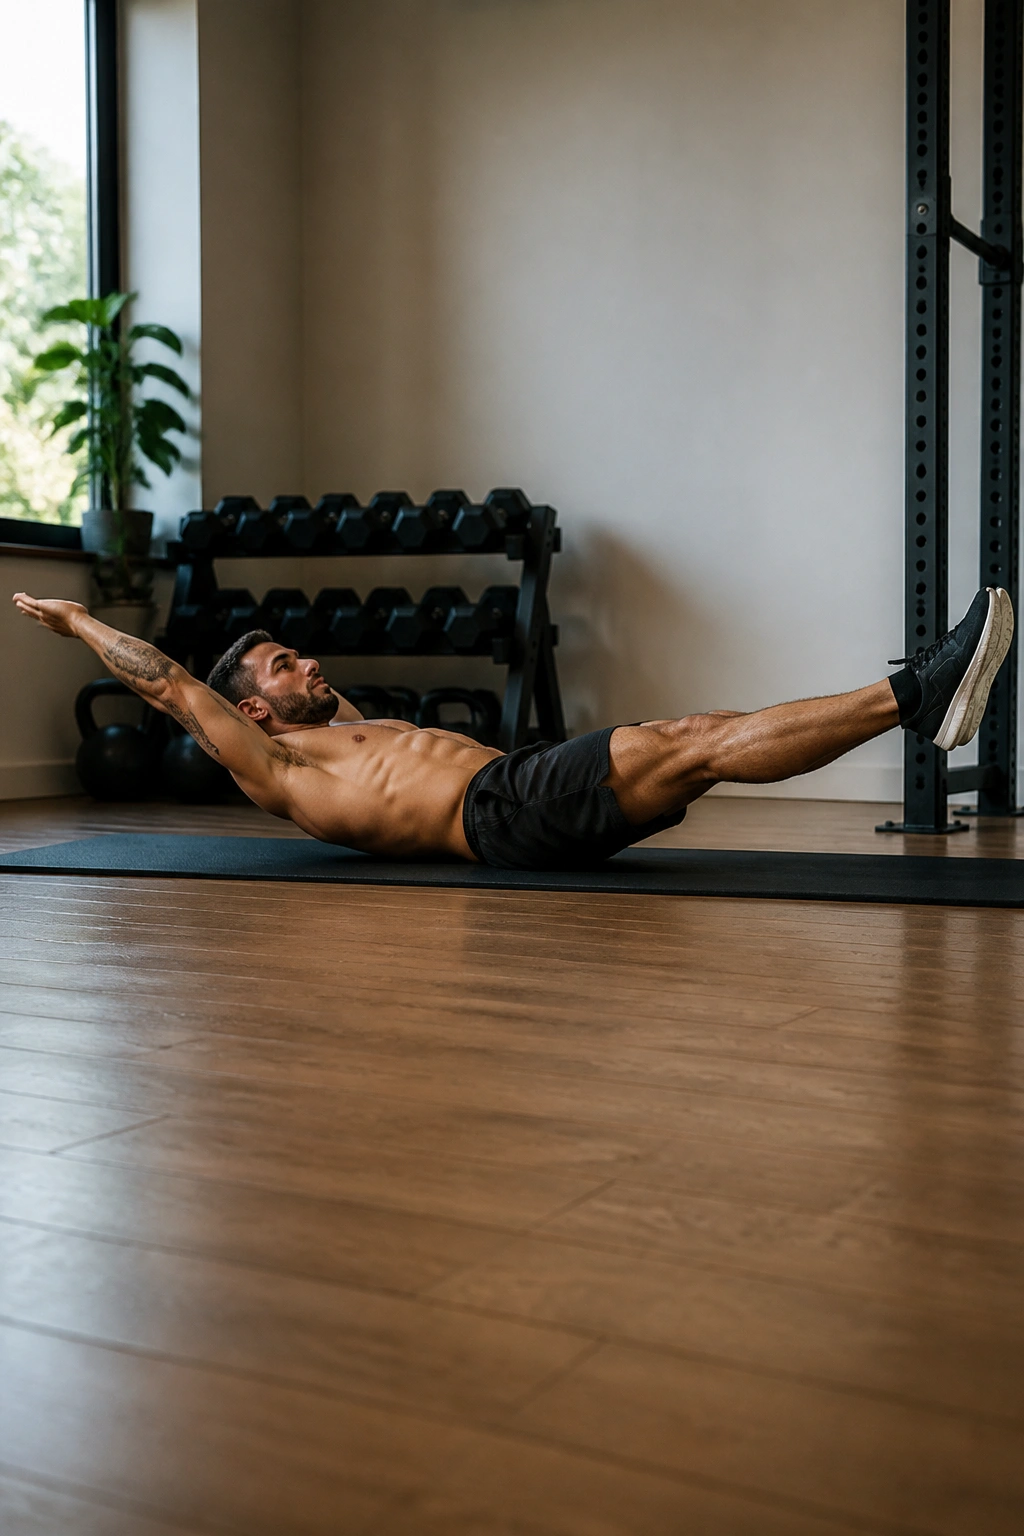
Gymnasts love the hollow hold for a reason. It forces the front of the body to stay tight while the lower back stays pressed into the floor, and that combination is brutal in the best way. The exercise looks simple because nothing is moving. Try holding it for 20 seconds and you’ll change your mind fast.
What to feel
Your abs should feel long and tense, not pinched. If the back arches off the floor, bend the knees more or raise the legs higher. The shape matters more than the style points.
Arms can stay by your ears, or beside your body if you need a lighter version. Keep the chin slightly tucked so you are not cranking on the neck. Once the back pops off the floor, stop the set. That’s not failure; it’s a signal to shorten the lever next time.
7. Mountain Climber
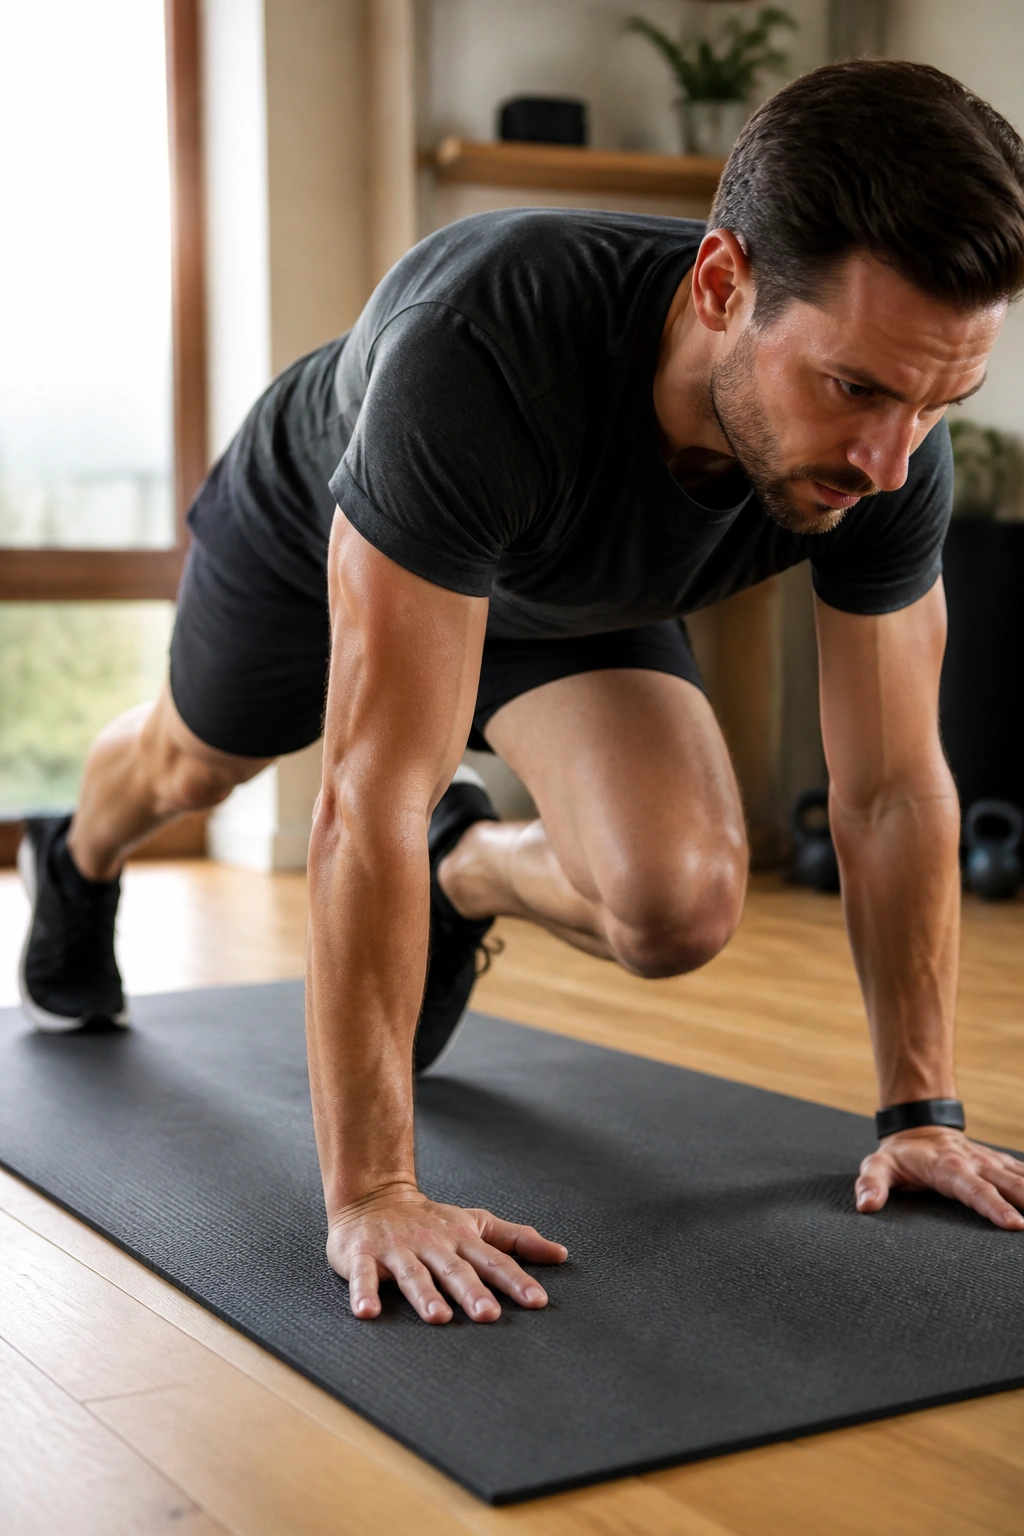
Done fast, the mountain climber turns into cardio. Done well, it becomes moving plank work. That’s the version worth keeping.
Set your hands under your shoulders and bring one knee toward your chest, then switch legs in a steady rhythm. The shoulders should stay stacked over the wrists, and the hips should stay lower than a hiking tent. If you bounce around too much, slow it down until the trunk stops wobbling.
A nice way to program it is 20 to 30 seconds on, 20 seconds off. Short bursts keep the form honest. And if the wrists get angry, put your hands on a pair of dumbbells, push-up handles, or even a folded towel to change the angle a little.
8. Bicycle Crunch
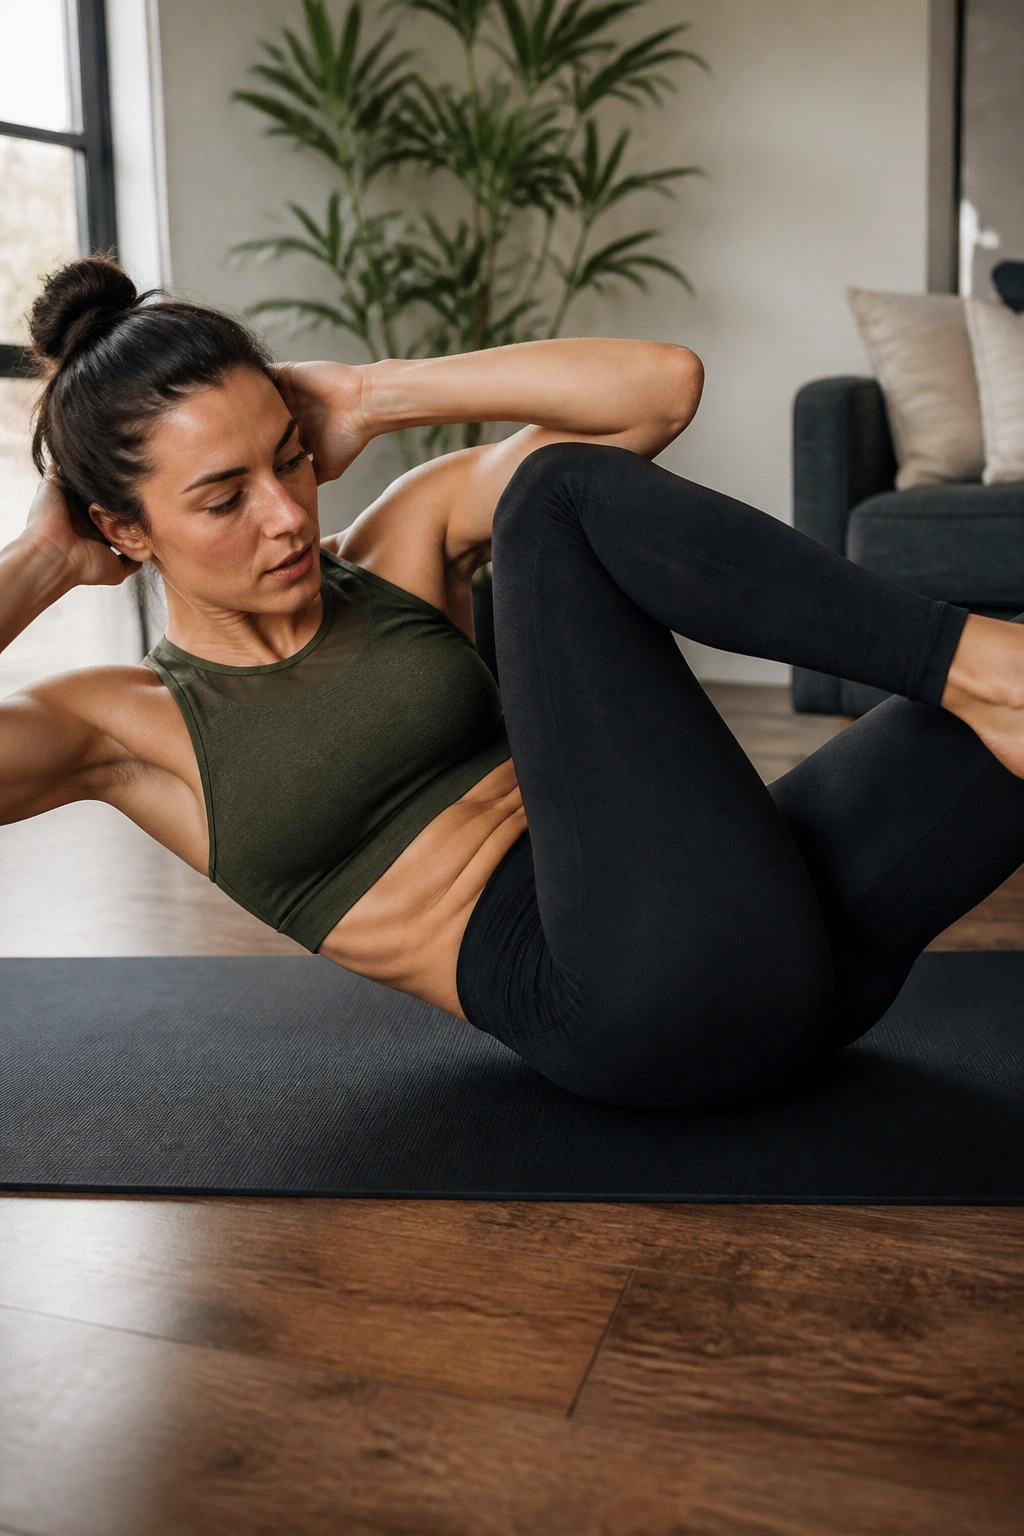
People love to rush bicycle crunches, and that is usually why they stop feeling them in the abs. Speed turns the movement into a messy leg pedal. Slow it down and the obliques show up.
Lie back with your hands lightly behind your head and bring one shoulder toward the opposite knee as the other leg extends. The twist should come from the ribs and upper torso, not from yanking the neck. Keep the legs moving with control, almost as if you are tracing a smooth path in the air instead of pedaling a bike.
The best cue is to think “rib to hip,” not “elbow to knee.” That keeps the motion cleaner and takes pressure off the neck. Small and deliberate beats fast and sloppy. Every time.
9. Heel Tap Crunch
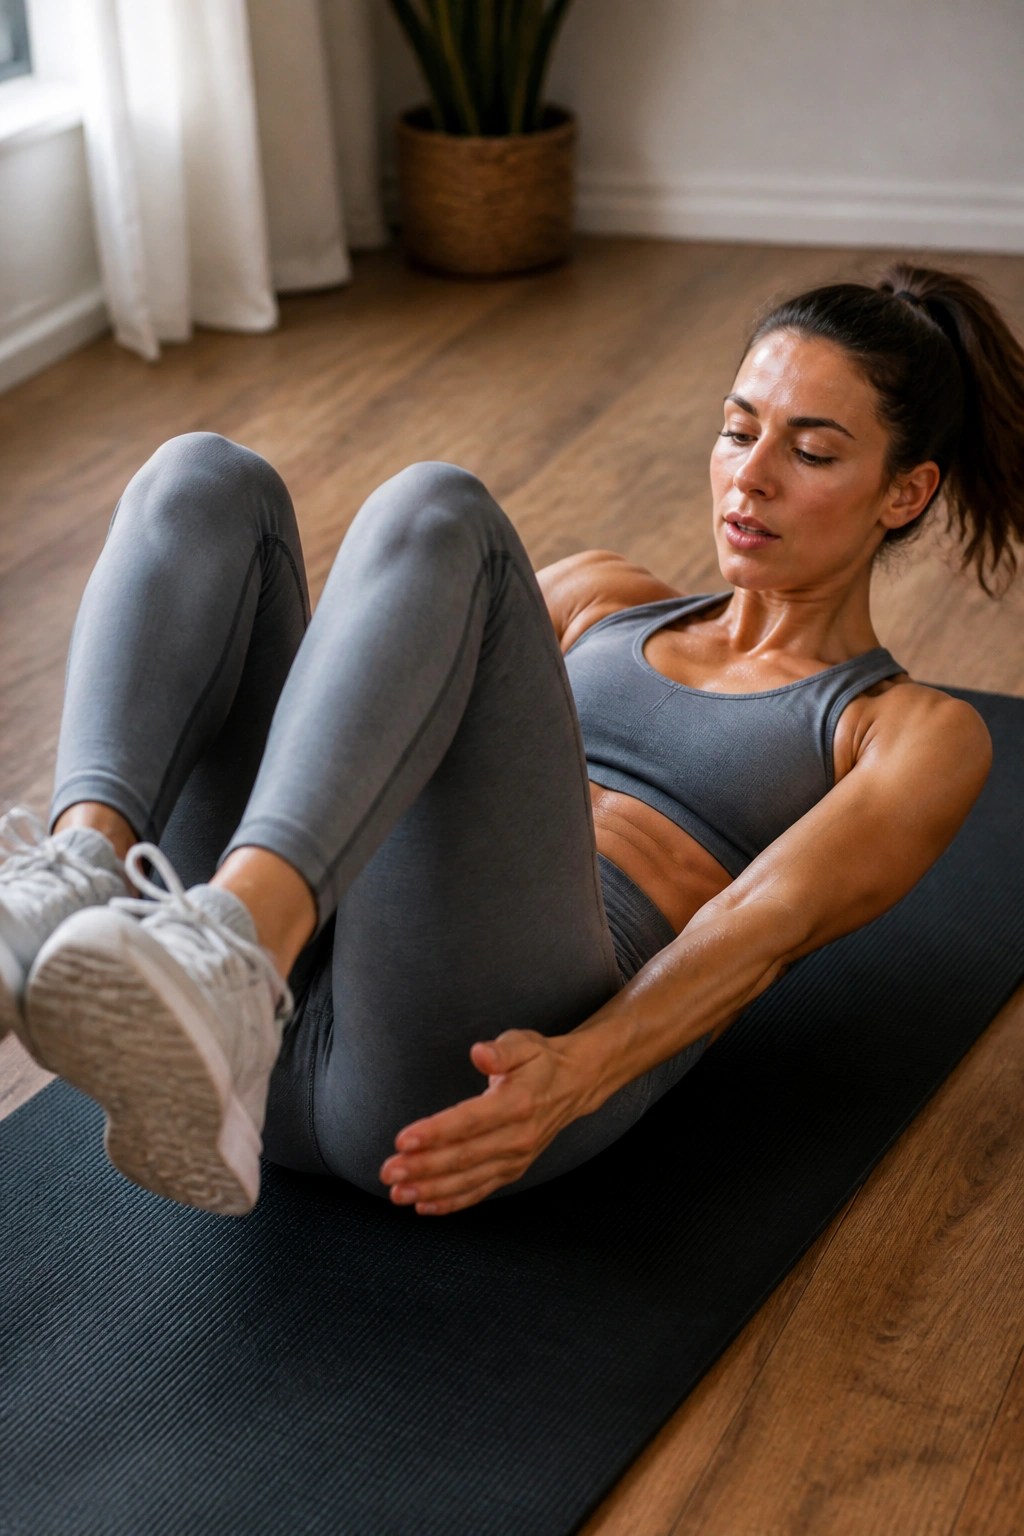
Heel taps are a nice middle ground for people who find full crunches too neck-heavy but still want some flexion work. The movement is tiny, which is exactly why it’s useful. You do not need a huge range to get the front of the waist working.
Lie on your back with knees bent and feet flat. Lift your shoulders slightly off the floor, then tap one heel and then the other while keeping your chest lifted. The lower back should stay heavy against the floor the whole time.
If your neck starts to complain, keep one hand behind your head and the other reaching toward the heel. That makes the position less stressful while still keeping the abs active. Stop reaching if your shoulders collapse back down. The set is over when the brace disappears.
10. Leg Raise
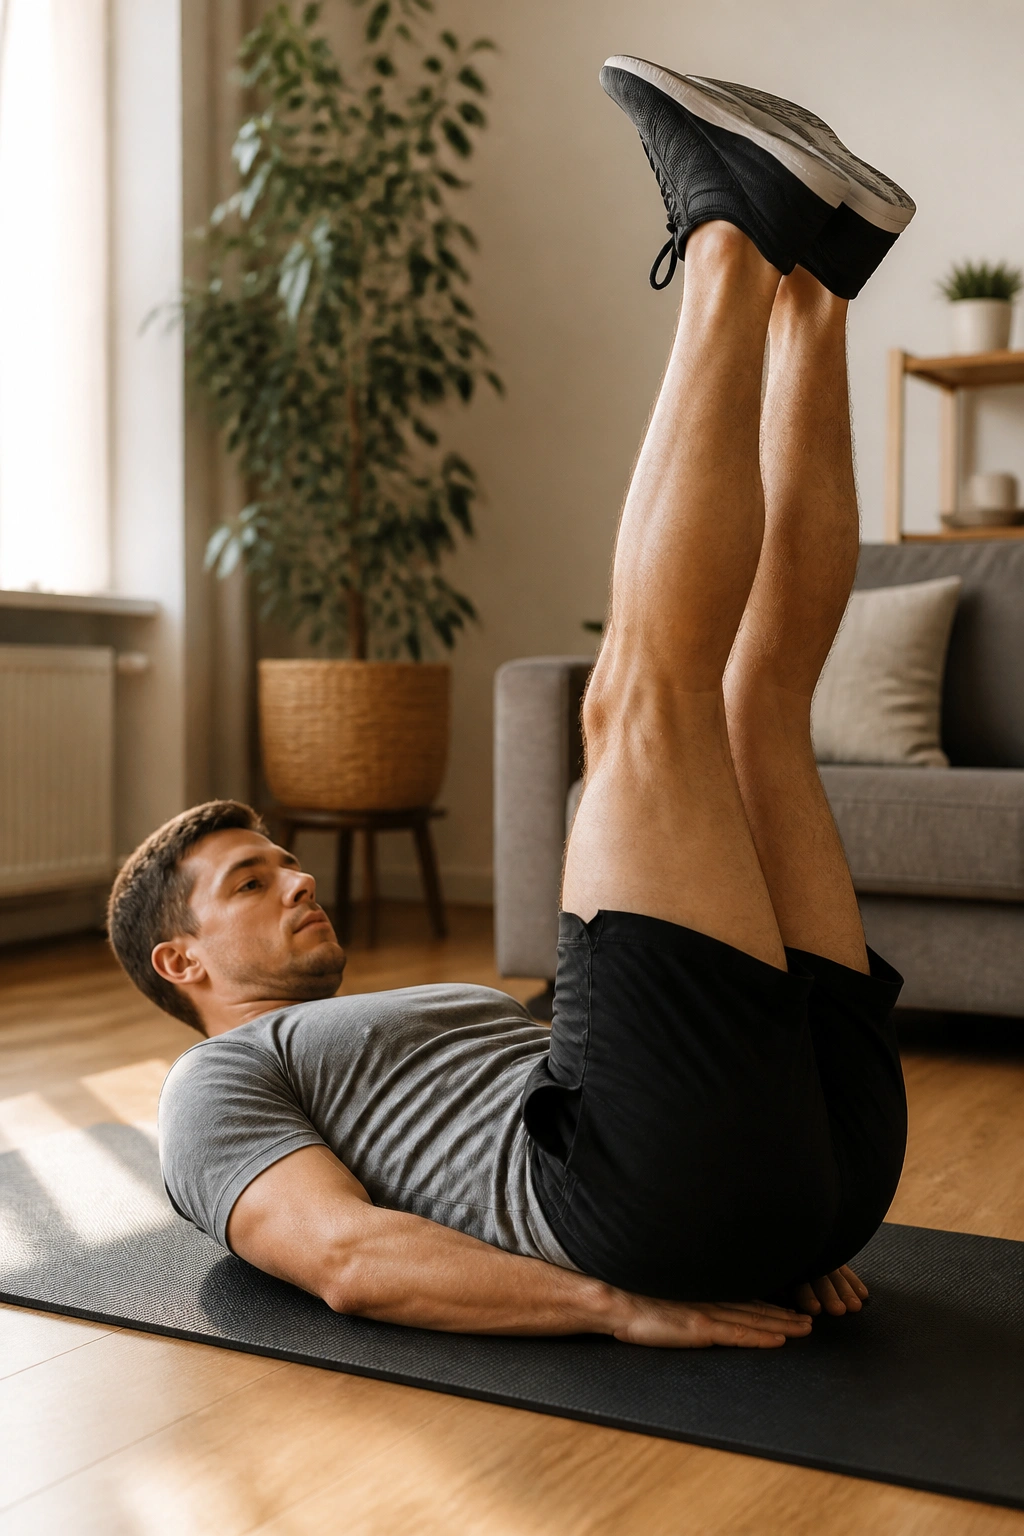
Leg raises are simple in theory and ugly in practice if you rush them. The low back wants to arch, the hip flexors want to take over, and the legs feel much heavier than they look. That is why the lowering phase matters more than the lift.
Clean setup
Lie flat and place your hands under your hips if you need help keeping the pelvis stable. Lift both legs toward the ceiling, then lower them slowly until you can still keep your back pressed into the floor. If the back starts to peel up, stop higher.
- Bend the knees to make it easier.
- Lower for three slow counts.
- Keep the toes pointed or neutral, whichever helps you control the movement.
A lot of people chase a big range and end up cheating. Don’t. The best rep is the one where the spine stays quiet. That’s the whole lesson here.
11. Plank Shoulder Tap
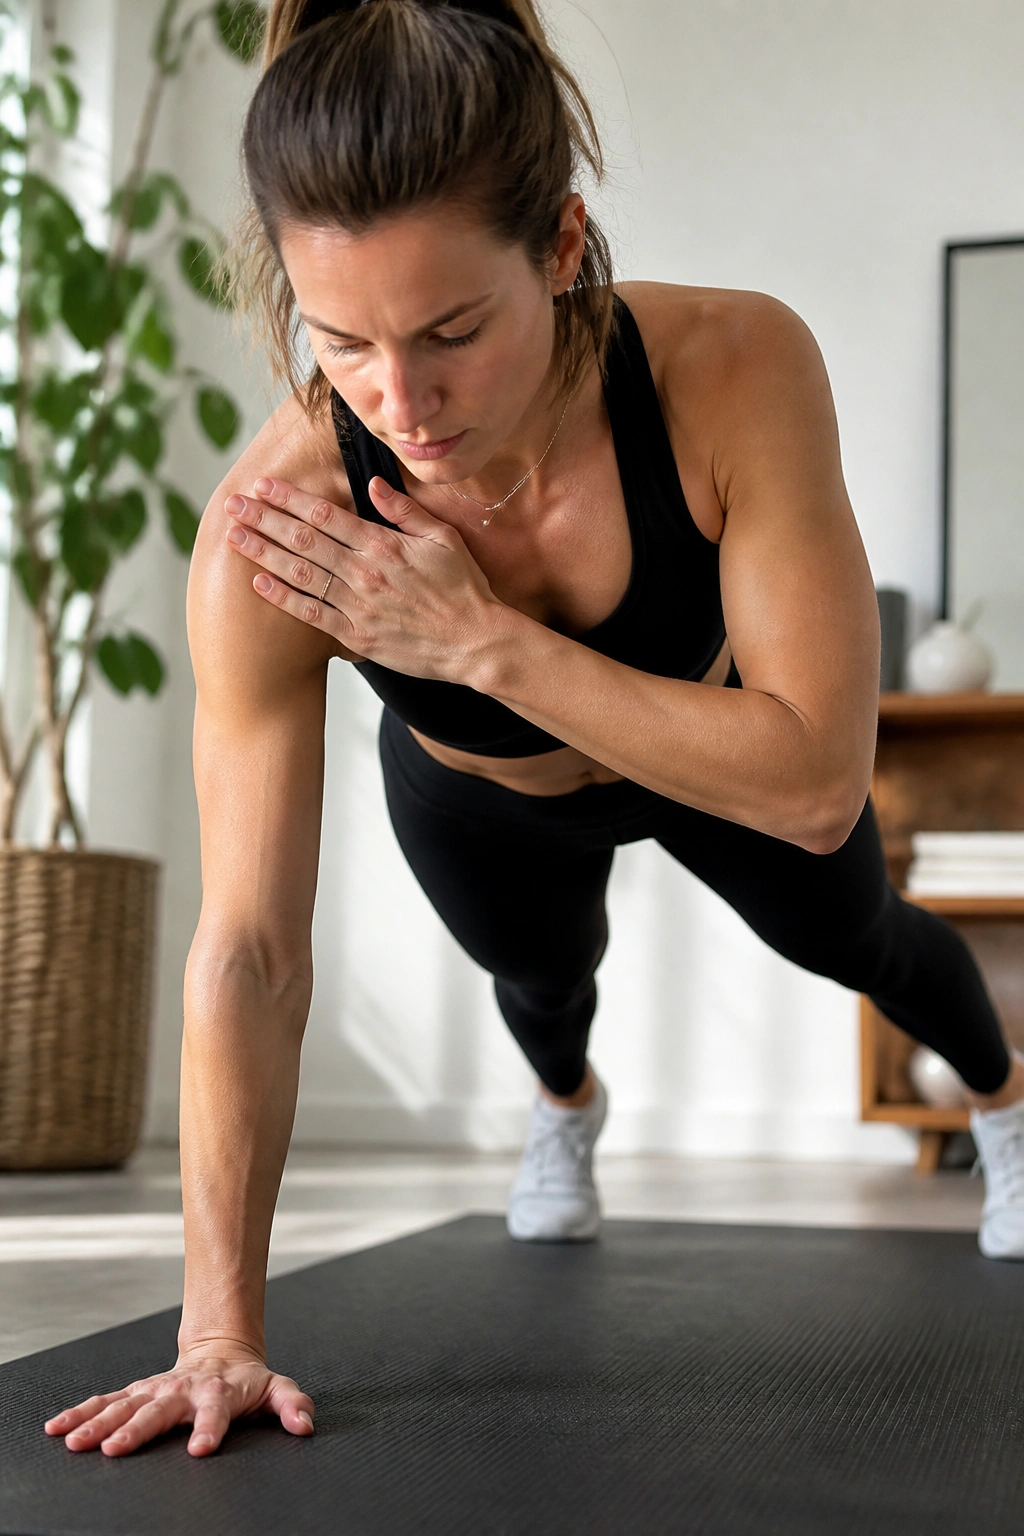
If your hips sway on shoulder taps, the exercise has already won. That little side-to-side wobble is the whole challenge. You are training the trunk to stay square while one arm leaves the floor and reaches across to the opposite shoulder.
Start in a high plank with feet set a little wider than hip width. Tap one shoulder, return the hand to the floor, then switch sides. Keep the legs and glutes active so the pelvis does not swivel with every reach.
The trick
Move slower than feels necessary. If your weight shifts so much that the opposite hand wants to float, widen your feet more. That small change gives you a stronger base without making the drill easier in any real way. Quiet hips, quiet ribs. That is the target.
12. Glute Bridge March
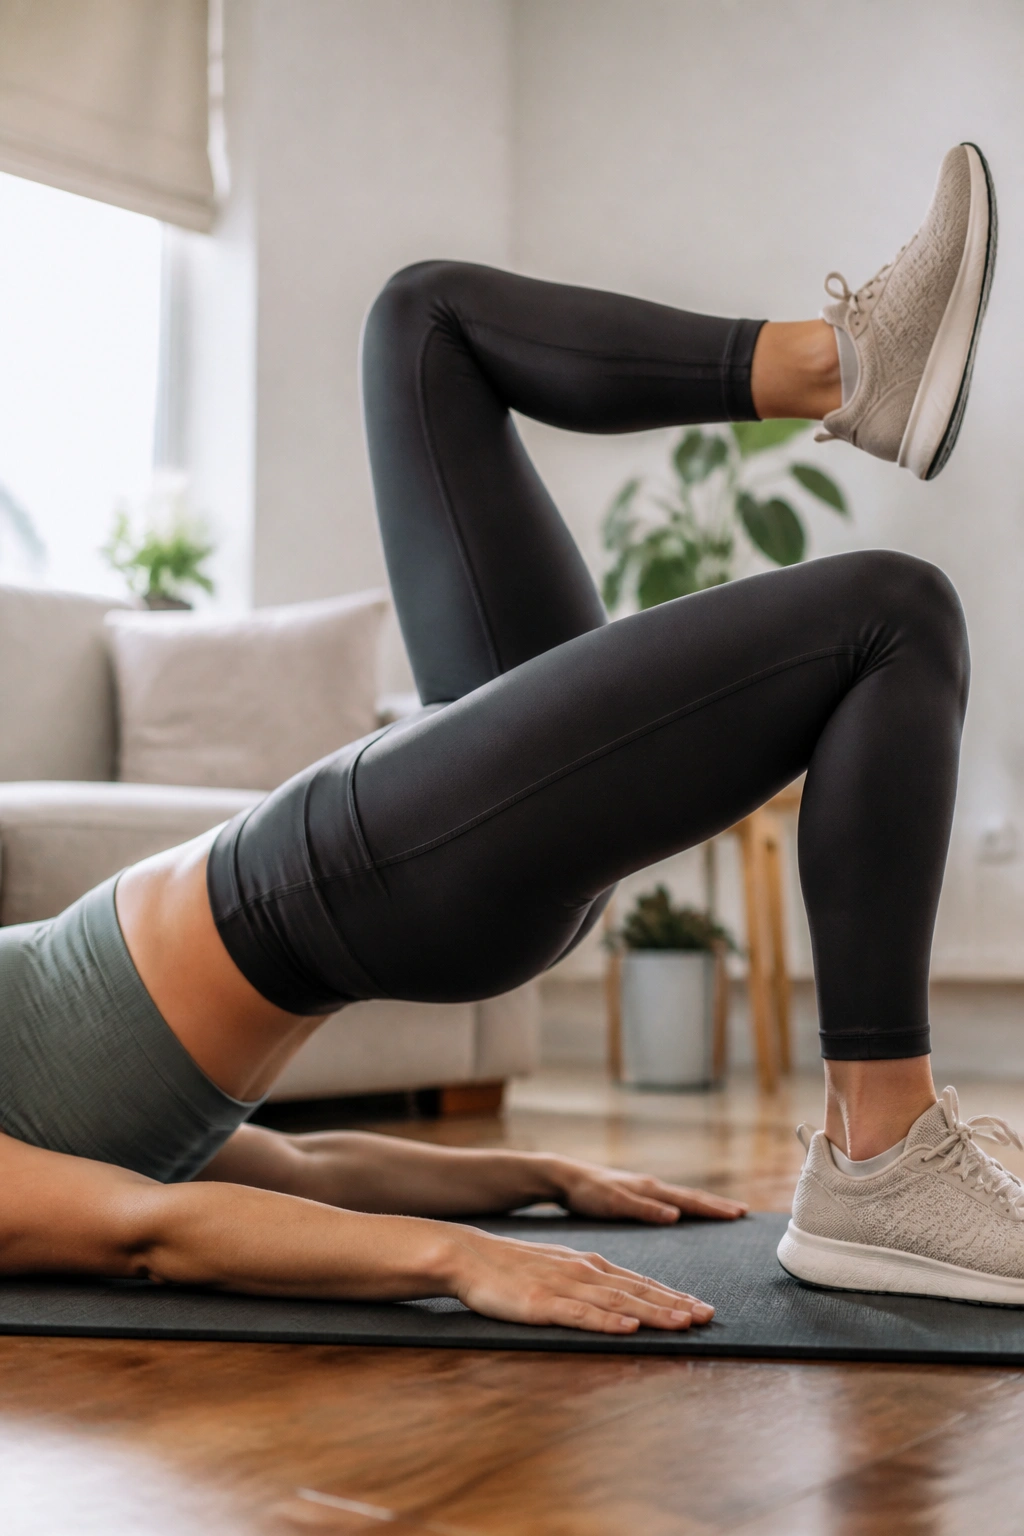
This one looks like a hip move, and that is exactly why it belongs in a core list. When you lift into a bridge and march one knee at a time, the trunk has to keep the pelvis level. If it tilts or drops, the set has gone off track.
Lie on your back with knees bent and feet flat. Press your hips up until your body makes a straight line from shoulders to knees. From there, lift one foot an inch or two off the floor, set it down, and switch sides. The hips should stay as steady as a parked car.
The easiest mistake is arching too high. Keep the bridge modest. You are not trying to touch the ceiling with your hips. You are trying to stay level while the legs move. That tiny march will expose weak links fast.
13. Bear Plank Hold
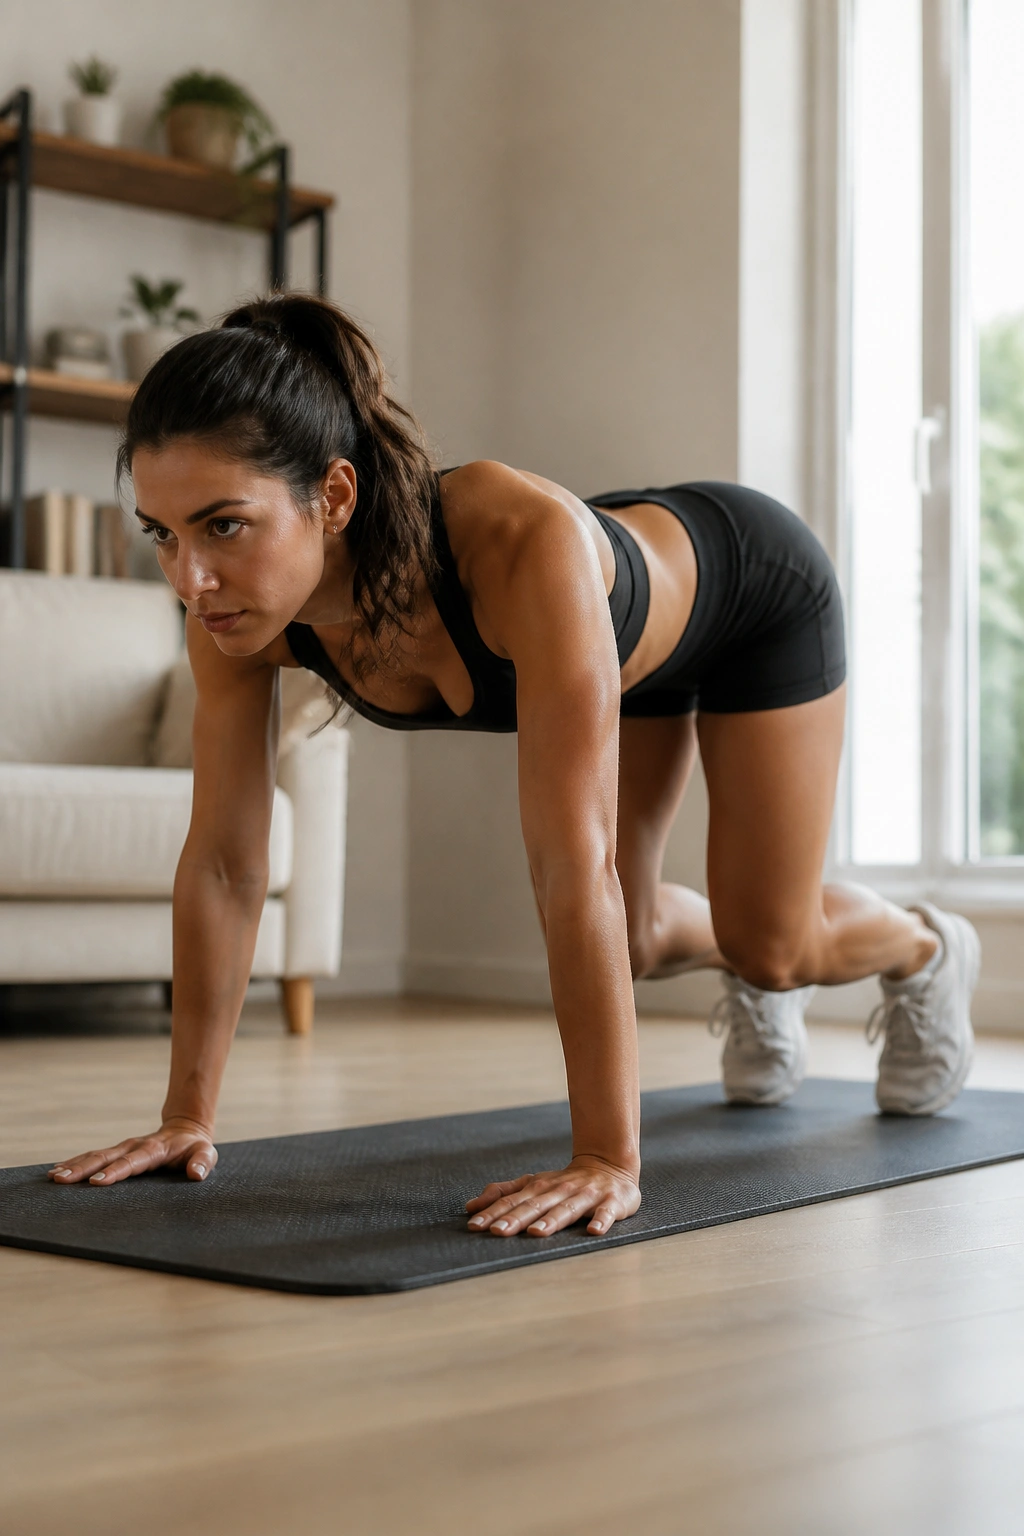
Can you hover your knees two inches off the floor and keep breathing? If not, the bear plank will tell you the truth in about four seconds. It is a sneaky little drill that lights up the entire trunk, plus the shoulders and quads.
Get on hands and knees, then tuck the toes and lift the knees just off the floor. The back stays flat, the neck stays long, and the knees hover low enough that you can’t cheat by straightening the legs into a fake rest position.
Start with 10 to 15 seconds. That may sound tiny, and it is. But the position gets sharp fast. Once you can hold it cleanly, try a small shoulder tap or a knee hover while breathing through the nose. Tiny space, big demand.
14. V-Up
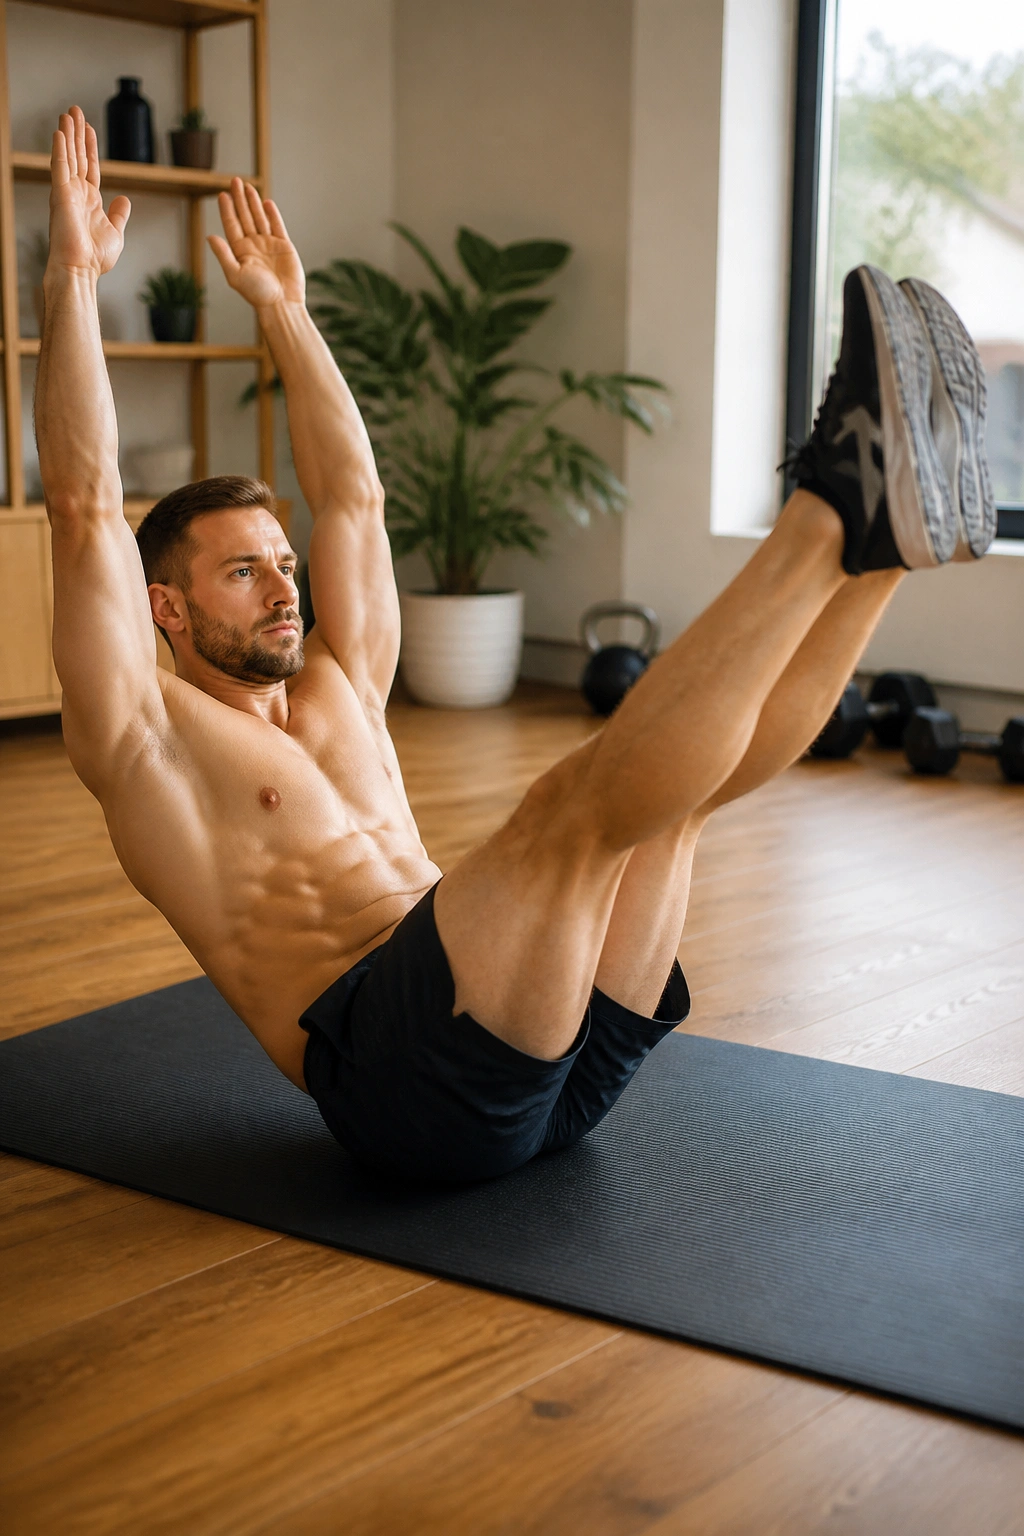
The V-up is not a beginner move, and pretending otherwise is how people end up tugging on their necks. When it’s done well, though, it gives you a strong front-of-body contraction that feels different from a crunch or a leg raise.
Lie flat with your arms overhead and legs long. Simultaneously lift the torso and legs so they meet in the middle, forming a loose V shape. Lower under control. If that full shape is too much, bend the knees and make it a tuck-up instead.
What to watch for
The lower back should not rip off the floor early. If it does, the rep gets ugly fast. Use a smaller range until you can control the lift from the first inch. No swinging. The rep should look smooth, not like a last-second sit-up in slow motion.
15. Flutter Kick
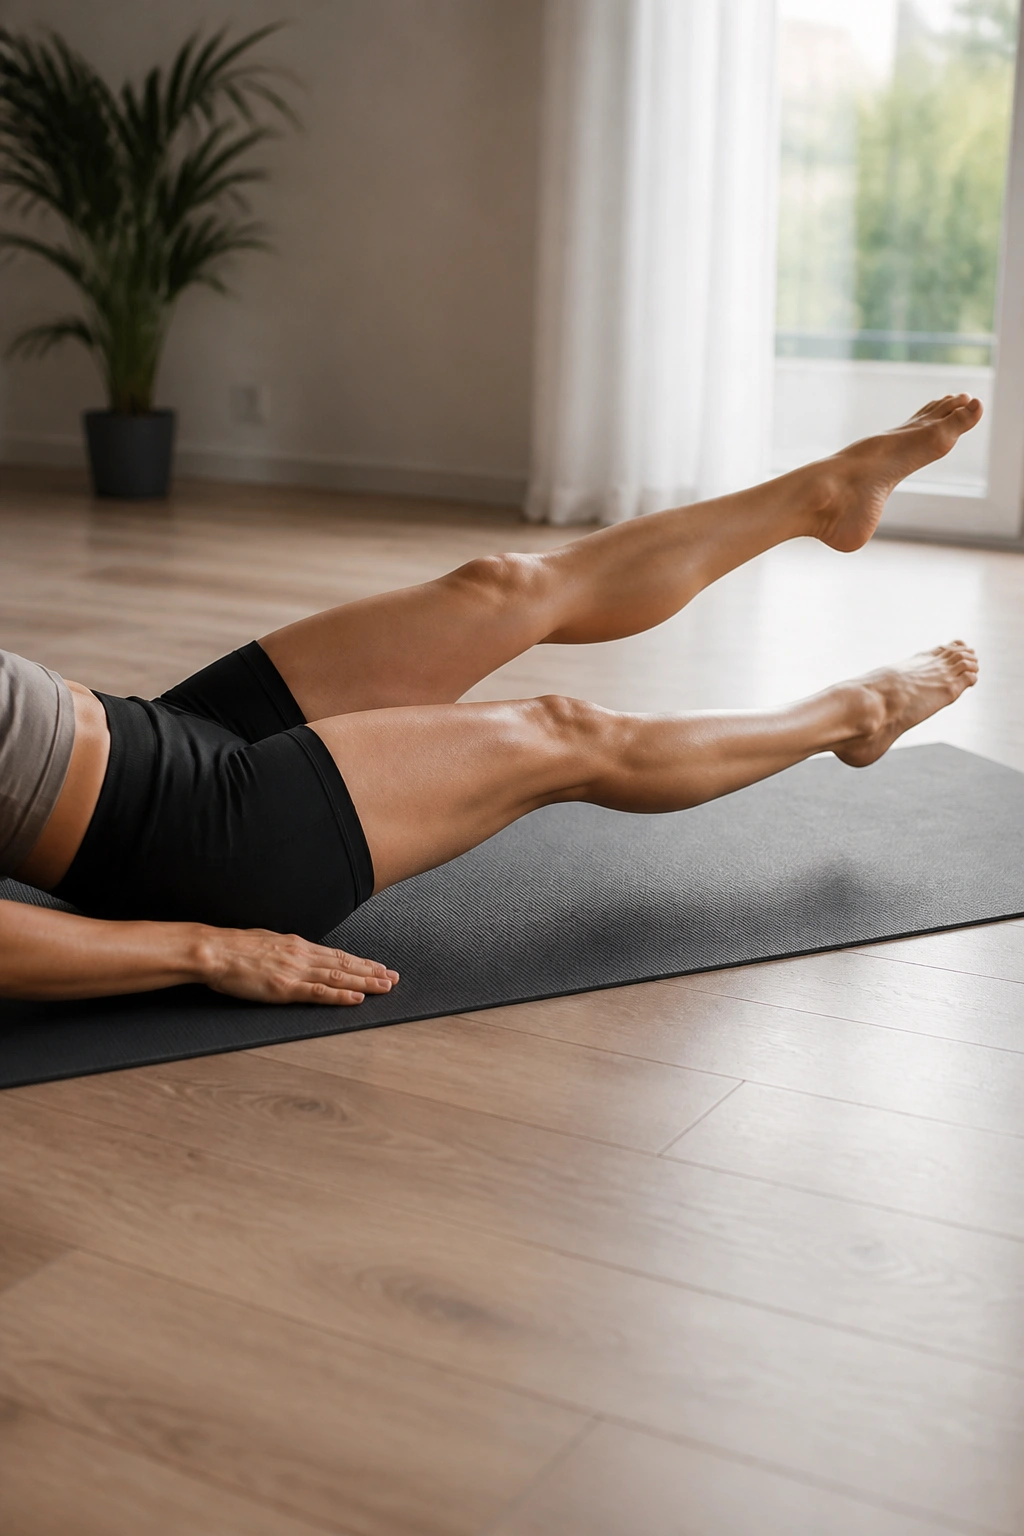
Flutter kicks are deceptively simple. Ten seconds in, the lower abs usually start to complain, and five seconds after that the back may try to help. That’s where discipline matters.
Lie on your back with your legs extended or slightly bent. Lift them a few inches off the floor and kick them in small alternating motions. Keep the low back pressed down. If the arch grows, raise the legs higher instead of trying to power through.
The range should stay narrow. Big kicks are mostly a way to lose tension. Small, quick, controlled kicks keep the abs on and the hips from taking over. If your neck tires first, lower your head back down or support it with one hand for a lighter version.
16. Side Plank Hip Dip
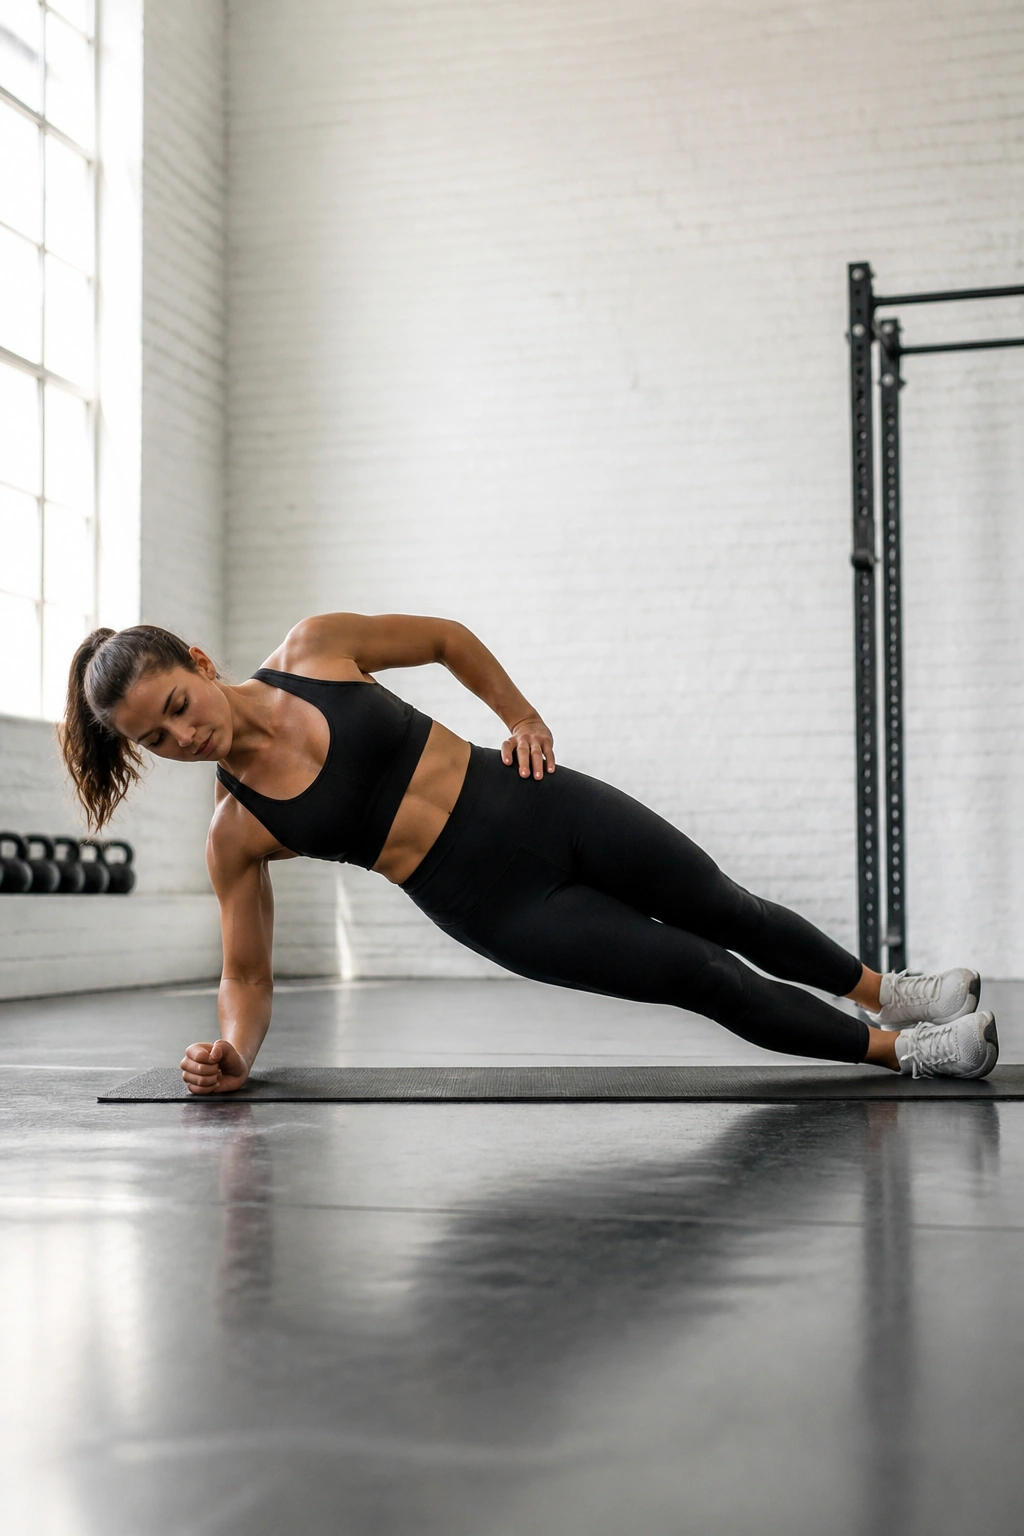
A side plank hip dip gives the side body a little more movement than a static hold, which some people prefer because it feels easier to understand. The motion is small: lower the hip toward the floor, then lift it back up with control.
Stack the shoulder, elbow, and wrist line. Lower the hip a few inches without collapsing the torso, then drive it back up. If the top shoulder starts creeping forward, reset the setup. Good form here is about holding the line while the pelvis moves a little.
This version hits the obliques and the muscles along the side of the trunk in a way that feels cleaner than endless twisting. Keep the motion short. A deep dip usually just dumps the work into the shoulder.
17. Superman Hold
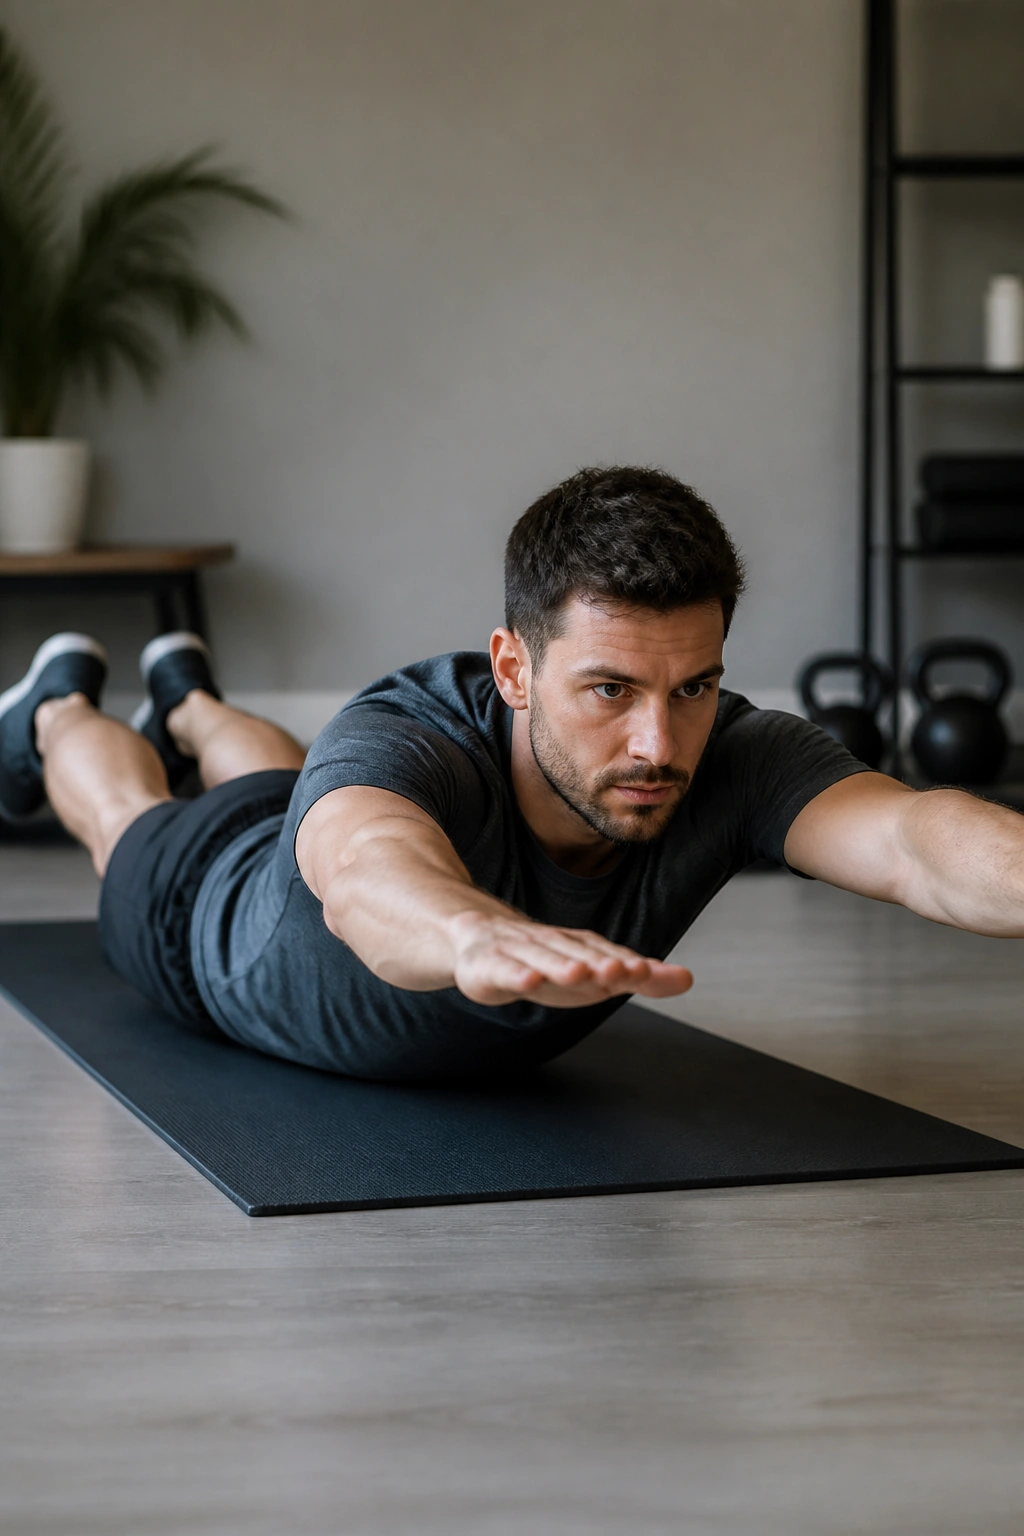
The superman gets ignored because it does not look like classic abs work, but the back side of the trunk matters too. The core is not only what flexes forward; it also keeps the spine steady from behind.
Lie face down with arms reaching forward and legs long. Lift the chest and thighs a few inches off the floor, then hold. The neck should stay long, not cranked back. If you feel pinching in the low back, lift less and focus on reaching long rather than high.
This is one of those exercises where less height usually means better work. A modest lift with tension through the glutes and upper back is enough. Do not turn it into a backbend. That is a very different thing.
18. Plank Walkout
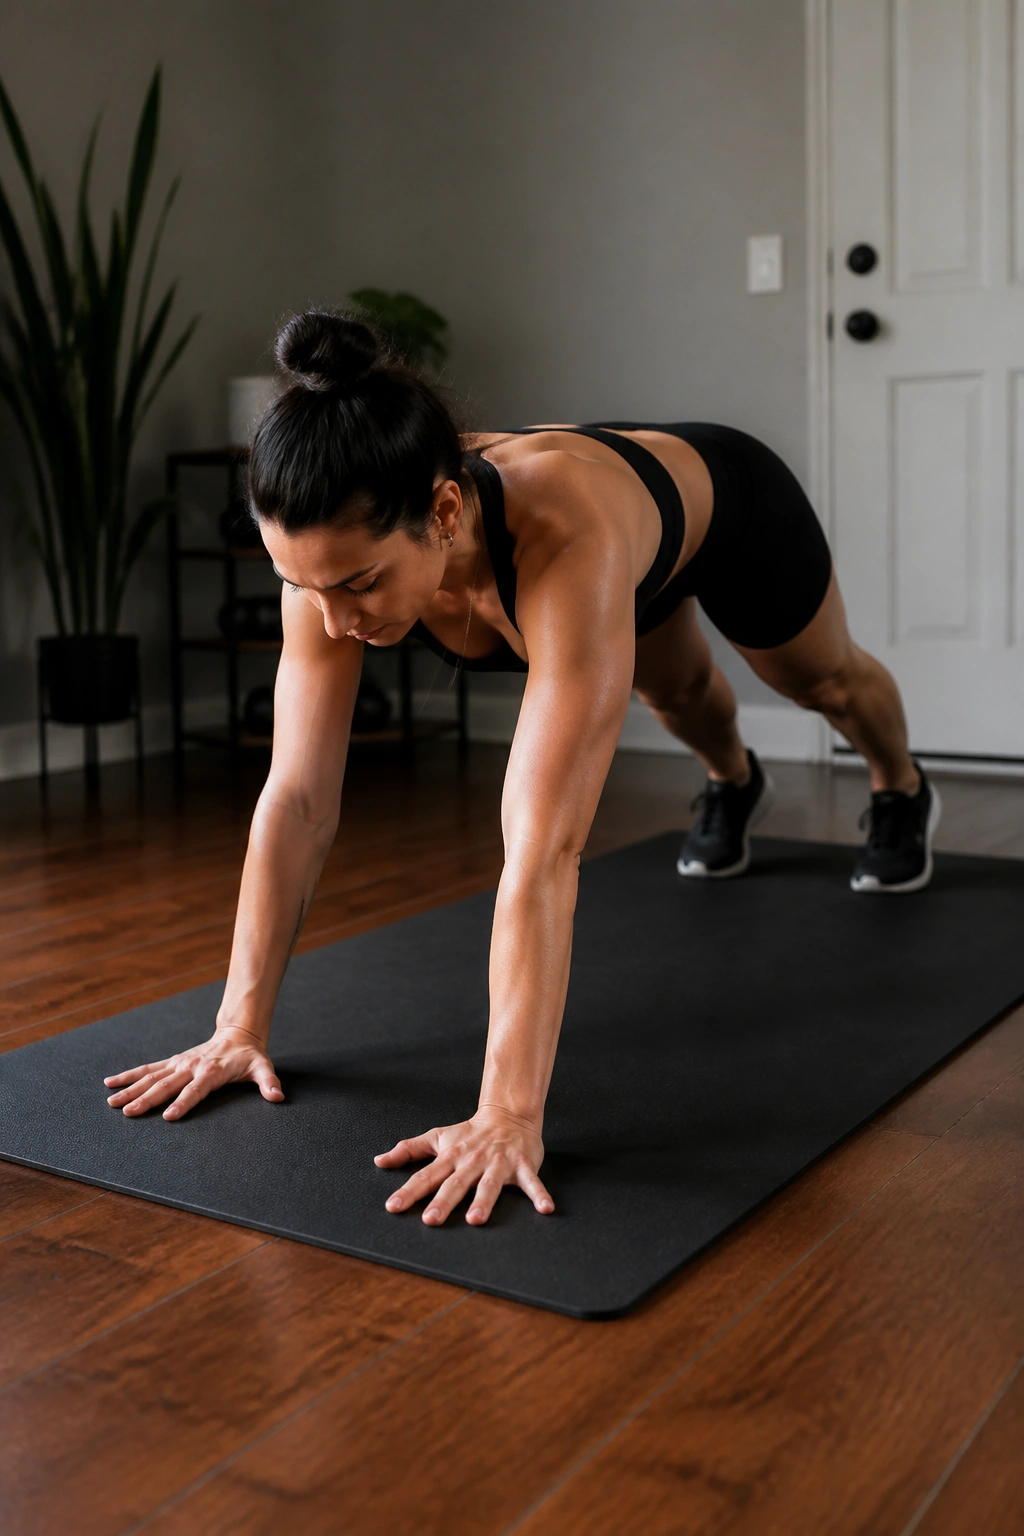
Walk your hands out from standing and you’ll find out how much your midsection likes to complain. The plank walkout is a simple bodyweight version of an ab rollout, and it’s a nice bridge between beginner planks and harder floor work.
Start standing tall, then hinge forward and place your hands on the floor. Walk them forward until you reach a plank, hold for a beat, then walk them back toward your feet and stand up again. Keep the hips from dropping as the body stretches long.
Why it works
The moving leverage makes the abs fight to keep the spine from sagging. That’s especially useful if regular planks feel too static. Try 4 to 8 reps and see how quickly the front line of the body wakes up.
A shorter walkout is enough for beginners. Longer walks are rougher, and honestly, that’s the point.
19. Cross-Body Mountain Climber
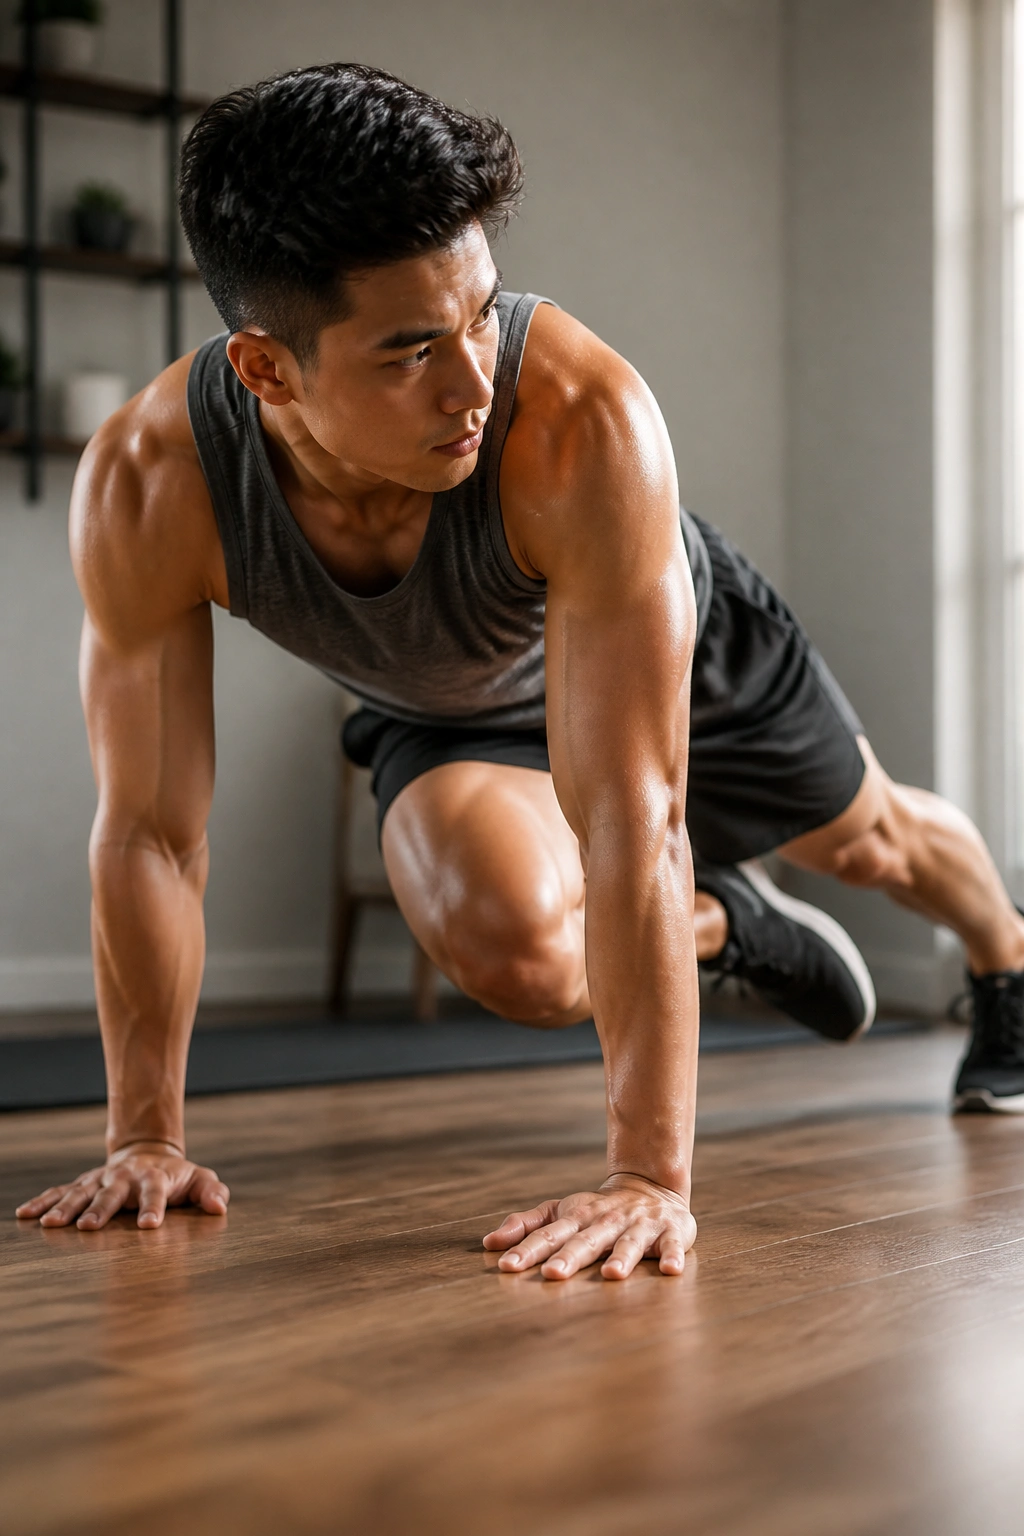
Want more oblique work than the straight-ahead version? Cross-body mountain climbers bring the knee toward the opposite elbow, which adds a sharper twist and more demand on the side of the waist. The movement is still small, but it feels different fast.
Set up in a high plank, then drive one knee toward the opposite elbow while the shoulders stay square. Switch sides in a steady rhythm. If your hips shoot up, slow the pace. If your shoulders start drifting, widen the feet a little.
The cleaner the plank, the better the twist. The knee should travel under control, not fling across the body. This one is nice in circuits because it raises the heart rate without needing a big setup or any gear.
20. Toe Reach Crunch
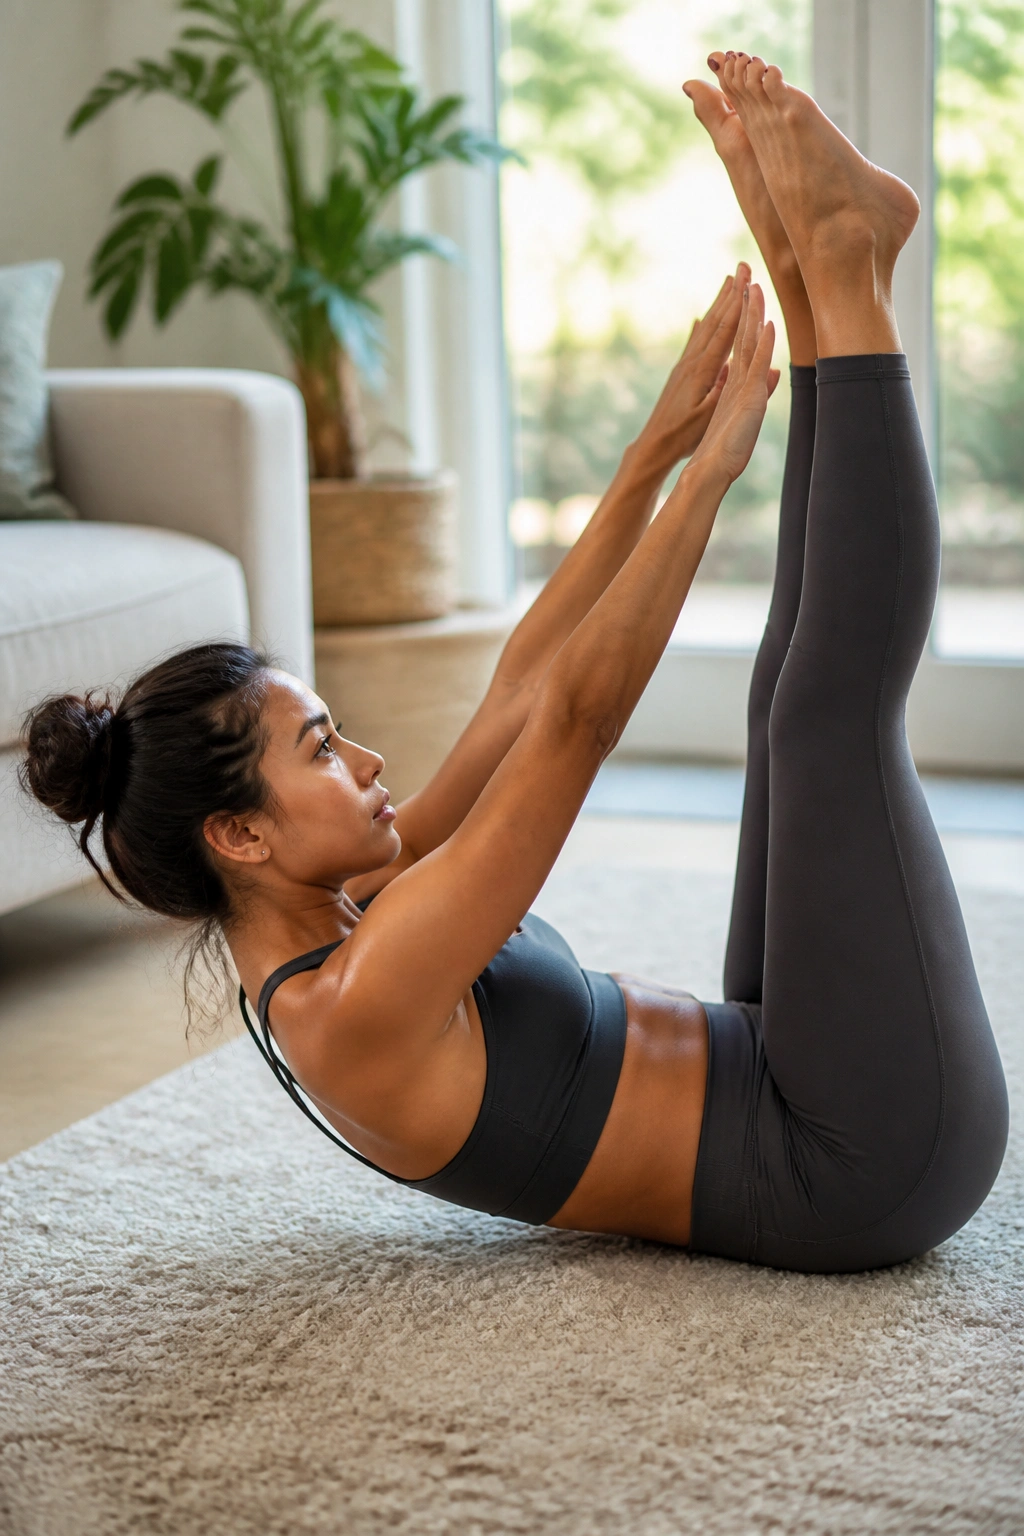
Toe reach crunches are a nice choice when you want a crunch pattern without letting the hips or neck take over. Legs point up, arms reach toward the toes, and the abs do the curling work.
Lie on your back with both legs lifted to the ceiling. Reach your hands toward your toes as the shoulder blades peel off the floor, then lower with control. If you cannot keep the legs vertical, bend the knees a little and keep the lift smaller.
The key is not to reach so hard that the shoulders yank forward. Use a short, crisp curl. You want the ribs coming toward the pelvis. That is the real job here, even if the hands are reaching high.
21. Boat Hold
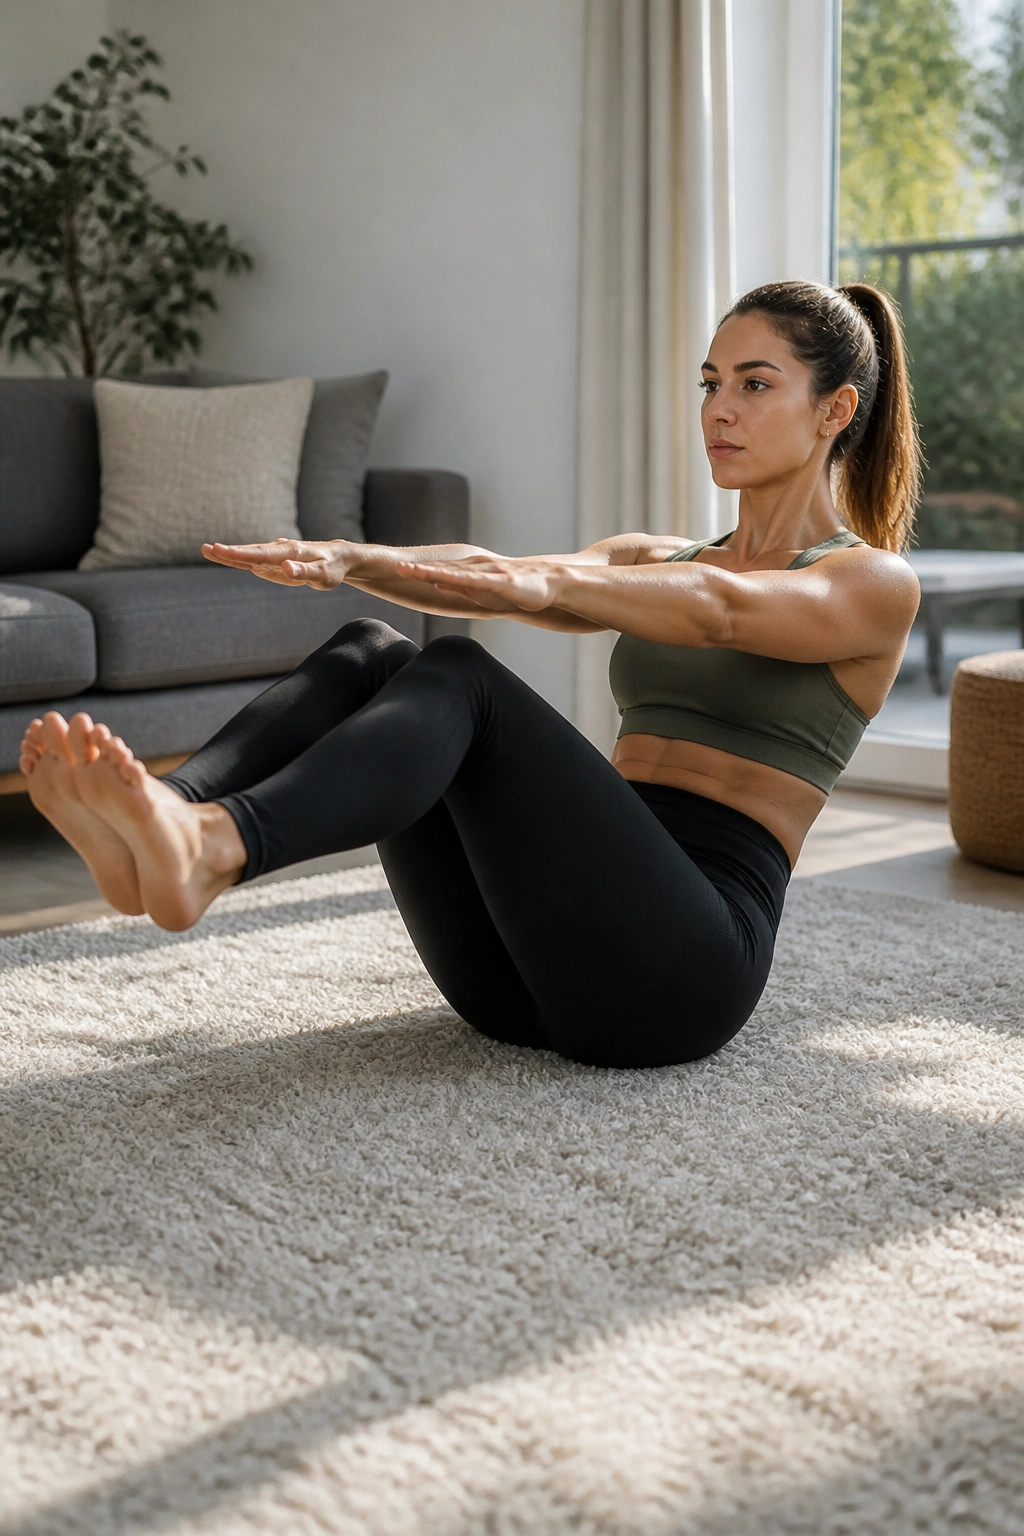
Boat pose in a core workout? Absolutely. The boat hold is basically a seated compression test, and it tells you pretty fast whether your front body can stay lifted without collapsing backward. It also teaches balance in a way the floor sometimes hides.
Sit down, lean back slightly, and lift your feet so the shins hover. Arms can reach forward to make it harder, or stay by your thighs if you need support. The chest stays open, the spine stays long, and the lower back does not round like a C.
How to modify it
- Easier: keep one heel on the floor.
- Easier: bend the knees more.
- Harder: straighten the legs a little more.
- Harder: lower the arms without losing the shape.
A good boat hold should feel demanding but tidy. If you are shaking, that is fine. If you are folding in half, back off a notch.
22. Plank Up-Down
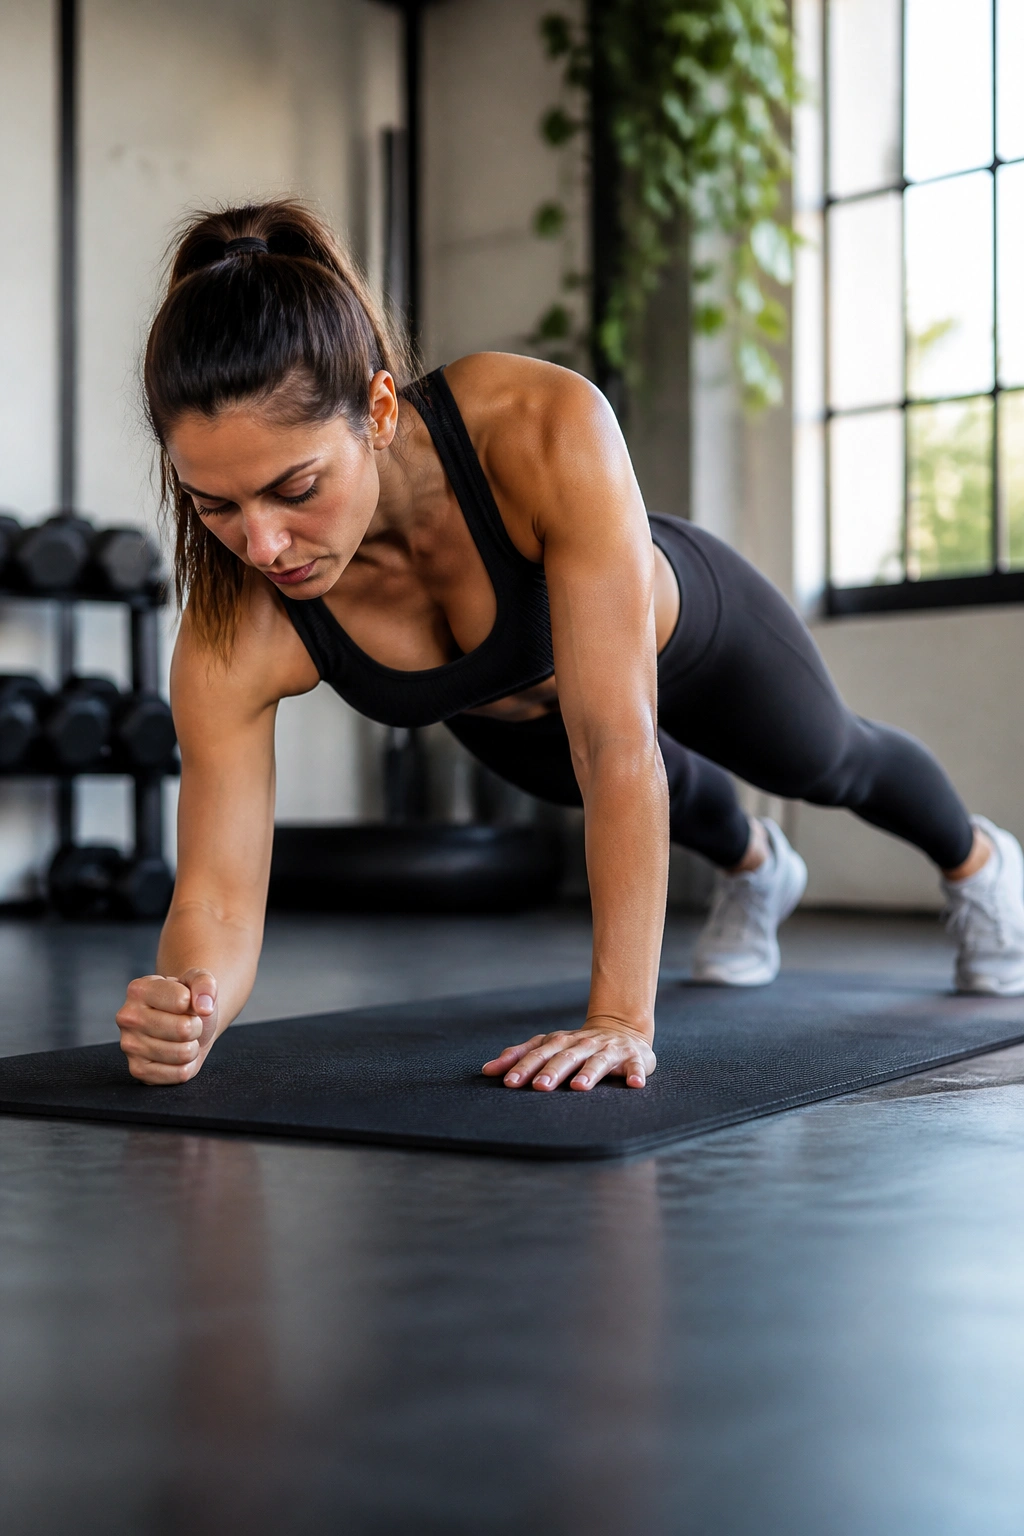
Plank up-downs turn a static brace into a transition drill, and that’s where they get spicy. You move from forearms to hands and back again while keeping the trunk from rolling around like a loose suitcase.
Start in a forearm plank. Press one hand into the floor, then the other, arriving in a high plank. Lower back down one forearm at a time. Alternate the lead hand so one side does not always take the first step.
The work should come from the core and shoulders together. If the hips sway a lot, slow the pace and widen the feet. Smooth transitions beat fast slop. A handful of controlled reps can be harder than twenty rushed ones.
23. Spiderman Plank
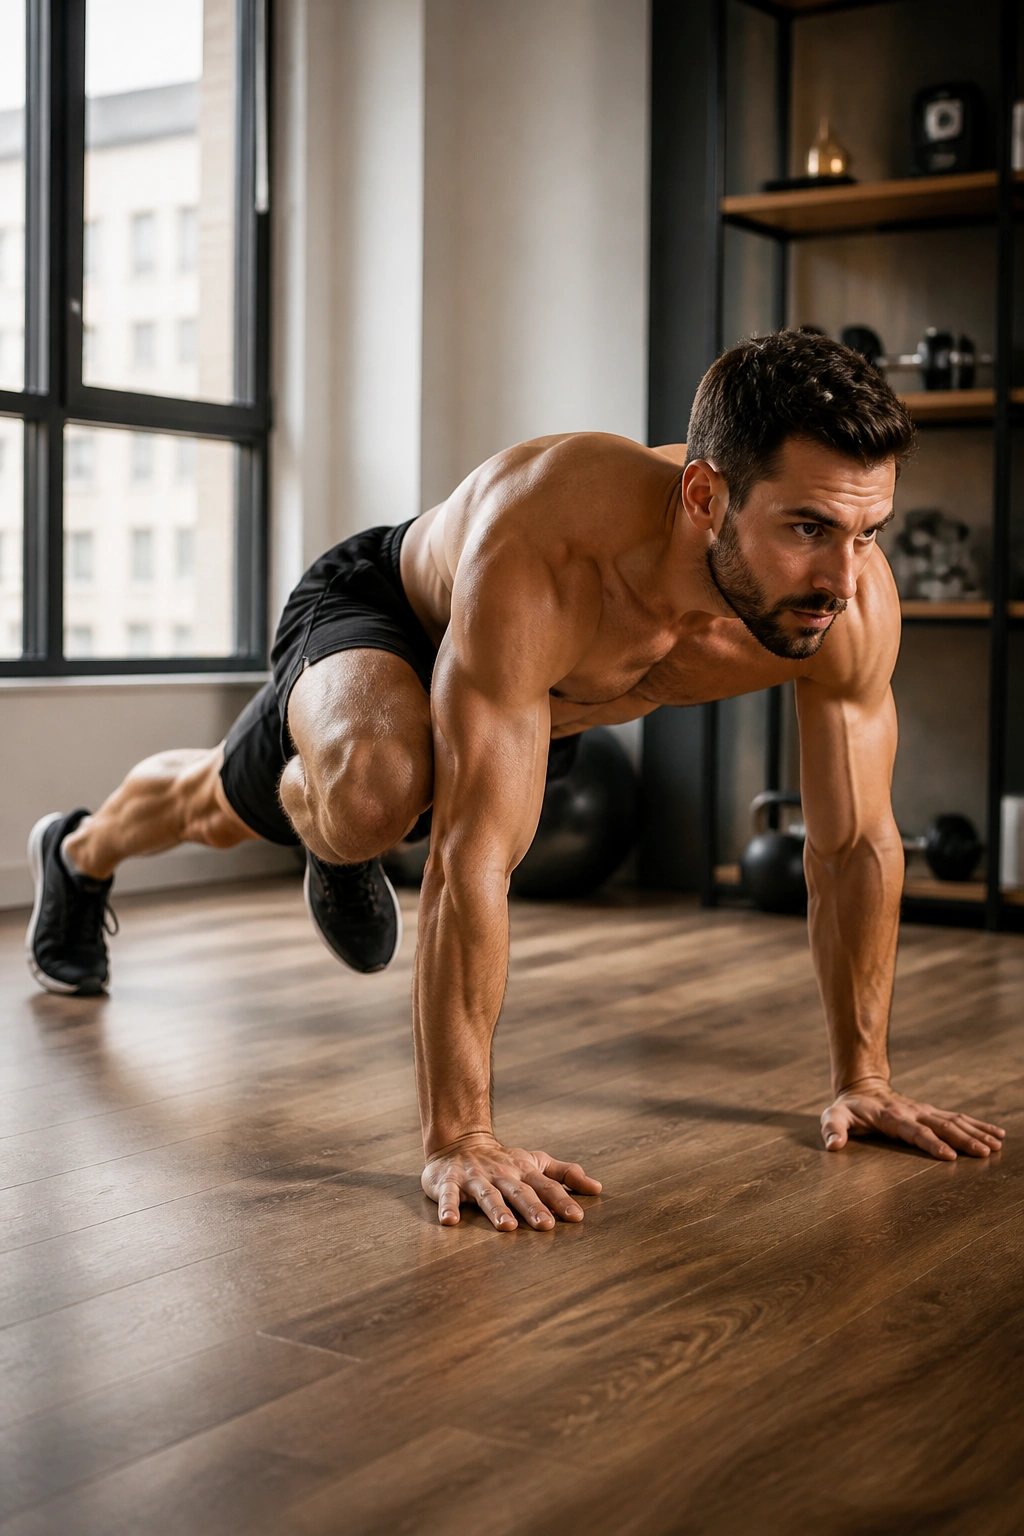
This is the plank for people who get bored easily. It also happens to be useful, because bringing the knee out toward the elbow adds hip motion and a bit more oblique demand than a straight climber.
Get into a high plank, then draw one knee toward the outside of the same-side elbow. Set it back down and switch sides. Try to keep the shoulders from drifting and the rib cage from collapsing toward the floor.
The movement should feel compact. You are not chasing a giant knee swing. You are keeping the trunk stable while the leg traces a clean line. If your wrists dislike the position, slow down and put the hands on an elevated surface like a bench or sturdy couch.
24. Hollow Rock
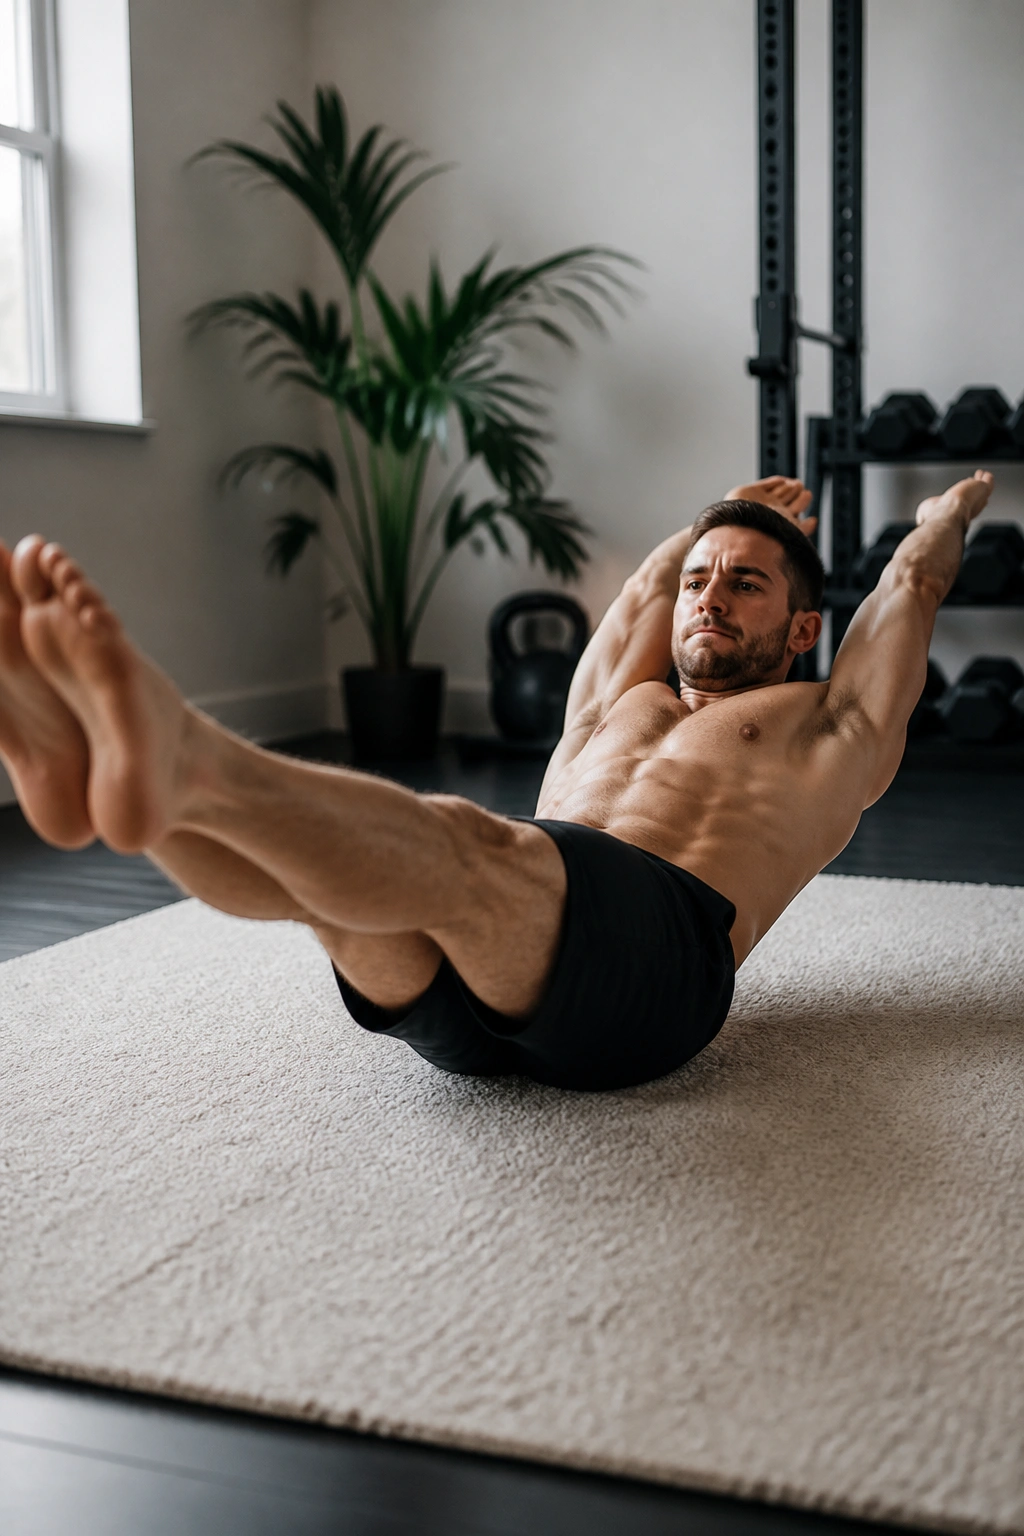
A hollow rock is only small when you do it right. It grows much harder the moment the body shifts out of shape, which is why the move has such a reputation for being sneaky.
Start in a hollow hold position: low back pressed down, arms overhead, legs long and low. Rock gently from shoulders to mid-back without losing the tucked ribs or the floor contact in the lower spine. If the body opens up, the rock turns into a flop and the set is over.
Short rocks are enough. You do not need to bounce across the room. The shape is the exercise. The movement just proves you can keep it while the body shifts.
25. Bear Crawl
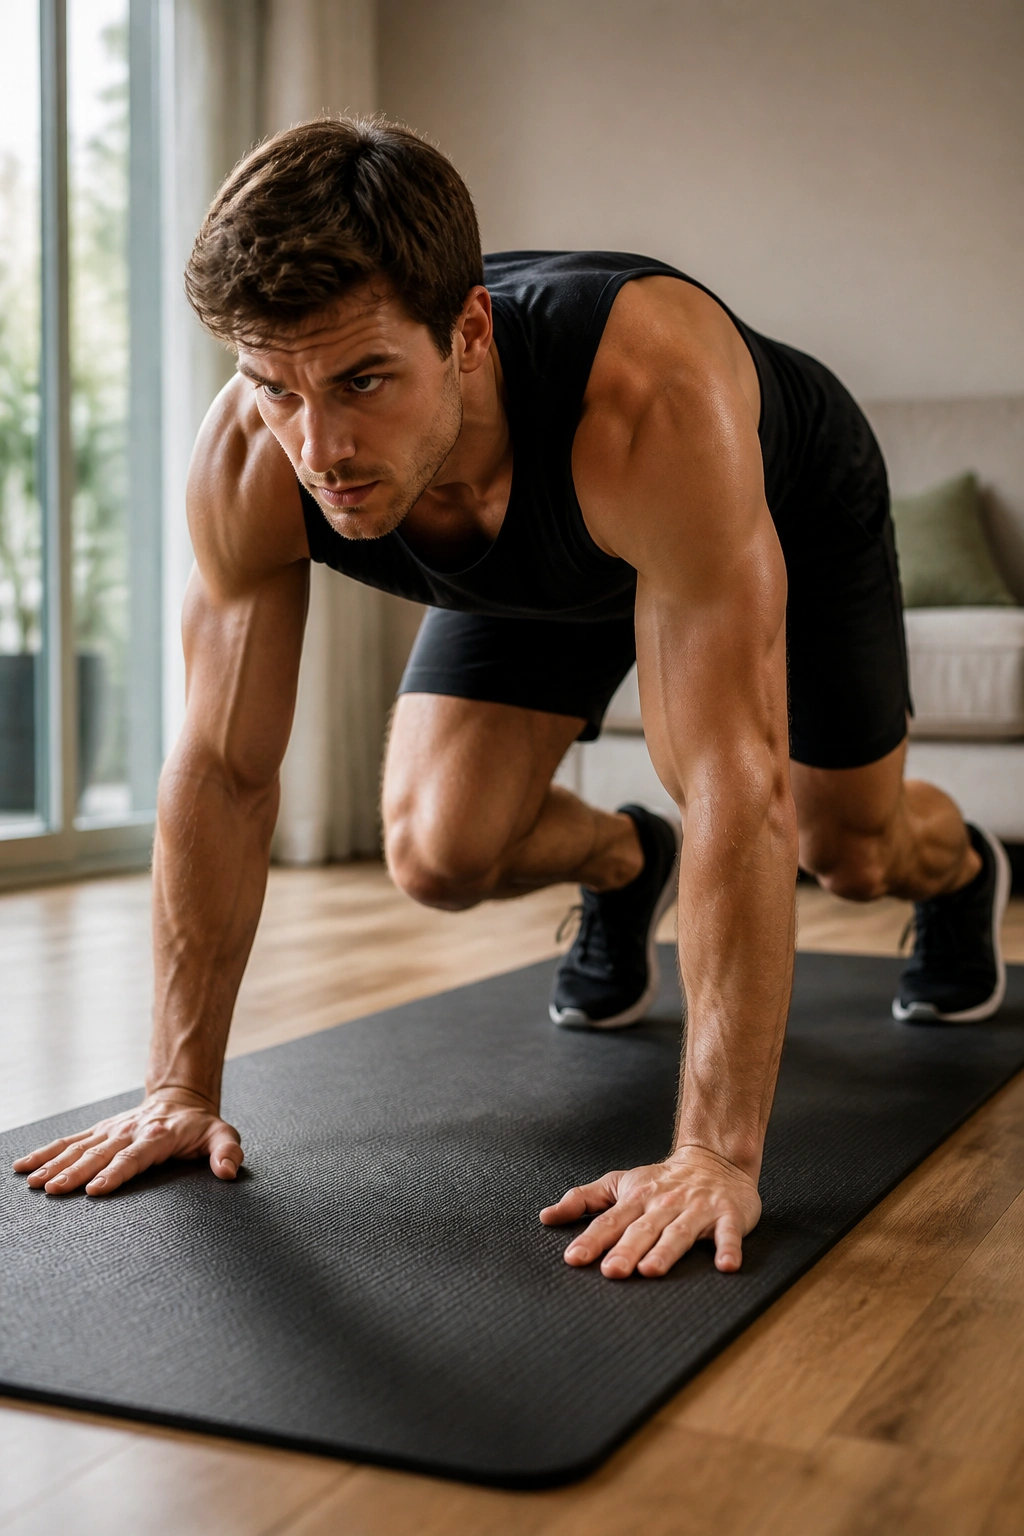
If you want one move that makes the whole trunk feel awake, this is it. The bear crawl asks for shoulder stability, abdominal tension, hip control, and a bit of coordination, all at the same time. It is messy in a useful way.
Start in the bear position with knees hovering just off the floor. Crawl forward with small opposite-hand, opposite-foot steps, then crawl backward if you have the space. Keep the knees low and the hips steady. If the room is tiny, crawl in place by moving one hand and the opposite foot a few inches at a time.
A bear crawl works well at the end of a core session because it exposes every sloppy link in the chain. That is not a bad thing. It means the body has to stay organized while everything is under load, which is exactly the kind of control that makes the rest of these at home core exercises feel more useful when you go back to them the next day.
