



A lot of people can fold like a pretzel and still struggle to hold a plank for 15 seconds. That is not a flexibility problem. It is a strength problem hiding inside a mobility problem.
The best yoga workouts that build strength and mobility do both at once. They ask your hips to open while your legs stay honest. They ask your shoulders to bear weight without collapsing. And they ask your core to keep the whole thing from wobbling apart.
That balance matters. A deep stretch that you can’t control is pretty, but it won’t help much when you need to step upstairs, reach a high shelf, or steady yourself on one leg. A strong shape that never explores range gets stiff in a different way. The useful work sits between those two.
So the trick is not chasing the deepest pose in the room. It is using slow transitions, holds, and smart sequencing so your body learns to move and support itself at the same time. Start with the move your body resists most.
1. Slow Sun Salutation A for Strength and Mobility
A slow sun salutation is not a warm-up you rush through while half-awake. Done well, it is a full-body test: shoulders, core, ankles, hamstrings, and the long line of the back all have to show up. The slow lowering into plank is where the work gets honest.
Why this version works
A typical fast flow can blur right past the hard parts. Slow it down, and you feel where your ribs flare, where your low back drops, and where your shoulders want to dump forward. That feedback is gold.
Use 4 to 6 rounds. On each round, lower from plank in a three-count descent. If chaturanga is rough on your shoulders, drop your knees before the lowering phase and keep the movement controlled. The goal is not a perfect shape. The goal is a clean one.
- Inhale to reach up.
- Exhale to fold.
- Step or hop back to plank.
- Lower in 3 slow counts.
- Press into upward dog or cobra.
- Send the hips back to down dog for 3 to 5 breaths.
Watch for this: if your lower ribs spill forward in plank, shorten the hold and tighten the exhale. That small correction changes everything.
2. Chair Pose to Knee Lift and Overhead Reach
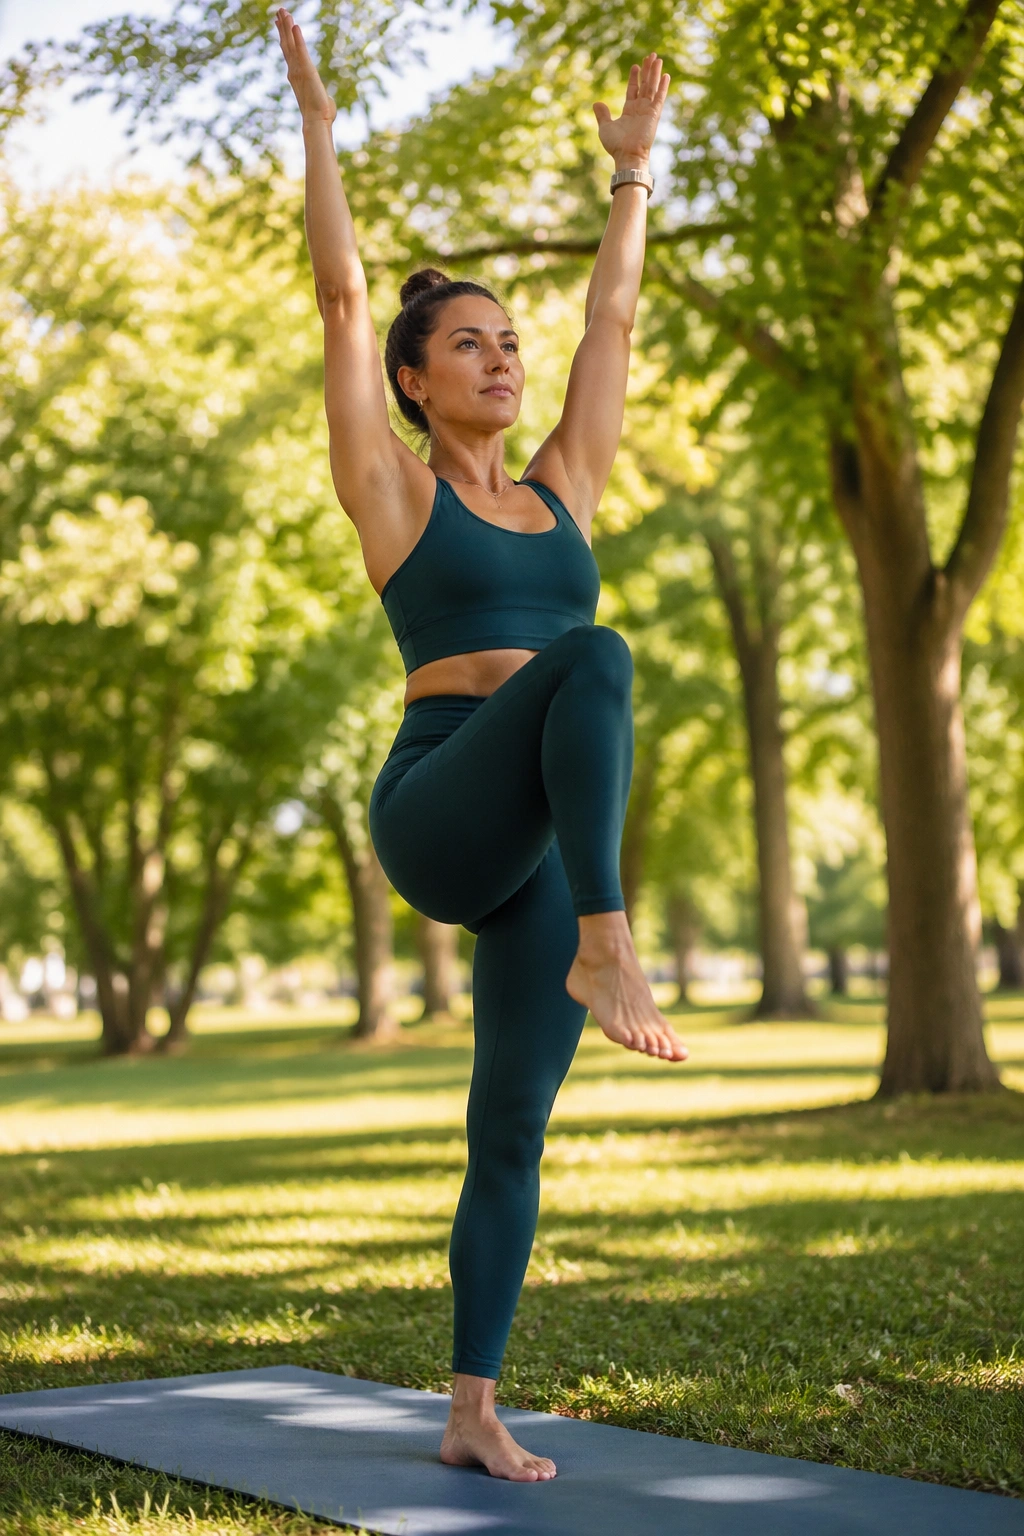
Can chair pose feel like leg day? Absolutely, if you stop treating it like a static sit-back and start moving one leg at a time. The knee lift wakes up the standing glute, ankle, and deep stabilizers around the hip.
This is one of the simplest yoga workouts that build strength and mobility without fancy choreography. Sit low for 3 breaths, stand tall, then drive one knee up to hip height while the arms reach overhead. The shift from two feet to one is where balance starts to matter.
How to run it
- Hold chair pose for 3 to 5 breaths.
- Stand, lift the right knee, and reach both arms up.
- Lower with control.
- Repeat on the left side.
- Do 3 rounds per side.
Keep your weight in the heel and outer edge of the standing foot. If the knee caves inward, you are dumping the work into the wrong place. The lifted leg should feel active, not decorative.
A small pause at the top helps. One beat. That is enough to make the standing leg do real work.
3. Plank to Down Dog Shoulder-Shift Circuit
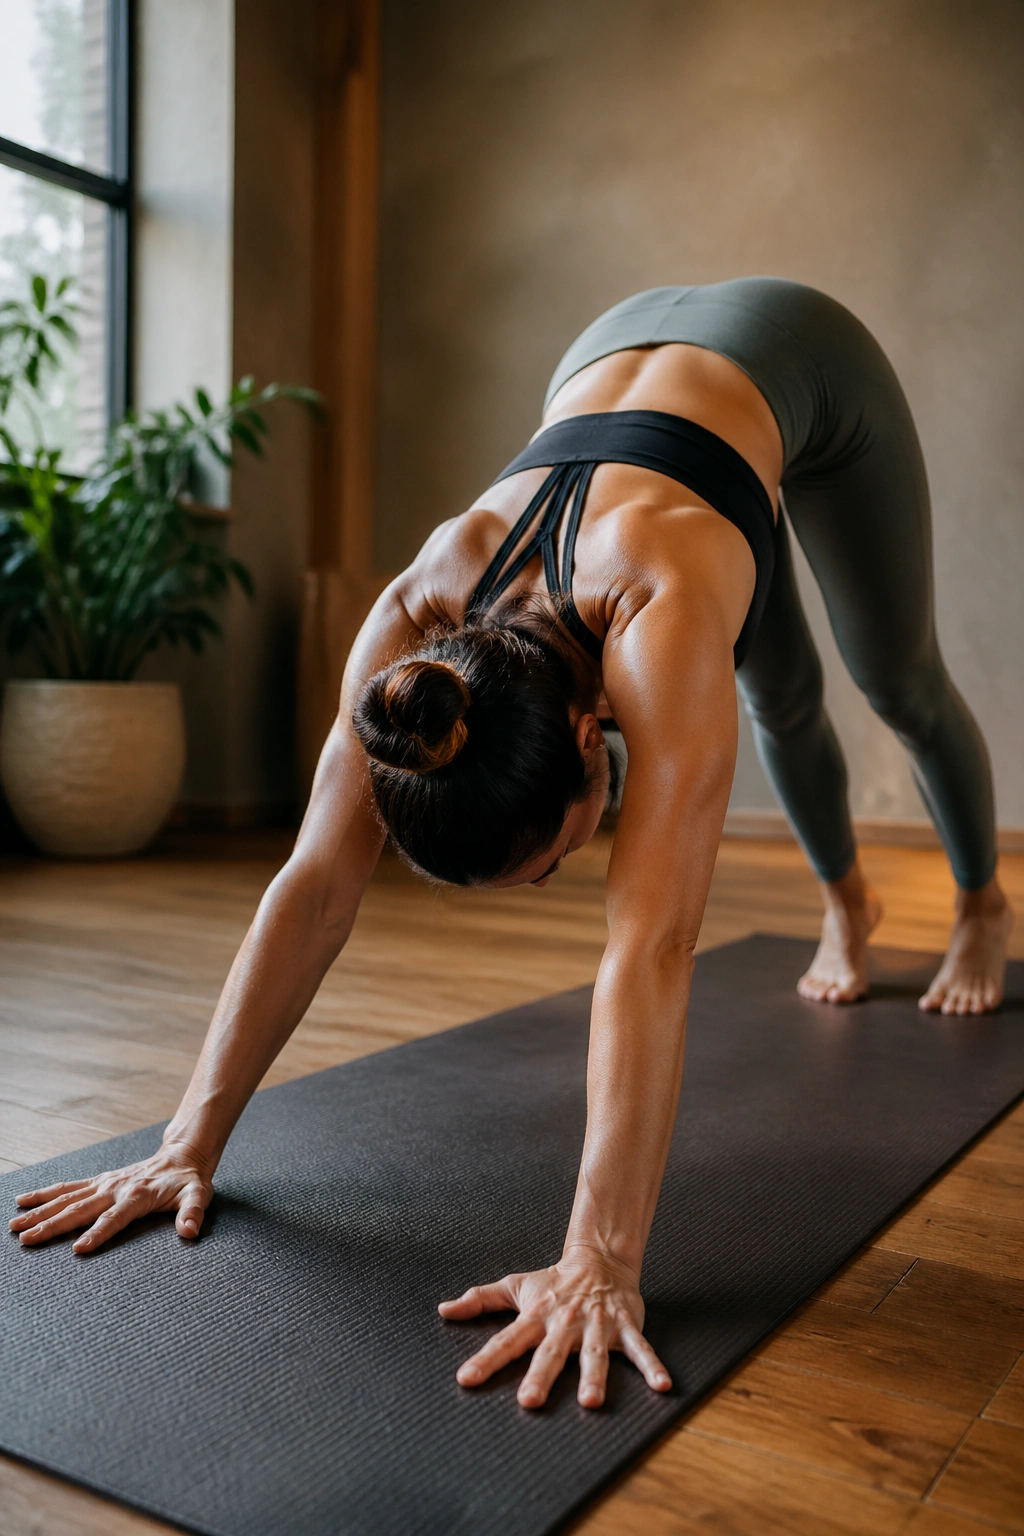
Put both hands down, step back to plank, then start shifting your shoulders a few inches forward and back. That is the whole idea, and it is sneaky in the best way. The motion looks tiny, but your shoulders, chest, serratus, and core all have to resist and organize themselves.
I like this drill because it shows you whether your plank is real or just a pose you survive. If your wrists feel cranky, spread the fingers wide and press through the pads of the knuckles. If the lower back sags, shorten the range right away.
What to notice
- Shoulder blades wrap around the ribs, not pinch together.
- The belly stays firm on the forward shift.
- Heels press back in down dog.
- Breathing stays smooth for 6 to 8 cycles.
Do 5 to 8 forward-back shifts in plank, then send the hips high and hold down dog for 3 breaths. Repeat the cycle 2 or 3 times. That back-and-forth is where mobility and strength start shaking hands.
No drama. Just precision.
4. Crescent Lunge Pulses With a Tall Torso Reach
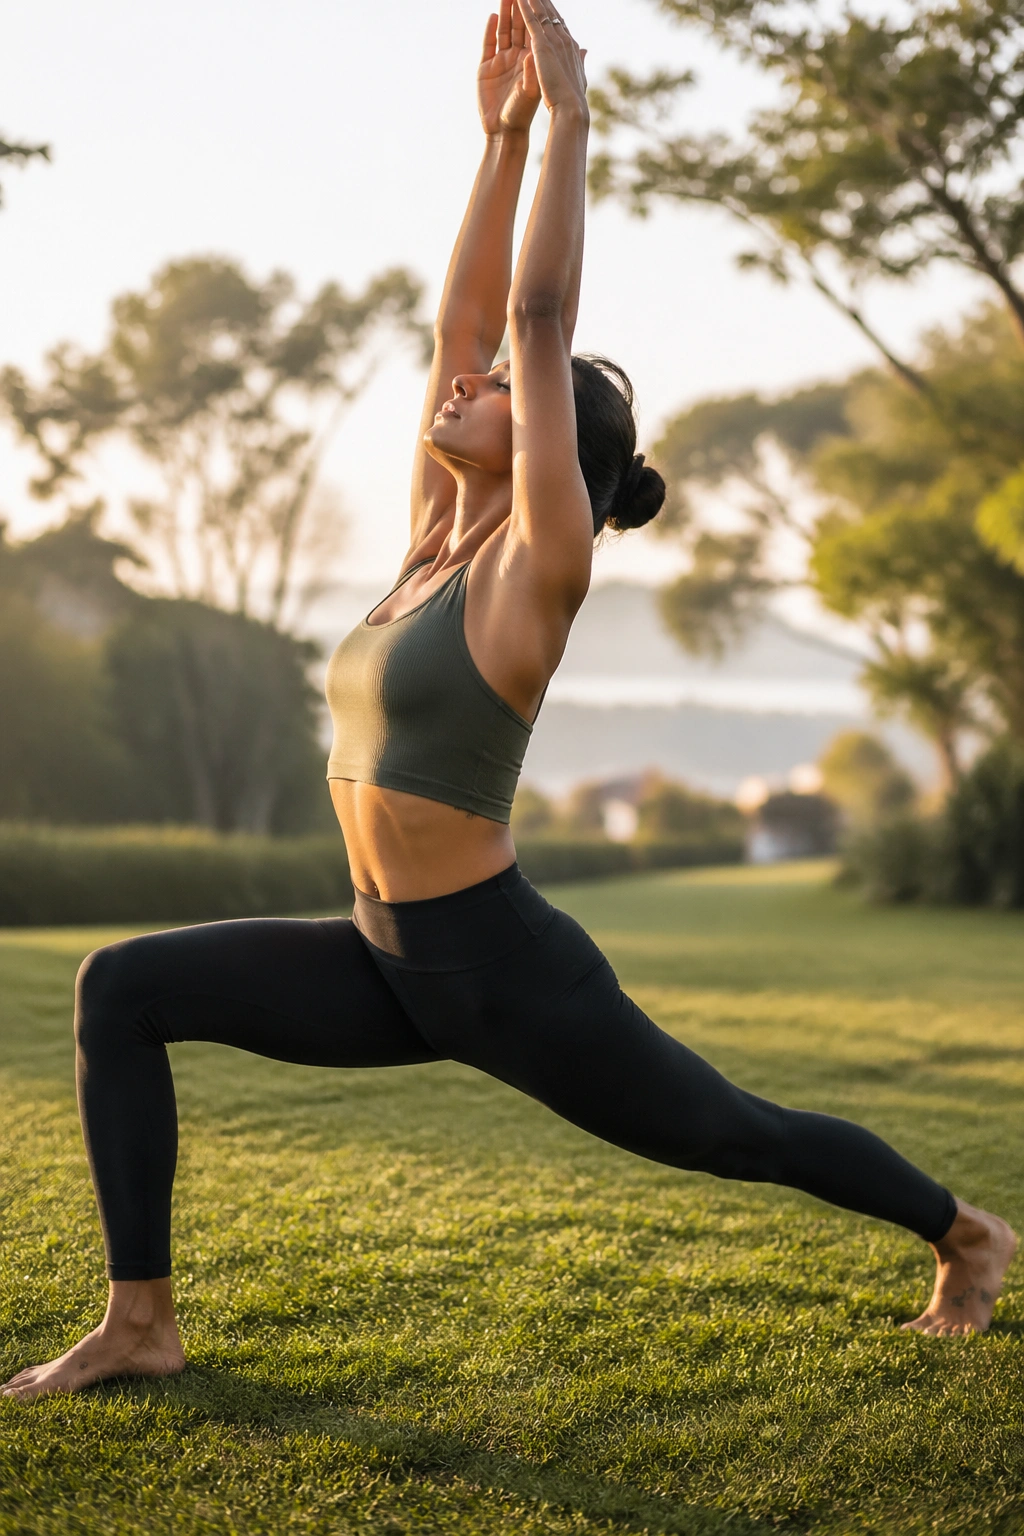
A low crescent lunge can turn into a hip-flexor stretch that does nothing for strength if you collapse into it. Keep the back leg alive, and the whole exercise changes. The pulse makes the front quad burn, and the overhead reach asks the rib cage to stay stacked instead of flaring open.
Take a long stance. Bend the front knee to about 90 degrees if your mobility allows it, then pulse 5 to 8 times with a small range. Reach both arms up and slightly back without dumping into the low back. That little reach lengthens the front line while the legs keep working.
Common mistake to avoid
Do not let the pelvis tilt forward just to fake a deeper stretch. That feels dramatic and gives you less. Keep the tailbone heavy and the back heel pressing back like you are dragging the floor behind you.
Use 2 rounds per side. On the last round, hold the bottom position for 5 breaths. That final hold is where the lunge stops being cute.
5. Warrior II to Reverse Warrior Side-Body Flow
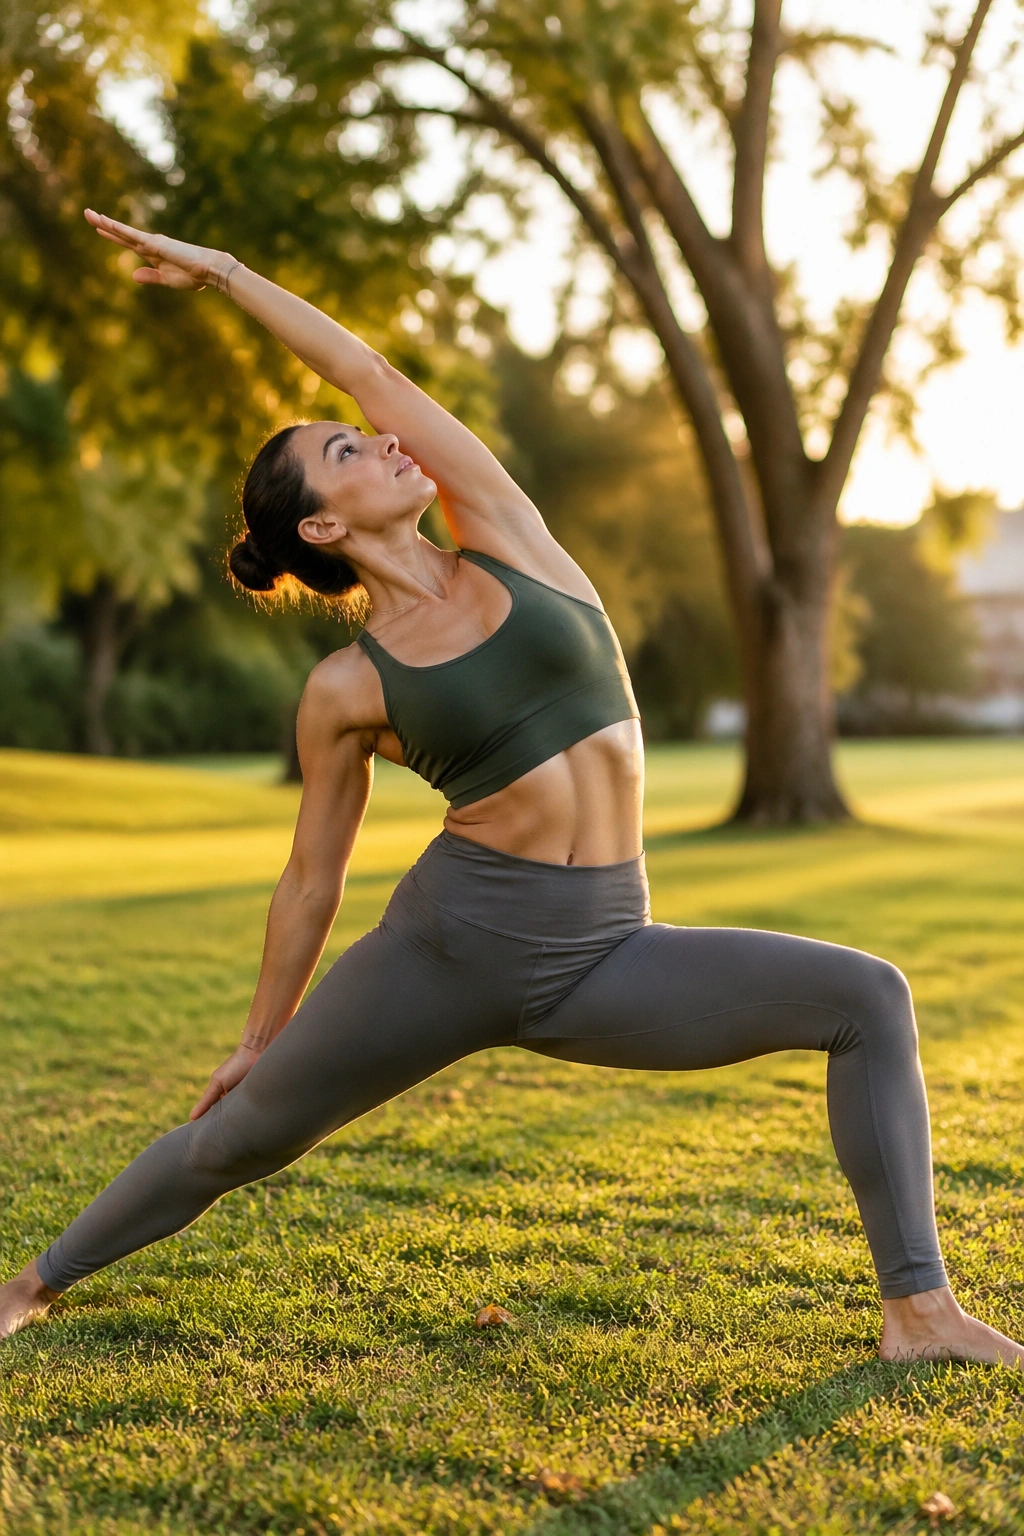
The outer thigh burn starts fast here. So does the side-body stretch. That is why this sequence feels so useful: it asks the legs to stay rooted while the ribs and torso explore a cleaner line.
Set up in Warrior II, then shift into reverse warrior without collapsing the front knee. The front leg keeps working while the top arm reaches back and the bottom hand glides down the back leg. The movement should feel broad, not rushed.
What makes it different
- Front knee stays tracking over the middle toes.
- Back foot stays heavy through the outer edge.
- Side ribs lengthen on the inhale.
- Front thigh stays engaged on the exhale.
Run 5 slow transitions per side. Hold reverse warrior for 2 breaths each time before returning to Warrior II. If you want more leg work, hover in the middle for one extra breath. You will feel the difference in the inner thighs and the arch of the front foot.
This one rewards patience. Move too fast and you miss the part where your side body actually opens.
6. Side Angle to Thread-the-Needle Twist
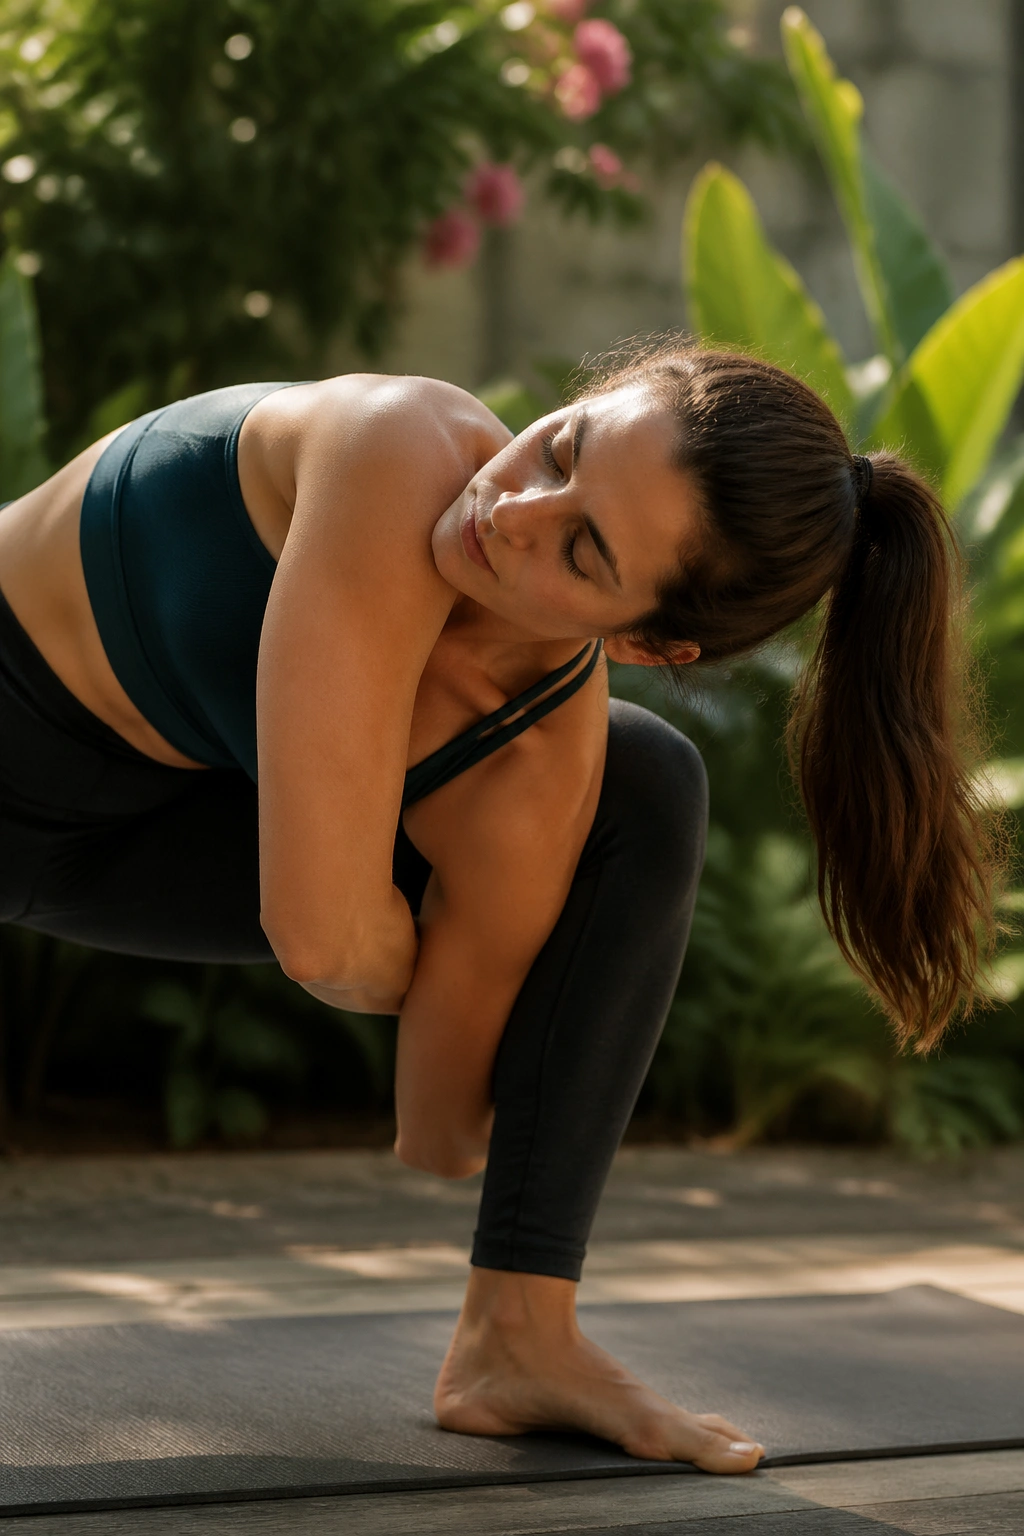
Breathe into the ribs. Turn. Reach. That is the rhythm, and it works because the twist comes from the spine and upper back rather than the arms yanking you around.
Start in side angle with the forearm on the front thigh or a block. Then thread the top arm under the body, letting the chest rotate while the hips keep some steadiness. The front leg should keep supporting you the whole time. If it doesn’t, the twist turns into a collapse.
How to get the most from it
Take 3 slow breaths in side angle first. Then move into the twist for 2 breaths. Return to side angle and repeat 3 times per side.
A block under the lower hand makes this cleaner. So does a smaller stance. People love a huge lunge until their back heel starts wobbling and their twist loses shape.
This is also a good place to notice your breathing. If the inhale gets stuck, back off the twist a notch. You want a wide rib cage, not a compressed one.
7. Low Lunge Hip Opener With a Hamstring Switch
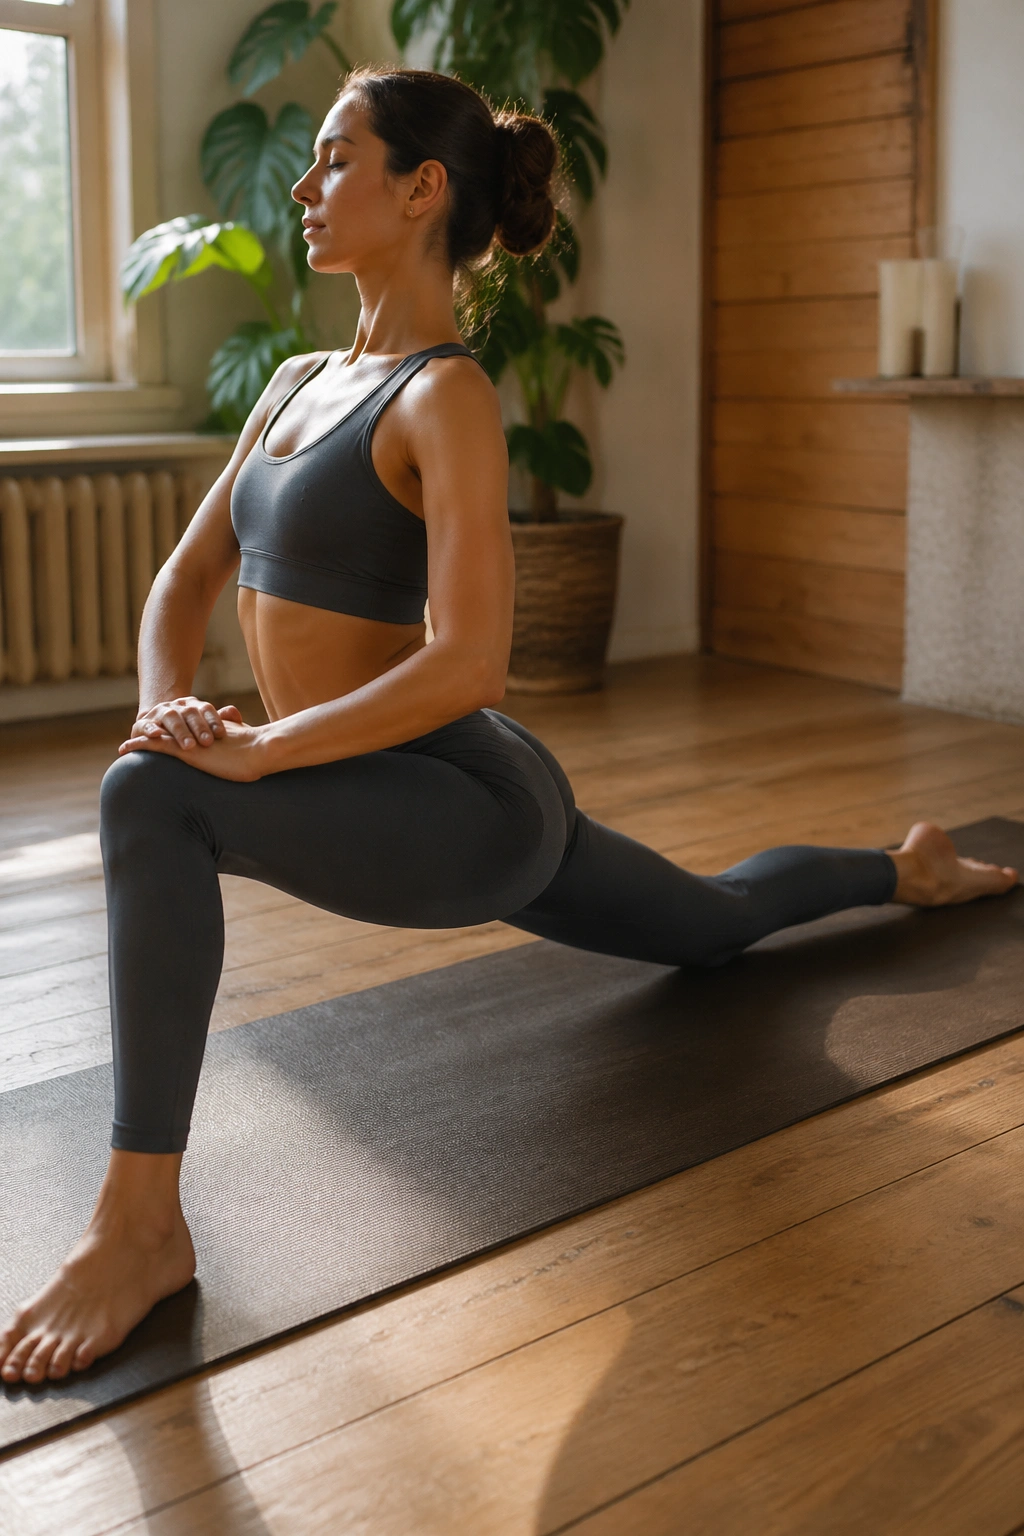
Ten breaths on one side can tell you a lot. If the front hip feels tight and the back leg feels lazy, this sequence fixes both problems at once by alternating between a low lunge and a half-fold over the front leg.
Step into a low lunge, then slide the hips back for a half split. Shift forward again. That back-and-forth trains the hip flexors to lengthen under load and the hamstrings to lengthen without going slack.
A simple pattern
- Low lunge for 3 breaths.
- Half split for 3 breaths.
- Move forward again.
- Repeat 4 times per side.
Keep the front foot flexed in half split. That helps the hamstring line stay active. If the hamstring grabs, soften the knee a touch and think about lengthening the spine first. The torso angle matters more than how far you fold.
This one is especially useful after too much sitting. The hips get a stretch, but they also learn to support your body weight again. That part matters.
8. Half Split to Lizard Crawl Sequence
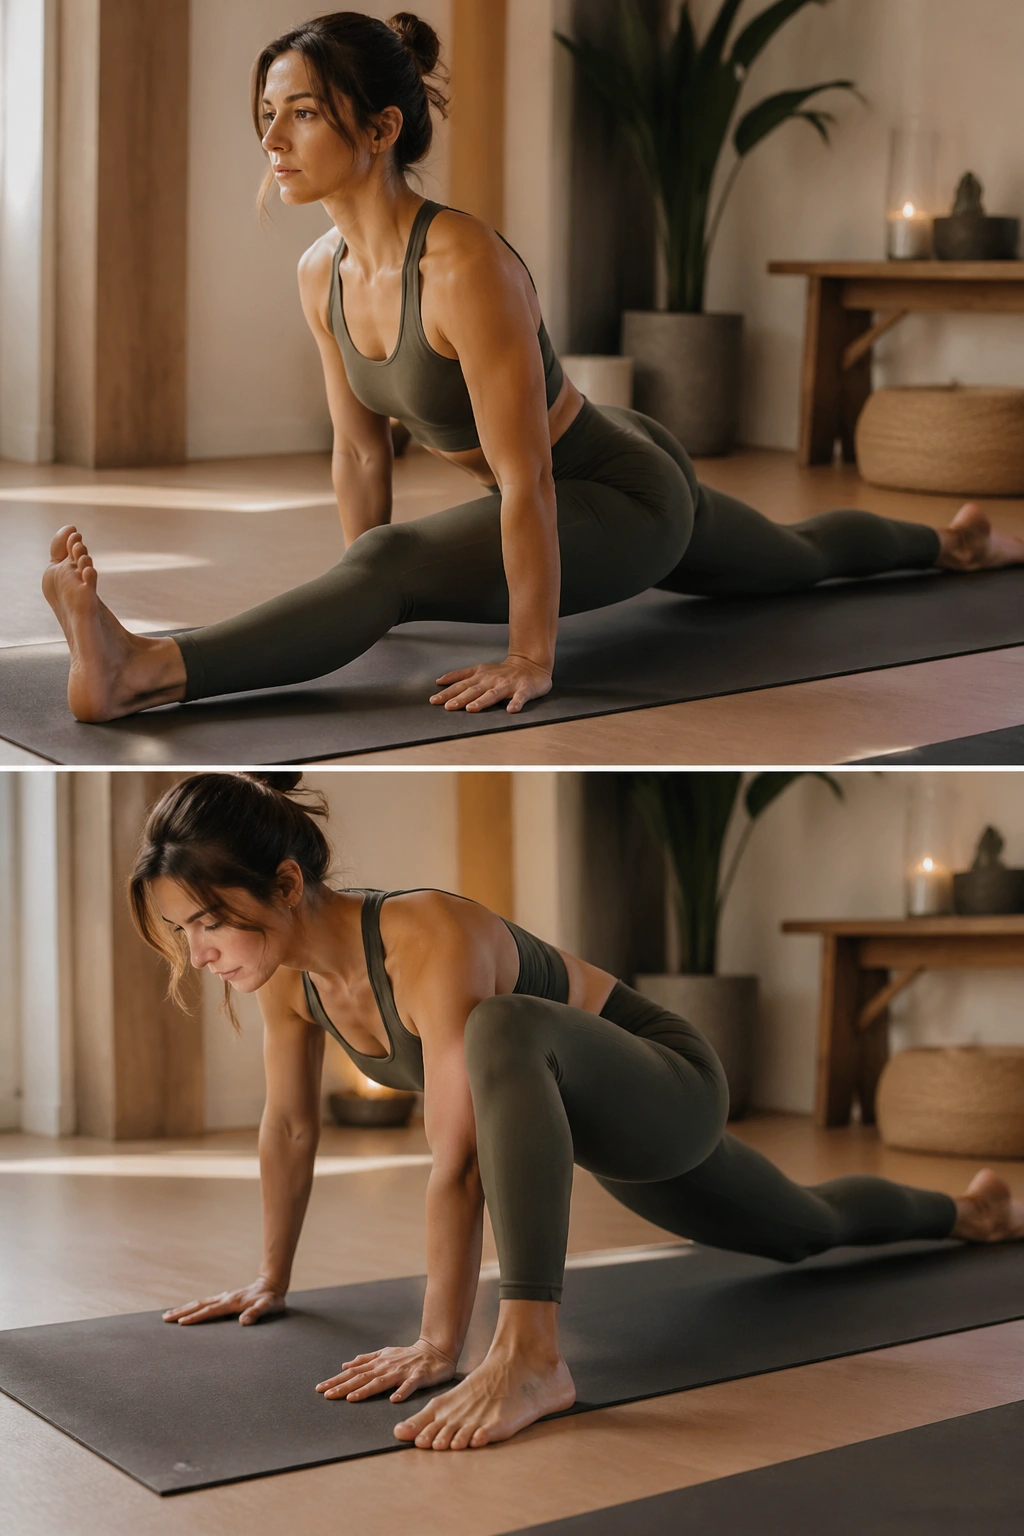
This is the one I reach for when the backs of the legs feel tight but I do not want to yank on them. It starts with a controlled half split, then slides into a lizard variation where the hips can open on one side while the other side keeps bearing weight.
Move slowly. Step from half split into a low lunge with both hands on the floor or on blocks, then crawl the front foot a few inches wider for lizard. Hold for 3 breaths, return to half split, and switch again.
The crawl matters. It makes the hips work for the opening instead of just hanging there.
Quick cues
- Front foot stays planted and steady.
- Back knee can lower to the mat.
- Hands stay on blocks if the floor is too far.
- Keep the neck long.
Run 3 to 5 switches per side. If the floor setup feels too deep, reduce the range. A smaller lizard still counts. A sloppy one does not.
9. Bridge Pose March and Hold
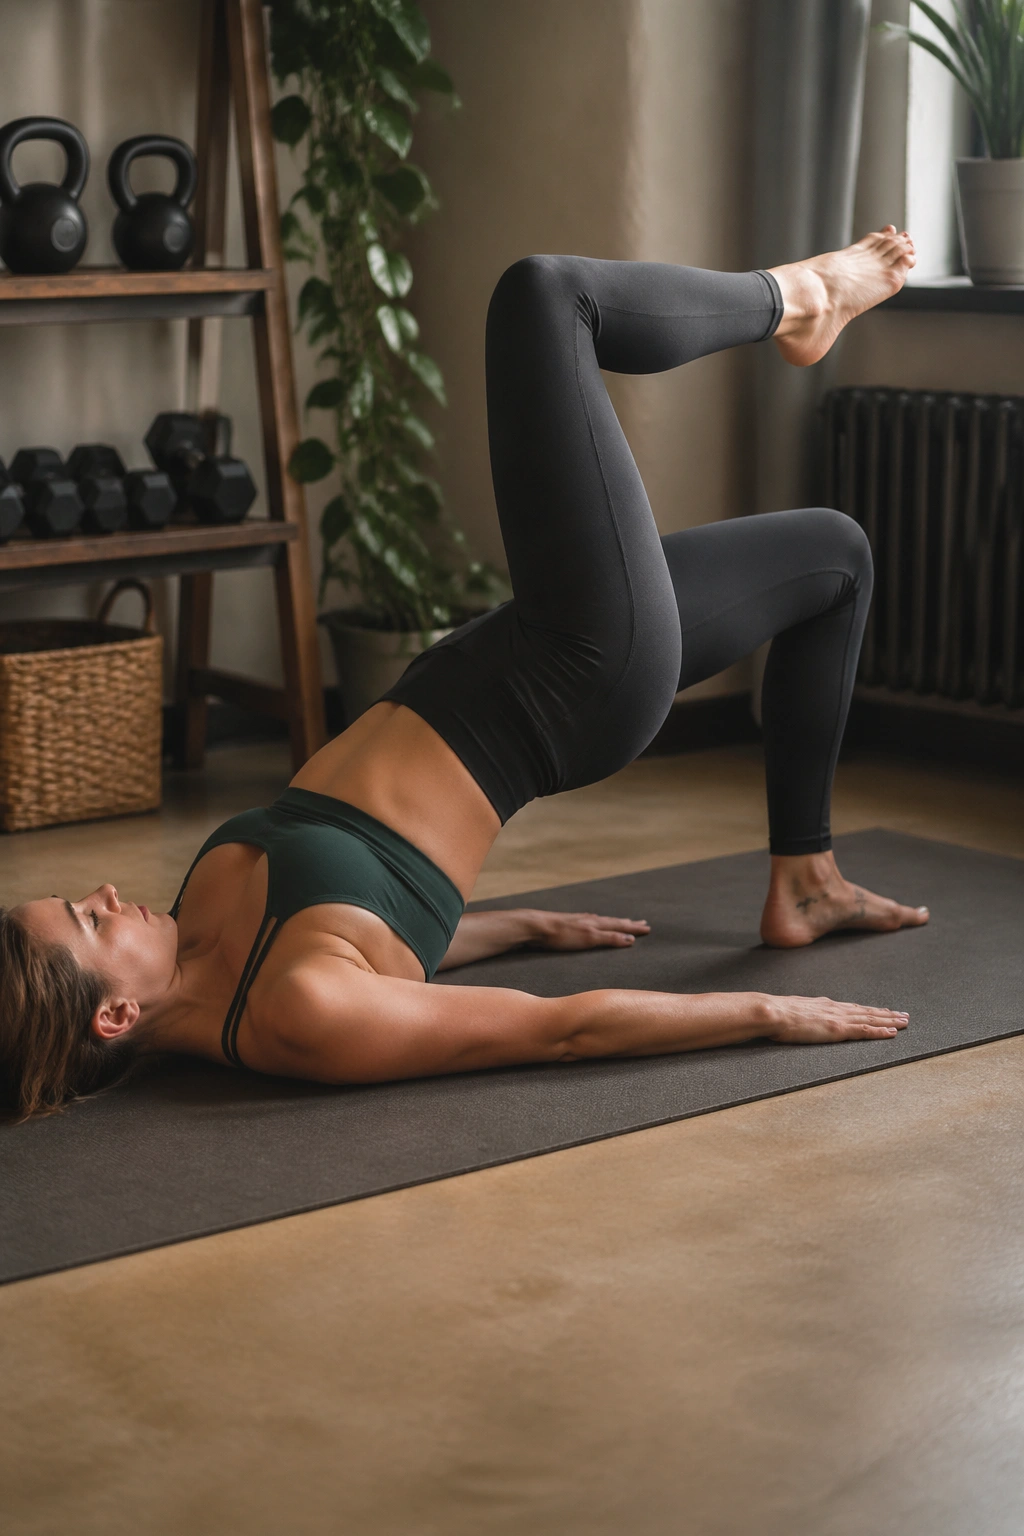
A bridge hold by itself is fine. Add marching, and the glutes have to keep the pelvis level while one leg leaves the floor. That is where the posterior chain wakes up.
Lie on your back with knees bent and feet hip-width apart. Lift into bridge, then slowly float one foot an inch off the floor for a single march. Lower it. Alternate sides for 6 to 10 marches while keeping the hips steady. If the pelvis rocks side to side, shorten the lift.
Why this one earns its spot
It builds glute strength without loading the spine in a harsh way. The front of the hips get a mild opening, the hamstrings help out, and the core has to stop the whole thing from tipping over.
For a tougher version, hold bridge for 20 to 30 seconds before the marches. That is enough time for the hamstrings to complain a little. Good. That means the work is real.
If your lower back takes over, lower the hips and reset. Bridge should feel like the back line doing its job, not your spine trying to be heroic.
10. Dolphin Pose Forearm Strength Set
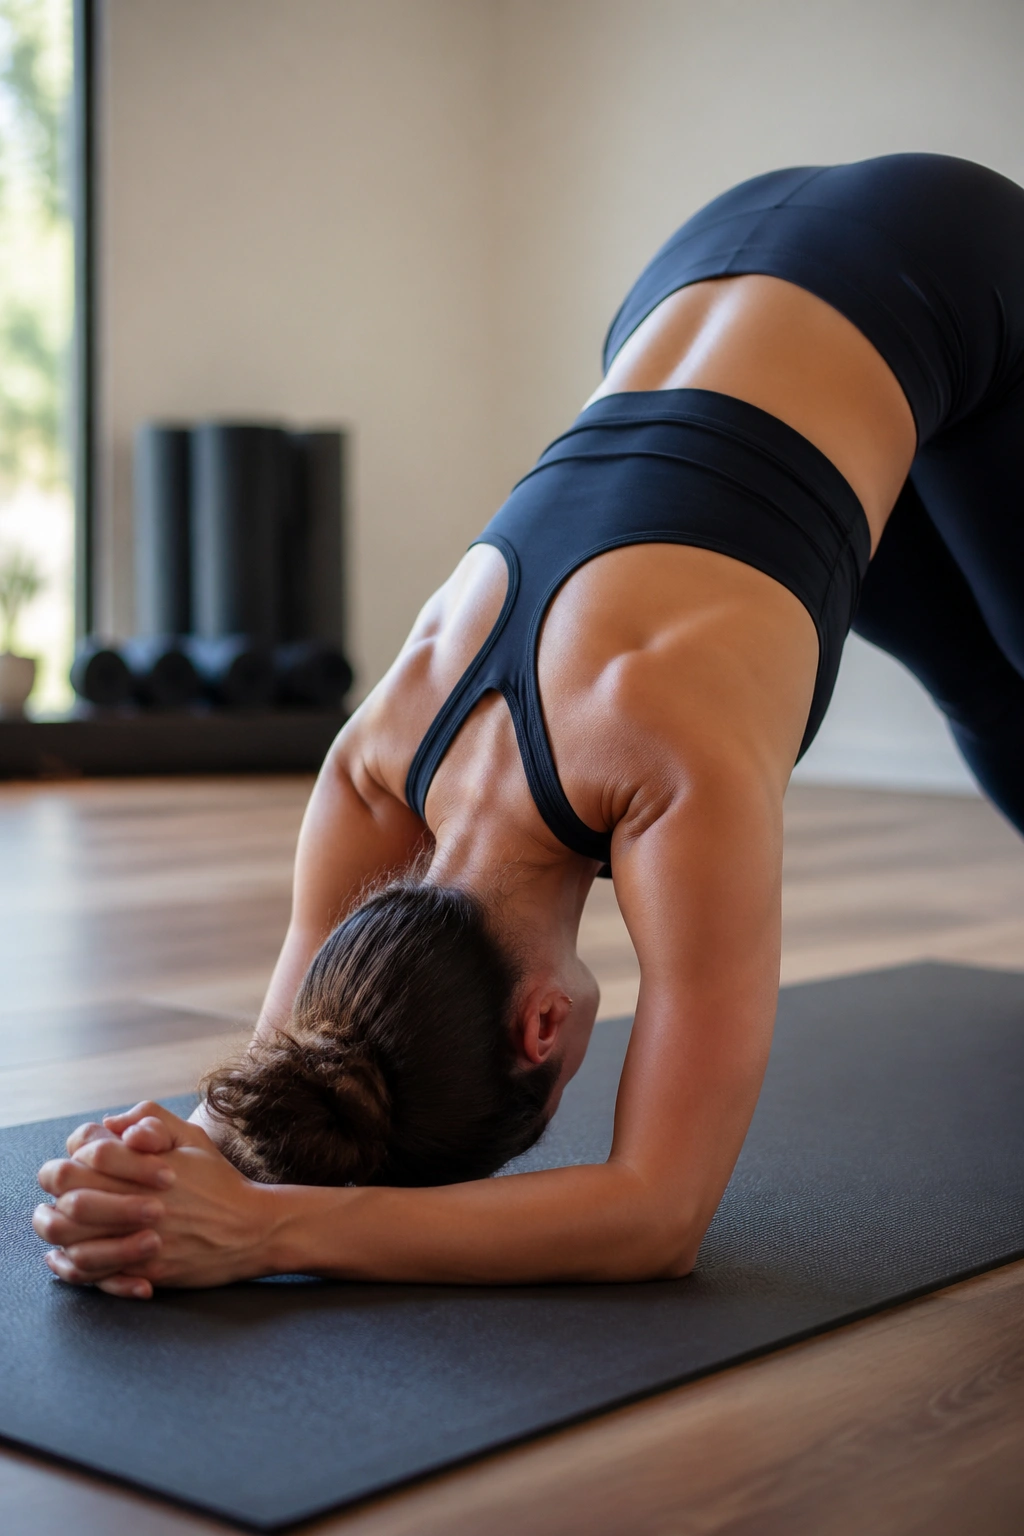
Need shoulder work without dumping into the wrists? Dolphin is the move. It looks simple from a distance, but it asks a lot from the upper back, rotator cuff, and core.
Set your forearms parallel, elbows under shoulders, and lift the hips. Walk the feet in until the spine feels long and the shoulders have to carry some weight. Stay there for 20 to 40 seconds, then rest. Repeat 3 times.
What to feel
- Forearms press evenly into the mat.
- Shoulders move away from the ears.
- Belly stays firm enough to keep the low back from sagging.
- Heels can stay lifted.
If the neck tightens, step the feet back a little. If the shoulders feel loose and lazy, walk the feet a touch closer. The sweet spot is that honest middle place where the shape feels manageable but not easy.
Use a folded blanket under the forearms if the mat is slippery. Little details help here. A lot.
11. Forearm Plank to Dolphin Rockbacks for Strength and Mobility
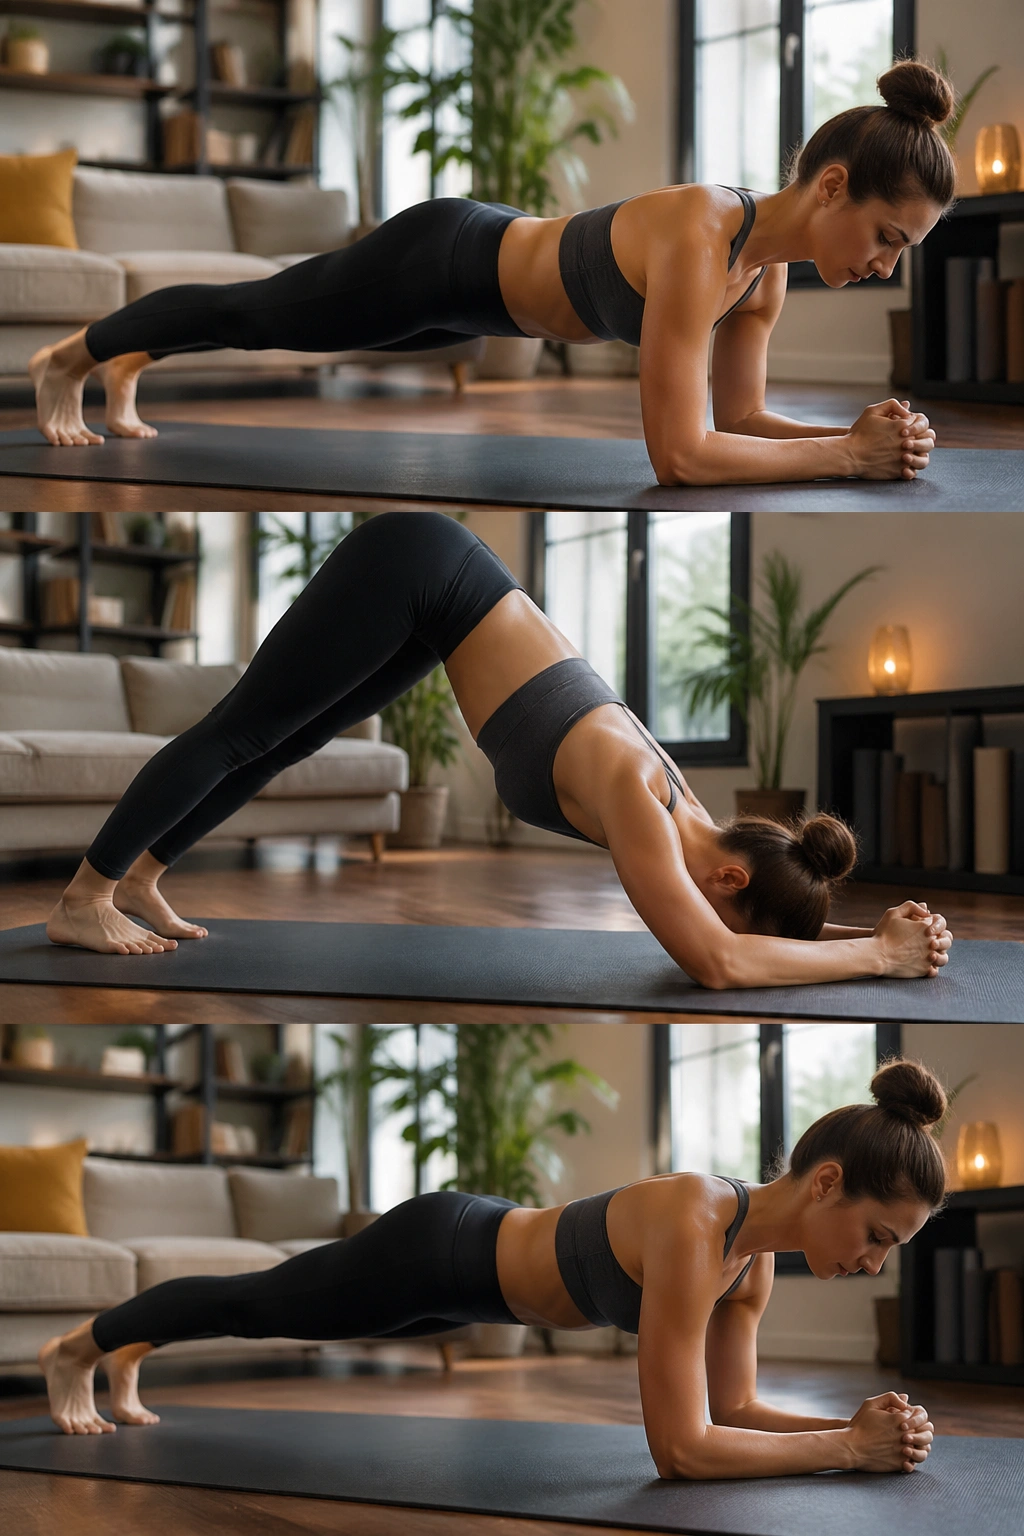
Forearm plank and dolphin are cousins, and the rockback between them is where the mobility work happens. You load the shoulders in plank, then shift back and let the back body lengthen without losing the arm line.
Start in forearm plank for 3 breaths. Rock the hips back toward dolphin, keeping the forearms planted, then glide forward again. Do 6 slow rockbacks. The motion should look controlled, almost boring. That is good.
The upper back gets to move while the core stays braced. That combination is what most people miss when they only chase static holds.
Setup notes
- Forearms stay shoulder-width apart.
- Fingers can interlace or stay parallel.
- Keep the ribs from dropping toward the floor.
- Stop if the shoulders pinch.
This is a nice one to pair with dolphin. One round of plank, one round of dolphin, then the rockbacks. You will feel the difference in the lats and the front of the shoulders.
12. Boat Pose With Heel Taps and Reach
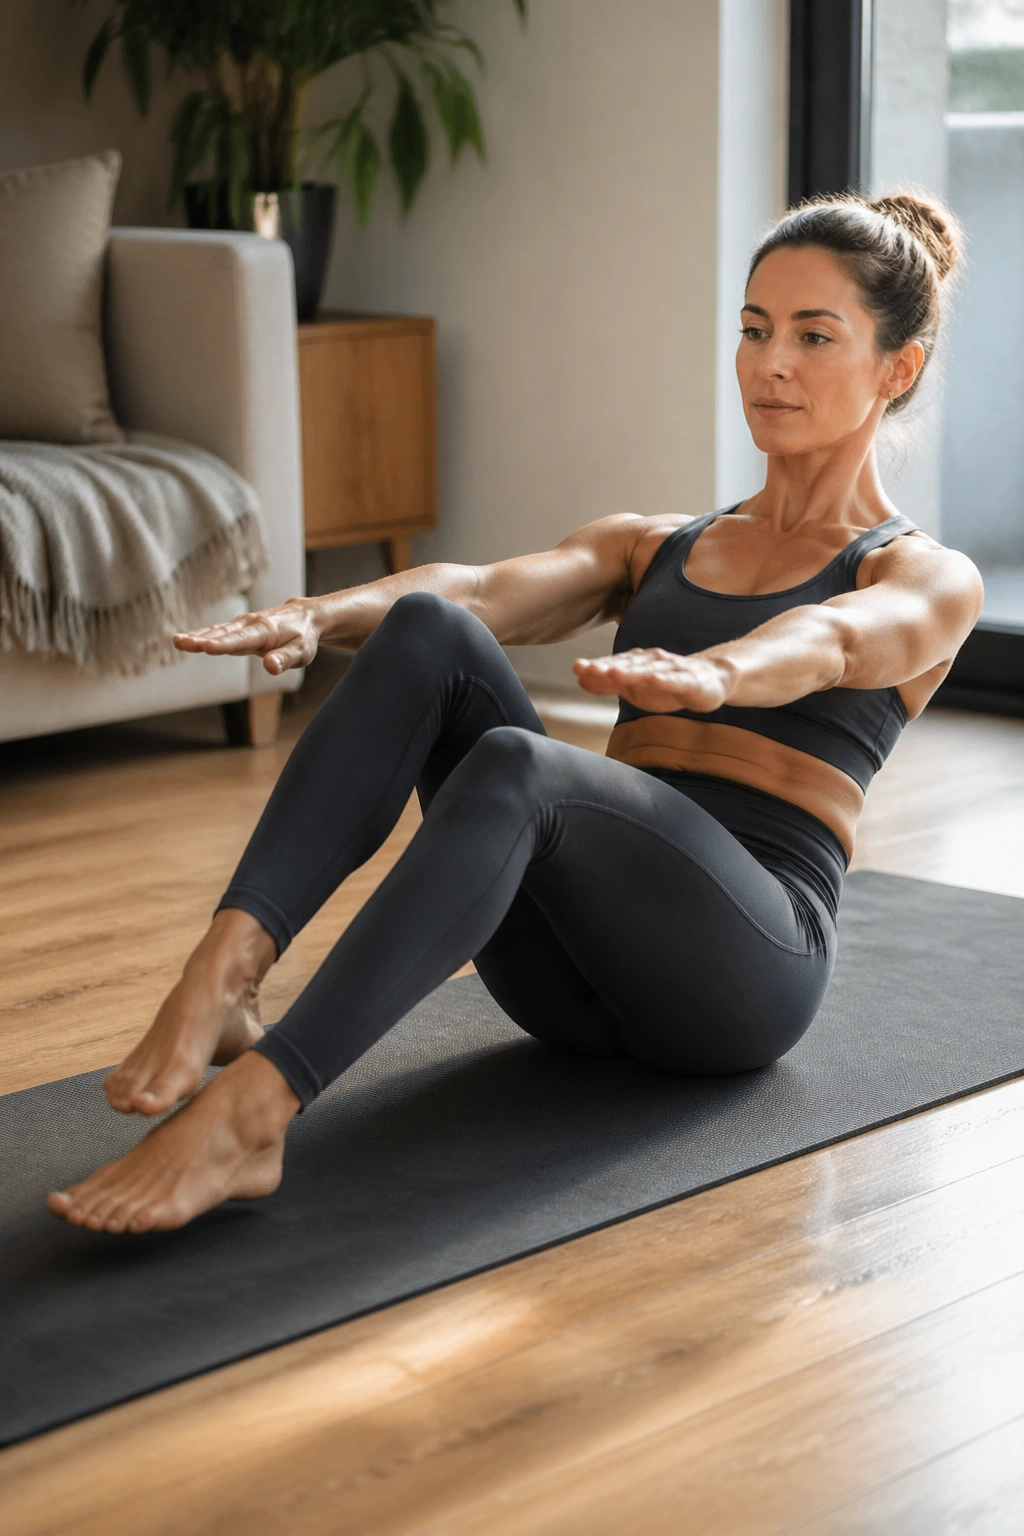
Boat pose is one of those shapes people either avoid or rush through. Both options miss the point. Slow heel taps make the abs do the actual work while the hip flexors stay involved, and the reaching arms keep the chest open enough to breathe.
Balance on your sit bones, knees bent, shins angled up. Hold the torso tall, then lower one heel to tap the floor lightly before lifting it back up. Alternate sides for 8 to 12 taps. If the low back rounds hard, bend the knees more.
A cleaner version
Start with the arms beside the thighs. If that feels stable, reach the arms forward. If that still feels steady, straighten the legs a bit more. Do not jump steps. Boat gets messy when people skip straight to the hardest variation.
Two sets of 30 seconds is enough for most people. Rest flat on the mat between sets and let the hip flexors relax for a moment. They earn it.
13. Crow Prep on Blocks and Frog Rocks
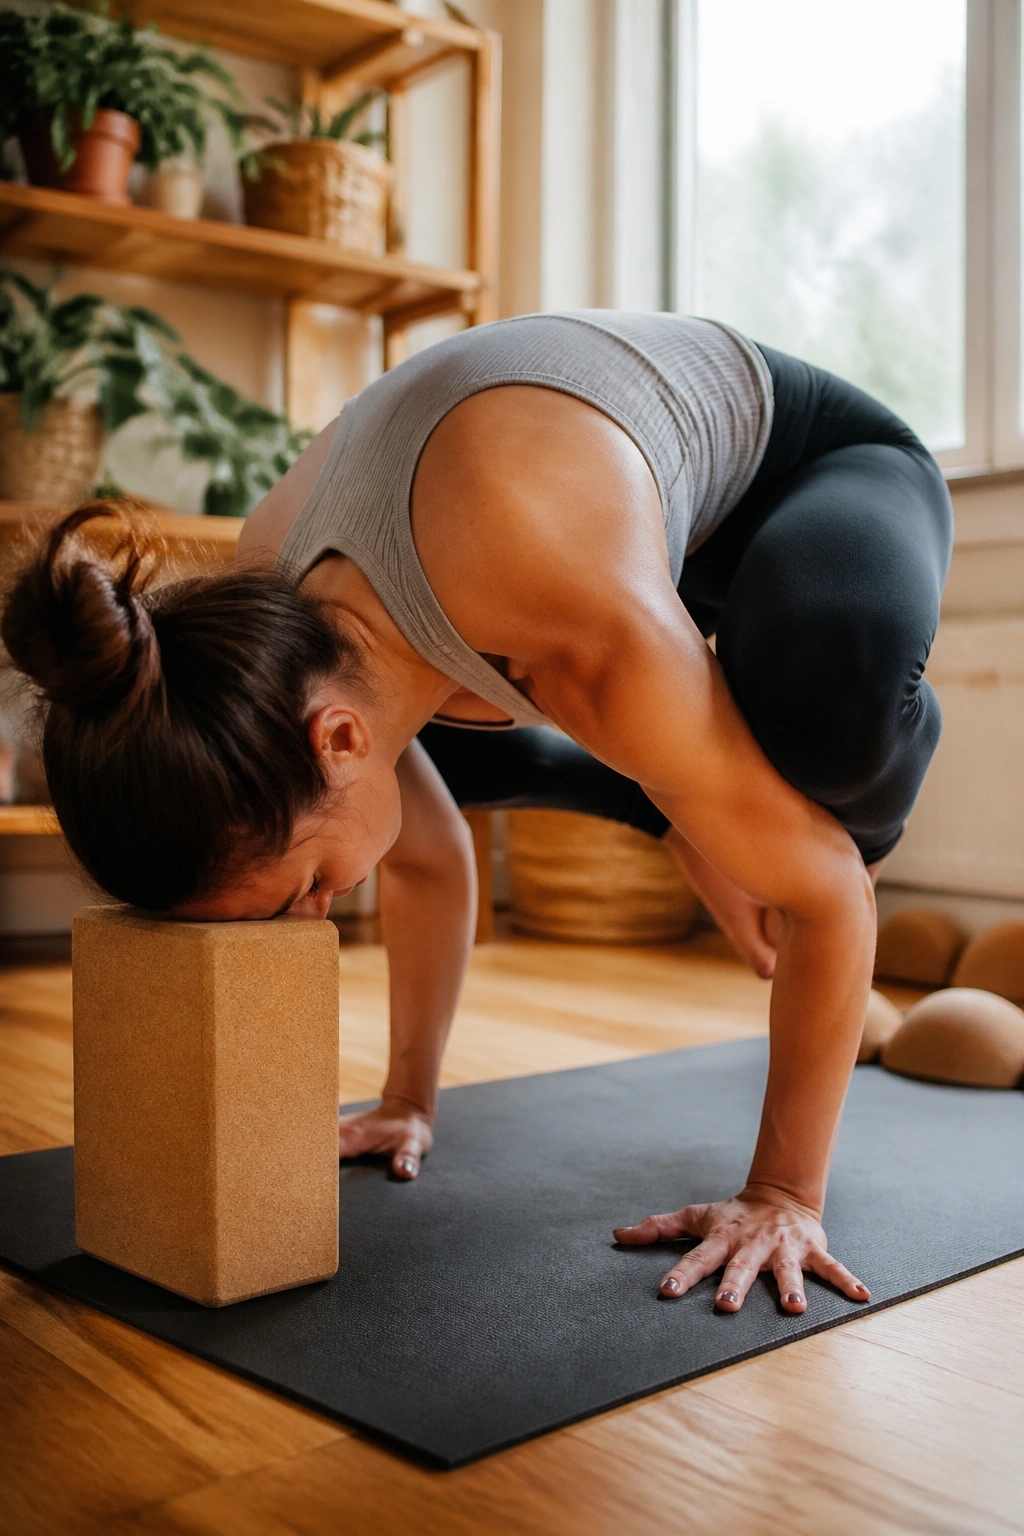
Crow is not about lifting your feet first. It is about learning to lean without panicking. Blocks under the forehead or hands make that lesson a little kinder, and the frog rock gives you the shoulder angle without the full commitment.
Set the hands shoulder-width apart, feet wide, and bend the elbows slightly. Shift forward until the toes feel light, then rock back. Do 5 to 8 attempts. If you are ready, place one foot on a block and test a tiny lift. Tiny counts.
What to watch for
- Fingers stay active.
- Elbows point back, not out wide.
- The gaze stays a few inches ahead of the hands.
- The breath stays even.
Frog rocks can be done with the knees wide and the hips low, then forward and back in a short range. It feels a little odd at first. That oddness is part of the value. The body learns load in a shape it does not use every day.
Do not chase the hover. Chase the shift.
14. Warrior III to Airplane Hinge Practice
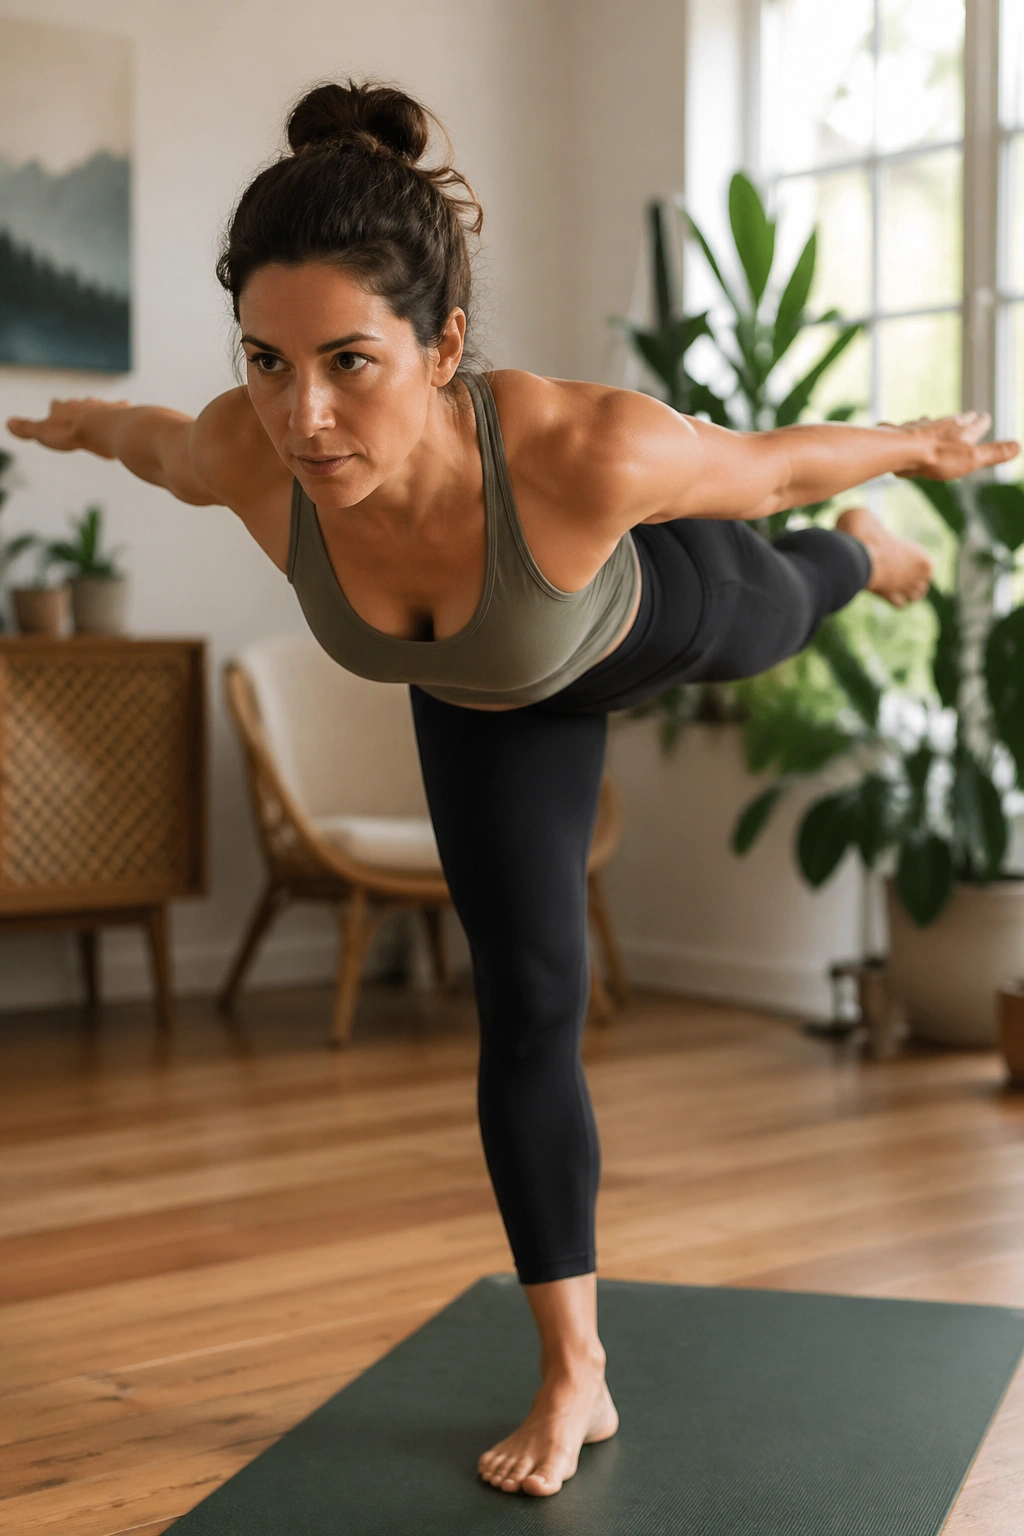
A lot of standing balance work falls apart because people never learn the hinge. Warrior III and airplane teach the body to tip forward without collapsing through the waist or overgripping the standing foot.
Start in a small single-leg hinge with the back leg lifting to hip height. Open the arms out to airplane, then fold back into Warrior III. Move between the two shapes for 4 to 6 reps per side. Keep the chest broad even when the torso leans forward.
The standing hamstring will talk. The glute on the lifted-leg side will also work harder than you expect.
Tiny details that matter
- The standing knee stays soft, not locked.
- Hips stay mostly square to the floor.
- Gaze fixes on one point.
- The lifted leg reaches long, not high.
If balance is rough, keep the toes of the back leg on the floor as a light kickstand for the first round. That is not cheating. It is smart.
15. Triangle Pose to Half Moon Balance Series
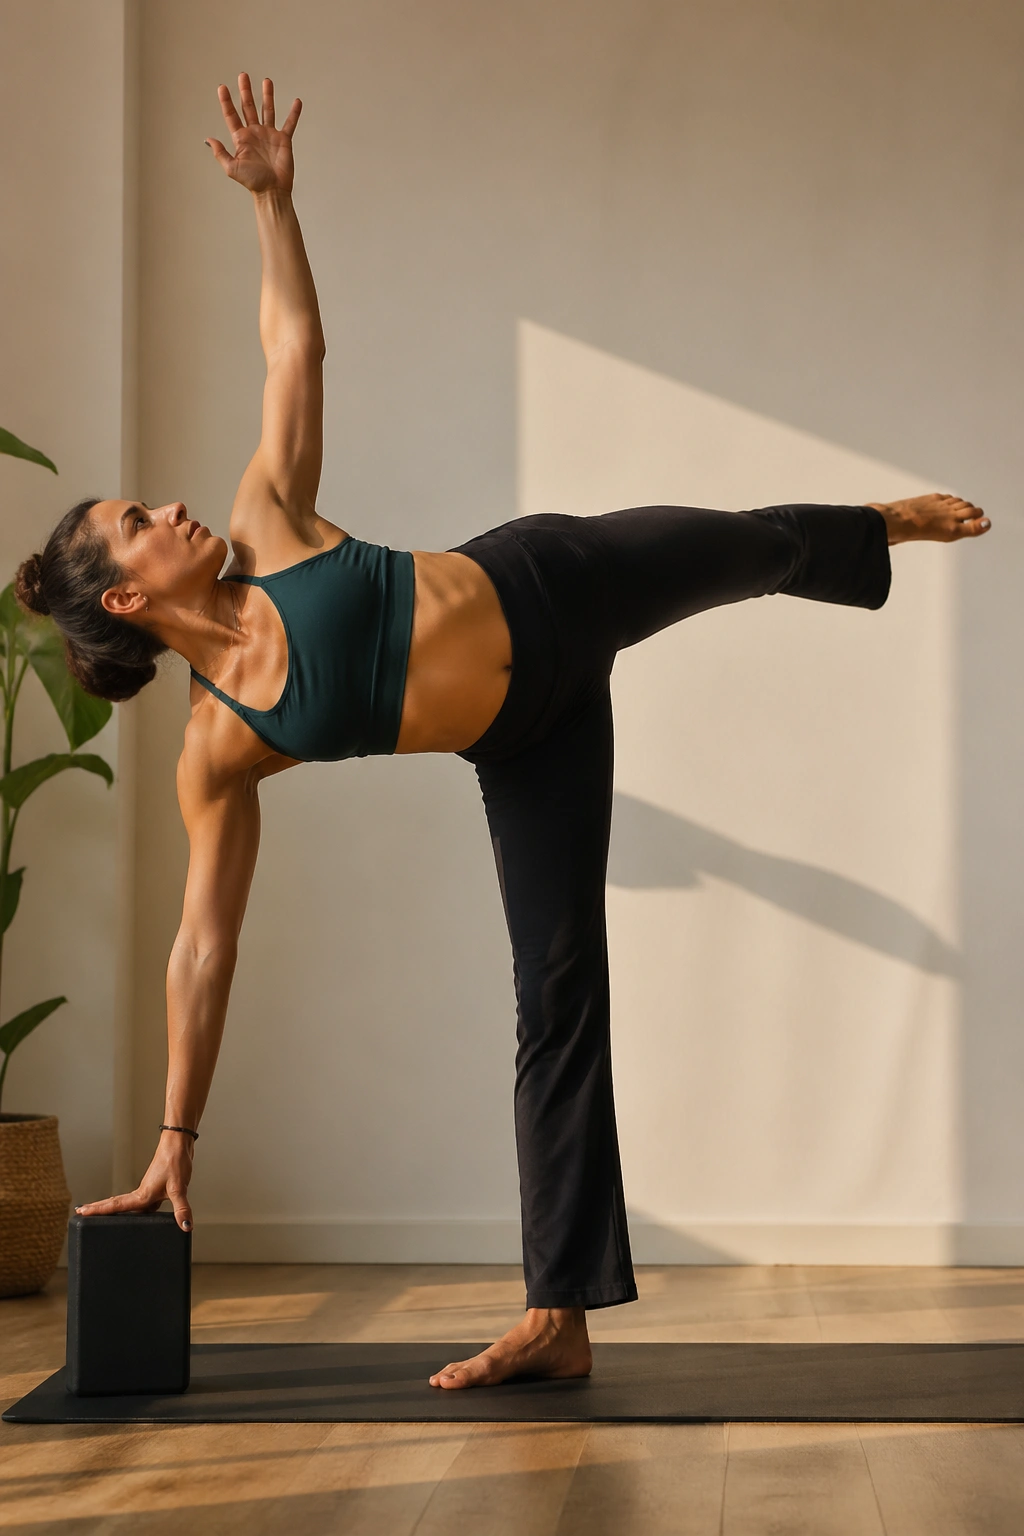
Can a standing balance also open the hips? Yes, if you stop muscling through it. Triangle stretches the side body and legs first. Half moon asks you to keep that length while standing on one leg.
Move from triangle into half moon with a block under the lower hand. Hold triangle for 3 breaths, then shift weight and lift into half moon for 2 breaths. Return to triangle and repeat 3 times per side. The transition is the training.
The standing leg has to stay awake. The lifted leg has to stay long. The hips are not trying to slam open; they are trying to organize themselves under load.
How to make it cleaner
- Use a block even if you think you do not need one.
- Keep the bottom ribs from crunching sideways.
- Aim the lifted heel slightly back.
- Exit slowly.
This is one of those sequences where a smaller shape usually feels better than a huge one. Big is not the goal. Stable is.
16. Gate Pose With Side Bend and Rotation
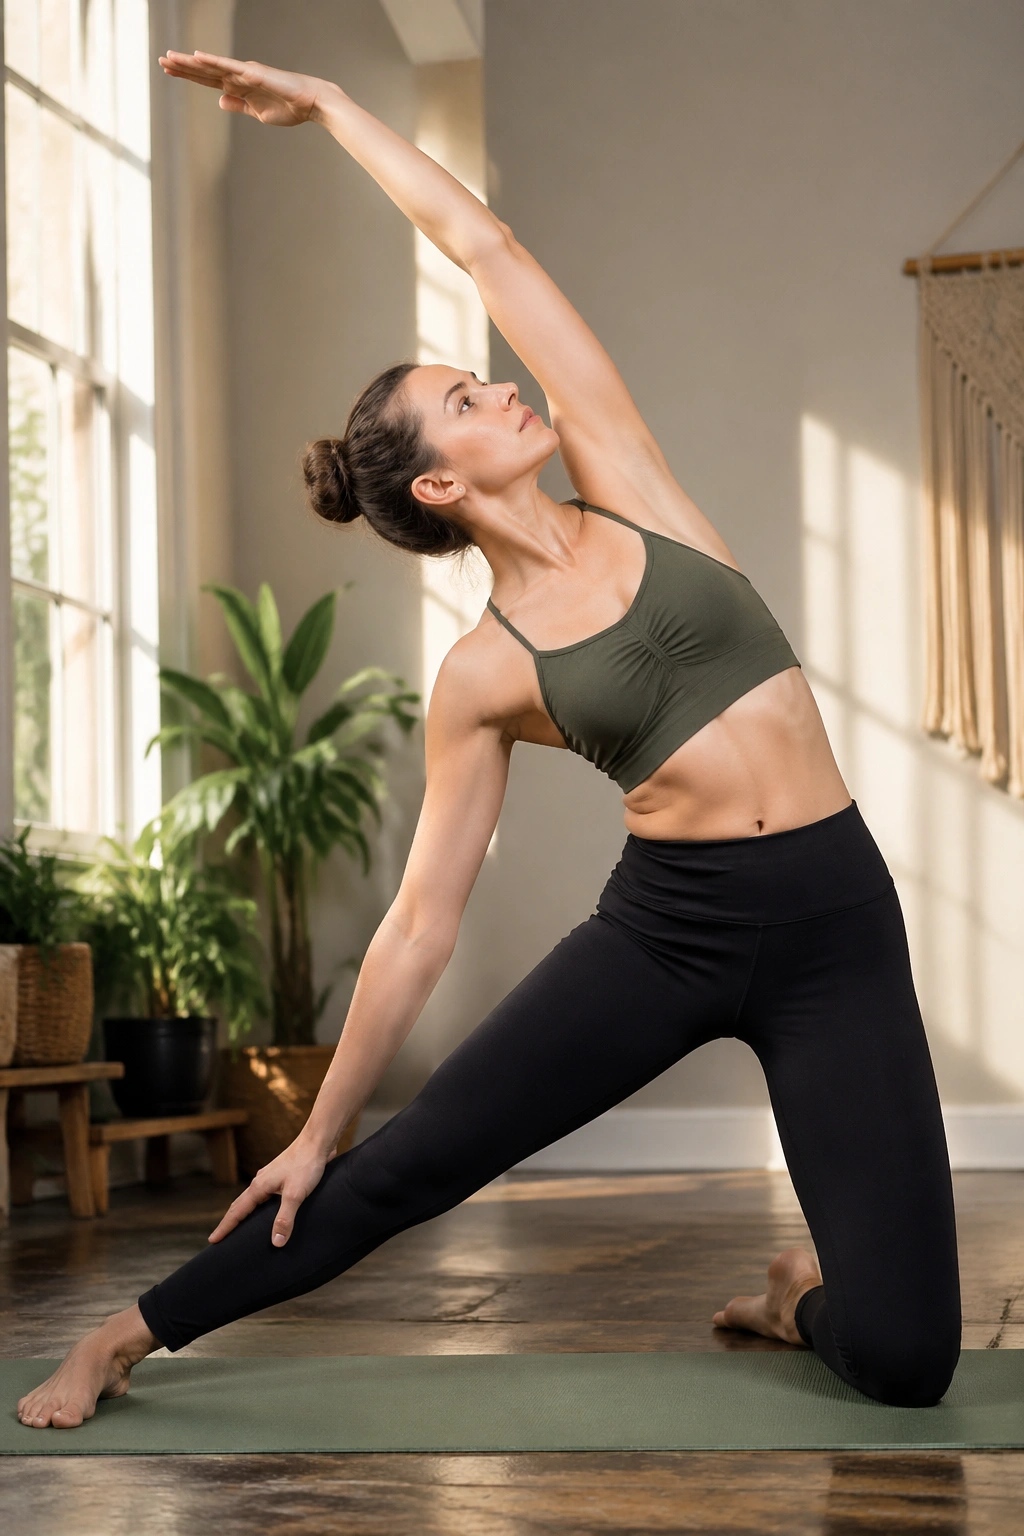
People forget the side body until it feels stuck. Gate pose puts that whole line on notice, from the hip to the fingertips, and the rotation adds a little extra freedom through the ribs.
Start kneeling, extend one leg out to the side, and reach the same-side arm overhead. Hold the side bend for 3 breaths, then rotate the chest slightly toward the ceiling or floor, depending on what feels better. Repeat 2 to 3 times per side.
The stretch should feel long, not crushed. If your knee complains, pad it. If the side bend pinches, make the reach smaller and focus on length through the top arm.
This pose works well after stronger standing work because it gives the torso a chance to recover while still loading the kneeling side lightly. That balance is the whole point.
A soft breath into the upper ribs makes this feel better fast.
17. Pigeon Pose With an Active Lift and Fold
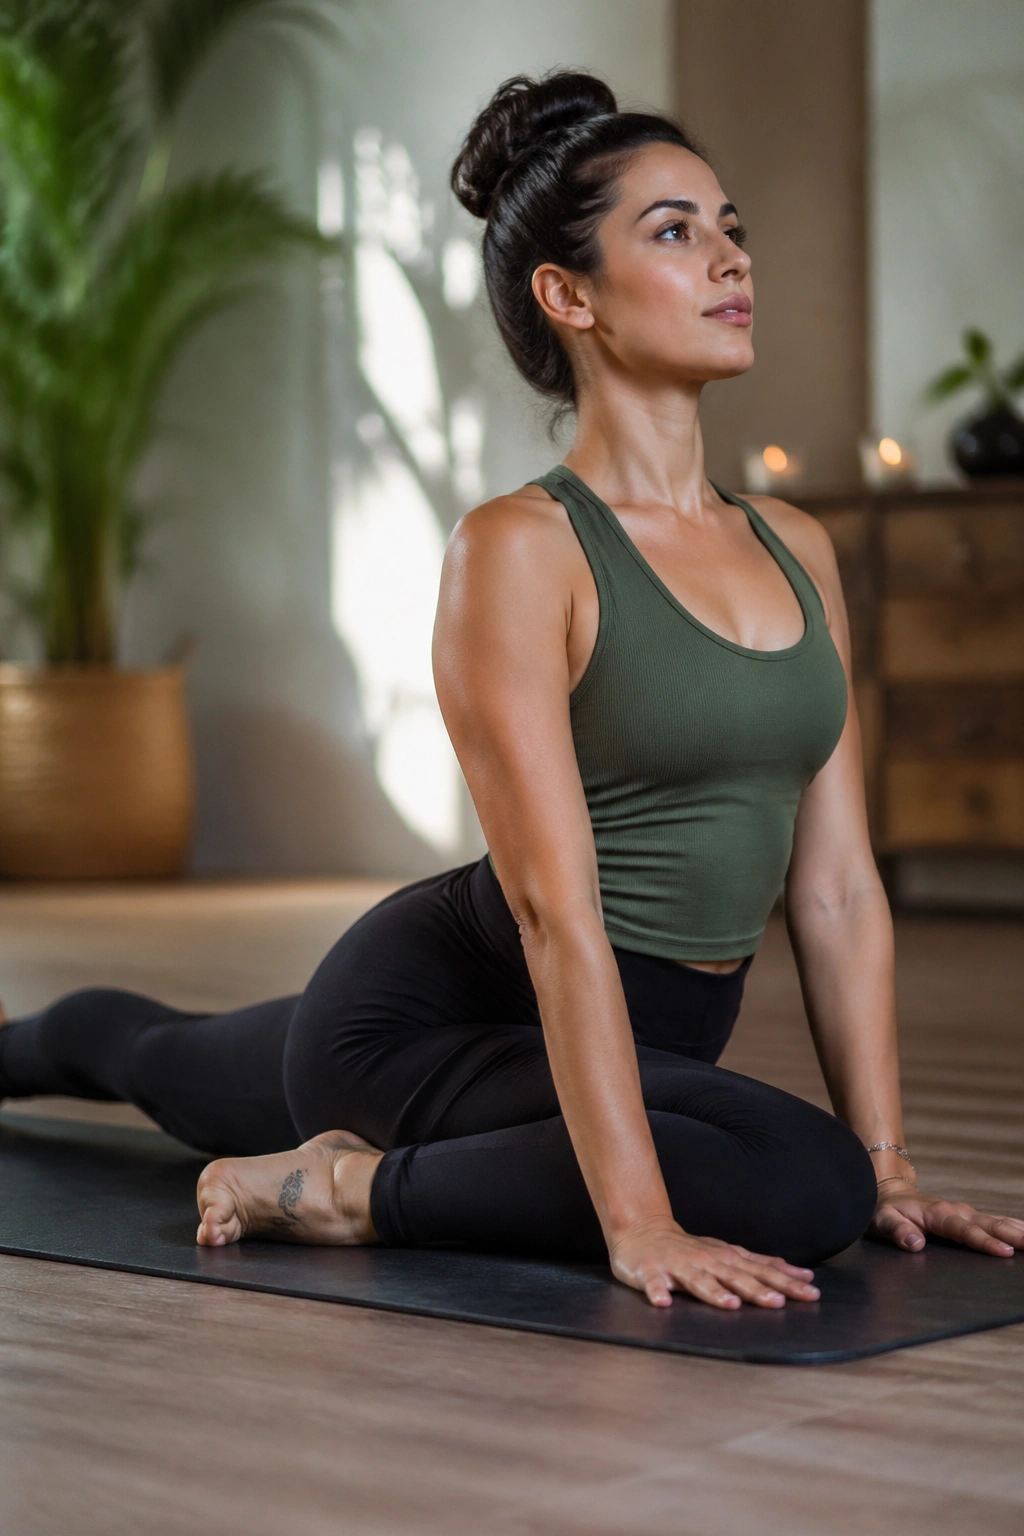
Passive pigeon can feel nice for about 20 seconds, then the body starts hanging on loose ligaments and hip sockets instead of making real change. Add a small lift of the torso before folding, and the stretch gets much more useful.
Set the front shin at a comfortable angle and keep the back leg long. Lift the chest for 2 breaths, then fold forward for 3 breaths. Come back up. Repeat 3 rounds. The alternating lift teaches the hips to open without completely checking out.
A few things that help
- Keep the front foot flexed to protect the knee.
- Place a blanket under the front hip if the floor is too far away.
- Stay off the front shin if the knee feels sharp.
- Press the back thigh toward the mat gently.
That last part matters. If the back leg does nothing, the stretch can get sloppy. Active pigeon feels more demanding, but it usually leaves the hips feeling cleaner afterward.
18. Standing Split to Lunge Switch Flow
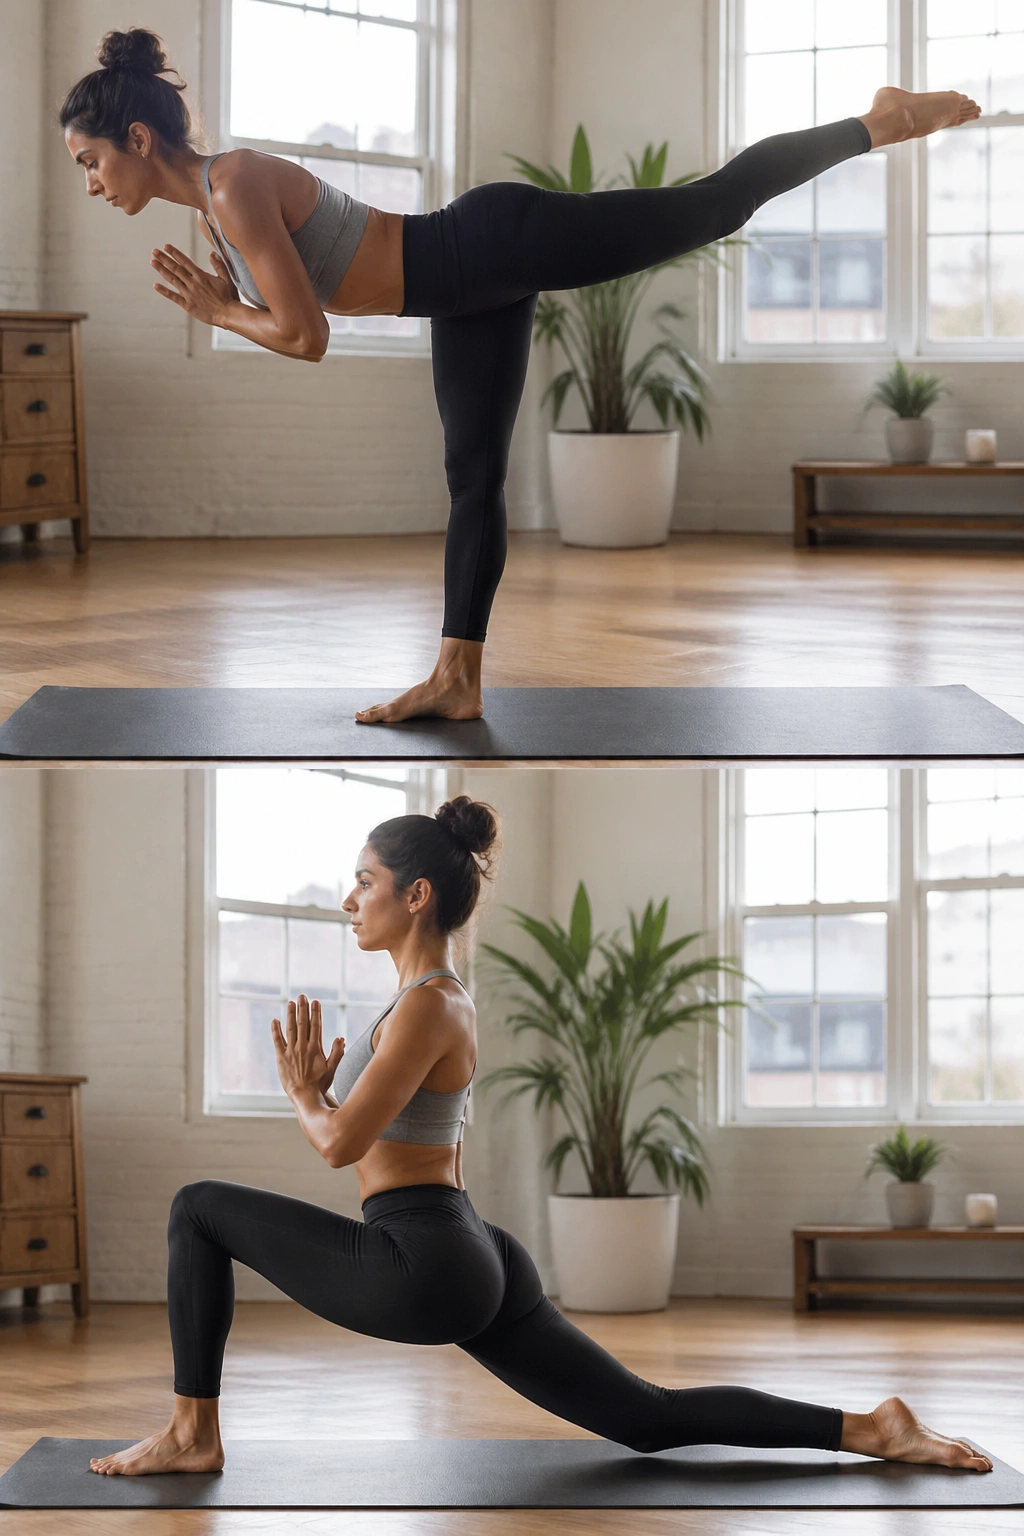
A standing split is a hamstring and balance challenge wrapped into one shape. Add the switch back to lunge, and you get a useful rhythm of folding, loading, and returning to standing without losing control.
From a forward fold, lift one leg behind you into standing split for 2 breaths. Step back into a low lunge. Repeat 4 times per side. Keep the lifted leg active rather than floppy. That is the difference between a useful drill and a pose that just looks dramatic.
The hamstrings lengthen under control. The glutes catch the leg on the way up. The standing foot does more stabilizing than people expect.
If you wobble, keep your hands on blocks. If the lifted leg cramps, lower it a few inches. The exact height does not matter nearly as much as the quality of the shift.
This one can get addictive. That is fine. Just keep the reps slow.
19. Seated Straddle Fold and Tall Spine Lifts
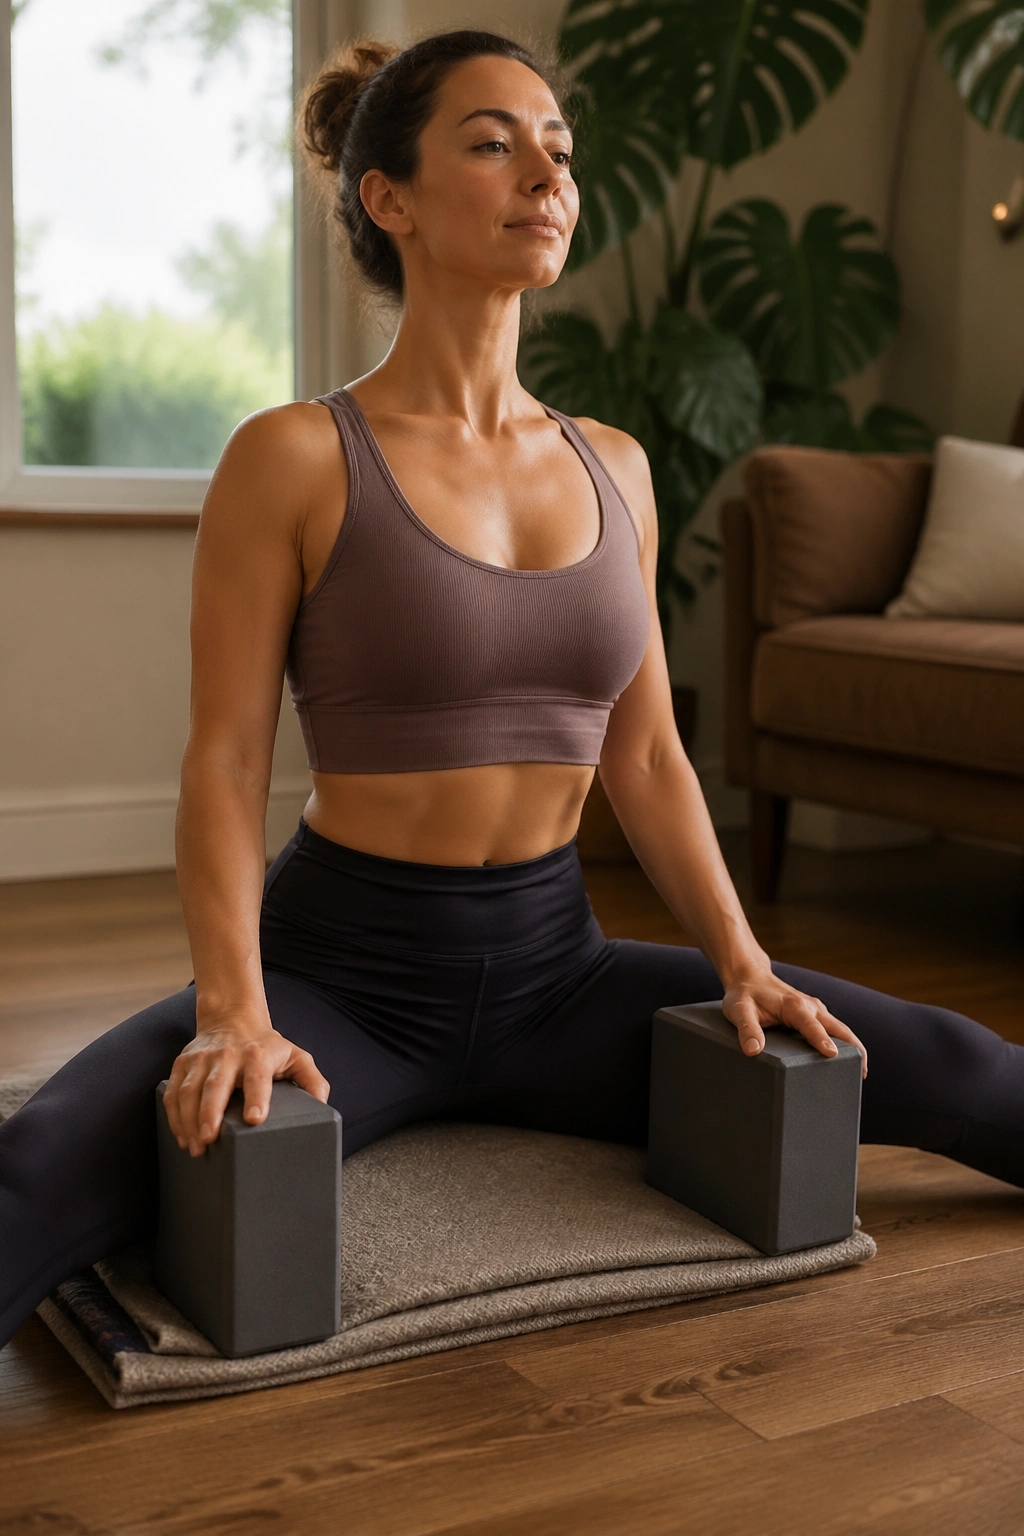
The lift matters more than the fold. That sounds backwards until you do it and feel how much more the inner thighs, hamstrings, and spinal muscles have to work when the torso comes up and down under control.
Sit on a folded blanket if the pelvis tilts backward. Open the legs into a comfortable straddle. Inhale to sit tall, exhale to fold a little, then inhale to lift the spine again. Do 5 to 8 slow lifts. The range can stay small.
How to practice it well
- Keep the knees soft if the hamstrings are tight.
- Think length before depth.
- Place hands on blocks if the floor is far away.
- Stop before the low back rounds hard.
After the lifts, hold one gentle forward fold for 5 breaths. That contrast between active length and passive release is what gives the sequence its value.
This is one of the best setups for people who sit a lot. The hips open, but the spine also remembers how to stack.
20. Cobbler Pose With Bound Angle Pulses
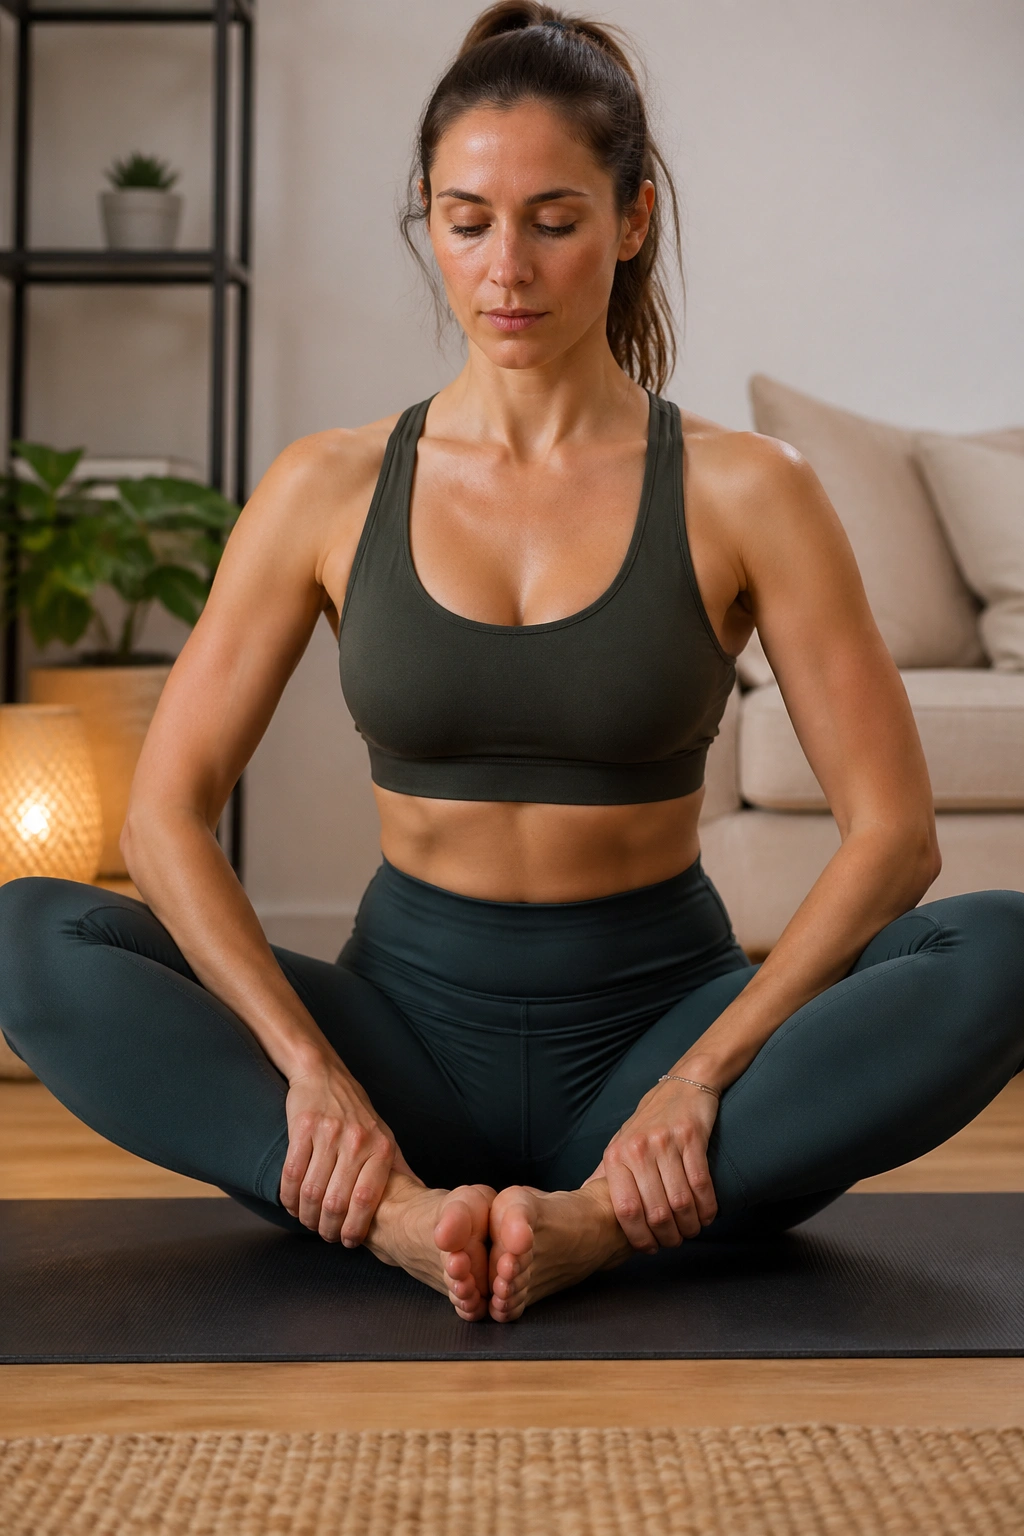
Sit on the floor and let the hips open without forcing them. Cobbler pose, or bound angle, does not need to be dramatic to matter. The pulse adds a little muscle tone through the inner thighs while the seated position opens the groin and outer hips.
Bring the soles of the feet together and sit tall. Press the knees down slightly with the elbows, then ease off. Repeat 10 to 15 pulses. Keep the spine long the whole time. If you round and dump forward, the work shifts away from the hips.
What to feel
- A warm stretch through the inner thighs.
- Gentle opening around the front of the hips.
- The ribs staying lifted over the pelvis.
- A calm, steady breath.
For a stronger version, lift the feet a few inches off the floor for 3 to 5 breaths before returning to the full pose. That turns the setup into a low-key core drill too.
This one is quiet. Do not mistake quiet for easy.
21. Sphinx to Locust Back-Strength Ladder
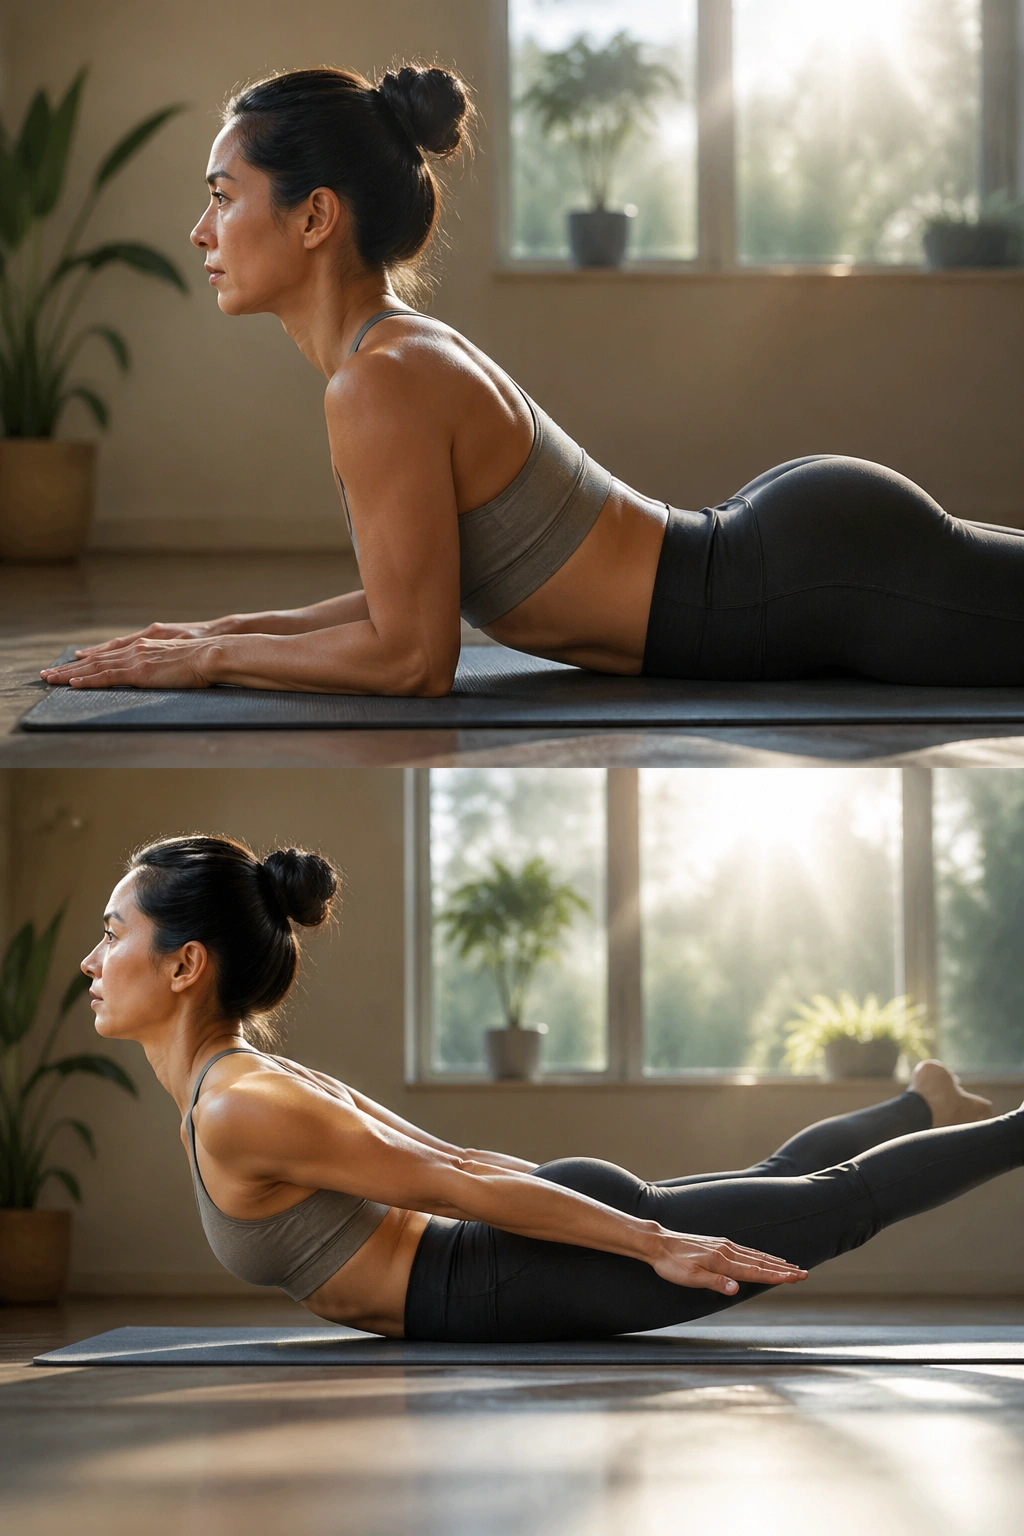
Backbends are not only about opening the front of the body. They can build a back, and this ladder does that by moving from low-load support into a stronger active lift. Sphinx is the entry point. Locust is the job.
Start in sphinx for 3 breaths. Then press into a low locust, lifting chest and legs an inch or two off the floor for 3 breaths. Lower. Repeat 4 rounds. If that feels solid, extend the arms forward or keep them by the sides for a fuller locust.
Why it works
- Sphinx teaches length without strain.
- Locust wakes the glutes and spinal muscles.
- The floor gives you feedback right away.
- The sequence is easy to scale up or down.
Keep the neck long. That matters more than height. A tiny lift with a calm neck beats a huge backbend with clenched shoulders every time.
If your low back tends to grip, make the lift smaller and think about lengthening the tailbone away from the crown of the head. That cue usually helps fast.
22. Five-Minute Full-Body Reset for Strength and Mobility
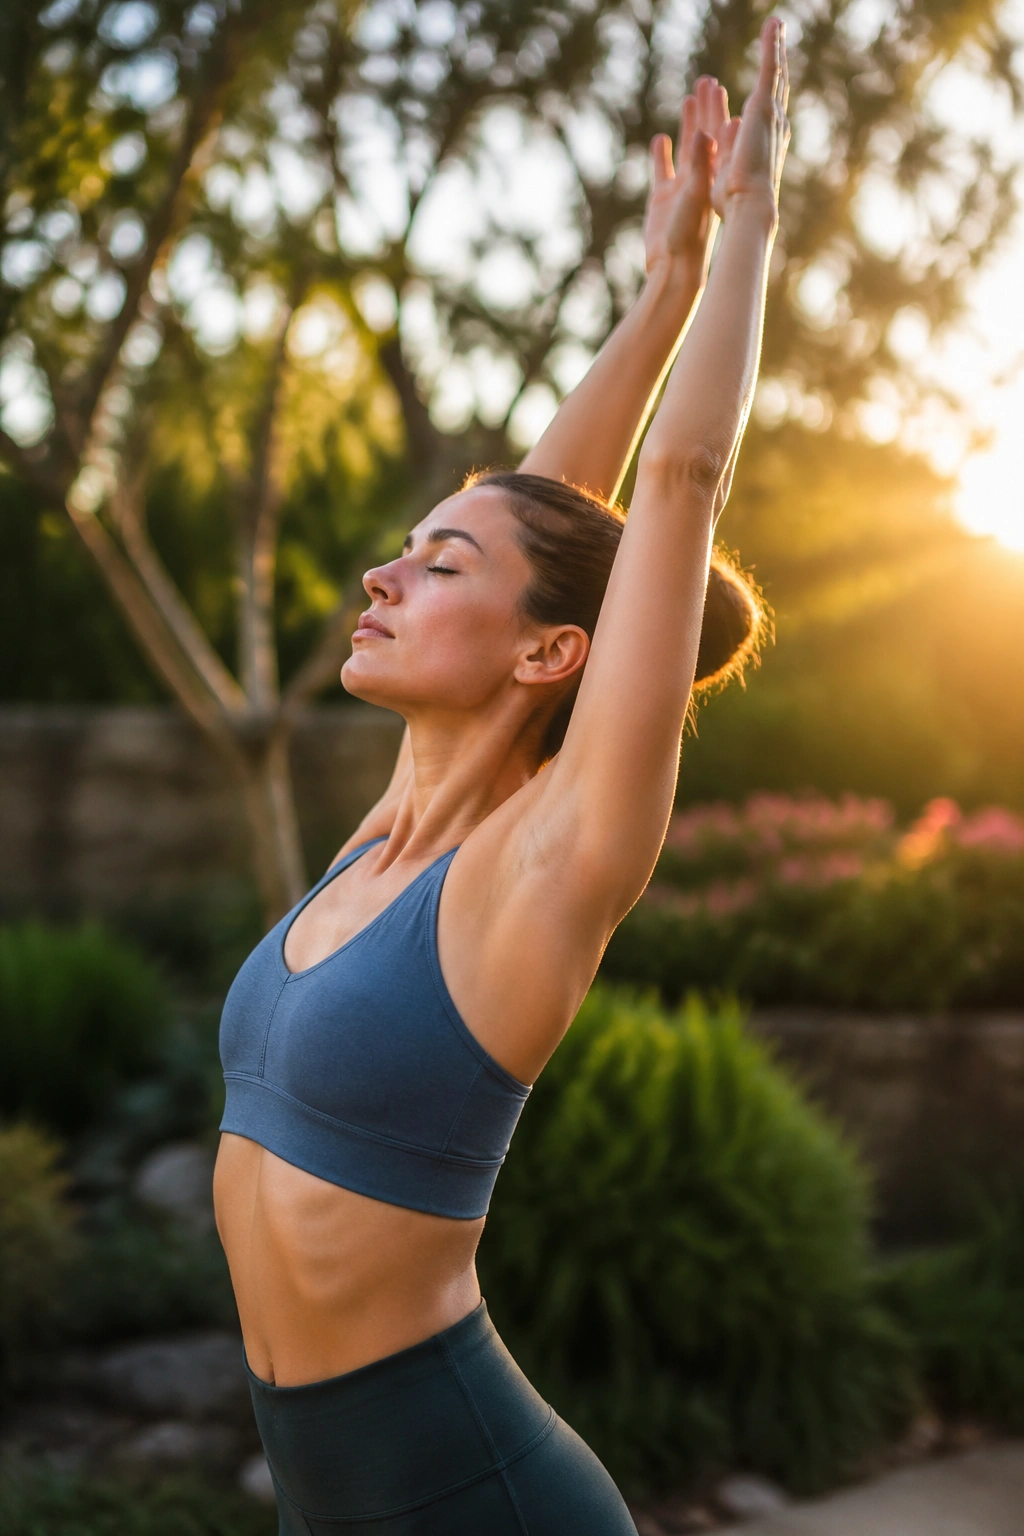
A short reset can do more than a long, messy practice. When the sequence is tight, each piece has a job: one squat, one hinge, one plank, one bridge, one twist. No filler. No wandering around the mat trying to feel productive.
Try this as a quick circuit:
- 30 seconds of chair pose.
- 30 seconds of plank.
- 30 seconds of low lunge on each side.
- 30 seconds of bridge pose.
- 30 seconds of seated twist on each side.
Move slowly enough that you can keep breathing through the whole thing. The point is not exhaustion. The point is a body that feels awake, organized, and less stiff when you stand up.
If you want to make this the backbone of your practice, repeat the circuit 2 to 3 times. If you only have a little time, one round still works. That is the nice part about yoga workouts that build strength and mobility: the structure can be compact without becoming flimsy.
And that is really the whole lesson here. Pick shapes that ask for honesty, not just pretty lines. Use holds, slow transitions, and one-sided work. Your body learns fast when the challenge is clear.
