



The safest postpartum workouts look almost boring from the outside.
That is the point.
After birth, your body does not need punishment. It needs movement that wakes up the breath, steadies the pelvis, and reminds the deep core and glutes how to work together again. A walk around the block, a slow bridge, or a few well-done wall push-ups can do more for a new mom than a sweaty session that leaves her leaking, sore, or wrecked for the rest of the day.
There’s a catch, though. Postpartum exercise is not one-size-fits-all. A person recovering from a vaginal birth with no complications, a parent healing from a C-section, and someone dealing with pelvic floor heaviness are not starting from the same place. The best postpartum workouts safe for new moms respect that. They stay low impact, keep pressure under control, and build strength in a way the body can actually use.
Pay attention to the signals that matter: sharp pain, leaking, doming along the midline, pelvic pressure, dizziness, or bleeding that picks up after movement. Those are the real clues. The first place to start is the one most people skip.
1. 360-Degree Belly Breathing
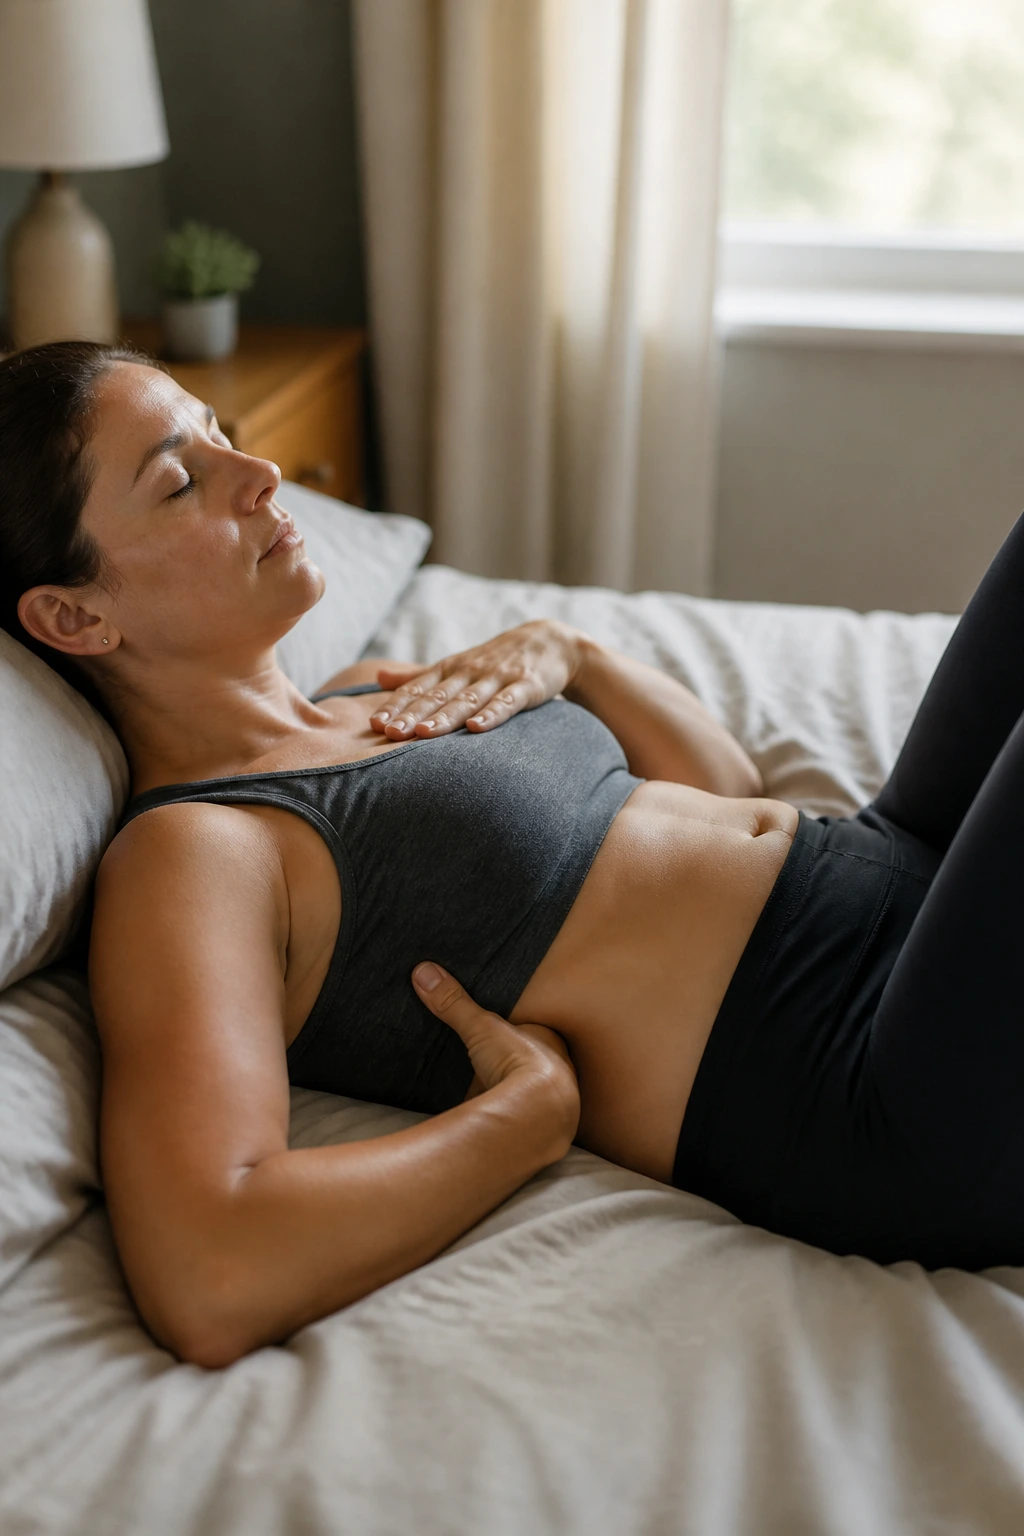
Breathing sounds too small to count, but postpartum recovery lives or dies on it.
Lie on your back with your knees bent, or sit tall on a chair if lying flat feels wrong. Put one hand on your chest and one on the sides of your ribs. Inhale through your nose for a count of four and feel the ribs widen front, side, and back. Exhale slowly for a count of six and let the lower belly soften while the pelvic floor gently lifts.
How to start
- Do 5 to 8 breaths per round
- Repeat for 2 to 3 rounds
- Keep the shoulders quiet and the jaw loose
- If you had a C-section, do this seated if lying flat pulls on the incision
The goal is not a giant belly squeeze. The goal is coordination. When the breath starts working again, the rest of your movement has a better chance of feeling steady instead of sloppy. Tiny work. Big payoff.
2. Pelvic Floor Drops and Gentle Lifts
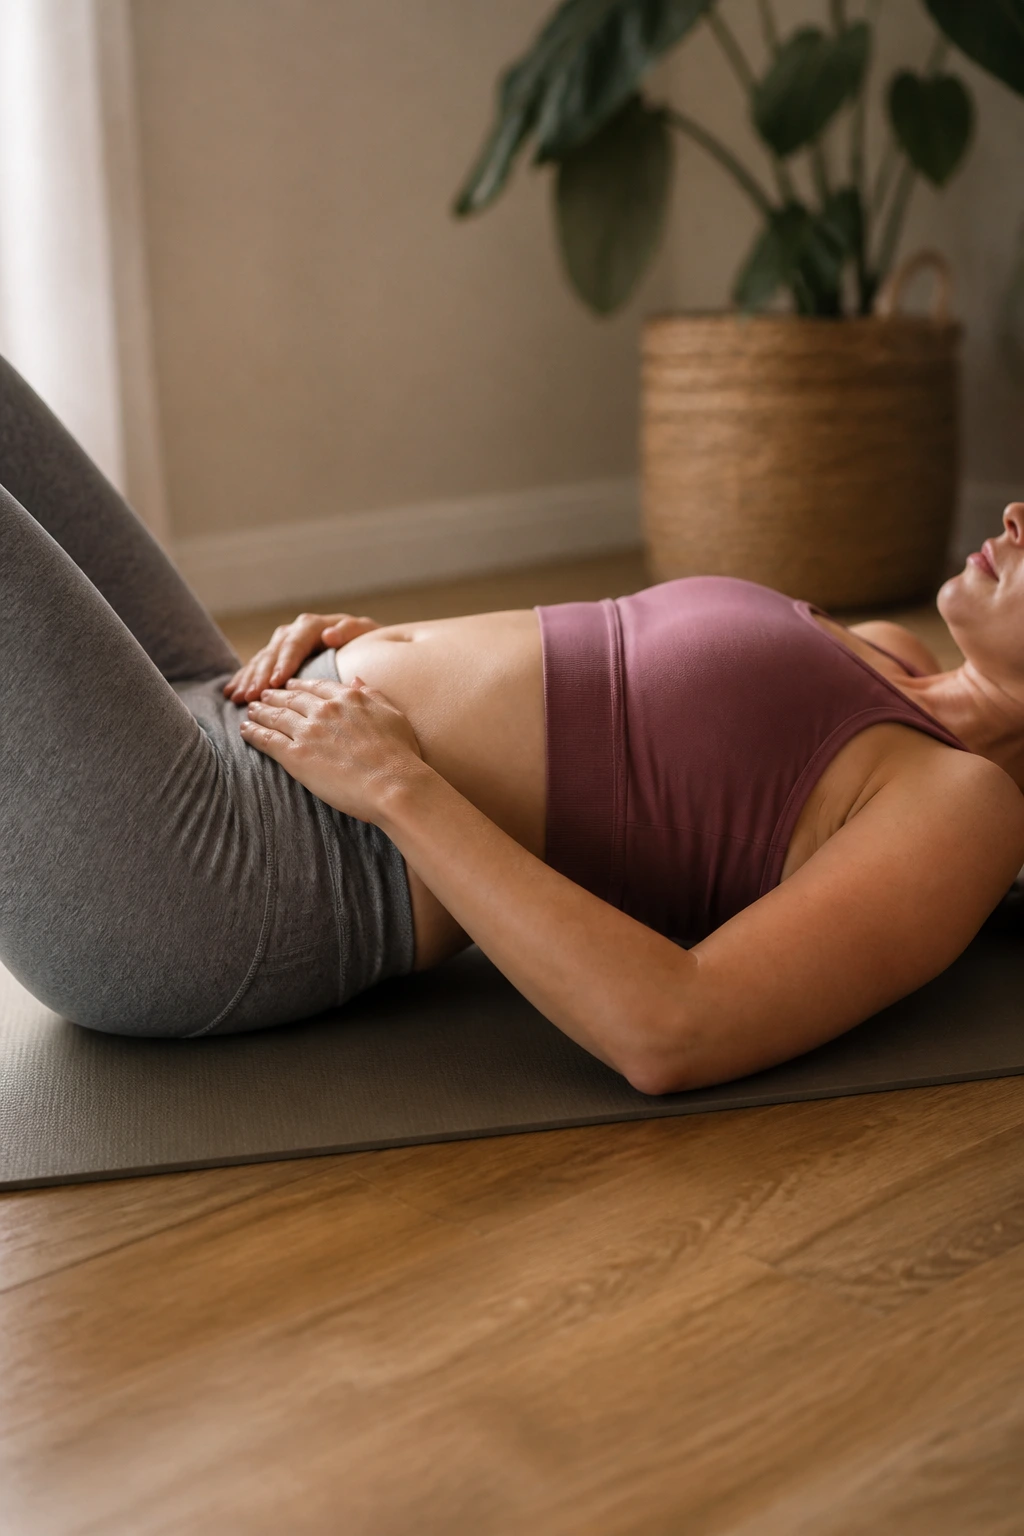
A lot of new moms are told to “just do Kegels,” and that advice is too blunt to be helpful.
Some pelvic floors need strengthening. Some need relaxation first. Many need both, which is why a gentle lift-and-release pattern is a smarter place to begin. On the exhale, think of lightly drawing the sit bones together and lifting the pelvic floor one notch. On the inhale, let everything soften fully.
What it should feel like
- No clenching
- No breath-holding
- No squeezing the glutes hard
- No pressure downward
Try 5 to 10 repetitions while sitting on a folded towel or lying down. If the muscles feel tight, achy, or hard to release, don’t keep pushing harder. That usually makes the problem worse. A calm pelvic floor is often more useful than a strong but tense one.
3. Short Stroller Walks
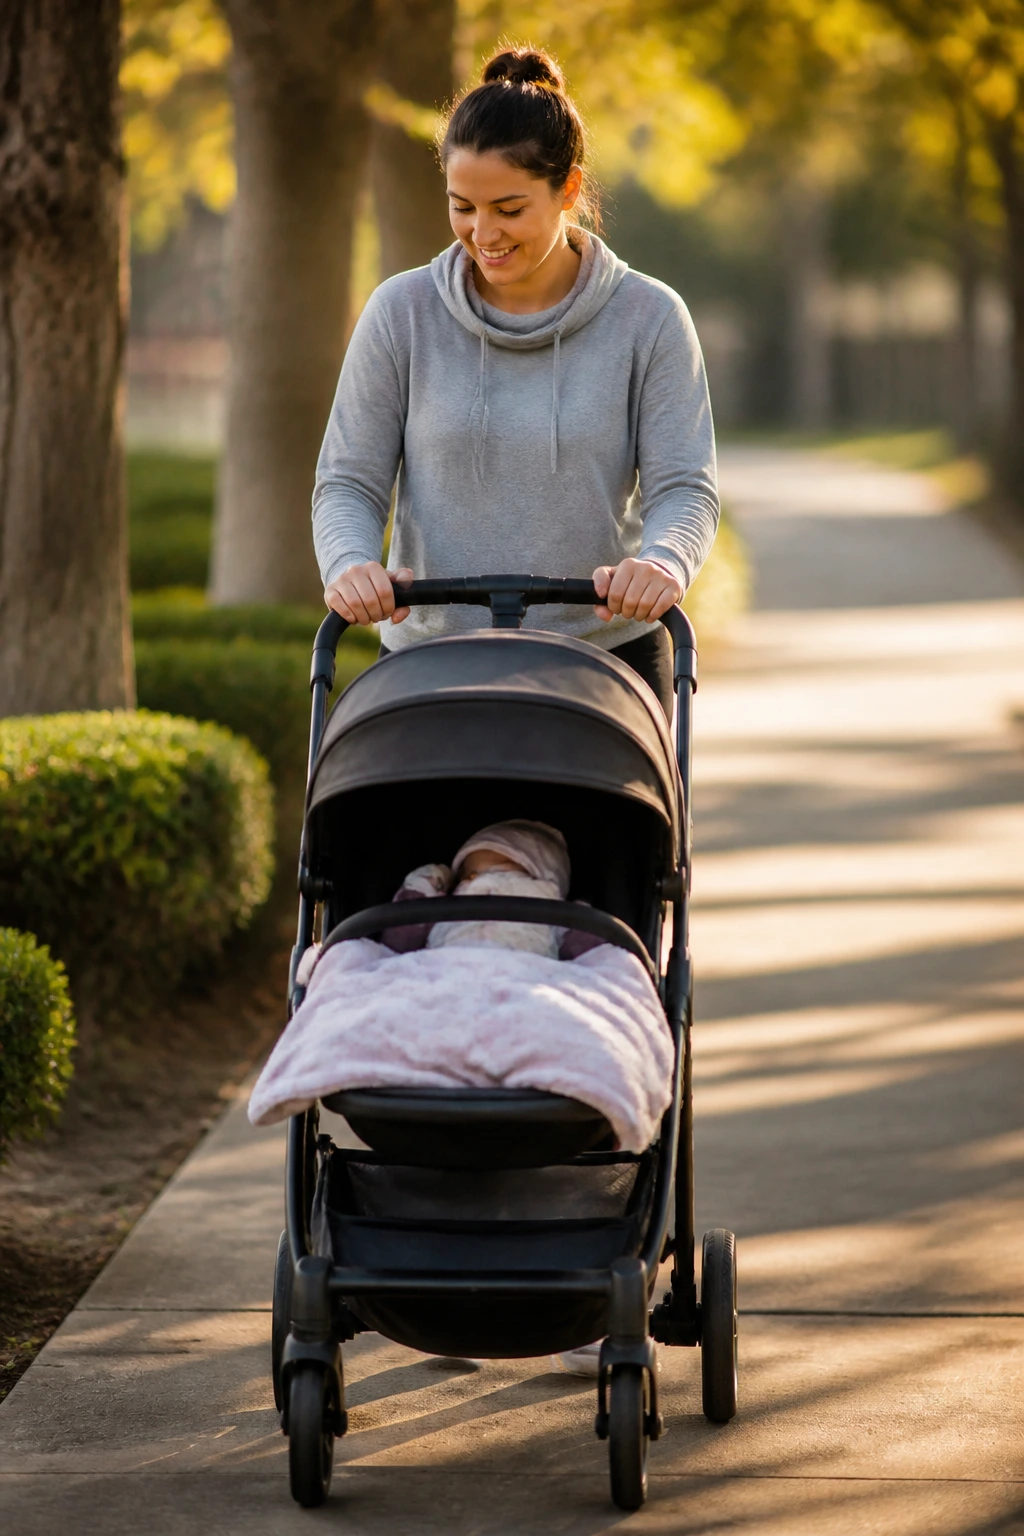
Walking is the workhorse of postpartum fitness, and it earns that title.
Start with a short, flat route. Five minutes out and five minutes back is plenty at first. If that feels easy and your body stays quiet afterward, turn it into intervals: 2 minutes easy, 1 minute brisk, repeated a few times. That’s enough to get your heart rate up without turning the outing into a battle.
A few practical rules
- Keep your stride small if you feel pelvic heaviness
- Hold the stroller lightly; don’t lean your whole body into it
- Wear shoes with a stable base, not soft slippers pretending to be sneakers
- Stop if you notice leaking, pressure, or pain that lingers
Walking works because it is simple. You can feed a baby, answer a text, breathe fresh air, and still count it as exercise. That matters more than people admit.
4. Pelvic Tilts on the Floor
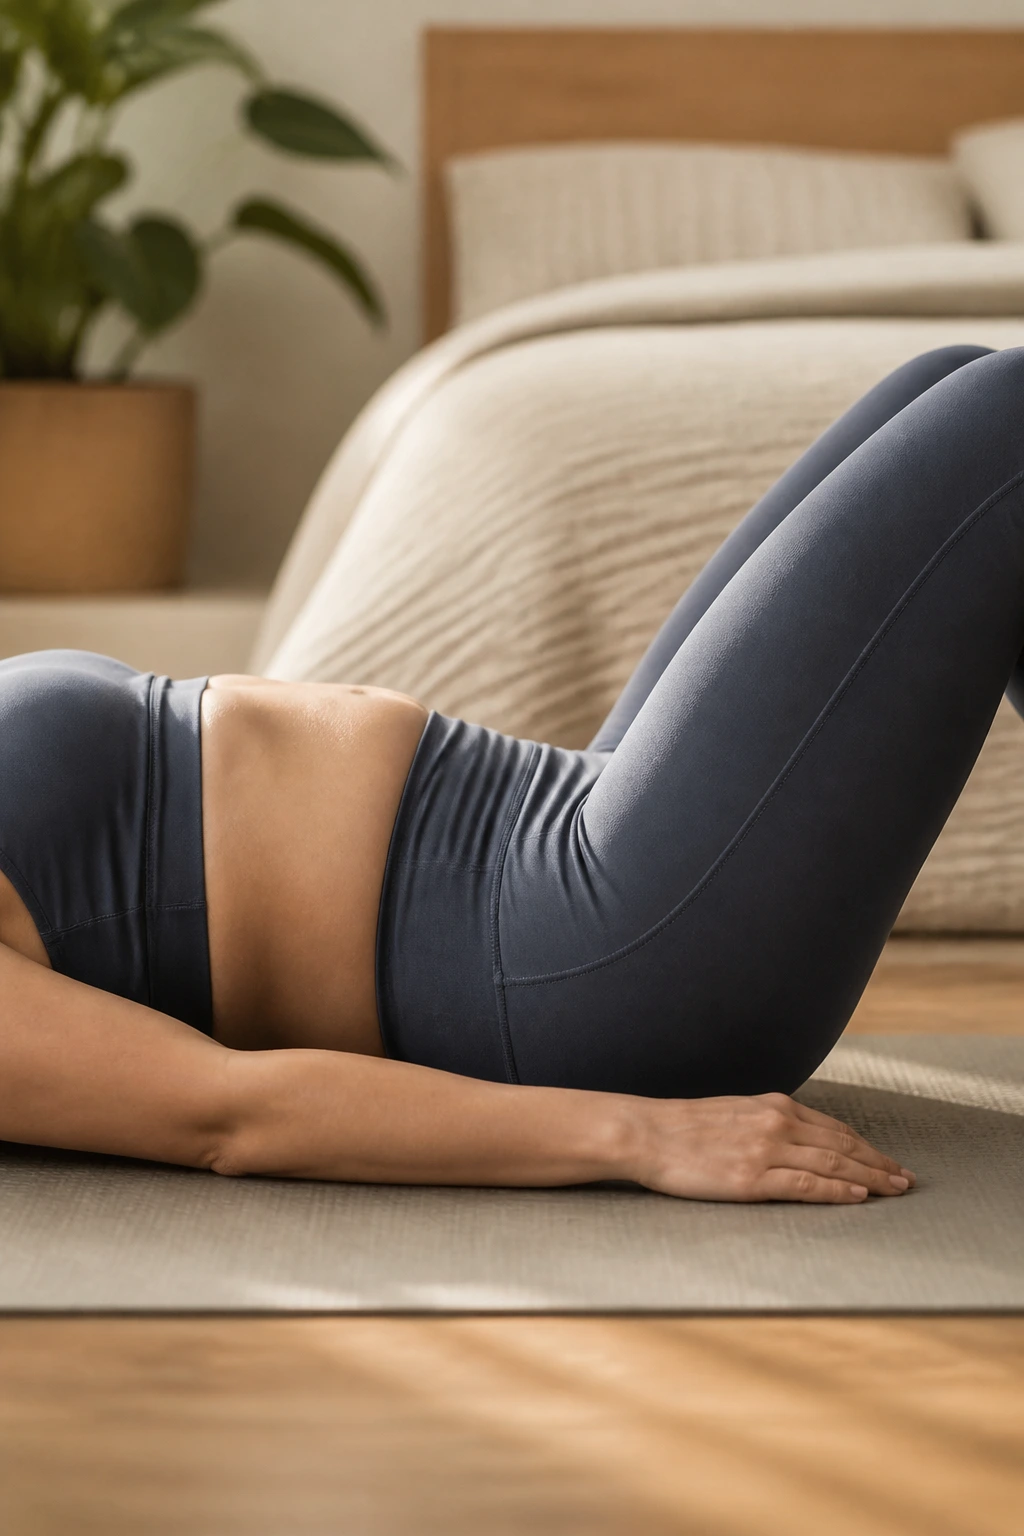
This one looks almost too easy. It isn’t.
Lie on your back with your knees bent and feet flat. Exhale, then gently tip your pelvis so your low back presses into the floor. Inhale and return to neutral. The motion is small, and that’s what makes it useful. You’re teaching the abdomen and pelvis to move without bracing everything rigidly.
What to notice
- Your lower belly should feel active, not bulging
- Your ribs should stay relatively quiet
- Your neck should not take over
- Your low back should glide, not jam
Eight to twelve reps is enough. If you feel doming along the center of the abdomen, make the motion smaller. If the floor is uncomfortable, do the same move in bed with a pillow under your head. Little adjustments matter more than forcing a perfect shape.
5. Heel Slides
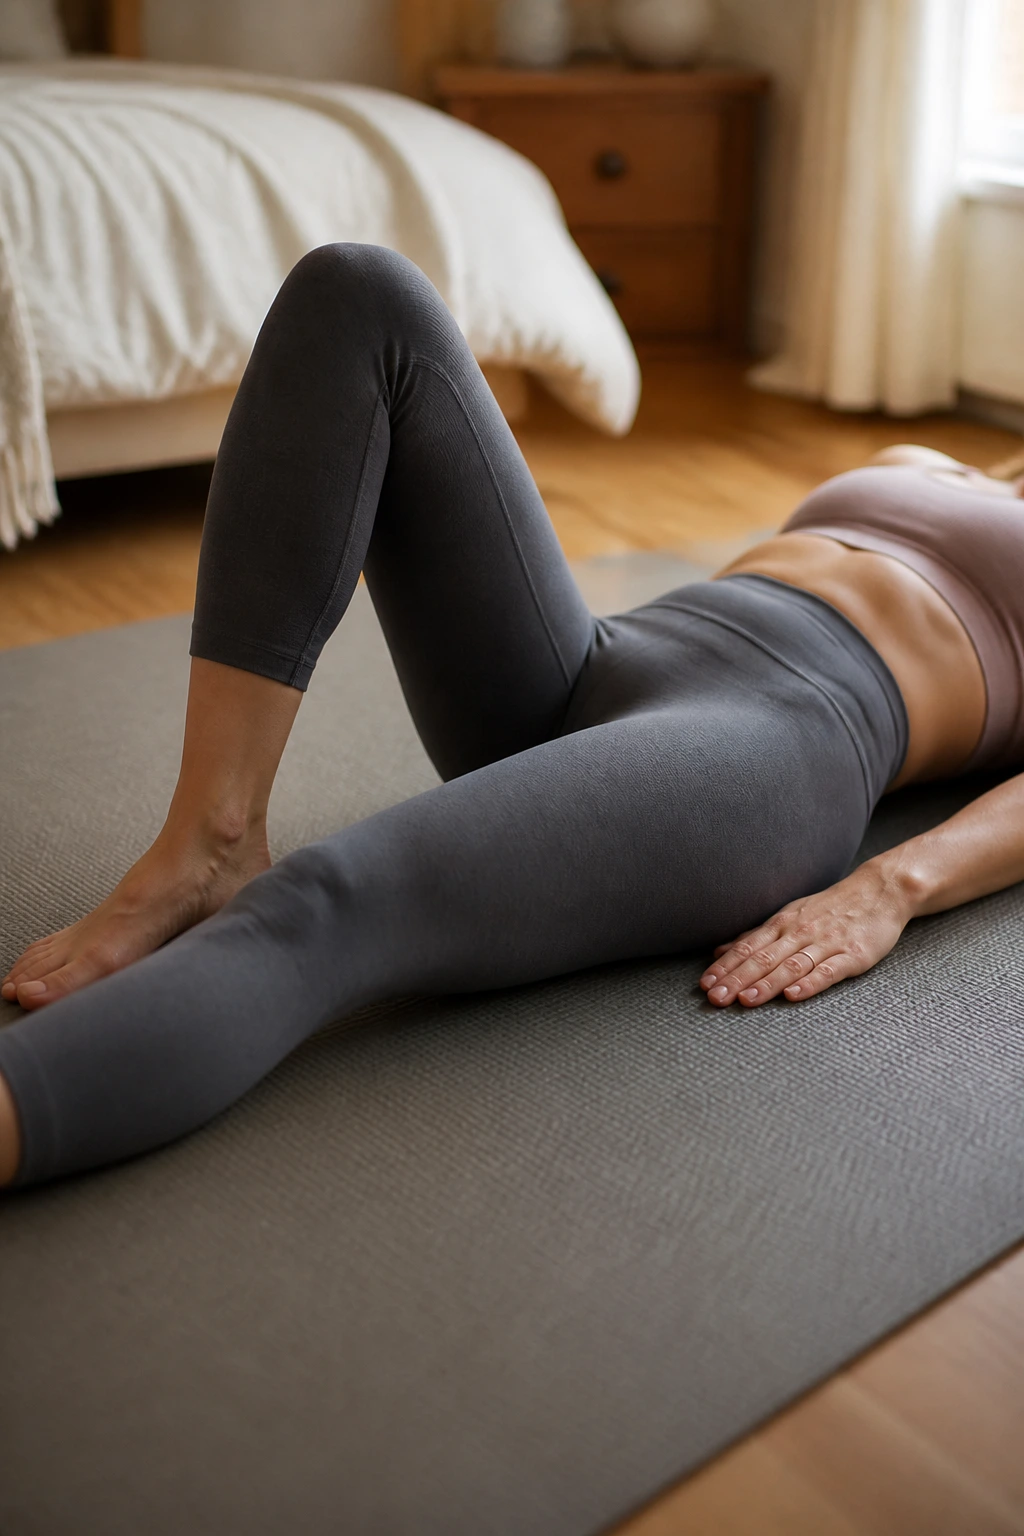
Heel slides are one of those unglamorous postpartum exercises that do a lot of quiet work.
Start on your back with knees bent. Exhale as you slide one heel away from you, keeping the pelvis steady and the rib cage from flaring. Inhale as the heel returns. Then switch sides. The movement is tiny, which is exactly why it’s useful for core control and early diastasis recti awareness.
Tiny motion, big payoff
- Do 6 to 10 reps per side
- Keep the lower back from arching
- Stop the slide early if your belly domes
- Make the range smaller after a C-section if incision tension shows up
Heel slides are a good bridge between breathing and more loaded core work. If you can keep the body still while one leg moves, you’re laying down the kind of control that later helps with carries, squats, and step-ups.
6. Cat-Cow Mobility
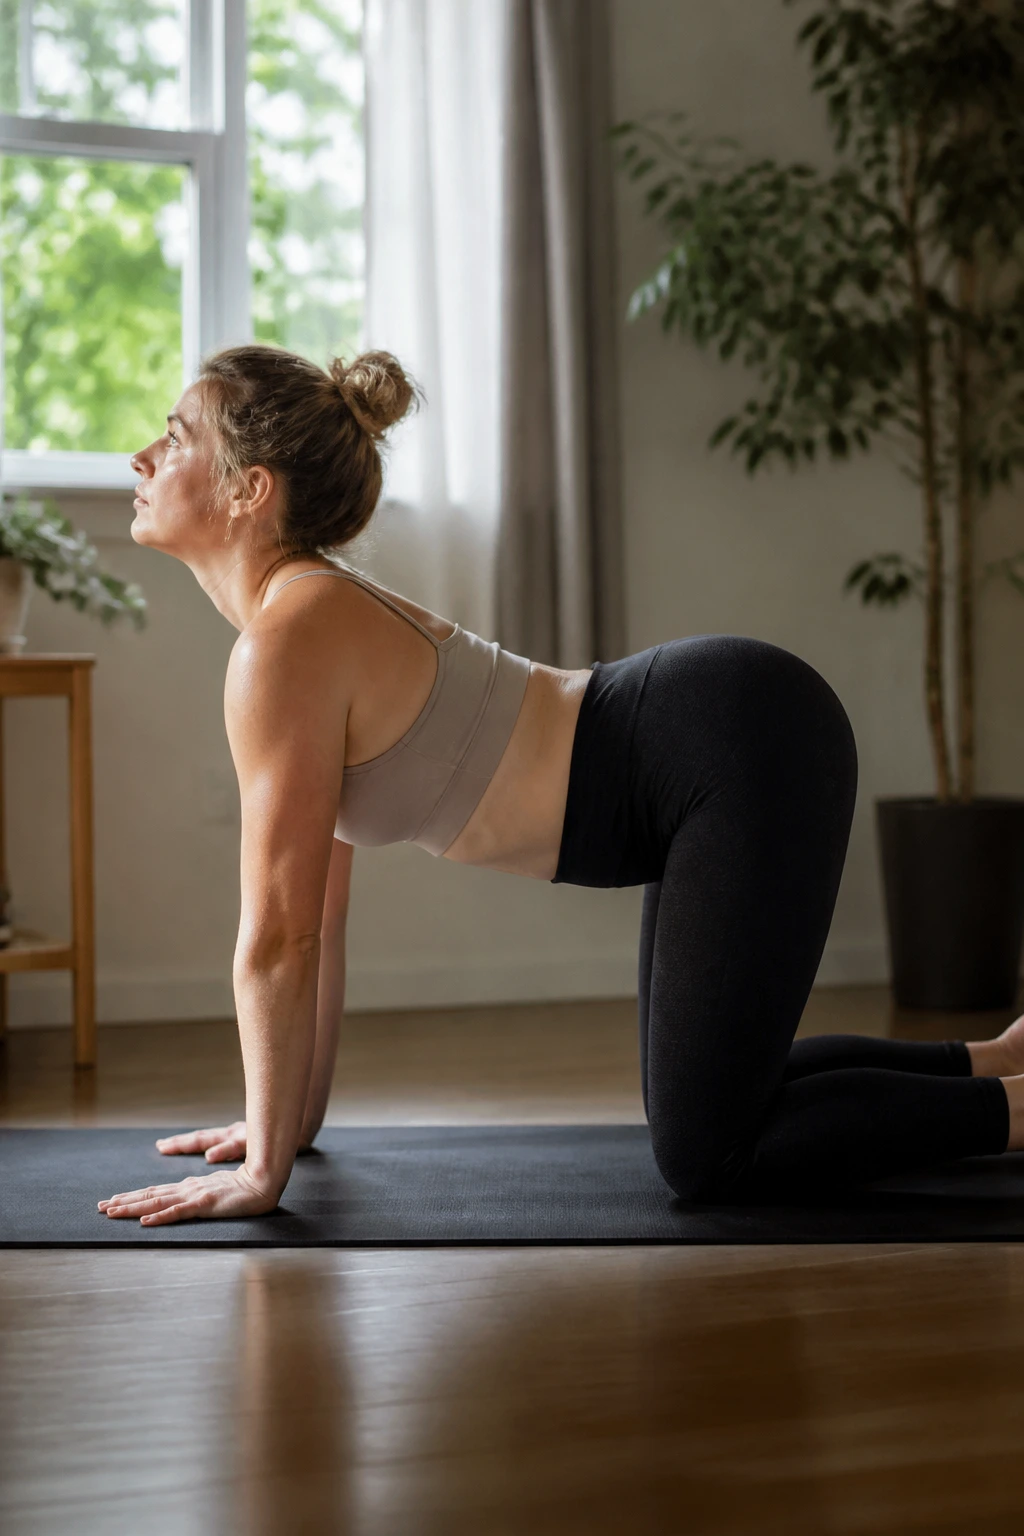
Your upper back probably hates nursing, pumping, rocking, and carrying.
Cat-cow gives it a break. Start on hands and knees if your wrists are fine. Inhale as you arch the back and gently lift the chest. Exhale as you round the spine and draw the belly in a little. If wrists complain, put your hands on the edge of a counter instead of the floor.
How to make it useful
- Move slowly for 6 to 8 rounds
- Keep the motion smooth, not extreme
- Let the shoulder blades glide
- Pause where the back feels open, not pinched
This is not about making a deep yoga shape. It’s about reversing the stiff, collapsed posture that sneaks up during baby care. If you only have energy for one mobility move, this is a good one.
7. Glute Bridges
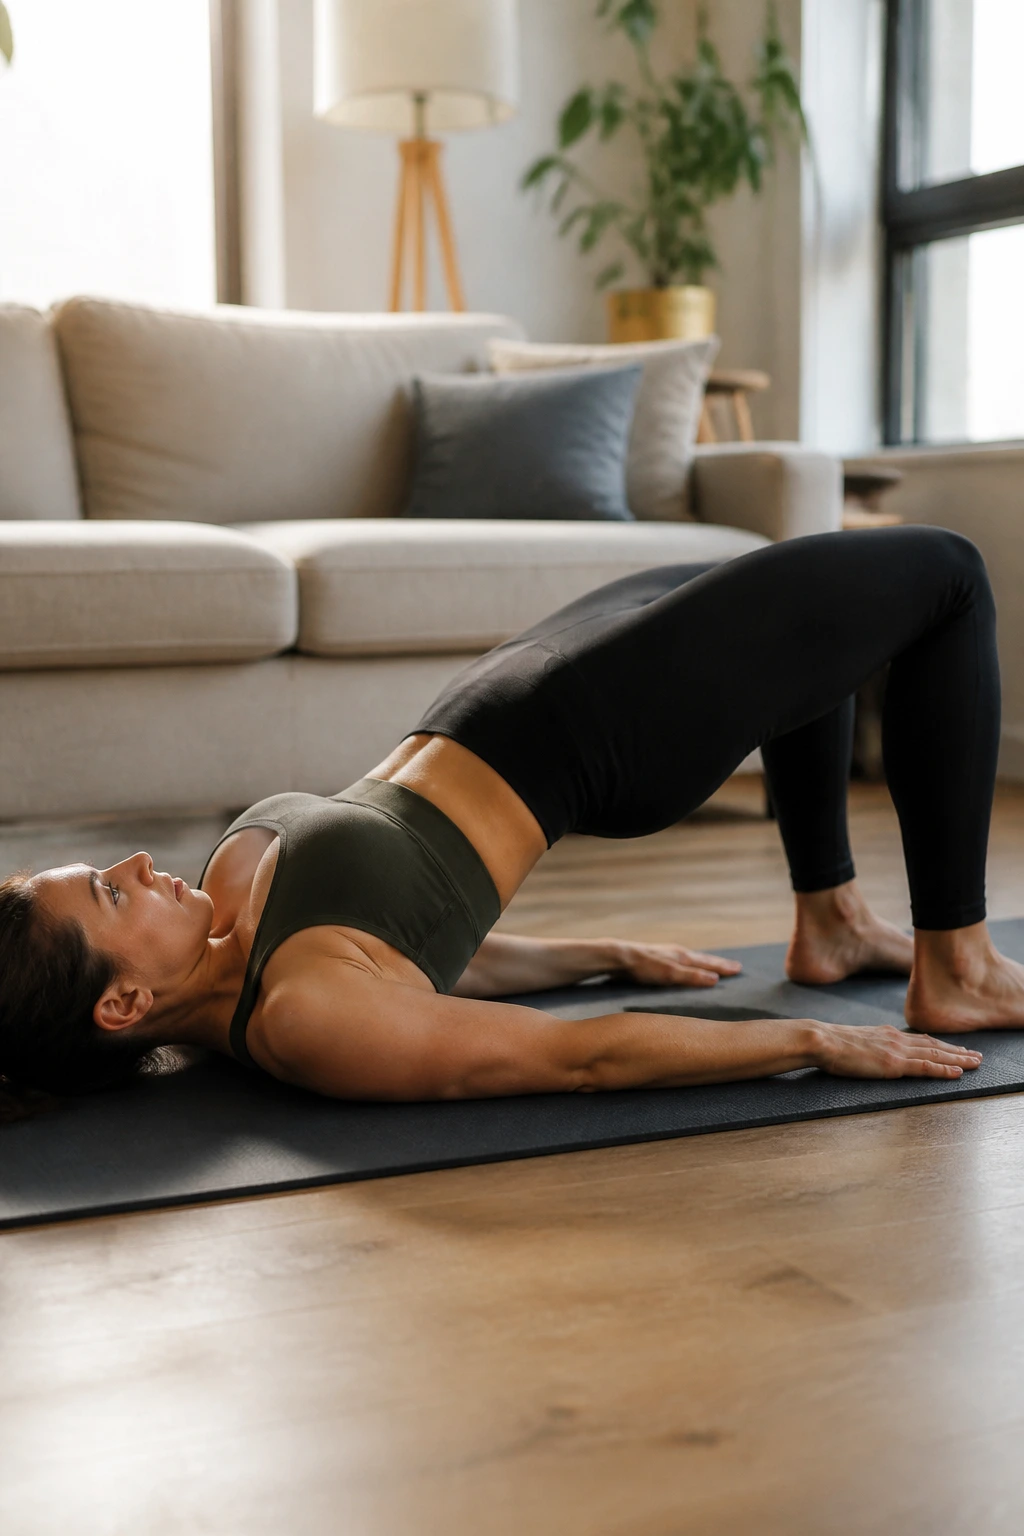
A lot of postpartum back pain starts with sleepy glutes.
Lie on your back with knees bent and feet hip-width apart. Exhale, tighten the lower belly gently, and lift the hips until your shoulders, hips, and knees line up. Pause for a second at the top, then lower with control. If you feel hamstrings cramping, bring your feet a little closer to your hips.
A few form cues
- Push through the heels
- Keep ribs from popping up
- Don’t thrust so high that the low back arches
- Use a small range if the incision area feels tender
Eight to twelve bridges is a solid start. This move helps with walking, lifting, and standing from the floor. It also gives the pelvis some support, which is useful when everything still feels a bit loose and new.
8. Side-Lying Clamshells
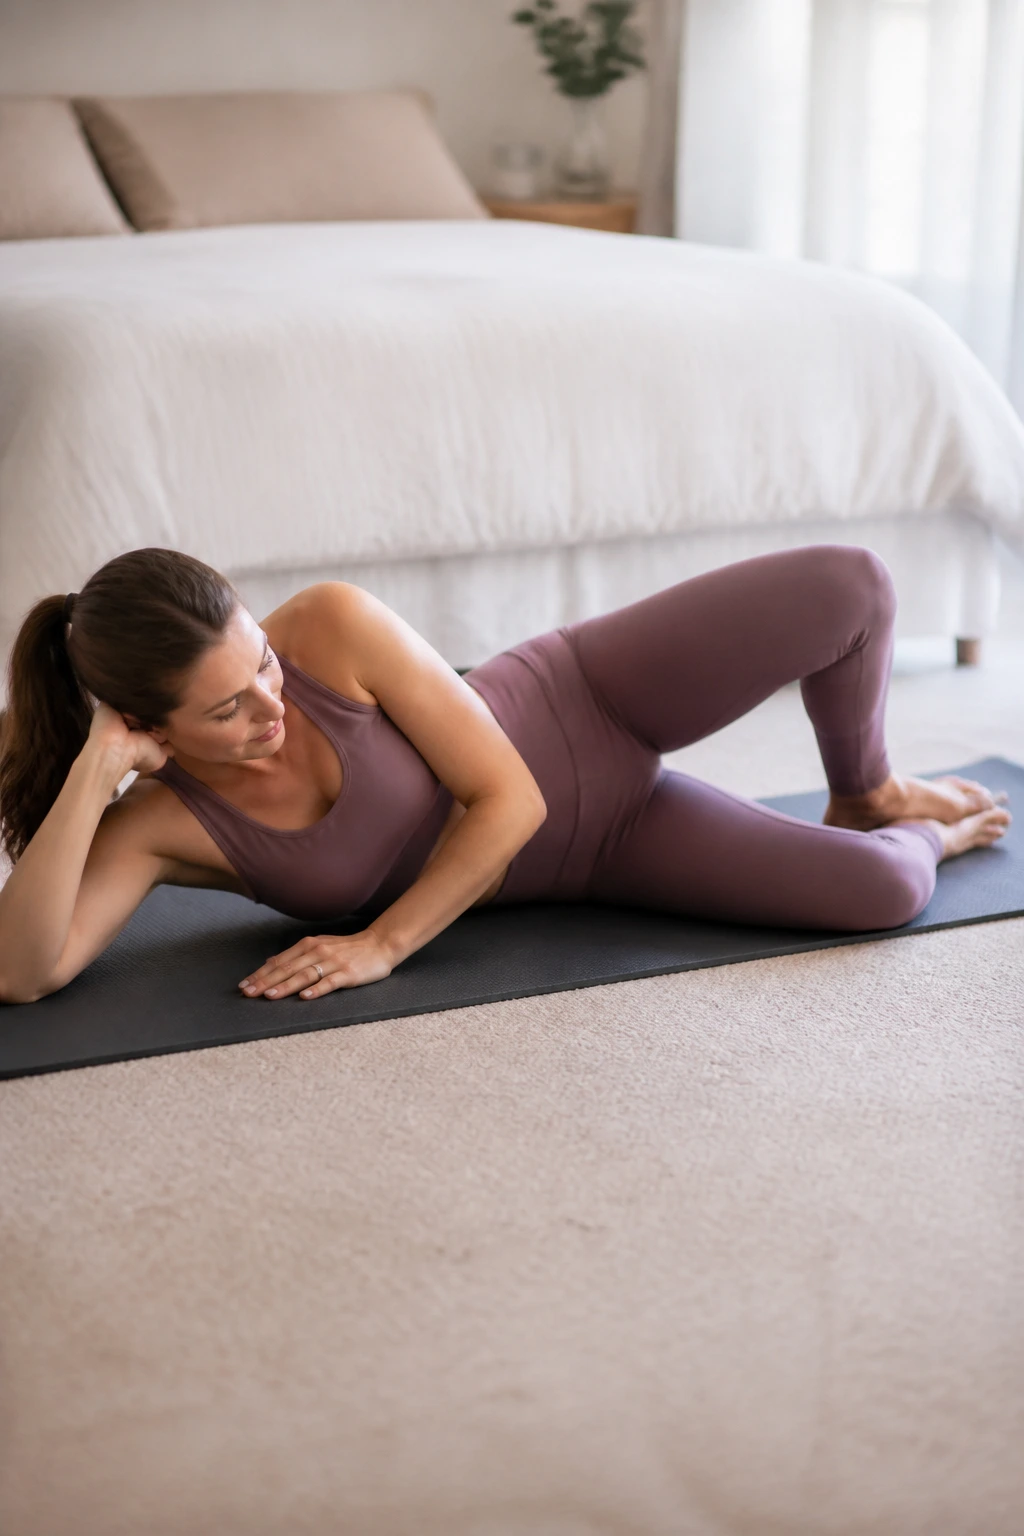
If bridges are for the back side, clamshells are for the side helpers.
Lie on one side with knees bent and heels together. Keeping the feet in contact, open the top knee like a clamshell, then lower it with control. The pelvis should stay stacked. If it rolls back, the glutes are not doing the job anymore — momentum is.
Why they matter
- They wake up the side glutes
- They help with hip stability during walking and stairs
- They are easy on the abdomen
- They work well when standing exercises still feel shaky
Try 10 to 15 reps per side. A light loop band above the knees can make the move harder later, but don’t start there unless bodyweight feels easy. Clean form matters more than resistance.
9. Bird-Dog Reaches
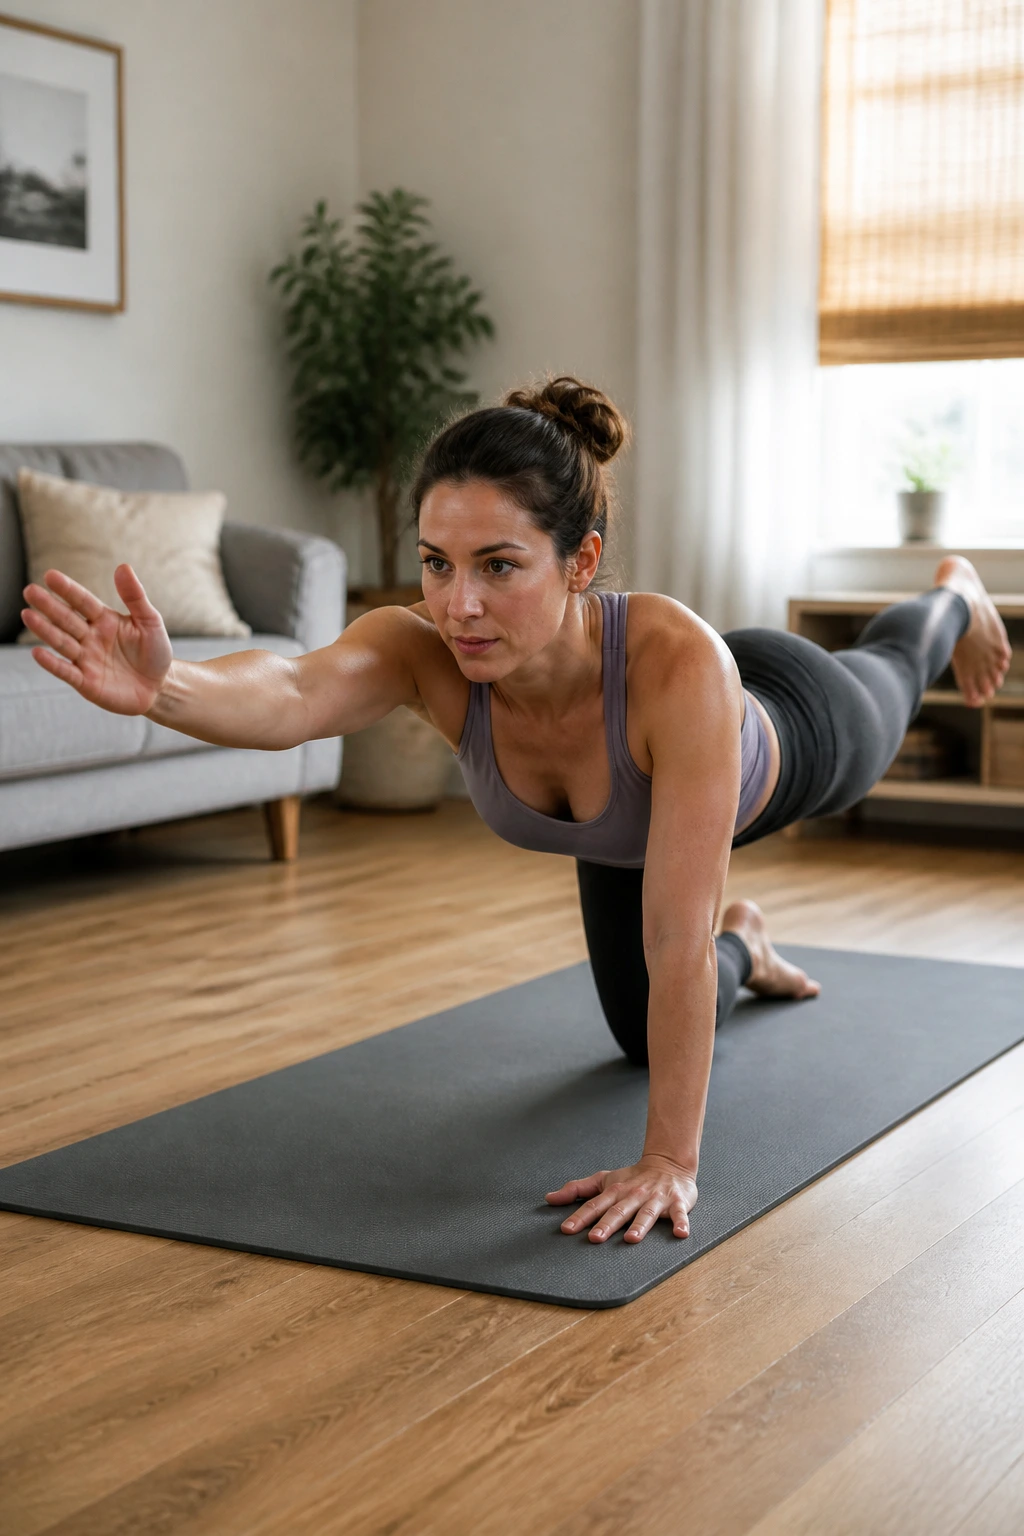
Bird-dog looks simple. It is not as easy as it looks.
Start on hands and knees. Extend one leg back and the opposite arm forward while keeping the hips level. Reach long, not high. Hold for two or three seconds, then come back and switch sides. If balancing both limbs feels too wobbly, do only the leg reach or only the arm reach first.
What makes this one useful
- It trains anti-rotation core strength
- It helps the low back without crunching the belly
- It teaches control under a little instability
- It can be adjusted in small, safe ways
Do 5 to 8 reps per side. If you see the abdomen dome, shorten the reach. If your wrists are tired, rest on forearms. The whole point is steady control, not a dramatic reach.
10. Wall Push-Ups
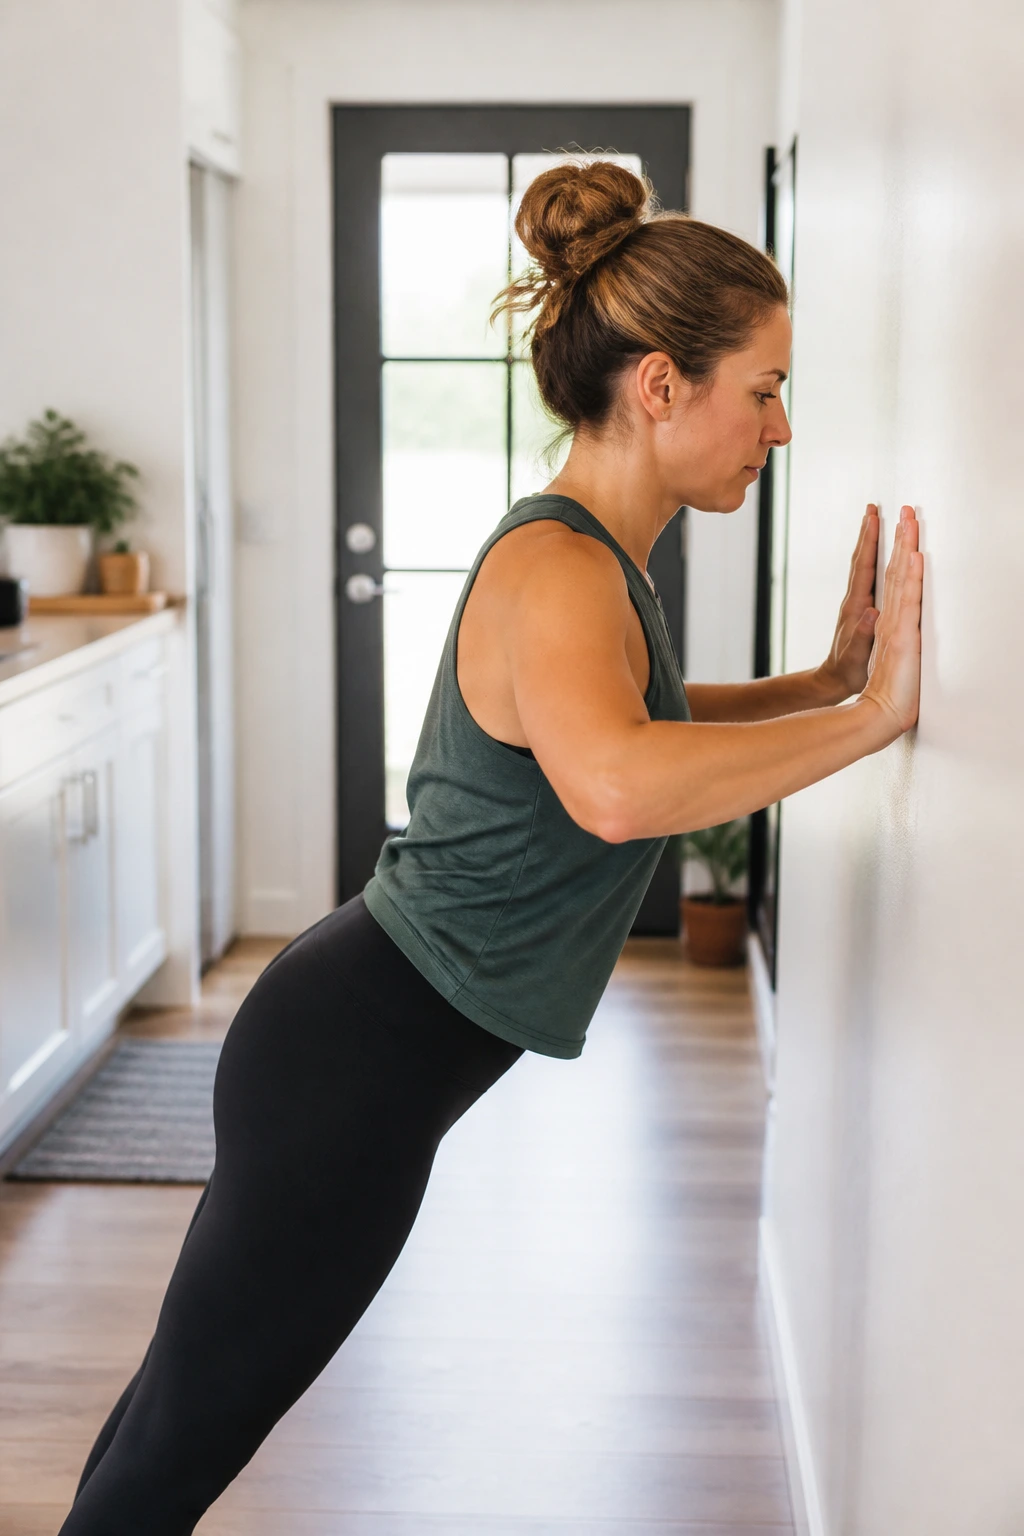
Wall push-ups are the bridge between rest and floor work.
Stand arm’s length from a wall, place your hands at chest height, and lower your chest toward the wall with your body in one line. Push back to standing. Exhale as you press away. Keep the neck long and the elbows at a comfortable angle.
Why I like this more than people expect
- It is easy on the wrists
- It reduces abdominal pressure compared with floor push-ups
- It rebuilds pressing strength for daily lifting
- You can make it harder just by stepping farther from the wall
Eight to fifteen reps is enough. If the shoulder blades wing out or the low back arches, shorten the range. A wall is a fine place to restart upper-body strength. No drama required.
11. Chair Sit-to-Stands
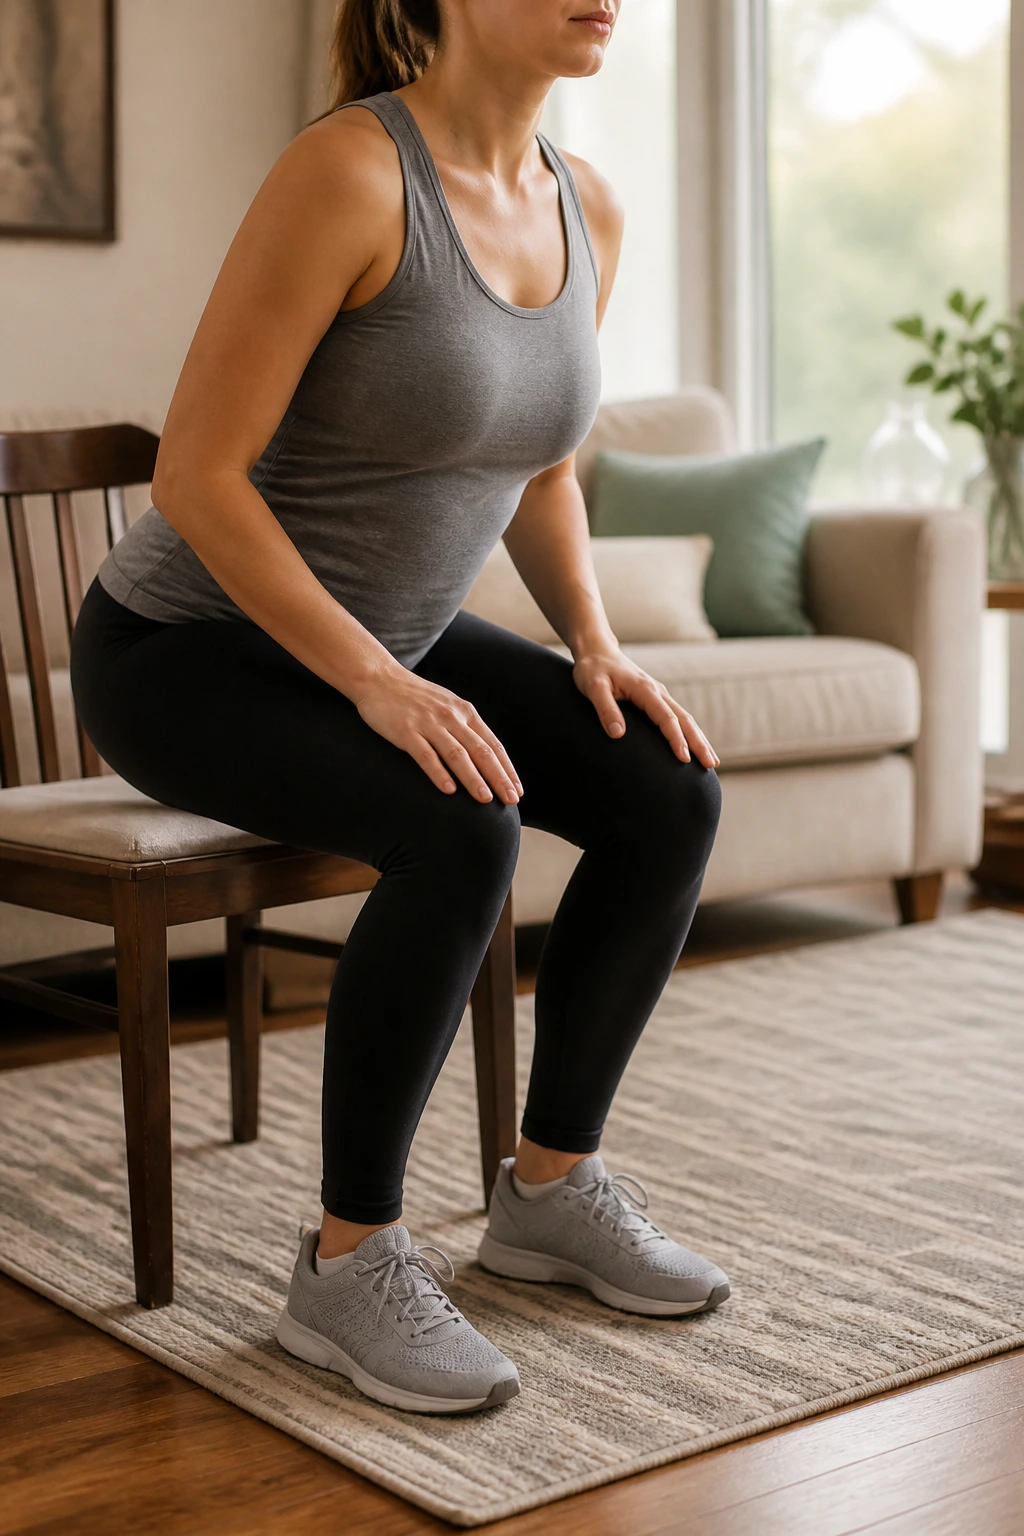
This is one of the most practical postpartum strength moves there is.
Sit on a sturdy chair, feet flat and about hip-width apart. Lean forward slightly, exhale, and stand up without using your hands if you can. Then sit back down slowly. The lowering part matters. That’s where the legs learn control.
What it builds
- Quads
- Glutes
- Balance
- Confidence getting up and down while holding a baby
Do 8 to 12 reps. Use a higher chair if a deep seat feels rough, and keep your knees tracking over your toes. If you feel pelvic heaviness at the bottom, don’t force depth. Stand from a taller surface and keep the movement clean.
12. Standing Calf Raises
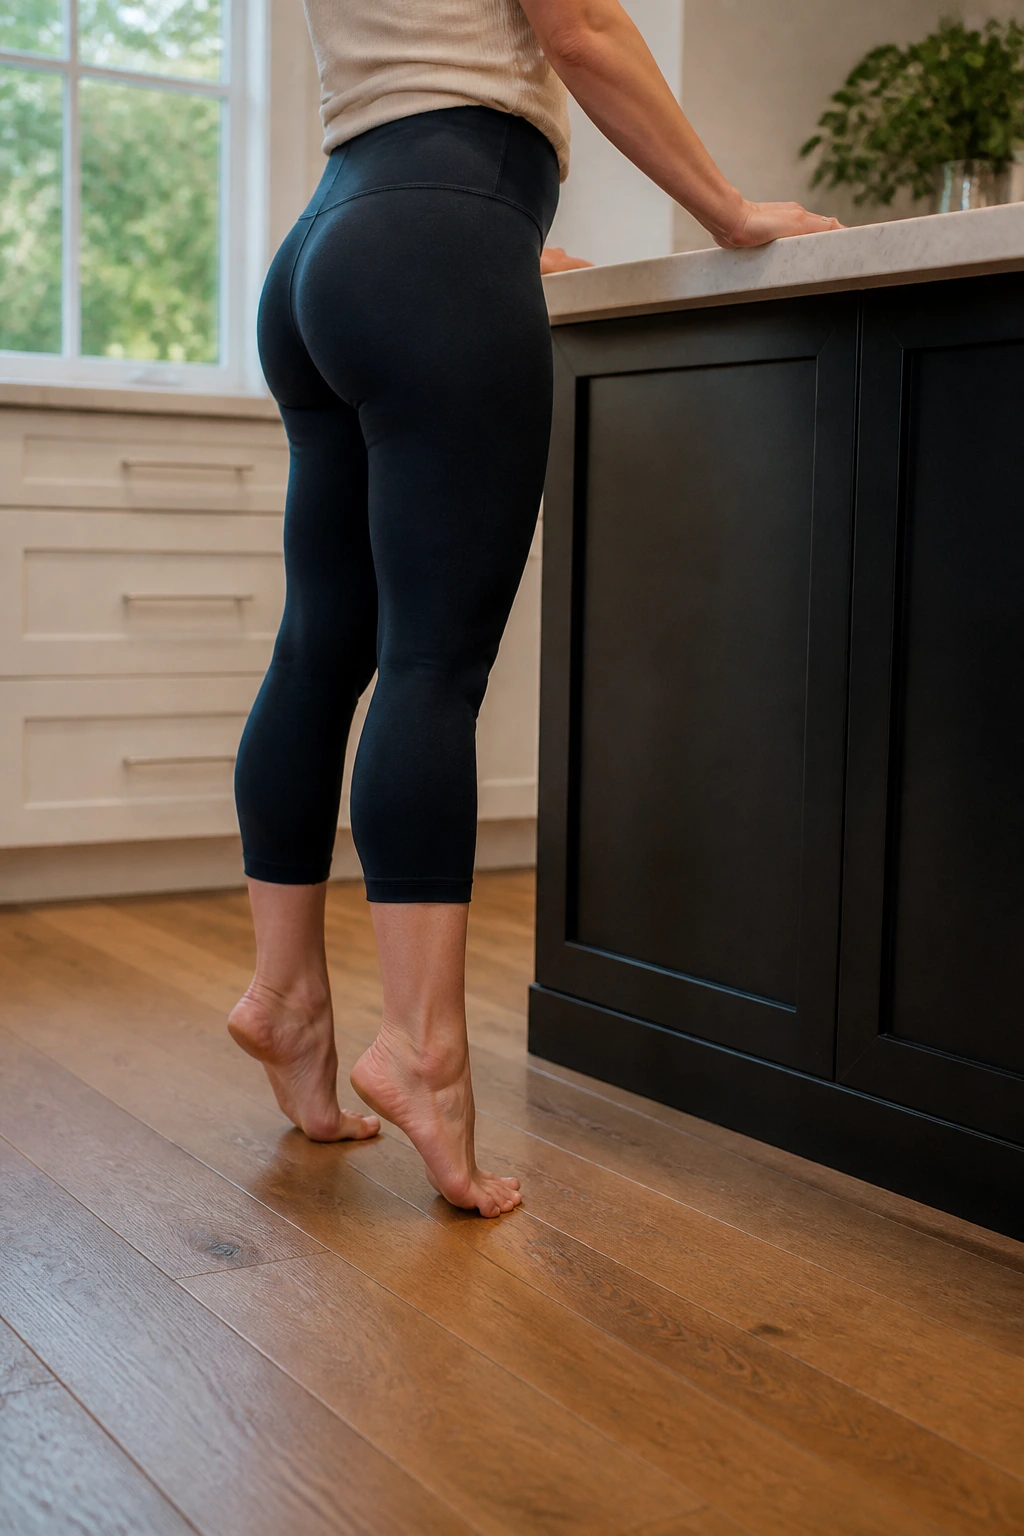
Calf raises get ignored because they look too small to matter. They matter.
Stand near a counter or wall and lift your heels slowly until you’re on the balls of your feet. Pause for a beat, then lower with control. That simple up-and-down motion helps the calves, ankles, and circulation, which is useful when you spend long stretches sitting, feeding, or rocking.
Use them when
- Your legs feel stiff
- You’ve been sitting too long
- You want an easy strength move that doesn’t tax the abdomen
- You need a warm-up before walking
Try 12 to 15 reps for 2 sets. If balance is shaky, keep both hands on a counter. Later, you can move to one-leg calf raises. For now, steady and boring is fine.
13. Resistance-Band Rows
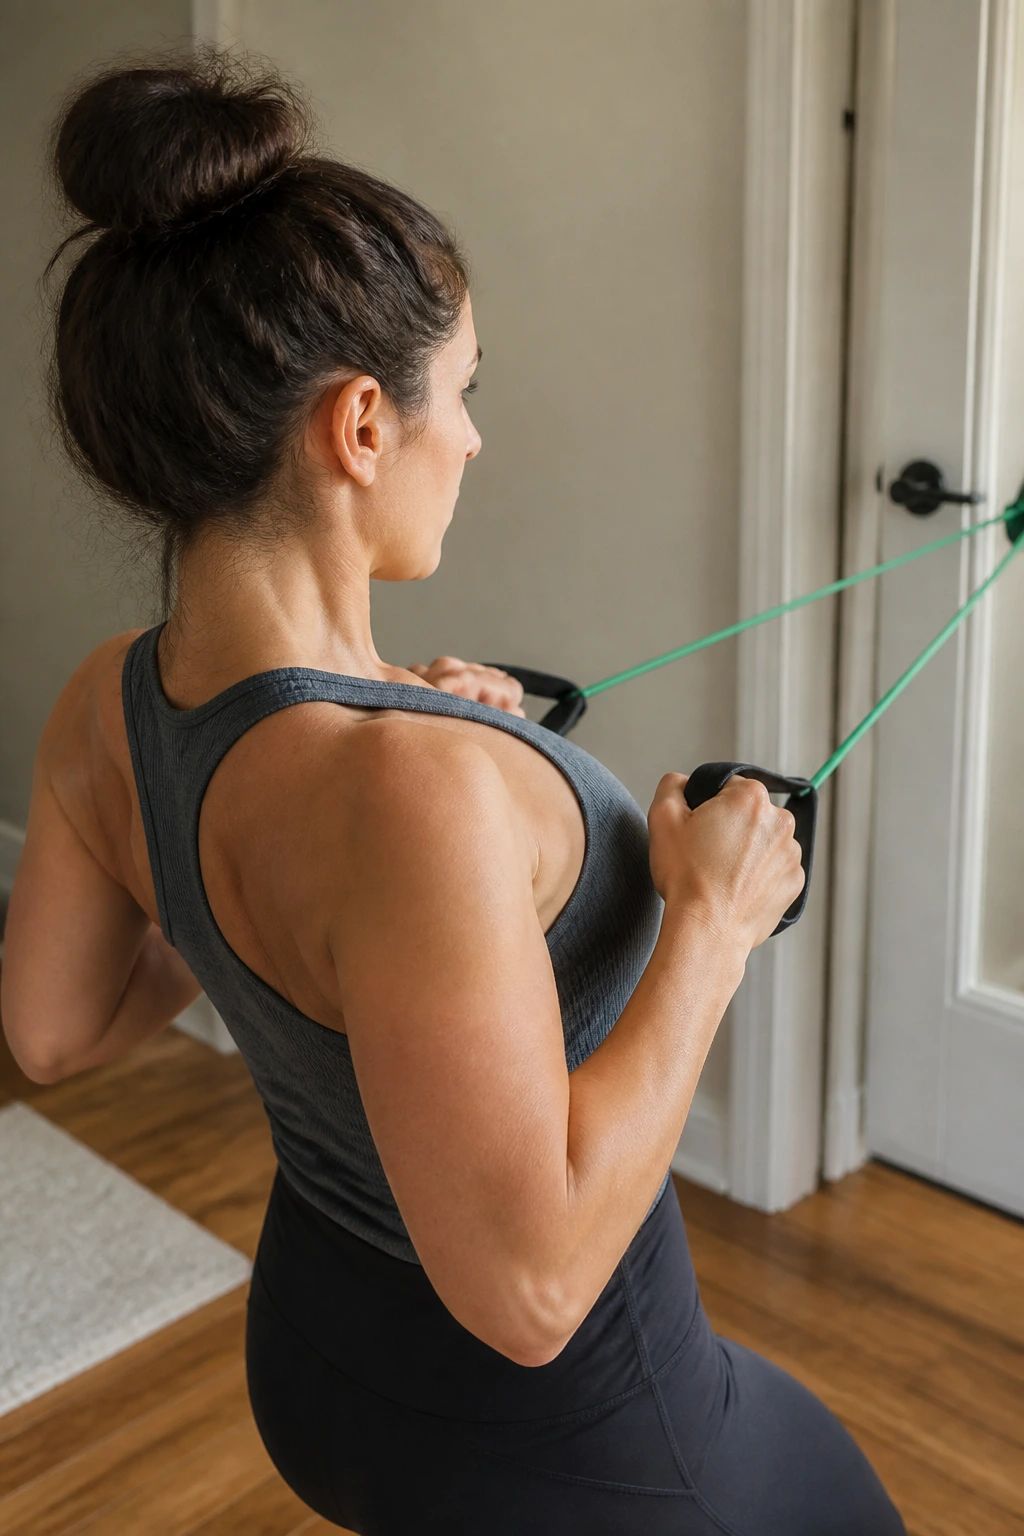
Rounded shoulders are part of the new-mom package, but they do not have to stay that way.
Loop a resistance band around a sturdy anchor or hold it with both hands. Pull your elbows back, squeeze the shoulder blades gently, and return with control. The chest should stay open and the ribs should not flare. If you shrug, the neck takes over, and that is not what you want.
A good row should feel like
- Upper back working
- Neck staying long
- Elbows moving close to the body
- Abdomen staying calm
Do 10 to 15 reps. This is a good one for people who spend half the day cradling a baby on one hip. It also helps offset all the forward-reaching that comes with feeding, carrying, and folding laundry while half awake.
14. Band Pull-Aparts
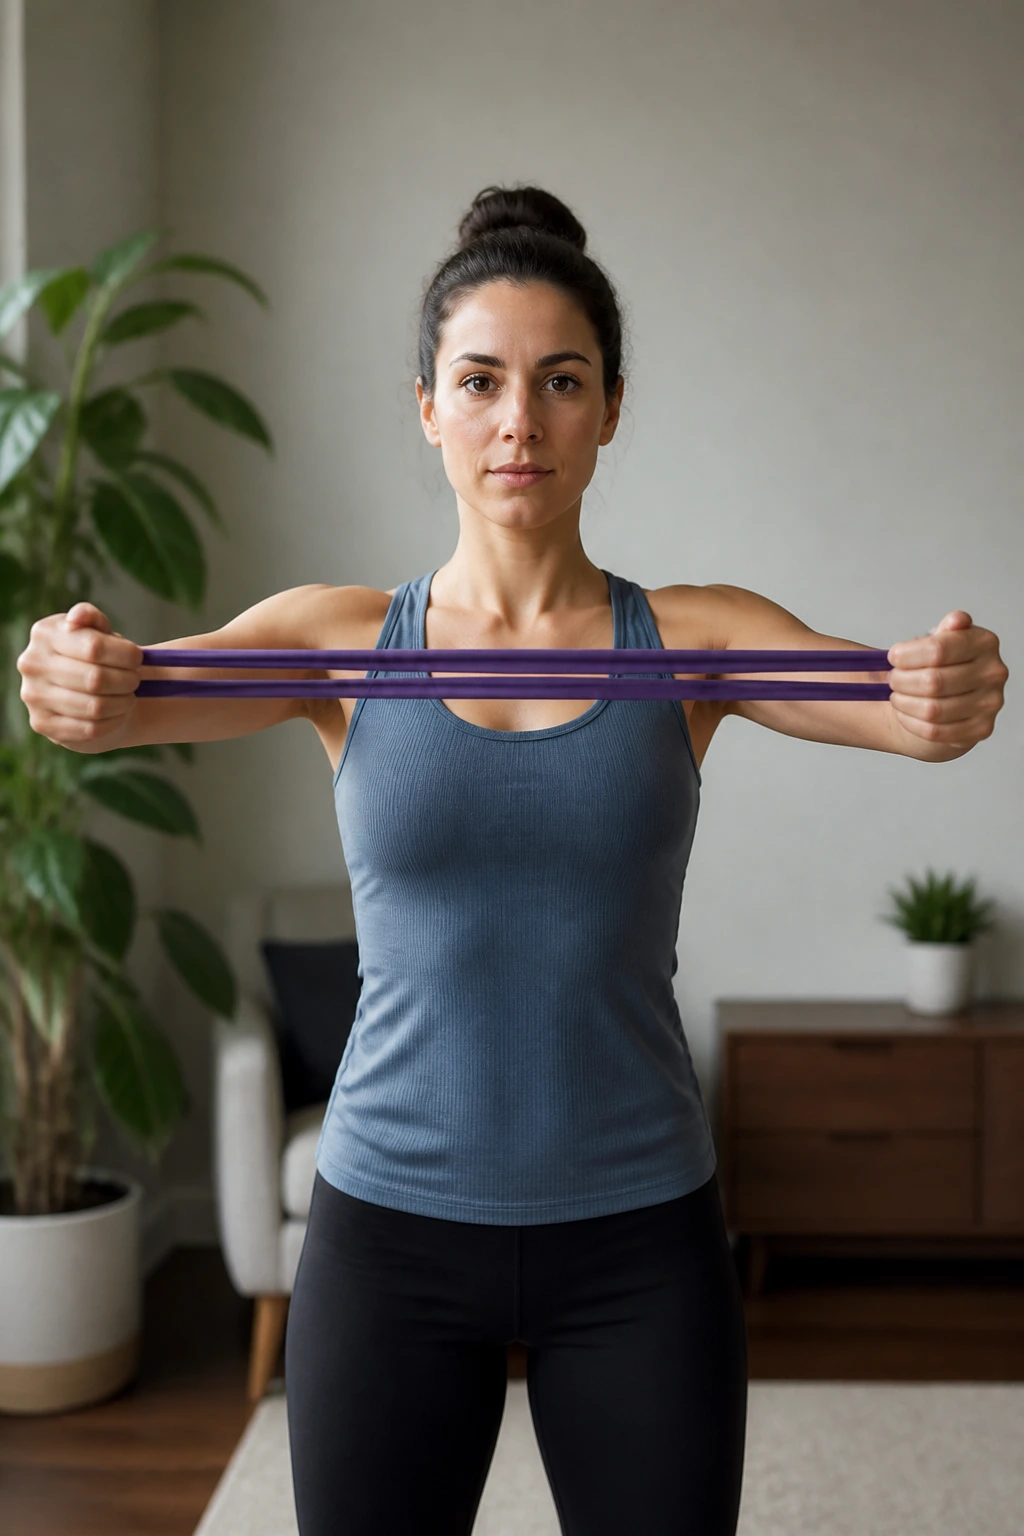
Pull-aparts are a little quieter than rows and a little nastier than they look.
Hold a light band at chest height with straight arms. Pull it apart until your hands move outward and your shoulder blades come together a bit. Return slowly. There’s no need to yank the band wide. A small, controlled range does the job.
Why this one is worth keeping
- It wakes up the upper back
- It helps the posture that gets crushed by nursing and phone use
- It is gentle on the joints
- It pairs well with walking or light strength work
Try 8 to 12 reps for 2 sets. If the front of the shoulders feels pinchy, make the band lighter or hold your hands a little closer together. The motion should feel crisp, not strained.
15. Modified Dead Bugs
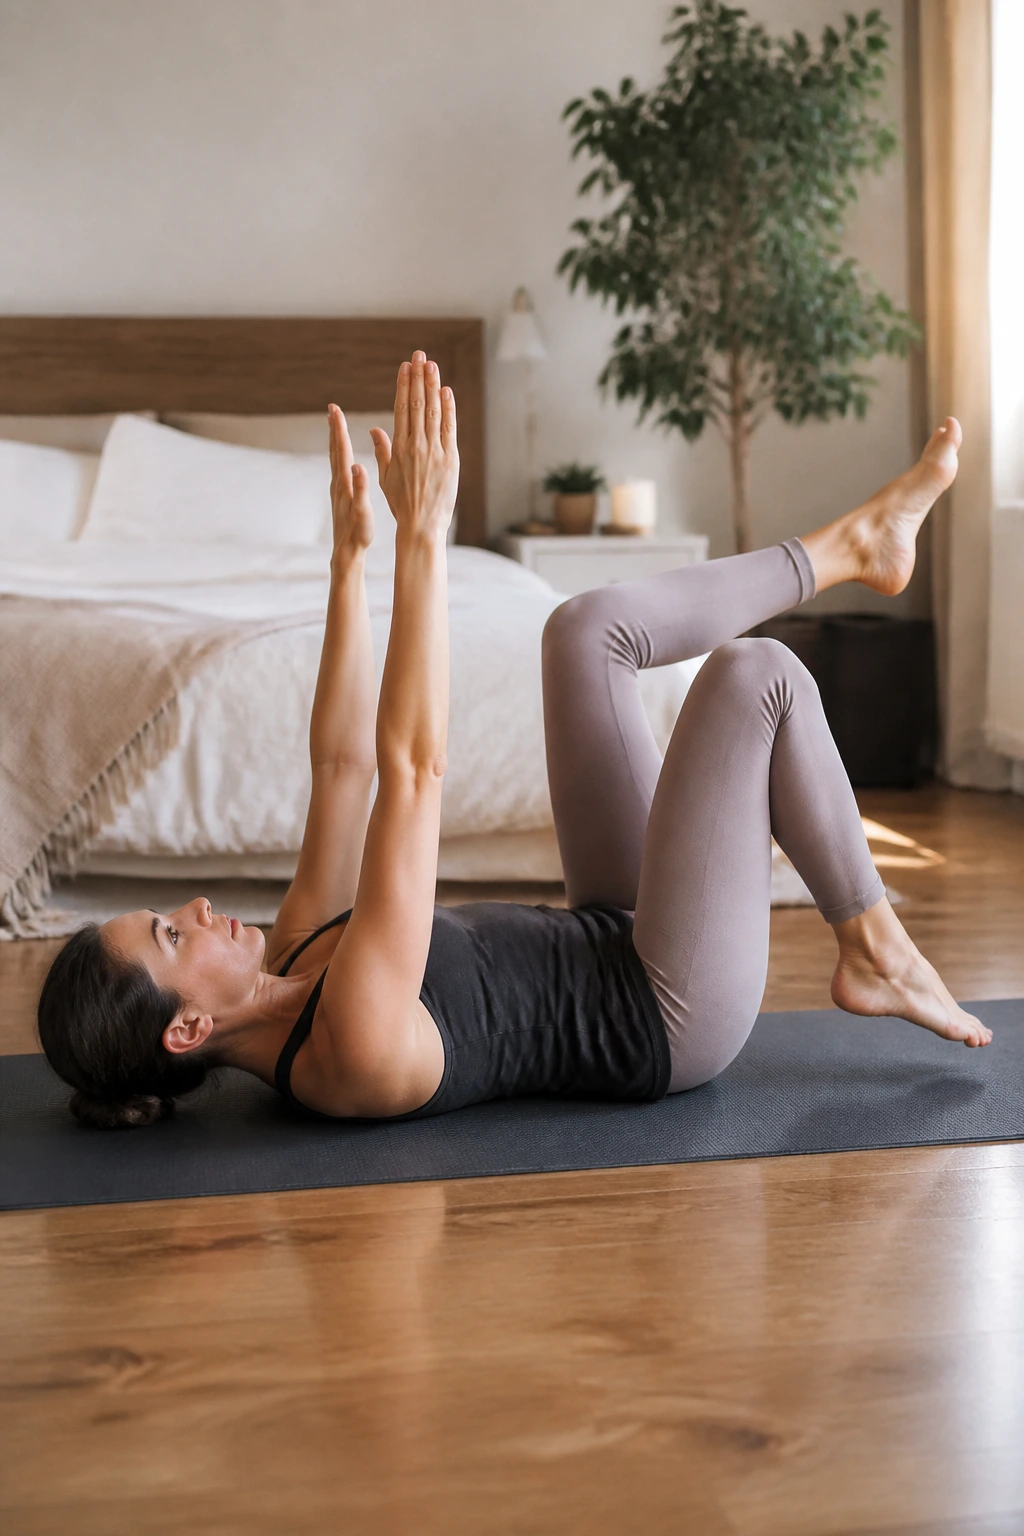
Dead bugs are excellent postpartum core work when they are modified well.
Lie on your back with your knees bent over your hips or with one foot on the floor if tabletop feels too hard. Exhale and slowly lower one heel toward the floor while keeping the low back from arching. Return and switch sides. The abdomen should stay flat enough that you can feel control, not force.
What to watch for
- Doming down the center of the belly
- Neck tension
- Breath-holding
- The low back lifting off the floor
Start with 6 reps per side. If the movement triggers doming, keep both feet down and practice the breath only. That is not failure. It is the right regression. Dead bugs are a stronger drill, but they only help if you can keep the pressure under control.
16. Low Step-Ups
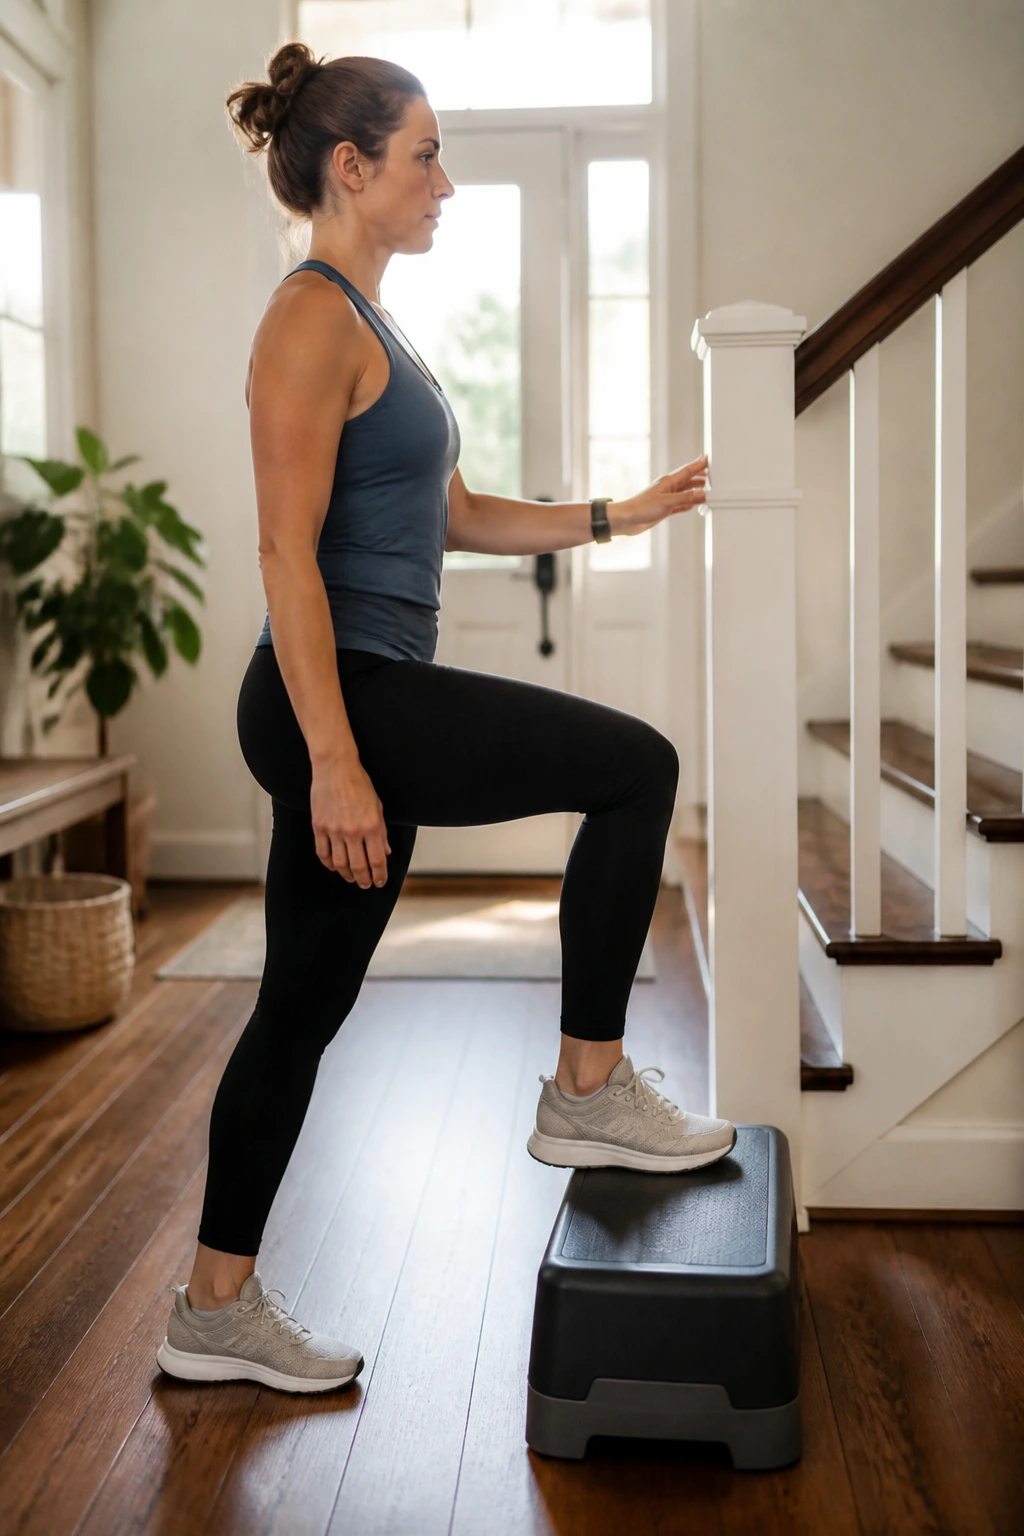
Step-ups are one of the best real-life strength builders for new moms.
Use a low step, around 4 to 6 inches if balance is still coming back. Step up with one foot, drive through the heel, stand tall, then step down with control. Switch sides. Hold a railing or wall if needed. There is no prize for wobbling on a higher box.
Why they matter
- They mimic stairs
- They help with single-leg strength
- They train balance after months of weird posture and fatigue
- They carry over to getting into a car, onto a curb, or around the house
Do 6 to 10 reps per side. If the pelvis feels heavy, lower the step or go back to sit-to-stands for a while. Higher is not better here. Cleaner is better.
17. Supported Split Squats
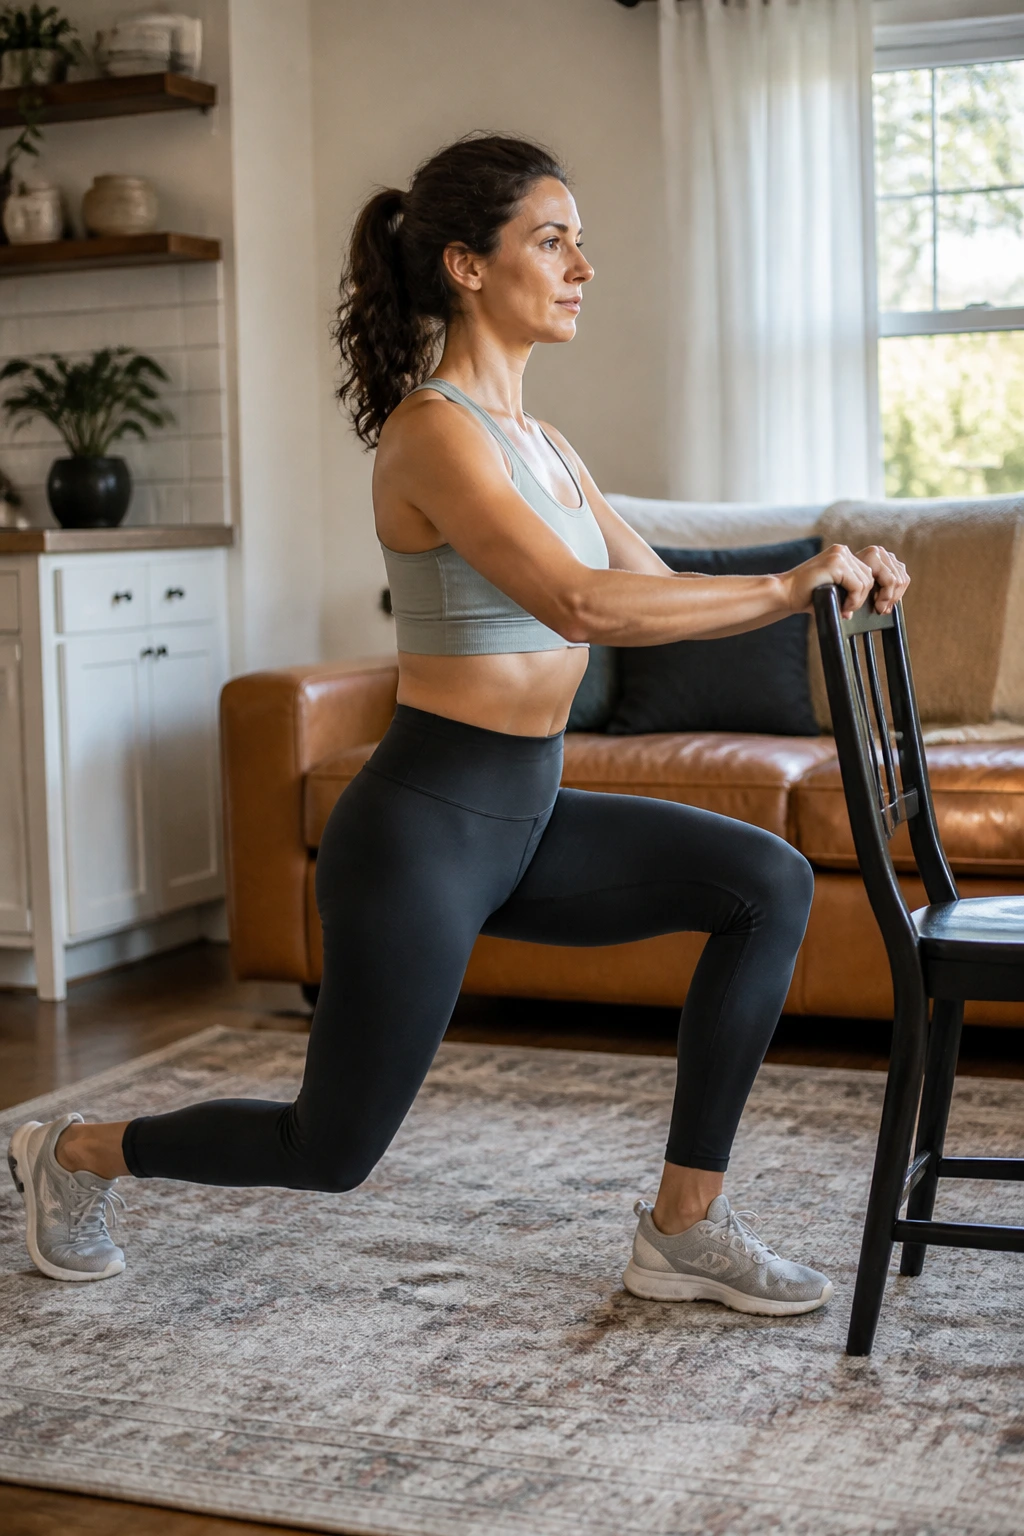
Split squats build leg strength without the chaos of jumping or fast lunges.
Stand in a staggered stance with one foot forward and one back, hands on a chair or countertop for support. Lower straight down a few inches, then stand back up. Keep the torso upright and the front knee tracking over the middle toes. A shallow range is enough at first.
Good reasons to use them
- They train each leg separately
- They are useful for carrying a car seat or baby on one hip
- They help hips, glutes, and thighs work together
- They can be made easier with support and a shorter stance
Try 6 to 8 reps per side. If balance is the issue, hold onto something steady. If pelvic floor pressure shows up, switch back to chair sit-to-stands and step-ups for a bit. There is no rush.
18. Suitcase Carries
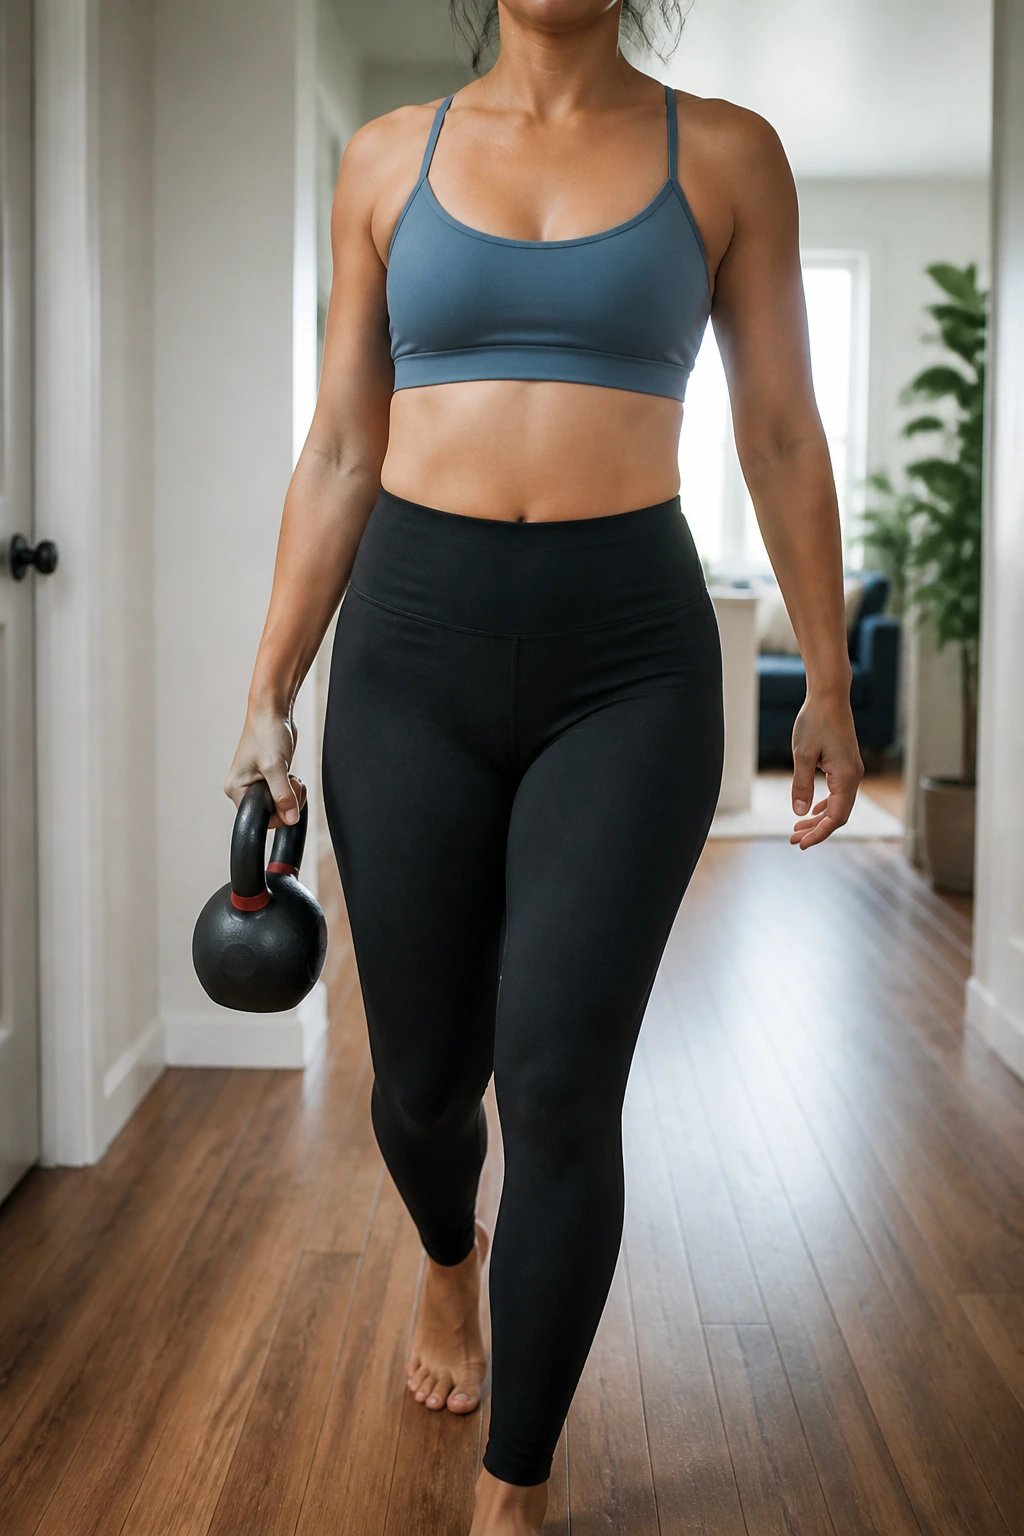
A suitcase carry is just walking while holding a weight on one side, and it is sneaky in the best way.
Pick up a light dumbbell, a full grocery bag, or a jug with a handle. Hold it at your side and walk for 20 to 40 seconds, then switch hands. Keep the shoulders level and the ribs stacked over the pelvis. Don’t lean away from the weight.
What this trains
- Side core strength
- Grip
- Posture under load
- The kind of stability you need for real life
Start with a weight that feels almost too easy. That is not wasting time. That is how you find the line before your torso starts twisting or your pressure management gets sloppy. I like this move because it looks ordinary and works hard.
19. Seated Dumbbell Presses
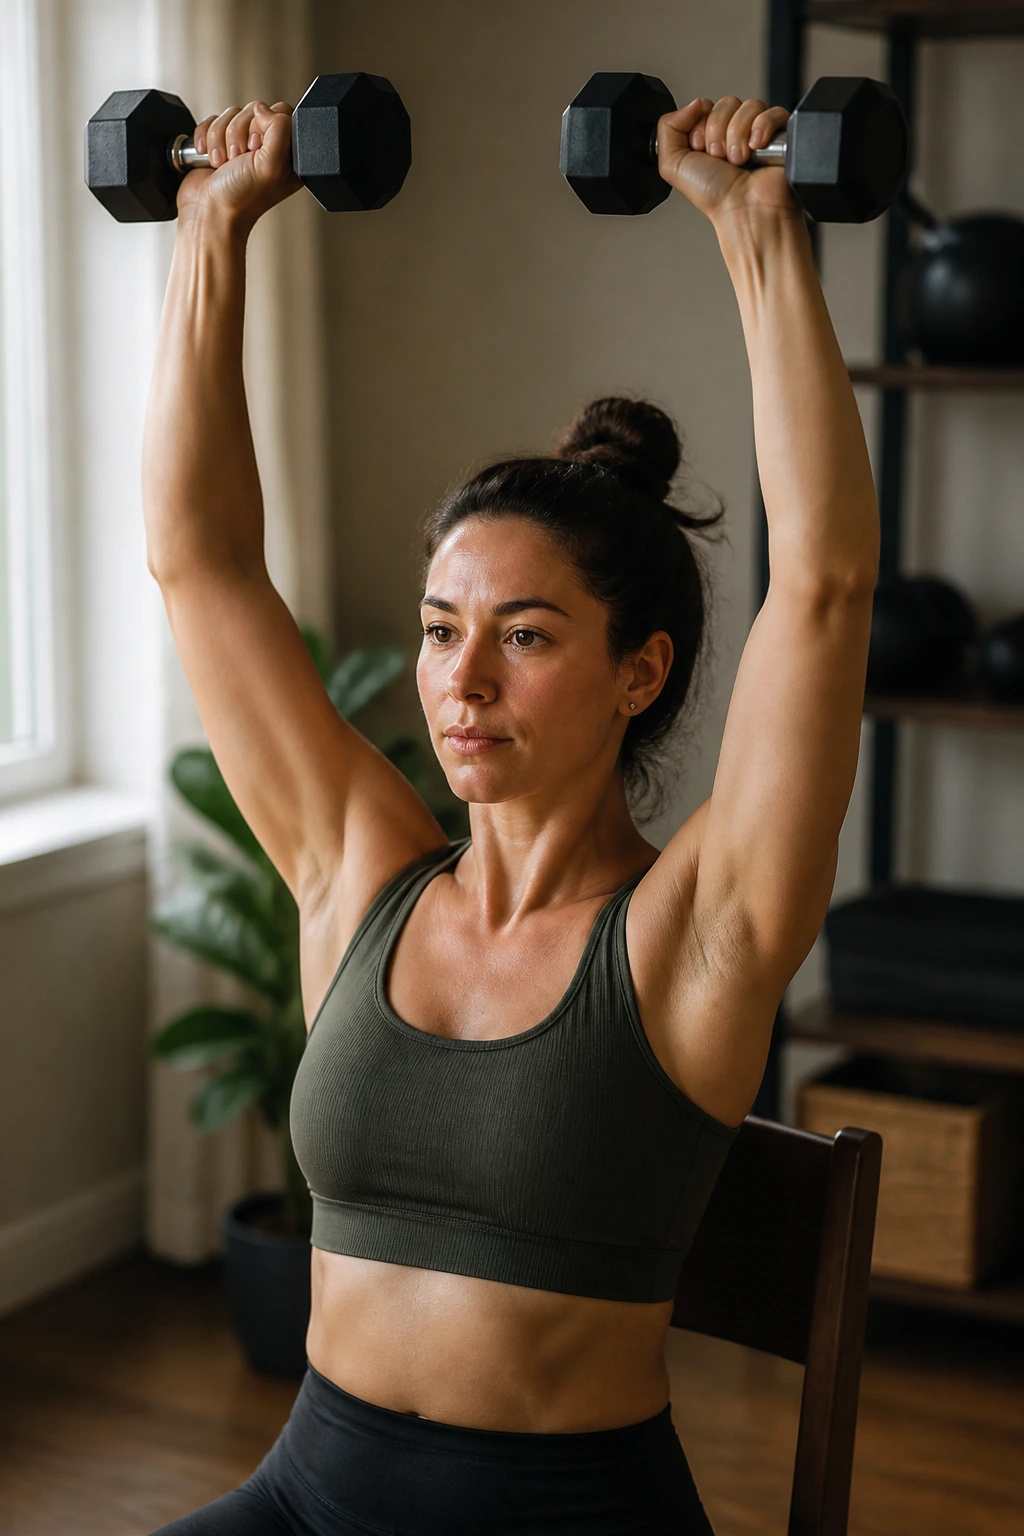
Overhead work can wait, but it does not have to disappear.
Sit on a sturdy chair or bench with your feet grounded. Hold light dumbbells at shoulder height and press them overhead as you exhale. Lower them slowly. Staying seated removes some of the whole-body bracing that standing presses ask for, which makes this a friendlier re-entry point.
Keep an eye on these cues
- Ribs staying down
- Neck staying loose
- No low-back arch
- No pinching in the shoulders
Eight to twelve reps is a good range. Use a weight that lets you finish the last rep without cheating. If your belly domes or your rib cage flares hard, the dumbbells are too heavy for now. Drop the load and keep the shape tidy.
20. Stationary Bike Intervals
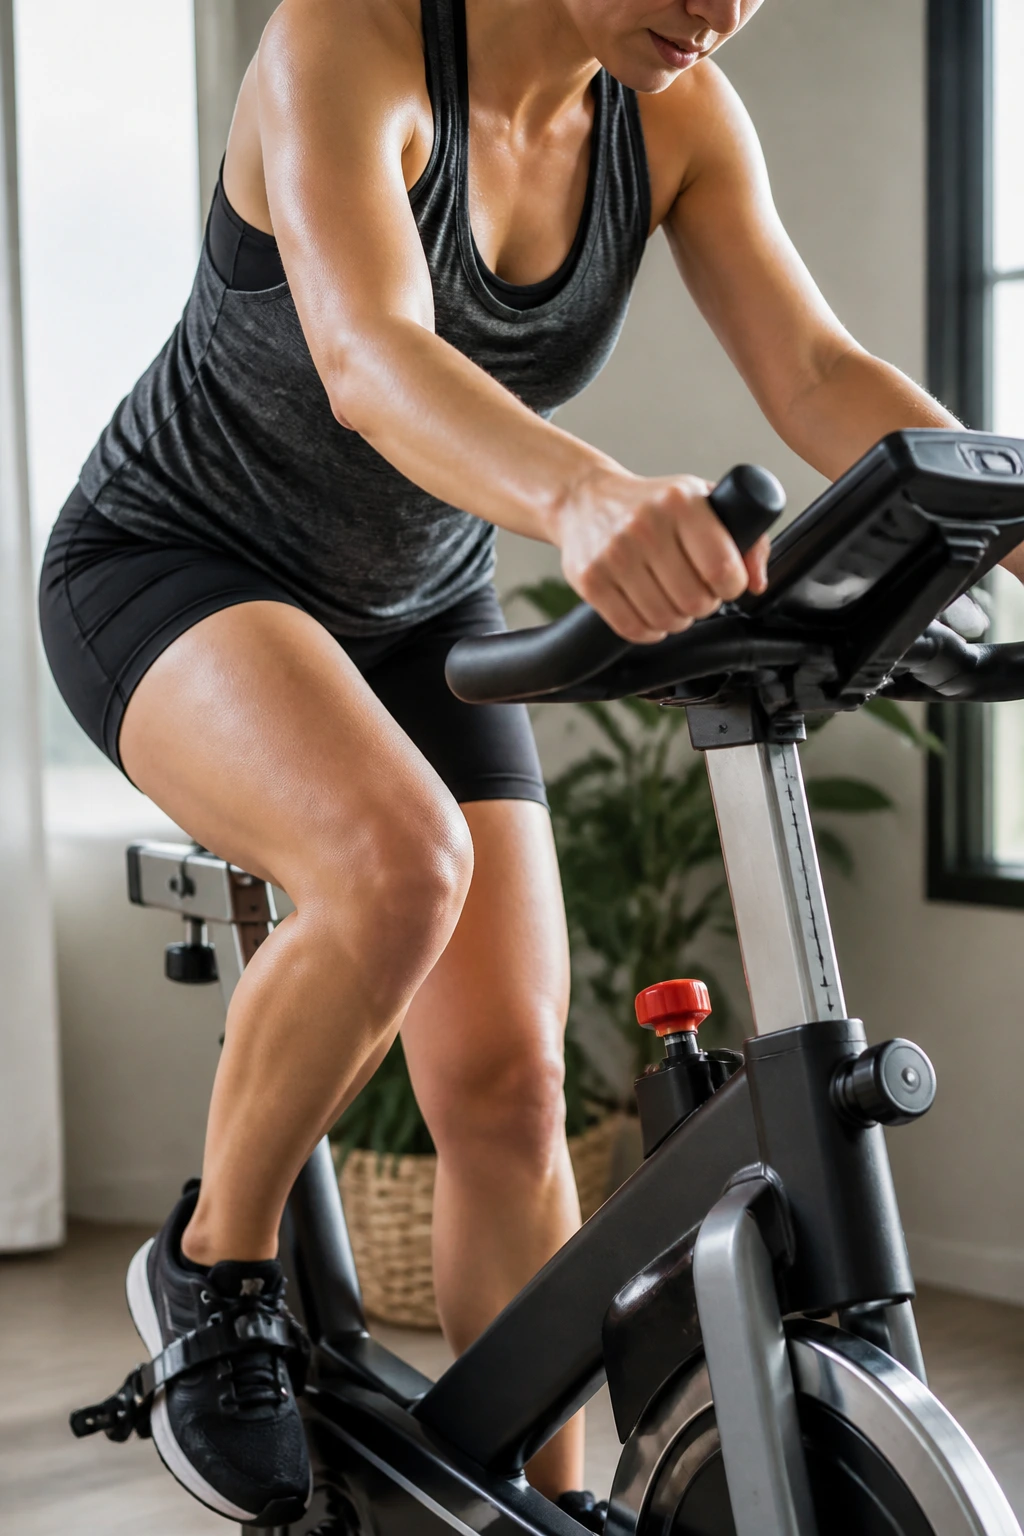
When walking stops feeling like enough, the stationary bike is a very useful next step.
Set the resistance low and pedal smoothly for a minute, then slightly faster or with a touch more resistance for 30 seconds. Repeat that for 6 to 10 rounds. The point is to breathe a little harder without pounding the joints. No sprinting, no standing climbs, no race against the clock.
Why it fits postpartum well
- Low impact
- Easy to control
- Good for conditioning without jumping
- Helpful when you want to sweat but not stress the pelvic floor
Watch the saddle. If it feels awkward or sore, adjust the height before you try to “push through.” That’s one of those unglamorous details that decides whether a workout feels fine or annoys you for two days.
21. Water Walking or Easy Swimming
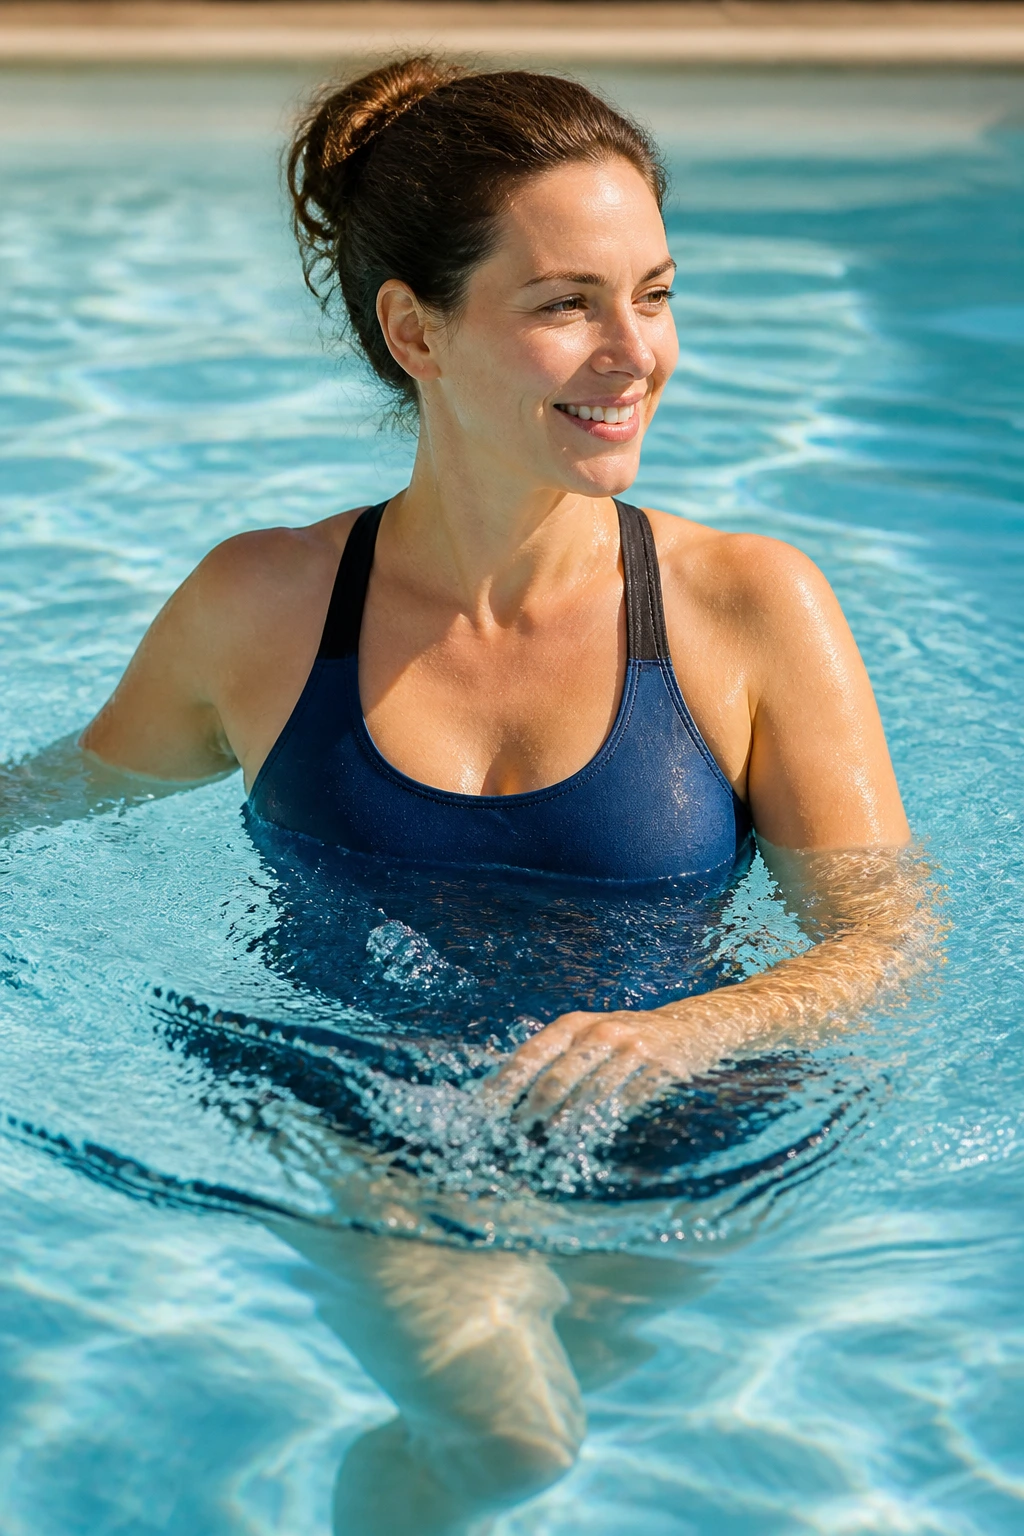
If you have pool access, use it.
Water supports the body and takes pressure off the joints, which can feel like a gift when you’re still healing. Water walking in chest-deep water is enough for a workout. Easy freestyle laps or gentle backstroke work too. Keep the pace conversational. You should be able to talk without gasping.
Pool work is a smart option when
- Your joints feel achy
- You want movement without impact
- Walking on land still feels rough
- You need a change of scene that isn’t a full gym session
Do 10 to 20 minutes at a relaxed pace. If you had a C-section, make sure the incision is healed and your clinician has cleared swimming before getting in the water. Chlorine and open skin do not mix well, and there’s no reason to gamble on that.
22. Cooldown
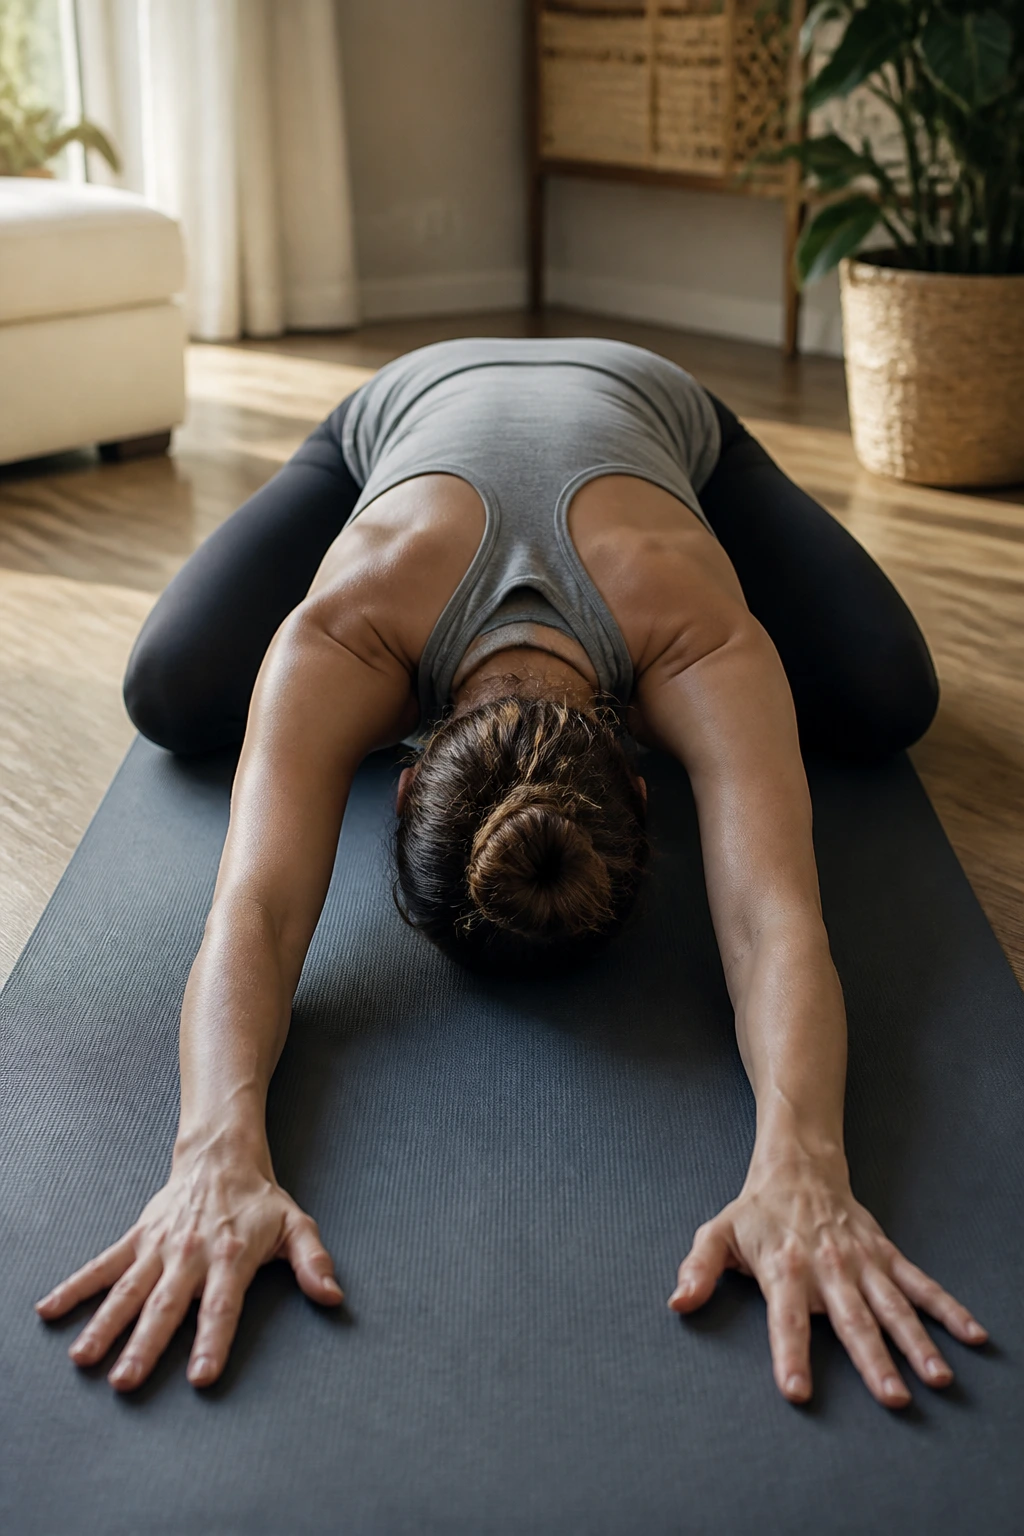
A gentle cooldown is not a bonus. It is part of the workout.
End with a short sequence that lowers tension: child’s pose with wide knees if it feels good, thread-the-needle on each side, a chest stretch against a wall, and a few slow ankle rocks. Nothing fancy. Five minutes is enough. If floor positions are uncomfortable, do the same stretches on a bed or against the couch.
A sane way to progress
- Add 1 to 2 reps before adding more weight
- Keep one or two workouts symptom-free before you level up
- If a move causes leaking, pressure, or doming, step back to an easier version
- Build from breathing to control to load, in that order
That progression matters more than chasing a hard sweat. The best postpartum workouts safe for new moms are the ones that let you parent, sleep when you can, and get up the next day without feeling wrecked. Small sessions add up. Quietly, they add up a lot.
