



A good yoga side bend feels less like folding sideways and more like making room between your ribs and your hips. Done well, it wakes up the whole outer line of the body — ankle, thigh, waist, lower ribs, armpit, even the edge of the neck — without smashing the low back into a corner. Done badly, it turns into a cramped lean with one hip shoved out and the breath getting stuck. Not the same thing at all.
That difference matters. Side bends are one of those shapes people treat like a small stretch, then act surprised when they get a bigger result than expected. The side body affects overhead reaches, balance, breathing, and how comfortable your spine feels after too much sitting. It also tells you a lot about what’s tight: the obliques, the lats, the intercostals between the ribs, the quadratus lumborum near the low back. Tightness in any one of those can make a simple reach feel weirdly sticky.
The best versions look calm from the outside. Inside, though, they’re doing real work. One side lengthens, the opposite side stabilizes, and the breath gets a little wider with each inhale. That’s the sweet spot.
These 20 shapes move from simple standing bends to kneeling variations, seated folds, and a few supported floor versions that let the body settle instead of bracing. Start with the ones that let you stay long. Range shows up later.
1. Mountain Pose Side Bend
Stand with both feet rooted and one arm reaching up, then slide the other hand down the thigh as the torso tips gently to one side. It looks almost too easy, which is exactly why it’s useful. There’s nowhere to hide. If you collapse, you’ll feel it right away.
What to Feel
The stretch should run from the outer hip all the way into the ribs and the underside of the lifted arm. Keep both feet heavy and think long before deep. That cue saves the low back from taking over.
- Press down through the big toe mounds.
- Keep the lifted shoulder away from the ear.
- Reach the top arm slightly forward, not just up.
- Let the lower ribs stay broad instead of pinched.
Tiny tip: soften the knees a little. Straight legs are fine, but a micro-bend usually gives you more length and less strain.
2. Gate Pose
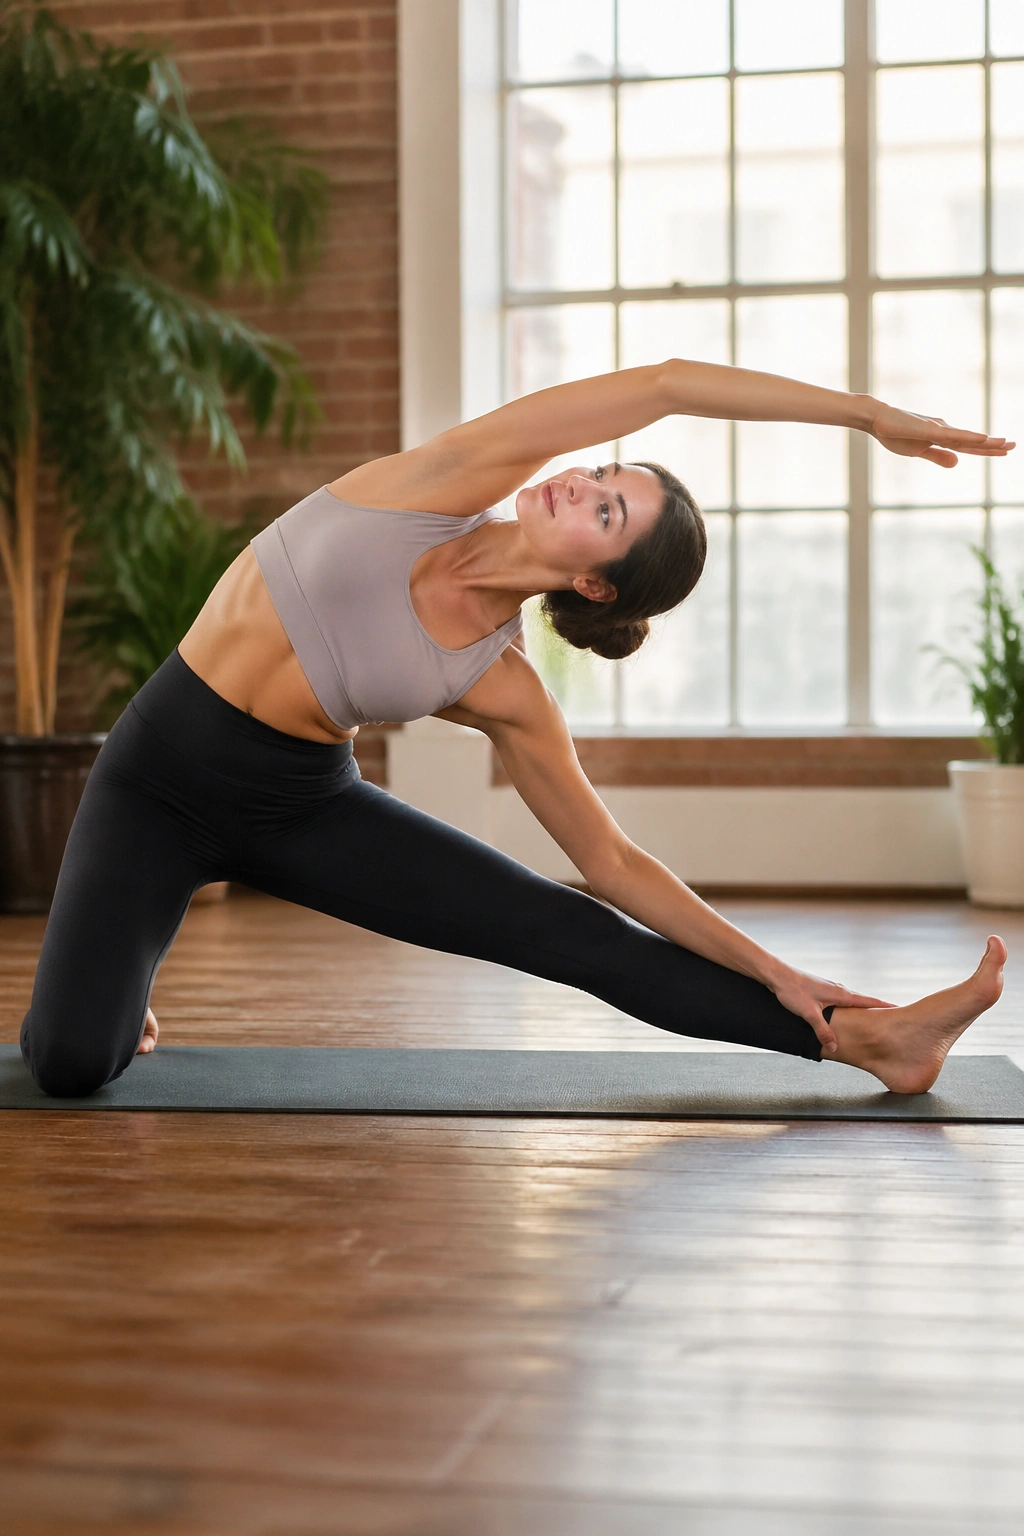
This is the pose I reach for when the waist feels welded shut. One knee stays down, the other leg stretches out to the side, and the upper body arcs over the extended leg. The shape is clean, blunt, and honest. No fancy workarounds.
Gate pose gives you something standing side bends often don’t: a grounded pelvis. That one detail changes the whole stretch. Because one shin and one knee are anchored, you can tip the ribs more precisely and feel the whole flank open without wobbling around. The side of the body from the hip crest to the armpit gets a long, obvious line.
Keep the side of the bent-knee hip from drifting backward. That’s the trick. If it slides out, the bend gets blurry and the stretch turns into a little shrug. Stay stacked over the kneeling knee, lift the reaching arm on an inhale, and let the exhale lengthen the ribs away from the hip. Slow. Clean. Good.
3. Crescent Lunge Side Bend
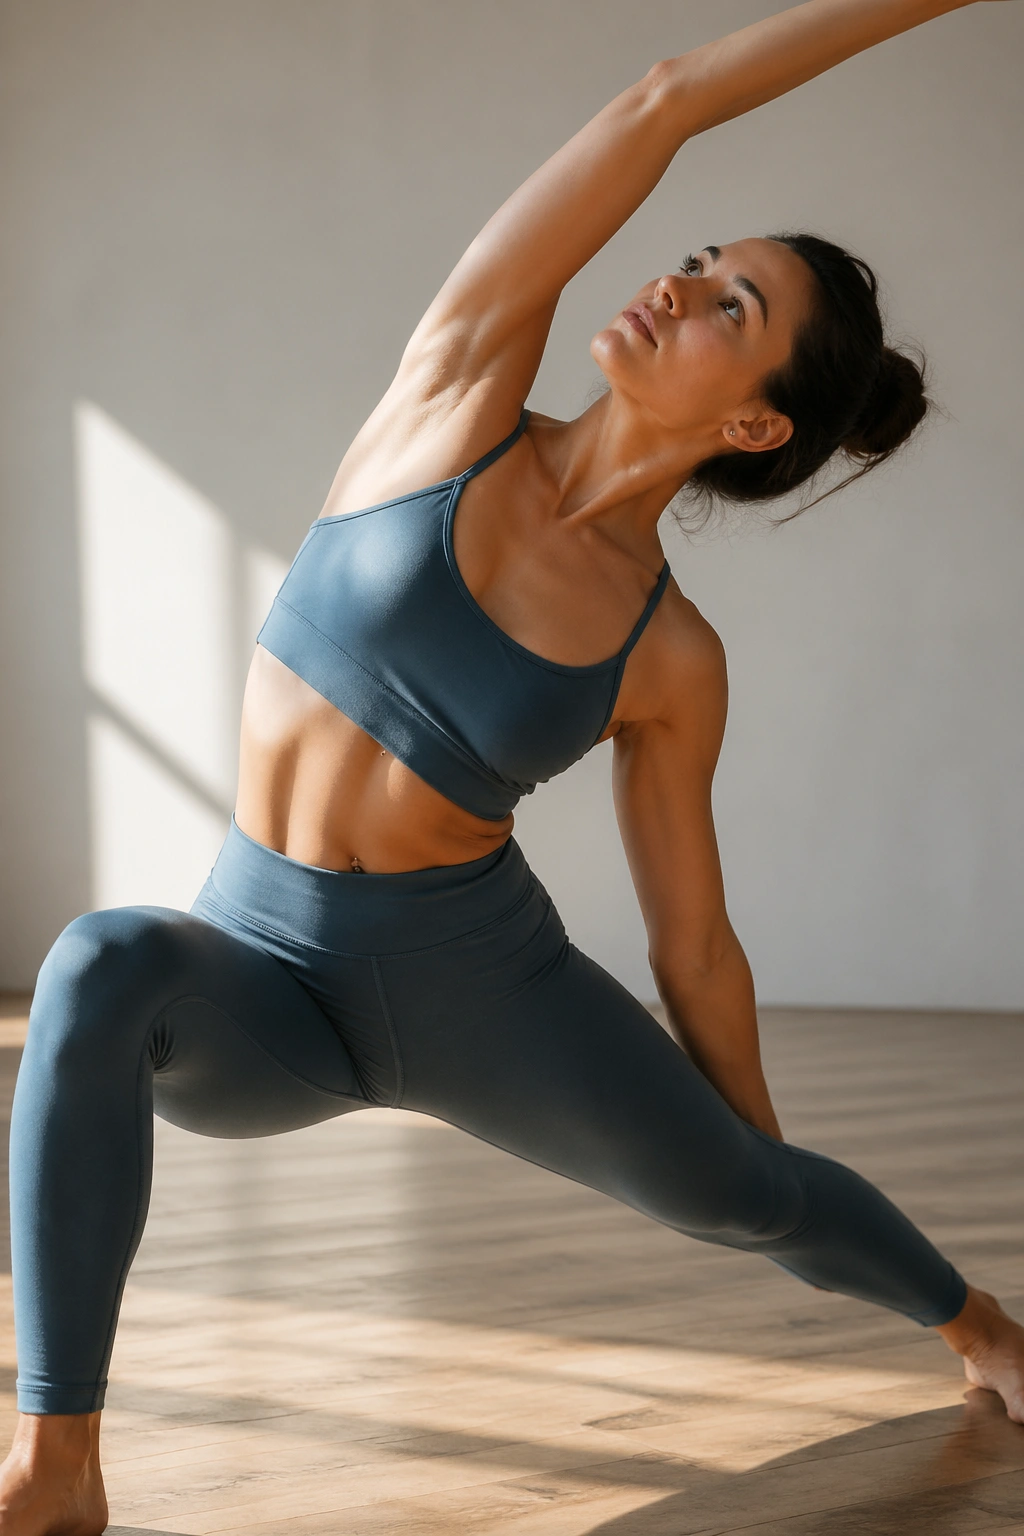
Why does this one feel so big? Because the lunge base wakes up the legs while the side bend asks the ribs to open at the same time. You’re not only stretching the side body; you’re also asking the hips to stay engaged so the stretch has somewhere to land.
How to Use It
From a high lunge, keep the back leg strong and reach one arm overhead as the torso leans away from the front leg. If balance is shaky, drop the back knee first. That makes the whole thing calmer and much easier to control. The stretch should live in the outer waist and armpit, not in the low back.
The mistake people make is hanging into the front hip. Don’t. Keep the pelvis lifted and the ribs reaching up and away. If the top arm drifts behind the ear, the neck takes the hit. Keep it slightly forward and you’ll feel the side line lengthen instead of crumpling.
4. Low Lunge with Side Reach
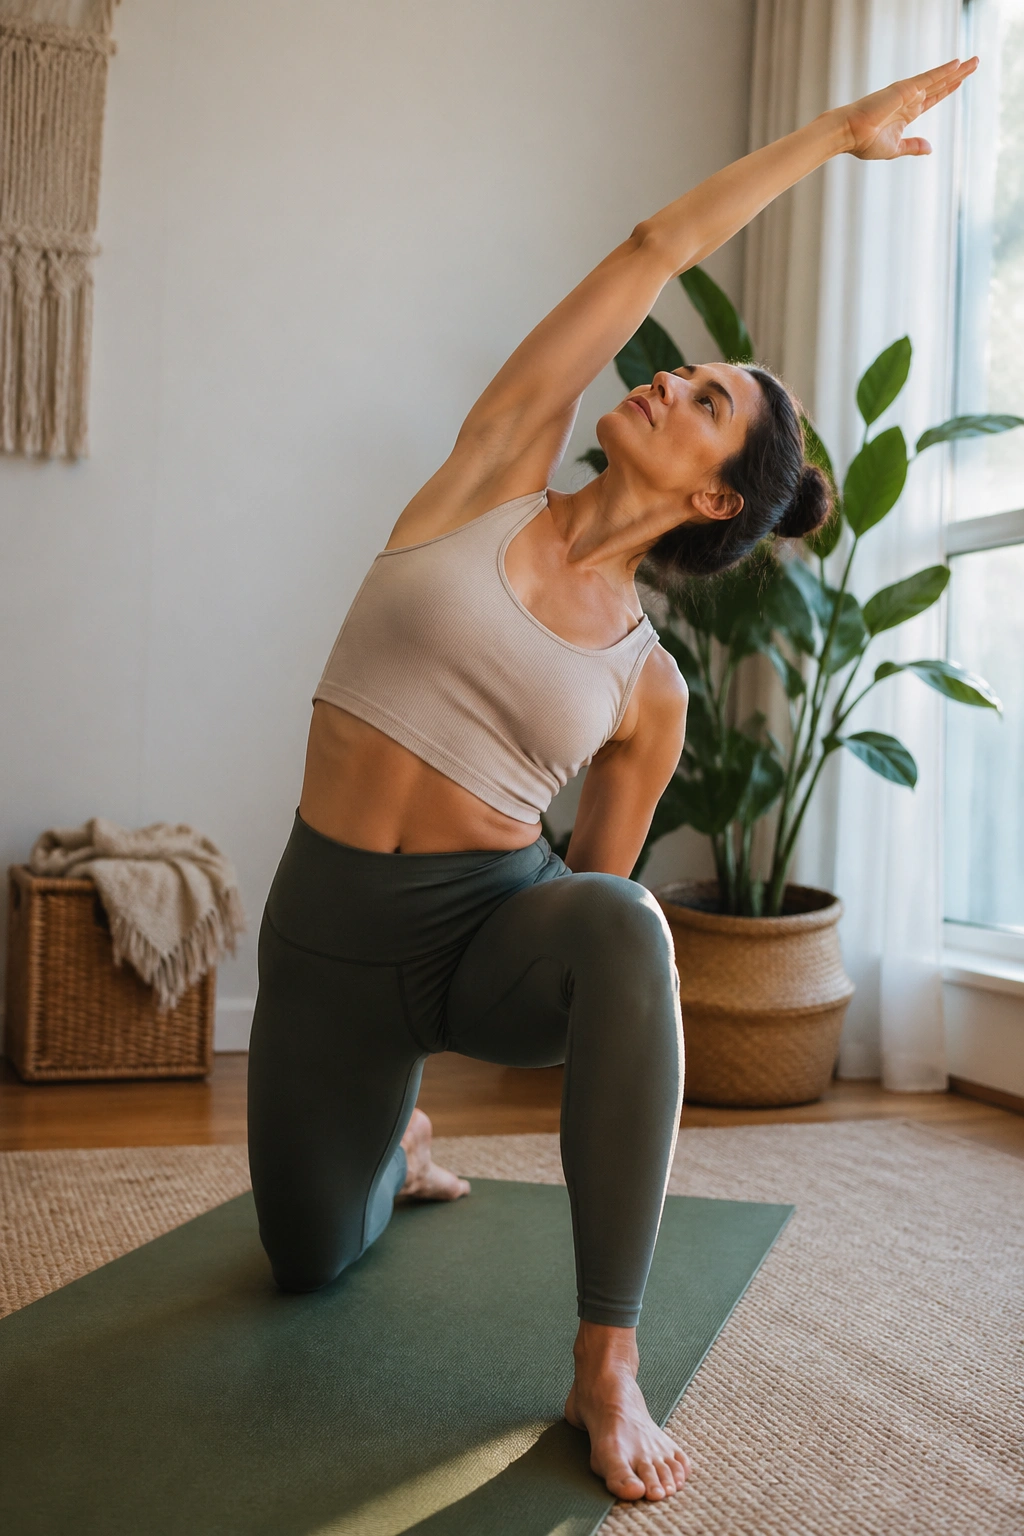
A kneeling lunge is a kind thing to do for tight bodies. One knee stays on the floor, the front foot plants firmly, and the same-side arm reaches up and over in a clean diagonal. It’s a slower version of the crescent side bend, and that makes it useful on days when your hips feel stubborn.
Small Details That Matter
- Put a folded blanket under the back knee if the floor feels sharp.
- Keep the front foot flat and the front knee stacked roughly over the ankle.
- Reach from the waist first, then let the arm follow.
- Keep the back hip slightly forward so the stretch stays honest.
The line from the outer back hip to the back ribs is the part most people miss. That’s where the stretch lands if you keep the chest soft and the pelvis steady. It’s not dramatic. That’s the point.
5. Half Moon Side Bend
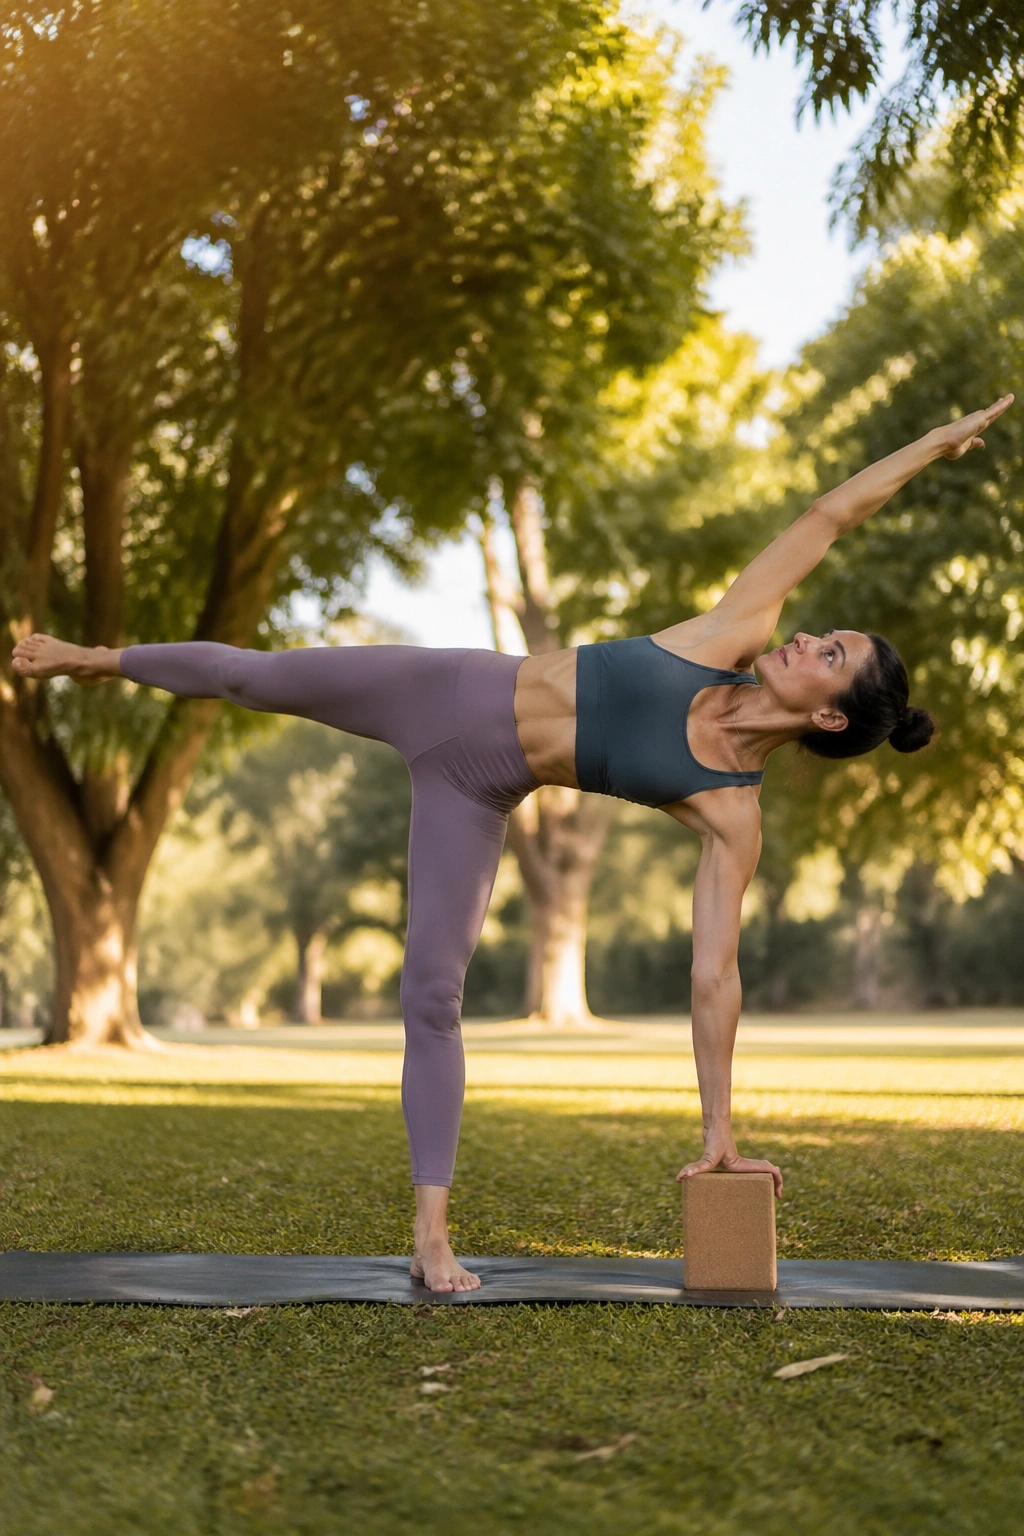
Half moon side bend has a floating quality that makes people either love it or avoid it. One hand may stay on a block, one leg lifts, and the free arm travels overhead, creating a long, open diagonal from standing foot to fingertips. The standing leg does a lot of quiet work here. If it collapses, the whole pose gets mushy fast.
The useful part is the balance challenge. Because you’re standing on one leg, the side body cannot slack off and disappear. The lower waist has to stay active while the upper ribs reach away. That push-pull is what makes the shape feel so spacious.
Use a block. Seriously. A block under the lower hand lets the chest stay open and the lifted arm stay long. Without it, many people dump too much weight into the standing hip and lose the side stretch. Keep the lifted toes active and the gaze steady. Wobbly is normal. Collapsed is not the goal.
6. Triangle with Top Arm Overhead
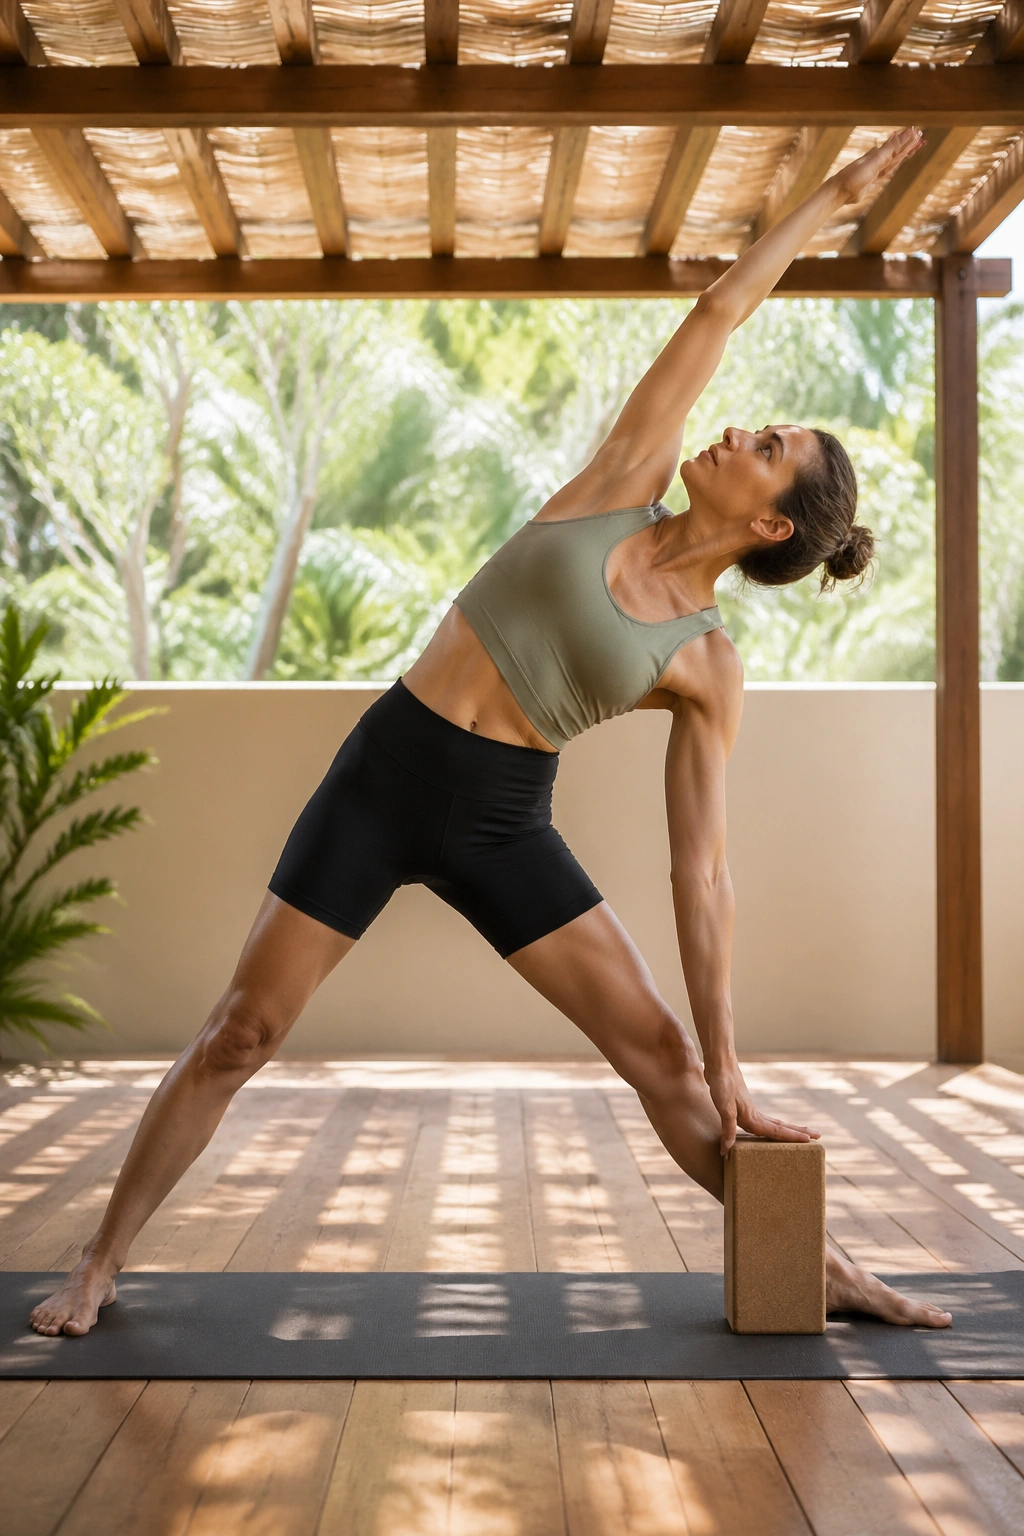
Unlike a plain triangle, this version keeps the top arm reaching past the ear so the stretch moves beyond the hamstrings and into the whole side line. That’s a useful distinction. Triangle can easily become a hamstring chase, and then the side body gets ignored. Here, the side body gets the first say.
The bottom hand can rest on a block outside the shin or on the shin itself, depending on what keeps the torso open. From there, lengthen both sides of the waist before tipping a little deeper. The upper ribs should feel broad, not squashed.
Who is this best for? People who sit a lot and feel that strange tug from the outer hip into the ribs. Also anyone who wants more room in standing poses without loading the wrists. A block, a soft knee, and a clean line through the top arm go a long way. The pose looks simple. The clean version isn’t sloppy at all.
7. Extended Side Angle with Overhead Line
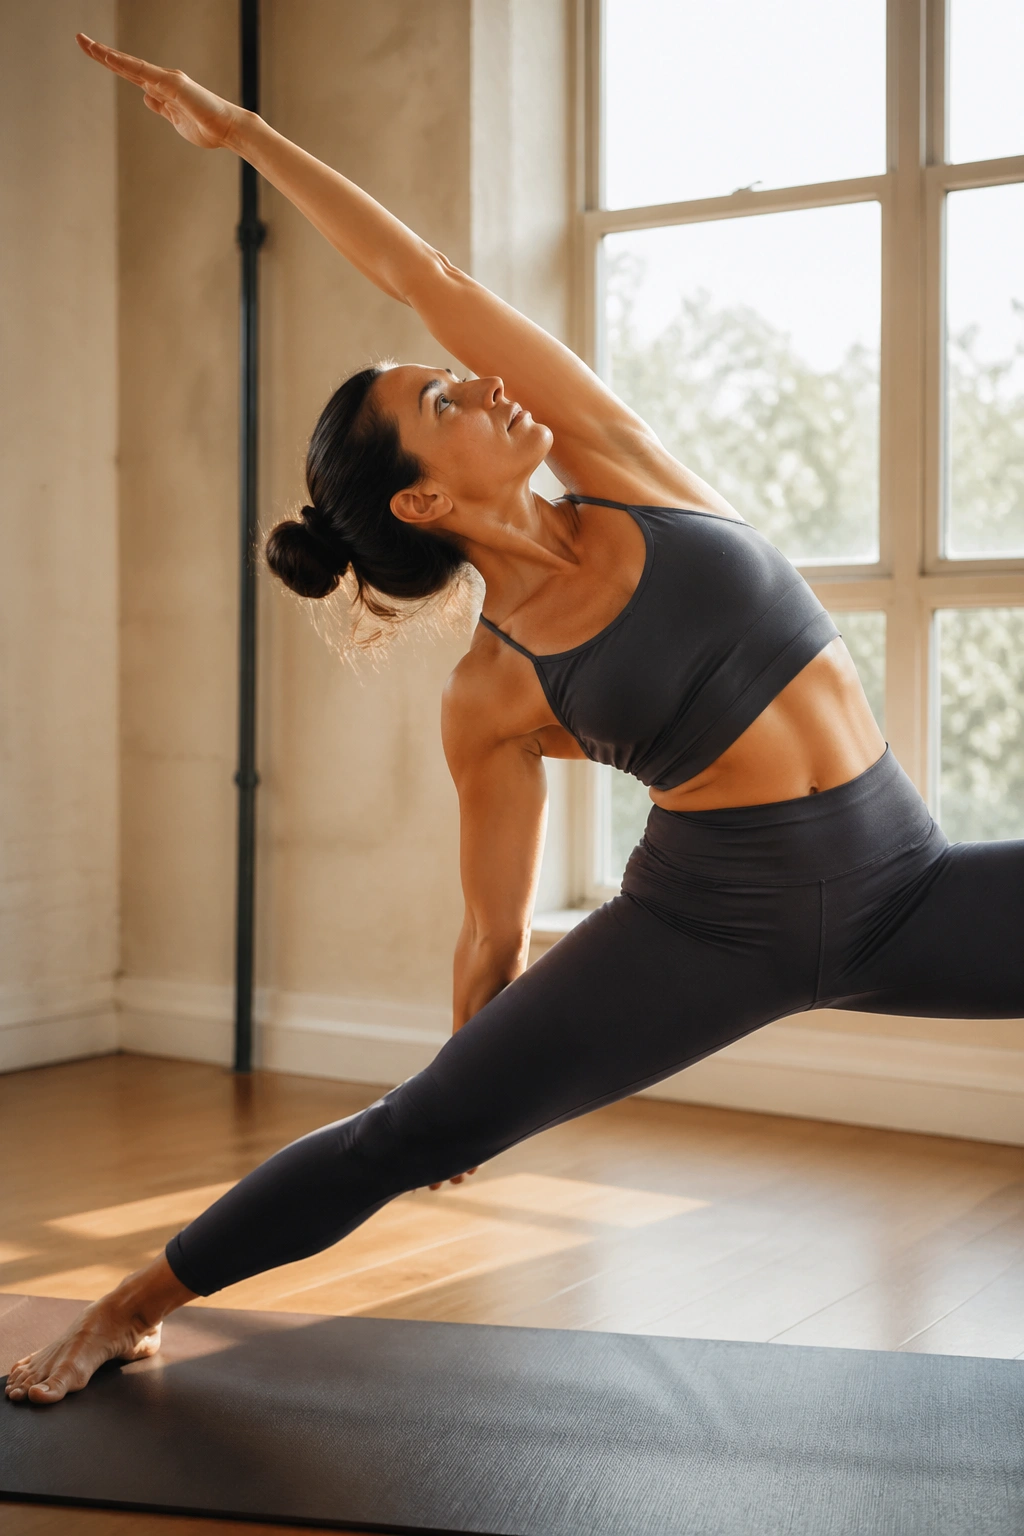
What changes when the top arm goes past the ear? The whole pose stops being just a lunge and turns into a full-body diagonal. Extended side angle with an overhead line is one of the best ways to open the side waist while keeping the legs awake. The front thigh works hard. So does the back leg. Nothing gets to coast.
What to Watch For
Keep the front knee tracking over the middle toes. That part matters more than reaching farther. If the knee caves inward, the hip locks up and the stretch gets muddy. A forearm on the thigh is fine if the lower hand doesn’t make it into a floor pose.
- Reach the back heel actively toward the wall behind you.
- Keep the lower ribs from dropping into the front thigh.
- Slide the top ribs slightly back as the arm lengthens.
- Breathe into the side ribs closest to the ceiling.
Best use: after a few rounds of sun salutations, when the body is warm and the side line can actually lengthen instead of just resisting.
8. Reverse Warrior Side Bend
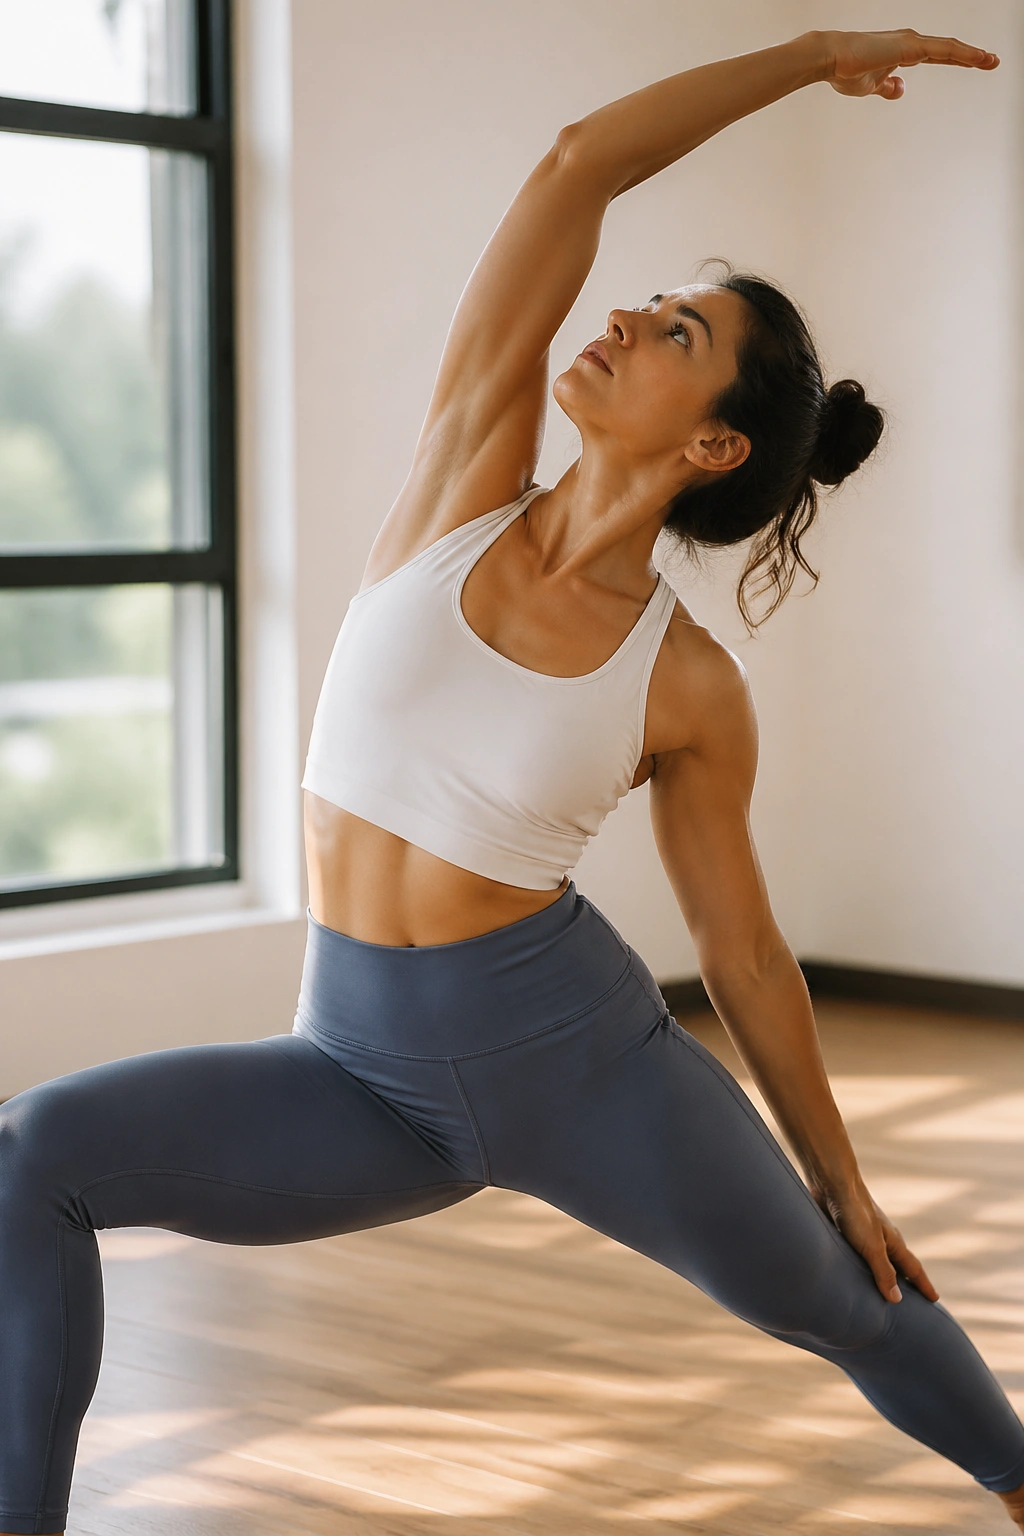
Reverse Warrior is sneakier than it looks. It often gets treated like a backbend, but if you pay attention, it’s also a side stretch through the front waist and the ribs of the lifted side. The back hand slides down the back leg, the front knee stays bent, and the torso arcs up and slightly back without dumping into the low spine.
The front side body is where the goodness lives. People usually miss that because they’re busy trying to make the shape look big. A better idea: keep the front thigh strong, lift through the side ribs, and let the top arm drift overhead without collapsing the shoulders. The shape should feel like you’re opening a curtain across the side of the torso.
If your lower back feels pinched, shorten the arc. No shame in that. A smaller reverse warrior with clean breath gives you more than a dramatic version that makes you grit your teeth. Clean lines beat strain every time.
9. Pyramid Side Bend
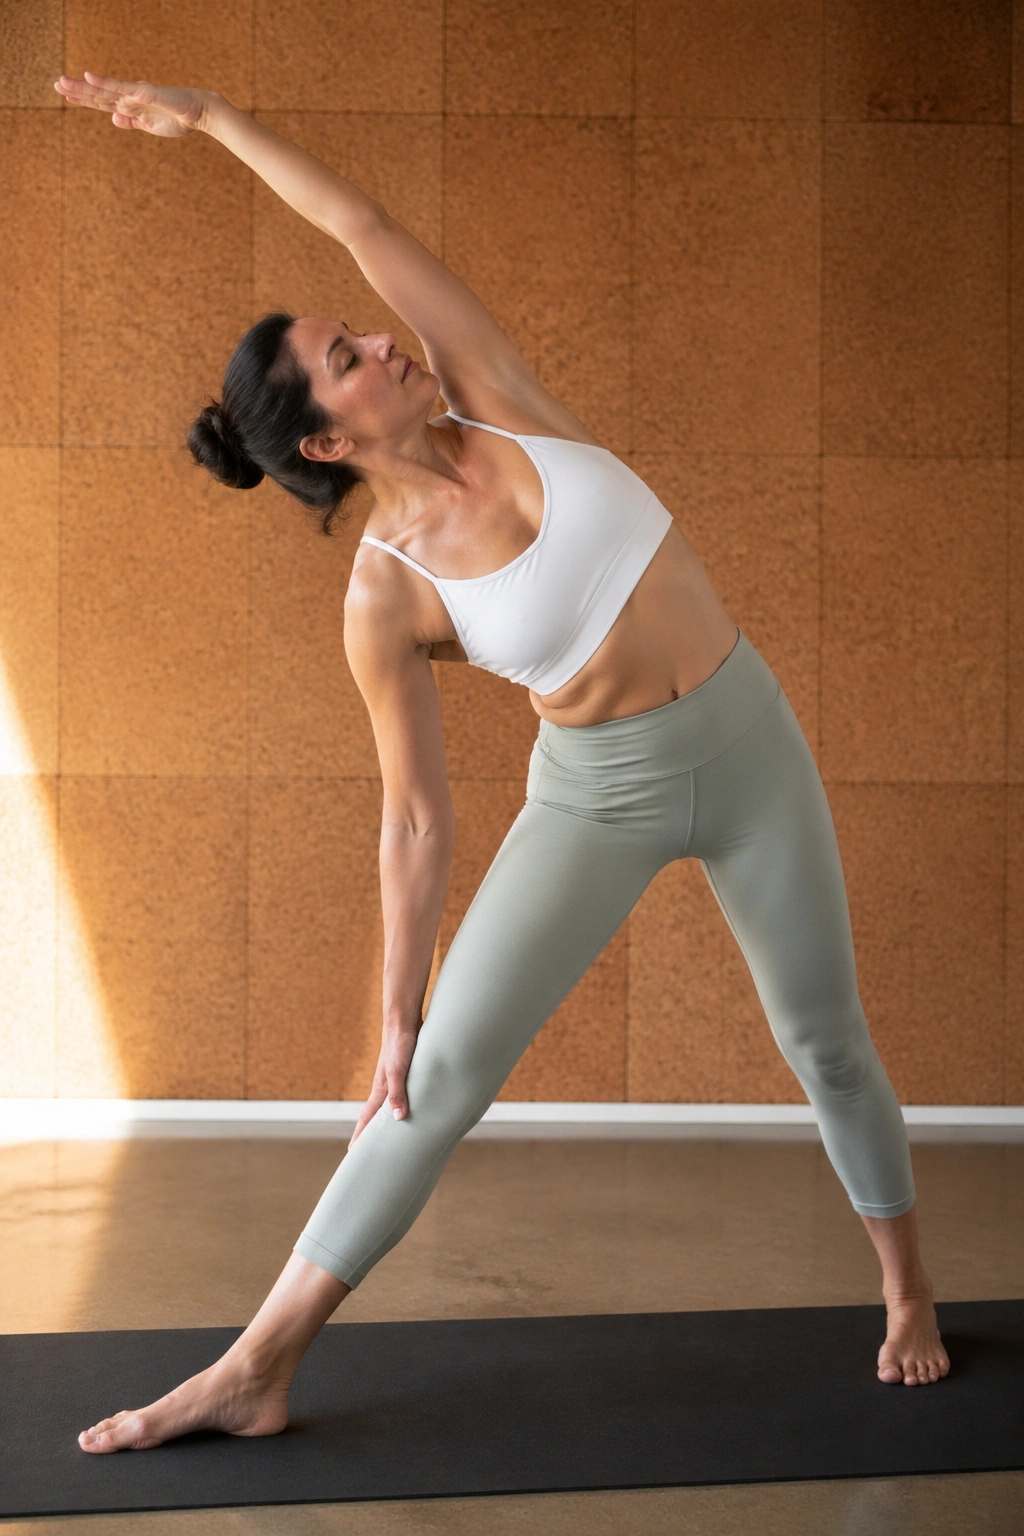
Pyramid side bend is for the person who wants hamstrings and side waist in the same pose. One leg stays long, the hips square forward, and the upper body tips slightly to one side while staying elongated through the spine. The rear foot grounds the pose, which gives the stretch a surprising amount of steadiness.
A Few Useful Cues
If the front hamstring is barking, bend the front knee a little. Nobody wins a prize for straightening it too soon. Keep both hips pointing forward as best you can, then reach the upper arm overhead so the stretch travels up the side ribs and into the armpit.
A block under the lower hand can keep the spine from folding like a lawn chair. That matters more than people think. You want the torso long enough that the side bend has room to happen.
The main feel should be: back leg steady, front leg lengthening, ribs open. If the chest starts twisting off to the side, stop and reset. This pose rewards patience.
10. Wide-Legged Forward Fold Side Bend
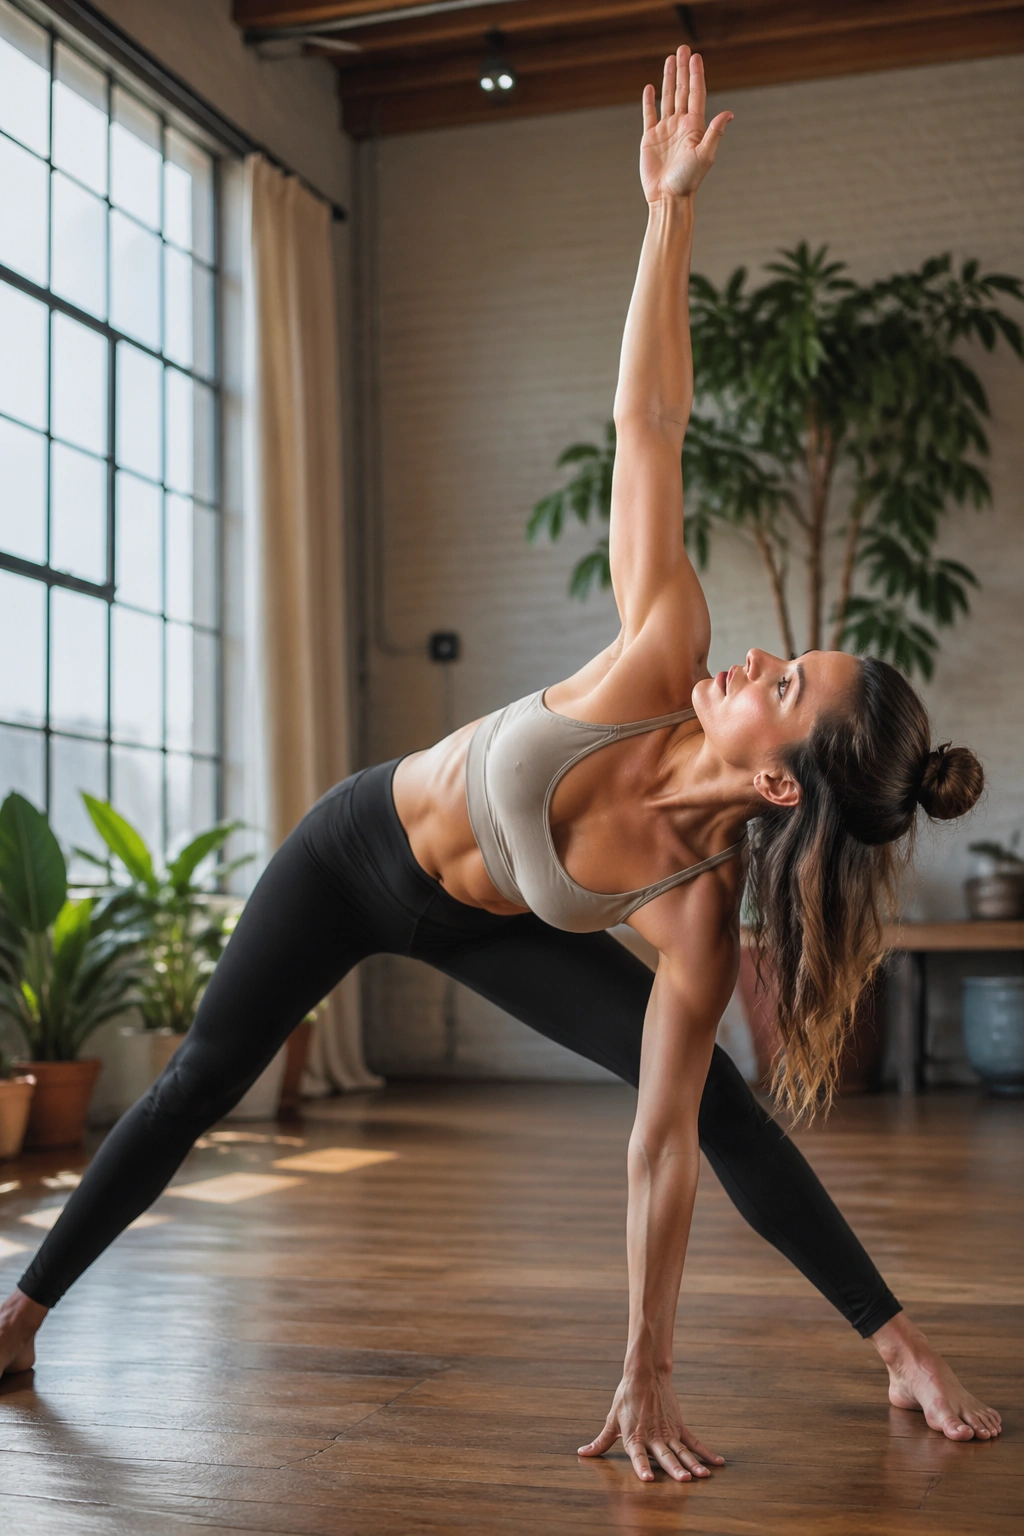
A wide stance changes everything. There’s more space for the pelvis, more room for the spine, and a much easier path into a side bend that doesn’t feel cramped. One hand can stay on the floor or a block while the opposite arm reaches up, making a long line from grounded hand to lifted fingertips.
This is one of the best options when the back body feels short but you still want breath in the side ribs. The wide base lets you keep the head lower without turning the pose into a collapse. You can also shift between center and one side slowly, which helps you find the spot where the stretch is most alive.
The most common mistake is locking the knees and rounding the upper back. Don’t do that. Keep a small softness in the knees, press evenly through both feet, and let the chest stay more open than the hamstrings ask for. That balance is the whole trick.
11. Chair Pose Side Bend
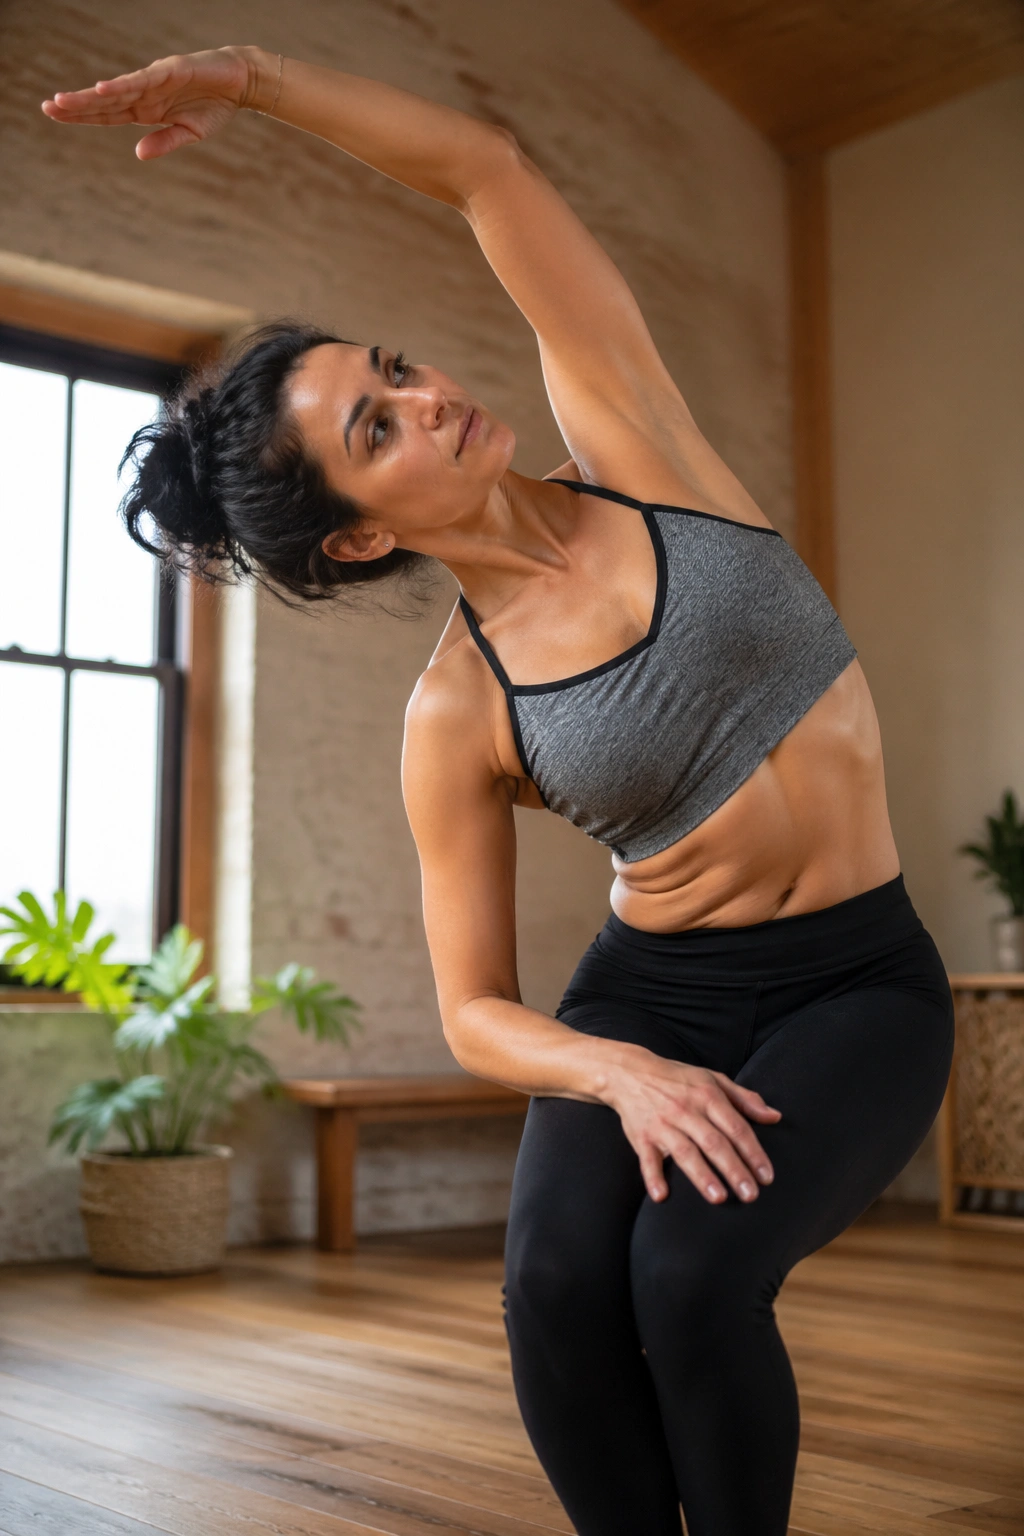
Chair side bend works the legs hard enough that the stretch in the waist feels more honest. Unlike a standing bend with straight legs, this shape asks the thighs to hold you up while one arm reaches and the torso drifts sideways. The result is a side line that stays active instead of floppy.
The pelvis should stay level. If one hip hikes, the whole shape gets crooked and the ribs never really open. Keep the knees bent, the weight back toward the heels, and the lifted arm long. If the shoulders creep up, you’ll feel the neck instead of the waist.
This is a good prep for standing balance work because it teaches you to keep the ribs organized while the legs burn a little. Not glamorous. Useful. Add three slow breaths on each side and you’ll feel the outer waist wake up in a way you can actually use later.
12. Seated Easy Pose Side Bend
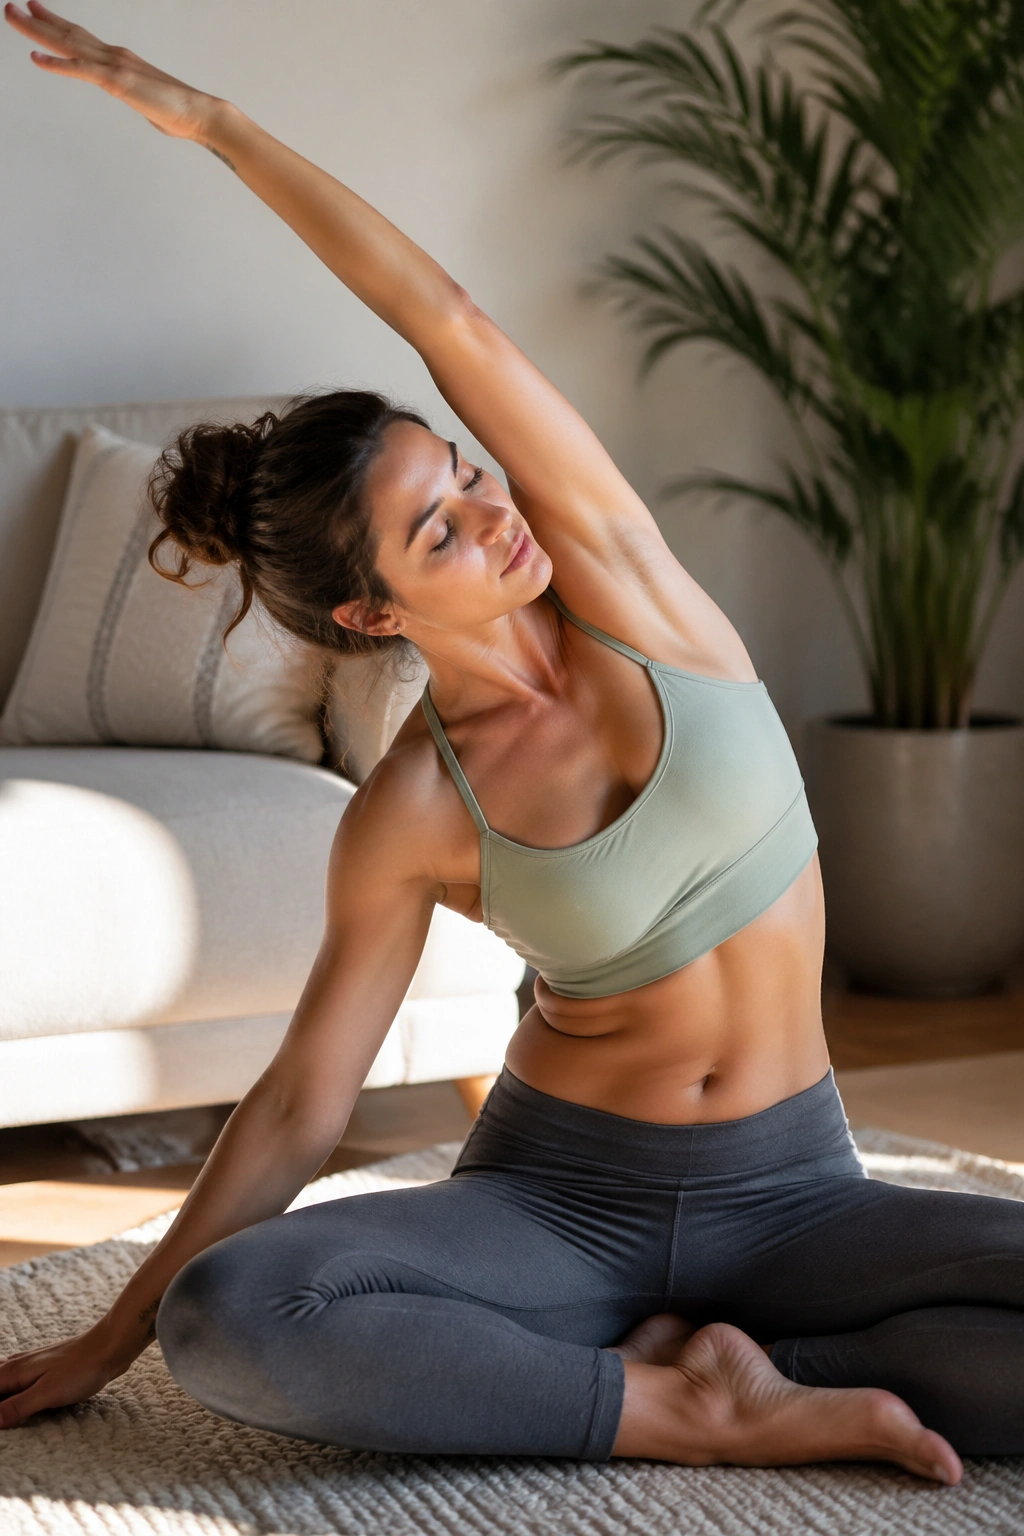
Can you side bend without a standing base? Absolutely. In seated easy pose, the floor does the balancing for you, which leaves more attention for the breath and the ribs. Sit on a folded blanket if the hips are tight; that small lift often makes the spine feel twice as long.
How to Keep the Stretch Clean
One arm reaches up while the other hand grounds lightly beside the hip or on a block. Then the torso tips to the side without collapsing forward. The top ribs should feel as if they’re lifting out of the pelvis, not folding into it.
The hips don’t need to be perfect. They just need to stay heavy. If one knee floats way up, add support under it. That can keep the pelvis calm enough for the side body to open. Breathe toward the upper ribs on the inhalation, and let the exhale soften the shoulder away from the ear.
A lot of people rush past this one because it looks gentle. Gentle does not mean empty. It can be one of the best side-body opens in the room.
13. Seated Head-to-Knee Side Bend
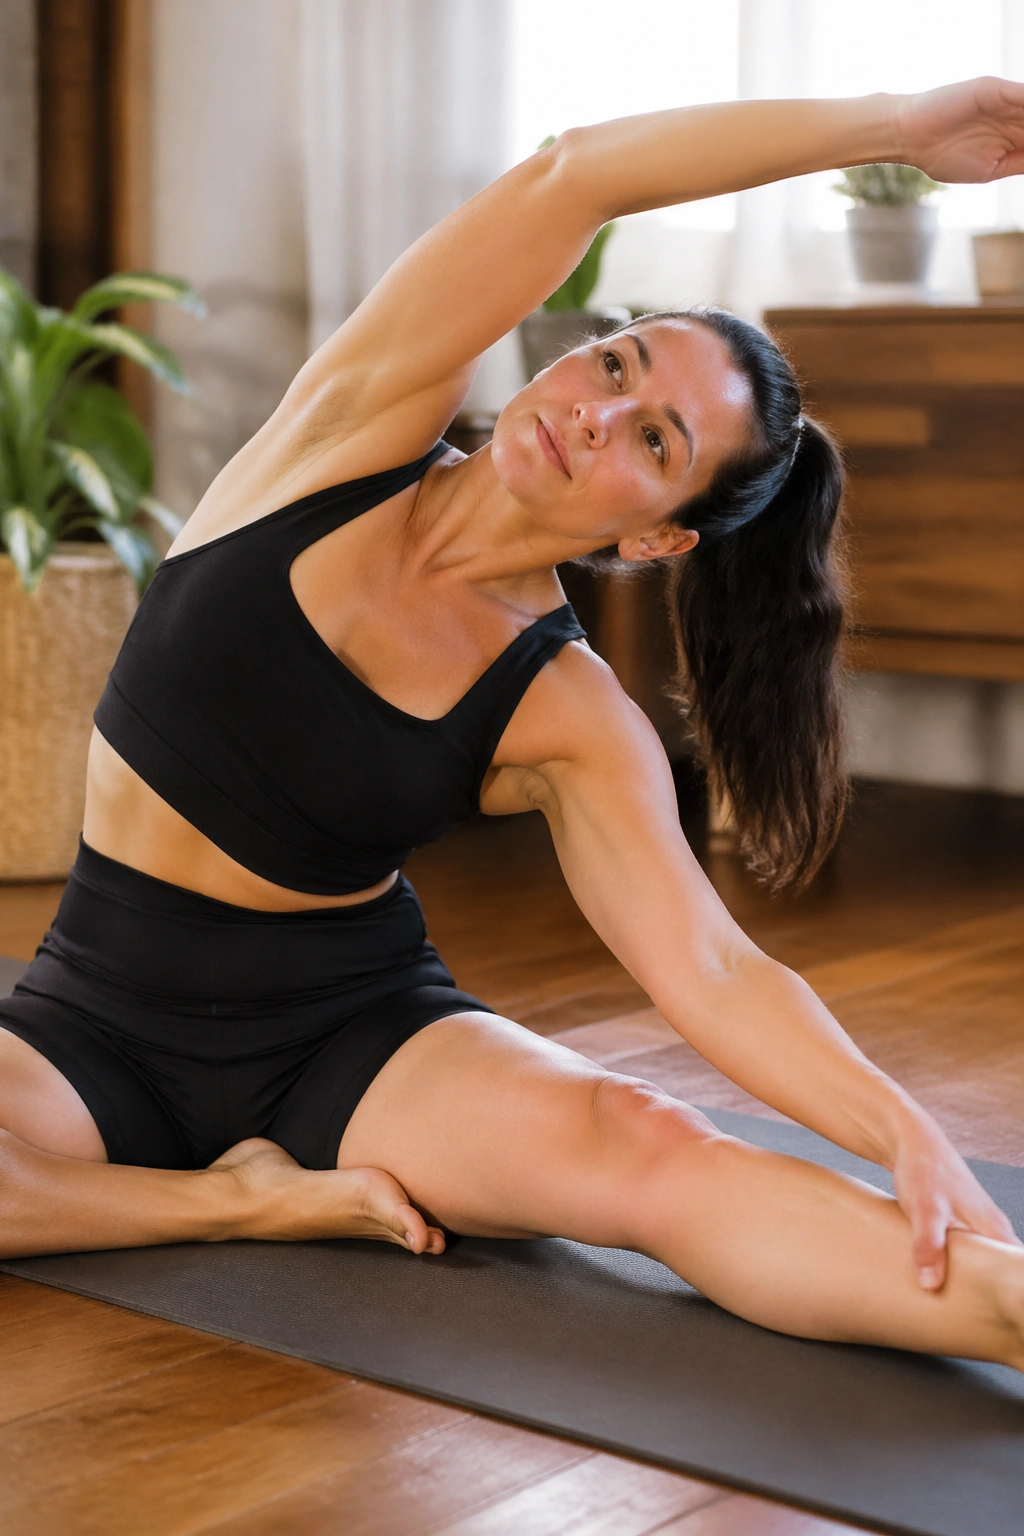
If you want hamstring length and a side-body stretch at the same time, this is a smart place to go. The seated shape gives you a familiar base, while the side reach changes the line enough that the waist gets involved. Keep the bent knee comfortable; if the hamstring pulls too hard, bend the knee more and sit on a blanket.
A Simple Way to Set It Up
- Sit tall first, then fold from the hips only a little.
- Reach the top arm over the ear rather than behind the head.
- Let the lower hand rest on the shin, floor, or a block.
- Keep the chest broad instead of trying to fold deeper.
The stretch should run from the outer hip and side ribs into the shoulder. If the neck tightens, the arm is probably too far back. Bring it slightly forward and the line usually clears up. This one is worth slowing down for.
14. Hero Pose Side Bend
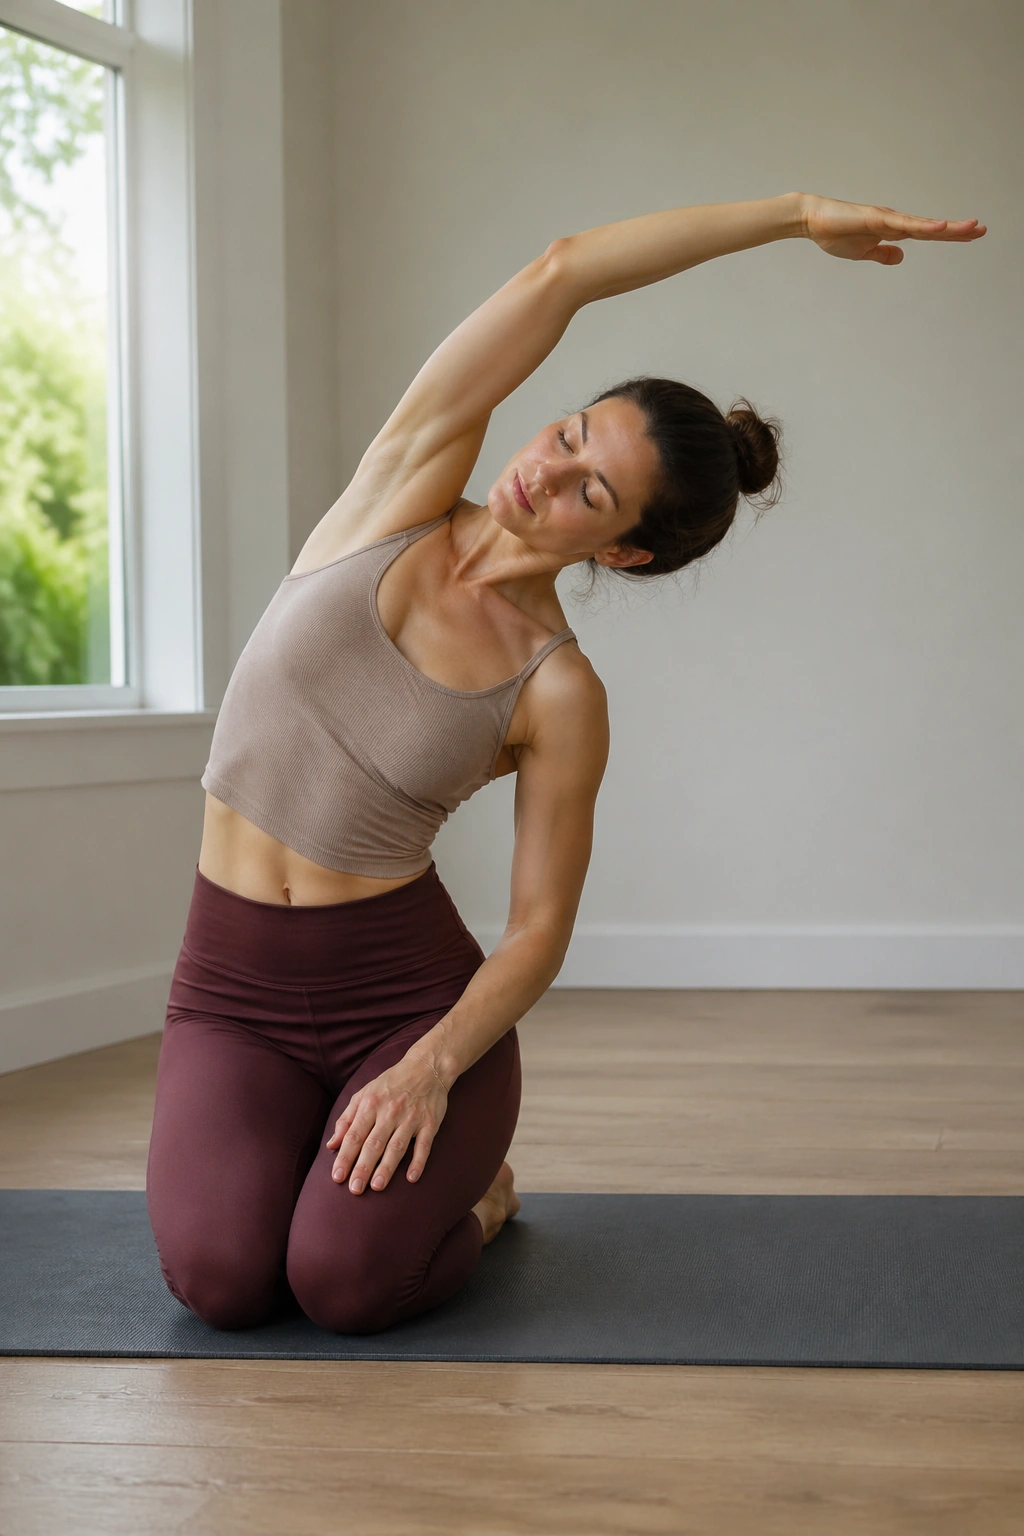
Hero pose side bend asks a lot from the knees and ankles, so I like to keep it respectful. Sit between the heels if that’s available, or on a block if it’s not. From there, one arm rises and the torso tips to the side, creating a kneeling side stretch with a very grounded base.
Why bother with the extra setup? Because the lower body staying still gives the side body more room to lengthen. There’s no need to fight for balance, which means the ribs can widen and the arm can stay lighter. The pose feels almost architectural when it’s done well.
If the tops of the feet or the knees complain, back off right away and pad more. A thick blanket under the ankles can change everything. This is one of those shapes that improves a lot when you get the foundation right. The side bend itself is modest; the setup makes it work.
15. Cow Face Arms Side Bend
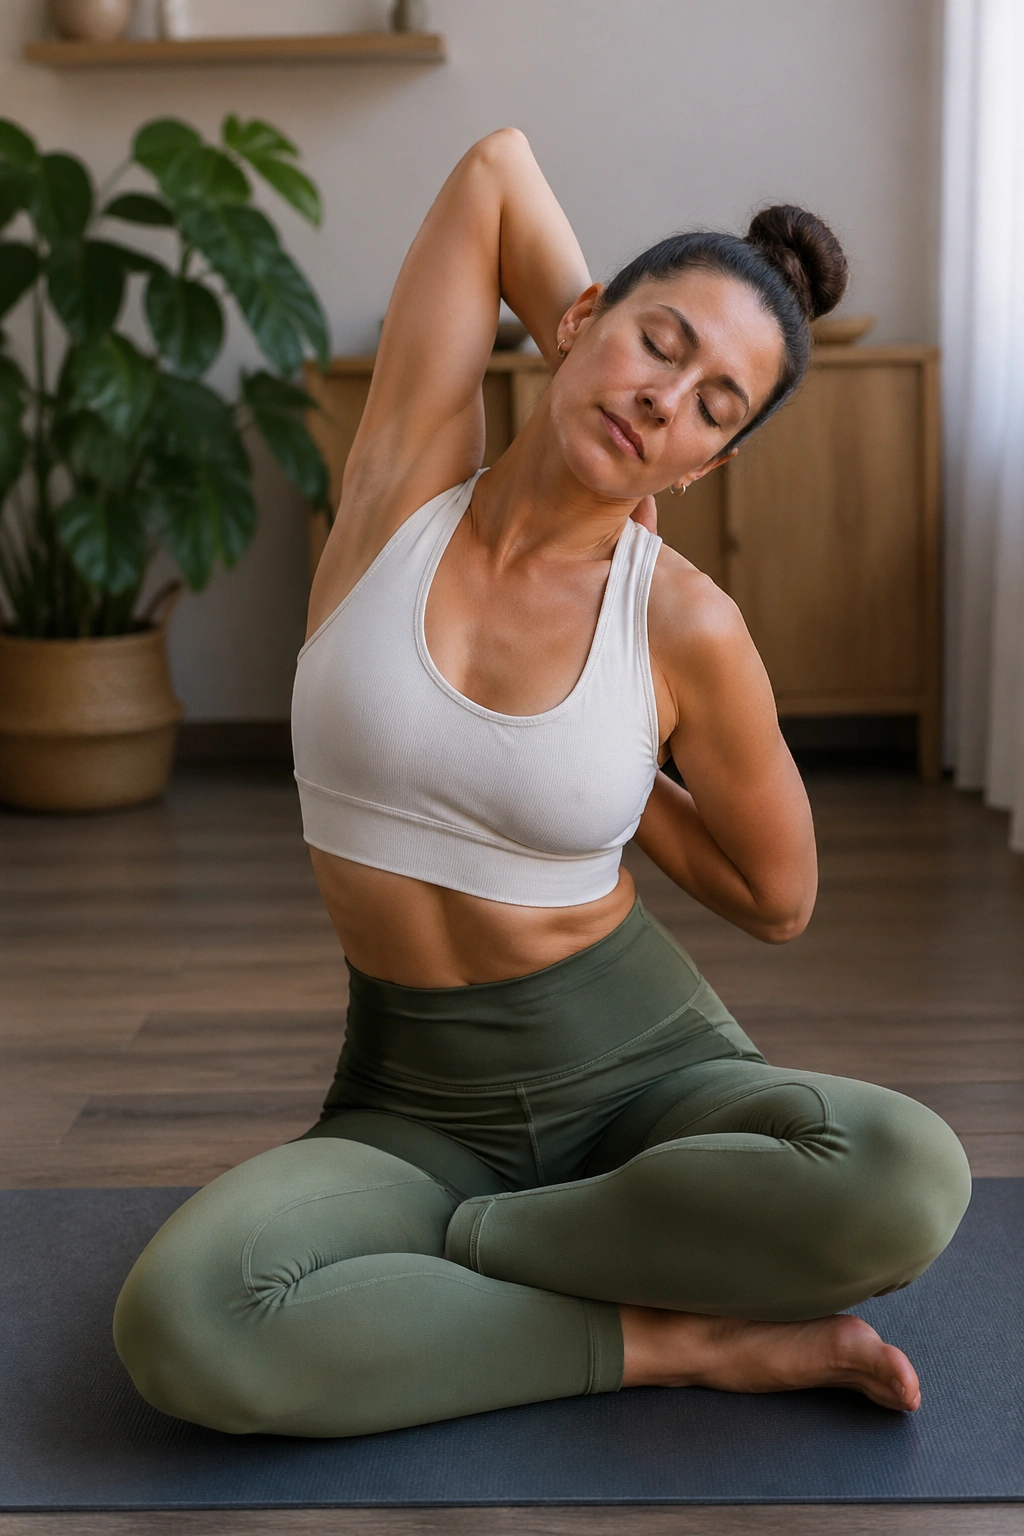
This is the one that exposes tight lats in a hurry. The crossed arms of cow face already ask the shoulders to move in a strange direction; adding a side bend puts the upper side body on notice. It can feel intense in a useful way, especially if overhead reaching usually feels blocked.
The trick is not to force the hands together. Use a strap if they’re far apart. Then, once the arms are organized, tip gently away from the top elbow. The side waist should lengthen without the rib cage flaring wildly. If the head starts jutting forward, you’ve gone too far.
Compared with a regular side bend, this version gives the shoulders a job too. That makes it a little messier, but also more interesting for people who sit at a desk, lift weights, or spend a lot of time with the arms in front of the body. Start small. Small is not a failure here.
16. Bound Angle Side Bend
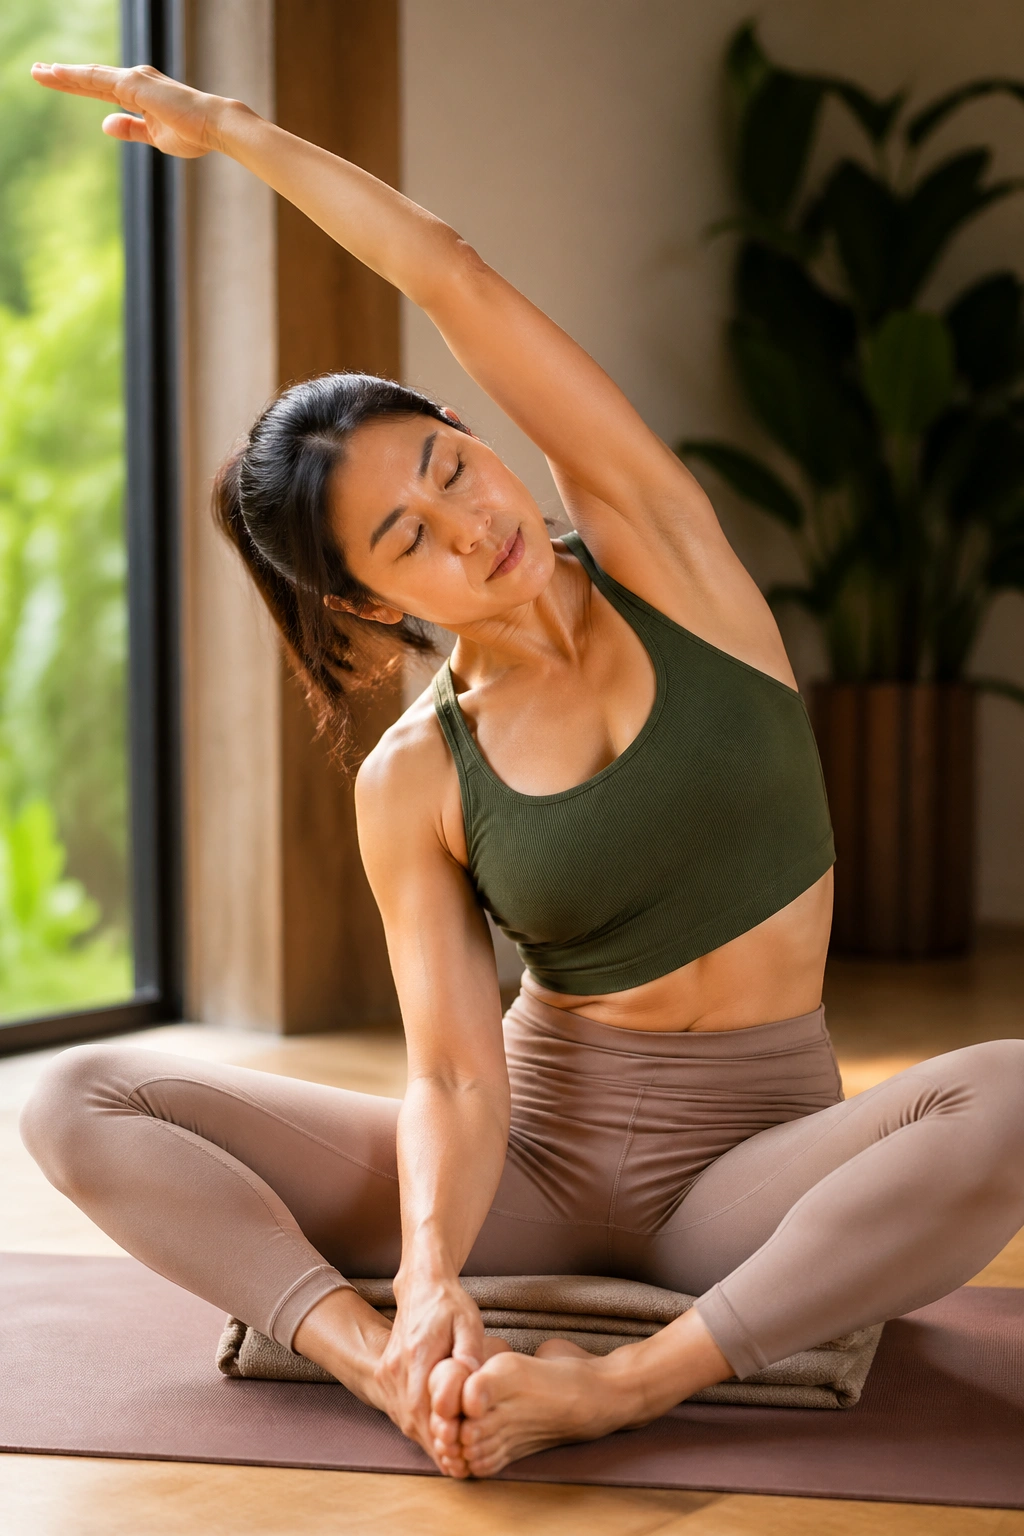
How do you side bend when your hips won’t let you sit tall for long? Bound angle is a good answer. Soles of the feet touch, knees open wide, and the pelvis can rest on a cushion or folded blanket so the spine doesn’t have to fight the floor. From there, one arm sweeps up and over.
What to Feel in the Outer Waist
The stretch often lands lower than people expect — along the waistline beside the ribs and into the side of the pelvis. If the knees sit high, support them. That keeps the low back from doing extra work and lets the upper body stay calm.
The pose works best when the chest stays open. Don’t chase the side bend by collapsing the elbow. Reach first. Tip second. The breath gets fuller when the ribs aren’t crushed, and that’s usually the whole point of the shape anyway.
If you want a softer version, keep one hand behind you for support and use the other to reach only a few inches overhead. That tiny range can still be a real stretch.
17. Banana Pose
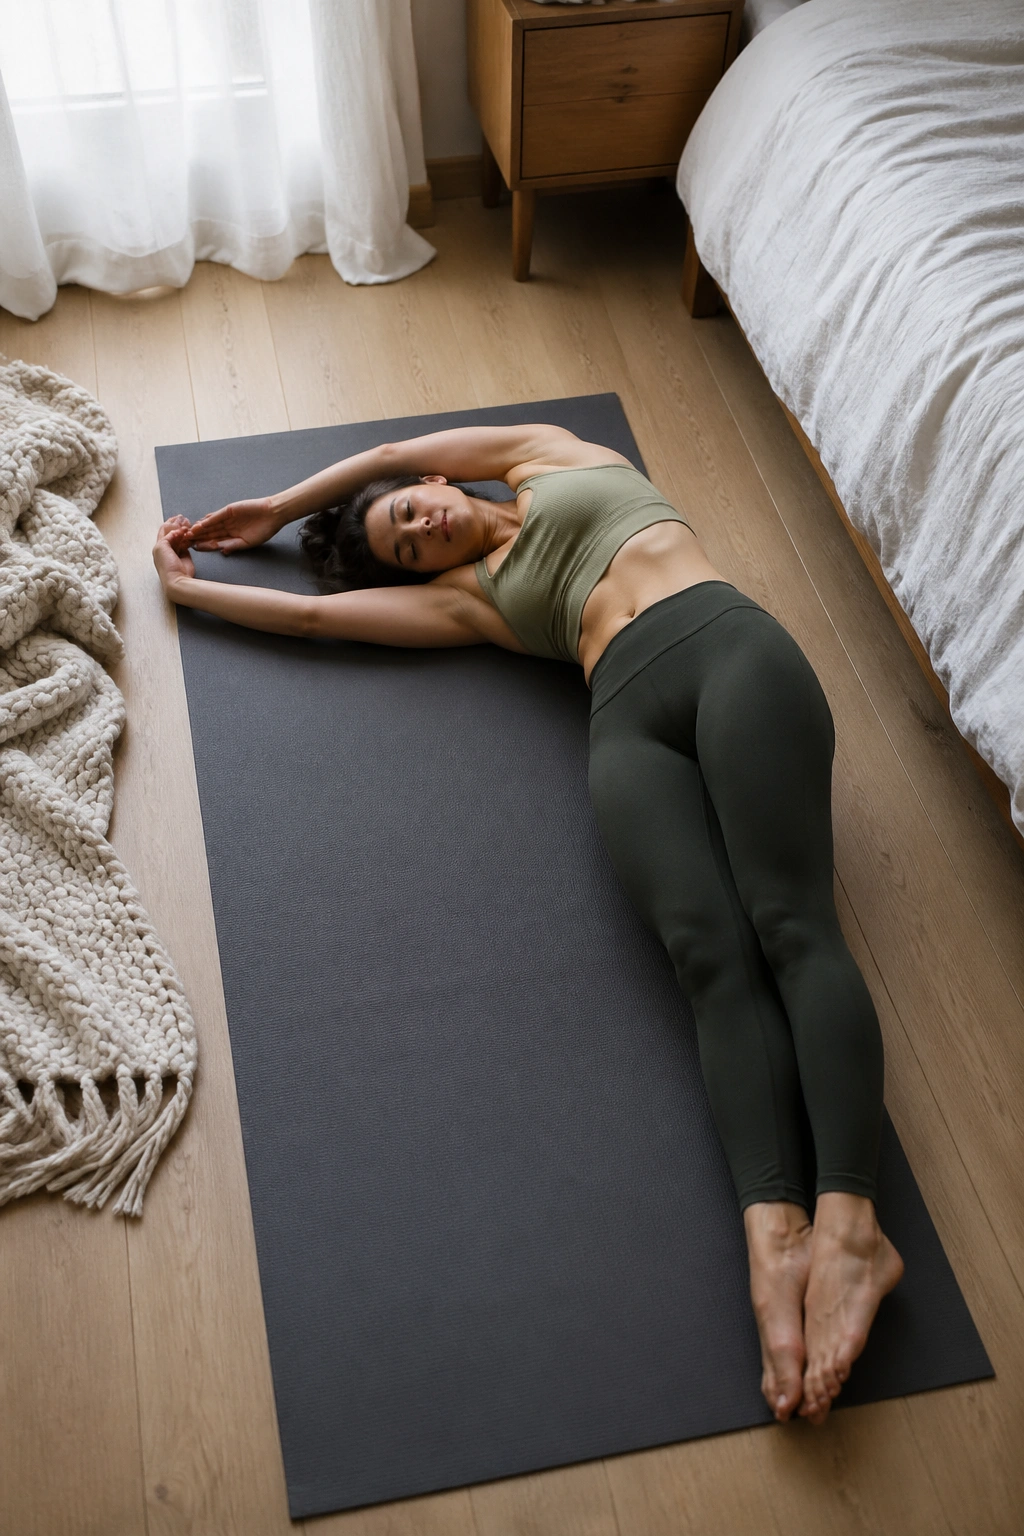
Banana pose is what happens when a side bend decides to lie down and stop being so serious. You’re on your back, the body shifts into a crescent shape, and both arms and legs drift toward the same side. The whole side line opens at once — from the outer ankle through the waist and ribs to the shoulder.
Setup Matters Here
- Lie on your back first and stretch long.
- Walk both feet and both hands a few inches to one side.
- Keep the opposite hip heavy enough that you do not roll over.
- Hold one wrist with the other hand if that feels good.
The shape should feel spacious, not cramped. If the lower back arches off the floor, shorten the curve. A blanket under the ribs or pelvis can make the stretch feel smoother, especially if the spine is sensitive. This is a lovely pose to hold for 5 to 10 slow breaths when the day has left the sides of the body feeling compressed.
18. Reclined Side Bend
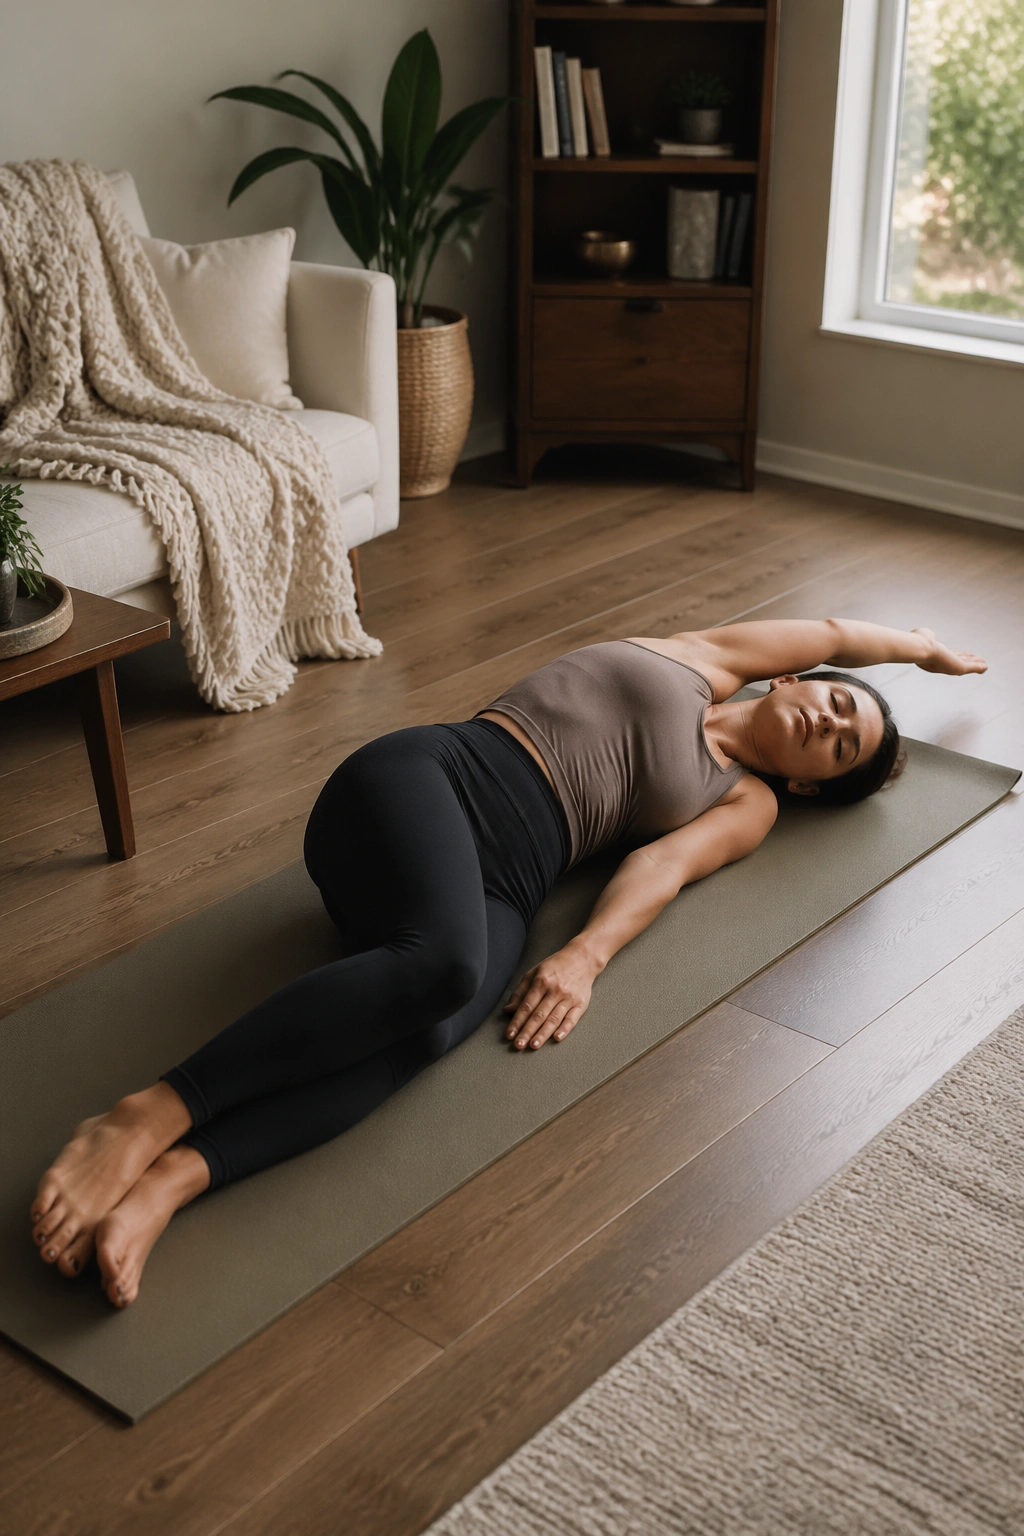
A reclined side bend is less flashy than banana pose and often more adjustable. Instead of creating one big crescent, you can keep the legs long, slide the body a little to one side, and let the upper arm reach overhead while the ribs settle back down. It’s a quieter version, and that quiet is useful.
The floor takes the weight off the neck and wrists. That makes it easier to notice where the side body opens and where it still resists. If one side of your torso tends to clamp down, this is a good place to observe it without trying to win a contest.
Use a folded blanket under the lower ribs or the top hip if the curve feels sharp. The stretch should be a slow release, not a hard pull. This is the one I’d choose after active standing work, especially if you want the nervous system to settle while the waist stays long.
19. Supported Side Plank Reach
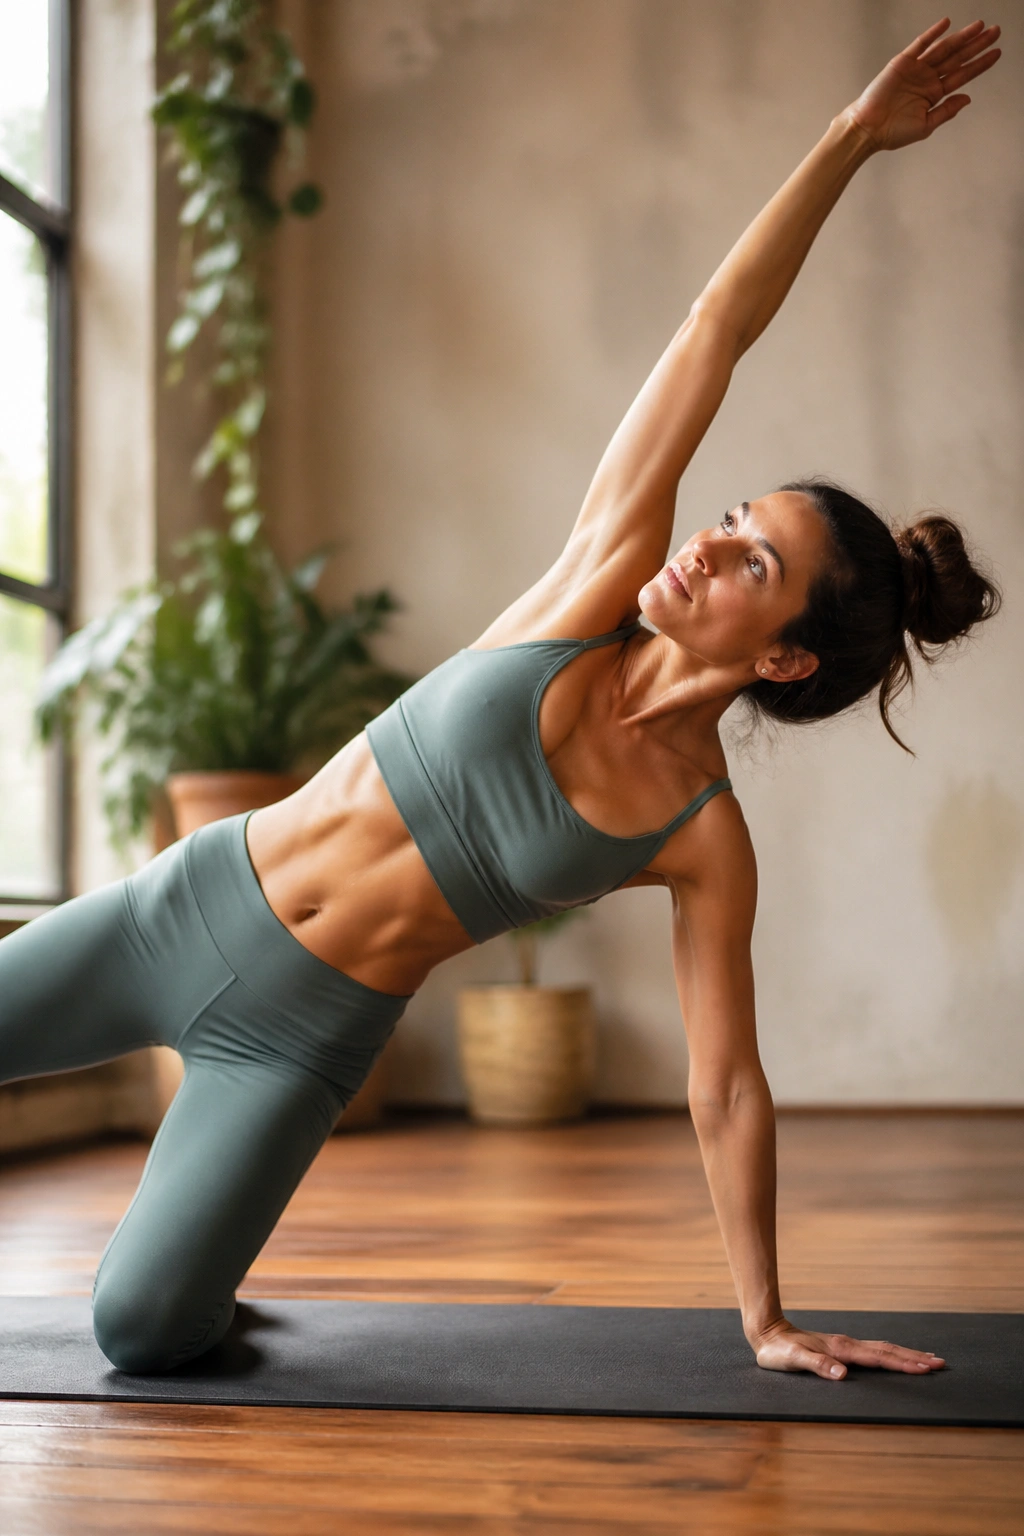
Unlike the passive stretches above, supported side plank reach asks the obliques to work while they lengthen. That combination is gold. The lower knee can stay on the floor, the supporting hand stays planted, and the top arm reaches overhead or toward the ceiling, depending on how much load you want.
This is a better choice if you like strength with your stretching. The side body has to hold you up before it can open, which tends to make the stretch feel cleaner and more useful. People who do a lot of twisting often skip this kind of work, then wonder why the outer waist still feels unavailable. Strength matters here.
A good cue: push the floor away and keep the bottom ribs lifted. If the supporting shoulder sinks, the neck will protest. Keep the pose modest and crisp. Even a short hold of 3 to 5 breaths can light up the lateral chain in a way a passive pose cannot.
20. Wall-Supported Restorative Side Bend
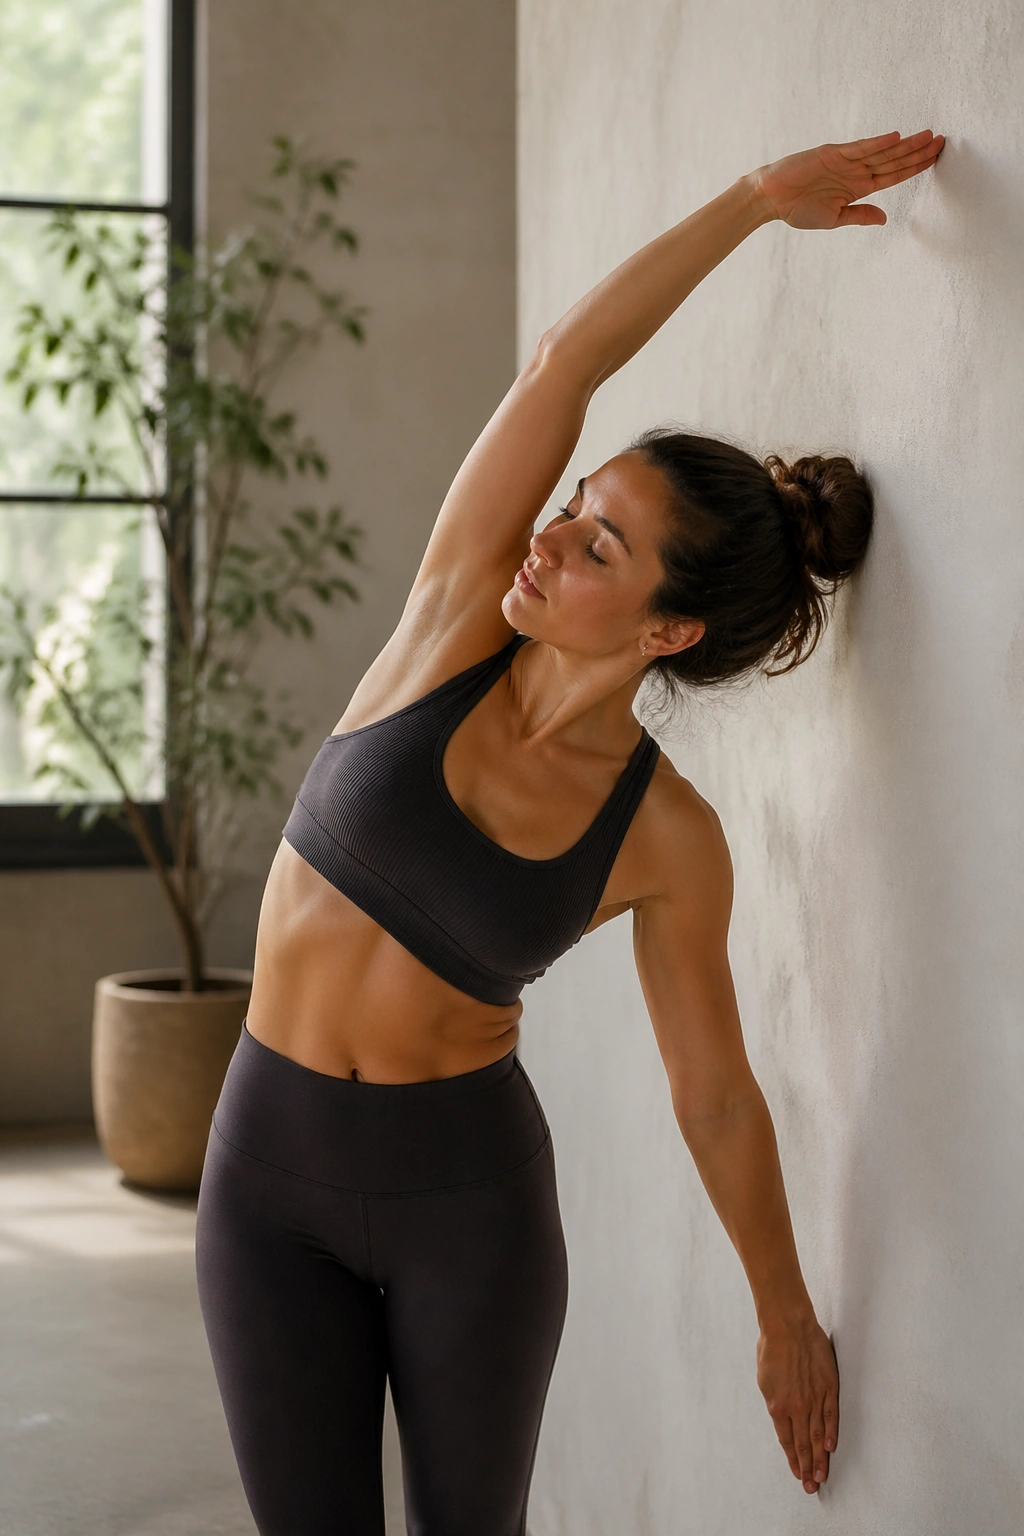
A wall fixes the one problem most side bends have: drifting out of line. With the wall behind you or beside you, the body gets a clean reference, which makes it much easier to keep one side long and one side grounded. That’s especially useful when you’re tired and don’t trust your own alignment.
Set one hip, shoulder, or side rib against the wall, then let the upper arm sweep overhead as the torso leans away just enough to feel a stretch. The wall stops the shape from turning sloppy. It also keeps the breath quieter, which helps the stretch stay in the side body instead of leaking into the low back.
This is the version I’d hand to anyone who wants long side-body work without intensity. If the body is frazzled, or the lower back is touchy, or you simply do not want a lot of drama, start here. A small, supported side bend done well can feel more satisfying than the bigger shapes.
Final Thoughts
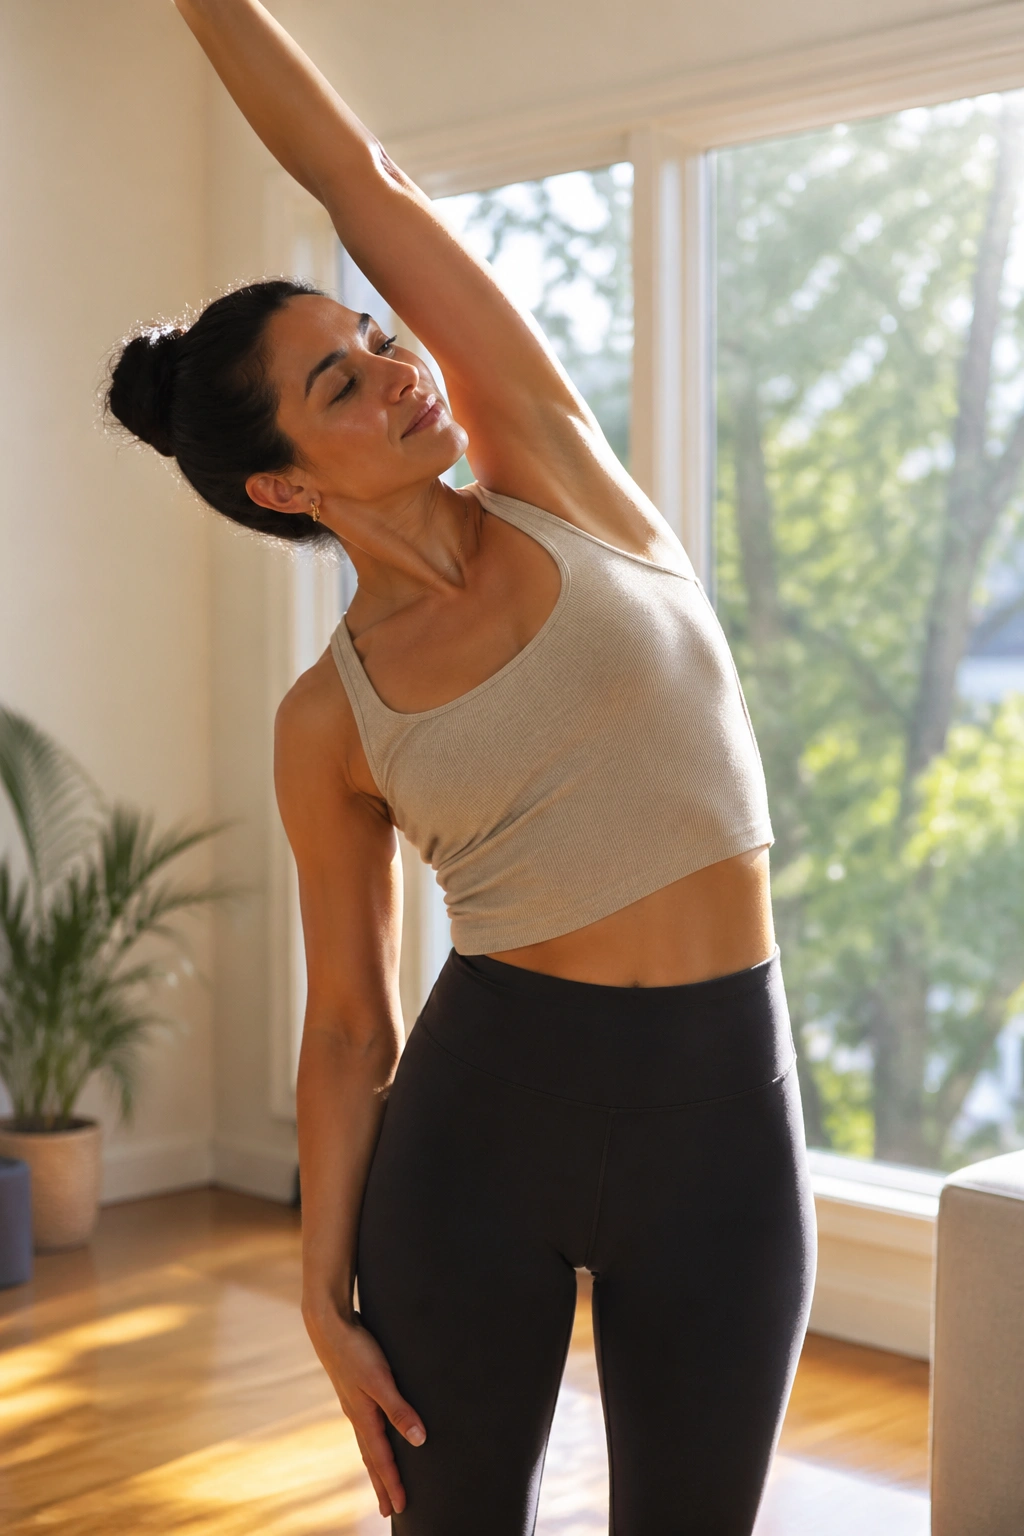
Side bends are rarely about how far you can lean. They’re about how much room you can make. That room shows up in the ribs, the waist, the shoulders, and sometimes in the breath before it shows up anywhere else.
Pick one standing shape, one kneeling shape, and one floor-based version, then repeat them often enough to notice the difference. The body usually remembers length better than it remembers force.
And if a side bend starts to feel like a crunch, back off. The good version feels open, long, and a little quiet — the kind of stretch you can breathe inside without having to brace for it.
