



A pair of 3-pound dumbbells can feel rude in a yoga sculpt workout at home. That is half the fun. The other half is that yoga sculpt workouts for toning at home do not need a full studio, a pile of gear, or a slick setup with mirrors on every wall. They need tension, control, and a little patience with your own shaking muscles.
The mistake people make is treating sculpt work like a faster yoga class. It isn’t. A real sculpt session slows the transitions, adds load in smart places, and makes you hold positions long enough for your legs, shoulders, and core to start complaining in that useful way. If you rush through chair pose with perfect form, it burns. If you rush through chair pose with sloppy form, it becomes cardio with bad habits.
You can do a lot with a mat, a chair, a block, a loop band, and one or two pairs of light weights. Water bottles work in a pinch. So does a backpack with a few books if you want to get creative, though I’d keep the load modest and the movement clean. The real goal is not to survive the workout. It’s to come out feeling worked, steadier, and a little taller.
1. Yoga Sculpt Sun Salutation Dumbbell Flow
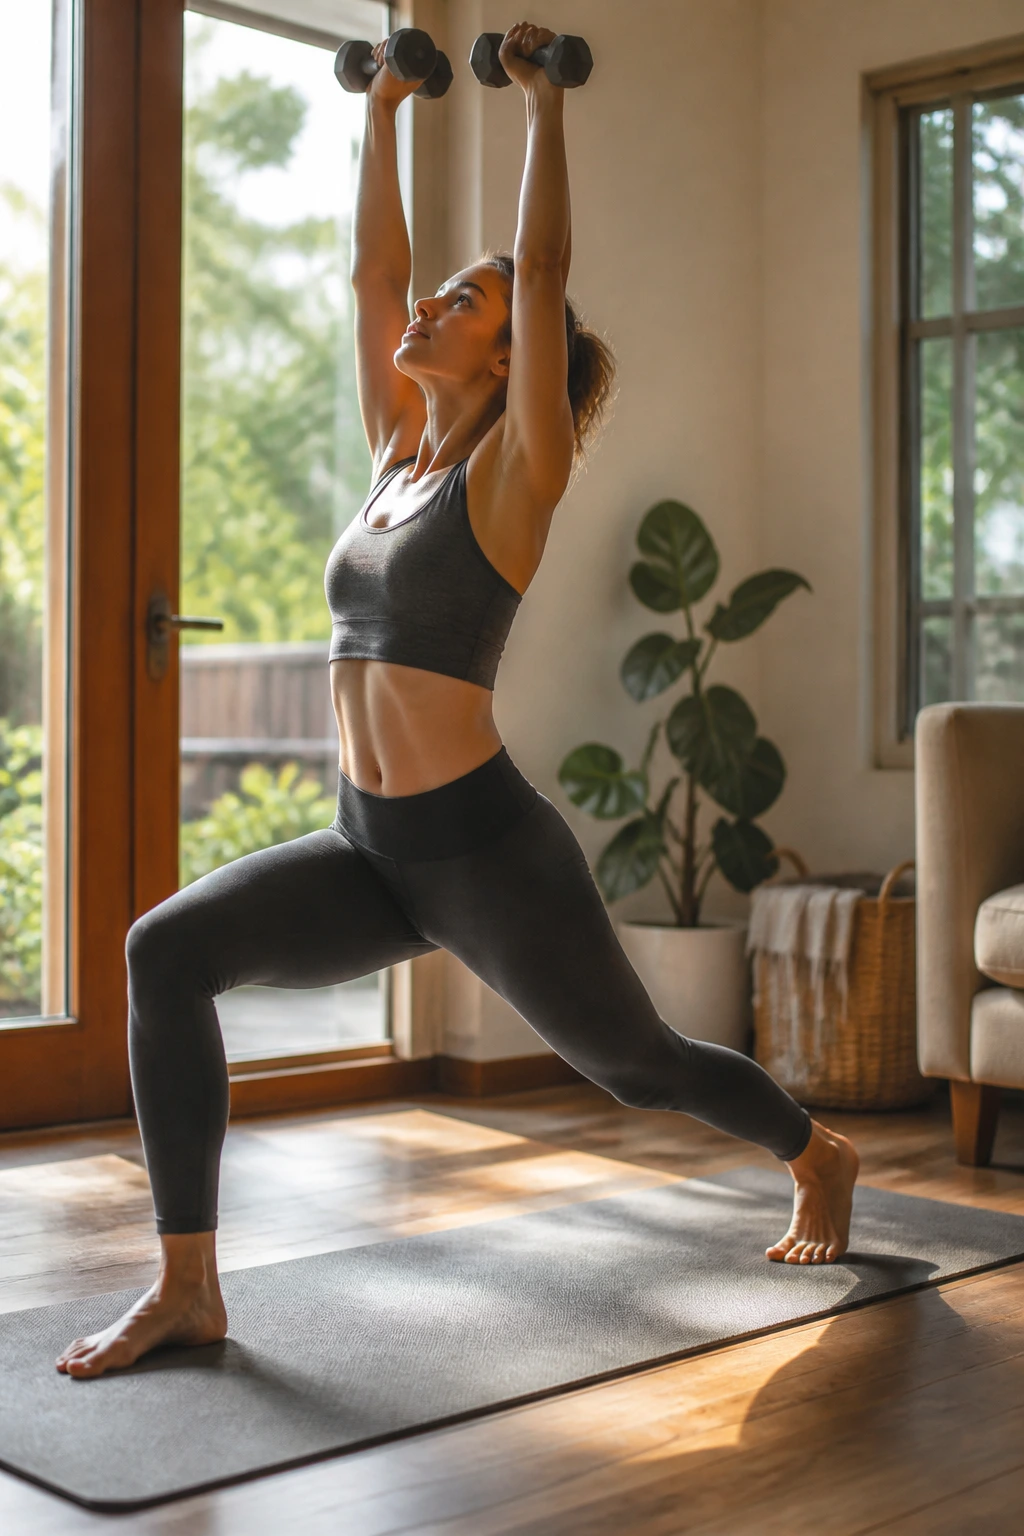
A sun salutation with dumbbells looks harmless until your shoulders start buzzing on the third round. That is exactly why this kind of yoga sculpt workout at home works so well: you keep the familiar flow, then add a light load and a slower tempo so the poses stop feeling like a warm-up and start feeling like strength work.
Why This Flow Hits So Hard
The key is the pause. Hold each chair pose for 3 breaths, press the weights overhead on a slow exhale, and lower them with control. A tiny delay at the top is enough to turn a simple flow into a full-body challenge, especially when your core has to keep your ribs from flaring.
- Use 2 to 5 lb dumbbells to start.
- Run 4 to 6 rounds of the sequence.
- Keep each transition smooth, not rushed.
- Rest for 30 to 45 seconds between rounds if your shoulders fatigue early.
Best tip: if your neck starts creeping up toward your ears, drop the weights or leave your arms at heart center for one round.
2. Chair Pose Pulse Ladder
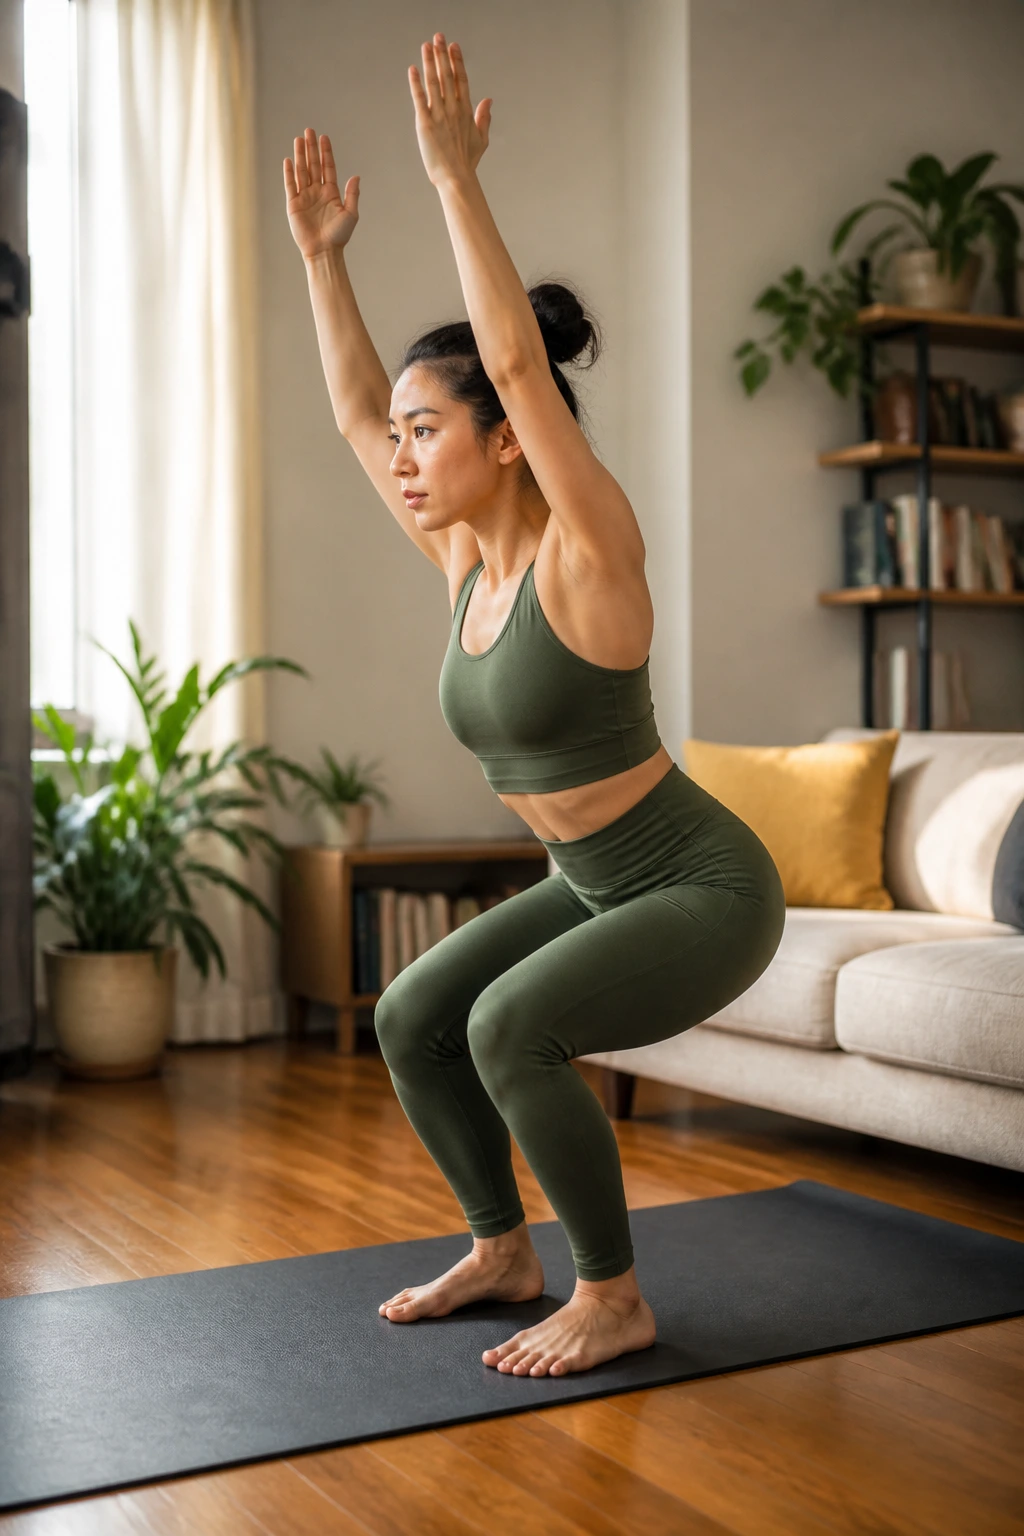
Why does chair pose wreck the thighs so quickly? Because your quads are doing a long, quiet job while your glutes and core try to keep everything from tipping forward. Add a few pulses, and the burn shows up fast.
How to Run the Ladder
Start with a 20-second hold in chair pose. Then do 10 tiny pulses, barely an inch of movement, followed by another 20-second hold. Work your way up to 30 seconds, then 40, then 45 if your form stays clean. If you want more upper-body load, bring your arms overhead or hold light weights at shoulder height.
What to Watch For
Do not sit so low that your lower back collapses. That turns a useful thigh burn into a cranky spine situation. Keep your weight in the heels, knees tracking over the second and third toes, and chest lifted enough that you can still breathe.
This is one of those workouts that looks almost too simple on paper. It isn’t. Two rounds can be enough on a tired day, and four rounds can leave your legs trembling in a way that makes stairs feel personal.
3. Warrior II Upper-Body Sculpt Sequence
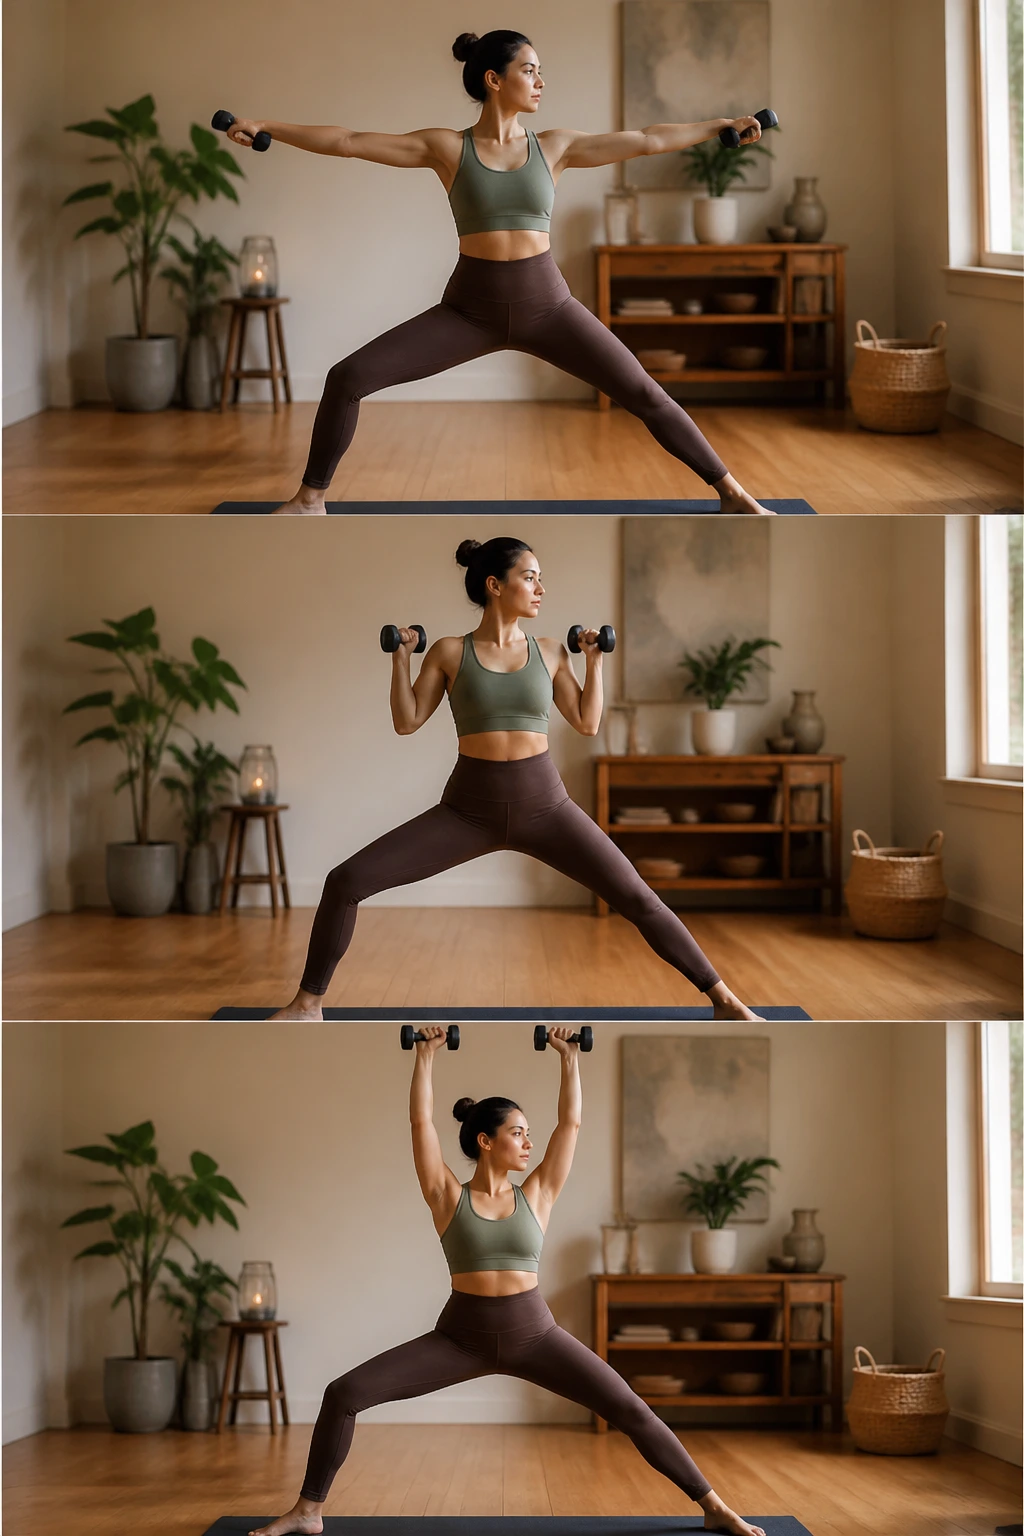
Picture yourself halfway through a living-room workout, feet planted wide, one knee bent, arms floating at shoulder height. Warrior II seems calm from the outside. Inside, your shoulders are working, your hips are on a leash, and your breathing starts to get loud in the best possible way.
Why It Works
Warrior II gives you a strong base, which makes it perfect for light arm work. Add biceps curls, lateral raises, or tiny forward presses while you hold the legs steady, and suddenly the pose is doing three jobs at once. The legs stabilize, the core resists twisting, and the arms have to stay honest.
- Hold Warrior II for 30 seconds per side.
- Add 8 to 12 curls with light dumbbells.
- Finish each side with 10 shoulder presses or arm circles.
- Repeat for 2 to 3 rounds.
The Small Detail That Matters
Keep the front knee bent enough that you feel the thigh, not the joint. If the front knee caves inward, the whole thing gets sloppy fast. A slightly shorter stance usually helps more than trying to sink deeper.
4. Pilates-Yoga Core Crisscross Flow
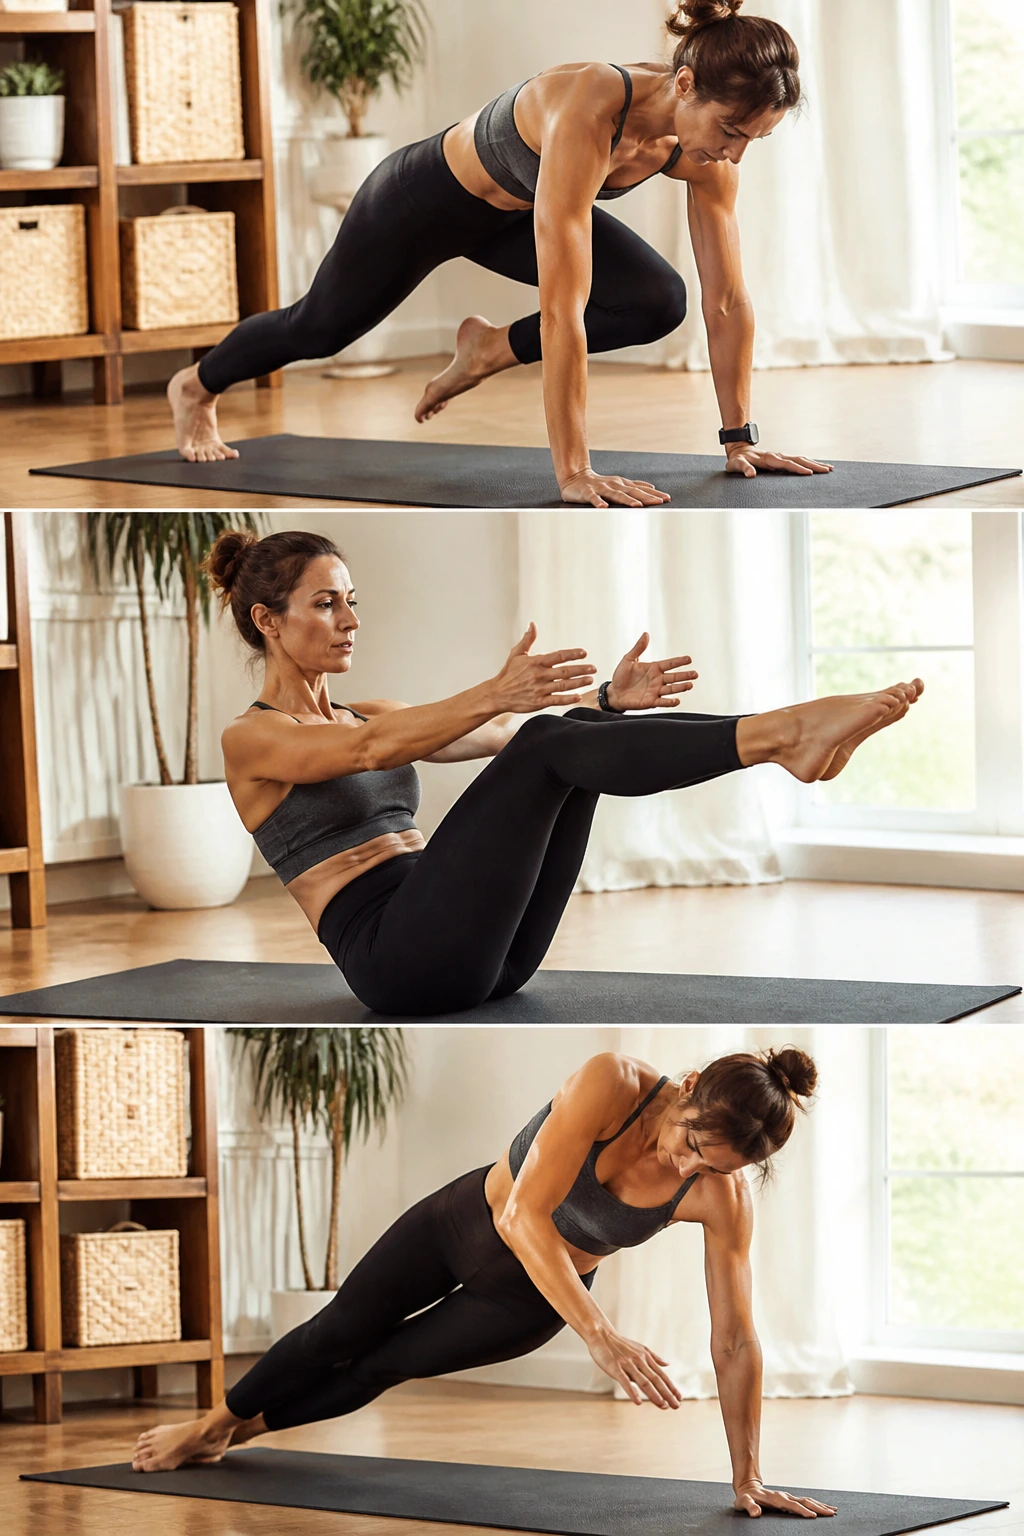
Core work gets boring when it becomes a pile of crunches. This version keeps things moving: plank, knee drive, low boat, slow toe taps, side plank, repeat. It feels more like a sequence than a drill, which makes it easier to stick with on days when motivation is thin.
Slow beats hard here.
The trick is to keep the lower back long and the ribs knit in as you move. In plank, draw one knee toward the chest, then step it back with control. In boat pose, stay low enough to feel the abs but high enough that your neck stays relaxed. If your hip flexors start to cramp, reset for a breath before jumping back in.
A simple format works well: 40 seconds work, 20 seconds rest, 3 rounds. Use one round for plank variations, one for boat and toe taps, and one for side plank reach-throughs. If you want to make it tougher, slow the lowering phase to a 3-count. That tiny tempo change matters more than people think.
5. Glute Bridge Crescent Lunge Combo
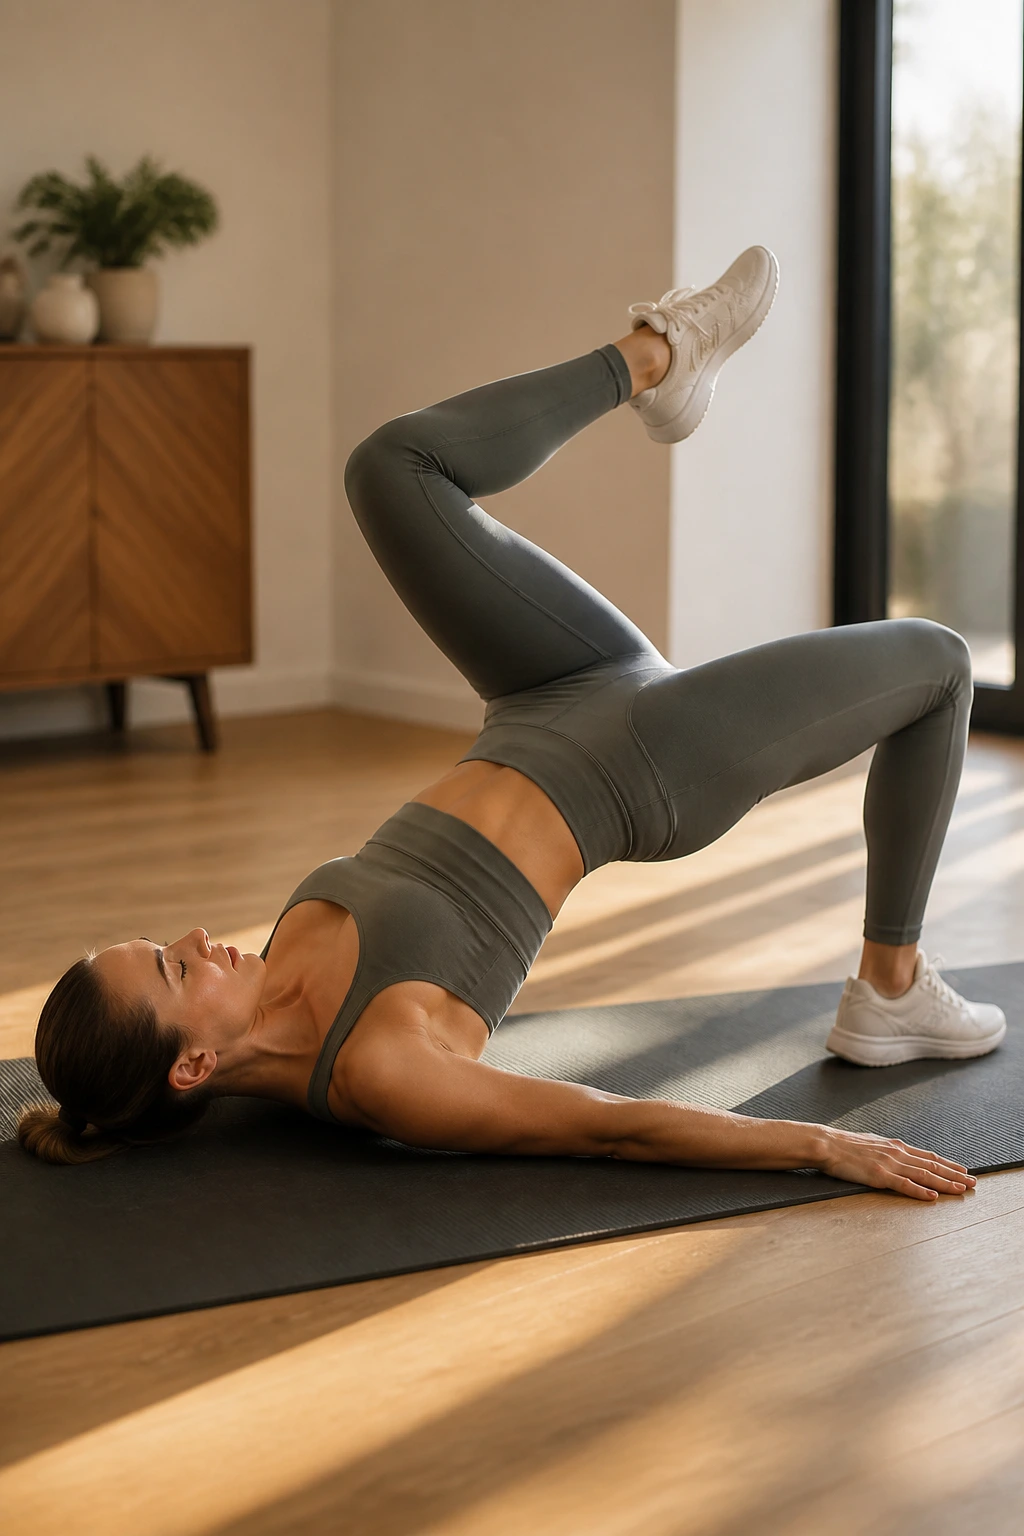
This one is smart because it splits the load between the floor and standing work. A pure glute bridge routine lights up the backside, sure. But when you blend it with crescent lunges, you also ask your balance, hamstrings, and core to show up instead of letting the glutes do all the work alone.
Why It Feels Different
Start with 12 glute bridges, squeezing hard at the top for a 2-second pause. Then move into 8 crescent lunges per side, keeping the torso tall and the back leg active. Back to the floor. Back up again. That change in level keeps the workout from feeling stale, and it also gives your lower back a brief break from the same angle over and over.
Who This Suits Best
If your knees are touchy, keep the lunges short and use a chair for balance. If your glutes tend to switch off during bridge work, place a yoga block or a small pillow between the knees and press lightly inward on the lift. That little squeeze can help people feel the right muscles faster.
This is one of my favorites for home training because it feels complete without needing much space.
6. Side Plank Reach-Through Burner
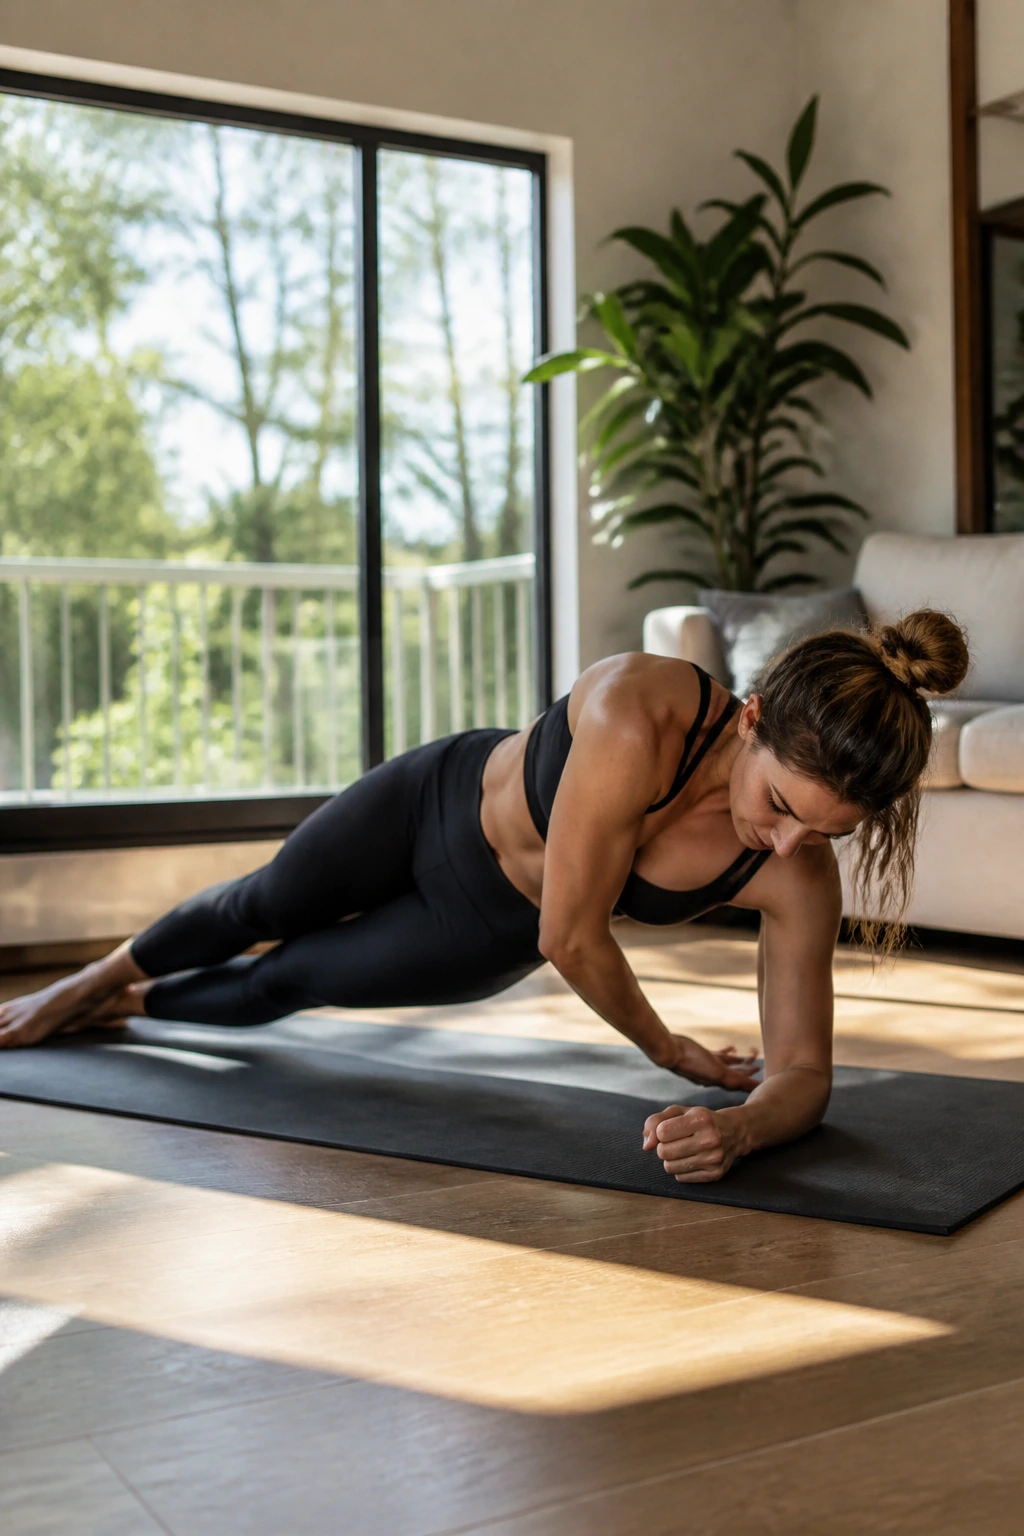
Side plank is honest. It tells you right away whether your obliques, shoulders, and hip stabilizers are awake or asleep, and it rarely lies politely.
What Makes It So Effective
A reach-through adds rotation, which wakes up the waistline and the shoulder that’s holding you up. Start in a forearm side plank if wrist comfort matters. Reach the top arm under your body for 6 to 8 controlled reps, then lift it back open with a steady exhale. If that feels manageable, hold the open side plank for 20 to 30 seconds before switching sides.
What to Watch For
Wrist pain is not part of the deal. Use your forearm, bend the bottom knee, or elevate your hand on a couch cushion if needed. Also, keep the hips stacked. If they drift back, the obliques stop working as hard and the move turns into a shoulder shrug with fancy styling.
For a short home session, this one pairs nicely with squat work. Your torso gets challenged, then your legs get a break, then everybody goes back to work. Rude, but effective.
7. Low Lunge to Lateral Raise Flow
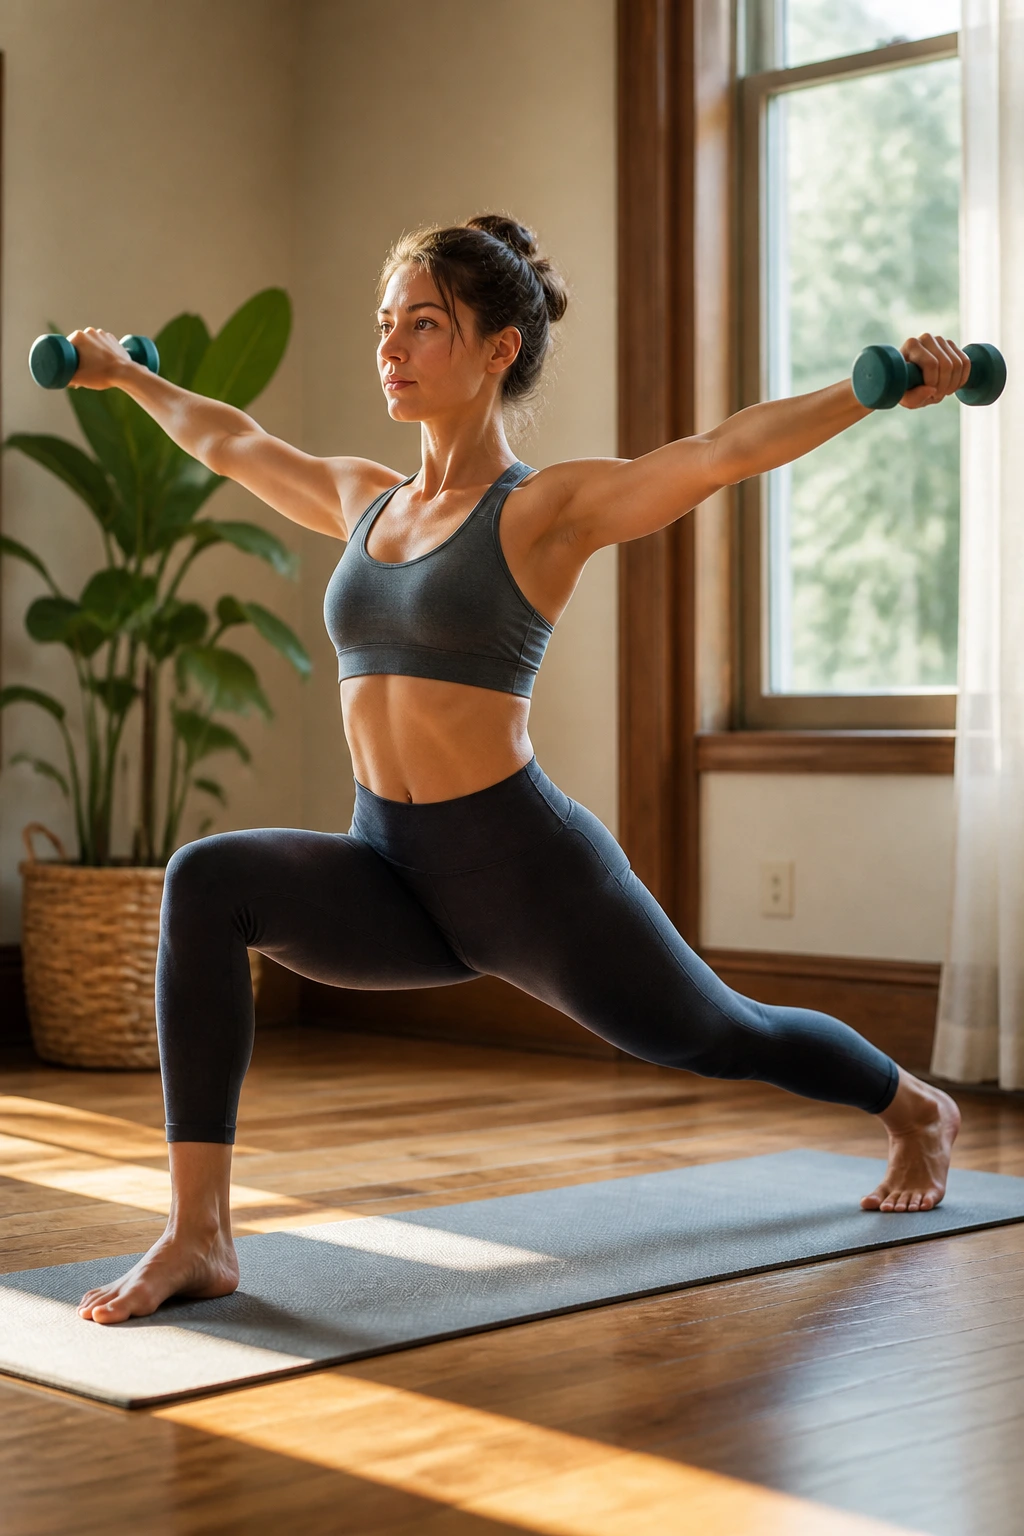
A low lunge can look peaceful until you add arm work and make the front leg hold steady while the upper body starts burning. That’s the point. Yoga sculpt gets interesting when the legs and shoulders have to talk to each other without the movement falling apart.
The Sequence
Drop into a low lunge on the right side. Hold 2 light dumbbells or even no weights at first. Do 8 lateral raises, keeping a tiny bend in the elbows, then bring the arms to cactus shape for 8 pulses. Step back to a plank or downward dog, switch sides, and repeat for 2 to 4 rounds.
Why the Details Matter
The front knee should stay stacked above the ankle. If it slides too far forward, you lose the glute work and dump too much load into the knee joint. Keep the torso tall and the back leg active; even a quiet back leg changes how strong the lunge feels.
One small cue helps a lot: exhale as you raise the arms. That keeps the ribs from popping open and helps the core stay on the job.
8. Boat Pose and Hollow Hold Circuit
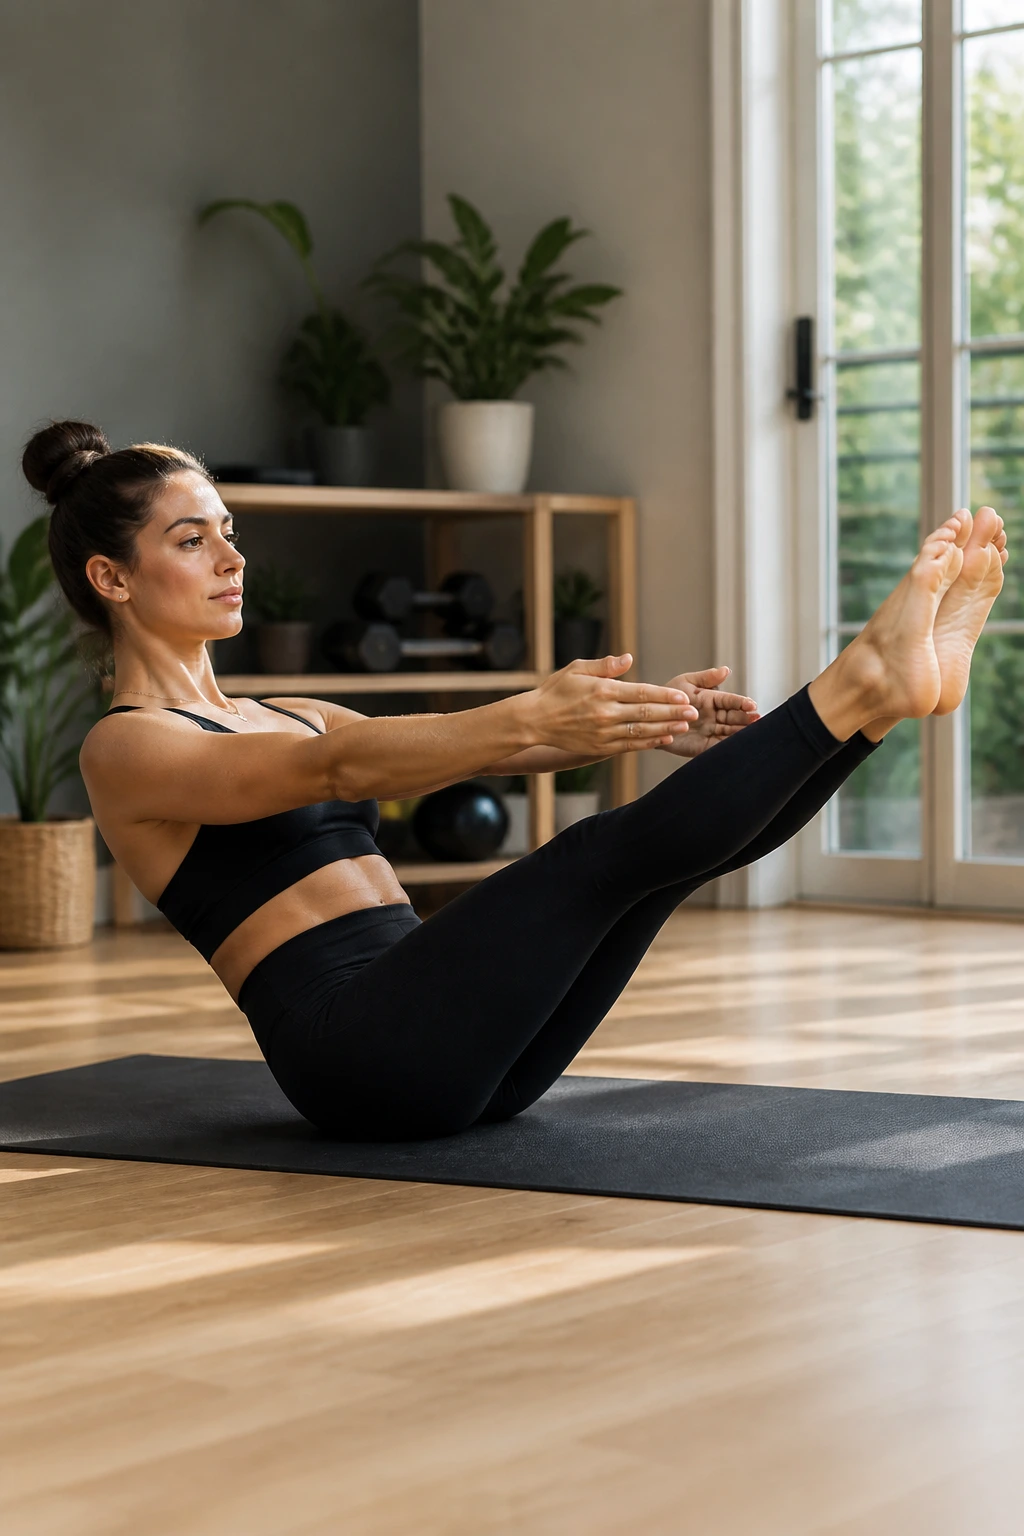
Can a few inches of movement really matter that much? Yes. In core training, the difference between “easy” and “hard enough” is often only a small change in angle or a few extra seconds of tension.
How to Use It
Run 20 seconds of boat pose, then drop into a 20-second hollow hold, then rest for 15 seconds. Repeat for 4 to 5 rounds. If boat pose makes your hip flexors grumpy, bend the knees and keep the shins parallel to the floor. If hollow hold feels too low, keep one heel tapped lightly down while the opposite leg hovers.
A Simple Rule
Your lower back should stay pressed toward the mat as much as possible. If it arches, the abs are giving up and the movement is drifting into back strain. Take a breath, reset, and shorten the lever by bending the knees.
This circuit works well on days when you want a short finisher rather than a full workout. It’s compact, mean, and useful. No fluff.
9. Power Vinyasa with Biceps Curl Intervals
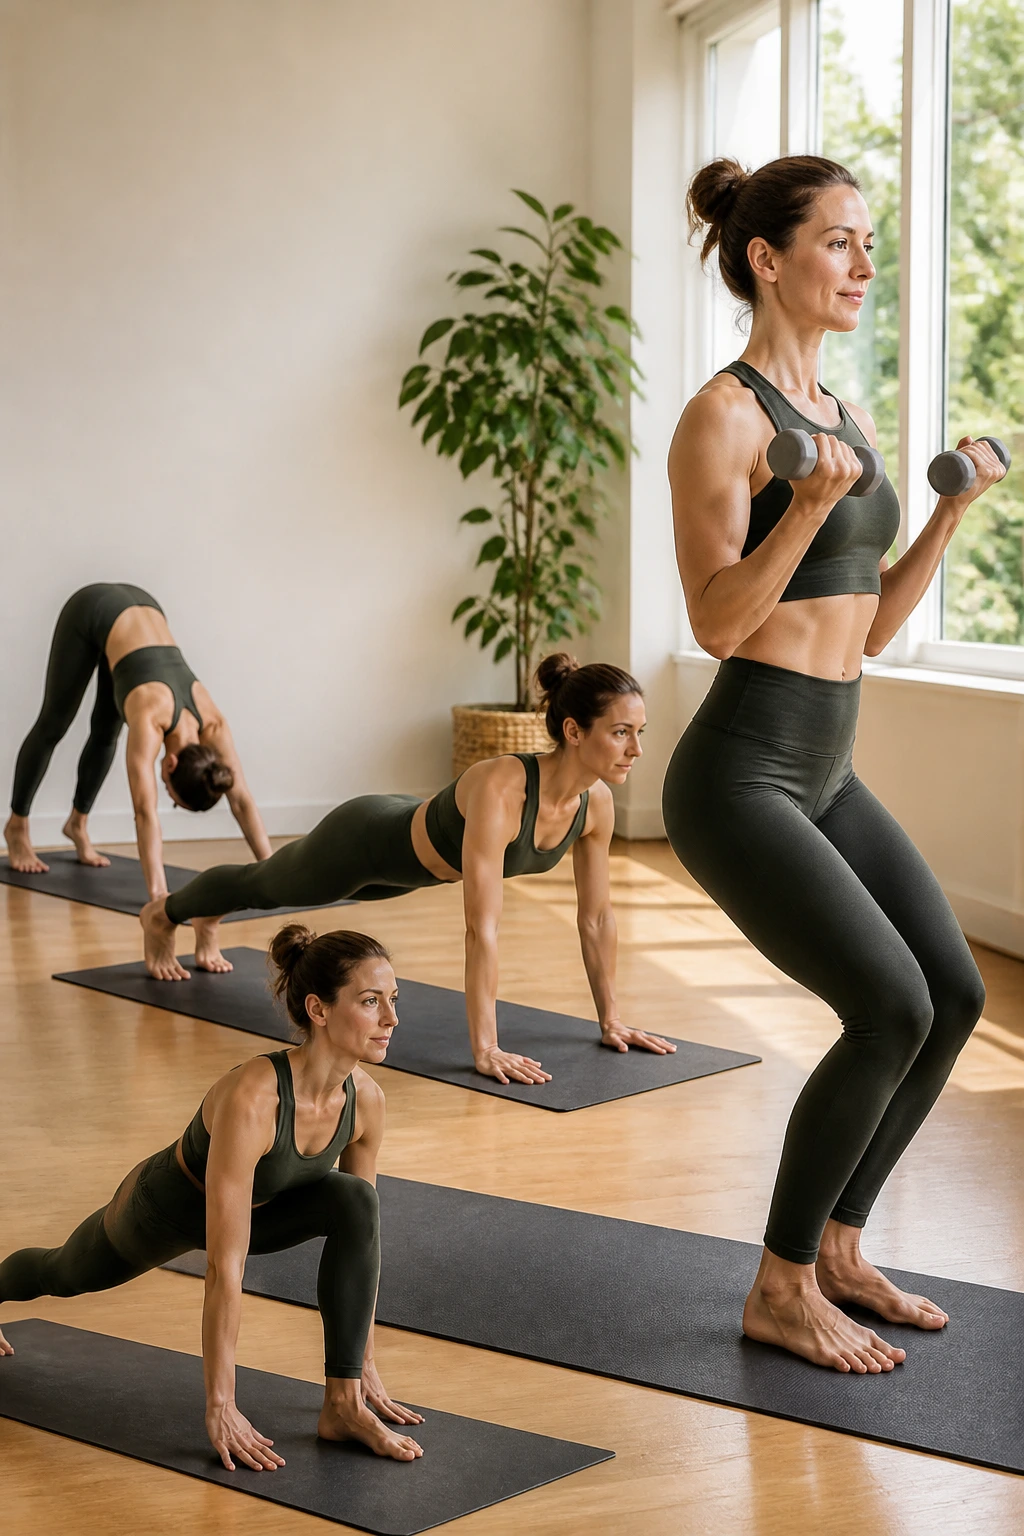
A lot of people think vinyasa and weights do not belong together. I disagree, at least when the load stays light and the pacing stays controlled. The blend can be excellent for an at-home sculpt day because it keeps the heart rate up without turning the session into noisy jumping.
How the Format Runs
Move through downward dog, plank, low lunge, and chair pose. At the top of chair pose, add 10 biceps curls with light dumbbells. Drop the weights before flowing back down. Repeat the full pattern for 5 to 8 cycles, depending on how much time you have.
Why It Feels Good
The curl interval gives the upper body a specific job, which makes the flow feel less like a yoga class and more like a strength circuit. That little dose of resistance is enough to make the arms complain, but not enough to wreck the clean line of the poses.
Keep your elbows close to the ribs during the curls. Swinging the weights makes the move easier and less useful. Also, give yourself permission to skip the curls for one round if your breathing gets choppy. Clean movement beats stubbornness every time.
10. Reverse Lunge Knee-Drive Sprints
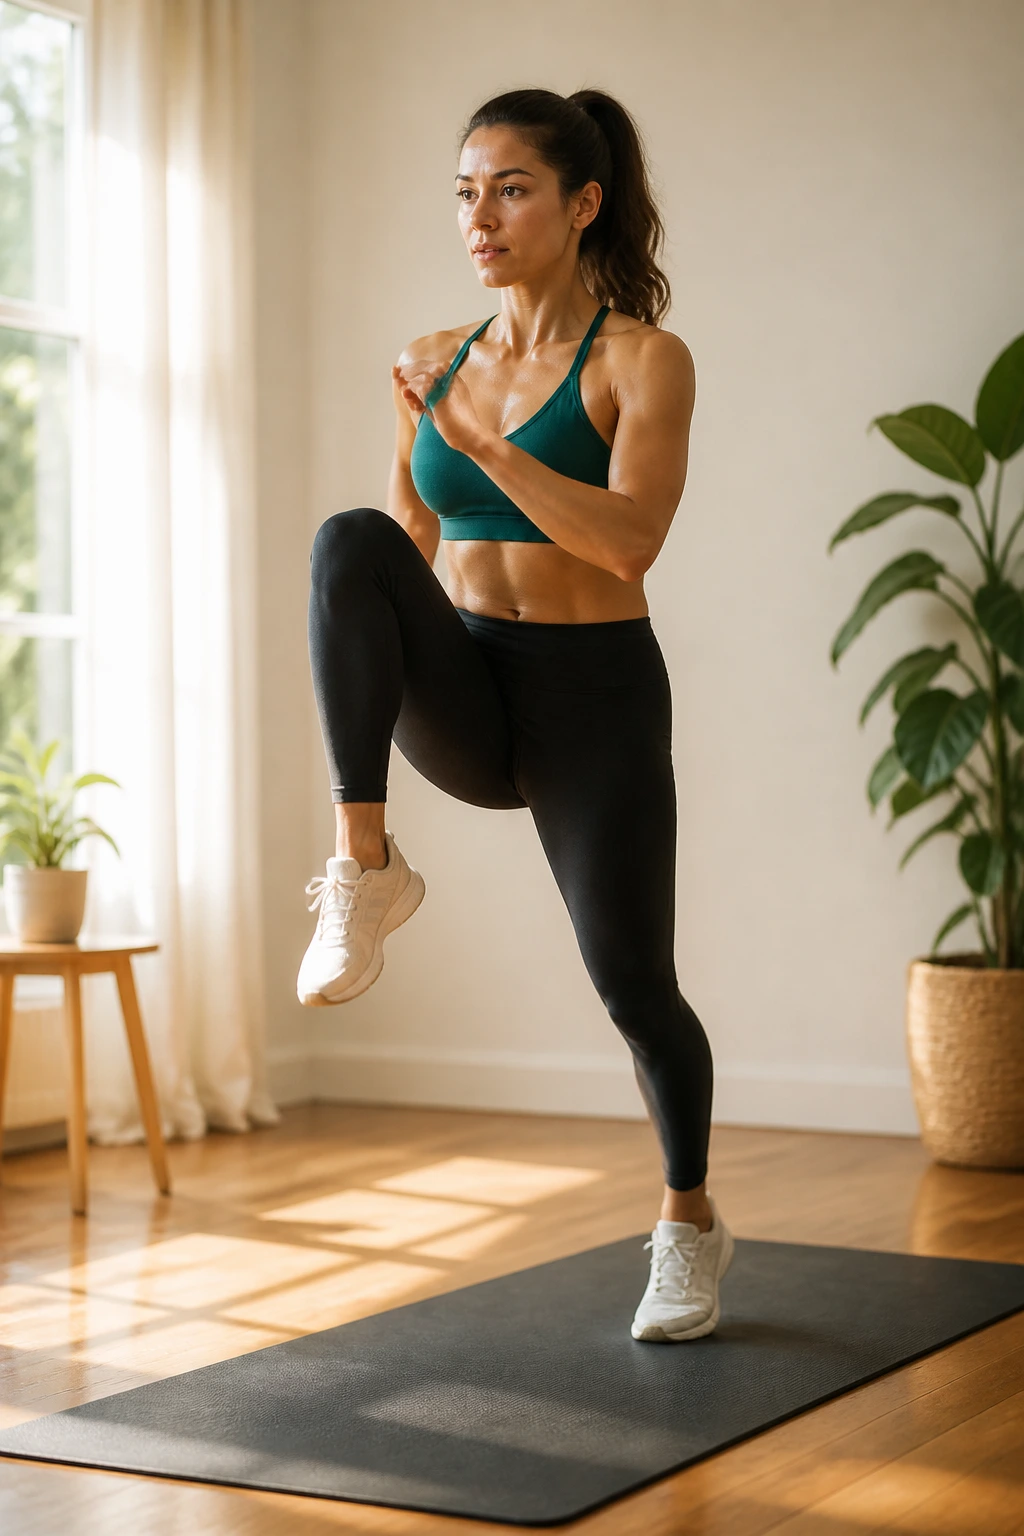
Reverse lunge knee drives are the kind of thing that looks ordinary until the third set, when your standing leg starts to wobble and your breathing gets faster than you expected. That wobble is part of the value. It means your balance is doing some real work.
Pure Prose, No Drama
Step back into a reverse lunge, touch the back knee lightly down or hover just above the floor, then drive that knee forward into a knee lift as you return to standing. Do 10 reps per side for 3 rounds. Keep the torso tall and the front foot rooted, because the whole point is to challenge the legs without bouncing through them. If you want more burn, hold a pair of 3-pound dumbbells at your sides.
Take the knee drive slowly enough that you can feel the hip flexor at the top. That’s the moment most people rush, and it’s also the moment that gives the move its sculpting feel. Fast is fine for cardio. Controlled is better here.
One sentence is enough sometimes. This is one of those times.
11. Band-Resisted Donkey Kick Flow
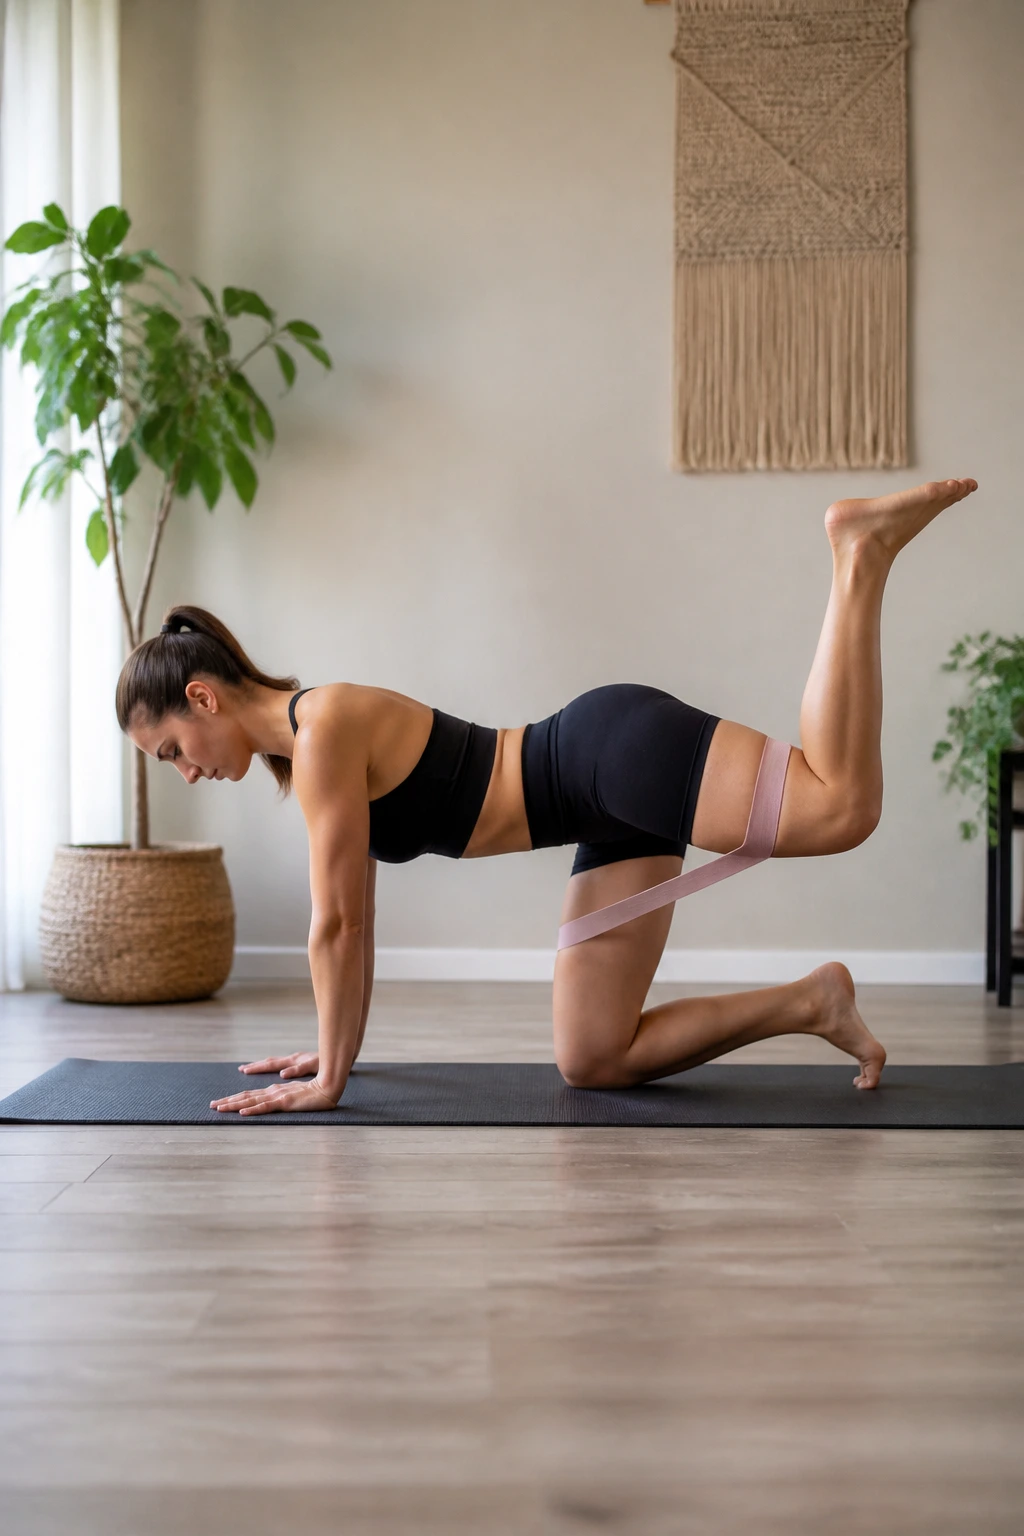
A loop band around the thighs or just above the knees changes the whole feel of donkey kicks. Unlike ankle weights, which can make the lower back take over if you’re not careful, a band keeps tension where it belongs: around the glutes, especially at the top of the lift.
What Makes It Different
Start on hands and knees, then press one heel up toward the ceiling for 12 to 15 kicks per side. Hold the top for a 1-second squeeze, then lower with control. Add 10 fire hydrants before switching sides if you want more outer-glute work. Two rounds can be enough on busy days; four rounds turns it into a real lower-body session.
Who It’s Best For
If your hips feel stiff, move through a smaller range and keep the spine neutral. If your knees dislike floor work, place a folded blanket under them. This workout is especially good for people who sit a lot and want to wake up the backside without a bunch of standing impact.
The burn can be sneaky. It starts in the glutes, then spreads into the outer hips, then lingers when you stand up and realize stairs are going to ask questions.
12. Wall-Supported Leg Burner
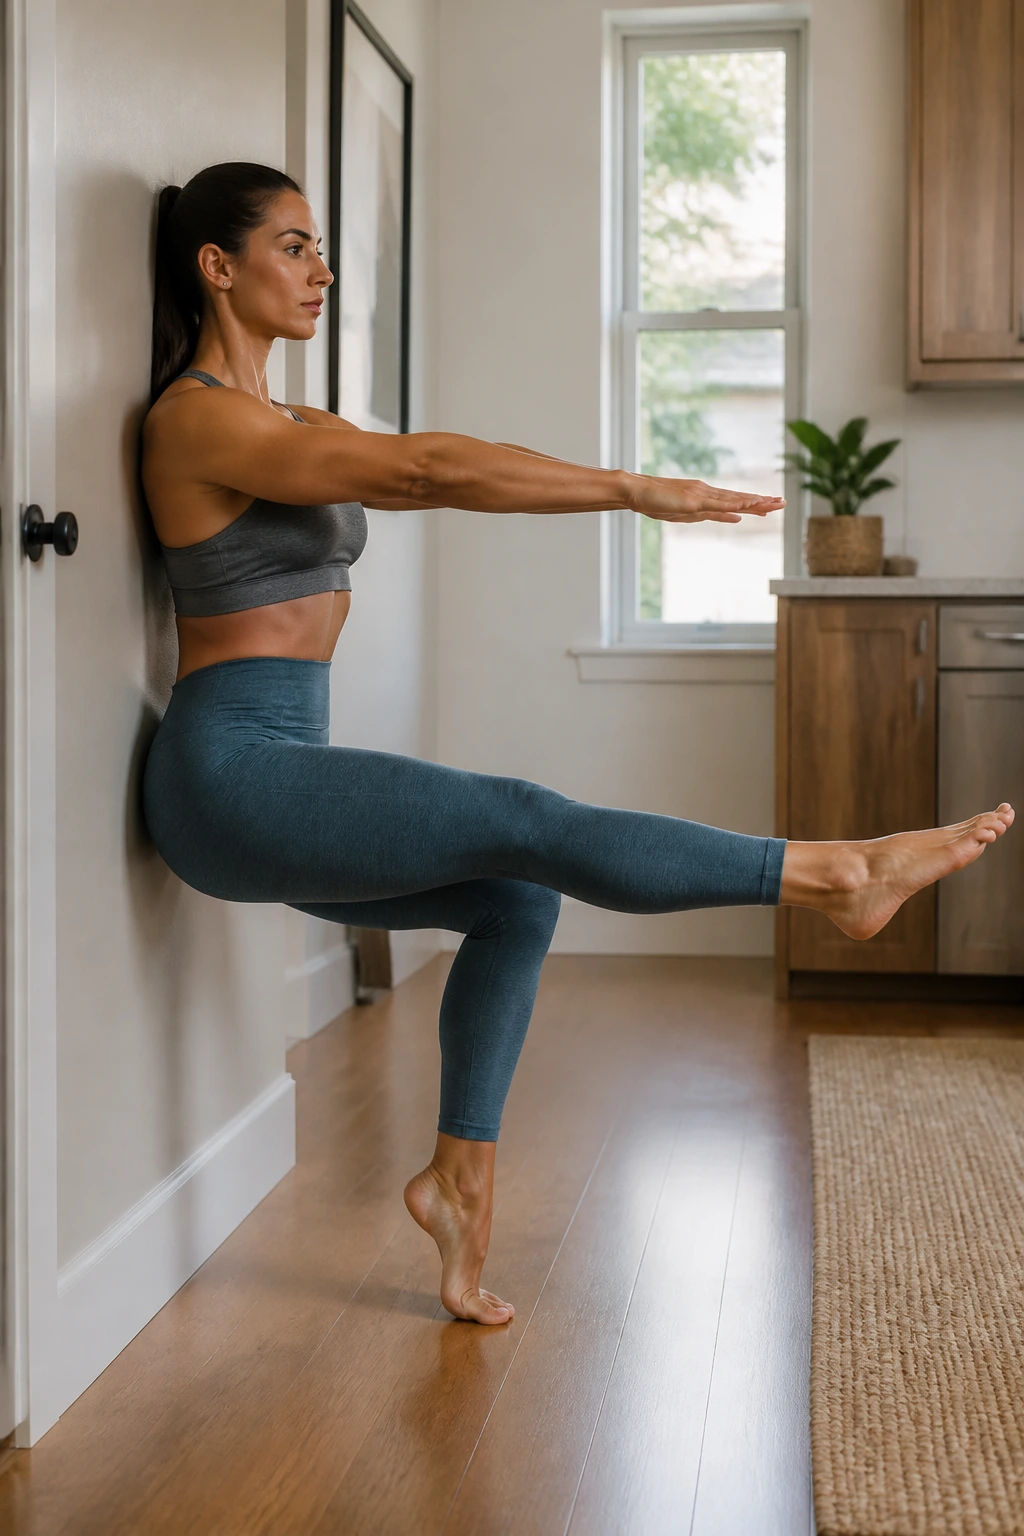
A wall can be a pretty good trainer when you stop pretending you need fancy equipment. Wall-based sculpt work is brutally simple: sit, hold, lift, pulse, repeat. It also makes cheating harder, which is one reason it works so well at home.
The Main Moves
Try a 45-second wall sit, followed by 15 calf raises while you stay seated in the same position. Stand up, shake out the legs, then do 10 alternating star taps or side leg lifts with your back against the wall for posture support. Repeat the circuit 3 times.
Why This Feels So Sticky
The wall sit keeps the quads under constant tension, and the calf raises stack another layer of work on top. The side leg lifts are a nice contrast because they wake up the hips after the straight-ahead burn. That shift in angle matters more than it sounds like it should.
Keep your lower back gently pressed toward the wall and your feet far enough forward that the knees stay comfortable. Too close, and your knees complain. Too far, and the quads lose the load. There’s a sweet spot, and it’s worth finding.
13. Slow-Motion Full-Body Strength Flow
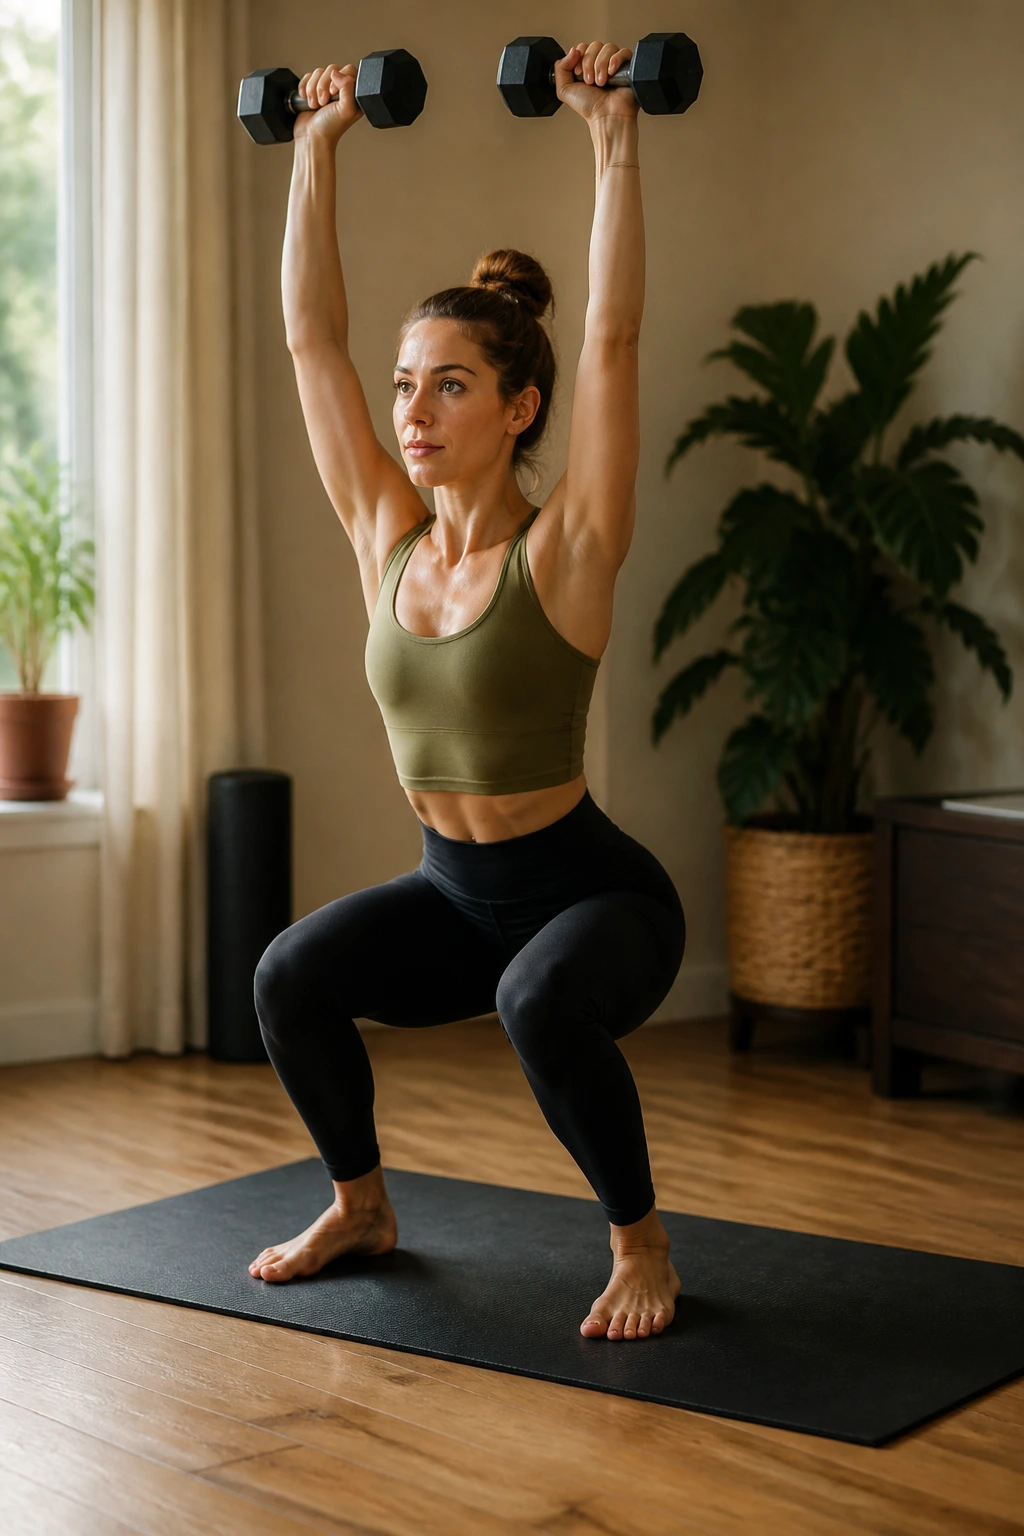
Slow motion changes everything. The same lunge, squat, or plank that feels manageable at normal speed can turn into a hard, precise workout when the lowering phase takes three counts and the pause at the bottom lasts for one more breath than you wanted.
The 3-Count Rule
Use 3 counts down, 1 count hold, 1 count up for squats, lunges, push-ups, and standing presses. That pace makes the muscles stay under load longer without needing a huge number of reps. A set of 8 slow squats can feel heavier than 20 fast ones, and that matters when you’re trying to tone at home without pounding your joints.
Quick Move List
- 8 slow squats
- 6 slow push-ups from knees or toes
- 8 alternating reverse lunges
- 10 standing shoulder presses
Take 30 seconds between rounds, or less if your form holds up. The point is to move like you mean it, not like you’re trying to beat a timer.
This is the kind of workout that teaches patience. Not glamorous. Very useful.
14. Triceps Push-Up and Dolphin Series
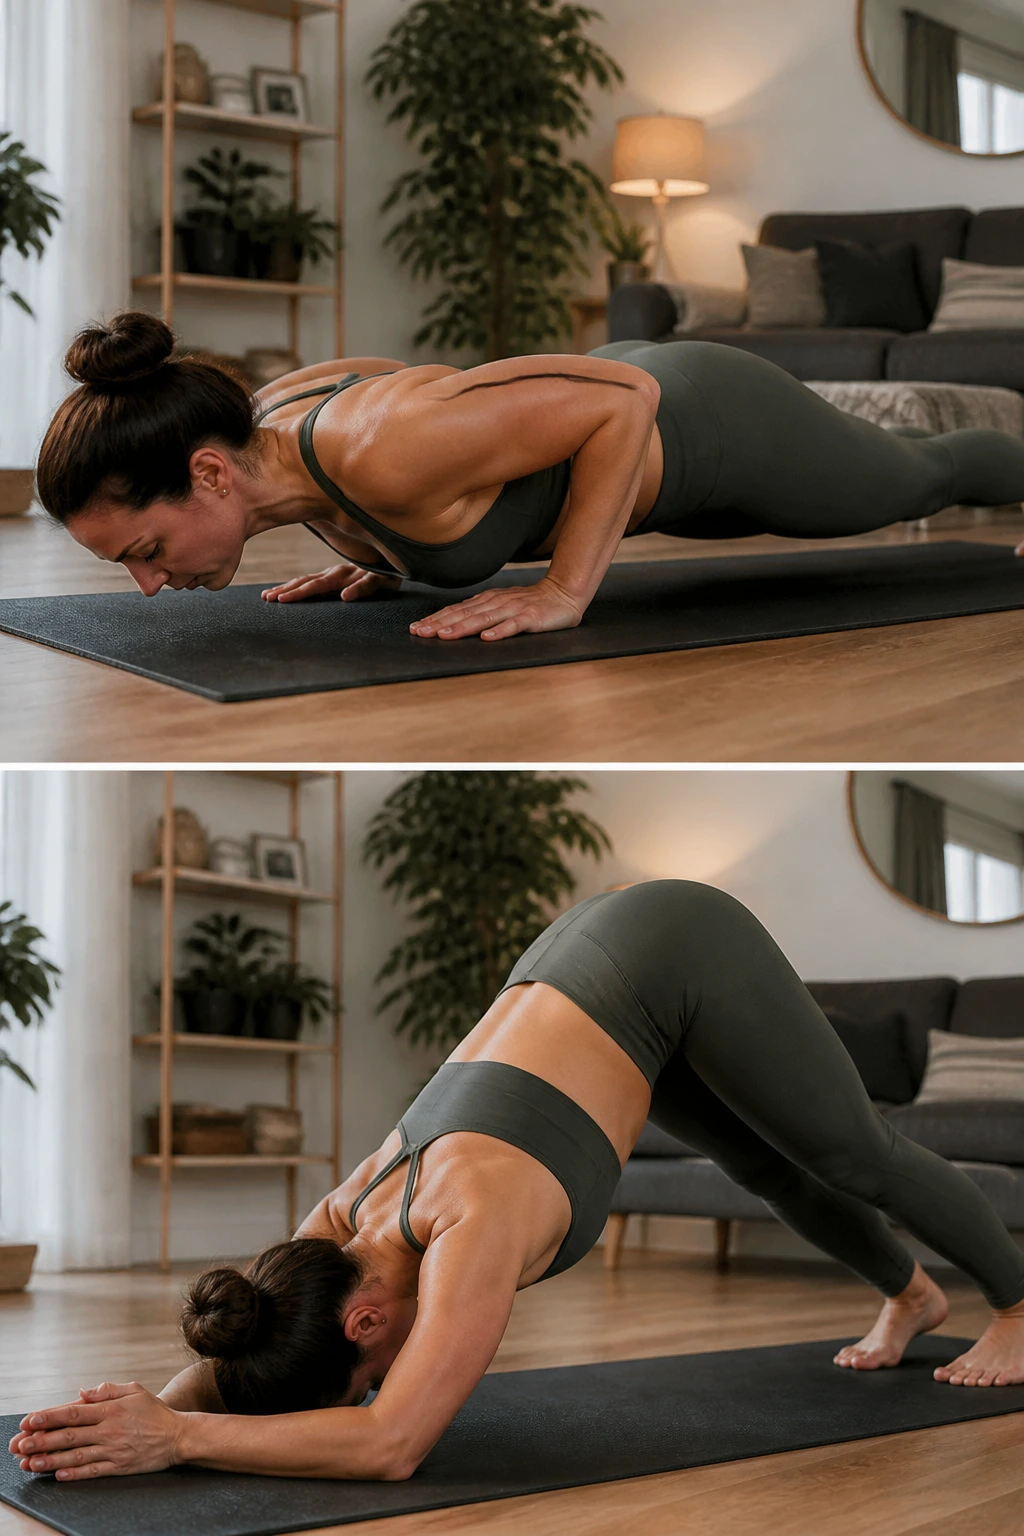
Why does this combo work so well? Because the triceps and shoulders have to share the load, and the core keeps getting dragged into the conversation. It is a small, mean little sequence, and I mean that as praise.
Where to Start
Begin with 6 to 10 triceps push-ups with the elbows tracking close to the ribs. Drop to the knees if needed. Then move into dolphin pose for 5 slow rocks forward and back, keeping the forearms grounded and the head relaxed between the arms. Rest for 20 seconds and repeat for 3 rounds.
Easier, Cleaner Options
If the full push-up is too much, lower from the knees and stop halfway down. If dolphin feels tight in the shoulders, shorten the stance and keep the hips a little higher. Both adjustments are better than forcing the shape and letting the neck take over.
This is one of the best upper-body sculpt pairings for home work because it hits the back of the arms without needing a bench, a machine, or a second thought about space. Just enough room for a mat.
15. Balance-and-Hold Flow for Deep Core
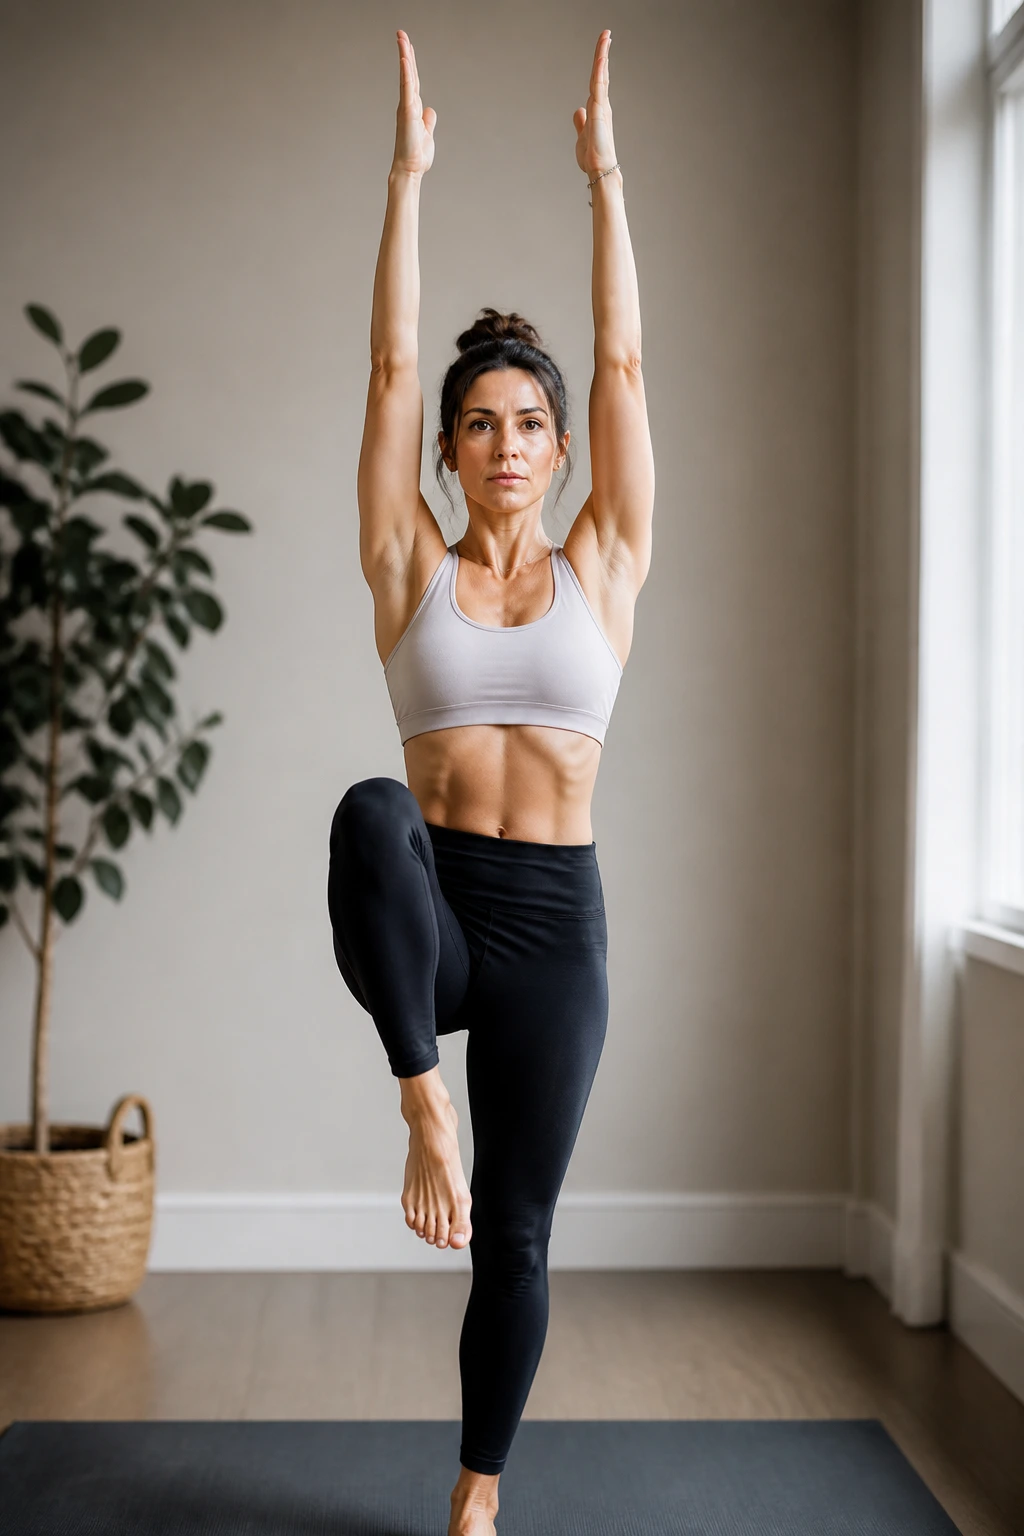
A single-leg balance drill can feel almost boring until you try to keep your torso level while your arms move and your standing foot keeps adjusting on the floor. That hidden work is where the core strength lives.
What the Flow Looks Like
Stand on the left leg and lift the right knee to hip height. Hold for 10 seconds, then reach the lifted leg back into a crescent stance and return to balance. Add arm reaches overhead, then out to the side, then down to heart center. Do 5 controlled cycles per side, followed by a 20-second tree pose hold.
Why the Small Adjustments Matter
Each little arm reach forces the standing side of the waist to keep the ribs from tipping. Each foot adjustment trains the ankle and foot muscles, which a lot of people ignore until they start wobbling in every balance pose they try.
If you shake, good. That means the stabilizers are awake. If you grip the floor hard with your toes, ease up a little and spread the weight through the whole foot instead. The difference is subtle, but it changes the quality of the hold.
This is a quiet workout. Quiet does not mean easy.
16. Chair, Block, and Band Lower-Body Session
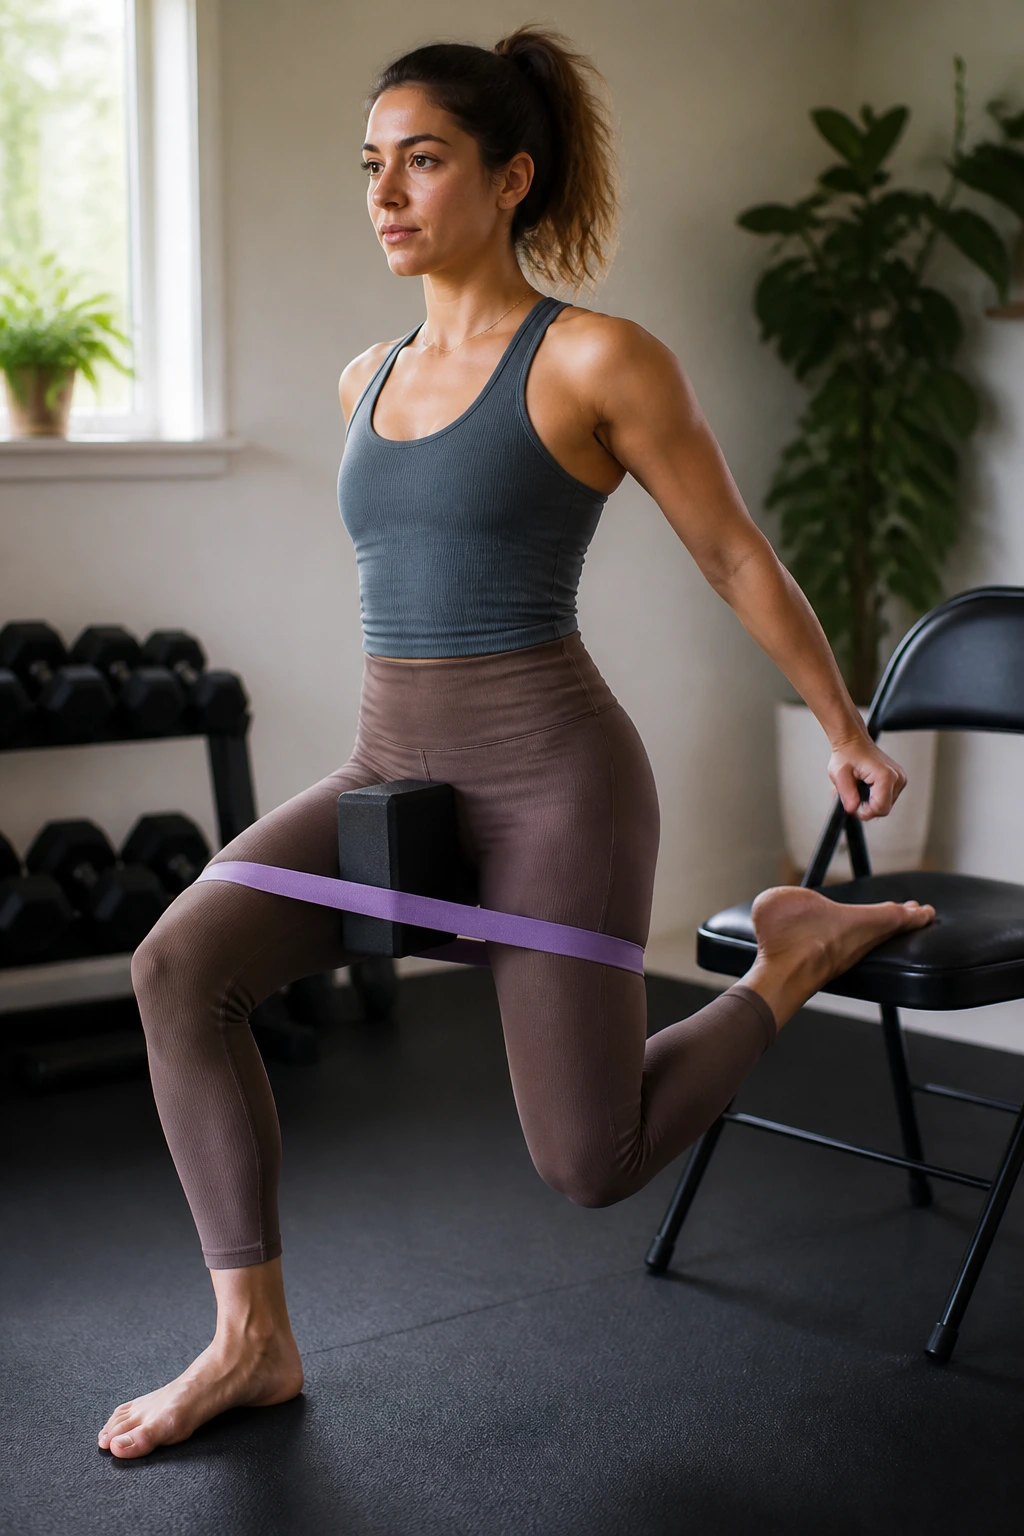
A chair, a yoga block, and a loop band can cover a surprising amount of lower-body territory. I keep coming back to this kind of setup because it’s practical, cheap, and a lot more effective than people expect when the reps are slow and the holds are honest.
Set the band above the knees, place the block between the thighs, and use the chair for balance during split squats or single-leg taps. The block gives you an inner-thigh squeeze. The band keeps the outer hips active. The chair makes the standing work safer when your legs are already tired.
Run 10 split squats per side, 12 banded glute bridges, and 8 sit-to-stand reps from the chair for 3 rounds. Keep each rep smooth, and pause for a second wherever you feel the muscles doing the most work. That little pause is what turns “moving around” into training.
If you only have a tight corner of a room, this setup still works. That’s the appeal.
17. Beginner Yoga Sculpt at Home in 15 Minutes
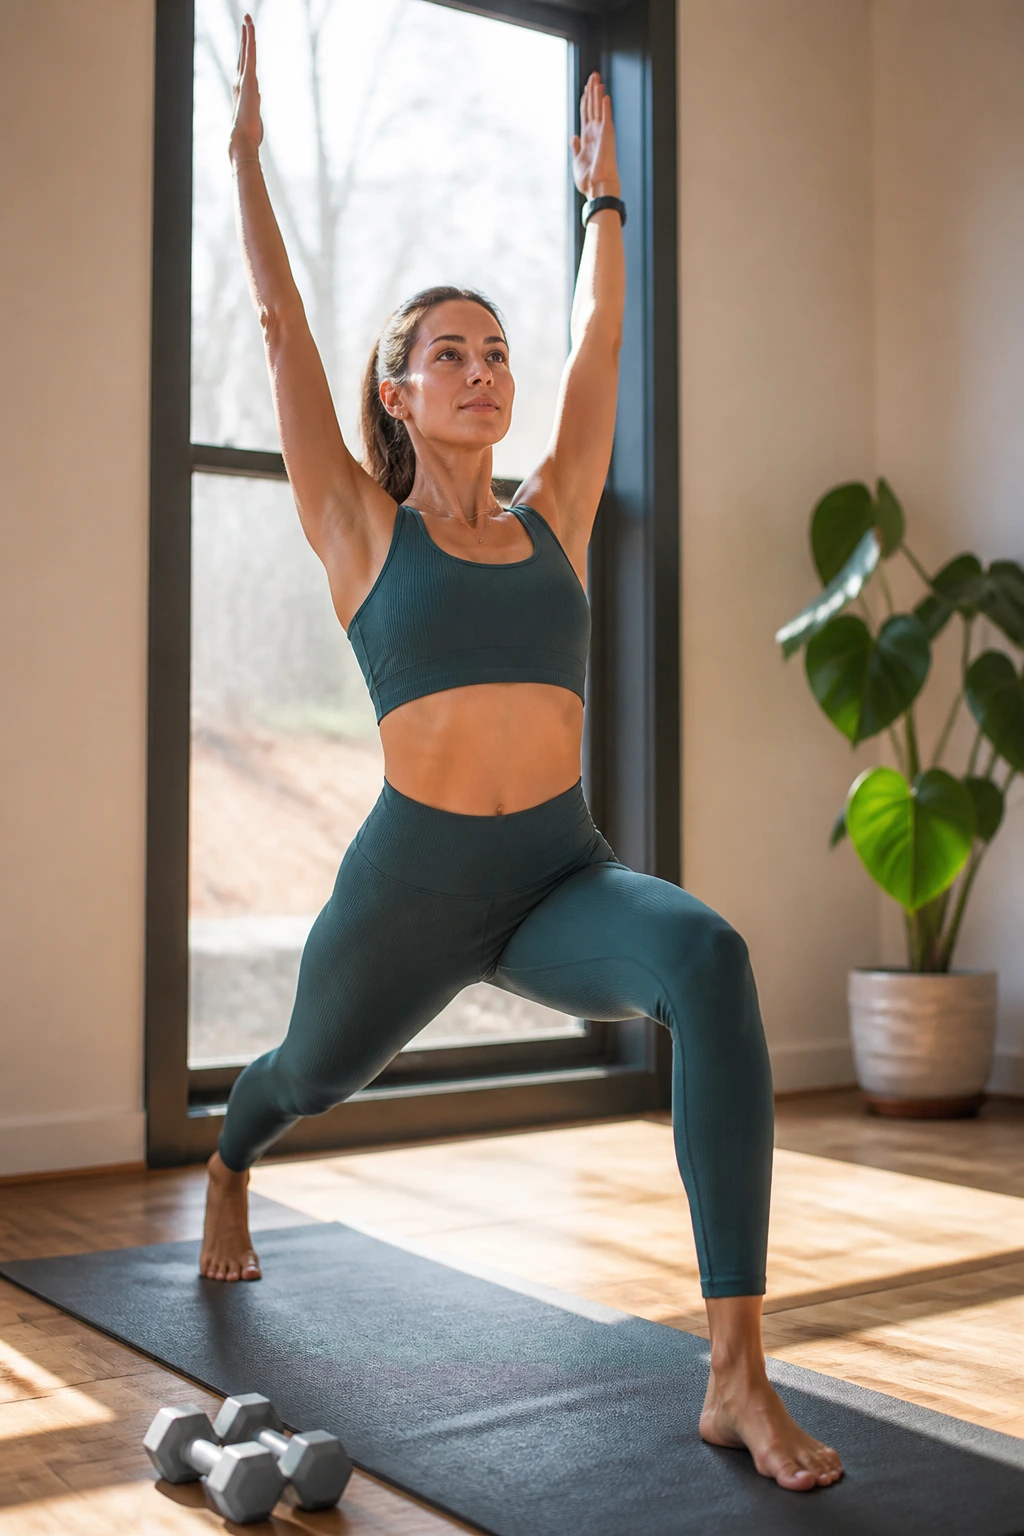
A short routine can still count. In fact, short routines often get done more often, which is the part people tend to skip over when they get excited about longer flows.
Why Short Works
A 15-minute yoga sculpt workout at home is a good fit when you need a clean, non-intimidating session that hits the big muscles without making the whole day revolve around exercise. Use 30 seconds on, 15 seconds off and cycle through squats, modified planks, standing presses, and glute bridges. Two rounds is enough to create real work. Three rounds is plenty for a beginner.
Best Use Case
This style works well on days when your energy is low but you do not want to skip movement. Keep the moves basic, keep the rest honest, and stop one rep before your form starts falling apart. That last part matters more than the clock.
Beginner doesn’t mean easy. It means clear. A short, clean session teaches better habits than a chaotic long one. That is especially true when you’re building a home practice from scratch.
18. Advanced 30-Minute Sweat Flow
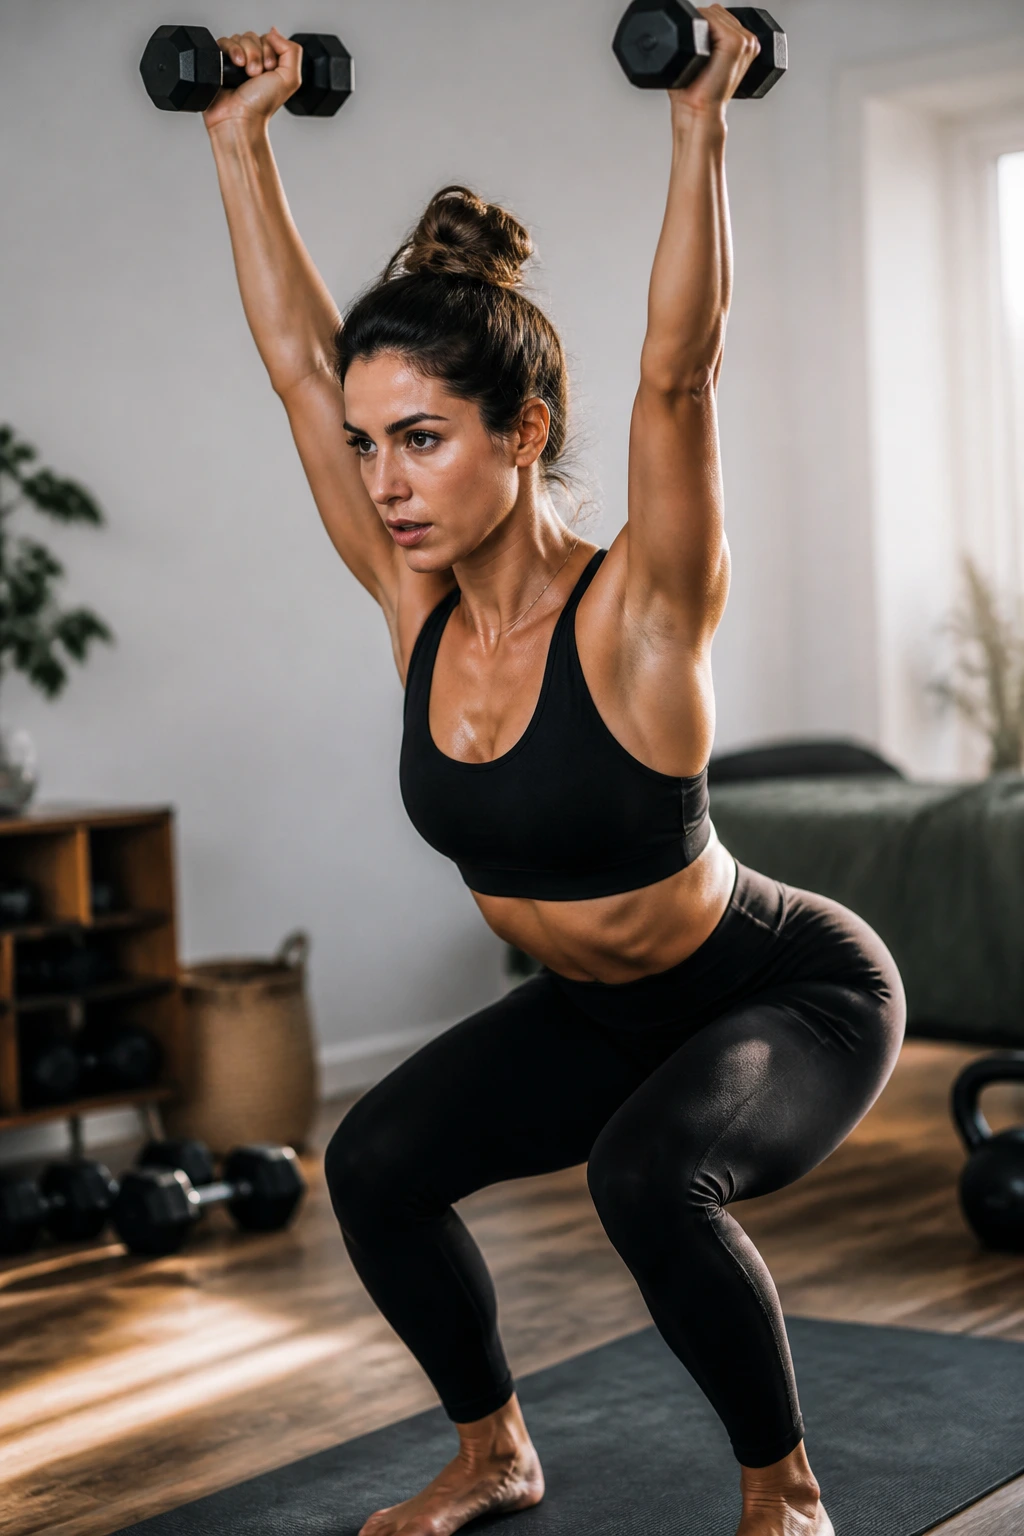
This is the session I’d pick when I want sweat, strength, and a little bit of stubbornness all in one place. The format is simple: hold, pulse, lift, repeat, then change levels before your body gets too comfortable.
How to Build It
Run a loop of chair pose with presses, warrior II with lateral raises, reverse lunges with knee drives, and plank shoulder taps. Spend 45 seconds on each move with 15 seconds to switch. Do 4 full rounds. If that sounds tame, add a second set of dumbbells and keep the load light enough that your shoulders don’t take over the whole workout.
What Makes It Advanced
The advanced part is not the weights. It’s the pace and the control. You keep moving while the muscles stay under tension, and the transitions leave no room to coast. That is where the workout gets spicy.
Take breaks if your breath gets ragged. There’s no prize for pretending you’re fine when your form is going sideways. Clean reps matter more than surviving the entire timer.
19. No-Weight Isometric Sculpt Session
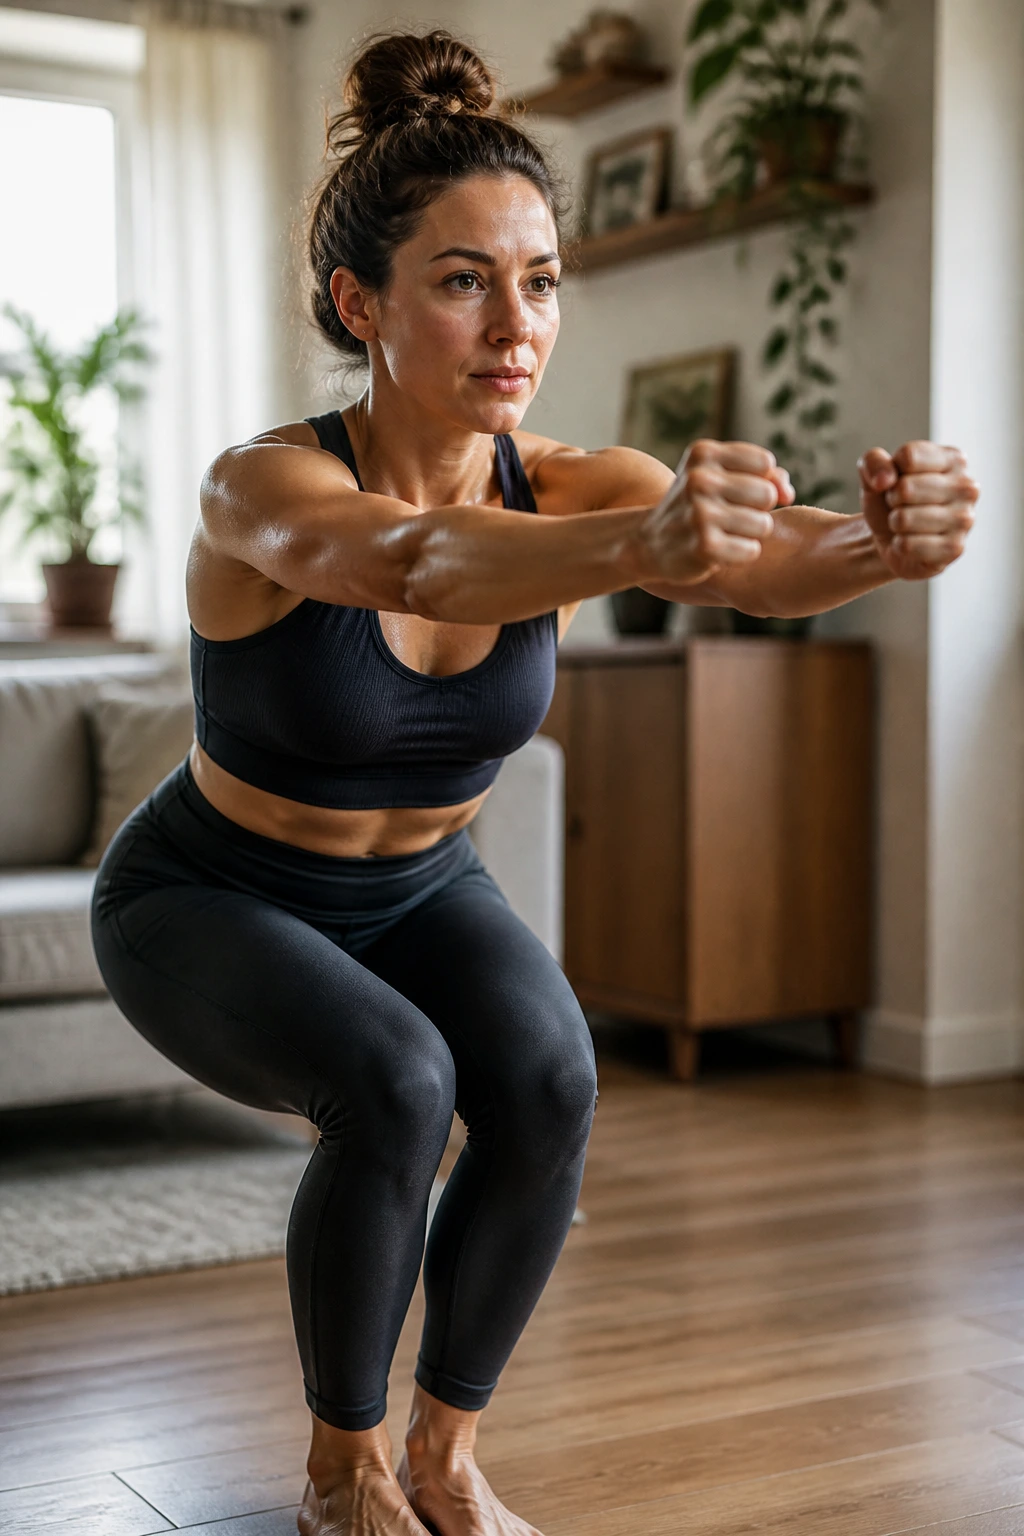
No dumbbells? Fine. That does not mean the workout turns into a casual stretch. Isometric work — holding a position without obvious movement — can be brutally effective when you stay honest about your angles and breathe through the shake.
What to Hold
Try chair pose for 30 seconds, low lunge for 20 seconds per side, plank for 20 seconds, and glute bridge hold for 30 seconds. Add tiny pulses at the end of each hold if you still have something left. Two to four rounds is the range I’d use, depending on how fresh you feel.
Why It Still Counts
The muscles do not care whether the resistance comes from a dumbbell or your own body weight. They care about tension, time, and how hard they have to work to keep you in place. That is why these holds can feel sneaky-hard even though the room looks calm.
If the move gets sloppy, shorten the hold rather than muscling through bad form. A shorter clean hold beats a longer ugly one. Every time.
20. The Full-Body Signature Circuit
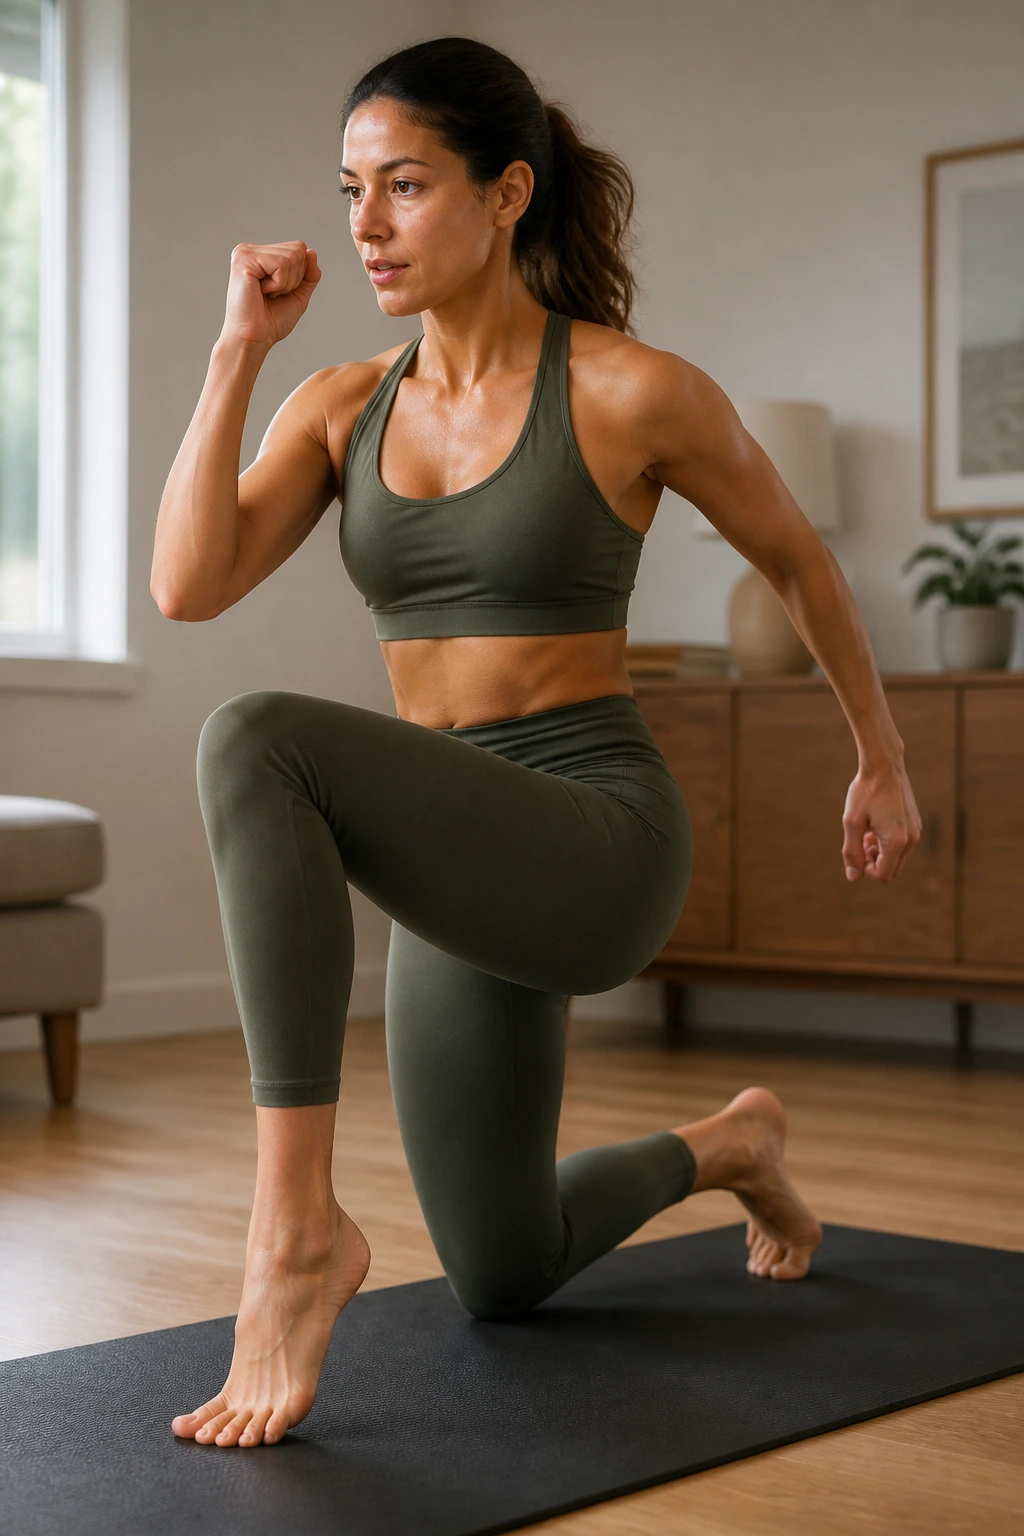
What if you only want one home session that covers the whole body without feeling like a mess? Build it around the best pieces from the list above: squat, lunge, plank, bridge, balance, repeat. That is the backbone of a strong yoga sculpt workout, and it works because the body never settles into one pattern for too long.
How to String It Together
Use this order: chair pose with presses, reverse lunges with knee drives, side plank reach-throughs, glute bridges, and boat pose holds. Spend 40 seconds on each move with 20 seconds to transition. Run 3 rounds for a solid 25-minute session, or 4 rounds if you want a longer push. Keep the weights light enough that your shoulders stay down and your spine stays long.
The Part Most People Miss
The workout feels better when the transitions are deliberate. Stand up from the mat with control. Step back on purpose. Lower into each pose like you mean to hold it, not just pass through it. That’s the difference between a sweaty circuit and a sculpt session that actually changes how you move.
This is the routine I’d keep in rotation when the week gets messy and I still want my legs, core, and shoulders to know they were here. Not fancy. Not fussy. Just a solid way to train at home and walk away feeling like the work landed.
