



Ten minutes is enough for real yoga. Not the polished version, not the stretchy-looking version, but the kind of 10 minute yoga routines for beginners that loosen your shoulders, slow your breathing, and make your body feel less stubborn by the end.
The trick is sequence. A beginner does not need a long string of fancy shapes or a fast flow that leaves you confused on the mat. You need a few familiar poses, enough breath to settle into them, and a pace that gives your joints a chance to catch up with your brain.
Most people overcomplicate short yoga because they assume it has to feel intense to count. It doesn’t. Ten minutes can wake up stiff hips, ease a cranky lower back, and build the habit of showing up without having to negotiate with yourself for half an hour first. That habit matters. A lot.
The routines below are built for real life: mornings when your body feels creaky, evenings when your head is busy, and those in-between moments when you want movement but not a full workout. Start with the one that matches how you feel, not the one that looks the prettiest.
1. A 10-Minute Grounding Flow for New Yogis
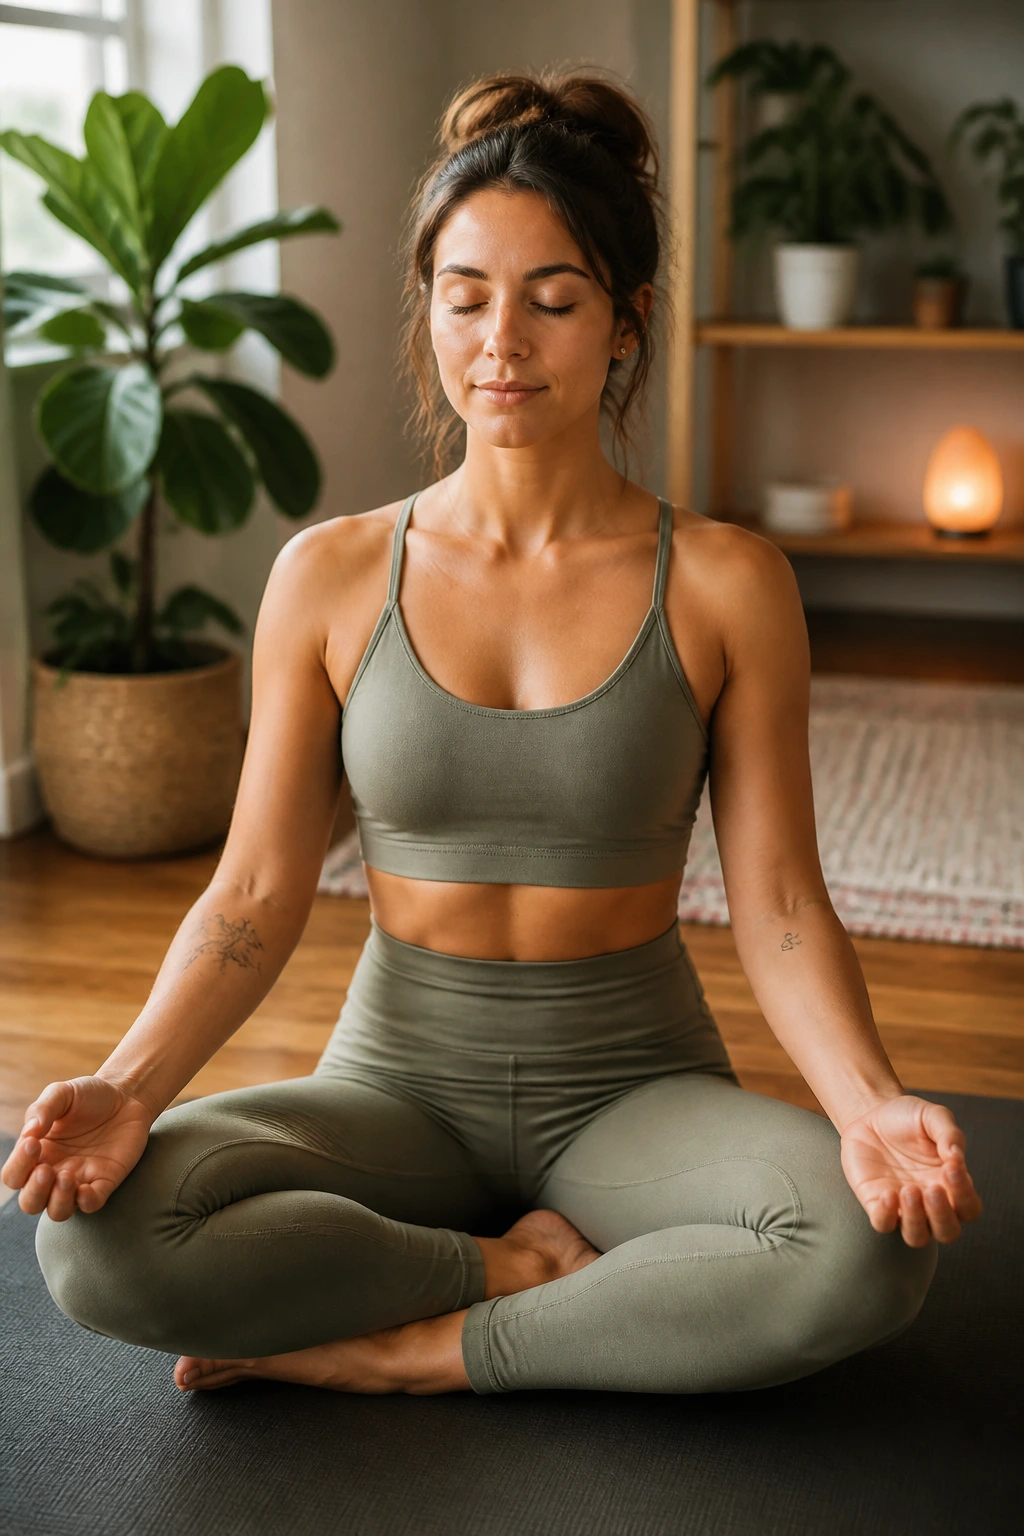
If you only learn one short yoga routine, make it this one. It is steady, low-drama, and forgiving when your balance is off or your hamstrings are tight. That is exactly why it works so well for beginners.
Pose sequence
- 1 minute of easy breathing in a seated position or standing at the top of your mat
- 2 minutes of cat-cow on hands and knees
- 2 minutes of child’s pose with slow reaches to each side
- 2 minutes of low lunge, 1 minute per side, with hands on blocks or the floor
- 2 minutes of seated forward fold with bent knees
- 1 minute of savasana or lying on your back with knees bent
Cat-cow is the engine here. Move slowly, let the inhale tip your tailbone back, and let the exhale round your spine without forcing it. In low lunge, keep the stance short at first. If your back knee hates the pressure, fold a blanket under it. Small fixes make a big difference.
A lot of beginners try to stretch harder when they feel stiff. That usually backfires. This routine is better because it gives your body repeated, easy shapes instead of one big demand.
Best cue: keep your jaw loose and your exhale longer than your inhale.
2. Neck, Shoulder, and Upper Back Release
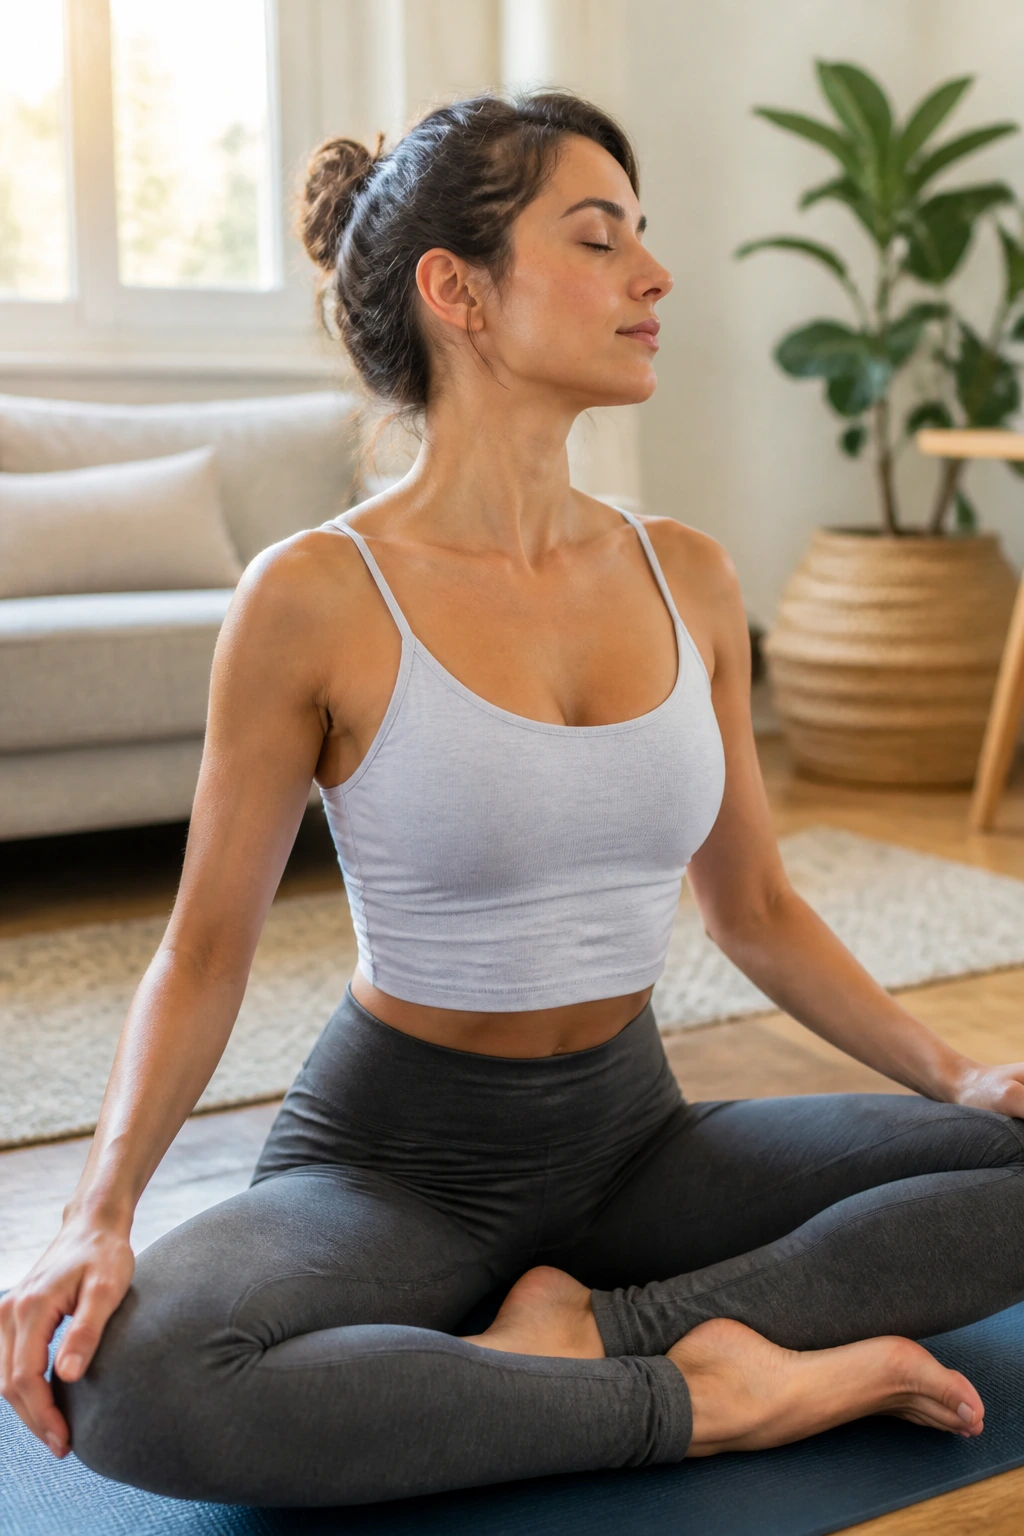
Why do your shoulders creep up around your ears by noon? Because the upper body loves to hold tension where you can’t ignore it. This short routine goes after the neck, the top of the shoulders, and that tight spot between the shoulder blades that seems to show up after screens, driving, or a bad sleep.
How to move through it
Start seated or kneeling. Roll your shoulders back and down five times, then hold eagle arms for three slow breaths. From there, take thread-the-needle on hands and knees, staying on the side that feels tight for a little longer. Finish with puppy pose, letting your chest melt toward the mat while your hips stay over your knees.
- 1 minute seated breathing
- 2 minutes shoulder rolls, neck side bends, and eagle arms
- 2 minutes thread-the-needle, 1 minute each side
- 2 minutes puppy pose
- 2 minutes seated chest opener with clasped hands
- 1 minute easy rest
Keep the movement gentle. If your neck hates circles, skip them and use slow side bends instead. If your wrists are sensitive, make fists or prop your forearms on blocks in puppy pose.
What matters most: the shoulders should feel like they are lowering, not being yanked.
3. Desk-Reset Cat-Cow and Puppy Pose
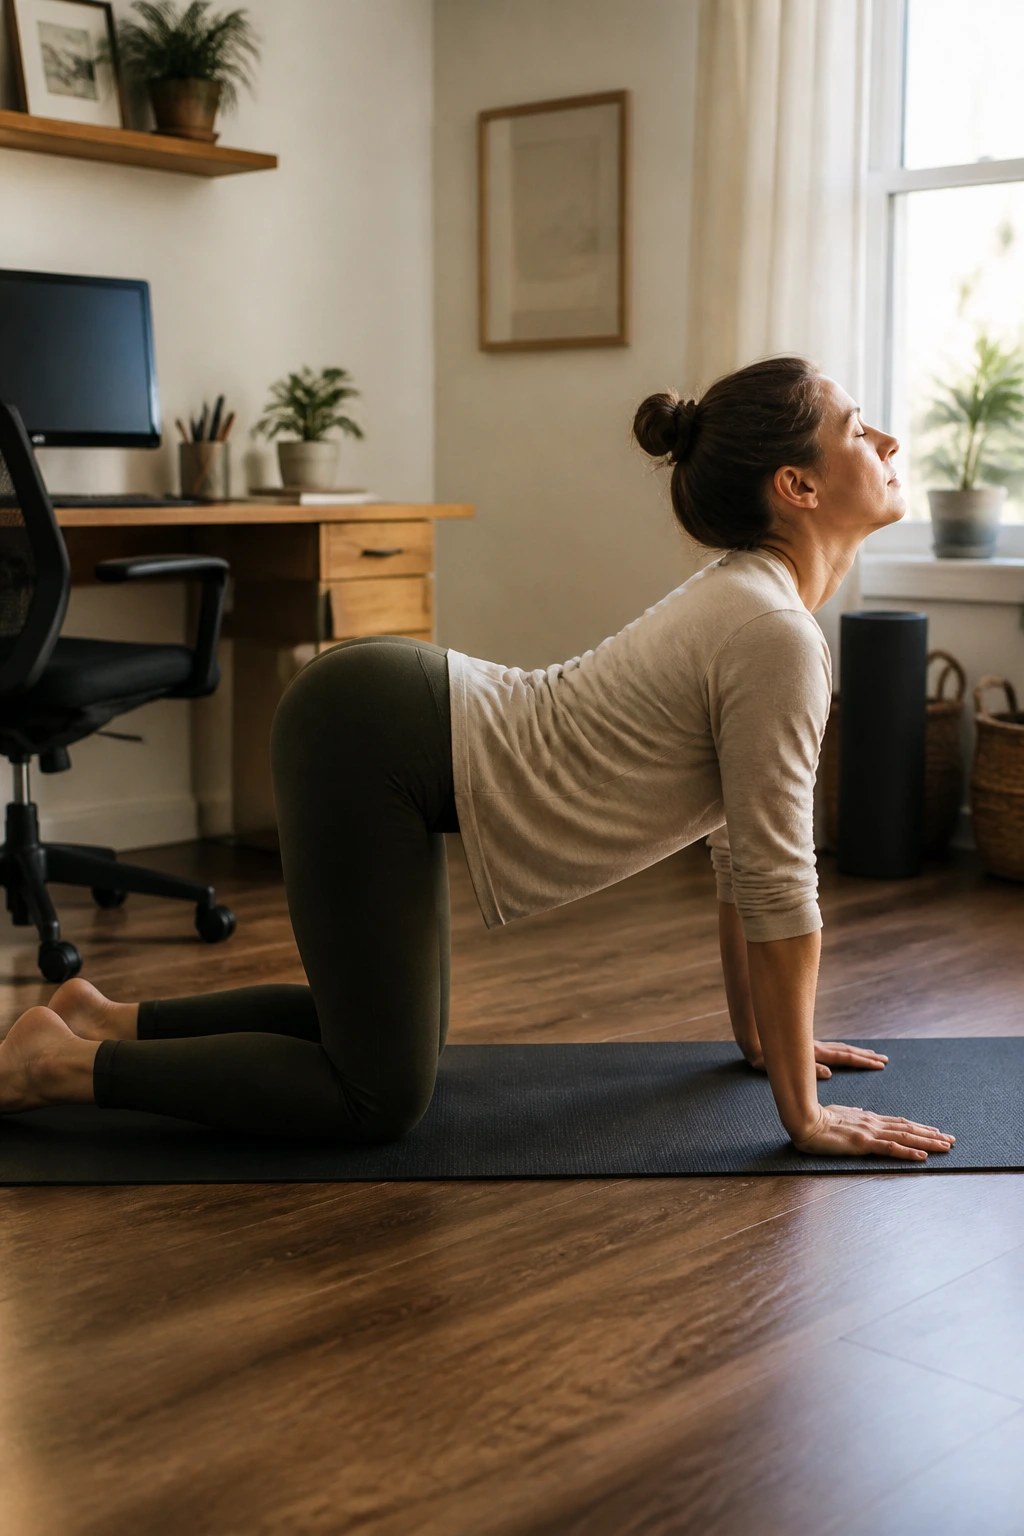
Your lower back has probably been folded in the same shape for hours. That’s what this routine fixes. It starts with the spine and works outward, which feels better than attacking the hips first when sitting has made your whole torso feel stuck.
Begin on all fours and move through cat-cow for a full minute, matching each motion to your breath. Then slide into puppy pose, reaching the hands forward and keeping the hips high. That stretch can feel intense in the upper back, so keep the ribs soft and do not dump all your weight into your shoulders. After that, step one foot forward into low lunge and pause there. Half split on the same side comes next, with the front knee bent as much as you need.
The final minutes belong to a simple seated twist and a short rest on your back. Twist from the rib cage, not by cranking the knee across the room. That detail matters. A beginner-friendly twist should feel like a gentle wring-out, not a wrestling match.
If your day has been all sitting, this one is a good reset. Clean. Simple. Effective.
4. Tight-Hips Flow Without Deep Pigeon
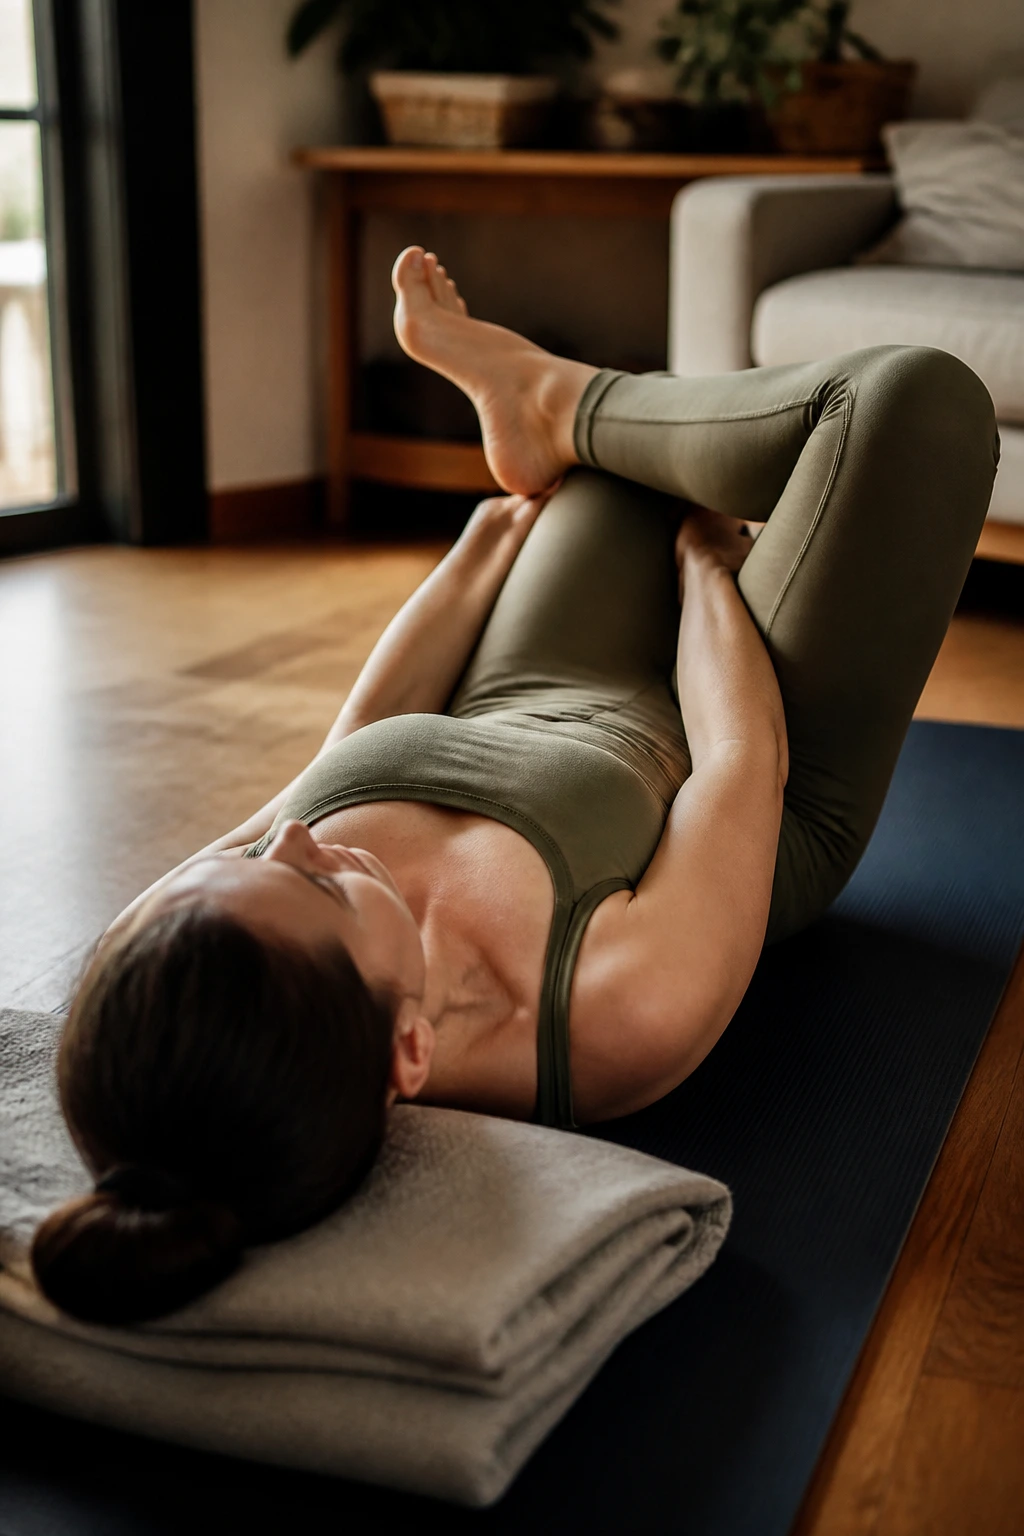
Tight hips do not need a deep pigeon pose. I know that pose gets all the attention, but beginners usually do better with shorter stances, more support, and fewer heroics. This routine opens the hips without asking them to do anything rude.
Better than forcing it
Start with a supported figure-4 stretch on your back. Then move to low lunge with your back knee down, and keep your hands on blocks if the floor feels far away. After that, try a kneeling hip flexor stretch with one hand on the front thigh and the other reaching up and over. Finish with butterfly pose, sitting tall on a folded blanket if your pelvis tips backward.
- 2 minutes reclined figure-4, 1 minute each side
- 2 minutes low lunge, 1 minute each side
- 2 minutes kneeling hip flexor stretch
- 2 minutes butterfly
- 2 minutes easy seated rest or legs-out stretch
How to modify
If the front knee in low lunge feels pinchy, shorten the stance. If butterfly pulls the inner knees, move your feet farther from your body. You are trying to open the hips, not trap them.
This routine is slow on purpose. Hips often respond better when they are not being chased.
5. Hamstring-Friendly Forward Folds
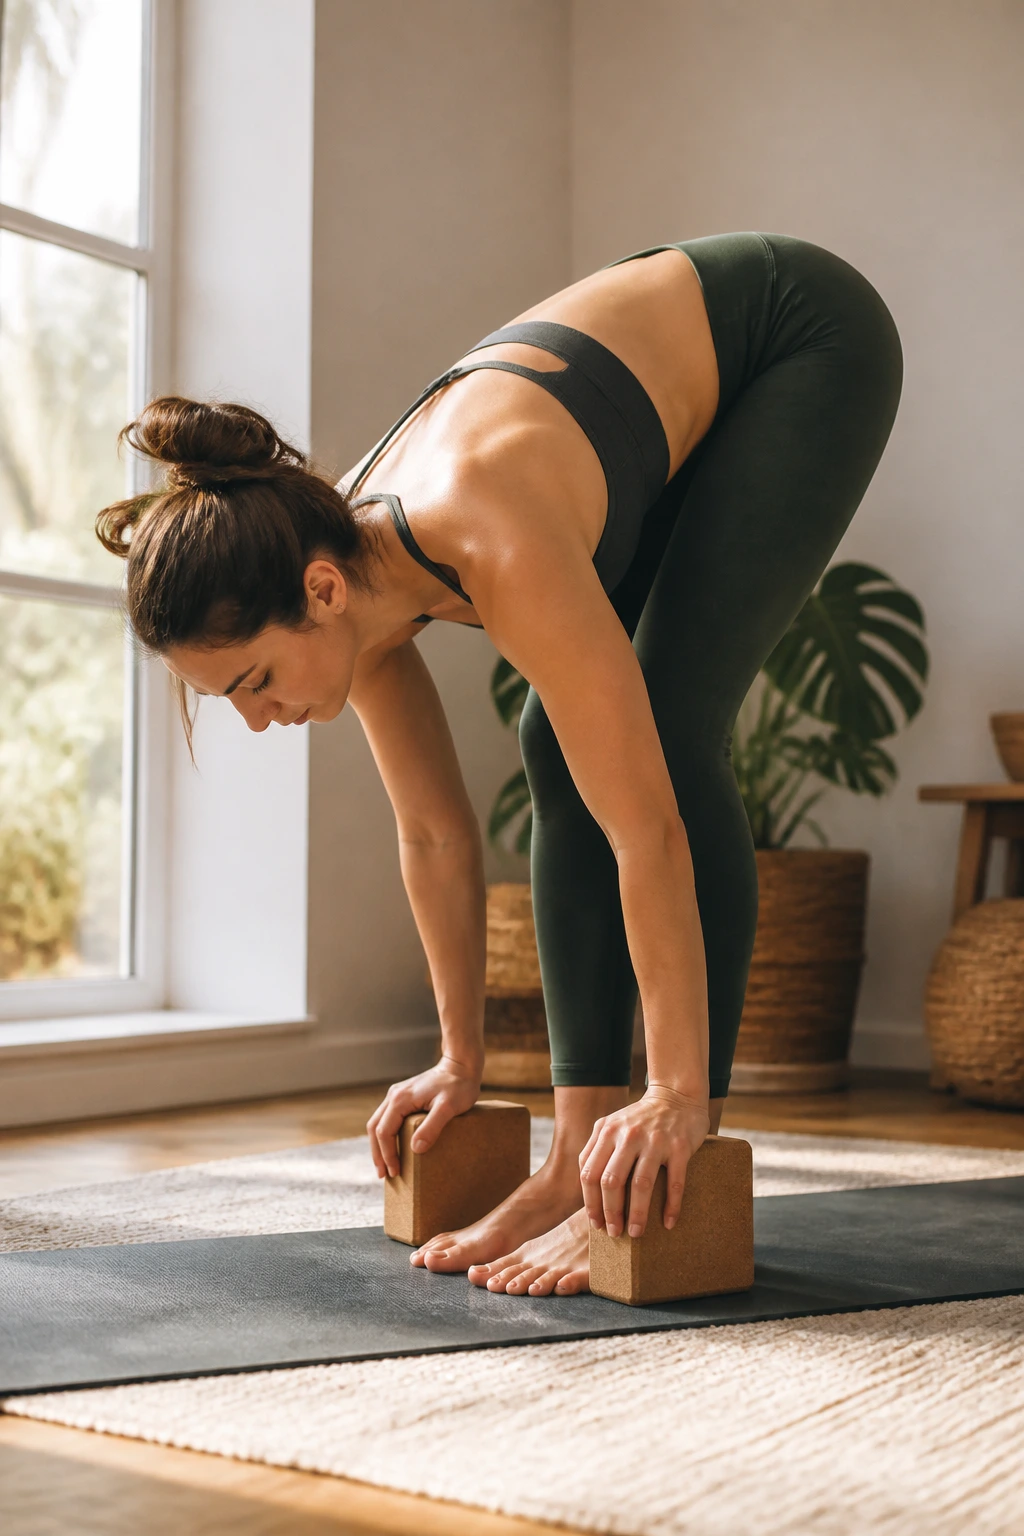
Soft, not sharp. That is the rule here. A good hamstring stretch should feel long along the back of the leg, not pokey behind the knee or harsh in the lower back.
Start standing and fold forward with bent knees. Let your hands hang or rest on blocks. Then move to half lift, keeping a long spine as you hinge at the hips. From there, sit down for a strap-assisted hamstring stretch on each side. The strap matters. It lets you work with the stretch instead of yanking yourself into it.
A second round on your back makes the routine easier to handle. Lie down, loop the strap around one foot, and keep the opposite leg bent if your back is sensitive. That tiny bend changes everything. Straight legs are not the goal.
- 2 minutes standing forward fold with bent knees
- 2 minutes half lift and fold, moving slowly
- 3 minutes reclined strap hamstring stretch, 1½ minutes each side
- 2 minutes on your back, knees bent and feet on the floor
- 1 minute rest
If your breathing gets choppy, back off a little. The stretch should stay wide and manageable.
6. A Bedtime Downshift on the Mat
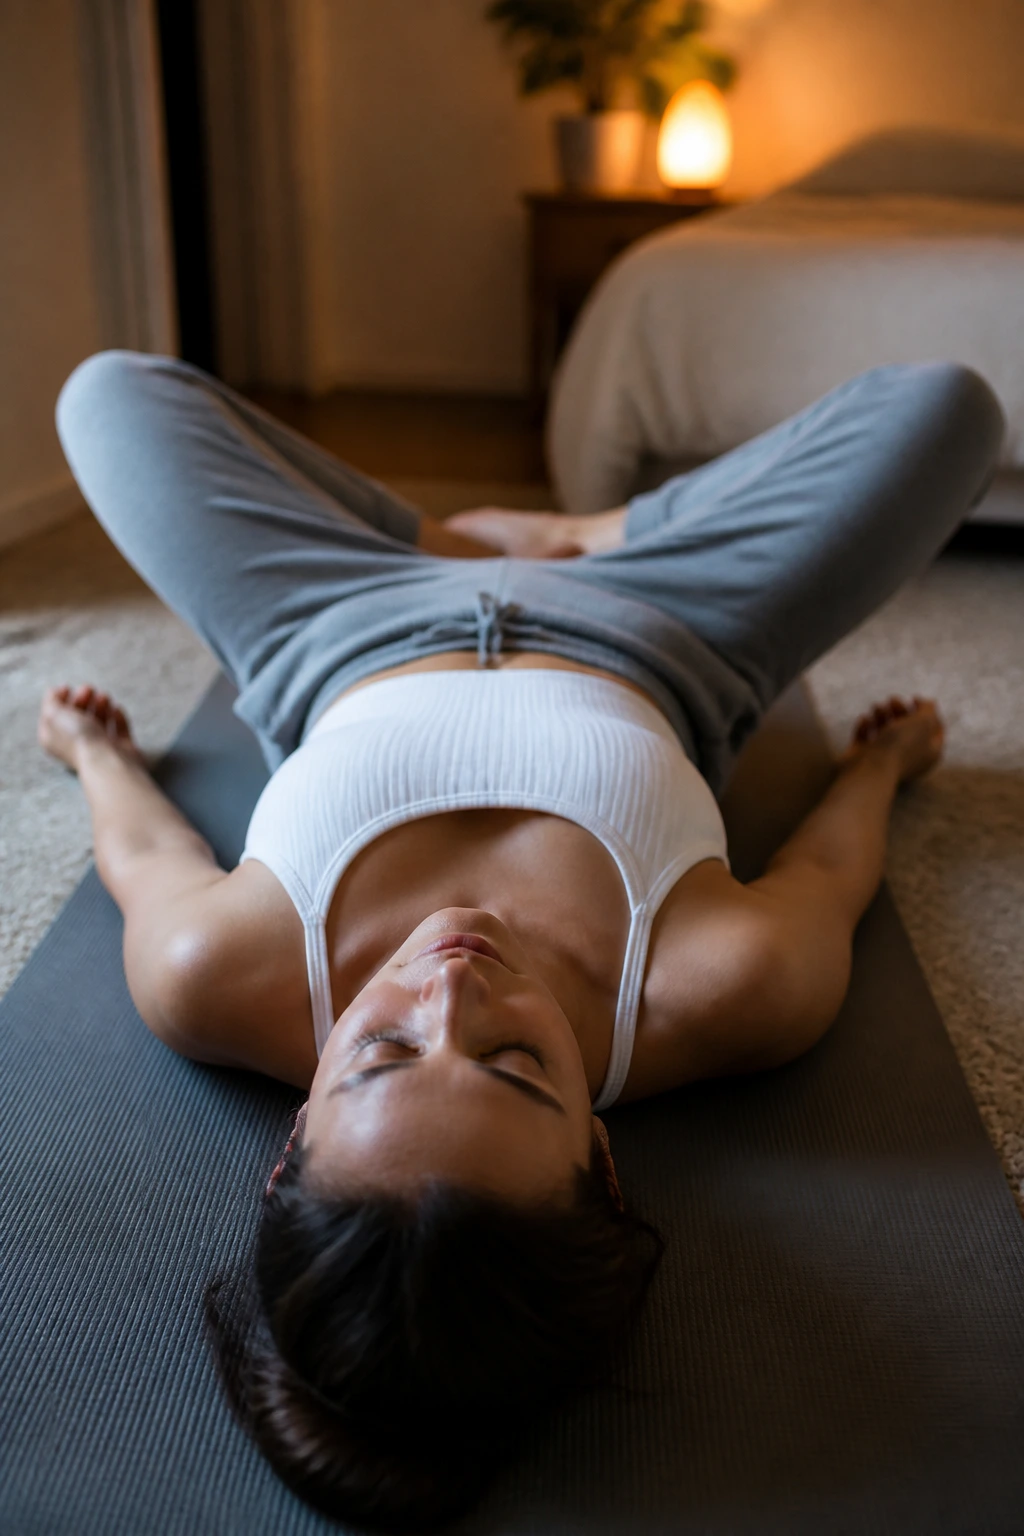
A quieter evening. That is what this routine is for.
Lie down and let your knees bend so your low back can soften into the floor. Start with a minute of slow breathing through the nose, then move into supported child’s pose or a reclined position with your calves on a chair. That shift from upright to supported does half the work for you. The nervous system notices.
From there, take reclined butterfly with the soles of the feet together, but keep your knees propped up on cushions if the inner thighs feel too open. Then roll into a gentle spinal twist on each side. Keep both knees bent if the twist is too much. People often try to deepen this one by pushing the knees lower. Bad idea. The goal is release, not torque.
Finish with one or two minutes of stillness. Let your breath get softer. Let your hands stay open.
No rushing. No pushing. Just enough movement to let the day loosen its grip.
7. Wall Balance and Ankle Wake-Up
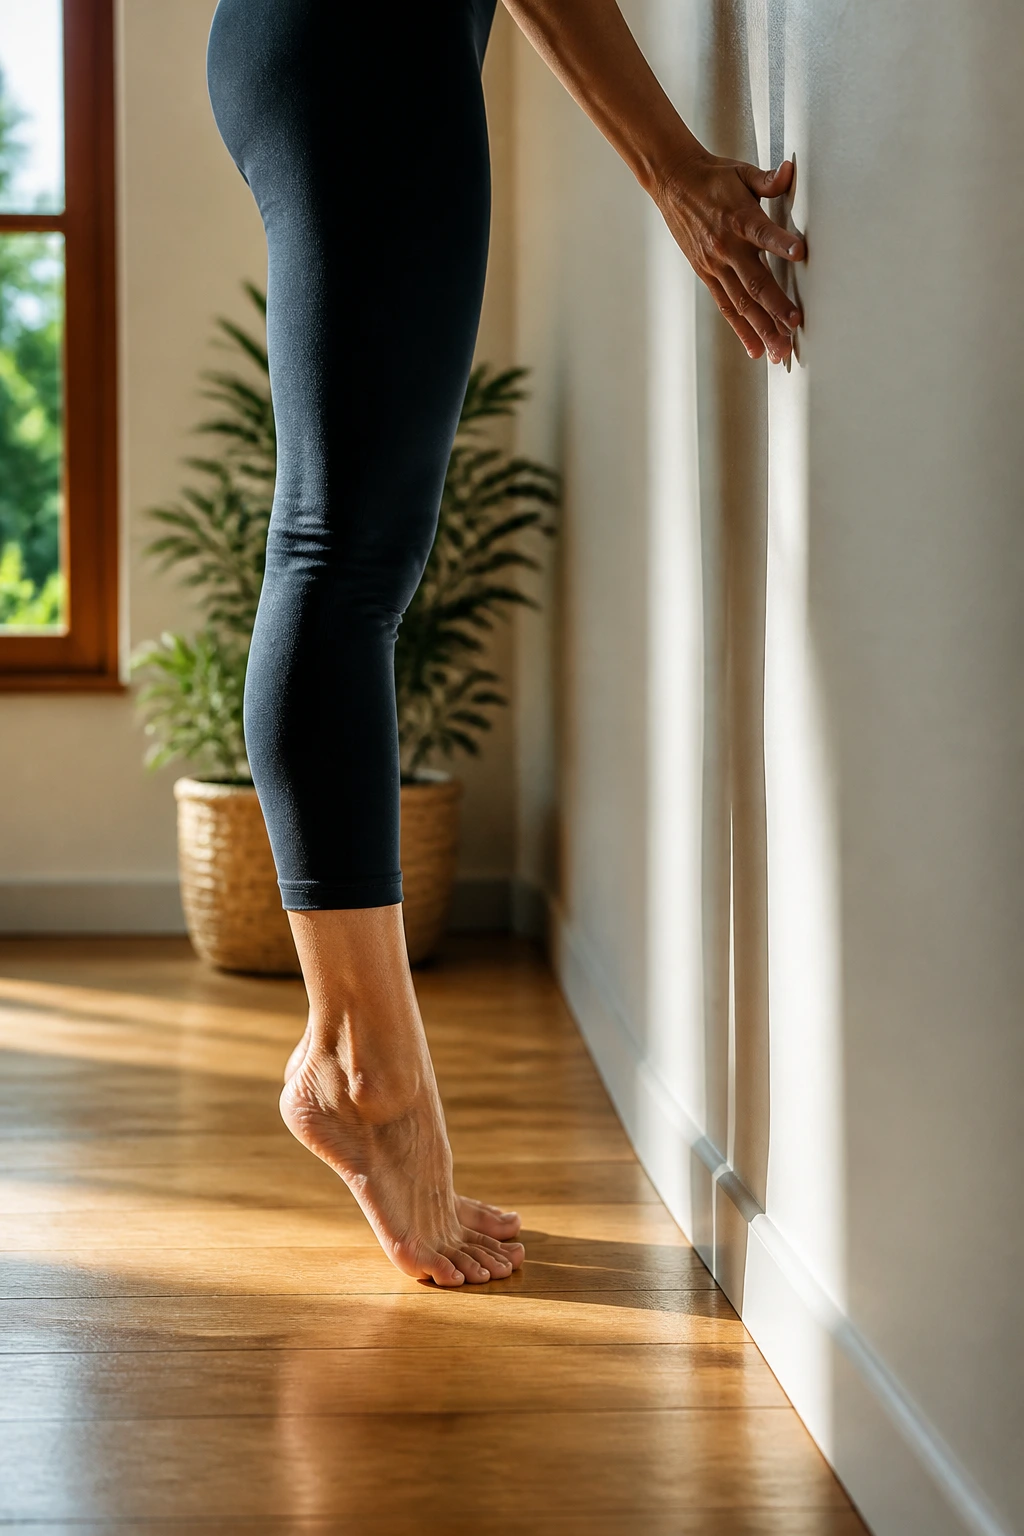
Three minutes on the wall. That’s enough to make balance work less intimidating.
Start with mountain pose facing a wall, fingertips touching lightly. Rise onto the balls of your feet and lower back down ten times. Then move into tree pose with the standing hip close to the wall for support. Keep the lifted foot low at first — ankle, calf, or inner thigh, whichever feels stable. After that, do a supported warrior III toe tap, letting one hand stay on the wall while the back leg reaches long.
A lot of beginners avoid balance poses because they wobble. Wobbling is the point. You are teaching the foot, ankle, and side body how to make small corrections.
- 1 minute mountain pose and heel raises
- 2 minutes tree pose, 1 minute each side
- 2 minutes warrior III toe taps at the wall, 1 minute each side
- 2 minutes standing figure-4 stretch at the wall
- 3 minutes easy standing breath and ankle circles
Small tip: pick one spot on the wall and keep your eyes there. That one change can save you a lot of unnecessary wobble.
8. Core and Posture Lift
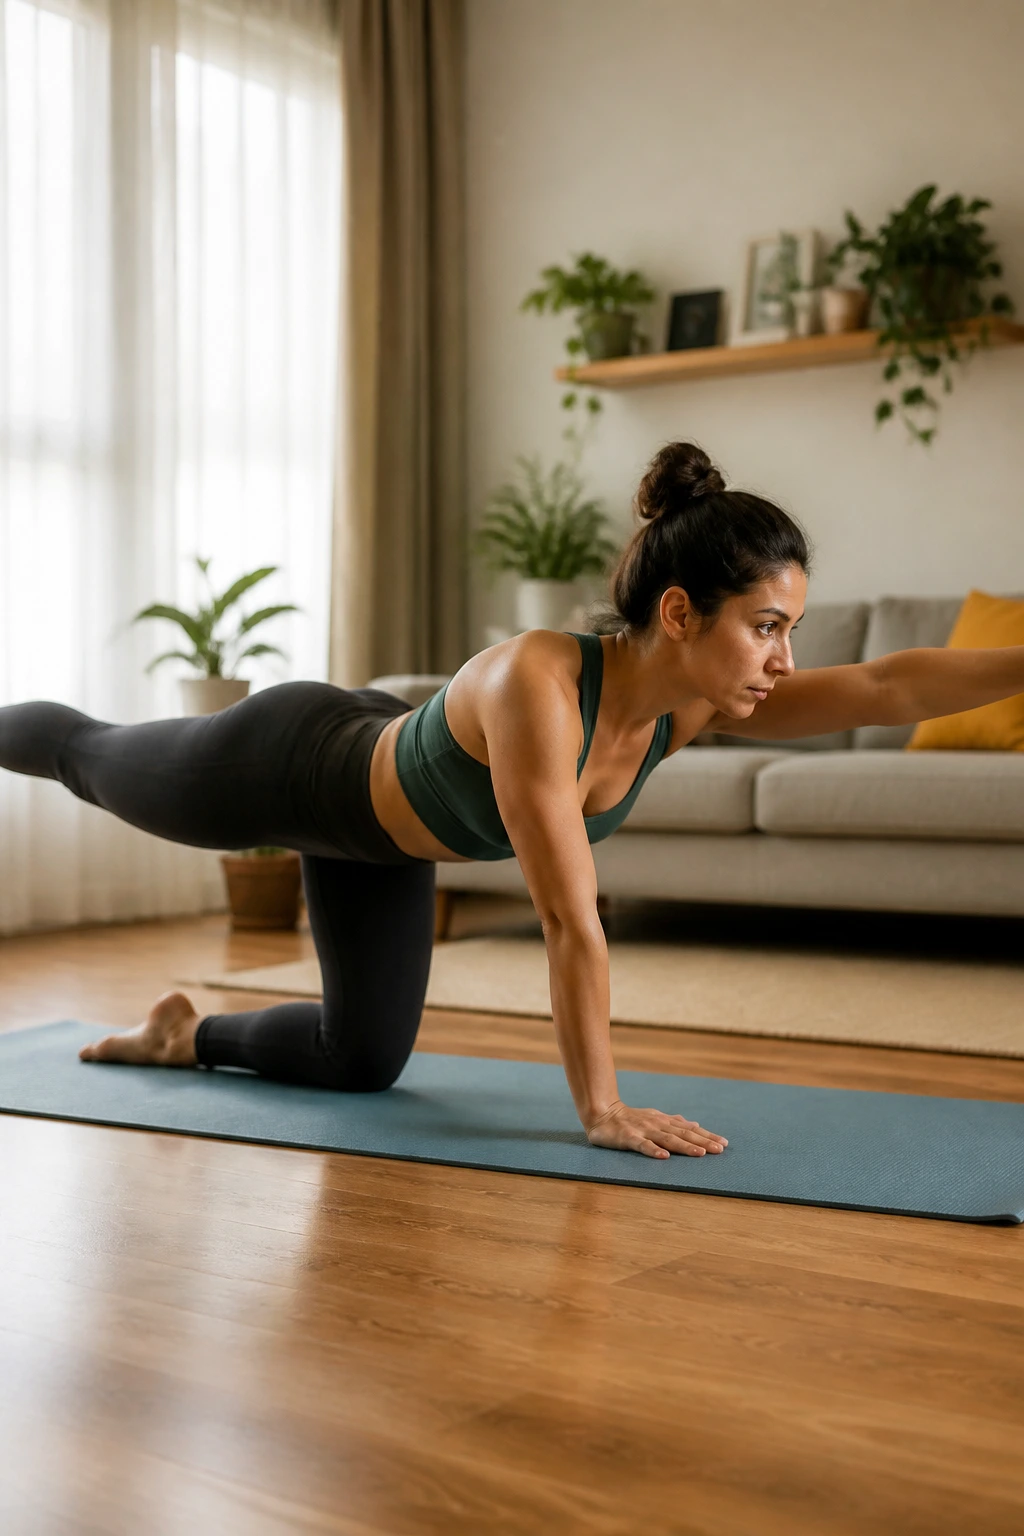
I like a core routine that does not feel like punishment. You do not need to chase burning abs to get better posture or a more supported spine. You need a little control, a little patience, and clean movement.
What to do
Begin on hands and knees with bird-dog: extend one arm and the opposite leg, then hold for two breaths. Switch sides. After that, lie on your back for bridge pose, pressing through the feet and lifting the hips only as high as you can keep the ribs from flaring. Then come back to tabletop or forearms for a short plank hold with the knees down. If the wrists are fussy, stay on forearms the whole time.
What to feel
The belly should work, but the low back should not grab. If your neck gets tense, soften the gaze and keep the chin slightly tucked. That little adjustment helps more than people expect.
- 2 minutes bird-dog
- 2 minutes bridge pose, with 20-second holds and short rests
- 2 minutes knees-down plank or forearm plank
- 2 minutes locust pose, lifting chest and legs just an inch or two
- 2 minutes child’s pose or on-your-back rest
Strong doesn’t need to be loud. Sometimes it’s quiet and controlled.
9. Standing Flow for Low-Energy Days
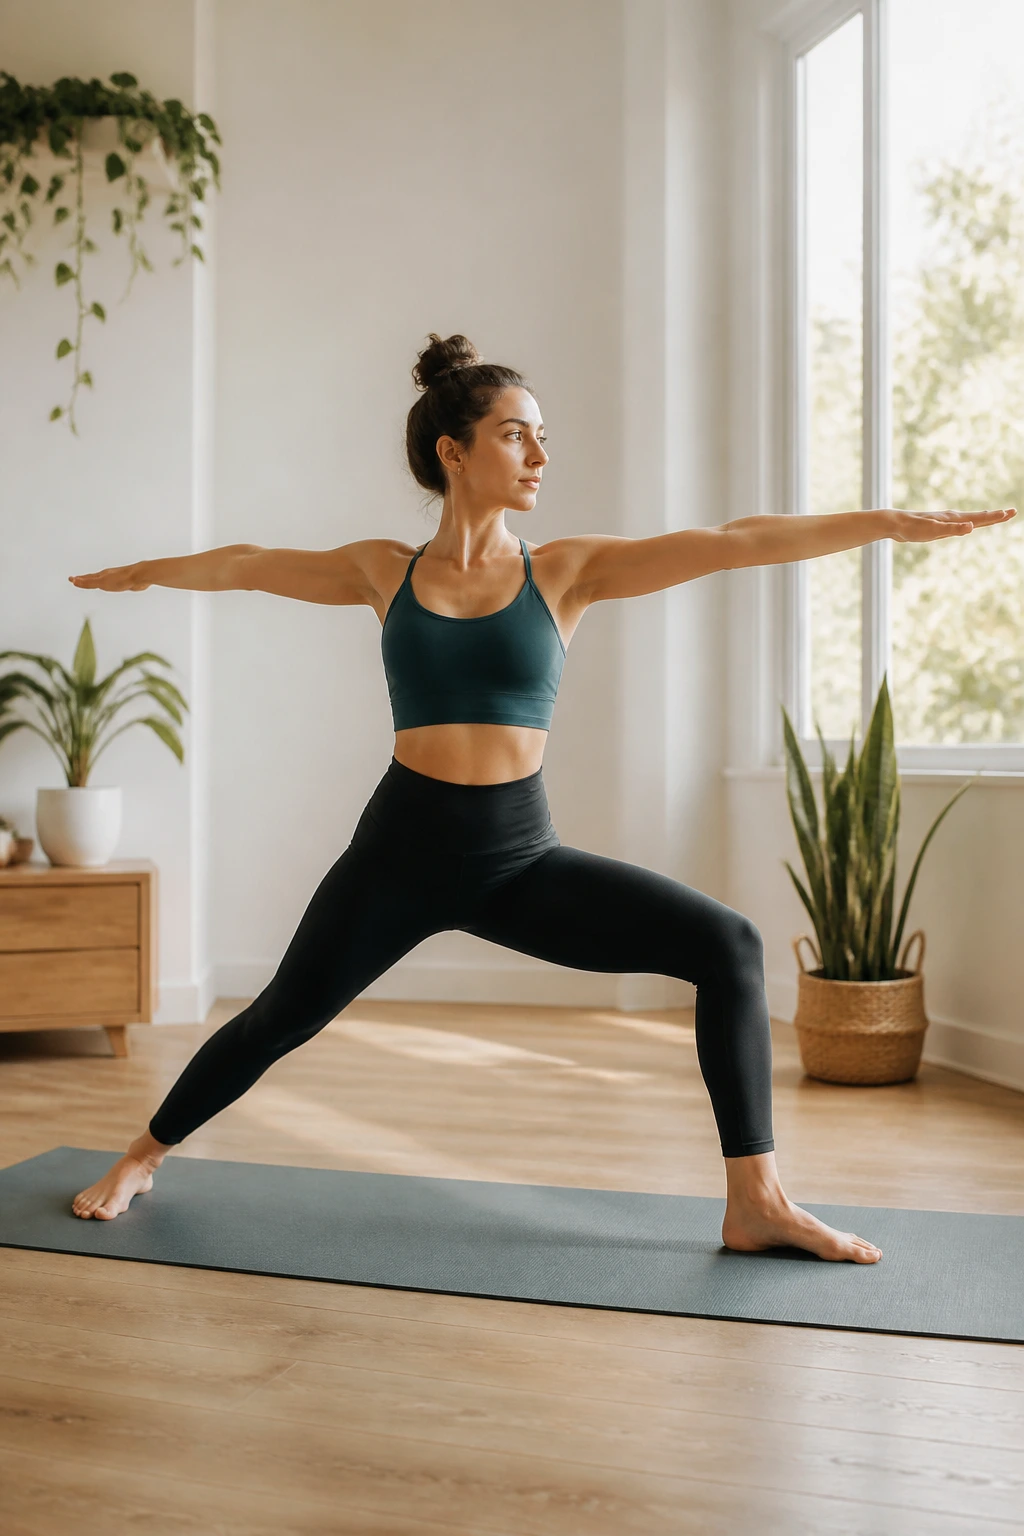
Standing flows are the fastest way to feel less rusty. No floor work. No awkward getting up and down. Just a clean loop of poses that wakes up the legs and spine without asking for much energy.
Start in mountain pose, then move into chair pose for three breaths. Fold halfway, keeping the spine long, then step one foot back into a short low lunge. Rise into warrior II, then reverse warrior if your shoulders feel open enough. Come back to center and repeat on the other side.
The beauty of this kind of sequence is its simplicity. You can keep the pace slow and still feel like you did something. That matters on tired days.
- 1 minute mountain pose and breathing
- 2 minutes chair pose and standing fold
- 2 minutes low lunge, 1 minute each side
- 2 minutes warrior II, 1 minute each side
- 2 minutes reverse warrior or side angle with a hand on the thigh
- 1 minute standing still
If your knees dislike chair pose, keep it shallow. There’s no prize for lowering yourself more.
10. Low-Back Comfort Sequence
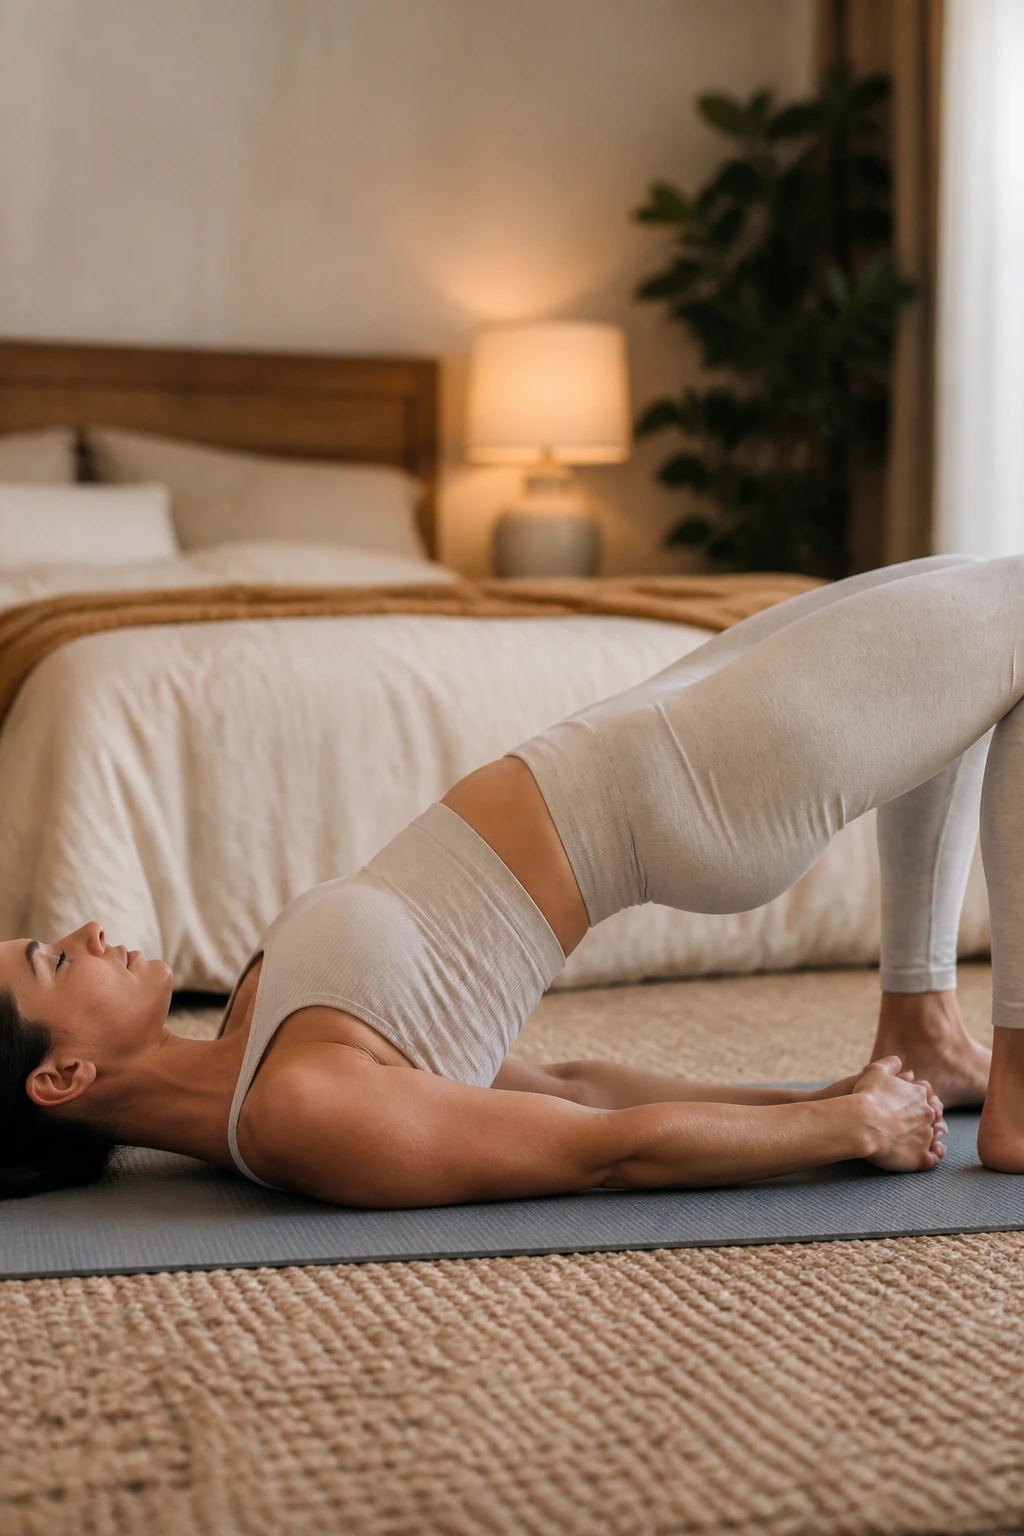
What if twisting makes your lower back grumble? Then keep the twists small and slow. This routine is built around comfort, not depth, which is the smarter move when the low back feels irritated or tired.
Lie on your back and draw both knees toward your chest for a few breaths. Then let them fall side to side in windshield wipers, keeping the range tiny at first. After that, press into bridge pose for a few short lifts. Bridge gives the back a chance to work without compressing it. Sphinx comes next, and it is worth doing carefully: elbows under the shoulders, chest broad, neck long.
A lot of people try to fix low-back discomfort by stretching harder. That can backfire. Gentle strengthening plus mild mobility usually serves better than hanging out in a huge twist.
Finish with a reclined twist, but keep both knees bent and let the shoulders stay heavy. If the twist feels pinchy, skip it and rest instead. That counts.
11. Ten-Minute Sun Salutation Lite
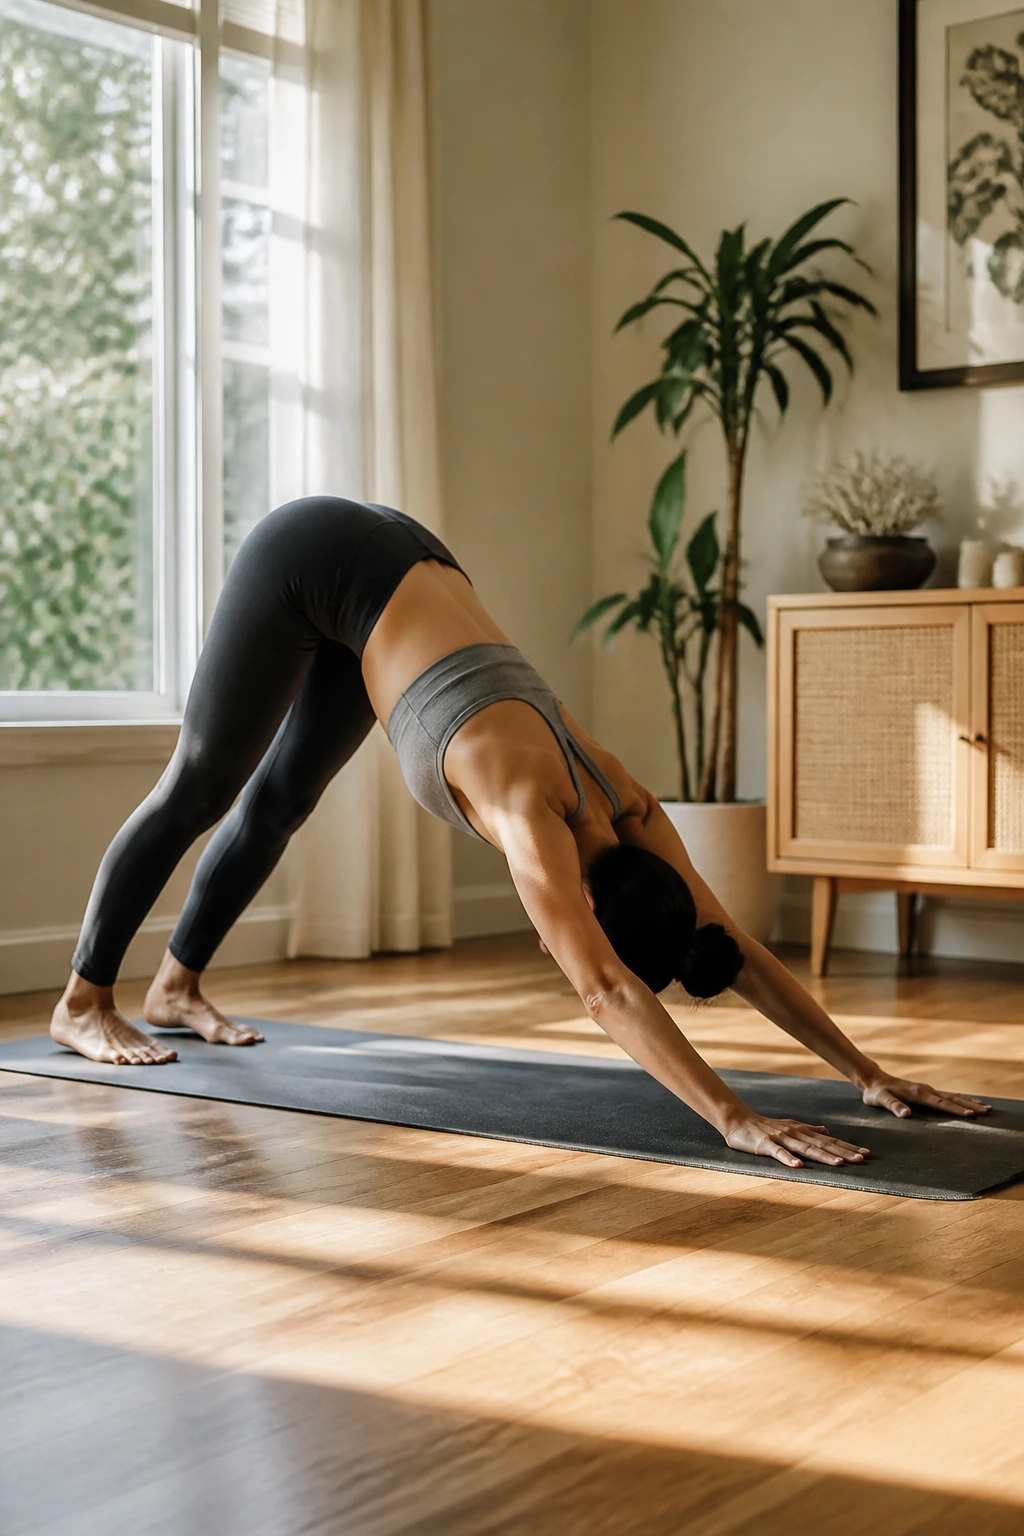
You do not need a full, fast vinyasa to get the point of sun salutations. A slower version works just fine, and it teaches beginners how the pieces fit together without turning the mat into a race.
The spine-friendly version
Start in mountain pose. Fold forward with bent knees. Half lift. Step back to a short plank with the knees down, then lower to cobra or baby cobra. Press back to downward dog with the knees bent and the heels lifted. Step forward, rise halfway, then stand tall. That is one round. Repeat it once or twice at a slow pace.
Where beginners get tripped up
People rush the transitions and forget the breath. That is where the sequence starts to feel messy. Keep it simple: inhale to lengthen, exhale to fold or lower, inhale to open, exhale to settle.
- 2 minutes mountain, fold, and half lift
- 2 minutes knee-down plank and cobra
- 2 minutes downward dog with bent knees
- 2 minutes stepping forward and standing
- 2 minutes easy breathing between rounds
If downward dog feels rough, swap it for tabletop or a wall version. You still get the rhythm without making your wrists or hamstrings miserable.
12. Wrists and Hands Warm-Up
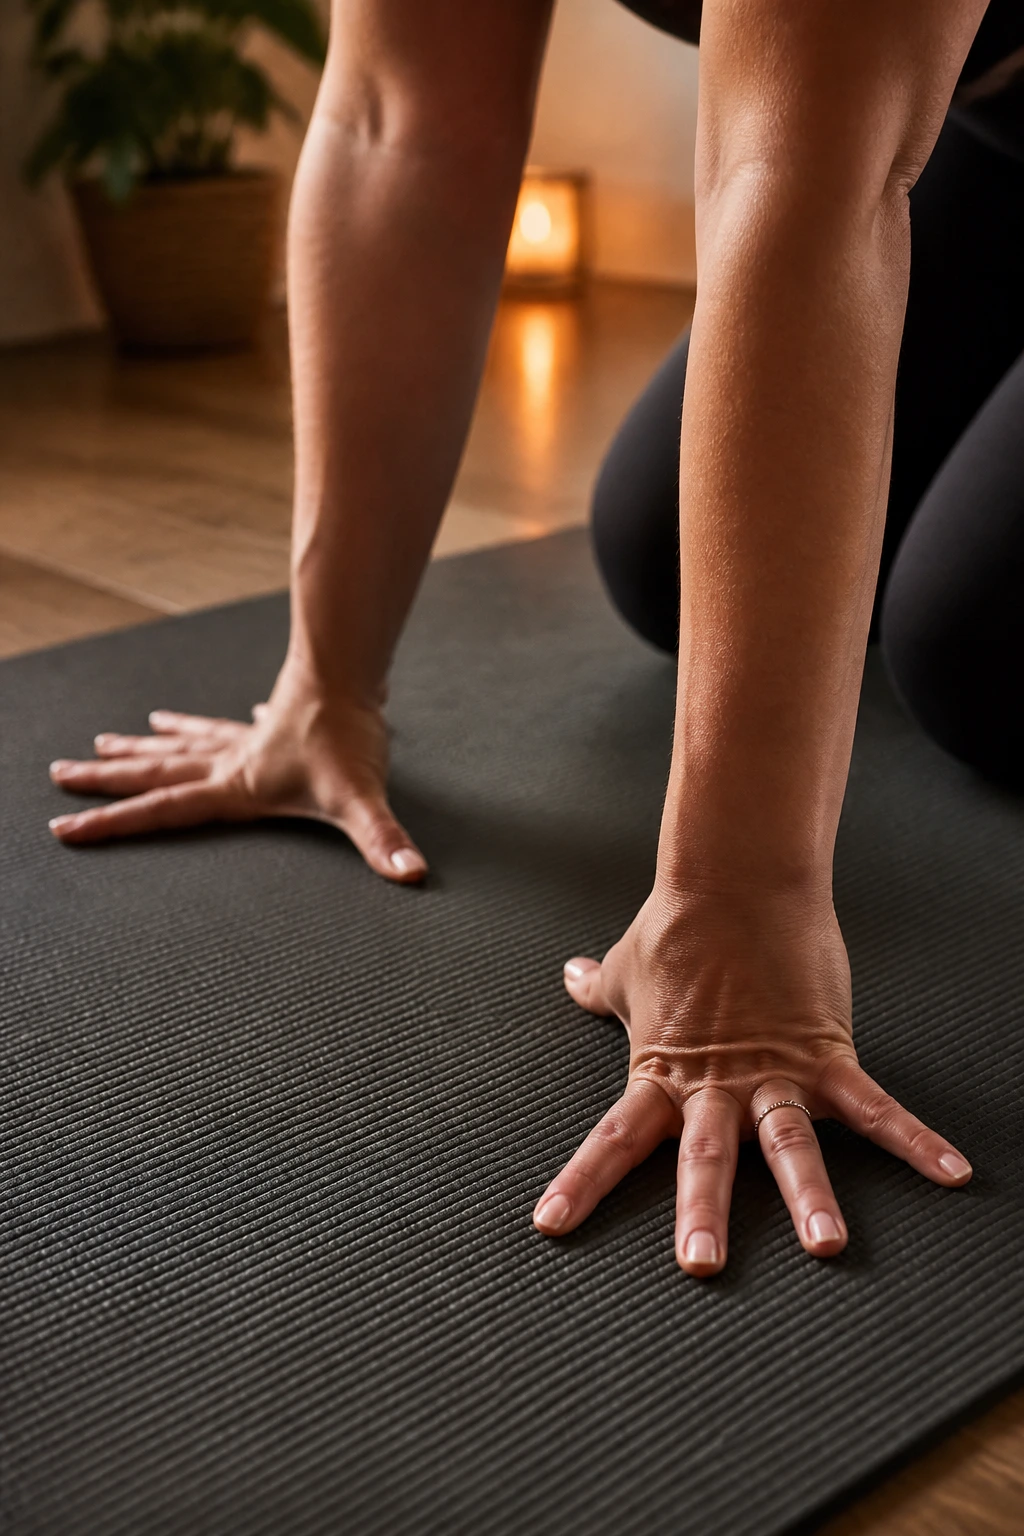
Wrist warm-ups are not optional if you spend time on hands and knees. They are the difference between a smooth practice and a grumpy one.
Start by spreading the fingers wide and pressing the palms into the mat. Rock forward and back in tabletop, keeping the movement small. Then turn the hands slightly out and in if that feels okay, or stay with the basic position and shift your weight from one side to the other. After that, do prayer stretch at chest height, then flip the hands for a gentle wrist stretch.
A small, careful sequence goes a long way here. Beginners often discover that the wrists complain more from sudden load than from the poses themselves.
- 1 minute finger pulses
- 2 minutes tabletop weight shifts
- 2 minutes prayer stretch and reverse prayer at the chest
- 2 minutes fists on the mat in tabletop, if flat palms feel rough
- 2 minutes child’s pose with hands relaxed
- 1 minute rest
If anything produces sharp pain, back off. A mild stretch is enough.
13. A Floor Routine for Racing Thoughts
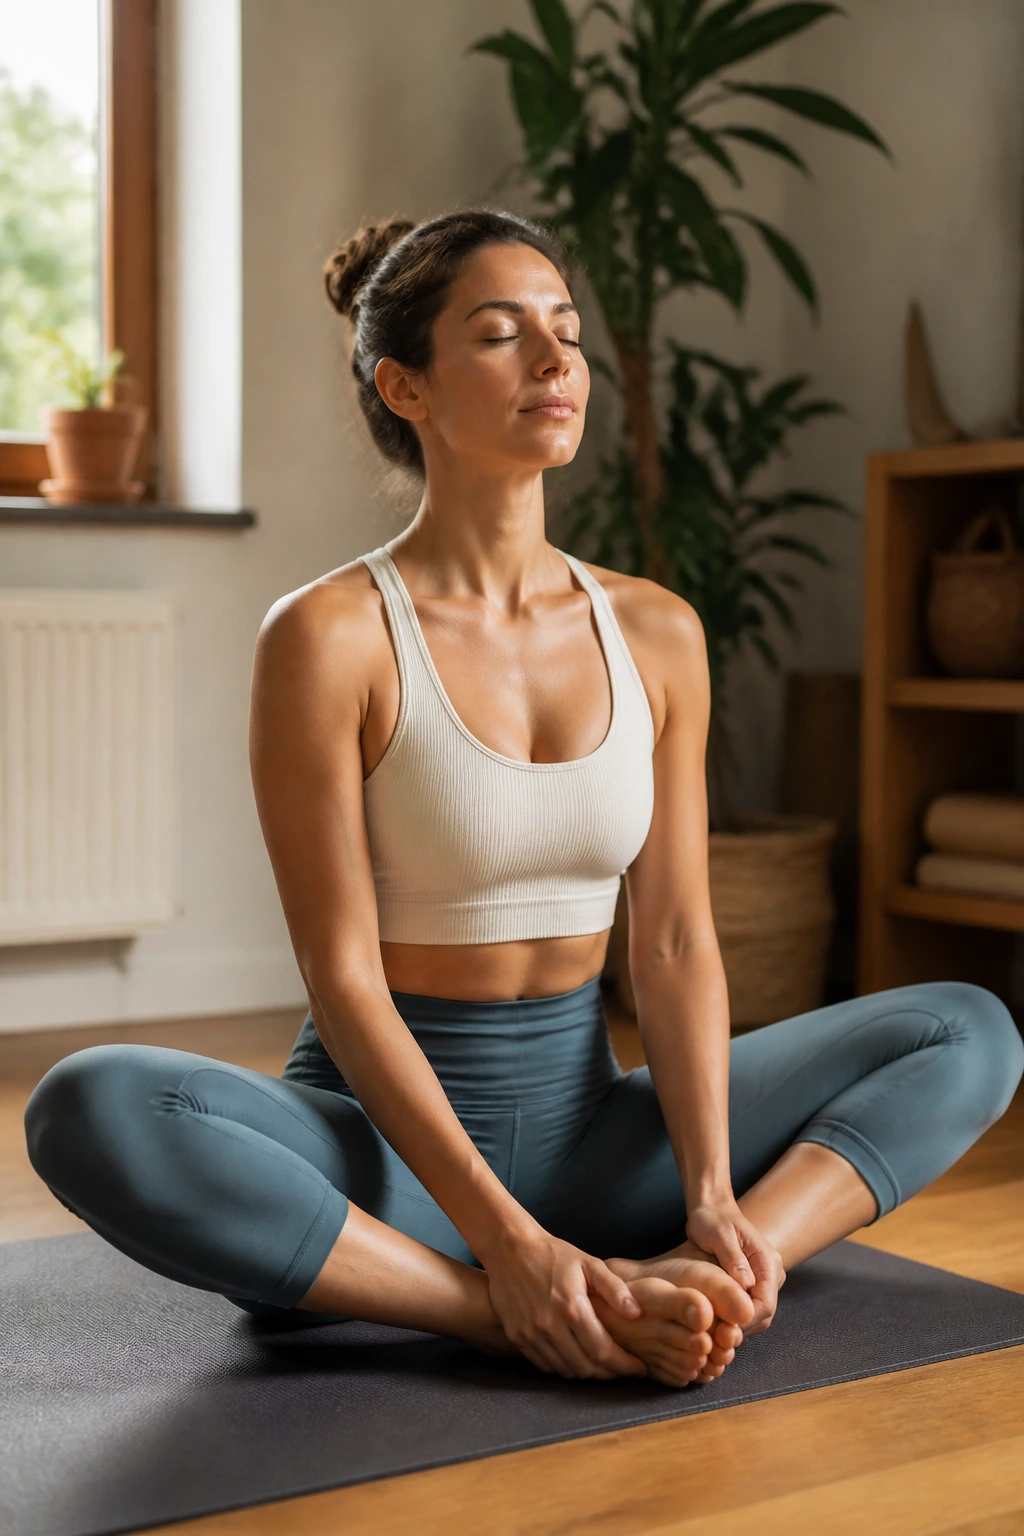
Slow exhale, heavy shoulders, feet on the floor.
That’s the rhythm of this one. It starts in constructive rest, with knees bent and feet wide enough that the hips can relax. Take ten slow breaths there. Then move into supine bound angle, but only as far as feels calm. If the knees hover too low, prop them up. No points for intensity.
From there, roll into a gentle twist on each side and keep the breath smooth. The twist is there to give the spine a little space, not to squeeze anything out. A final round with your calves on a chair or couch seat can feel almost too easy, which is usually a good sign.
Breathing cue
Breathe in for a count of four and out for a count of six. Long exhale. Soft jaw. Quiet face.
The routine works because it stays on the floor and asks very little of your balance or coordination. When your mind is busy, fewer decisions help. Fewer choices. Fewer transitions. More settling.
14. Gentle Morning Mobility
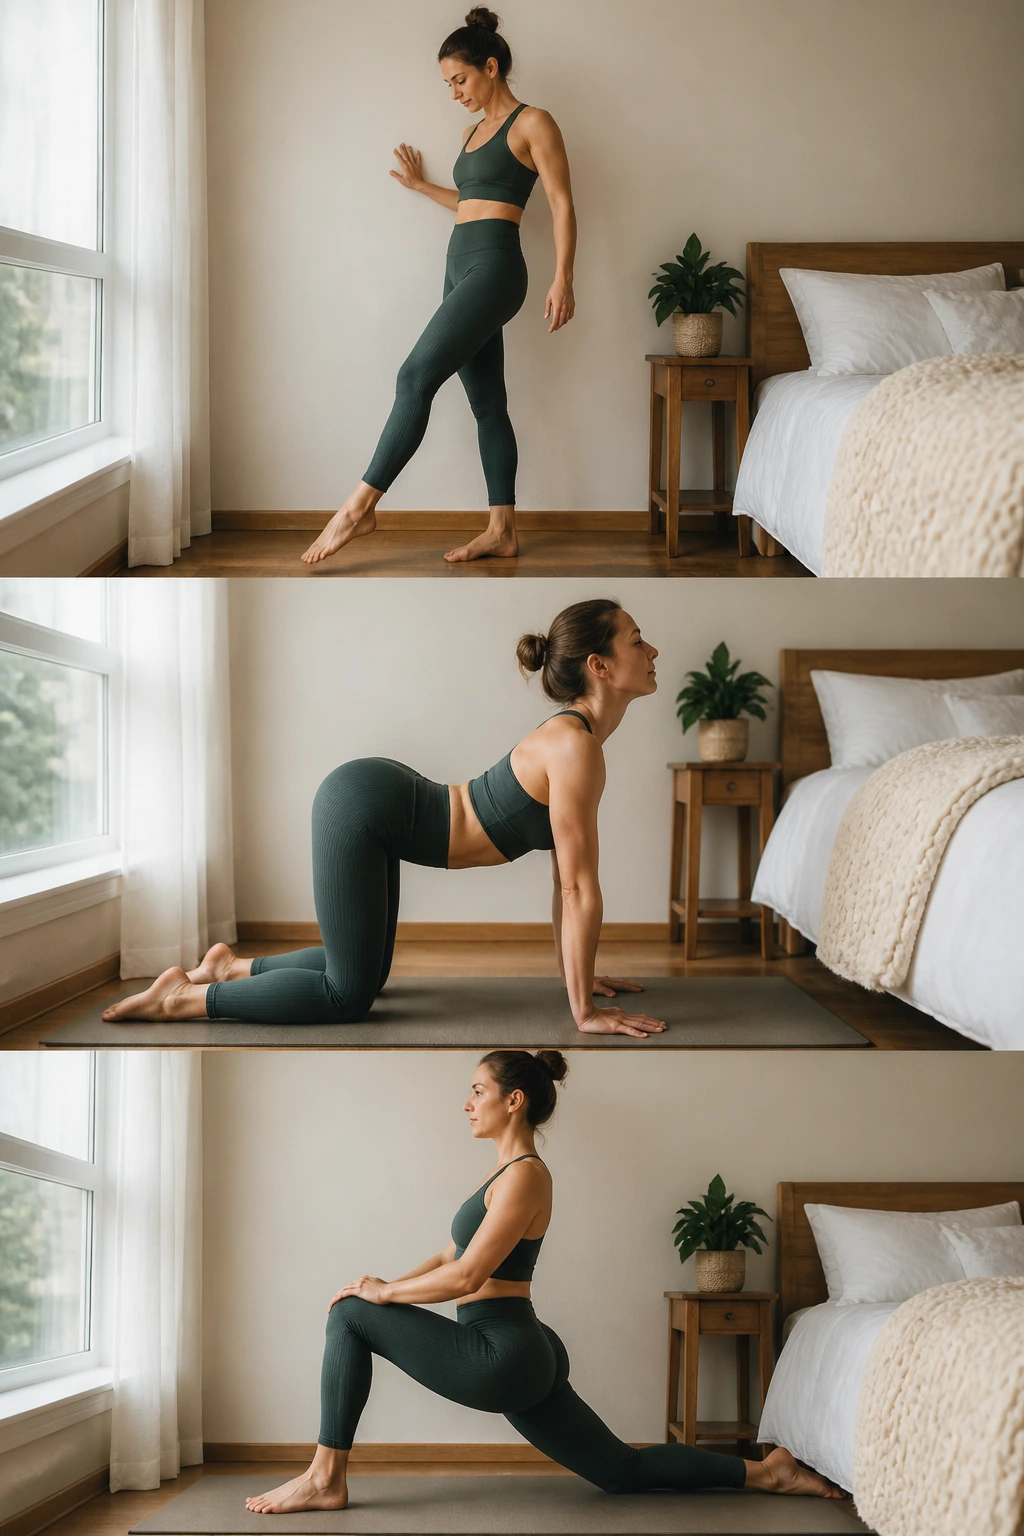
First light, stiff body. This is the routine for that moment.
Begin with ankle circles and toe points while sitting on the edge of the bed or standing near a wall. Then move into cat-cow for a minute or two, keeping the breath unhurried. After that, step one foot back into a low lunge and gently shift forward and back. The motion should feel like oil moving through a hinge, not a stretch contest.
Start small
If you wake up feeling creaky, do not chase a big range right away. Morning tissues tend to prefer gradual movement. Give them that.
Next, stand for a side stretch with one arm overhead, then switch sides. Finish with a simple fold and a few shoulder rolls. That is enough for a small morning reset.
- 2 minutes ankles and feet
- 2 minutes cat-cow
- 2 minutes low lunge, 1 minute each side
- 2 minutes standing side stretch
- 2 minutes forward fold and shoulder rolls
If your back likes a little extra warmth, repeat the cat-cow before you finish. That one repetition can change the whole feel of the day.
15. Standing Twists for a Heavy Feeling
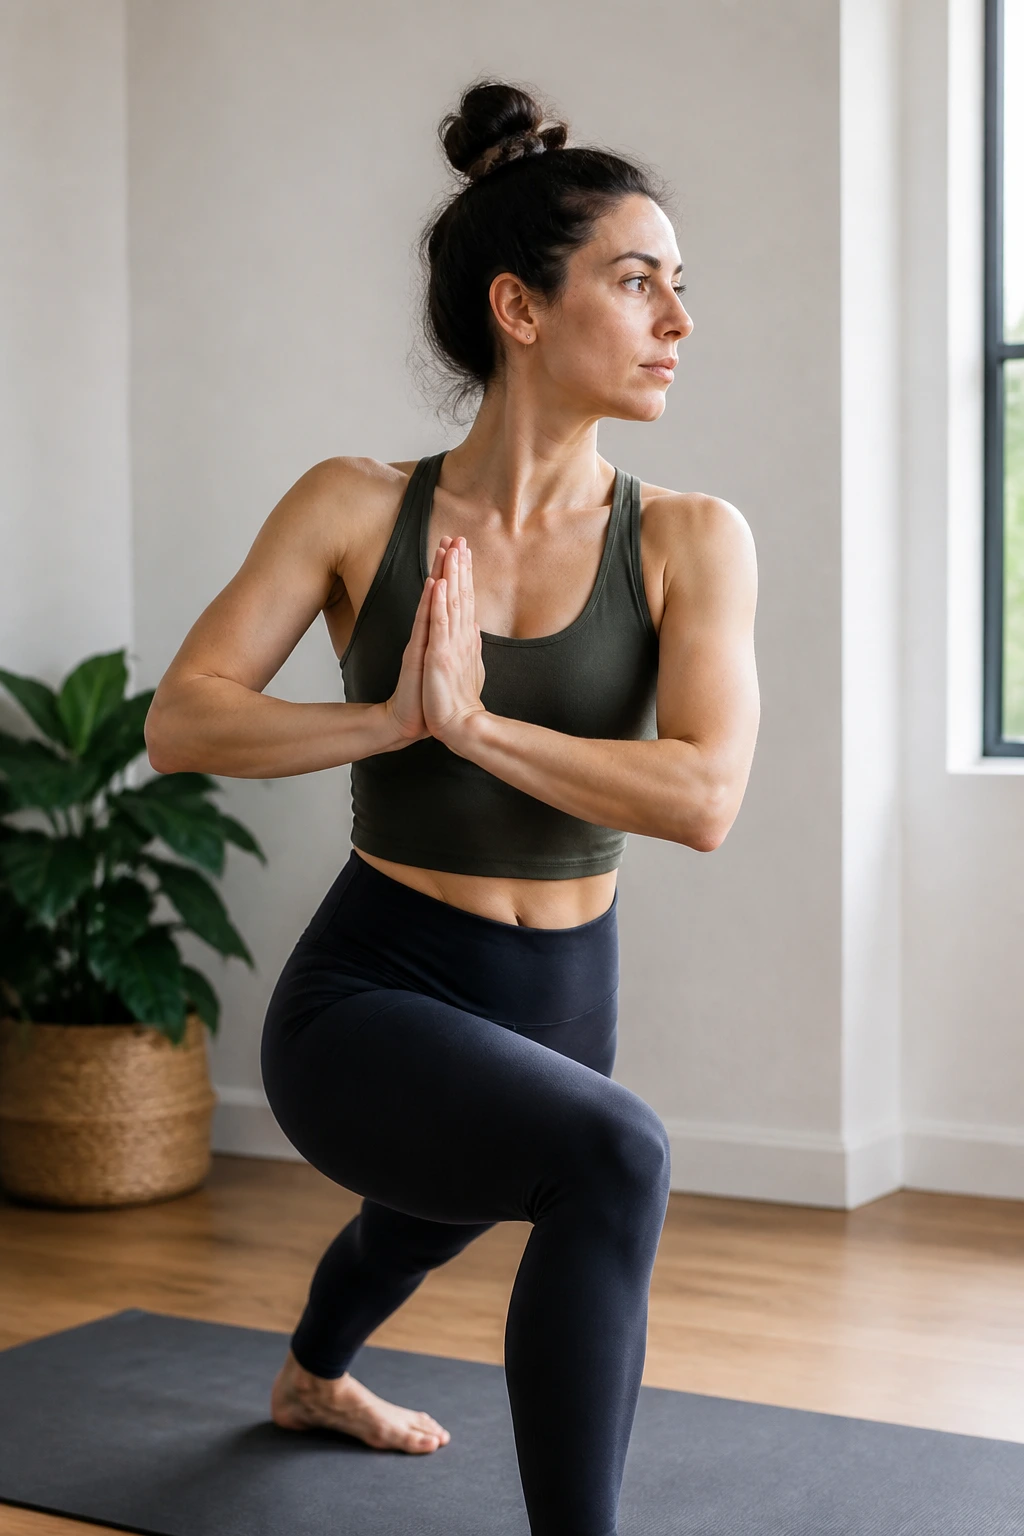
Two minutes of twists. Two minutes of lunges. Two minutes of standing folds. The whole thing fits neatly into ten minutes, and it can leave you feeling less compressed when your body has gone a bit flat.
Start in a short lunge with both hands on blocks. Reach one arm up and rotate from the ribs, not the knee. Then switch sides. Move to chair twist next, keeping the hips level and the torso lifted. After that, stand wide and sweep one hand to the opposite thigh for a side-angle twist that stays comfortable and controlled.
People often overdo twisting by forcing the spine to turn farther than it wants. That usually means the breath gets tense and the lower back starts helping in ways it should not.
- 2 minutes lunge twist
- 2 minutes chair twist
- 2 minutes wide-stance twist
- 2 minutes standing fold with gentle sway
- 2 minutes easy breathing in mountain pose
If your knees dislike twisting, shorten the stance and keep the back heel lifted. Small adjustments protect the joints and keep the movement clean.
16. Recovery Flow After a Long Walk
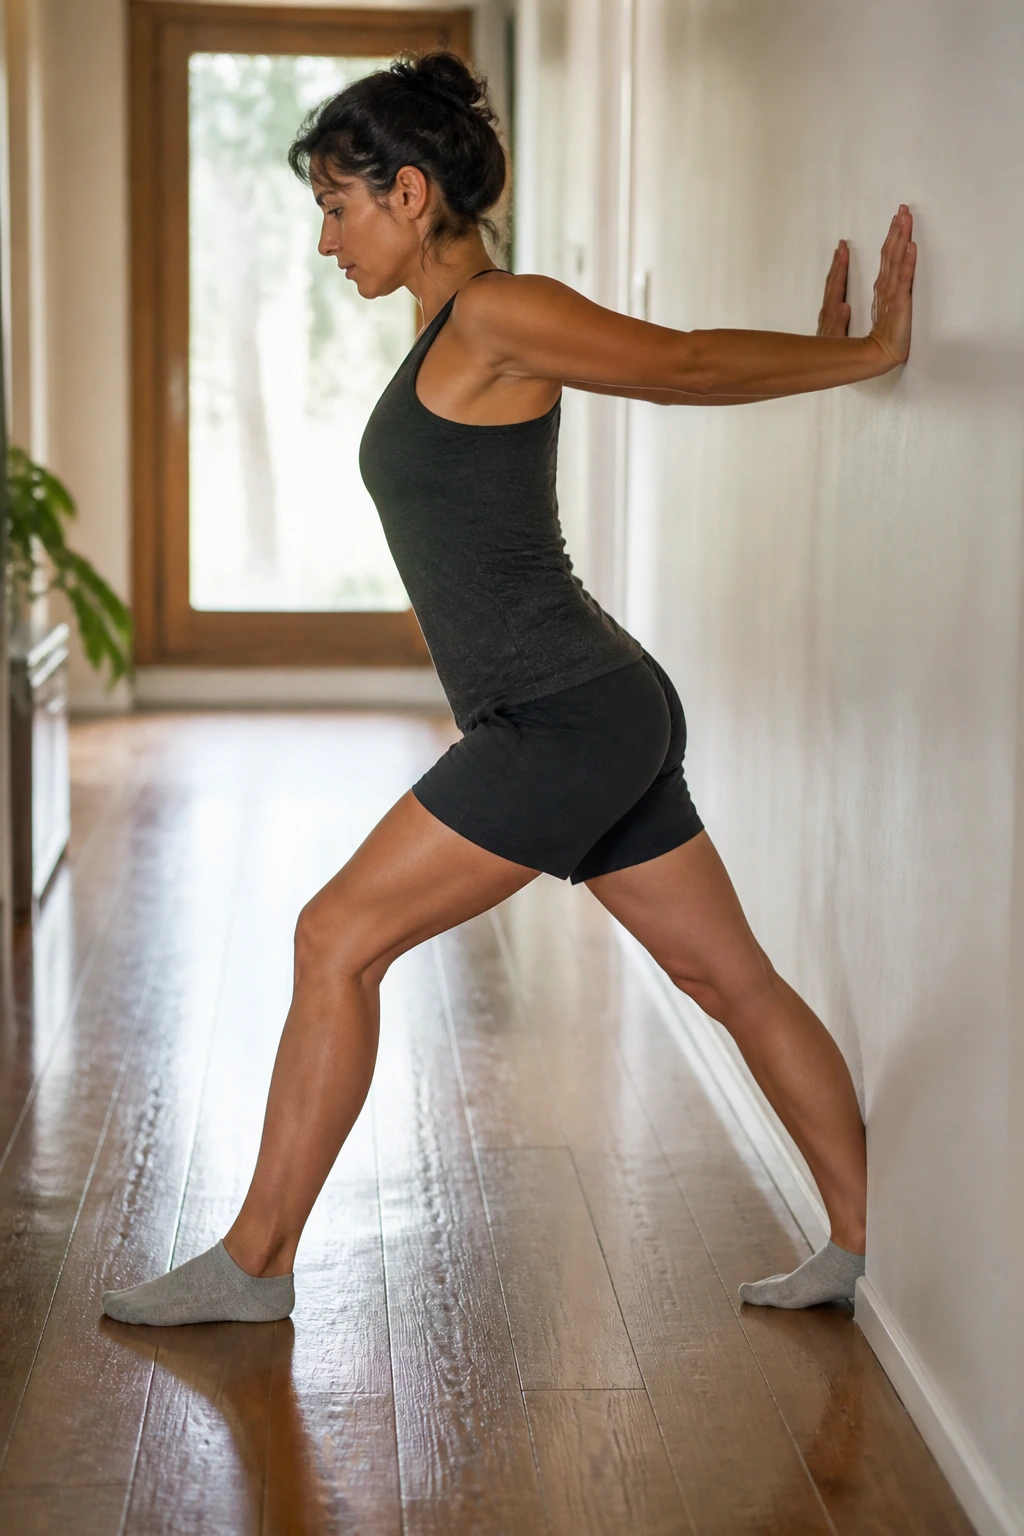
After a long walk, I want my hips to feel open without getting sleepy. This routine is built for that exact feeling. It clears out the calves, hamstrings, and hip flexors without turning the mat into a nap zone.
Start standing with a wall calf stretch, one foot back and the heel heavy. Then move to a low lunge, keeping the back leg active and the front foot grounded. Half split comes next, but keep the front knee bent if the hamstring tugs hard. After that, lie on your back and do figure-4 stretch on both sides.
The best part is the ending. A short supine twist and a minute with the legs raised on a chair or couch can make the walk feel like it ended properly instead of leaving your body half-finished.
This one is good when the legs are tired but not cooked. It meets them where they are.
17. Chair-Supported Strength Basics
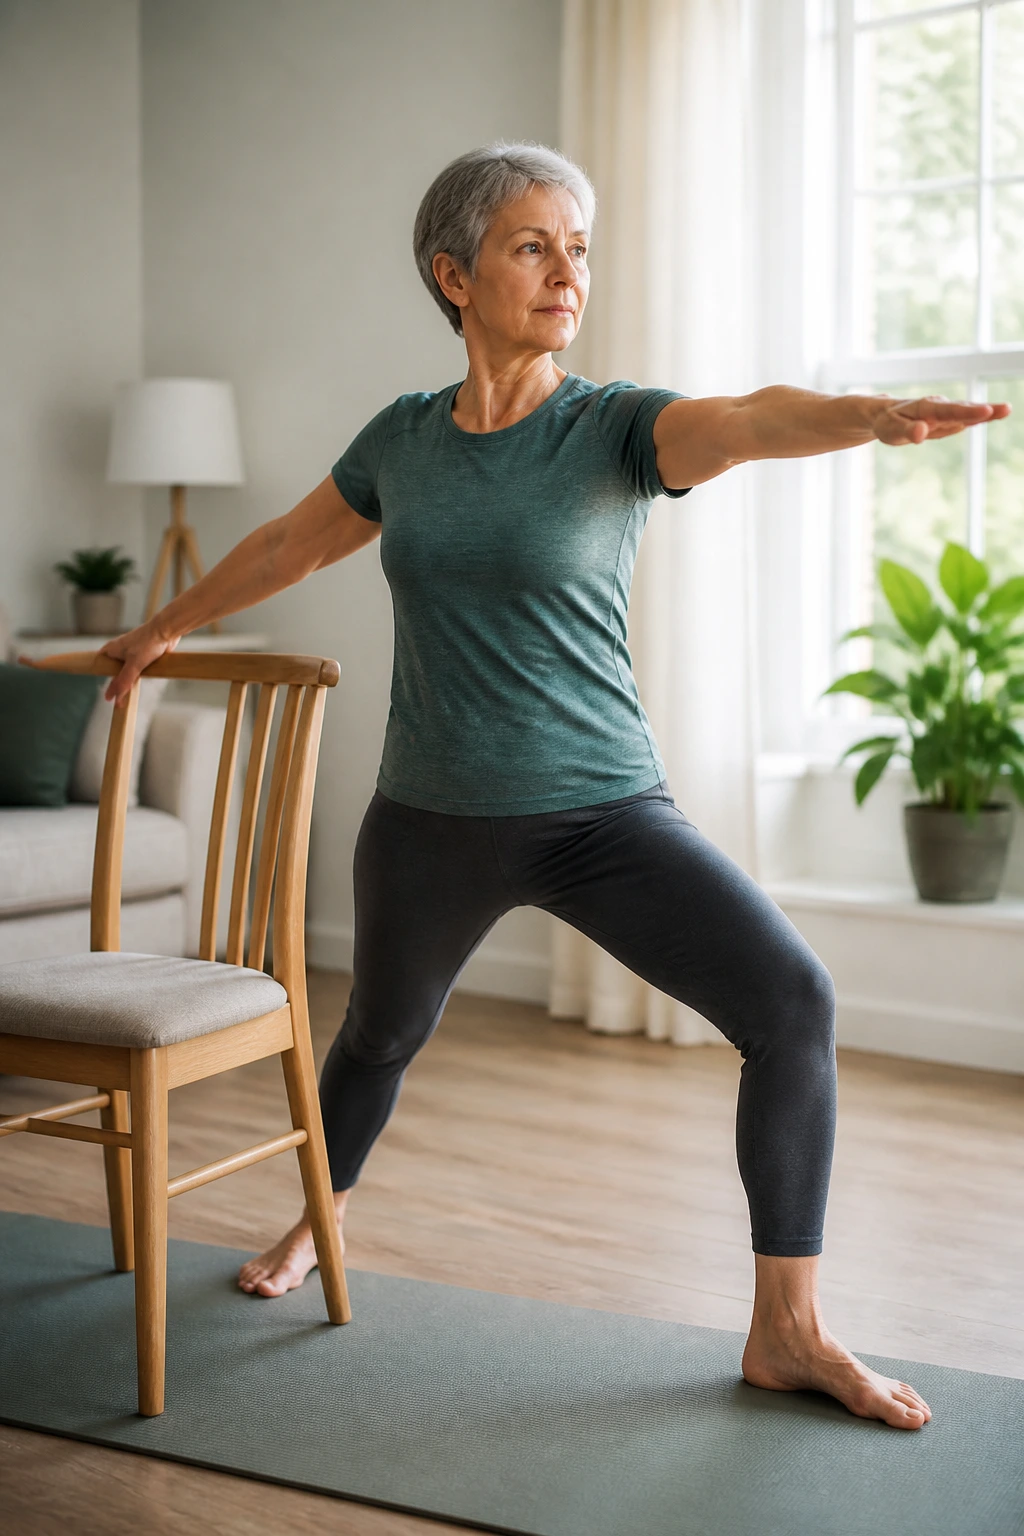
A chair can make yoga feel far less intimidating. It also gives beginners a way to build strength without having to balance, lower all the way to the floor, or wonder whether they’re doing a pose “right.”
Chair-supported standing series
Start with chair sit-to-stand: sit halfway down, hover, and rise again for a few slow reps. Then move into warrior II with the front forearm resting on the chair seat or backrest. From there, try side angle with the top arm reaching overhead if the shoulder feels open enough. A supported balance pose can close the loop, with one hand staying on the chair the whole time.
Keep it clean
Don’t slam into the chair and don’t lock the knees. Use the chair for support, not as a crutch that does all the work. You should still feel your legs and midsection turning on.
- 2 minutes sit-to-stand
- 2 minutes supported warrior II
- 2 minutes supported side angle
- 2 minutes single-leg balance with chair support
- 2 minutes forward fold with hands on the chair
This routine is strong in a plain, practical way. Not flashy. Useful.
18. Flexibility Builder for Stiff Legs
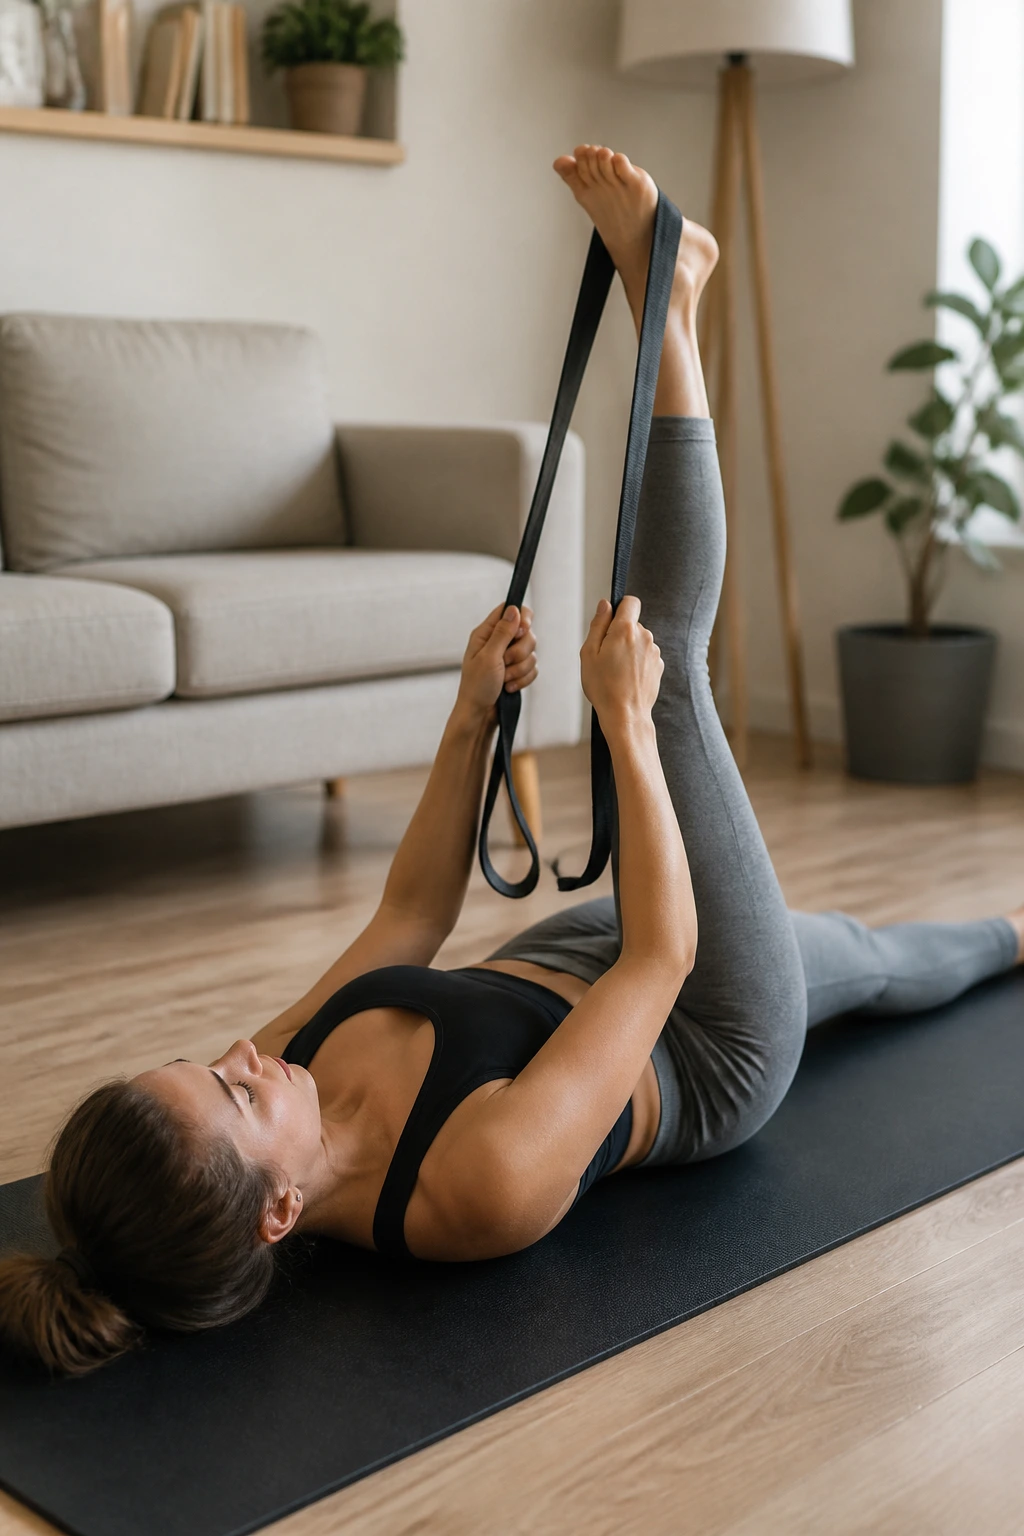
Need more leg flexibility without yanking on anything? Start with slow, supported stretches that let the muscles relax before they lengthen. That’s the real trick.
Lie on your back for a strap hamstring stretch, keeping the opposite knee bent if your back wants support. Then sit up for butterfly pose, spending a full minute with a tall spine before folding. After that, move to lizard pose with the back knee down and the hands on blocks. Don’t sink too deep. Just enough to feel the front of the hip open.
A wide-legged forward fold can finish the sequence, but keep the knees soft and the feet active. If the inner thighs feel too much, sit on a folded blanket and come up a little higher. That small adjustment keeps the stretch useful instead of hostile.
- 3 minutes reclined hamstring stretch
- 2 minutes butterfly
- 2 minutes low lunge or lizard with support
- 2 minutes wide-legged fold
- 1 minute rest
Flexibility gets better when the body trusts you. This routine helps build that trust.
19. Breath-Led Reset for Stressful Days
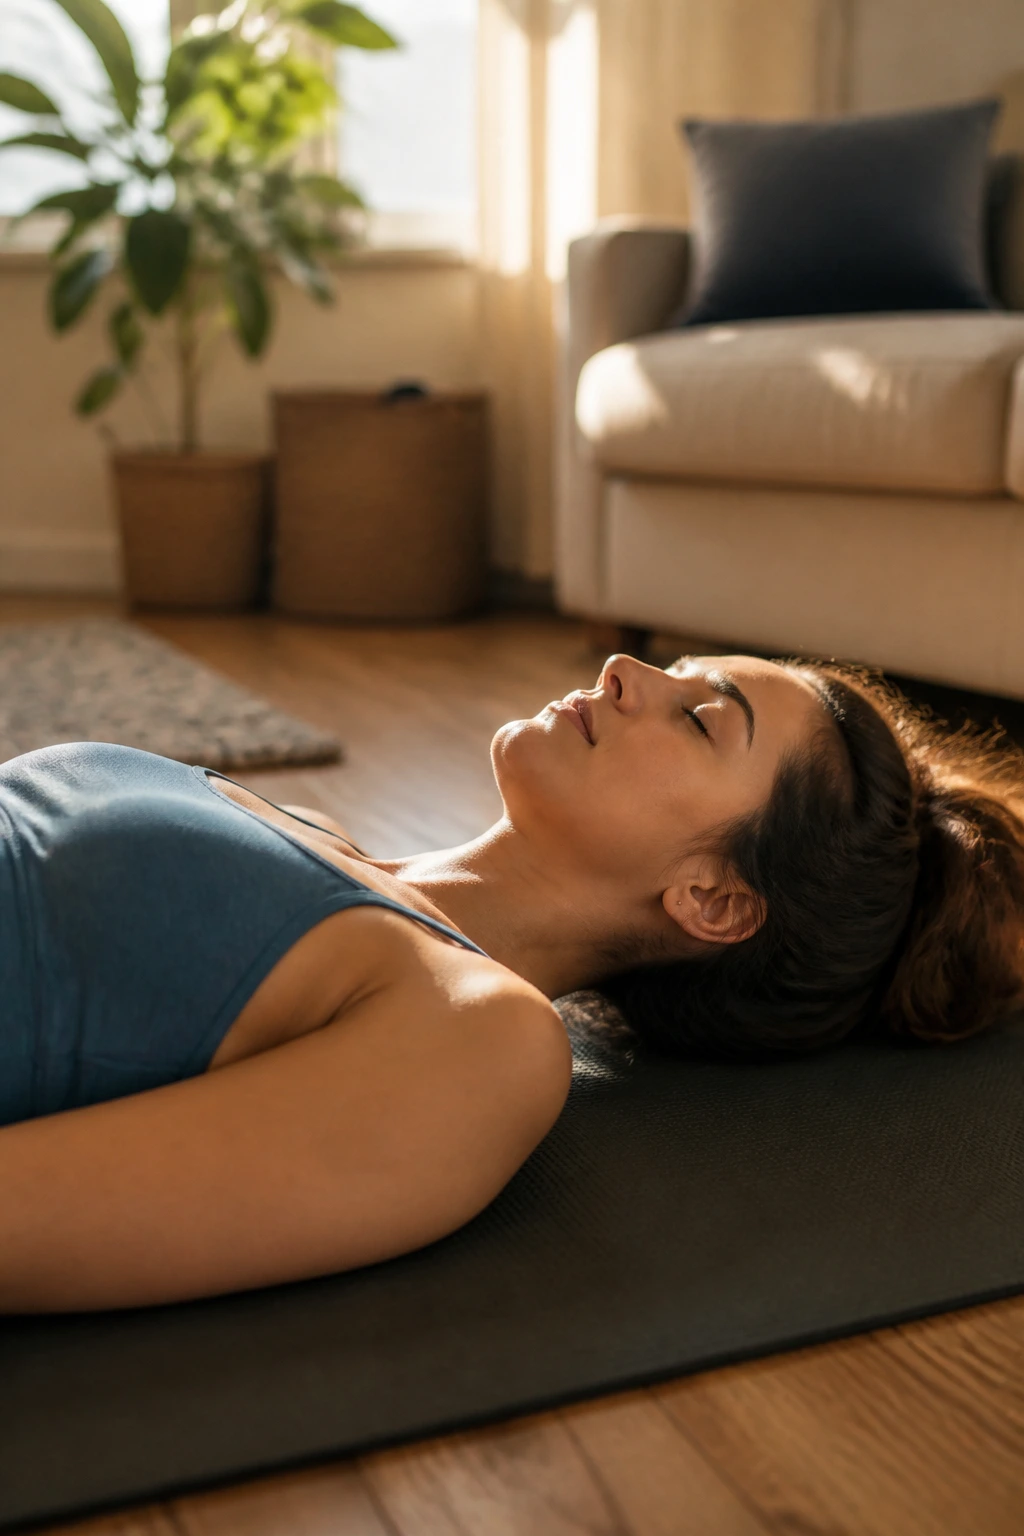
Your mind is loud, and your body wants to fidget. That is exactly when this routine earns its keep.
Start in child’s pose and let the forehead rest down if that feels okay. Breathe out through the nose a little longer than you breathe in. Then move into a slow cat-cow with the exhale leading the round shape. After that, sit or kneel for a simple twist on each side. Keep it soft. No gripping.
The middle of the routine belongs to bridge pose, held for a few breaths at a time. Bridge gives your body a shape to focus on without asking for speed or power. Finish on your back, eyes closed, with a counted breath that stays even and calm.
A lot of stress routines try to fix the mood by making you sweat. That isn’t always the move. Sometimes you need to lower the volume first.
20. A Tiny-Space Routine You Can Do Anywhere
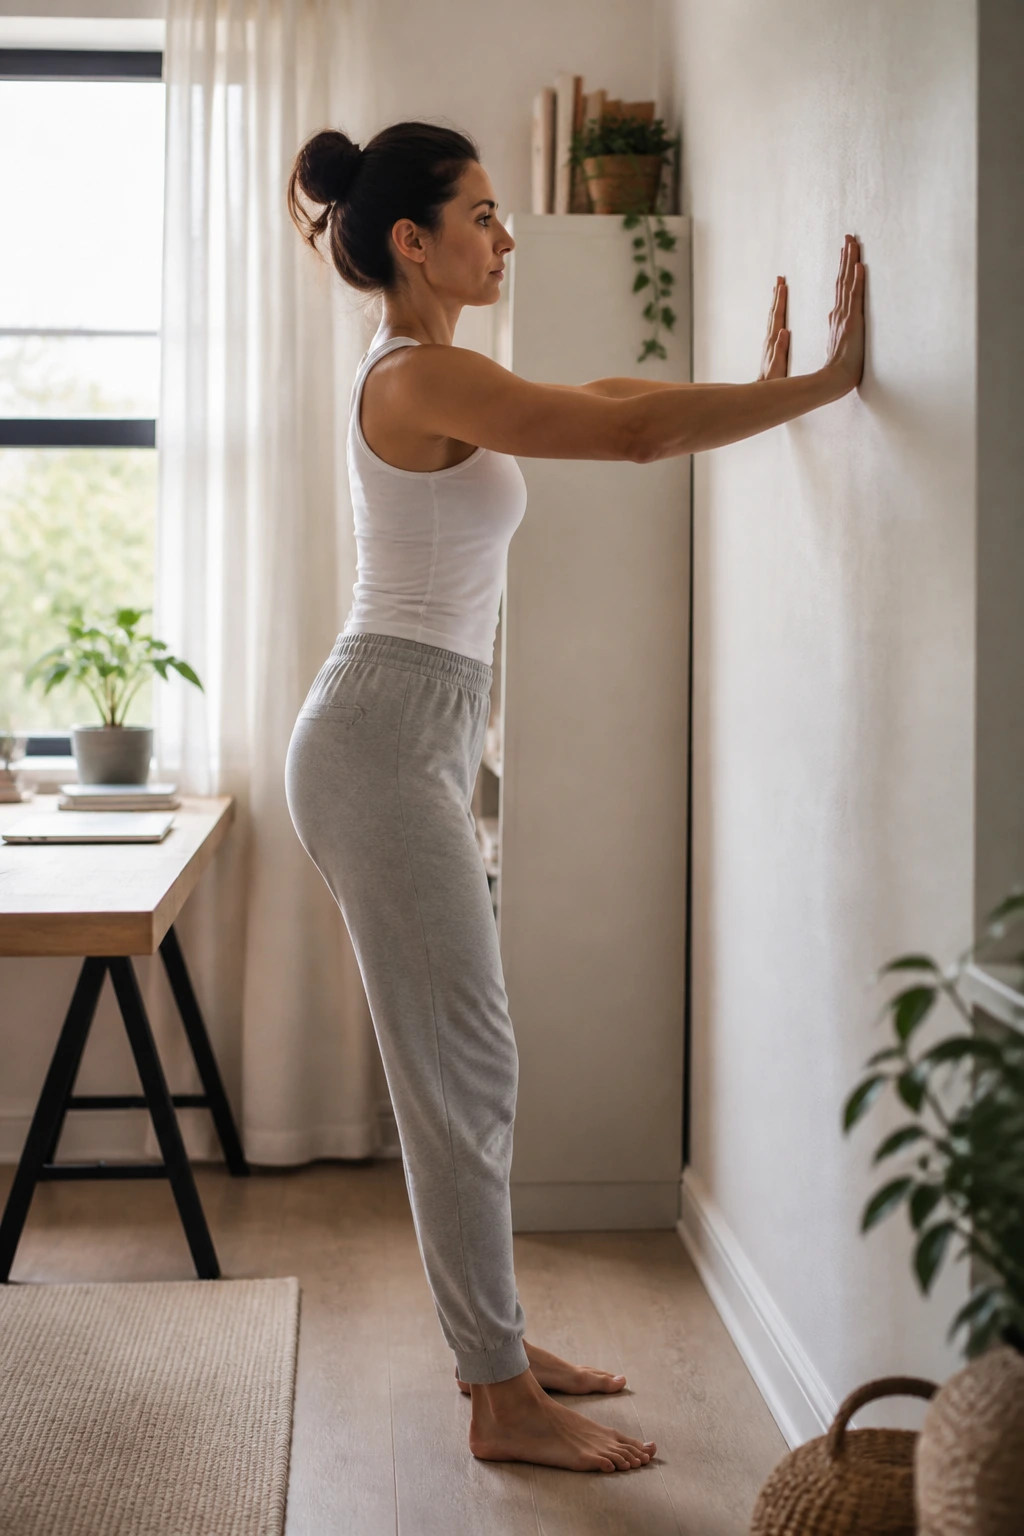
Sometimes the best beginner flow is the one that fits beside a desk.
This is the no-mat version. Stand tall, roll the shoulders, then move into a gentle neck stretch to each side. Sit back into a shallow chair pose, stand again, and press your hands into a wall as if you’re pushing the wall away. That little push wakes up the upper back fast. After that, fold forward with bent knees, rise halfway, and finish with side bends and calf raises.
The whole sequence takes ten minutes if you move slowly and breathe with it. No floor needed. No special setup. It works in a small room, beside a bed, or next to a desk when the day has made you feel boxed in.
- 2 minutes standing breath and shoulder rolls
- 2 minutes neck stretches and side bends
- 2 minutes shallow chair pose and wall push
- 2 minutes standing fold and half lift
- 2 minutes calf raises and easy standing rest
Best move: keep your feet planted firmly and let the exhale do the real work. The body usually follows the breath.
Final Thoughts
Short yoga works because it lowers the bar enough that you’ll actually do it. That sounds almost too plain, but plain is useful. Ten minutes can loosen stiff joints, settle a racing head, and make the rest of the day feel a little less rough around the edges.
Pick two routines and repeat them for a while. Familiarity helps. Your body starts to recognize the sequence, and the moves stop feeling like a puzzle every time you unroll the mat.
A wall, a chair, and a folded blanket can make these routines feel much friendlier. Use them. There’s no prize for making beginner yoga harder than it needs to be.
