



A hard arm set gets easier when your midsection stops wobbling. That little detail is why the best abs and arms workouts for women usually mix pushing, pulling, anti-rotation, and a bit of cardio instead of leaning on endless crunches or tiny pink dumbbells.
If you want tighter-looking arms and a stronger core, the sweet spot is training that makes your shoulders stay put while your abs keep your ribs from flaring. Mess that part up, and even simple moves start feeling sloppy. Get it right, and a 10-minute circuit can light up your upper body fast.
You do not need a fancy gym setup. A pair of dumbbells, a chair, a mat, and maybe a resistance band will cover most of the list below. Light weights can be plenty if you move slowly, pause at the hard part, and keep your form honest.
1. Standing Abs and Arms Shadowboxing Circuit
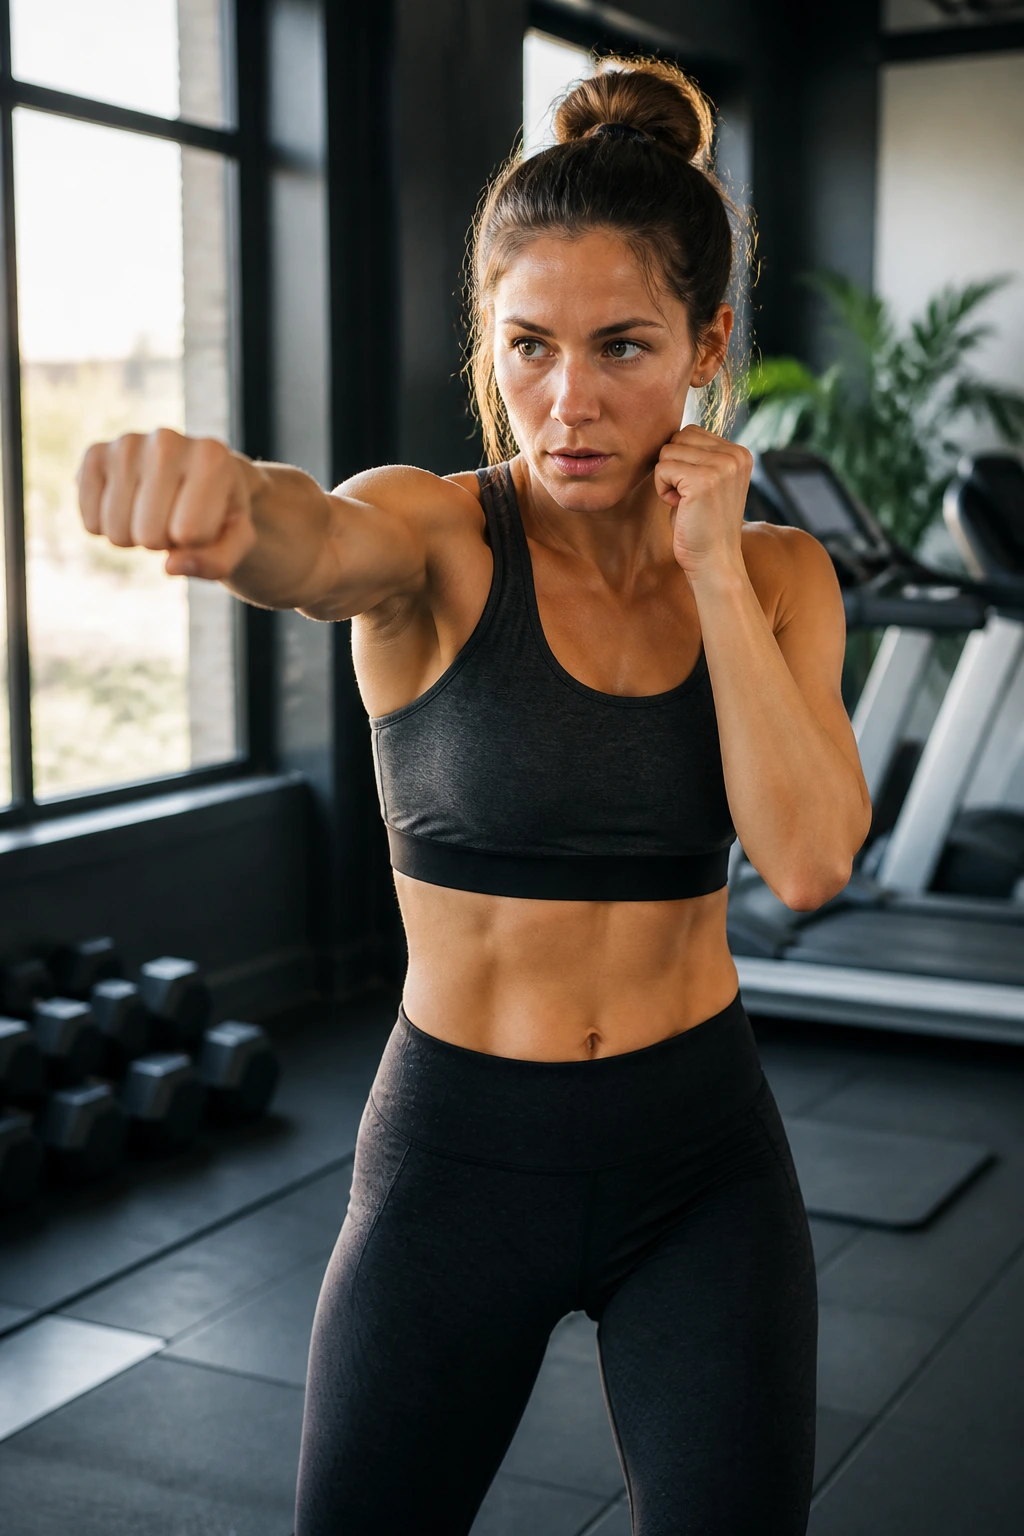
Punching looks like cardio until your core starts bracing like crazy. That’s the magic of this one. When you throw cross-body punches and keep your feet moving, your obliques, shoulders, and upper back all have to help.
How to run it
- Stand with your feet hip-width apart and knees soft.
- Hold your hands in a guard position.
- Punch across your body for 30 seconds, then switch to fast straight punches for 30 seconds.
- Rest for 20 seconds and repeat for 3 to 5 rounds.
Add 1- to 3-pound hand weights only if your shoulders stay relaxed. If your neck starts creeping up toward your ears, the weights are too heavy. Easy fix. Drop them.
This workout is excellent when you want to warm up and train at the same time. It also teaches your torso not to twist wildly, which matters more than people think. Keep your exhale sharp on every punch, almost like you’re fogging up a mirror.
2. Plank Shoulder Taps
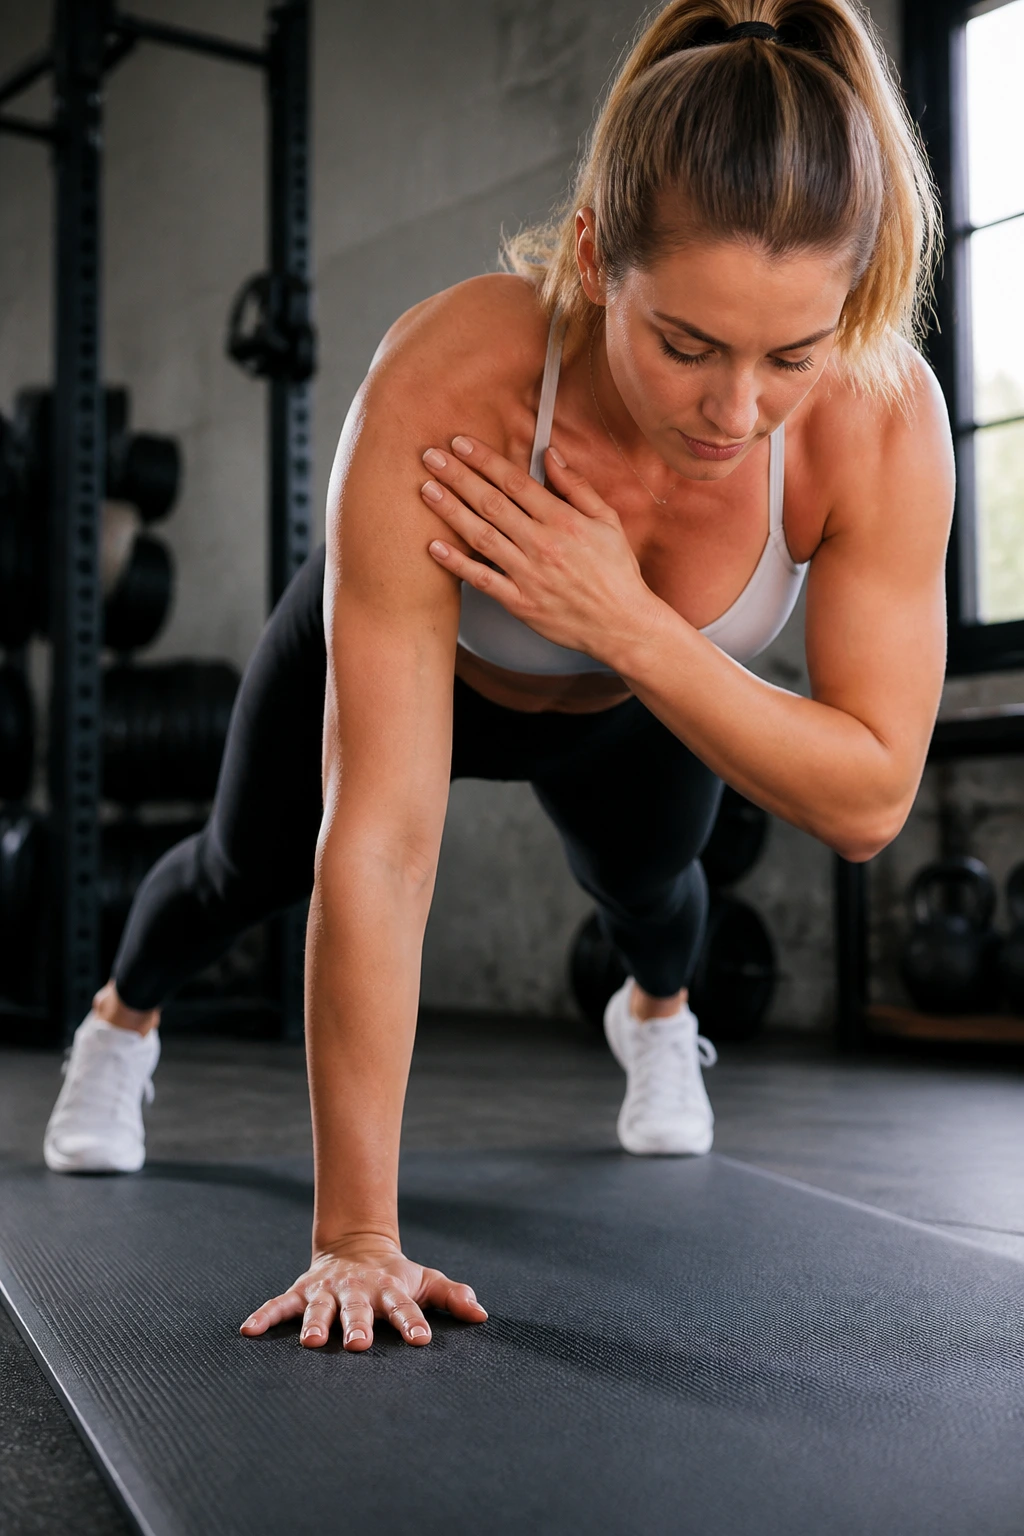
Can you hold a plank without rocking side to side? If not, this one will expose it fast. That’s not a bad thing.
Shoulder taps train the deep core muscles that keep your torso still while your arms move. Put your feet a little wider than hip-width apart, squeeze your glutes, and tap one shoulder at a time without letting your hips sway. The slower you go, the harder it gets.
A good target is 20 taps per side, done for 3 rounds. If your wrists complain, do the same move with your hands on a bench, couch, or sturdy step. That incline version still forces the abs to work, and it’s often cleaner for beginners.
Watch for this: if your lower back sags, stop and reset. A shaky plank is not a heroic plank.
3. Dumbbell Curl-to-Press Ladder
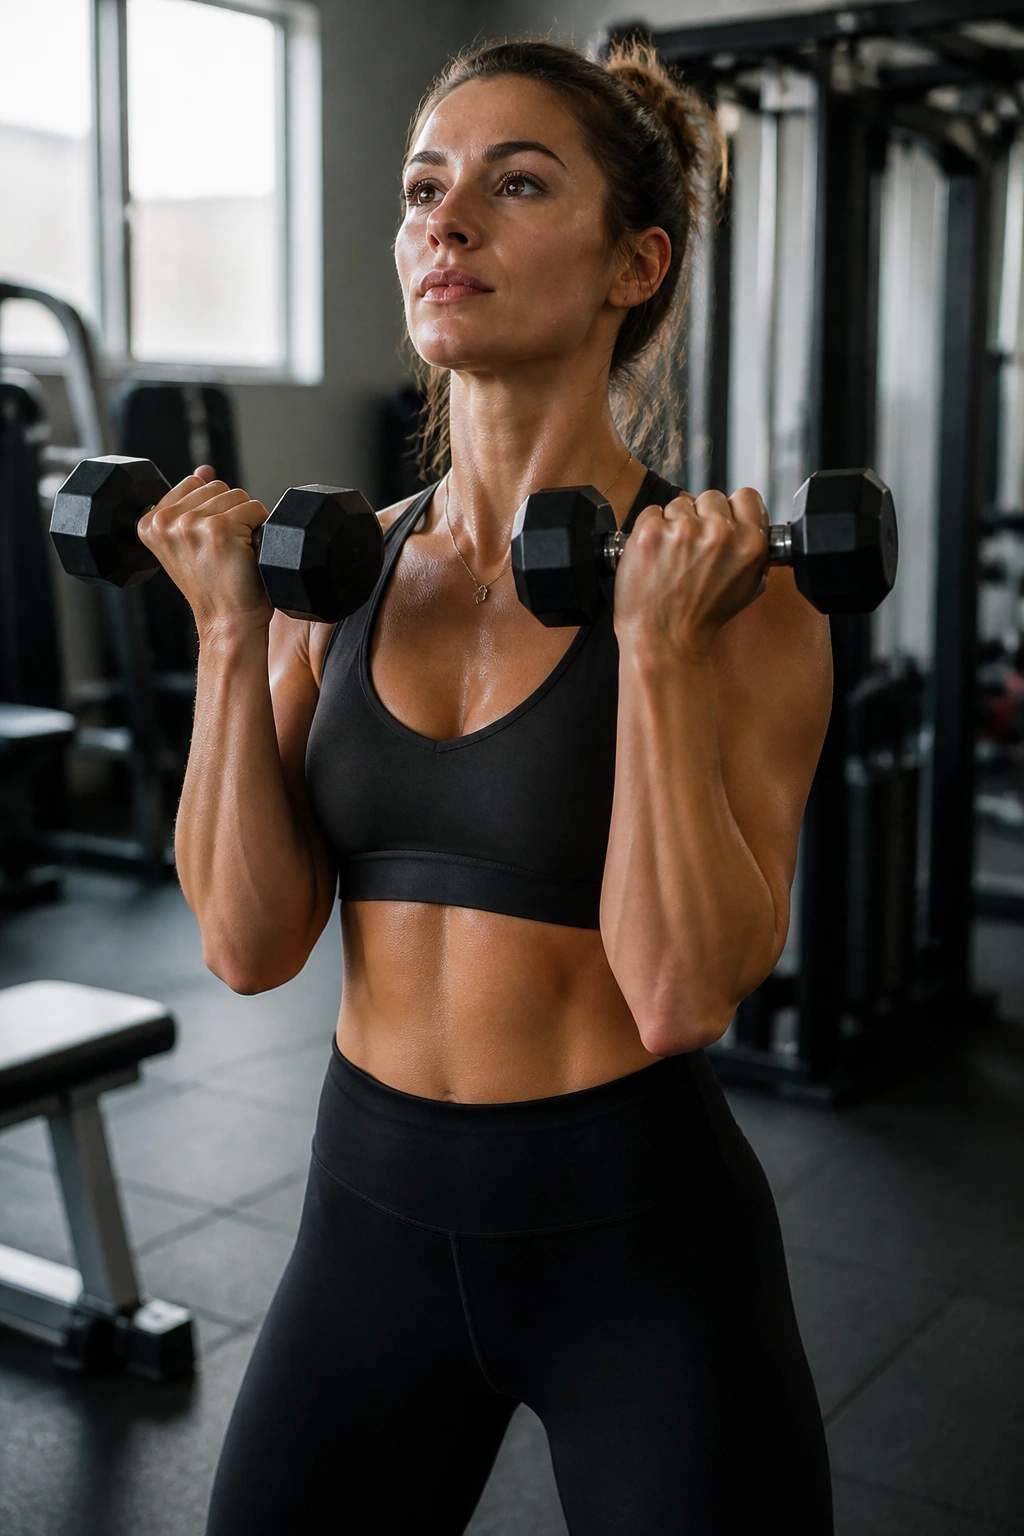
Two dumbbells, one ladder, and your arms will know they worked. The curl-to-press is one of those simple moves that hits biceps, shoulders, and core stability in one shot, especially when you slow the lowering phase.
Start with a set of 8 reps, rest for 20 to 30 seconds, then do 6 reps, then 4, then 2. Use a weight that feels challenging by the last two reps, but not so heavy that you swing your body around like a coat rack in the wind. Keep your ribs down while you press overhead.
How to get the most from it
- Curl with elbows close to your sides.
- Stop the curl at full biceps squeeze.
- Press straight up, not slightly forward.
- Lower for a count of 3.
That last part matters. Slow lowering builds control, and control is what makes a light dumbbell feel annoyingly heavy by the end.
4. Dead Bug With Overhead Press
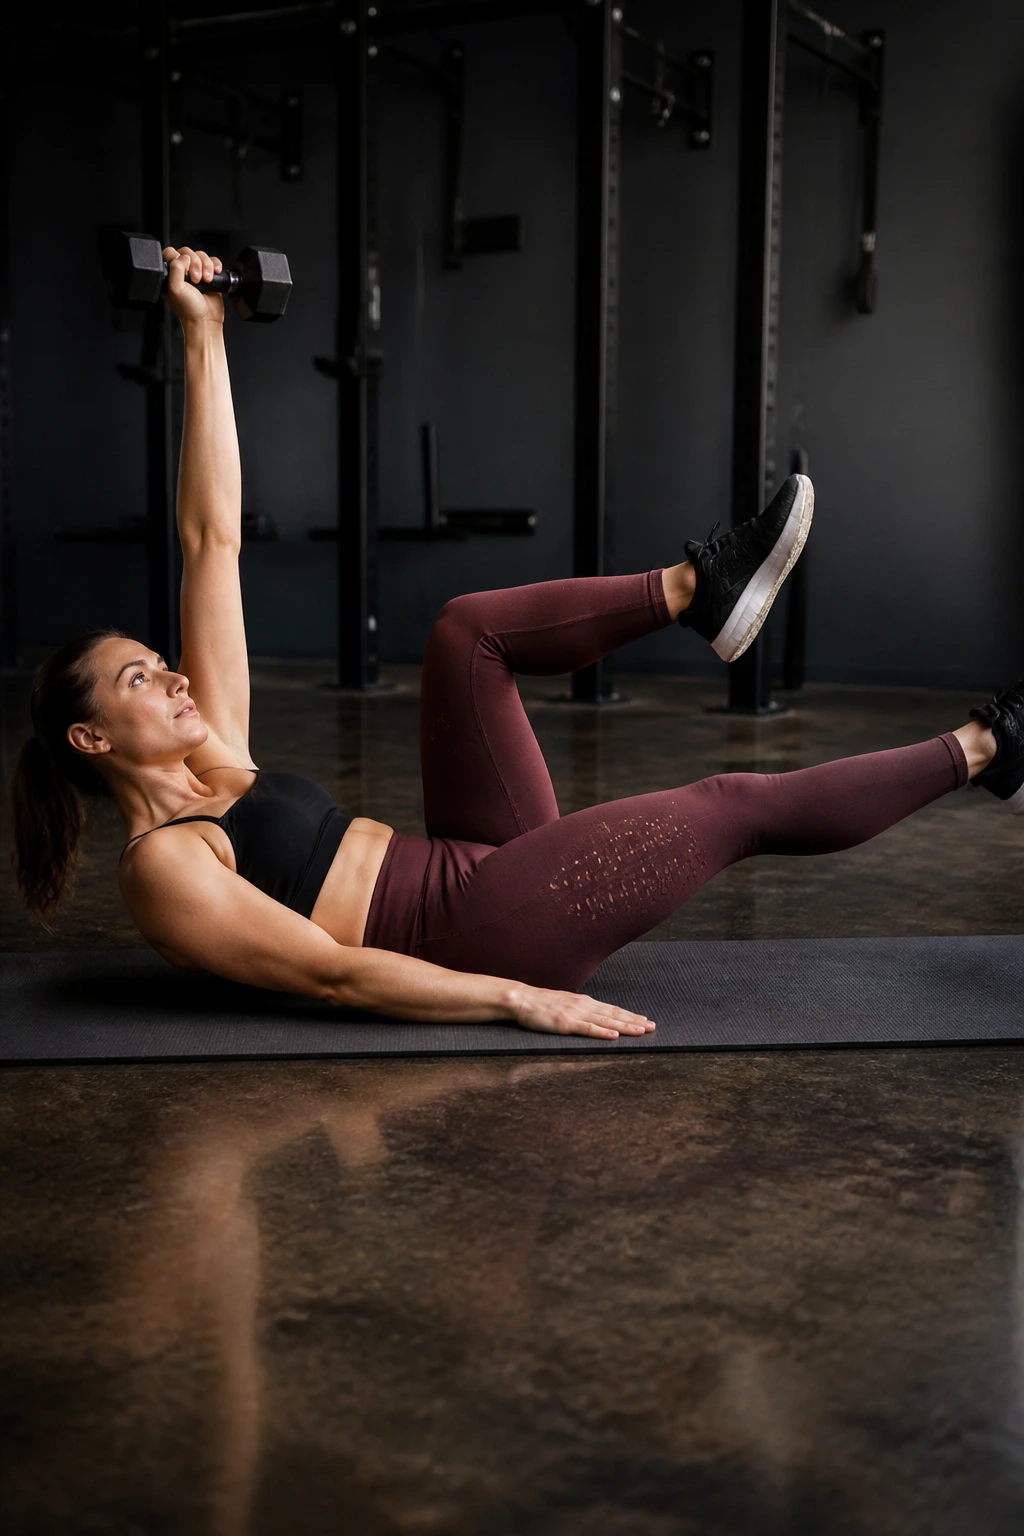
Most people make abs work harder by standing up. I’d argue the floor is the better teacher.
Dead bugs force your lower back to stay quiet while your arms and legs move in opposite directions. Add a pair of light dumbbells and an overhead press, and you get a core drill that feels almost sneaky. Press one arm while extending the opposite leg, then switch sides slowly.
Keep the back of your ribs heavy against the mat. If your lower back pops off the floor, shorten the leg reach. That tiny change keeps the work in your abs instead of dumping it into your hip flexors.
Breathing cue
- Exhale as the arm goes up.
- Inhale as you return to center.
- Move like you’re balancing a glass of water on your stomach.
That image sounds silly. It works.
5. Chair Triceps Dip and Knee Tuck
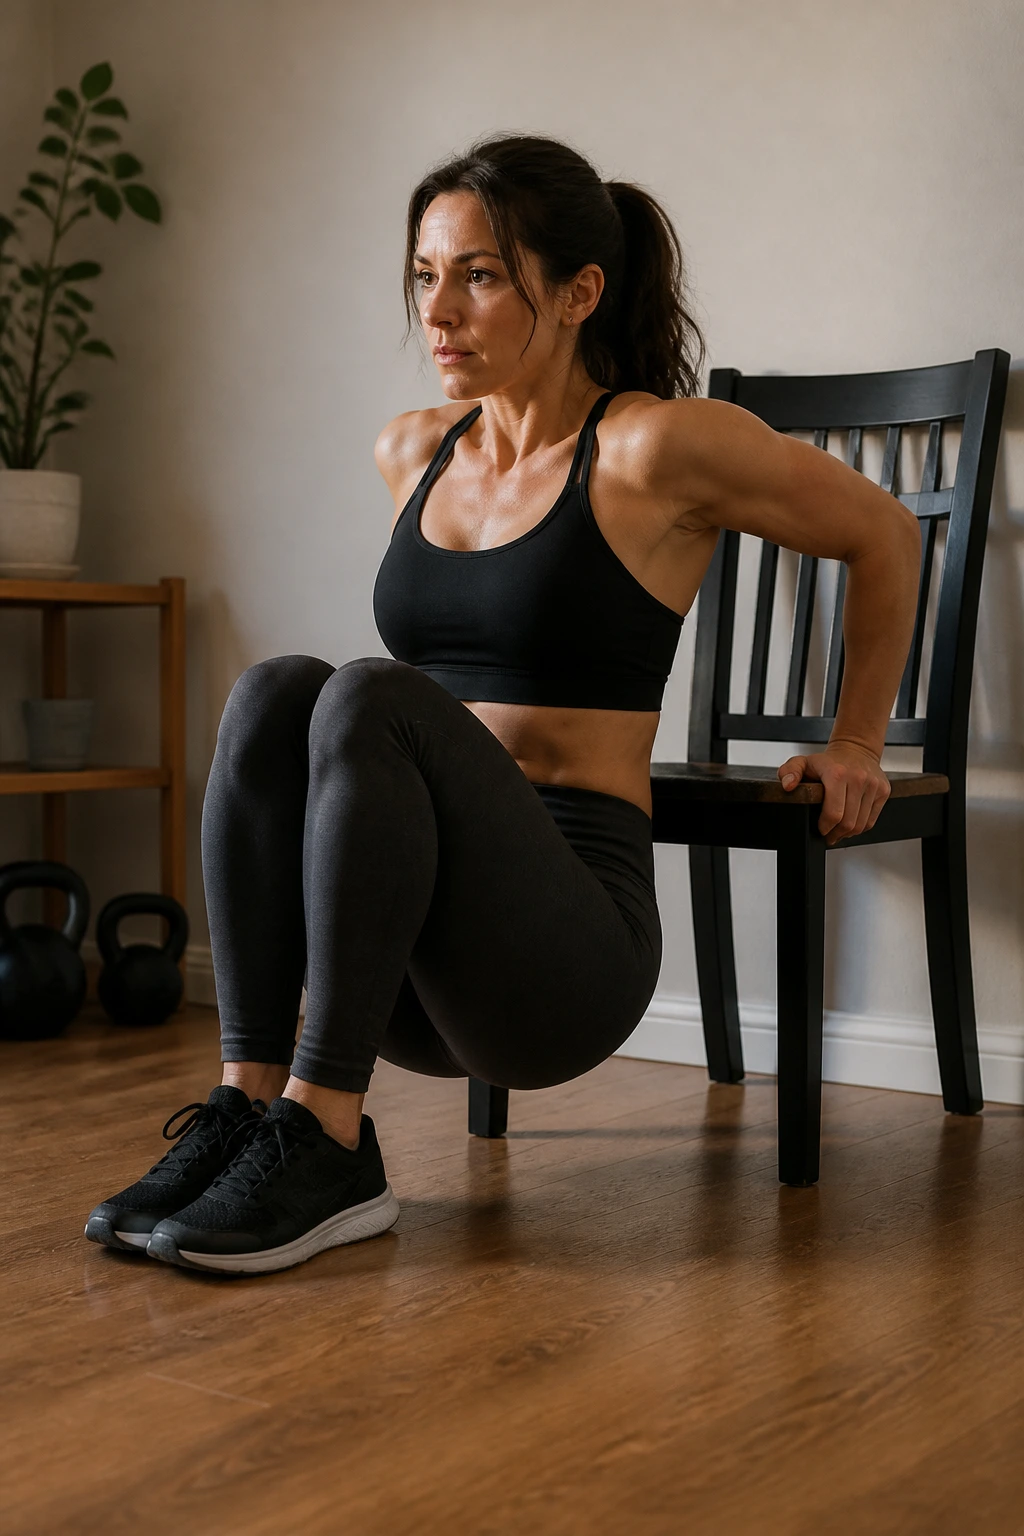
A sturdy chair can be brutal in the best way. Pair triceps dips with knee tucks and you get a fast upper-body and core circuit that needs almost no space.
Sit on the edge of the chair, hands beside your hips, and walk your feet out. Lower until your elbows hit about 90 degrees, then press back up. After 8 to 12 dips, step away from the chair and do 10 slow standing knee tucks on each side, driving the knee up while your hands pull down.
The rule here: the chair must not wobble. If it slides, put it against a wall. If your shoulders feel pinchy on dips, skip them and do close-grip push-ups against a counter instead.
This workout is a good match for short sessions because it gives you a big triceps hit without frying your whole body. And the knee tucks keep the abs in the game instead of treating the circuit like an arm-only day.
6. Renegade Row With Slow March
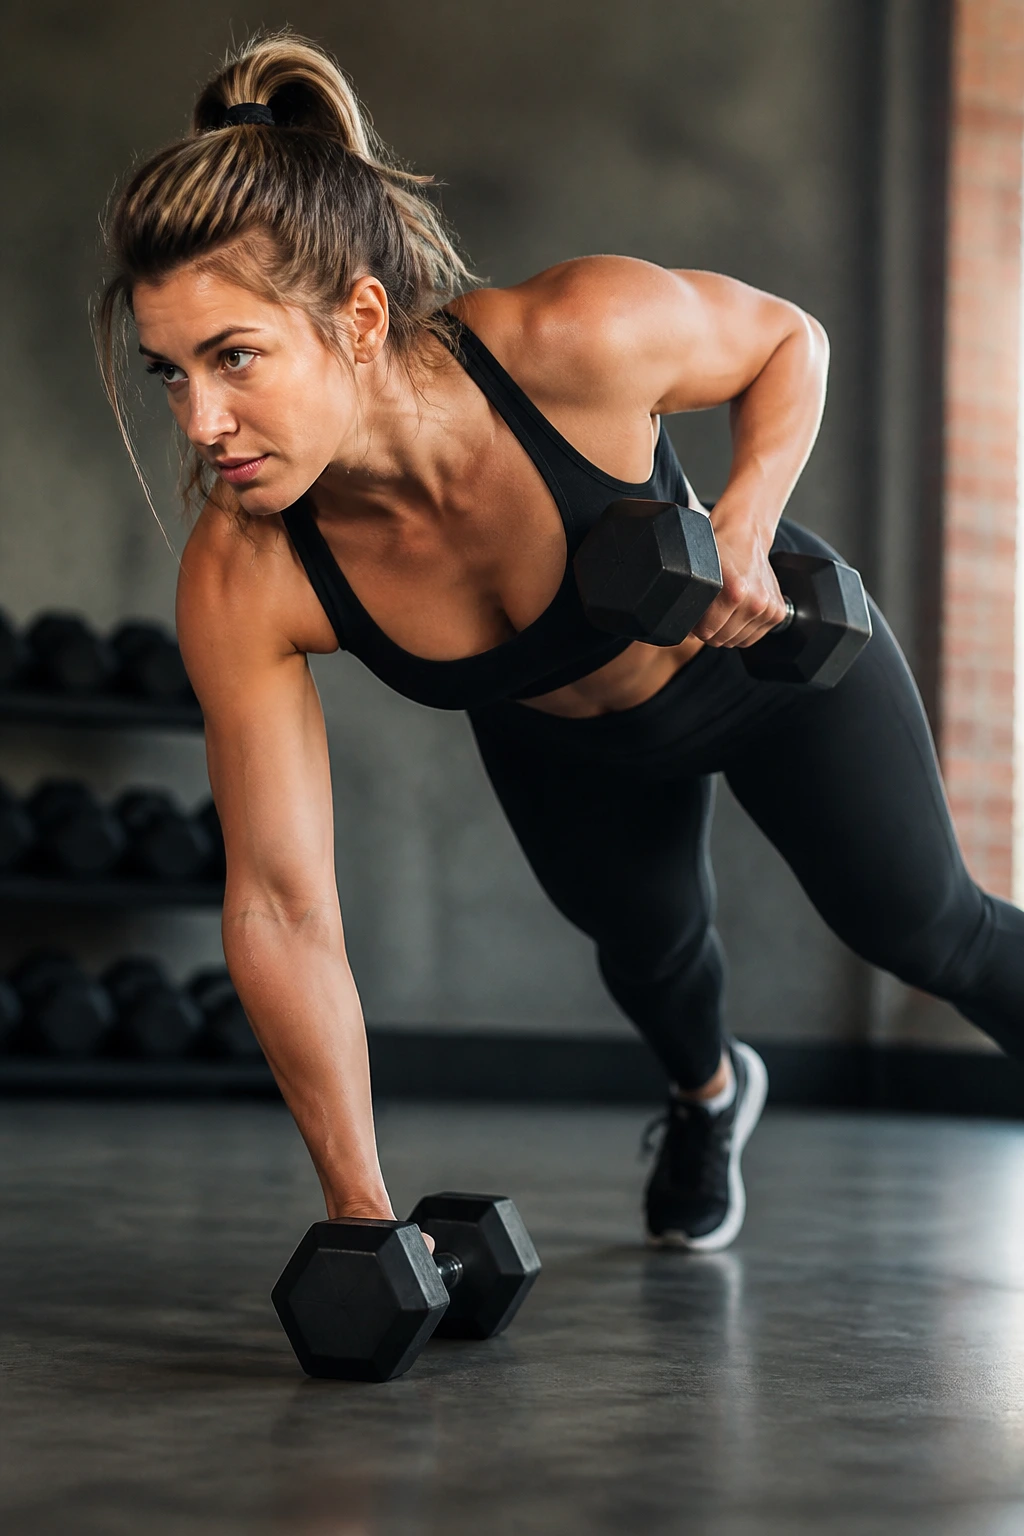
This one looks straightforward until your hips start fighting back. Renegade rows train the lats, biceps, shoulders, and core at the same time, and the slow march at the end keeps the abs honest.
Set up in a high plank with dumbbells under your hands. Row one dumbbell to your rib cage, place it down with control, then row the other side. After both rows, hold the plank and march your feet one at a time for 4 to 6 slow steps.
Use lighter weights than your ego wants. Seriously. Heavy dumbbells turn the whole thing into a twisting mess, and twisting is not the goal here. You want your body to stay square to the floor.
A nice rhythm is 6 rows per side, then 8 marching steps, repeated for 3 rounds. Rest 30 to 45 seconds between rounds.
7. Bear Crawl Reach-Back
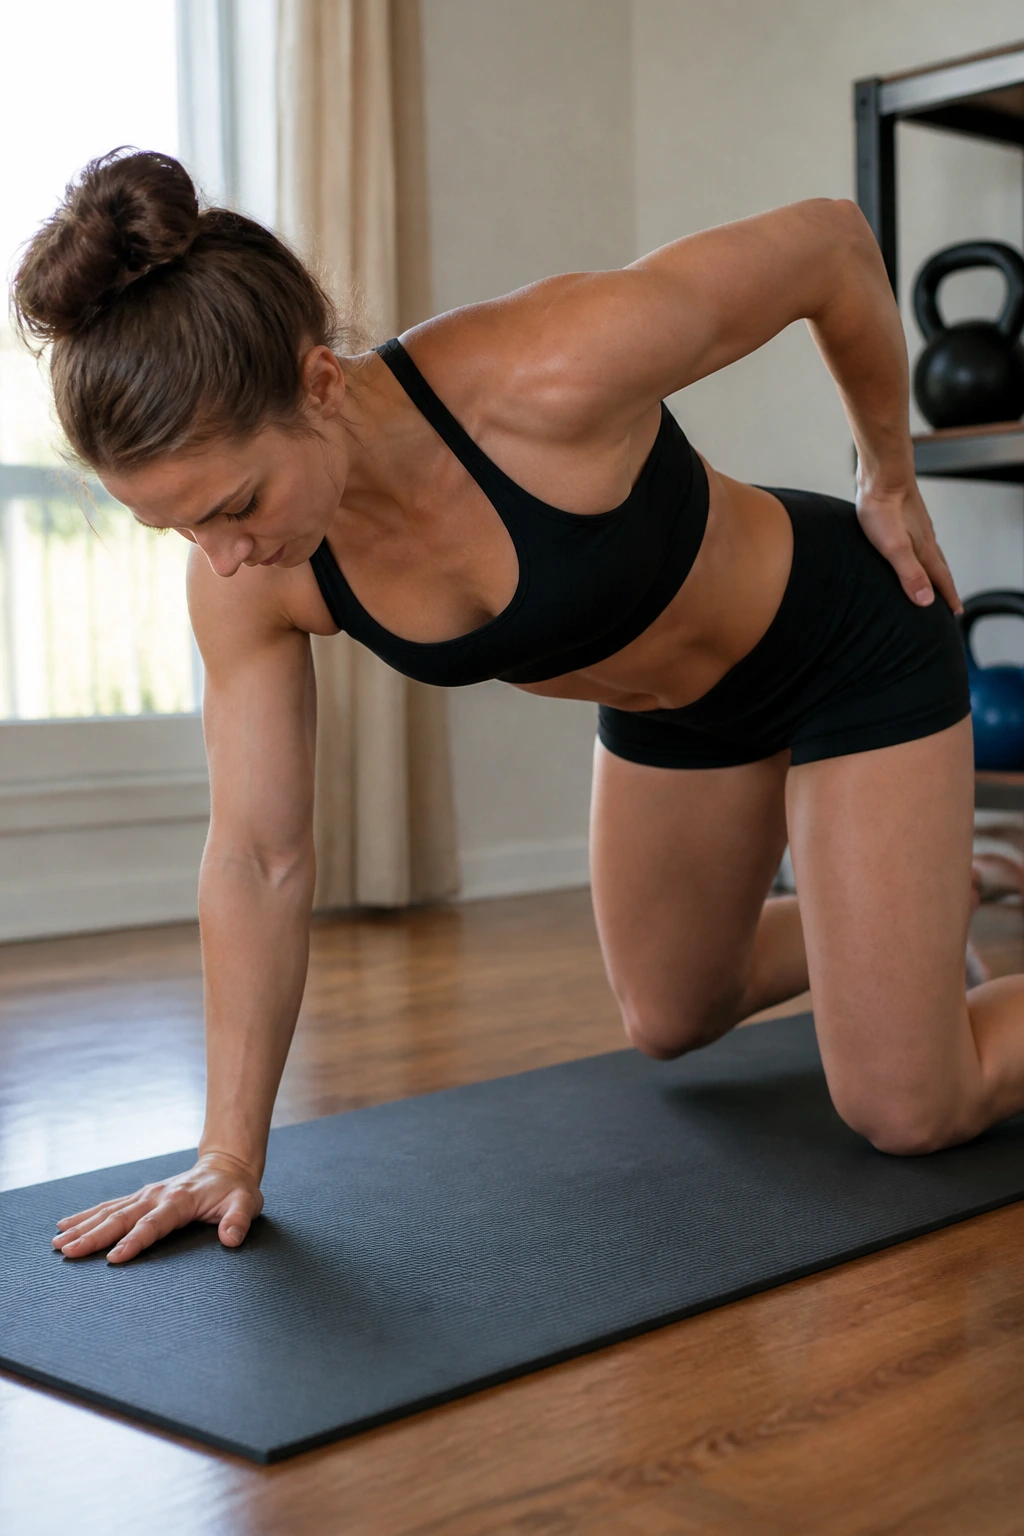
A short room, a mat, and a little patience are all you need for this one. Bear crawls are one of my favorite core exercises because they make your shoulders, abs, and hips negotiate with each other in real time.
Start on hands and knees, lift your knees an inch off the floor, and crawl forward for 4 steps. Then reach one hand back to tap the opposite hip before crawling again. That reach-back is the sneaky part — it forces stability when your weight shifts.
What to focus on
- Keep your knees low.
- Move your hand and opposite foot together.
- Do not rush the turn.
- Keep your gaze a few feet ahead of you.
If your wrists get cranky, do this on fists or hold dumbbells as handles. A lot of people skip bear crawls because they look awkward. That’s a mistake. Awkward is often where the good work lives.
8. Side Plank Hip Dip and Row
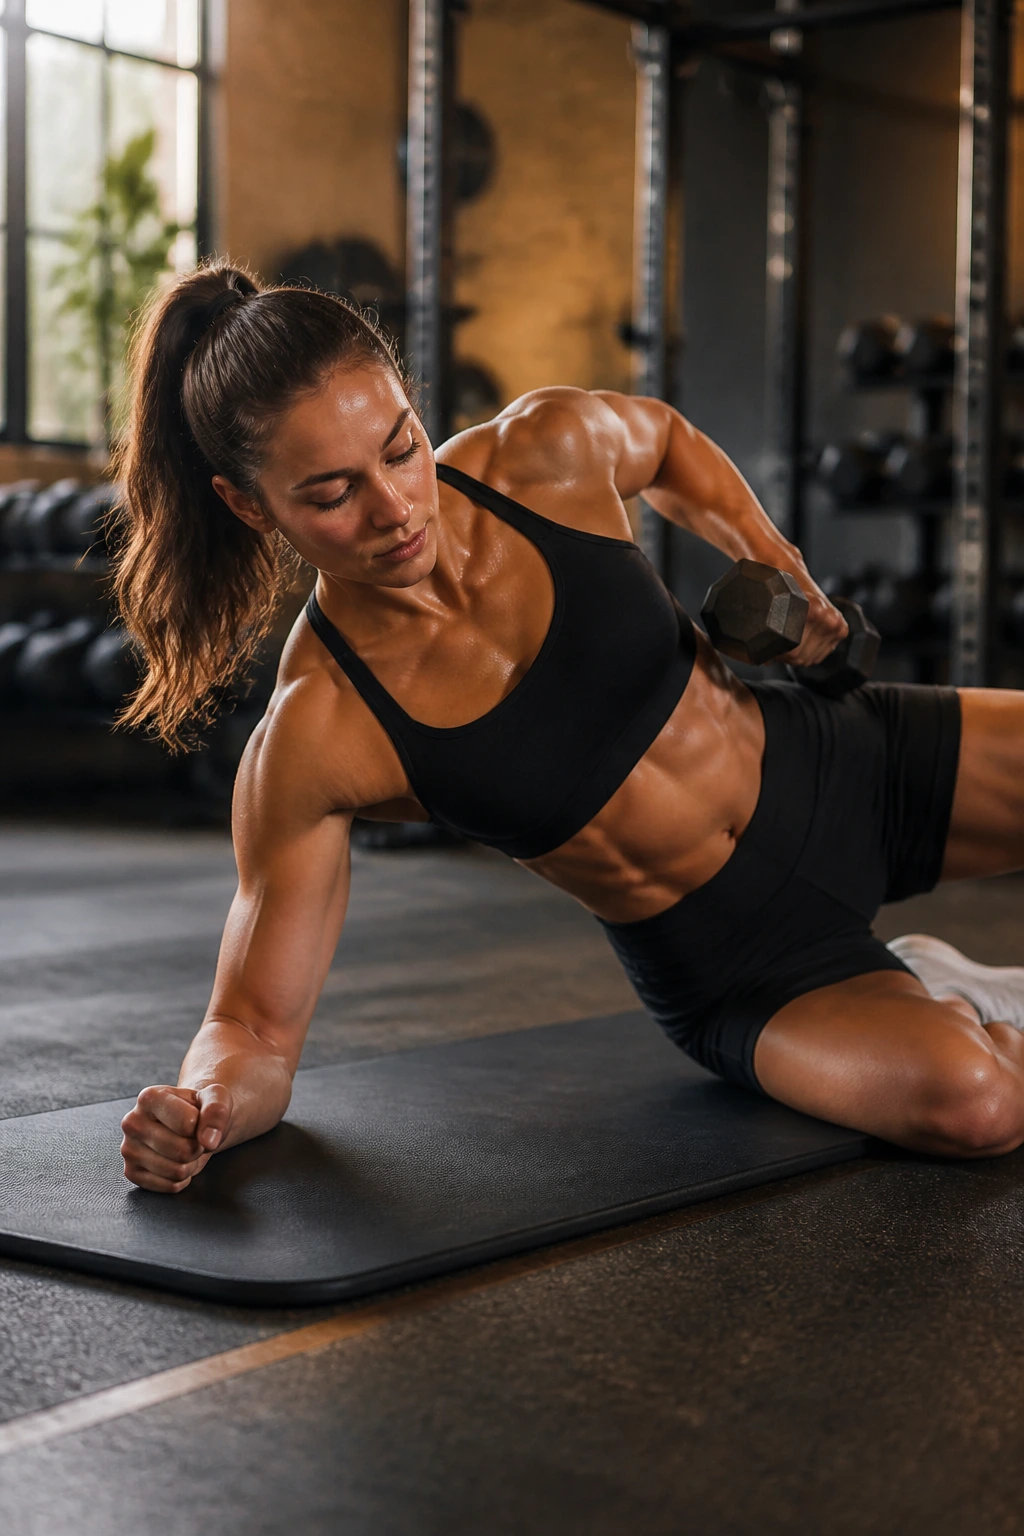
Side planks can feel boring until you add motion. Then they stop being polite.
Get into a side plank with your bottom knee down if you need support, or stack your feet if you’re ready for the full version. Lower your hips a few inches, lift them back up, and if you’ve got a dumbbell or band, row with the top arm after each lift. That combo trains the obliques and the shoulder on the supporting side, which is a nice little burn.
The row matters because it stops the pose from becoming just another hold. You’re not only resisting gravity; you’re controlling it. That’s a better test of core strength.
Keep the top shoulder from rolling forward. If that happens, shorten the range and clean up the line from head to heel first. Form comes before intensity. Every time.
9. Lateral Raise and March
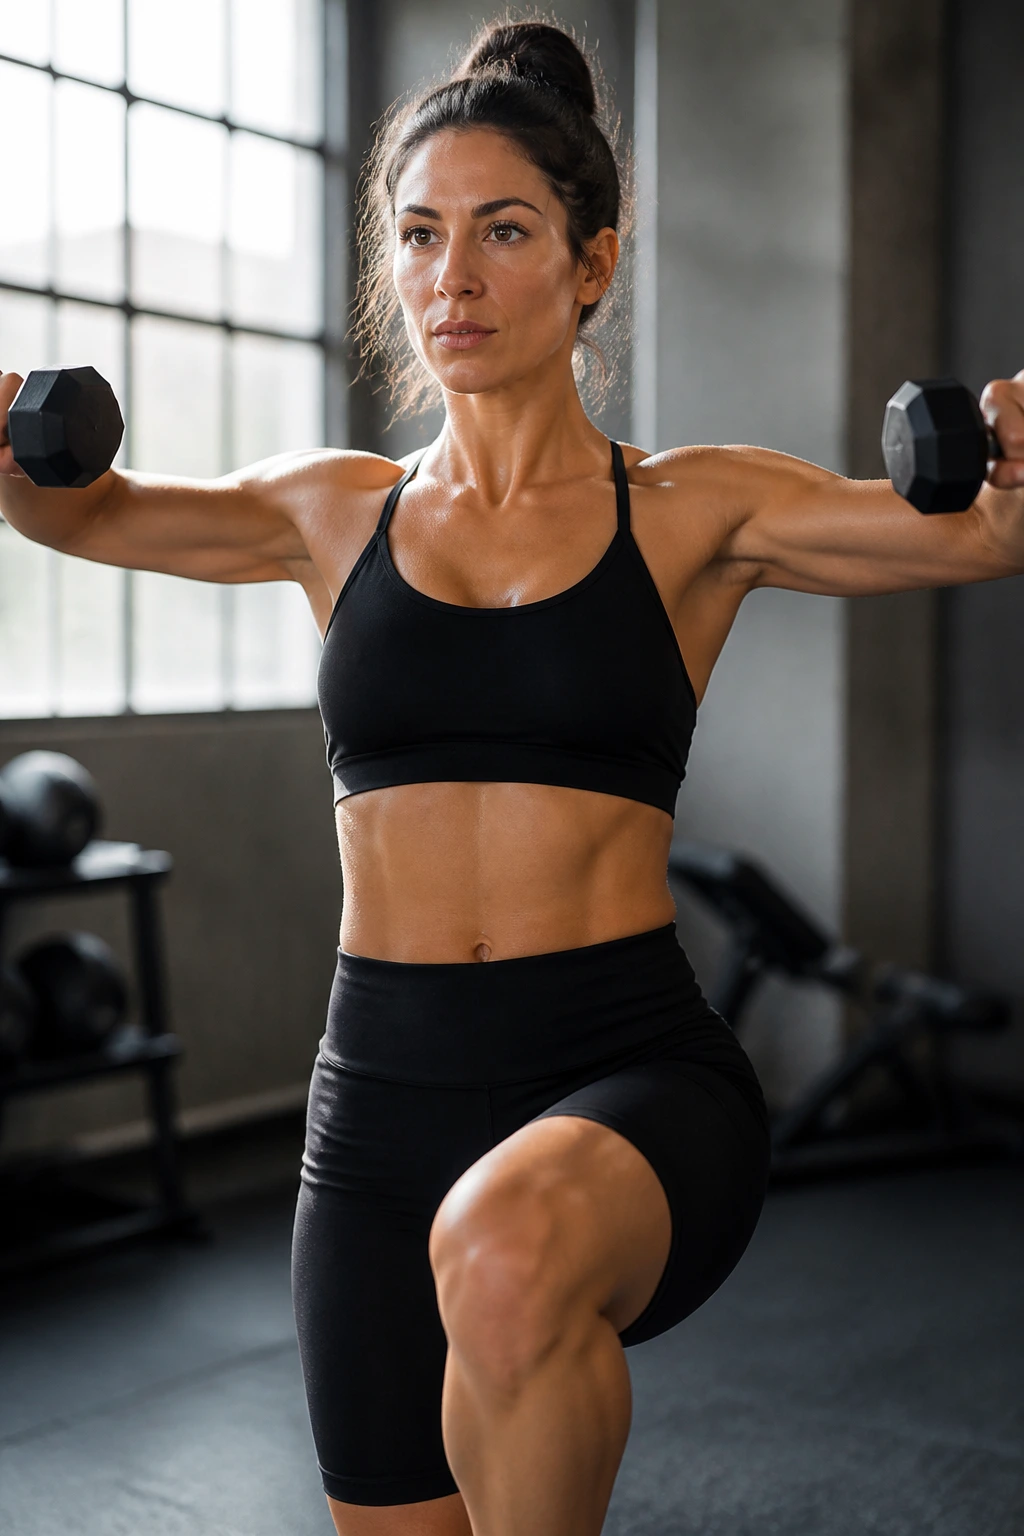
A lot of people train shoulders without asking the torso to do any work. That’s a waste.
Lateral raises become much more useful when you add a slow march. Stand tall with a light pair of dumbbells, lift the arms out to shoulder height, and march in place one knee at a time while holding the raise for 20 to 30 seconds. Then lower, reset, and repeat for 3 rounds.
Why it works
Your shoulders want to drift forward when the weights start to burn. Your core’s job is to stop that from happening. The march adds another layer of control because your pelvis has to stay level while one leg leaves the floor.
Use weights you could lift for at least 12 strict reps. If you’re shrugging, the load is too heavy. A clean raise with 5-pound dumbbells beats a messy one with 10s.
Try 8 to 12 marches per round. Slow and steady. No bouncing.
10. Mountain Climbers With Punches
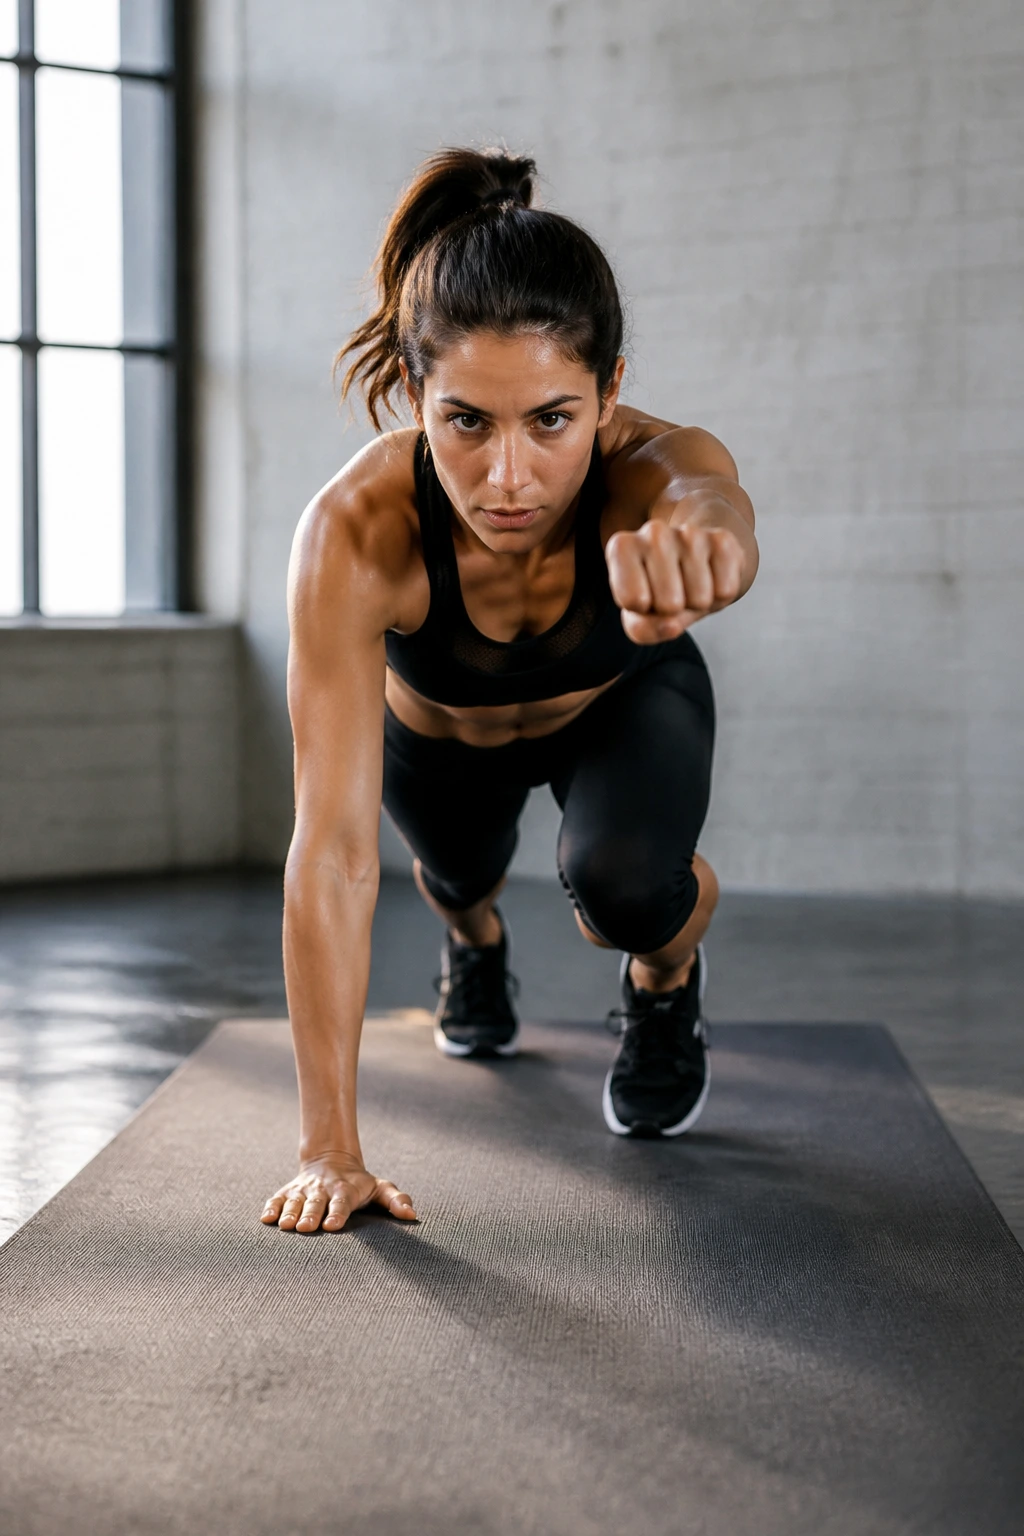
Mountain climbers are already annoying in a useful way. Add punches and they become a full-body core challenge with a shoulder and arm twist.
Set up in a high plank and bring one knee toward your chest while punching the opposite hand forward. Switch sides quickly but keep the torso from swaying like crazy. The punch should be sharp, not wild.
This works best in timed rounds: 30 seconds on, 20 seconds off, for 4 to 6 rounds. If you’re new to it, slow the pace and think about precision before speed. Fast form that falls apart is just messy cardio.
What I like about this move is the way it forces coordination. Your abs have to stabilize, your shoulders have to stay stacked, and your arms have to keep punching even while your legs are moving. That’s a lot of demand for one drill.
11. Push-Up Plus With Alternating Knee Drive
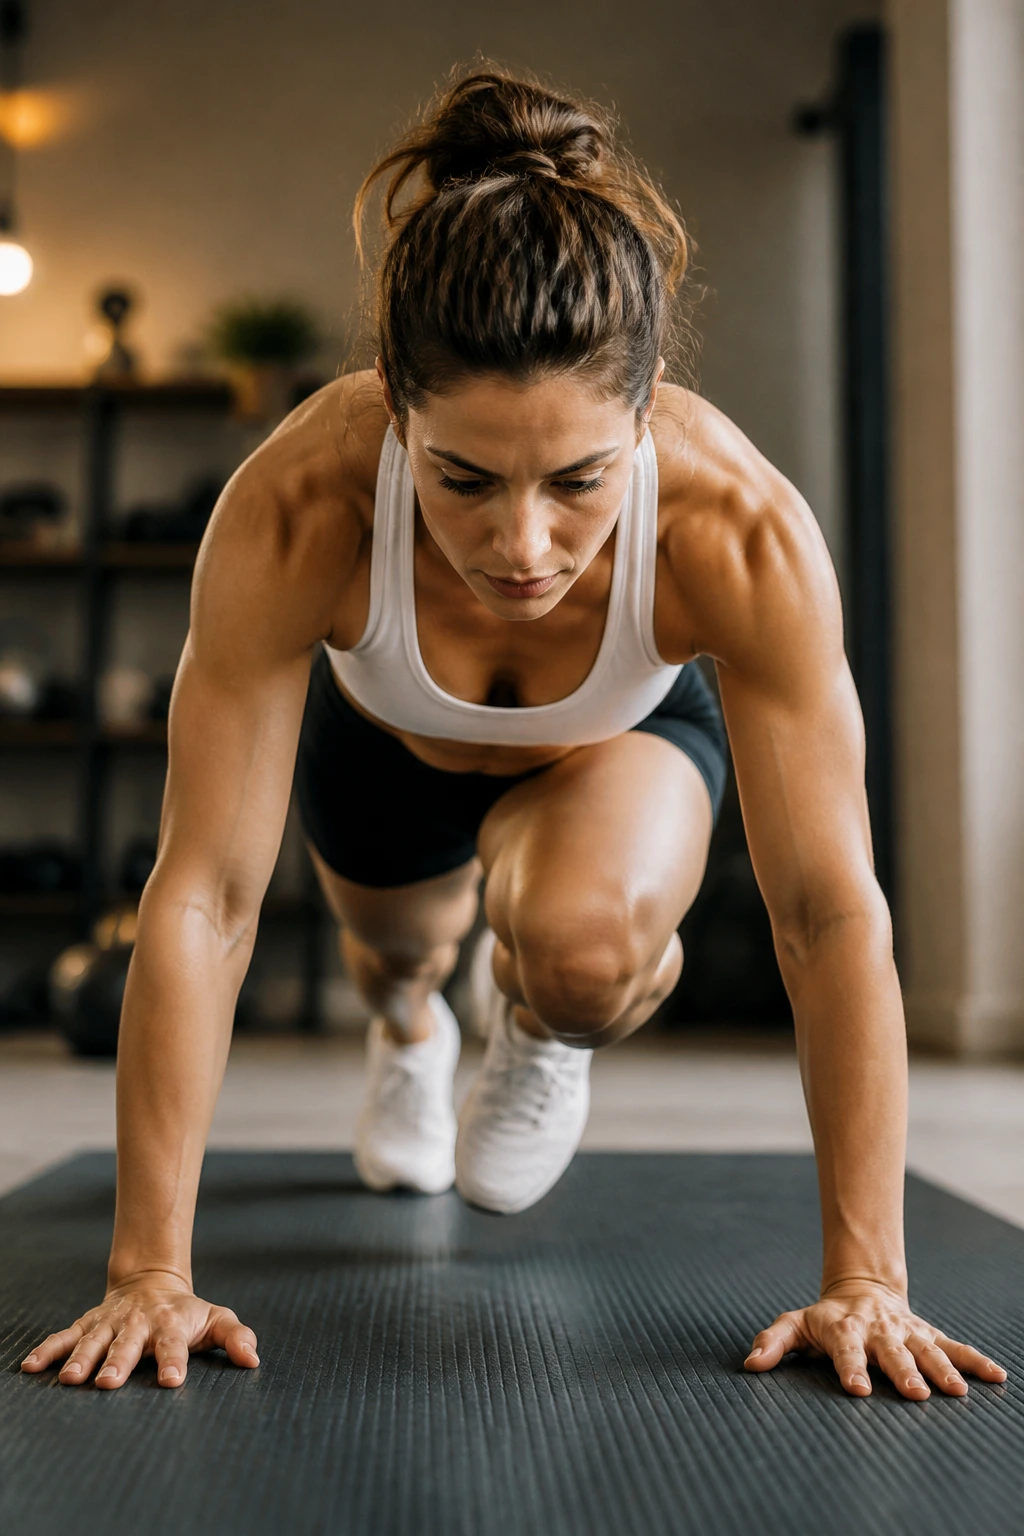
Push-ups get most of the attention, but the little “plus” at the top is where the shoulder blade work kicks in. It’s a nice detail.
Do a push-up, then at the top press the floor away a little harder so your upper back rounds slightly. That’s the plus. From there, drive one knee toward the same-side elbow, return it, and switch sides. The added knee drive makes your core brace harder, especially in the lower abs.
If full push-ups are rough, do the move on an incline. A counter, bench, or couch edge is fine. The upper-body pattern still lands where it should.
Keep it clean
- Hands under shoulders.
- Elbows at a comfortable angle, not flared wide.
- Hips level on the knee drive.
- Slow down the top portion.
This is a good one for anyone who wants arms and abs in the same rep instead of separating them into neat little boxes.
12. Hammer Curl Pulse and Hold
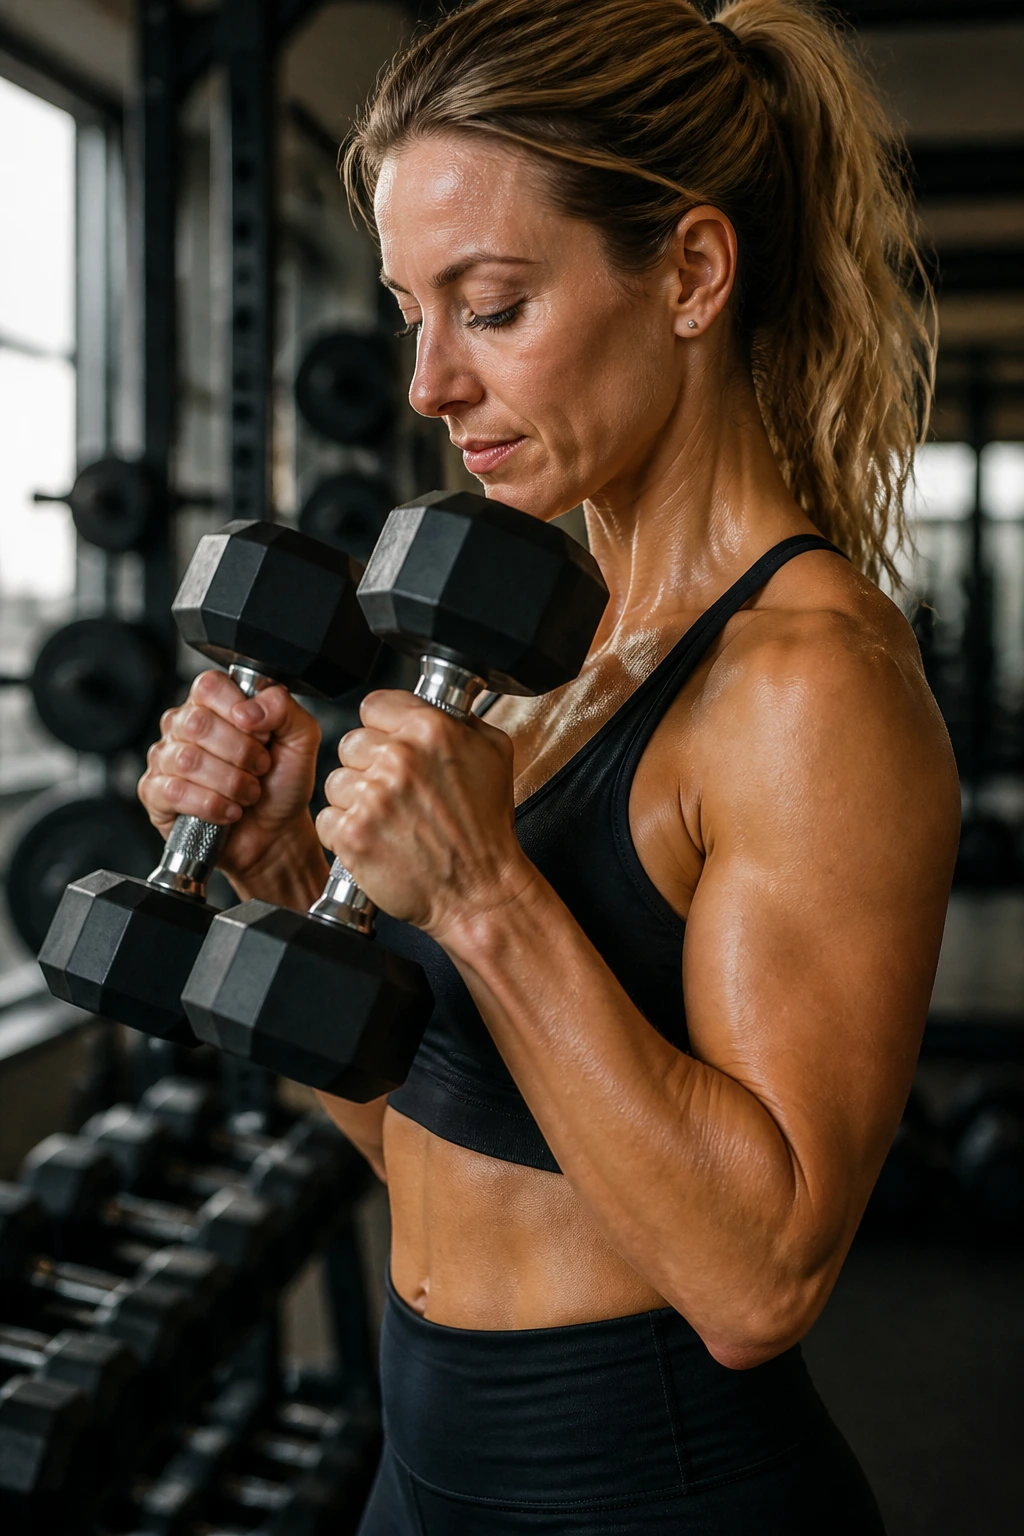
Want a biceps workout that doesn’t ask for complicated setup? Here it is.
Hold dumbbells with your palms facing in, curl halfway up, pulse the top range for 5 small reps, then hold the squeeze for 2 seconds before lowering slowly. That’s one rep cycle. Do 8 to 10 cycles for 3 rounds, with 30 seconds of rest.
The hammer grip is easier on some wrists than a straight curl, and it brings the forearms into the work a little more. Keep your elbows pinned near your ribs. If the upper arms start swinging forward, you’re using momentum, not muscle.
This one is especially good as a finisher after planks or push-ups because it isolates the arms without needing a lot of space. The burn shows up quickly. It also tends to make people realize how much they normally rush curling work.
Slow down. Then slow it down again.
13. Pike Push-Ups
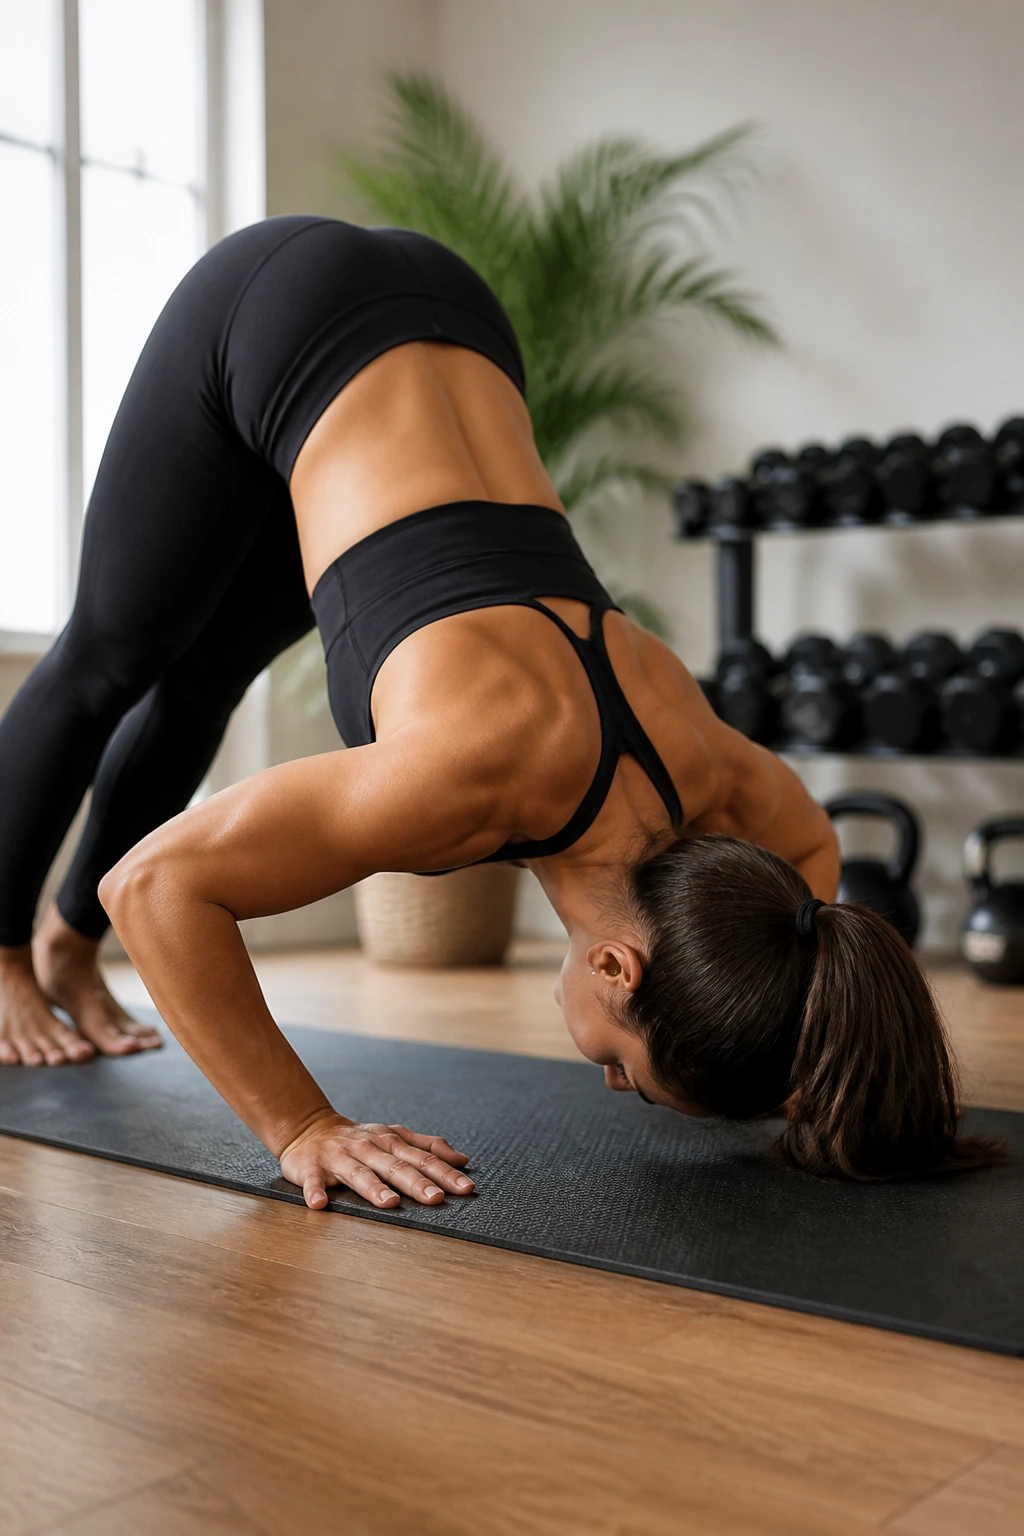
Shoulders like honesty, and pike push-ups are brutally honest.
From a downward-dog shape, bend your elbows and lower the crown of your head toward the floor, then press back up. Your hips stay high, your core stays tight, and your shoulders do most of the work. It feels closer to an overhead press than a standard push-up, which is why it belongs on an abs and arms list.
How to scale it
- Bend your knees slightly if hamstrings are tight.
- Put your hands on a box or bench for an easier angle.
- Use a small range of motion first.
- Keep your head moving between your hands, not forward.
Aim for 5 to 8 controlled reps. No need to chase exhaustion on the first round. The shoulder fatigue builds fast when your torso stays braced.
This is one of the best bodyweight drills for upper-body strength because it rewards good positioning more than brute force. You’ll know when you’re cheating. Your head drops too fast. Your ribs pop. The floor starts winning.
14. Hollow Hold Arm Reach
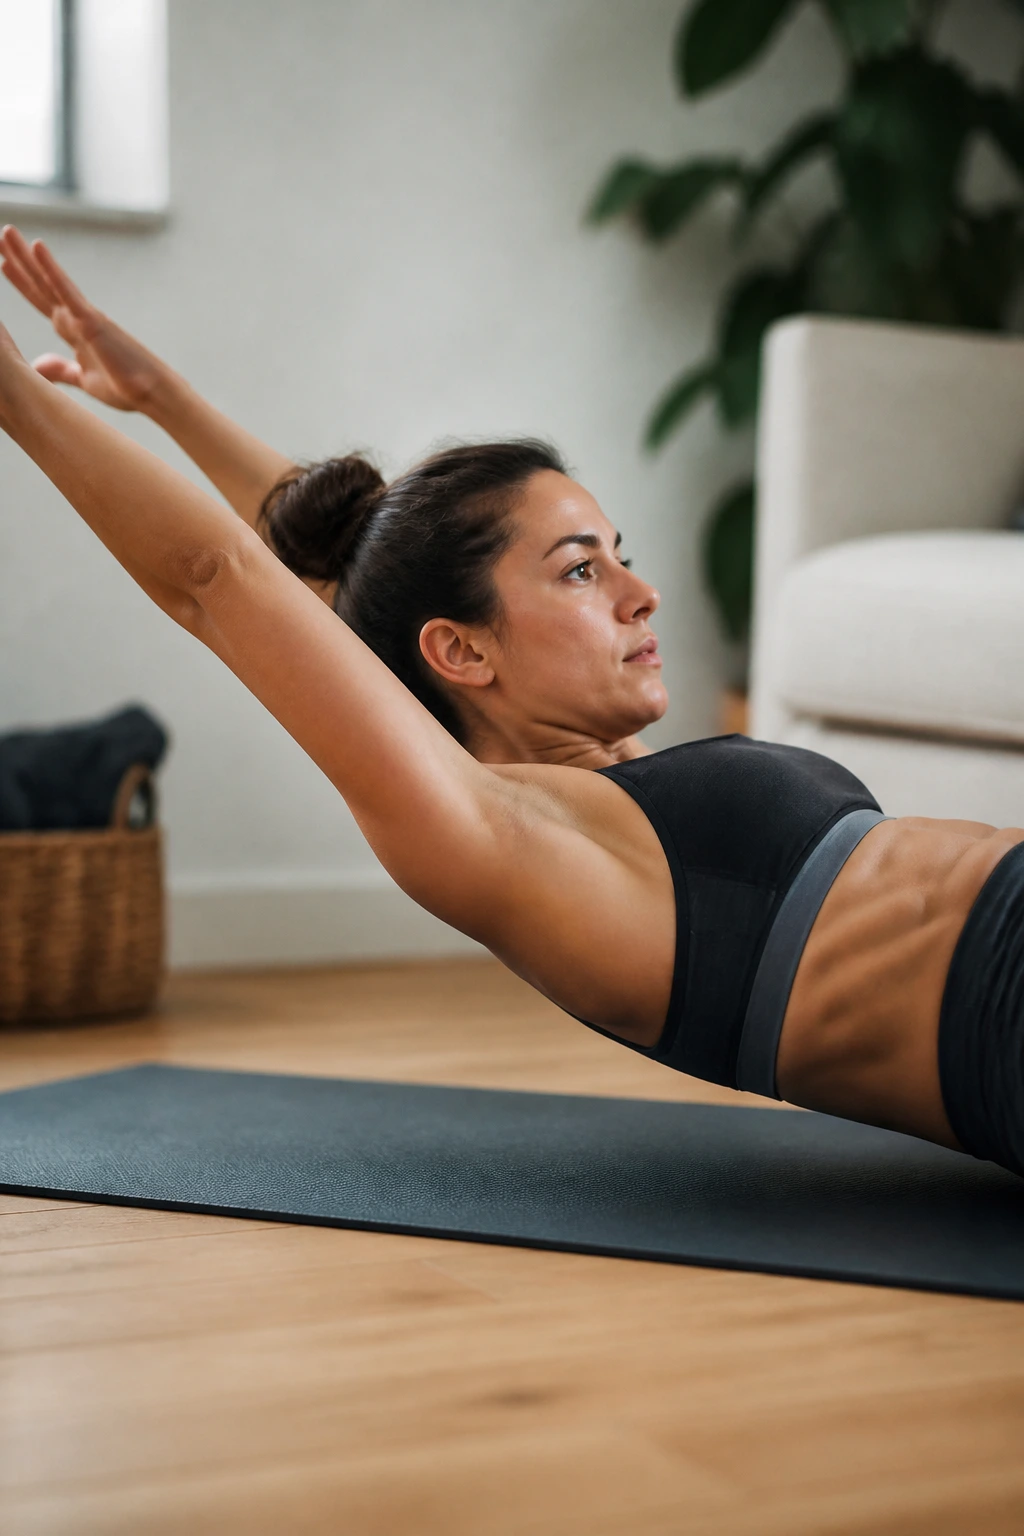
A hollow hold is not glamorous. Good. That’s part of why it works.
Lie on your back, press your lower back into the mat, lift your shoulders, and reach your arms overhead. If that feels too hard, bend your knees and keep the legs in tabletop. Now add small arm reaches toward the ceiling or just overhead pulses while your torso stays still.
The point is not to move more. The point is to move less while the abs do more.
A 20-second hold can be plenty at first. Build to 30 or 40 seconds if your back stays flat. If your ribs start flaring, shorten the lever by bringing the arms up higher or bending the knees.
I like this exercise because it teaches control without noise. No jumping. No fancy equipment. Just tension, breathing, and the odd satisfaction of making a quiet move feel hard.
15. Reverse Plank Leg Lift
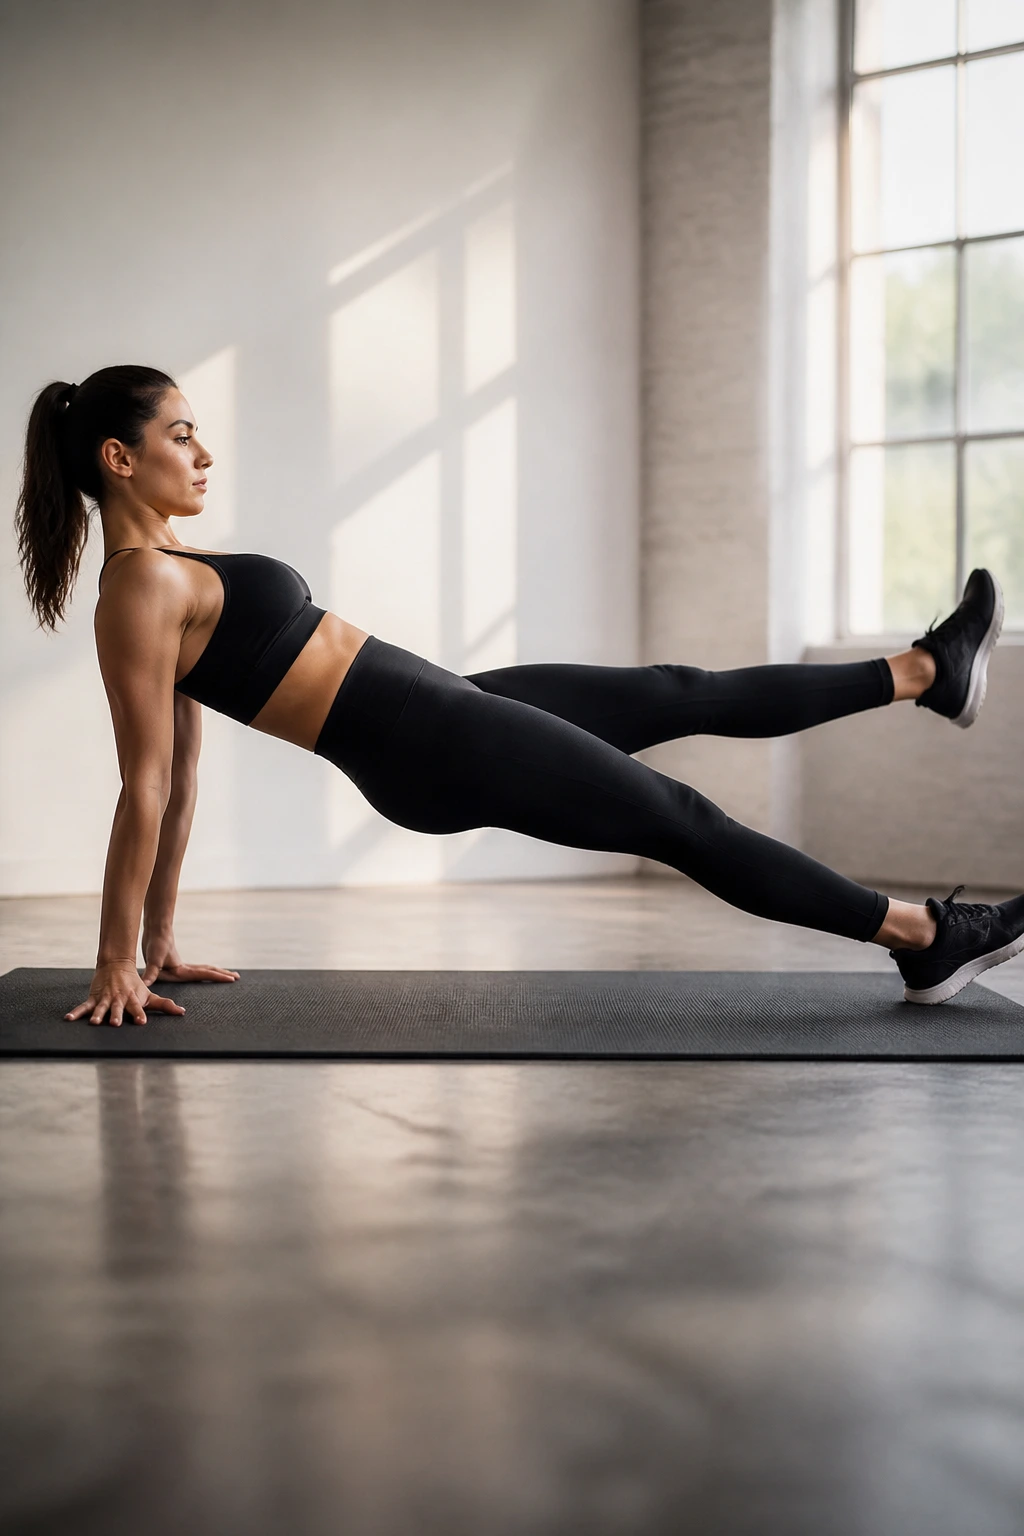
Most arm workouts live at the front of the body. This one doesn’t.
Sit with your legs straight out, hands behind you, fingers either forward or slightly turned out if that feels better. Lift your hips into a reverse plank, then raise one leg a few inches before switching sides. Your triceps, glutes, and posterior core all have to keep the line steady.
Set it up well
- Put your hands a little wider than your hips.
- Open the chest without shrugging.
- Lift the hips high enough to make a straight line from shoulders to heels.
- Do 6 to 8 leg lifts per side.
The reverse plank can be rough on the wrists, so adjust your hand angle if needed. If your hips sag, do the base hold first and add leg lifts later. There’s no prize for rushing into the harder version before you’ve earned it.
The back-of-body work is a nice change from all the push and punch drills. Your posture will notice.
16. Single-Arm Clean and Press
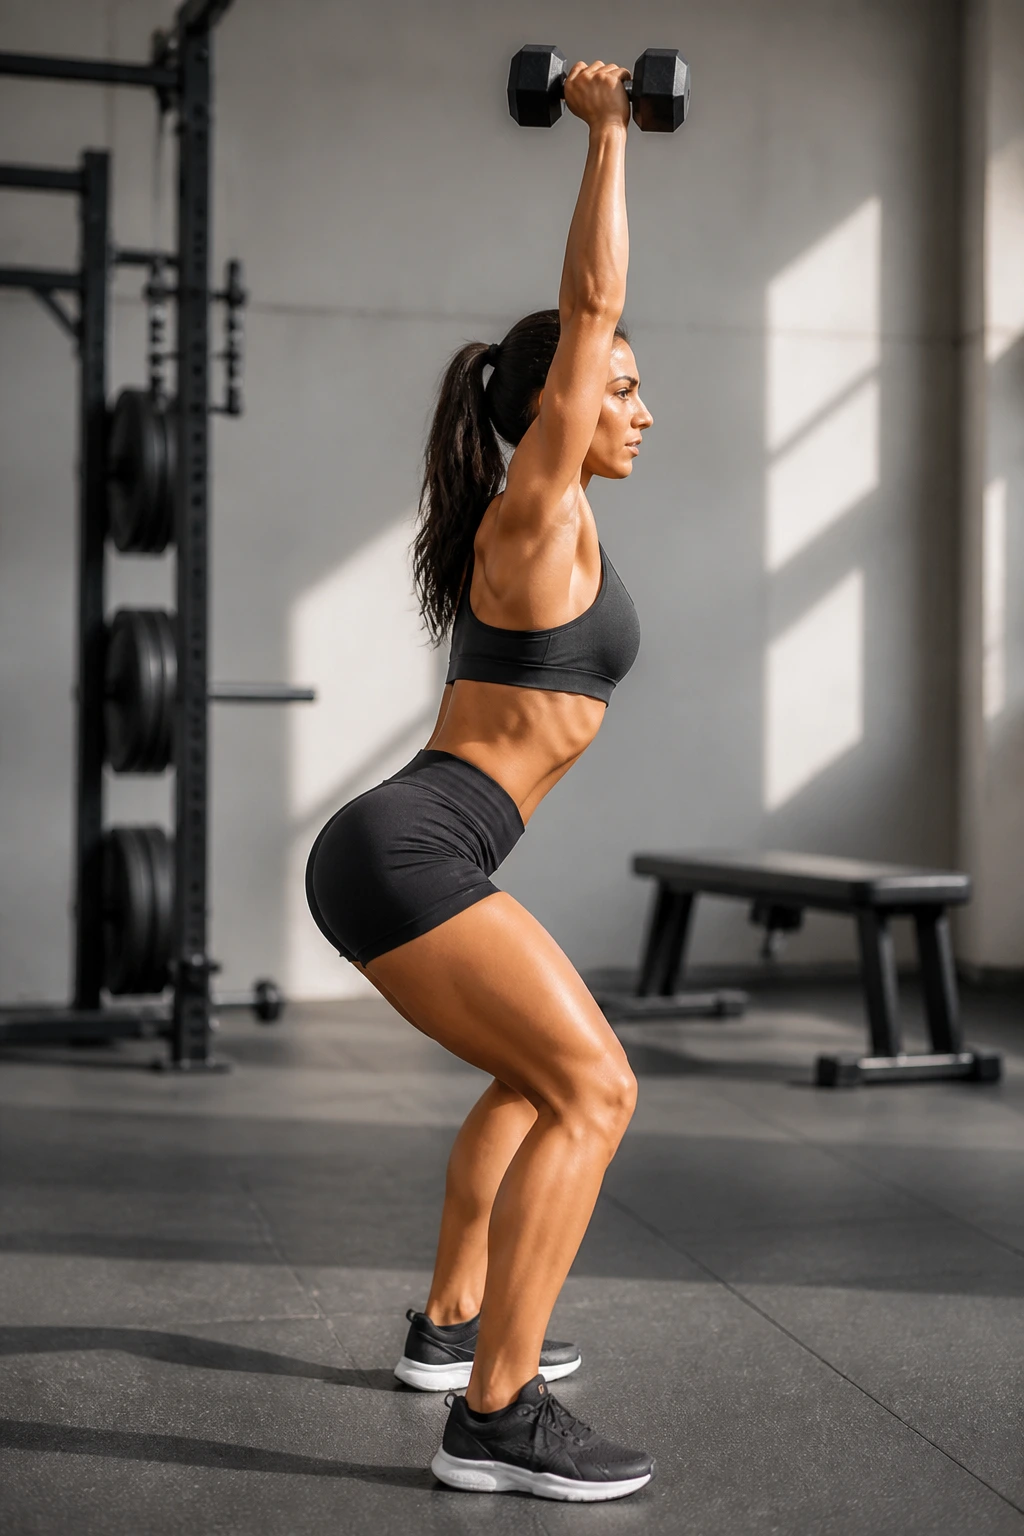
One arm at a time changes everything. The clean and press is a bit more technical than a curl or raise, but it’s worth learning because it trains power, shoulders, and core control all at once.
Hold one dumbbell or kettlebell between your feet, hinge at the hips, then drive it up to your shoulder in one smooth motion. From there, press overhead and lower it with control. Switch sides after 5 to 6 reps.
If the clean feels awkward, practice the path slowly: hip hinge, stand tall, catch at the shoulder. Don’t swing the weight out in front of you like you’re tossing groceries. It should stay close to the body.
A lighter weight is fine. Better, actually, if you’re learning the movement. The challenge comes from coordination and tension, not from loading the movement so heavy that the body starts folding in half.
17. Seated Towel Row and Bicycle Crunch
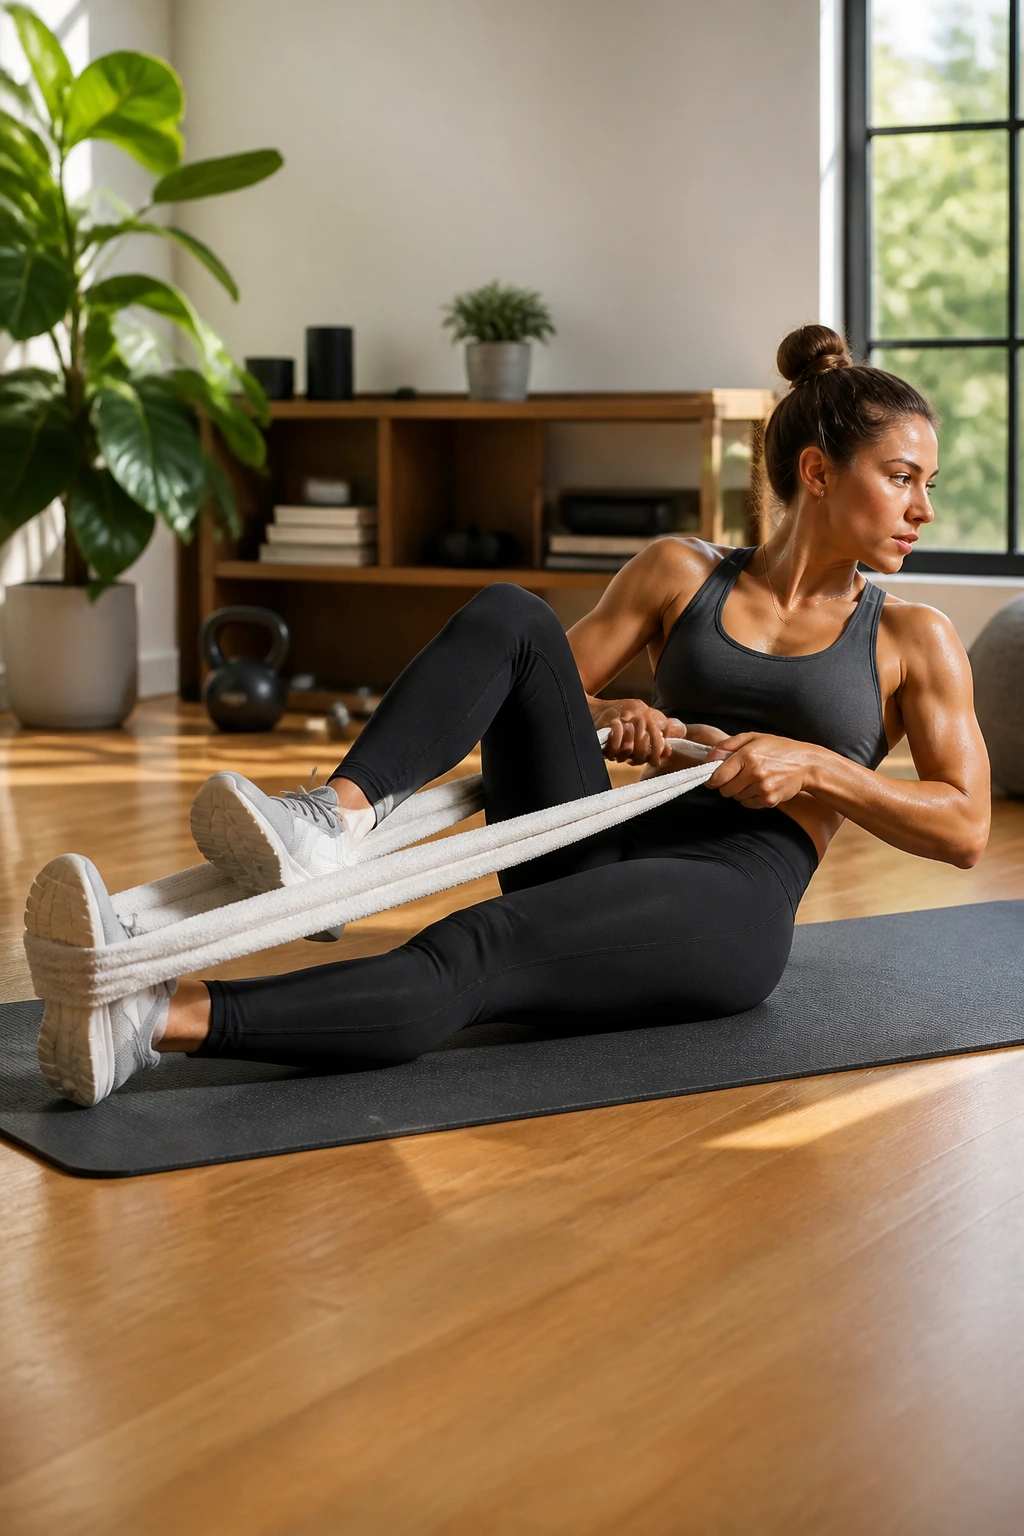
A towel, your feet, and a little floor space can make a surprisingly hard workout. Sit tall with your legs extended, loop a towel around the bottoms of your feet, and pull the ends as you row your elbows back. Then roll down and do bicycle crunches.
That combo pairs a pulling move with a twisting core drill, which is useful because the back side of the upper body rarely gets enough attention in home workouts. The row hits the biceps and upper back. The bicycle crunch hits the obliques and lower abs.
Quick format
- Row for 12 reps.
- Transition to 20 bicycle crunches.
- Rest 30 seconds.
- Repeat for 3 rounds.
Keep the towel taut the whole time. If it goes slack, the movement turns lazy fast. And if your neck tenses during crunches, place one hand lightly behind the head instead of yanking on it. Neck strain is not a sign of better abs work.
18. Split-Stance Punch-Out
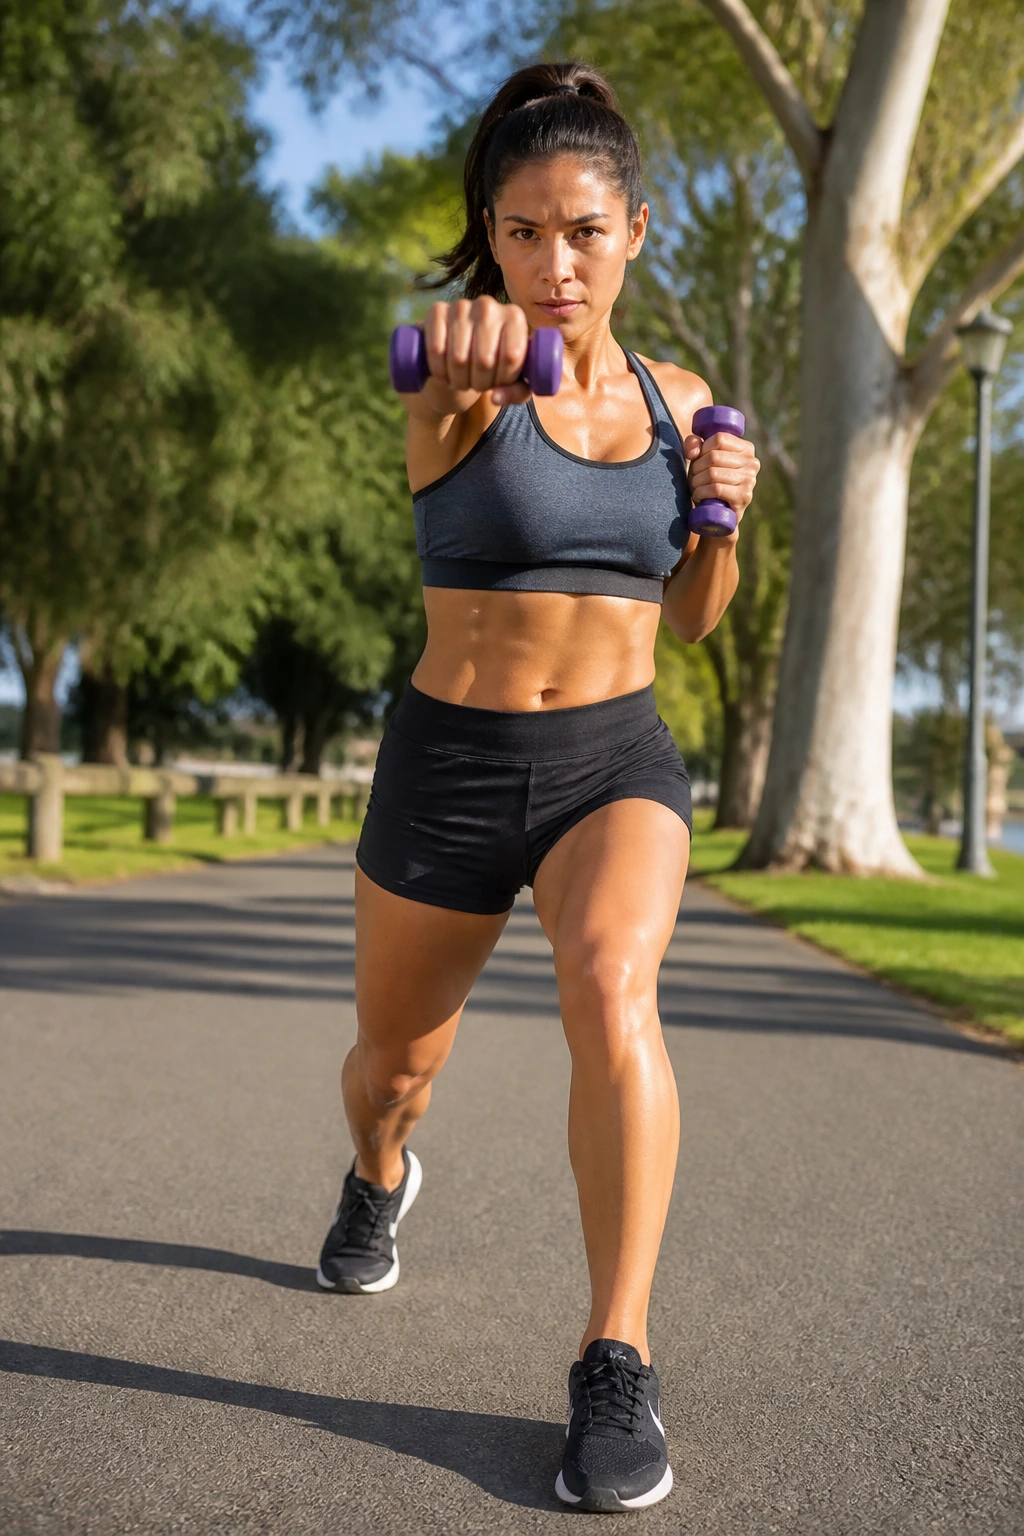
Standing split-stance punches are underrated because they look too simple. They aren’t.
One foot goes forward, the other back, and your hips stay mostly square. Punch straight out from the chest with light dumbbells or no weight at all, alternating sides in quick bursts. The split stance forces your torso to resist rotation, which makes the abs and shoulders share the load.
This is a strong choice if you want a standing workout that feels athletic without pounding your joints. Use 30- to 45-second rounds and keep the punches tight and snappy.
A good cue is to imagine your front knee and back hip staying quiet while your arms do the work. If your shoulders start swaying like a boat in shallow water, slow down. The point is control, not chaos.
You can also add a tiny pulse in the front knee to keep your legs awake. That’s optional. The punch alone is enough to make this one earn its place.
19. Plank Saw and Dumbbell Floor Press
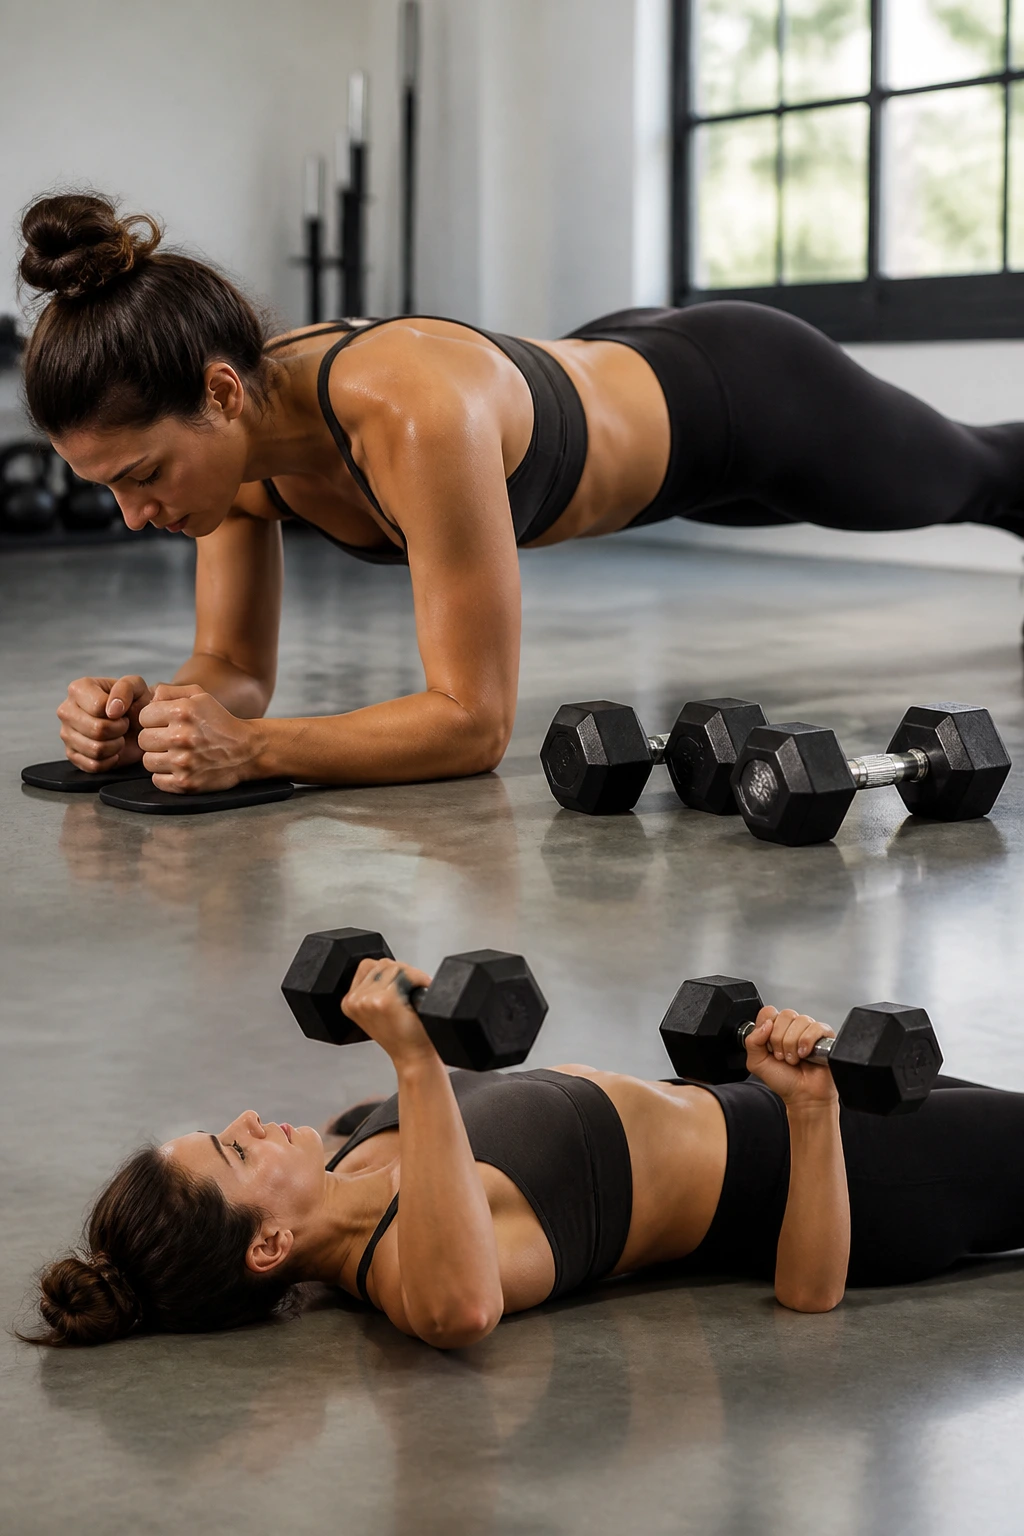
This pairing is mean in a useful way. The plank saw trains anti-extension, while the floor press builds chest, triceps, and shoulder strength without putting your joints in a bad spot.
For the saw, use sliders, towels on a smooth floor, or forearms on paper plates if that’s what you’ve got. Rock your body forward and back a few inches while keeping the plank line straight. Then roll over and do a floor press with dumbbells, lowering until your elbows lightly touch the floor before pressing up again.
How to pair them
- 8 to 10 plank saws.
- 10 to 12 floor presses.
- Rest 45 seconds.
- Do 3 rounds.
The floor press is friendly for people who dislike full push-ups but still want real arm work. The plank saw, meanwhile, makes your abs fight to stop the ribs from dumping toward the floor. Together, they hit the areas you want without turning the session into a cardio circus.
Keep the saw short. Big sliding ranges often break form.
20. 8-Minute Abs and Arms EMOM Finisher
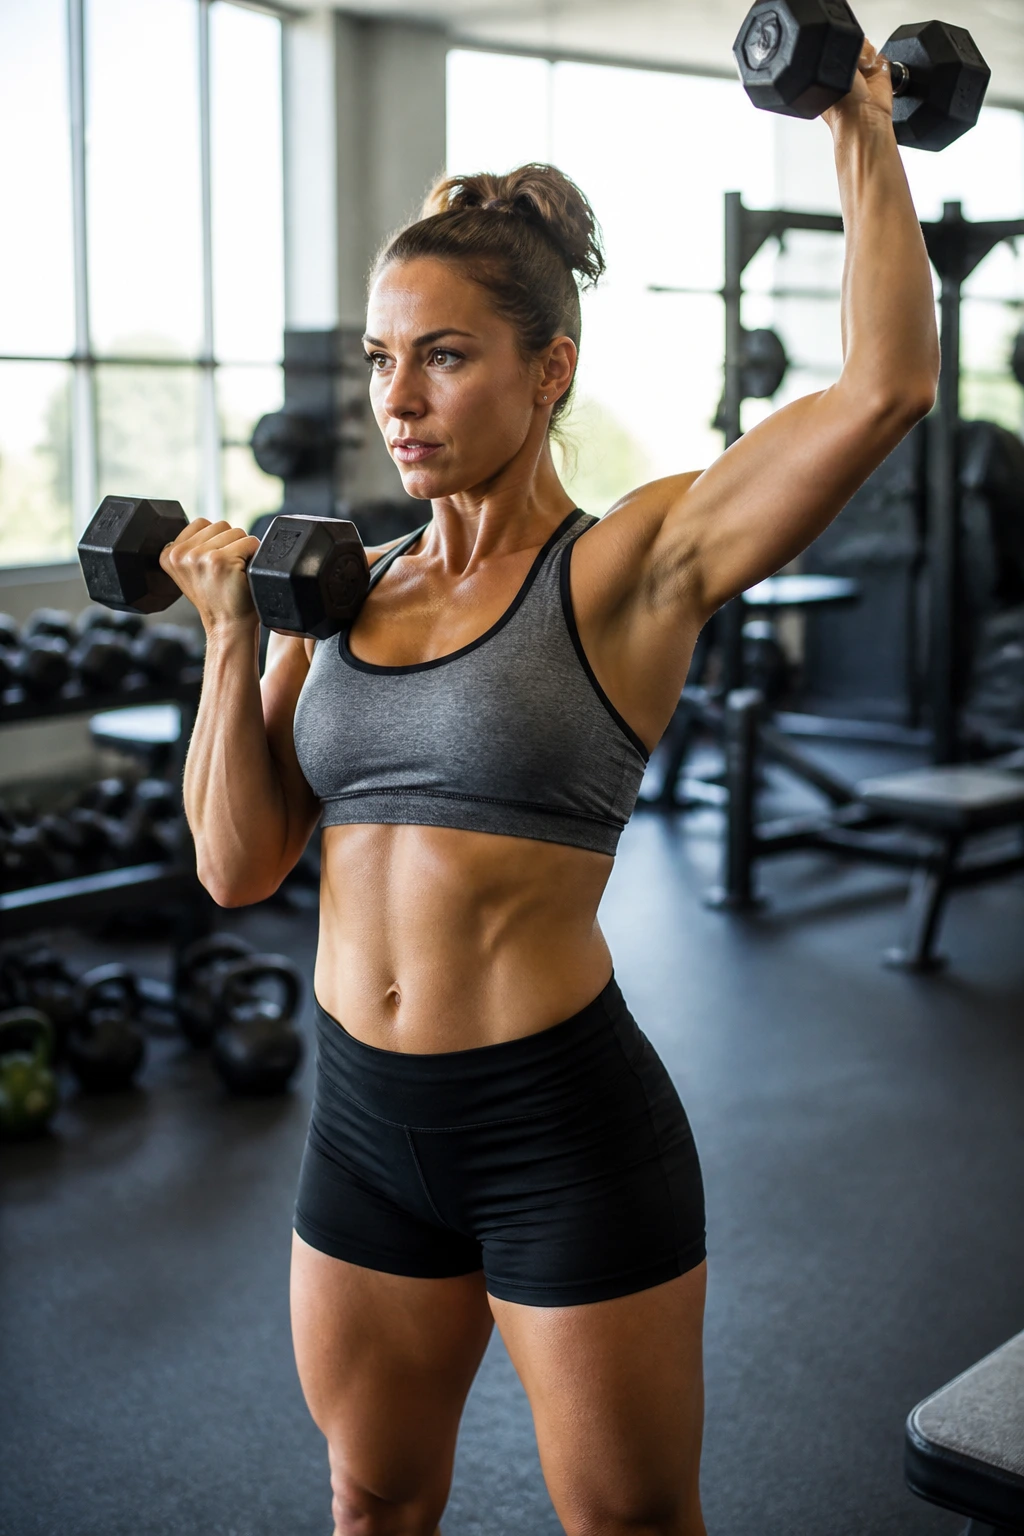
An EMOM is simple: every minute on the minute, you start the next task. It’s a clean way to finish a workout because it leaves no room to coast.
Use this 8-minute version when you want a short, sharp finisher after one of the workouts above. Minute 1: 10 dumbbell curl-to-press reps. Minute 2: 20 mountain climbers. Minute 3: 8 triceps dips. Minute 4: 20-second hollow hold. Repeat once more for 8 total minutes.
A few rules
- Pick weights you can move with clean form for all 10 reps.
- Keep the mountain climbers fast but not sloppy.
- If your form cracks, cut the reps by 2 or 3.
- Rest for whatever time remains in the minute.
That’s the beauty of an EMOM. The clock tells you when to work and when to breathe. No wandering around. No guessing.
Use this one on days when you want your abs and arms to feel used, not crushed. Rotate it with the other workouts during the week, and keep the exercises varied enough that your shoulders, elbows, and core don’t get bored. They notice boredom. So does progress.
