



Knee pain is the great leveler. It stops you from running, climbing stairs, or even just sitting comfortably at your desk. Most people assume the knee joint itself is the culprit, the primary source of the ache, but the human leg works as a kinetic chain. When your ankle is too stiff or your hip is locked up, the knee bears the brunt of that restriction. It becomes a pivot point that is forced to rotate, twist, or compensate in ways it was never designed to handle.
That nagging ache you feel on the inside of your joint or just behind the kneecap is often a cry for help from the tissues surrounding the joint rather than the cartilage itself. When you start looking at the muscles that cross the knee—the quads, the hamstrings, the calves, and the glutes—you start to see a roadmap for relief. Tension in these muscle groups effectively creates a “tugging” effect on the kneecap. If your quadriceps are tight, they pull the kneecap upward against the femur, creating friction. If your hamstrings are rigid, they force the knee into a slightly bent position, altering your gait and forcing the joint to work harder with every single step you take.
Getting relief at home isn’t about expensive equipment or aggressive physical therapy maneuvers that make you wince. It is about restoring the natural length of those tight tissues and waking up the muscles that have gone dormant. You do not need to be a flexibility expert to start. In fact, the most effective routines are often the most boring ones—slow, controlled movements that signal your nervous system that it is safe to let go of that protective tension.
Understanding the Kinetic Chain of Your Leg
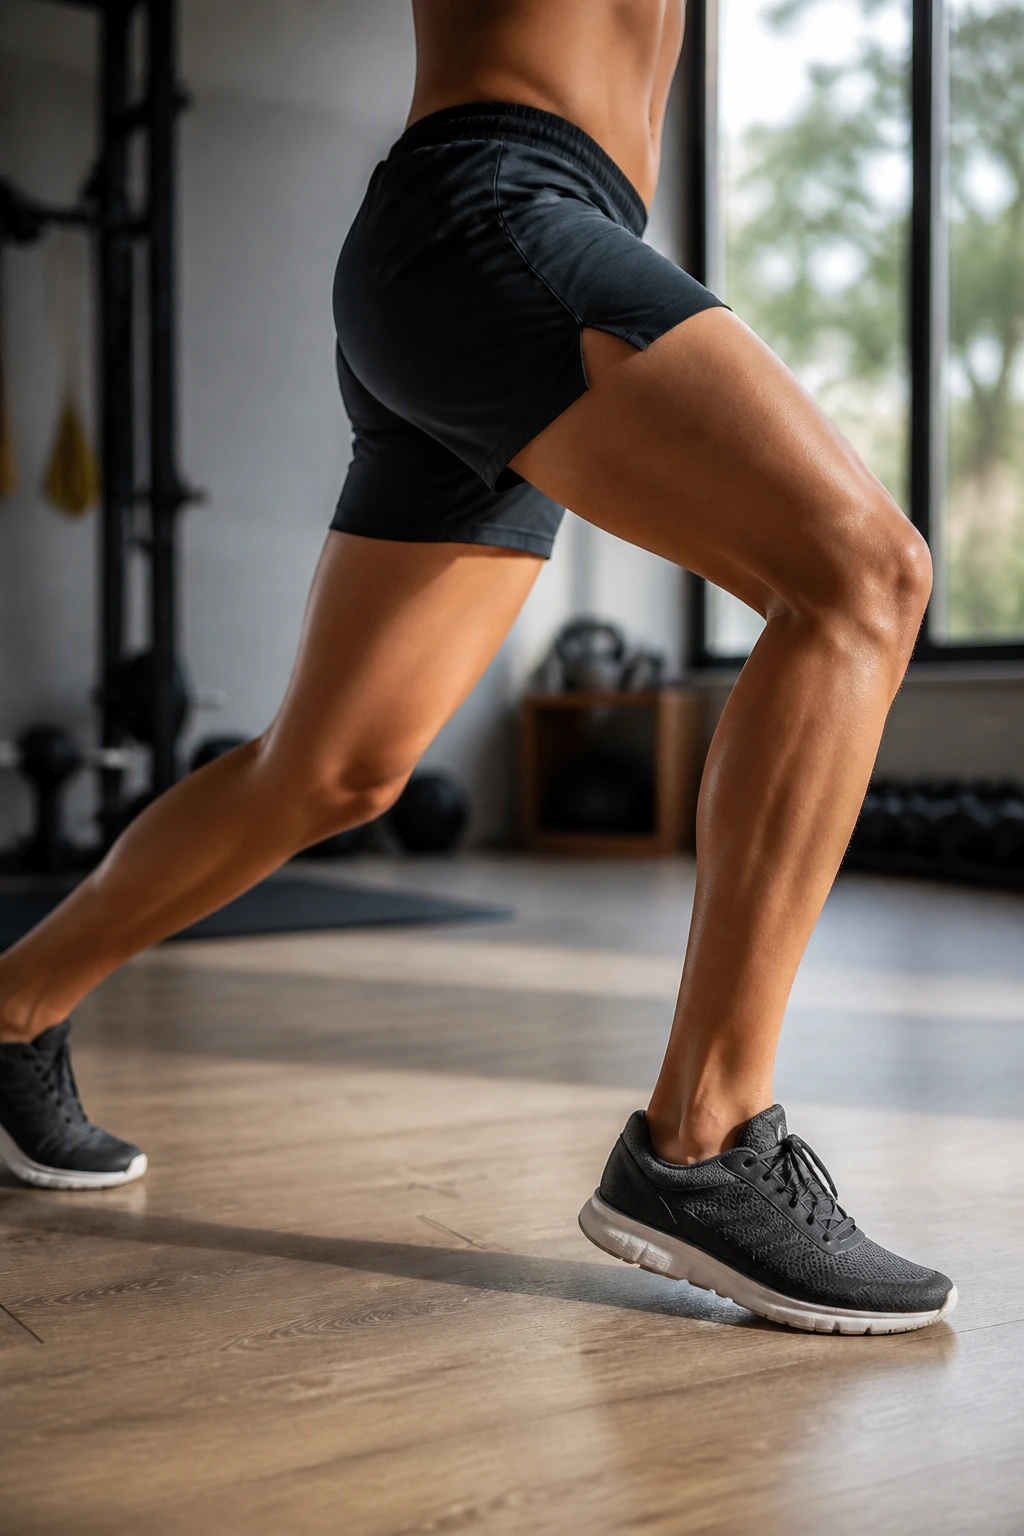
Before you start any movement, you have to appreciate the geography of your leg. The knee is a hinge. It is meant to open and close, not to rotate or twist. When we experience pain, it is frequently because the joints above (the hip) and below (the ankle) have stopped doing their job.
If your ankle is stiff, you cannot move your shin forward properly when you walk. Your knee then has to twist to compensate. If your hip is tight, your thigh bone doesn’t track correctly, which pulls the kneecap out of its natural groove. This is why a “knee pain” stretch routine must involve the whole leg. We are addressing the architecture of the entire lower body, not just the hinge itself. If you focus solely on the knee, you are treating the symptom and ignoring the cause.
The Cardinal Rules of Knee Stretching Safety
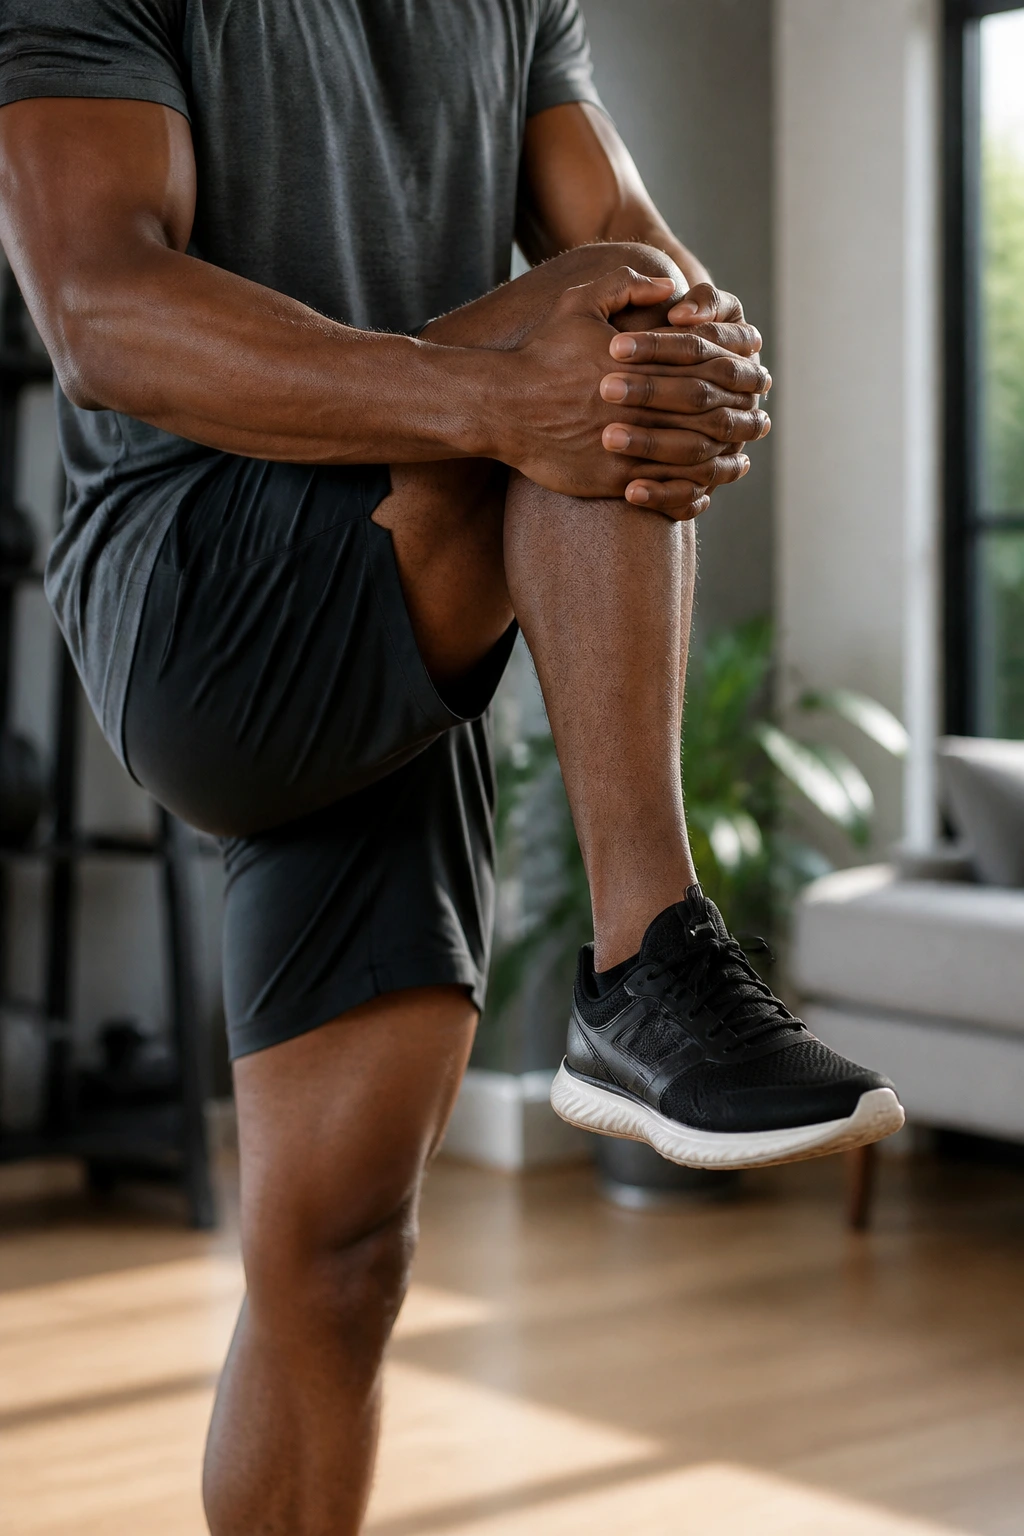
There is a massive difference between “productive discomfort” and “sharp pain.” When you are stretching, you are looking for a sensation of muscle tension—a dull, heavy pull that feels like the muscle is being lengthened. You are never, ever looking for a sharp, shooting, or stabbing sensation inside the joint. If you feel that, stop immediately. Your knee is telling you to back off.
Consistency beats intensity every time. You will get much better results by stretching for five minutes every single day than by doing a grueling one-hour session once a week. Aim for a level of discomfort where you can still breathe deeply and evenly. If you find yourself holding your breath or clenching your jaw, you have pushed too far. Your nervous system is bracing against you, which is the exact opposite of what we want.
1. Standing Calf Stretch
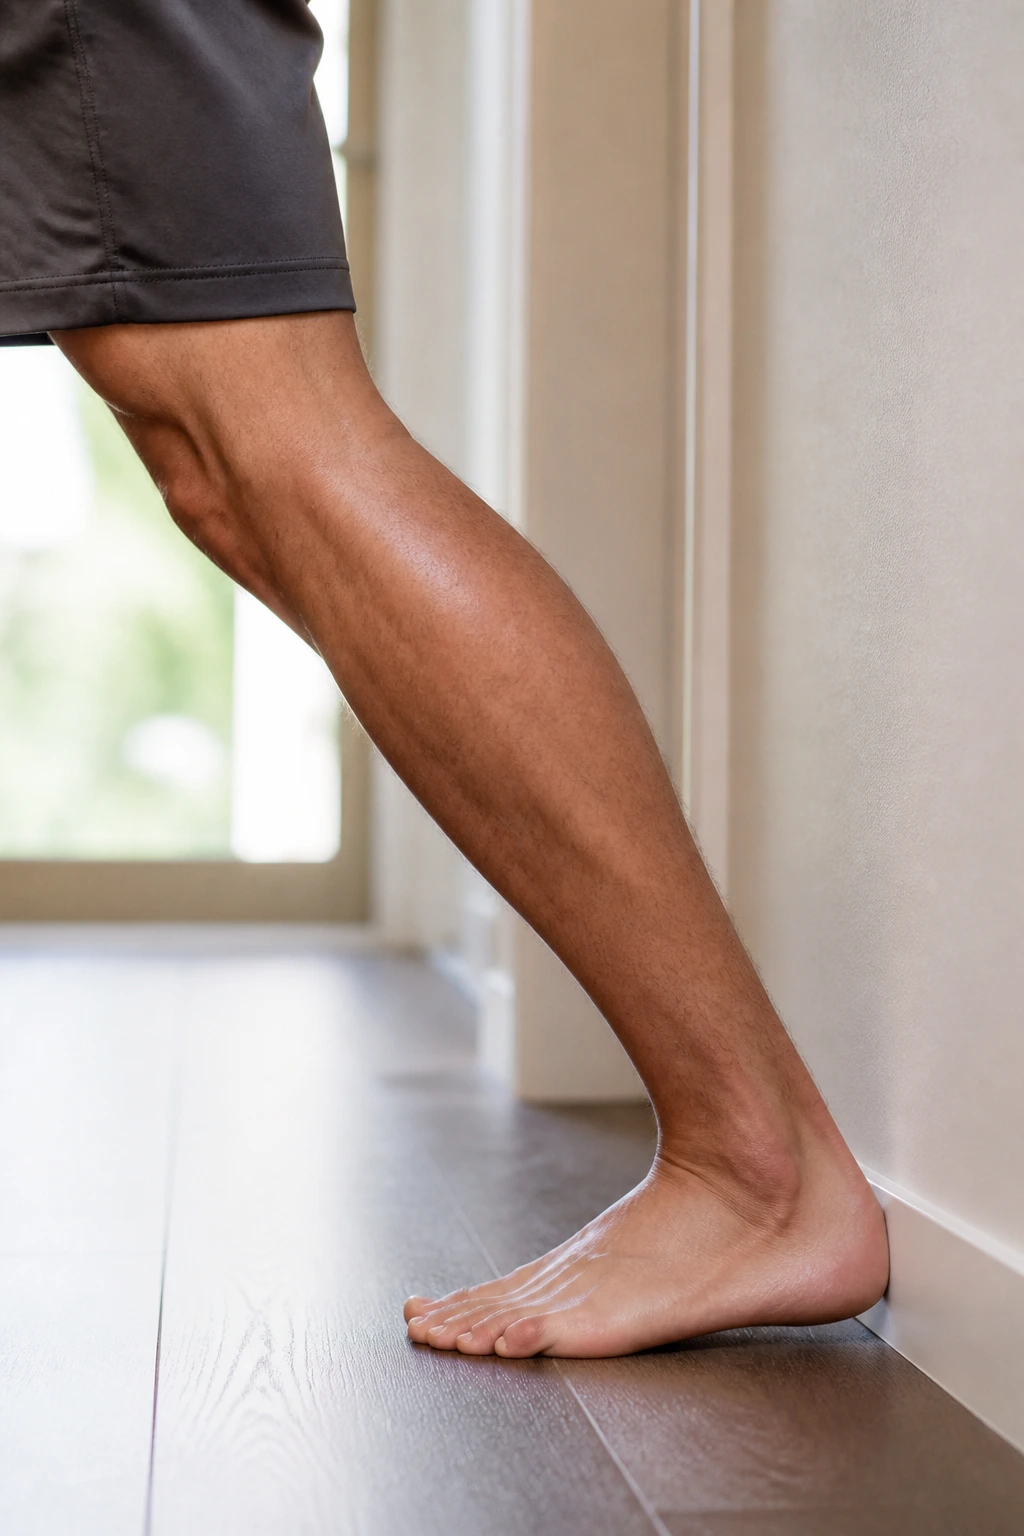
Your calves are the silent drivers of your gait. If they are tight, they restrict the ankle’s ability to bend, which forces the knee to overwork. This is the most foundational stretch for anyone who spends time on their feet.
The Technique
Find a sturdy wall or door frame. Step one foot back, keeping the heel pressed firmly into the floor. The back leg must be straight, but not locked. Lean your upper body forward toward the wall, shifting your weight into the front knee. You should feel a deep, solid stretch along the back of your lower leg.
What to Watch For
Do not let your back heel pop up. If it does, you are losing the stretch. Also, ensure your back foot is pointing straight forward, not splayed out to the side. If your foot is turned out, you are bypassing the main belly of the gastrocnemius muscle. Hold this for 45 seconds, then switch legs.
2. Seated Hamstring Stretch
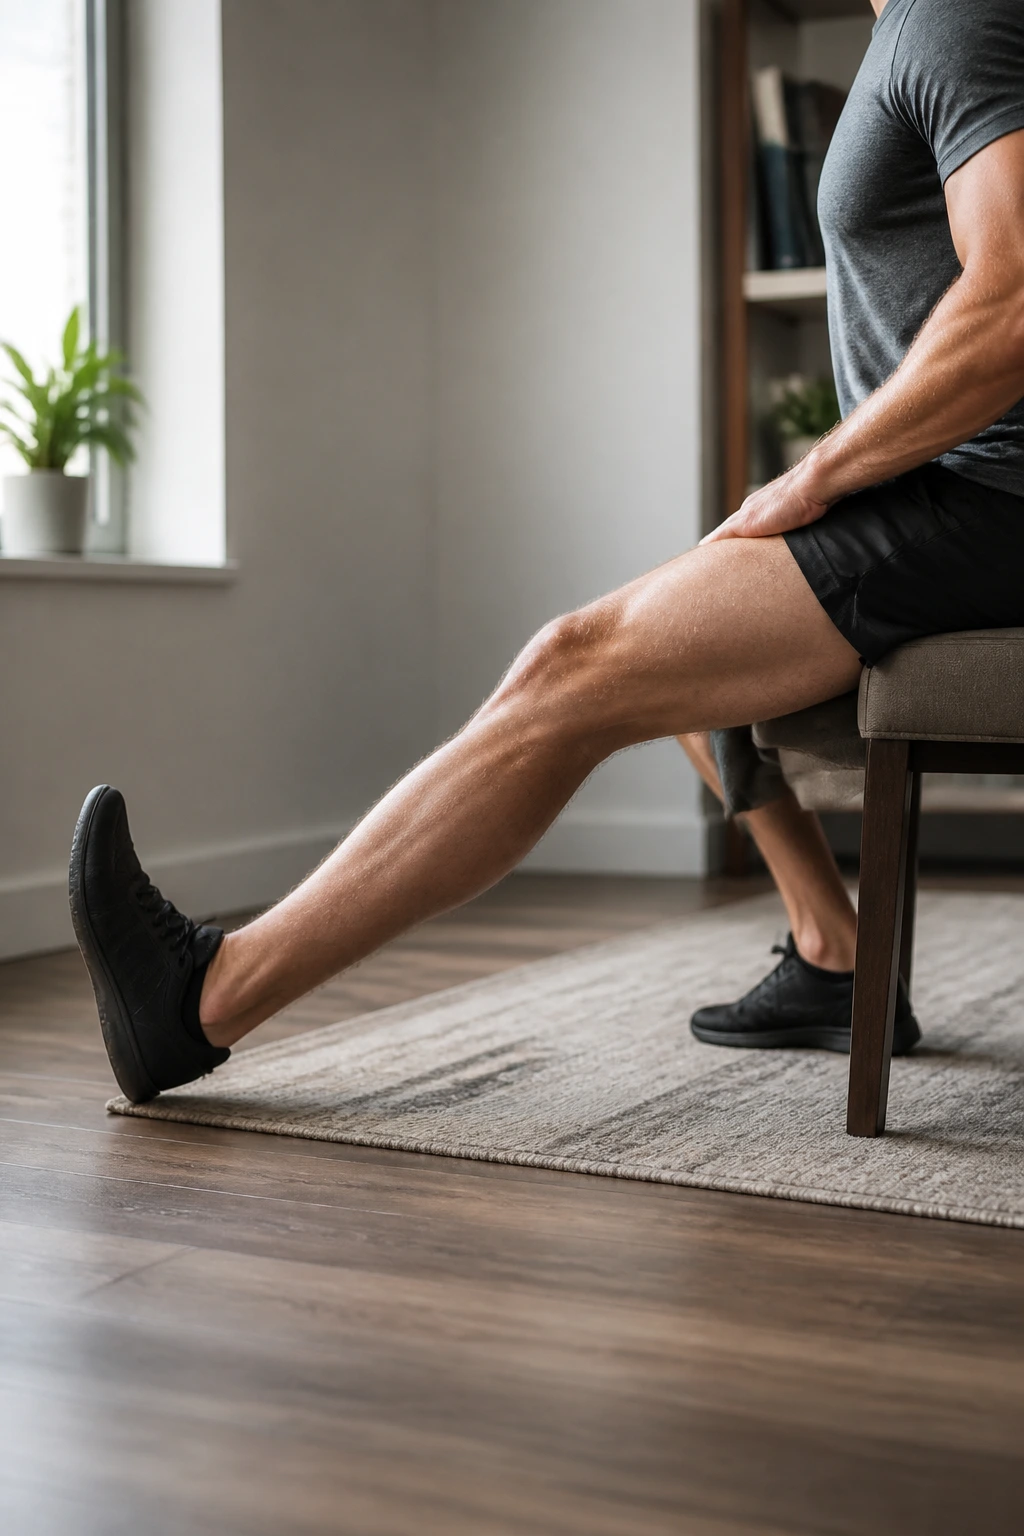
Tight hamstrings are a primary cause of knee discomfort because they act as a “leash” on the knee joint. When they are chronically short, they pull the knee into a bent position, which prevents the leg from fully straightening.
The Technique
Sit on the edge of a chair. Extend one leg straight out in front of you, with your heel resting on the floor and your toes pointed toward the ceiling. Keep your back completely flat—think about hinging at the hips, not curling your spine. Gently lean your chest forward toward your thigh until you feel a pull behind the knee.
Why This Works
By keeping the spine neutral, you isolate the stretch to the hamstrings. If you round your back, you are just stretching your lower back, which is a common mistake that wastes your time. Keep your hands on your bent knee for support. Hold this position for 30 seconds and repeat twice on each side.
3. Standing Quad Stretch
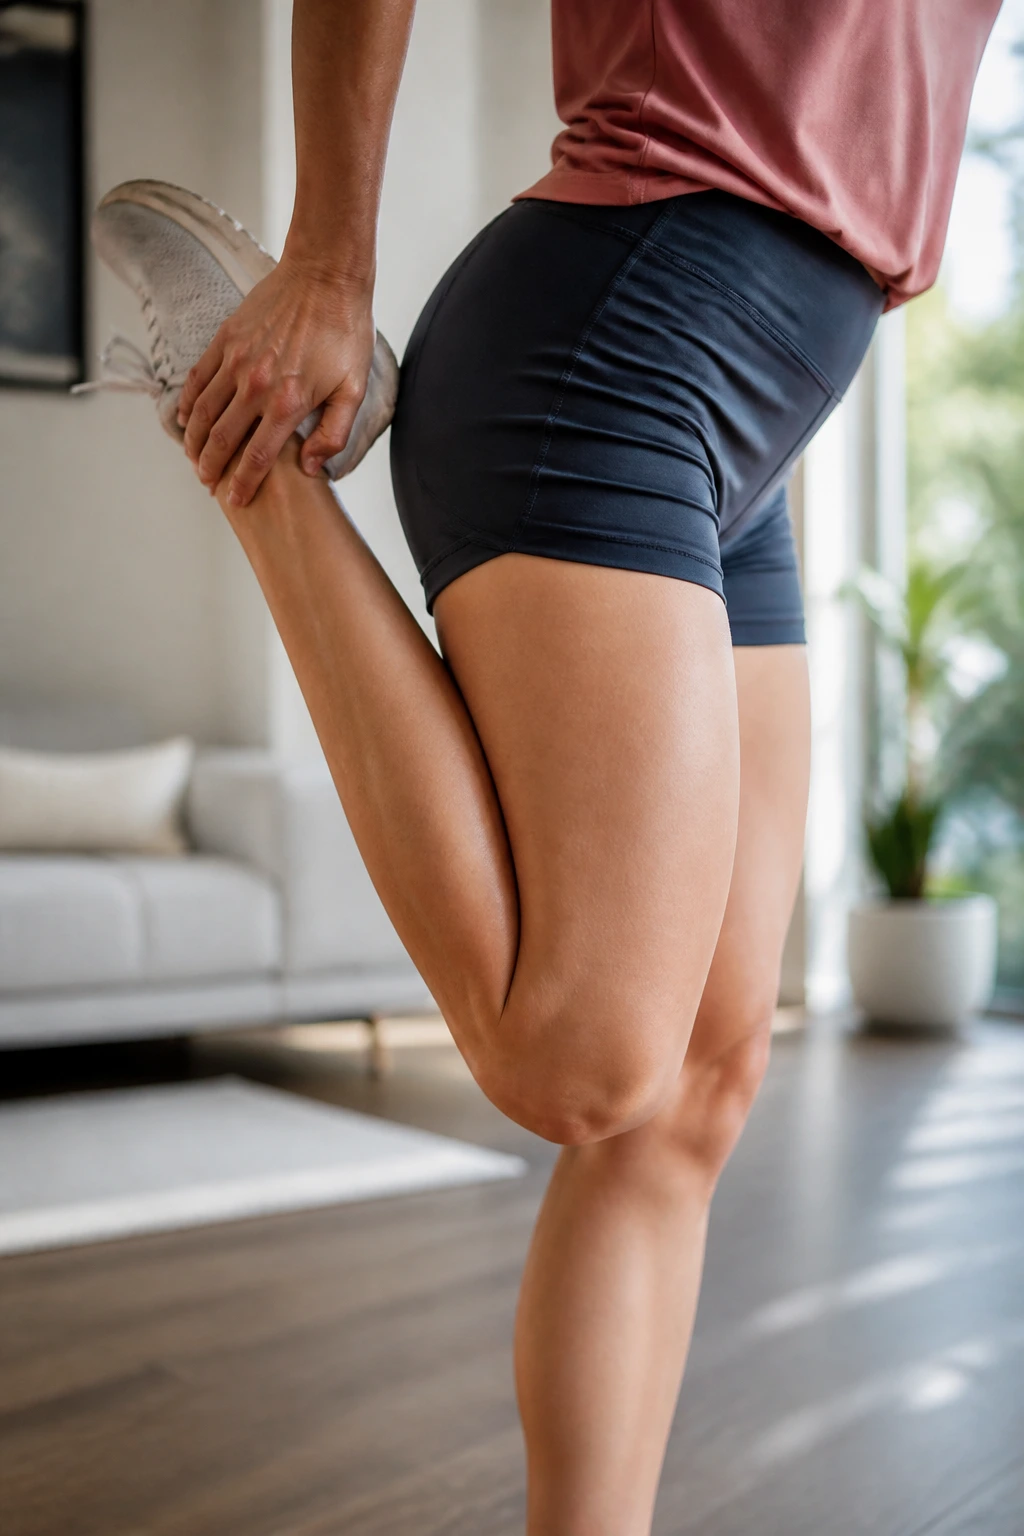
The quadriceps are the largest muscle group in your leg. When these are tight, they clamp down on the kneecap. Most people do this stretch poorly by arching their lower back, which takes the tension off the quad.
The Technique
Stand near a wall for balance. Reach back and grab your ankle with the same-side hand. Bring your heel toward your glute. Now, here is the secret: push your hips forward slightly and squeeze your glute on that side. This engagement creates a much more intense and effective stretch.
Common Pitfalls
Avoid letting your knee drift out to the side. Keep your knees close together—touching, if possible. If your knee drifts out, you aren’t stretching the rectus femoris, which is the part of the quad that crosses the knee joint. If you cannot reach your ankle, use a towel wrapped around your foot.
4. Supine Straight Leg Raise
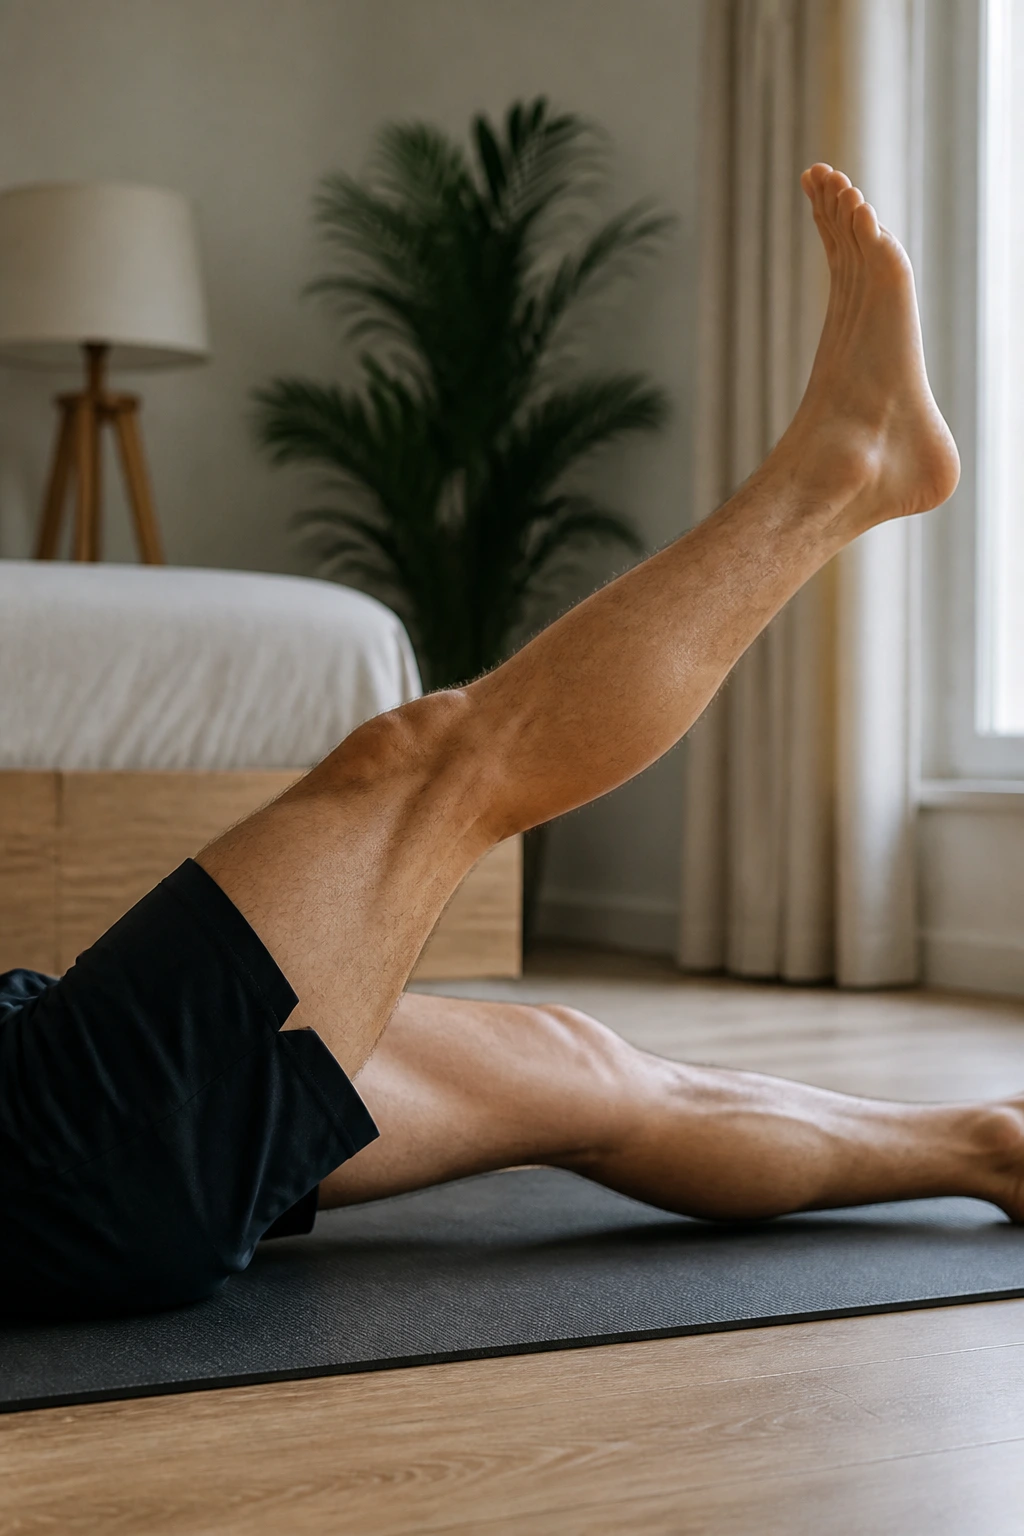
This is technically a strengthening move, but it is essential for knee health. It builds the quad muscles without putting any weight or shearing force on the knee joint itself. It is the gold standard for post-injury rehab for a reason.
The Technique
Lie flat on your back on a yoga mat or firm carpet. Bend your left knee and plant your foot on the floor. Keep your right leg perfectly straight. Slowly lift your right leg until it is level with your left knee. Pause for three seconds at the top, then lower it with total control.
Visual Cues
Imagine your leg is a heavy wooden beam. You shouldn’t be swinging it up; you should be squeezing your thigh muscle to lift it. If your knee feels shaky, focus on locking the quad muscle before you lift. Perform 10 to 15 repetitions on each side.
5. Wall Slide
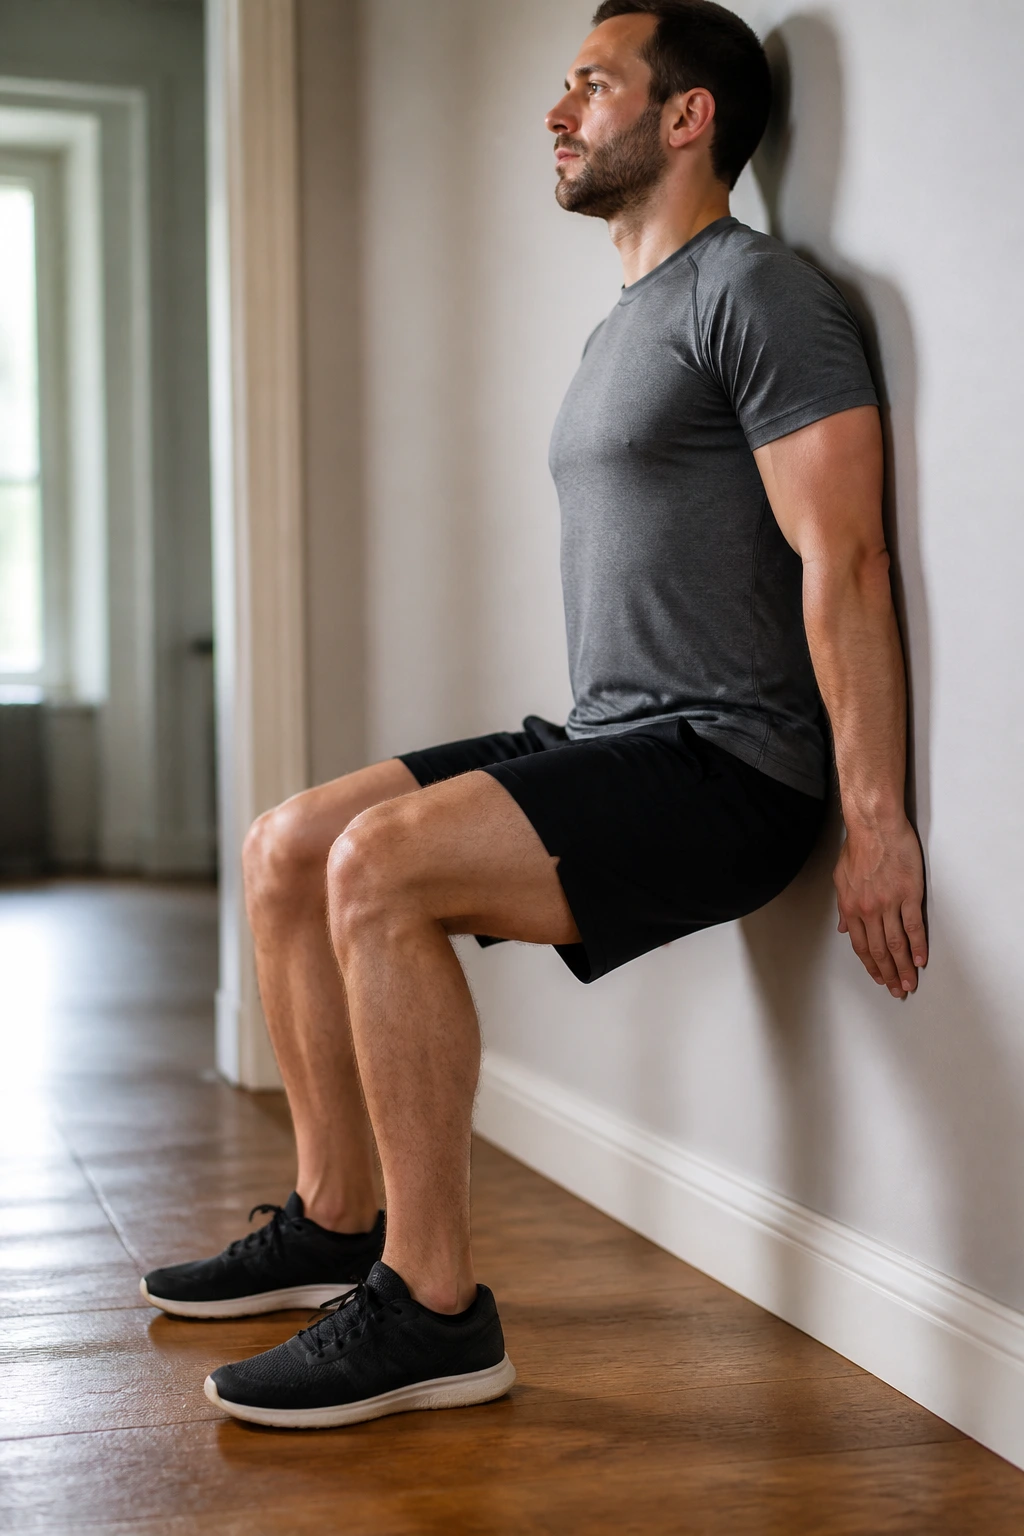
When your quads are weak, your knee cap doesn’t track properly. This movement teaches your muscles how to work together to support the knee joint throughout a full range of motion.
The Technique
Stand with your back against a wall, feet shoulder-width apart and about a foot away from the wall. Slowly slide your back down the wall, bending your knees. Only go down as far as is comfortable—you do not need to do a deep squat. Slide back up using your legs, not your back.
The “Why”
This movement is excellent because the wall supports your spine, removing the balance variable. Focus on keeping your knees aligned over your second toe. If your knees are caving inward, place a small pillow between them and squeeze it while you slide. This activates the inner thigh muscles, which are crucial for knee stability.
6. Prone Quad Stretch
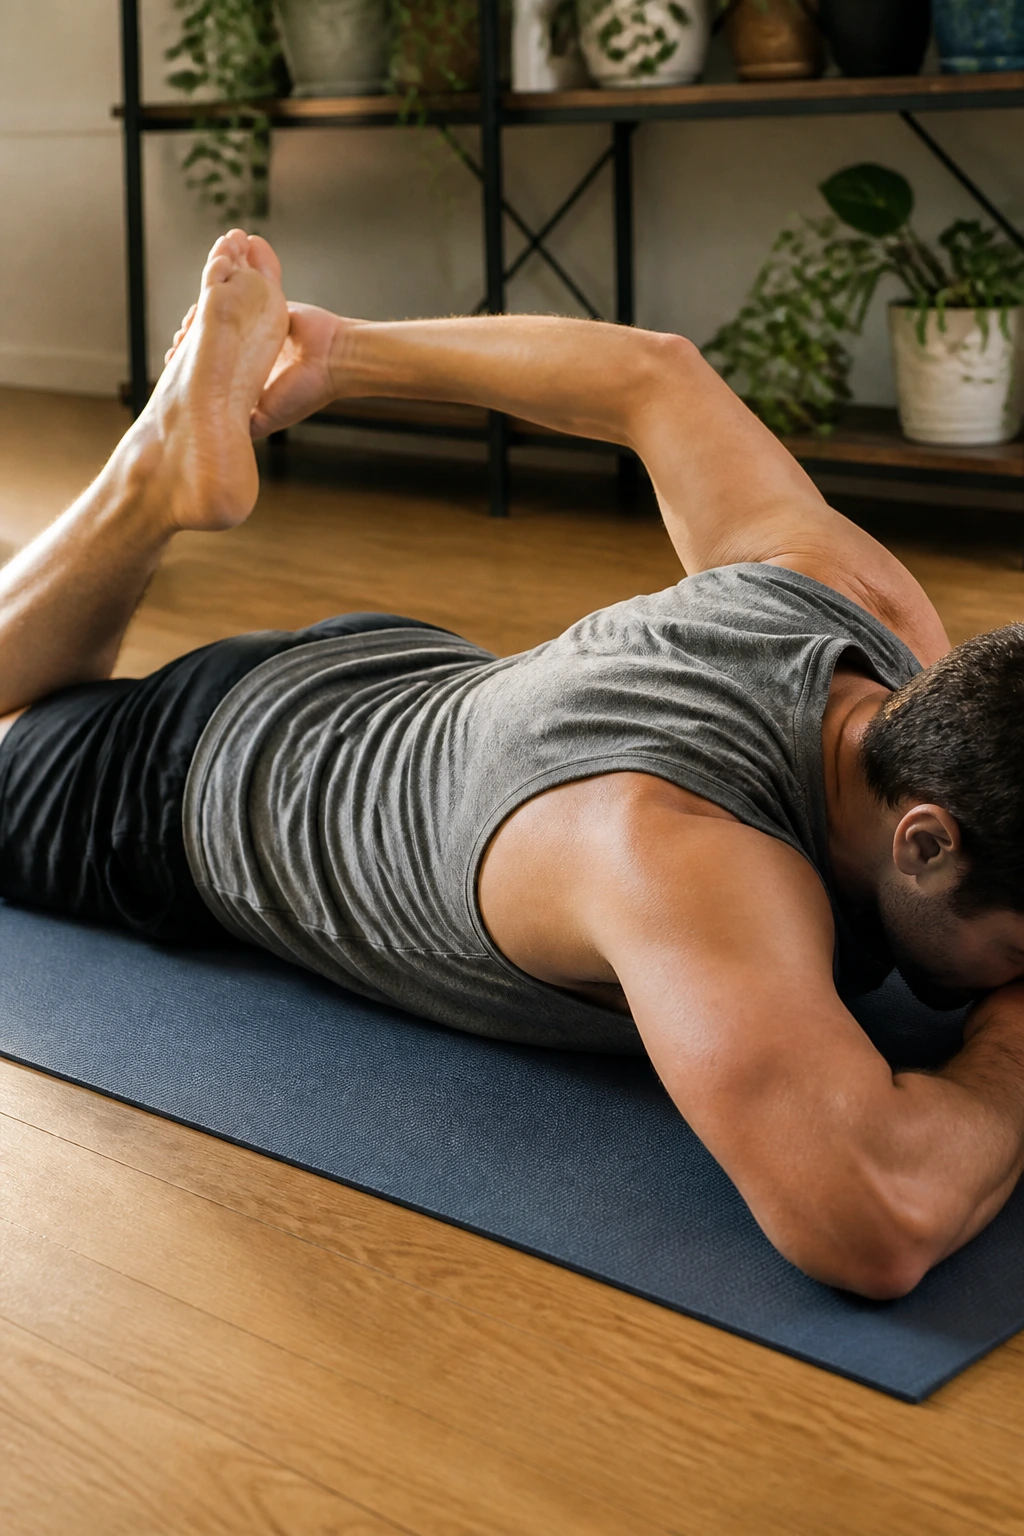
If standing on one leg is too challenging for your balance, this variation allows you to target the quads while completely removing the need to stabilize your body.
The Technique
Lie on your stomach. Reach back and grab your ankle with your hand. Slowly pull your heel toward your glute. You can rest your forehead on your other arm. This puts the muscle in a slightly different position than the standing version, often catching fibers that are missed when standing.
Key Details
If you have tight quads, your hips will naturally want to lift off the floor. Fight this. Keep your pelvic bone pressed into the mat. The more you anchor your hips, the more profound the stretch becomes. If you feel pressure in your lower back, stop and reset your pelvis.
7. Heel Slides
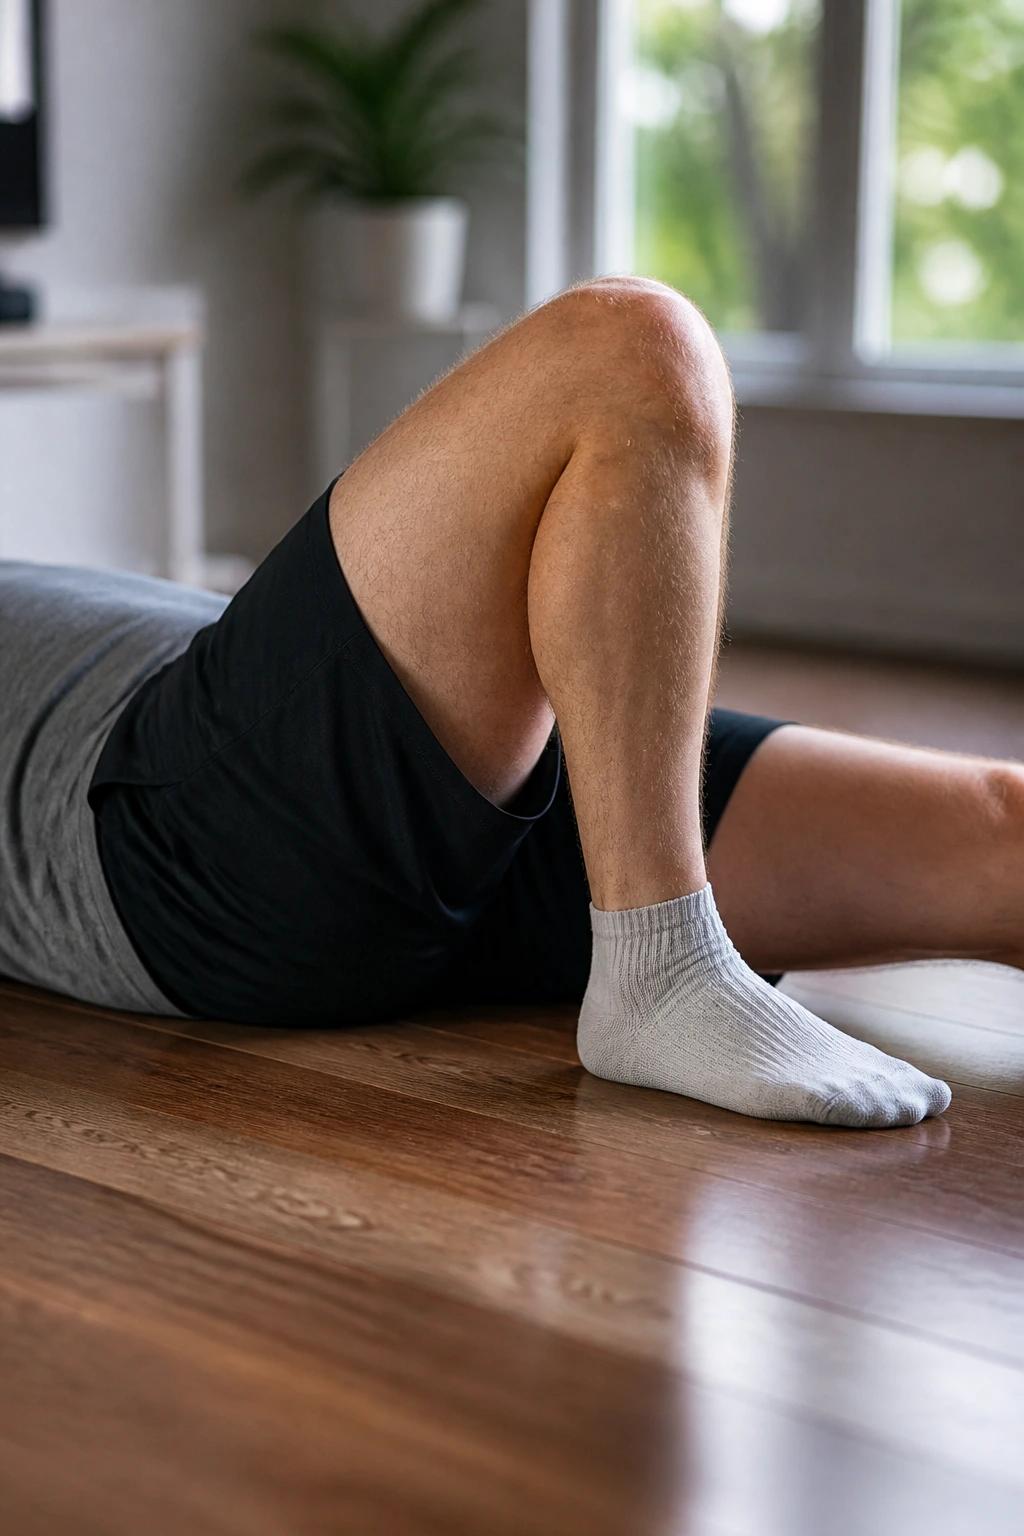
This is a gentle, low-impact way to improve knee range of motion. It is perfect if you have had a recent flare-up and are struggling to bend your knee.
The Technique
Lie on your back with legs straight. Slowly slide your heel toward your glute, bending the knee, and then slide it back out. Do this on a smooth surface—use a plastic bag under your heel if you are on a carpet to help it glide.
Progressive Effort
Do not force the bend. Just go to the point of gentle tension and hold it for a few seconds. This isn’t about power; it’s about sliding, not pulling. The friction of the floor provides enough resistance to work the muscles without causing strain. Aim for 20 slides per leg.
8. Seated IT Band Stretch
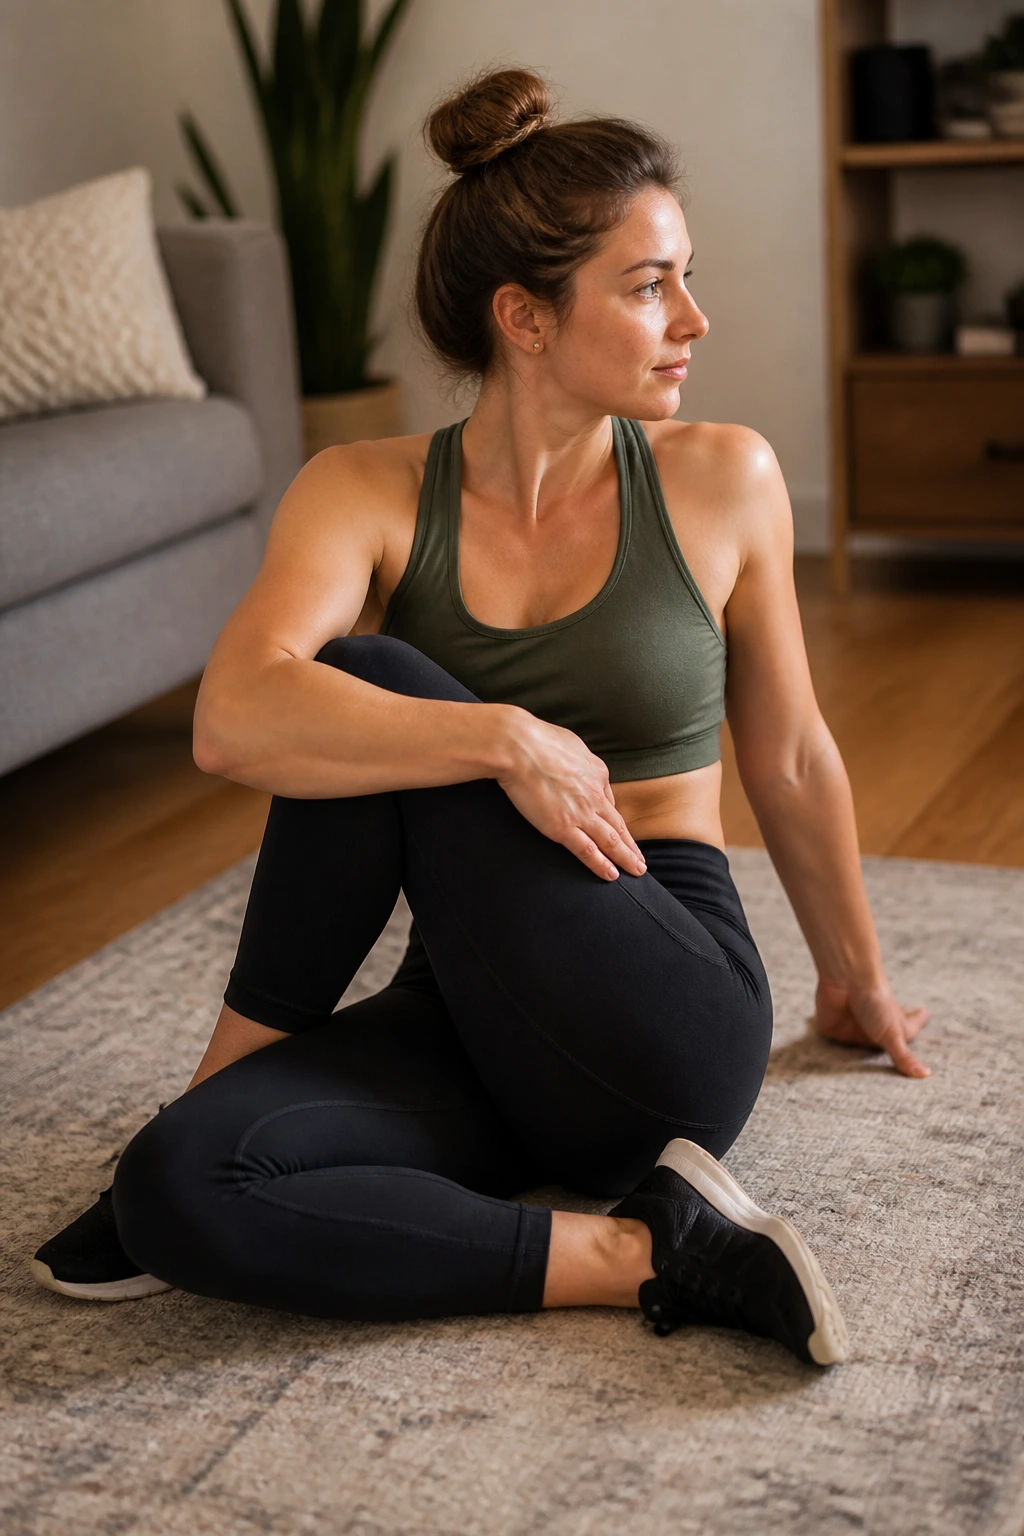
The iliotibial (IT) band runs down the outside of your thigh. When it gets tight, it can pull the kneecap to the outside, causing significant lateral knee pain. This stretch is a bit tricky to find, but it is worth the effort.
The Technique
Sit on the floor. Cross your right leg over your left, placing your right foot on the outside of your left knee. Take your left elbow and hook it around your right knee. Gently twist your torso to the right while pulling your knee toward your left shoulder.
The Feel
You should feel this along the outside of the thigh and hip, not deep in the knee. If you feel it in the knee, you are twisting too aggressively. Adjust the angle of your foot slightly—moving it closer or further from the hip changes the tension. Hold for 30 seconds.
9. Glute Bridges
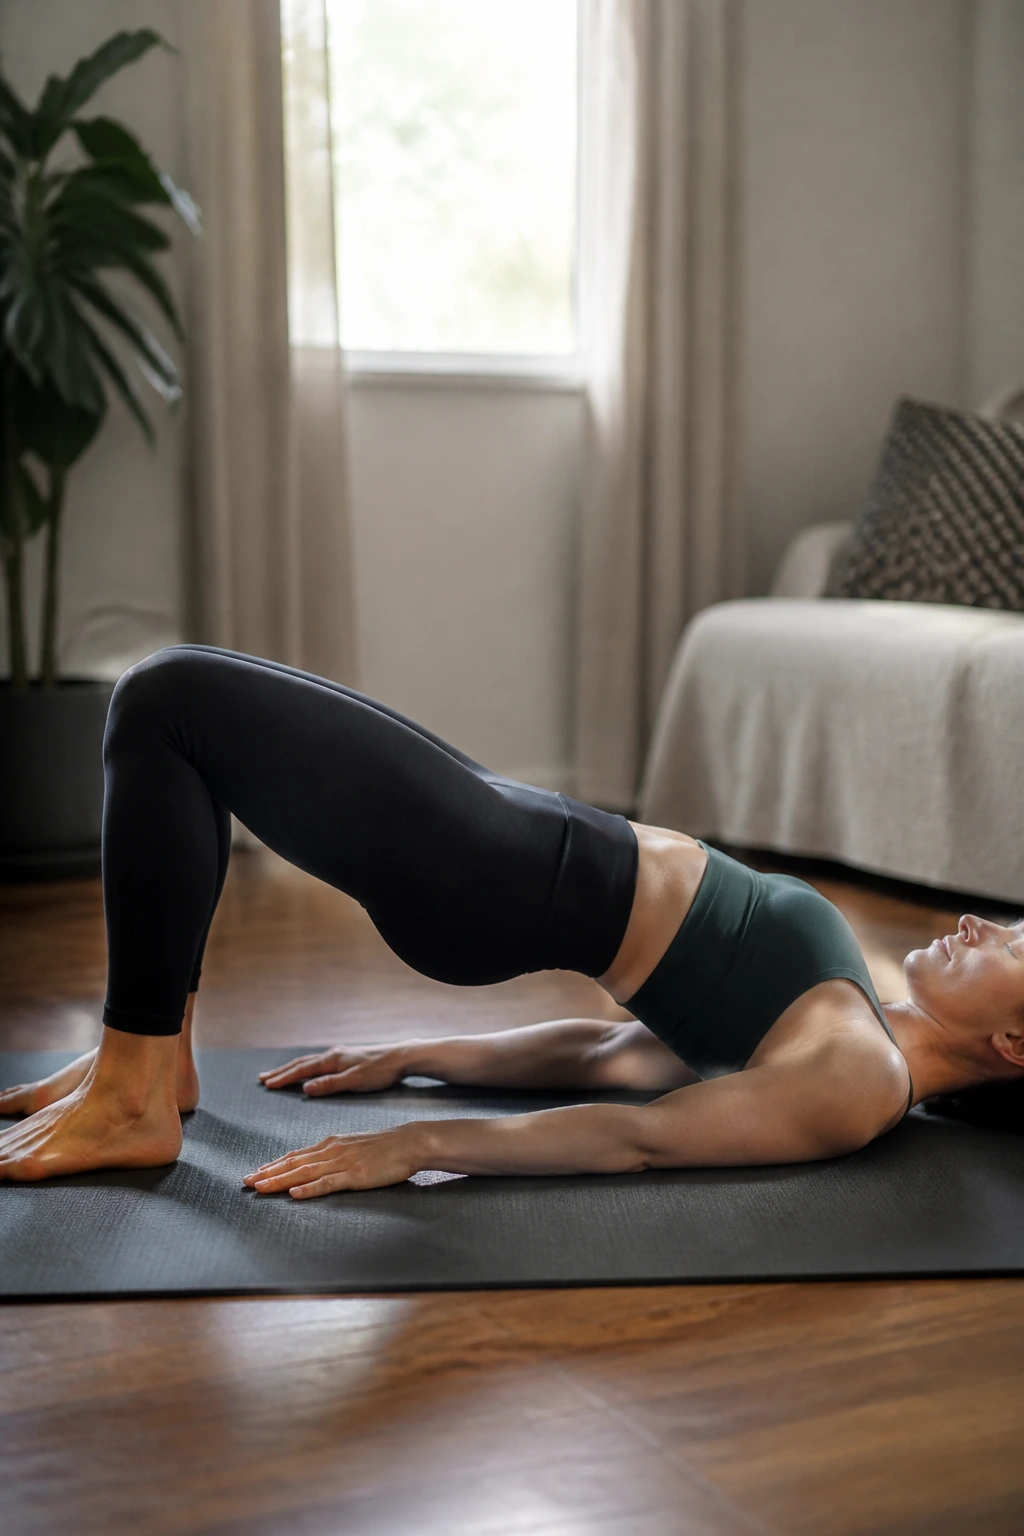
Your glutes are the engines of your lower body. If they are weak, the rest of your leg has to work overtime, and the knee usually ends up doing the heavy lifting. Bridges are the simplest, most effective way to wake these muscles up.
The Technique
Lie on your back with knees bent and feet flat, hip-width apart. Lift your hips toward the ceiling by squeezing your glutes. Your body should form a straight line from your shoulders to your knees. Hold the top position for two seconds, then lower slowly.
Pro Tip
Do not use your lower back to lift. If you feel the movement in your back, you are likely pushing with your legs rather than lifting with your glutes. Focus on “tucking” your pelvis slightly before you lift. Imagine you are cracking a walnut between your glutes at the top of the movement.
10. Clamshells for Hip Stability
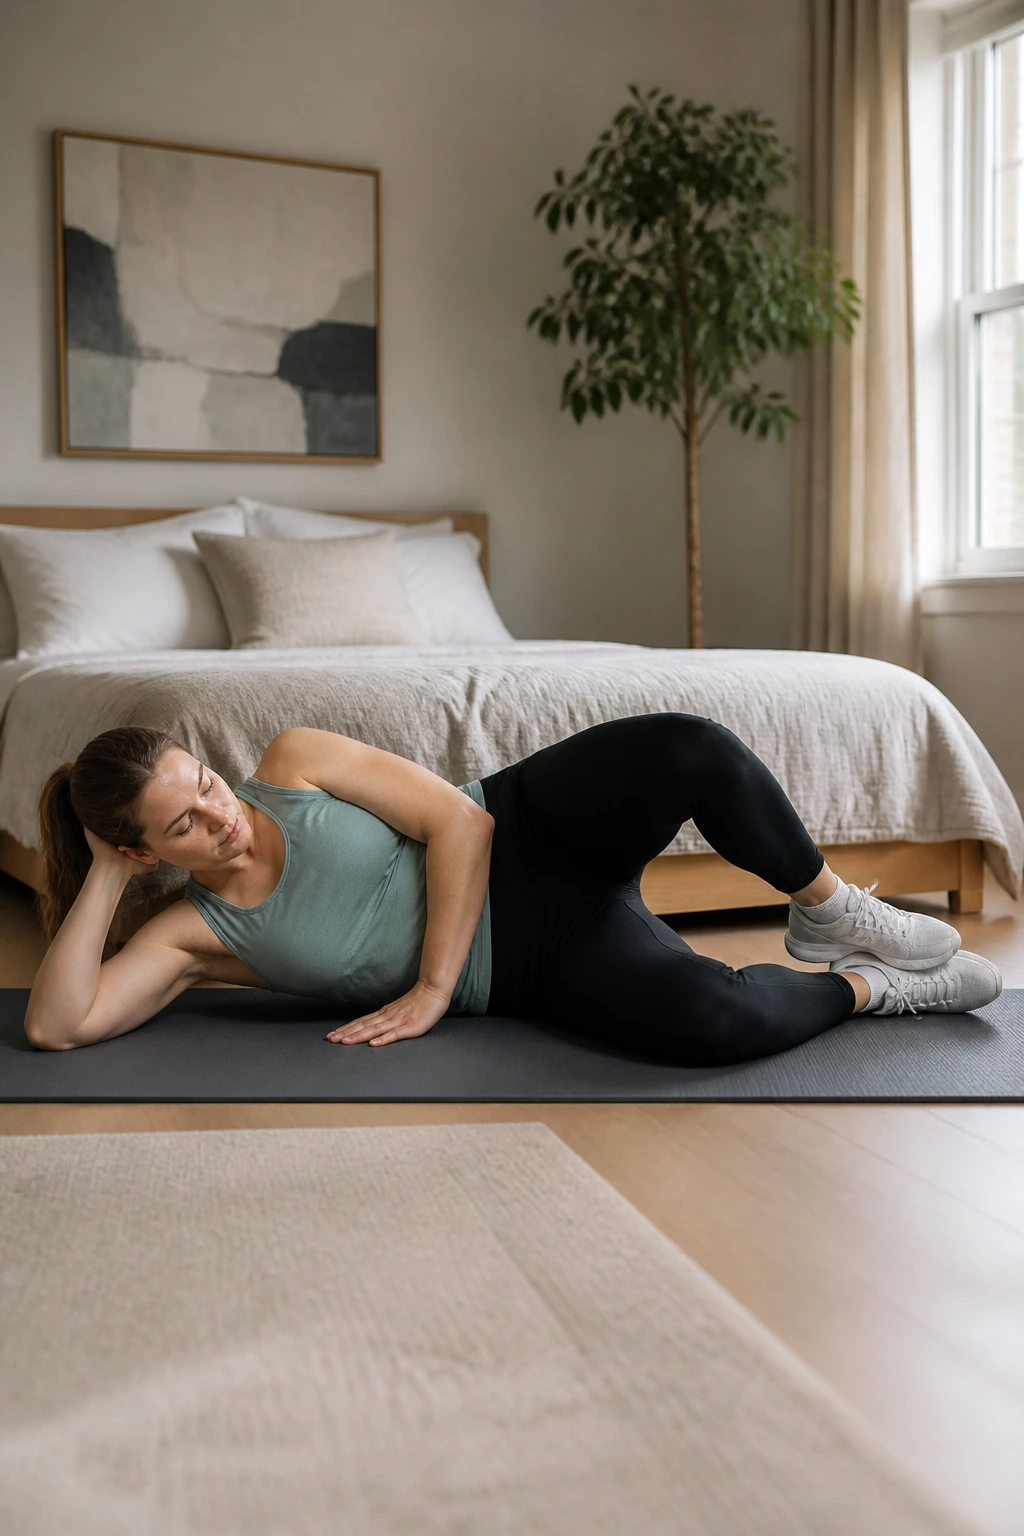
The glute medius—a muscle on the side of your hip—is arguably the most important muscle for knee alignment. When it is weak, your knee tends to cave inward. The clamshell is a targeted isolation move for this muscle.
The Technique
Lie on your side with your legs stacked, knees bent at a 45-degree angle. Keep your feet touching. Open your top knee as if you are a clam opening its shell. Do not let your pelvis roll backward—keep your hips stacked directly on top of one another.
Variation
If you want a challenge, lift your feet off the floor while keeping your knees together, then perform the clamshell. This forces the muscle to work harder against gravity. Do 15 reps on each side. You will feel a distinct “burn” in the side of your hip, which is exactly where you want it.
11. Standing Hip Flexor Stretch
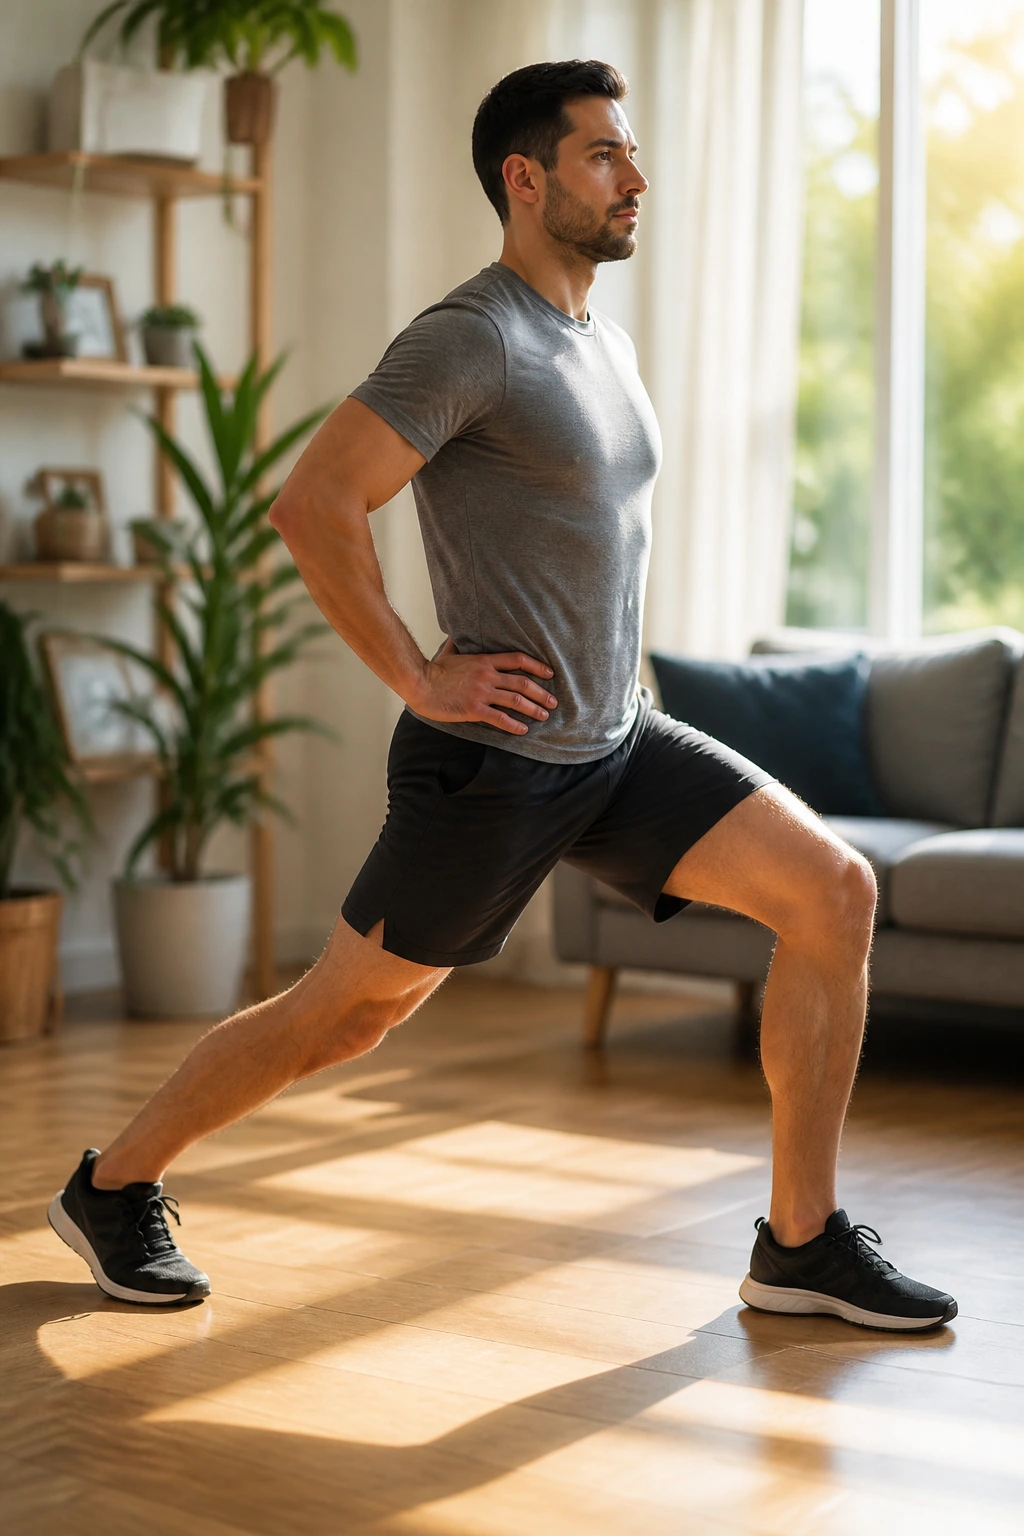
Tight hip flexors are common for anyone who sits for long periods. They cause a chain reaction that tilts your pelvis forward, which in turn alters the mechanics of your legs and puts stress on your knees.
The Technique
Take a half-kneeling position, with one knee on the floor and the other foot planted in front of you. Keep your torso upright—don’t lean forward. Gently shift your weight toward the front leg until you feel a stretch in the front of the hip on the kneeling side.
The Secret Engagement
Squeeze the glute of the kneeling leg. This “reciprocal inhibition” tells the hip flexor to relax. If you don’t squeeze that glute, the hip flexor will just stay tight and fight you. Hold this for 45 seconds on each side.
12. Butterfly Stretch
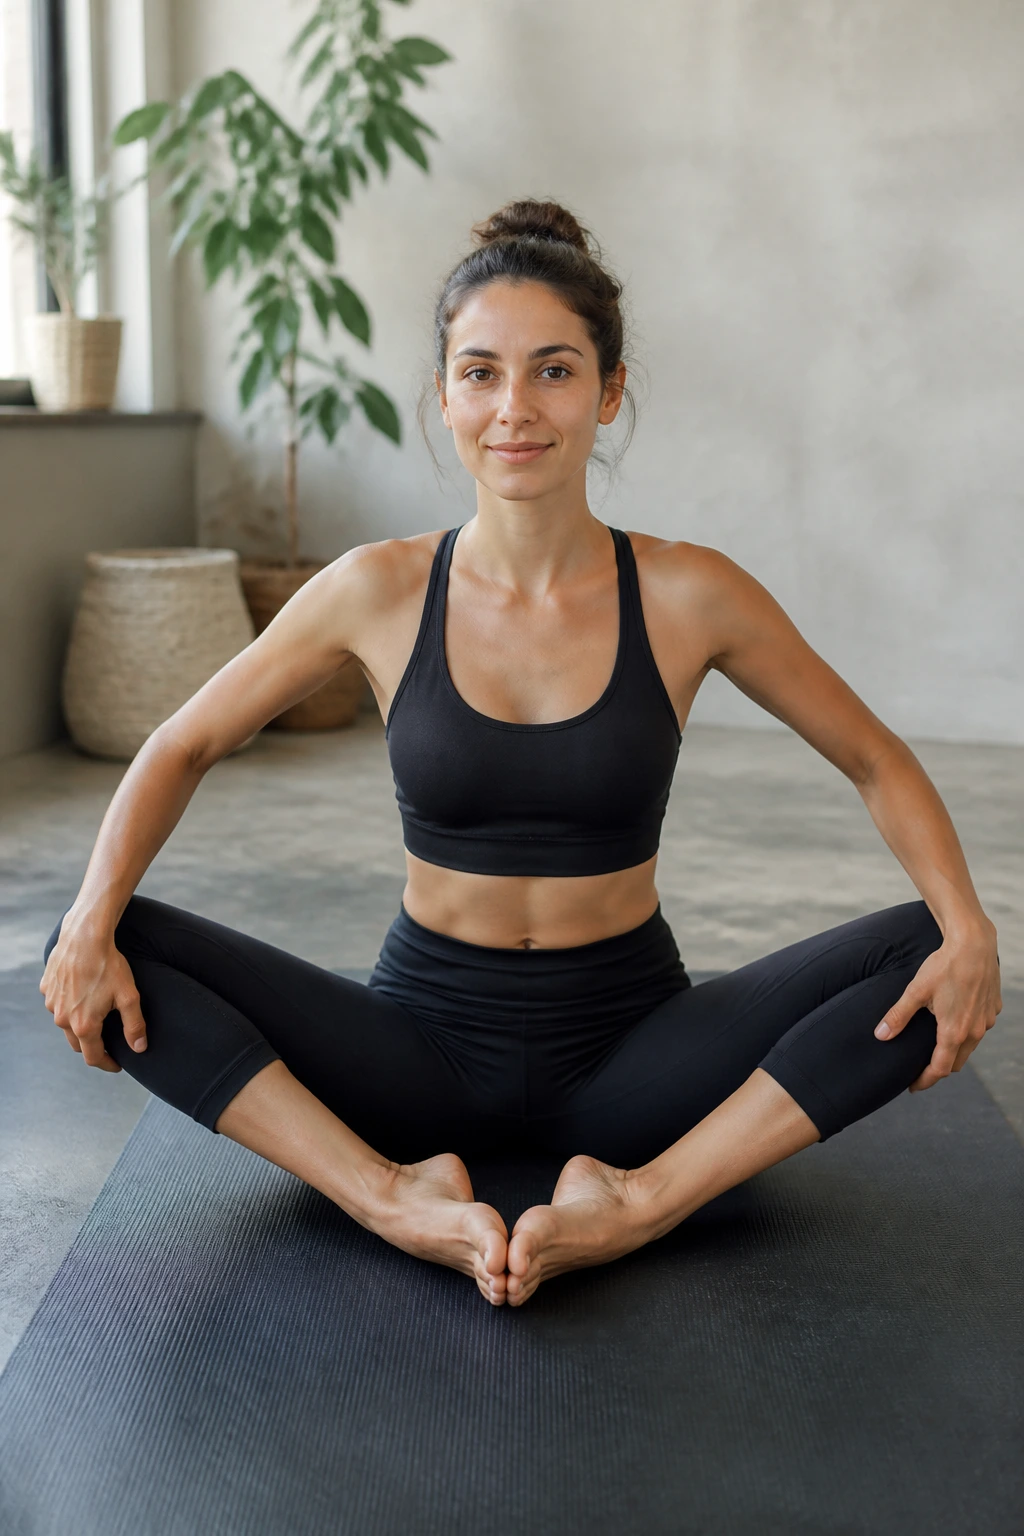
This stretch opens up the inner thighs, or adductors. When these are tight, they can restrict the natural movement of the femur, causing the knee to track poorly.
The Technique
Sit on the floor with the soles of your feet touching, knees out to the side. Hold your feet with your hands. Use your elbows to gently press down on your inner thighs. Sit tall—do not hunch over.
Why This Matters
It’s tempting to flop forward and round the back to get the knees closer to the floor. Don’t. If you want to deepen the stretch, lean forward from the hips with a perfectly straight spine. The goal is to open the hips, not touch your nose to your toes.
13. Forward Fold
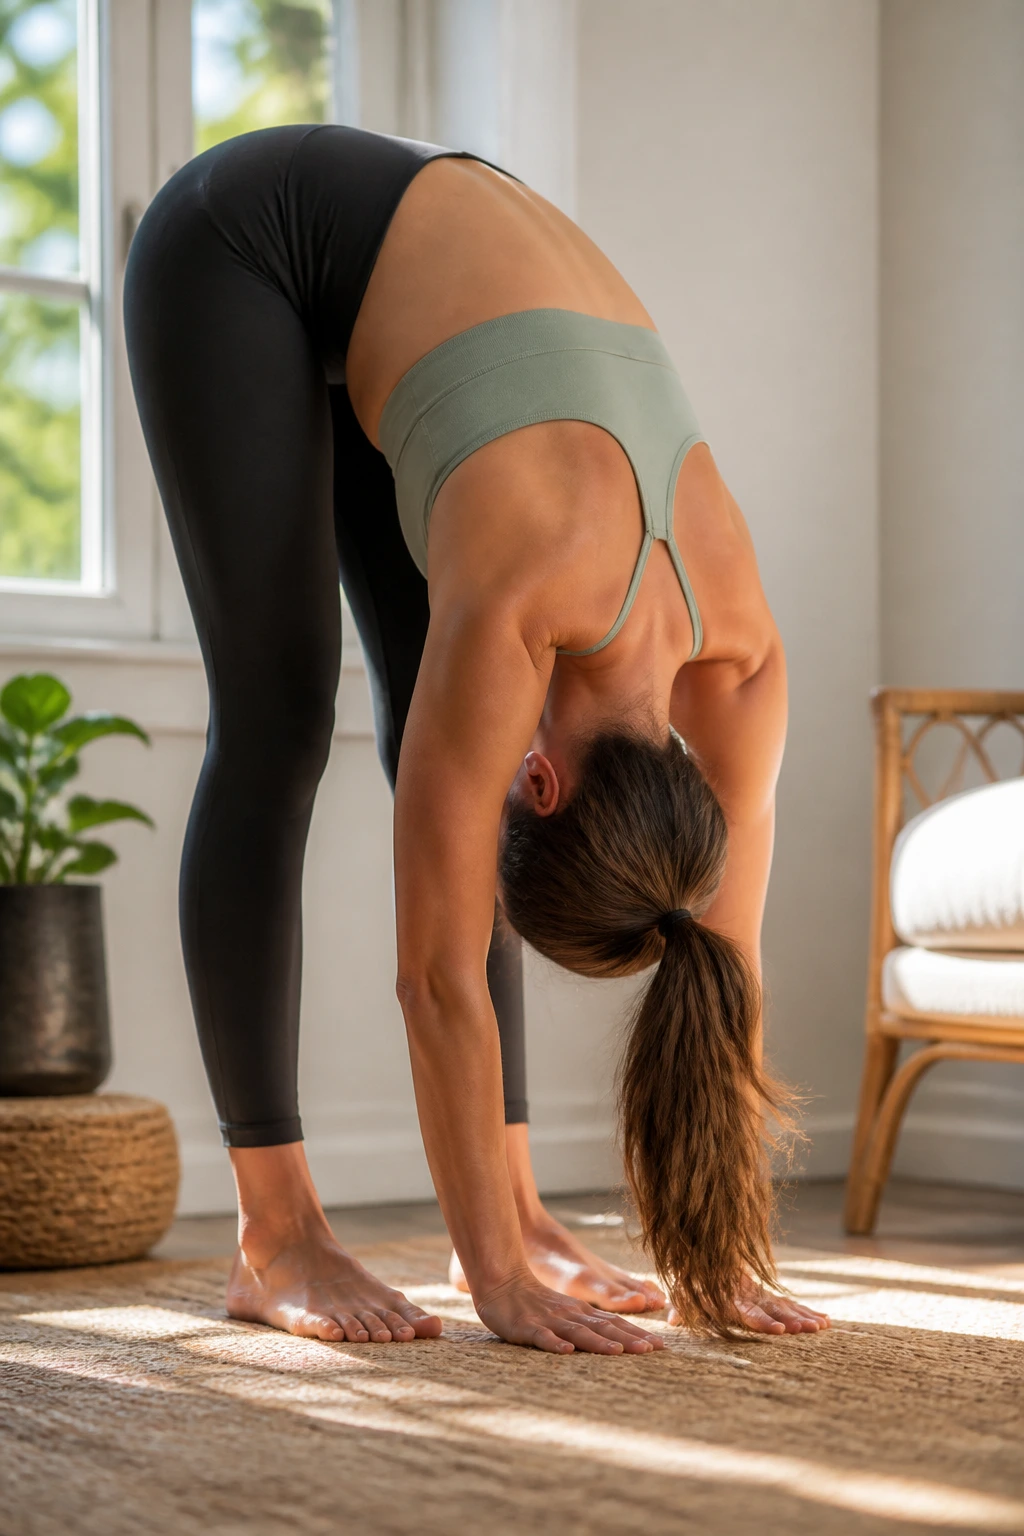
This is a classic yoga pose, but it is highly effective for loosening the entire posterior chain—the back of the calves, hamstrings, and lower back.
The Technique
Stand with feet hip-width apart. Bend your knees just a tiny bit—never lock them completely. Hinge at your hips and fold forward, letting your head hang heavy. Let gravity do the work. If you can reach the floor, great. If not, hold onto your elbows.
Modification
If you feel sharp tension behind your knees, bend your knees more. This stretch is intended to lengthen the muscles, not irritate the joint capsule. Sway gently from side to side to help your hips relax. Stay here for a full minute, breathing deeply.
14. Pigeon Pose (Modified)
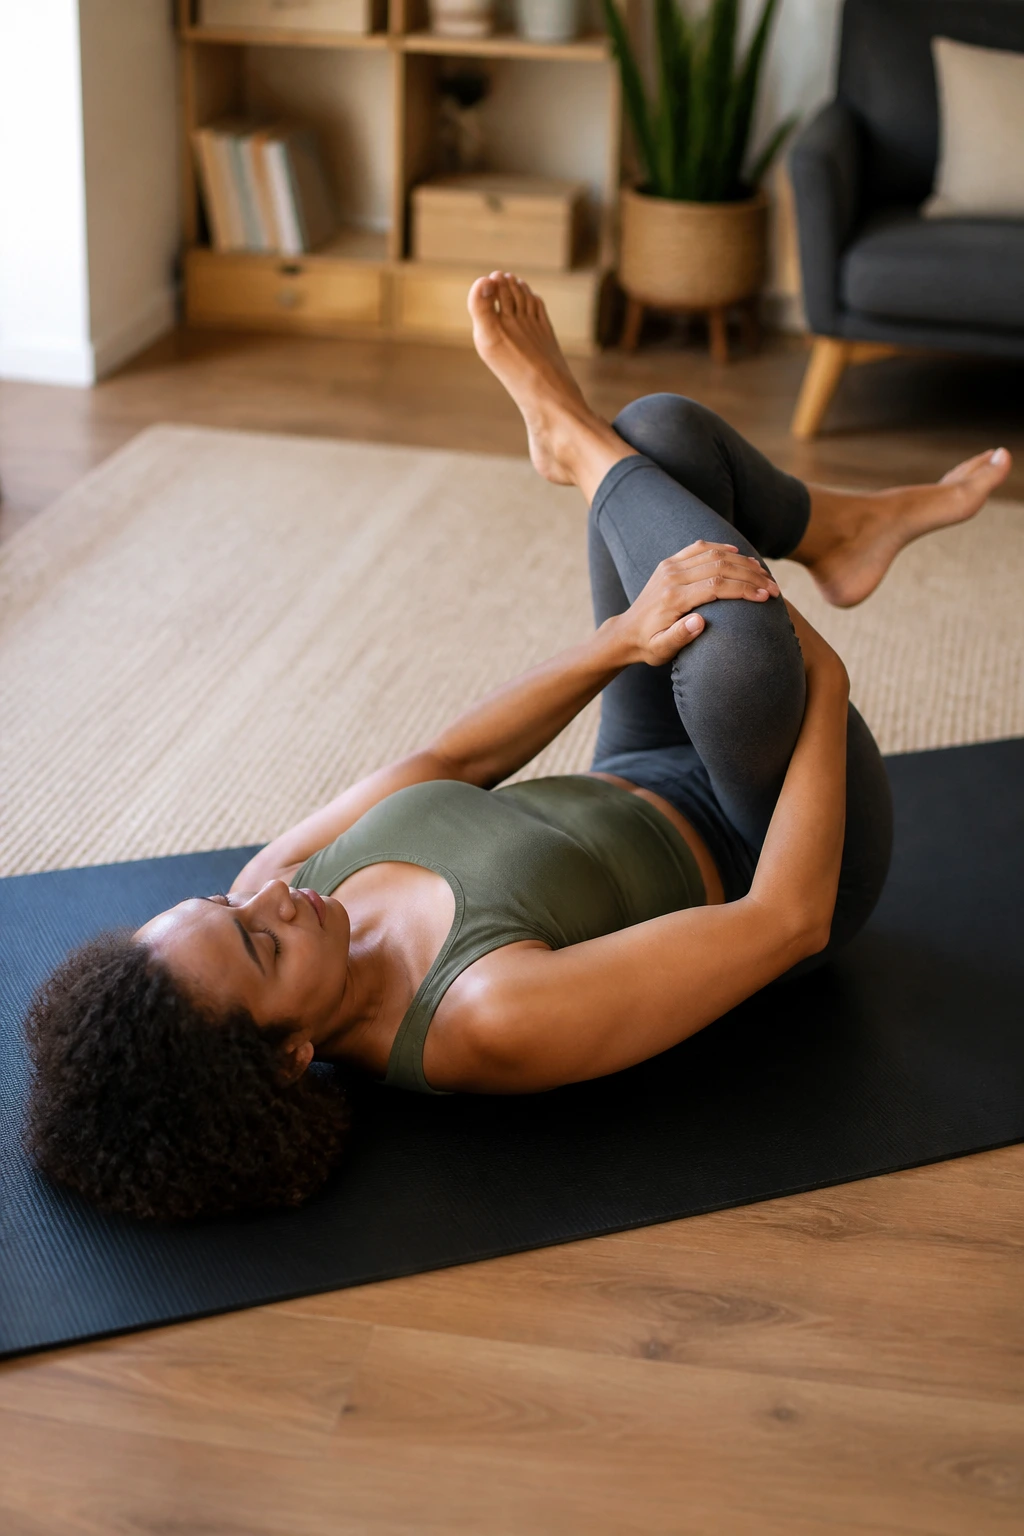
This pose targets the deep rotators of the hip. If your hips are stiff, your knees have to twist to compensate for the lack of movement, leading to rotational pain.
The Technique
Start in a seated position. Bring one leg forward and bend it, placing your shin on the floor in front of you. Extend your other leg straight back behind you. If this is too intense, perform this while lying on your back by crossing one ankle over the opposite knee (Figure-Four position).
Safety Note
The “full” Pigeon Pose is very demanding on the knee joint. If you have active knee pain, stick to the reclined version. It gives you all the hip-opening benefits without placing any torque on the knee. Hold for one minute per side.
15. Side-Lying Leg Lifts
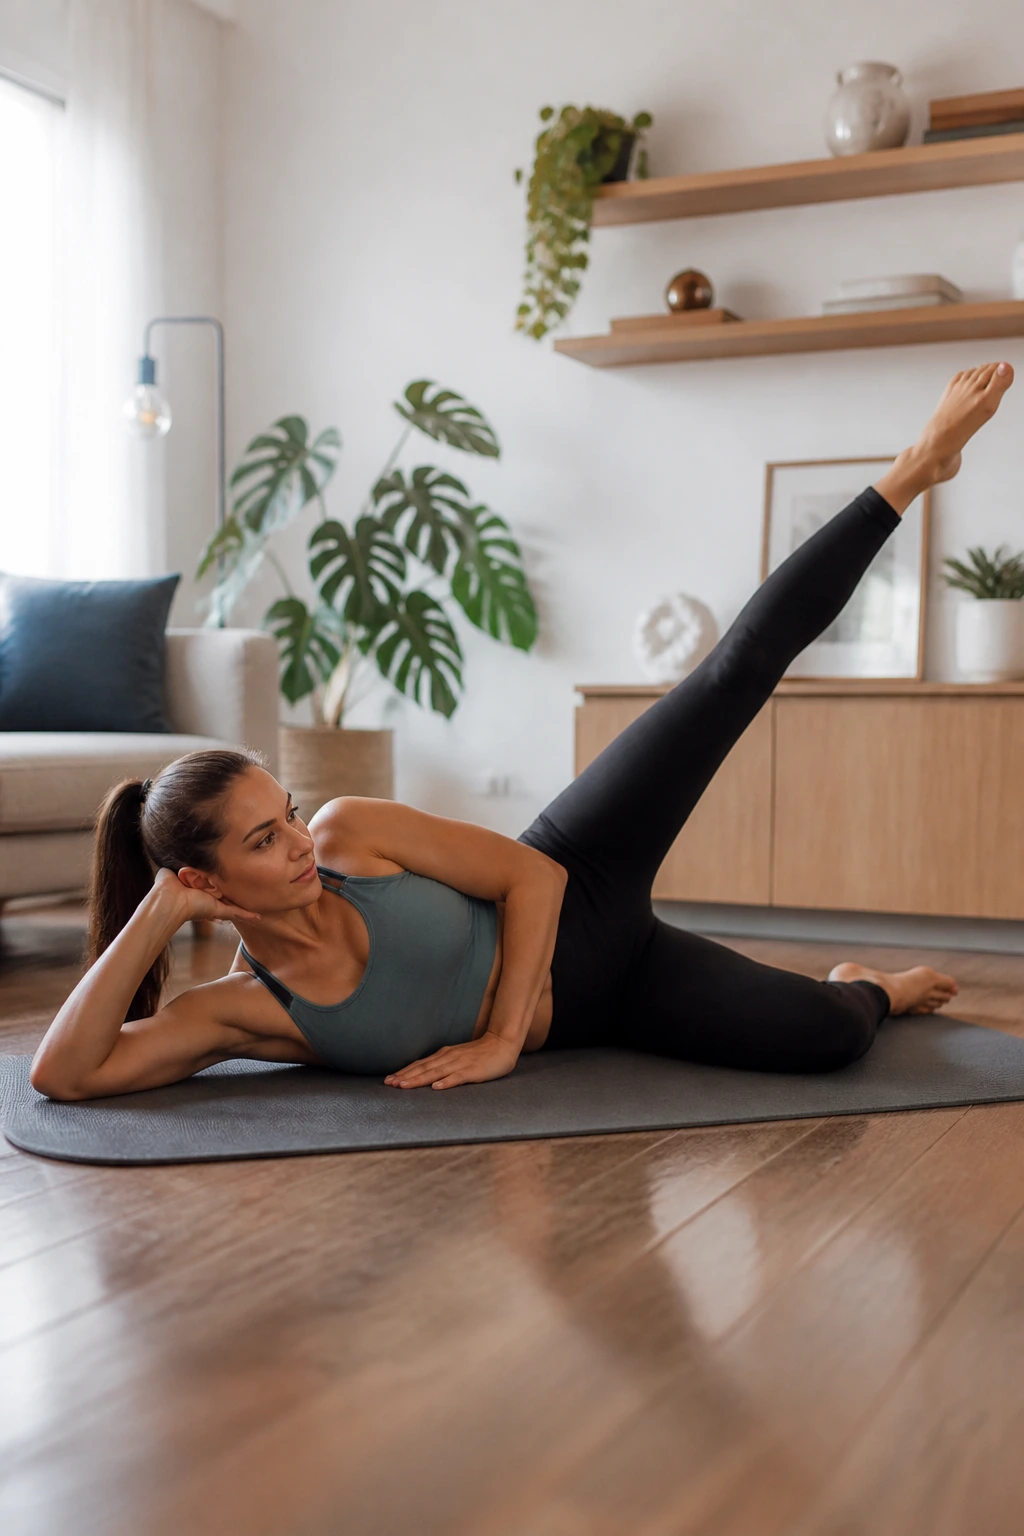
These target the outer thigh and hip stabilizers. Strengthening these muscles helps take the load off the knee joint when you walk.
The Technique
Lie on your side. Keep your bottom leg bent for stability and your top leg straight. Flex your foot (toes pointed toward your shin). Lift your top leg toward the ceiling, then lower it slowly. Do not let your foot touch the floor between reps.
The Pace
These should be done slowly. If you use momentum to swing your leg, you miss the stabilization work. You want to feel the muscle on the side of your hip working hard to control the descent of the leg. Aim for 12 to 15 controlled repetitions.
16. Figure-Four Glute Stretch
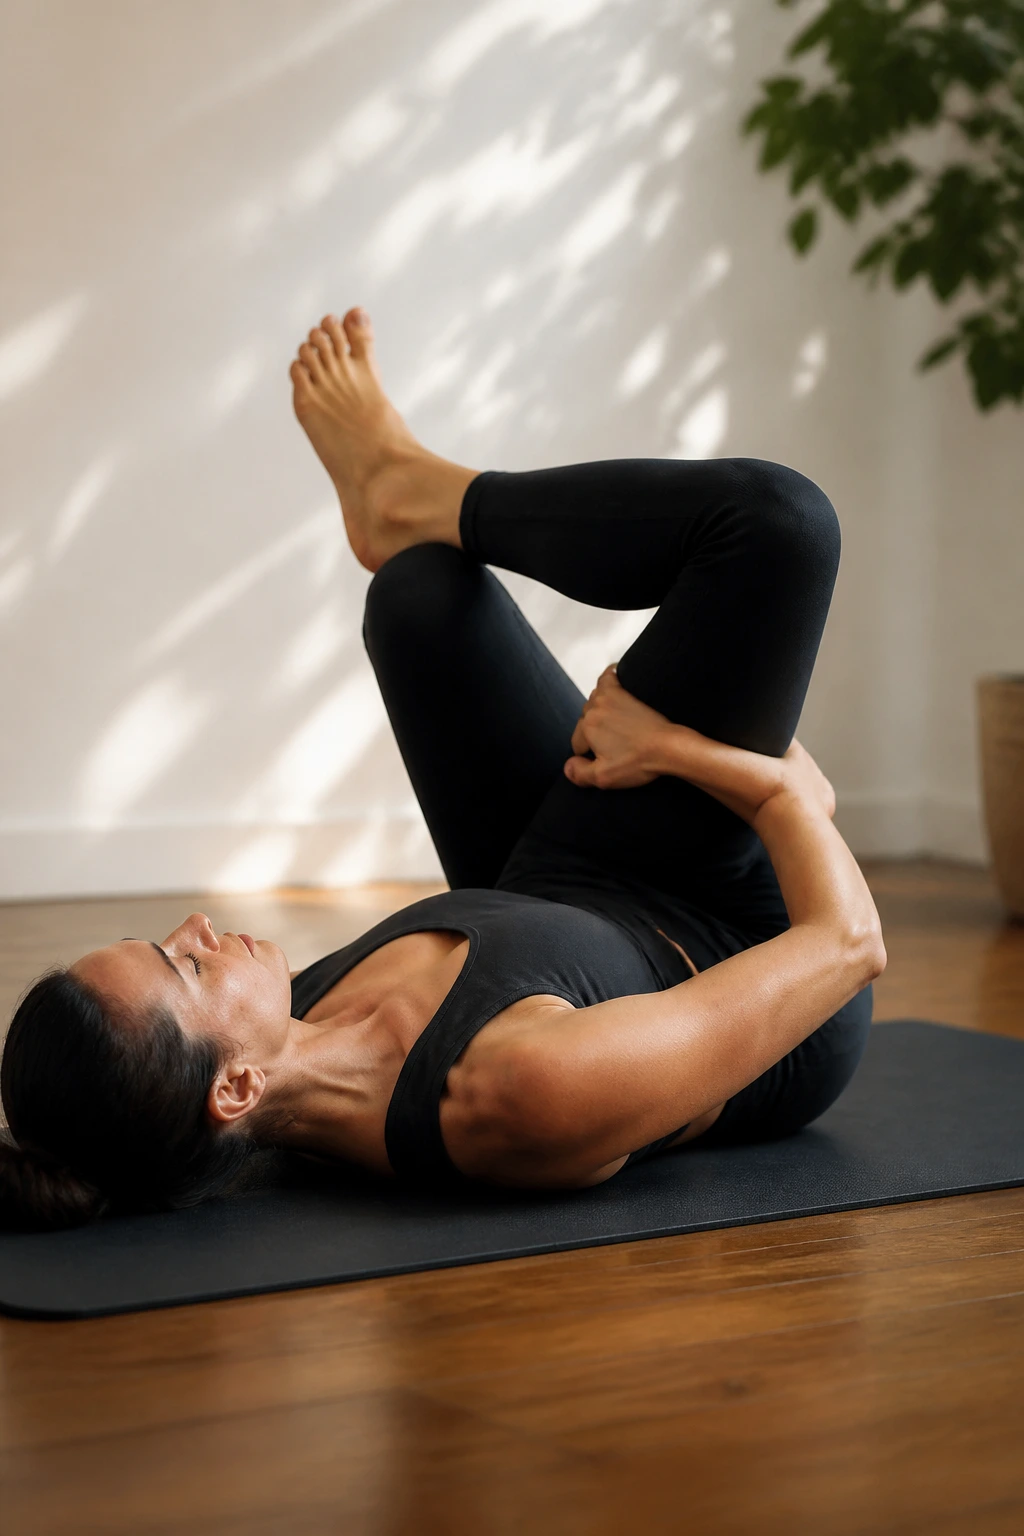
This is a gentle way to stretch the outer hip and glute. By loosening these muscles, you reduce the pulling sensation that often manifests as knee pain.
The Technique
Lie on your back. Cross your right ankle over your left knee. Reach through the “window” created by your legs and grab the back of your left thigh. Gently pull your left leg toward your chest while pushing your right knee away from you.
Sensations
You will feel this deeply in the right hip. It should feel like a deep, satisfying release. If you feel it in the knee, you are likely putting too much lateral pressure on the ankle or the joint. Adjust the angle until the sensation is purely in the hip muscle.
17. Foam Rolling the Quadriceps
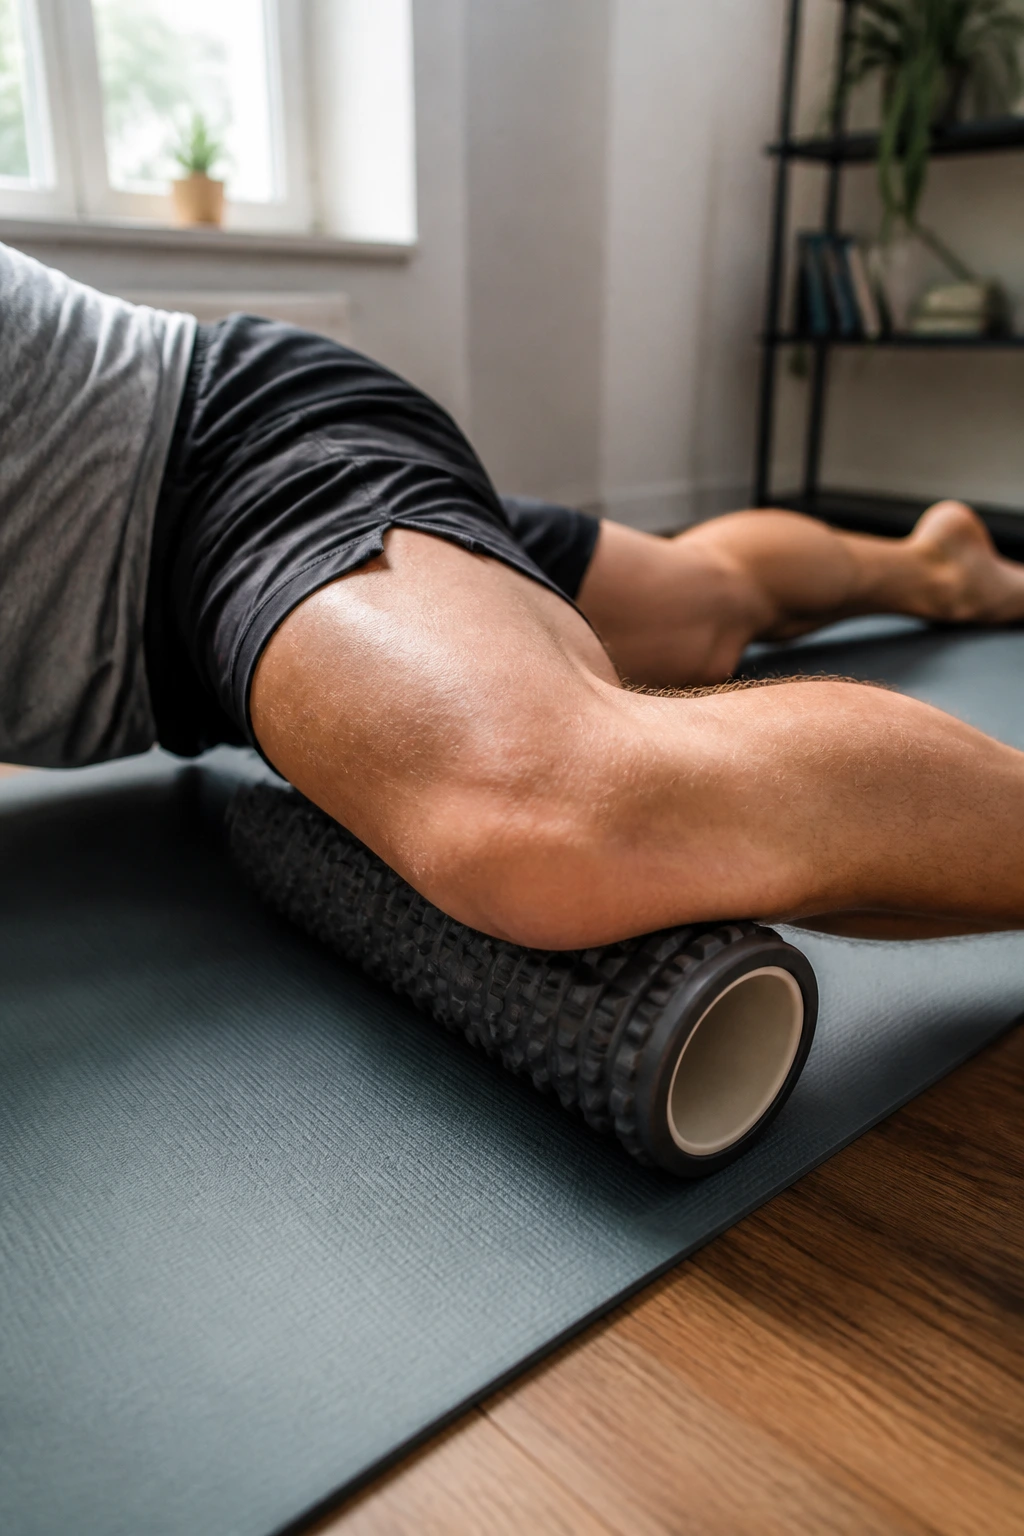
Sometimes, stretching isn’t enough; you need to release tension in the actual muscle tissue. Foam rolling acts like a deep tissue massage for your quads.
The Technique
Lie on your stomach with a foam roller positioned under your thighs. Using your arms to move yourself, roll slowly from the top of the hip down to just above the knee. Spend extra time on any spots that feel tight or knotted.
Intensity Warning
This can be uncomfortable. Do not roll directly over the knee joint itself—only the muscle tissue above it. If you find a particularly painful “trigger point,” pause there and breathe until you feel it release. This is not about covering ground quickly; it is about finding the tension and letting it go.
18. Ankle Pumps
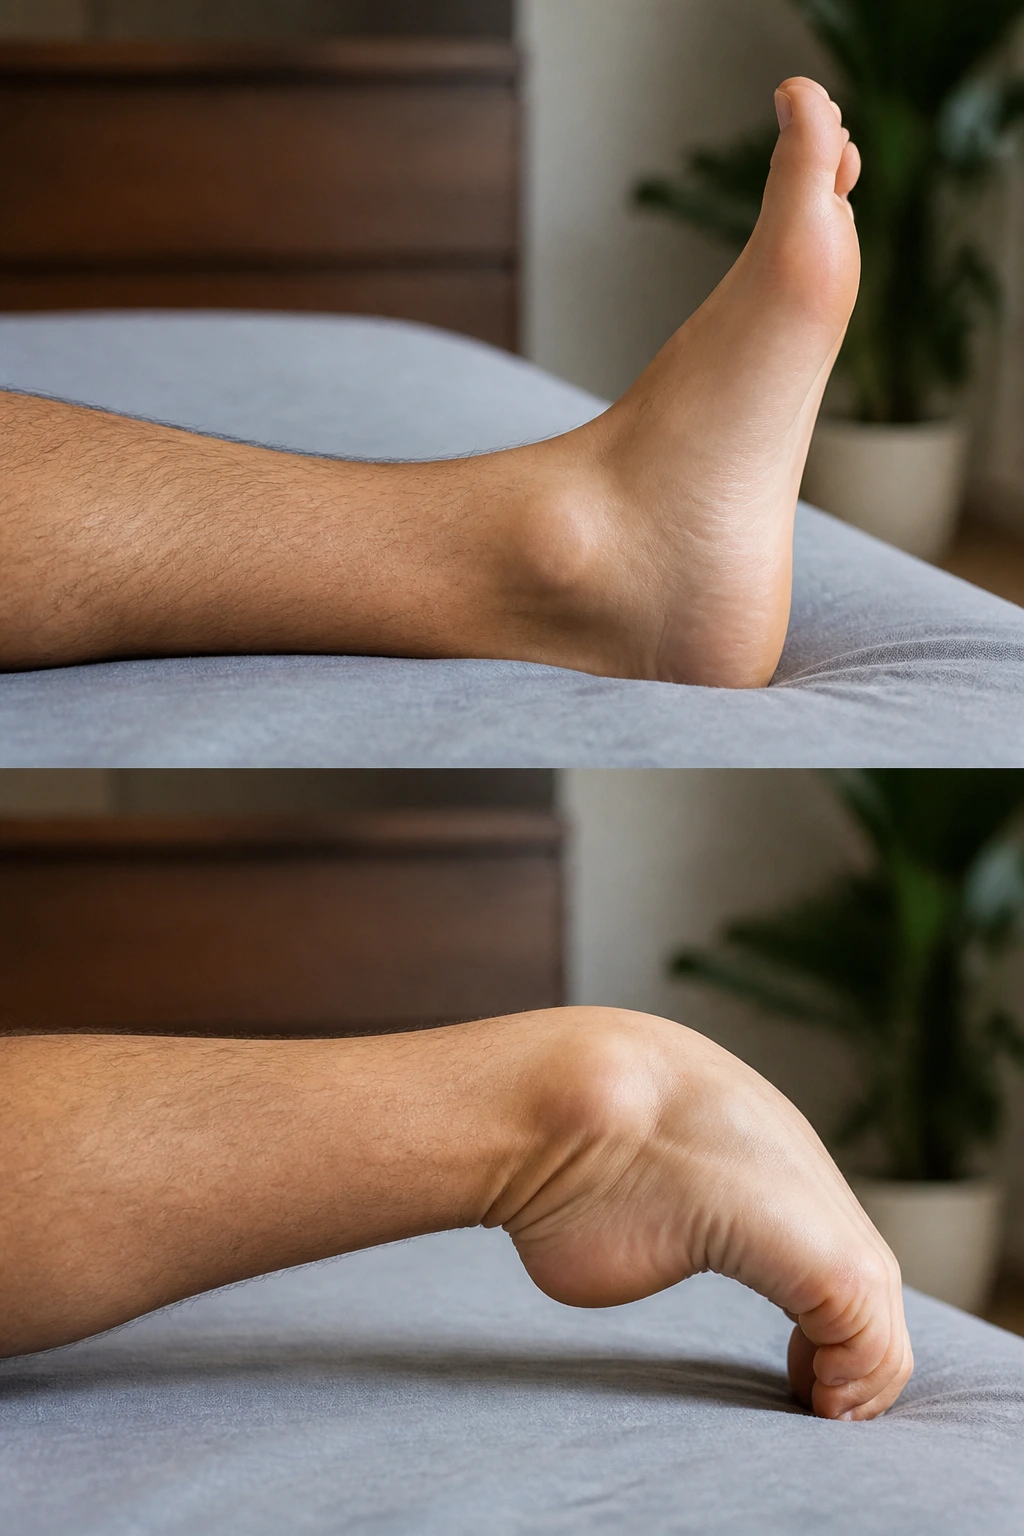
Ankle mobility is drastically undervalued in knee health. If your ankle is stuck, your knee becomes the surrogate joint for the entire leg’s movement.
The Technique
Sit on a chair or lie on your back. With your leg straight, point your toes as far away from you as possible, then flex your foot as far back toward your shin as you can. Think of it like a gas pedal and brake.
The Benefit
This movement gets synovial fluid—the natural lubricant of your joints—moving through the ankle. It also engages the calf muscles in a dynamic way. Do 20 to 30 pumps. It sounds trivial, but doing this throughout the day can significantly reduce stiffness.
19. Knee-to-Chest Stretch
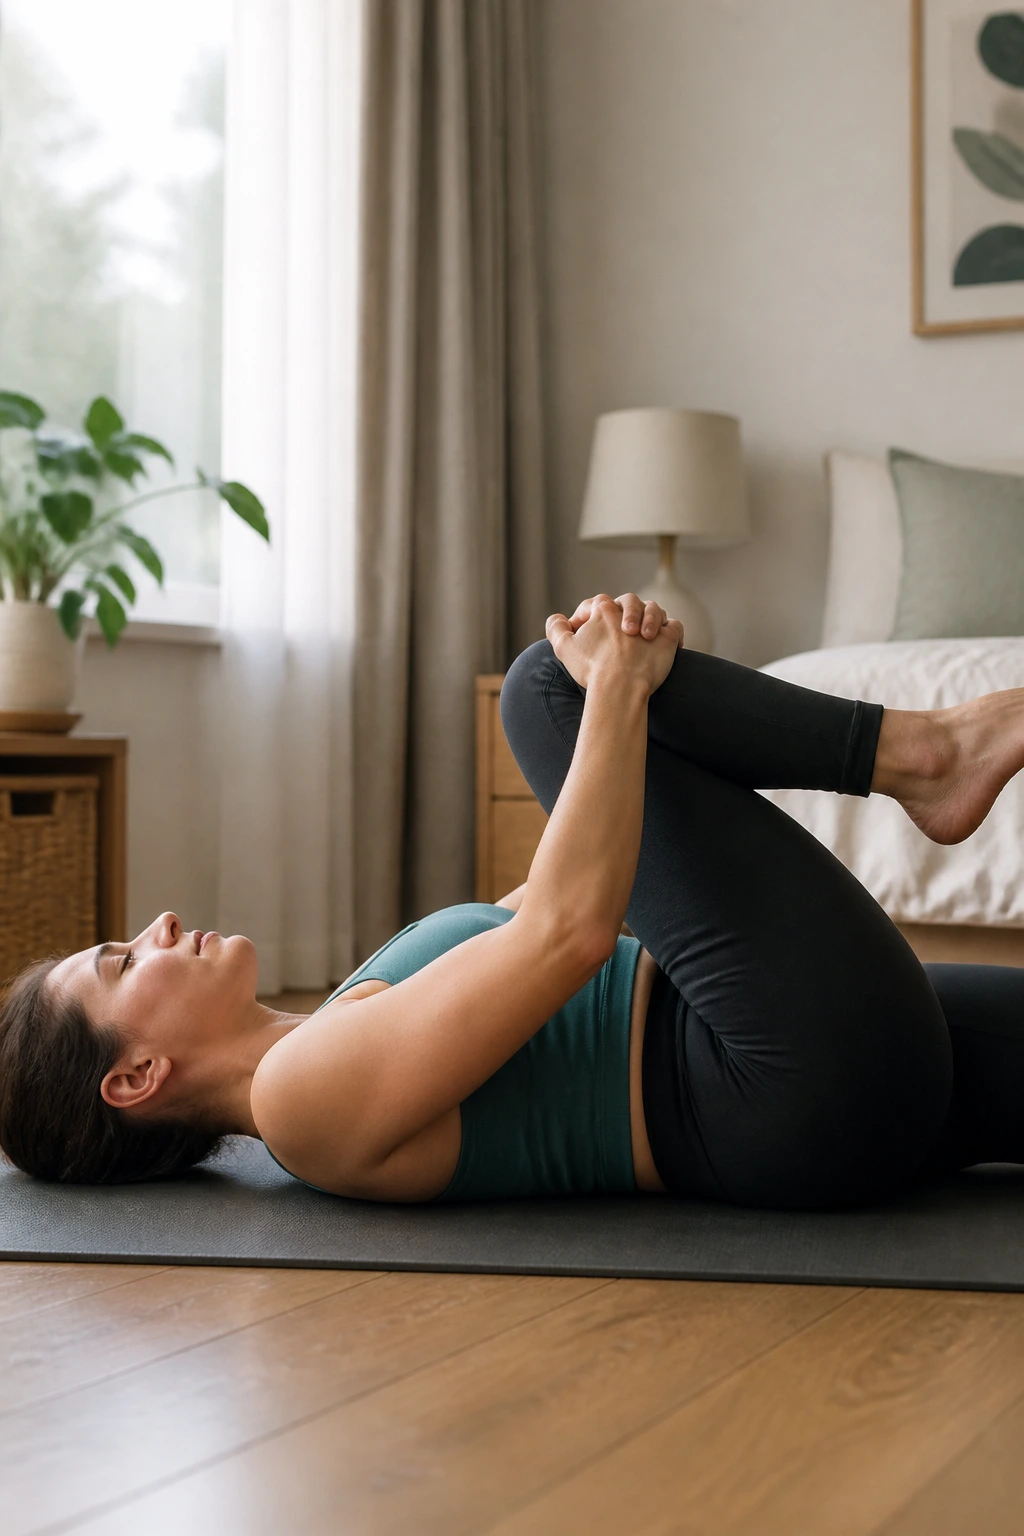
This is a decompression stretch for the lower back and hips, which indirectly helps the knees by realigning the pelvis.
The Technique
Lie on your back. Pull one knee toward your chest, holding it with both hands. Keep your other leg flat on the floor. Hold for 30 seconds. Switch. Then, pull both knees to your chest and hug them tightly.
The Release
When you pull both knees to your chest, your lower back should flatten against the floor. This provides a gentle traction to the spine. If you feel comfortable, gently rock side to side to massage the muscles along your lower back.
20. Gentle Shin Stretch
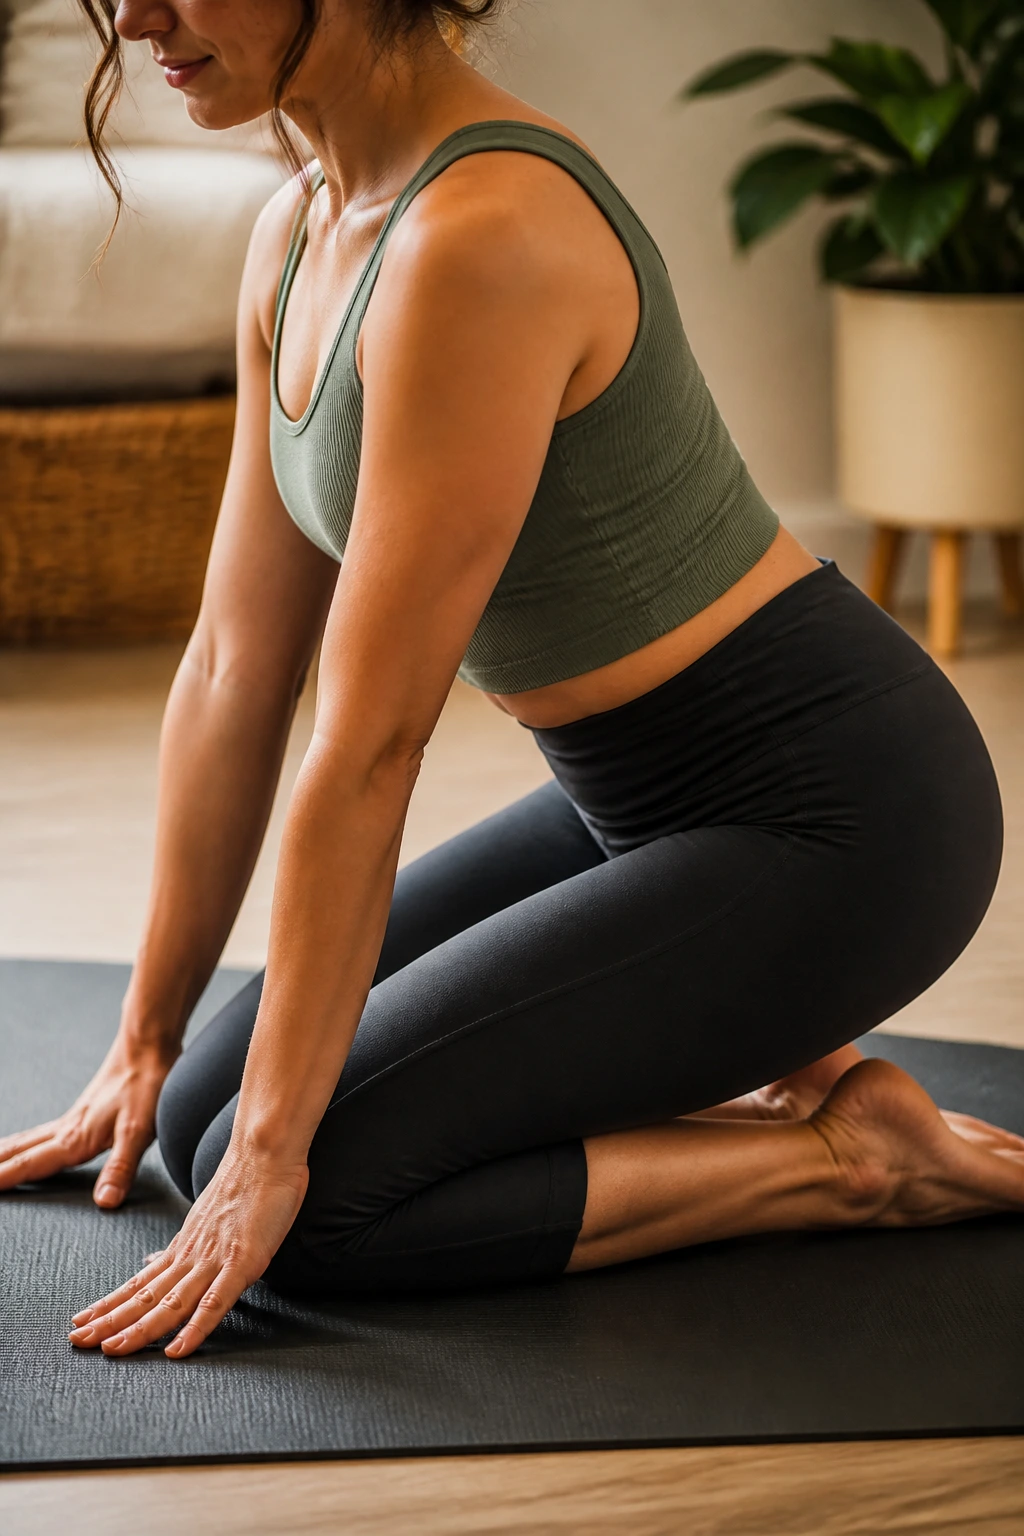
The muscles along the front of your shin (the tibialis anterior) are rarely stretched, but they are crucial for stabilizing the knee during the walking motion.
The Technique
Kneel on the floor with your feet tucked under you. Slowly sit back onto your heels. You will feel a stretch along the front of your shins and ankles. If this is too much, lean forward on your hands to take some weight off.
Important Caveat
If you have sensitive knees, this can be intense. Use a folded towel under your knees for cushioning. If you cannot tolerate kneeling, you can stretch this area by sitting on a chair and tucking one foot under the chair, pressing the top of your foot into the floor.
When to See a Professional
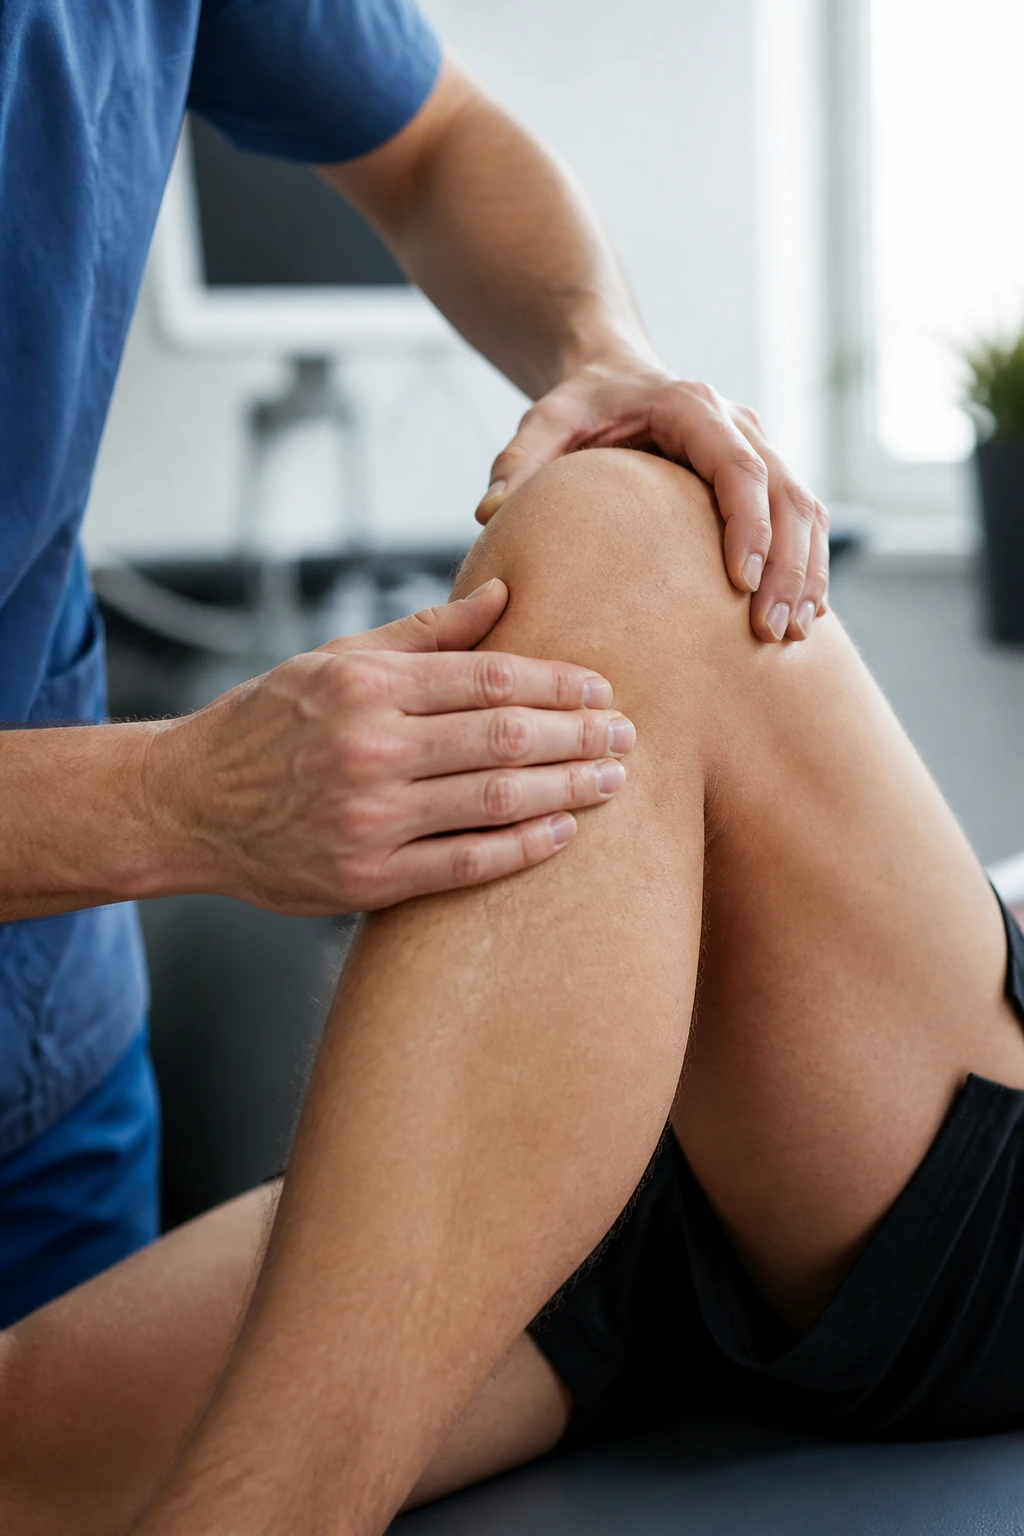
This guide is about relief, not medical diagnosis. If you have followed these stretches for a few weeks and see no change, or if your pain is accompanied by swelling, redness, or a “locking” sensation where the knee feels like it gets stuck, you need to consult a physical therapist or a doctor.
Sometimes, knee pain is structural. It could be a meniscus tear, ligament issue, or osteoarthritis. These conditions do not respond to simple stretches and, in some cases, aggressive stretching can make them worse. A professional can help you distinguish between “muscle tightness” and “joint pathology.” Do not play the hero if your body is giving you signs that something is fundamentally wrong inside the joint.
Final Thoughts
Healing your knees is a process of restoration. It is about teaching your muscles to be long and supple again, and your joints to move without fear. There is no magic pill, and there is no overnight fix. There is only the daily discipline of paying attention to your body and giving it the space it needs to loosen up.
Treat these movements like a conversation. Some days, your legs will feel open and ready to move. Other days, they will feel like concrete. Listen to that feedback. On the tight days, do less. On the open days, do a little more. You are not fighting your body; you are working with it to reclaim the fluid, pain-free movement you deserve. Keep showing up for yourself, one stretch at a time.
