



Most people underestimate what a consistent habit of purposeful movement can do until they actually experience it for themselves. You wake up, your back feels like it’s fused into a single rigid pillar, and your shoulders are hiked up toward your ears from hours hunched over a laptop or steering wheel. That isn’t just “getting older” or a sign that you need a new mattress; it is a direct signal from your body that it needs to move through its full range of motion. We often treat stretching as an afterthought—something to do for thirty seconds before a workout or right before collapsing into bed—but when you treat it as a dedicated, standalone practice, everything changes.
The stiffness you feel is rarely just one tight muscle; it is a cumulative effect of patterns you repeat throughout the day. When you shift your mindset from “touching your toes” to “systematically unlocking your joints,” you stop fighting your body and start working with it. Home stretching doesn’t require fancy equipment, expensive gym memberships, or an hour of free time. You just need a small patch of floor, a bit of consistency, and the willingness to pay attention to where you are holding tension.
Whether you are looking to relieve chronic tightness, improve your athletic performance, or simply reclaim a bit of fluid mobility, these routines are designed to be accessible, effective, and completely doable in your living room. There is no magic pill for flexibility, but there is a clear path forward if you know which movements target your specific trouble spots.
1. Desk Worker’s Neck and Shoulder Release

Sitting at a desk often forces the head forward, putting immense strain on the cervical spine and the trapezius muscles. This routine focuses on reversing that “tech neck” posture by gently opening the chest and releasing the base of the skull.
Why This Matters
When the shoulders round forward, they shorten the pectoral muscles, which in turn pulls the head forward. You need to stretch the front to fix the back.
The Protocol
- Chin Tucks: Sit upright and gently pull your chin straight back, creating a “double chin” sensation. Hold for 5 seconds and release. Repeat 10 times.
- Upper Trap Stretch: Sit on your right hand to anchor your shoulder down. Lean your left ear toward your left shoulder until you feel a gentle pull down the side of your neck. Hold for 30 seconds per side.
- Doorway Pec Stretch: Place your forearms on the sides of a doorframe at shoulder height. Step through until you feel a deep, manageable stretch across your chest. Hold for 45 seconds.
Pro Tip: Never force a stretch in the neck; use gravity and gentle, controlled breathing rather than pulling with your hands.
2. Lower Back Decompression Flow
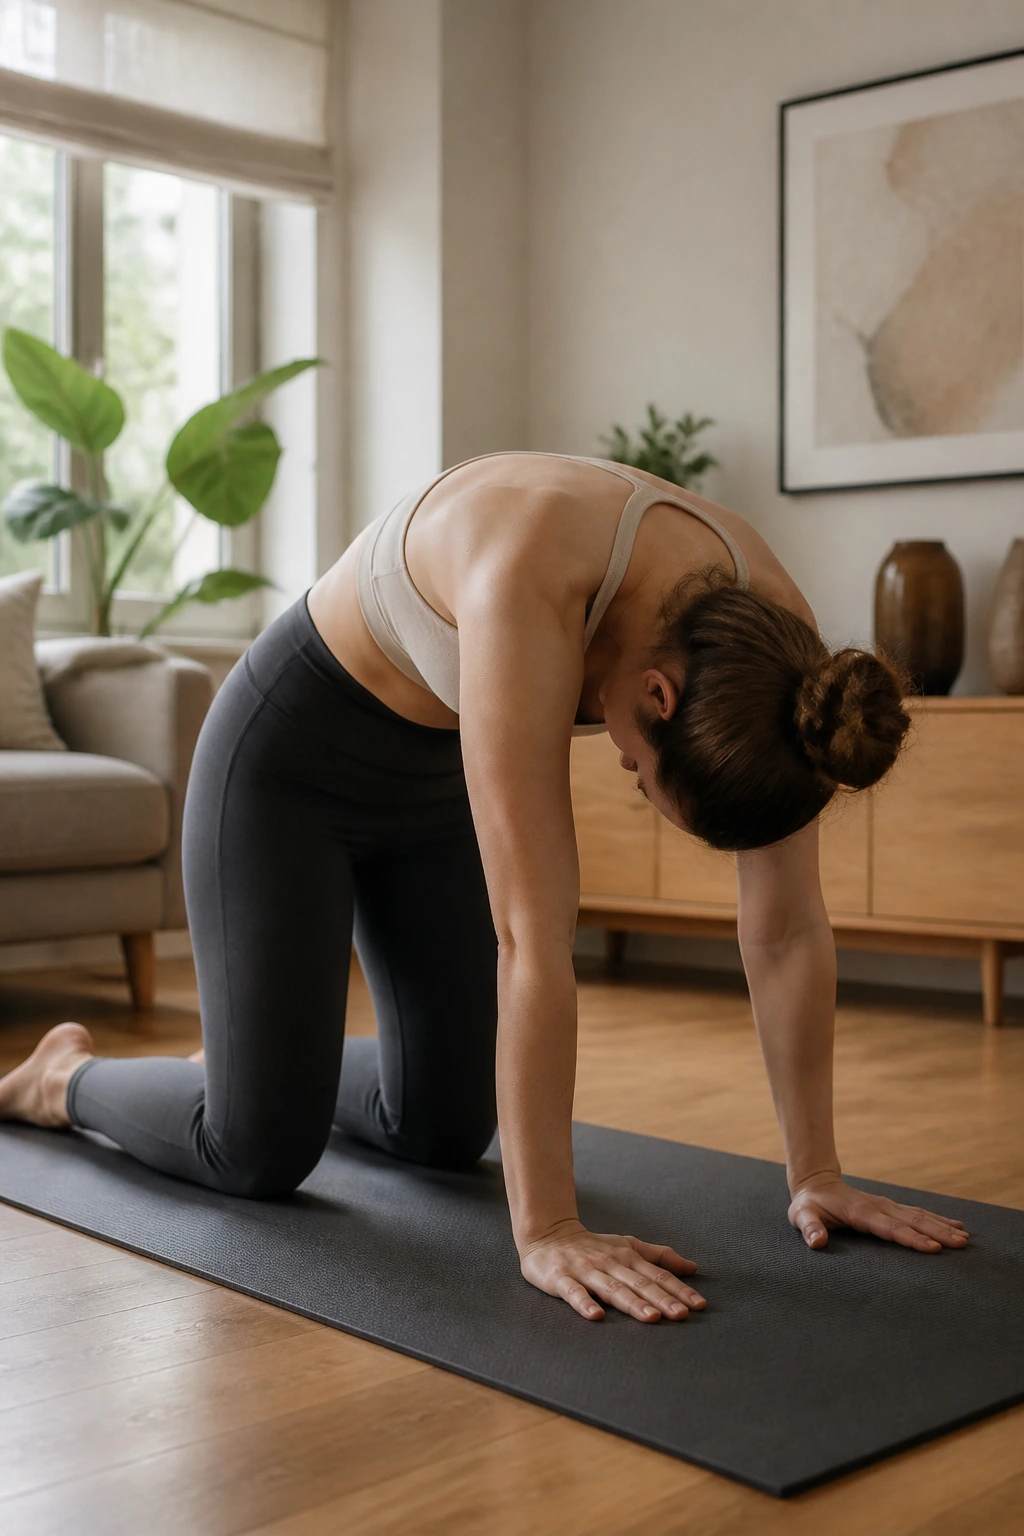
Chronic lower back pain often stems from tight hamstrings, hips, and an overworked core. This sequence focuses on lengthening the spine rather than just bending it, providing relief for those who stand or sit for extended periods.
Start with Cat-Cow on all fours. Inhale as you drop your belly, lifting your chest and tailbone; exhale as you arch your spine toward the ceiling, tucking your chin. Move slowly, making sure to initiate the movement from your pelvis rather than just your neck.
Follow this with Child’s Pose. Sit your hips back onto your heels, reach your arms far forward on the floor, and press your chest toward the mat. If your knees allow, widen them to let your torso sink deeper. Stay here for a full minute, focusing on breathing into your mid-back.
Finish by lying flat on your back and pulling one knee toward your chest at a time—the “knee-to-chest” stretch. This provides an immediate release for the lumbar fascia without requiring any spinal rotation, which can sometimes aggravate an already sensitive back.
3. Hip Flexor Opening Sequence
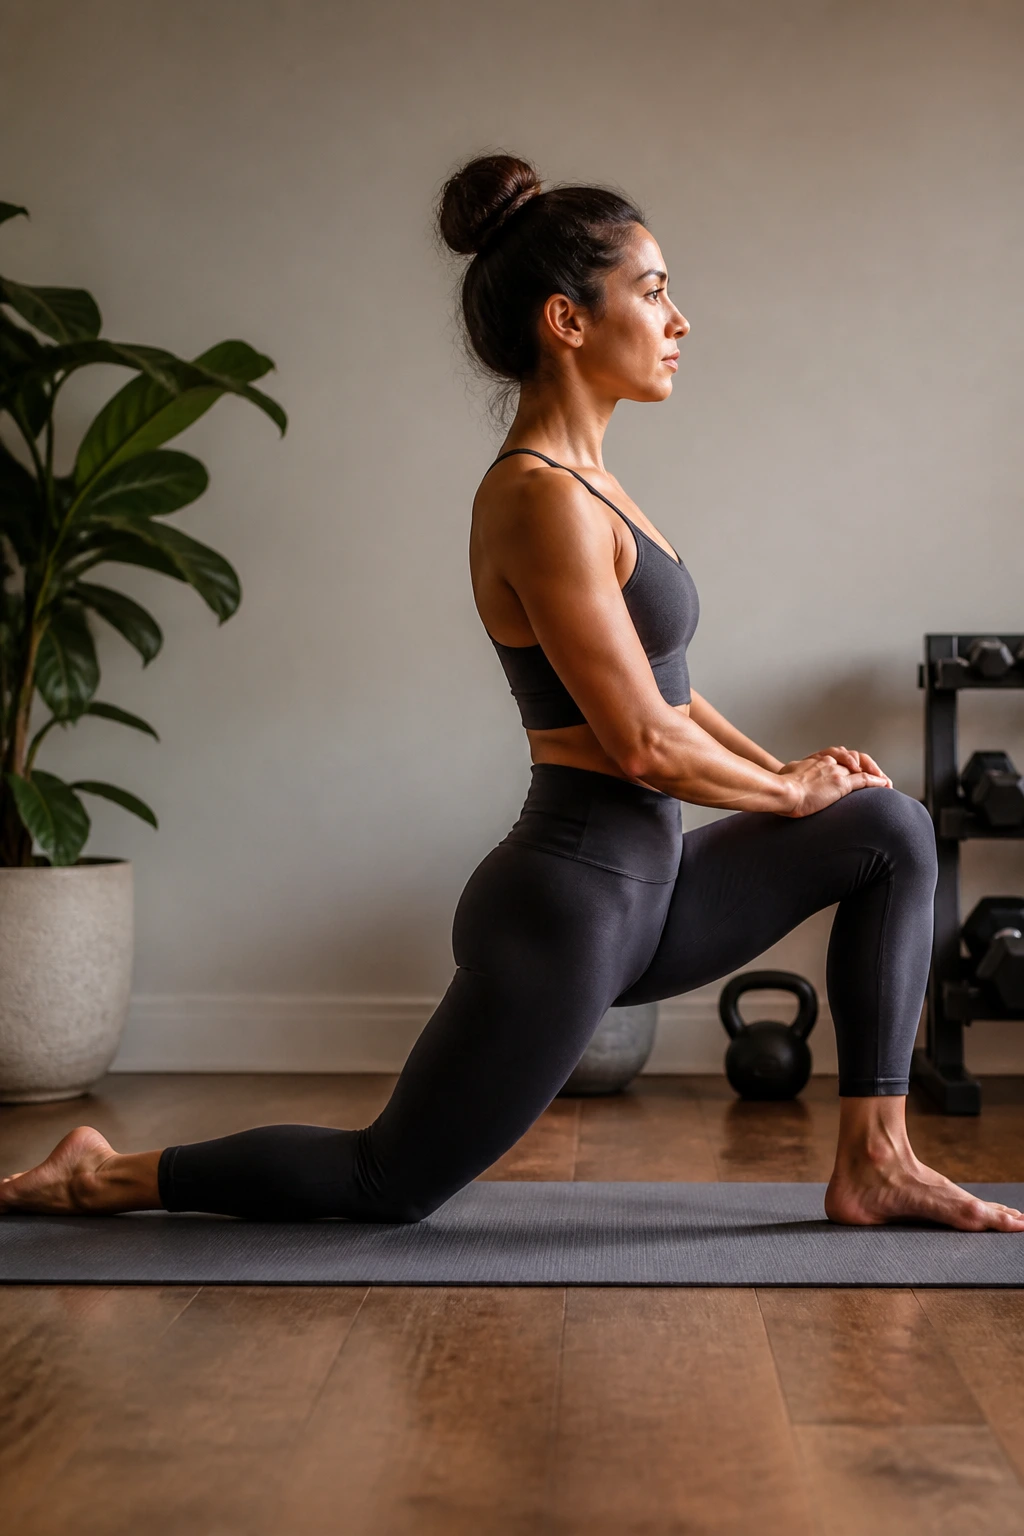
If you spend most of your day seated, your hip flexors are likely stuck in a shortened state. This not only causes tightness in the front of the hips but also contributes to lower back pain because the hip flexors attach to the lumbar vertebrae.
The Low Lunge
Step one foot forward into a deep lunge, dropping the back knee to the ground. Keep your torso upright—don’t lean forward. Tuck your tailbone slightly under; this simple adjustment is the difference between a mediocre stretch and an incredibly effective one. You should feel the intensity right at the front of the hip of the back leg.
The Lizard Variation
From the low lunge, place both hands on the floor inside your front foot. If your flexibility allows, try lowering down onto your forearms. This targets the deeper hip muscles and inner thighs. Hold for one minute on each side. If you feel pinching, back off immediately; this should be a broad, muscular stretch, not a sharp joint pain.
4. Tight Hamstring Unlocker
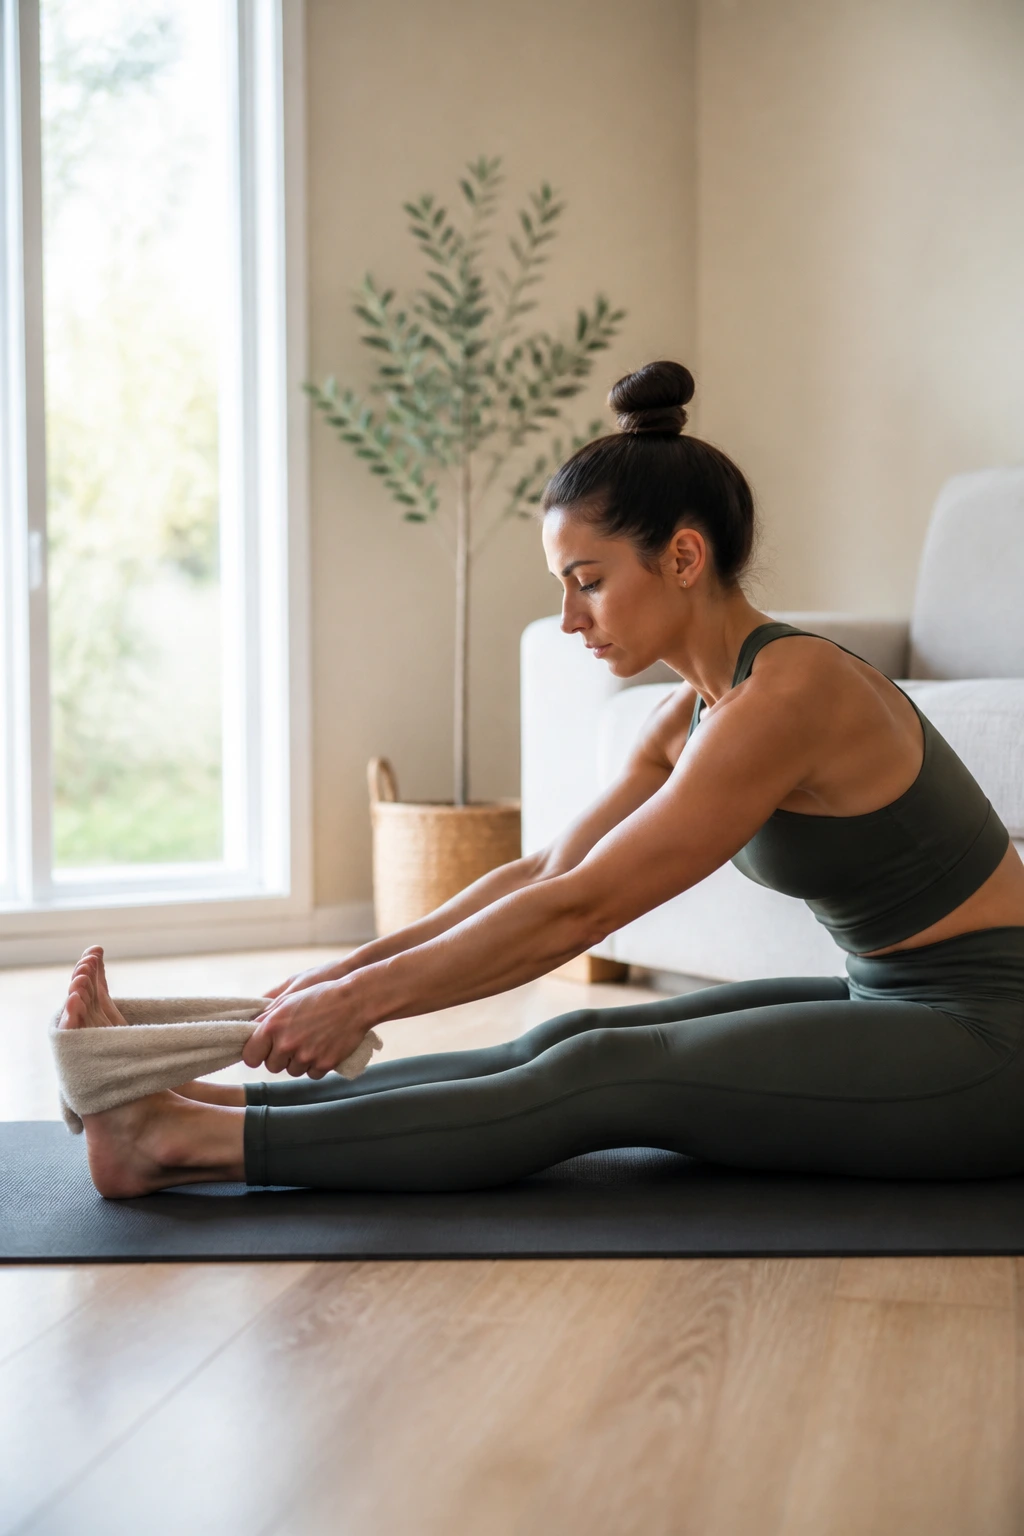
Hamstrings are notorious for feeling “tight” when they are actually just weak or overworked, but they still benefit from safe, static stretching. The key is to keep the knee slightly soft—do not lock it out, as this can strain the tendons behind the knee.
Try a seated forward fold with a strap or towel. Sit with legs extended, wrap a towel around the balls of your feet, and hold the ends. Keeping your back straight, hinge forward at the hips, not the waist. Think about bringing your belly button to your thighs, not your forehead to your knees.
Common Mistake: Rounding your spine significantly just to get your hands closer to your feet. It is better to have a straight back and feel a moderate stretch in the hamstrings than to hunch over and feel nothing but spinal strain.
5. Morning Wake-Up Flow

You don’t need a formal yoga session to get blood flowing when you wake up. This routine is about gentle, full-body activation to signal to your nervous system that the day has begun.
Start in bed or on a rug. Hug your knees to your chest and rock side to side to wake up the spine. Then, reach your arms overhead and stretch your toes away from your fingers—a full-body “pencil” stretch.
Sit up and do a few seated side bends, reaching your right arm over your head to the left, then switching. Finally, do a few seated spinal twists by placing your left hand on your right knee and looking over your right shoulder. It should feel like a full-body yawn.
6. Pre-Sleep Calm-Down
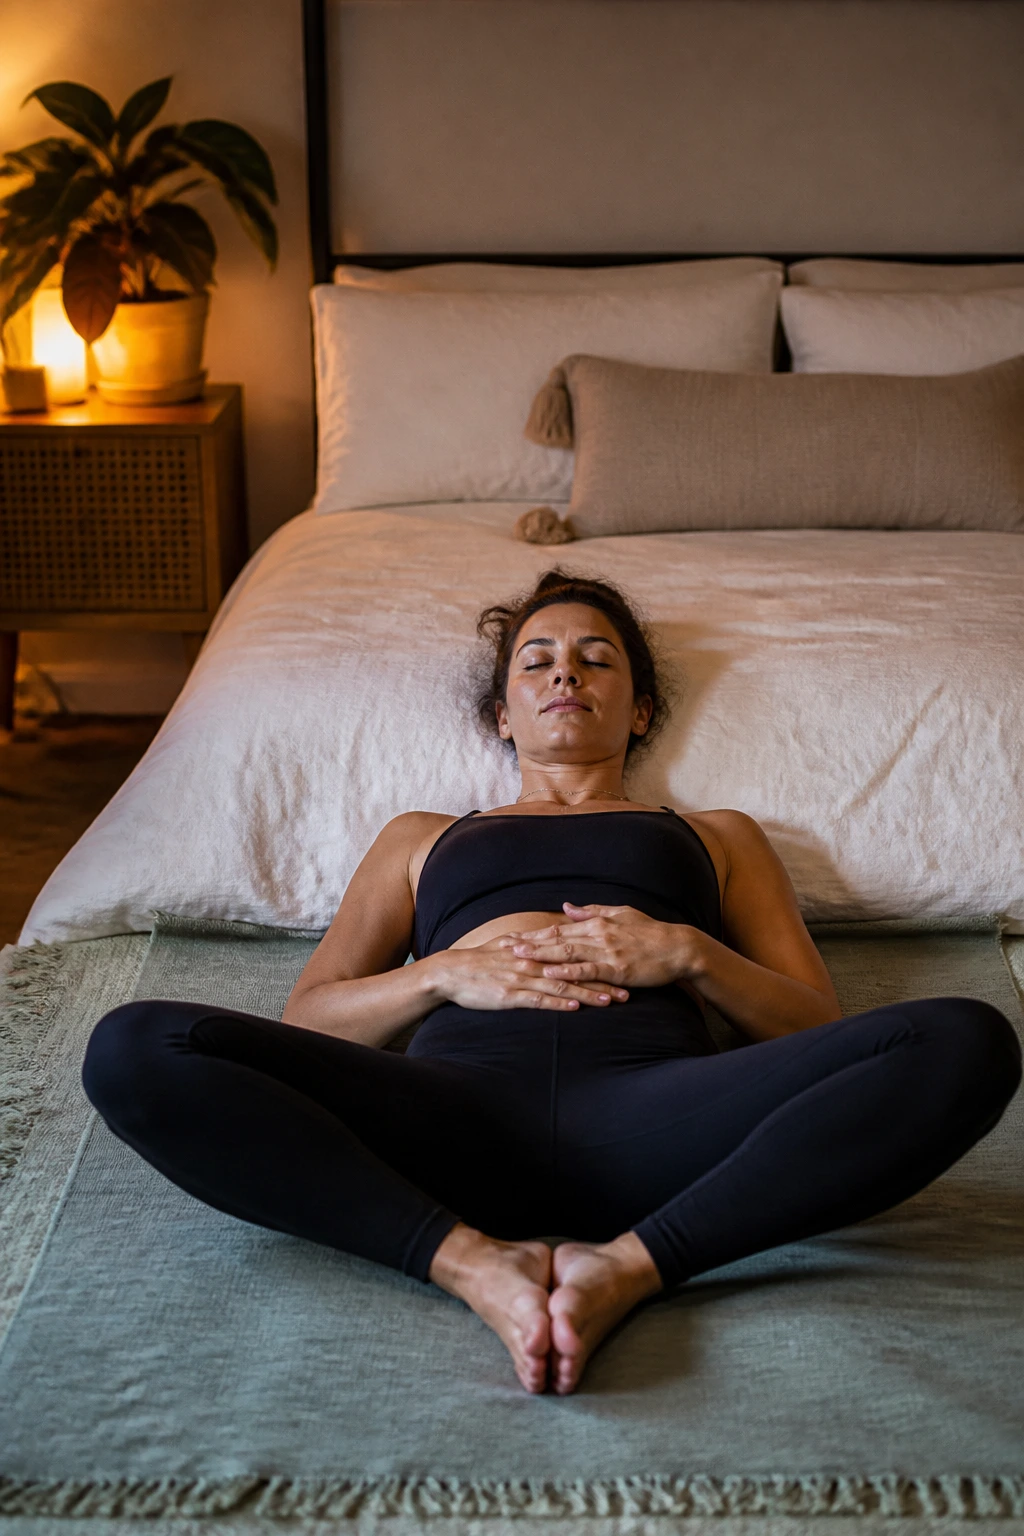
This is less about flexibility and more about parasympathetic nervous system activation. If you struggle to turn off your brain at night, try this gentle routine to signal to your body that it is safe to rest.
Lying on your back, place the soles of your feet together and let your knees fall open—the “reclined butterfly.” Place your hands on your belly and focus on deep, belly-driven breaths for two minutes. This releases the tension in the inner thighs and encourages slower breathing.
Follow this with “legs up the wall.” Scoot your hips as close to the wall as possible and rest your legs vertically against it. This is excellent for drainage and relaxation. Stay here for three to five minutes. It is arguably the most restorative position you can do before bed.
7. Post-Run Leg Recovery
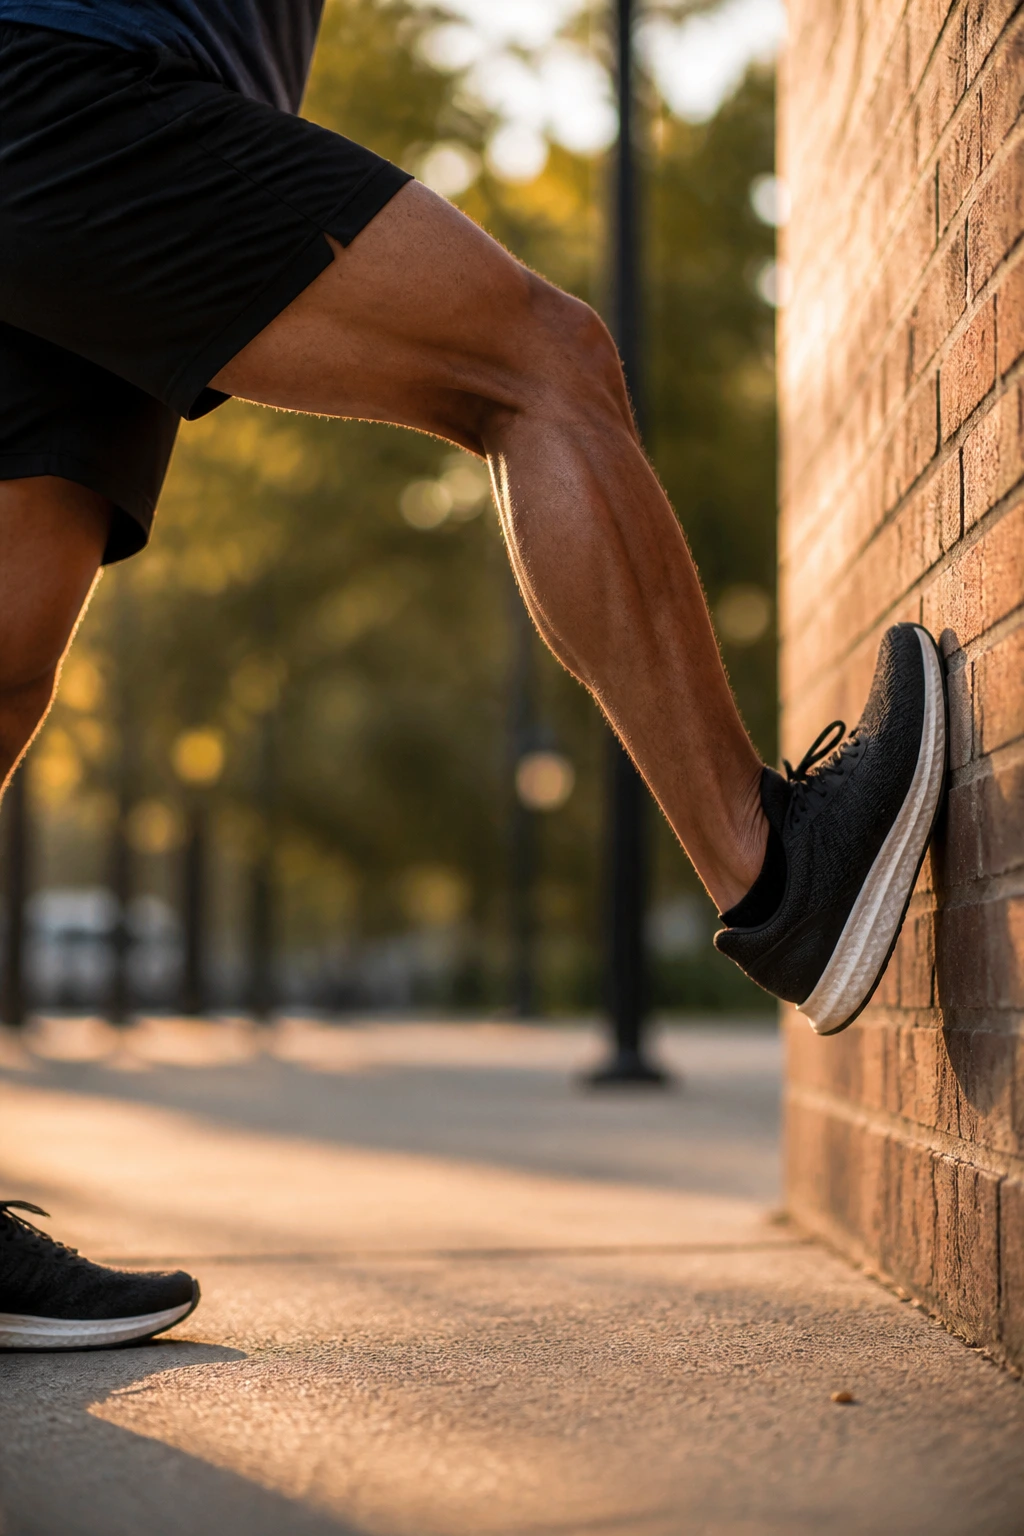
Running is a repetitive, impact-heavy movement. Your calves, quads, and hamstrings take the brunt of the force. This routine is best done immediately after your run, while your muscles are still warm and pliable.
The Calf Stretch
Find a wall or a sturdy tree. Place the ball of your foot against the vertical surface with your heel on the ground. Lean forward, keeping your leg straight. This targets the gastrocnemius muscle. To target the soleus, do the same thing but slightly bend the knee of the leg you are stretching.
The Standing Quad Stretch
Stand on one leg, grab the ankle of the other, and pull your heel toward your glute. Critical: Keep your knees together and push your hips forward slightly. If your knee drifts out to the side or you lean forward, you lose the stretch.
8. Ankle and Foot Mobility
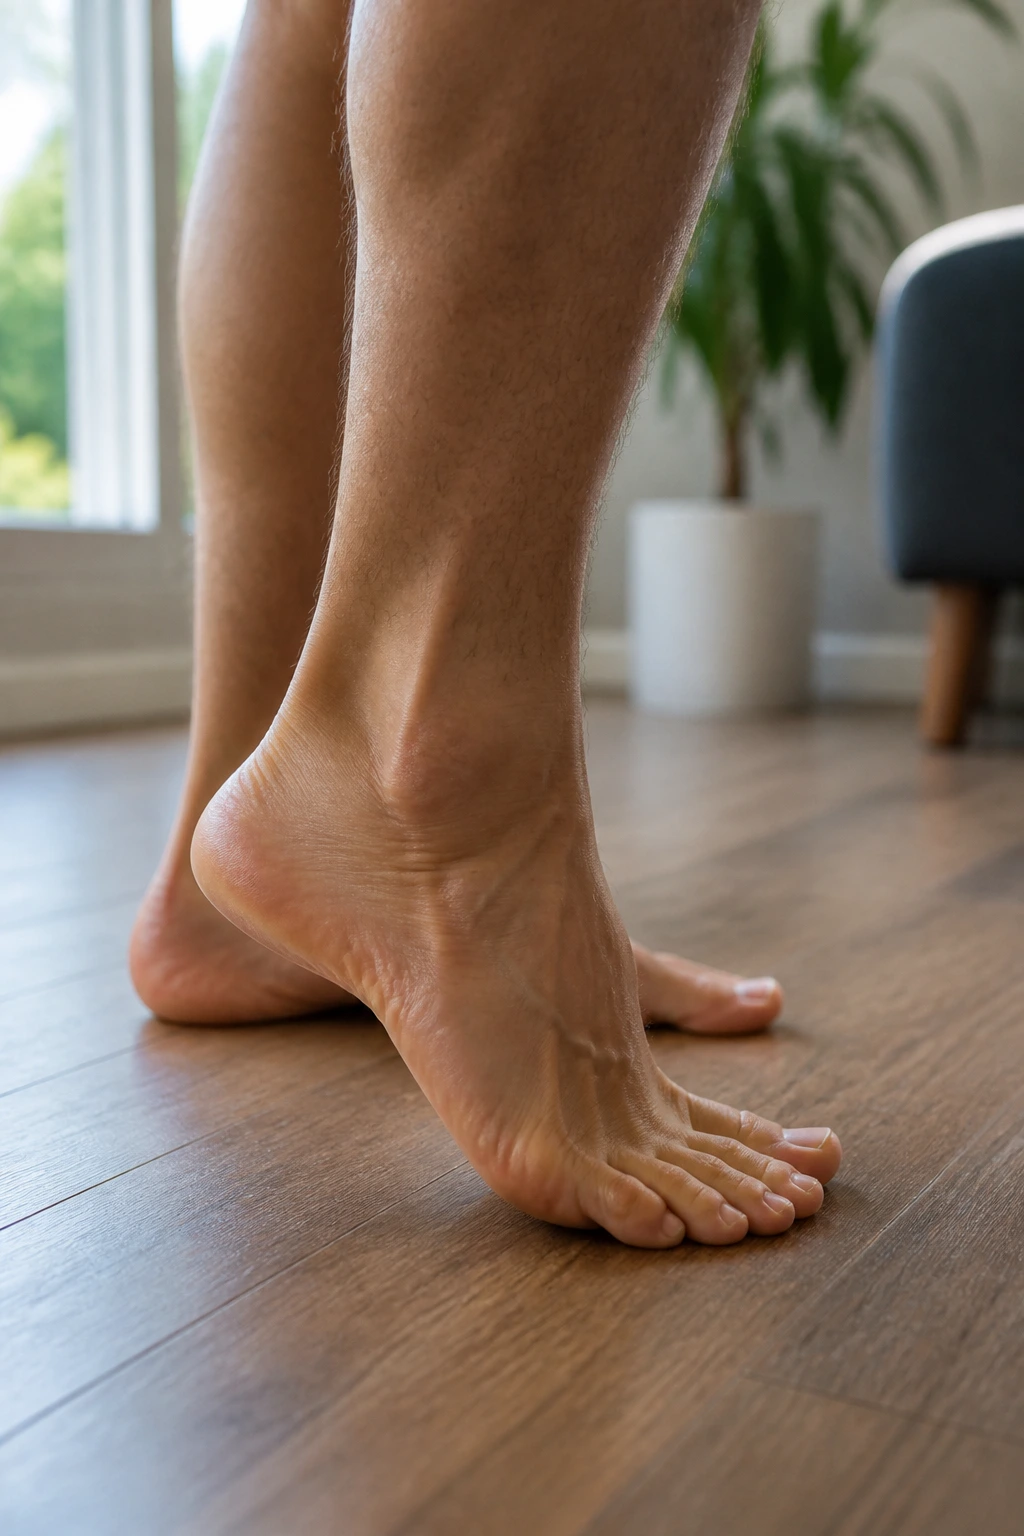
We often forget about our feet until we have plantar fasciitis or ankle stiffness. Mobility here acts as a foundation for your entire kinetic chain; if your ankles can’t move, your knees and hips have to compensate.
Sit on the floor with your legs extended. Rotate your ankles in wide, slow circles—ten times clockwise, ten times counter-clockwise. Really exaggerate the motion; try to touch the floor with your big toe on the inner rotation.
Next, use a tennis ball or lacrosse ball. Place it under the arch of your foot and roll it back and forth, applying moderate pressure. If you find a particularly tender spot, hold it there for 30 seconds. It might be uncomfortable, but it is one of the fastest ways to loosen tight foot fascia.
9. Chest and Upper Back Opener
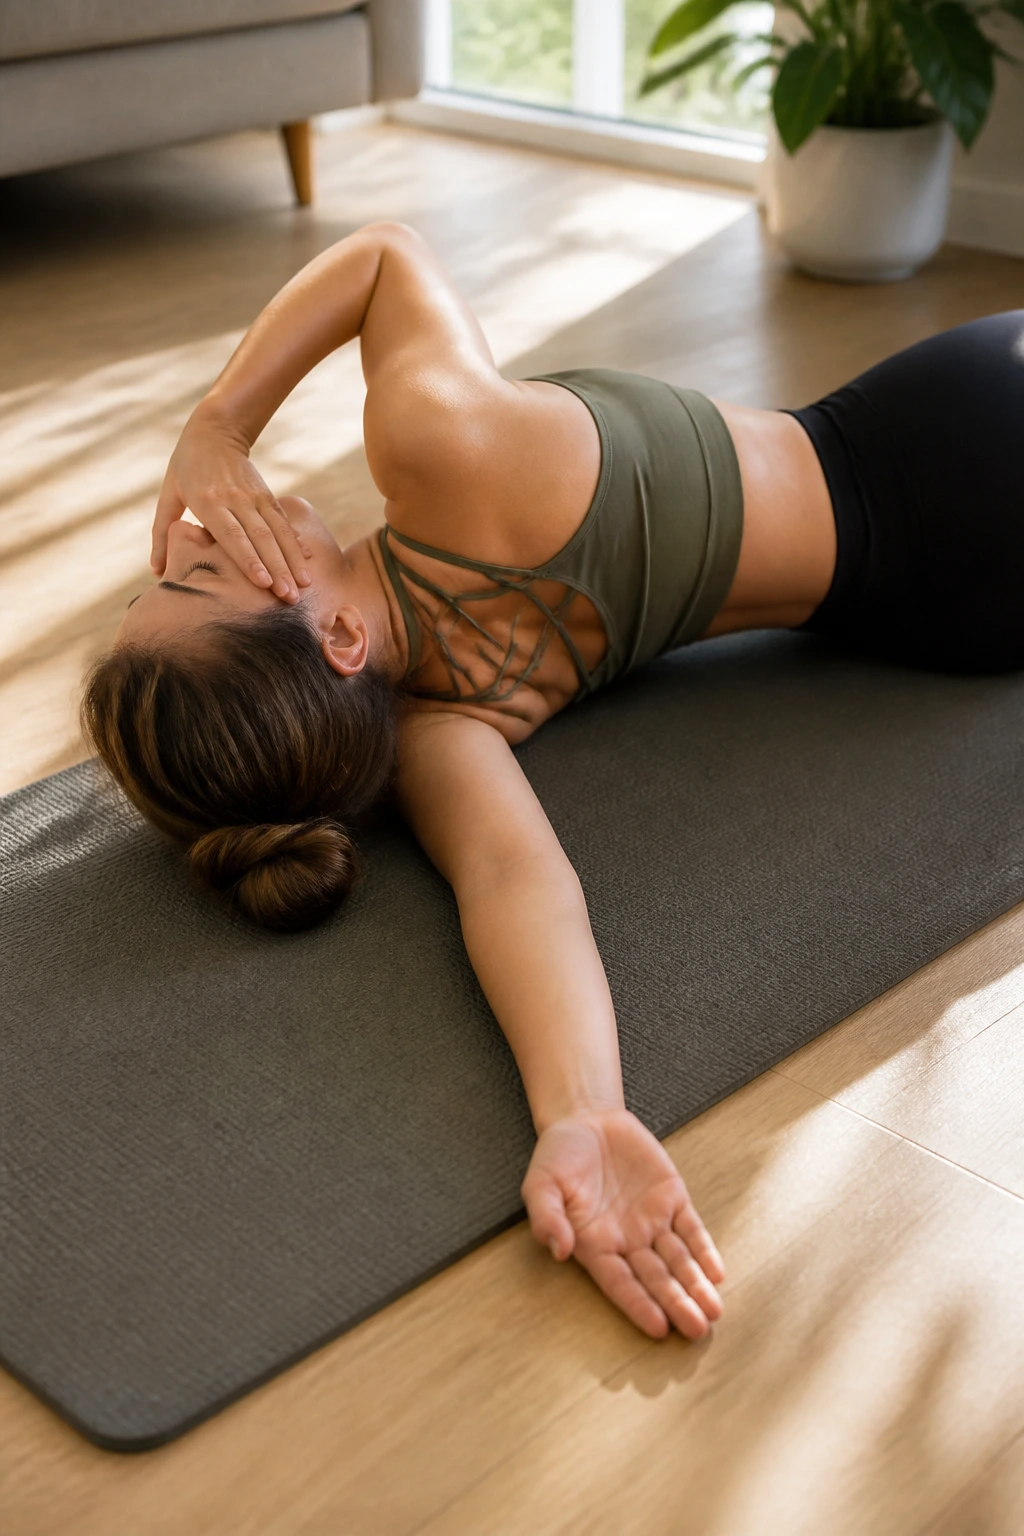
Rounded shoulders are the hallmark of our current lifestyle. This routine focuses on the thoracic spine (the mid-back) and the pectorals.
Lie face down on the floor. Extend your right arm out to the side at a 90-degree angle (cactus arm). Place your left hand near your left shoulder and push your body to rotate onto your right side, using your left leg for balance. You will feel an intense stretch across the front of your right shoulder and chest.
Hold this for 45 seconds, then switch sides. This position naturally forces the mid-back to open up, counteracting the tendency to slouch. It is incredibly effective if you do it slowly and breathe through the intensity.
10. Side Body Elongation
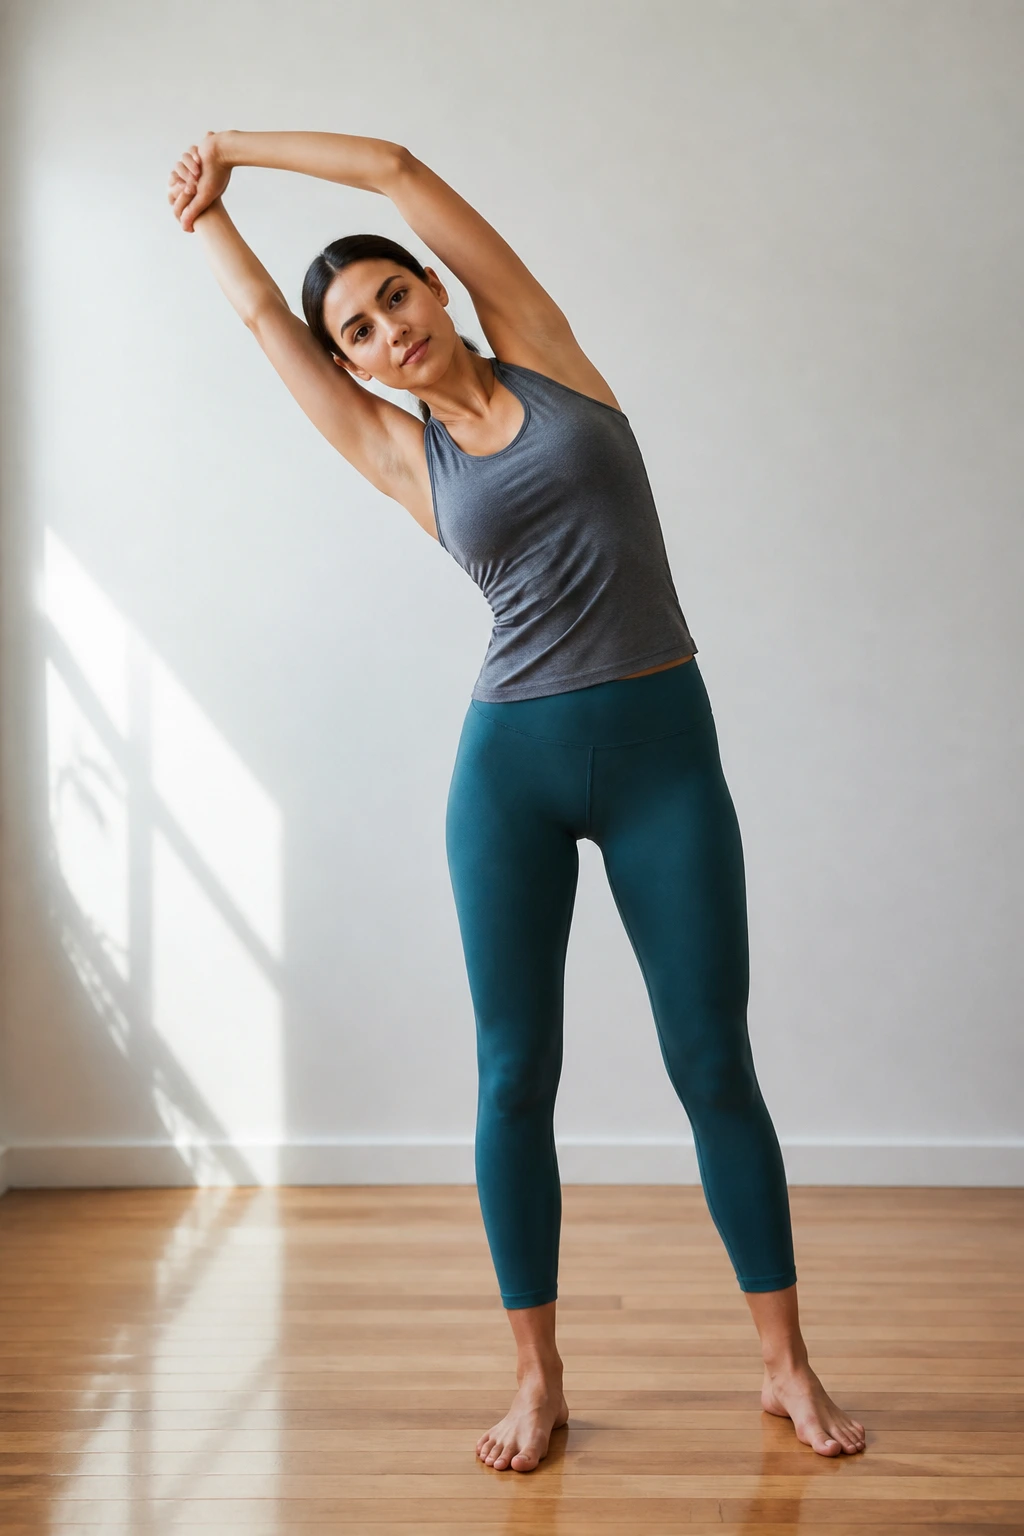
Often called the “lat stretch,” this targets the lats (latissimus dorsi) and the intercostal muscles between your ribs. Tight lats can restrict your overhead mobility, making simple tasks like reaching for a high shelf difficult.
Stand with feet hip-width apart. Reach your right arm straight up toward the ceiling. Grab your right wrist with your left hand and gently pull your arm up and over toward the left. Keep your chest facing forward—don’t let your torso rotate toward the floor.
Push your right hip slightly to the right to increase the side-body arch. You should feel the stretch running all the way from your hip up through your ribcage and into your armpit. Breathe into that right side; it will feel like you are creating space between your ribs.
11. Wrist and Forearm Relief
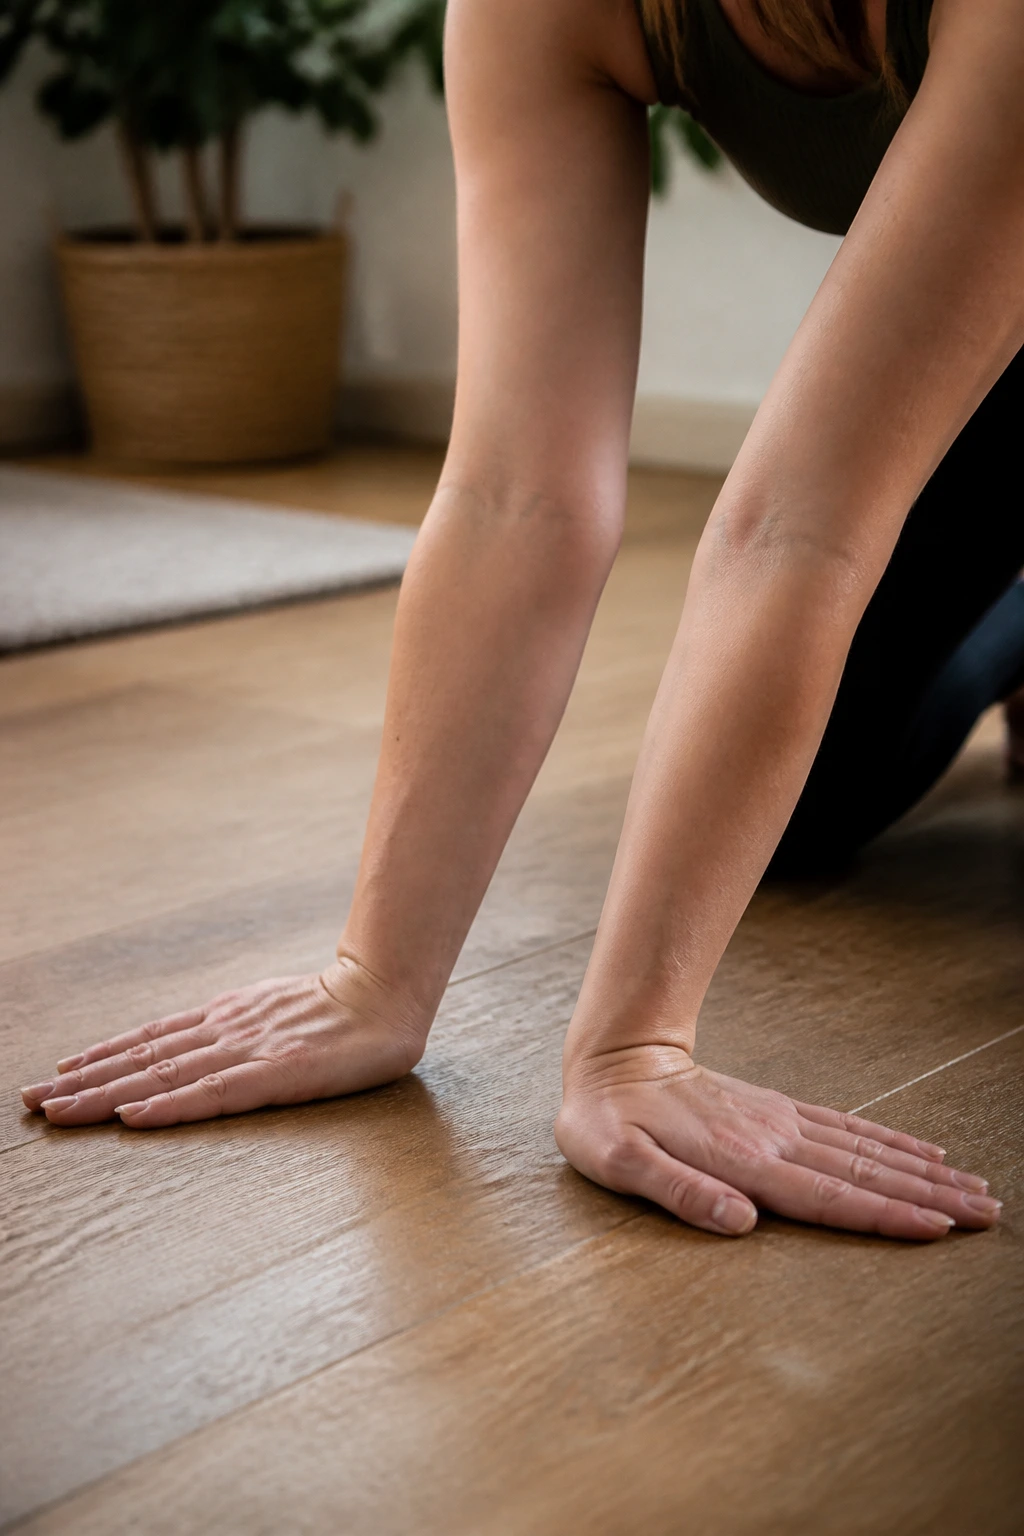
If you type, play an instrument, or spend time in the kitchen, your forearms are likely working harder than you realize. Wrist tightness is a common contributor to elbow pain and limited grip strength.
Start on all fours. Turn your hands so your fingers point toward your knees. Keep your palms flat on the floor. Slowly rock your hips back until you feel a stretch along the inside of your forearms.
Next, flip your hands over so the backs of your hands are on the floor, fingers still pointing toward your knees. Gently press down and straighten your arms. This targets the extensors. Be very careful with this one; the forearm muscles are small and can be easily over-stretched.
12. Glute-Focused Release
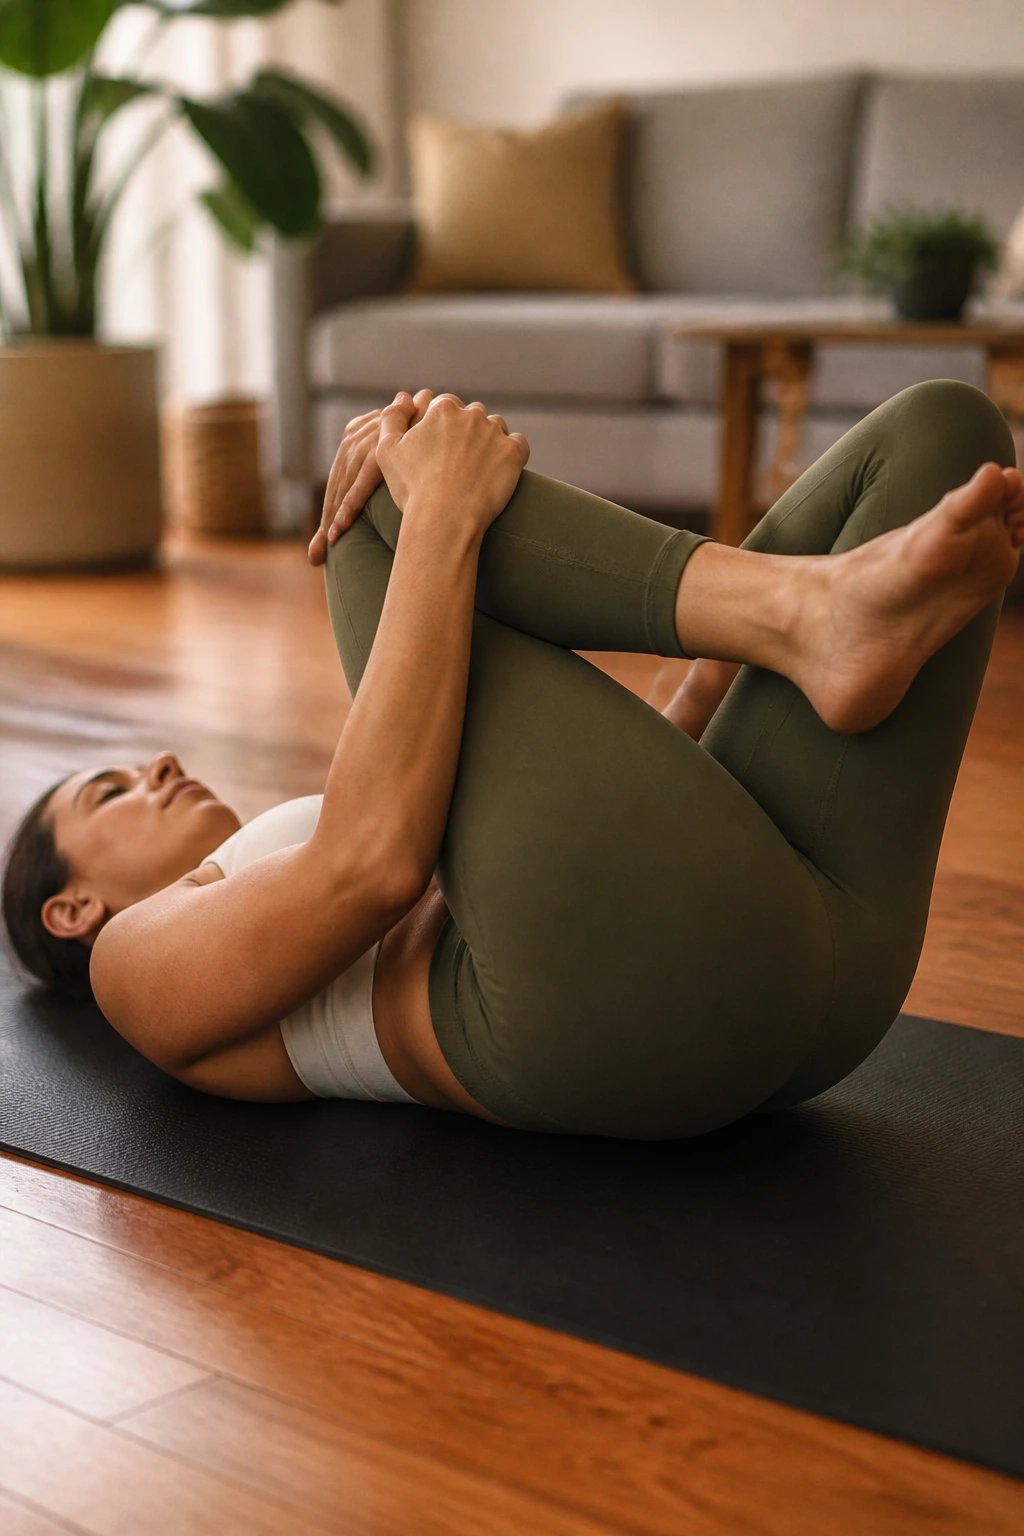
Tight glutes can pull on the lower back and contribute to hip misalignment. This is especially relevant if you lift weights or do any sort of explosive movement.
The “Figure-Four” stretch is the gold standard here. Lie on your back, cross your right ankle over your left knee, and reach through your legs to grab the back of your left thigh. Gently pull your left leg toward you while pushing your right knee away from you.
You should feel a deep, satisfying stretch in the right glute. If you need more intensity, keep your left leg straight instead of bent. Always keep your head and shoulders flat on the floor; don’t crane your neck to help pull the leg.
13. Quad Stretching Essentials
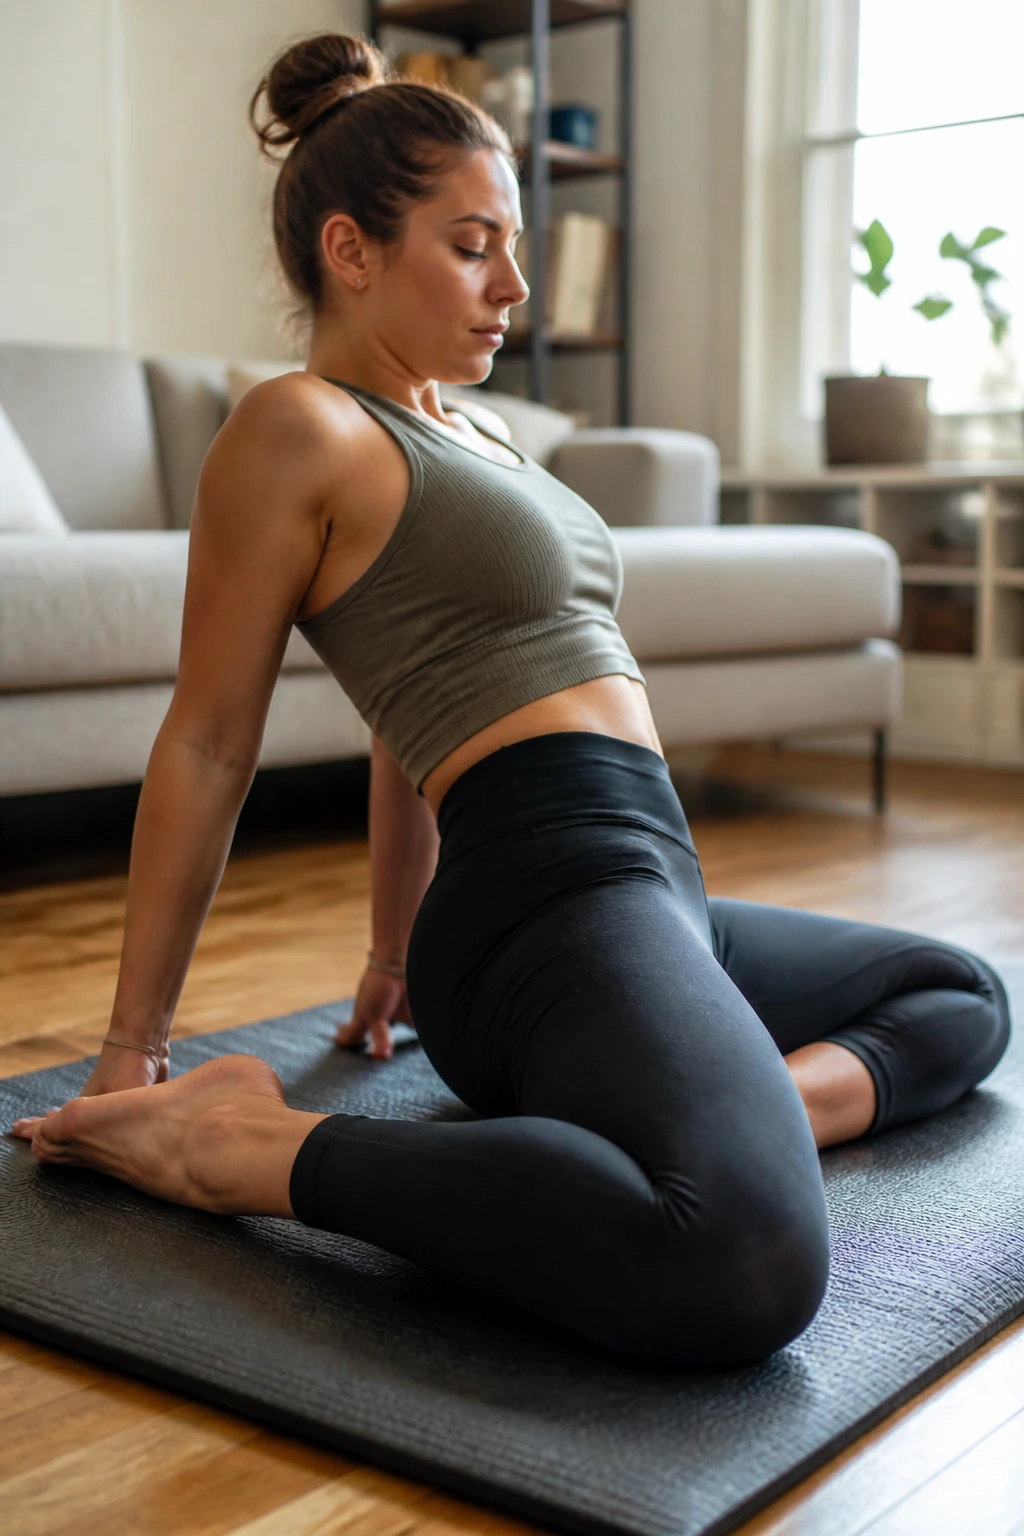
Quadriceps are large, powerful muscles, and when they get tight, they pull the kneecap out of alignment. While the standing quad stretch is fine, a floor variation often allows for better control and deeper release.
Kneel on the floor with your shins resting on the mat. Lean back onto your hands behind you. If you can, lower down onto your elbows. This is the “saddle” stretch.
Warning: This can be extremely intense on the knees. If you feel any sharp pain, do not go further. You can achieve a similar effect by performing a “couch stretch”: place one knee on the floor against a wall, with your shin vertical up the wall, and step the other foot forward into a lunge. It is brutal, but incredibly effective for the quads and hip flexors.
14. Calf-Specific Mobility
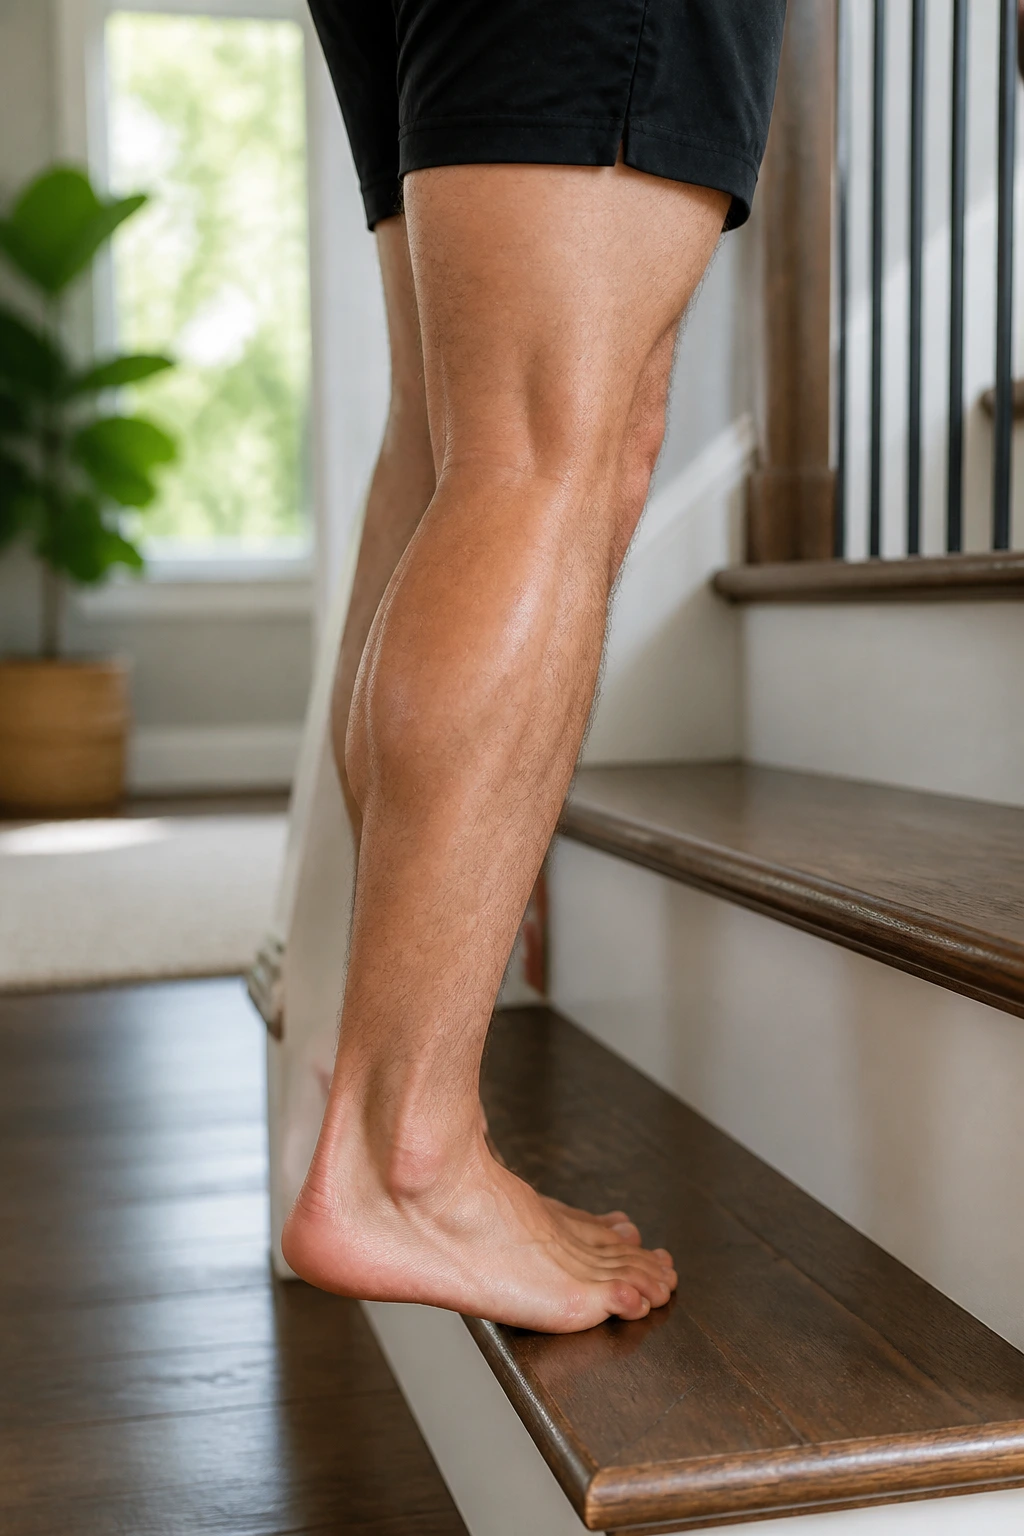
Your calves are made of two main muscles: the gastrocnemius (the bulky one) and the soleus (the deeper one underneath). Most people only stretch the gastrocnemius.
To isolate the soleus, keep your knee bent while performing your calf stretch. A great way to do this at home is to stand on the edge of a step. Drop one heel off the edge, but keep that knee slightly bent throughout the movement.
You will feel the stretch much lower, closer to the Achilles tendon. This is essential for preventing ankle stiffness and improving your squat depth. Hold for 30 seconds on each side, letting gravity do the work.
15. Thoracic Spine Twist
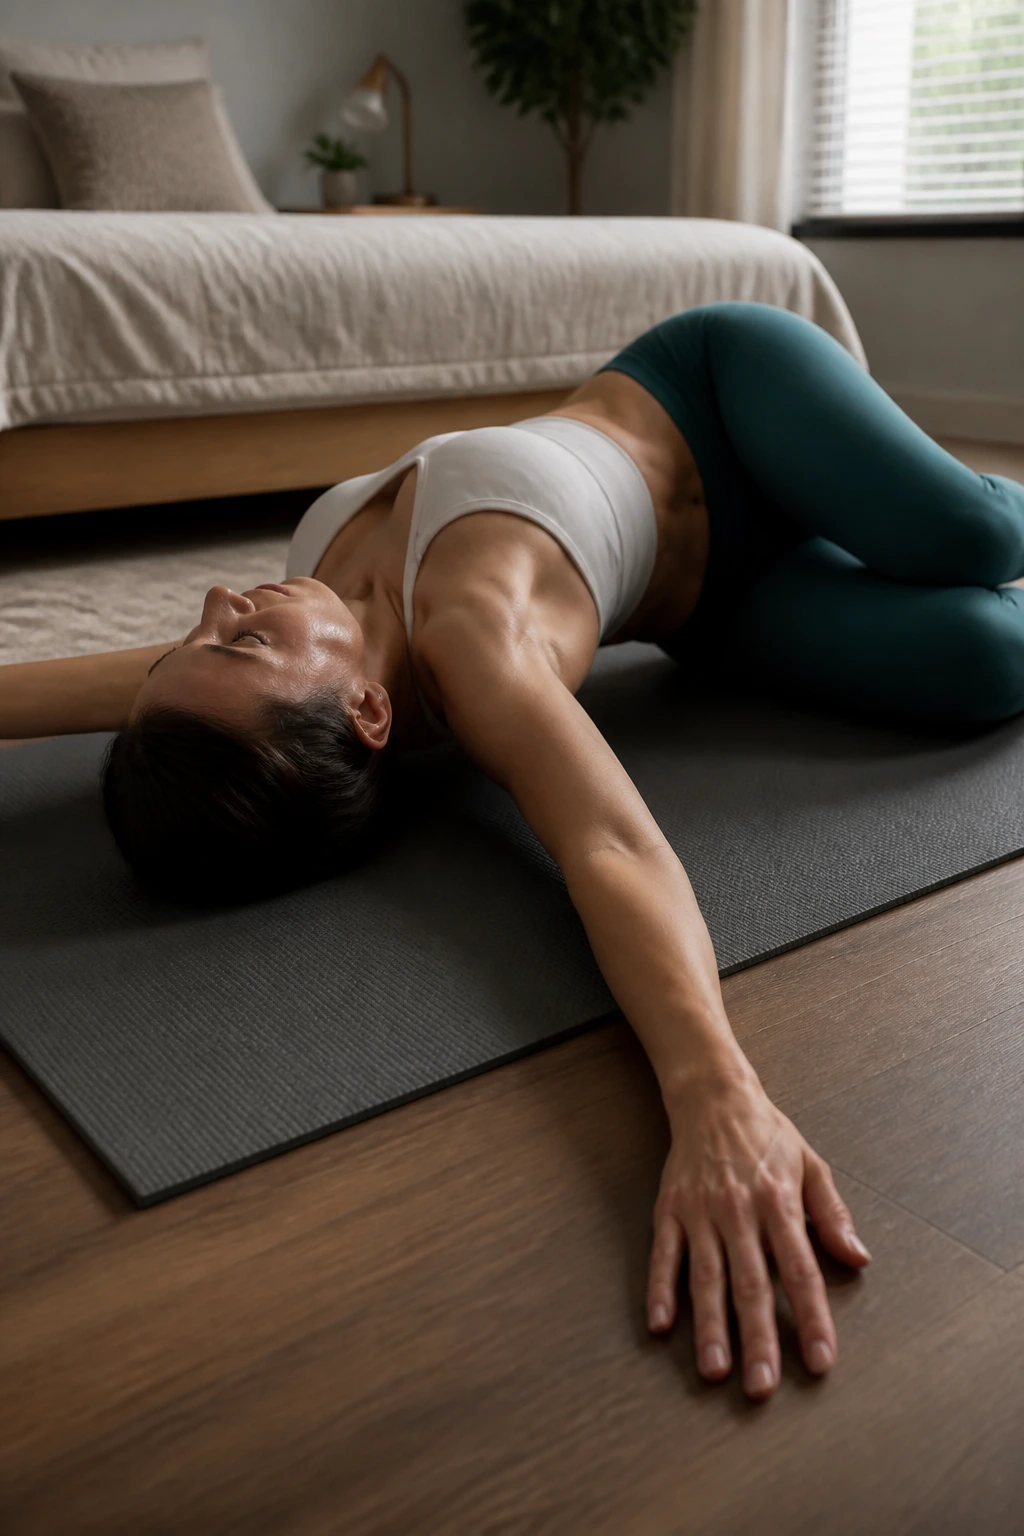
The thoracic spine is designed for rotation, but we rarely use it that way. When the mid-back becomes stiff, the lower back often tries to compensate, which leads to injury.
Lie on your side with your knees bent at 90 degrees, stacked on top of each other. Extend both arms straight out in front of you, palms touching. Slowly lift your top arm and rotate your torso, reaching that arm all the way over to the opposite side until your shoulder touches the floor.
Follow your hand with your eyes. Keep your knees glued to the floor with your bottom hand. This rotation is pure thoracic movement. It is excellent for undoing the damage of hunching over a phone or keyboard.
16. Pelvic Floor and Inner Thigh Release
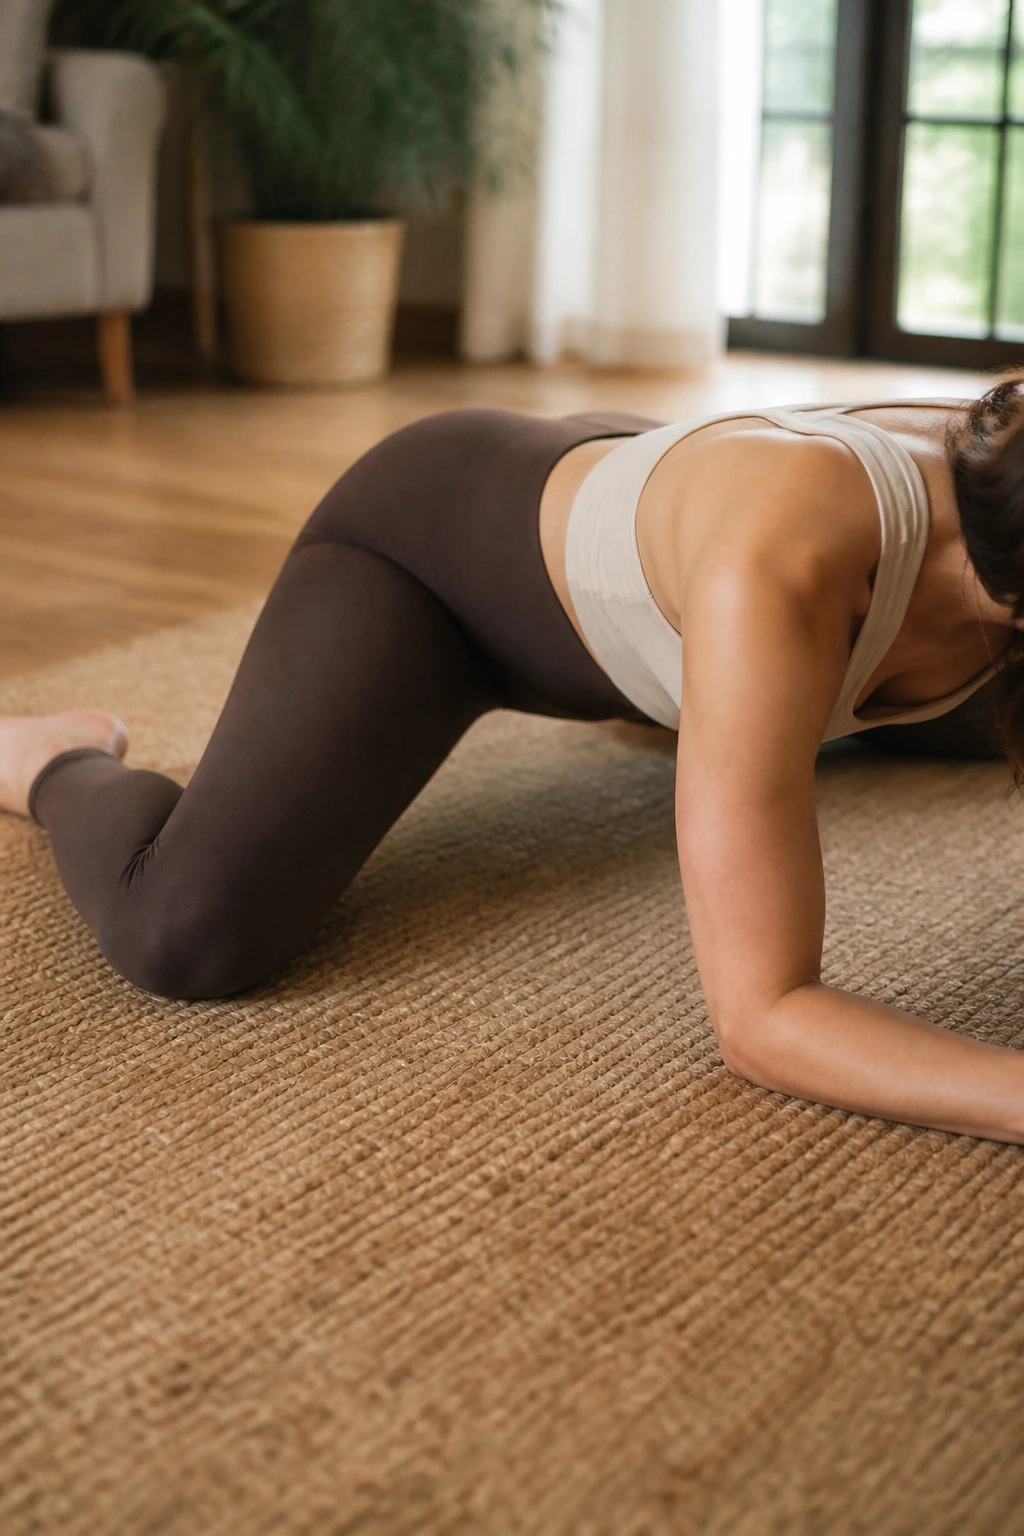
The “Frog Pose” is a classic, though intimidating-looking, stretch for the inner thighs and pelvic floor area. It requires a bit of room and perhaps a rug for padding under the knees.
Start on all fours. Slowly slide your knees apart as wide as they will go, keeping your feet in line with your knees. Flex your feet (toes pointing out to the sides). Lower yourself onto your forearms.
Push your hips backward slightly to increase the stretch in the groin. This is a very vulnerable position; move slowly and breathe deeply. This is one of the most effective ways to open up the hips if you feel perpetually tight in that area.
17. Post-Weightlifting Shoulder Recovery

If you lift weights, your shoulders are likely hunched forward, even if you are strong. The “band pull-apart” is a great exercise, but for stretching, we need something that opens the front without straining the joint.
Find a doorway. Raise one arm up to the side at a 90-degree angle and place your forearm on the doorframe. Step forward with the leg corresponding to that arm. Keep your chest tall and open.
Rotate your torso slightly away from that arm. You will feel a deep release across the pec minor, a small muscle that is often overlooked but causes significant shoulder tension when tight. Hold for 45 seconds.
18. Knee-Friendly Leg Lengthening
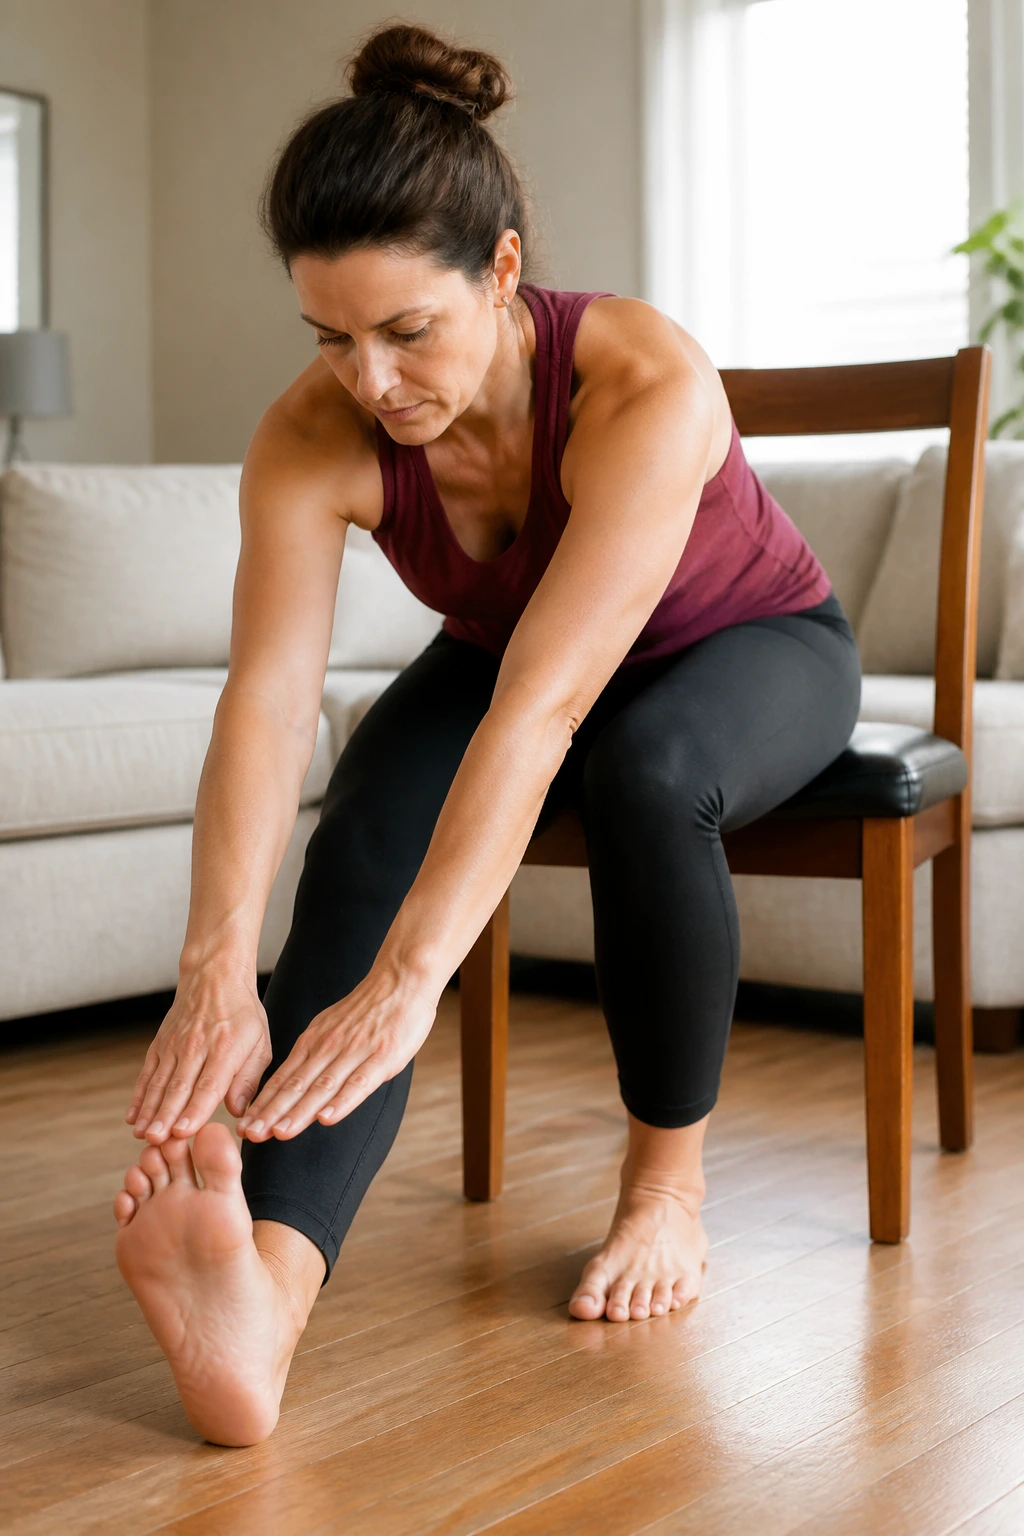
If you have sensitive knees, avoid kneeling stretches. Instead, use a seated approach that targets the same areas without the pressure on the joint.
Sit on the edge of a sturdy chair. Extend one leg straight out in front of you, heel on the ground, toes pointed up. Keep the other leg bent with the foot flat on the floor.
Sit tall and hinge forward at the hips, keeping your back flat. You will feel a strong stretch down the back of the extended leg, but because your weight is supported by the chair, your knee is protected and you can relax into the stretch much better than on the floor.
19. The “I Sat All Day” Full Body Reset
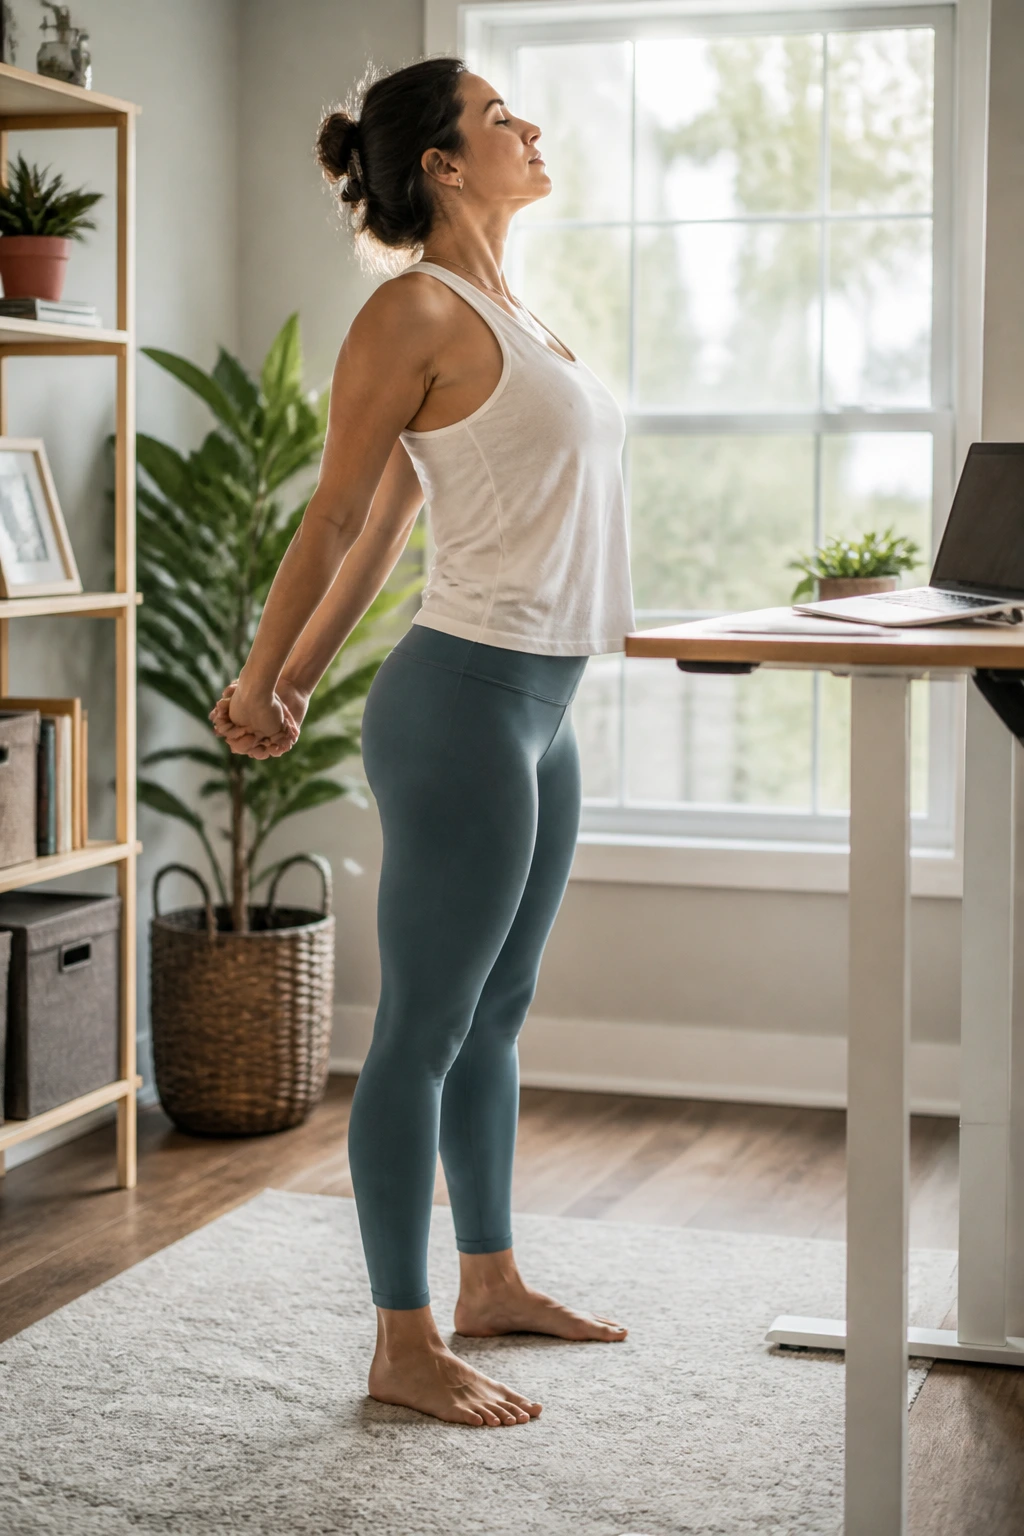
This is a comprehensive flow designed specifically for the person who has been stuck in a chair for eight hours. It hits all the major neglected points.
- Chest Opener: Interlace your hands behind your back and pull your shoulders down, opening your chest. Hold for 30 seconds.
- Forward Fold: Stand and hinge at the hips, letting your head hang heavy to release the neck. Hold for 30 seconds.
- Hip Flexor Lunge: A quick 30-second low lunge on each side to wake up the hips.
- Spinal Twist: A quick standing twist by rotating your torso and looking behind you.
Do this once when you stand up from your desk. It resets your posture and clears the stagnant feeling of being seated for too long.
20. Gentle Sciatica Soother
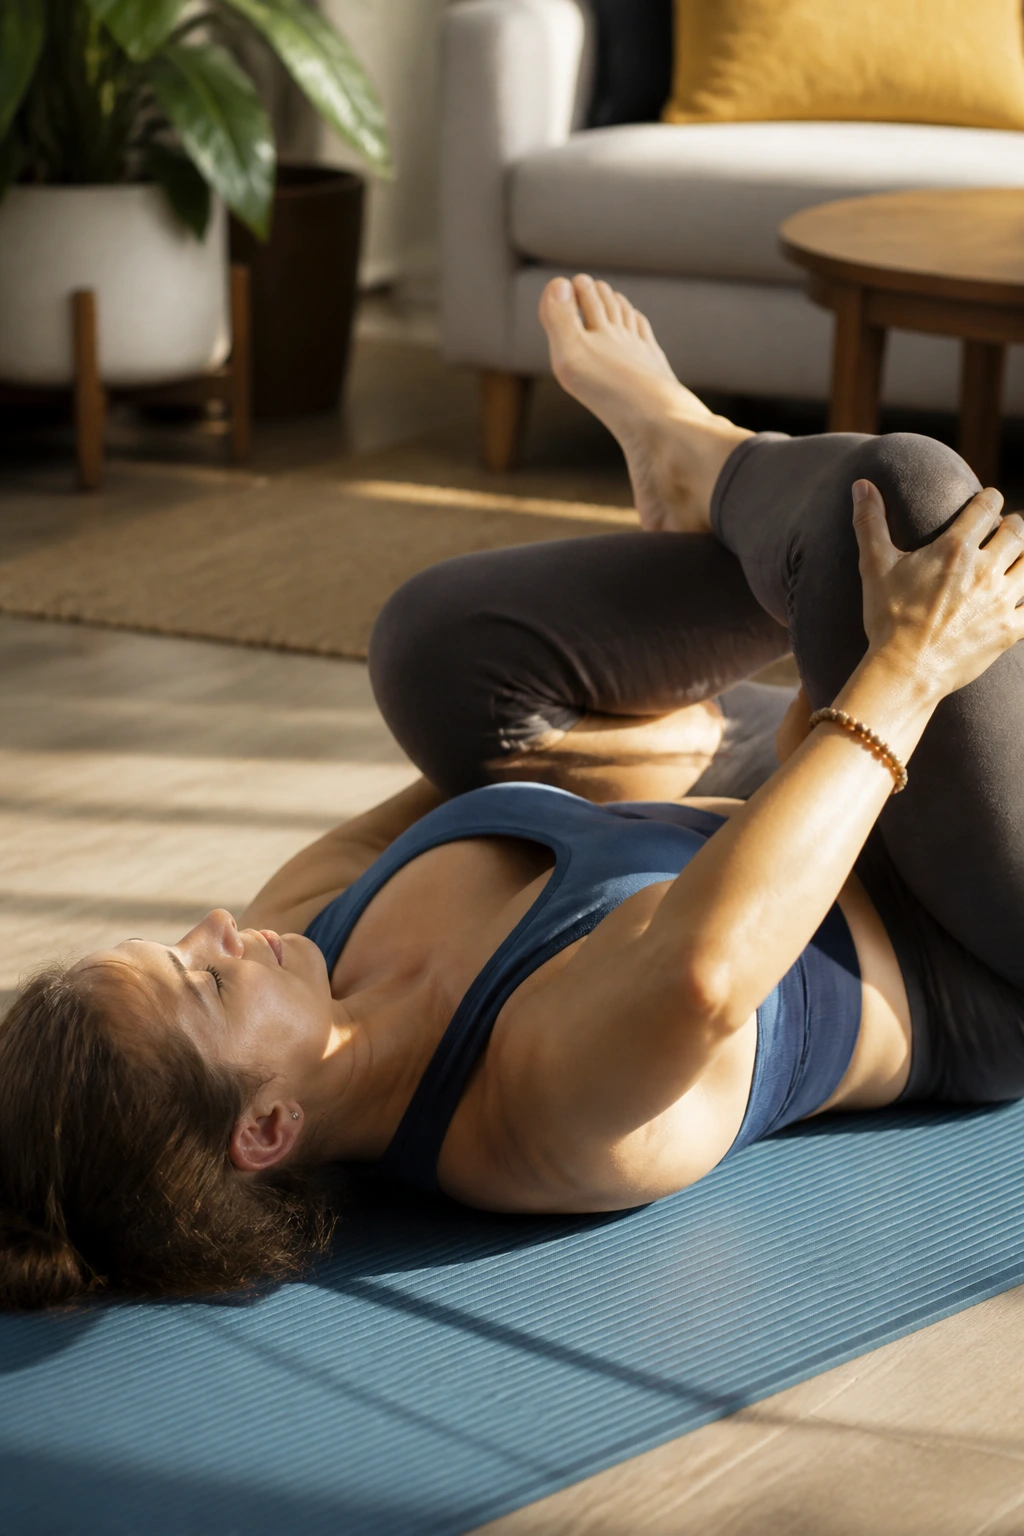
Sciatica can be incredibly painful, so if you are currently experiencing a flare-up, consult a professional. If you have mild tightness that mimics sciatica, the “Piriformis Stretch” is often the go-to.
Lie on your back. Bend your knees and place your feet on the floor. Cross your right ankle over your left knee. Now, use your hands to pull your left thigh toward your chest.
If you want more intensity, you can gently push your right knee away with your right elbow. The piriformis is a small muscle deep in the glute; when it tightens, it can press on the sciatic nerve. This stretch is a lifesaver.
21. Upper Body Tension Destroyer
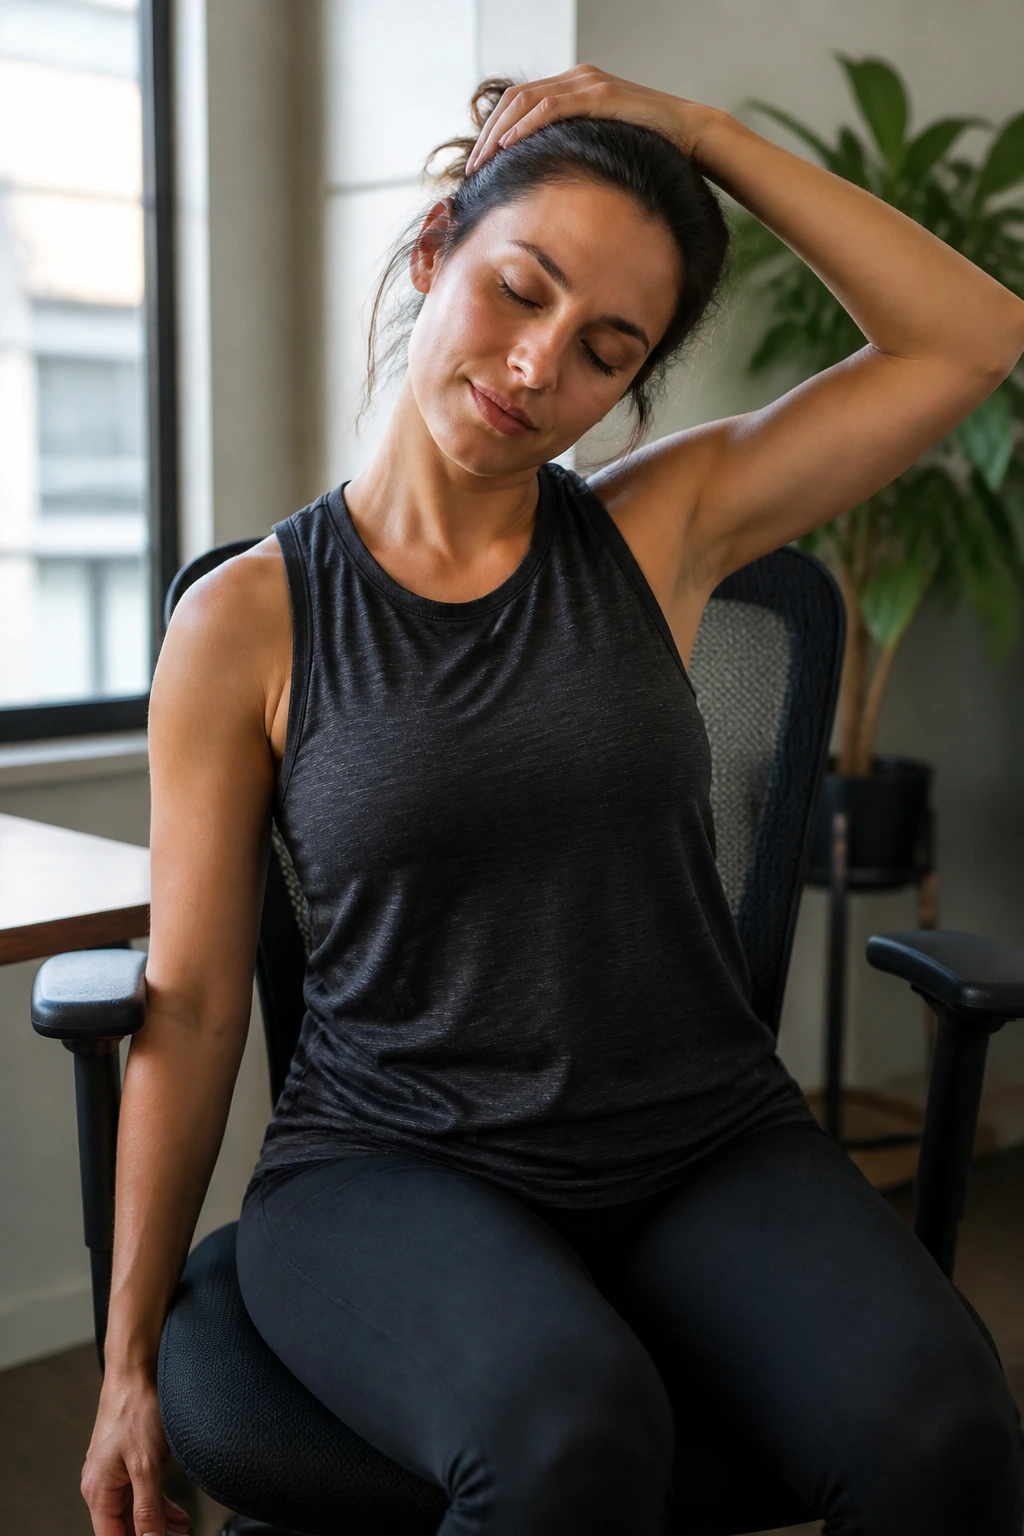
Tension in the upper body often creates a vicious cycle of headaches and neck pain. This specific move—the “Ear-to-Shoulder with Assistance”—is deceptively simple.
Sit upright. Place your right hand on your head, just above your left ear. Very gently pull your right ear toward your right shoulder. Crucial: Do not pull hard. Your hand is there only for a tiny bit of extra weight.
Simultaneously, reach your left arm down and away from you, trying to touch the floor with your fingertips. This creates a powerful traction force that stretches the entire side of the neck and the upper trapezius. Hold for 20 seconds. Repeat on the other side.
22. Stability-Focused Balance Stretch
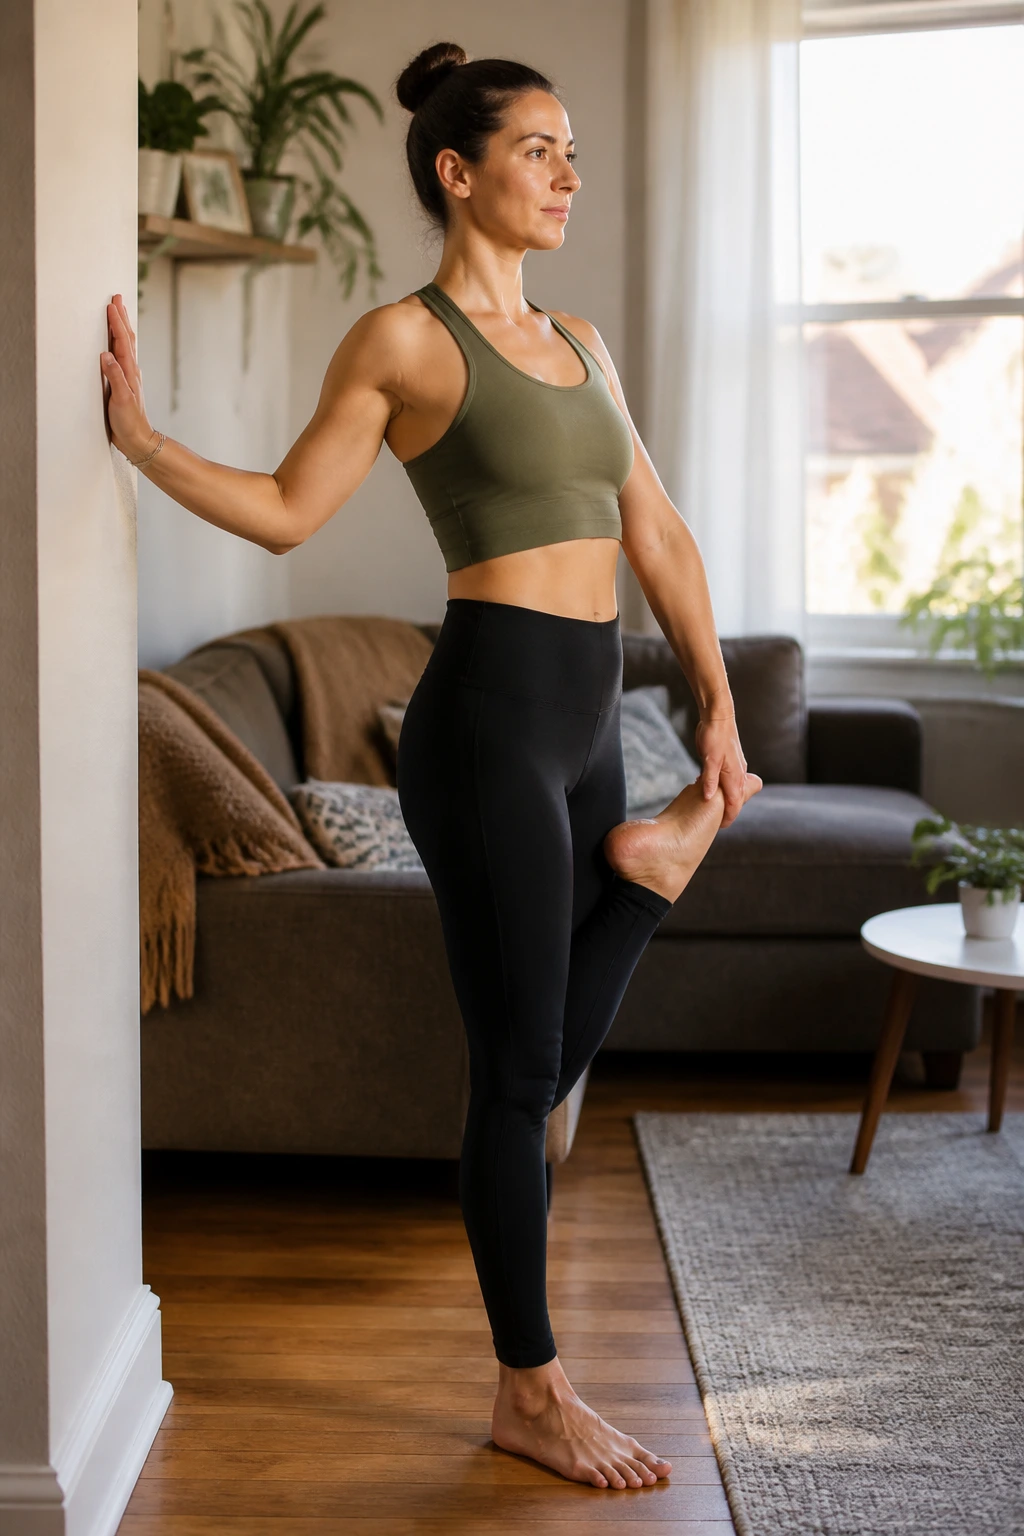
This is the “Flamingo” stretch. It challenges your balance while opening the quad and hip flexor. It is great for waking up the stabilizers in your ankle and core.
Stand on your right leg. Pull your left heel toward your glute. Instead of just holding it, focus on engaging your core and pushing your left hip slightly forward while keeping your chest upright.
If you wobble, hold onto a wall. The act of balancing while stretching forces your stabilizer muscles to work, which actually helps you relax into the stretch faster. Do this for 45 seconds per side.
23. Core-Opening Flexibility Work
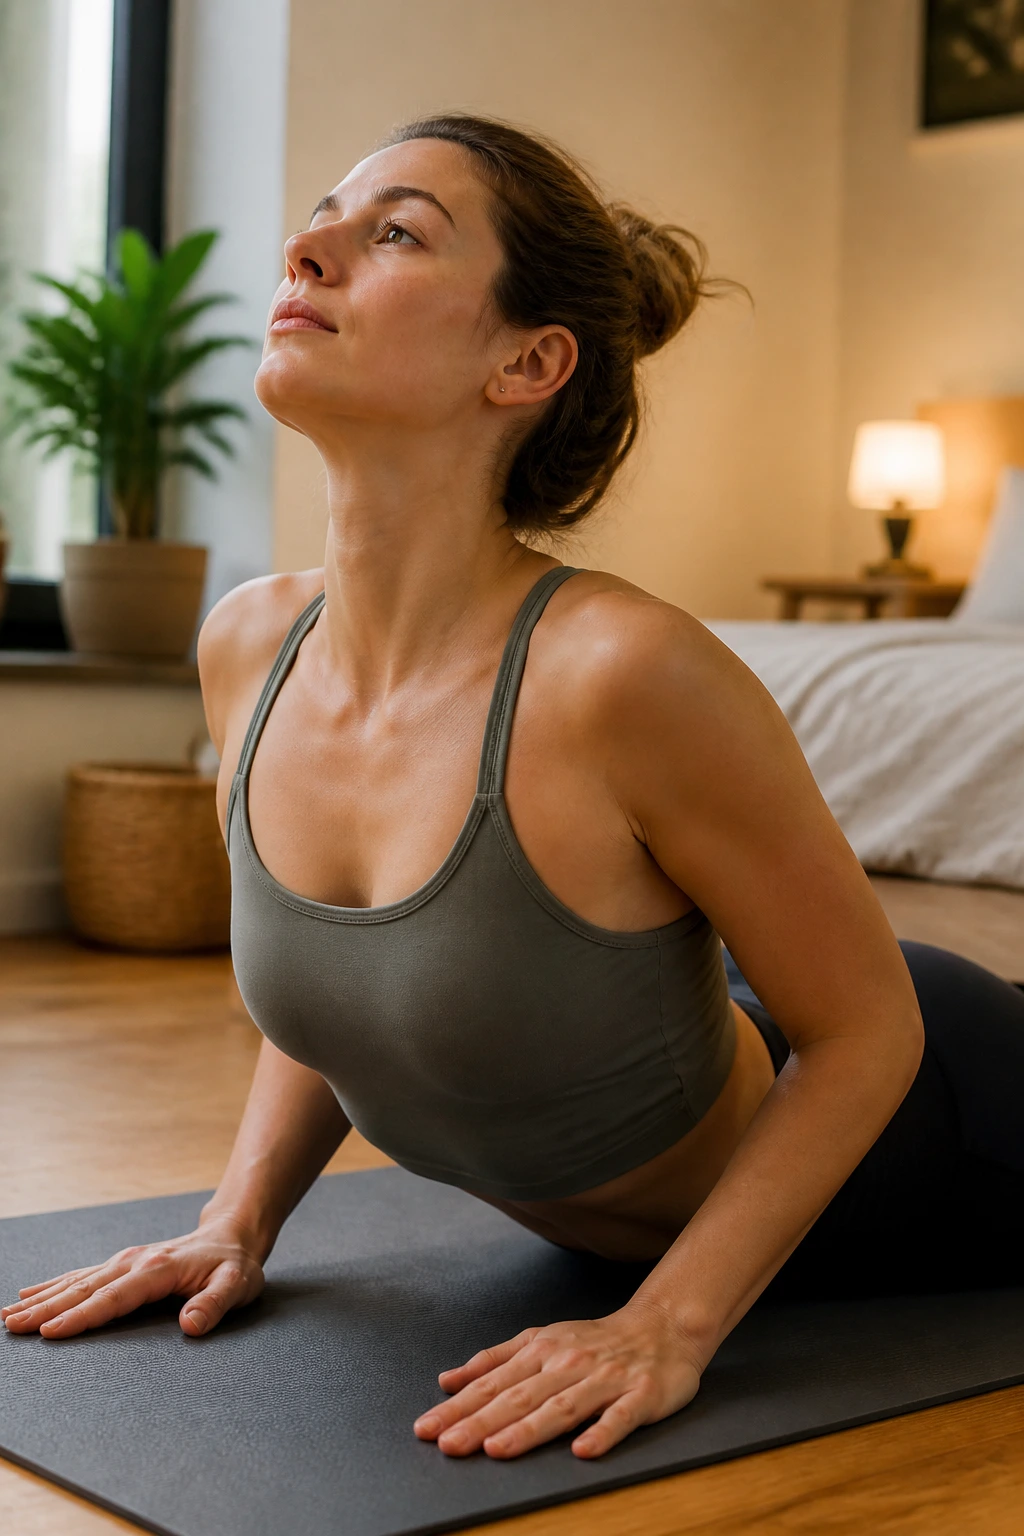
People forget that the core needs to be stretched too. If you are always crunched over, your abdominal muscles can get tight, which prevents you from standing up fully.
The “Cobra” pose is standard, but try a more passive variation. Lie on your stomach, place your hands under your shoulders, and gently push your chest up, keeping your elbows bent.
Look up toward the ceiling to lengthen the front of your throat as well. This isn’t about how high you can push up; it’s about lengthening your belly. Breathe into your abdomen. You should feel a gentle, pleasant stretch in your stomach muscles.
24. Foot Arch and Toe Mobilization
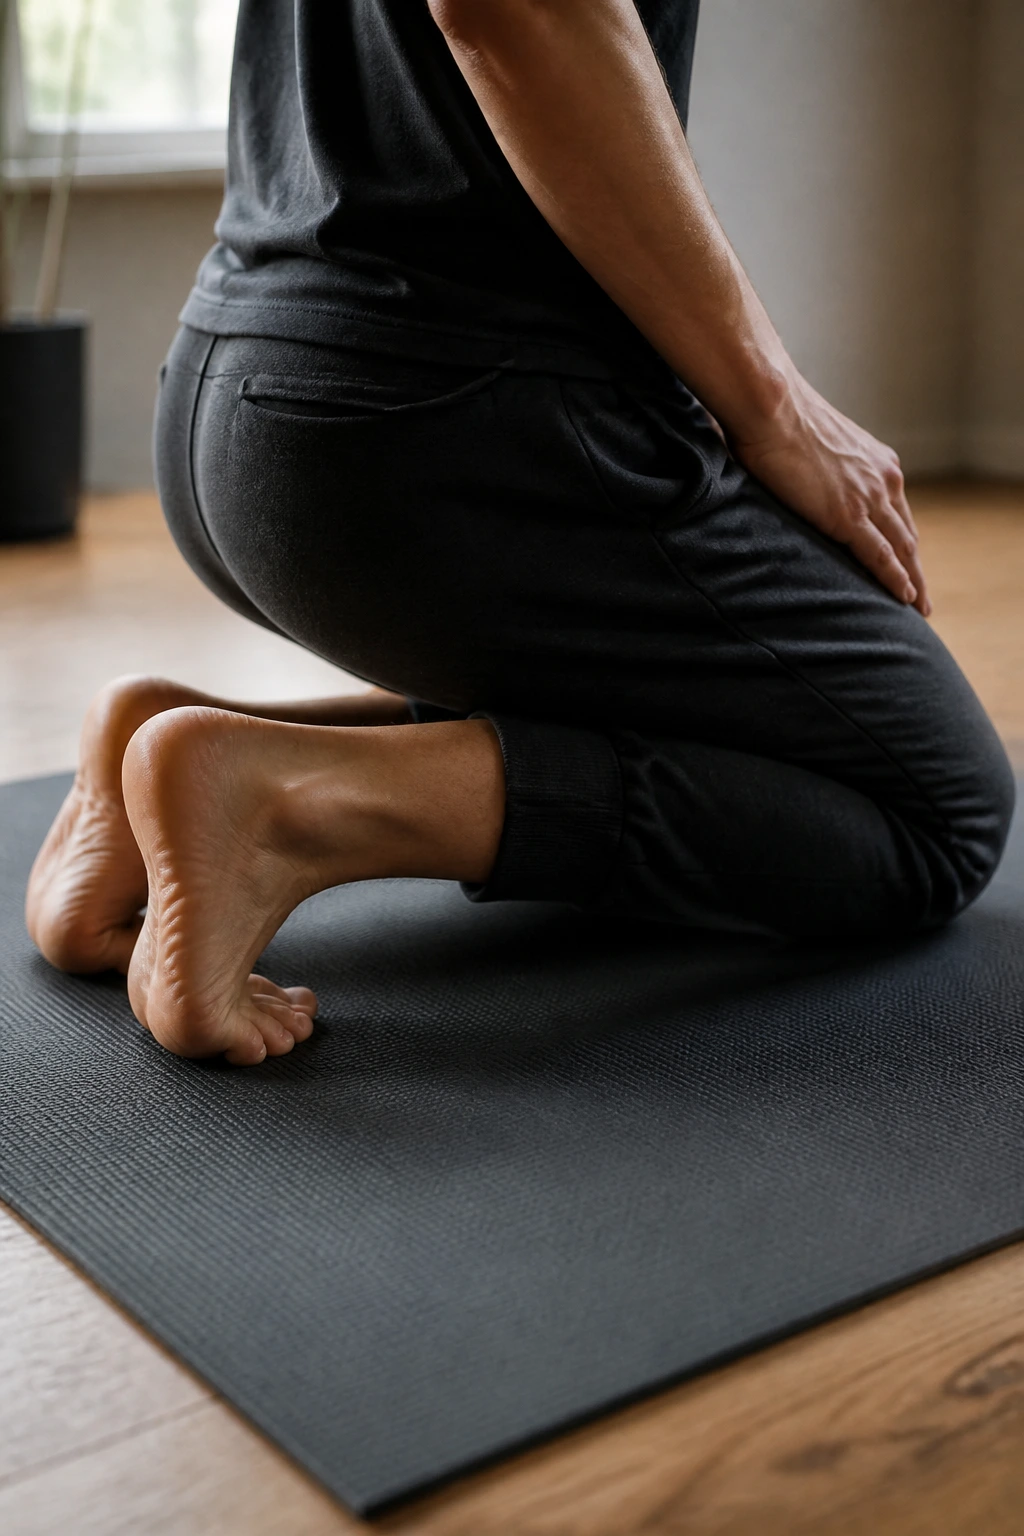
Your toes do a lot of work that we rarely acknowledge. Toe stiffness can make walking feel clunky. This is a simple, effective way to mobilize the entire bottom of your foot.
Kneel on the floor and tuck your toes underneath you, so you are sitting back on your heels with your toes curled. This will feel intense! It’s a deep stretch for the plantar fascia and the toe joints.
Hold for 30 seconds. If it’s too much, lean forward and put your hands on the floor to take some weight off your heels. This is one of the best things you can do if you wear restrictive shoes all day.
25. Neck Mobility and Tension Release
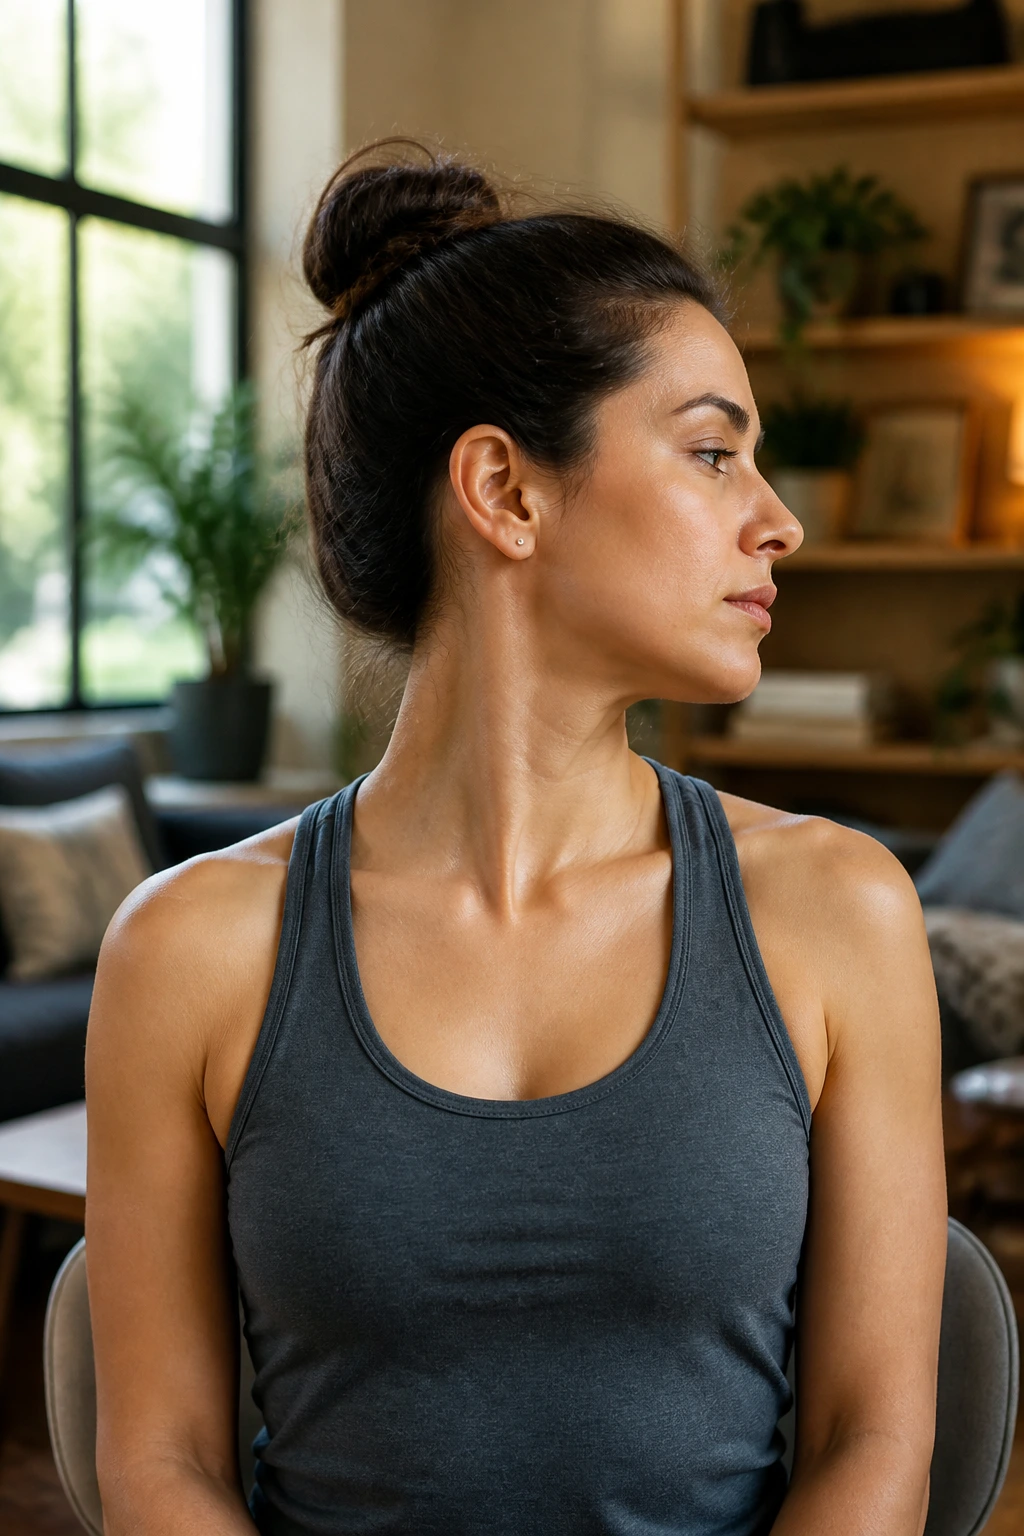
We already covered a side stretch, but rotational mobility is equally important. Many people lose the ability to turn their heads fully, which is a major safety issue when driving.
Sit comfortably and keep your spine long. Slowly rotate your head to the right, trying to look behind you as far as you can without forcing it. Hold for 5 seconds. Now rotate to the left.
Repeat this 10 times. After that, slowly drop your chin to your chest and then look up at the ceiling. Warning: Never roll your neck in full 360-degree circles; it puts unnecessary, grinding pressure on the cervical vertebrae. Stick to side-to-side and up-and-down movements.
26. Rotational Spinal Sequence
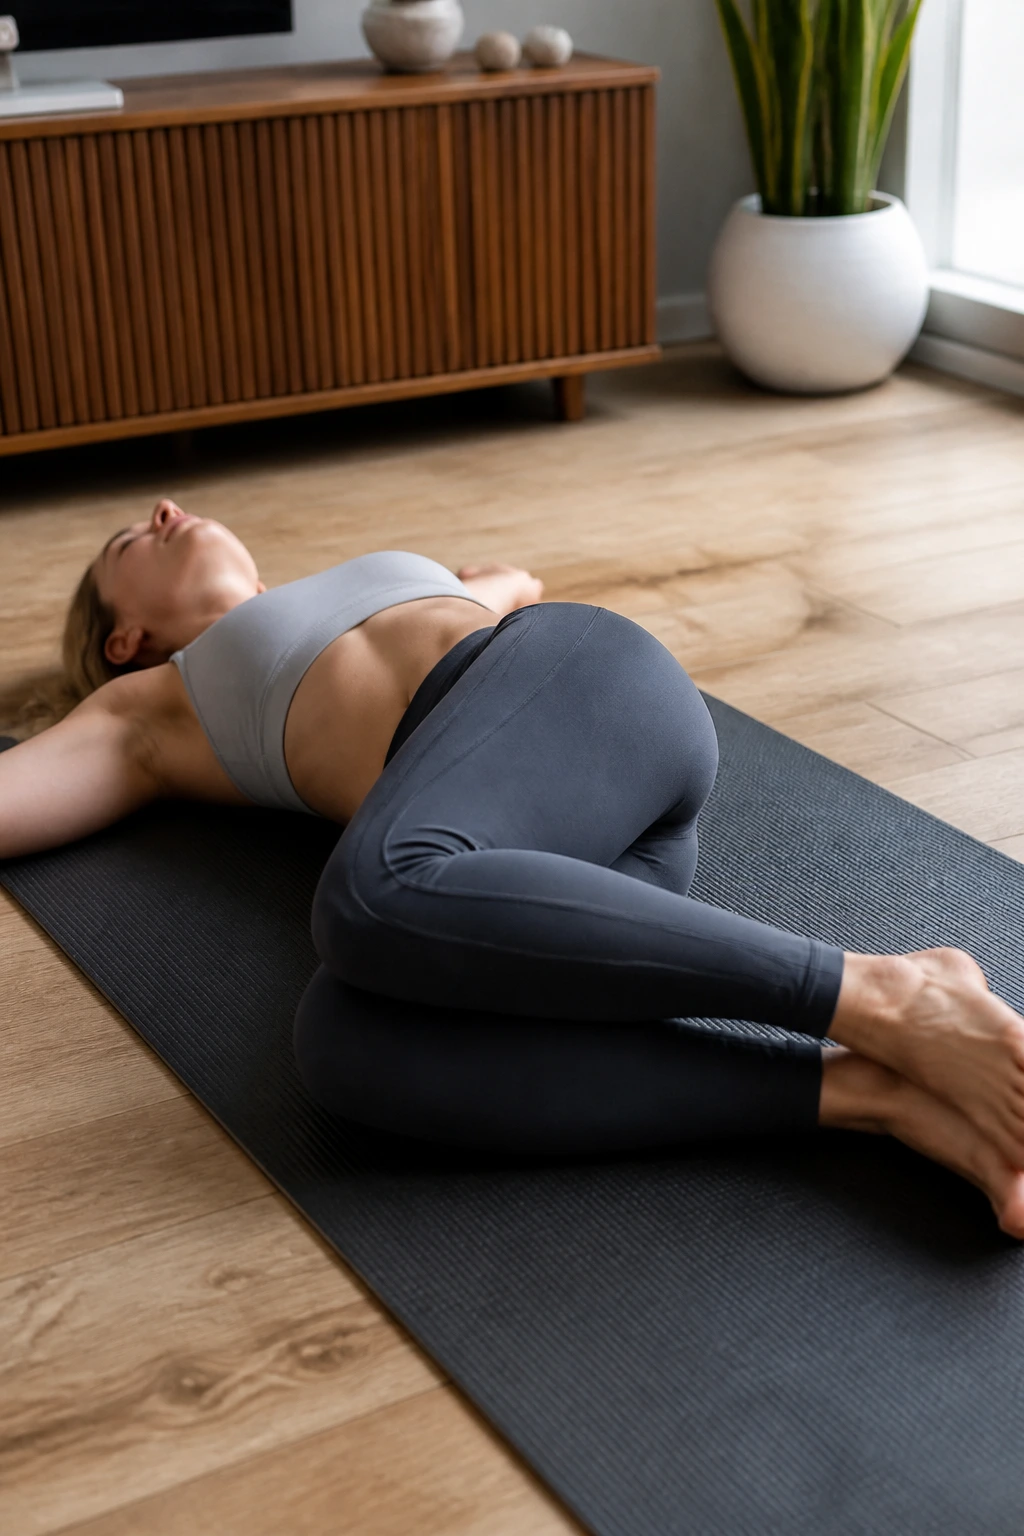
This is a “Windshield Wiper” stretch for the spine and hips. It’s a great way to transition into a more restful state.
Lie on your back with your arms out to the sides for support. Bend your knees, feet flat on the floor. Slowly drop both knees to the right until they touch the floor. Keep your shoulders glued to the ground.
Feel the rotation through your lower back and hips. Return to center, then drop both knees to the left. Move slowly, synchronized with your breath. This provides a nice, gentle mobilization for the entire lumbar spine.
27. Post-Cardio Heart-Opener
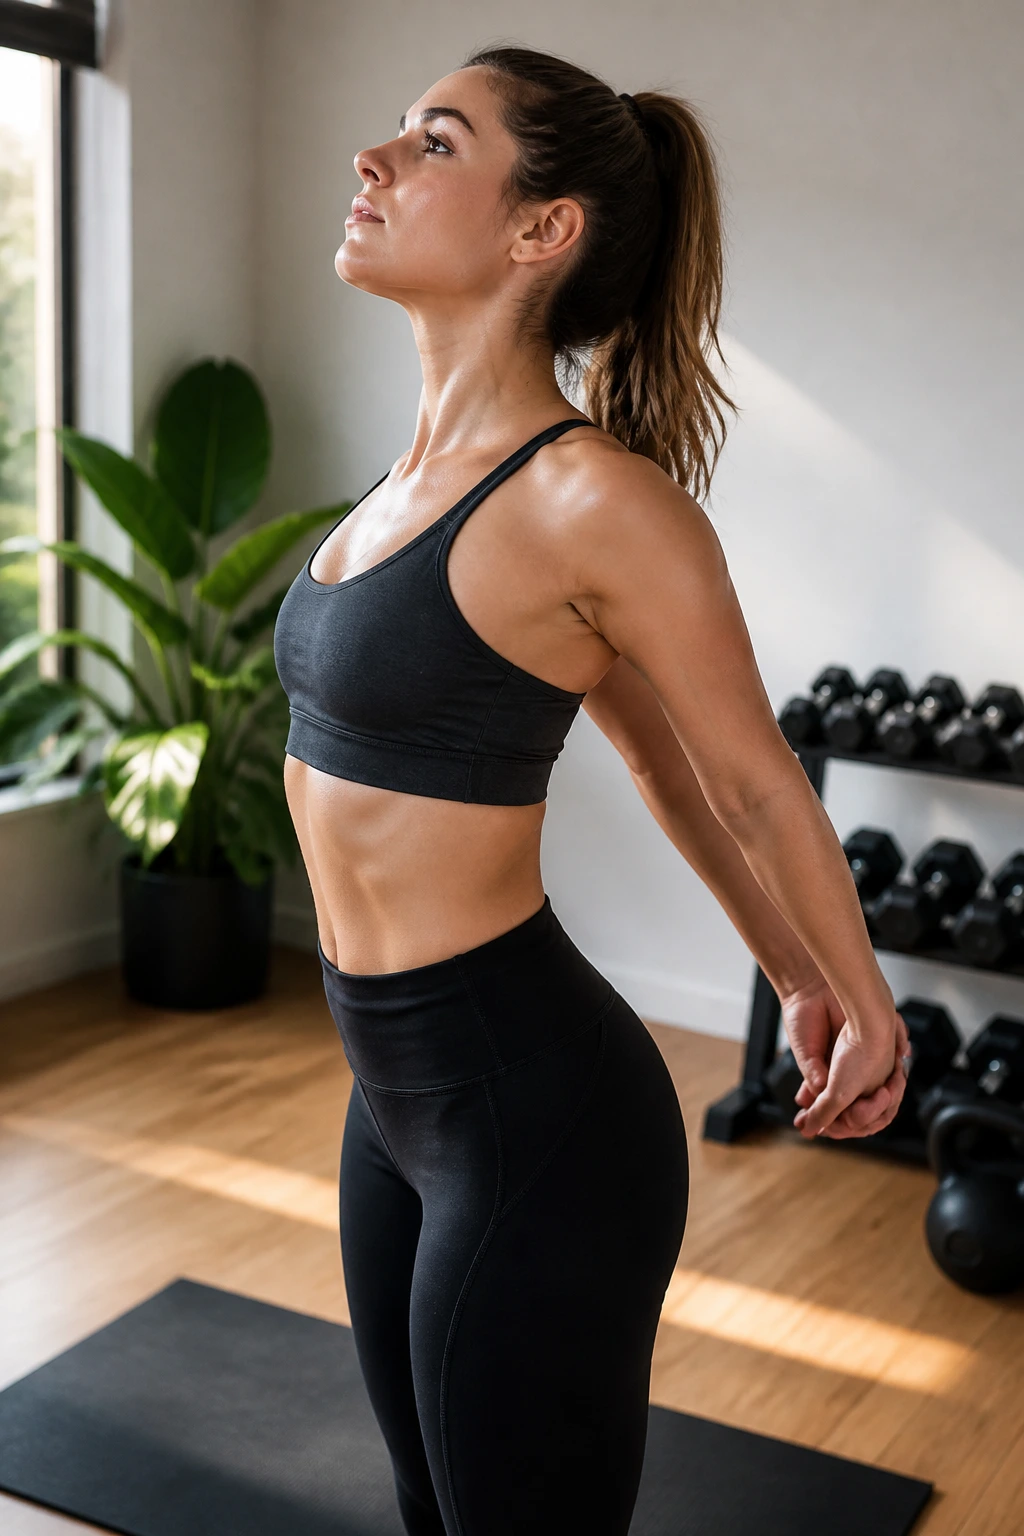
After a workout, especially if you have been doing push-ups or rowing, your chest muscles are likely tightened and shortened. This movement is pure expansion.
Stand with your feet apart. Clasp your hands behind your back, interlocking your fingers. Pull your knuckles down toward the floor while simultaneously lifting your chest toward the ceiling.
Do not arch your lower back; focus the arch in your mid-back. This opens the front of the body, expands the rib cage, and allows for deeper, fuller breaths, which is exactly what you need after cardio.
28. Tension-Relieving Child’s Pose Flow
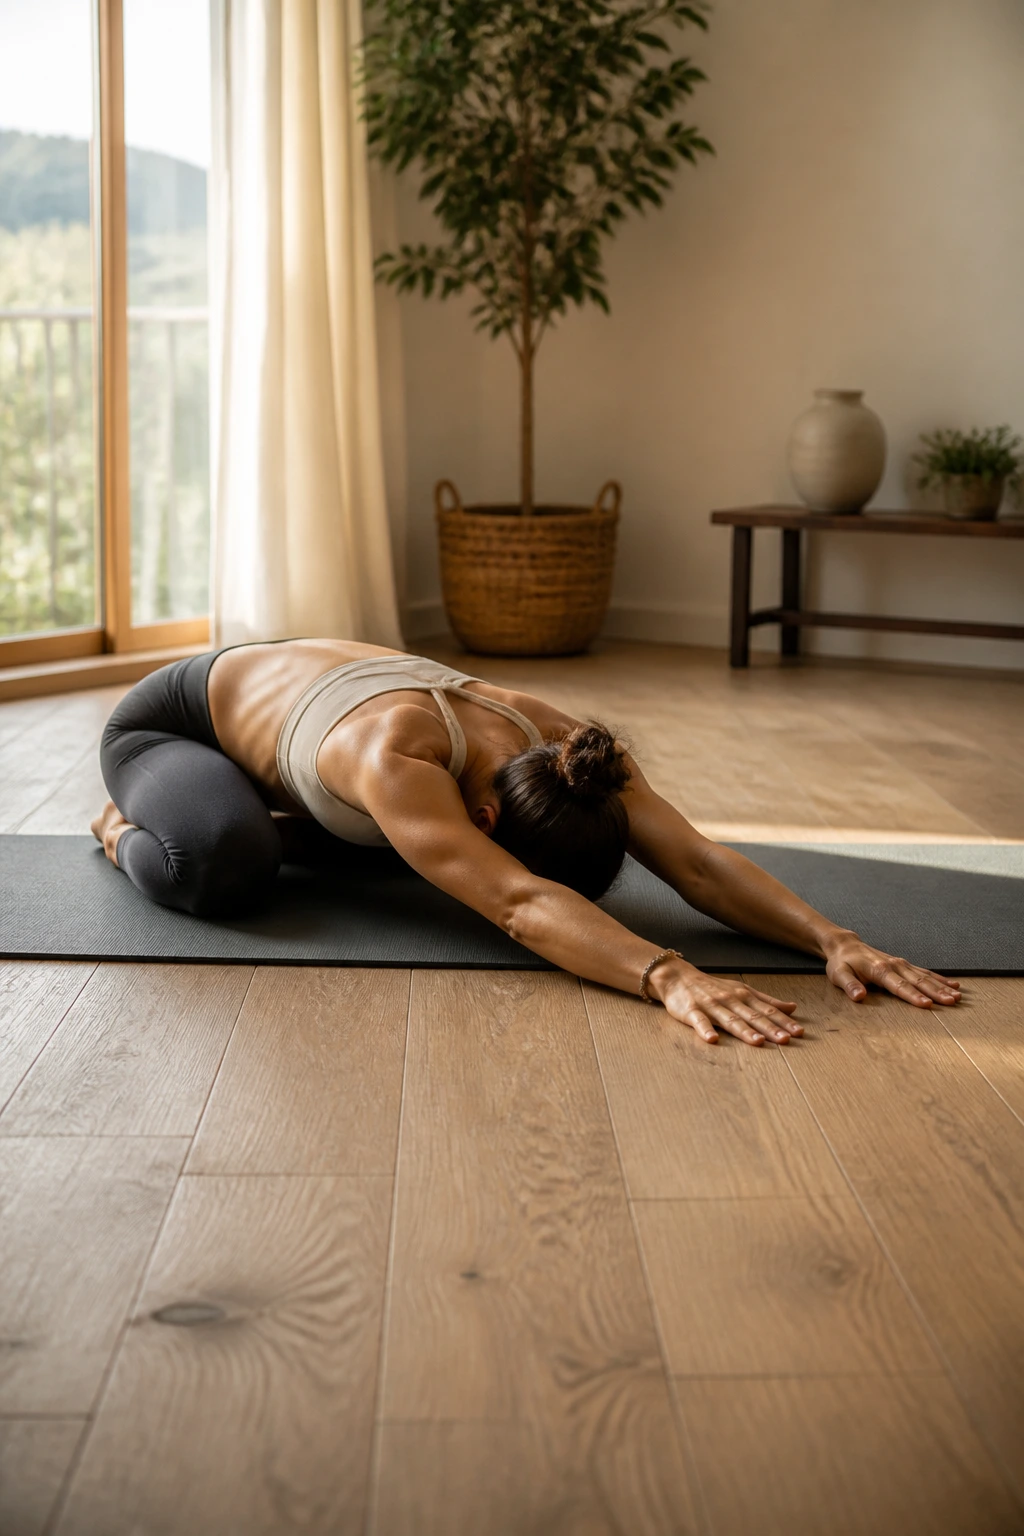
This isn’t just holding a static pose; it’s a dynamic version of Child’s Pose.
Start in Child’s Pose. Walk your hands over to the right side of the mat as far as they will go, feeling a stretch in your left lat and side body. Hold for 15 seconds.
Then, walk your hands all the way over to the left side, stretching the right lat. Hold for 15 seconds. Do this three times on each side. The added lateral movement hits the side body in a way that standard Child’s Pose misses.
29. Dynamic Full-Body Mobility Routine
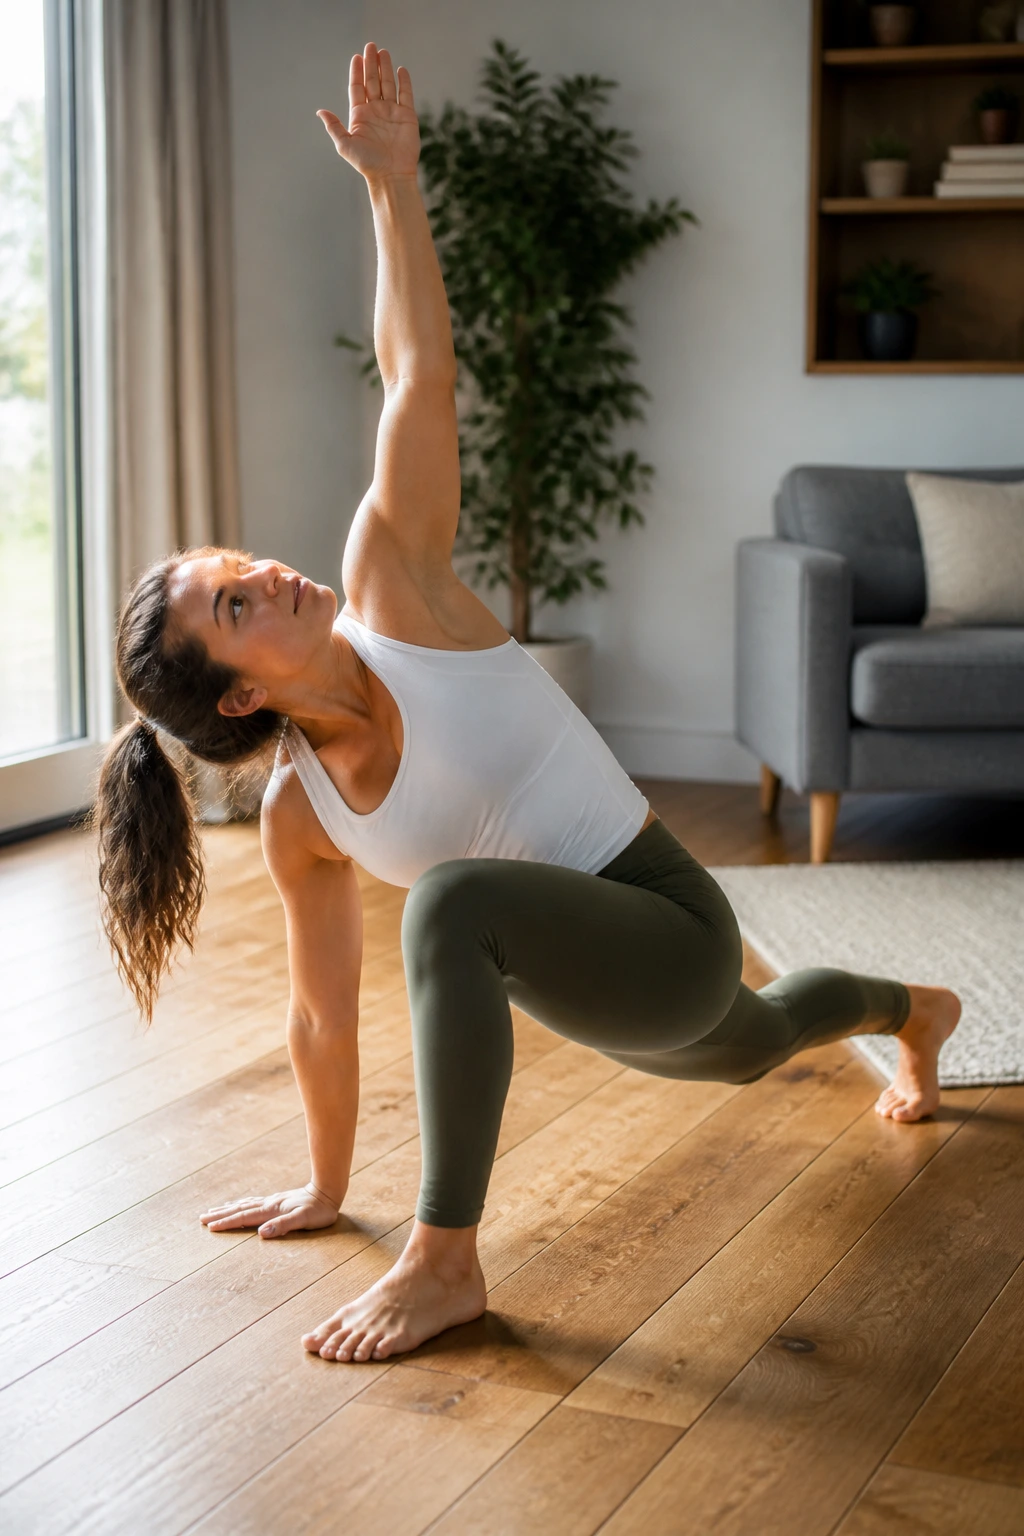
This is a “World’s Greatest Stretch” variation—it hits the hip, the spine, and the chest all at once.
Step into a deep lunge with your left foot forward. Place your right hand on the floor and rotate your left arm up toward the ceiling, looking at your hand. This opens the chest and hip.
Bring your left hand back down, then straighten your front leg to stretch the hamstring. Return to the lunge and repeat. Do this five times on each side. It is a fantastic full-body primer before any workout.
30. The Final Relaxation and Breathwork Stretch
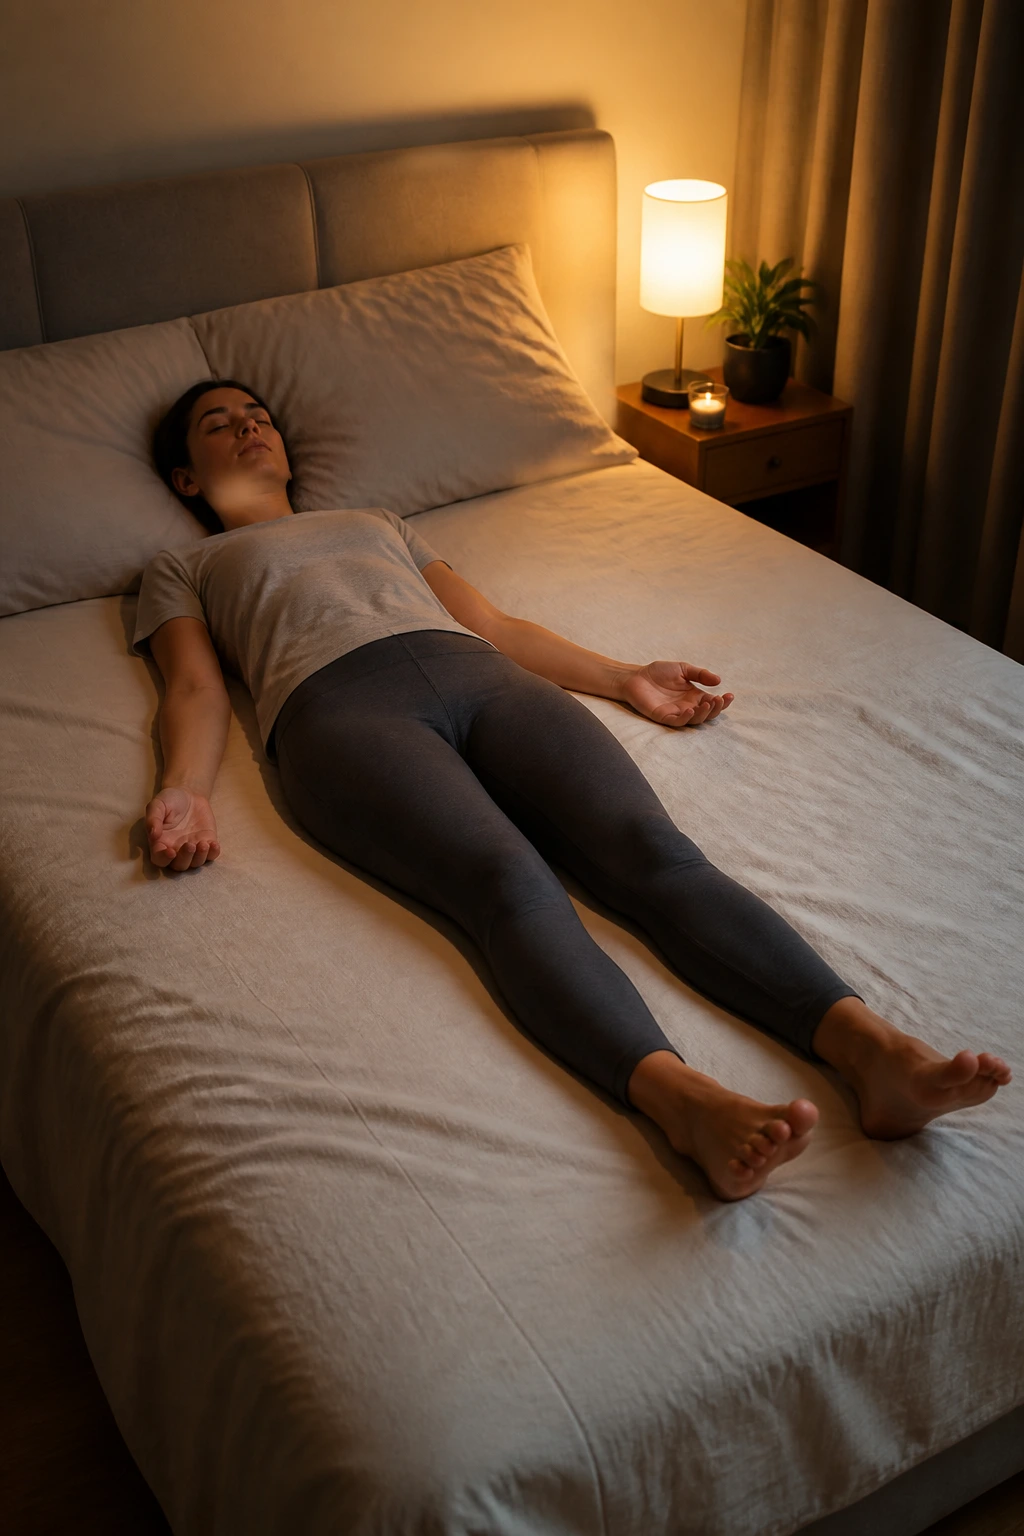
We end where we began: with the mind-body connection. Lie flat on your back, arms by your sides, palms up. Close your eyes.
Tense every muscle in your body—curl your toes, make fists, shrug your shoulders up to your ears, squint your eyes. Hold this extreme tension for 5 seconds. Then, exhale sharply and release everything at once.
Feel the difference between the tension you were holding and the relaxation you just created. Do this three times. It is a powerful way to leave the body in a state of complete, conscious rest.
Final Thoughts
Stretching at home isn’t about achieving the splits or becoming a contortionist; it is about restoring the body’s natural range of motion so you can move through your day without pain or restriction. You will notice that some days you are looser, and others you feel stiff—that is perfectly normal. Consistency is the only metric that truly matters.
Even if you only have five minutes, picking two or three of these routines can make a massive difference. Over time, you will find that you start to naturally move with more fluidity and grace. Listen to your body, prioritize the sensations that feel like release rather than pain, and keep showing up for yourself. You don’t need more time; you just need to make the movement a non-negotiable part of your daily routine.
