



If your knees start arguing the moment a workout hits the floor, most “ab routines” feel useless. Planks, mountain climbers, burpees, deep squat twists—some of them are hard enough on healthy knees, never mind joints that ache, click, swell, or hate being bent for long.
That is where standing belly fat exercises for bad knees earn their keep. They let you train your midsection, raise your heart rate, and keep the session moving without kneeling on a mat or pounding through jumps. Done well, standing work is not the watered-down version. It is often the version people can stick with.
One straight answer first: no exercise peels fat off your stomach by itself. Body fat comes off through a mix of movement, food intake, sleep, stress, and time. Still, a smart standing routine helps in two ways: it burns energy while you train, and it builds the kind of repeatable habit that matters far more than one brutal workout you cannot face again tomorrow.
The good news is that knee-friendly training has a clear pattern. The strongest options keep your feet planted or lightly stepping, ask your hips and trunk to do more work than your knees, and give you easy ways to shorten the range of motion when a joint feels cranky. Once you understand that pattern, the workout opens up fast.
Why Standing Belly Fat Exercises for Bad Knees Can Still Work
You do not need to lie on the floor to train your abs hard. A standing core drill can challenge your rectus abdominis, obliques, deep trunk stabilizers, glutes, and even your upper back at the same time. That matters because your midsection does not work in isolation during real life. It braces while you walk, twist, carry groceries, climb stairs, and catch yourself when you lose balance for half a second.
Public health guidance from the CDC and the World Health Organization has long placed adults at about 150 minutes of moderate aerobic activity each week, along with muscle-strengthening work on two days. A standing belly-fat workout fits neatly into that picture. It can serve as cardio, light strength work, or both, depending on how you pace it and what resistance you use.
There is another upside people do not talk about enough: standing sessions are easier to enter and exit. If getting down to the floor hurts, you waste energy dreading the workout before it even starts. When all you need is a little open floor space and maybe a wall, you are more likely to train for 15 minutes instead of skipping the day.
And that matters more than the flashiest move on the internet.
Form Rules That Keep Knee-Friendly Standing Workouts Friendly
A sore knee does not always mean “stop moving.” It often means change how the load reaches the joint.
Start with your feet. Keep them about hip-width apart unless the move needs a split stance. Press through what trainers call the tripod foot: the base of the big toe, the base of the little toe, and the heel. When one of those points lifts off the floor, the knee tends to wobble, and wobble is what many touchy knees hate.
Your knees should stay soft, not locked. That does not mean sinking low. It means a slight bend—often no more than 10 to 15 degrees—so your hips can help absorb force. If you need to rotate, rotate through your ribs and hips. Do not plant your foot and wrench the knee inward to finish a twist.
A quick pain rule helps:
- Mild effort or a dull ache that fades as you warm up can be workable.
- Sharp pain, pinching, buckling, or swelling is a bad trade.
- Pain that lingers into the next day usually means the range, speed, or volume was too high.
Hold a wall, counter, or chair when balance becomes the weak link. There is no prize for wobbling through a rep you cannot control.
A 5-Minute Warm-Up Before the First Rep
Skip the warm-up and your knees often end up taking stress your hips and core should have handled.
Try this quick sequence before any of the exercises below:
- Easy march in place — 60 seconds. Keep the knee lift low and pump your arms. You want warmth, not fatigue.
- Ankle rocks and calf raises — 60 seconds. Shift gently onto your toes, then back to your heels, then do 10 to 15 calf raises. A stiff ankle often dumps pressure into the knee.
- Standing hip hinges — 60 seconds. Put your hands on your hip crease, push your hips back 6 to 8 inches, then stand tall again. Feel the load move into the glutes and hamstrings.
- Side reaches with a long exhale — 60 seconds. Reach one arm overhead, lean a few inches, and breathe out slowly through the mouth. The ribs should move down, not flare up.
- Slow punch-outs or arm circles — 60 seconds. Wake up the shoulders and upper back so your trunk can rotate without the knees trying to do the job.
That is enough for most people. If your knees are stiff first thing in the morning, take another two minutes and walk the room before you begin.
1. Standing March With Core Brace
This one looks almost too easy. It is not, once you do it the right way.
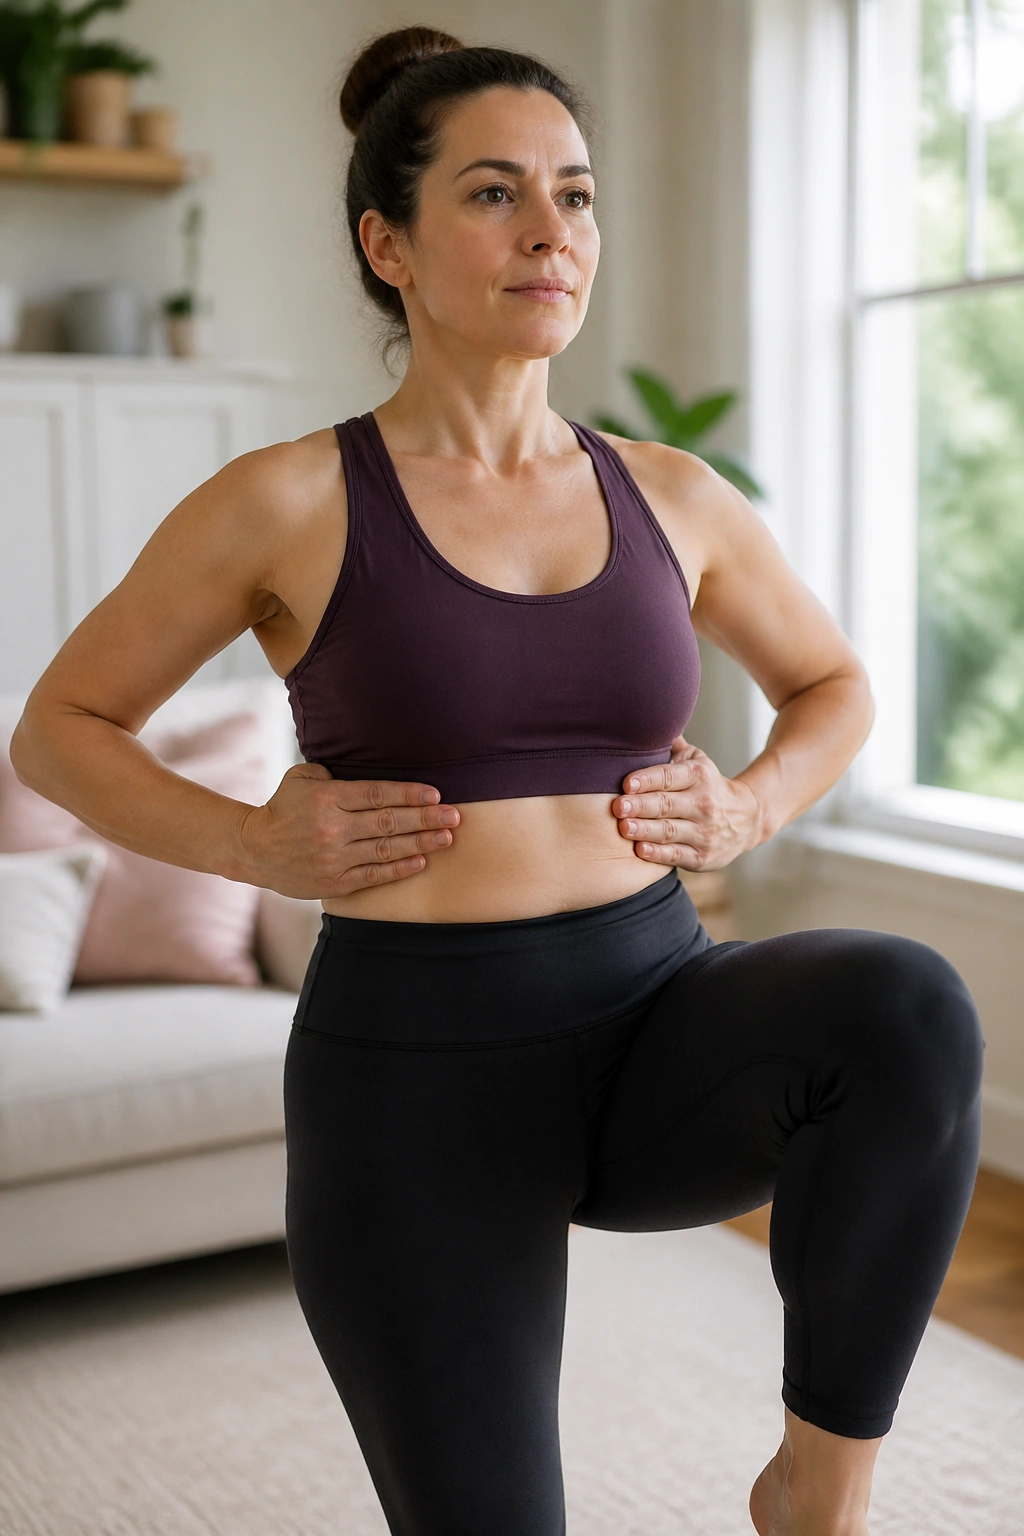
The goal is to turn a plain march into a deep core drill. Stand tall, feet under hips, and place your hands on the lower ribs or around your waist. Breathe out as if you are fogging a mirror, feel the ribs drop, and lightly tighten your midsection as though someone is about to poke your stomach. Then march, one leg at a time, without letting your torso sway.
Why it works
A braced march trains anti-rotation. Every time one foot leaves the ground, your trunk has to stop your body from tipping and twisting. That is real-world core work, and it is much kinder to bad knees than floor moves that require repeated loaded bending.
Form cues that matter
- Lift the knee only to a height that keeps your pelvis steady.
- Keep your chest stacked over your hips.
- Exhale on each lift for the first 6 to 8 reps per side.
- Start with 30 to 45 seconds, rest 15 seconds, then repeat for 2 to 4 rounds.
Best use: Start your session with it, or plug it between harder drills when you want your heart rate up without irritating the knees.
2. Standing Cross-Body Crunch
If you need one reliable standing ab move, this is near the top of the list. It asks for coordination, balance, and trunk flexion without turning the workout into a hopping contest.
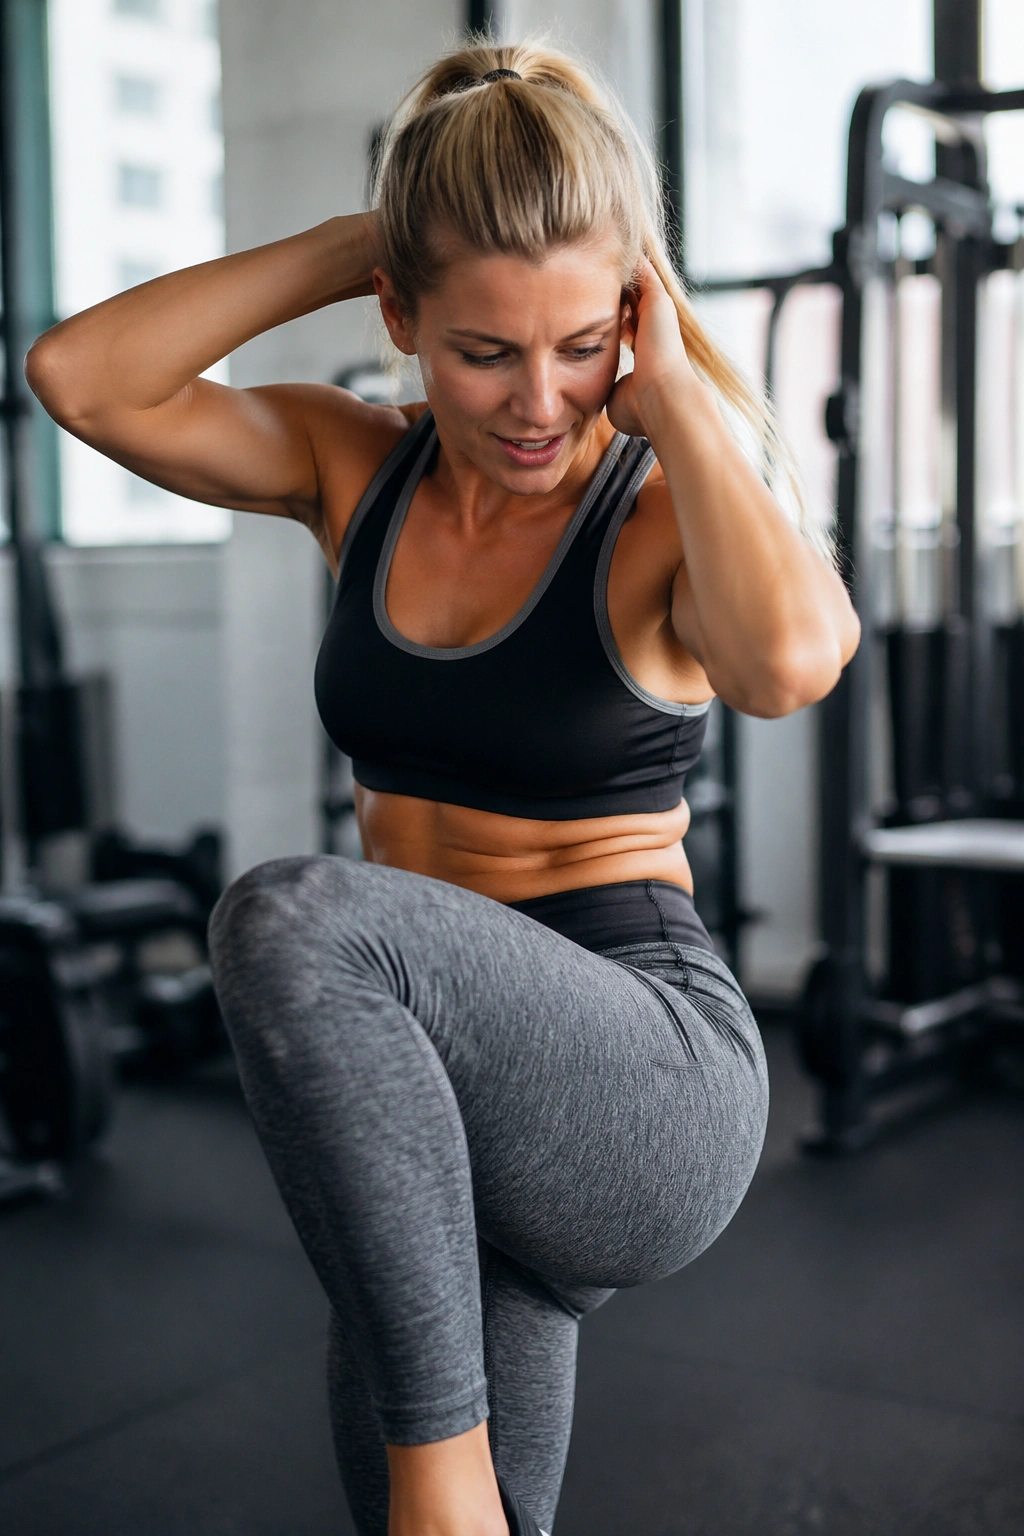
Stand with your feet a little wider than hip-width. Put both hands lightly behind your head or keep them at your temples—do not yank on your neck. Lift your right knee while bringing your left elbow toward it. Return to center, reset your posture, then switch sides. The key is the reset. People rush this move and end up flinging an elbow across space while the abs coast.
A stronger version comes from thinking rib to hip, not elbow to knee. The elbow is only along for the ride. As you crunch, breathe out fully and feel the side waist shorten. Your standing leg should stay soft and grounded. If your knee does not like the lift, make it smaller; even a mid-shin raise can work.
Go for 8 to 12 slow reps per side. Pause for one second at the top. That little hold makes the abs work far harder than speed does.
If balance is shaky, place one hand on a wall and use the free arm to reach across. You lose none of the benefit that matters.
3. High-to-Low Wood Chop
Why does this one feel like more than an ab exercise? Because a good wood chop turns your trunk into the engine and teaches your lower body to support the motion instead of getting twisted by it.
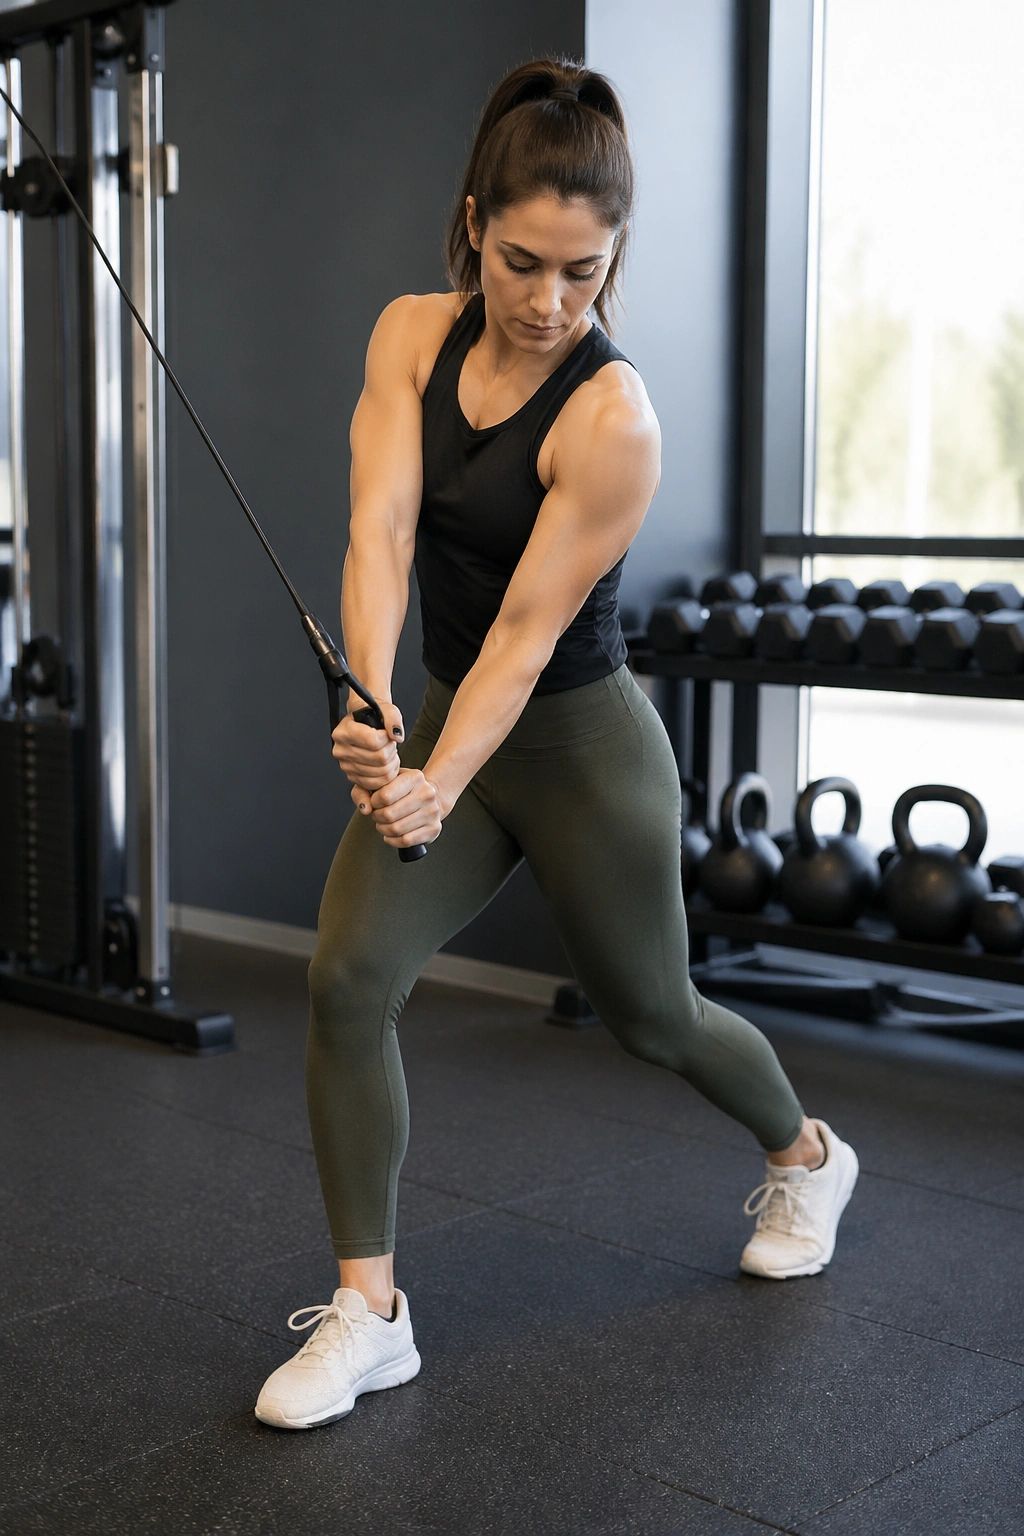
Stand in a split stance, front foot and back foot about 18 to 24 inches apart. Clasp your hands together and reach them up outside one shoulder. From there, pull your hands diagonally across your body toward the opposite hip, as if you were drawing a seat belt down and across your torso. Your chest and ribs rotate. Your feet stay planted, and the back heel can peel up a touch if needed.
Where most people go wrong
They lock the front foot and spin the knee inward to fake more rotation. Do not do that. Turn through the upper back and rib cage first, then let the hips follow a little. The knees are passengers here.
A bodyweight chop works well, though a light dumbbell or medicine ball can add load once the pattern feels clean. Use 10 to 15 reps per side or 30 seconds each way. Keep the arc smooth rather than violent. If you hear your feet squeaking on the floor, you are probably twisting too hard.
The chop is a sneaky calorie-burner because it recruits shoulders, lats, abs, and hips at the same time.
4. Standing Side Crunch Reach
Picture the motion of trying to close the space between your lower ribs and your hip on one side. That is the heart of this exercise.
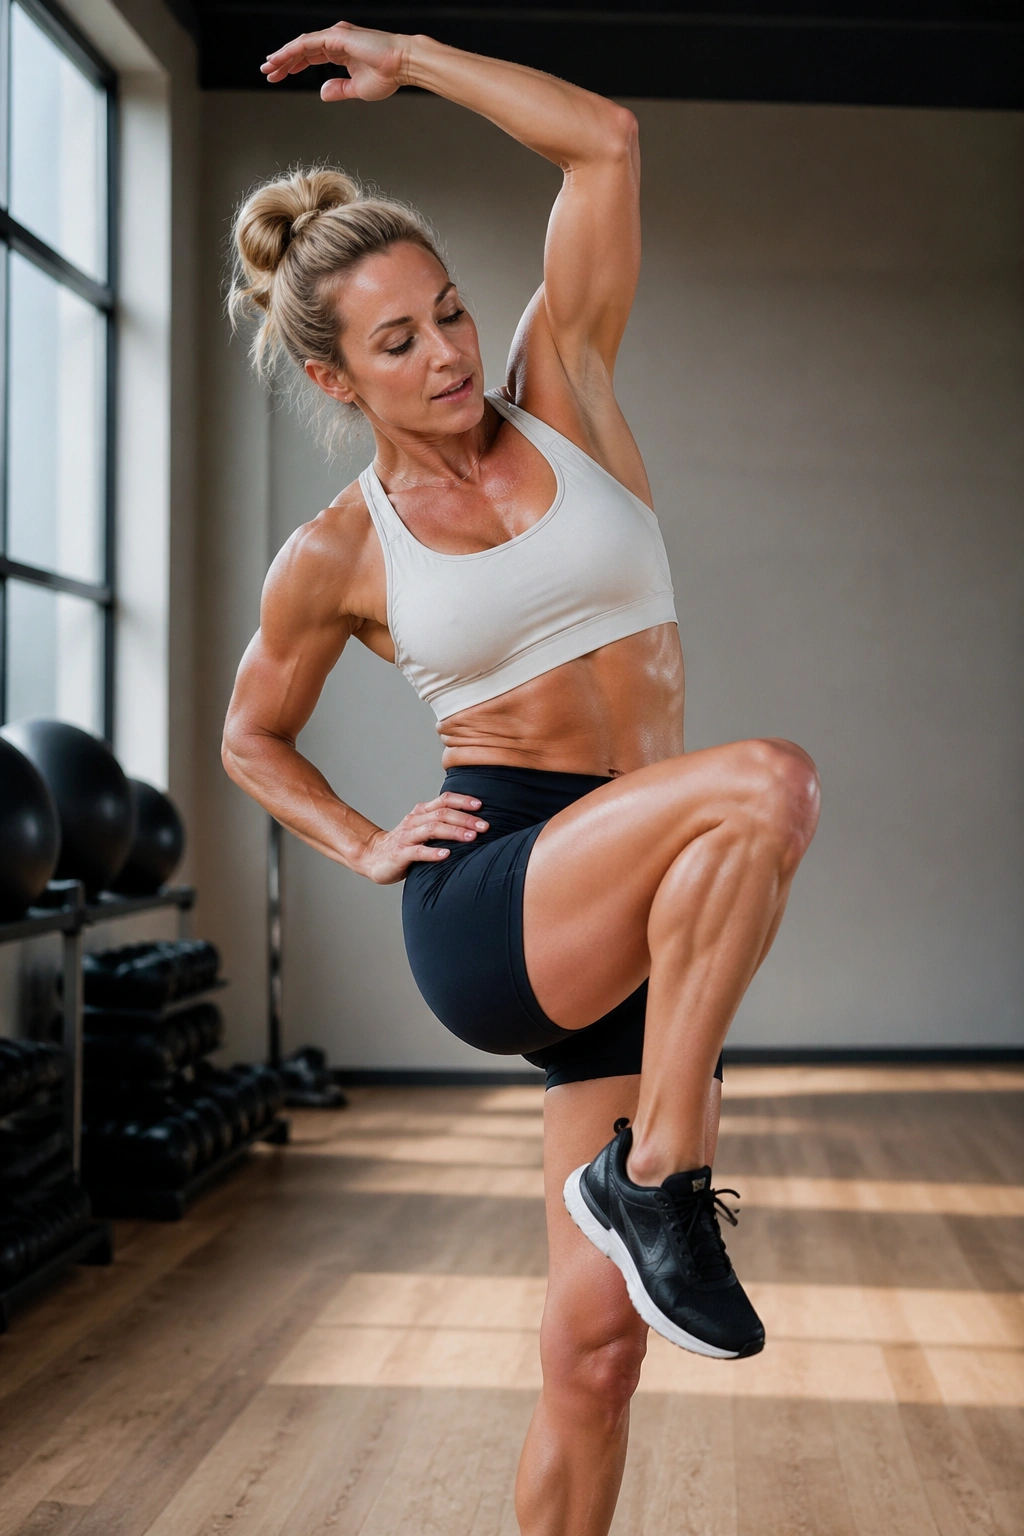
Stand tall with your right arm reaching overhead and your left hand resting at your hip. Lift your right knee out to the side a little while drawing your right elbow down toward it. Lower under control, then repeat before switching sides. You do not need a big knee lift. What you need is a clean side bend and crunch without collapsing your chest forward.
A lot of people feel this move better when they think about pulling the elbow into the pocket rather than chasing the knee. That cue keeps the obliques working and stops the hip flexors from stealing the rep.
Quick setup notes:
- Keep the standing foot rooted.
- Let the knee open out only as far as the hip allows.
- Aim for 12 to 15 reps per side.
- Hold the top for a beat when you want more burn without more impact.
This one pairs nicely with marches and punches because it trains the side waist in a different plane. Your knees get a break, your obliques do not.
5. Fast Straight Punches
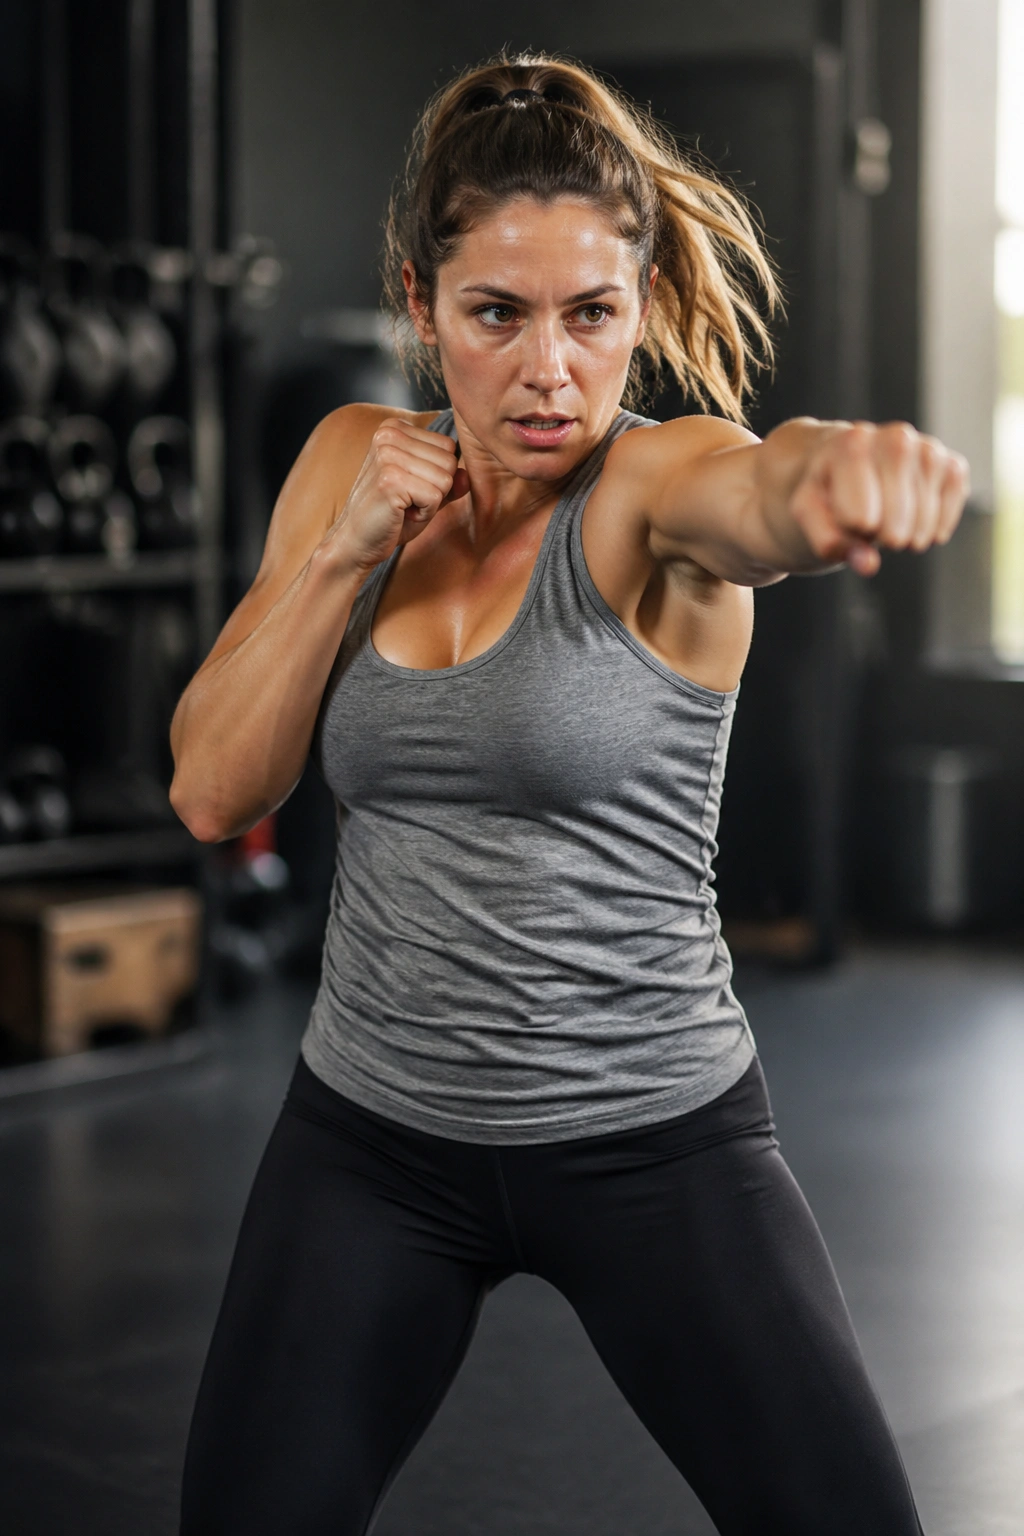
Here is the blunt truth: a lot of “ab exercises” fail because they are too slow and too local. Fast straight punches solve that problem. They give you rotation, anti-rotation, shoulder work, and a cardio hit in the same block of time.
Stand with one foot half a step behind the other, knees soft, hands at cheekbone level. Punch straight ahead with one arm, snap it back, then fire the other. Keep the fists moving quickly for 20 to 40 seconds. The core work comes from resisting excess sway through the ribs and pelvis while the arms pump.
Do not lock the elbows on the punch. Reach long, then recoil. Your breath should match the rhythm—short exhales on each shot help brace the trunk. If you want more intensity without upsetting the knees, increase hand speed before you increase range or stance depth.
Should your torso rotate? A little, yes. A wild torso spin? No. Think of your abs as the brakes that stop the punch from yanking you off center. After 30 seconds done well, you will feel the shoulders and midsection lit up, and the heart rate climbs without a single jump.
For people who get bored by slow reps, this is often the move that keeps the whole session alive.
6. Heel-Tap Jacks
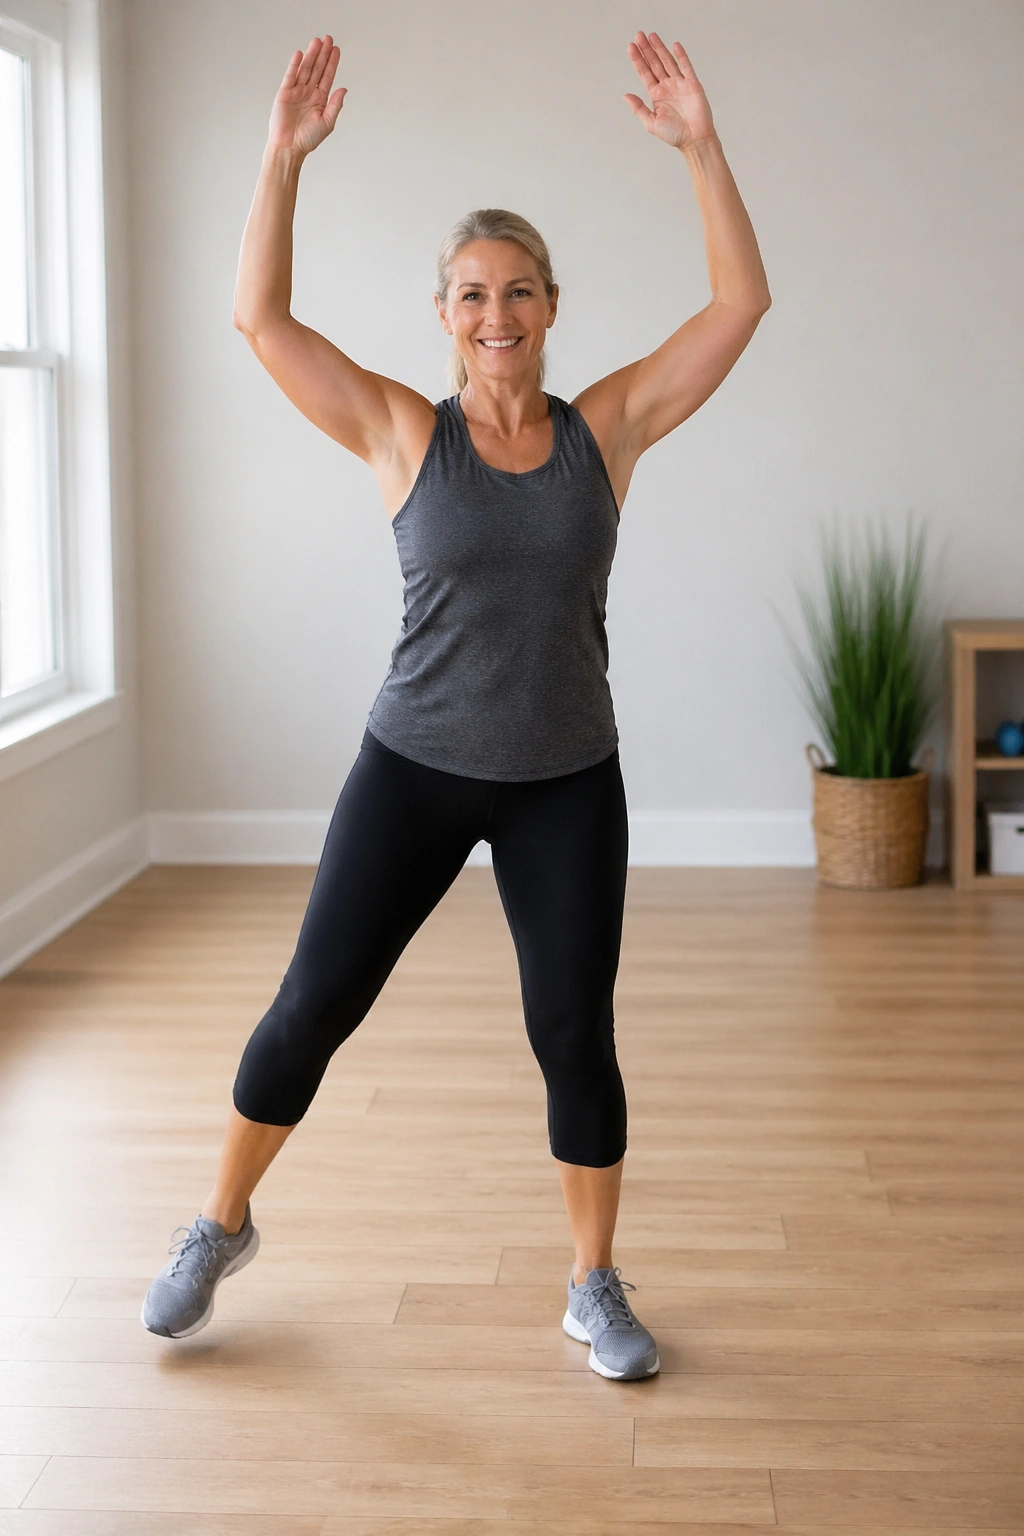
Unlike jumping jacks, heel-tap jacks keep the impact near zero. You still get the wide-arm, wide-leg rhythm, but the feet step or tap instead of leaving the ground together.
Stand tall with your arms at your sides. Step your right heel out diagonally while sweeping both arms overhead, then return to center and repeat on the left. You can alternate in a steady rhythm, almost like a dance step, or keep it slower and more deliberate if balance is an issue.
Why they are kinder to sore knees
Traditional jacks ask the knees and ankles to absorb repeated landing force. Heel taps remove that landing piece. The joint still bends a little, though it is the soft, manageable kind many people tolerate well.
A few useful tweaks
- Keep the tap light. You are not lunging into it.
- If overhead arms bother your shoulders, raise them only to chest height.
- Try 45 seconds on, 15 seconds off for 3 rounds.
- Add a light core brace so the ribs do not flare as the arms go up.
This is one of my favorite “glue” moves—something you place between slower standing ab drills so the workout keeps a calorie-burning pulse.
7. Front Kick Crunch
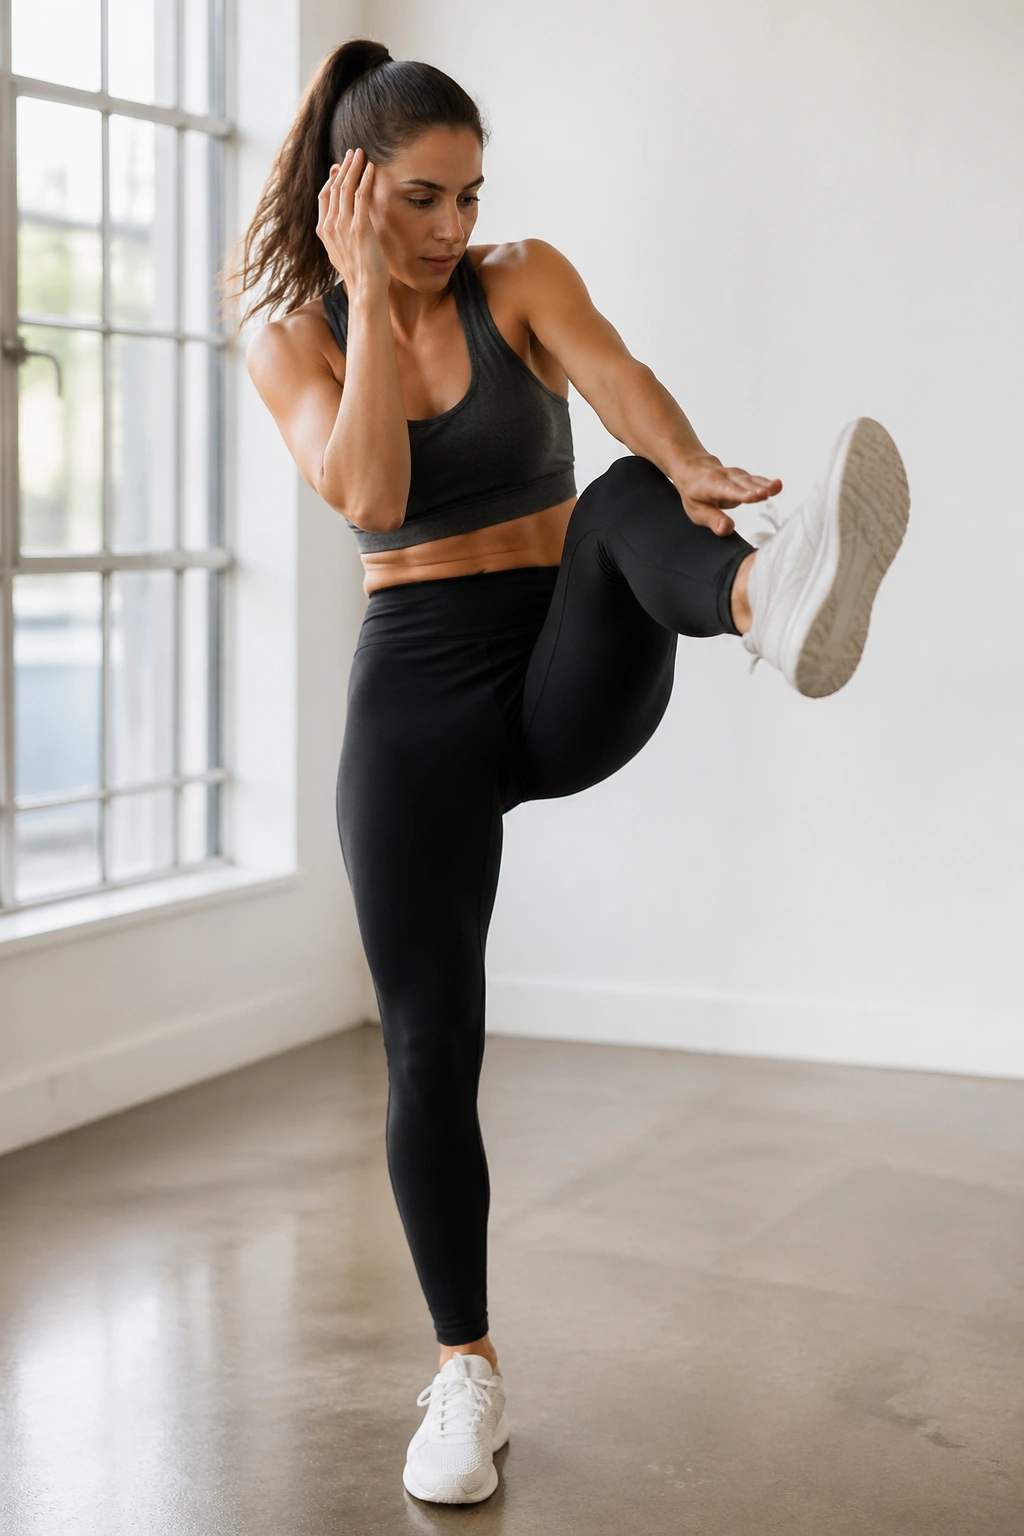
A front kick crunch looks flashy when done badly and sharp when done well. The difference is control.
Stand tall, hands at chest height or overhead. Lift one leg forward into a small front kick while bringing the opposite hand or both hands toward the shin. Lower the leg, reset your posture, then switch sides. The kick can stay low—knee height is enough for plenty of people. You are not auditioning for a martial arts film.
What to focus on
Think kick from the hip, crunch from the ribs. If you fling the lower leg and lean way back, the abs stop doing much. A better rep has a crisp exhale, a quiet standing leg, and a foot that returns to the floor under control.
Some useful numbers:
- 8 to 10 kicks per side if you are moving slowly.
- 20 seconds per side if you want a time block.
- Keep the knee of the kicking leg slightly bent if a locked-out leg irritates the hamstring.
Do not chase height. Higher kicks usually mean less trunk control and more wobble through the knee of the standing leg.
8. Wall-Supported Standing Mountain Climber
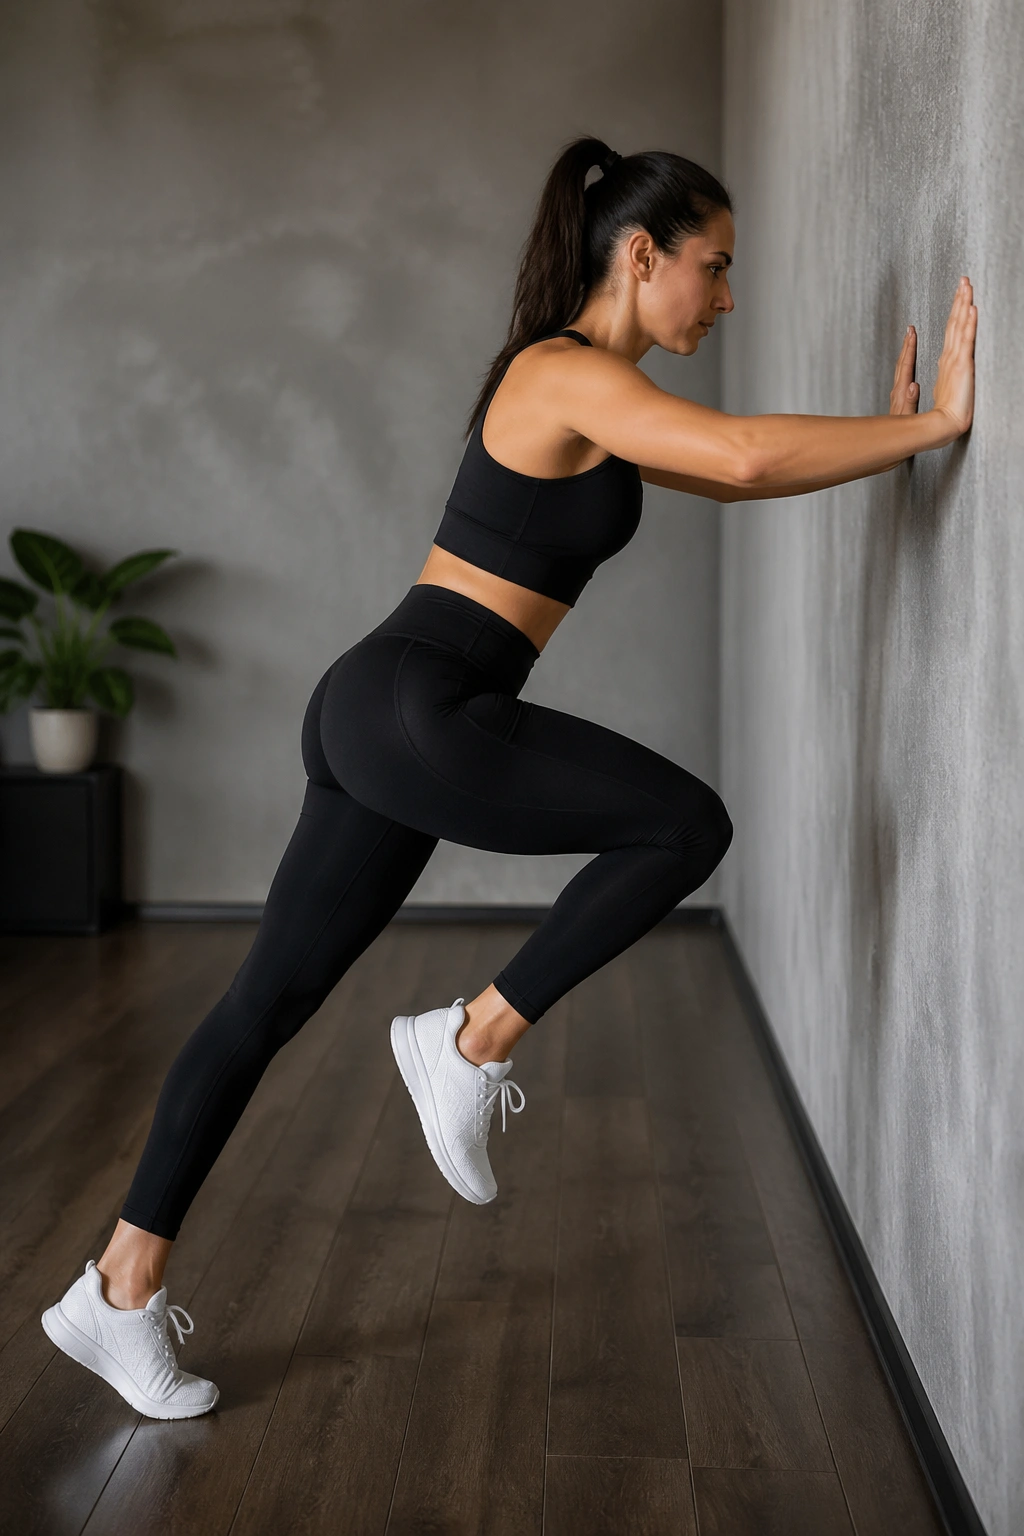
Floor mountain climbers can be brutal on wrists, shoulders, and knees. The wall version strips out most of that mess while keeping the fast alternating knee drive that makes the drill useful.
Place both hands on a wall at about chest height and walk your feet back until your body forms a straight line on a slight angle. Press into the wall hard enough that you feel your upper back wake up. Then drive one knee toward your chest, set it down, and switch. Keep the pace brisk but controlled.
A lot of people love this move because the wall gives them an anchor. Balance is easier. Posture is easier. You can focus on the brace and the march speed rather than worrying about getting down to the floor and back up again.
Two mistakes show up fast. First, letting the low back sag. Second, bouncing so hard off the standing leg that the knee caves inward. Spread the floor with your feet, even though you are moving one at a time, and keep the kneecap tracking over the middle toes.
Start with 25 to 40 seconds. If your knee does not like the drive height, shorten it. A low, quick knee lift still works.
9. Standing Oblique Twist Hold
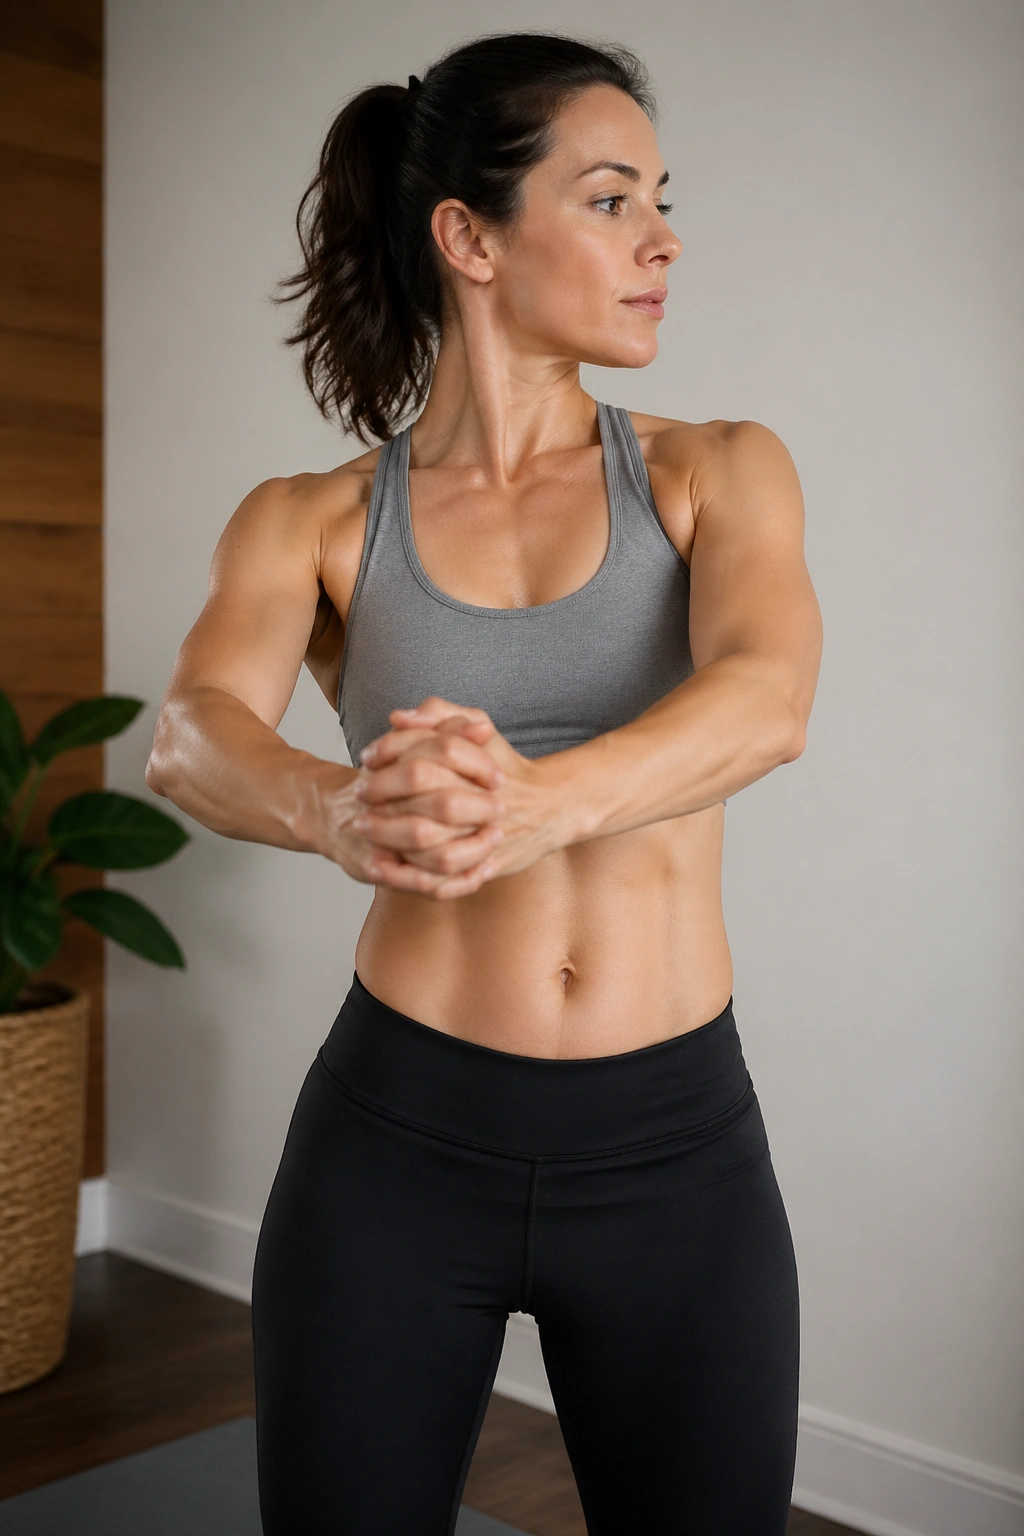
Some rotations burn calories. Some teach control. This one does both, though it leans harder toward control.
Stand with your feet hip-width apart and hold your hands together in front of your chest. Rotate your torso to the right, stop, hold for one full breath, return to center, then rotate left. Keep the hips facing mostly forward. The twist should come from the ribs, upper back, and side waist.
Why the pause matters
Momentum makes many twisting drills look harder than they are. A one-breath hold forces the obliques to own the position. You will feel the side of your stomach tighten instead of the arms flinging you around.
Good rep targets
- 6 to 8 holds per side
- Hold each side for 2 to 3 seconds
- Exhale into the hold, inhale on the return
You can make this tougher by extending your arms straight out in front of you or holding a light plate, a dumbbell, or even a gallon water jug with both hands. Keep the load modest. If the object pulls your shoulders up to your ears, it is too heavy for the purpose here.
10. Overhead Pull-Down March
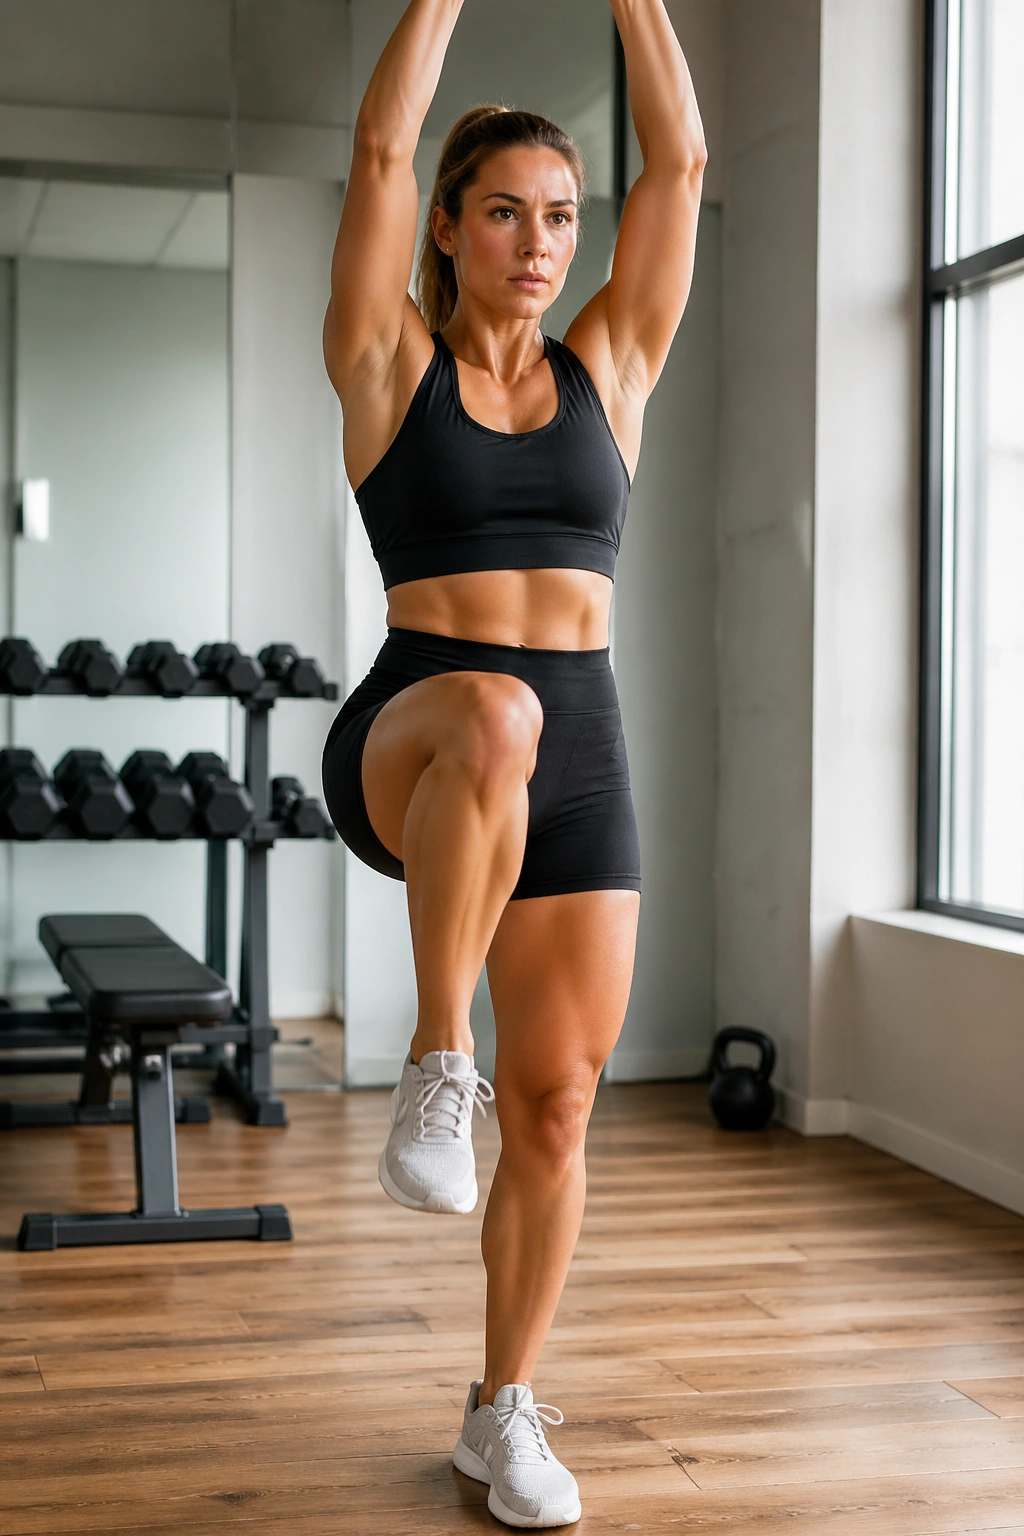
This is a smart one-two punch: the march raises the heart rate, and the pull-down motion recruits the lats and abs together. That combo makes the rep feel bigger than it looks.
Reach both arms overhead as if you are grabbing a pull-up bar. Brace your midsection, then drive one knee up while pulling both elbows down toward your ribs. Return the arms overhead, lower the leg, and switch sides. The timing matters. The elbow pull and knee lift should meet at the same moment.
A sharp exhale on each pull-down helps lock the rib cage down. That is where many people miss the point—they keep the chest flared, which turns the move into arm waving. Bring the ribs down first, then move.
This drill is easy to scale:
- Keep it bodyweight only for a cardio-core version.
- Add a light resistance band overhead for more upper-back work.
- Slow the march and hold the pull-down position for one second if balance is shaky.
Aim for 30 to 45 seconds. The standing knee should stay soft and stacked over the foot. If you feel pressure under the kneecap, shorten the knee lift and speed up the exhale instead.
11. Side Leg Lift With Elbow Pull
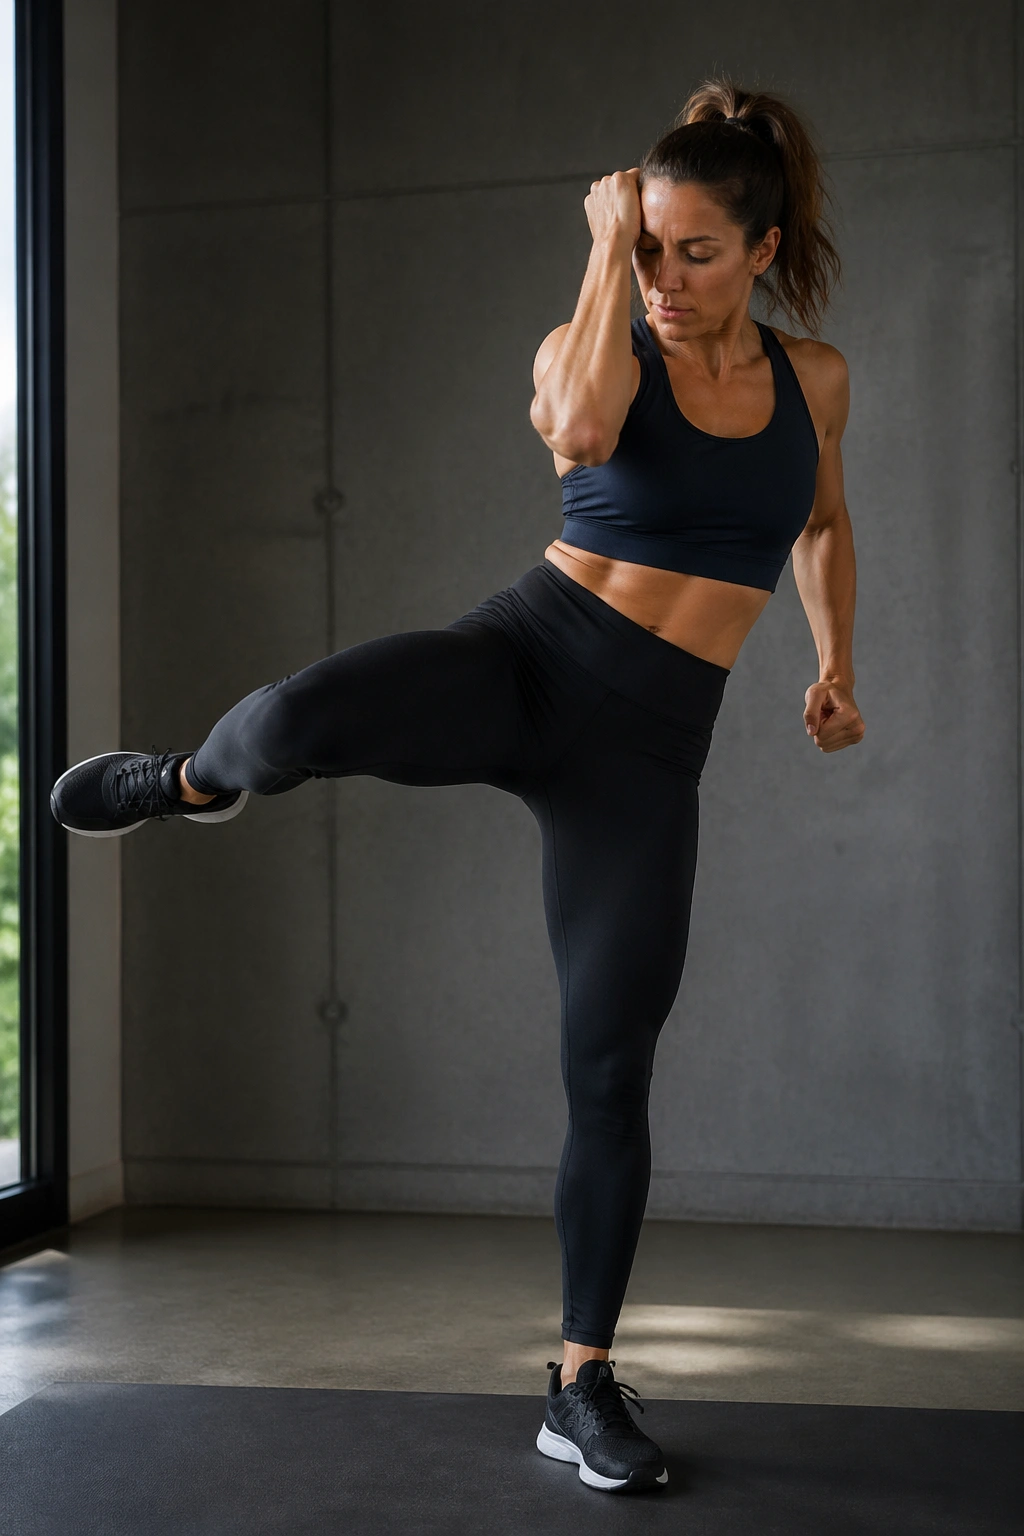
A lot of people chasing belly-fat workouts ignore the outer hips. That is a mistake, because strong glute medius muscles help keep the knee from drifting inward during walking, stepping, and standing drills.
Stand tall with both hands behind your head. Lift your right leg out to the side while drawing your right elbow down toward the lifted thigh. Lower with control and repeat on the same side before switching. The leg does not need to rise high. Six to ten inches off the floor is enough if your pelvis stays level.
What you should feel
This move should light up the side butt and the side waist on the same rep. If you only feel the hip flexor, you are probably turning the toes up and swinging the leg forward instead of out to the side.
A quick checklist
- Keep the toes facing forward or slightly down.
- Do not lean your whole body sideways to fake range.
- Try 10 to 12 reps per side.
- Touch a wall with one fingertip if balance drifts.
It is a humble exercise. Humble exercises often end up being the useful ones.
12. Diagonal Elbow-to-Thigh Drive
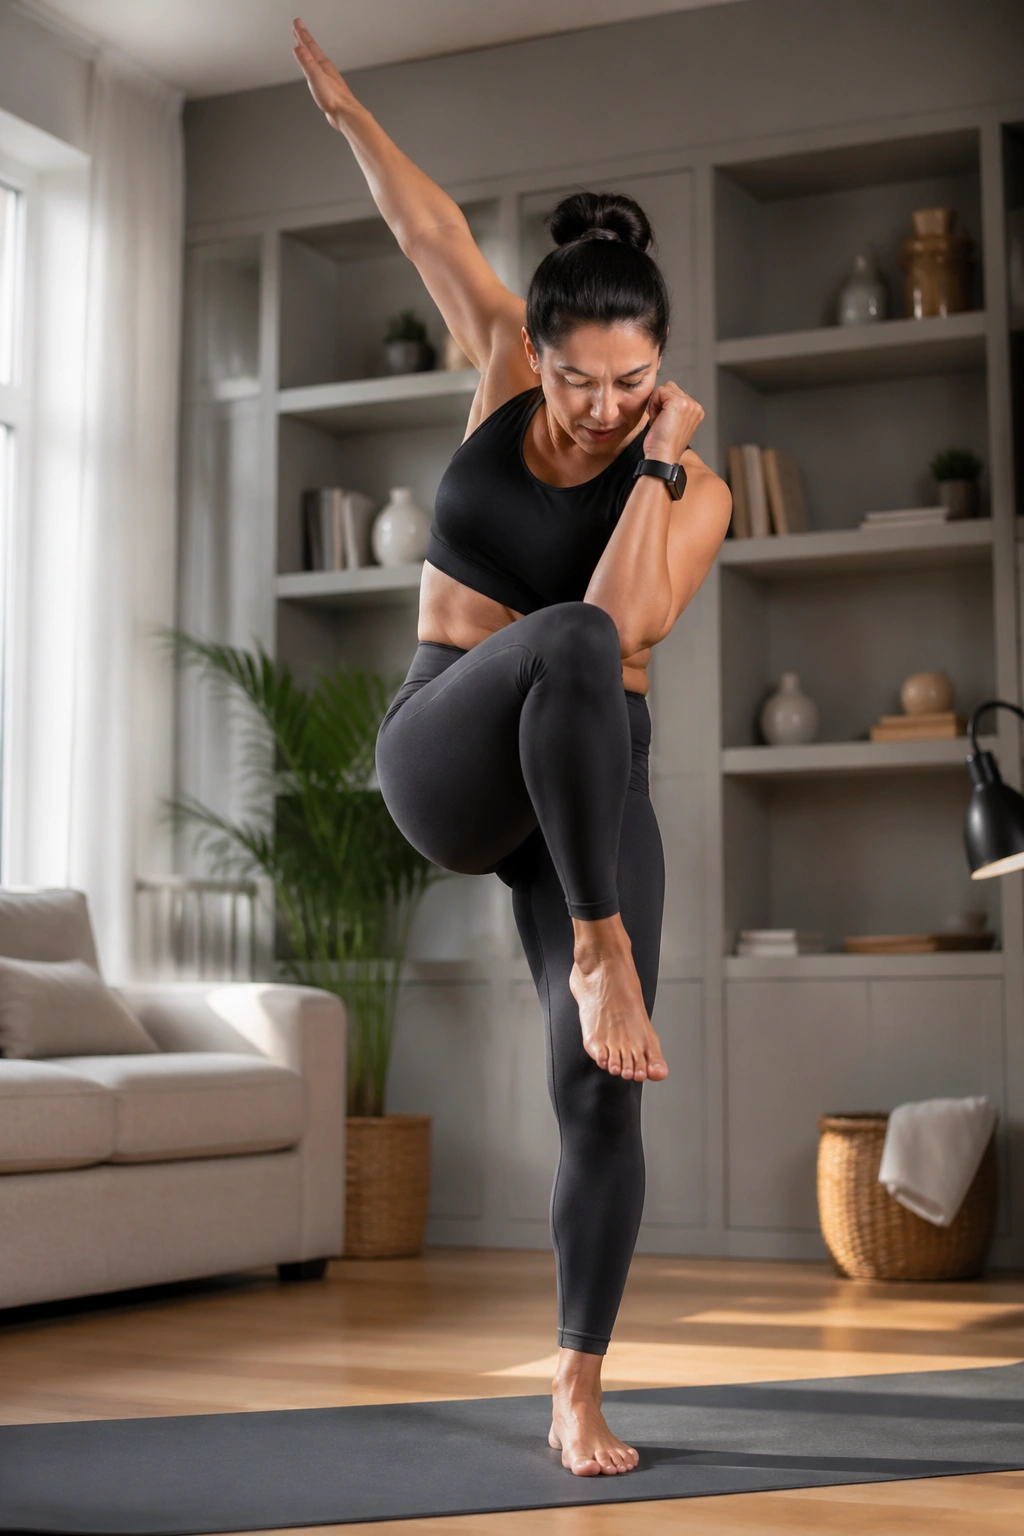
This drill has more snap than a standard crunch. It feels athletic without asking the knees to absorb impact.
Stand with your left arm reaching overhead on a diagonal and your right foot lightly behind you. Then drive your left elbow down across your body as your right knee comes up toward center. Return to the start and repeat on the same side for a set before switching. The path should feel like drawing a sword from high to low.
You will get more from this move if you treat it like a power rep with brakes. Drive hard into the crunch, then lower for a full count of two. That slower lowering phase is where balance, core control, and hip stability show up.
A useful pattern is 12 reps on one side, 12 on the other, then rest 20 seconds. If fatigue makes the standing foot wobble, widen your base. If the lifted knee pinches, bring it up less and focus on the elbow drive instead. The abs do not care whether your thigh reaches waist height. They care whether your ribs and pelvis move together under control.
13. Shadow Boxing With Slips

Here is the part people love: it does not feel like ab work until you stop. Then your breathing tells the truth.
Stand in a comfortable boxing stance, fists up. Throw two or four punches, then add a slip—move your head and upper torso a few inches to one side as if avoiding a punch, then come back and continue. The slip is small. Think side glide, not squat. Your knees bend a little, though the torso does most of the work.
The reason this helps a belly-fat routine is not magic. It is density. In 40 seconds you get fast arm work, rotational control, a bit of lateral movement, and a steady cardio demand. That is a lot of return for a knee-friendly drill.
Keep your eyes forward and your chin tucked. Punch at about nose height. On the slip, shift pressure from one foot to the other without letting either knee collapse inward. If a side glide bothers the joint, remove the slip and keep the punch pattern. You still have a strong cardio-core move.
Try 4 rounds of 30 seconds with 15 to 20 seconds rest. Few standing drills wake up a room faster.
14. Standing Halo
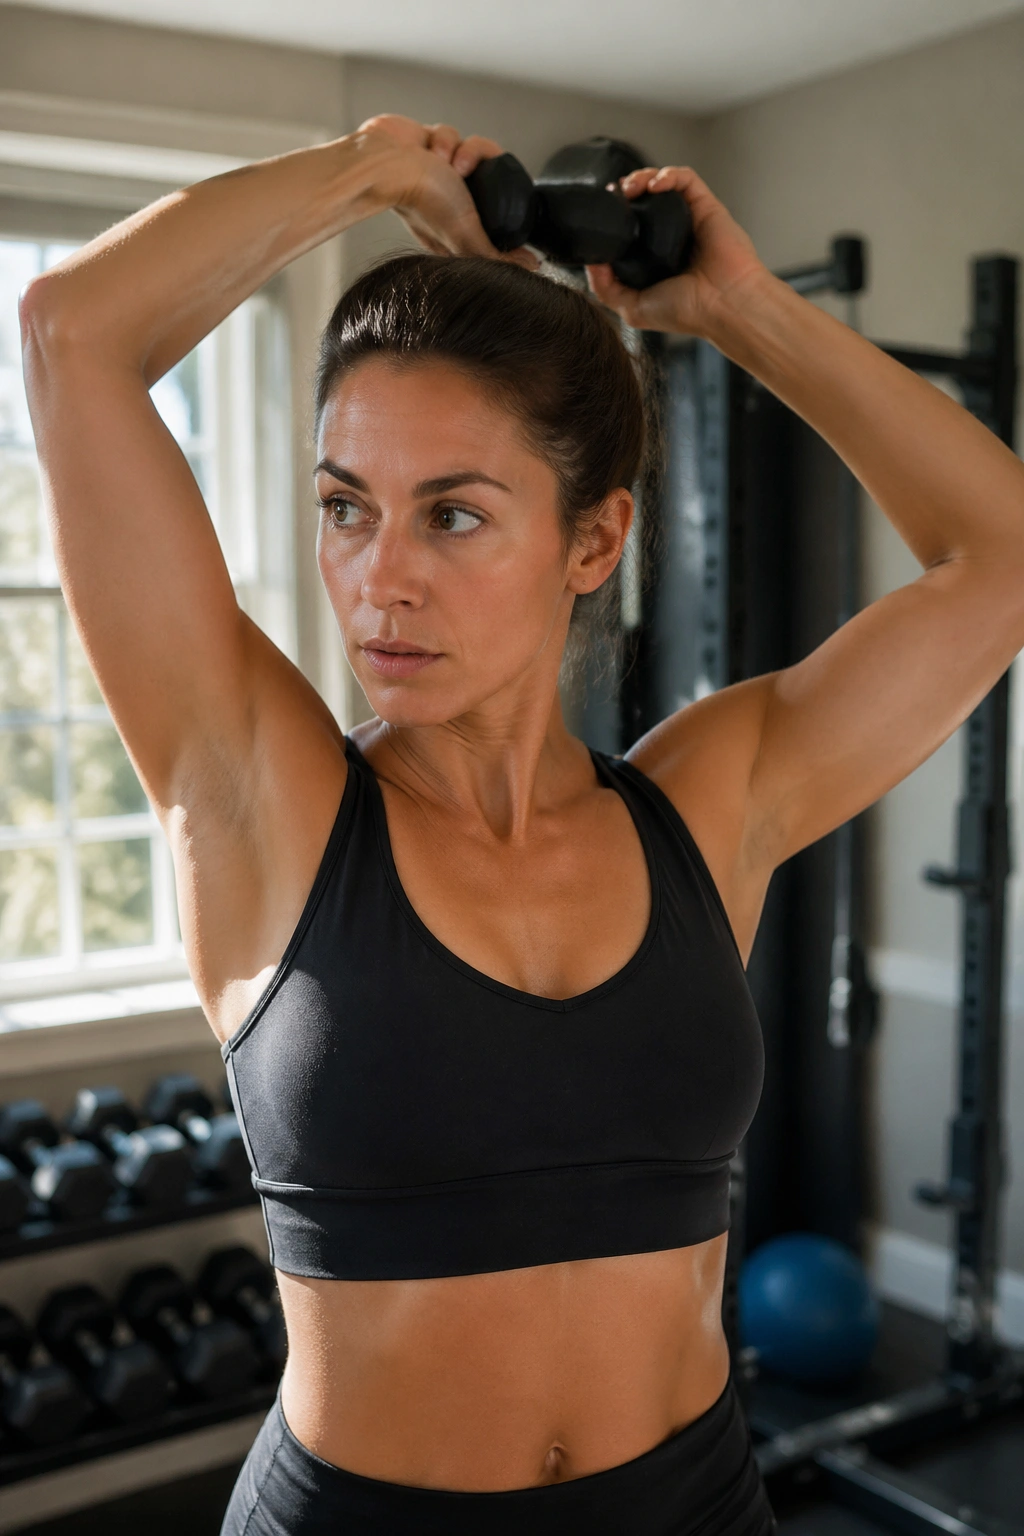
A standing halo uses a light weight—or no weight at all—to move the arms in a circle around your head while the trunk fights to stay tall and stable. It is one of those exercises that looks more like shoulder work until you feel your abs bracing to stop the ribs from flaring.
Hold a small dumbbell, medicine ball, or even a heavy book at chest height. Lift it near one ear, circle it around the back of your head, bring it to the other side, then return to the front. Reverse direction after each rep or after a set. Keep the circle close to the head rather than wide and floppy.
Why I like it for cranky knees
Your lower body can stay almost still. There is no repeated knee drive, no stepping, no impact. Yet the core has to resist extension and sway the whole time.
Use these guardrails:
- Pick a load you can control for 6 to 10 halos each direction.
- Squeeze your glutes lightly so the low back does not arch.
- Move slowly enough that the object never yanks your shoulders.
If your neck feels crowded, shrink the circle. If your shoulders object, skip the weight and use clasped hands. You will still feel the midsection working.
15. Suitcase March Hold
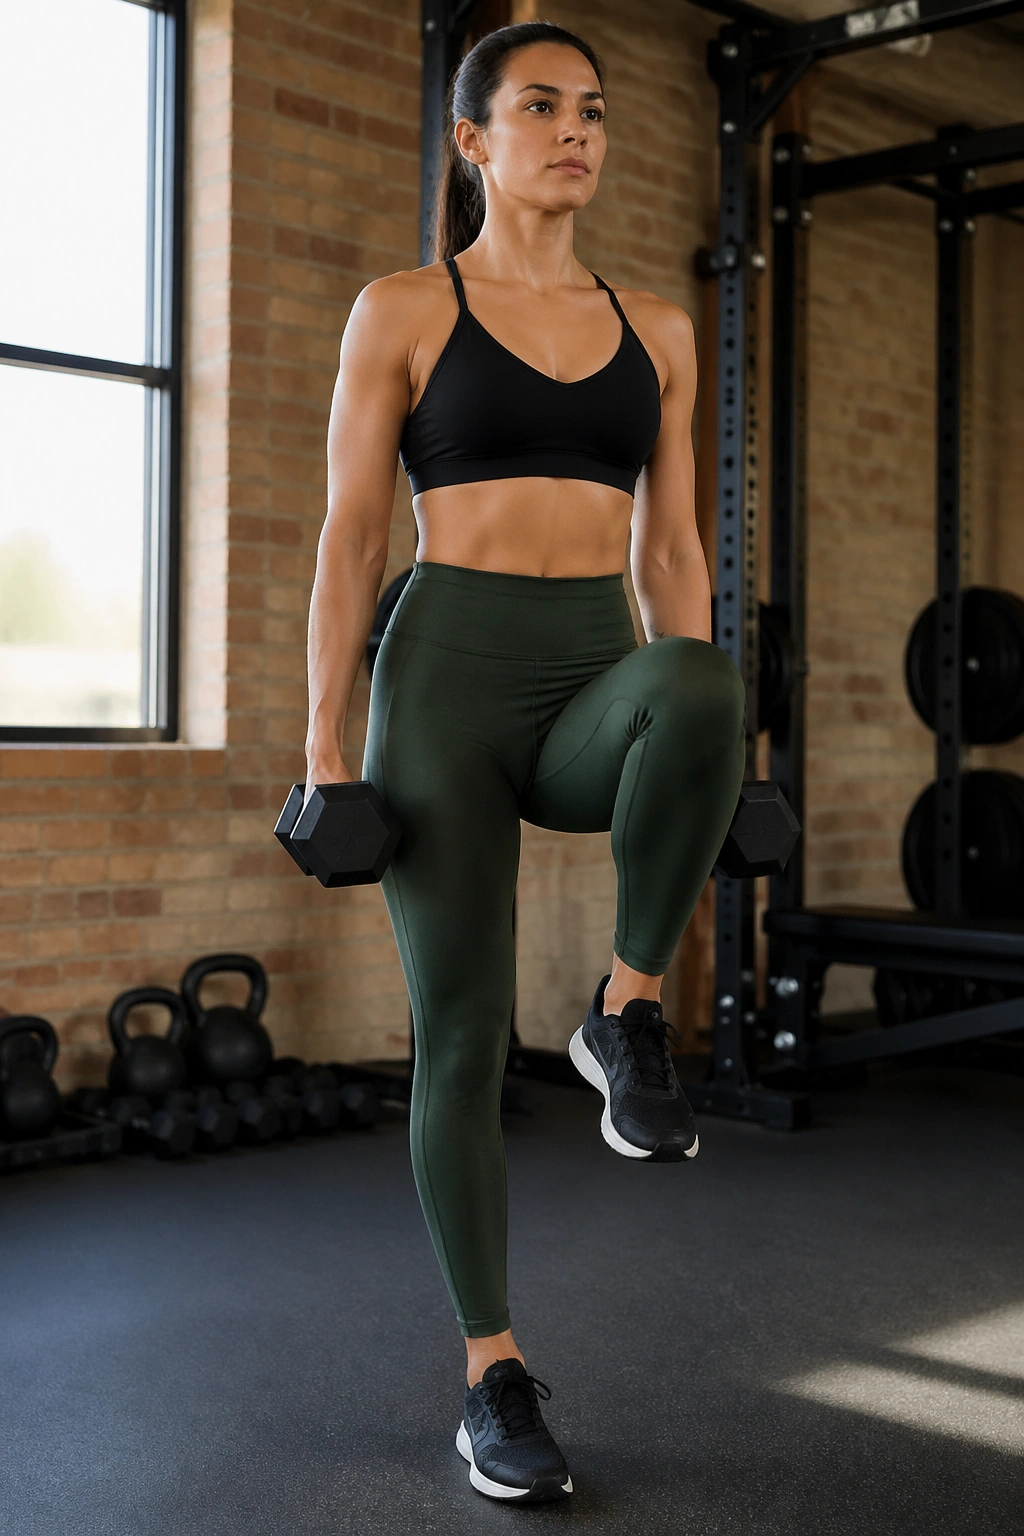
This one has a plain name and a nasty bite. Hold one dumbbell or kettlebell at your side like a suitcase, then march in place without leaning toward or away from the weight. That is it. That is plenty.
The load on one side forces the opposite side of your trunk to fire hard to keep you upright. Trainers call this anti-lateral flexion. You will call it “why is my waist shaking after 20 seconds?”
Use a weight heavy enough to challenge posture but not so heavy that your shoulder gets dragged down. For many people, 10 to 25 pounds is a good starting range. March for 20 to 30 seconds, switch hands, and repeat. Keep the steps low. The lift of the foot matters less than the demand to stay stacked.
Do not walk around the room at first. Stand in place. Walking adds another layer, and it can turn a clean core drill into a balance event too soon.
One note: if gripping a weight bothers your hand or shoulder, hold a grocery bag with two water bottles inside. Crude? Yes. Effective? Also yes.
16. Standing Figure-8 Pass
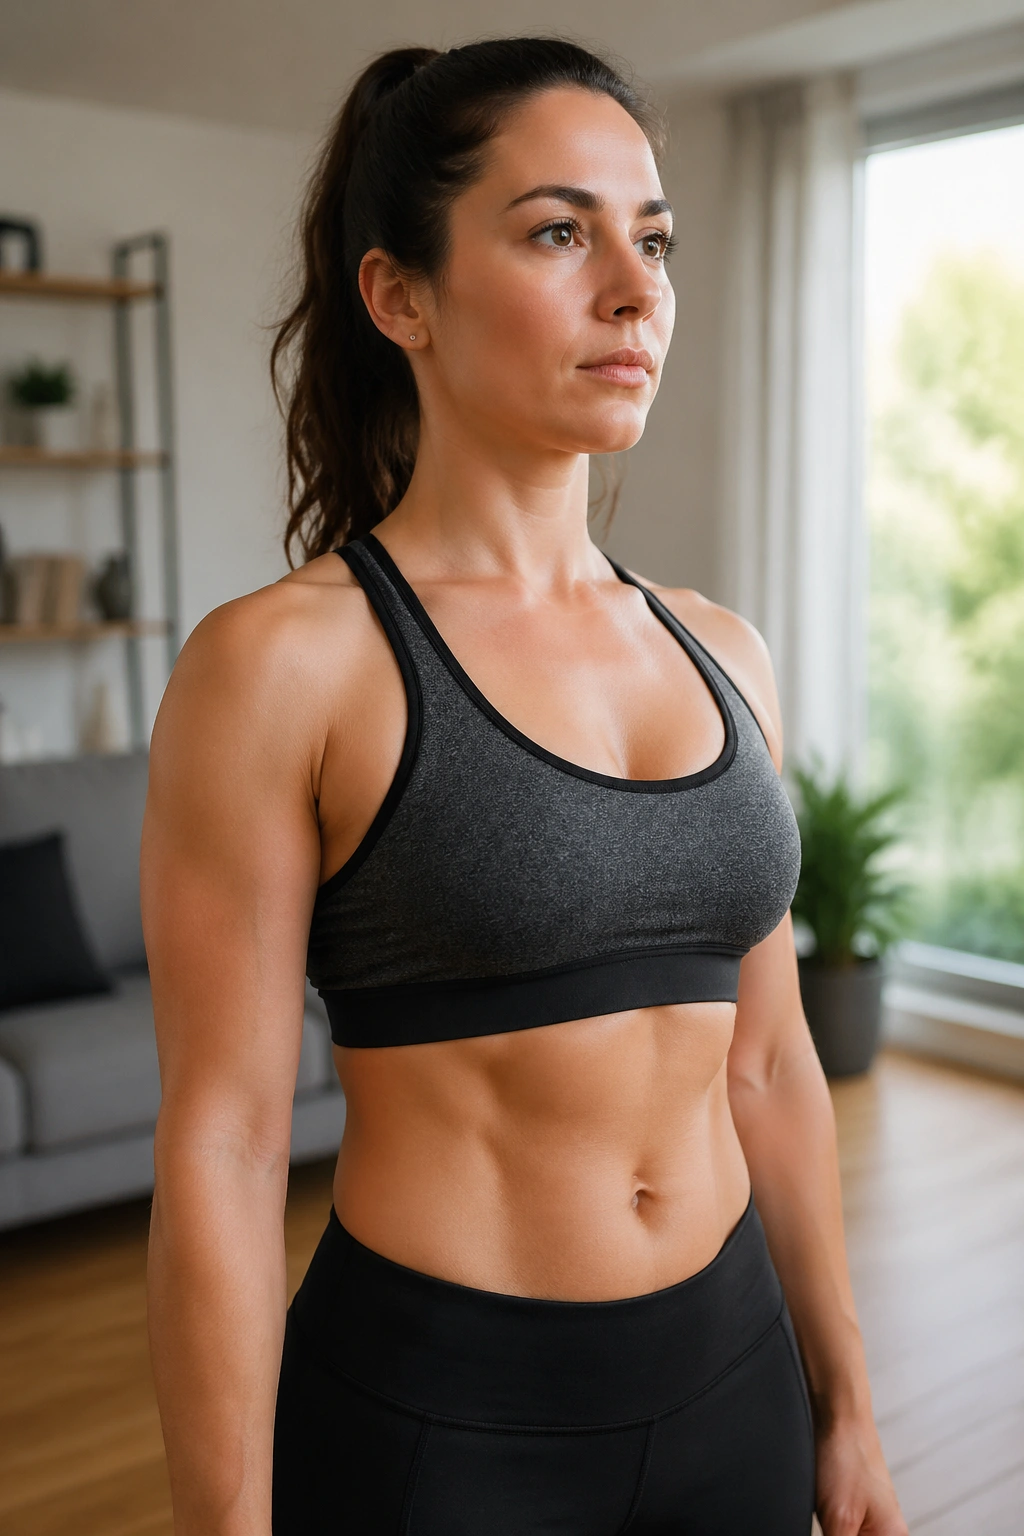
The figure-8 pass trains rotation, grip, posture, and midsection control in one flowing pattern. It is a good change of pace when repetitive crunch-style reps start to feel stale.
Stand with feet a little wider than hips and hold a light weight, ball, or water bottle in both hands. Hinge your hips back a few inches—no deep squat needed—then pass the object around one thigh, across the front, around the other thigh, and continue in a figure-8 pattern. After a set, reverse the direction.
This movement asks your trunk to control rotation while your arms travel around the body. The knees bend only slightly, and the hips handle most of the position. If your knees dislike the hinge, make it shallow. Even a 4-inch hip push-back is enough.
A clean set looks smooth and quiet. No jerking. No yanking the shoulders. Keep the chest open and the neck long. Try 20 to 30 seconds one direction, rest, then repeat the other way. If you want more challenge, slow it down instead of grabbing a heavier object.
Sometimes slower is the harder option. This is one of those times.
17. Rainbow Slam
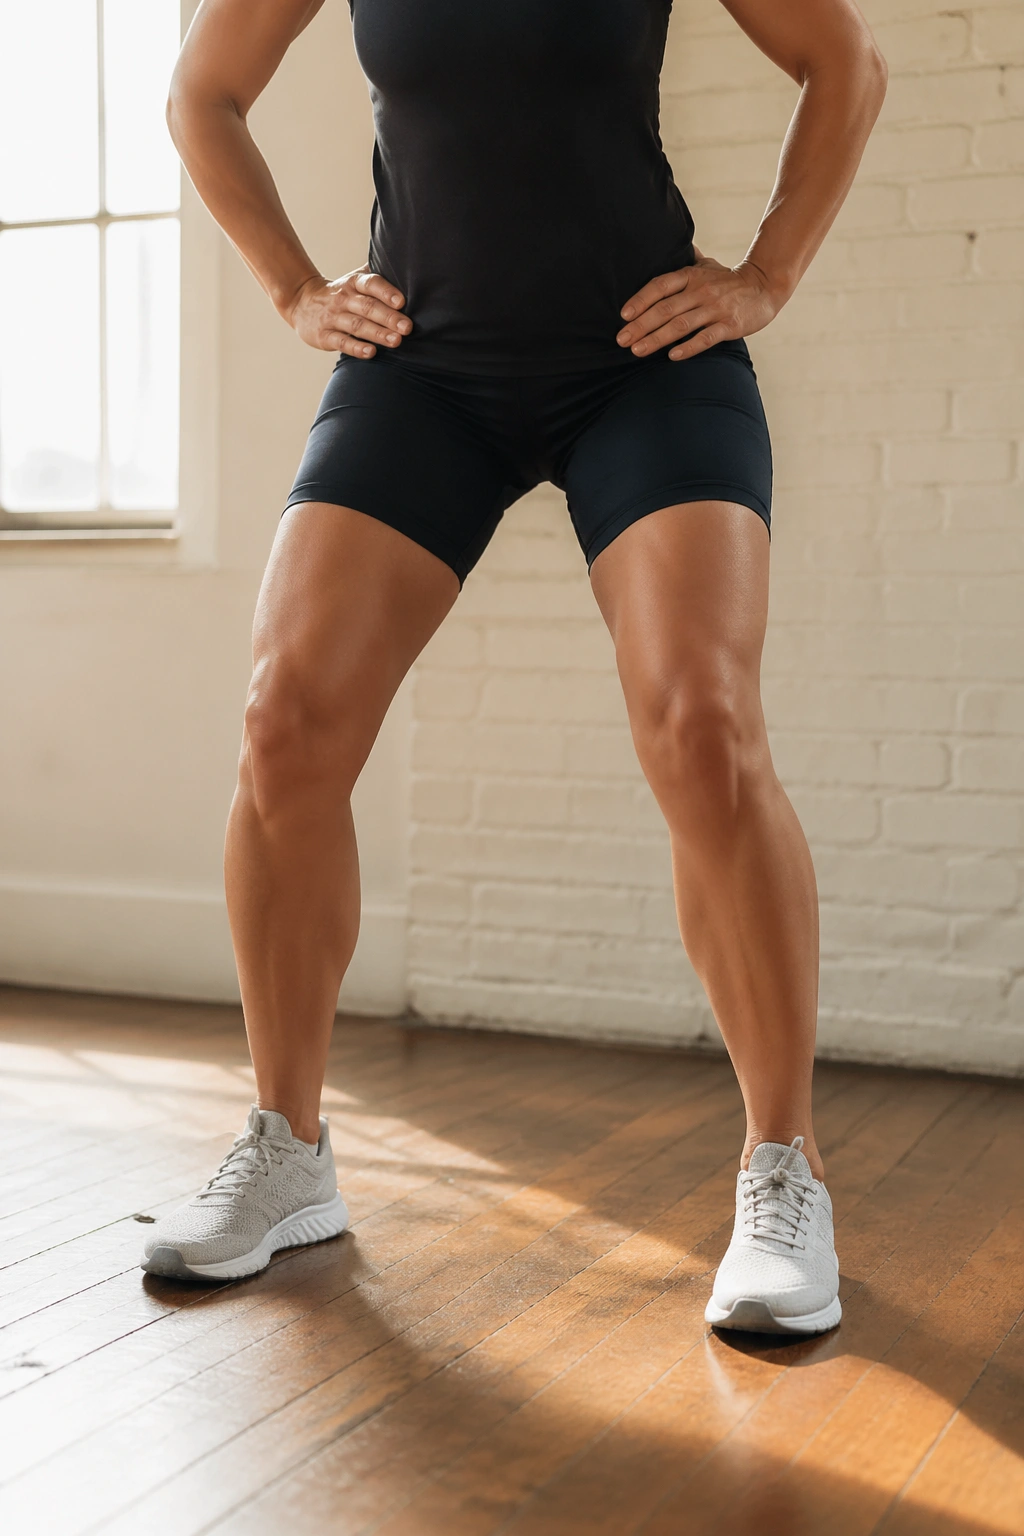
Imagine drawing a big arc overhead from one side of your body to the other, then pulling it down like you are slamming a medicine ball beside your hip. That is the rainbow slam.
You can do it with a light ball, a single dumbbell held by the ends, or empty hands. Reach up and out to one side, making your body long through the fingertips. Then pull the object or your hands in an arc down across the body to the opposite hip while you crunch through the side waist. Reset and repeat, either staying on one side for reps or alternating.
Why it works well
The long reach lengthens the torso first. The pull-down shortens it under load. That lengthen-then-crunch pattern gives many people a stronger abdominal feel than tiny standing crunches do.
Keep it knee-friendly
- Use a small hip hinge, not a squat.
- Let the back heel lift if you need a bit more body rotation.
- Do 8 to 12 reps per side or 30 seconds alternating.
- Think “pull with the ribs and lats,” not “drop into the knees.”
If you have a soft medicine ball and enough space, a gentle slam toward the floor can work. Keep it shallow. No need to chase drama.
18. Toe-Tap Side Sweep
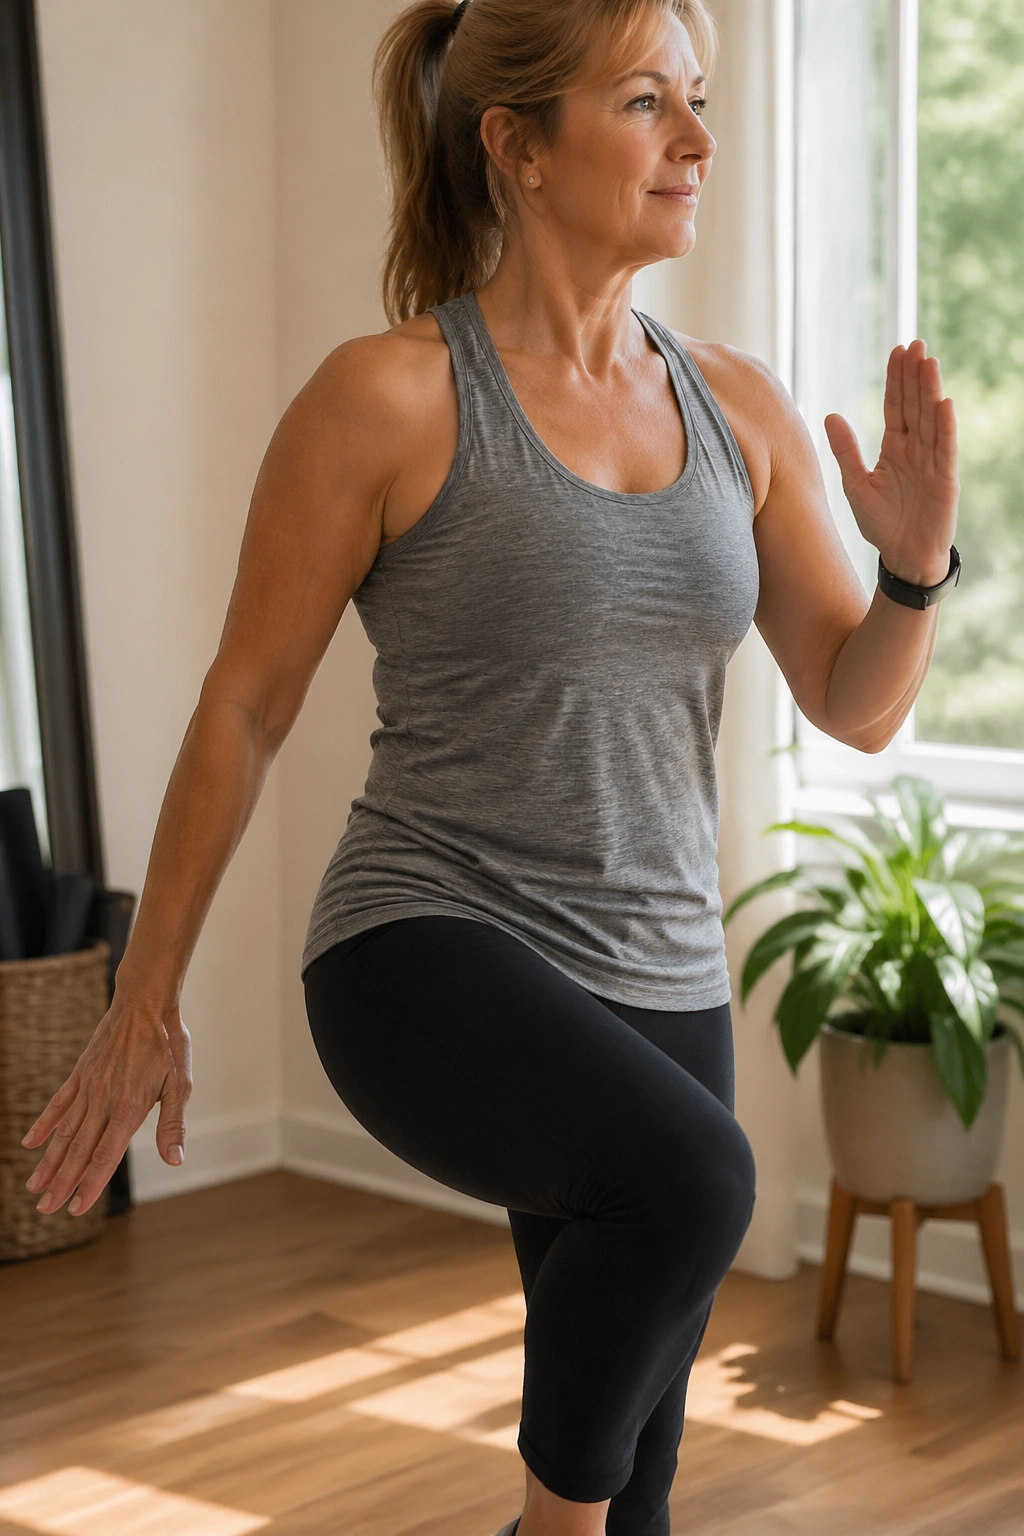
This is a lighter, faster drill that works well when your knees are tired but you still want the session to keep moving.
Stand tall and tap your right toes out to the side while sweeping both arms across your body toward that foot. Return to center, then repeat on the left. The tap stays light, and the working leg does not need to bend much. Think of it as a rhythmic side reach with a trunk turn, not a side lunge.
The reason I keep coming back to this one is simple: it is easy to sustain for longer blocks. Thirty seconds turns into 45 without much mental resistance, and that matters in home workouts where quitting often happens from boredom before fatigue.
A few form notes help. Keep the chest lifted. Sweep from the ribs, not the shoulders alone. Let your eyes follow the hands for a little extra upper-back rotation. If you start feeling the movement more in the low back than the abs, shorten the reach and tighten the brace before each sweep.
Use 40 to 60 seconds as a finisher or recovery-cardio block between harder exercises.
19. Wall Press Standing Dead Bug
A floor dead bug is one of the best core drills around. The wall version brings the same bracing idea into a standing position.
Face a wall and place both palms against it at chest height. Lean slightly forward and press hard enough that you feel your abs switch on. From there, lift one knee or extend one leg back a few inches while keeping your ribs down and your pelvis steady. Alternate sides. The wall press adds tension through the trunk, which is why this feels like more than a plain standing march.
What makes it different from other marches
Your arms are active. Pressing into the wall lights up the lats and front of the core, so the body has to organize itself from both ends.
Try it like this
- Press into the wall for the whole set.
- Alternate 8 to 12 reps per side.
- Pause each lift for one second.
- Keep the standing knee soft and the heel heavy.
If knee lifting feels awkward, switch to a toe slide back behind you instead. The trunk challenge stays high, and the knee angle gets even calmer.
20. Band Pallof Press
If you own a resistance band, the Pallof press deserves a permanent place in your standing routine. It may be the cleanest standing anti-rotation drill you can do.
Anchor a band at about chest height to a sturdy pole, railing, or closed door with an anchor. Stand side-on to the anchor, feet hip-width apart, and hold the band at your sternum with both hands. Step away until the band has tension. Press your hands straight out from your chest, hold for one or two seconds, then bring them back in without letting your torso twist toward the anchor.
The magic of the Pallof press is restraint. Nothing dramatic happens. Your body is fighting rotation the whole time, and your abs, obliques, glutes, and upper back all chip in.
Good starting numbers:
- 8 to 12 presses per side
- Hold each press for 1 to 3 seconds
- Do 2 to 4 sets
A split stance can make the position easier. A narrow stance makes it harder. If the band snaps you back on the return, step closer. Control is the point.
How to Turn Standing Belly Fat Exercises for Bad Knees Into a Routine
You do not need all 20 exercises in one workout. Six to eight is plenty.
A simple 20-minute session could look like this:
- Pick 6 exercises
- Work for 40 seconds
- Rest for 20 seconds
- Complete 3 rounds
A strong beginner mix:
- Standing March With Core Brace
- Standing Cross-Body Crunch
- Heel-Tap Jacks
- Overhead Pull-Down March
- Toe-Tap Side Sweep
- Wall Press Standing Dead Bug
A stronger cardio-core mix:
- Fast Straight Punches
- Wall-Supported Standing Mountain Climber
- Front Kick Crunch
- Shadow Boxing With Slips
- Rainbow Slam
- Heel-Tap Jacks
A strength-focused mix with light equipment:
- High-to-Low Wood Chop
- Standing Halo
- Suitcase March Hold
- Standing Figure-8 Pass
- Band Pallof Press
- Side Leg Lift With Elbow Pull
If fat loss around the midsection is the goal, pair 3 of these sessions each week with regular walking, light strength training, and food habits you can repeat without white-knuckling them. The standing routine helps. The weekly pattern does the heavy lifting.
When Knee Pain Means the Move Needs to Change
A burning core, hard breathing, and tired shoulders are normal. Pinching inside the knee joint is not.
Watch for a few red flags:
- Pain that gets sharper with each rep instead of settling
- Swelling later that day
- A knee that feels unstable or wants to give way
- Pain strong enough to change how you walk afterward
When that happens, strip the move down fast. Shorten the range. Slow the pace. Hold a wall. Remove the twist. Swap a knee drive for a toe tap. If the joint still complains, move on.
Persistent knee pain deserves actual assessment, especially if you are dealing with arthritis, a recent flare, or a past surgery. A good physical therapist can often tweak foot position, hip loading, and range of motion in a way that makes a stubborn move usable again. Sometimes the fix is small—an inch less bend, a narrower twist, a wall for support—and sometimes the move is not worth forcing.
Both are fine answers.
Final Thoughts
The best standing belly fat exercises for bad knees are not the flashiest ones. They are the ones you can do with clean form, steady breathing, and enough effort to matter, then repeat again later in the week without your joints filing a complaint.
If I had to narrow the whole list to a short starter pack, I would begin with the Standing March With Core Brace, Heel-Tap Jacks, Fast Straight Punches, Overhead Pull-Down March, Suitcase March Hold, and Band Pallof Press. That mix covers cardio, anti-rotation, side-core work, posture, and balance without asking much from angry knees.
Give each move a fair trial. Not one rushed set—a real trial. Two or three sessions usually tell you which exercises your knees tolerate, which ones your abs respond to, and which ones feel like a chore. Keep the winners, drop the rest, and build from there.
