



When a stride starts to feel choppy, more miles are usually the wrong fix.
The body does not magically remember how to run better because you asked it to. It needs a cleaner pattern, and that pattern comes from drills, strength work, and a little bit of honest feedback from the ground.
That’s why running exercises for stronger stride mechanics matter so much. They teach you where to stack your ribs, how to move your knees, when to relax your feet, and how to keep your hips from leaking energy all over the place.
A good stride is not just “fast.” It’s organized. The foot lands under you instead of way out in front, the torso stays tall without flaring the lower back, and the arms stop acting like they belong to a different athlete. Small things. Huge difference.
1. Wall Marches
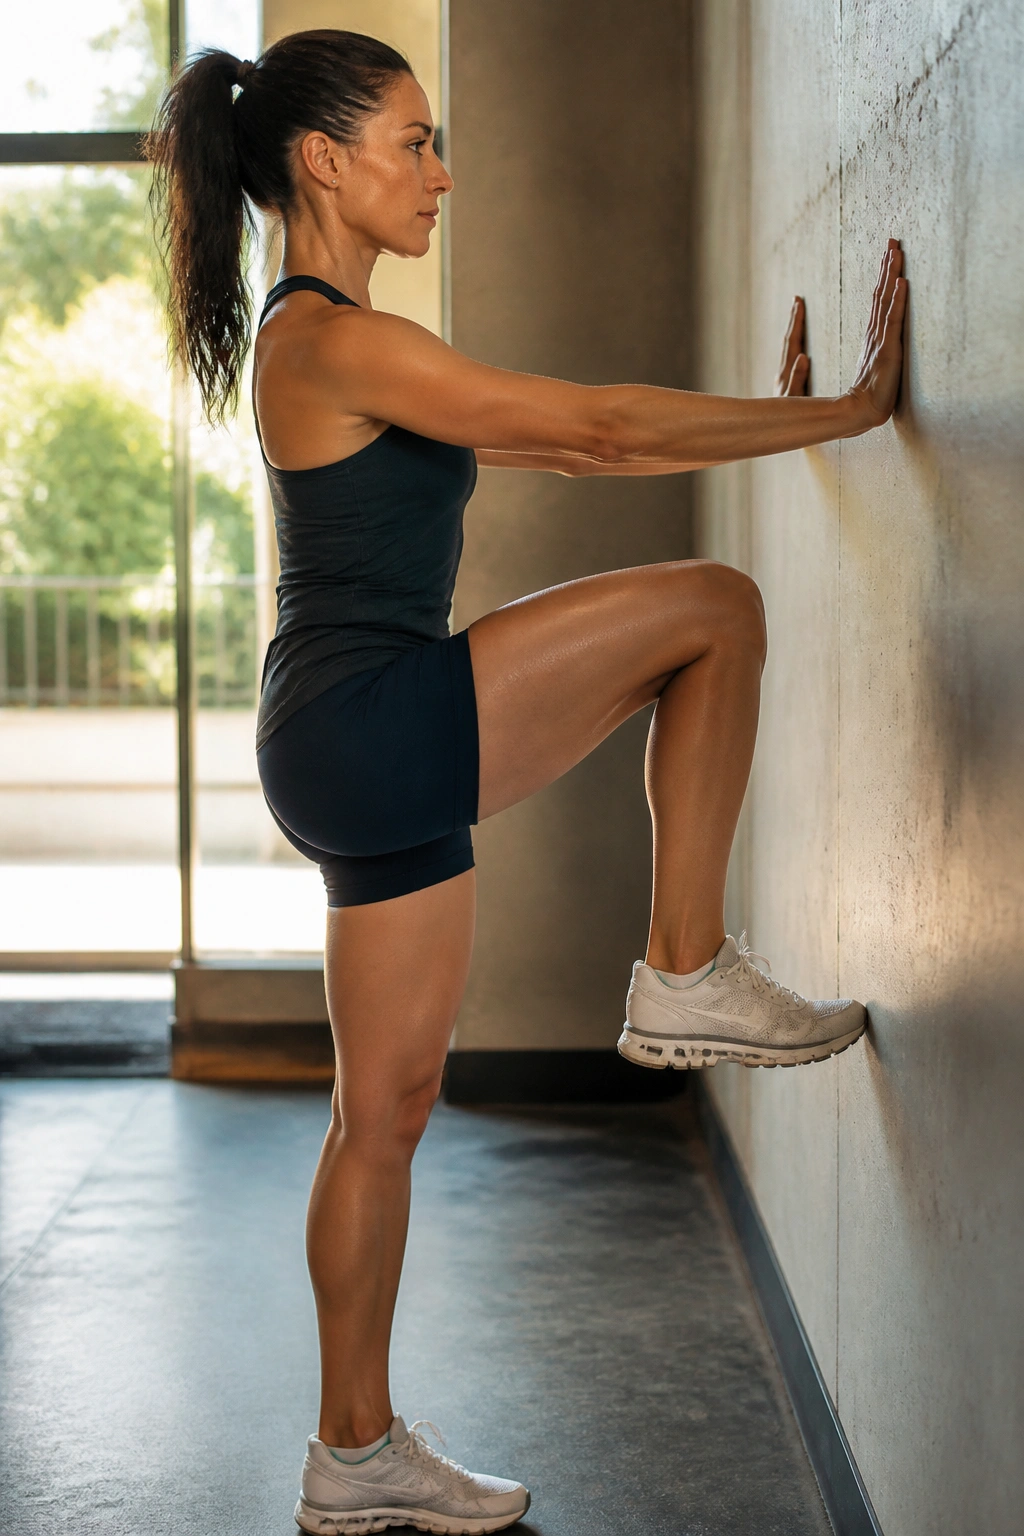
Wall marches are where I like to start because they strip running down to the parts that matter most. No speed. No bounce. Just posture, balance, and a clean knee drive.
Face a wall, place both hands on it at chest height, and lean your body forward so you form a straight line from heels to head. From there, lift one knee to about hip height while keeping the standing foot planted and the ribs quiet. The whole point is to feel what it means to drive the leg without collapsing your posture.
Why It Helps
This drill teaches your body to push through the floor without reaching for it. That sounds small, but it’s a big deal. A lot of runners overstride because they never practice the stacked, upright position that keeps force going the right direction.
- Do 2 sets of 8 to 10 marches per side
- Hold each knee lift for 1 full second
- Keep the standing heel down and the toes active
- Let the opposite arm swing naturally, not wildly
Best cue: tall torso, quiet ribs, quick knee.
2. A-March
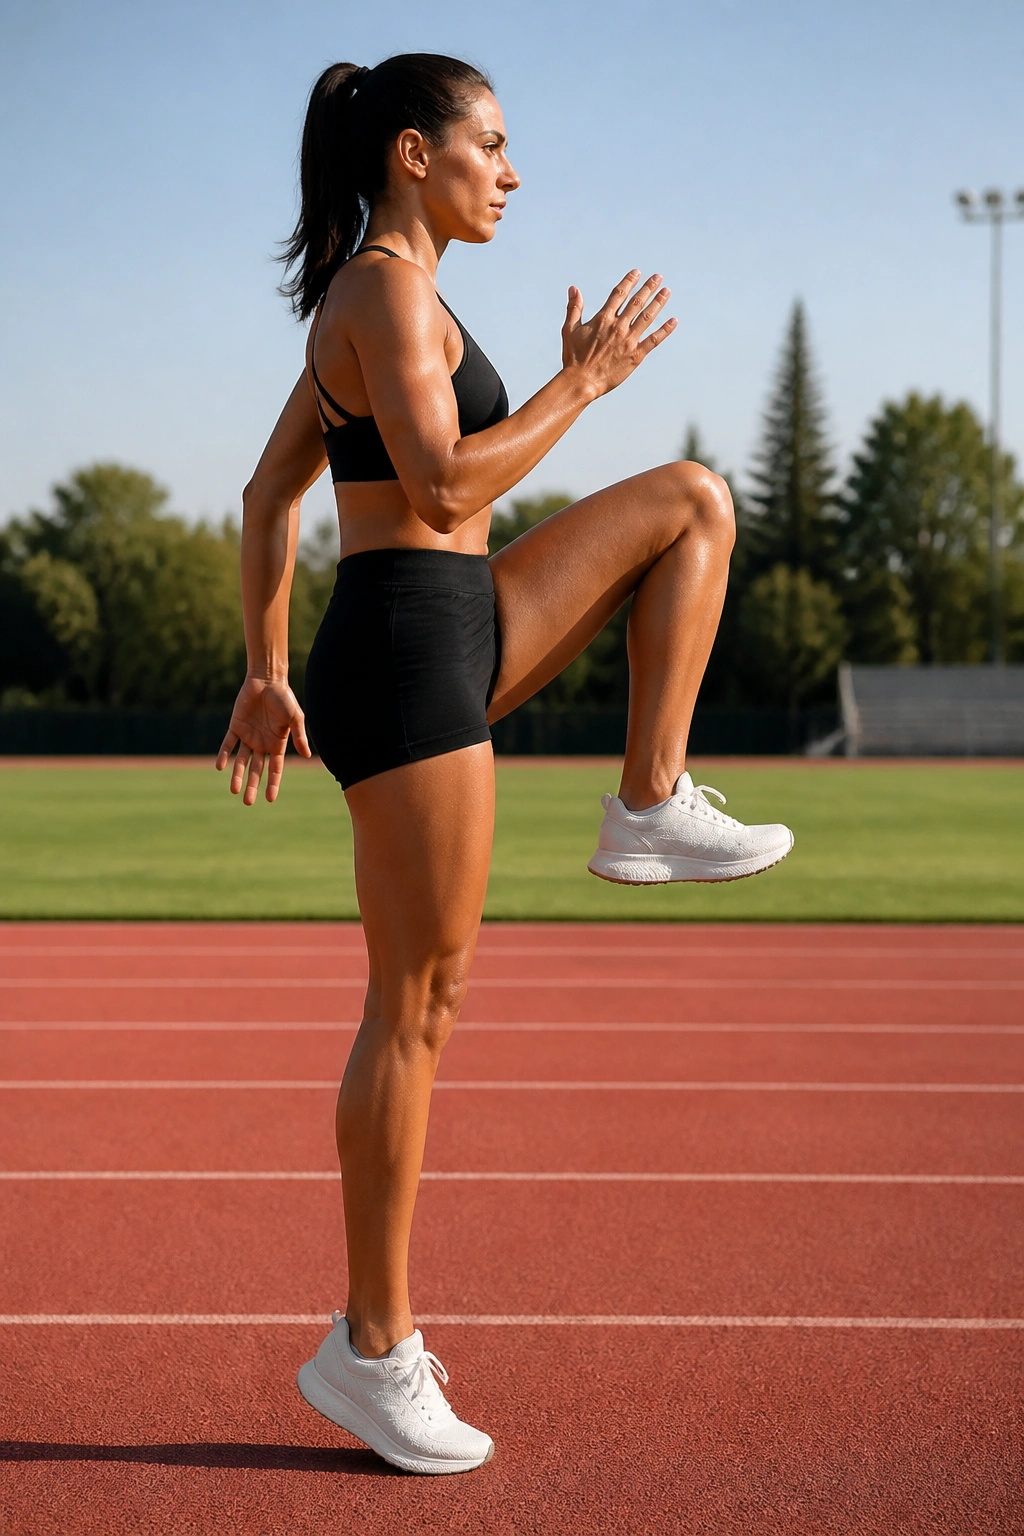
A-marches look plain, and that’s exactly why they work. Once the wall is gone, you have to hold the same shape on your own, which is where the real lesson starts.
Step forward one controlled march at a time, bringing the knee up, the toes up, and the foot back down under the hip. Your shoulders should stay level. If they bob, you’re losing the line and probably turning the drill into a balance contest instead of a running lesson.
I like A-marches for runners who get sloppy in the middle of their stride. They remind you that the knee lift comes from the hip, not from throwing the foot forward. They also give you a chance to check your arm swing, which should be compact and direct, not crossed over the body.
A simple version is 2 x 20 meters. If you’re doing them in place, use 10 controlled reps per side. Slow is fine here. Rushed is not.
3. A-Skips
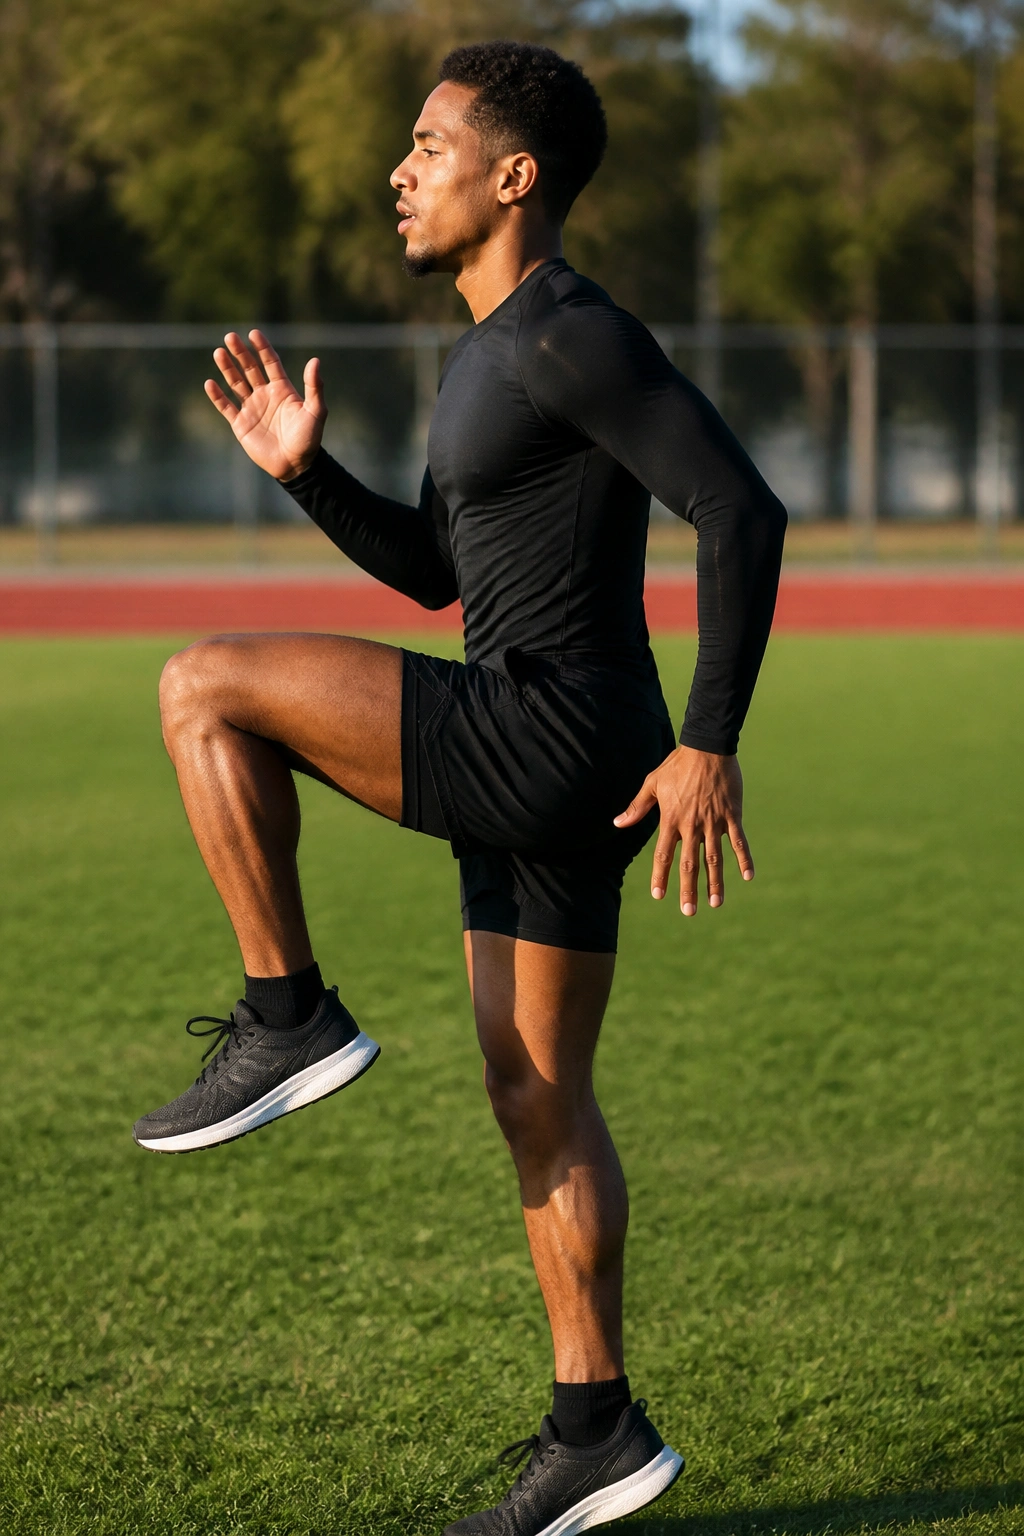
A-skips are where the march starts to get springy. They’re one of the best running drills for stronger stride mechanics because they tie knee drive to a quick, elastic ground contact.
The movement is simple enough to describe and hard enough to do well. Lift the knee, pop the ankle, and let the foot snap down under your center of mass before you move into the next skip. You are not trying to jump high. You are trying to bounce cleanly.
How to Use It
- Perform 2 to 4 passes of 20 meters
- Keep the contact time short, almost snappy
- Stay tall through the chest
- Let the arms match the rhythm, not fight it
The mistake I see most is turning an A-skip into a goofy pogo hop. Too much vertical bounce steals the point. The skip should feel quick, springy, and precise. If your shoulders rise and fall like a piston, back off and make the steps smaller.
One good skip is worth more than ten ugly ones.
4. B-Skips
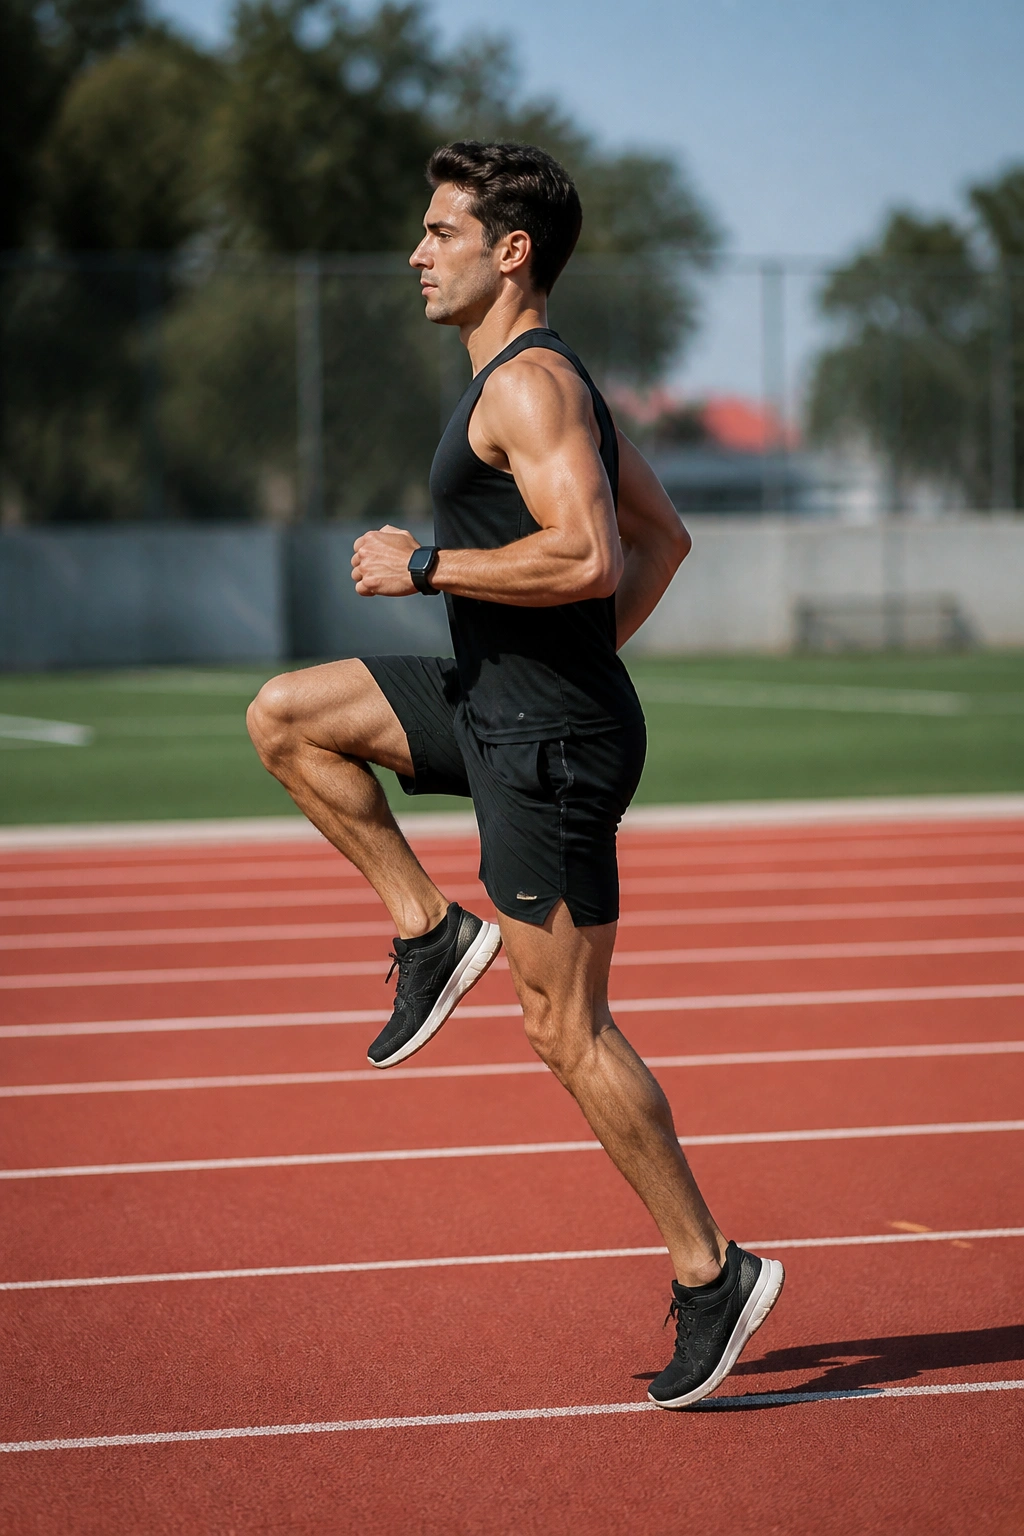
B-skips add a little more complexity, and that’s useful. They ask you to lift the knee, extend the lower leg, then pull the foot back down under you in a fast, deliberate motion.
That “paw-back” feeling is the whole reason runners keep this drill in their warm-up. It trains the leg to cycle back instead of reaching forward and hanging out there. For stride mechanics, that matters a lot. A leg that recovers quickly is a leg that spends less time braking.
What Makes It Different
Unlike the A-skip, which is mostly about rhythm and lift, the B-skip adds a recovery action. You feel the hamstring and hip work together a bit more, and you notice pretty quickly whether your posture is solid enough to handle it.
- Do 2 sets of 15 to 20 meters
- Keep the upper body still
- Pull the foot down fast, not forcefully
- Stop if the drill turns into a leg swing with no control
If this drill feels messy, slow it down. Most people rush the B-skip and lose the timing before the foot even comes back to the ground.
5. Ankling
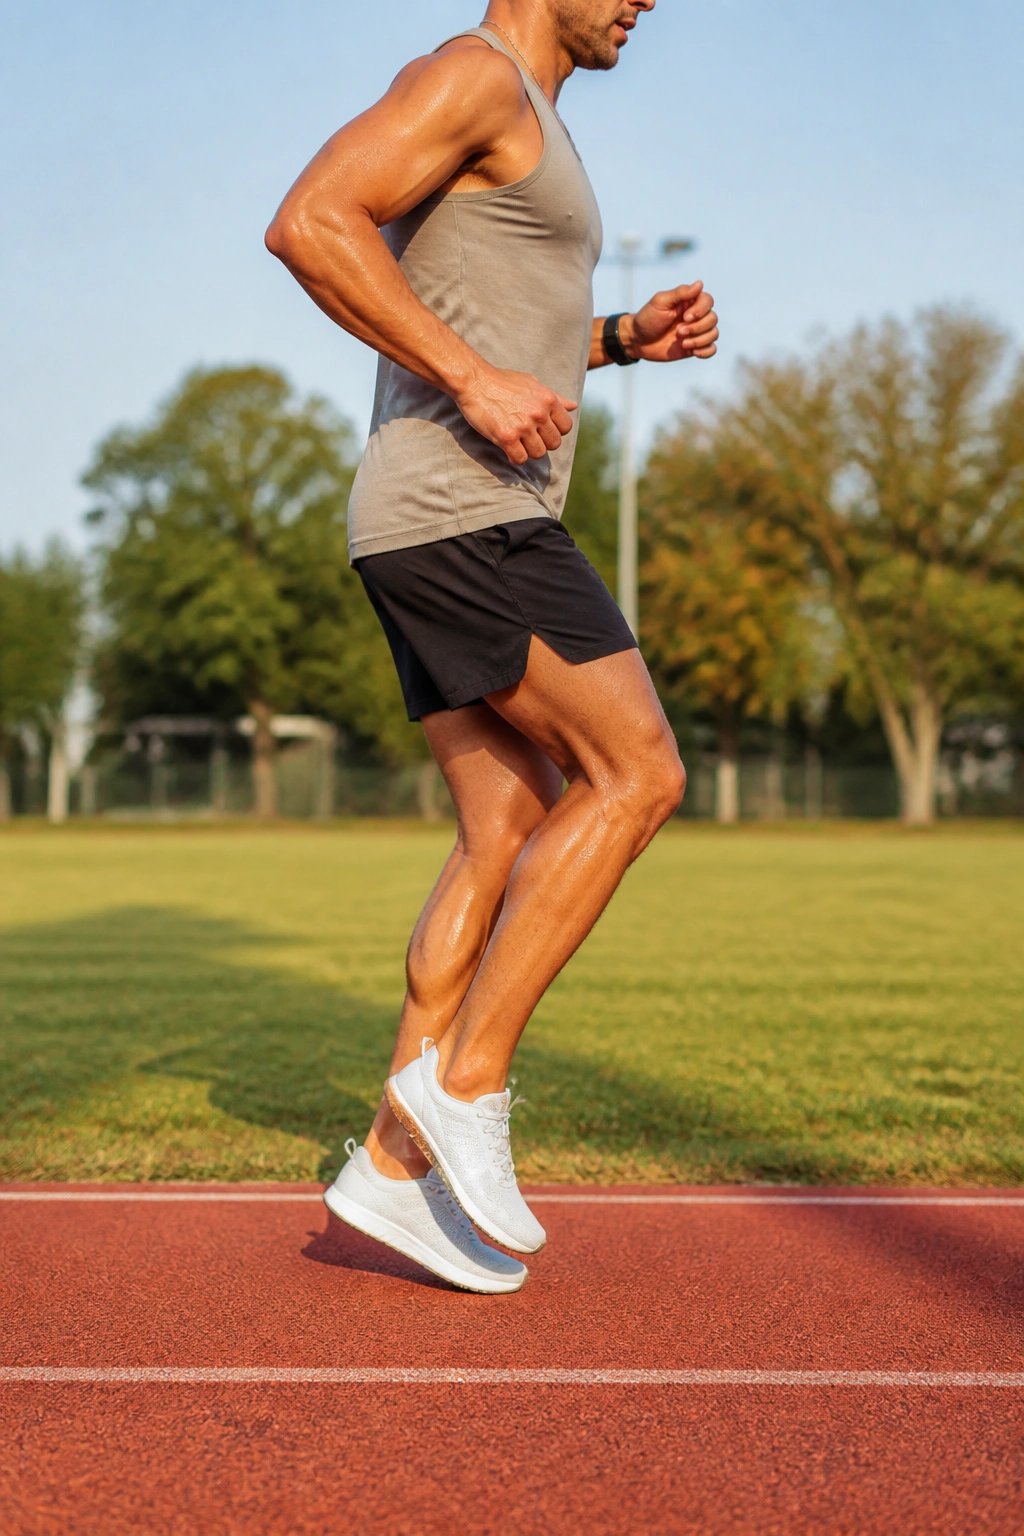
Ankling is a small drill with a big attitude. It’s all about quick, low steps and a stiff, responsive ankle.
The feet barely leave the ground. That’s the point. You want the lower leg and foot to feel springy, not floppy, so you can train the ankle to act like a good little spring instead of a loose hinge. Done well, ankling gives you a sharp feel for ground contact and helps clean up the sound of your run. Quiet feet are usually better feet.
Keep the knees low, the torso tall, and the steps fast. If the drill turns into a bounce fest, you’ve gone too far. I prefer ankling on a track straightaway or a flat stretch of grass, where you can keep the rhythm smooth.
Tiny but Useful Cues
- Think “short, fast, quiet”
- Let the heels kiss the ground, not slap it
- Stay relaxed in the shoulders
- Use 2 passes of 15 to 20 meters
6. Dribbles
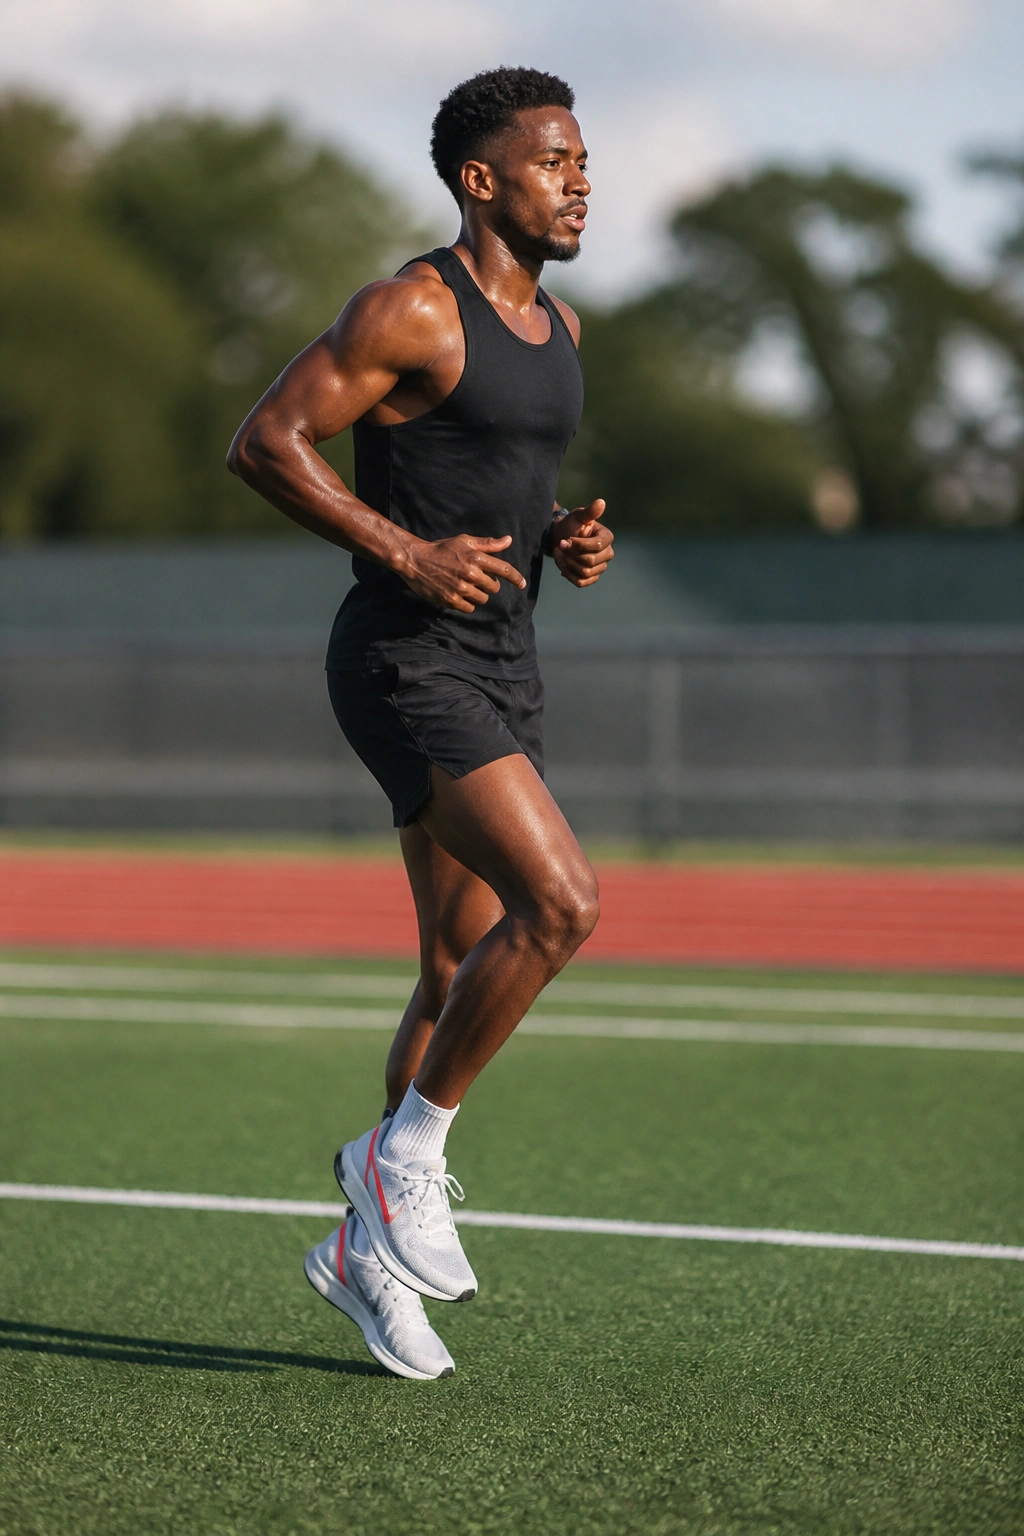
Dribbles are one of those drills that look almost too easy until you do them correctly. The steps are tiny, quick, and just off the ground, which makes them sneaky-good for cadence and foot placement.
They teach you to keep the leg cycling underneath you instead of reaching out ahead. That’s the bigger lesson here. When your steps are small and fast, the body has less room to fake it. You feel every wobble, every bit of overreach, every lazy toe.
Why do I like them? Because they expose messiness fast. If you’re leaning too far back, the drill feels heavy. If you’re stiff through the hips, the legs stop turning over cleanly. If the arms are late, the whole thing falls apart.
How to Get the Most From It
Do 2 to 3 passes of 20 meters, first with low dribbles, then with slightly higher ones. Keep the torso tall, the eyes forward, and the ankles active. The drill should feel quick, almost twitchy, but never tense.
7. High-Knee Runs

High-knee runs are not about flailing your knees into the sky. They’re about making the front side of the stride sharper while keeping the rest of the body under control.
A lot of runners turn this into a dance move. Don’t. The knee lifts, the foot dorsiflexes, and the opposite arm drives forward in a tight, natural way. The trunk stays stacked, which is what keeps the drill useful instead of messy.
What to Watch For
- Lift the knee to a strong but realistic height
- Keep the foot active, toes up
- Land under the hip, not in front of it
- Stay on the balls of the feet without getting bouncy
I like these as a bridge between marching drills and faster running. They wake up the hip flexors and make your mechanics feel a little more aggressive without requiring a full sprint. If you feel your lower back arching, the knee is probably rising from the wrong place.
Use 2 to 4 sets of 15 to 20 meters. Shorter is cleaner.
8. Butt Kicks

Butt kicks have a bad reputation because lots of people do them badly. Fair enough. A sloppy butt kick looks like a person trying to slam a heel into a hamstring.
Done well, though, they teach quick recovery and a cleaner heel path behind the body. The knee stays pointed down, the heel lifts toward the glute with a light touch, and the front of the body stays calm. You’re not trying to fold in half.
The sensory cue I use is simple: the drill should feel light and fast, with the shoes brushing air more than smacking your backside. If your chest tips forward or your knees start drifting wide, the drill loses its point.
Keep It Honest
- Use 2 sets of 20 meters
- Keep the hips level
- Don’t force the heel all the way to the glute
- Let the stride cycle stay quick and loose
It’s a useful drill, but not one I’d do forever. A few clean passes are enough.
9. Relaxed Strides for Stronger Stride Mechanics

Relaxed strides are one of the best ways to show whether all the earlier drills are sticking. They are not sprints. They’re smooth, controlled runs where you let the body move faster without getting tight.
Start with a gentle build for the first 20 to 30 meters, then settle into a smooth, fast-but-easy rhythm for another 40 to 60 meters. The shoulders should stay loose. The face should stay loose too, which is usually the part runners forget. If your jaw is clenched, you’re working harder than you need to.
What Makes Them Valuable
Unlike drills that stop and start, strides let you feel mechanics at speed. You can sense whether your foot lands under you, whether your arms stay compact, and whether the hips remain steady when the pace climbs.
- Do 4 to 8 strides of 60 to 100 meters
- Run at about 70 to 85% effort
- Walk back fully between reps
- Keep every rep smooth, not strained
A good stride feels like you could do one more. Maybe two. Not twenty.
10. Flying Sprints

Flying sprints are a different animal. A relaxed stride teaches smooth speed; a flying sprint teaches you how to hold it after the acceleration is done.
The setup matters. Build up for 10 to 20 meters, then hit a fast zone for 20 to 30 meters, then decelerate gradually. The middle section is where the mechanics get honest. You can’t fake posture there, and you can’t hide weak arm rhythm or a sloppy foot strike.
This is the drill I reach for when a runner needs to feel faster without turning every rep into a max-effort grind. It’s short enough to stay crisp, but fast enough to expose weak spots. If you’re reaching too far forward with the foot, the ground will tell you. Loudly.
Keep the volume low. 4 to 6 reps is plenty for most people. More than that and the drill starts becoming fatigue work instead of skill work.
11. Short Hill Sprints

Short hill sprints are one of the cleanest ways to fix overstriding without giving you a lecture about it. The slope forces a forward lean, trims down the braking, and encourages a quicker, shorter ground contact.
Find a hill that takes about 8 to 12 seconds to run up. That’s short enough to stay sharp and long enough to demand real effort. Drive hard, but keep the torso tall from the ankles up. You should feel powerful, not folded in half.
A Simple Hill Setup
- Walk back for full recovery
- Do 4 to 8 reps
- Keep the hill moderate, not steep and ugly
- Stop if your form falls apart before the rep ends
The beauty of a hill sprint is how little it asks you to think. The hill makes good mechanics harder to avoid. Your feet naturally land a little closer to your center, and the hips have to help more. It’s hard work, yes. It’s also bluntly effective.
12. Hill Bounds

Hill bounds are bigger, springier, and a little more demanding than hill sprints. They’re not about just running uphill faster. They’re about producing force with each step and holding your shape while the ground pushes back.
Think of each bound as a long, powerful step rather than a leap for the sake of leaping. The knee drives, the push-off is strong, and the swing leg recovers quickly enough to catch the next step. Hills help because they limit how far you can reach. That keeps the movement honest.
I like this drill for runners who need more hip extension and better elastic power. It’s a little rougher on the calves and Achilles than ordinary strides, so don’t overdo it. Two or three sets are enough if the quality stays high.
What You Should Feel
A strong glute push. A firm ankle. A body that stays forward without collapsing.
If the drill turns into sloppy jumping, cut the distance. Around 15 to 20 meters is plenty.
13. Bounding

Bounding is what happens when a stride gets bigger on purpose, but still stays coordinated. It’s one of the best drills for learning how to store and release force through the hips and legs.
Why does it help? Because distance forces you to manage flight, timing, and landing all at once. If the stride gets too long, the body has to scramble. If the arms are late, the landing gets heavy. If the torso slumps, the whole thing loses shape.
How to Use It
- Use 3 to 5 sets of 20 meters
- Keep the steps long, not wild
- Stay tall through the chest
- Land softly and spring again quickly
Bounding should feel elastic, not forced. I’m not a fan of huge bounds that look dramatic and feel terrible. The useful version is controlled. You want distance, yes, but you also want rhythm. That balance is the point.
A small nod here: if you already run a lot of hills, you may need less bounding than you think. The drill is potent. Respect it.
14. Straight-Leg Bounds
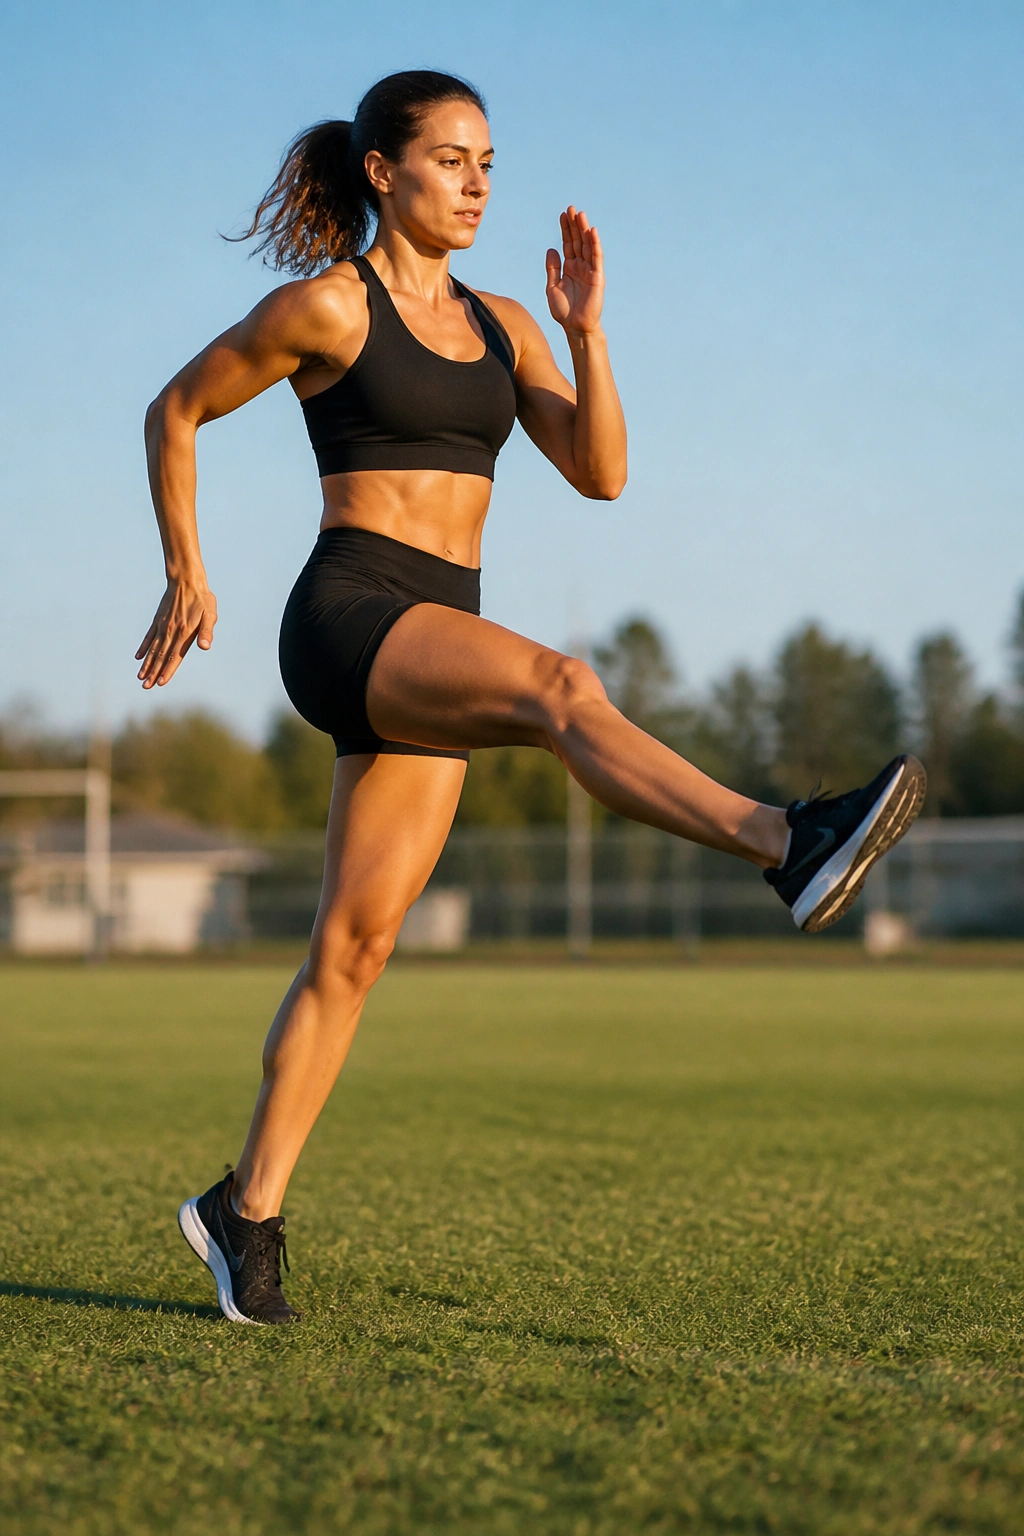
Straight-leg bounds are not exactly gentle, and that’s part of the reason they work. They make the leg act stiff enough to rebound quickly, which can sharpen the lower-leg side of stride mechanics.
The knee stays mostly straight, the foot cycles fast, and the contacts are brisk. You are not locking the knee hard. That would be a bad idea. You’re aiming for a long lever with a quick snap off the ground. The difference matters.
This drill lights up the hamstrings and calves fast. That’s normal. What you do not want is a heavy, thudding landing or a forward fold in the waist. Keep the trunk tall and the hips under control. If your hamstrings start barking, shorten the set and move on.
Good Uses for It
- Short flat runs of 15 to 20 meters
- Low volume, high quality
- Best after a warm-up, never cold
- Great for runners who feel “soft” off the ground
It’s a useful drill, but not a daily one.
15. Single-Leg Hops
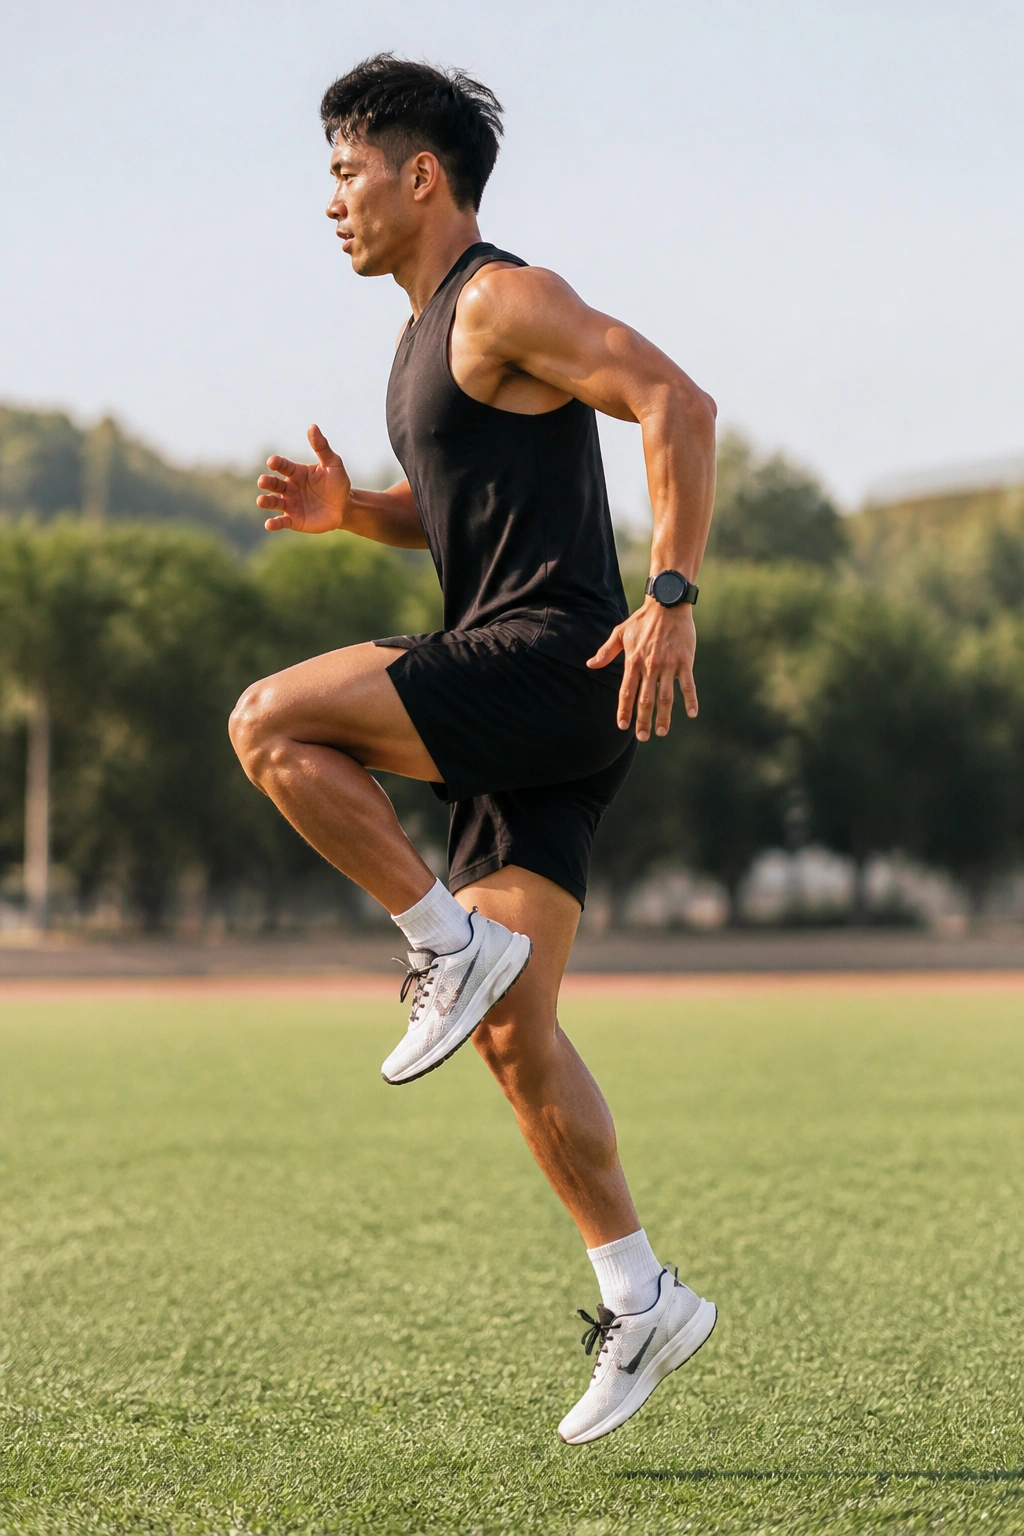
Single-leg hops tell the truth about your stability. Fast.
Stand on one leg and make small hops forward, in place, or slightly laterally. The standing hip should stay level, the foot should land softly, and the ankle should feel springy rather than wobbly. If the knee caves in, the drill exposes it. If the arch collapses, same story.
I like these because they connect running mechanics to balance in a way that’s impossible to ignore. A stride is single-leg work repeated hundreds or thousands of times. If one leg can’t manage a clean hop, it probably isn’t managing a clean stride under fatigue either.
Practical Notes
- Try 2 sets of 8 to 10 hops per side
- Use grass or another forgiving surface
- Keep the hop low and controlled
- Stop if the knee or Achilles feels sharp
There’s no need to make this fancy. Small, clean hops beat big ugly ones every time.
16. Carioca

Carioca is the oddball in this list, and I like that about it. It does not look like a straight-ahead running drill, but it helps runners who need better hip rotation and side-to-side control.
Move laterally while crossing one foot in front of the other and then behind, keeping the upper body calm. The hips have to stay organized while the feet do something a little weird. That combination is useful. Running straight ahead still depends on rotational control, especially when fatigue creeps in or the road tilts under you.
This is also one of the better drills for people who get stiff through the hips. The movement opens up the pelvis without turning into a passive stretch. It’s active, which is better. Active usually wins.
Do 2 passes each direction for 15 to 20 meters. Keep it smooth. If you’re wrestling with it, slow the pace down and focus on rhythm instead of speed.
17. Single-Leg Romanian Deadlifts
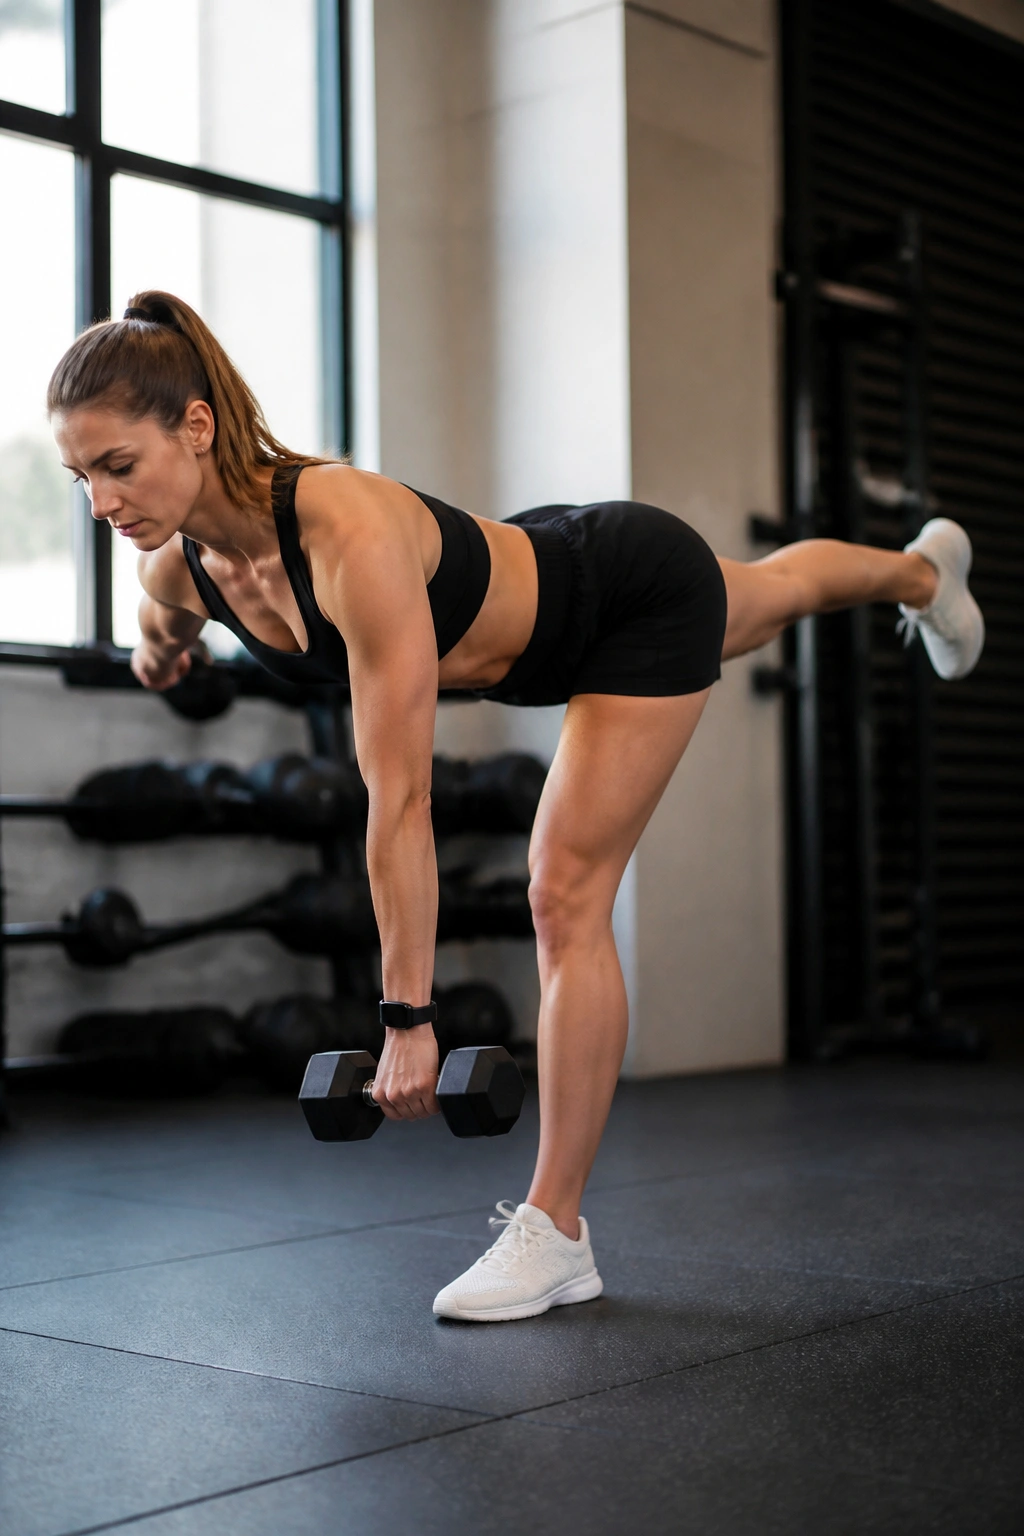
Single-leg Romanian deadlifts are strength work, but they belong in a running article because they fix a very running-specific problem: the pelvis drifting around when one leg is under load.
Stand on one leg, hinge at the hips, and let the free leg reach back as your torso inclines forward. Keep the back long, the standing knee slightly bent, and the hips square to the floor. The goal is not to touch the floor. The goal is to own the hinge without wobbling all over the place.
Why Runners Keep Coming Back to It
A cleaner hinge helps you load the glute and hamstring instead of dumping everything into the low back. It also builds the kind of single-leg control that stride mechanics depend on once you’re tired and the form starts to fray.
- Use 2 to 4 sets of 6 to 8 reps per side
- Move slowly on the way down
- Keep the standing foot tripod stable
- Start with bodyweight before adding load
If one side feels shaky, that’s useful information. Don’t ignore it.
18. Split Squats
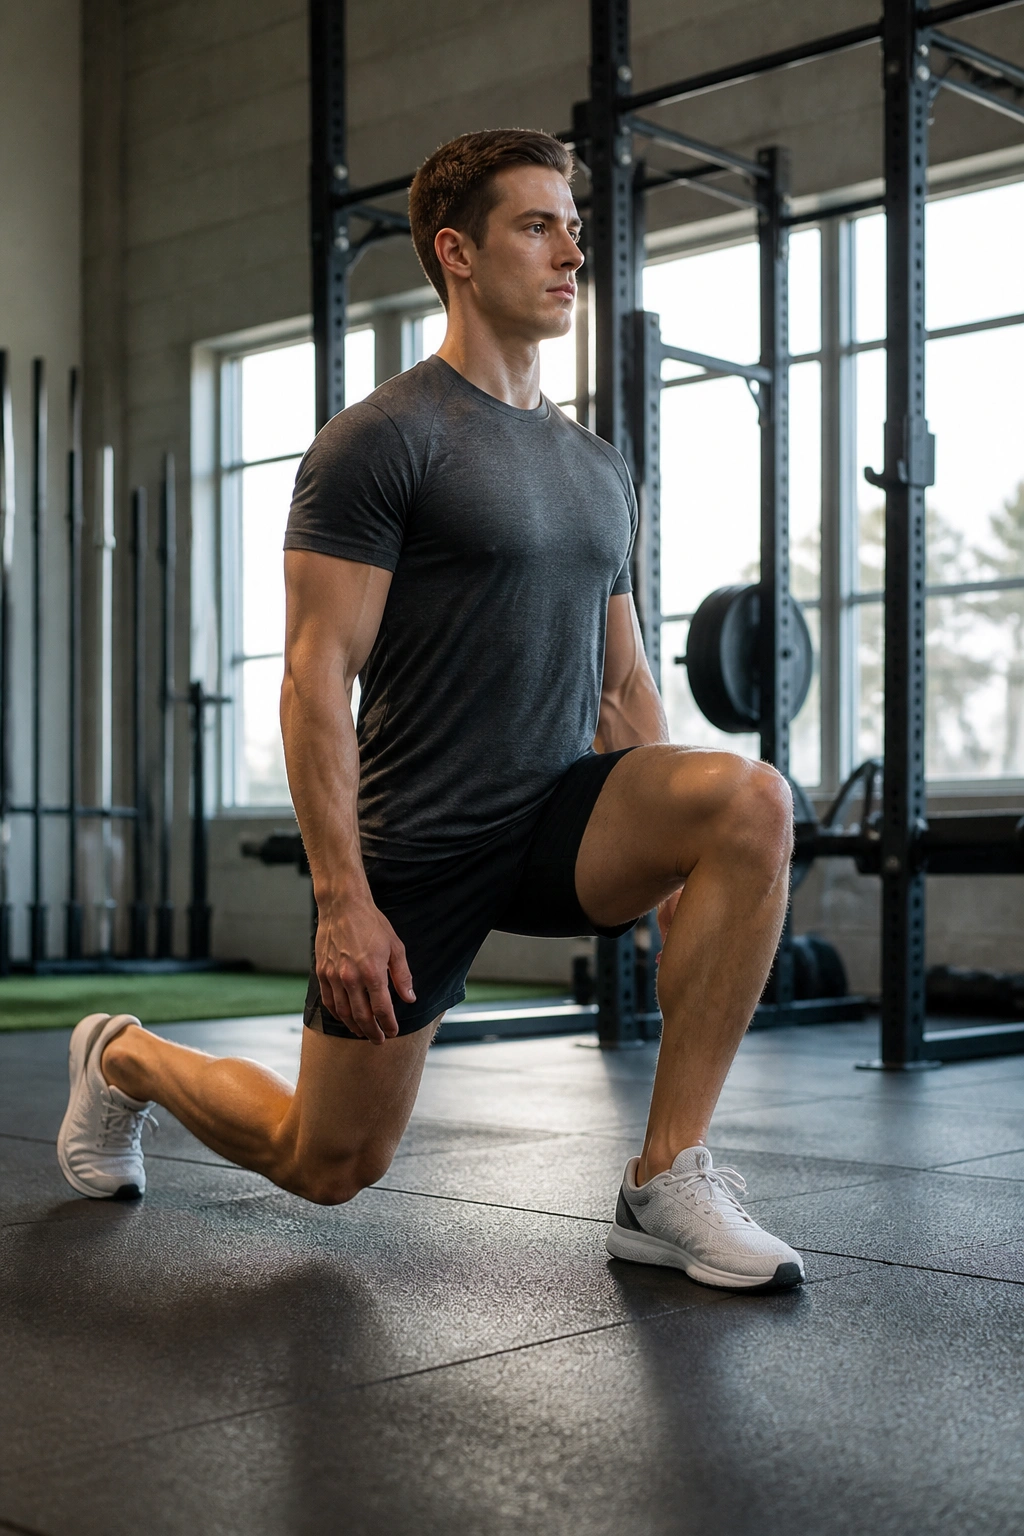
Split squats are plain, hard work, and I mean that in a good way. They train you to produce force in a stance that looks a lot like running: one leg forward, one leg back, torso balanced, hips doing real work.
Set up in a split stance, lower under control until the back knee hovers just above the floor, then drive up through the front foot. Keep the front heel down and the front knee tracking over the middle toes. If the front knee caves in, lighten the load and clean up the pattern before you chase more weight.
Which Version to Choose
A more upright torso shifts work toward the quads. A slight forward lean shifts more toward the glute. Both have a place. I usually prefer the version that lets the runner stay stable through the pelvis without the lower back taking over.
Use 3 sets of 6 to 10 reps per side. Slow descents work well here. So does a brief pause at the bottom.
19. Calf Raises With Isometric Pause
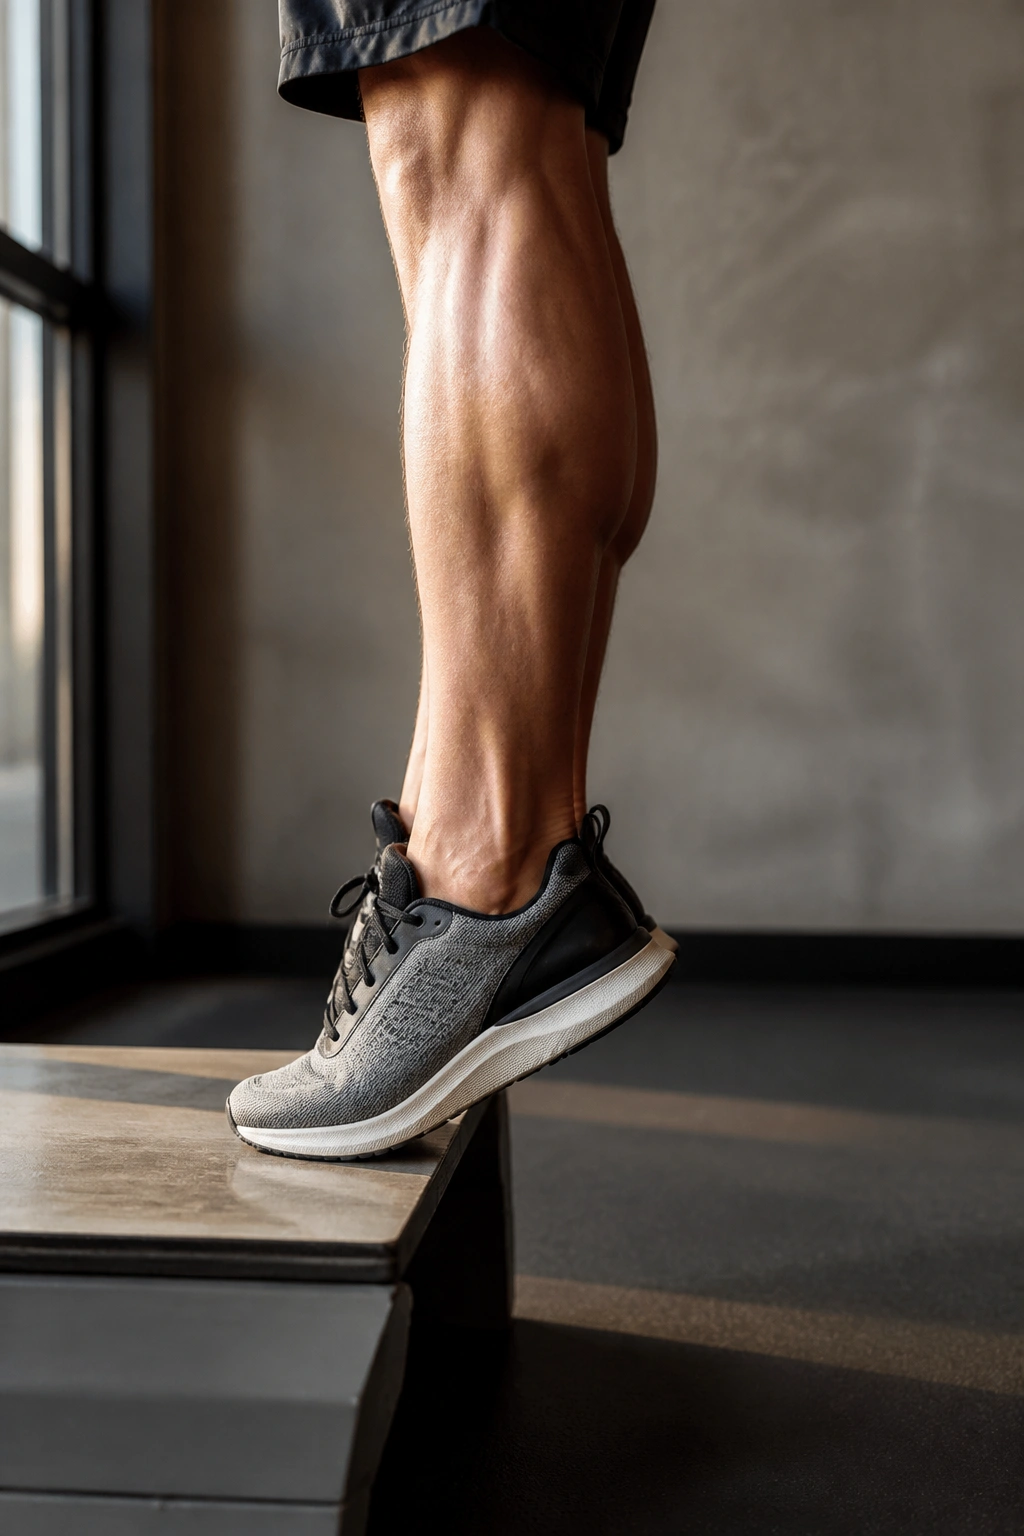
Calf raises are boring until you realize how much running depends on the ankle doing its job. Then they become a lot less boring.
Stand on a step or flat floor, rise onto the balls of the feet, and hold the top position for 2 to 3 seconds before lowering. That pause matters. It teaches the calf and Achilles to tolerate load at the top of the push-off, which is a piece of stride mechanics people ignore until their lower leg starts feeling dead.
You can do these with the knee straight for the gastrocnemius or with a slight knee bend for the soleus. I like both. The bent-knee version often gets skipped, and that’s a mistake because the soleus works hard in running and doesn’t get enough love from casual lifting.
Good Rules Here
- Do 2 to 4 sets of 10 to 15 reps
- Lower slowly, about 2 seconds down
- Keep the ankle moving through a full range
- Stop short of pain in the Achilles tendon
If your feet are the weak link, the rest of the stride has to compensate. That gets expensive fast.
20. Cadence Runs With a Metronome
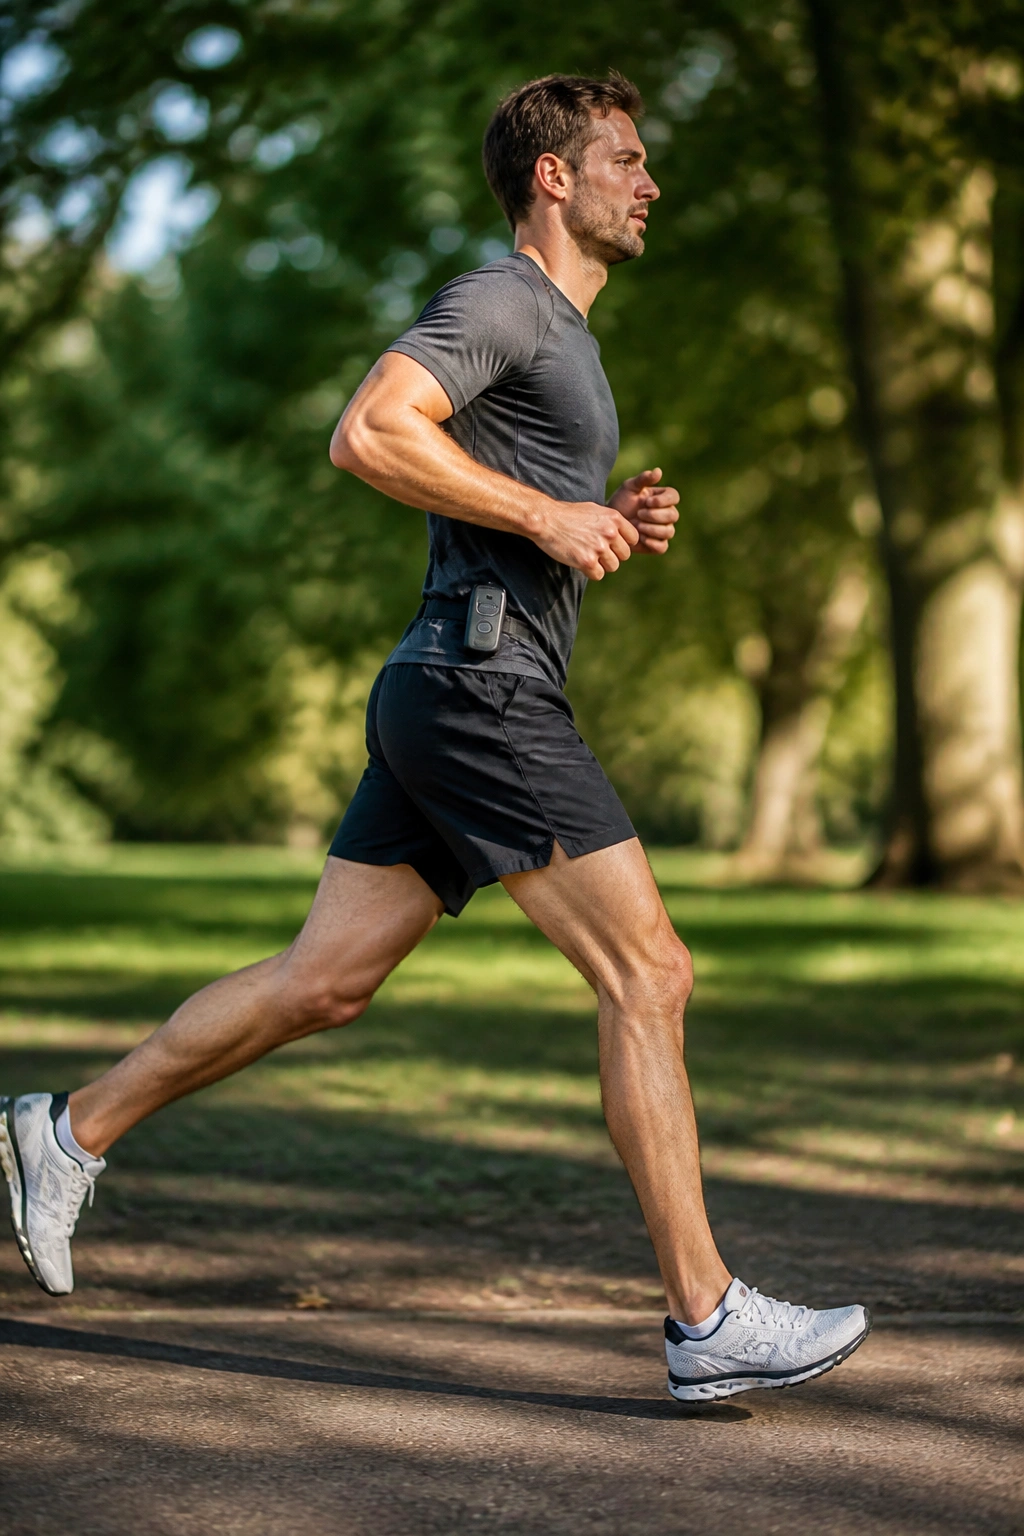
Cadence runs are one of the smartest ways to clean up stride mechanics without changing the entire feel of your run. They don’t ask for flashy power. They ask for rhythm.
Set a metronome or cadence app to a step rate that’s about 5 to 10 steps per minute above your usual number, then run for 3 to 5 minutes while matching that rhythm. Don’t force a giant turnover. Let the shorter ground contact happen naturally as you settle into the beat.
How to Pair It With the Other Drills
Use this after a warm-up that includes wall marches, A-skips, or relaxed strides. The earlier drills teach shape. The metronome run checks whether that shape survives when you add pace and fatigue.
- Do 3 to 4 repeats of 3 minutes
- Recover with 2 minutes easy jogging
- Keep the shoulders loose and the head still
- Think “quick and quiet,” not “faster at any cost”
A cadence run is also a good reality check. If the rhythm feels forced, the step rate may be too high. If the feet keep drifting far ahead of the body, the problem probably isn’t cadence alone. It’s usually a mix of posture, hip strength, and ankle stiffness, which is why the drills above work better as a group than as random one-offs.
And that’s the part runners miss. Better stride mechanics rarely come from one magic drill. They come from a handful of small exercises that teach the body the same lesson from different angles. Wall work, skips, hops, hills, and strength moves all pull in the same direction. Put them together with patience, and the stride starts feeling less like a fight and more like something you can trust on tired legs.
