



If you have ever felt that your midsection has become the primary storage unit for every stressor and hormonal shift you’ve encountered over the last decade, you are not alone. When you enter your forties, the rules of core training change. You are no longer chasing the aesthetic of a teenage fitness model; you are training for armor. You are building a corset of muscle that supports your lumbar spine, stabilizes your pelvic floor, and ensures that you can move through your day without the nagging lower back pain that seems to become a standard accessory for so many people in this stage of life.
The approach to your midsection must shift from “more reps” to “more control.” High-impact sit-ups or aggressive crunches often cause more harm than good, putting excessive pressure on the abdominal wall and potentially exacerbating issues like diastasis recti or pelvic organ prolapse. Pilates offers a different path. It is a system built on precision, breath, and the deep, often-ignored stabilizing muscles that sit underneath your rectus abdominis—the outer layer that people usually try to target with traditional gym exercises.
This is about reclaiming your posture and your strength. It is about understanding that your core includes your diaphragm, your pelvic floor, your multifidus muscles, and your transverse abdominis. When these systems work in harmony, you do not just look stronger; you function better. You breathe deeper. You stand taller. The following sequence is designed specifically for a body that has seen life, navigated change, and deserves a workout that honors its need for both intensity and safety. Forget the hype about quick fixes; this is about long-term sustainability.
1. The Hundred (Modified)
The Hundred is the quintessential Pilates warm-up, but when you are over 40, the standard version—with legs held at a 45-degree angle—can place significant strain on your lower back. Forget about keeping your legs perfectly straight and low; that puts pressure on your hip flexors and pulls your spine out of neutral. Instead, start by tabletop-ing your legs, keeping your knees directly over your hips.
The Technique
Lie flat on your back, feeling your tailbone heavy against the mat. Curl your head and shoulders up just enough so that your shoulder blades barely hover off the floor. Extend your arms long by your sides, palms facing down. Begin to pump your arms up and down with energy, matching your breath: inhale for five counts, exhale for five counts.
Why It Matters
This exercise forces you to stabilize your ribcage while moving your extremities. If you find your neck straining, place one hand behind your head for support while the other continues to pump. You should feel the work deep in your center, not in your neck or your lower back. If your lower back starts to arch, bring your knees in closer toward your chest to shorten the lever and reduce the load.
2. Pelvic Curls
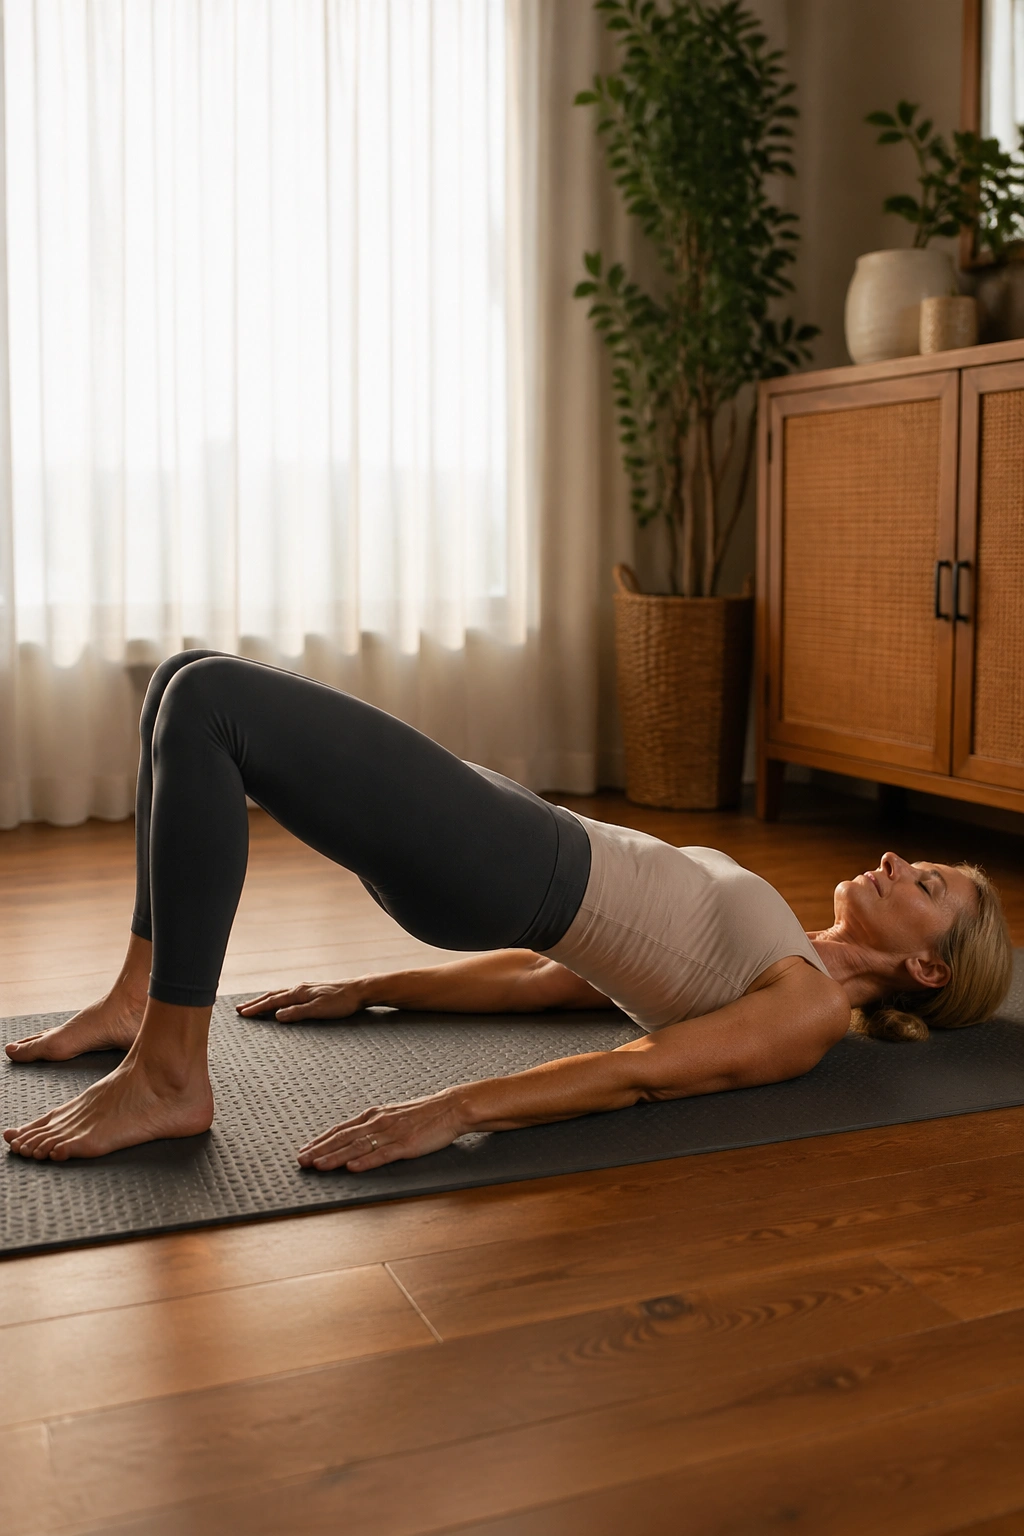
Most people rush through bridge work, treating it like a glute workout. In Pilates, the pelvic curl is a spinal articulation exercise. It is meant to be a slow, bone-by-bone movement that gently mobilizes the spine, which often becomes stiff as the years go by. It creates space between the vertebrae and engages the deep core to lift the pelvis.
How to Get It Right
Start lying on your back with your feet flat, knees bent. As you exhale, pull your navel to your spine, then curl your pubic bone toward your nose. Slowly peel your spine off the mat, one vertebra at a time, until your weight is supported by your shoulder blades—not your neck. Hold for a beat at the top, feeling your ribs soften down so you don’t flare your chest. Lower back down with the same intentionality, placing the spine down piece by piece.
Pro Tip
Do not squeeze your glutes into a rock-hard state; instead, think about lengthening your knees away from your hips. This provides the lift without the clenching that can cause cramping in the hamstrings.
3. Single Leg Stretch
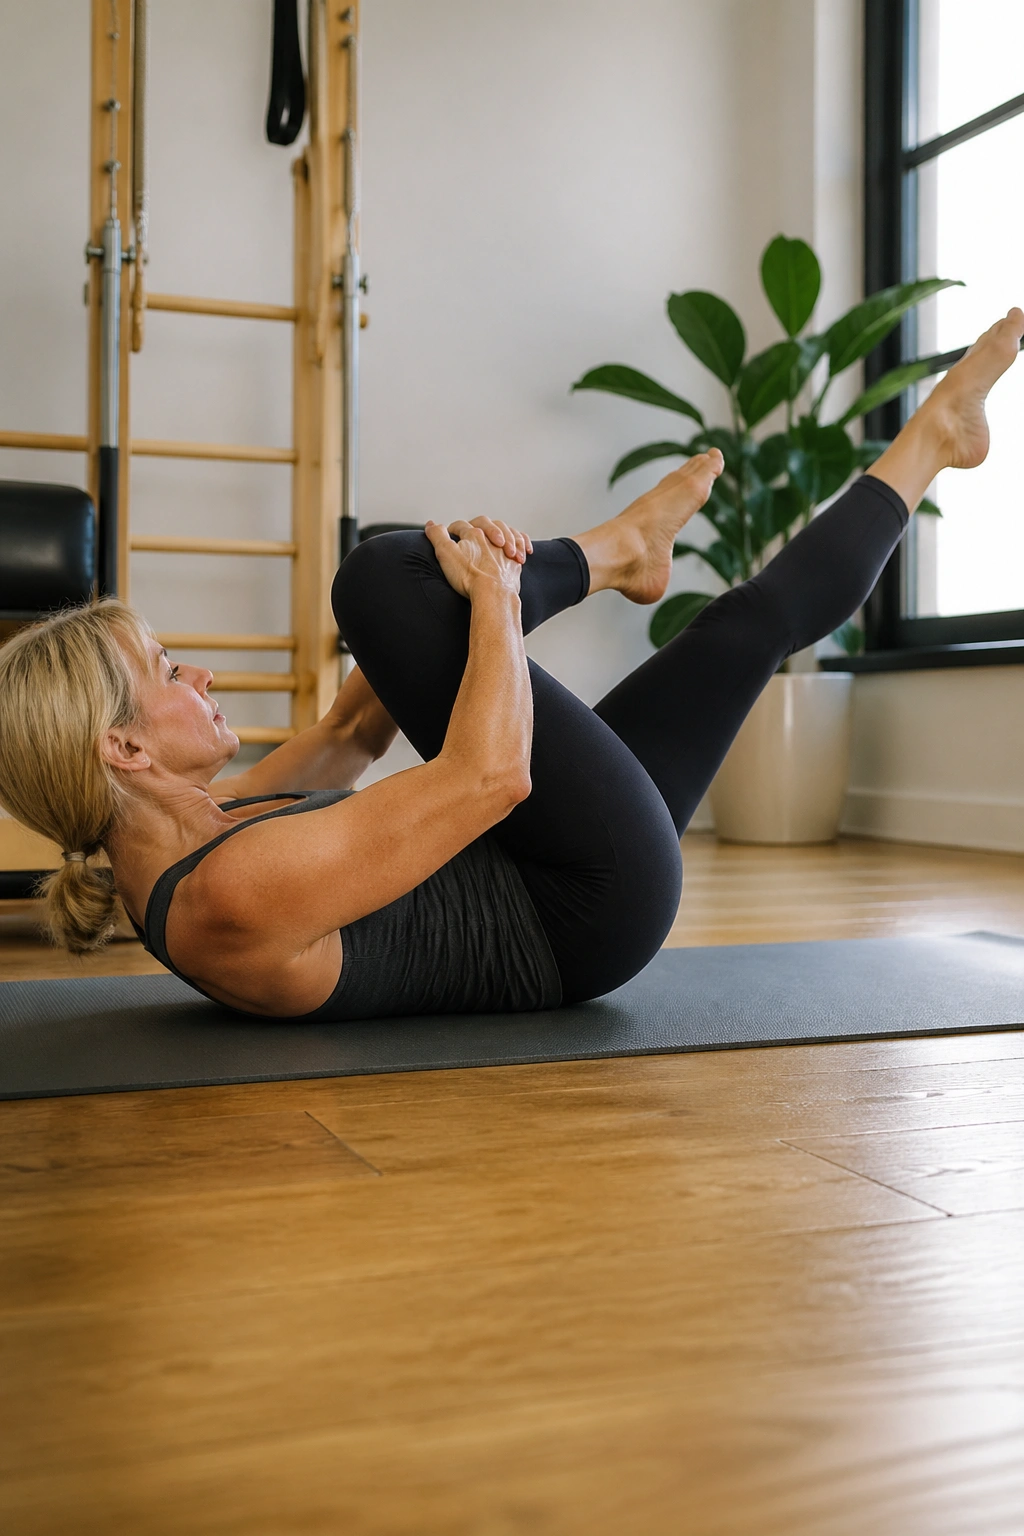
This move is a fantastic test of your ability to stabilize your pelvis while your legs move in opposition. It teaches you to hold your center steady even when your limbs are trying to pull you off-balance. It is a foundational movement that, when done slowly, creates intense heat in the deep abdominals.
The Execution
Bring your knees into your chest and curl your head and shoulders up. Place your right hand on your right ankle and your left hand on your right knee. Extend your left leg straight out at a 45-degree angle. Pull your right knee toward your shoulder while pushing your left leg long. Switch legs, bringing your left knee in and extending the right.
Watch for: If your lower back feels any discomfort, lift your legs higher toward the ceiling. The lower your legs go, the harder your core has to work to keep your back pressed into the mat. As you get stronger, you can gradually lower the angle, but never at the expense of your spine.
4. Double Leg Stretch
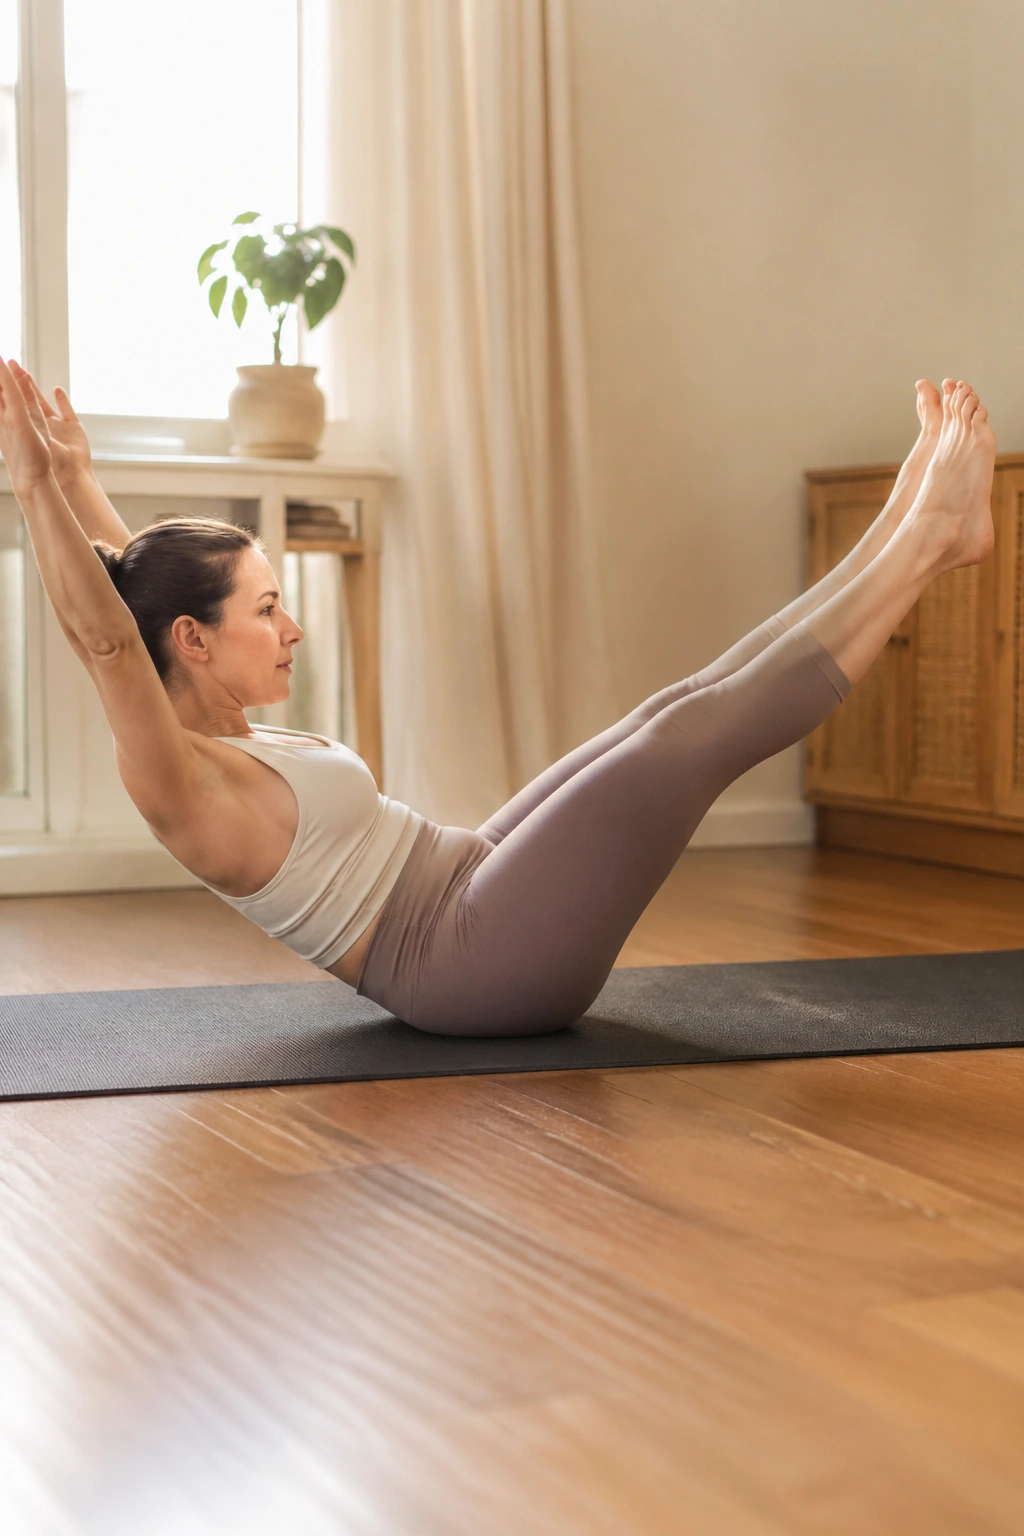
Think of this as an extension of the previous exercise. It is essentially a full-body expansion and contraction. It demands incredible coordination, which is something we often lose if we don’t actively train it. This move forces your core to stay glued to the floor even as your limbs extend far away from your center, challenging your structural integrity.
Finding the Rhythm
Start in the same curled-up position as the Single Leg Stretch, knees to chest, hands on shins. Inhale and reach your arms overhead while simultaneously extending both legs out. Circle your arms around to the sides, sweeping them toward your hips as you pull your knees back into your chest. It is a rhythmic flow: reach, circle, and pull.
Why this works: It prevents “popping” of the ribs. Many people let their ribs flare open when they reach their arms back. Your goal is to keep your ribcage knitted together, pulling down toward your hips as if you are trying to keep your shirt from moving up your stomach.
5. Criss-Cross
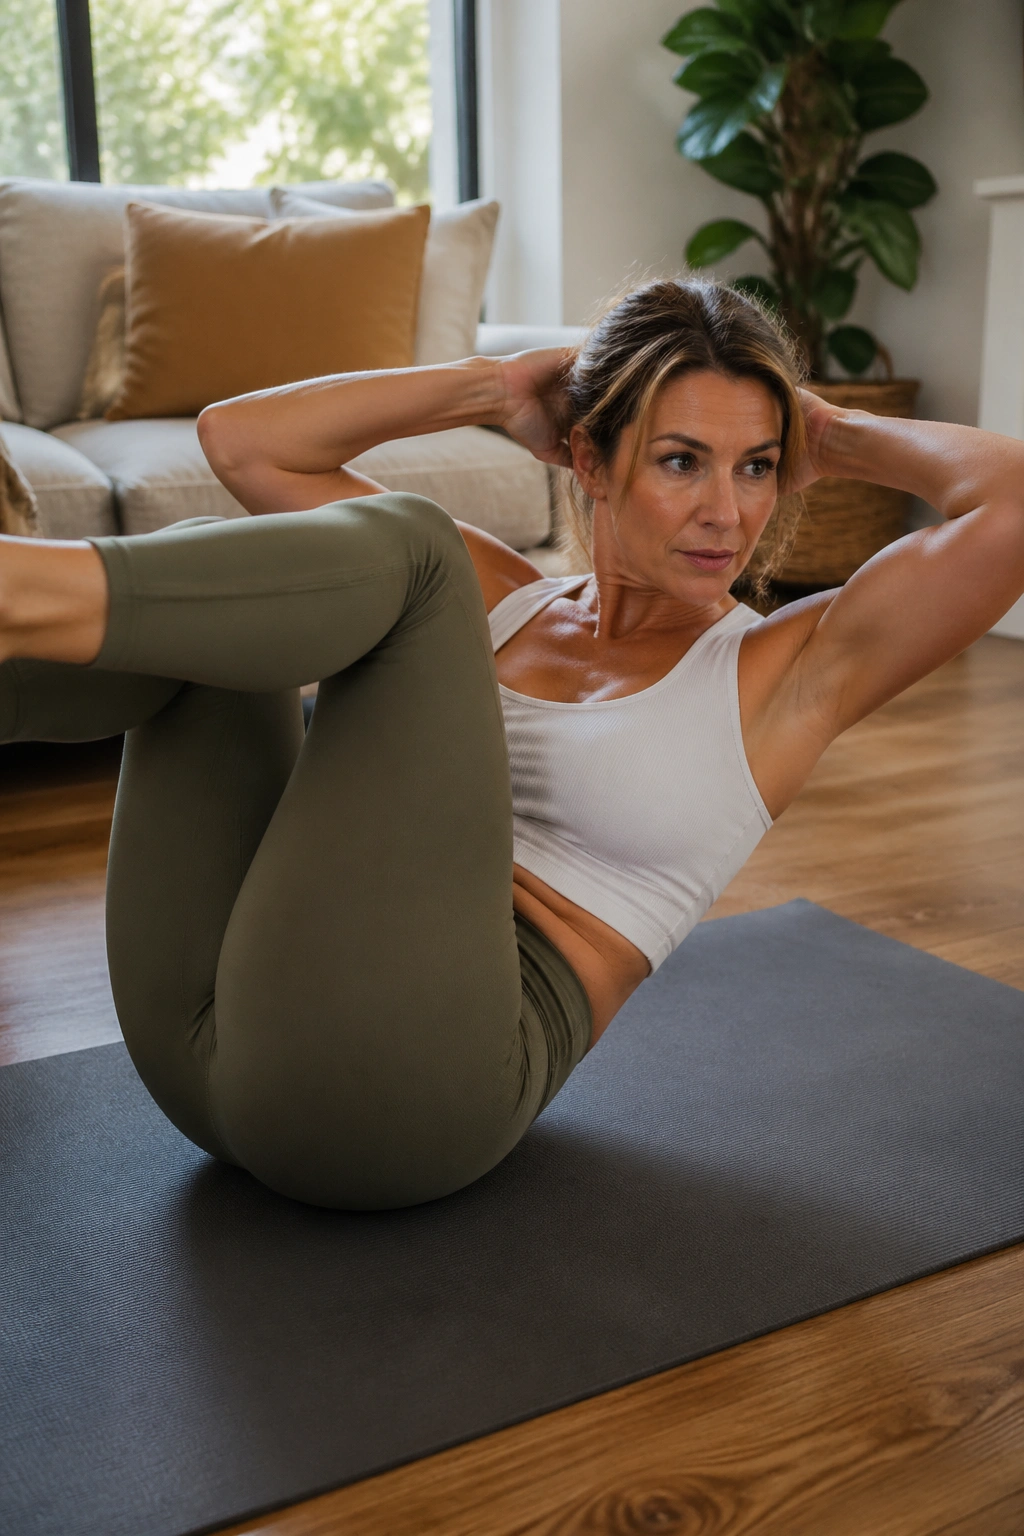
This is the classic Pilates answer to the crunch, but it is vastly more effective because it requires rotation, which is how our bodies move in real life. It targets the obliques—those muscles on the side of your waist that give you support for twisting motions. Doing this slowly is infinitely harder and more effective than speed.
The Proper Form
Place your hands behind your head, elbows wide. Bring your knees to tabletop. Curl your head and shoulders up. As you twist your upper body to the right, extend your left leg long and try to reach your left armpit—not your elbow—toward your right knee. The goal is to rotate from the waist. Switch sides with complete control.
Common Mistake: People often jerk their necks from side to side. Your head should just be resting in your hands. Let the rotation come from your ribcage and your waist, not your neck muscles. If you feel like a pendulum swinging uncontrollably, slow the tempo down by half.
6. Scissor Kicks
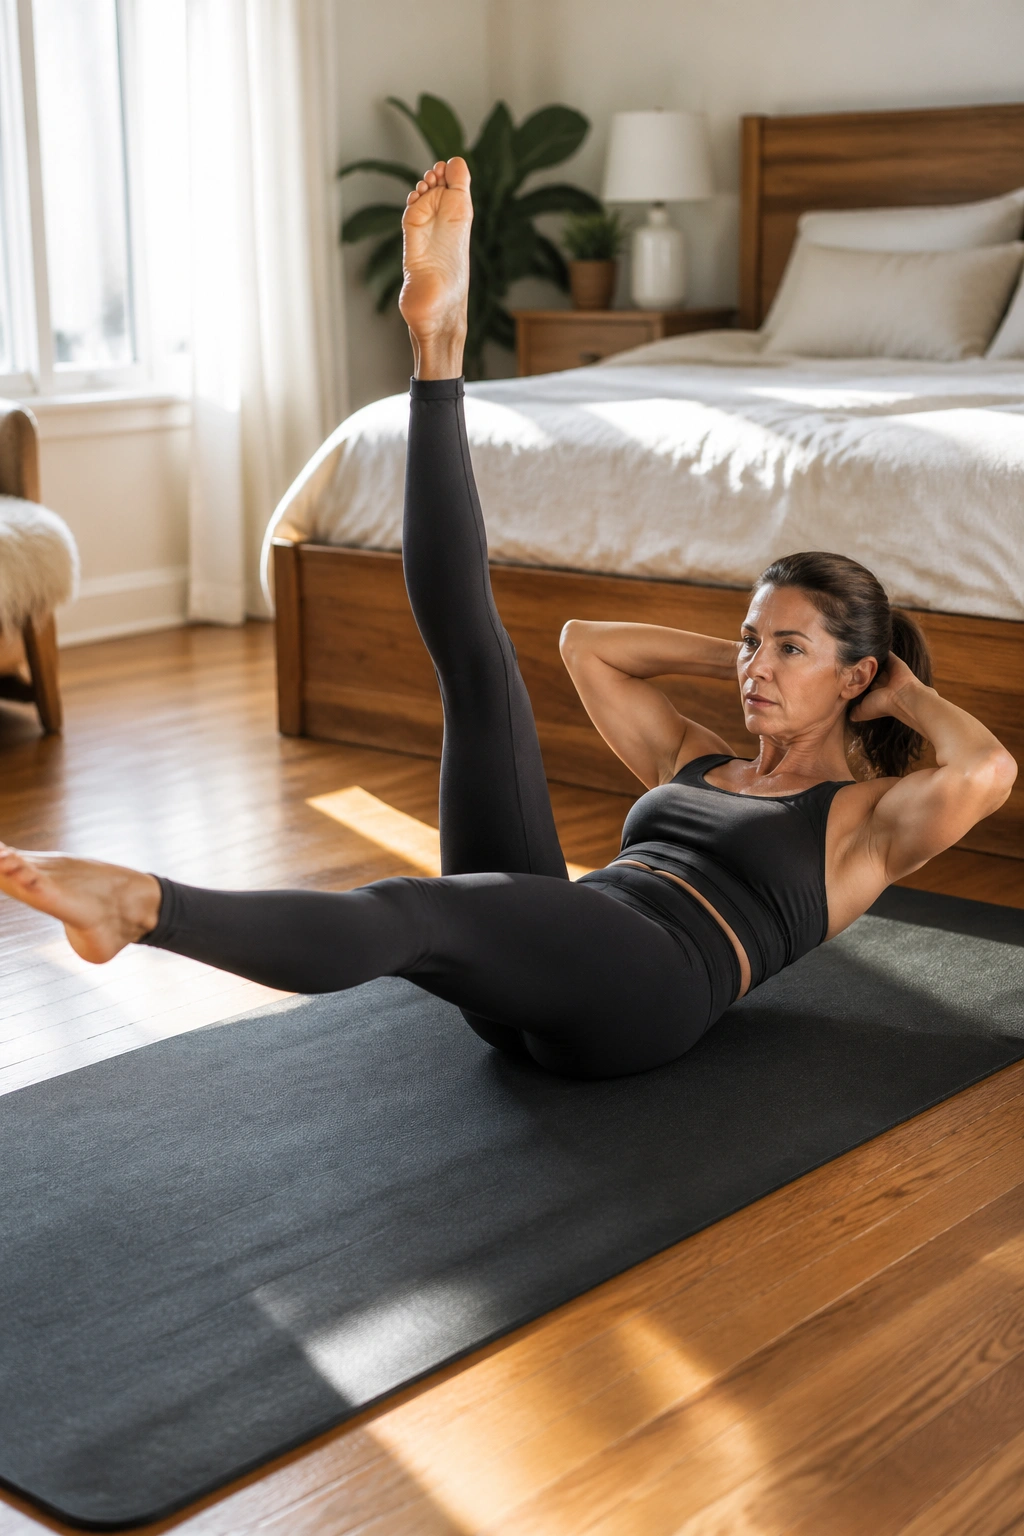
The Scissor Kicks are all about hamstring flexibility and abdominal stability. By now, you might notice your hip flexors are tired. That is normal. However, if your hip flexors are dominating the exercise, your core is going to turn off.
Step-by-Step
Lie on your back, legs straight up toward the ceiling. Curl your head and shoulders up, grabbing your right leg with both hands. Lower your left leg toward the mat, keeping it straight. Gently pulse your right leg twice toward your nose—pull, pull—then switch legs in the air.
The adjustment: If your hamstrings are tight, you do not need to pull the leg all the way to your face. Hold your leg behind the calf or the thigh, wherever you can reach while keeping your shoulders dropped away from your ears. The intensity comes from the leg that is hovering just off the mat.
7. The Saw
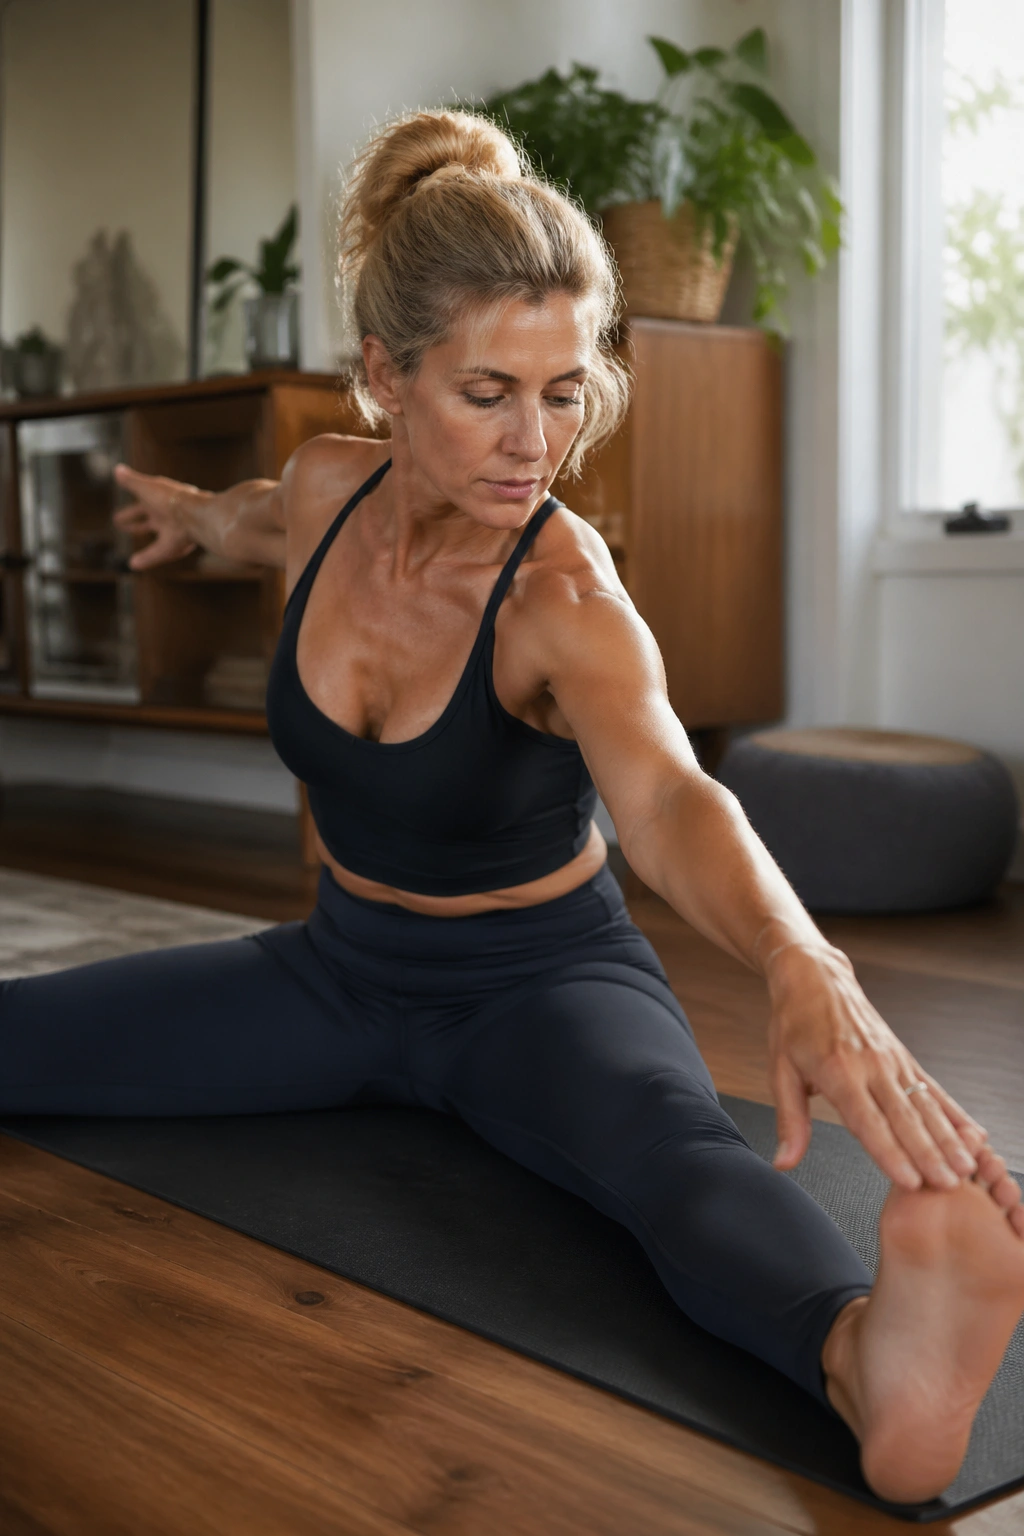
This is a seated exercise that focuses on spinal rotation and reaching. It is excellent for mobility in the upper back, which tends to get hunched over from desk work or driving. The “sawing” action also wrings out the torso, which is great for digestion and core engagement.
How to Perform
Sit up tall with your legs open slightly wider than your shoulders, feet flexed. Reach your arms out to the sides. Inhale to twist your torso to the right. Exhale as you hinge forward, reaching your left pinky finger toward your right pinky toe—try to “saw” off that toe with your pinky finger. Look back at your right hand.
Why it’s effective: The challenge here is keeping your hips glued to the mat. As you reach forward, your left hip will want to lift off the ground. Press it down with equal force. This opposition—reaching forward with the hand while anchoring the hip backward—is what carves the waist.
8. Spine Stretch Forward
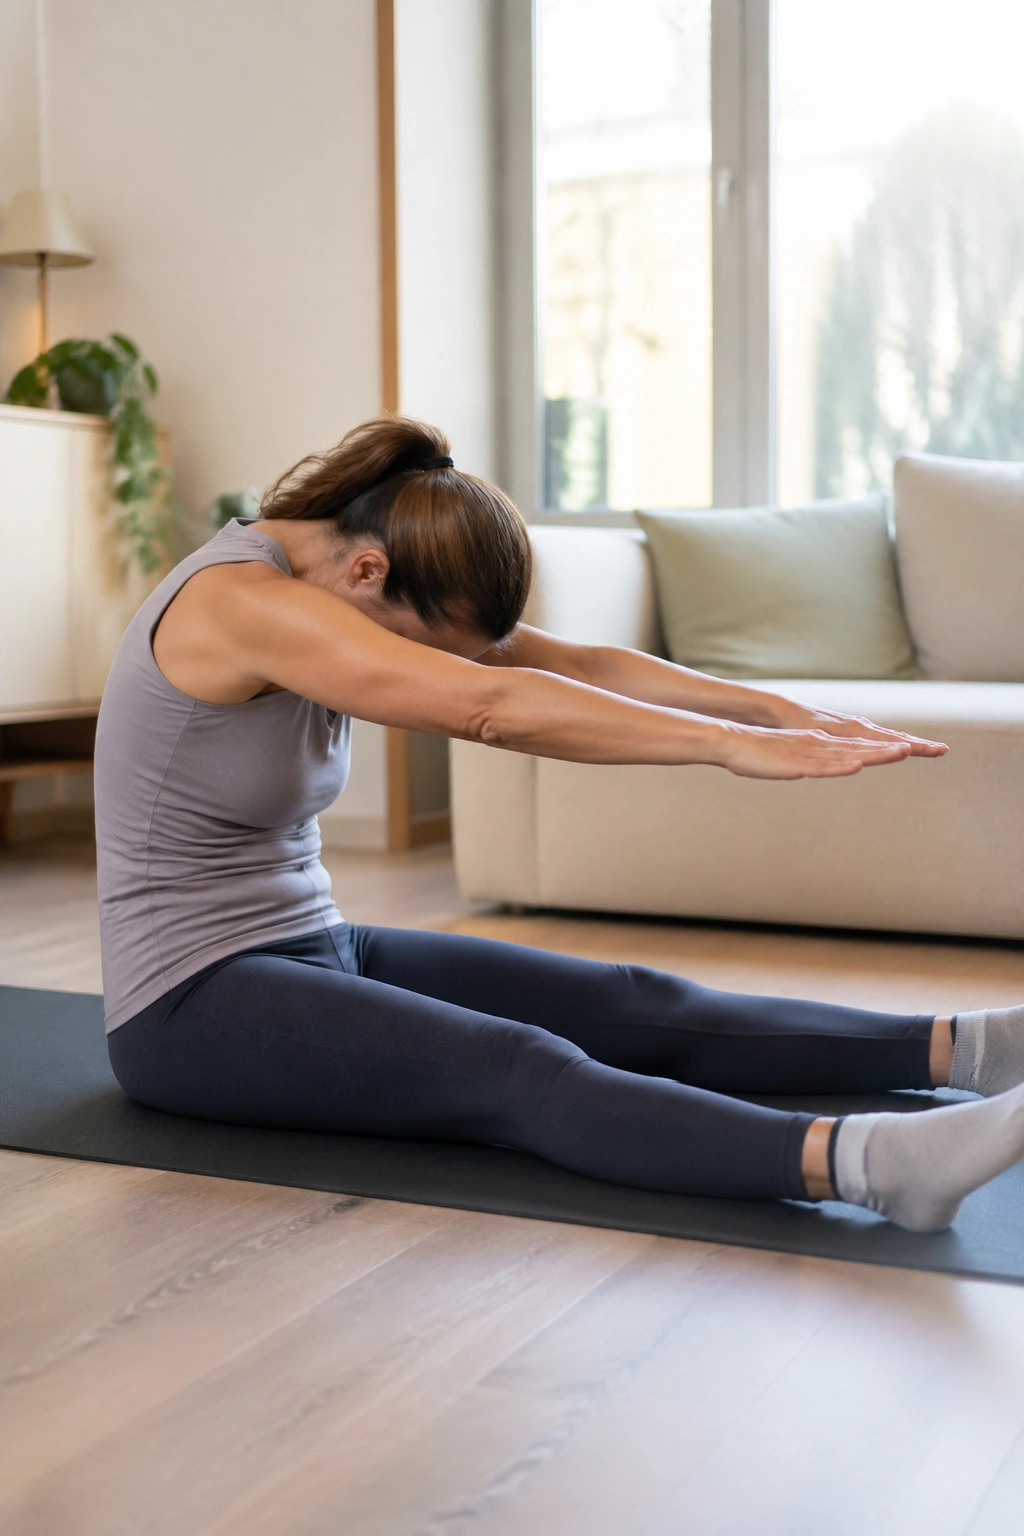
This move is the antidote to the rounded-shoulders posture. It requires you to articulate your spine into a C-curve while keeping your legs and pelvis completely still. It is a fantastic stretch for the back, but the primary work comes from using your abdominals to prevent your spine from just collapsing.
The Mechanics
Sit tall, legs extended and slightly apart. Arms reach forward at shoulder height. Inhale to lengthen your spine, imagining a string pulling the top of your head to the ceiling. As you exhale, tuck your chin to your chest and peel your spine forward, one vertebra at a time, reaching toward your feet without letting your shoulders scrunch up. Imagine you are rounding over a giant beach ball in your lap.
The mental cue: Keep your navel pulling back toward your spine the entire time you are reaching forward. You aren’t just folding; you are hollowing out your stomach.
9. Swan Prep
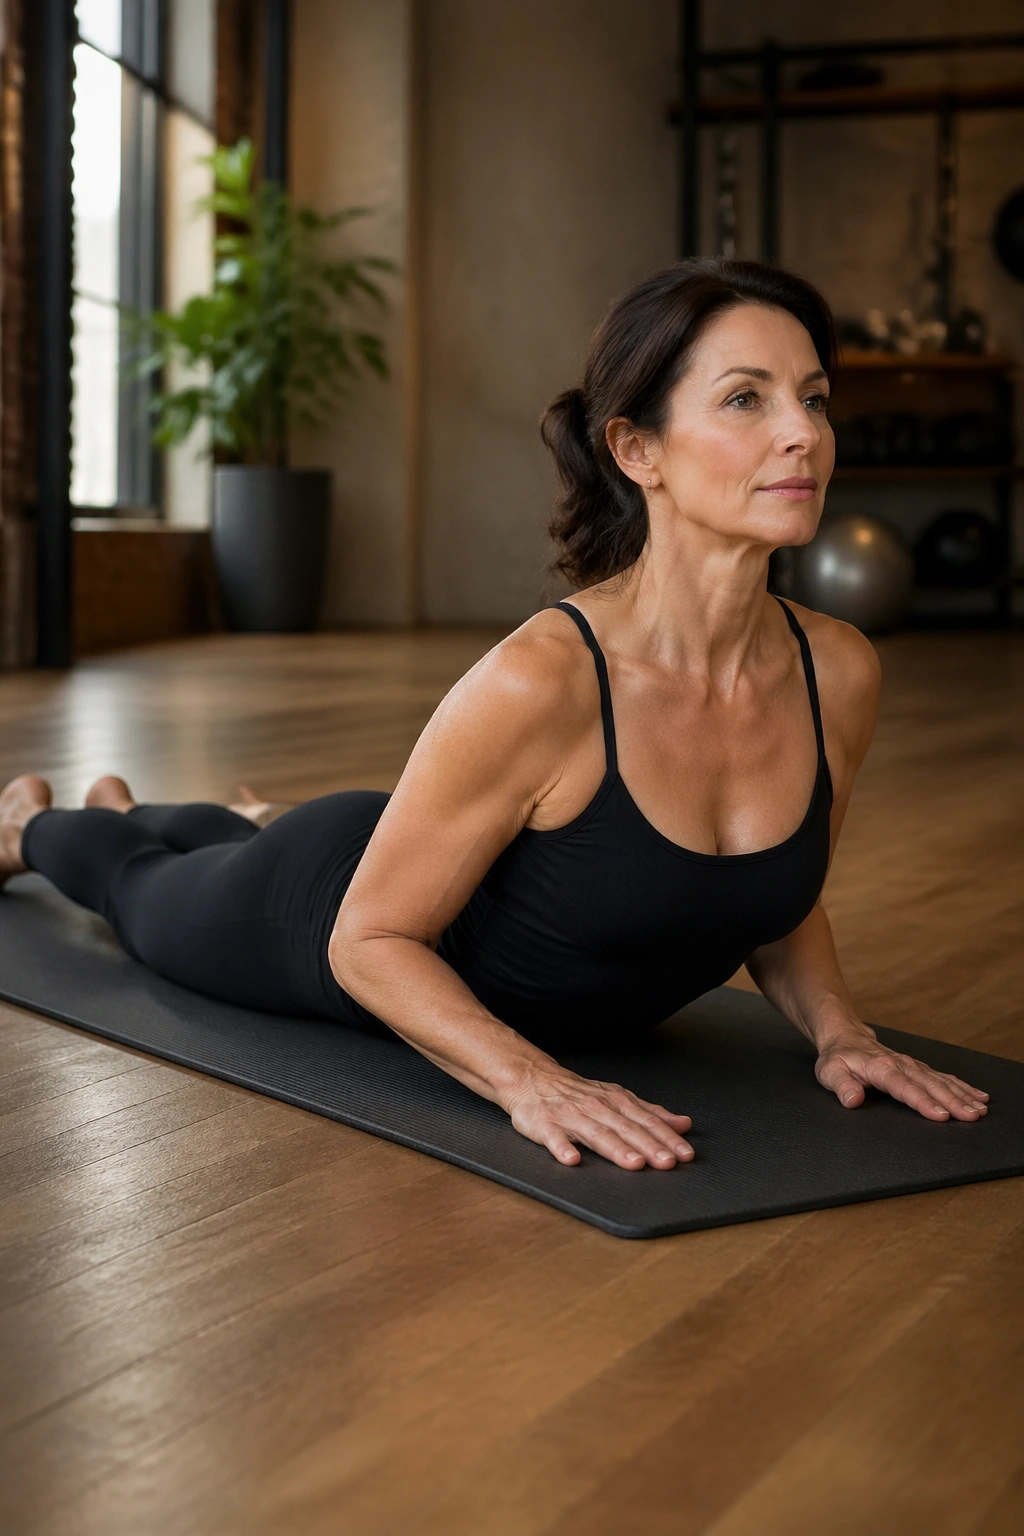
You might not think of back extension as “ab work,” but your core is a cylinder that wraps around your entire torso. You cannot have a strong front without a strong back. Swan Prep strengthens the muscles along your spine, which counteracts the forward-folding motion we spend most of our lives in.
The Motion
Lie on your stomach, hands under your shoulders, elbows hugged into your ribs. Legs are long, feet glued together. Inhale as you press into your hands, lifting your chest off the mat. Keep your gaze low—do not crank your neck back. Your shoulders must stay down, away from your ears.
Important: Only lift as high as your core can support. If you lift too high and feel your lower back pinch, you have gone past your point of stability. Engage your glutes and press your pubic bone into the mat to protect your lower lumbar.
10. Swimming
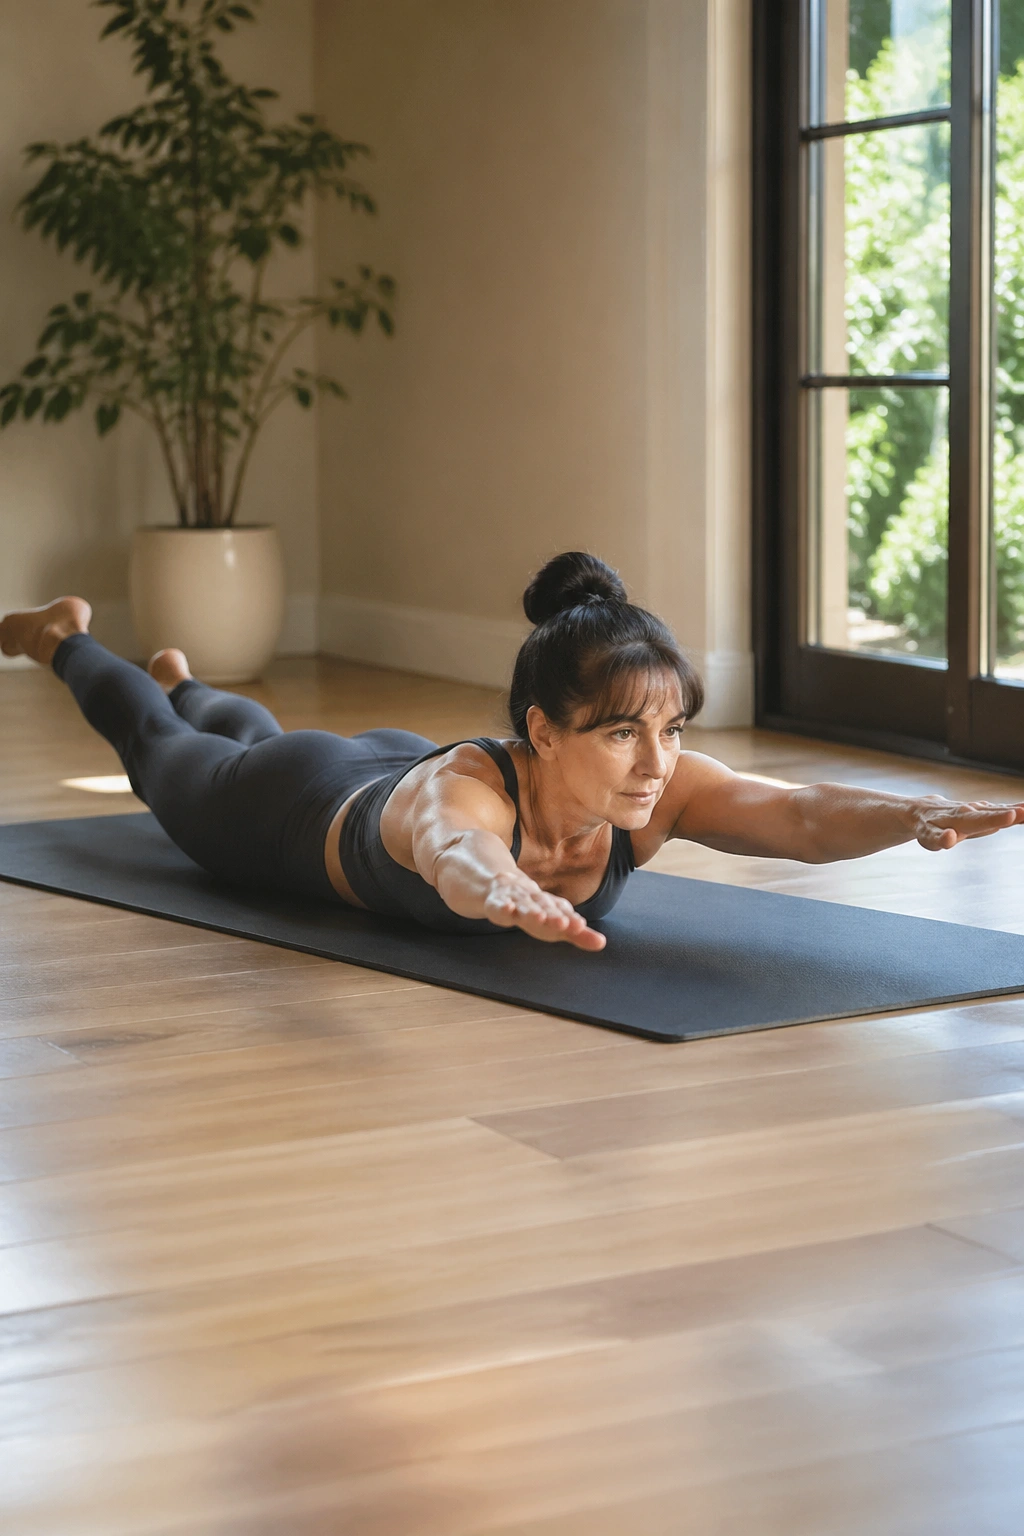
This move is a coordination challenge. It is the Pilates version of the “opposite arm/opposite leg” drill, but it is done at a faster pace to increase the heart rate and challenge your balance. It forces you to maintain a steady center while your limbs are moving rapidly in space.
Getting It Right
Lie on your stomach, arms reached forward, legs reaching back. Lift your head, arms, and legs off the mat. Now, flutter your arms and legs—right arm/left leg, then left arm/right leg—as if you are swimming in the ocean. Breathe in for a count of five, and out for a count of five.
Pro Tip: Keep your gaze at the mat. If you look forward, you add tension to the neck. Your body should be a long, straight line, not an arched banana. Think of reaching your fingertips to the wall in front of you and your toes to the wall behind you.
11. Plank to Pike
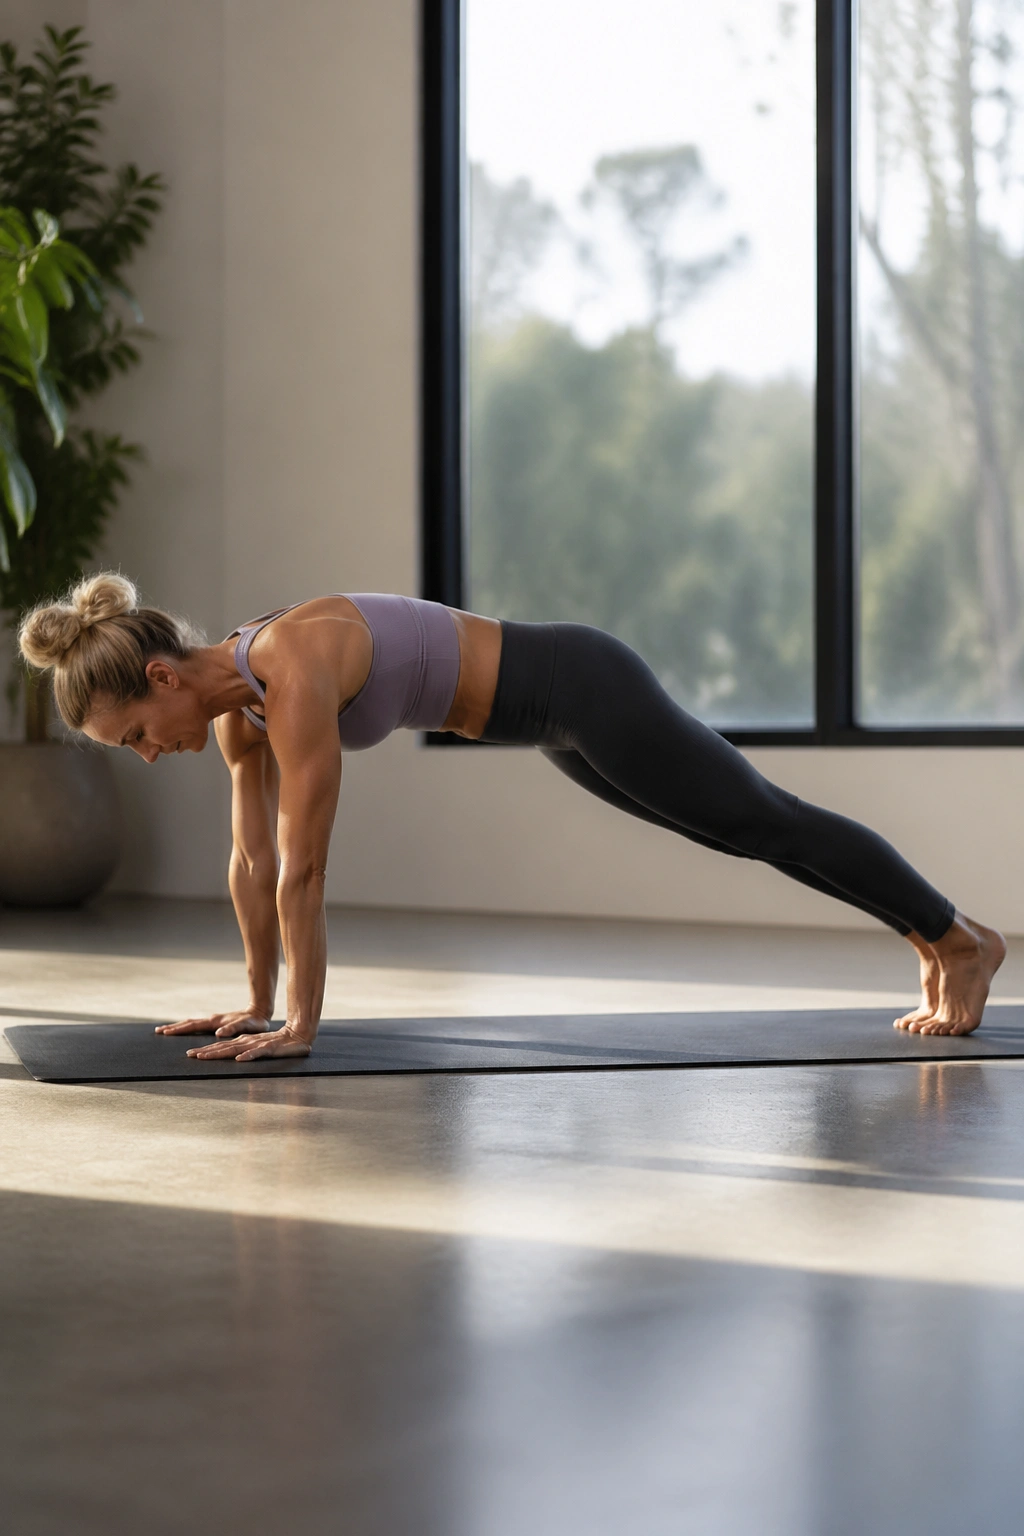
Plank variations are excellent, but adding the “pike” motion engages the lower abdominals in a way that a static plank simply cannot. It requires significant control and ensures that you aren’t just hanging out in a plank, waiting for the clock to run out.
The Movement
Start in a full plank position, hands under shoulders, core tight. On an exhale, use your deep lower abs to lift your hips high, bringing your body into an inverted V shape (the pike). Inhale as you slowly lower back to the flat plank.
Warning: Do not let your back sag at the bottom of the movement. If your lower back arches, you have gone too low. Stop in a straight line. If this is too difficult, you can perform a modified version by starting on your forearms, but the range of motion will be smaller.
12. Side Plank with Hip Dips
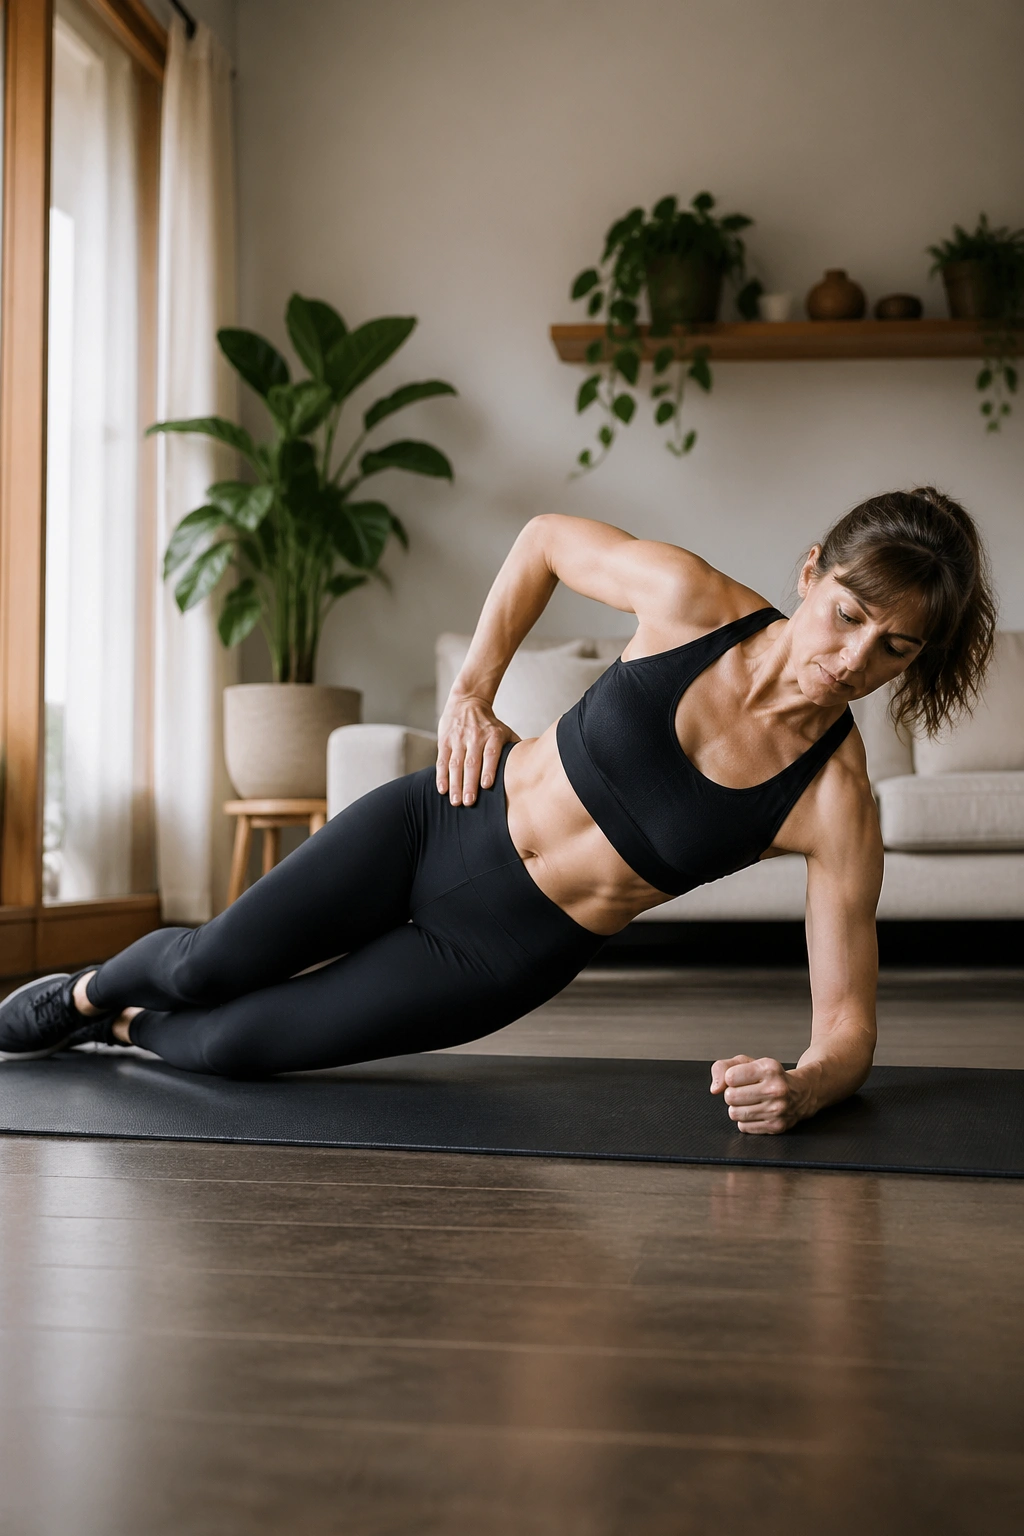
We often neglect the obliques in favor of the front-facing “six-pack” muscles, but the side planks are vital for functional core strength. Hip dips add an active component that forces you to really fire those deep lateral muscles.
Execution
Lie on your side, propped up on your forearm, legs stacked. Lift your hips so your body forms a straight line. From here, dip your hip toward the mat, just hovering above the floor, and then use your obliques to drive the hip back up to the starting position.
Why this matters: This builds lateral stability, which is essential for balance. As we age, our lateral stability is one of the first things to fade. These dips reinforce that side-to-side strength, which will help you prevent slips and trips in everyday life.
13. Leg Circles
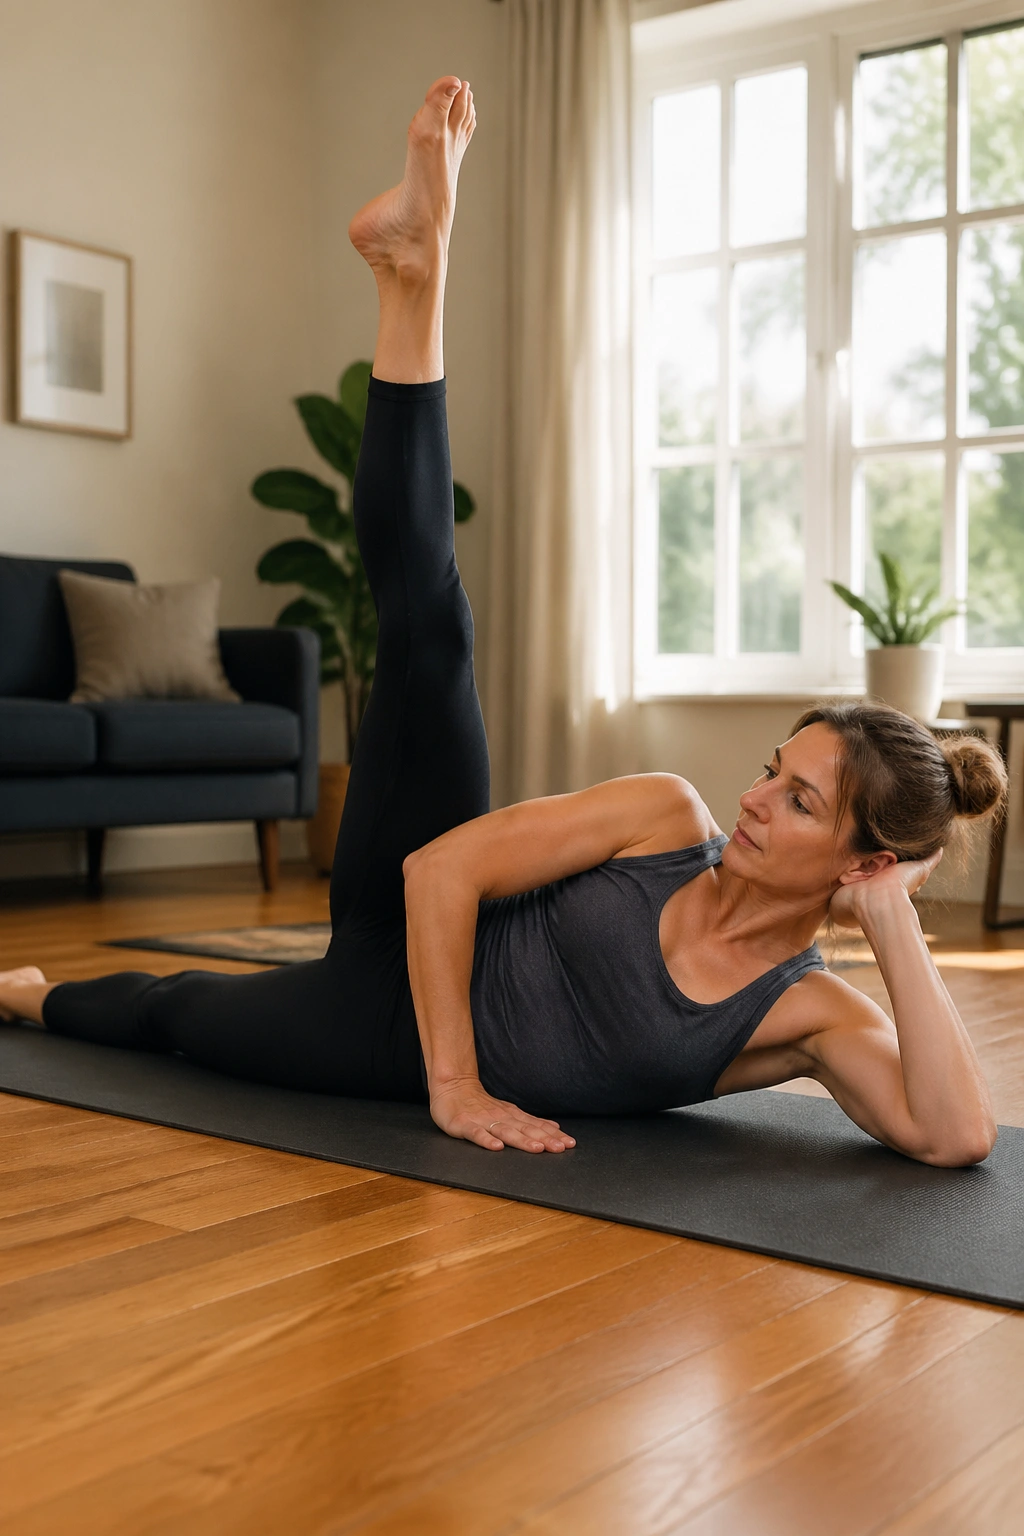
This is a classic Pilates move that is often underestimated. It looks simple—lying on your back and circling one leg—but the trick is to keep your pelvis completely still. If your hips are rocking and rolling, you aren’t doing it correctly. Your core should be holding your pelvis like a vice.
The Technique
Lie on your back, one leg flat, the other extended toward the ceiling. Circle the top leg in small, controlled loops. Try to keep the circle no wider than your shoulders. Visualize your hip socket as the anchor. If you feel like your whole body is shaking, reduce the size of the circle.
The goal: Stability, not range of motion. You are teaching your body how to disassociate the leg from the pelvis, which is a key skill for gait and walking.
14. Dead Bug (Pilates Variation)
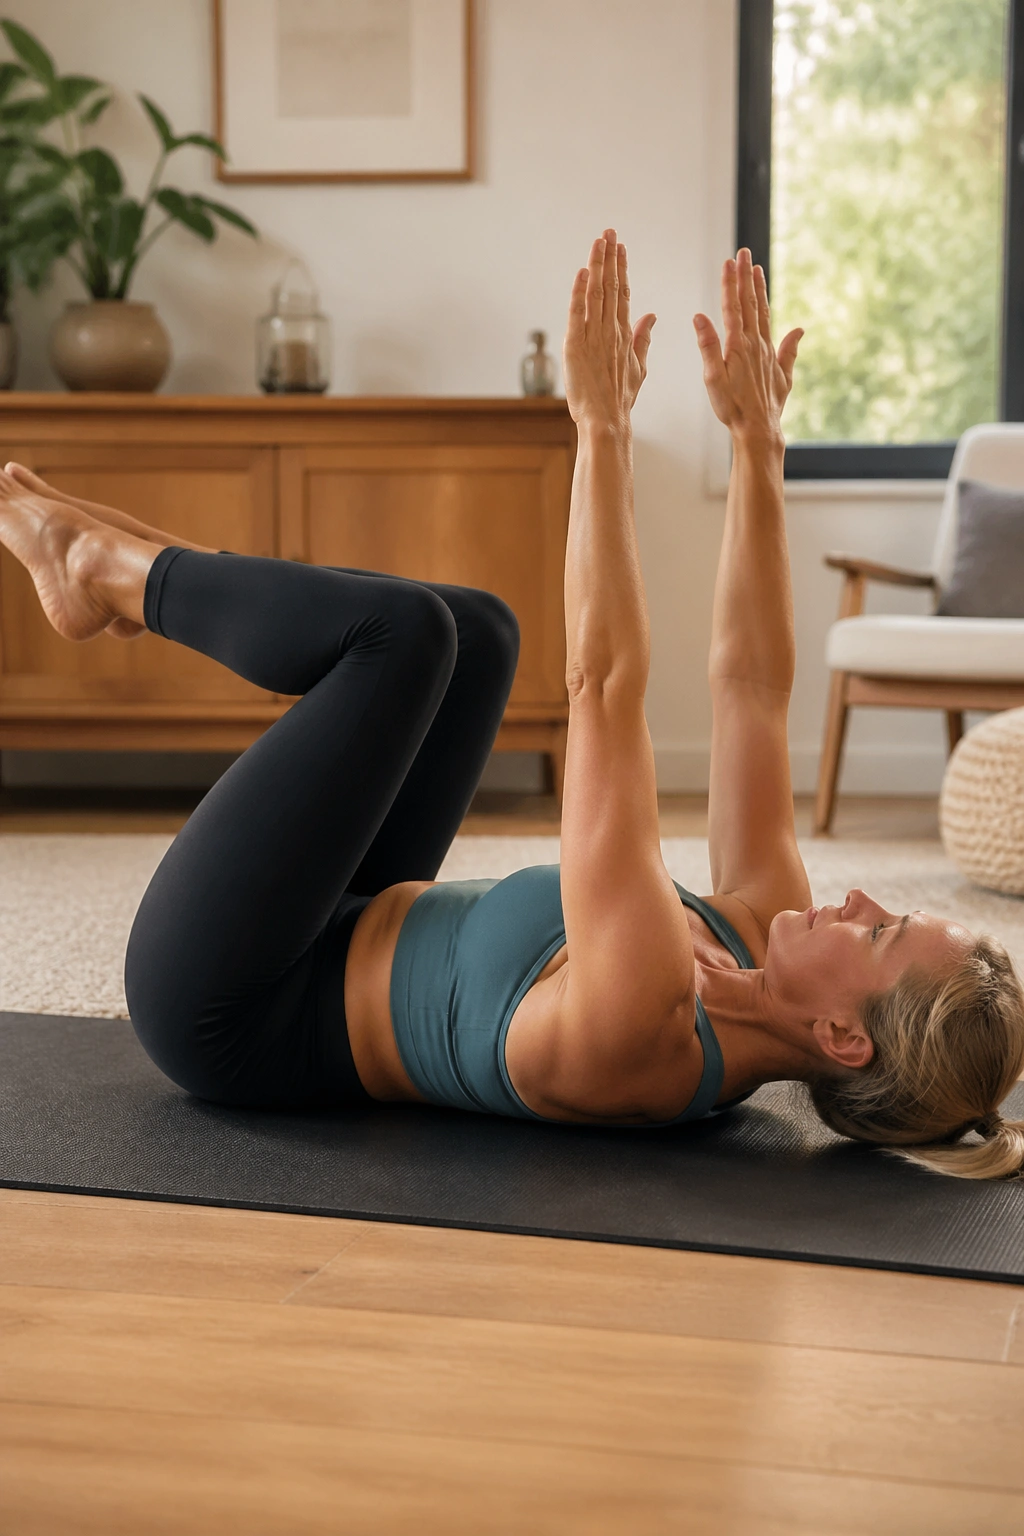
While the “Dead Bug” is a common physical therapy move, the Pilates version emphasizes the “scoop” of the belly button to the spine throughout the entire movement. It is excellent for those who are just getting back into fitness or who are dealing with persistent lower back issues.
The Steps
Lie on your back, knees in tabletop, arms reaching toward the ceiling. Press your lower back into the mat and keep it there. Slowly lower your right arm behind your head and extend your left leg long. Return to center. Switch sides.
Crucial detail: The moment your lower back pops off the mat, you have lost the engagement. You are better off moving only a few inches—or even just hovering the limb—if it means your spine stays in contact with the floor. The quality of the movement is the only thing that matters here.
15. Bird-Dog
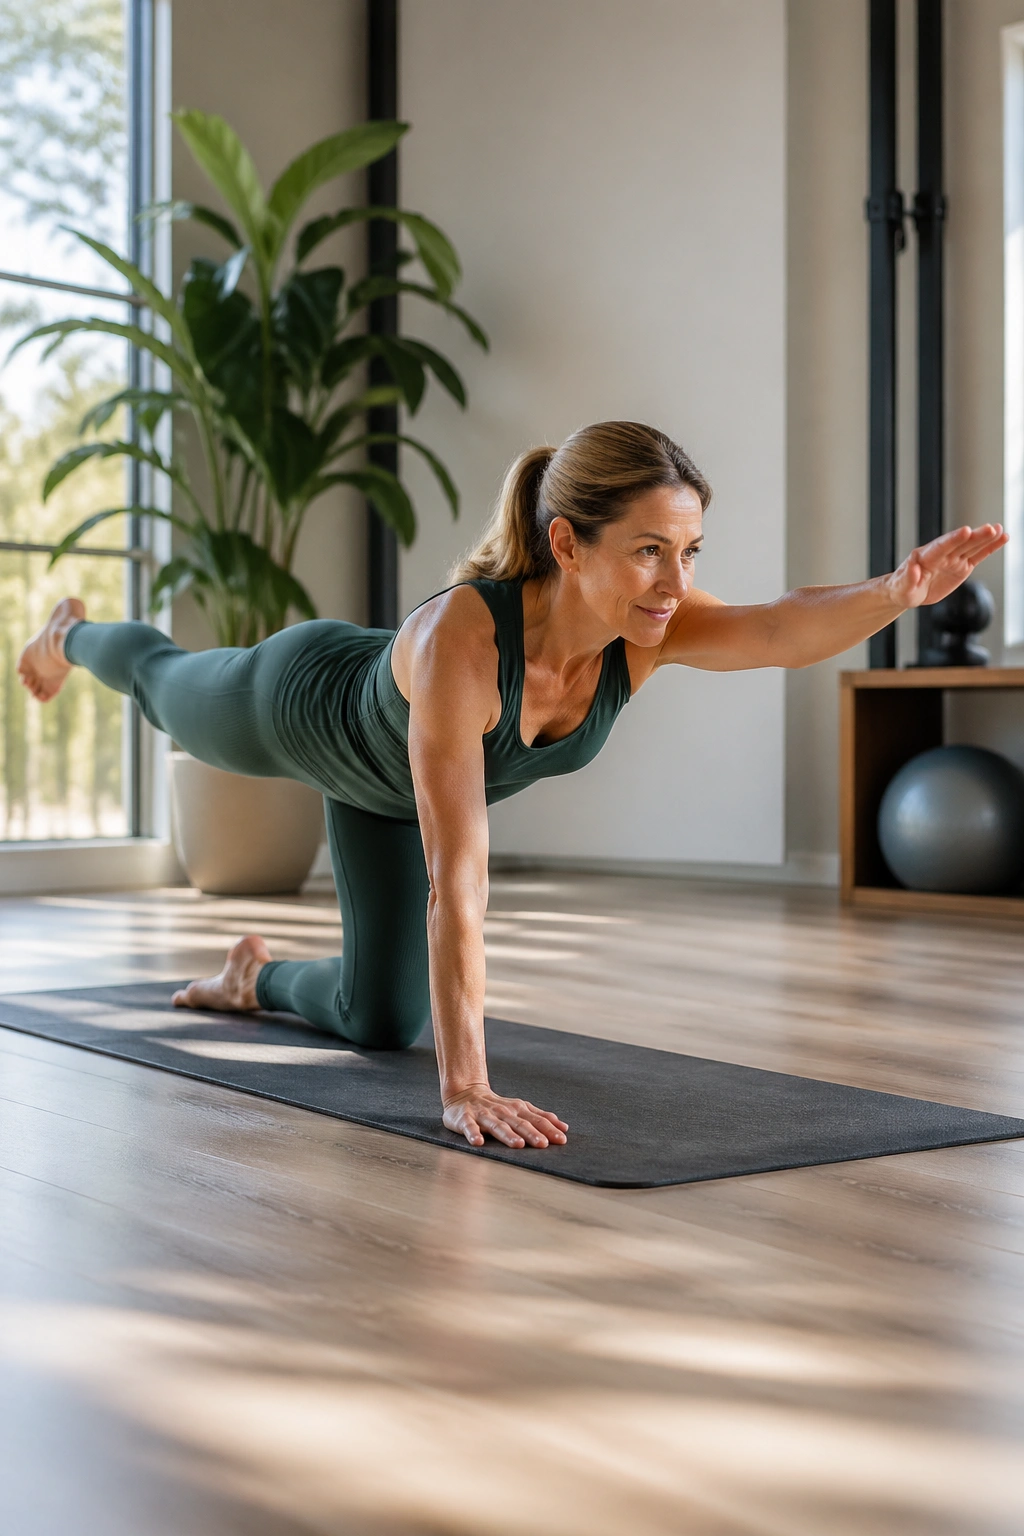
This is an on-all-fours exercise that is the ultimate test of spinal alignment. It prevents the swayback posture. When you extend opposite arm and leg, your body naturally wants to rotate or lean. Your core’s job is to stop that rotation.
How to Do It
Start on your hands and knees. Reach your right arm forward and your left leg back, aiming for a perfectly straight line from your fingertips to your toes. Hold for two seconds, feeling your core pull up toward your spine, then lower. Switch sides.
Pro Tip: Imagine you have a glass of water balanced on your lower back. If you wiggle or rotate your hips, the water spills. Stay perfectly level. You will find this move is much harder than it looks if you are truly precise with your alignment.
16. Knee Hugs
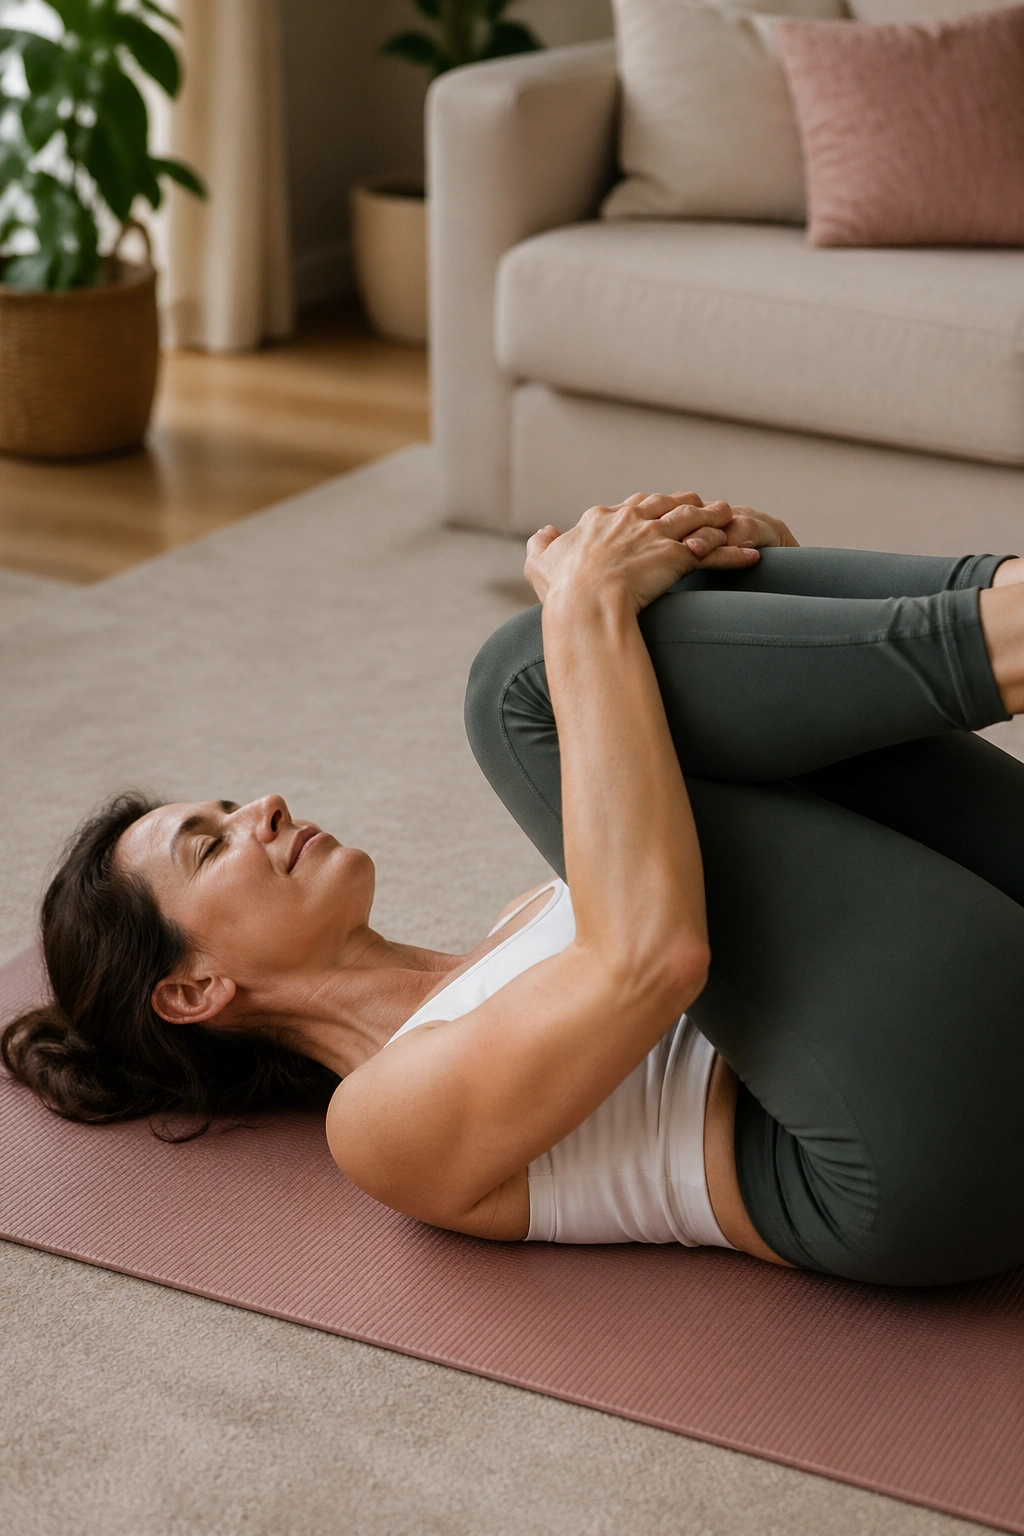
We include this not as a “burn” exercise, but as a release. Sometimes, after a session of intense core work, your muscles can become tight and “grizzly.” This is a crucial reset that helps you re-engage your abdominals from a neutral position rather than a strained one.
The Practice
Lie on your back and pull your knees firmly into your chest. Wrap your arms around your shins. Rock slightly side to side, giving your lower back a massage against the floor. This is a moment to check in with your breath. Let your belly soften. If you feel your stomach clenching, this is where you let it go, prepping your nervous system for the next set of movements.
17. Roll-Ups (Modified)
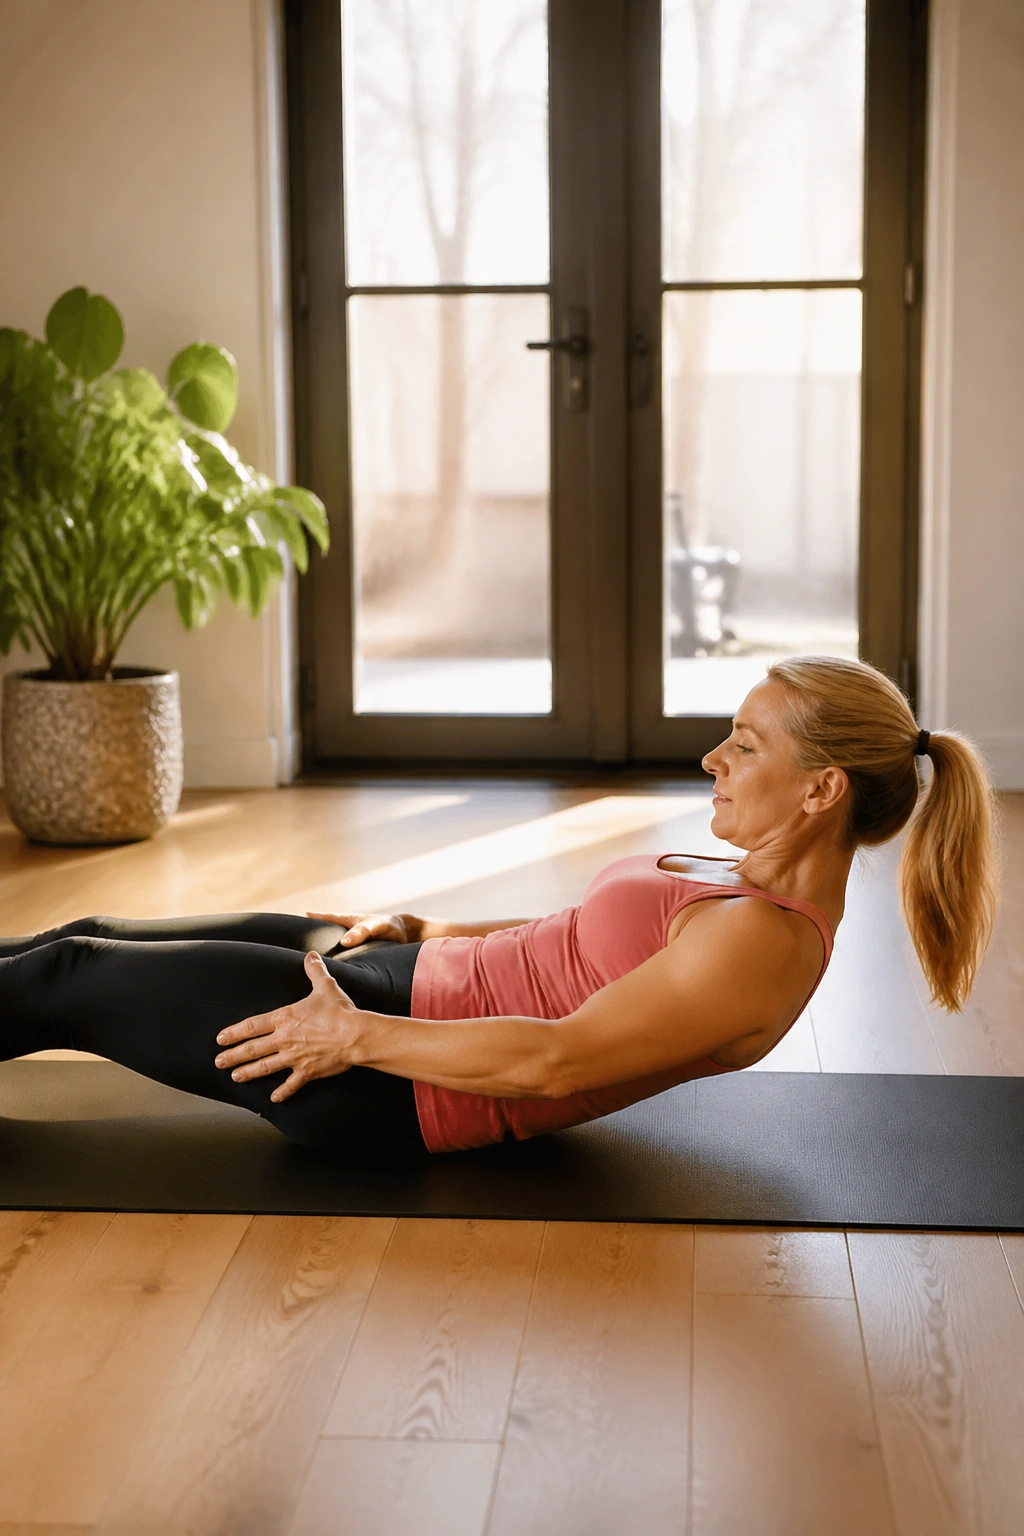
The full Pilates roll-up is famously difficult because it requires you to articulate your spine off the mat without using momentum. If you find yourself “throwing” your body up, you are cheating yourself. The modified version is a better way to build the strength required for the full movement.
The Technique
Lie on your back, legs straight. Inhale as you curl your head and shoulders up, reaching toward your knees. If you get stuck halfway, grab behind your thighs and use your arms to help pull yourself up just an inch or two more, then roll back down with total control.
Why it’s hard: It requires deep abdominal flexion. Do not rush the descent. The most effective part of the exercise is the roll down, where you are fighting gravity to place your spine on the mat one piece at a time. That is where the deep abdominal strength is forged.
18. Toe Taps
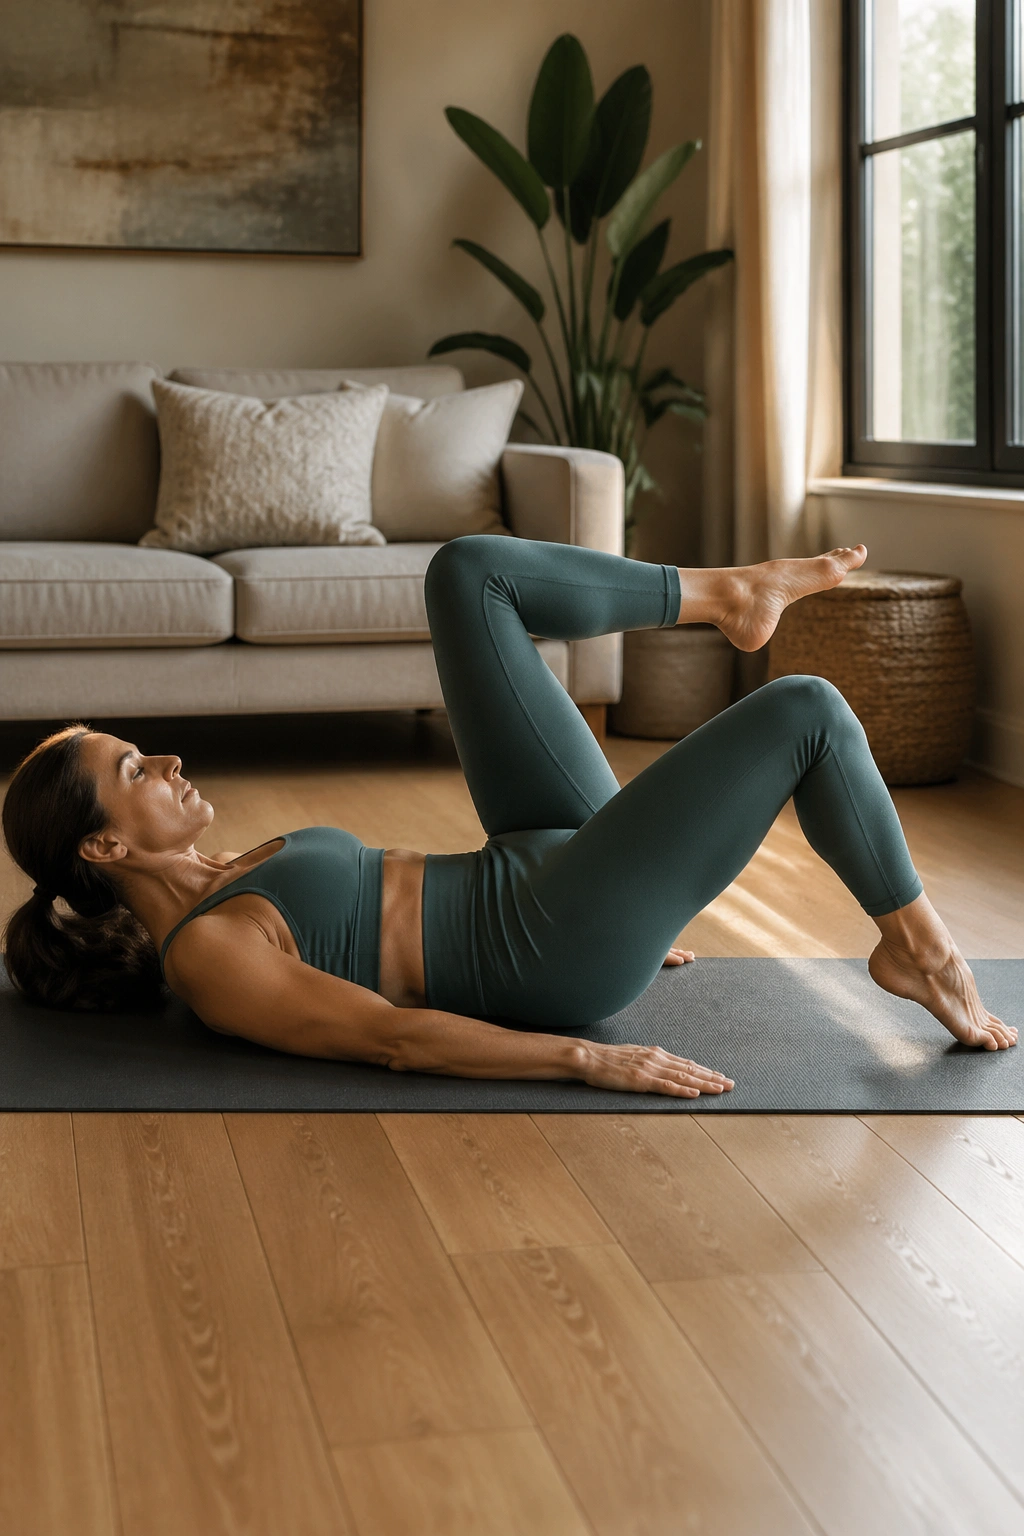
This is a gentle but deceptive exercise for the lower abdominals. It requires you to keep your legs in tabletop while moving from the hip, not the knee. It is the perfect exercise for people who want to strengthen their core without putting any stress on the upper back or neck.
The Execution
Start in tabletop, knees over hips, lower back glued to the mat. Keep the angle of your knee bent at 90 degrees. Hinge at the hip, tapping your right toe to the floor, then return to tabletop. Tap your left toe.
The key: Do not let your knee angle change. If your lower leg swings or your heel moves toward your glute, you are cheating the lever. Keep the knee bent exactly as it is, and move the entire weight of your leg from the hip joint.
19. Heel Slides
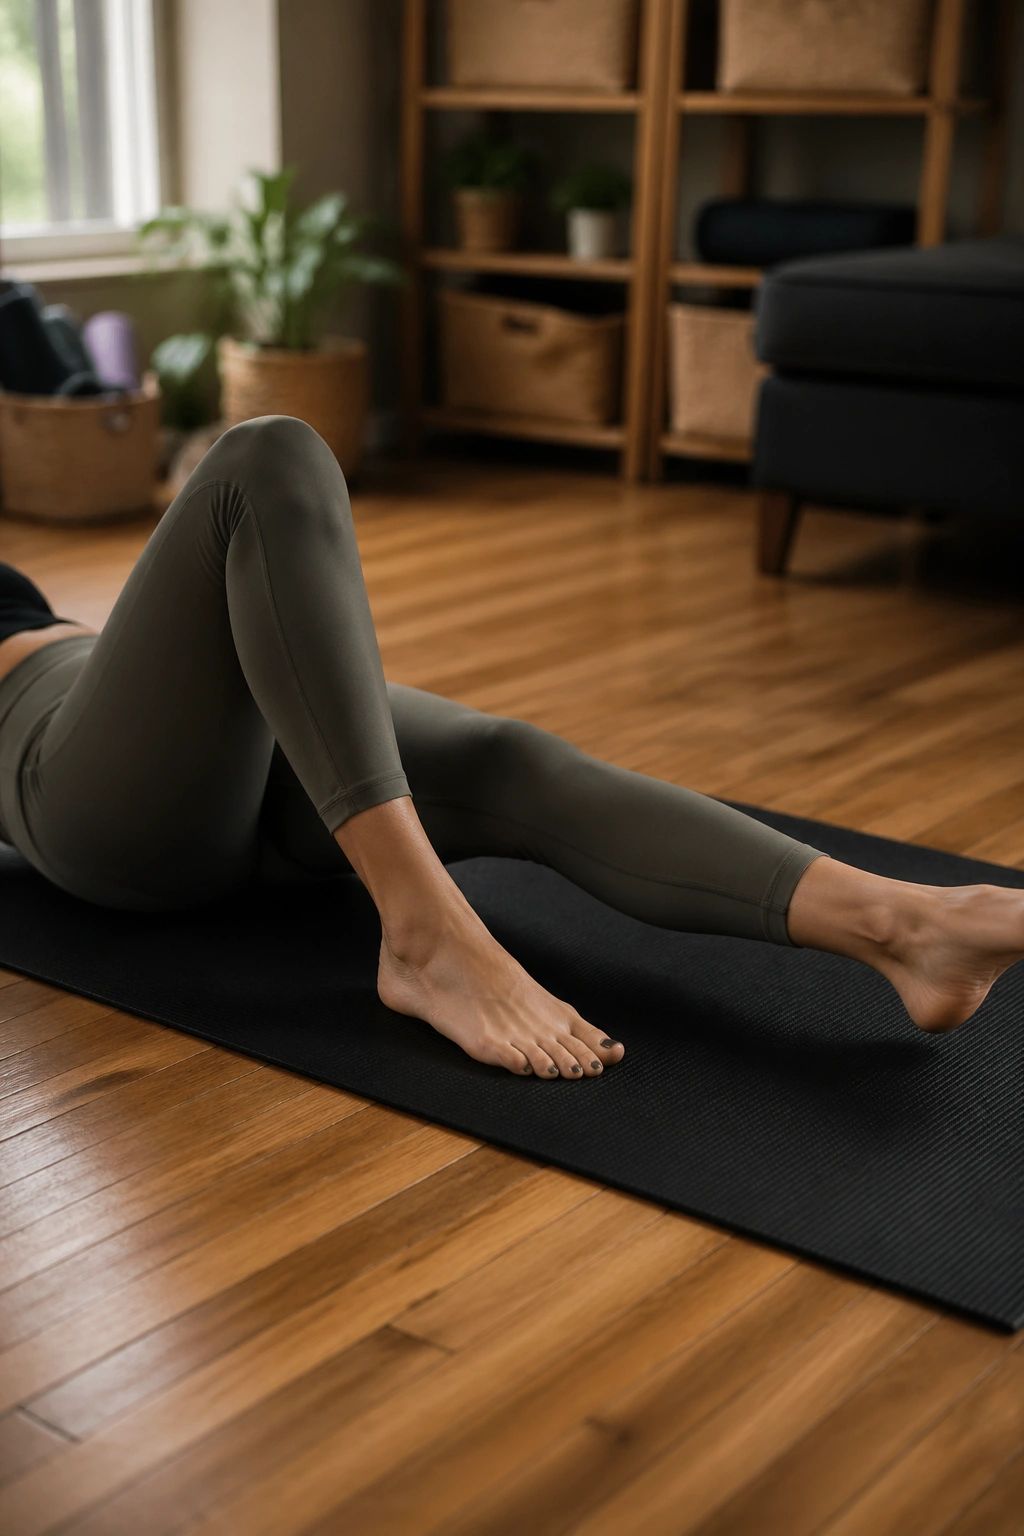
This is a slow, methodical movement that builds endurance in the deep stabilizers. It is almost identical to a leg slide you might do in physical therapy, but the focus is on the continuous resistance and the constant engagement of the transverse abdominis.
How to Practice
Start in the same setup as Toe Taps. Instead of tapping the toe, slide your foot along the mat until your leg is fully extended. Keep your lower back pressed to the floor. Slide the foot back in. This requires you to resist the temptation to arch your back as your leg extends.
Why it’s essential: It trains your core to remain stable even when your limbs are moving. This translates directly to walking, running, or even just reaching for something on a high shelf—you are training your core to support you during dynamic movement.
20. Mermaid Stretch
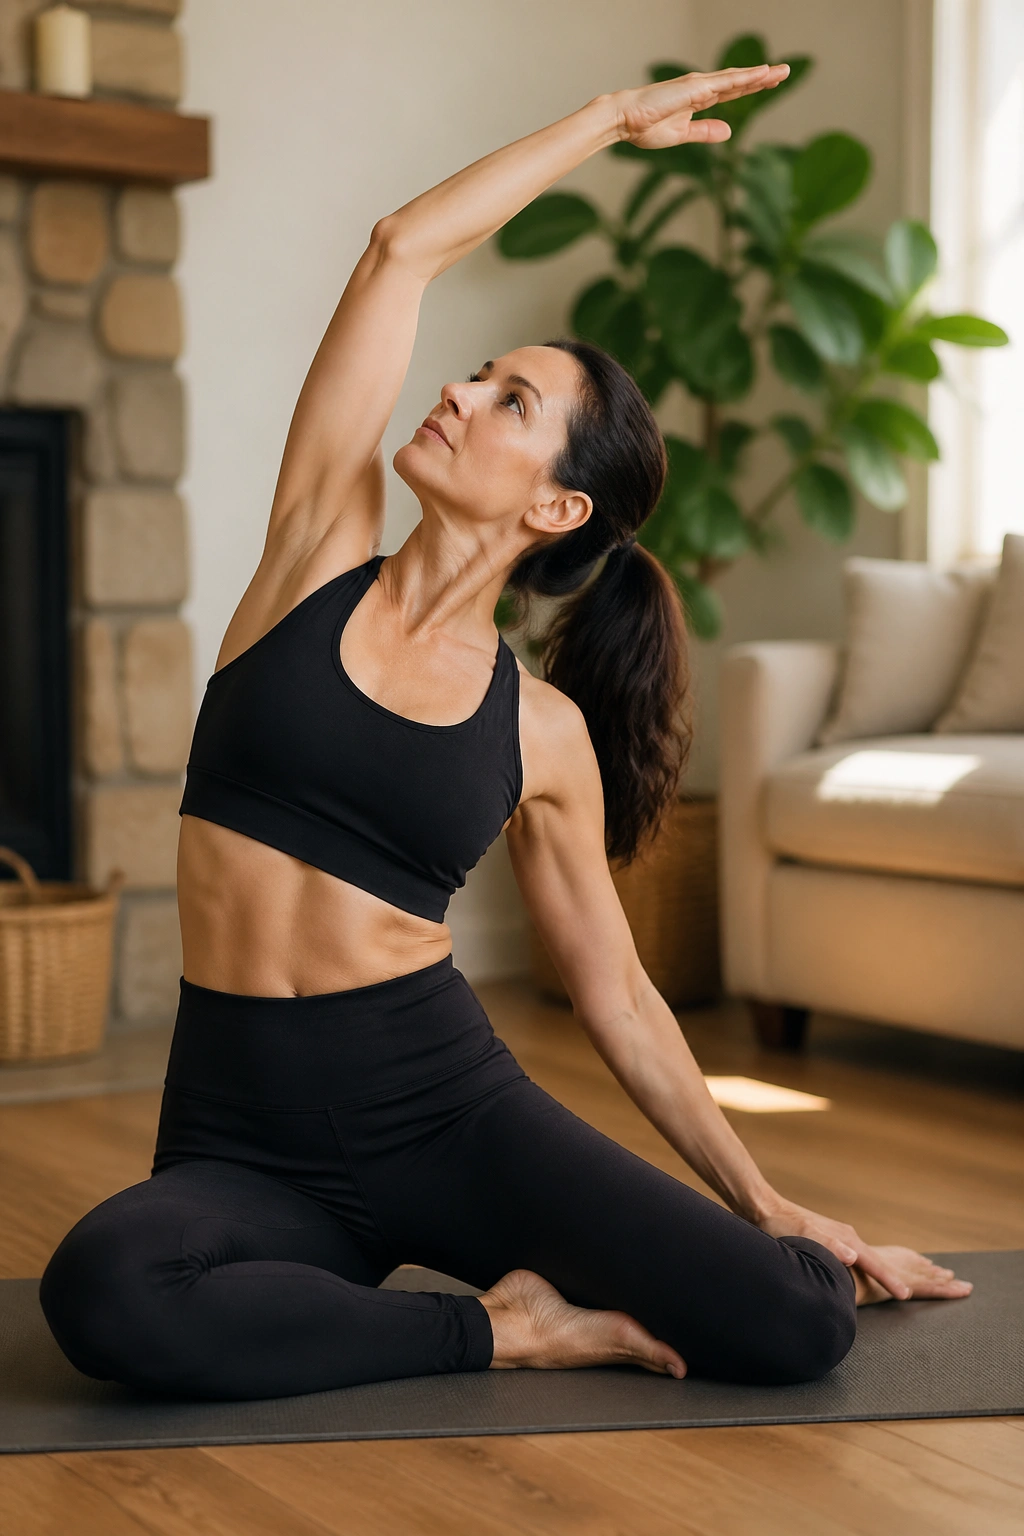
This is the perfect finale. While it looks like a stretch, it is actually a very active side-bend that targets the lats and the obliques. It helps to “wring out” the torso and creates length in the waistline, which feels incredible after a session of contracting and crunching.
The Movement
Sit with your legs folded to one side. Place one hand on the floor and reach your other arm up and over, creating a long arch with your body. Breathe deeply into the side of your ribs that is stretching. Switch sides.
The feeling: This creates space in the torso, which is often compressed from sitting or poor posture. It is a reminder that core work isn’t just about tension; it’s about creating the flexibility to move without restriction.
Final Thoughts
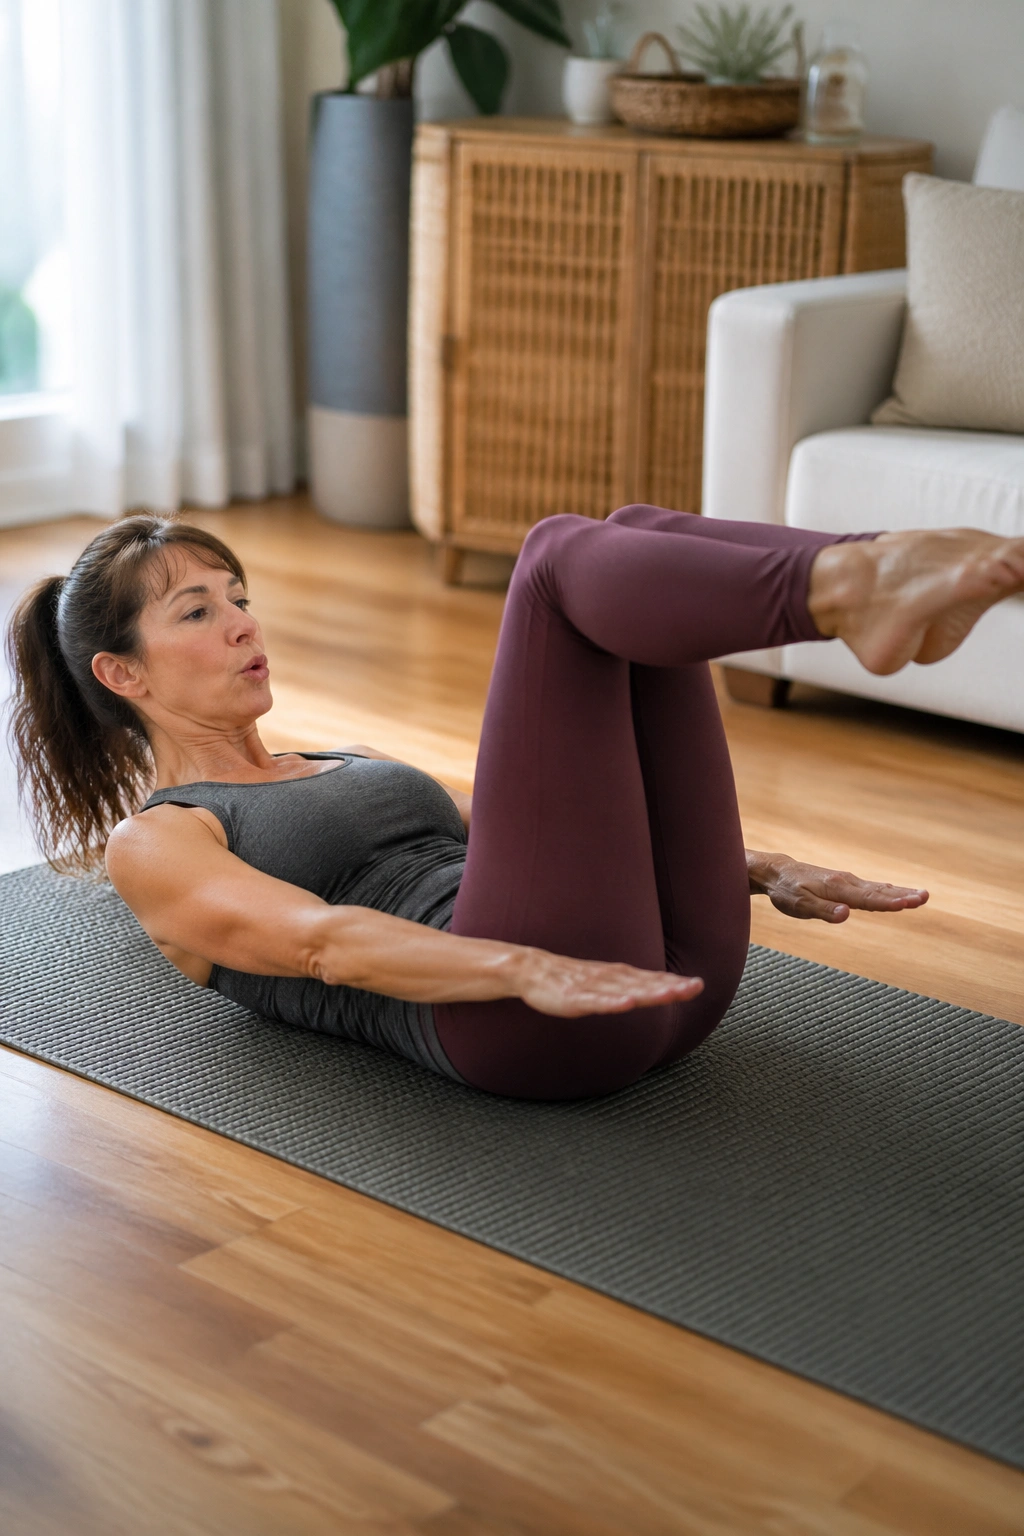
When you commit to this level of intentional movement, you will notice changes that go far beyond the way your clothes fit. You will feel a shift in how you sit in your chair at the end of a long day. You will notice that you aren’t bracing your back when you pick up a laundry basket or a toddler. That is the true goal of Pilates—not just to look a certain way, but to build a body that feels capable, resilient, and ready for whatever the day throws at you.
Consistency is your best friend here. You do not need to do all twenty of these every single day. Perhaps you pick five that feel good and cycle through them. Maybe you dedicate ten minutes in the morning before the rest of the house wakes up. Whatever you choose, keep your focus on the feeling of the muscle, not the number of repetitions. If you are shaking, you are succeeding. If you are struggling to keep your spine on the mat, you are getting stronger. Listen to what your body tells you, move with purpose, and trust that the stability you are building now is an investment that will pay off for decades to come.
