



Knee pain is the great leveler. It doesn’t matter if you are training for your first marathon or just trying to stay mobile for your grandkids; once that joint starts clicking, grinding, or throbbing, everything else takes a backseat. You might think the only answer is to stop moving entirely, but that’s the worst thing you can do. Joints need lubrication, and they need the support of the muscles surrounding them to function properly. Staying sedentary often makes the stiffness worse, leading to a vicious cycle of inactivity and discomfort.
Finding a rhythm that keeps your heart rate up without punishing your meniscus requires a shift in perspective. You have to stop chasing high-impact metrics—no more pounding the pavement or jumping until your shins ache—and start focusing on control, stability, and muscle activation. The goal is to build strength in the quadriceps, hamstrings, and glutes without introducing the jarring forces that aggravate arthritic or injured joints. This isn’t about doing “less”; it’s about doing better.
When you remove the impact, you gain the freedom to focus on the nuance of your movement. You can finally pay attention to your alignment, the speed of your eccentric contractions, and the specific muscles you are trying to fatigue. If you can get your home environment set up correctly, you do not need fancy gym memberships or expensive machinery to make real progress. You just need a bit of floor space and the willingness to slow down and listen to what your body is actually telling you.
1. Stationary Cycling
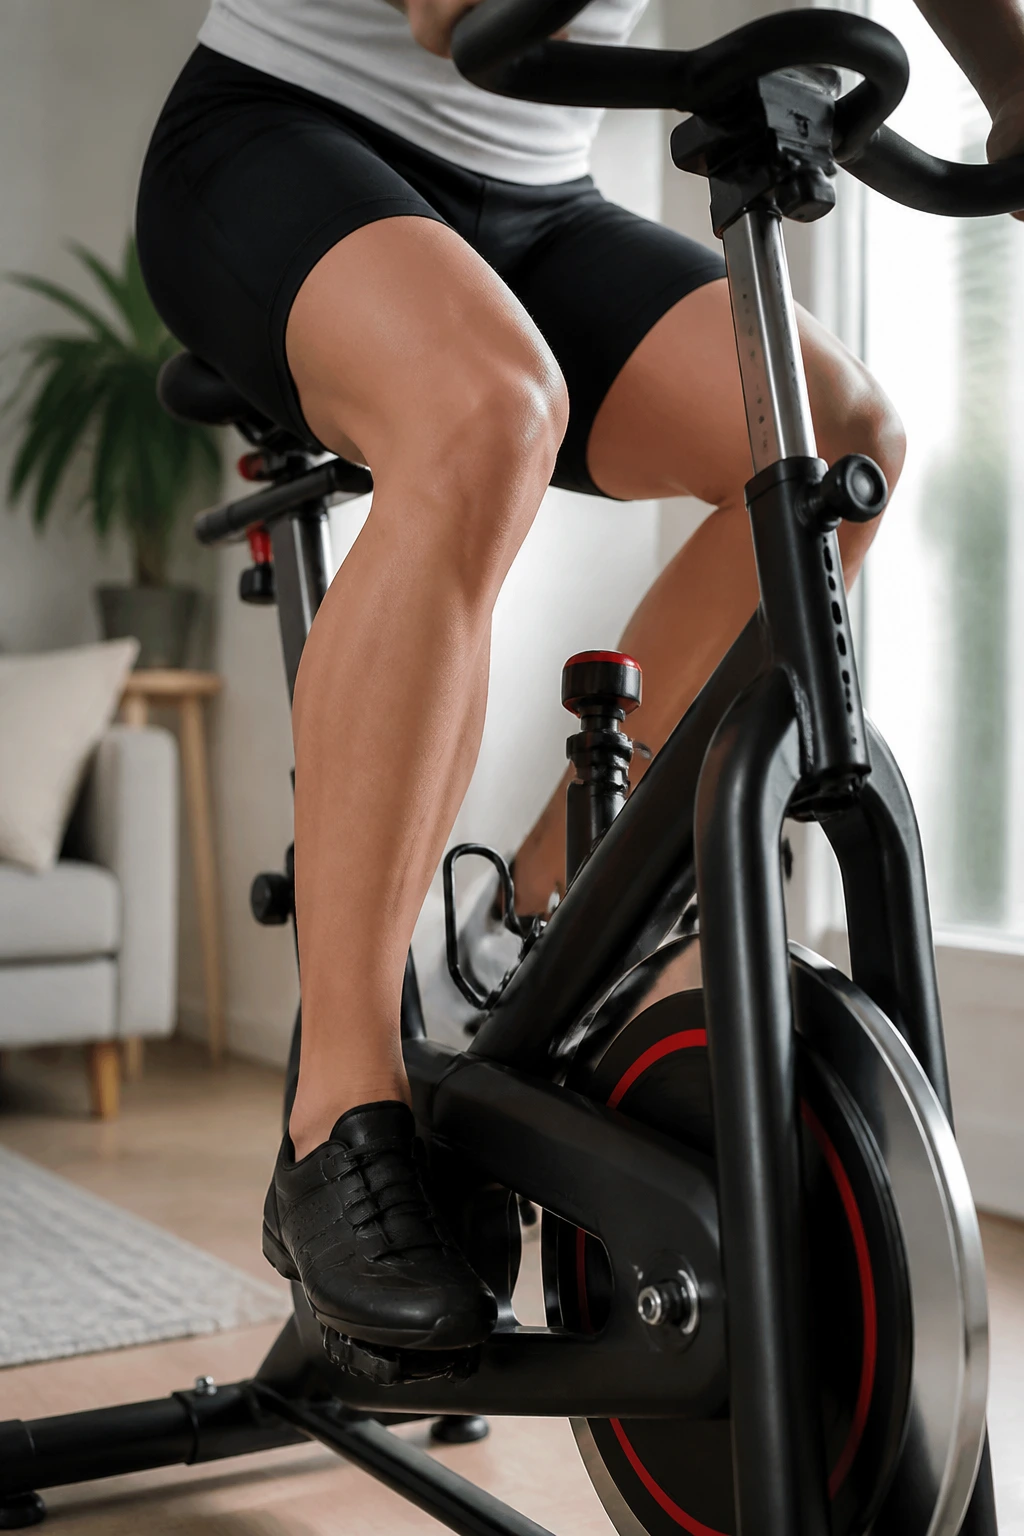
The humble stationary bike is a gold standard for a reason. By keeping your feet fixed on pedals, you eliminate the vertical impact of walking or running while still moving the joint through its full range of motion. This constant cycling motion pumps synovial fluid into the knee, which acts like grease for a rusty hinge, helping to keep everything moving smoothly.
Dialing in Your Setup
The most common mistake people make is setting the seat too low. If your knee is still bent at a sharp angle at the bottom of your pedal stroke, you are putting unnecessary pressure on the patellofemoral joint. Aim for your leg to be almost fully extended at the bottom of the stroke, with just a tiny micro-bend in the knee. This adjustment alone can be the difference between a workout that helps and one that hurts.
Pro tip: Use a higher resistance level and a slower cadence—try to aim for 60 to 70 RPMs—instead of spinning fast with no resistance. The added tension forces the quadriceps to work harder, providing better stability for the knee without needing speed that could cause knee irritation.
2. Floor Pilates
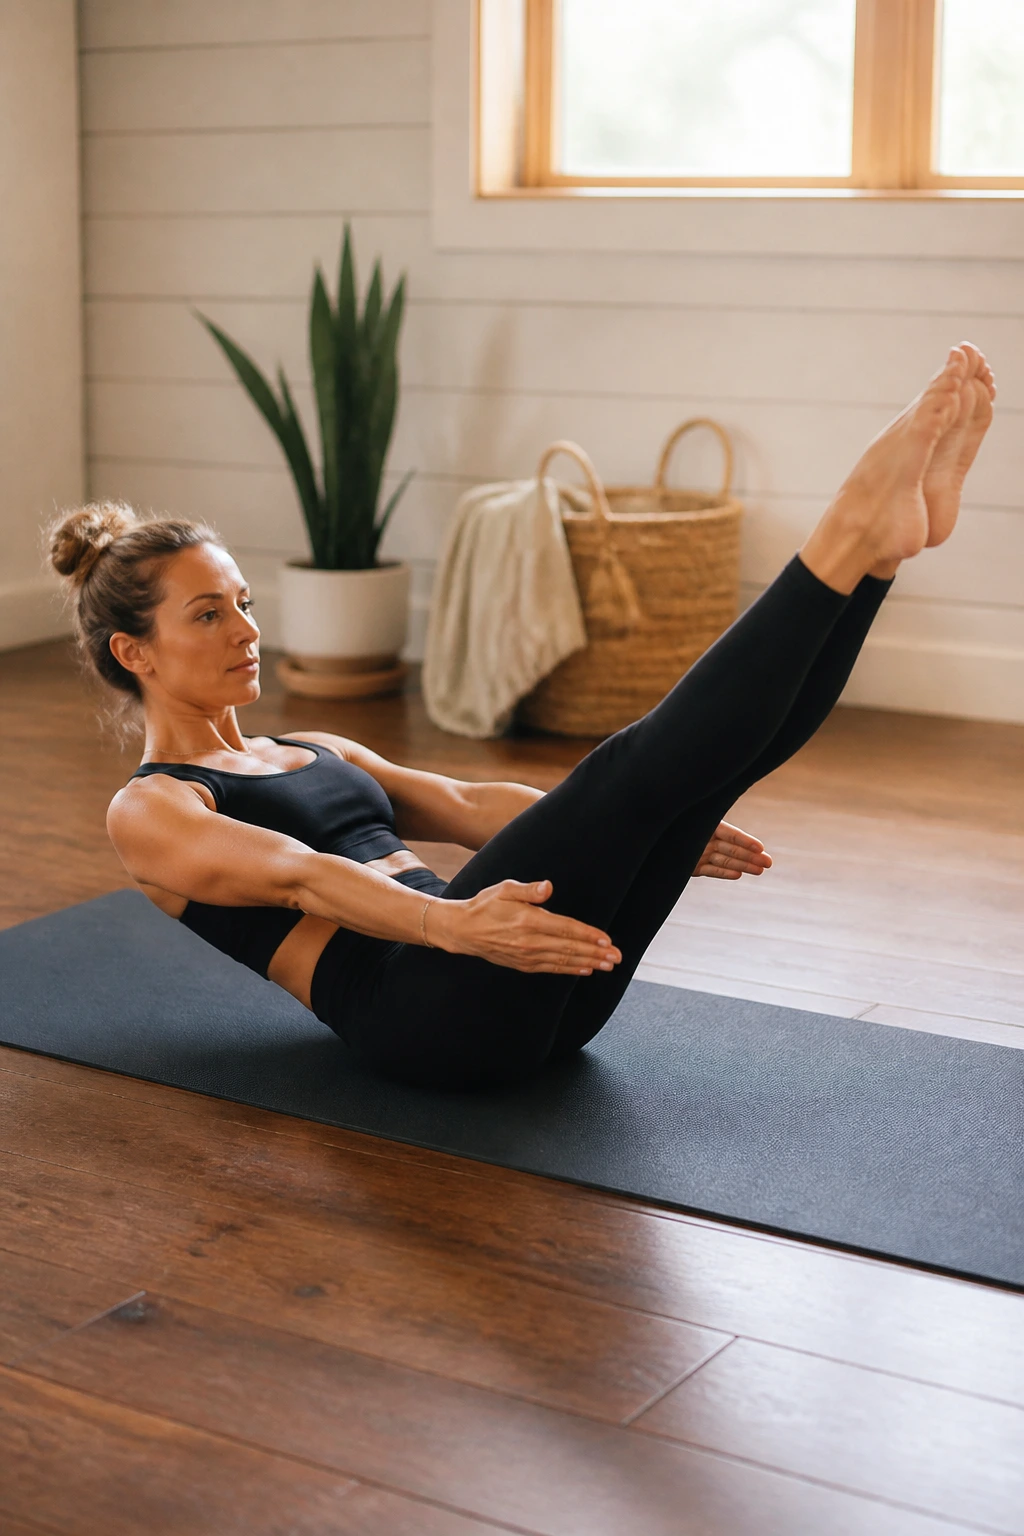
Pilates is built around the idea of core stability and controlled movement, both of which are lifesavers for your knees. When your core is weak, your pelvis shifts, your gait changes, and your knees end up absorbing the forces your midsection should be handling. Moving your workout to the floor takes gravity out of the equation for your joints.
You aren’t trying to win a race here. Pilates is about the “burn” you feel when you hold a position or perform a movement with extreme slowness. Focus on movements like the “hundreds” or floor-based leg circles. These exercises demand high muscle engagement without requiring you to stand up or bear weight on the joint. If you find your knees bothering you, keep your legs straight rather than bent, as that often reduces the strain on the patellar tendon.
3. Clamshells for Glute Strength
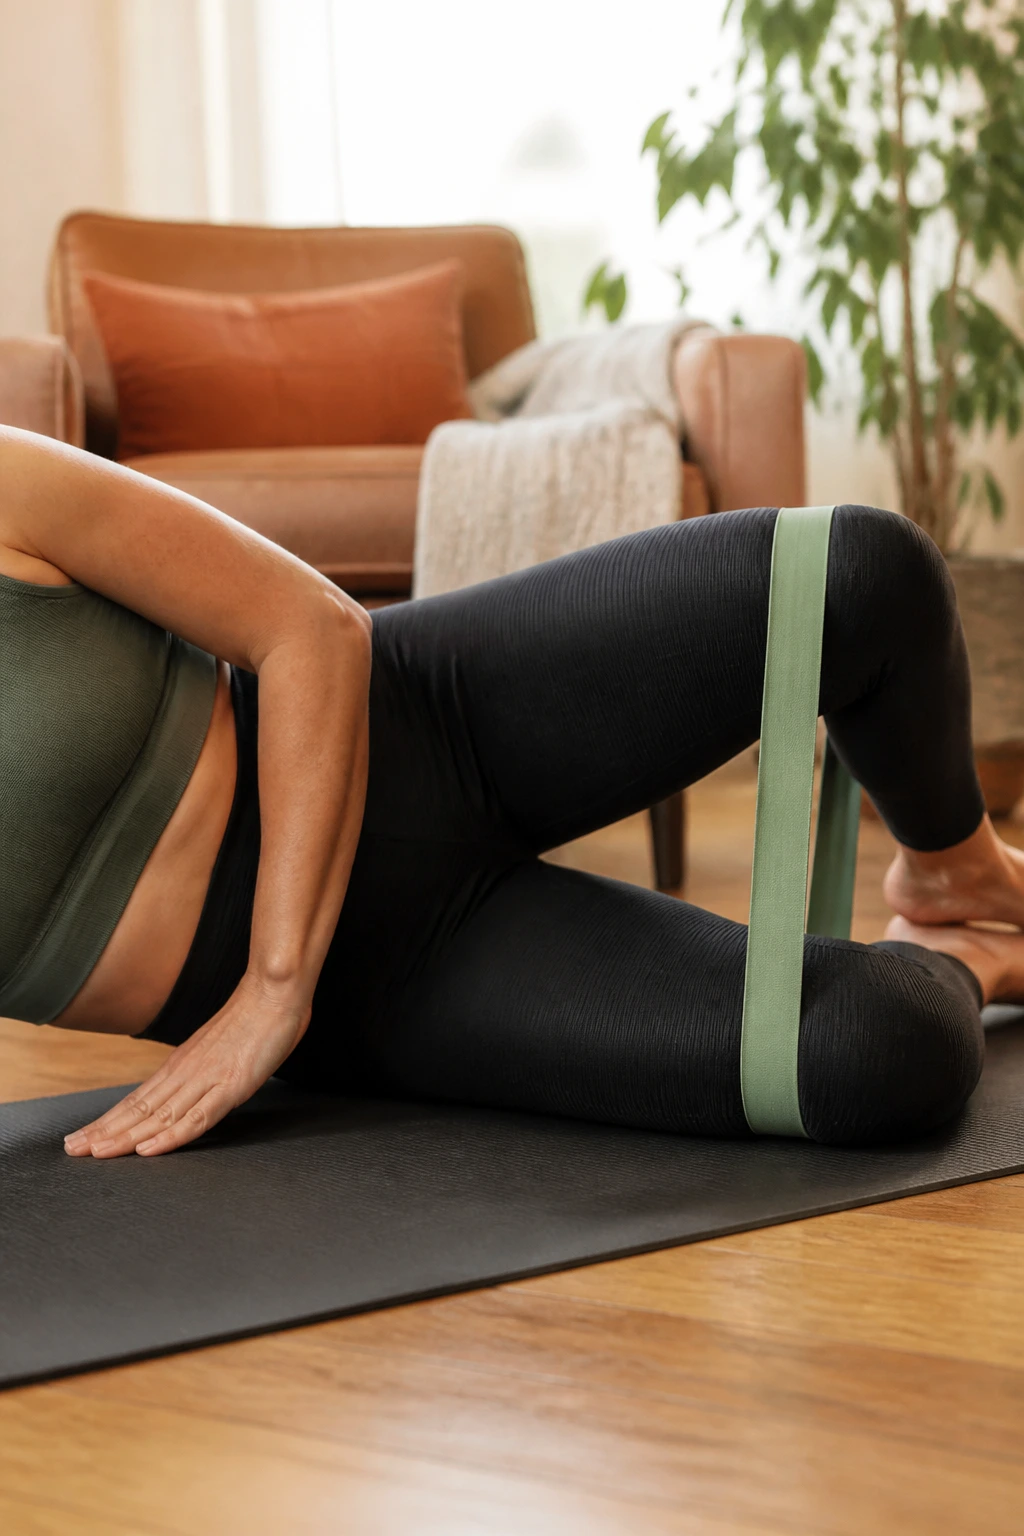
Your glutes are the primary stabilizers for your knees. If your butt muscles are weak, your knees tend to cave inward—a position known as valgus collapse—which is a recipe for long-term knee trouble. Clamshells are simple, boring, and absolutely effective.
Lie on your side with your legs stacked, knees bent at 45 degrees. Keep your feet touching and lift your top knee while keeping your hips steady. The key here is not how high you lift your knee; it is about keeping your pelvis perfectly vertical. If you roll backward, you are just cheating your hip. Perform three sets of 15 repetitions on each side. If you need more resistance, a light fabric loop band just above the knees will make this feel like a completely different, much harder exercise.
4. Seated Resistance Band Rows
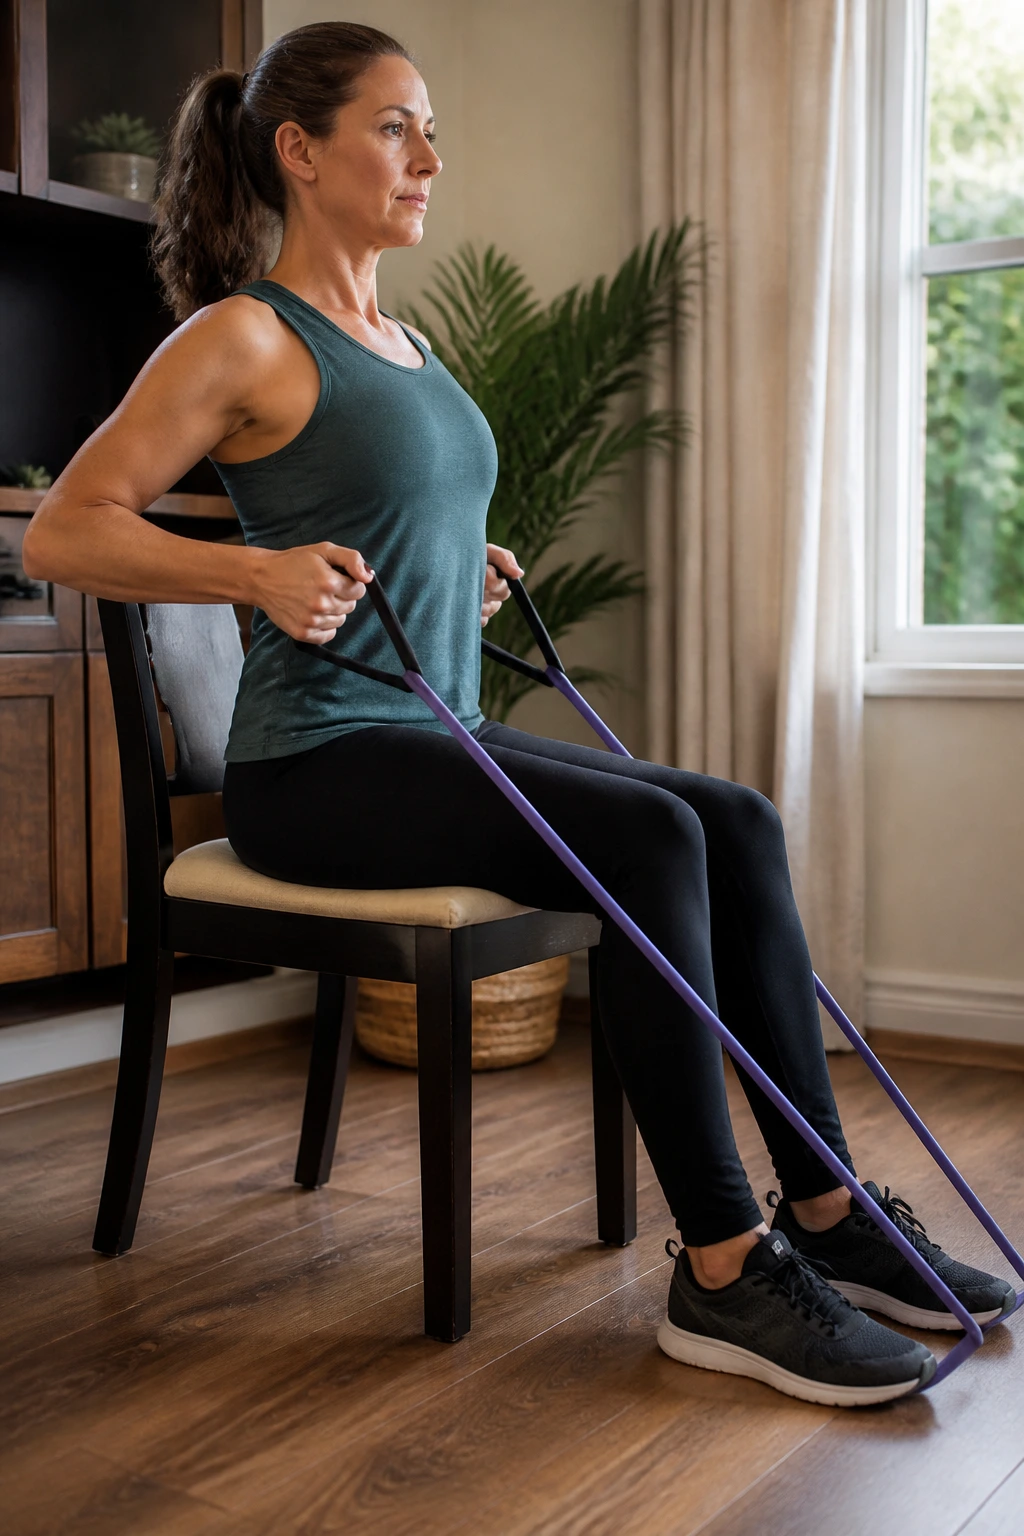
Upper body work often gets neglected in knee-friendly programs, but rowing is excellent because it helps with posture, which indirectly impacts your knee alignment. By sitting on the floor or a sturdy chair, you remove all weight from your legs. Wrap a resistance band around a secure pole or your feet, and pull your elbows back, squeezing your shoulder blades together.
This movement strengthens the muscles of your back, pulling your shoulders out of the slumped position that often leads to a forward-leaning posture. When you lean forward, your center of gravity shifts, putting more weight on the front of your knees. By staying upright and strong in your upper body, you naturally distribute your weight more evenly through your lower body when you are standing.
5. Wall Sits
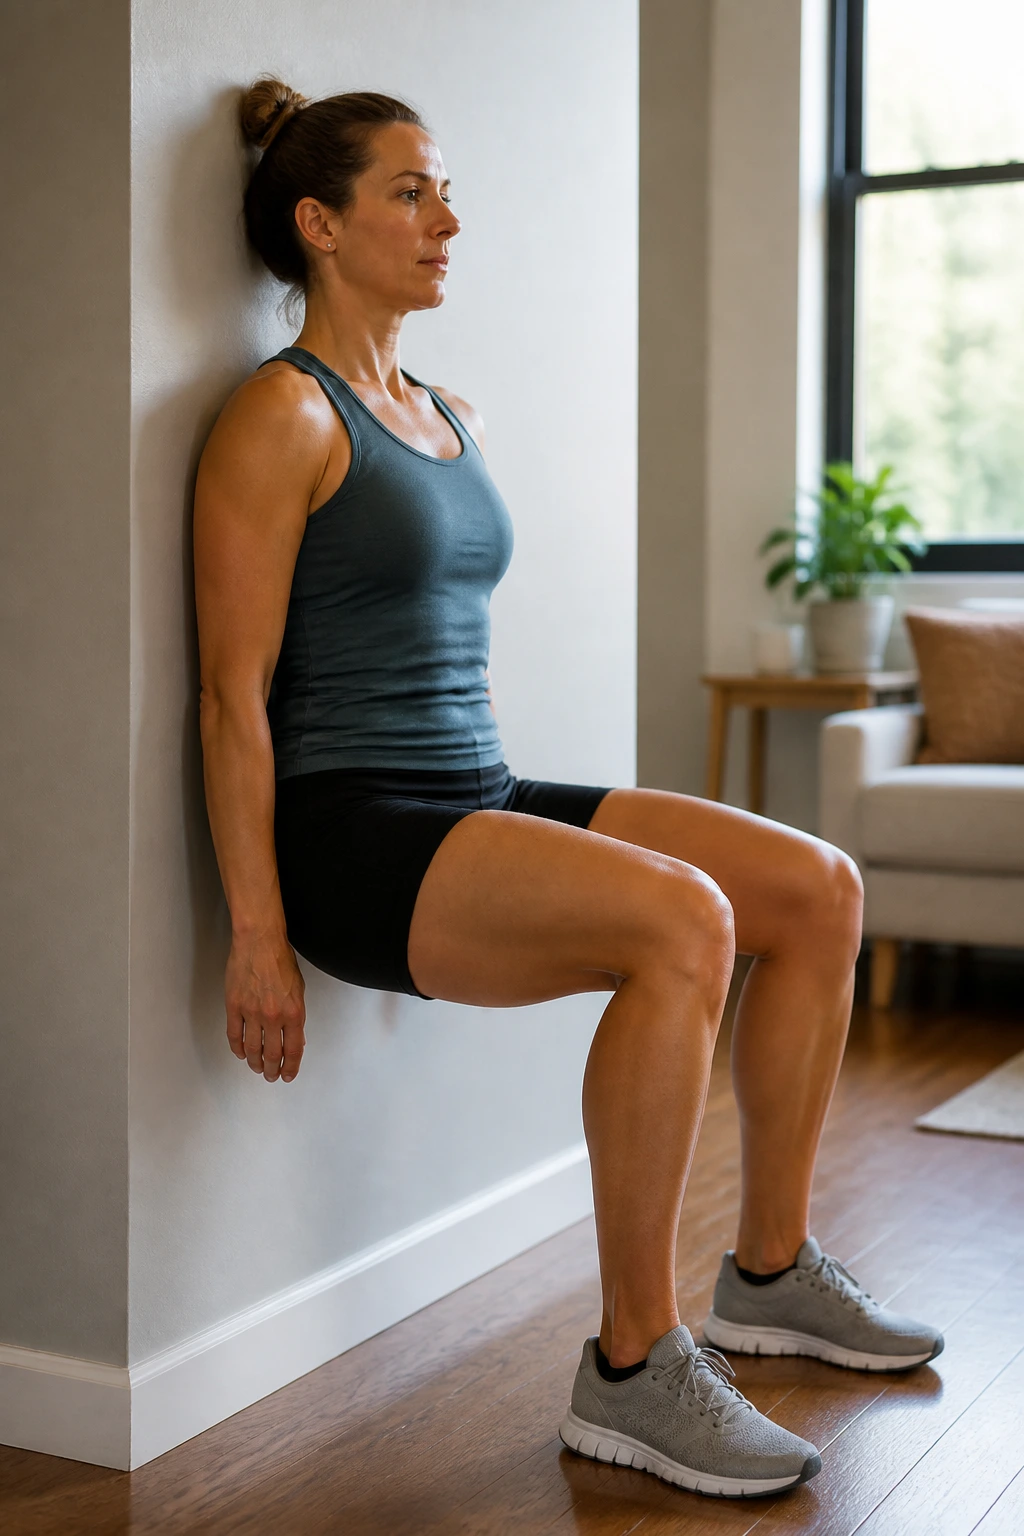
The wall sit is an isometric classic because it builds incredible endurance in the quadriceps without a single inch of movement. Because the joint is static, the friction is minimized. Lean your back against a wall, slide down until your thighs are at a comfortable angle—you do not need to go to 90 degrees if that hurts—and hold.
The Secret to Longevity
Focus on pushing your heels into the floor. This shifts the engagement from the front of the knee to the hamstrings and glutes. If you feel any sharp pain, slide up the wall a few inches. It is better to do a shallower sit with perfect form than a deep one with bad technique. Hold for 30 seconds to start, and try to add 5 seconds each week. Eventually, you will be surprised by how long you can hold this position with steady breathing.
6. Straight Leg Raises
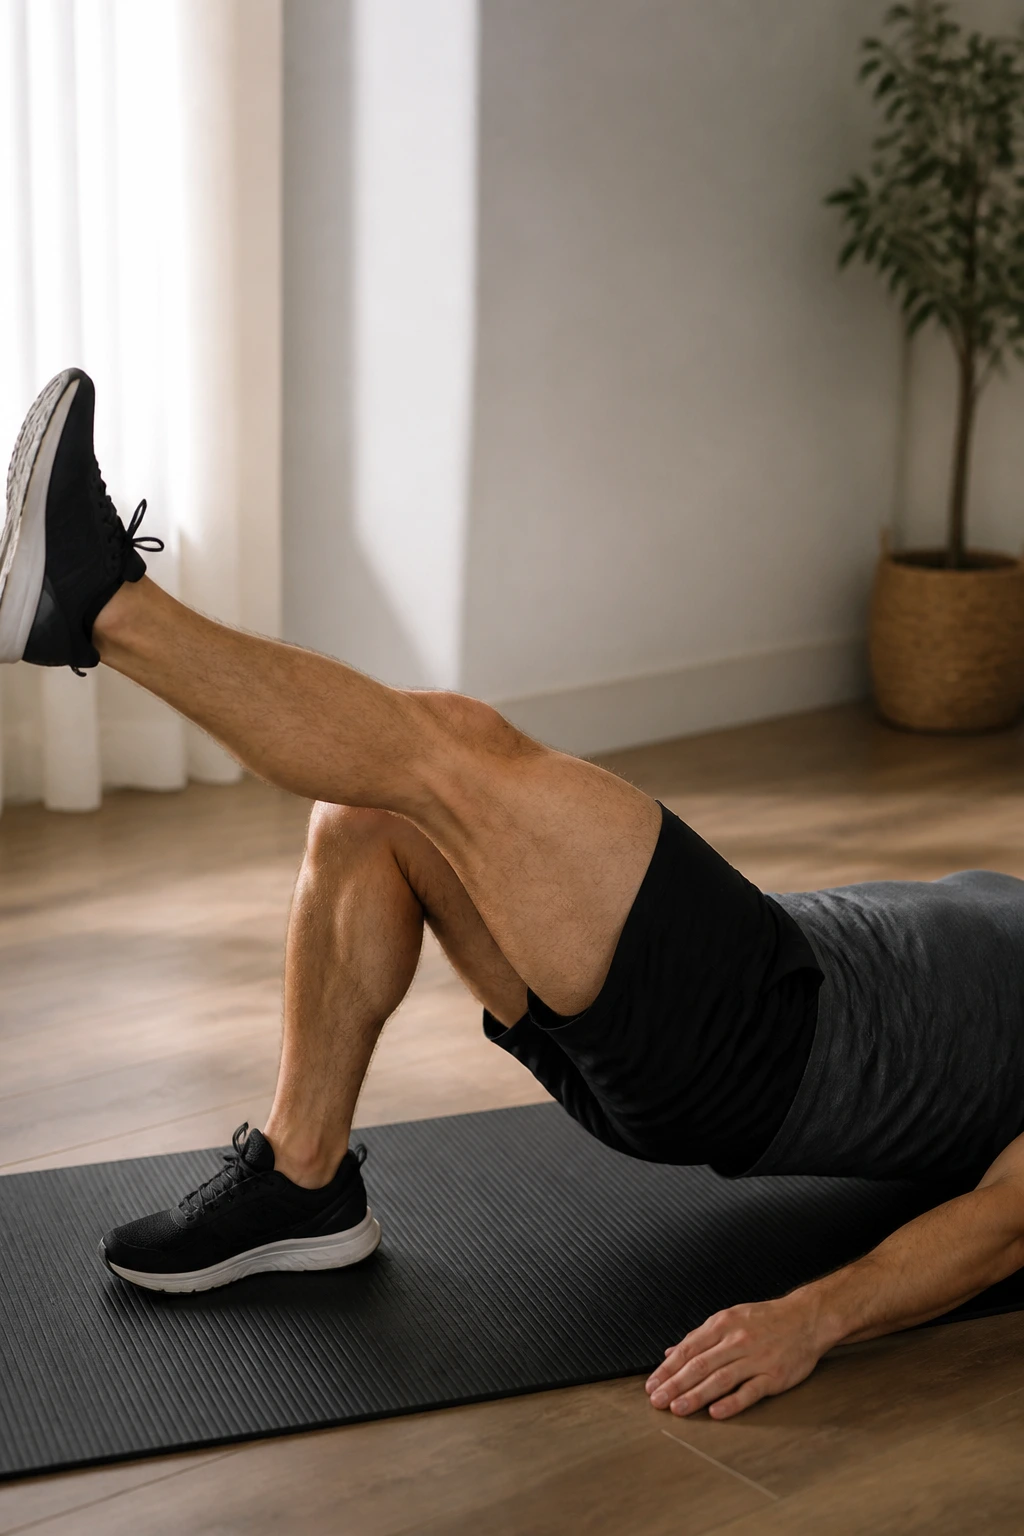
This is a standard rehabilitation move, but don’t underestimate it. It strengthens the quadriceps without requiring the knee to bend under load. Lie flat on your back, one leg bent with the foot on the floor, the other leg straight. Contract your thigh muscle—the quad—until the knee is locked straight, then lift that leg until it matches the height of your bent knee.
The trick is the “lock.” You must consciously tighten your quadriceps before you lift. If you lift a soft, unengaged leg, you are putting strain on your hip flexors and doing nothing for the knee support. Lower the leg slowly, maintaining the tension the entire way down. Aim for 3 sets of 10 repetitions per leg.
7. Glute Bridges
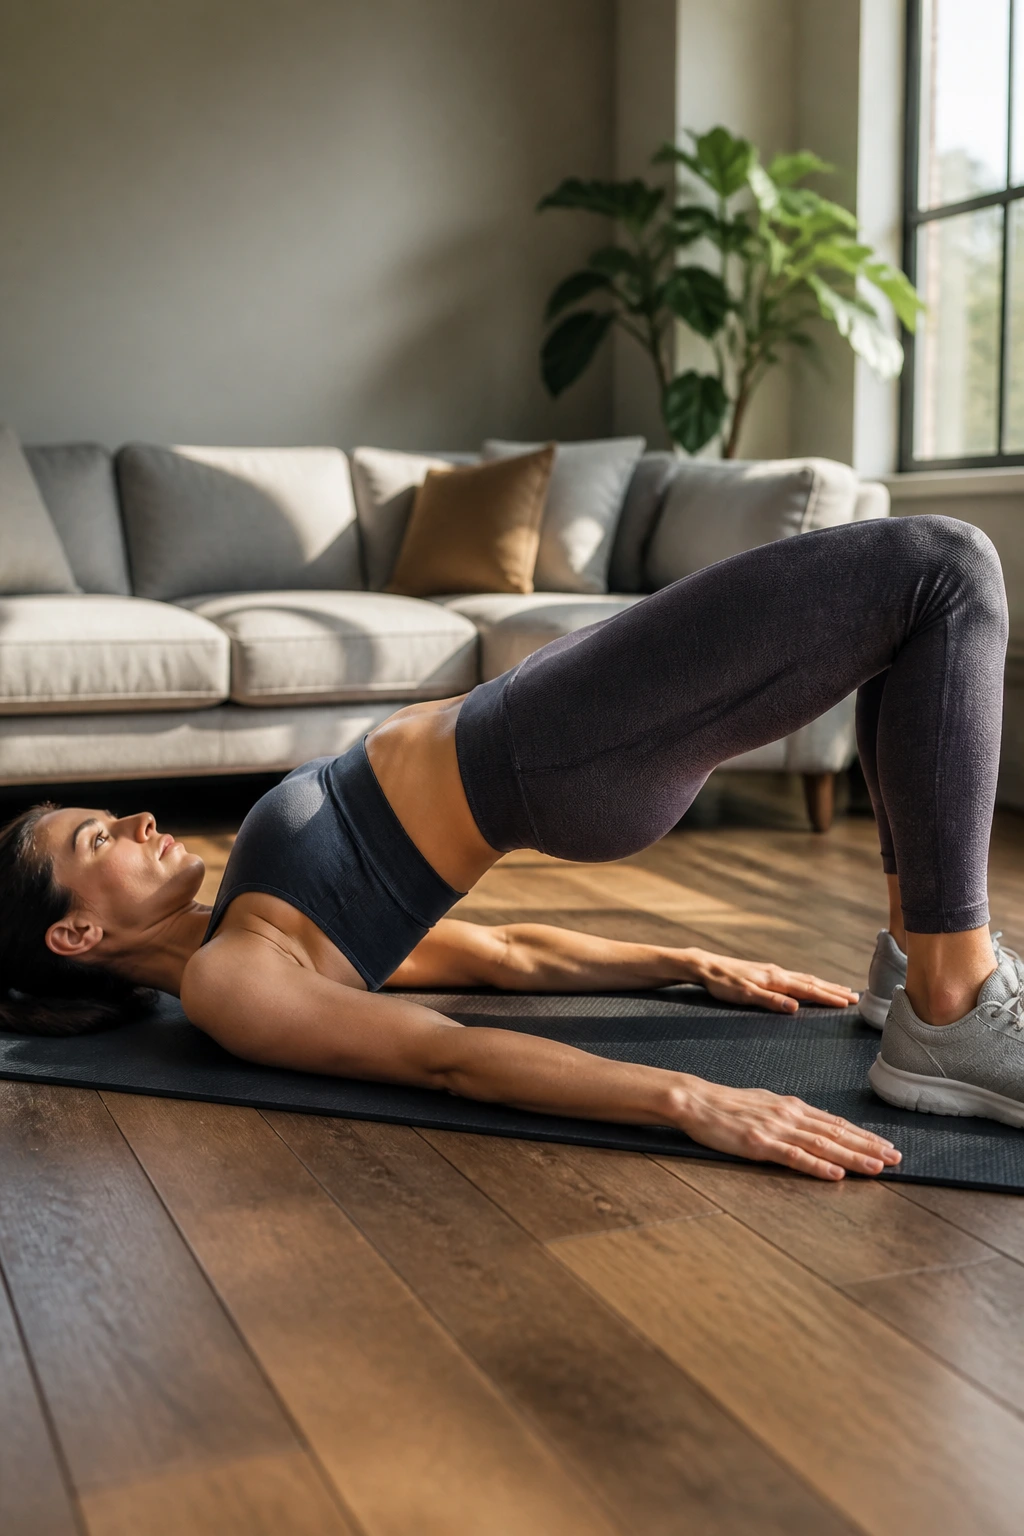
Glute bridges are the ultimate low-impact exercise for posterior chain development. Lie on your back, knees bent, feet flat on the floor about hip-width apart. Push through your heels to lift your hips toward the ceiling.
Do not arch your lower back. Your body should form a straight line from your shoulders to your knees at the top of the movement. If you feel this in your lower back, you are not squeezing your glutes hard enough. Imagine holding a hundred-dollar bill between your cheeks; that contraction is what protects your back and stabilizes your pelvis, which in turn saves your knees from carrying extra load.
8. Seated Leg Extensions
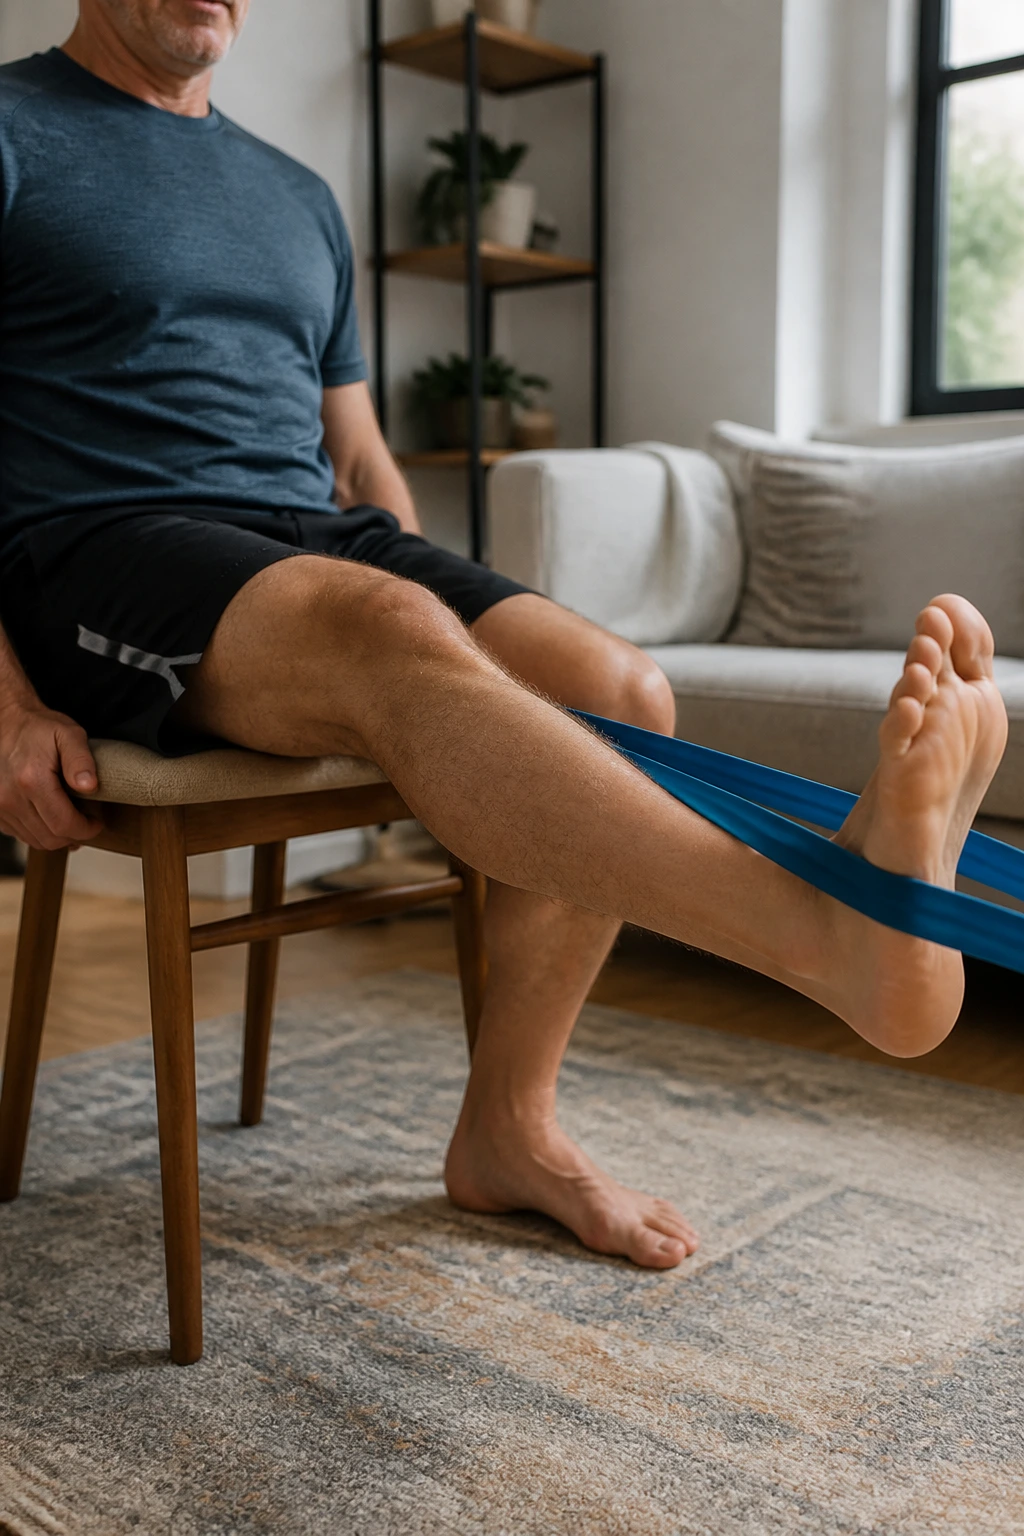
If you have a resistance band, you can simulate a leg extension machine. Sit in a chair, tie the band to the leg of the chair, and loop the other end around your ankle. Extend your leg straight out, fighting against the resistance of the band.
Be careful here. If you have active knee issues, only extend from 90 degrees to about 45 degrees, rather than going to full extension. The very last bit of “locking out” can sometimes irritate the kneecap. Focus on the slow, controlled return to the starting position—this eccentric phase is where the muscle strengthening really happens.
9. Modified Push-ups
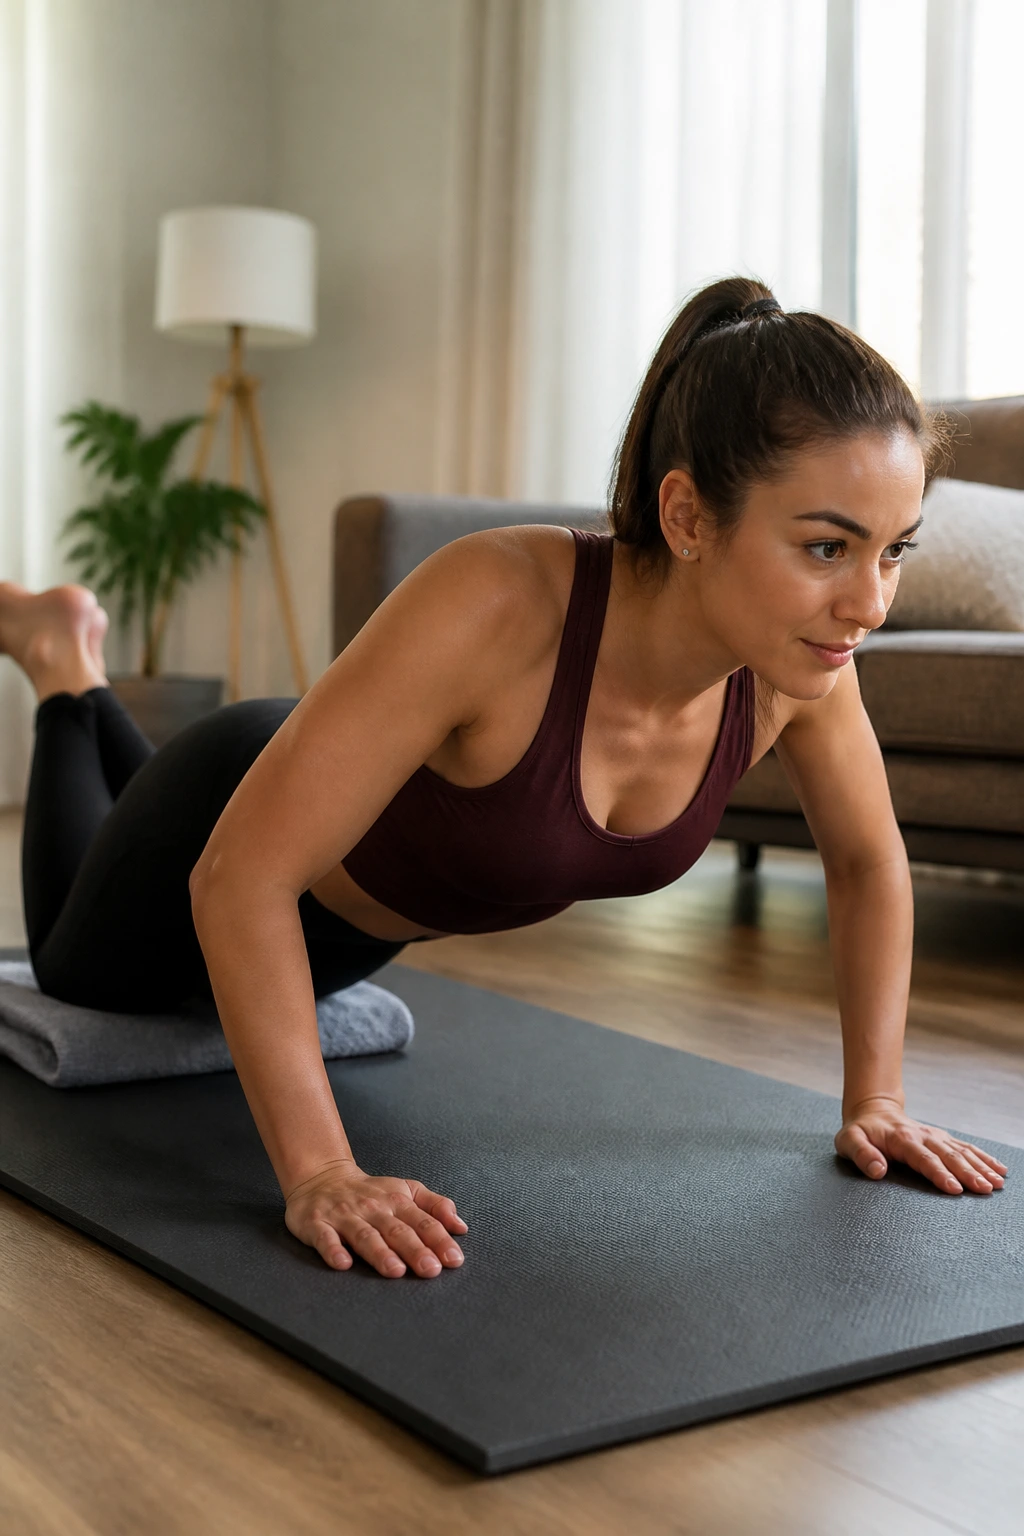
Yes, this is an upper-body exercise, but it keeps your core tight and prevents the “slumping” that ruins your gait. If you do these on your knees, place a folded towel or a soft mat underneath them. If that still hurts, do them against a countertop or the back of a sturdy sofa.
The goal here is stability. As you lower yourself, keep your elbows tucked at a 45-degree angle from your body. This engages your lats and core, creating a rigid platform. A strong upper body and core will take the load off your knees during everyday activities like standing up from a chair or carrying groceries.
10. Seated Overhead Press
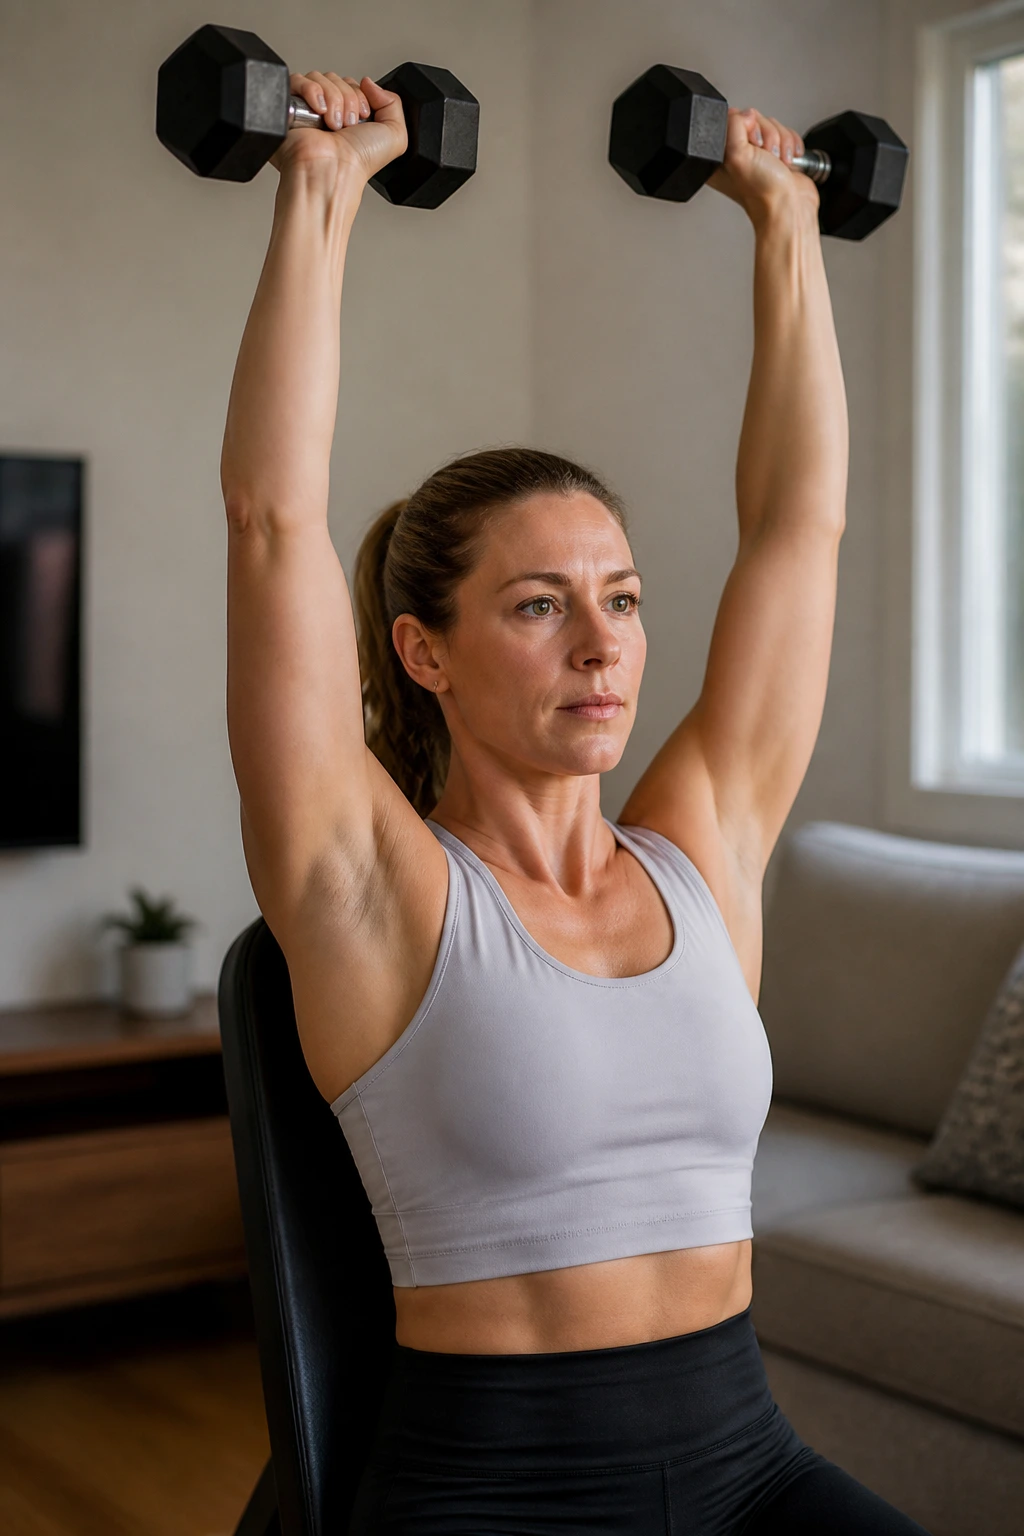
You can do this while sitting on the floor or in a chair. Pressing weights or bands overhead requires you to keep your spine tall and your core braced. This prevents you from rounding your back, which is a common compensation pattern for people who have weak core muscles and knee pain.
When you press, keep your wrists stacked directly over your elbows. Do not arch your lower back to get the weight up; if you have to arch, the weight is too heavy or your core isn’t tight enough. This builds the shoulder stability you need for daily life without ever putting a single pound of pressure on your lower joints.
11. Modified Bird-Dogs
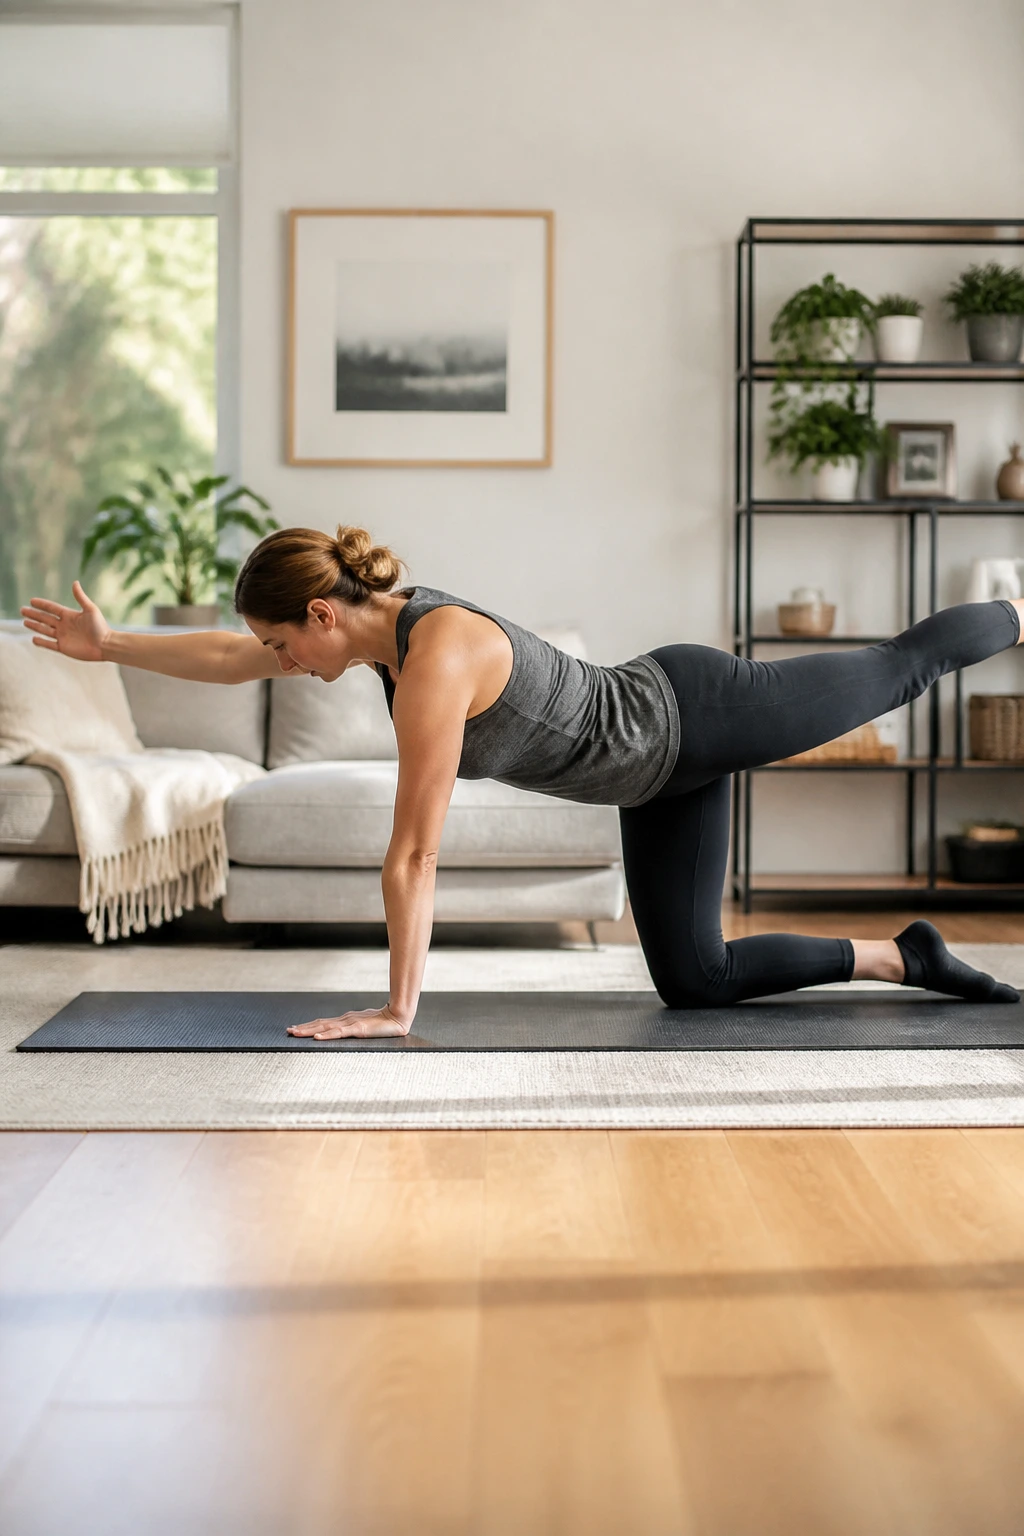
The bird-dog is the gold standard for spine and core health. Get on your hands and knees—if your knees hurt on the floor, double over your yoga mat or use a specialized knee pad. Extend your opposite arm and opposite leg simultaneously.
The movement is about reach, not height. Don’t try to lift your leg toward the ceiling; try to reach it toward the back wall. This keeps your pelvis square to the floor. If you start twisting, you lose the core benefit and introduce shear forces that you want to avoid. This exercise trains your body to move in a coordinated, stable way, which translates directly to a more comfortable, pain-free gait when you walk.
12. Seated Calf Raises
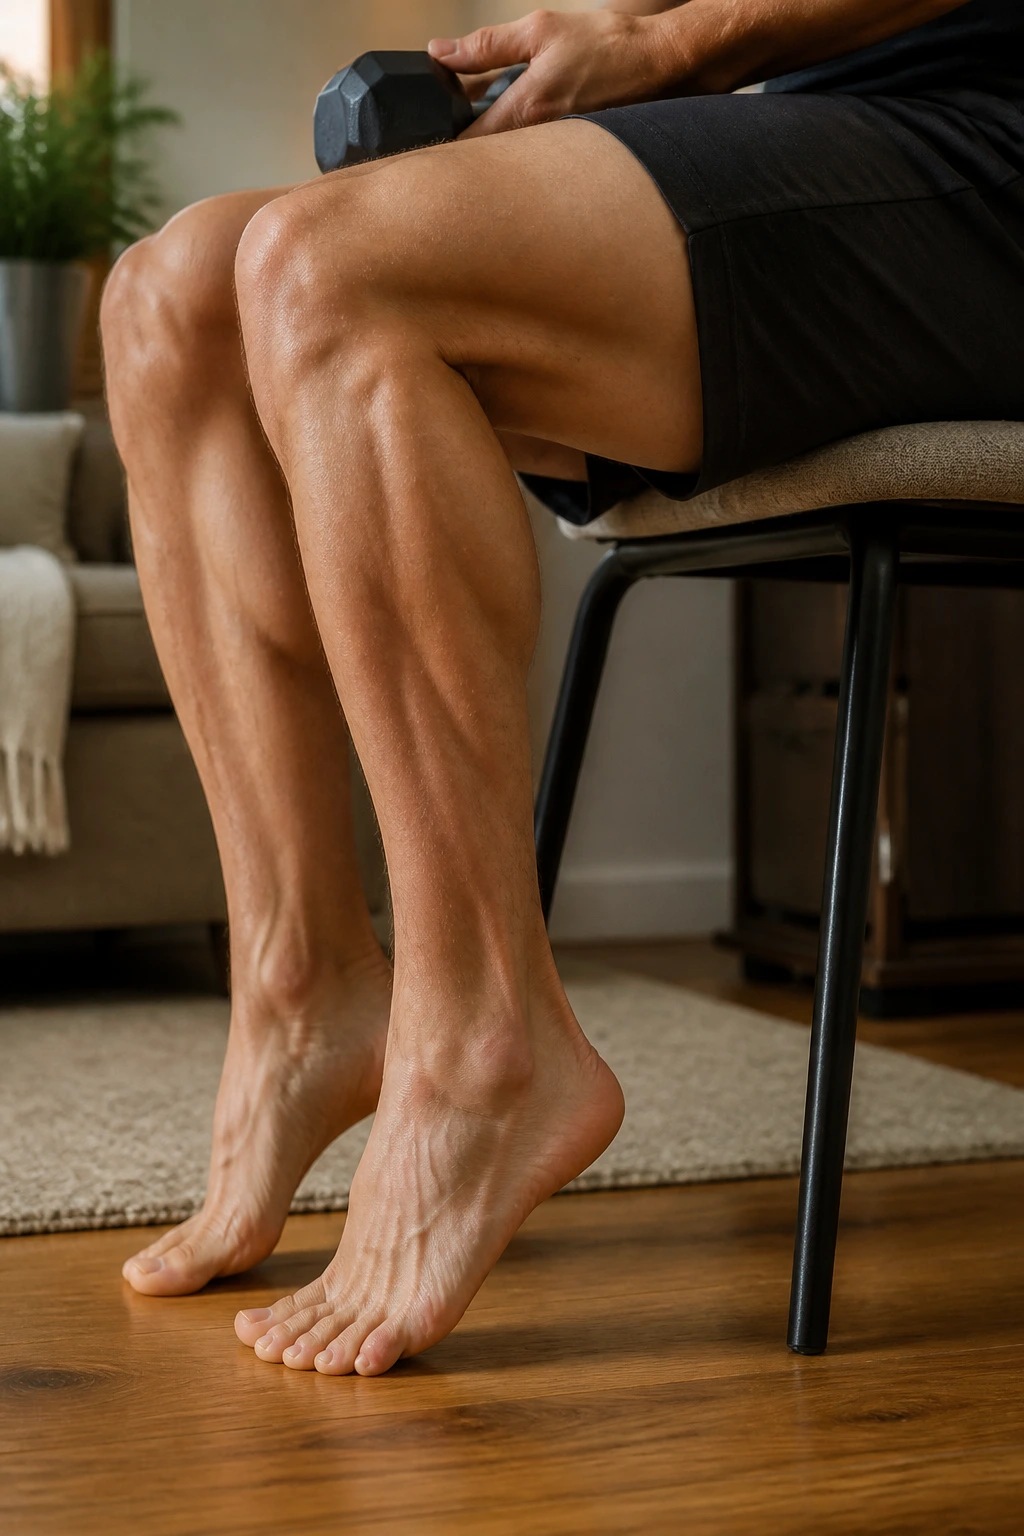
Calf strength is often overlooked in knee health, but strong calves help absorb the shock of walking. Sit on a chair with your feet flat on the floor. Place a heavy object—a stack of books or a weighted backpack—on your knees. Raise your heels as high as possible, squeezing the muscles in the back of your lower leg, then lower them slowly.
This is much easier on the knees than standing calf raises, which force the knee joint to stabilize your entire body weight. By sitting, you isolate the calf muscles completely. Try to hold the peak contraction for a full second. You will feel a burn in your calves that is quite different from what you get when standing.
13. Side-Lying Leg Lifts
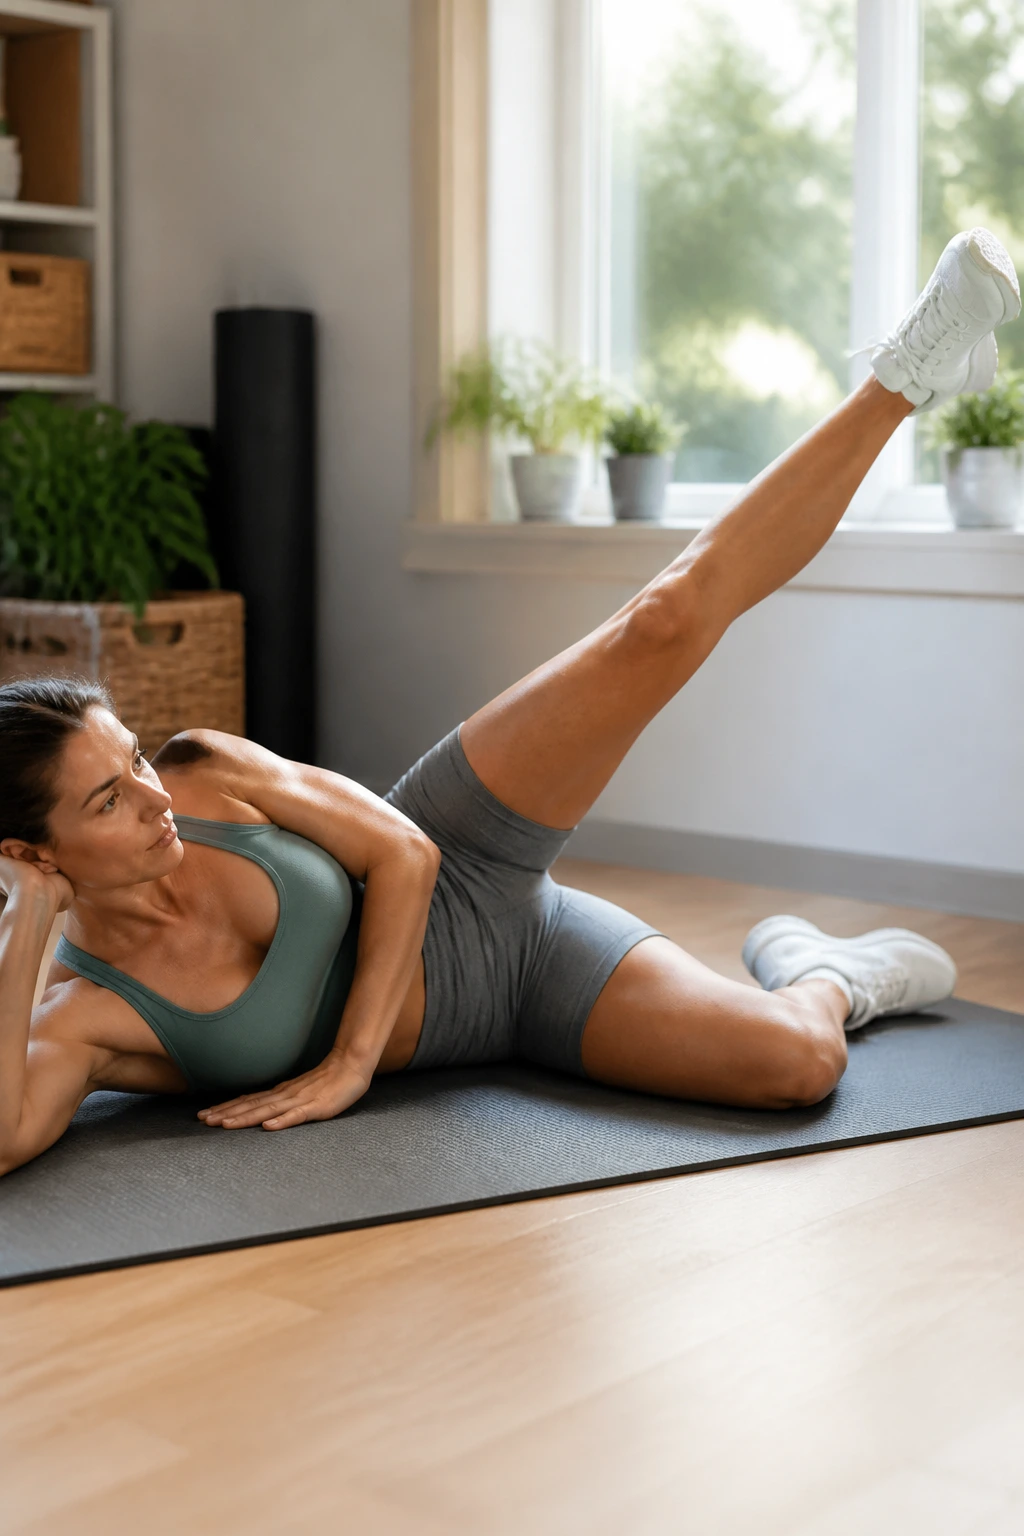
We often focus on the front and back of the legs, but the sides—the abductors—are crucial for knee stability. Lie on your side, keep your bottom leg bent for stability, and straighten your top leg. Lift that top leg toward the ceiling, keeping your toe pointed slightly downward to ensure you are working the glute medius, not the hip flexor.
Lower the leg slowly. Do not let it “drop” to the floor. The resistance of gravity on the way down is where the strengthening happens. Aim for 12 to 15 reps. If you feel this in your hip, you are doing it right. This muscle group is your first line of defense against the knees “caving in” during daily movement.
14. Seated Toe Taps
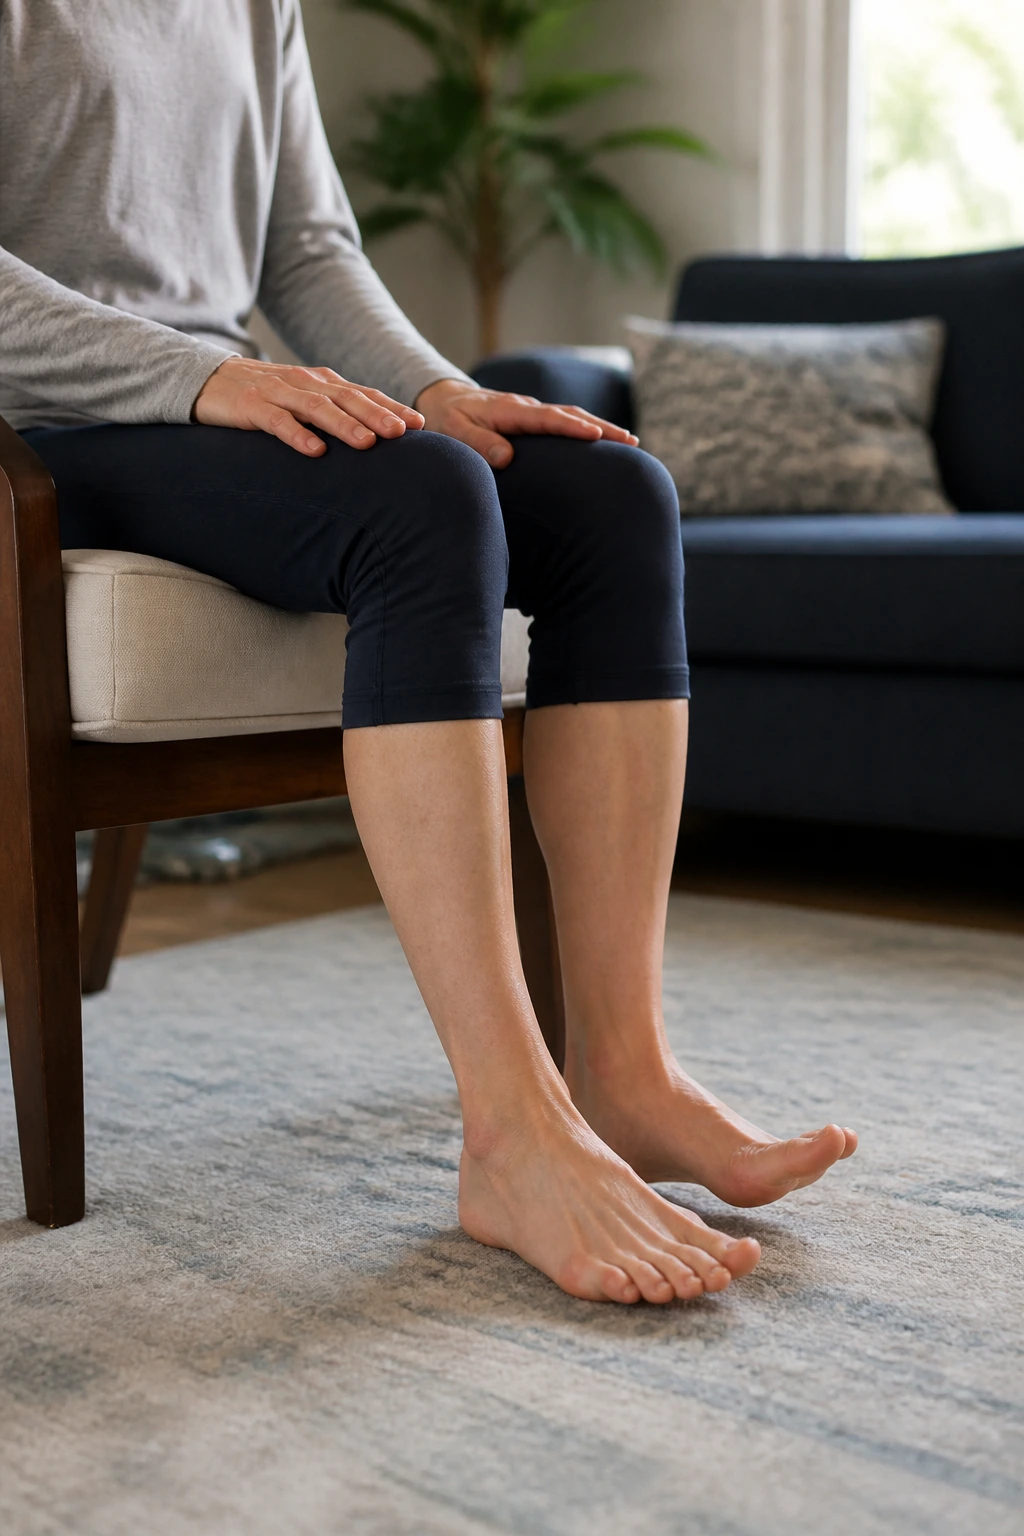
This is a simple, rhythmic exercise you can do while watching television. Sit in a chair with your feet flat. Keep your heels on the floor and tap your toes as fast as you can. Then, keep your toes on the floor and lift your heels as fast as you can.
This engages the muscles of the lower leg without putting any weight through the knee joint. It is a fantastic way to improve circulation and get a bit of active recovery work in without stressing the joint. You will be surprised by how quickly the muscles in your shins start to burn.
15. The “Dead Bug” Exercise
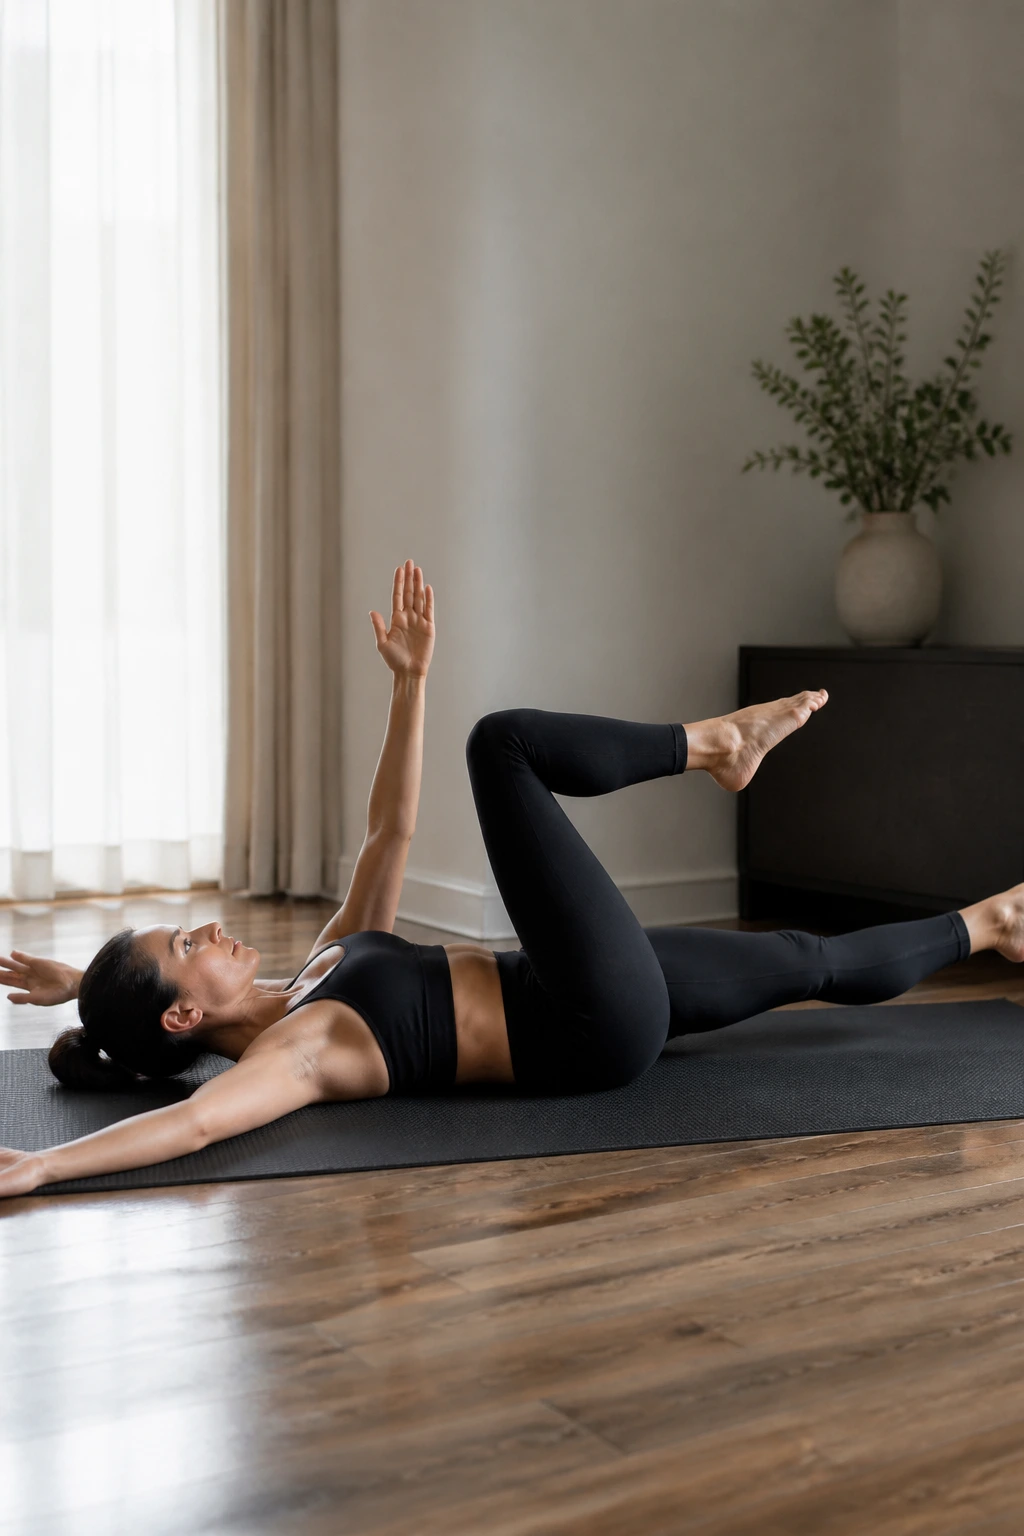
The dead bug is arguably one of the most effective core exercises for anyone with back or knee pain because it keeps your spine entirely supported by the floor. Lie on your back, arms extended toward the ceiling, knees bent at 90 degrees in the air.
Slowly lower your opposite arm and opposite leg toward the floor, keeping your lower back pressed firmly into the mat. Do not let your back arch. If it arches, stop and reset. This teaches your core to resist the forces that want to pull your spine into an extension. A stable spine means a stable pelvis, which means happy knees.
16. Seated Torso Twists
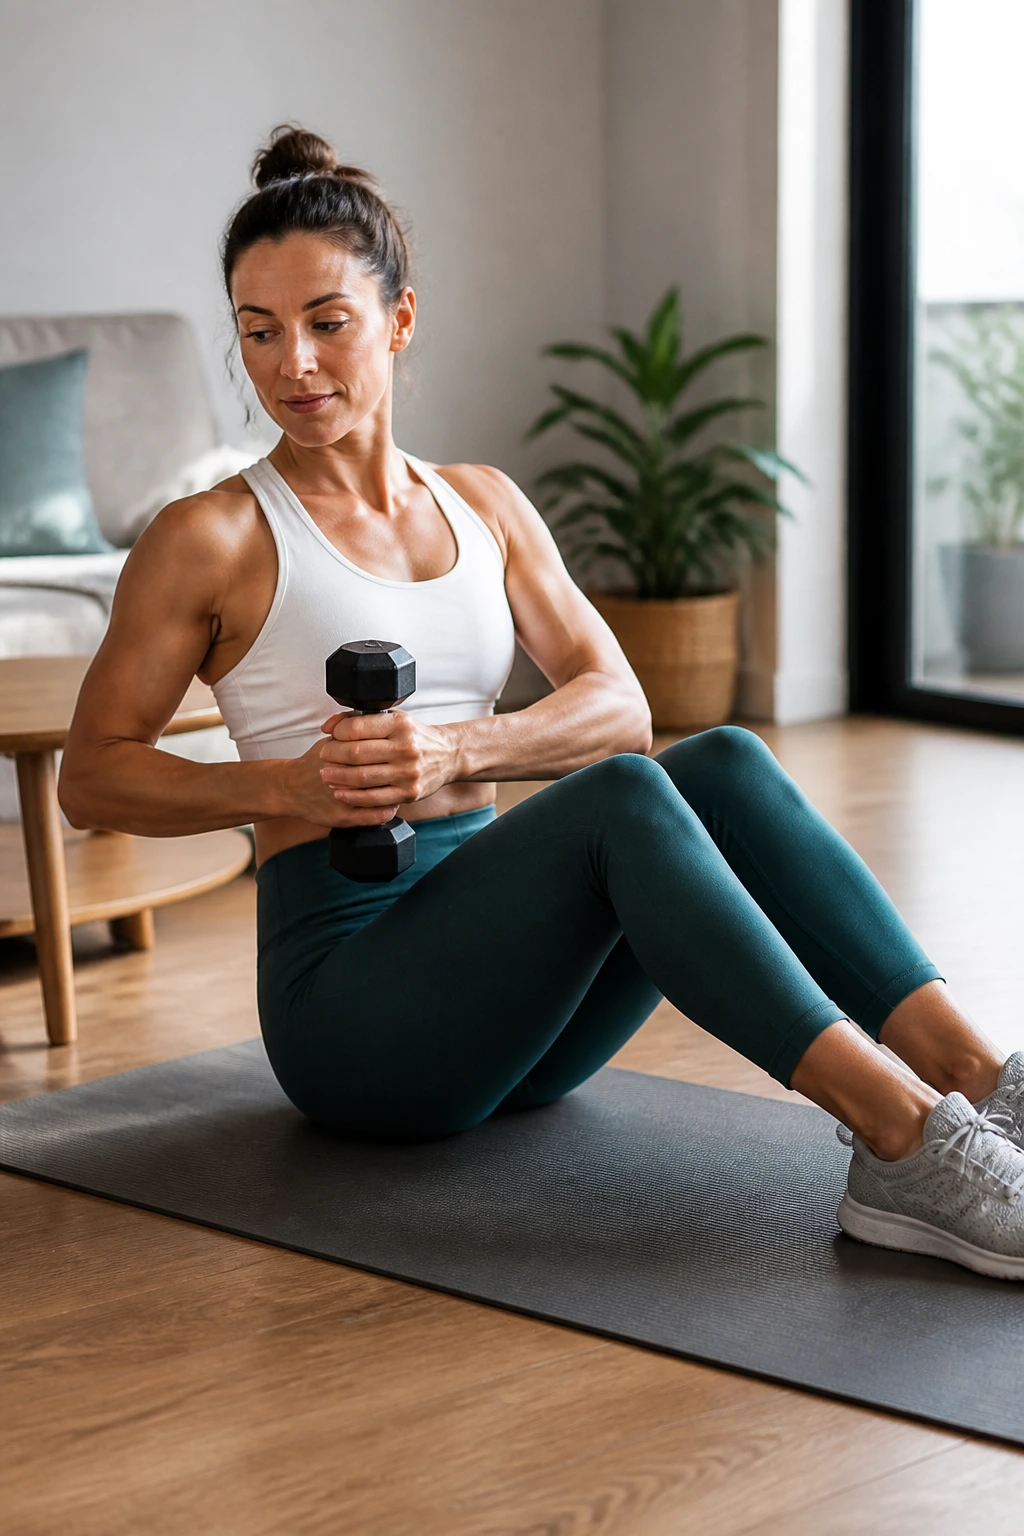
A stiff spine often leads to people compensating by twisting through their hips and knees when they turn. By improving your thoracic—upper back—mobility, you save your lower joints from unnecessary torque. Sit on the floor with your knees bent, lean back slightly to engage your core, and rotate your torso from side to side.
You can hold a light weight or a water bottle to add a bit of challenge. Move slowly. Feel the stretch in your ribcage and the engagement in your obliques. You are looking for a smooth, controlled rotation, not a jerky, fast movement.
17. Standing Hip Extensions (using a counter)
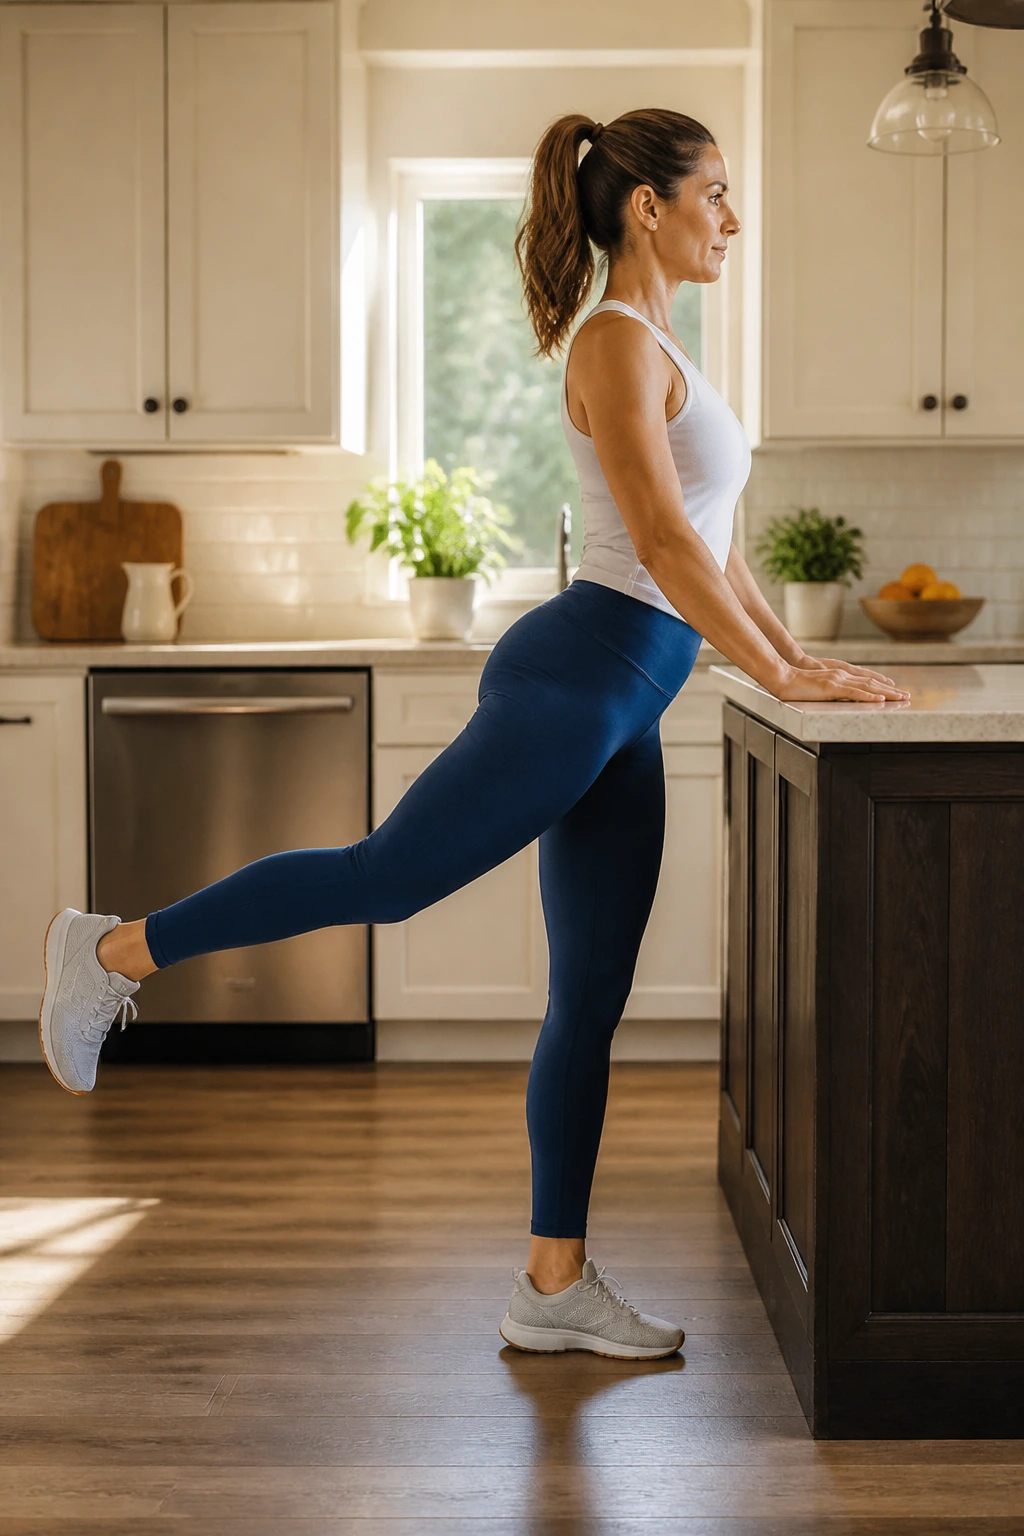
If you can stand, use a kitchen counter for support to keep your weight off your knees. Stand on one leg—with a slight, comfortable bend in that knee—and extend the other leg straight back behind you, squeezing your glute.
This is a balance and glute exercise. By holding the counter, you eliminate the need to balance, allowing you to focus entirely on the glute squeeze. Don’t lean forward. Stay upright. If you lean, you turn this into a back exercise. Keep your torso tall and move only from the hip joint.
18. Ankle Circles and Dorsiflexion
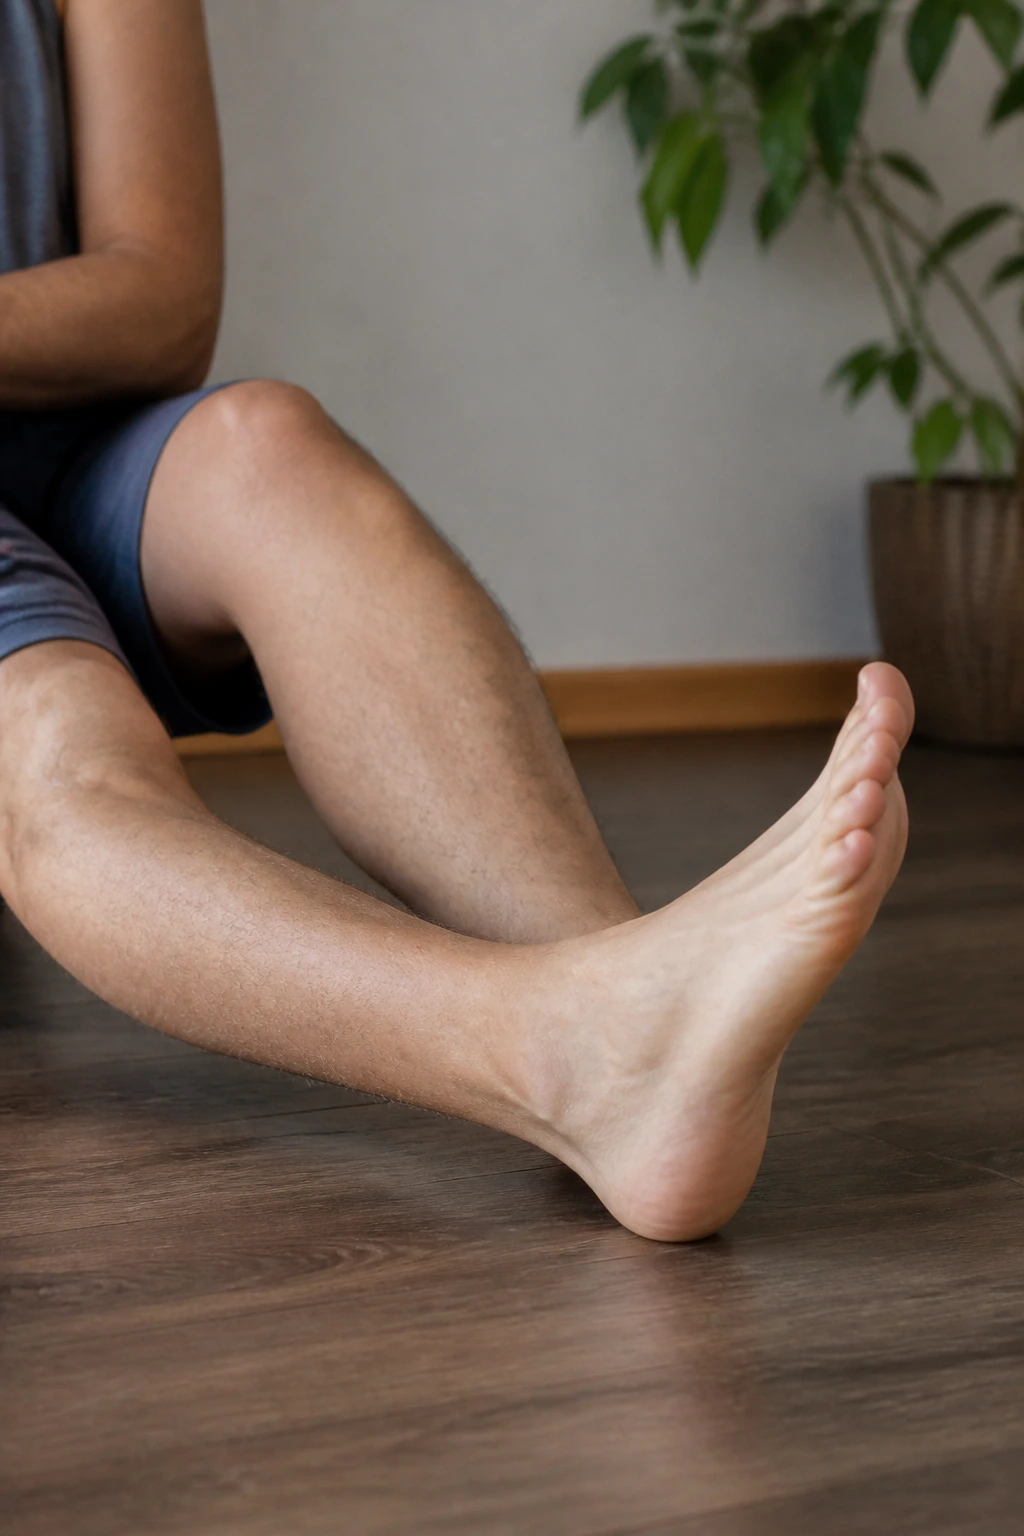
Often, knee pain is actually a symptom of limited ankle mobility. If your ankles don’t flex properly, your body finds that missing range of motion by stressing the knee. Sit and perform slow, controlled ankle circles. Then, pull your toes toward your shin as hard as you can.
Hold the pulled-up position for five seconds, then point your toes away. Repeat this 20 times. It sounds simple, but it is highly effective. Think of this as “joint maintenance.” Just like you would oil a hinge, you are keeping your ankle joint flexible so your knee doesn’t have to work overtime.
19. Shadow Boxing (Seated)
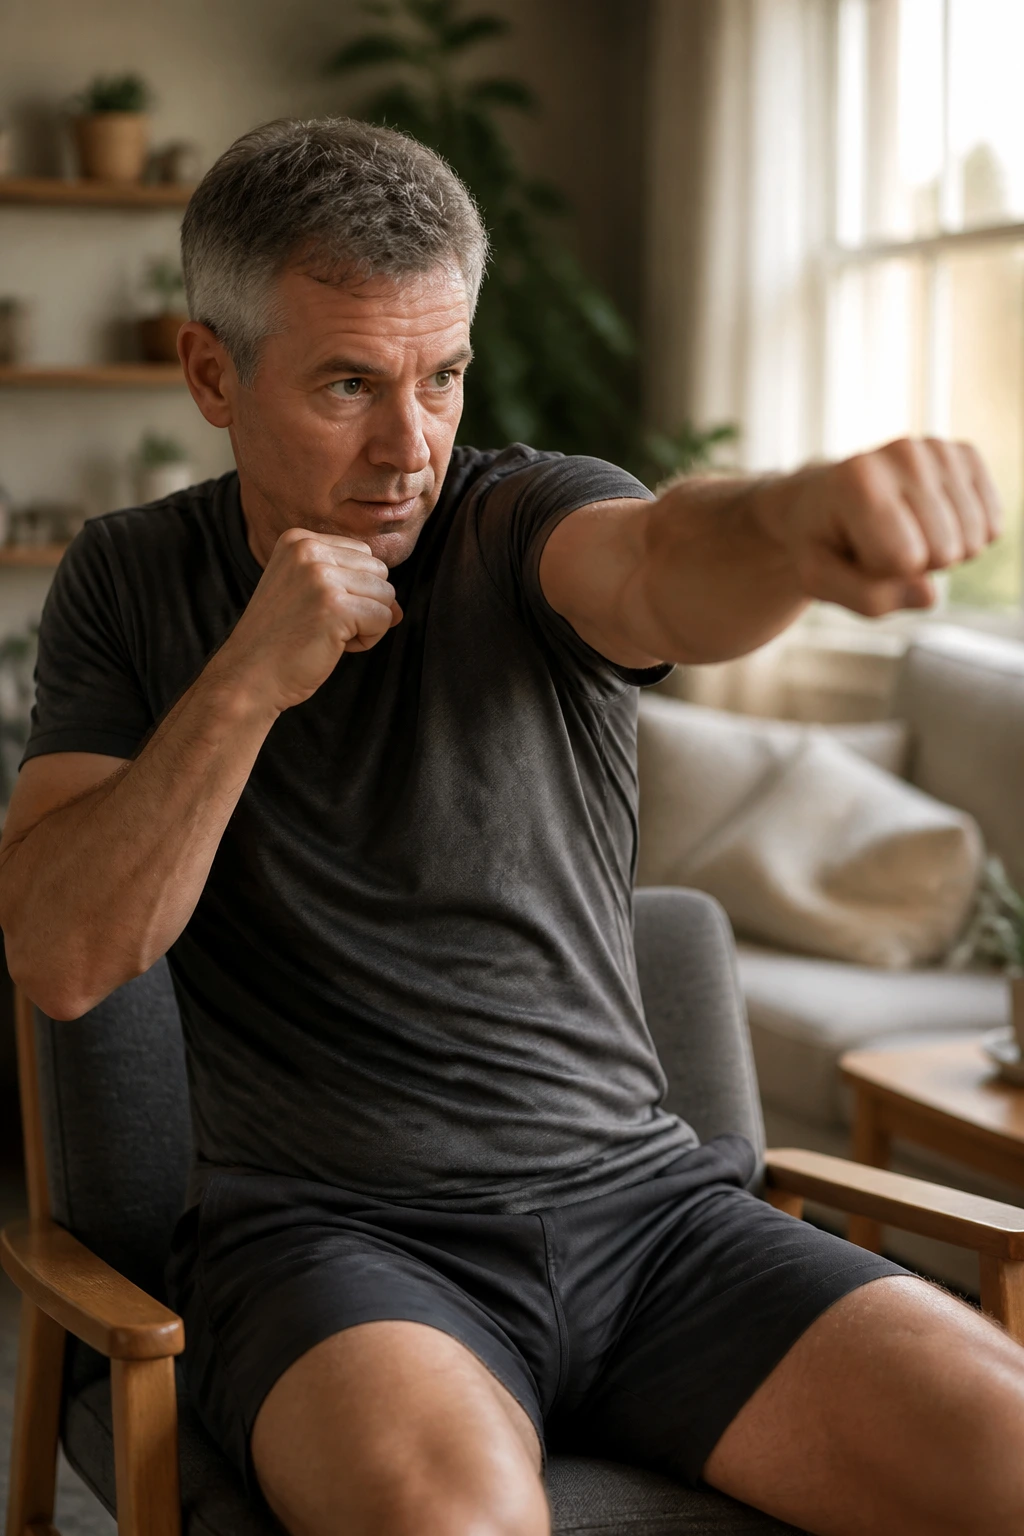
Yes, you can shadow box while sitting in a chair. It gets your heart rate up, improves upper body endurance, and is completely knee-neutral. The key is to keep your core tight so you aren’t just flailing your arms.
Throw jabs, crosses, and hooks. Keep your punches controlled—do not snap your elbows fully, just extend until your arm is nearly straight. The rotation of your torso as you punch provides a great core workout. It is an excellent way to get in some cardiovascular work if your knees are currently too inflamed for walking.
20. Controlled Walking on Flat Surfaces
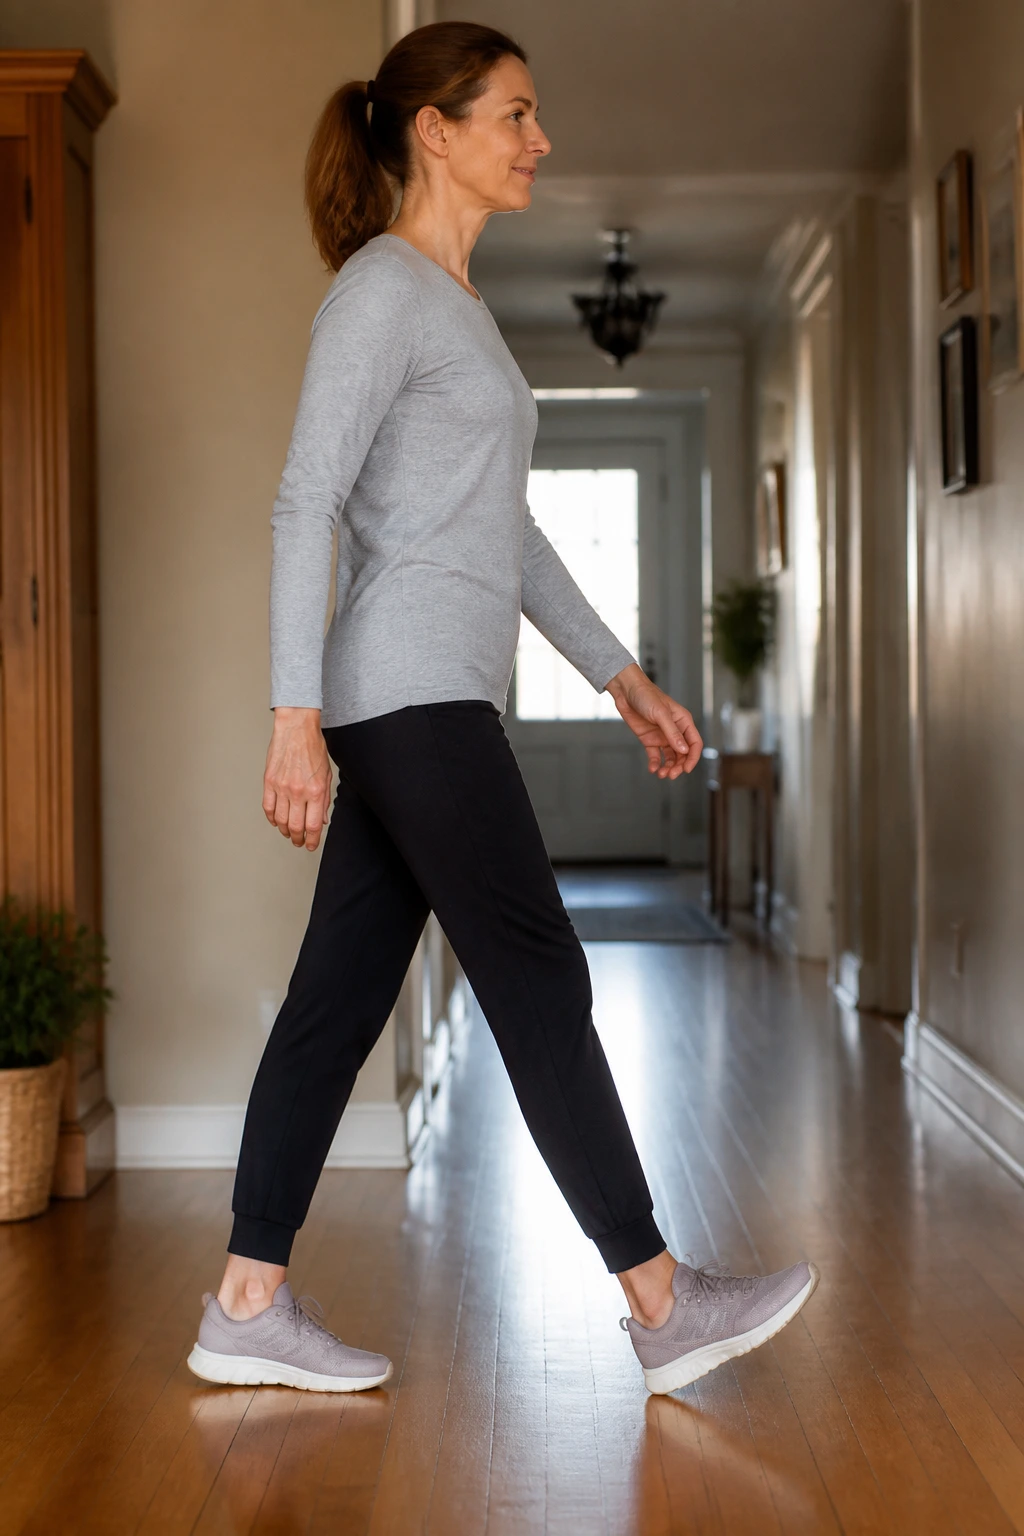
Walking is a natural, low-impact movement—provided you do it correctly. Most people with knee pain walk with a “heavy” stride, stomping their feet. This sends a shockwave right up the leg. Practice a “soft” walk.
Imagine you are walking on thin ice. You want to land your foot quietly. Roll through your foot from heel to toe. Keep your steps slightly shorter than you think they should be. By shortening your stride, you reduce the amount of time you are putting weight on the leading leg, which significantly lowers the force on your knee. Avoid hills or uneven trails until your strength and stability improve.
Final Thoughts
When you start focusing on low-impact movement, the results are rarely flashy, but they are incredibly consistent. You aren’t looking for a quick fix or a sudden transformation; you are looking to build a framework of support around your joints. It’s about creating a body that doesn’t just “handle” the day but feels capable and stable throughout it.
Listen to your body. There is a difference between the “good” soreness of a muscle that has been worked and the “bad” pain of a joint that is being overstressed. If something hurts, stop, adjust your position, or choose a different movement. You have twenty options here, and not all of them will feel right for you every single day. That is perfectly okay. The best workout for your knees is the one you can do without pain, and that is a metric that changes as you get stronger. Stay consistent, stay patient, and keep moving.
