



The ugly truth about hanging belly fat workouts for women is that no single move melts the lower belly on command. A better workout does three jobs at once: it burns calories, braces the core, and keeps your posture from folding forward at the waist.
Nope, crunches alone will not fix it. The soft fold over jeans or leggings is usually a mix of body fat, posture, bloating, loose skin, and plain old genetics, which is why the smartest routines mix floor work, standing moves, and full-body conditioning instead of chasing one magical ab exercise.
If you’ve had a baby, deal with a cranky lower back, or feel your pelvic floor complain when impact gets bouncy, that changes the game a little. Some moves should stay slow and controlled; others can be fast and sweaty; a few should stay on the floor until your body says they’re fine.
I keep coming back to the same idea because it matters: the exercises below train the midsection in ways that show up in real life, not just in a gym mirror. Start with the one that matches your body today, then build from there.
1. Dead Bug for Deep Core Control
If your lower back lifts off the floor, the dead bug has already stopped doing its job. That is the whole point of this move: teach your abs to stay braced while your arms and legs move in opposite directions.
I like dead bugs first because they punish sloppy form in the nicest possible way. You can’t cheat one and still call it a rep. Keep one knee over the hip, the other leg reaching long, and exhale as the opposite arm goes back. That slow exhale matters more than most people think.
How to make it work
- Do 3 sets of 6 to 8 reps per side.
- Keep the low back gently pressed into the floor.
- Move slowly enough that each rep takes about 5 to 6 seconds.
- Stop the range of motion before your ribs pop up.
A lot of people rush this and turn it into a flailing limb exercise. Don’t. The cleaner your bracing, the more useful the move becomes for a tighter, steadier midsection.
2. Mountain Climbers That Spike Your Heart Rate
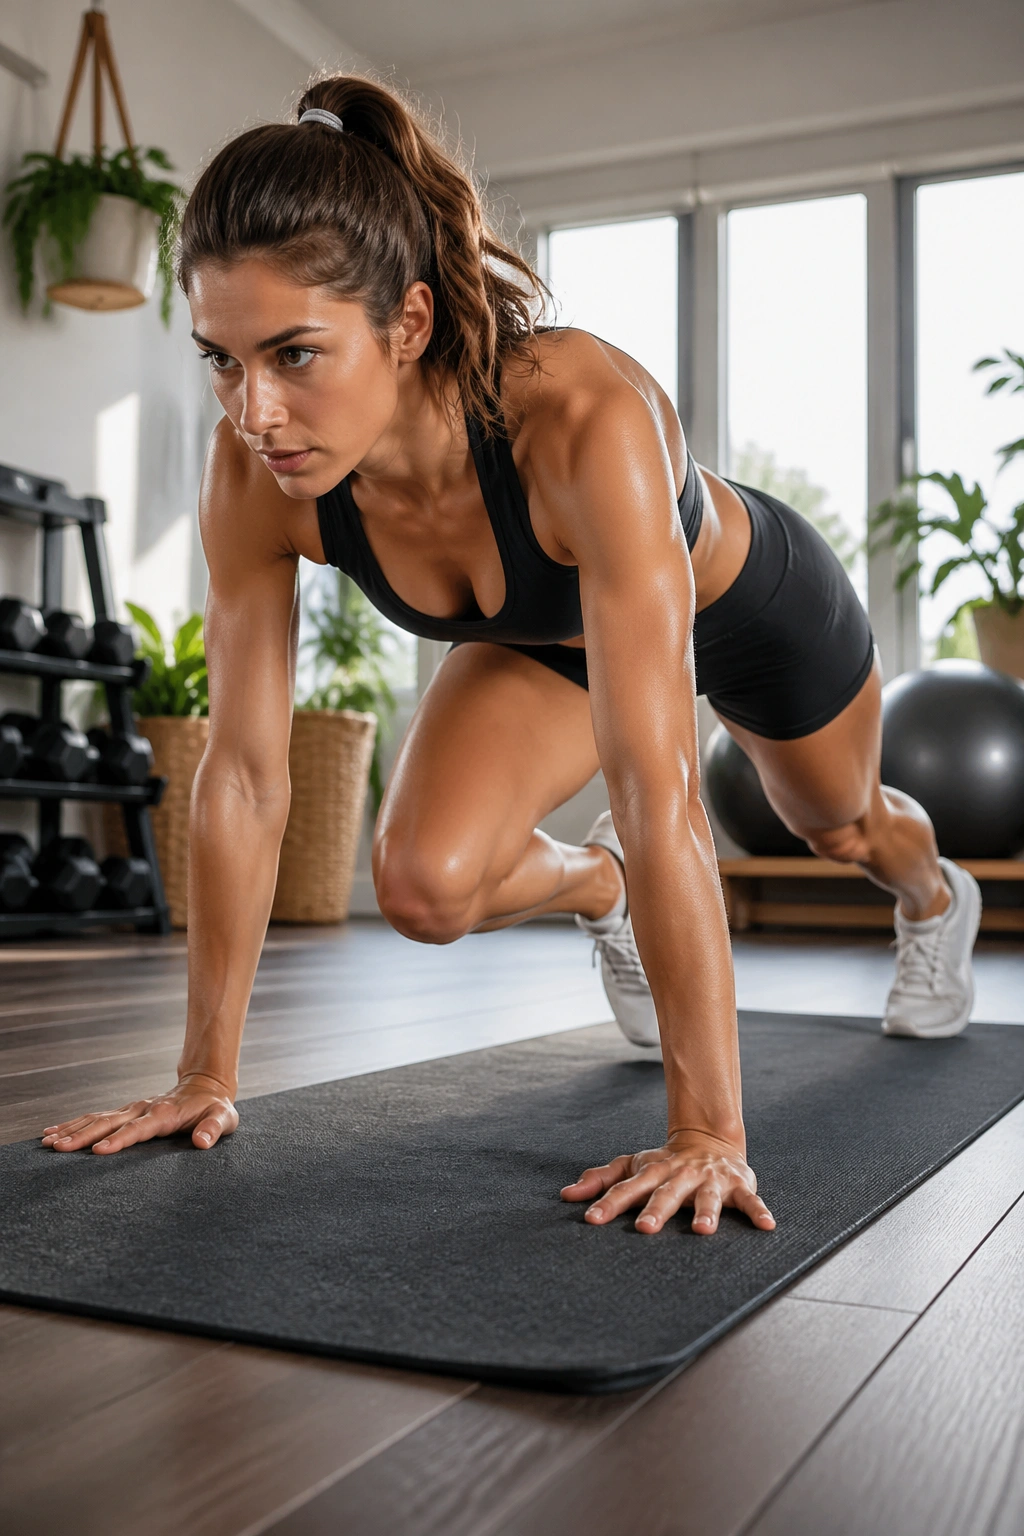
Mountain climbers earn their keep because they train the core and lungs at the same time. That’s a good deal if your goal is to burn calories without spending half the workout staring at a wall doing endless crunches.
The trick is not speed for speed’s sake. Fast climbers with a swaying hips look busy, but they don’t help much. Keep your shoulders stacked over your hands, drive the knees in with purpose, and think about pulling the floor toward you.
Why they work
Your core has to stop your pelvis from wobbling while your legs move. That anti-rotation demand is the part people miss. It’s also why mountain climbers feel harder than they look.
How to pace them
- Work for 20 to 30 seconds.
- Rest for 30 to 40 seconds.
- Repeat for 6 to 10 rounds.
- If your wrists dislike the floor, put your hands on a bench.
Short bursts are enough. All-out chaos is not required. And honestly, chaos is where form goes to die.
3. Reverse Crunches for the Lower Abs
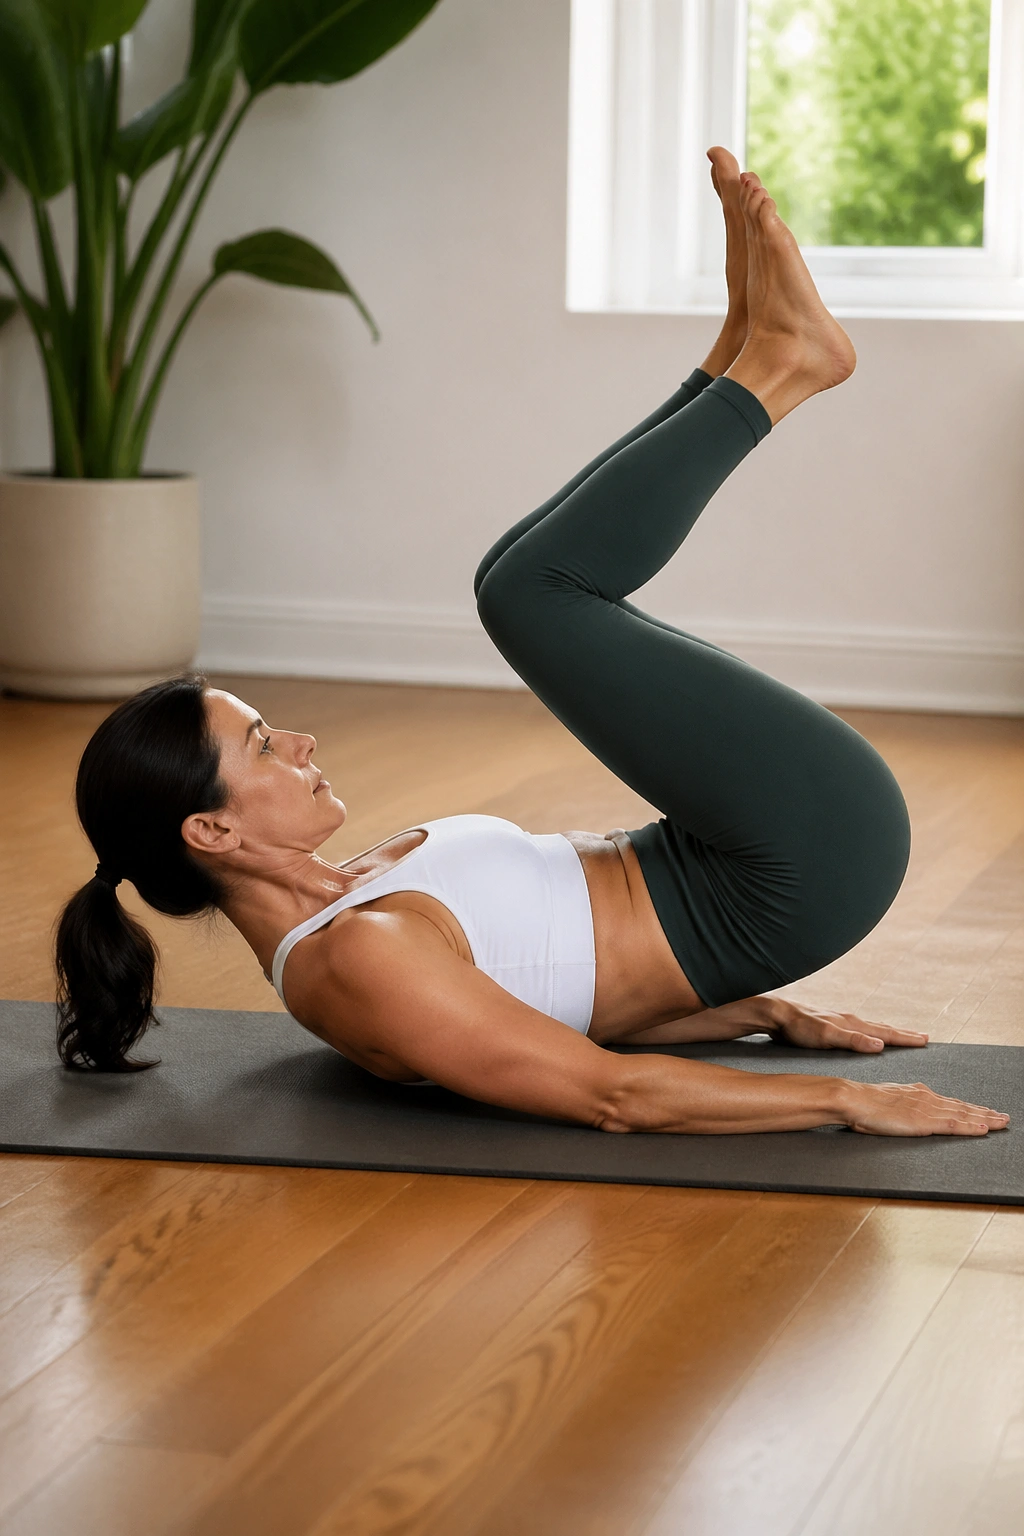
If you want the lower abs to work without the neck strain that comes with endless sit-ups, start here. Reverse crunches are simple, but they’re not lazy. Your job is to curl the pelvis up, not just swing the legs around like a metronome.
The best rep feels small. That surprises people. You pull the knees in, then lift the tailbone a few inches off the floor as the abs tighten hard. If you’re heaving your legs up and down, the hip flexors are stealing the show.
- Keep the knees bent at about 90 degrees.
- Exhale at the top of each rep.
- Do 8 to 12 controlled reps for 3 rounds.
- Lower with control instead of dropping.
One clean reverse crunch beats twenty sloppy ones. Every time.
4. High Knees for Fast Cardio
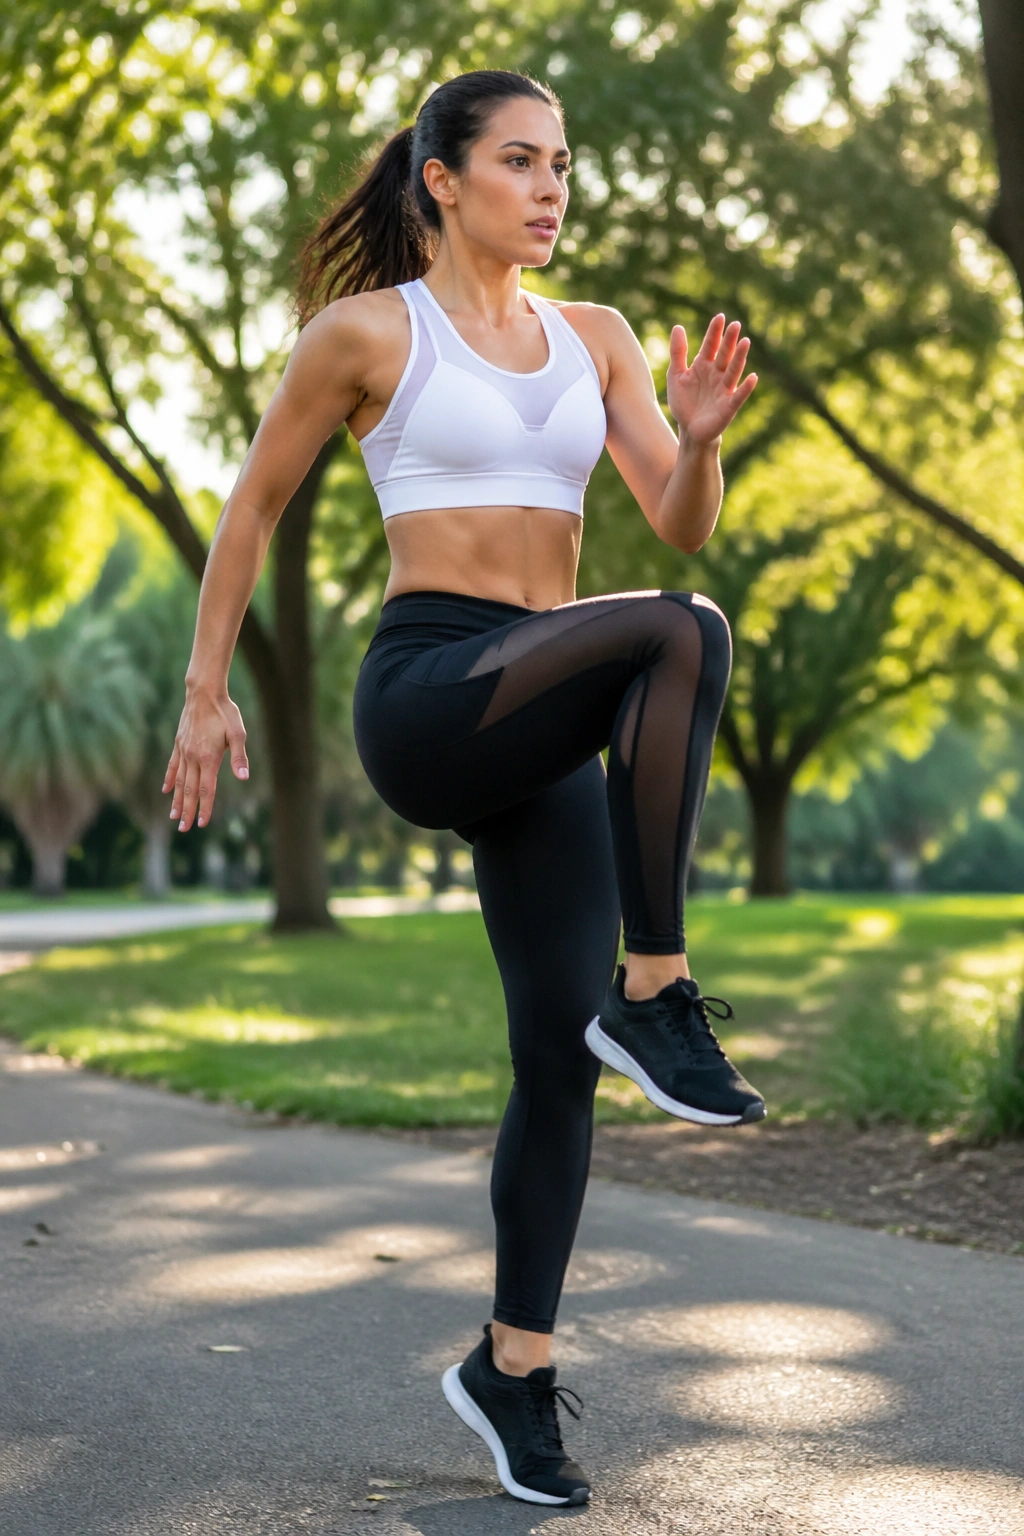
High knees look simple, but the second you try to hold your ribs still, they get honest fast. That’s why they belong on a list of hanging belly fat workouts for women: they raise the heart rate while forcing the trunk to stay organized.
Don’t slam the feet down. Light, quick contacts are better. Pump the arms, keep the chest tall, and lift the knees as high as you can without turning the move into a bounce-fest. If your lower back starts arching, slow down and shorten the stride.
You can also march them. Boring? Maybe. Useful? Absolutely.
A practical way to use them
- Do 30 seconds on, 30 seconds off.
- Repeat for 6 to 8 rounds.
- Choose marching high knees if impact bothers your joints.
- Stay tall and breathe through the nose on the easier rounds.
They’re not glamorous. They do the work anyway.
5. Plank Shoulder Taps That Test Your Bracing
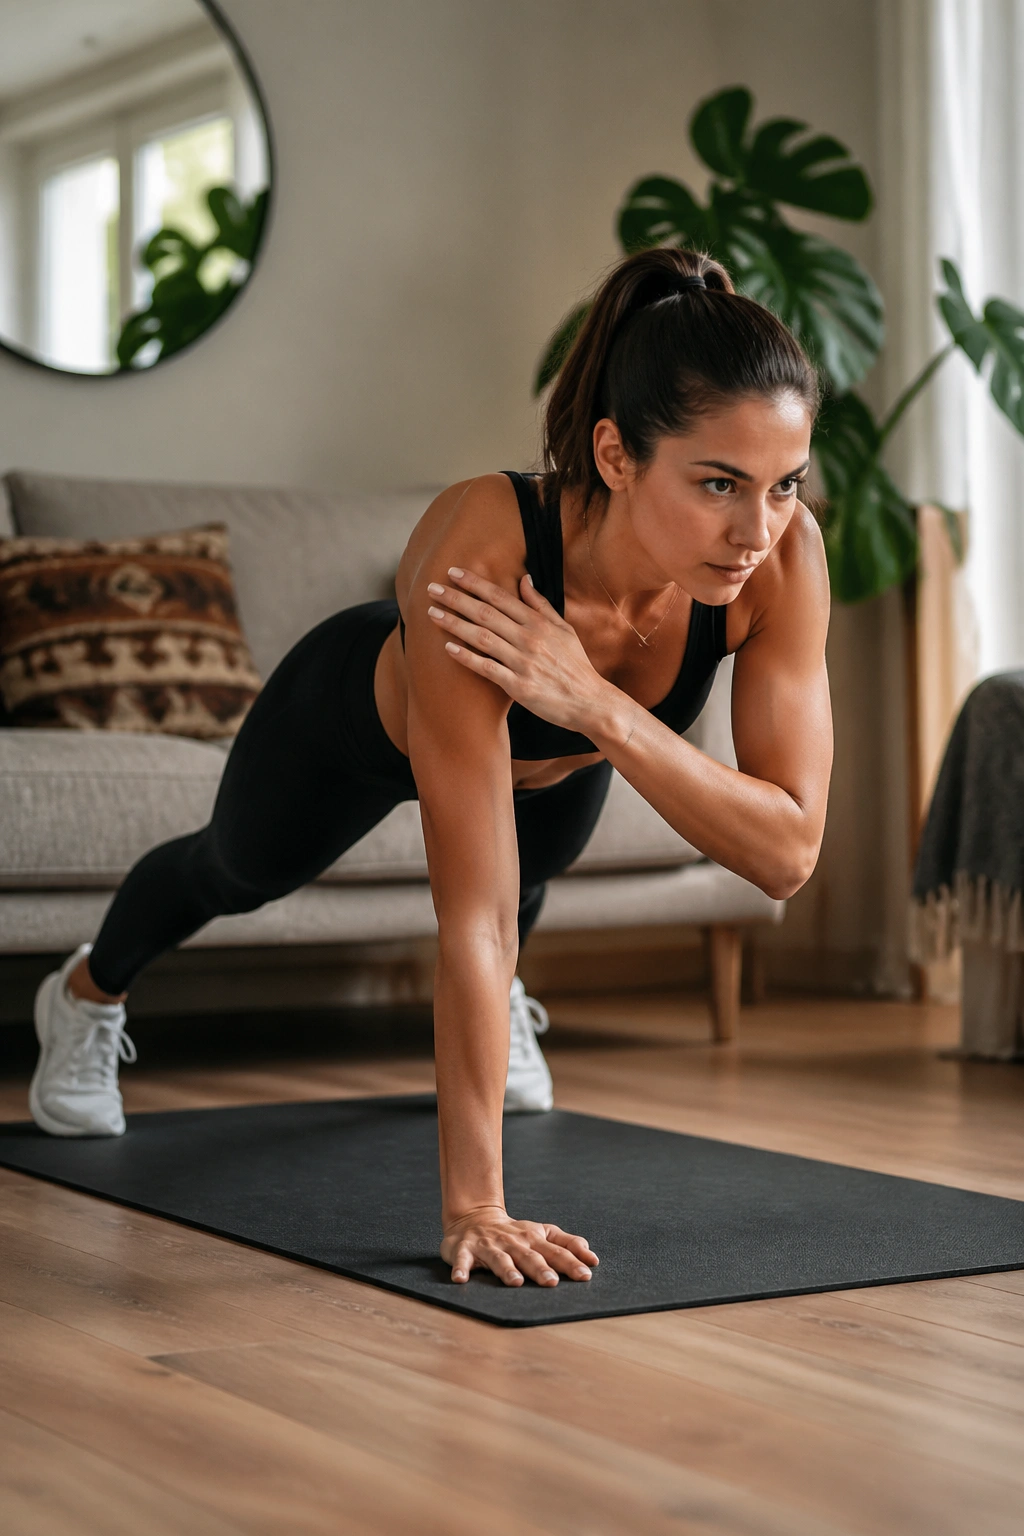
Planks lie. A person can hold one forever and still have a weak, wobbly core if the hips rock every time the hands move. Shoulder taps expose that fast.
Why the tap matters
Each tap asks your body to resist rotation. That’s the real job here. Your abs, obliques, and even your glutes have to quiet the shift so the torso stays square to the floor.
Clean form checks
- Place your feet a little wider than hip-width.
- Press the floor away with both hands.
- Tap one shoulder at a time.
- Keep the hips as still as possible.
If the sway gets big, slow down or widen the stance again. I’d rather see six clean taps than twenty sloppy ones. Control is the whole workout here.
6. Bicycle Crunches for Rotating the Waist
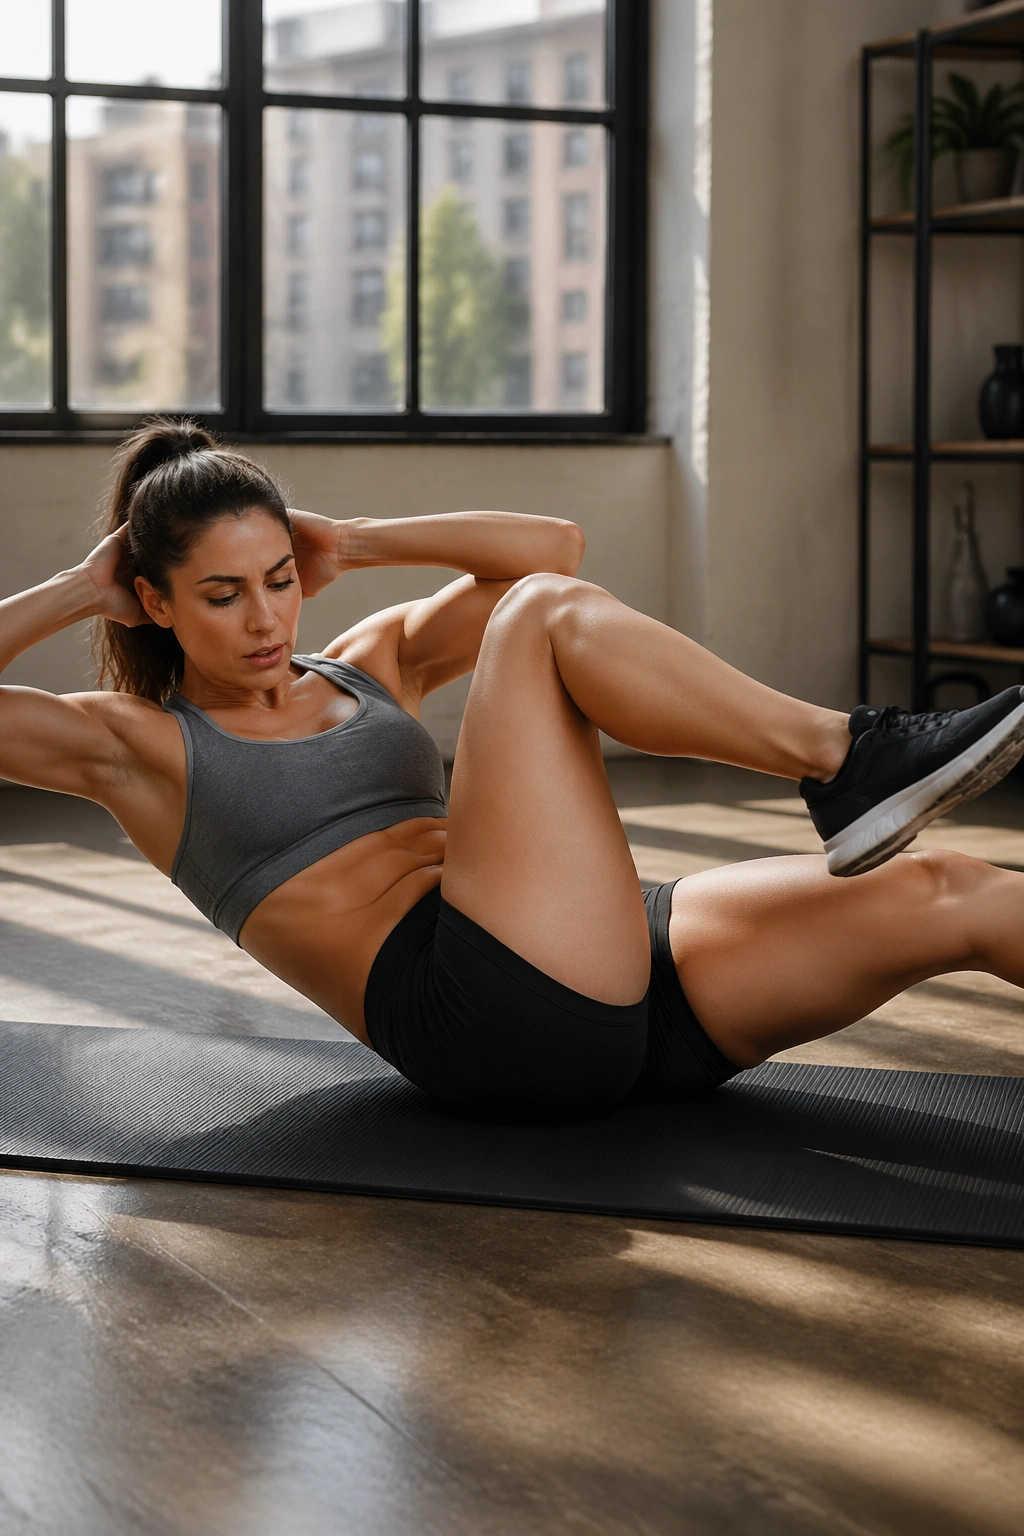
Bicycle crunches are one of those moves people either love or hate, usually because they’ve been doing them fast and ugly for years. Done well, they train rotation, coordination, and the front of the core in one tidy package.
You should feel the abs curl and twist, not the neck yank. Keep the elbows wide, don’t pull on your head, and move as if you’re pedaling through thick air. The slower version is harder. Annoyingly harder. Also better.
Try 2 to 3 sets of 12 to 16 reps per side. If your hip flexors take over, shorten the leg extension and keep the lower back glued down. That little adjustment changes the whole feel of the exercise.
7. Standing Knee Drives for Low-Impact Burn
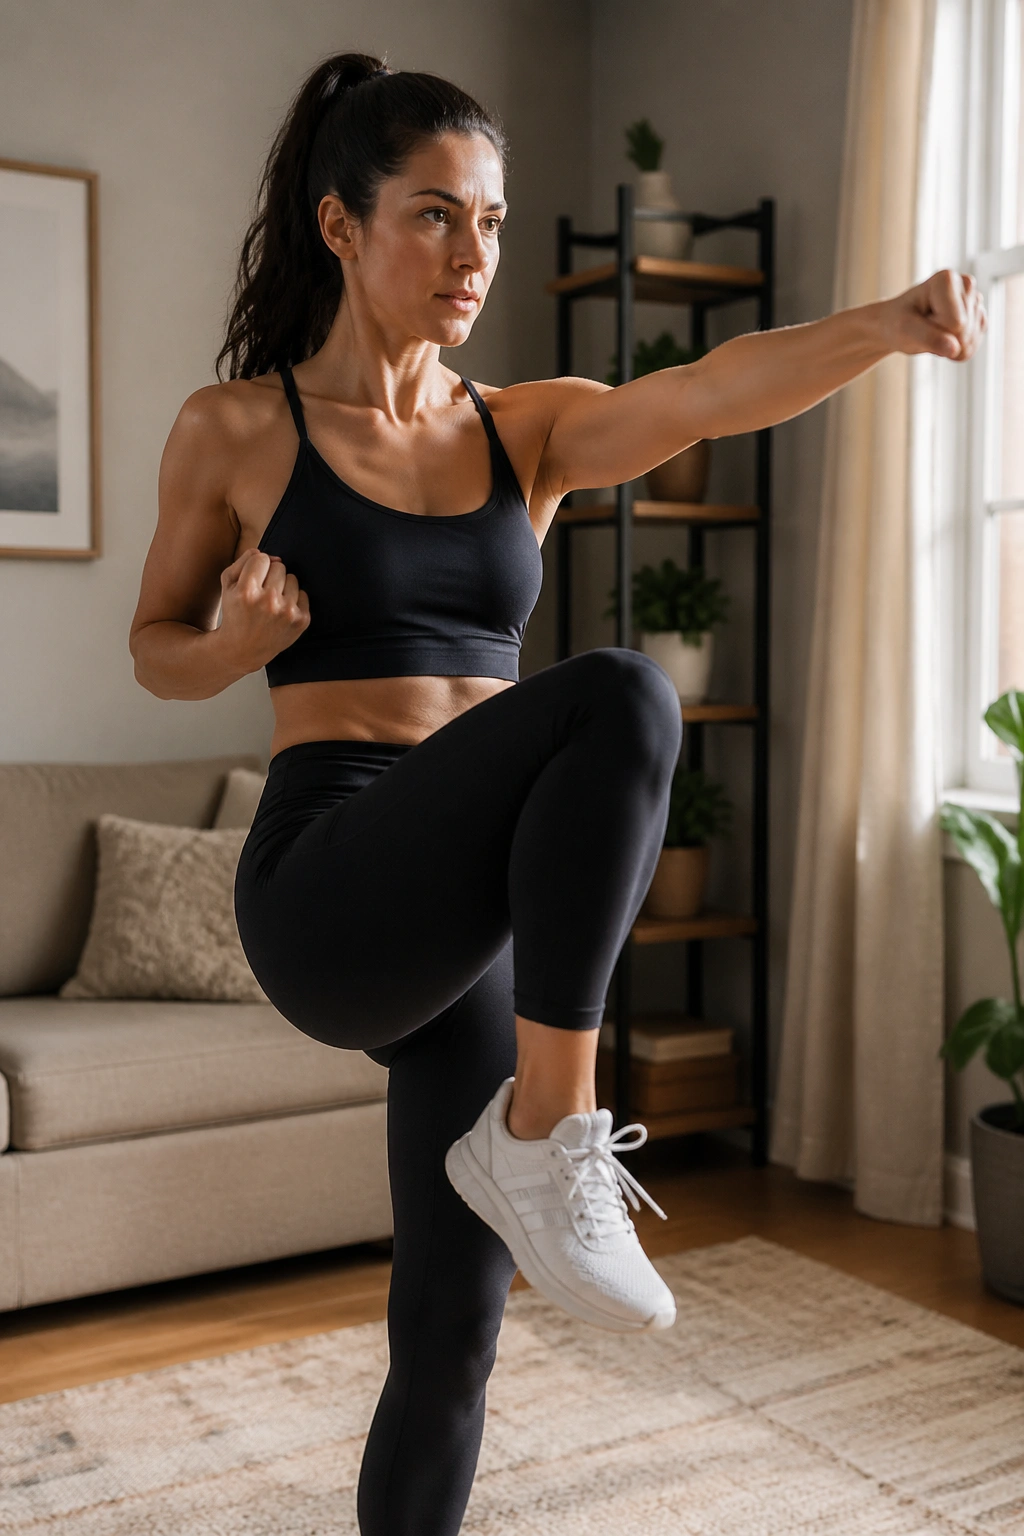
Standing knee drives are the move I like when floor work feels like a chore or your wrists want a break. They look almost too easy, which is exactly why they work as a conditioning tool. You can do them anywhere, too. Living room, hotel room, between errands—none of that matters.
Drive one knee up while the opposite arm punches forward, then switch. Keep the torso tall and avoid crunching so hard that you fold in half. The goal is a sharp, strong lift, not a sloppy stomp.
This one is great for beginners because it teaches core control without a lot of spinal flexion. It also pairs well with walking intervals or bodyweight circuits.
A simple dose: 3 rounds of 45 seconds, then rest for 30 seconds. If that feels too spicy, cut it to 20-second bursts and build from there.
8. Russian Twists Done Slowly and Cleanly
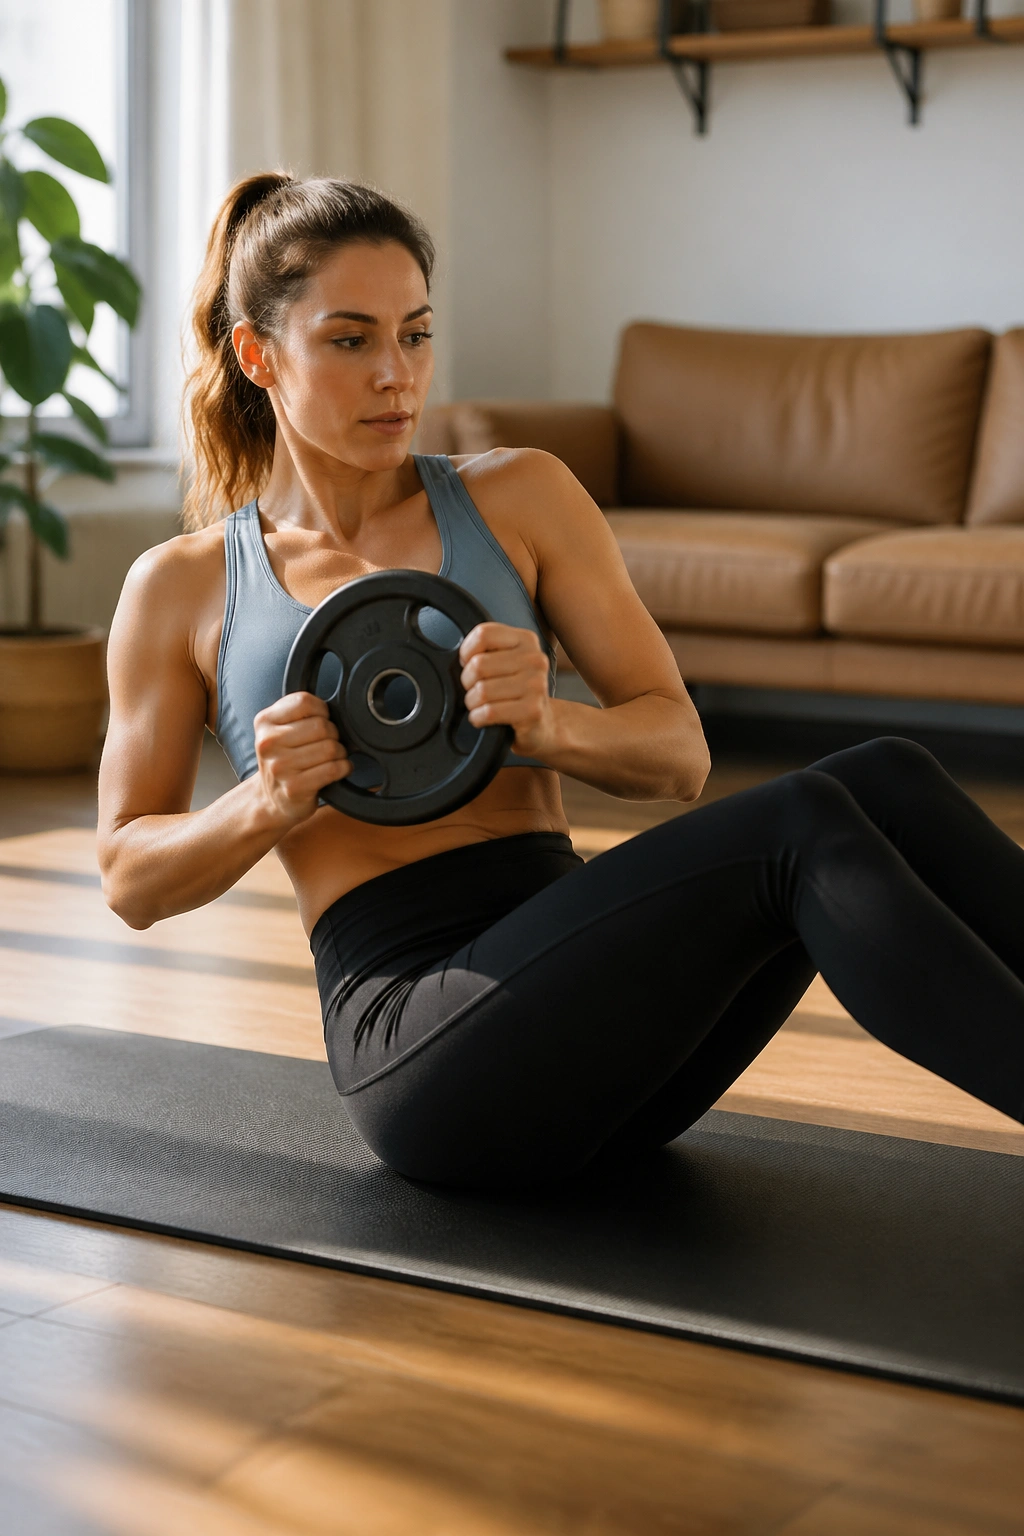
Do Russian twists help a midsection look tighter? Yes—if you keep them slow and stop treating them like a speed contest. The twist itself trains the obliques, but the bigger win is control through the trunk while the shoulders and hips stay organized.
A lot of people lean back too far and start yanking with momentum. That’s the part that irritates backs and does almost nothing useful. Sit tall, lean back only a little, and rotate from the ribs instead of flinging the arms side to side.
How to use it
- Start with feet on the floor if your back is sensitive.
- Hold a light plate or ball, about 4 to 8 pounds.
- Do 10 to 16 total twists per set.
- Keep the movement smooth, not jerky.
If your lower back talks back, reduce the lean and slow the pace. Easy fix.
9. Bird Dog for a Steady Core and Back
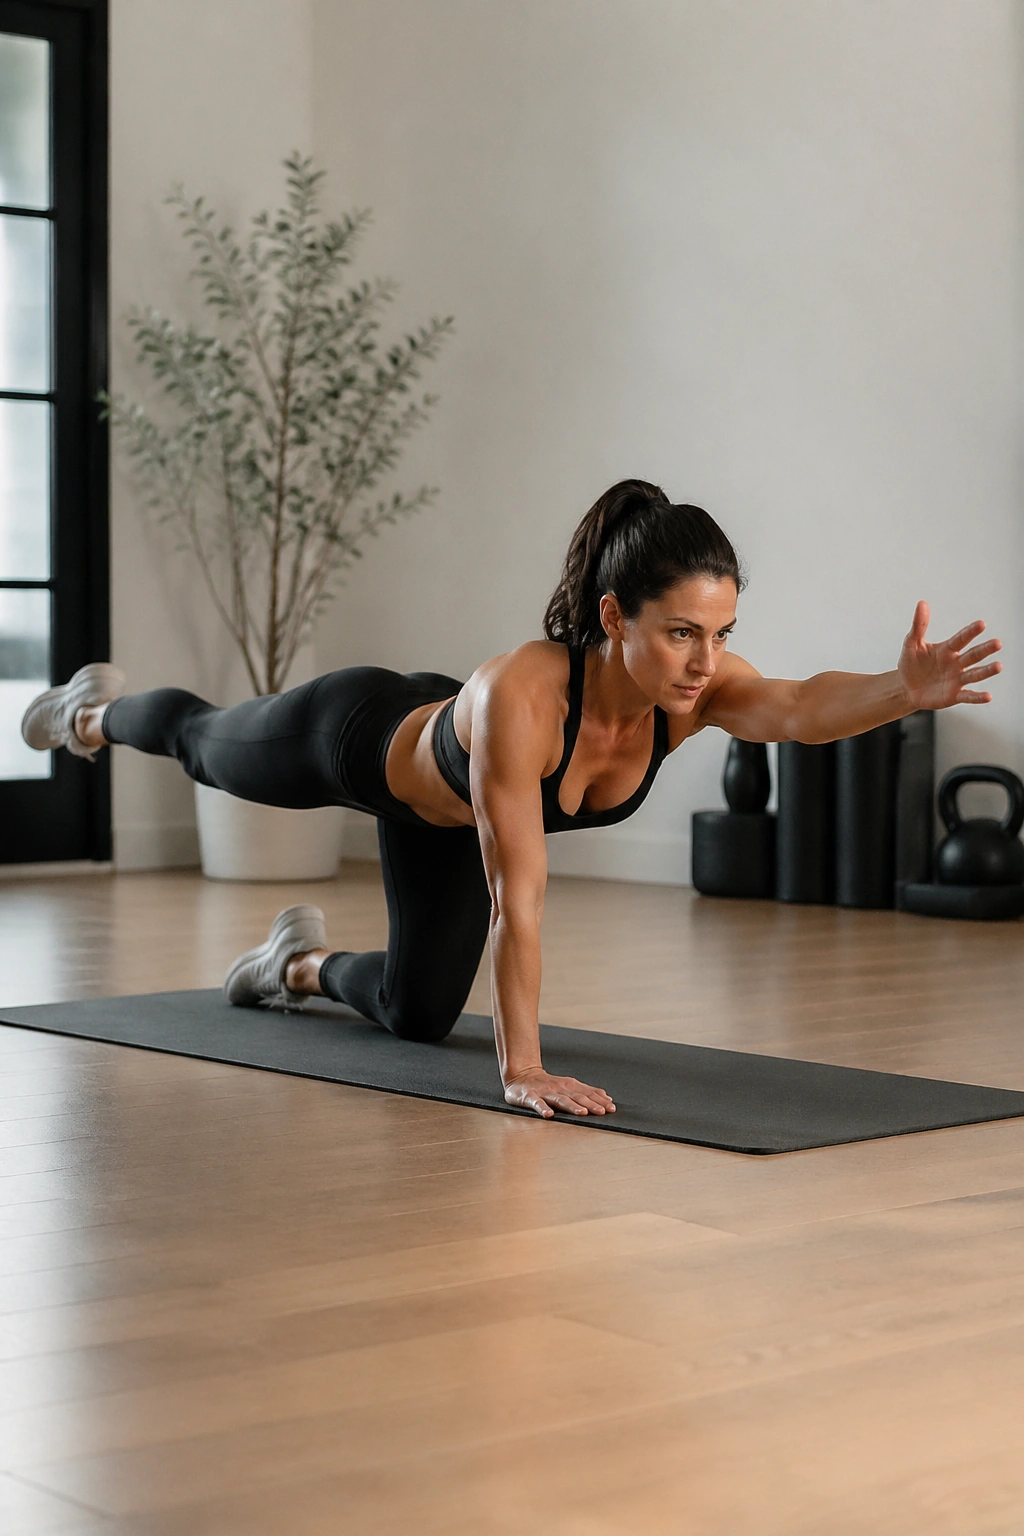
If floor core work makes your back complain, bird dog is usually the first move I reach for. It looks gentle. It isn’t lazy. Your body has to resist twisting while one arm and the opposite leg stretch away from each other.
The magic is in the pause. Reach long, hold for a second or two, then come back without sagging through the middle. That tiny hold makes your trunk work harder than people expect.
- Start on hands and knees.
- Extend one arm and the opposite leg.
- Hold 2 to 3 seconds.
- Do 8 reps per side for 2 to 3 sets.
When this is done well, the back feels supported instead of compressed. That’s a useful feeling when you’re trying to build a stronger waistline without punishing your spine.
10. Squat to Overhead Press for Full-Body Work
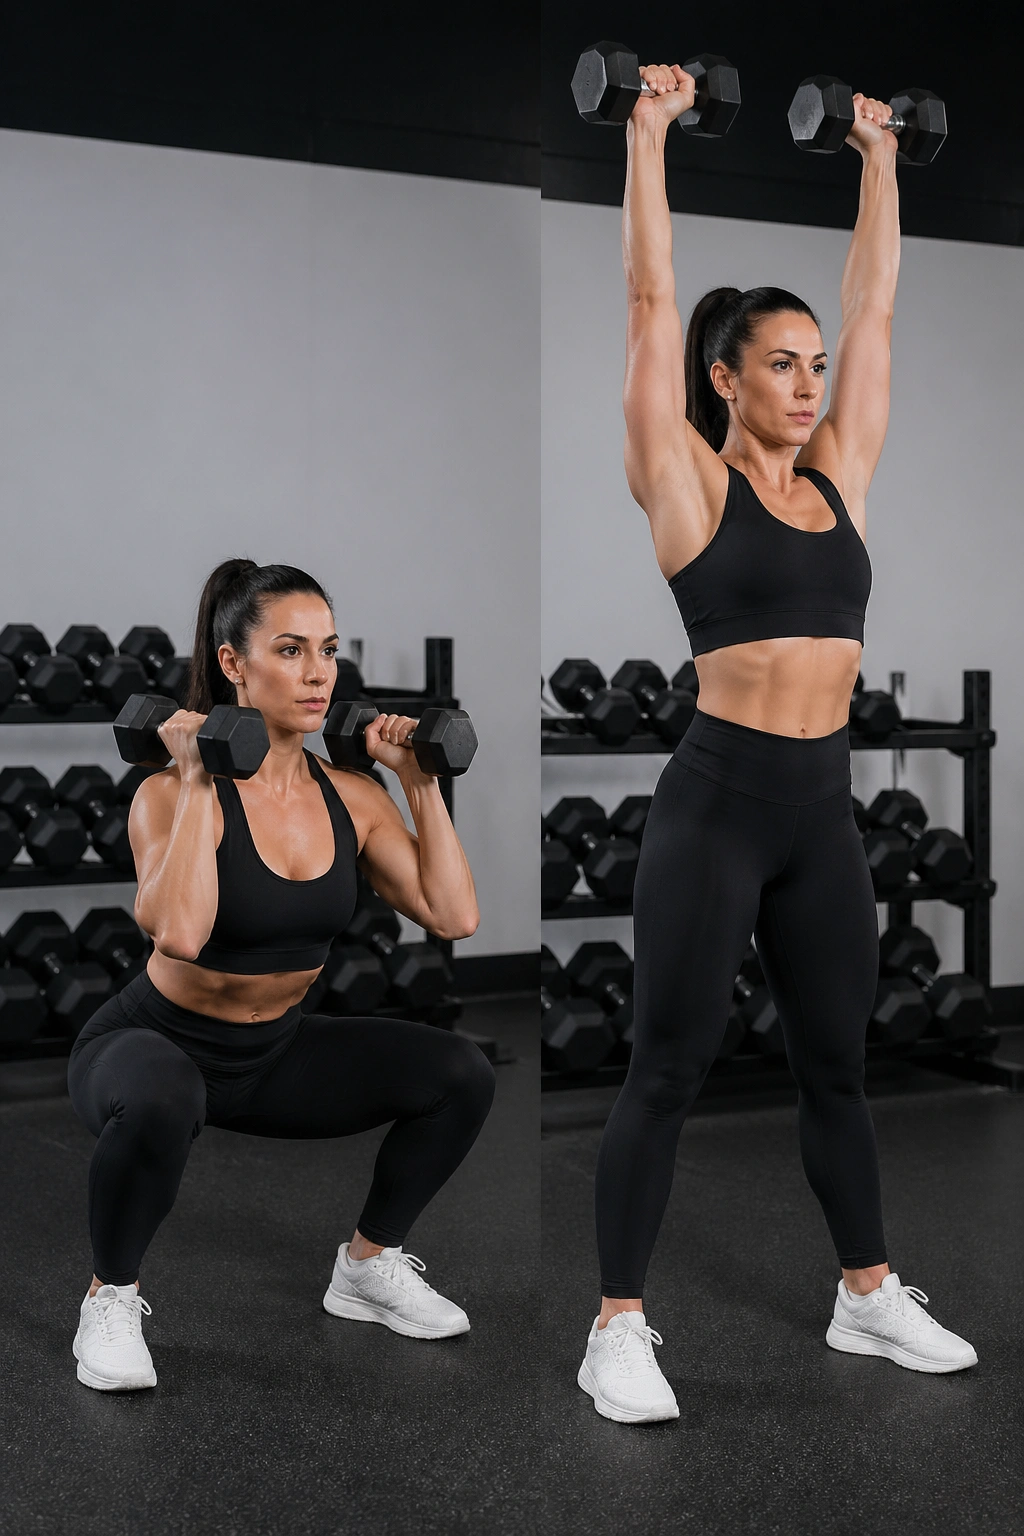
A workout that involves your legs, shoulders, and core will usually spend more energy than a tiny crunch pattern. That’s why squat to overhead press belongs here. It’s practical, it’s sweaty, and it stops the workout from living in only one tiny slice of the body.
Hold dumbbells at shoulder height, sit into the squat, then drive up and press. Keep your ribs from flaring when the weights go overhead. That part matters. If you lean back like you’re posing for a poster, the abs lose their job.
Use a weight that lets you finish 8 to 12 reps with good form. For some women that means 5-pound dumbbells. For others it’s 15s or 20s. Strength is personal, not decorative.
The burn comes from the mix: legs, lungs, shoulders, core. That’s the whole point.
11. Side Plank Hip Lifts for the Side Waist
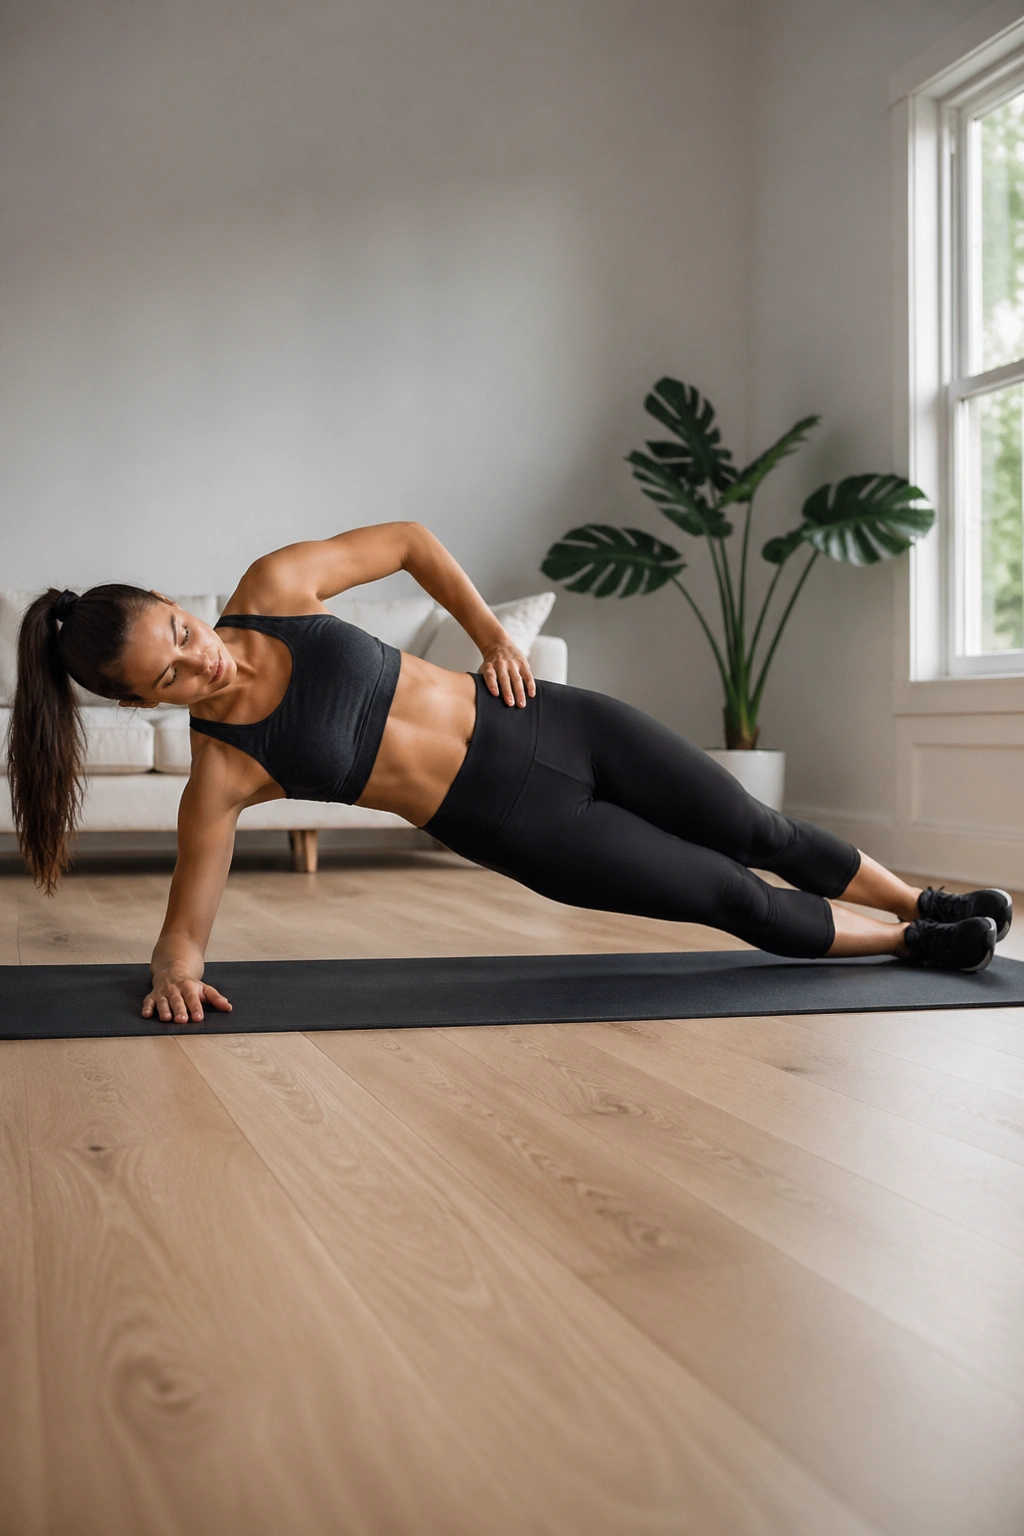
This one is small, but it hits the side waist hard. Side plank hip lifts train the obliques, yes, but they also wake up the muscles that help keep your pelvis level when you walk, step, and carry groceries.
Start with your elbow under your shoulder. Lift the hips into a straight line, then lower them a few inches and drive them back up. No swinging. No collapsing. If full side plank feels shaky, drop to one knee and build from there.
You’ll feel the supporting side work fast. A little shaky is normal. A lot of twisting is not.
Try this: 2 to 3 sets of 8 to 10 lifts per side, resting about 30 seconds between sets. If your shoulder tires before your core does, shorten the hold and clean up the angle.
12. Jump Rope Intervals for Quick Calorie Burn
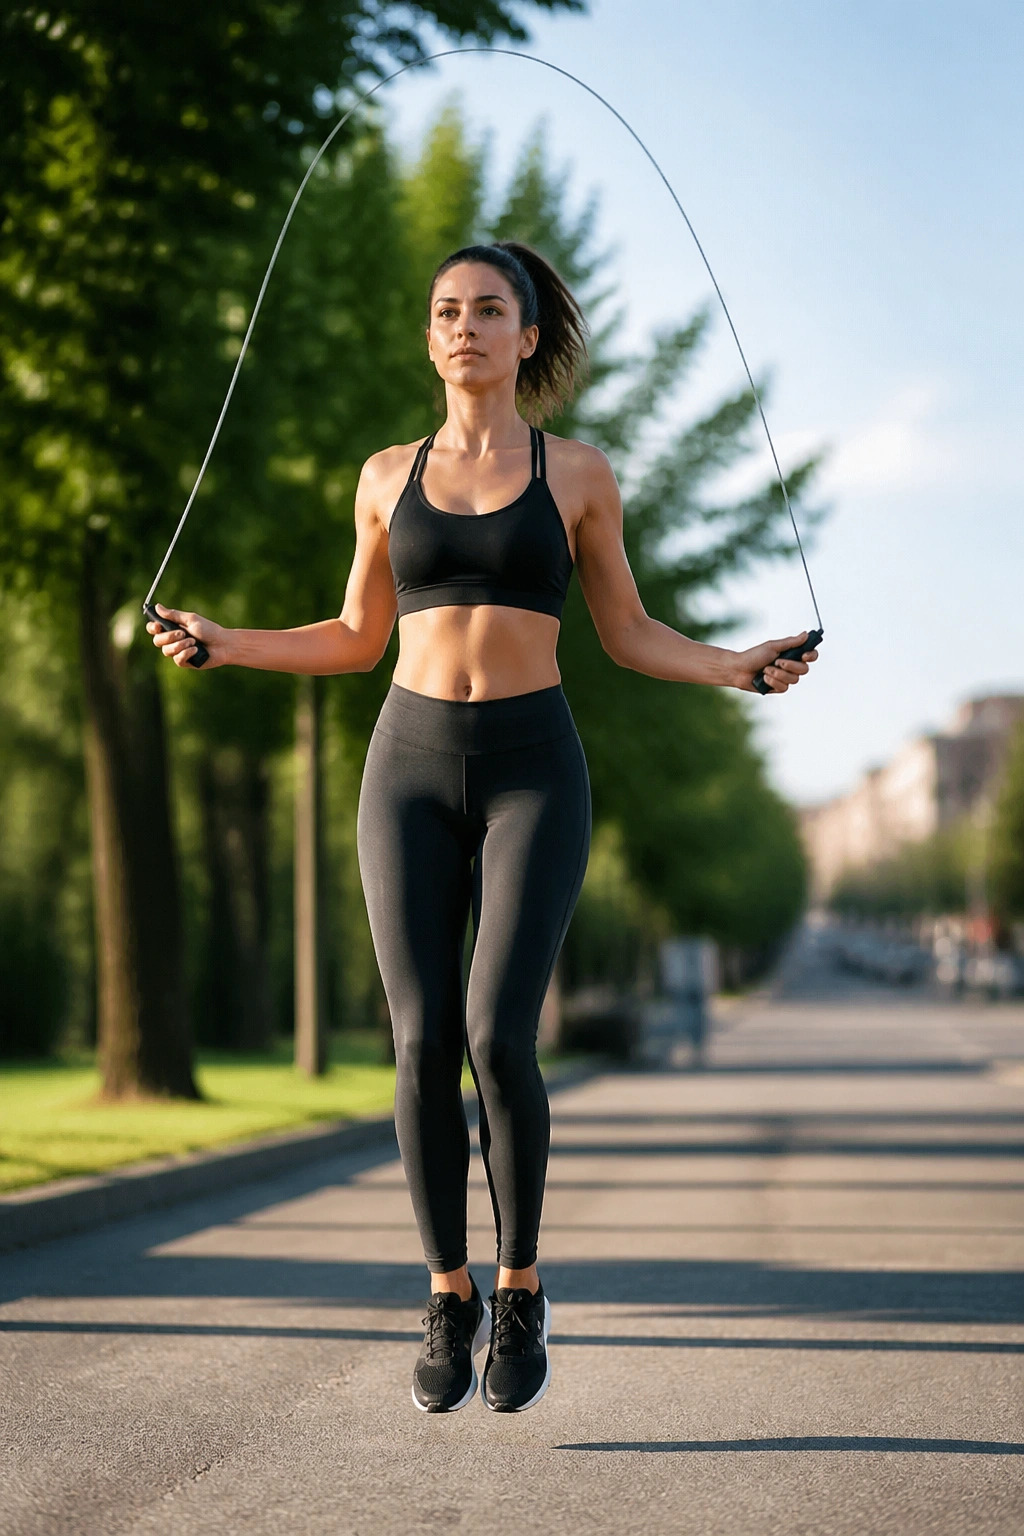
Why does a cheap jump rope beat a fancy ab gadget? Because it turns your whole body into a spring. Jump rope intervals are fast, simple, and brutally honest about whether your conditioning is holding up.
You don’t need to bounce high. Small jumps are better. Land softly, keep the elbows close to your sides, and let the wrists turn the rope. If you’re new, use a shadow rope or mimic the motion without the rope until your timing settles.
A clean interval pattern
- Jump for 20 seconds.
- Rest for 40 seconds.
- Repeat for 8 to 12 rounds.
- Use a boxer step if both feet together feels rough on your calves.
This is one of the easiest ways to stack a lot of work into a short window. And no, you do not need to finish drenched to make it count. A steady rhythm gets the job done.
13. Heel Taps for Gentle Ab Work
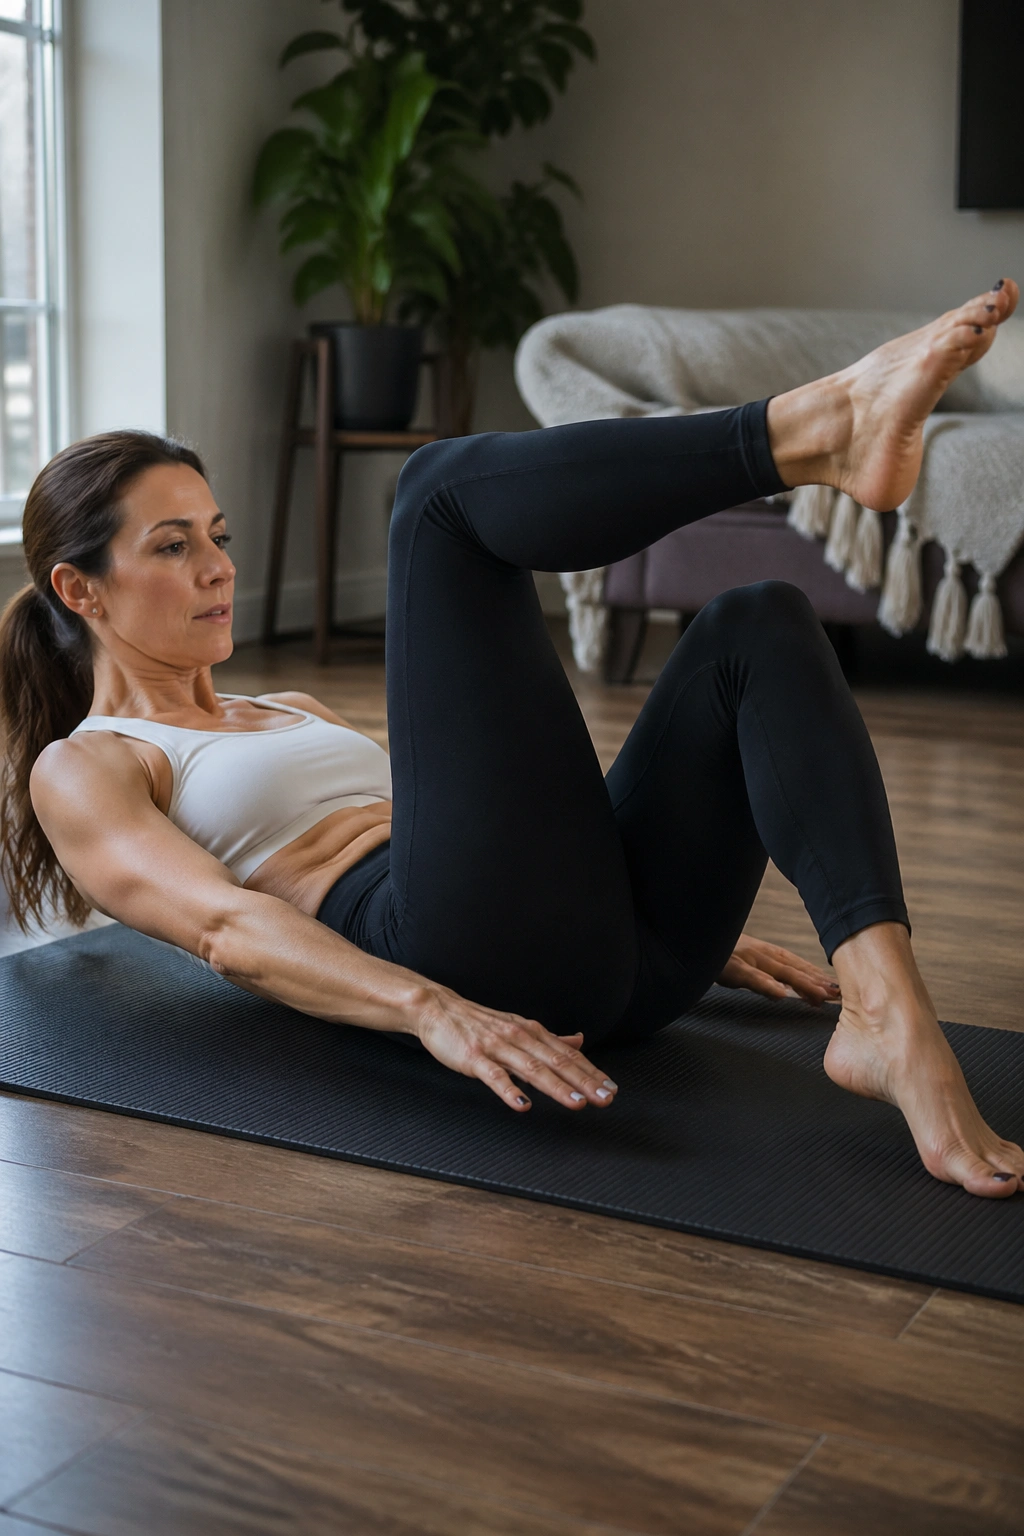
Heel taps are one of those moves that looks mild until your abs start shaking. They hit the front of the core without forcing a lot of spinal flexion, which makes them useful when you want something less aggressive than sit-ups.
Lie on your back, knees bent, feet lifted slightly, then tap one heel to the floor and switch sides. Keep the low back anchored. If it arches, make the taps smaller or place your feet a little closer to your hips.
A good scale-down
If you’re returning to exercise after pregnancy, or you just hate crunch-heavy work, heel taps are a smart middle ground. They ask for control, not heroics.
- Tap for 12 to 20 reps per side.
- Exhale as each heel lowers.
- Keep the neck relaxed.
- Stop if you feel doming through the center of the belly.
That last part matters. If the midline pops up, scale the move back a notch.
14. Burpees for a Hard, No-Excuses Finish
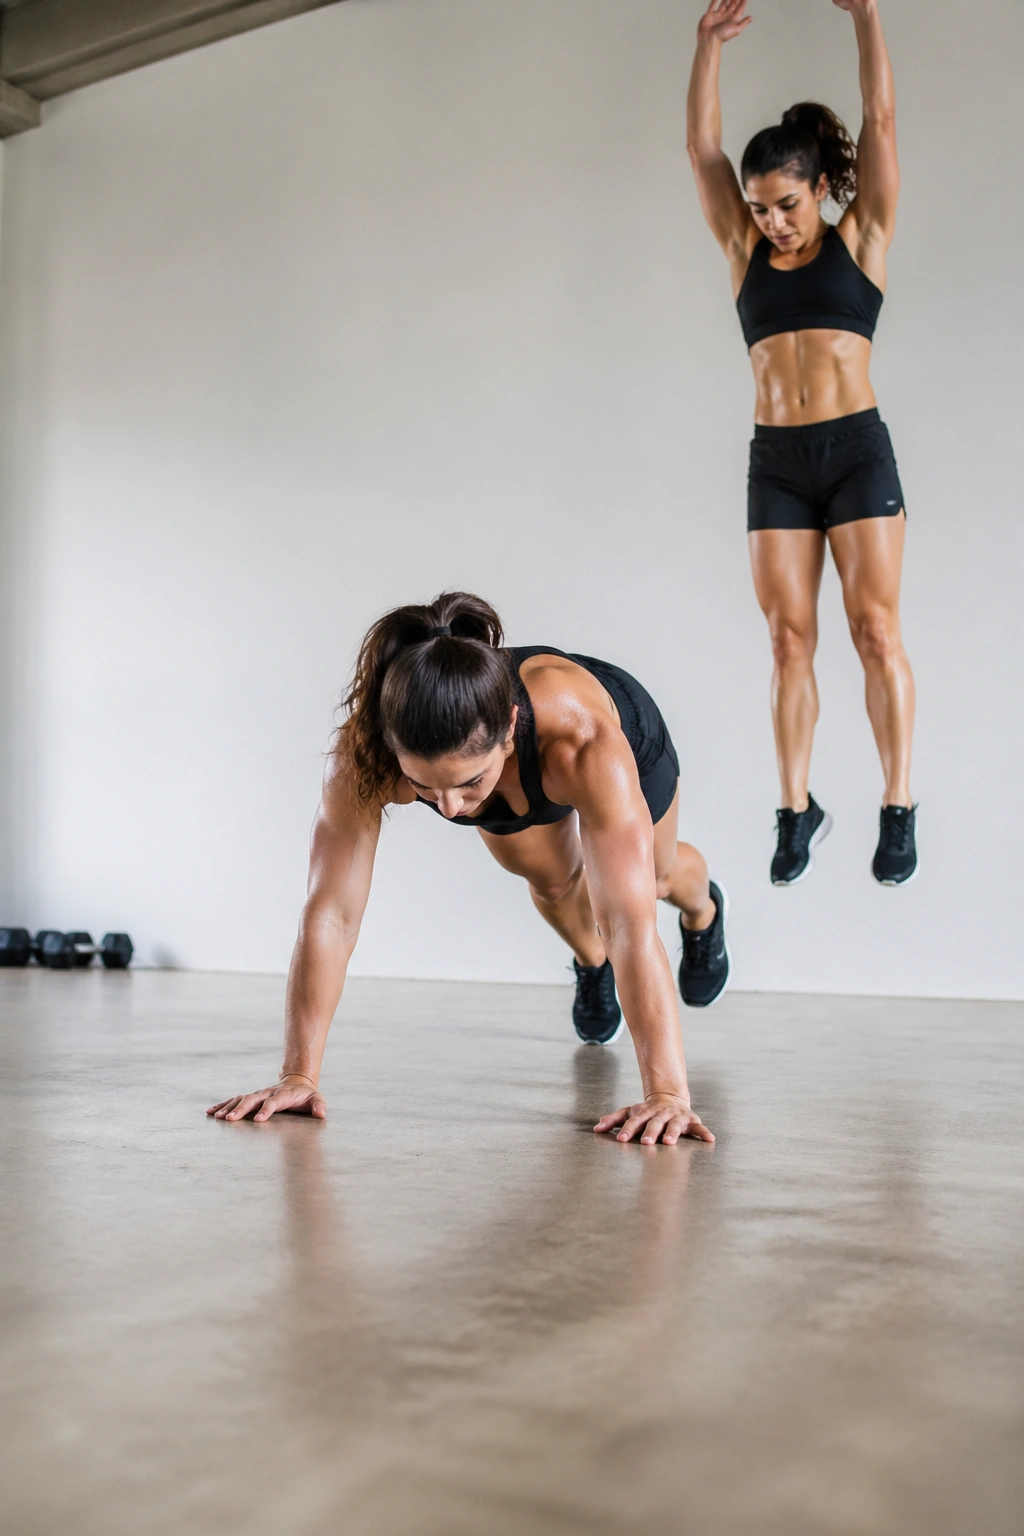
Burpees are rude. That’s the point.
They mix a squat, plank, push-up, and jump into one fast package, which makes them one of the most demanding bodyweight moves you can do at home. Your heart rate jumps fast, your core has to brace, and your whole body starts negotiating with you around rep four.
You do not need to jump if that’s too much. Step back into the plank, step forward again, then stand tall or rise onto your toes. That version still works. It just doesn’t smack your joints quite as hard.
A solid set looks like 5 to 8 burpees, then a short rest. Repeat for 4 to 6 rounds. Clean landings matter. So does pacing. If every rep is a sprint, your form will unravel halfway through.
15. Hollow Body Holds for Front-Core Strength
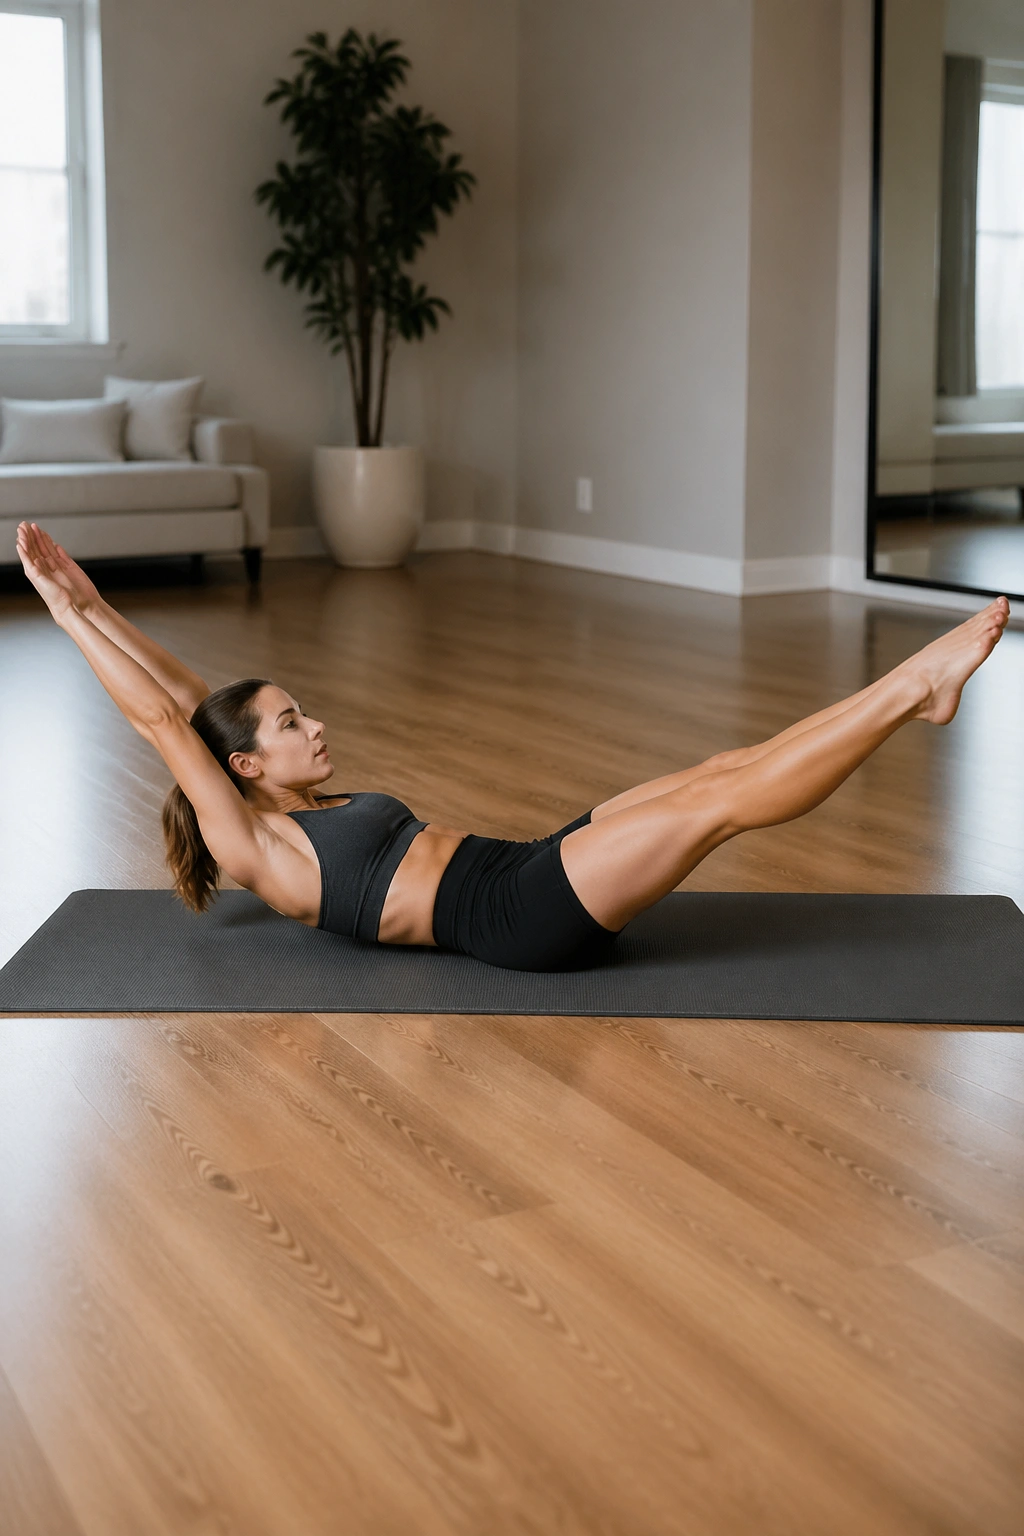
Can you keep your low back glued down while your arms and legs hover? That’s the hollow body hold in one sentence. It looks basic on paper and feels far meaner in real life.
Your goal is a tight banana shape through the front of the body, not a dramatic lower-back arch. Reach long through the fingertips, keep the ribs tucked, and breathe without losing the brace. If that sounds finicky, good. It is supposed to be finicky.
How to scale it
- Bend the knees if straight legs are too much.
- Hold the arms by your sides instead of overhead.
- Start with 10 to 15 seconds.
- Build toward 20 to 30 seconds before adding longer holds.
The hollow hold teaches your abs to resist extension. That’s useful when you want a firmer-looking center and better control in planks, running, and carries.
16. Glute Bridge Marches for Hip and Core Control
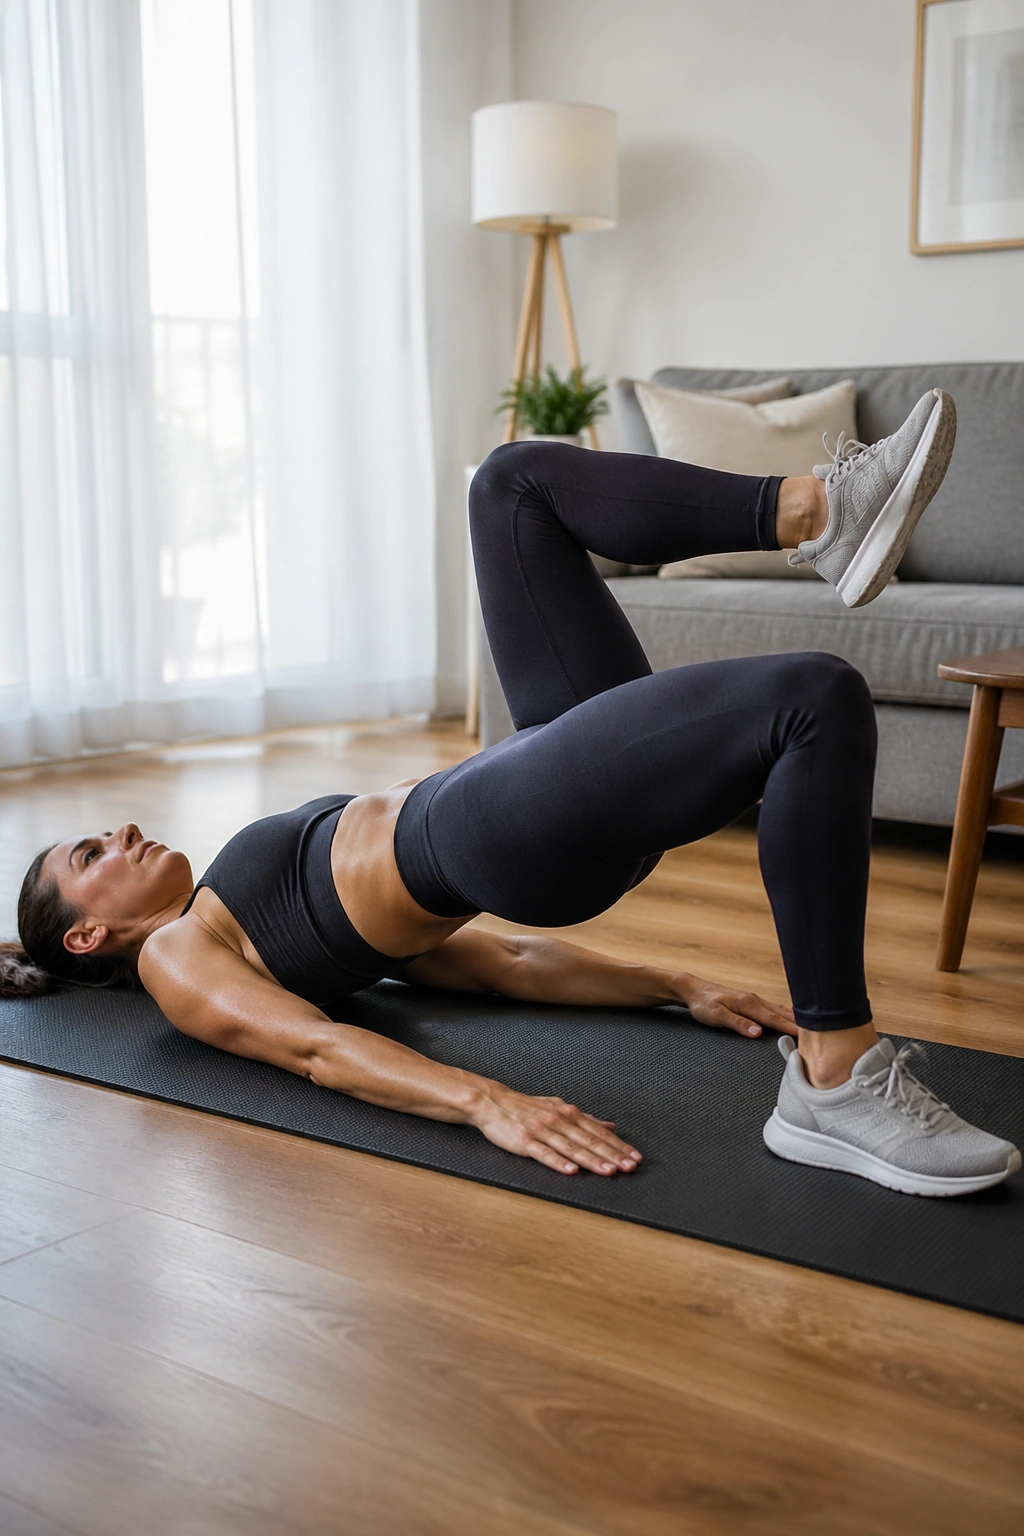
A flatter-looking midsection often starts with the hips, not the abs. Glute bridge marches train the glutes and core together, and that combo helps the pelvis stay steadier when you move.
Set up in a bridge with the hips lifted, then lift one knee toward your chest without letting the pelvis drop. Switch sides. The movement should feel controlled and a little slow, almost annoyingly so. If the hips rock side to side, lower the bridge height and tighten the brace.
This is a useful one for people who spend a lot of time sitting. Tight hip flexors and sleepy glutes can make the lower belly seem softer than it really is. Sometimes the fix is not more crunching. Sometimes it’s better hip mechanics.
Try 3 sets of 8 to 10 marches per side. Hold the top position for one beat each time.
17. Bear Crawls for Total-Body Tension
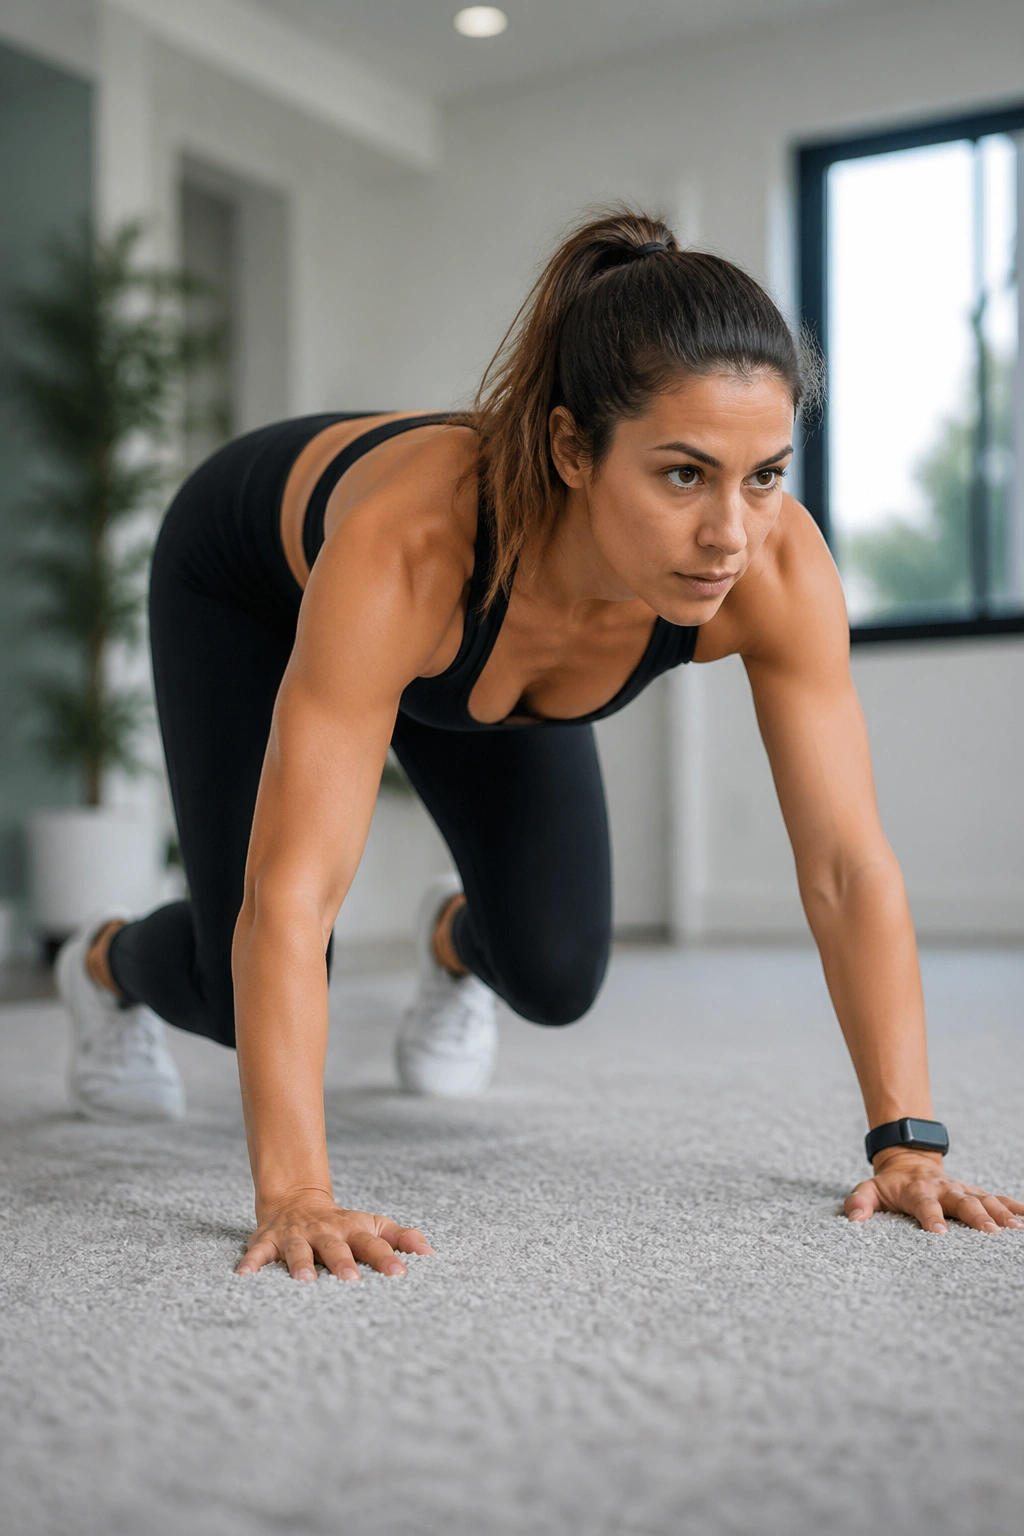
Put 20 seconds of bear crawls into a circuit and watch how fast your breathing changes. This move looks almost playful until your shoulders, quads, and core all decide to complain at once.
Start on hands and knees, lift the knees an inch or two off the floor, then crawl forward with opposite hand and foot moving together. Keep the steps short. Long, clumsy steps turn it into a wobble, and wobble kills the point of the drill.
What to watch for
- Knees stay low, about 1 to 2 inches off the ground.
- Back stays flat, not saggy.
- Hands land under the shoulders.
- Move for 20 to 30 seconds, then rest.
Bear crawls are a sneaky conditioning tool. They also make your core work in a way that feels athletic, not ornamental. I like that.
18. Seated Knee Tucks for Tight, Controlled Reps
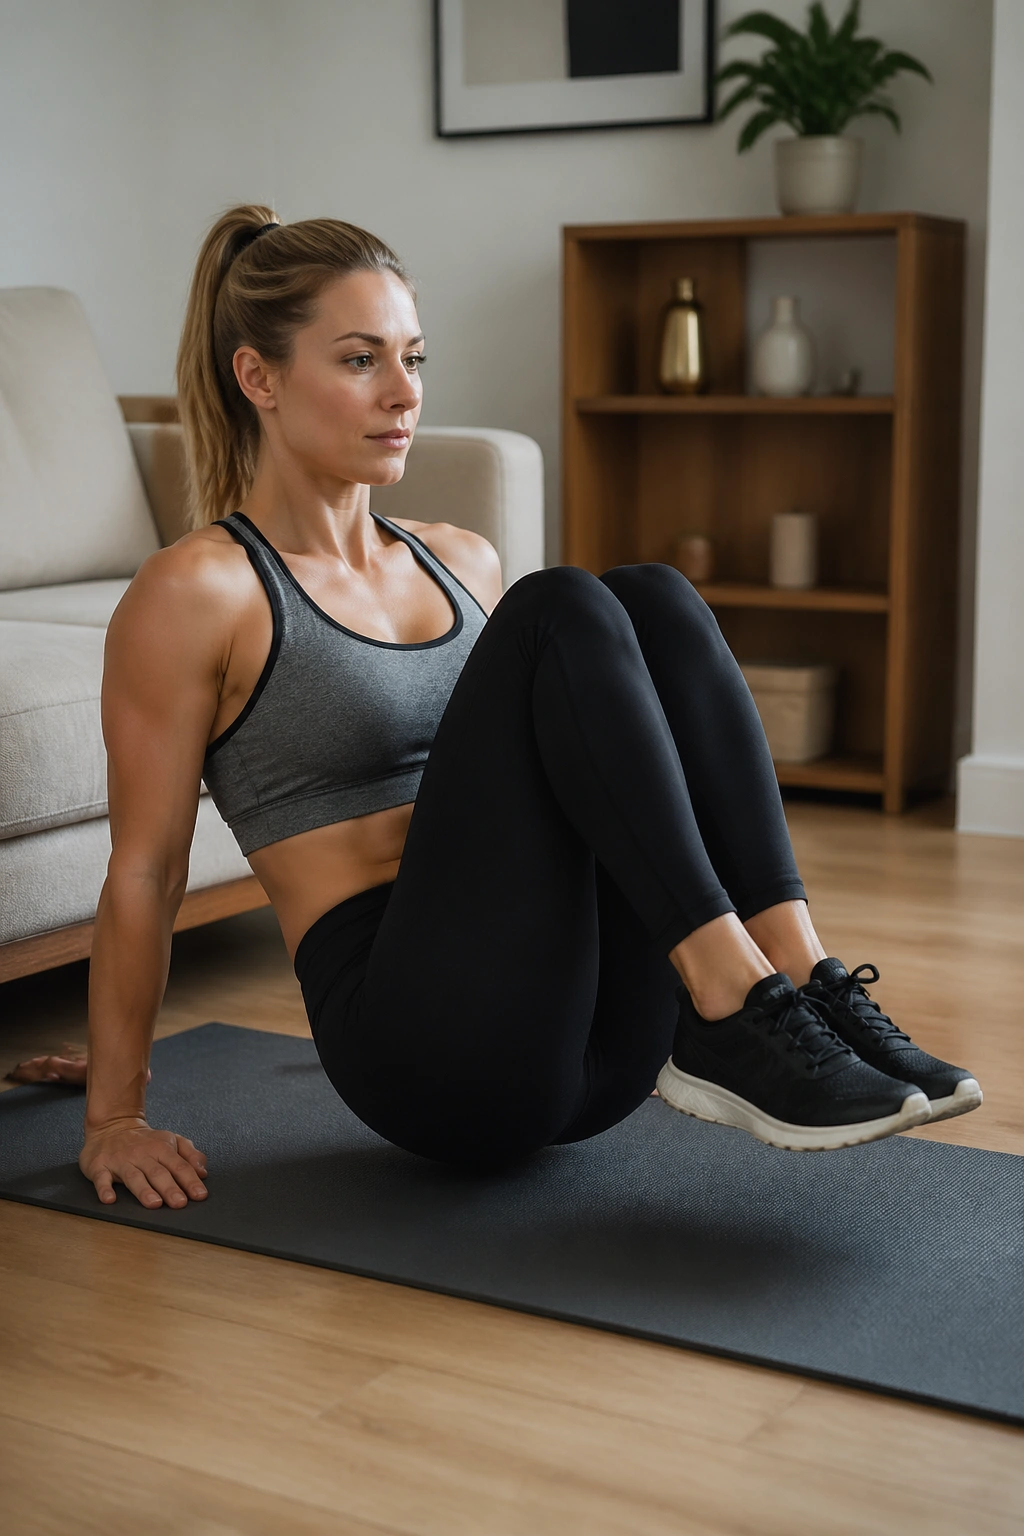
Compared with hanging leg raises, seated knee tucks are kinder on grip and shoulders. That makes them a smart option if your goal is core work without hanging from a bar or loading your wrists with too much pressure.
Sit on the edge of a bench or on the floor with your hands braced behind you. Lean back a little, then pull the knees toward the chest as the abs tighten. Extend back out under control. If you fling your legs away, the hip flexors take over and the whole thing gets messy fast.
A good pace is 10 to 15 reps for 3 sets. Exhale as the knees come in. Keep the shoulders away from your ears. If your lower back rounds hard, sit a little taller and shorten the reach.
Small, crisp reps beat giant sloppy ones here. Every time.
19. Medicine Ball Slams for Explosive Power
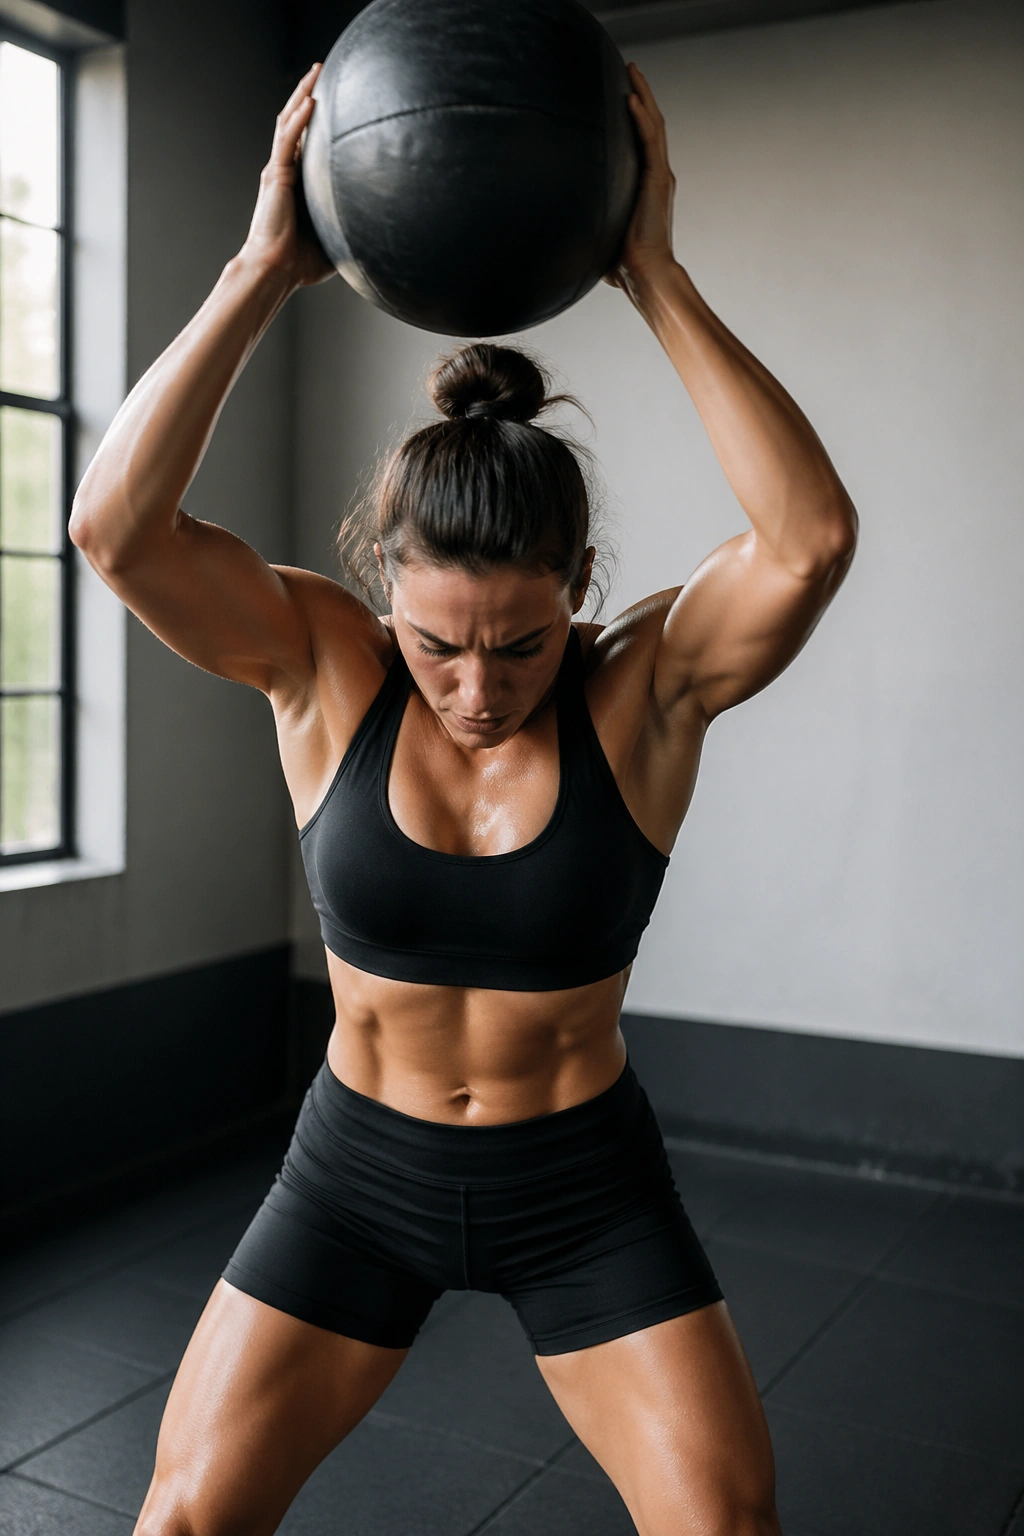
If your workouts need a little anger management, slams are a clean outlet. They train power, core bracing, and upper-body force in a way that feels direct from the first rep.
Lift the ball overhead, brace the core, and slam it down hard between your feet. Pick it up with a squat, not a rounded-back bend. Then do it again. The timing is fast, but the setup should stay tidy.
Use a ball that’s heavy enough to feel real, usually 6 to 12 pounds for most home workouts. Do 6 to 10 slams per set and rest for 30 to 45 seconds. If you go too light, the move turns into a shrug. If you go too heavy, the speed disappears.
This one is excellent when you want a hard burst without needing a ton of equipment. It also makes you feel like you mean it.
20. Farmer’s Carries for a Strong, Upright Waistline
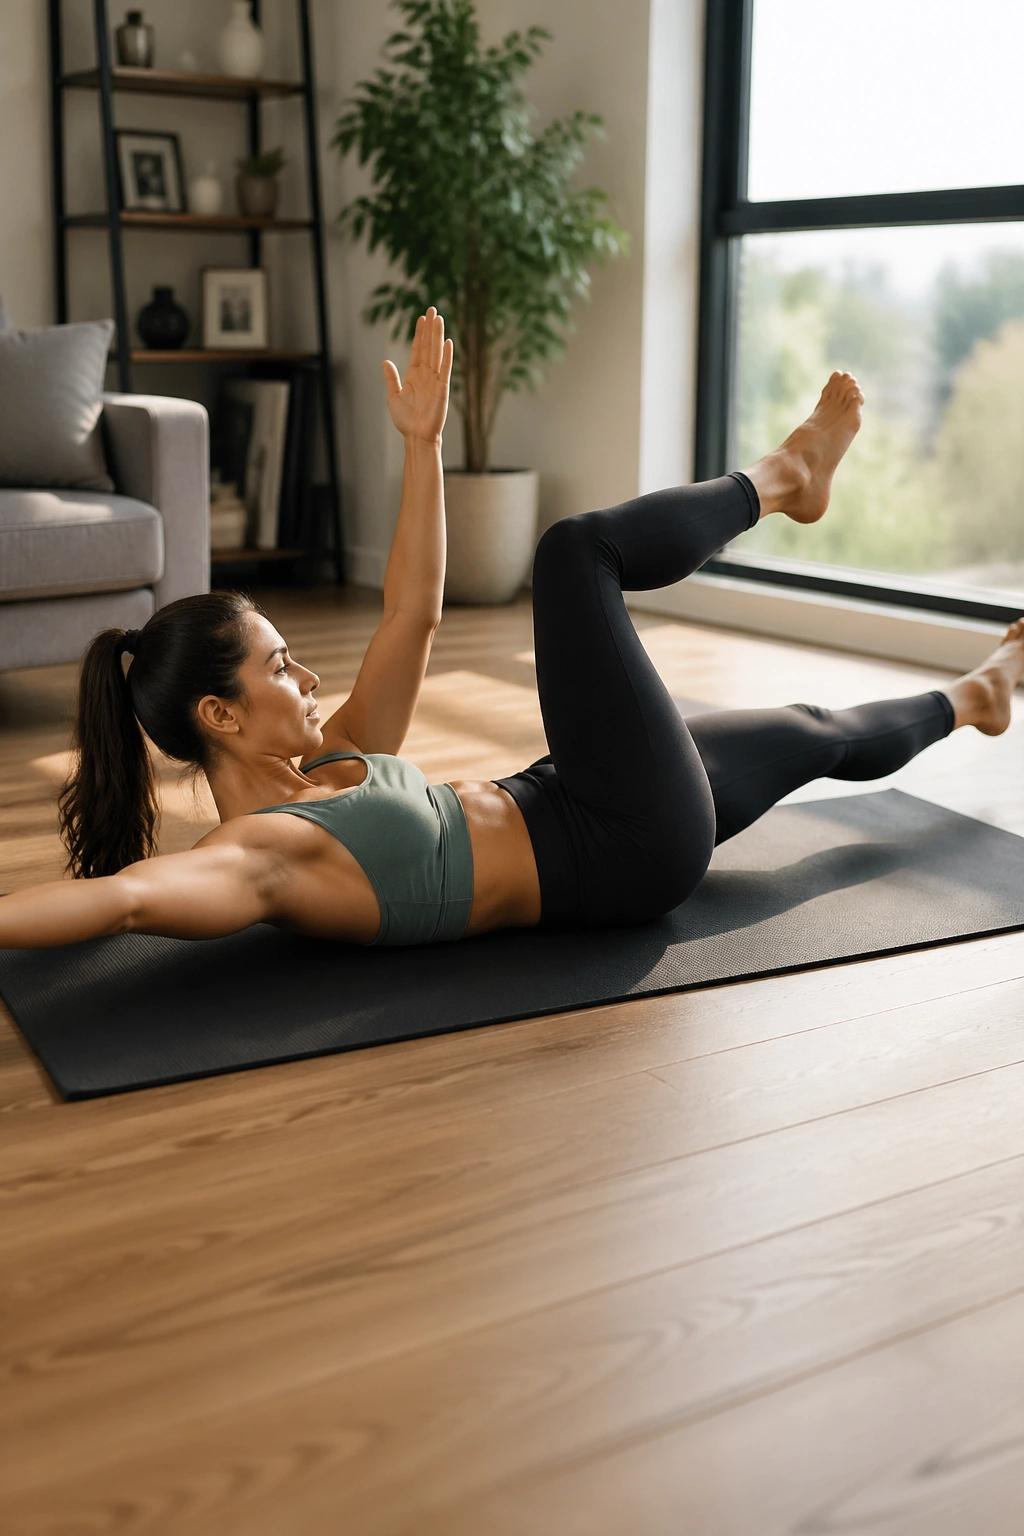
Standing tall under heavy weights sounds simple until your ribs want to flare and your shoulders creep up. Farmer’s carries punish all of that. They teach your core to stay locked while the rest of your body does the most ordinary thing in the world: walk.
Grab a pair of dumbbells or kettlebells, stand up tall, and walk with slow, steady steps. Keep the chest quiet, the shoulders down, and the belly braced as if somebody is about to poke you in the stomach. A suitcase carry—one weight on one side—makes the obliques work even harder.
This is one of my favorite finishers because it’s brutally honest. If your posture collapses, the carry tells you. If your grip fails first, the carry tells you that too.
Try 3 to 5 rounds of 20 to 40 seconds. Heavy enough to challenge you. Light enough to keep you upright. That balance matters more than showing off.
If you want the smartest use of all this, don’t stack every move into one heroic workout and call it a week. Pick two core drills, one cardio drill, and one loaded move on most training days, then repeat that rhythm long enough for your body to settle into it. The waistline changes slower than the hype around it, but it does respond to work that is steady, hard, and not too cute.
And that’s the part people skip. They chase the dramatic burn, then quit when it gets repetitive. The boring version—dead bugs, carries, knee drives, a few hard intervals—usually wins.
