



A glute bridge workout plan for women looks simple right up until your lower back starts doing the job your glutes were supposed to handle. That’s the whole trap. The movement is easy to learn and easy to fake.
Done well, a bridge trains hip extension, wakes up the glute max, and gives your pelvis a steadier base for squats, deadlifts, running, and long hours in a chair. Done badly, it turns into a hamstring shrug with your ribs flared and your neck tight. Not much of a trade.
The fix is rarely fancy. It’s usually a better foot position, slower reps, a smarter amount of load, and a plan that fits your actual week instead of some imaginary gym life where you always have 90 minutes and perfect energy. A woman lifting three days a week does not need the same bridge dose as someone squeezing in 12 minutes before school pickup.
These 20 plans cover that whole range: bodyweight control, banded work, dumbbell loading, single-leg stability, quiet apartment sessions, and heavier strength work when you want the bridge to stop being a warm-up and start being the main event. Start with the version you can do cleanly. Then build.
1. Beginner Glute Bridge Workout Plan for Women
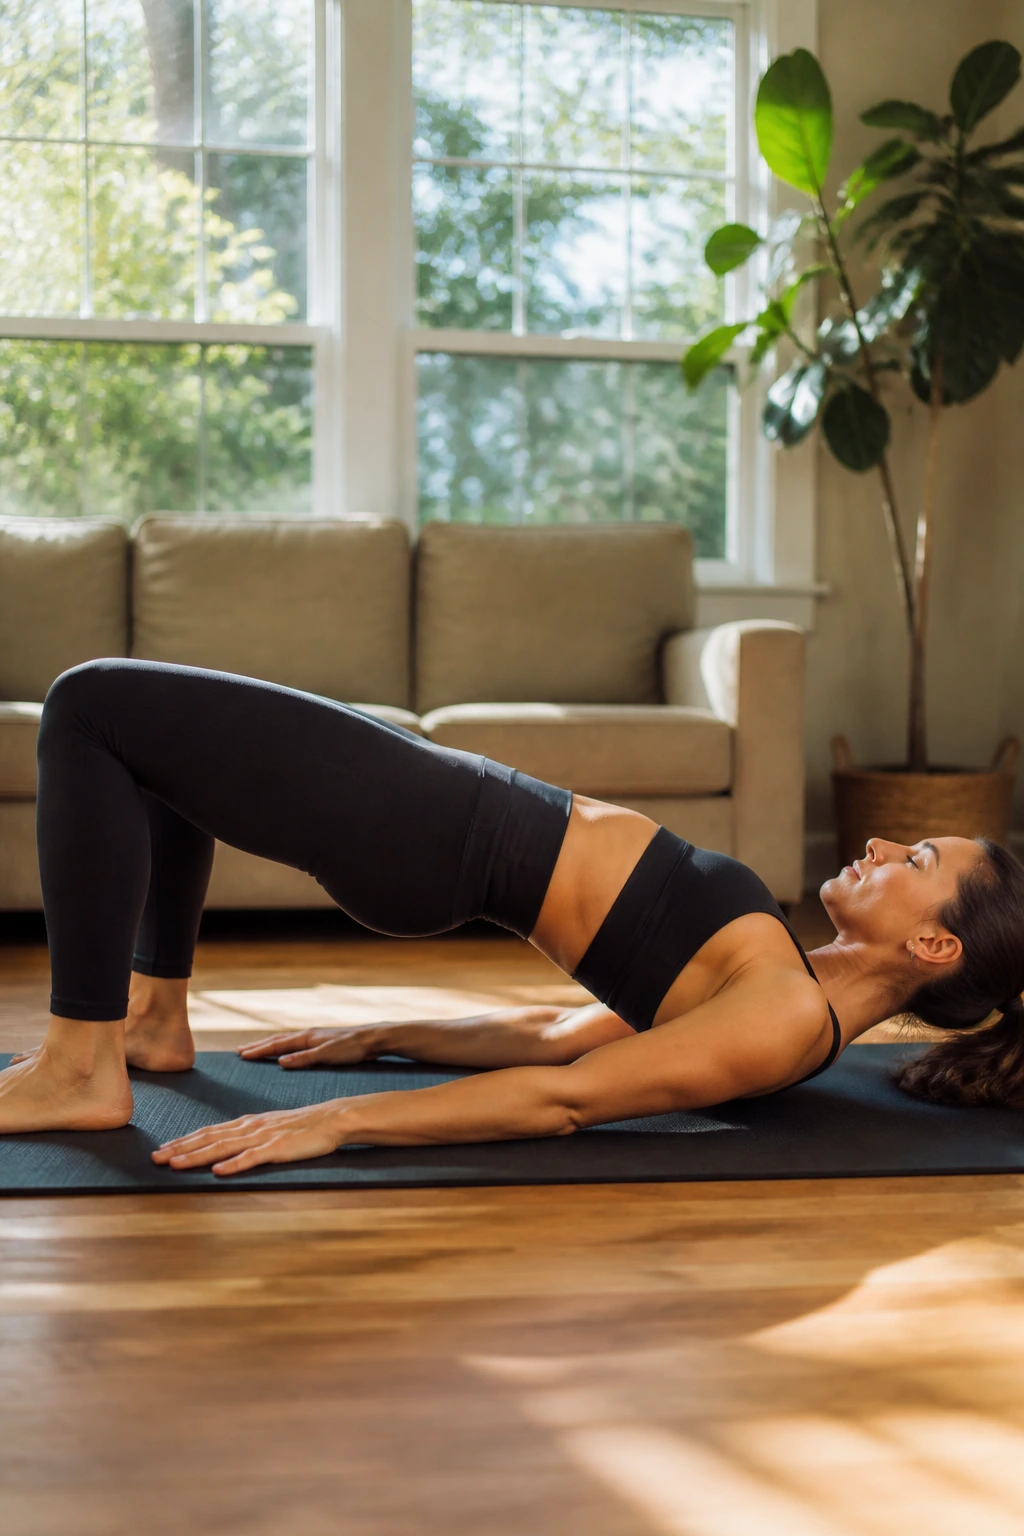
Start here if the bridge feels awkward. A beginner plan should feel almost boring at first, because you’re teaching your body where the movement belongs. Two sets of 10 reps, three times a week, is enough to build a clean pattern without leaving your hips smoked for the rest of the day.
What the first week should look like
- Lie on your back with your knees bent and feet flat.
- Set your heels so your shins are close to vertical at the top.
- Exhale as you lift, then pause for 2 full seconds.
- Lower slowly for 3 seconds.
- Rest 30 to 45 seconds between sets.
Keep the range modest. If you lift so high that your ribs flare and your lower back arches, you’re not getting extra glute work. You’re just making the rep harder to control.
What to pay attention to
The top of the rep should feel like a squeeze across the back of the hips, not a cramp in the hamstrings. That small detail matters more than a lot of people think.
If 10 clean reps feel easy twice in a row, add a third set before you start adding load. Clean first. Heavy later.
2. Banded Glute Bridge Workout Plan With a Mini Loop
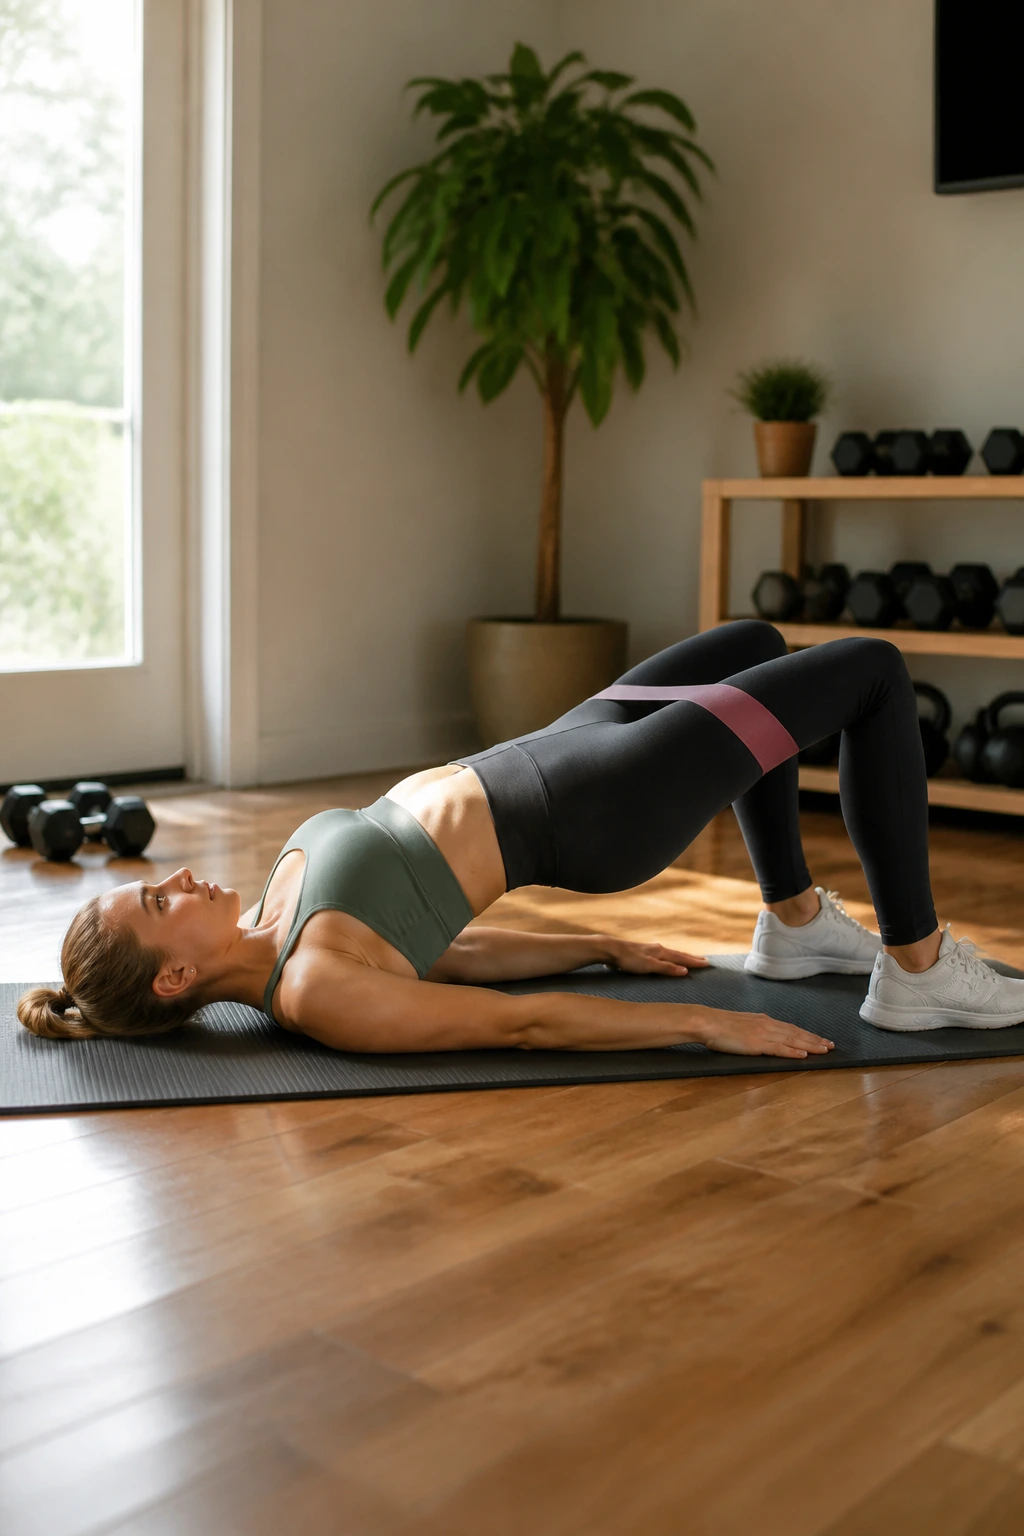
A mini band changes the feel fast. Put it just above your knees and the bridge suddenly becomes a lesson in hip control, not only hip lift. That little bit of outward pressure wakes up the side glutes, which is handy if your knees cave in when you squat or step up.
Why the band helps
The band gives you a target. Push the knees out gently as you rise, and keep them there. Don’t shove so hard that your feet slide or your hips twist. The point is steady tension, not drama.
Use 3 sets of 12 reps with a 1-second squeeze at the top. Rest 30 seconds if you’re using it as a warm-up, or 45 to 60 seconds if you want it to feel like the main workout.
A good banded bridge should feel like your outer hips are doing a little extra work while your glutes still drive the lift. If your thighs burn more than your glutes, the band may be too heavy. That happens all the time.
How to make it count
Do not let the knees collapse inward on the way down. That’s the habit the band is trying to fix in the first place.
3. Dumbbell Glute Bridge Workout Plan for Progressive Overload
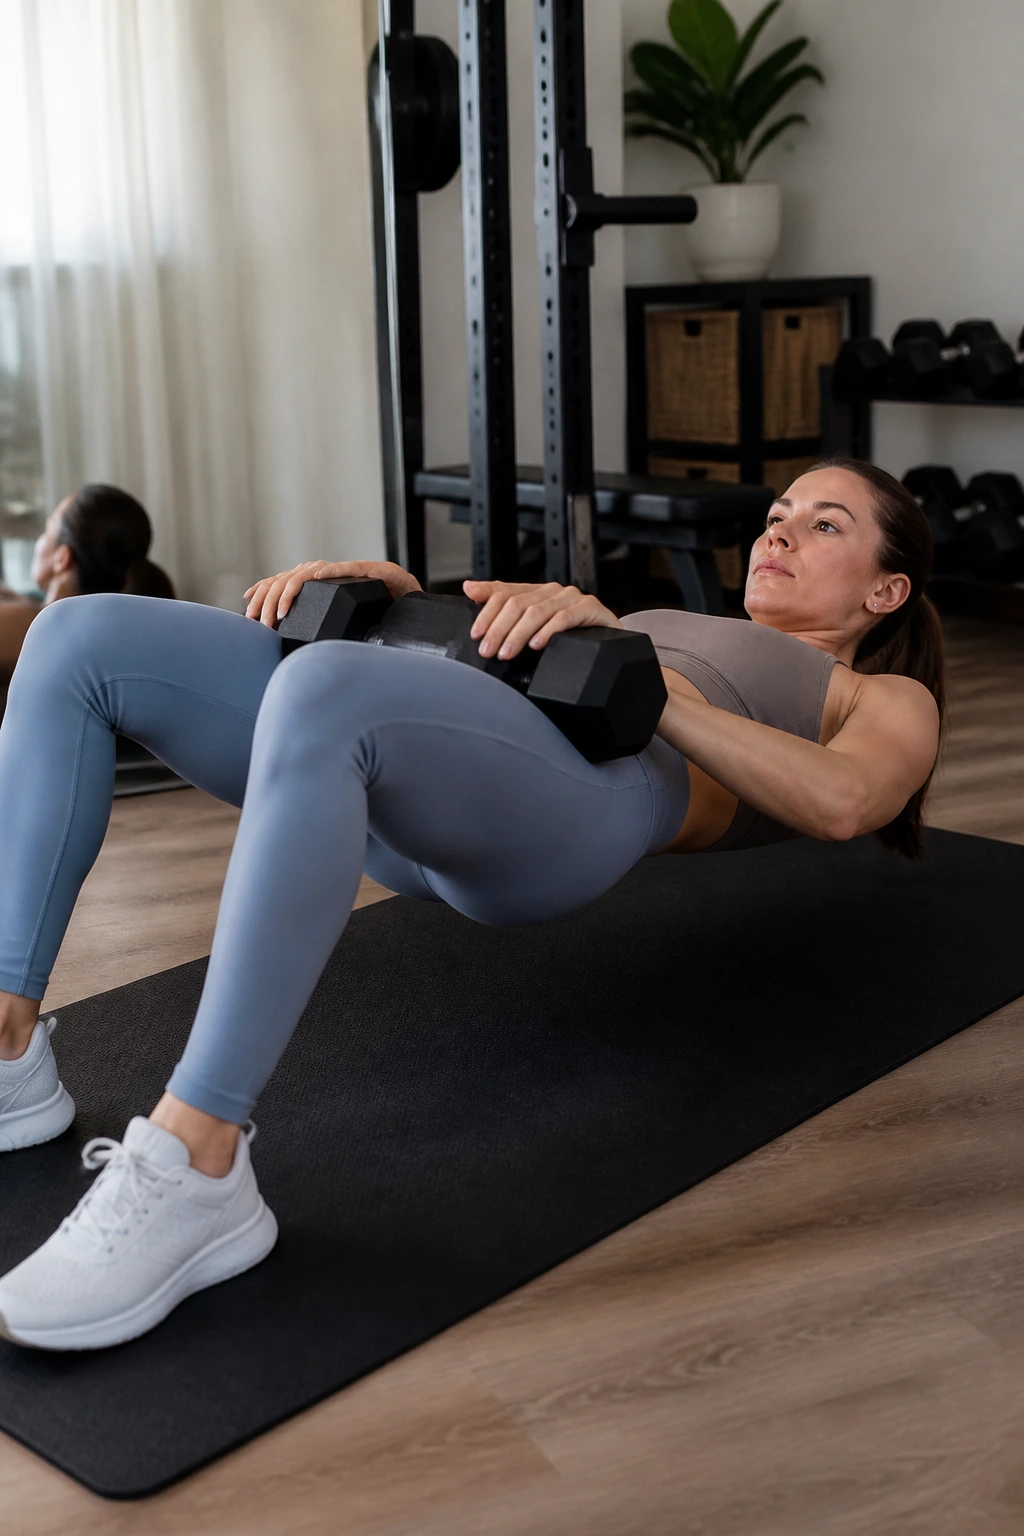
If bodyweight bridges are easy for 15 clean reps, a dumbbell is the next sensible step. It is not about making the exercise harder just to make it harder. It is about giving your glutes a reason to keep growing.
Place a dumbbell across the crease of your hips, hold it steady with both hands, and use a folded towel or pad if the edges dig in. Then work 4 sets of 8 to 10 reps with 90 seconds of rest. That rep range is honest: heavy enough to matter, controlled enough to stay clean.
I like this version because it teaches patience. One sloppy, rushed bridge with a dumbbell is worse than three crisp bodyweight sets. The load should move in a straight path, and your chest should stay quiet while your hips do the work.
Add a little weight only when all 4 sets look the same. If rep 1 is tidy and rep 10 looks like a struggle-fest, stay where you are a bit longer.
4. Single-Leg Glute Bridge Stability Plan
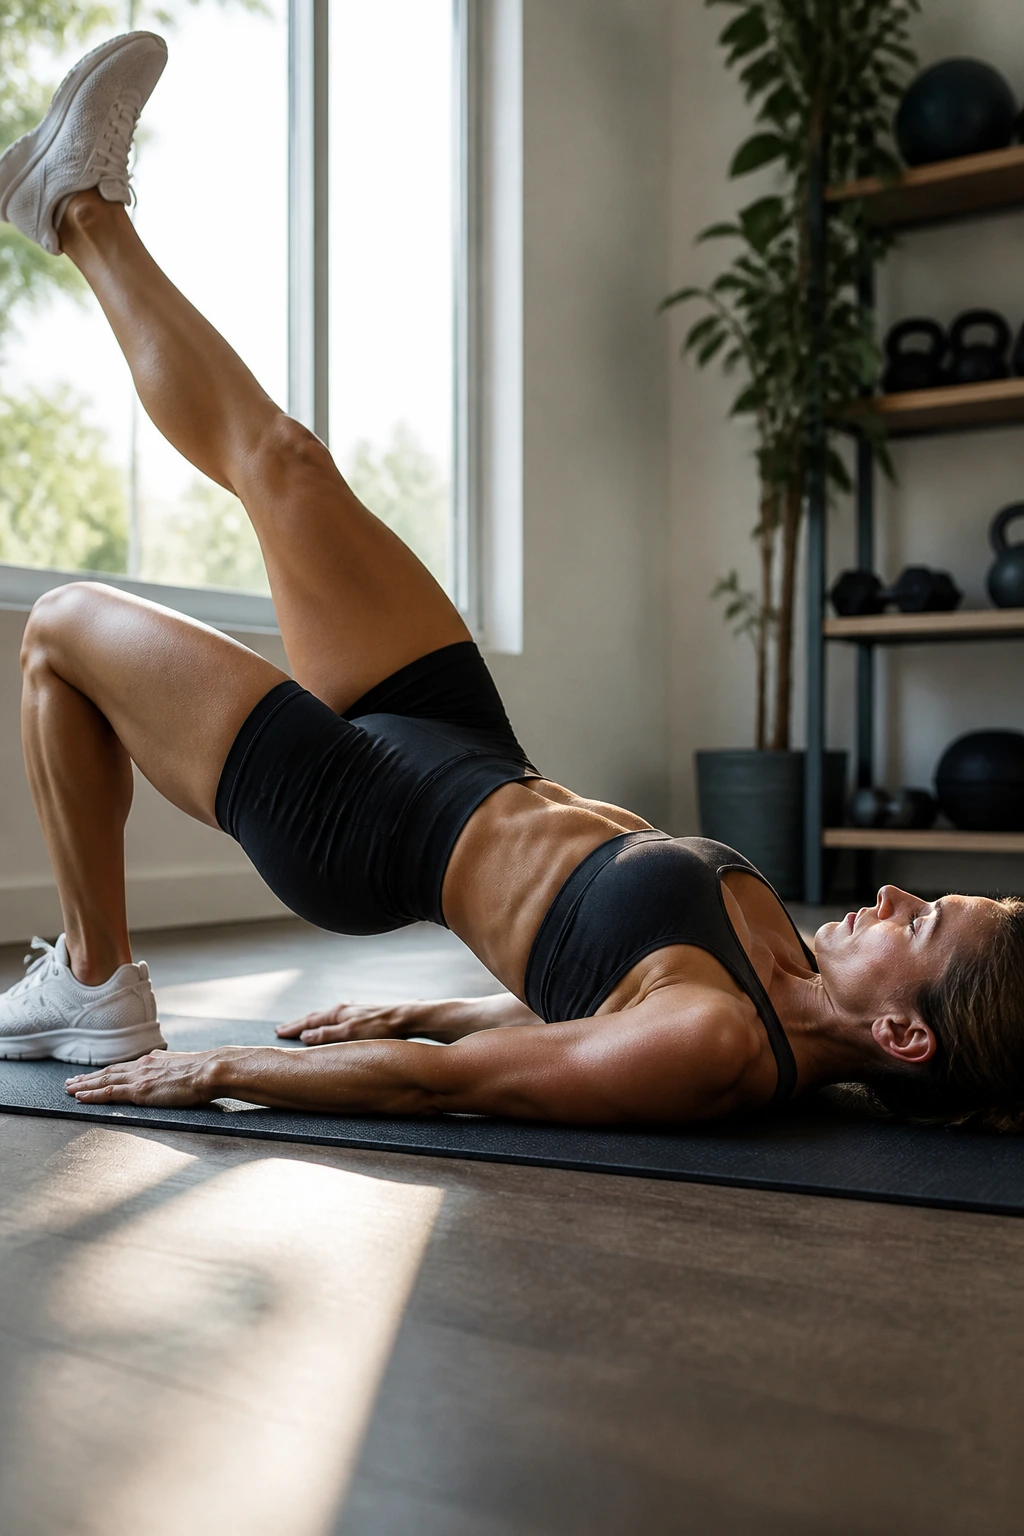
Single-leg bridges are not there to impress anyone. They are there to expose side-to-side differences, and those differences show up fast. One side may cramp early, one hip may rotate, or one foot may press harder than the other.
The setup that works
- Do 2 to 3 sets per side.
- Aim for 6 to 8 controlled reps.
- Hold the top for 3 seconds.
- Keep the free knee bent; do not let it wander.
This version asks more from your pelvis and core, which is exactly why it matters. If you rush it, your lower back often takes over. Slow down, lower under control, and keep the lifted hip from dropping.
A lot of people start with full single-leg reps and hate them. Fair. Try holding the top position for 10 to 15 seconds first. That gives you the same stability work without turning the set into a wobble contest.
5. Desk-Body Posture Reset Plan
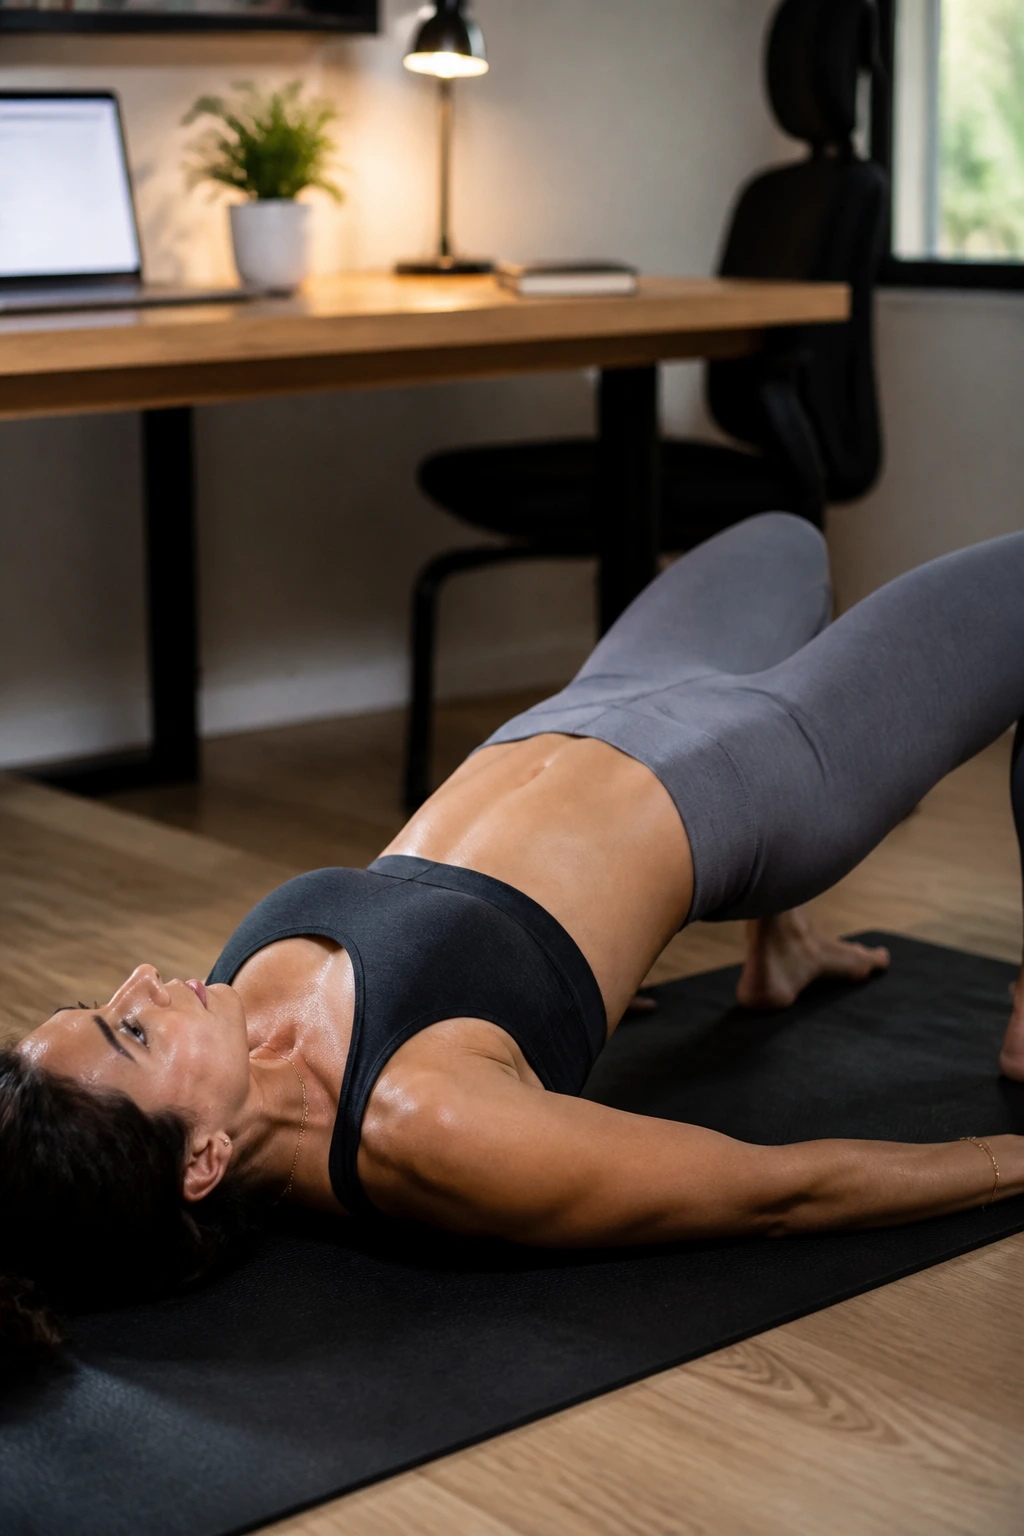
After a long day of sitting, the first bridge often feels like your hips waking up from a nap. That’s not a bad thing. It just means the front of the hips have been folded for hours and the glutes need a nudge, not a punishment.
Use 1 to 2 sets of 15 reps with a very light squeeze at the top. This is not your heavy day. It is the “put the hips back where they belong” day. If your lower back feels tight, keep the movement small and smooth.
I like this plan before dinner, after work, or between meetings when you need something that does not leave you sweaty. The bridge is a nice reset because it opens the front of the hips a bit while teaching the back side to switch back on.
One rep should feel easy. That’s the point. You’re chasing relief and wake-up, not exhaustion.
6. Squat and Deadlift Support Plan
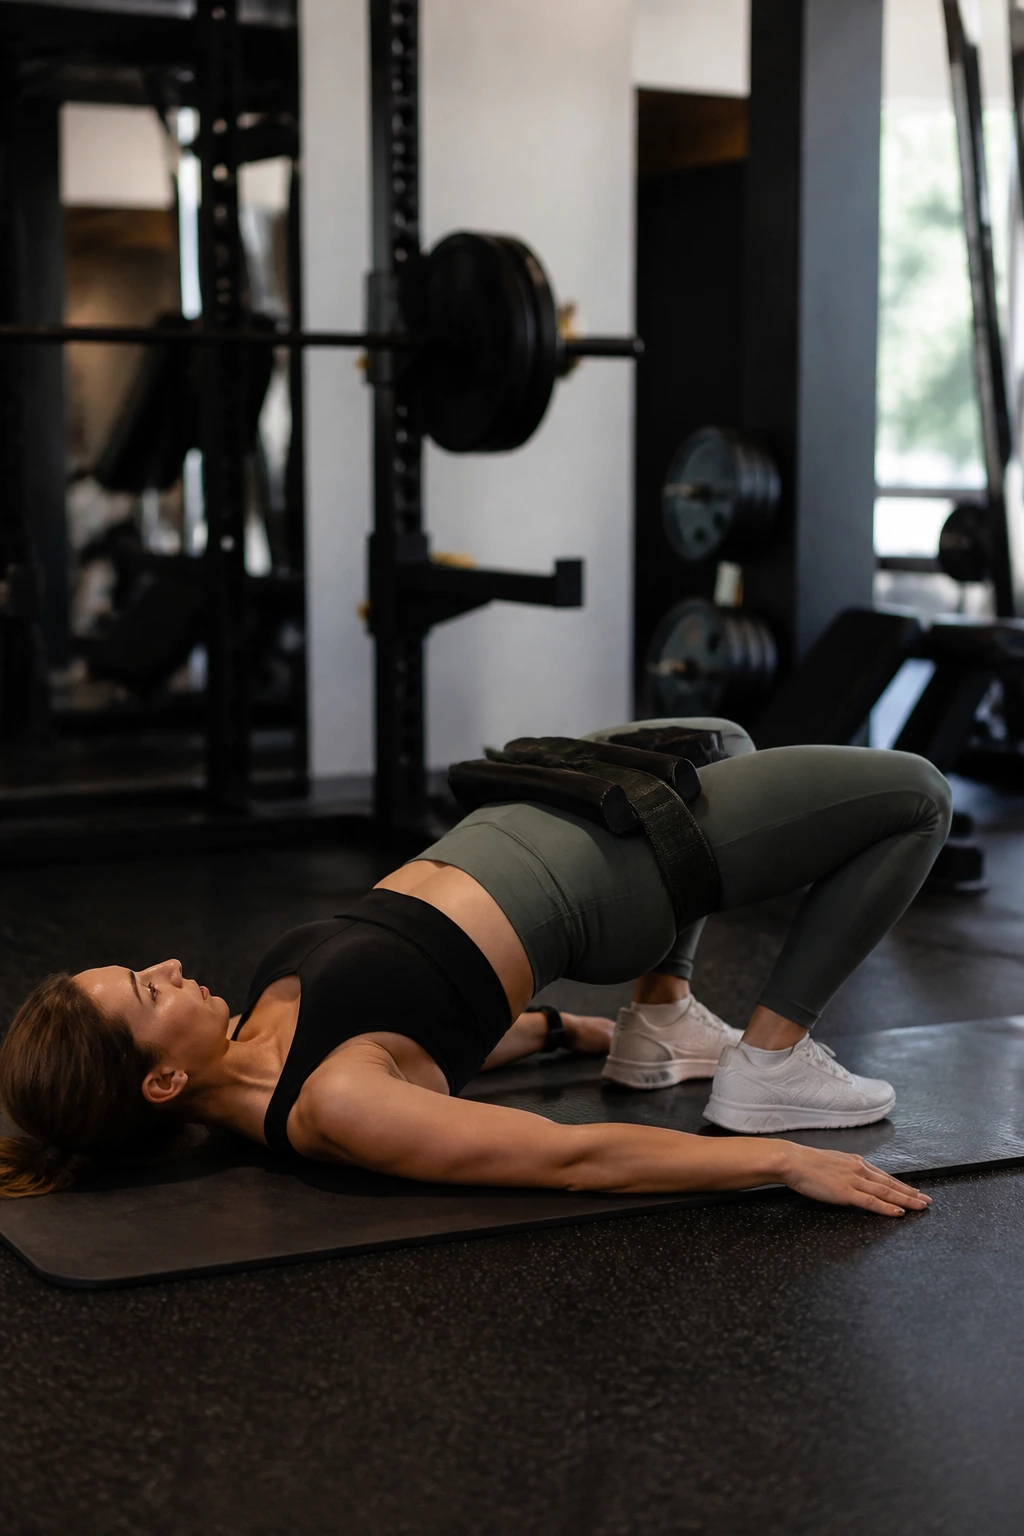
Put bridges before your squats if your goal is better drive off the floor. Put them after if you’re already fried and just want a small bit of glute work. Simple rule. Different days, different jobs.
Warm-up sequence
- 1 set of 10 bodyweight bridges
- 1 set of 8 bridges with a 2-second hold
- 1 set of 6 weighted bridges if you’re lifting heavy later
That’s enough to remind the glutes what they’re supposed to do without draining the tank.
Bridges work well here because they reinforce hip extension without the same setup fuss as a barbell lift. You can get the hips warm, the ribs stacked, and the glutes active before you move to squats or deadlifts. If you keep missing your glutes in the big lifts, this little pre-lift block often helps more than another random stretch.
Skip the long burn-out set before heavy leg work. Fatigue is expensive.
7. Hamstring-Friendly Bridge Plan
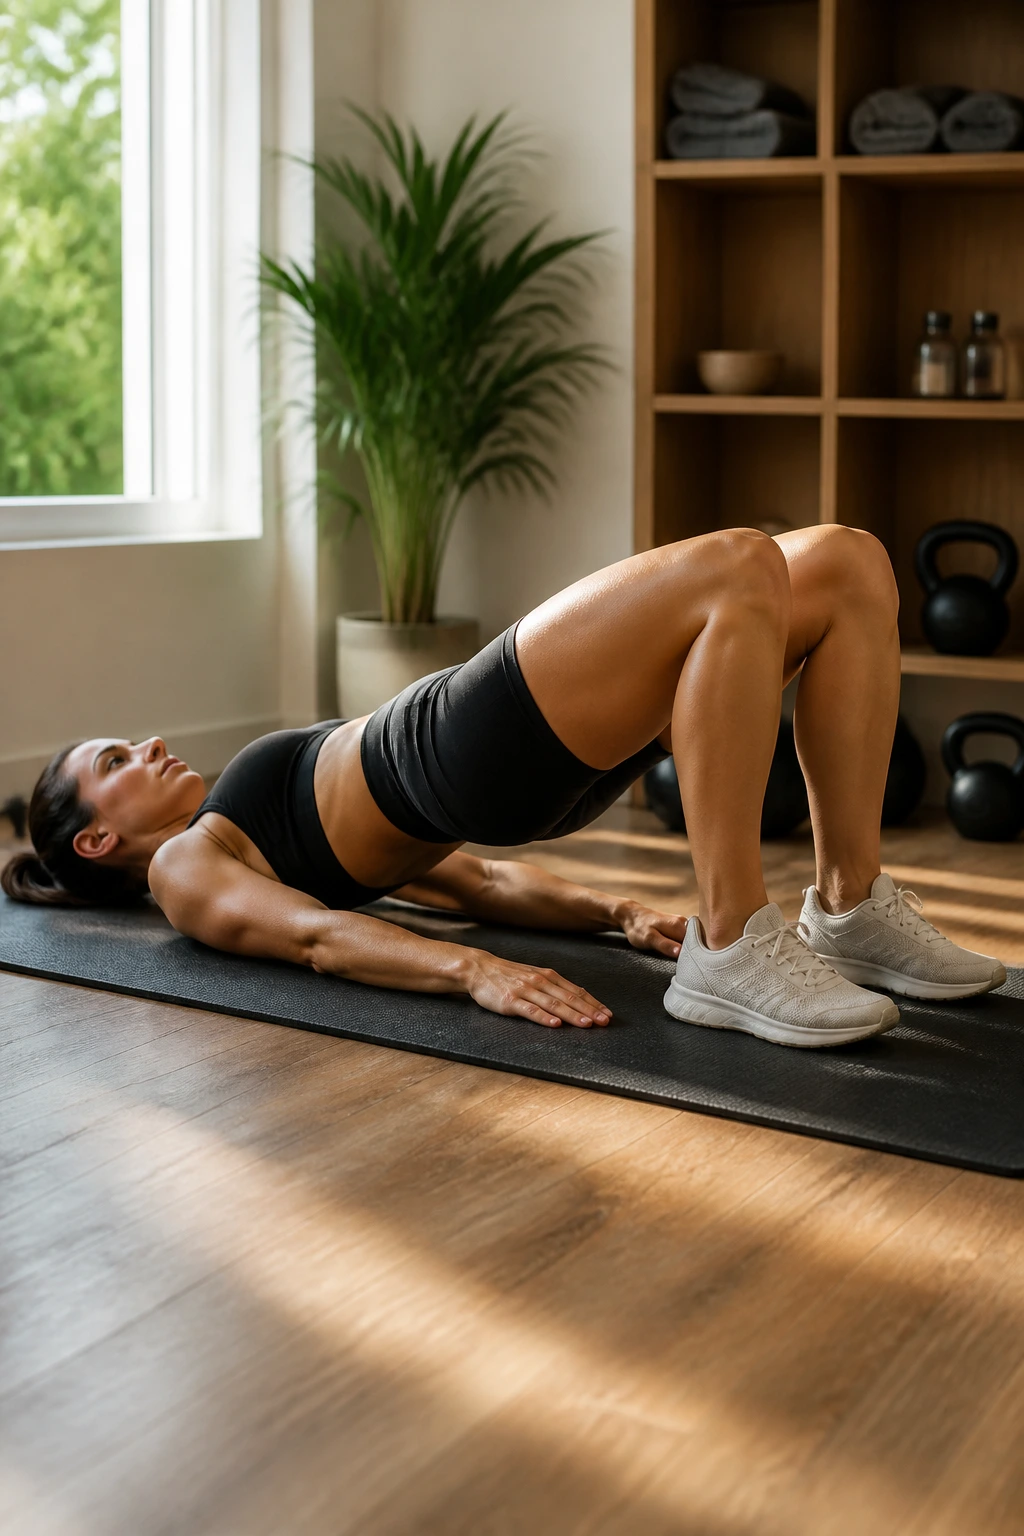
If the back of your thighs cramp first, your setup is off. That’s not a character flaw. It usually means your feet are too far away, your ribs are flaring, or you’re yanking yourself up instead of pressing through the floor.
Try 3 sets of 8 slow reps with a 4-second lower and a 2-second pause at the top. Keep your heels planted and think about driving your knees slightly forward as you lift. That small cue changes the line of force more than people expect.
I’ve seen a lot of people chase a bigger bridge by lifting higher. Wrong fix. A smaller, cleaner bridge with the pelvis tucked a touch usually hits the glutes better than a big arch that turns the movement into a low-back stretch.
If the hamstrings still take over, bring your feet a little closer. Then try again. Tiny changes matter here.
8. Endurance Ladder Glute Bridge Plan
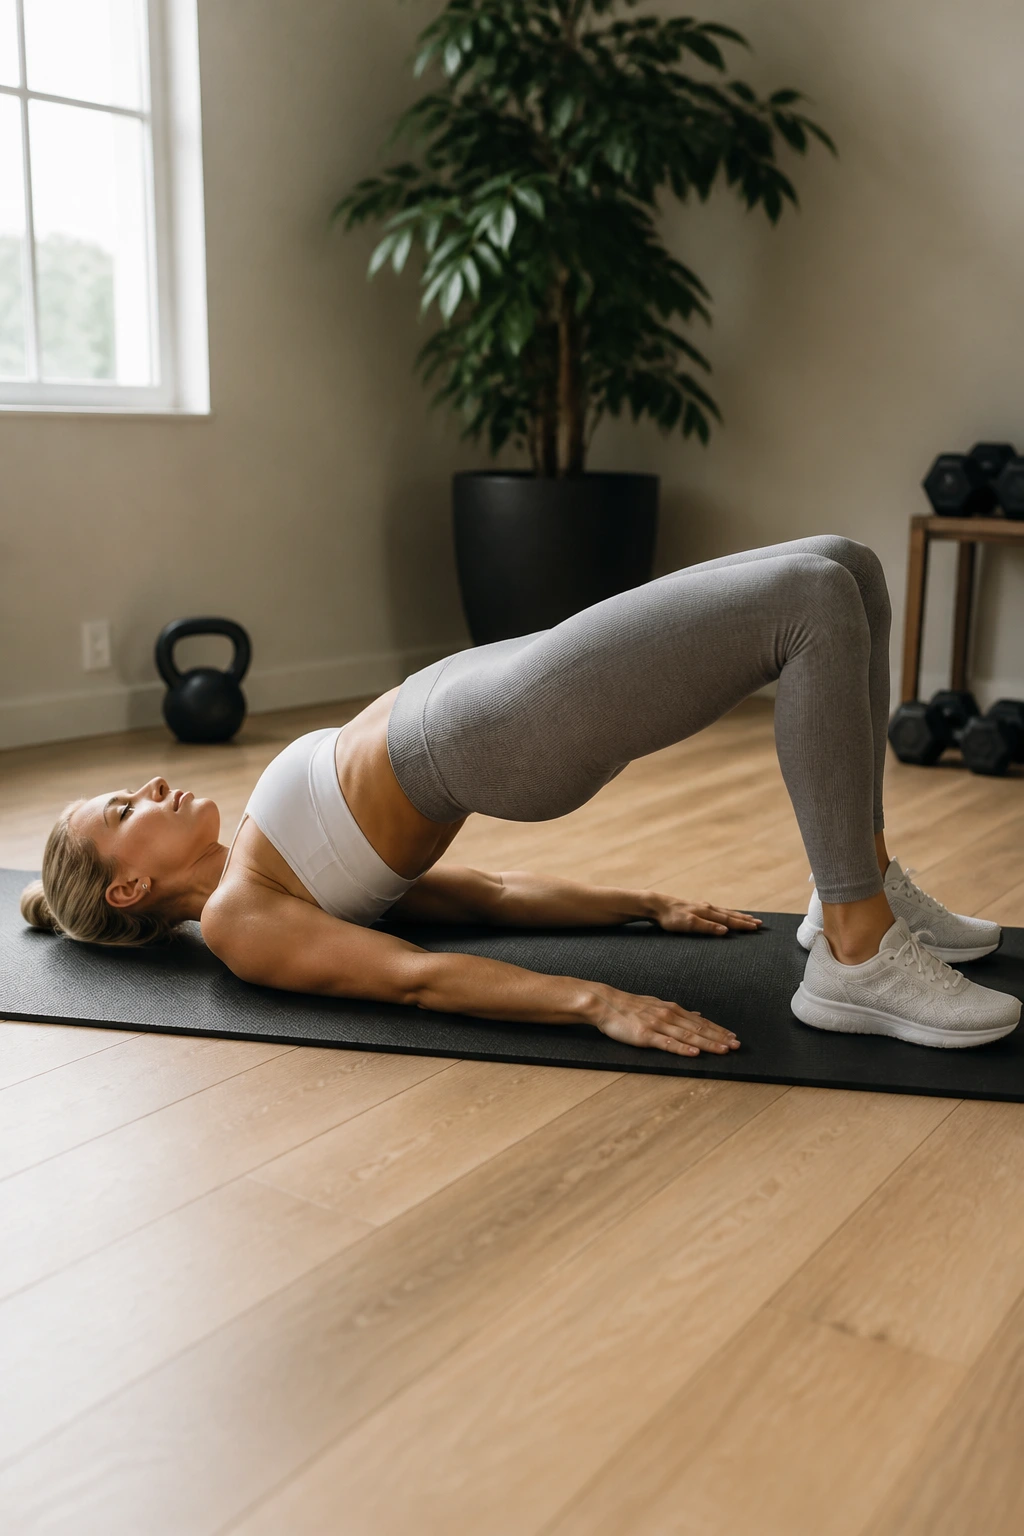
Want a bridge session that feels more like a burn than a lift? Use a ladder. It keeps your head in the game because the rep count changes every round, and that mental shift helps when a straight set starts feeling tedious.
The ladder
- 12 reps
- 10 reps
- 8 reps
- 10 reps
- 12 reps
Rest 20 to 30 seconds between rounds. Keep the same slow tempo the whole time.
This style works well when you want endurance in the glutes without going super heavy. It also pairs nicely with walking lunges, step-ups, or core work if you’re building a broader lower-body day. The bridge burns, yes, but it shouldn’t fall apart.
What to watch for? The last two rounds. That’s where people rush the top, shorten the pause, and let their back arch creep in. Don’t. The bridge only counts if it stays a bridge.
9. Apartment-Friendly Quiet Workout Plan
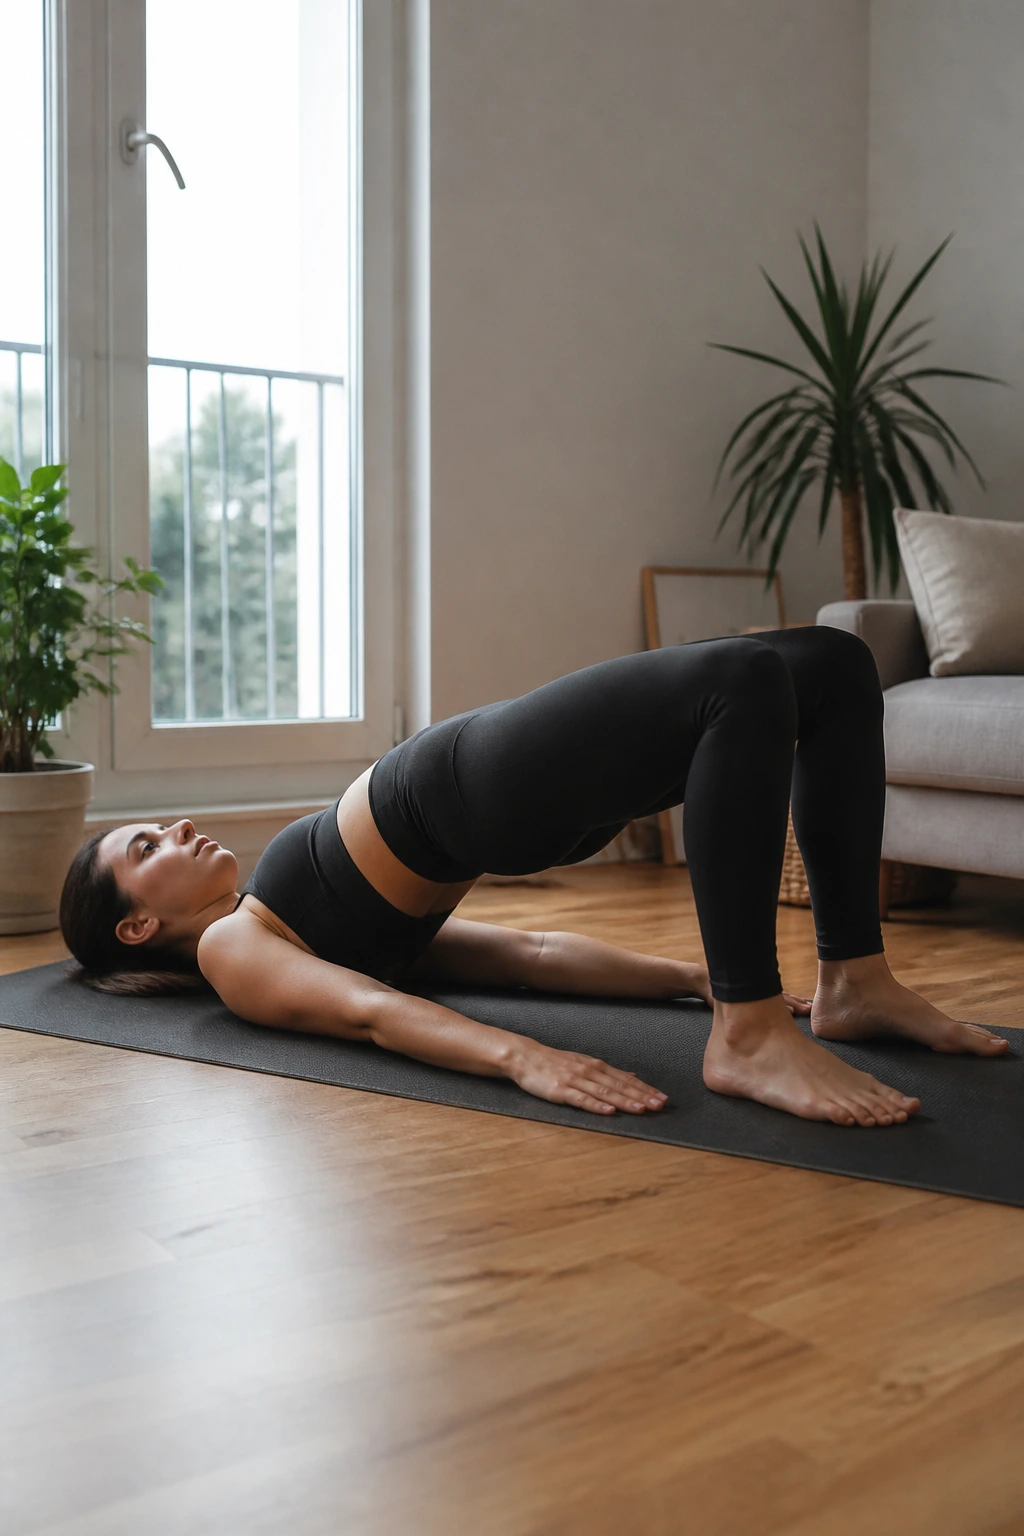
Floor space. No jumping. No clanking weights. That’s the whole brief.
This plan is built for the days when you want to train without waking the house or annoying the neighbors. Use 3 rounds of 15 bridges, 10 pulse reps, and a 20-second hold at the top. Rest 30 seconds and repeat. It takes about 12 minutes if you keep moving.
The pulse reps are small. Tiny, even. You’ll feel the glutes working hard without the need for a lot of noise or equipment. And because the movement stays low impact, it’s easier to recover from than a bigger leg session.
I like this version on days when energy is low but skipping the workout would leave you grumpy. It scratches the itch. No excuses needed.
10. Muscle-Building Glute Bridge Workout Plan for Women
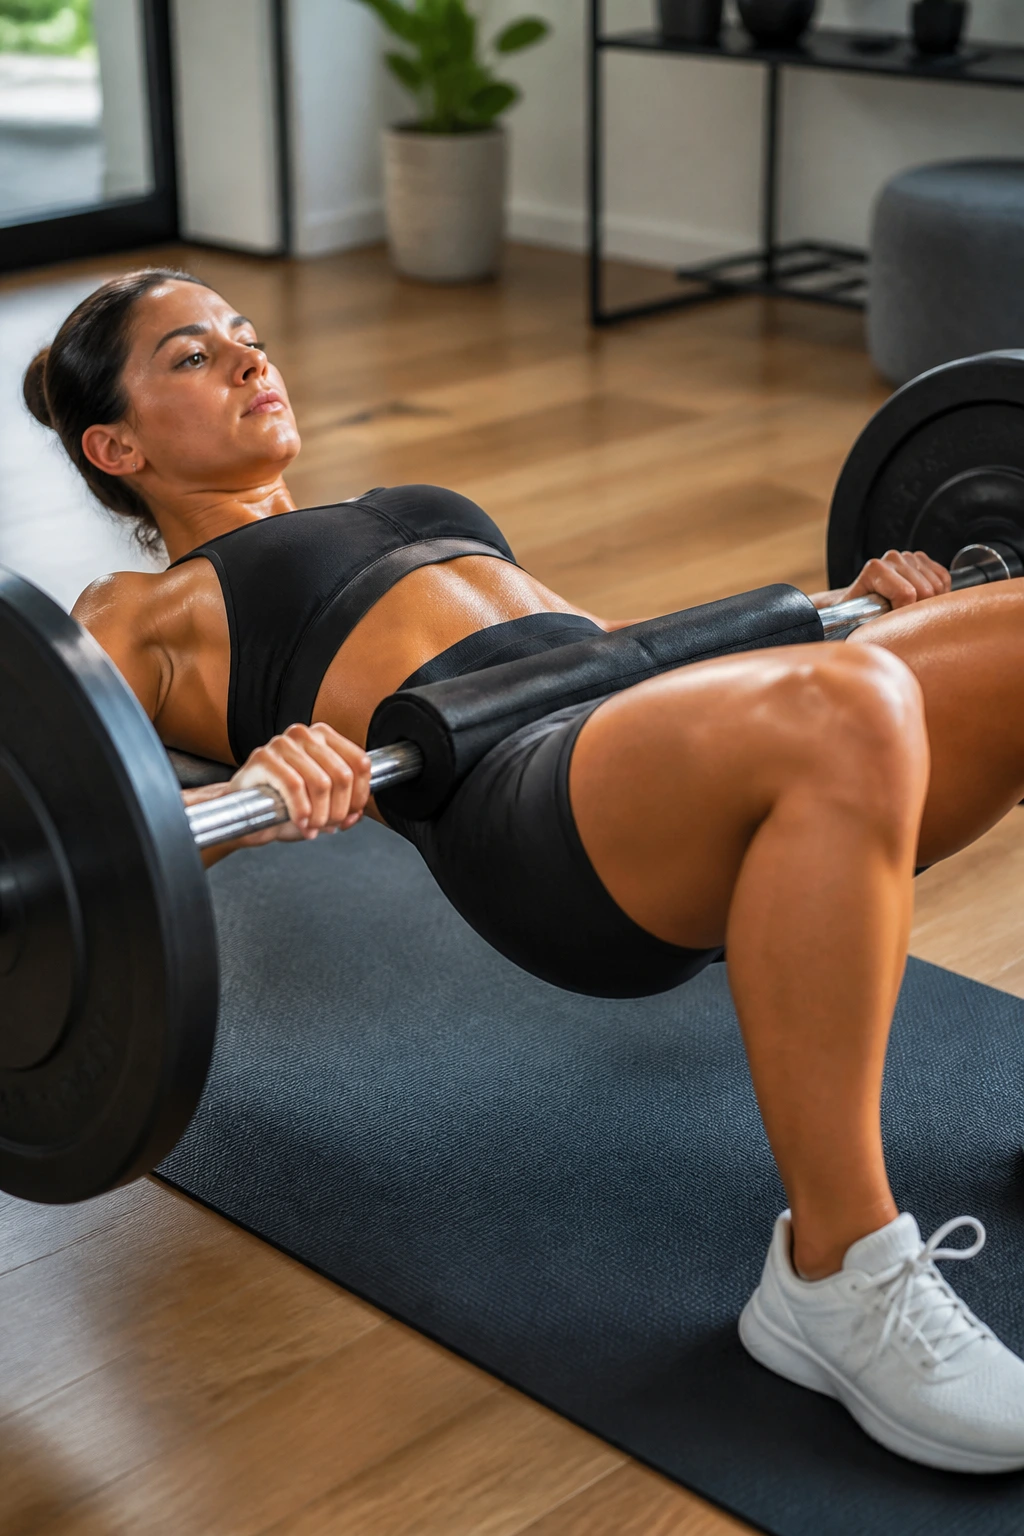
If size is the goal, you need more than endless high reps. The glutes respond well to load, and this is where the bridge stops being “just a warm-up” and starts behaving like a serious strength exercise.
A simple weekly split
- Day 1: 5 sets of 6 heavy dumbbell or barbell bridges
- Day 2: 4 sets of 10 moderate-load bridges
- Day 3: 2 sets of 20 bodyweight or banded bridges for a pump
Rest 2 minutes on the heavy day, 90 seconds on the middle day, and 45 seconds on the pump day. That mix gives you heavy tension, mid-range volume, and a lighter finish without repeating the same stress three times.
The big mistake here is doing every session at the same effort. That stalls progress. Heavy days should feel crisp and hard. Pump days should feel fast and controlled. Mid-range days sit in the middle and quietly do the work.
If your form breaks before the set ends, the load is too high. Keep the bridge honest.
11. Runner’s Hip Stability Plan
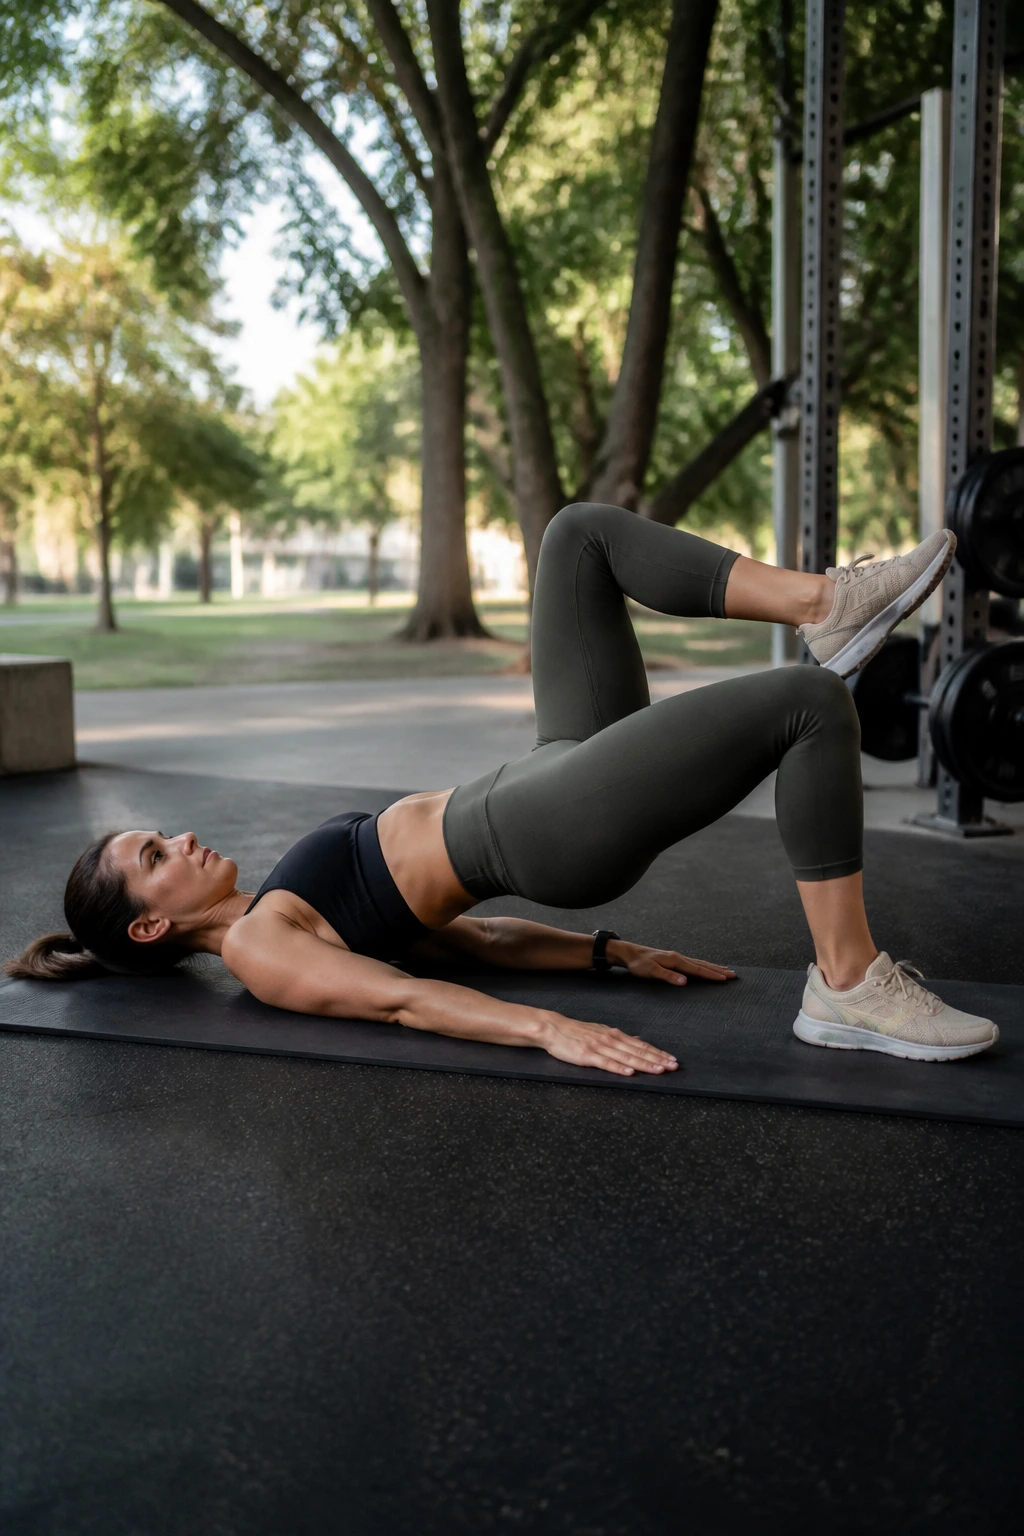
Running is not only about calves and lungs. It’s also about whether your hips can stay level while one leg is off the ground again and again.
This plan leans on bridges, marching bridges, and short single-leg holds. Try 2 sets of 12 regular bridges, then 2 sets of 8 marching bridges per side. Finish with 15-second holds on each leg if your balance is decent.
What makes it useful
- It teaches the pelvis to stay quiet.
- It helps the glute med assist with knee tracking.
- It gives you hip work without the pounding of another run.
Keep the march small. The lifted foot should leave the floor only a little, and the pelvis should not rock side to side. If it does, slow down and cut the range.
I like this plan before an easy run or on a non-running day when the hips feel stale. It supports stride mechanics without trying to replace them.
12. Low Back Support Plan
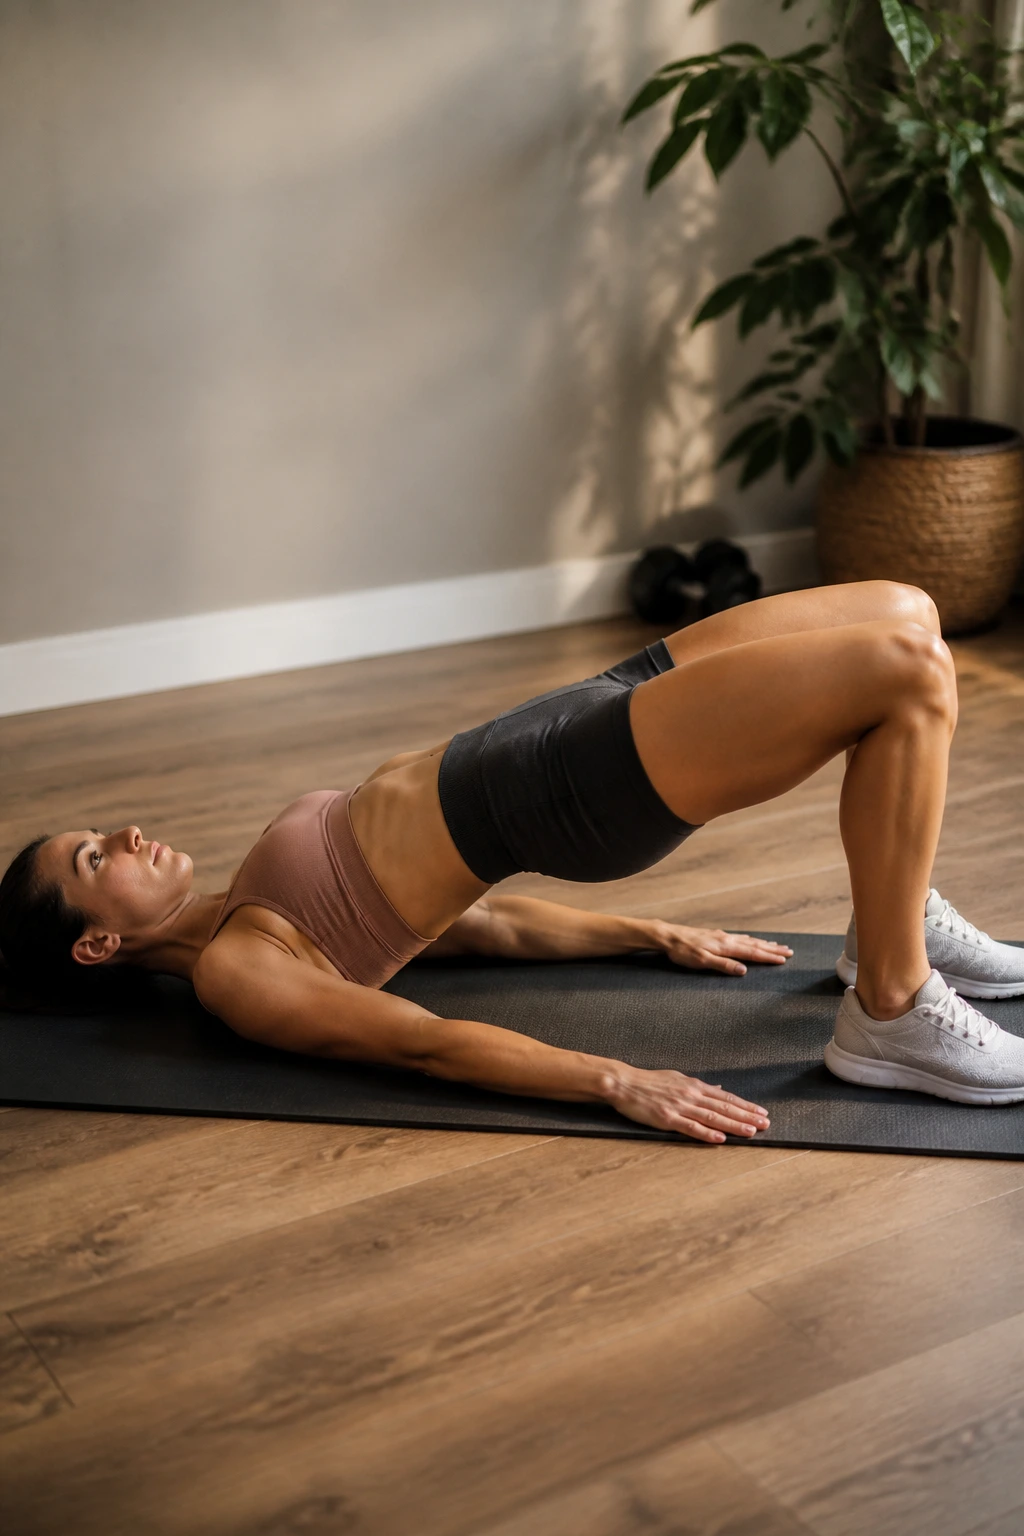
Does your lower back feel the bridge more than your glutes? Then the fix is usually not “do more reps.” It is usually “do cleaner reps.”
Use a smaller range, keep your ribs down, and finish the lift with the glutes instead of your spine. A good version looks like 3 sets of 8 slow reps with a 5-second hold at the top. That hold forces you to keep the position instead of bouncing through it.
The most useful cue here is probably the simplest one: tuck the pelvis just enough that your waistband would tilt toward your chin, then lift. Not a giant curl. Just enough to stop the low back from taking over.
If a bridge causes sharp pain, stop. A little effort is normal. Pain is not the price of entry. If your back has a history of issues, a coach or clinician can help you sort out the difference between muscle work and a bad setup.
13. EMOM Glute Bridge Plan
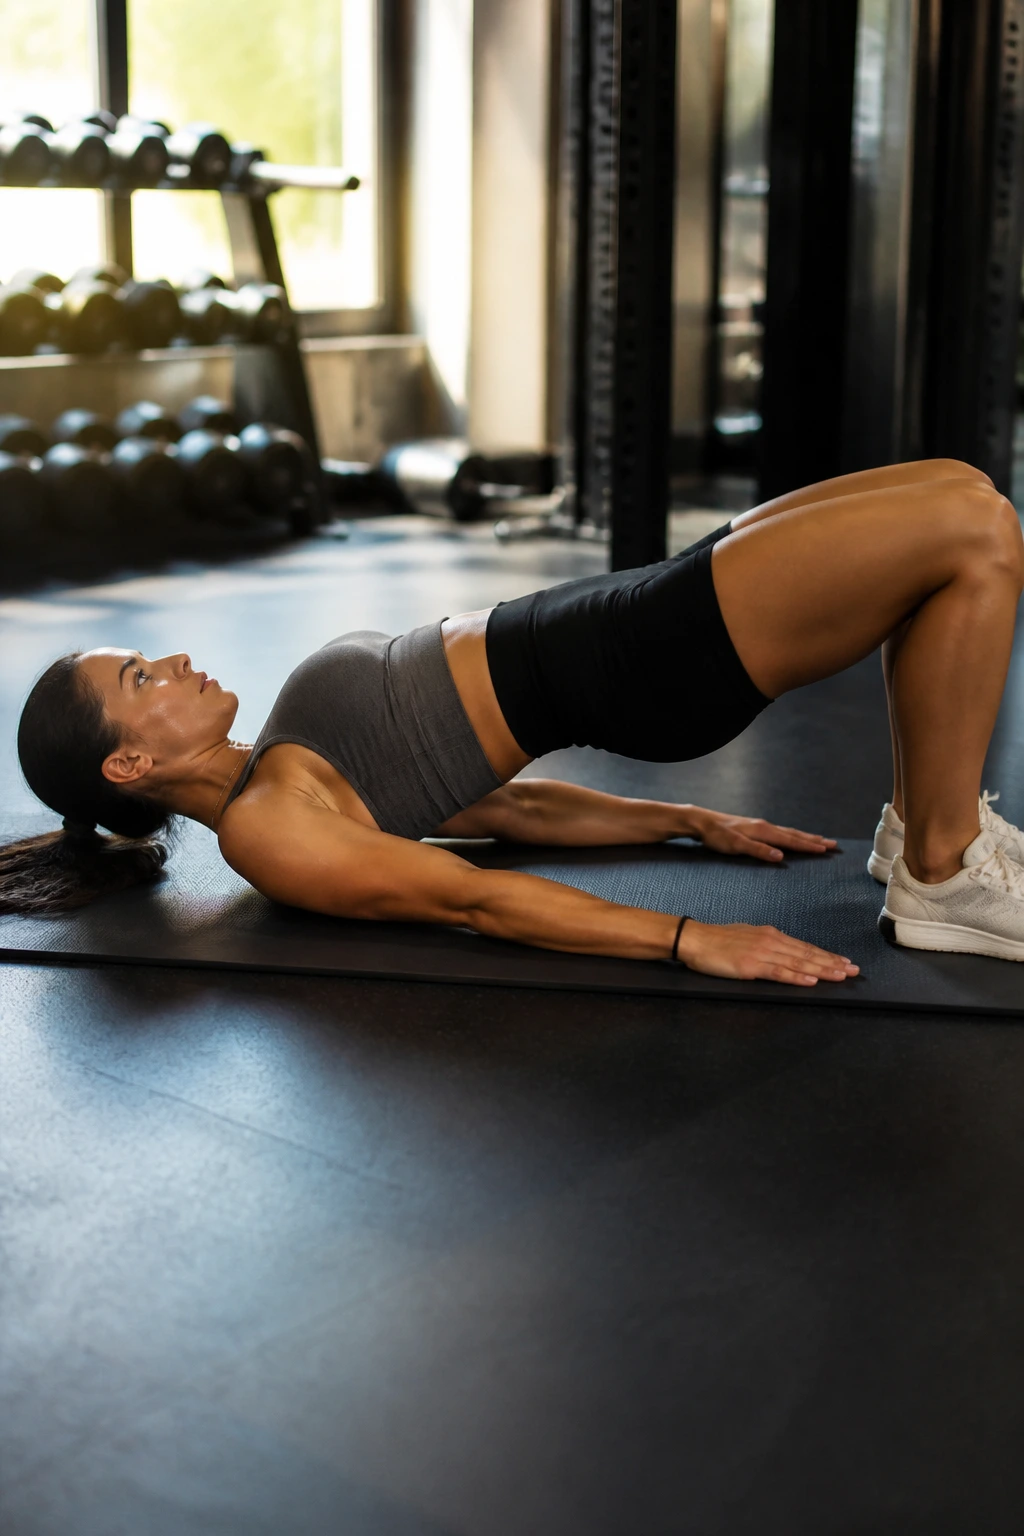
Ten minutes. One minute on the clock. Twelve bridges. That’s the whole structure, and it works because the clock keeps you honest.
The format
- Start a timer for 10 minutes
- Do 12 bodyweight bridges at the top of each minute
- Rest for the remaining seconds
- If 12 is too easy, use a dumbbell or add a 2-second hold
EMOM stands for every minute on the minute. It gives the workout a tidy edge without needing a lot of equipment or planning. You know exactly when the next set starts, which keeps you from drifting.
The plan is short, but it doesn’t feel easy if you keep the reps clean. By minute 7 or 8, you’ll notice whether your glutes are doing the work or whether you’re cheating with speed. That’s useful feedback.
14. Slow Tempo Pilates-Style Bridge Plan
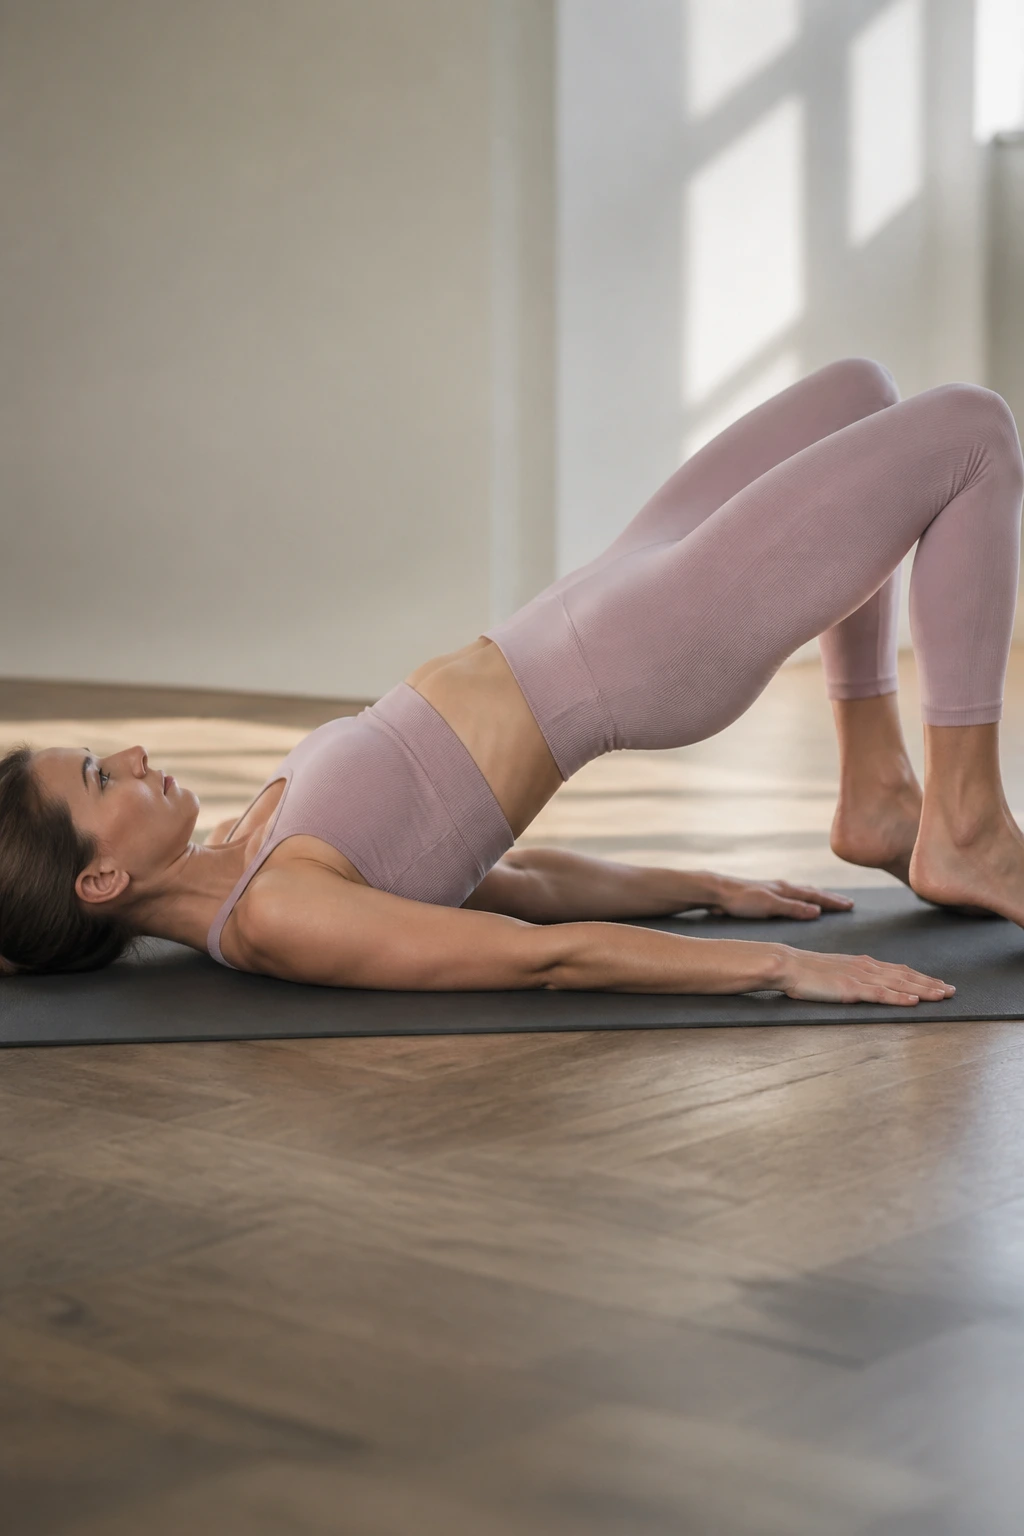
The slow version is sneaky. It looks calm, then the glutes start complaining halfway through the set.
Use a 5-second lower, a 1-second pause on the floor, and a smooth lift that takes about 2 seconds. Do 3 sets of 8 reps. Keep the movement small enough that you can control every inch of it.
I like this style for people who rush everything. It forces you to feel the transition between down and up, and that feeling matters. The bridge should roll through the spine one segment at a time instead of snapping off the floor.
It’s also a good choice when you want a quieter session with less joint impact. No bouncing. No chaotic tempo. Just slow work and a very honest glute burn.
15. Resistance Band Burnout Plan
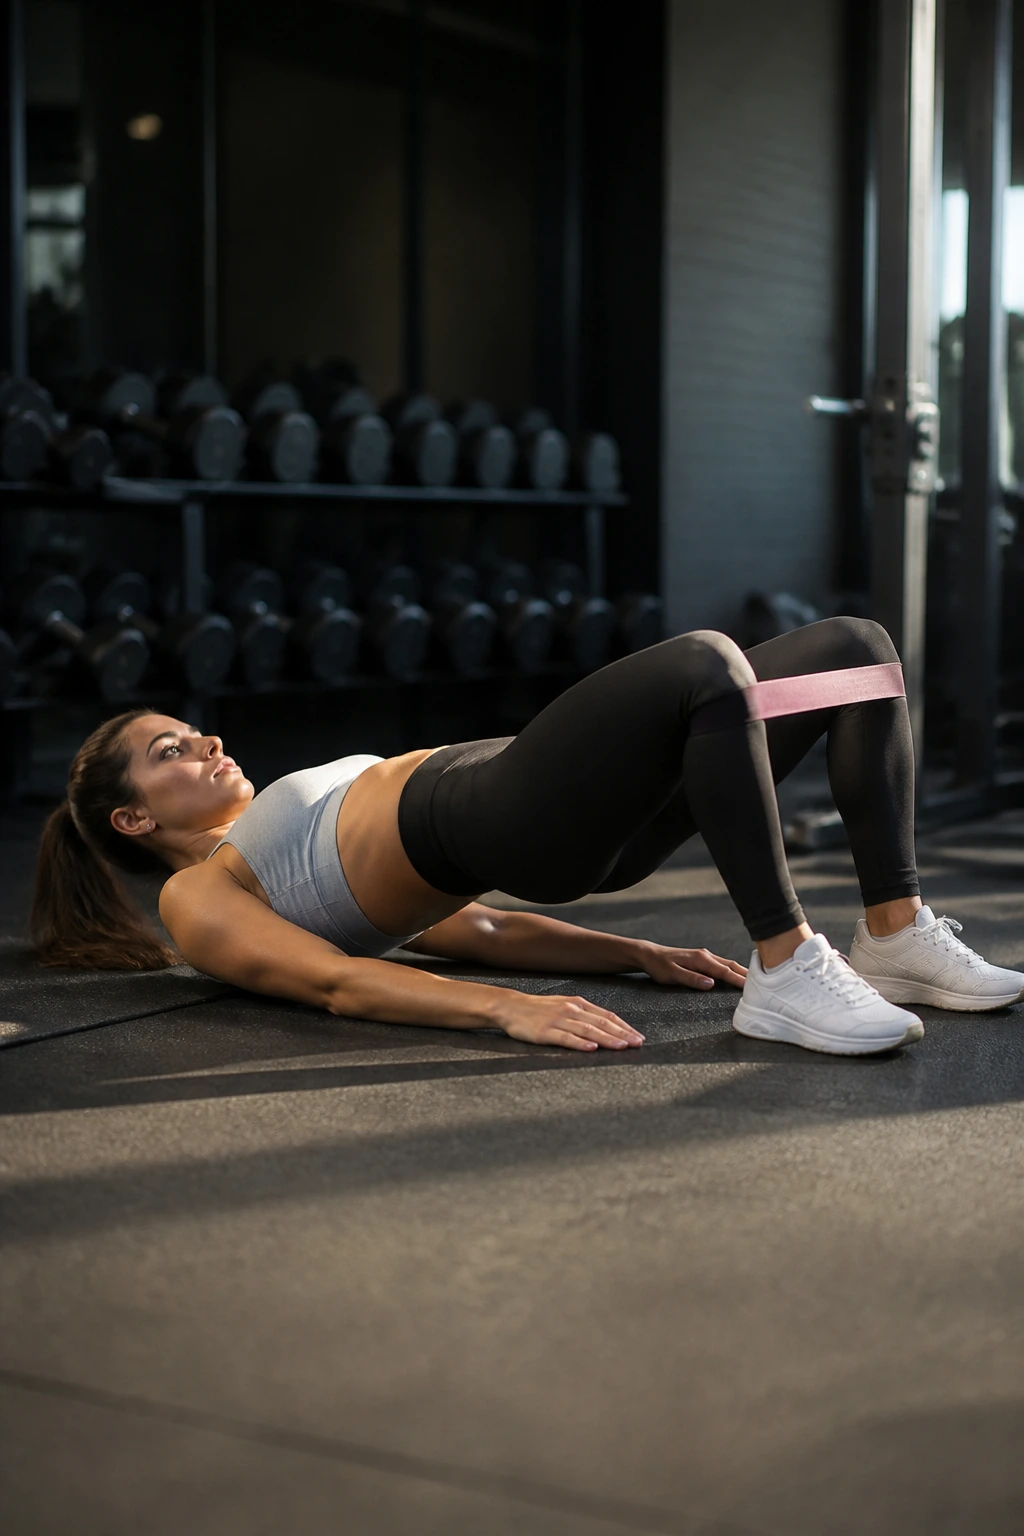
This is the one that leaves your hips warm for the rest of the day. Use a mini band above the knees, stay light on the load, and lean into the burn instead of fighting it.
Set it up like this
- 20 bridges
- 20 bridge pulses
- 20-second hold
- Rest 45 seconds
- Repeat for 3 rounds
The pulses stay tiny. If they turn into full reps, you’ve gone too big. The point is to keep tension in the glutes while the band keeps the knees honest.
This is a nice finish after a leg workout, but it can also stand alone on a day when you want a short session with a lot of muscle feel. I would not use it as your main strength plan. It’s a finisher, not a foundation.
Burnout work is useful when it has a job. This one’s job is simple: make the glutes work hard without loading the spine much.
16. Travel-Friendly No-Equipment Plan
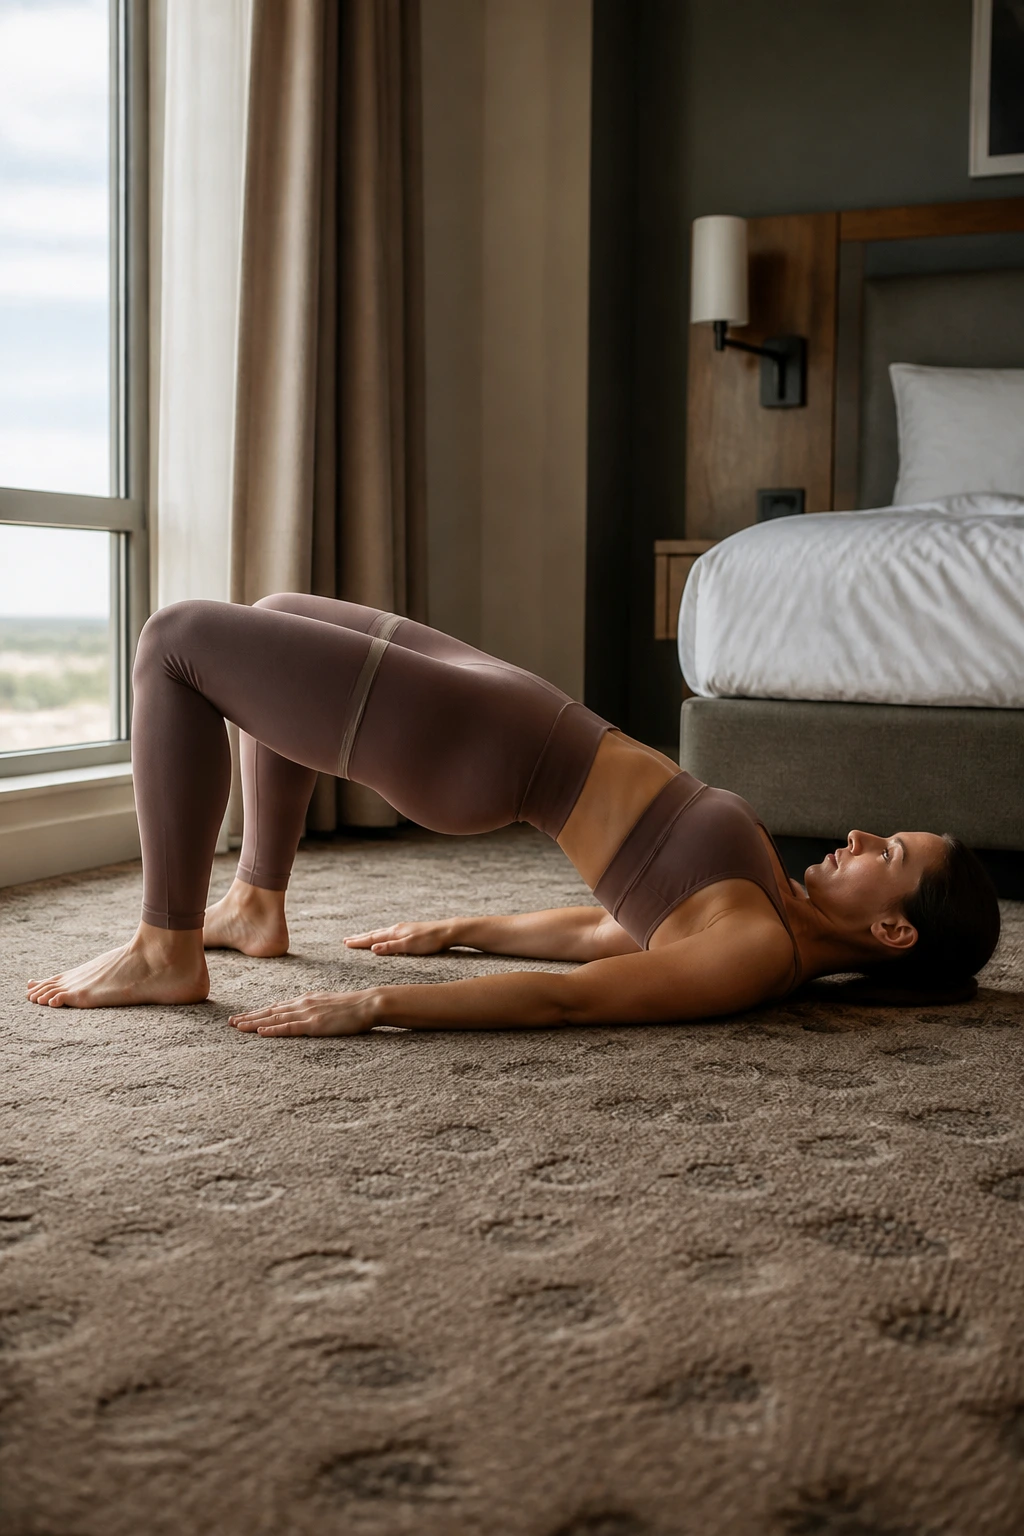
Hotel room. Carpet. No dumbbells. No problem.
Use 4 rounds of 15 bodyweight bridges, 10 alternating bridge marches, and a 15-second top hold. Rest 20 to 30 seconds between exercises. The whole thing fits into 15 minutes if you stay moving.
The bridge march is the star here because it challenges control without needing space. One foot stays planted while the other lifts an inch or two. The pelvis should stay level. If it sways, shorten the hold and reset.
This plan is good when you’re traveling and want to feel like you trained without needing a full setup. It also works on deload weeks when you want to keep the pattern alive without chasing fatigue.
17. Careful Comeback Plan After a Training Break
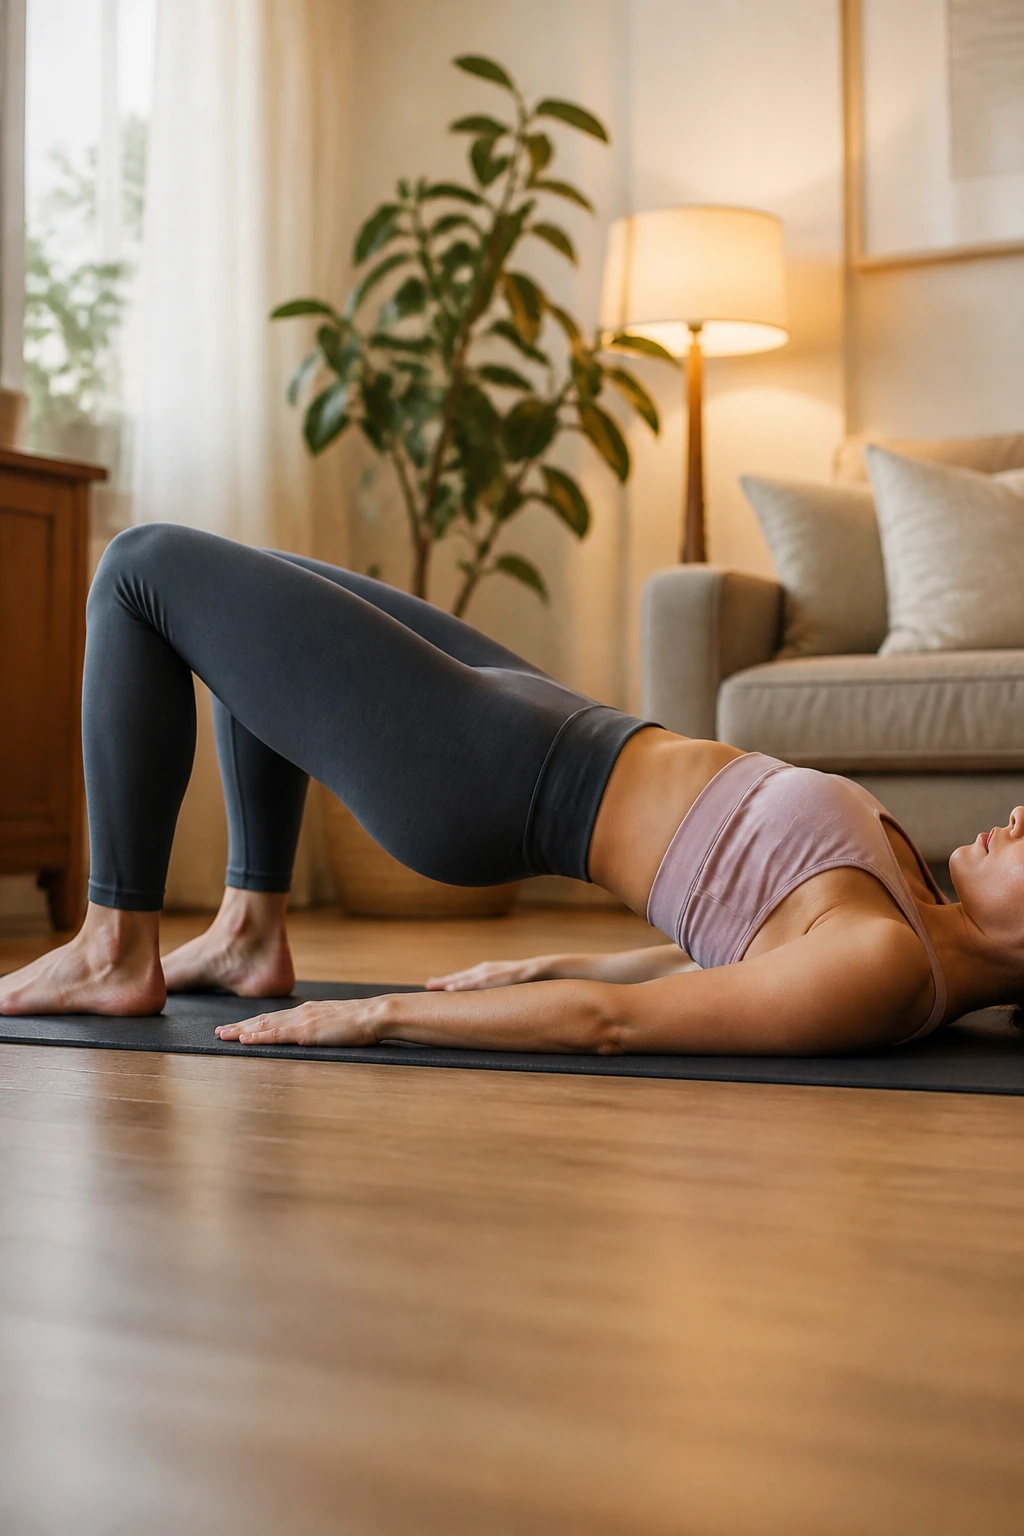
Your first week back should not look like your old peak week. That’s how people get sore for three days and decide the gym is a terrible idea.
Start with 2 sets of 8 easy bridges, then add 1 set of 10 only if the first two felt smooth. Keep the tempo controlled and leave a little energy in the tank. If you’re returning after a pregnancy, surgery, or any other medical interruption, get proper clearance first.
The main goal here is tolerance. You want your hips, glutes, and lower back to remember the pattern without feeling bullied by it. That means no heroic loading and no racing for a burn.
A comeback plan should feel almost too easy. Good. That means you can show up again tomorrow.
18. Barbell Strength Glute Bridge Plan
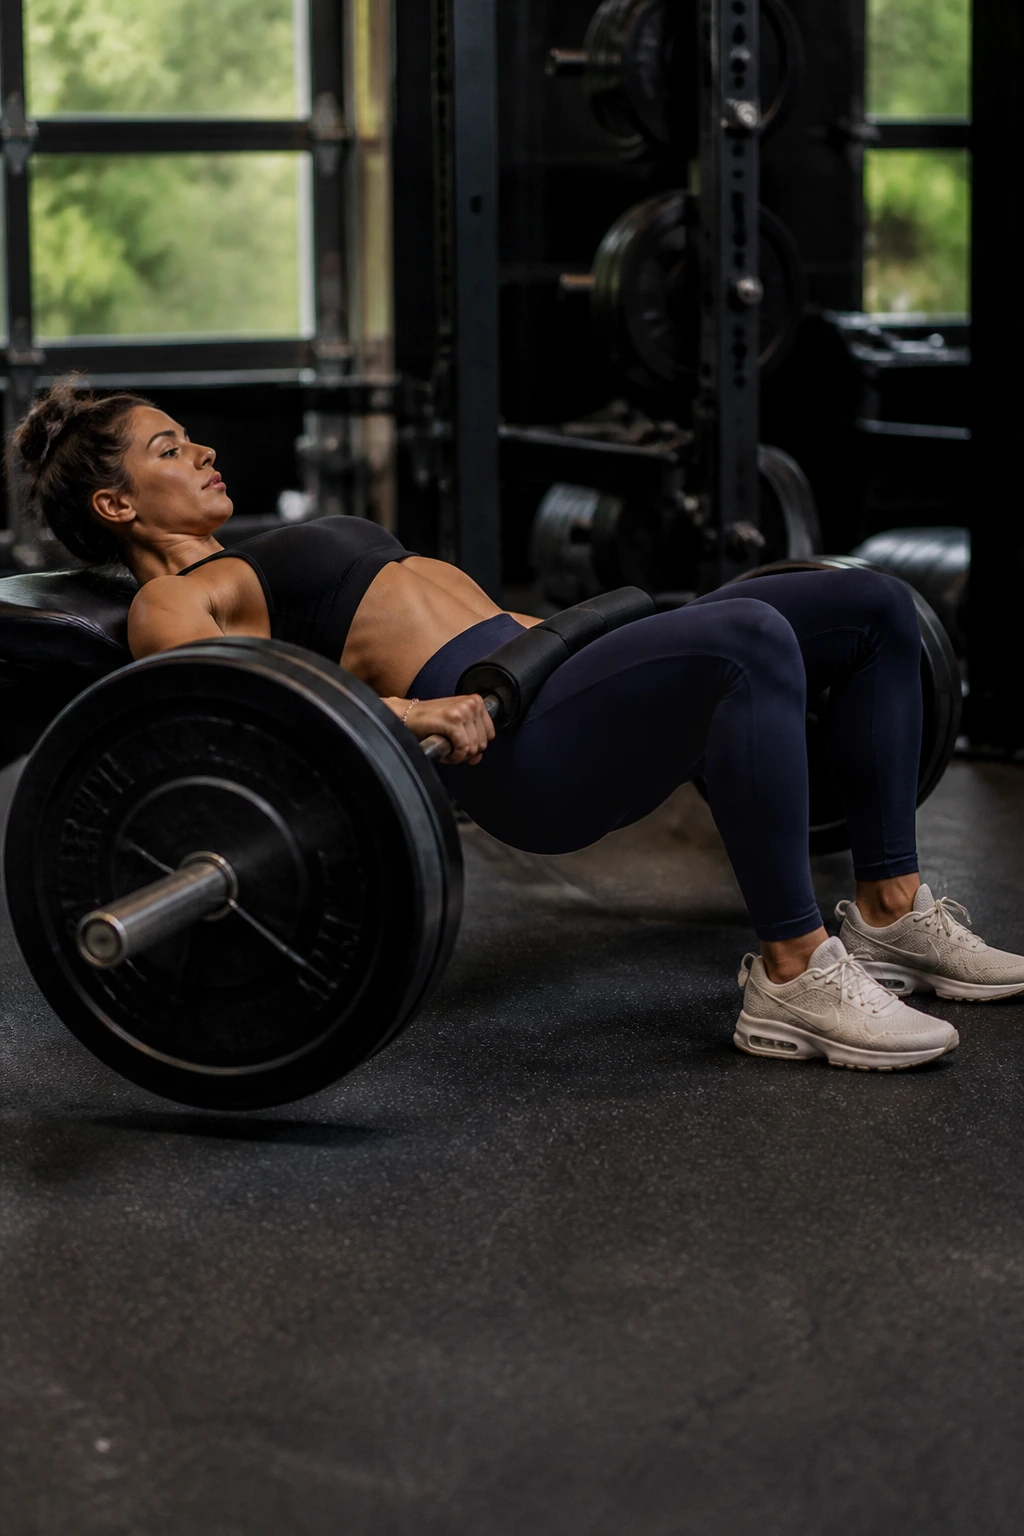
A heavy bridge is not a test of toughness. It’s a test of setup. Get the bar in the right place, brace cleanly, and the lift becomes one of the best strength tools around.
How to load it
- Start with 3 sets of 5 reps
- Rest 2 to 3 minutes
- Add 2.5 to 5 pounds only when all reps look crisp
- Use a pad if the bar digs into your hips
The barbell version rewards patience. If your ribs flare, your neck tightens, or the bar drifts, the set is too ambitious. Back off and clean it up. Heavy glute work should feel powerful, not sloppy.
I prefer this plan for lifters who already know the bodyweight version and want the bridge to carry over into stronger squats, pulls, and sprint work. It is direct. It is honest. And it punishes ego fast.
19. No-Equipment Strength Maintenance Plan
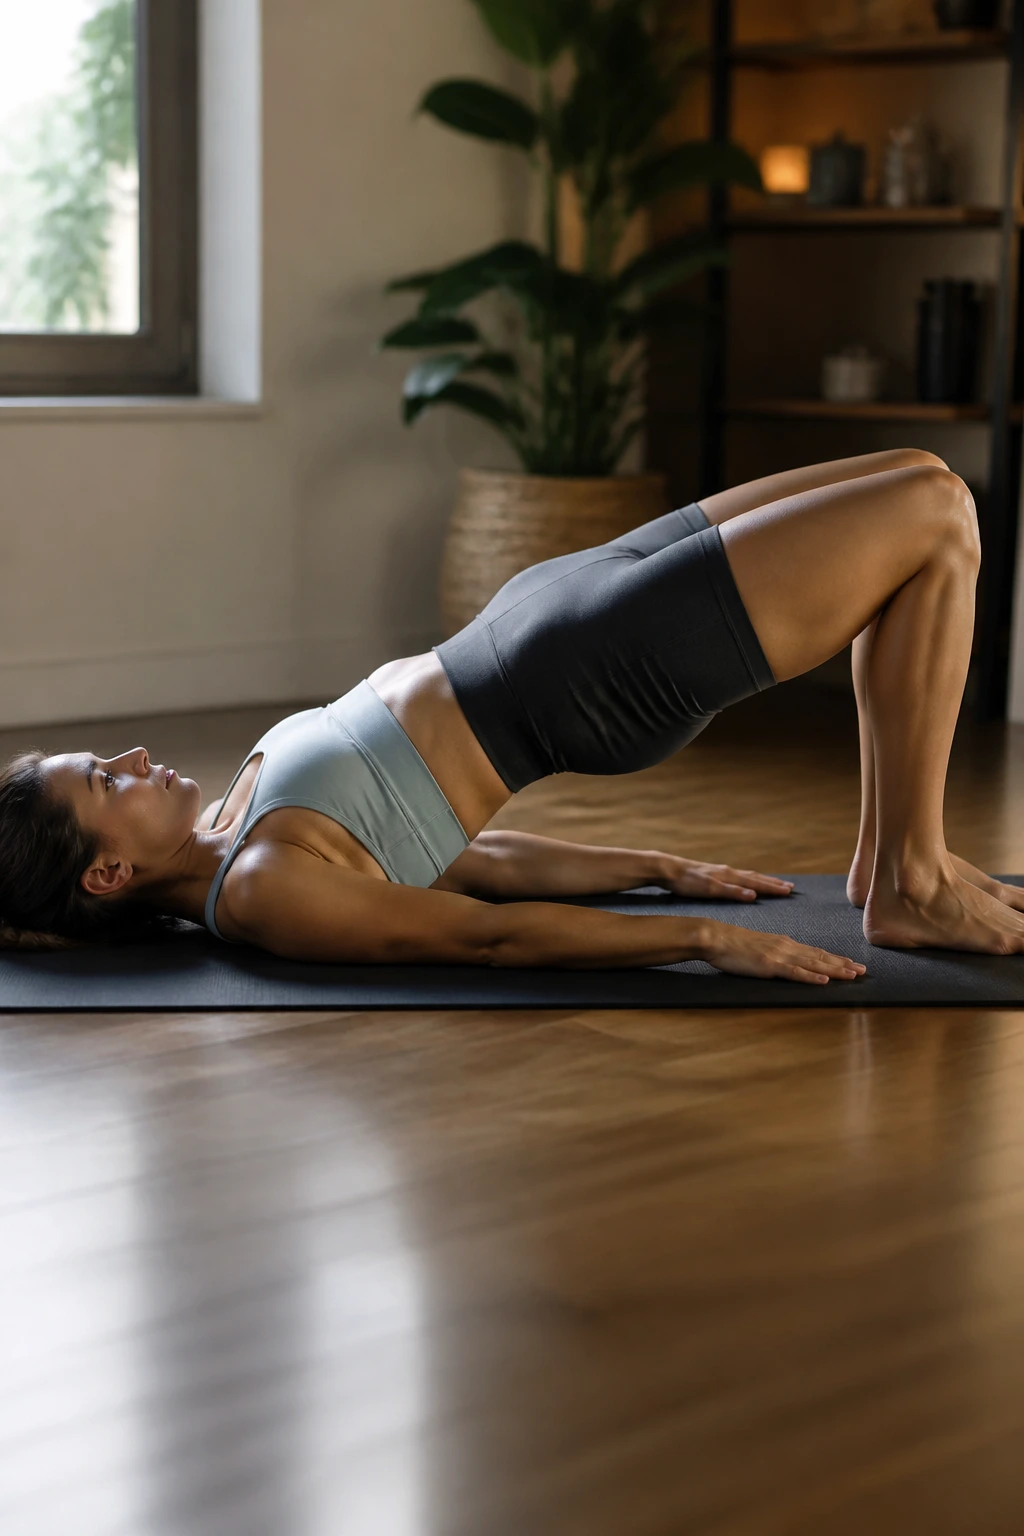
Sometimes you do not need a new challenge. You just need a small dose that keeps the pattern alive.
Use a simple three-move block: 12 regular bridges, 8 bridge holds of 5 seconds each, and 10 bridge marches per side. Do 2 to 3 rounds with short rests. That’s enough to maintain coordination during busy weeks or lighter training blocks.
This kind of plan works because it keeps three things in play at once: movement, hold, and stability. You’re not chasing maximum load here. You’re reminding the body what to do so the heavier sessions still feel familiar later.
I like this as a “do something, anything” session when time is tight. It’s clean, quiet, and easy to recover from. No equipment. No excuses. Pretty handy.
20. A Weekly Glute Bridge Progression Plan You Can Repeat
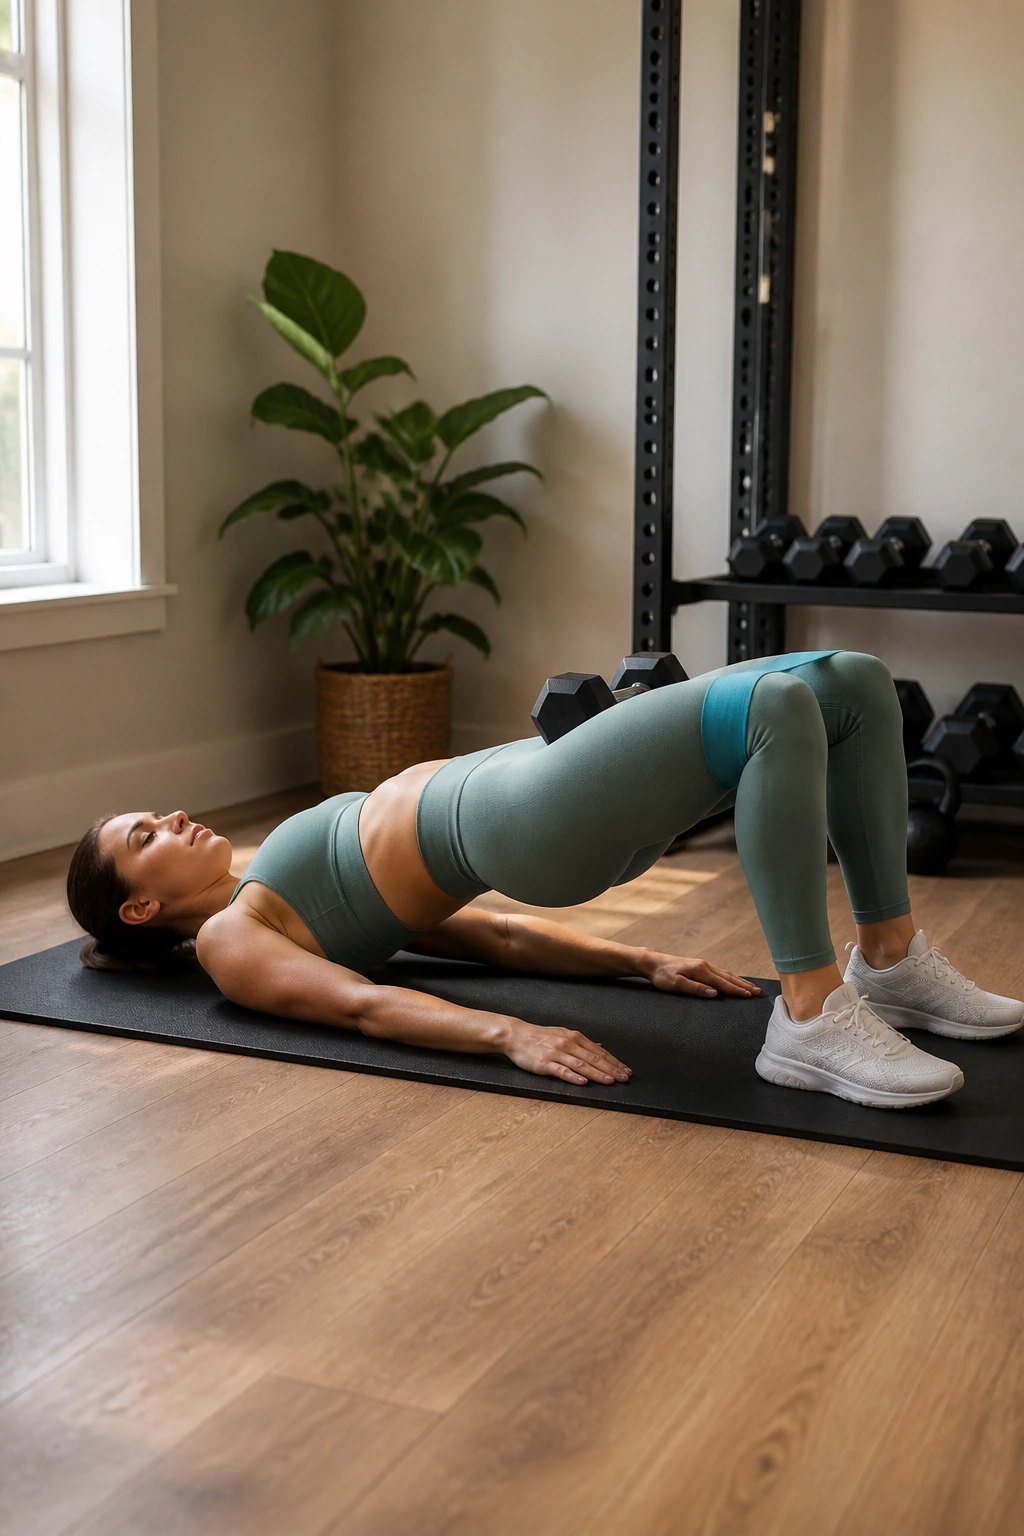
The smartest glute bridge workout plan for women is the one you can repeat without guessing. A simple weekly progression usually beats a random hard session followed by three days off because your hips are angry.
A clean four-day rotation
- Day 1: Bodyweight bridges, 3 sets of 12
- Day 2: Banded bridges, 3 sets of 15
- Day 3: Weighted bridges, 4 sets of 8
- Day 4: Recovery bridges, 2 sets of 10 with a 3-second hold
That setup gives you control, activation, load, and recovery in one loop. The numbers do not need to be fancy. They need to be repeatable.
Here’s the part I care about most: log what you did. If you used a 20-pound dumbbell this week and it felt smooth, write it down. If the banded set made your knees wobble, note that too. Small records beat vague memory every time.
Stick with the bridge long enough to notice the pattern. The glutes respond to consistency, not drama. And once you’ve got that, you can keep building without wondering what to do next.
