



Menopause can make the waist feel stubborn in a way that catches a lot of women off guard. Pants fit differently, the lower belly seems softer, and workouts that used to feel easy can start to light up the knees or lower back.
The best belly fat exercises for menopausal women are not punishment workouts. They are the moves you can repeat: brisk cardio that actually raises your breathing, strength work that keeps muscle on your frame, and core drills that teach your trunk to brace instead of just bend.
Spot reduction is a myth, so crunches alone are a dead end. What does work is a mix of movement patterns that burn energy, build lean mass, and keep you strong enough to stay active the rest of the day — which matters more than most people admit.
Pick exercises that feel stable, not theatrical. If a move makes your joints grumble or your balance wobble in a bad way, there is a simpler version waiting for you below.
1. Brisk Walking Intervals
Brisk walking gets dismissed because it looks too simple. It isn’t.
A steady stroll is fine for recovery, but intervals change the game. Walk for 1 minute at a pace that makes conversation a little harder, then ease off for 2 minutes. Repeat that pattern for 20 to 30 minutes. If you want to keep it even more joint-friendly, pick a slight hill or treadmill incline and keep your steps quick rather than long and lumbering.
The detail that matters is effort. You should feel warmer, breathe harder, and notice your arms swinging more naturally. If you finish a walk the same way you started, it was too easy.
This is one of the cleanest ways to support fat loss without trashing your knees. It also fits real life, which counts for a lot. A fast walk after dinner, before breakfast, or after a strength circuit can do more for waistline changes than a once-in-a-while heroic workout.
2. Chair Squats
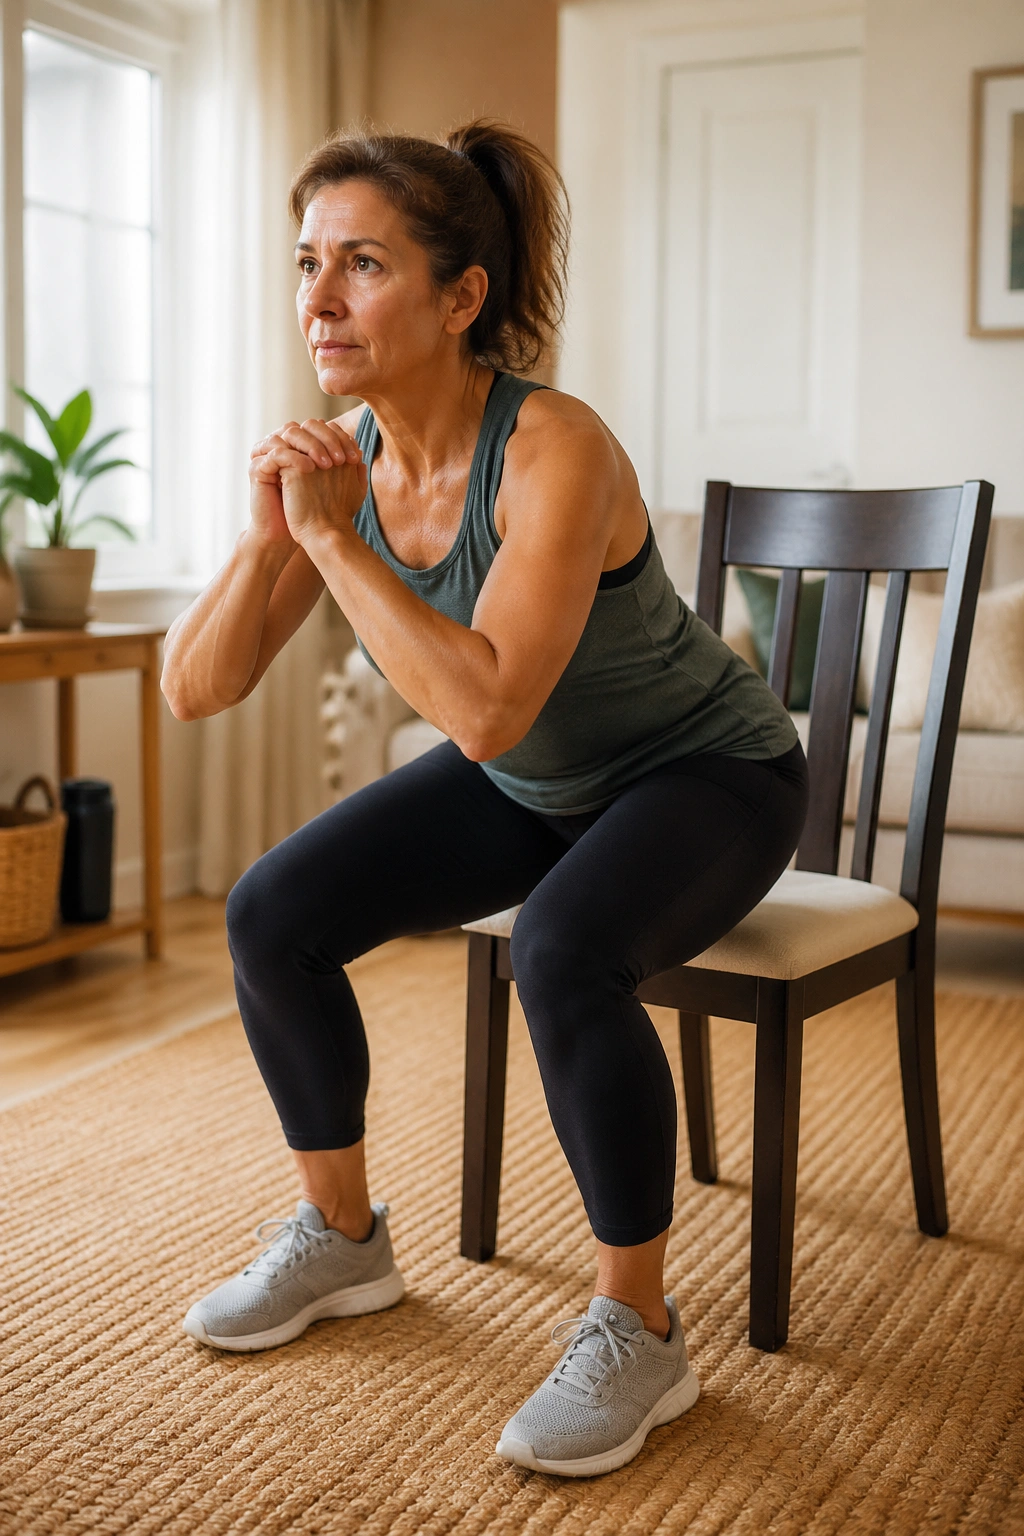
How do you make a chair squat do real work? Stop treating the chair like a place to collapse into.
Why They Matter
Sit-to-stand strength is one of those things people ignore until it gets hard. Chair squats train the thighs, glutes, and hips together, and that kind of load helps preserve muscle in a body that may be trying to lose it. More muscle means a better metabolic floor, and that is useful when belly fat seems to cling harder than you’d like.
How to Do It Well
Place your feet about hip-width apart, brace your midsection, and send your hips back as if you’re reaching for the chair with your glutes. Tap the seat lightly, then stand up by driving through the whole foot, not just the toes.
- Do 3 sets of 8 to 12 reps.
- Hold a dumbbell at chest height when bodyweight squats feel too easy.
- Keep your knees tracking in line with your toes.
- Use a taller chair if your hips or knees need a break.
If you’re bouncing off the chair or flopping down, the setup is too fast. Slow it down and own the descent.
3. Dumbbell Romanian Deadlifts
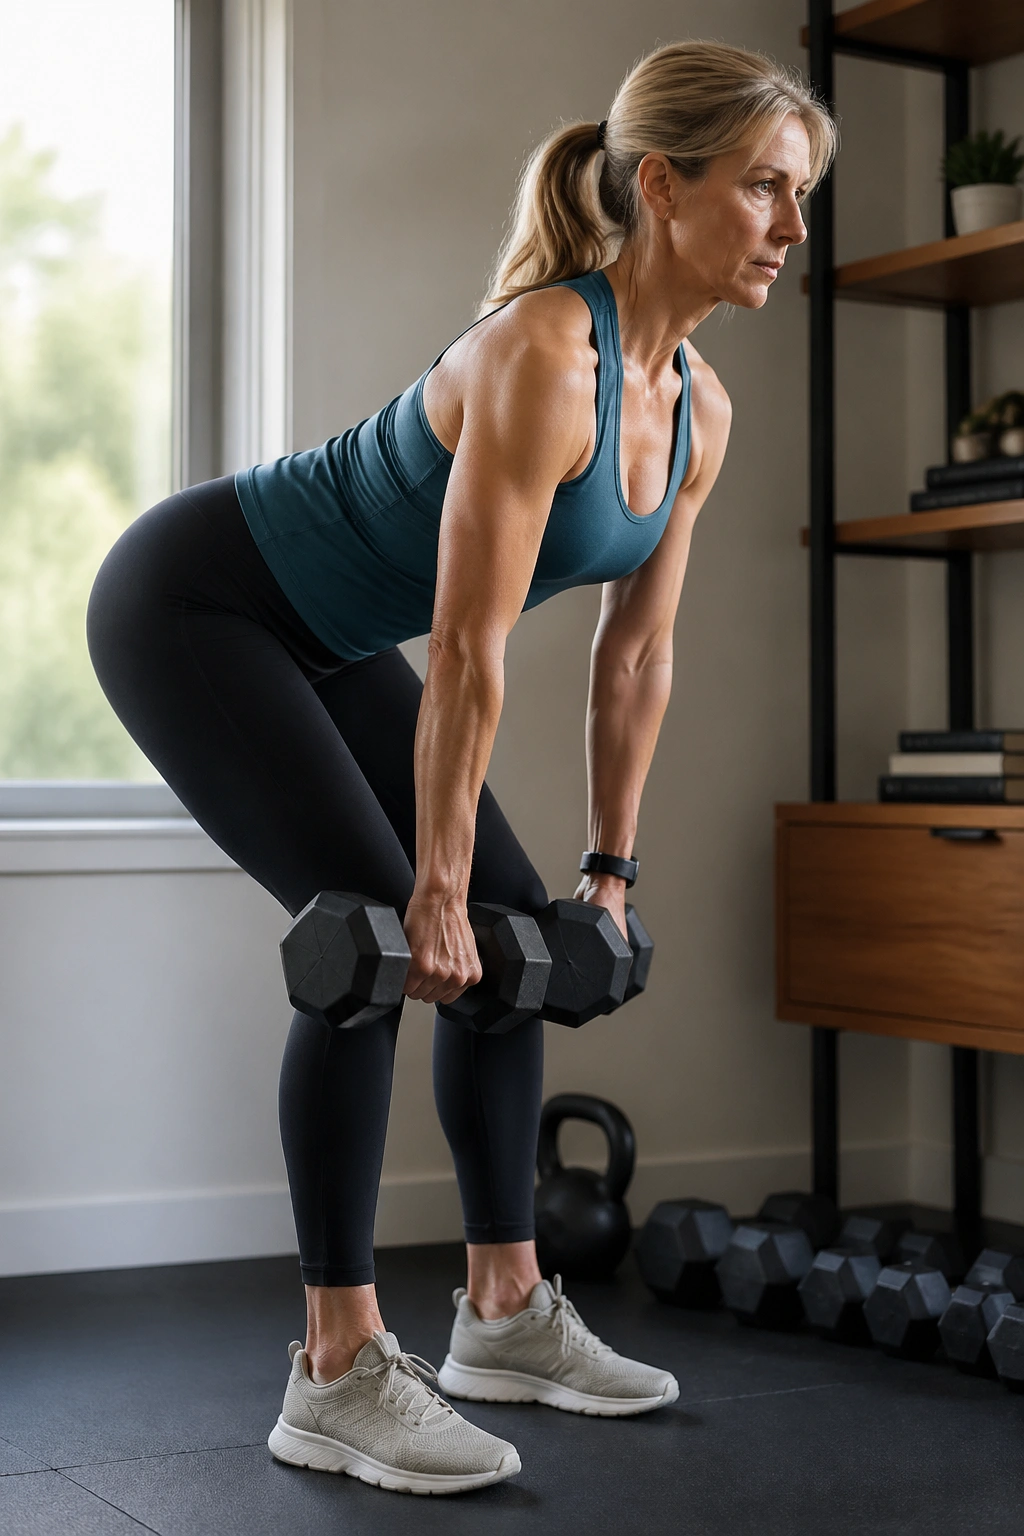
The Romanian deadlift is one of the cleanest ways to wake up the hamstrings and glutes. It also teaches a hinge pattern, which is useful every time you pick something up from the floor without yanking your back around.
Start with soft knees and dumbbells resting in front of your thighs. Push your hips back, keep the weights close to your legs, and lower until you feel a deep stretch in the backs of your thighs. Then stand by driving the hips forward and squeezing the glutes at the top.
The big mistake is turning it into a squat. Don’t. Your shins should stay mostly vertical, and your back should stay long, not rounded. If your shoulders drift forward or your lower back feels pinchy, the weight is too heavy or the range is too deep.
Do 3 sets of 8 to 10 reps with controlled tempo. One slow lower is worth more than three sloppy ones.
4. Step-Ups
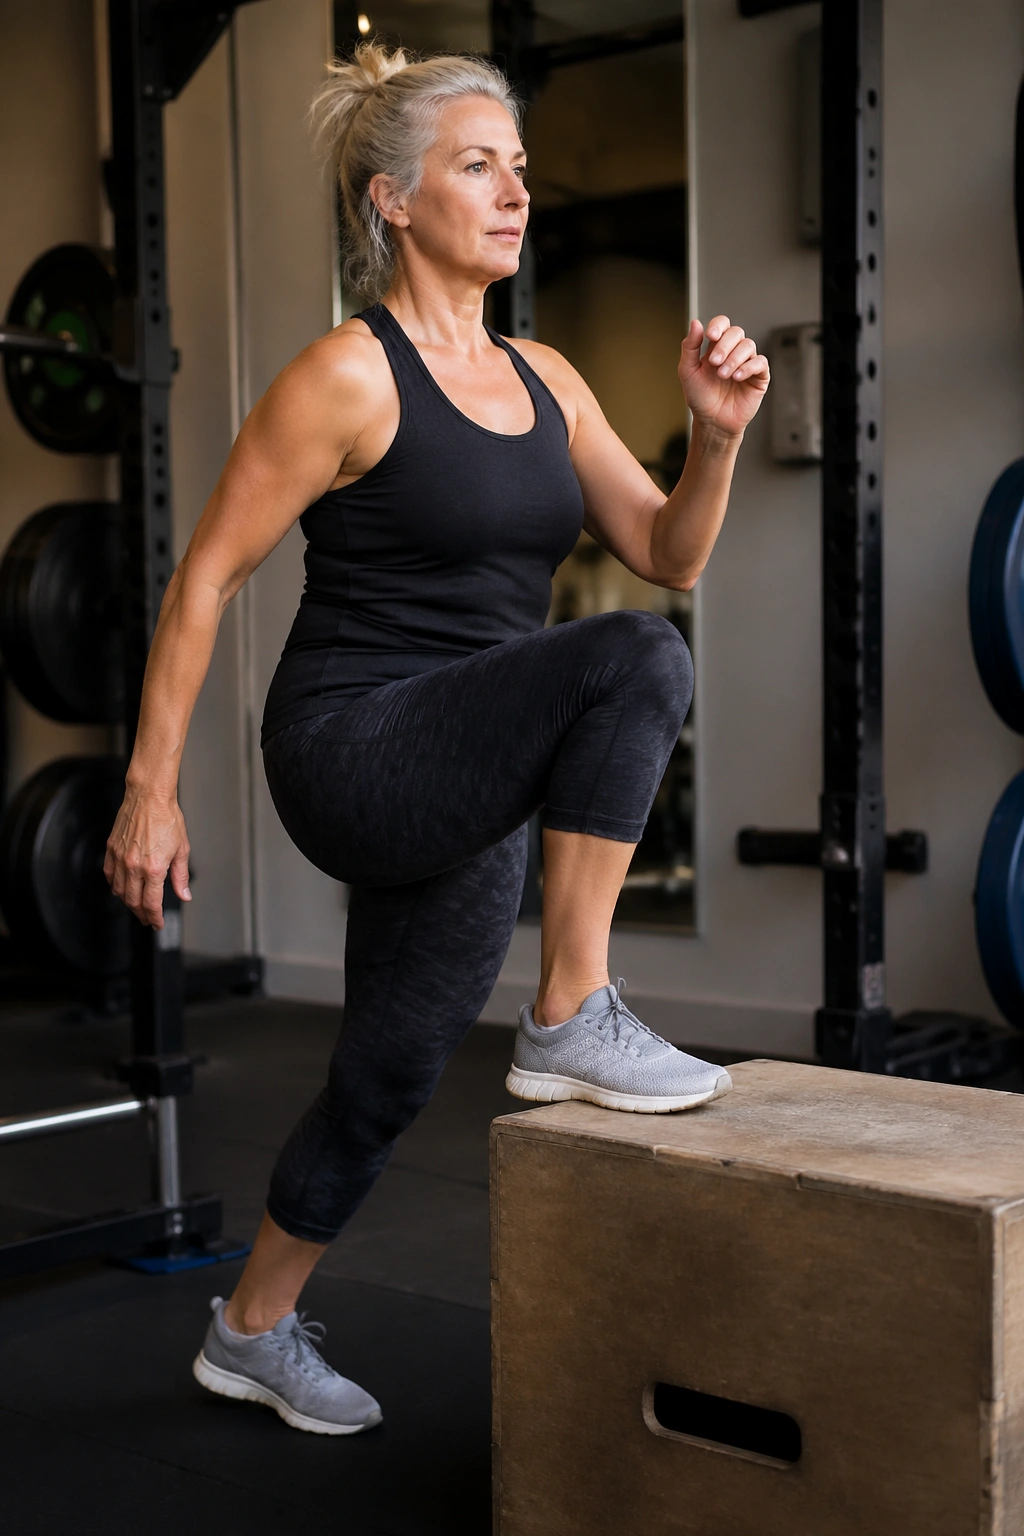
If your stairs feel like a built-in gym, use them.
Step-ups hit the glutes, quads, and balance muscles in one shot. That matters because single-leg work forces the body to stabilize, and stabilization is where a lot of middle-age weakness shows up first. Use a step, box, or staircase that lets your working thigh stay roughly parallel to the floor — no need to turn it into a mountain.
Plant your whole foot on the step, lean forward a little, and push through the heel and midfoot to stand up. The back leg should help only a little. If you’re launching yourself with the trailing foot, the front leg isn’t doing enough.
Do 8 to 10 reps per side for 2 to 4 rounds. Add light dumbbells when bodyweight starts to feel too easy.
5. Incline Push-Ups
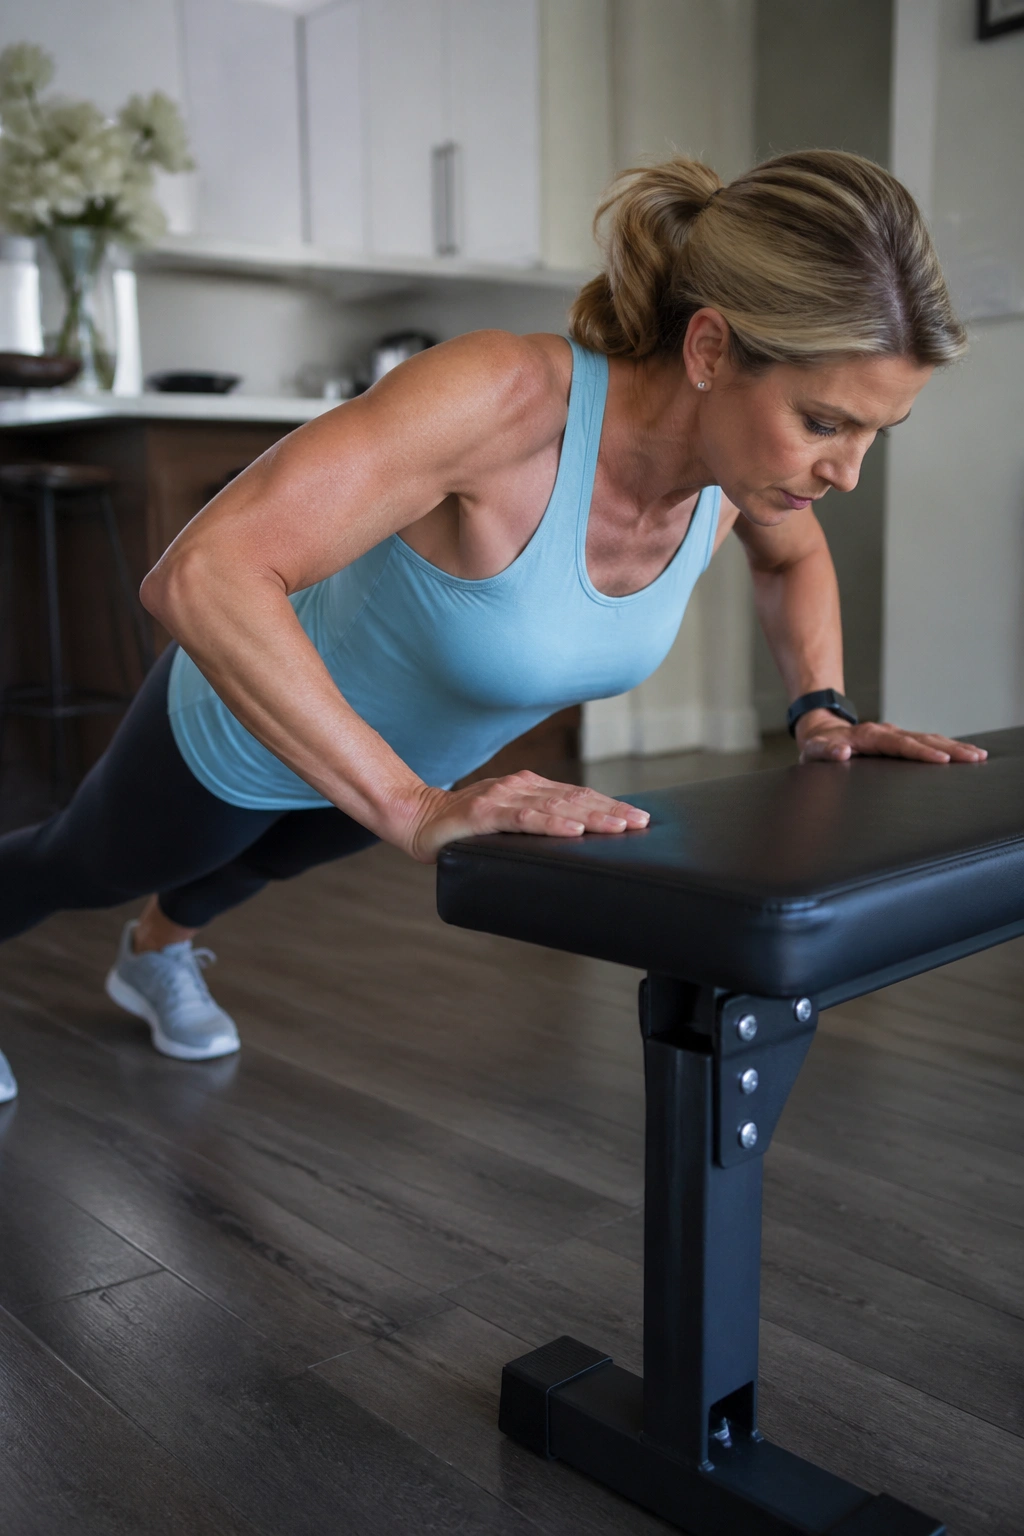
Who said push-ups have to happen on the floor?
Incline push-ups are one of the smartest upper-body moves for women who want strength without a brutal setup. Hands on a counter, bench, or sturdy wall, body in a straight line, chest lowering toward the edge — that’s the whole thing. The higher the surface, the easier it gets. The lower the surface, the harder it gets.
What Makes Them Useful
They train the chest, shoulders, triceps, and the muscles that keep your torso from sagging in the middle. That last part matters more than people think. A stronger upper body makes walking, carrying groceries, and bracing during other exercises feel cleaner.
How to Keep Form Honest
- Keep your ribs from flaring up.
- Lower with control for 2 to 3 seconds.
- Press the surface away without locking out so hard that your shoulders shrug.
- Use a wall first if your wrists or shoulders complain.
Do 2 to 4 sets of 6 to 12 reps. Quality beats heroics here.
6. Resistance Band Rows
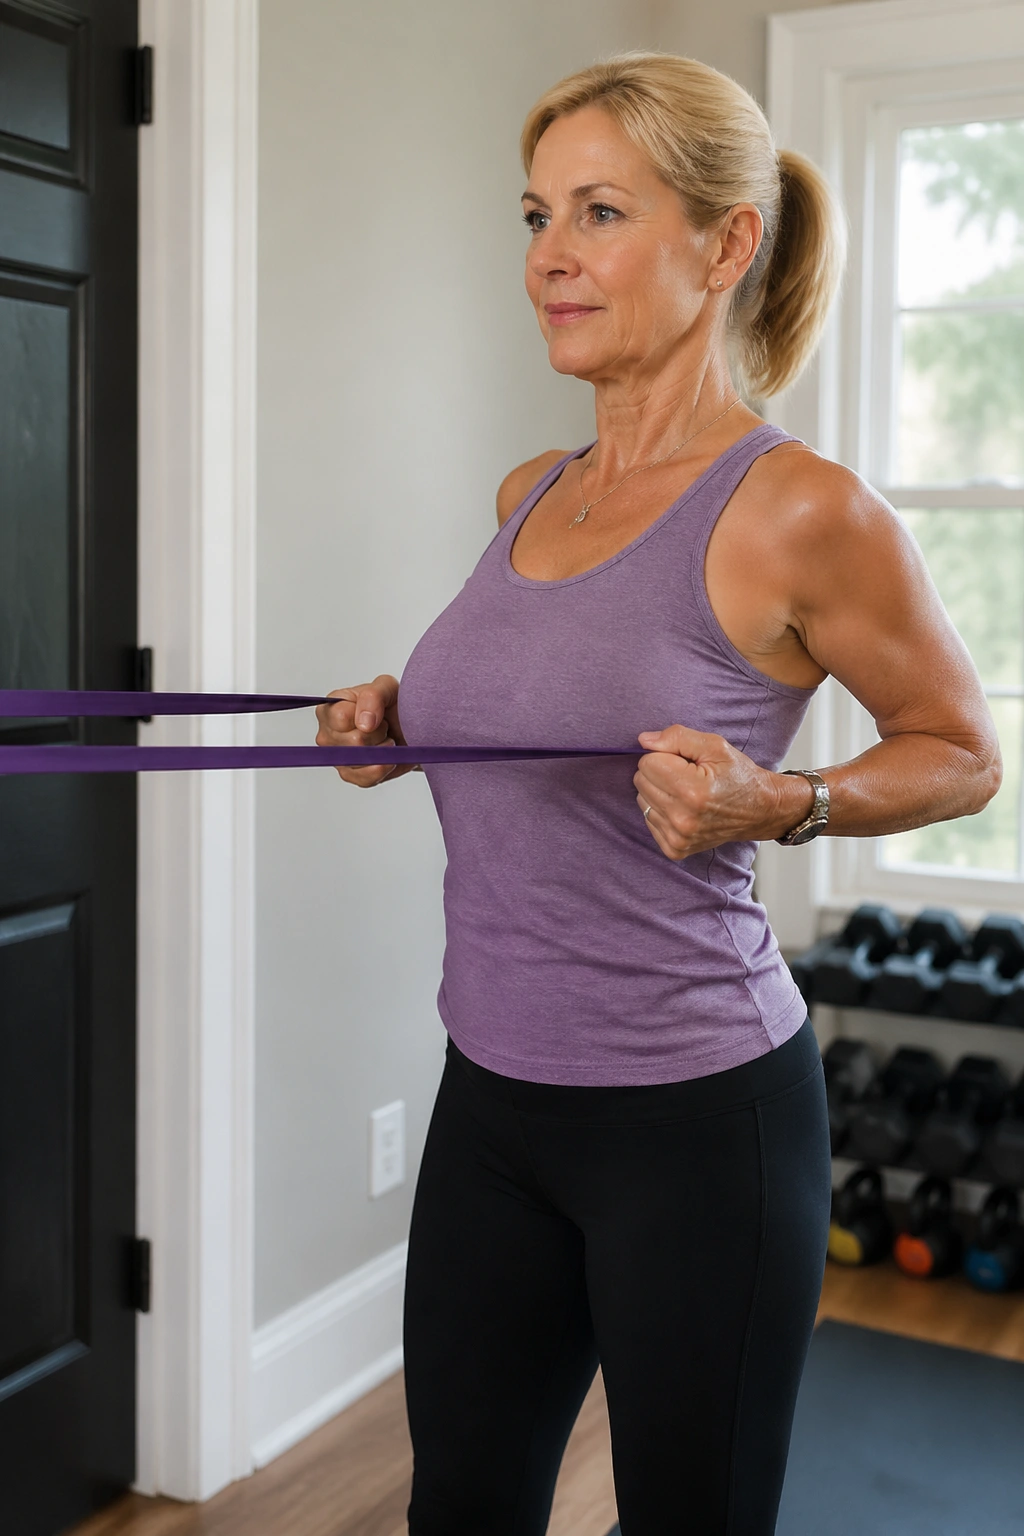
Rows are boring in the best possible way. They build the back without fuss, and a stronger back changes posture fast enough that clothes often fit better before the scale moves much.
Anchor a resistance band at chest height, sit tall or stand with soft knees, and pull the handles toward your ribs. Pause for a beat, then let the band stretch back out under control. The key is not to yank with your arms. Pull with the elbows and let the shoulder blades slide back and down.
A lot of women live in a forward-rounded posture without noticing it. Rows help reverse that. They also balance all the pushing work from incline push-ups, which keeps the shoulders from getting cranky.
Do 3 sets of 12 to 15 reps. If you can’t feel your upper back at the end, slow the pull and squeeze harder for the last inch.
7. Glute Bridges
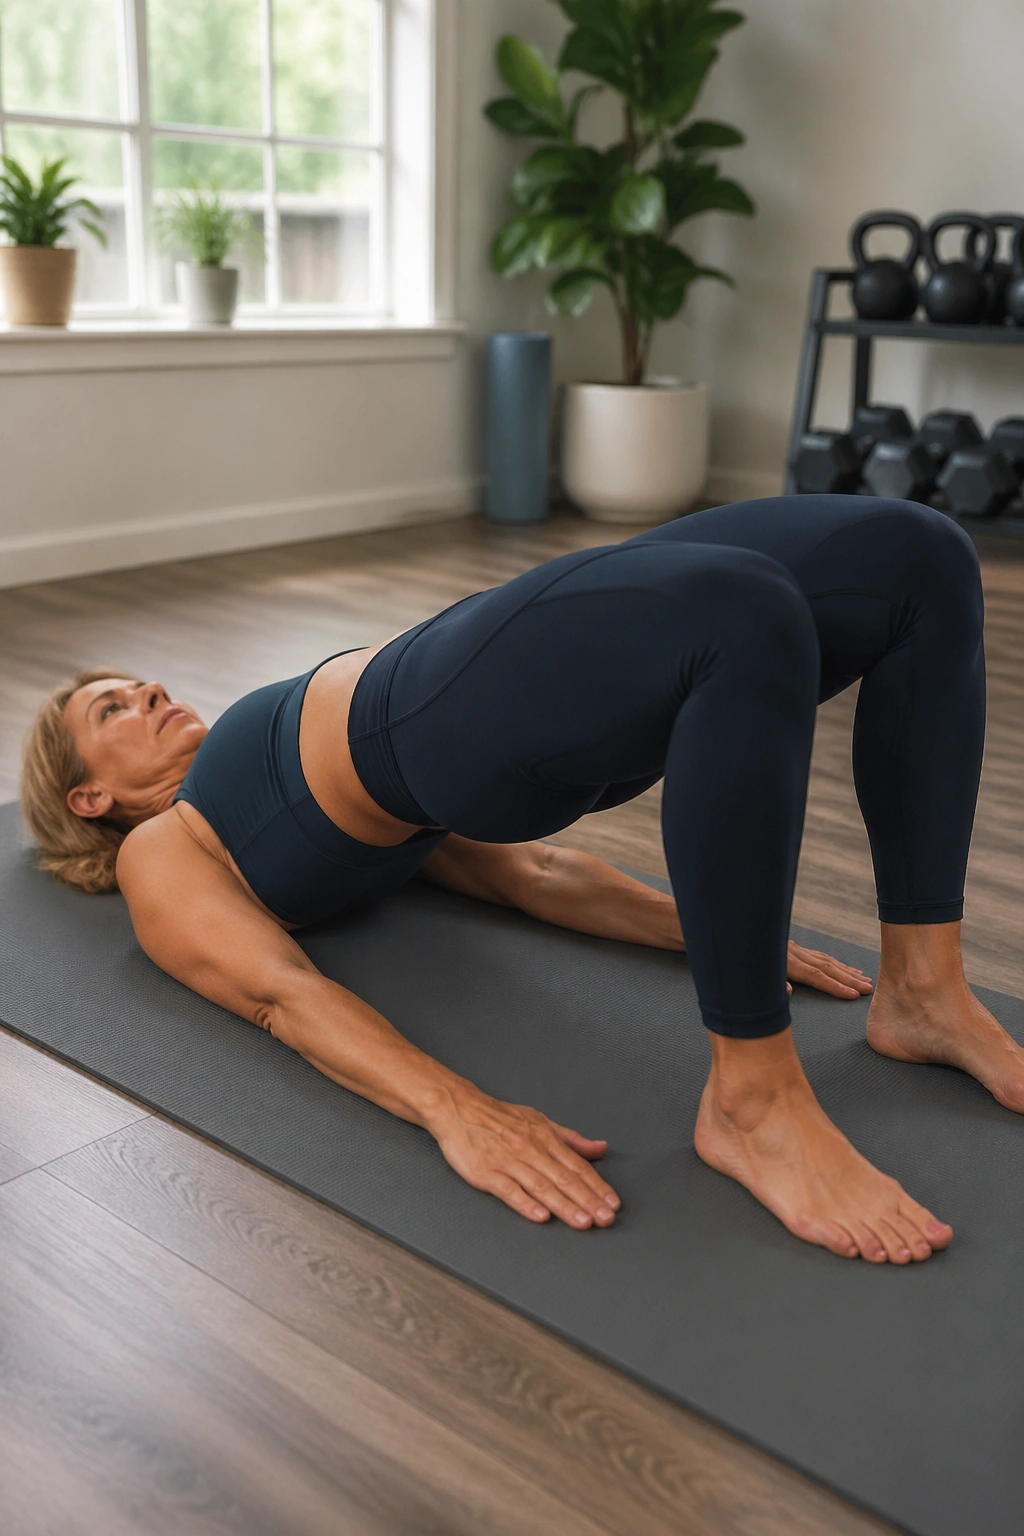
A good glute bridge feels like your hips are floating for a second.
Lie on your back with knees bent and feet flat about hip-width apart. Brace lightly, press through the heels, and lift the hips until your body forms a straight line from shoulders to knees. Hold for 1 to 2 seconds, then lower with control. The glutes should do the heavy lifting; the lower back should not.
Where People Go Wrong
The biggest mistake is over-arching the lower back at the top. That turns the bridge into a back squeeze, and it is not the same thing. Another one: pushing through the toes. That shifts the effort away from the glutes and into the front of the thighs.
If bodyweight bridges feel too easy, loop a mini-band above the knees or place a dumbbell across the hips. Do 12 to 15 reps for 3 sets.
8. Lateral Band Walks
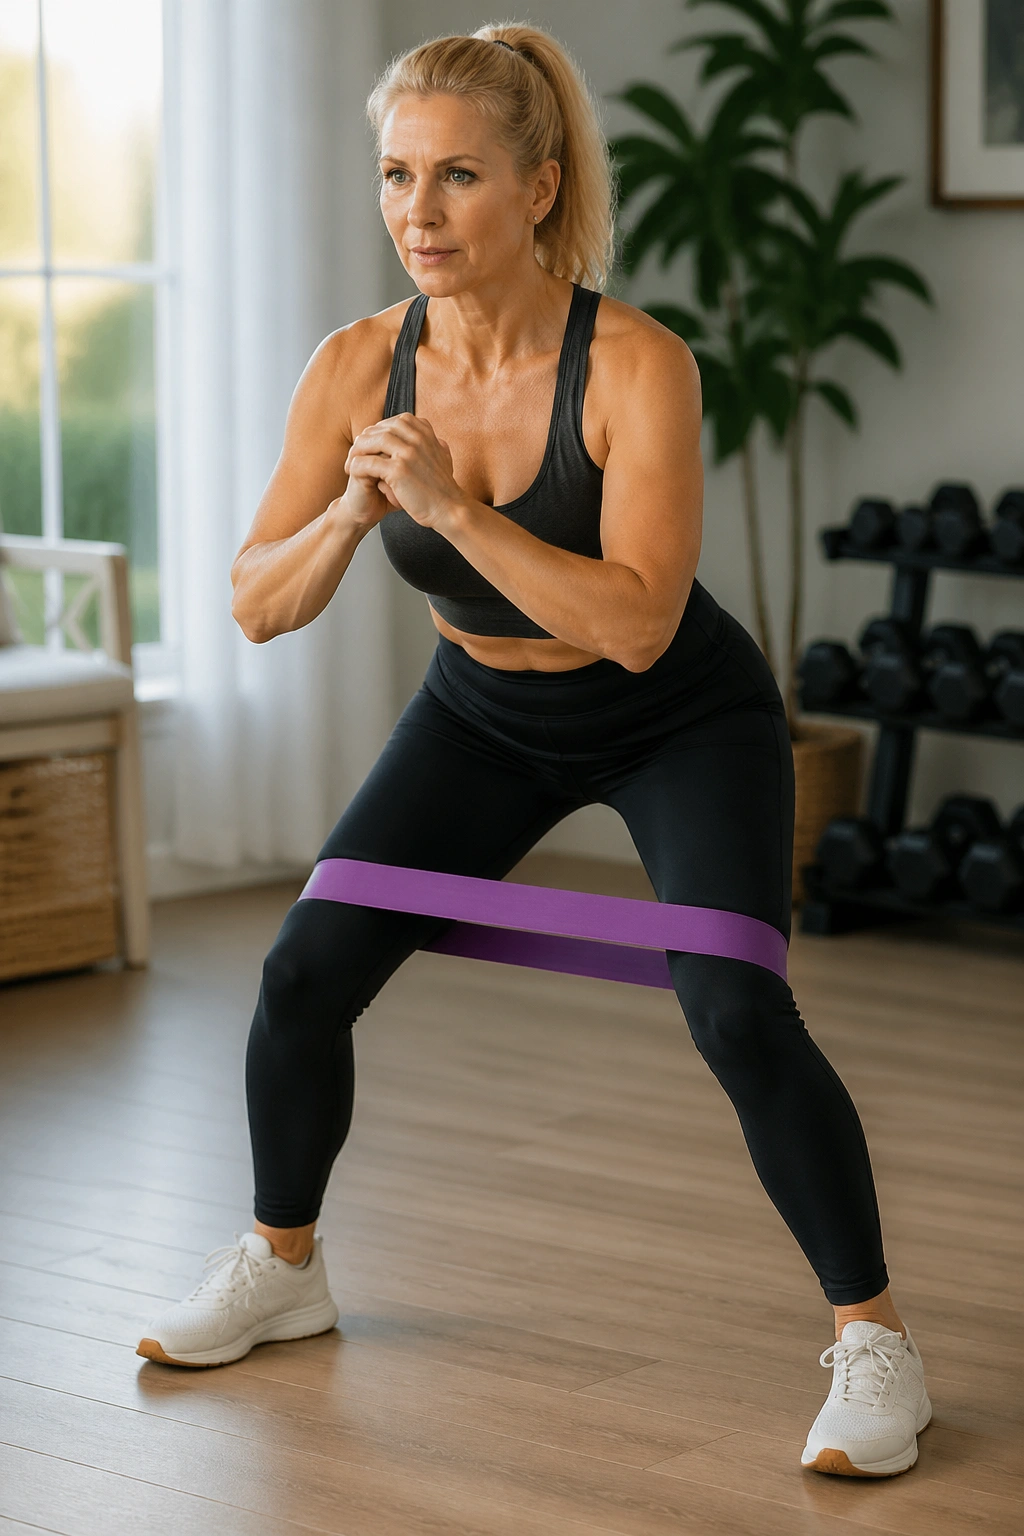
Mini-band side steps look tiny and feel sneaky-hard.
Place a loop band above the knees or around the ankles, then drop into a small athletic stance with soft knees and level hips. Step to the side, then bring the trailing foot in just enough to keep tension on the band. Don’t let your feet slap together. That loses the point.
- Take 10 to 15 steps in one direction.
- Then go back the other way for the same number.
- Keep your toes pointing mostly forward.
- Stay low enough to feel the outer hips, but not so low that your lower back takes over.
This move helps the hips stay stable, which can ease pressure on the knees during squats, lunges, and walking. If the band rolls or you feel it in the wrong place, move it higher or choose a lighter resistance.
9. Dead Bugs
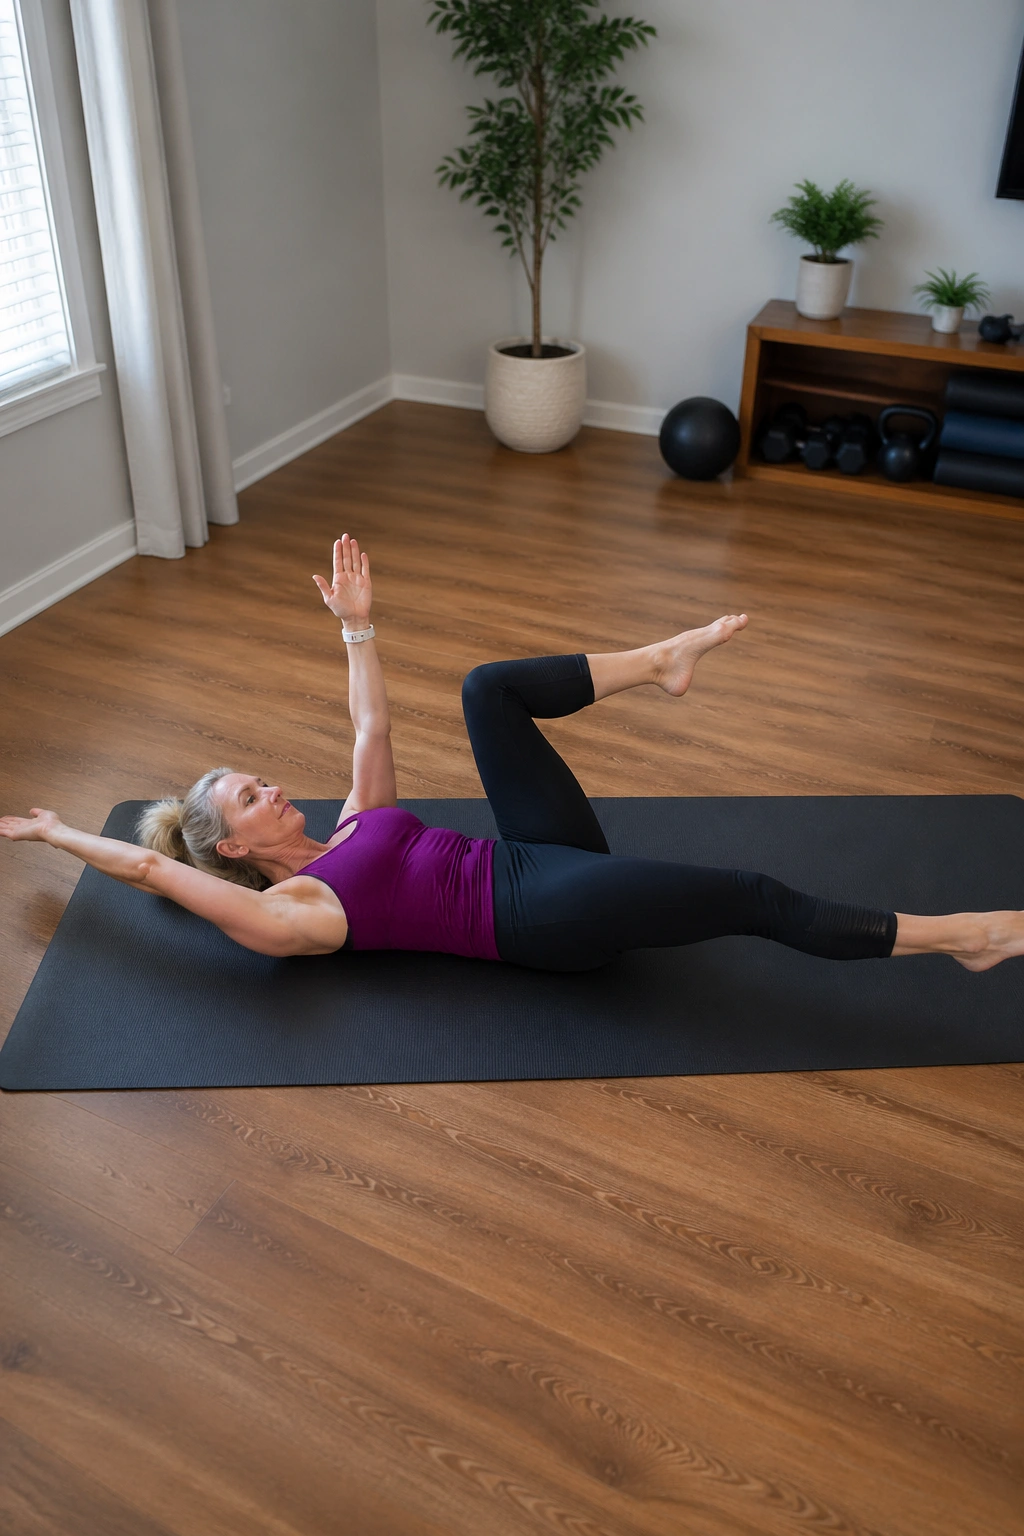
Why do dead bugs show up in so many smart core routines? Because they teach your middle to hold steady while your arms and legs move.
Lie on your back with knees up and shins parallel to the floor. Press your lower back gently into the mat, then lower the opposite arm and leg away from each other while keeping the ribs from popping up. Return slowly and switch sides.
The trick is control. If the lower back arches off the floor, the movement got too big. Shorten the reach until you can keep your trunk quiet. That quiet trunk is the win.
Do 6 to 10 reps per side with a slow exhale as the leg extends. The exhale helps the deeper abdominal muscles switch on, and the whole exercise gets cleaner.
10. Planks
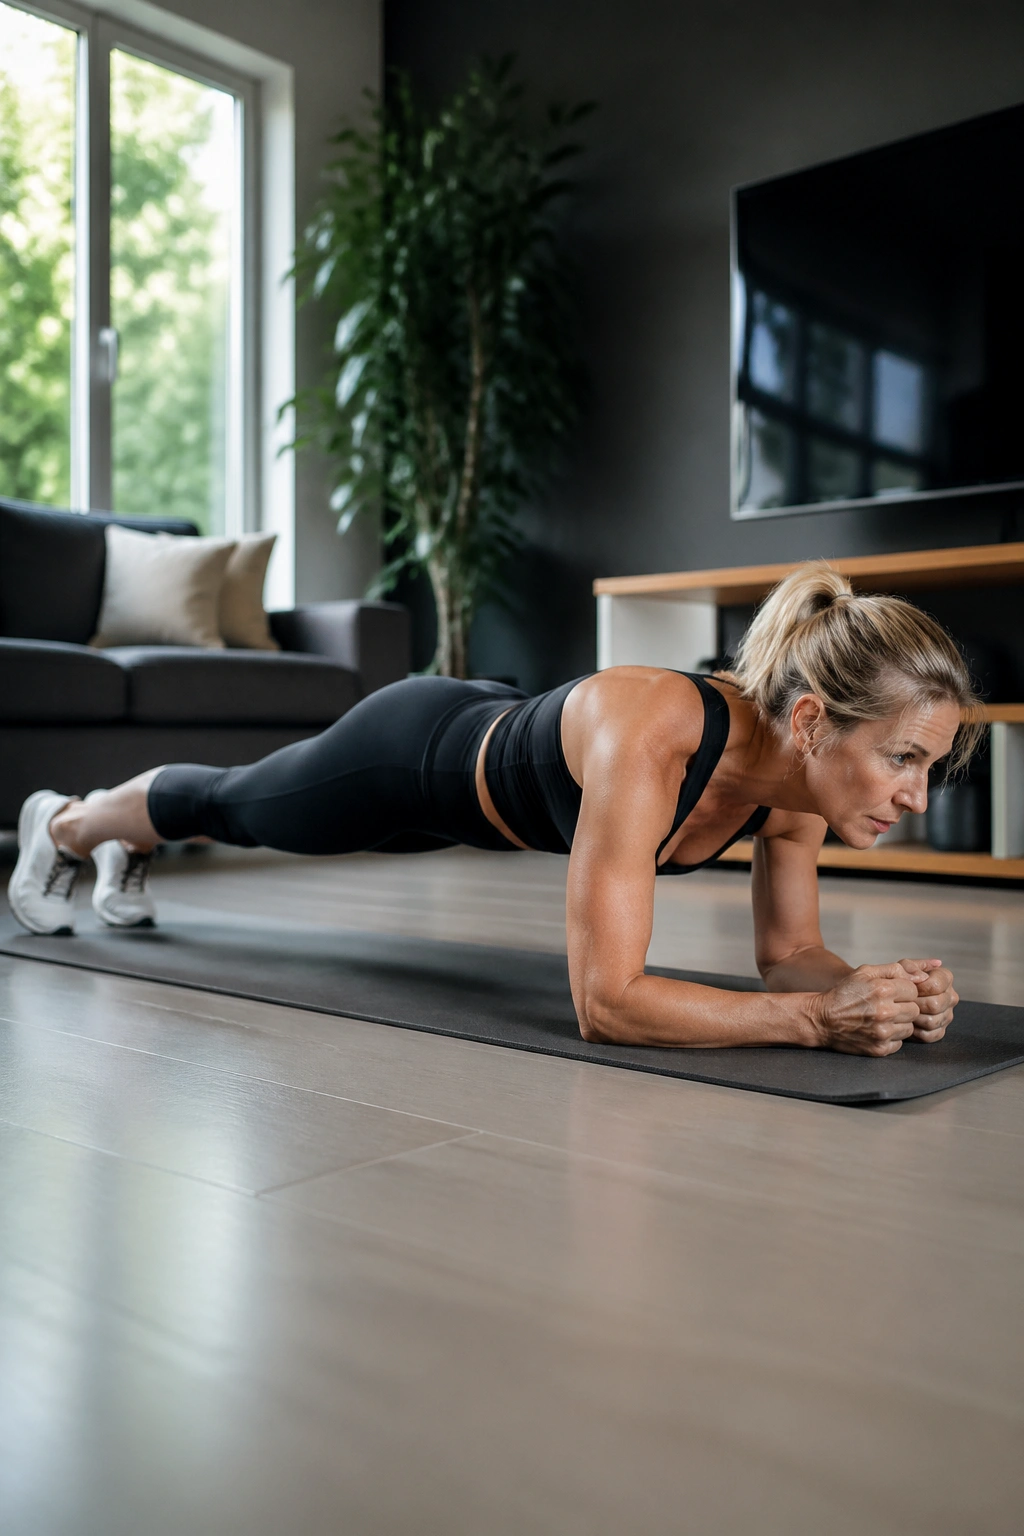
A plank is not a race.
People love bragging about long plank holds, but a sloppy 90-second plank teaches less than a tight 20-second hold. Start on forearms or hands, whichever lets you keep a straight line from head to heels. Squeeze the glutes, draw the ribs down, and breathe without letting the belly collapse.
Short Holds Beat Ugly Long Holds
If your lower back sags, stop the set. If your shoulders hike toward your ears, stop the set. If your breath locks up, stop the set. The plank should feel demanding through the whole middle, not like a lower-back survival test.
Try 3 to 5 holds of 15 to 30 seconds. Elevating your hands on a bench makes the exercise easier without turning it into a throwaway movement.
11. Reverse Lunges
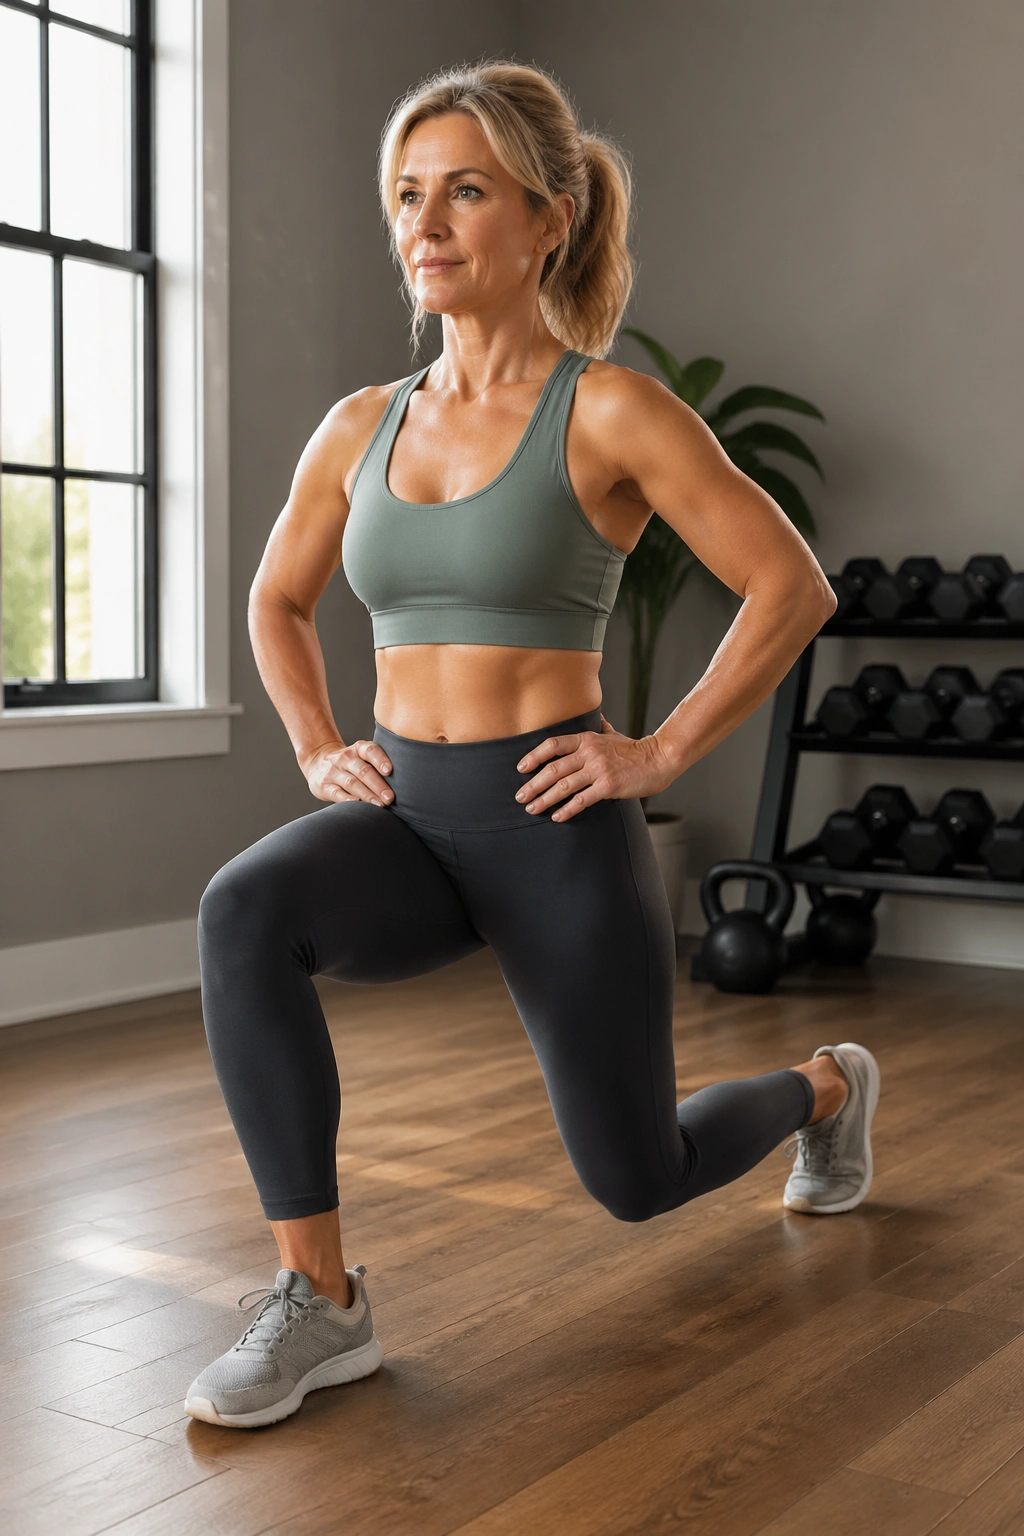
If forward lunges make your knees grumble, step back instead.
Reverse lunges usually feel friendlier because the back step gives you a little more control and often less knee strain. Stand tall, step one leg back, and lower straight down until both knees bend. Push through the front heel to come back up, then switch sides.
How to Keep Knees Happy
- Keep the front foot flat.
- Let the front shin stay fairly vertical.
- Use a chair or wall for balance.
- Shorten the range if the floor feels too deep.
Do 6 to 10 reps per side for 2 to 4 sets. If balance is the main issue, start with a split squat stance and keep the back toes on the floor. That version still builds legs and glutes without the extra wobble.
12. Standing Wood Chops
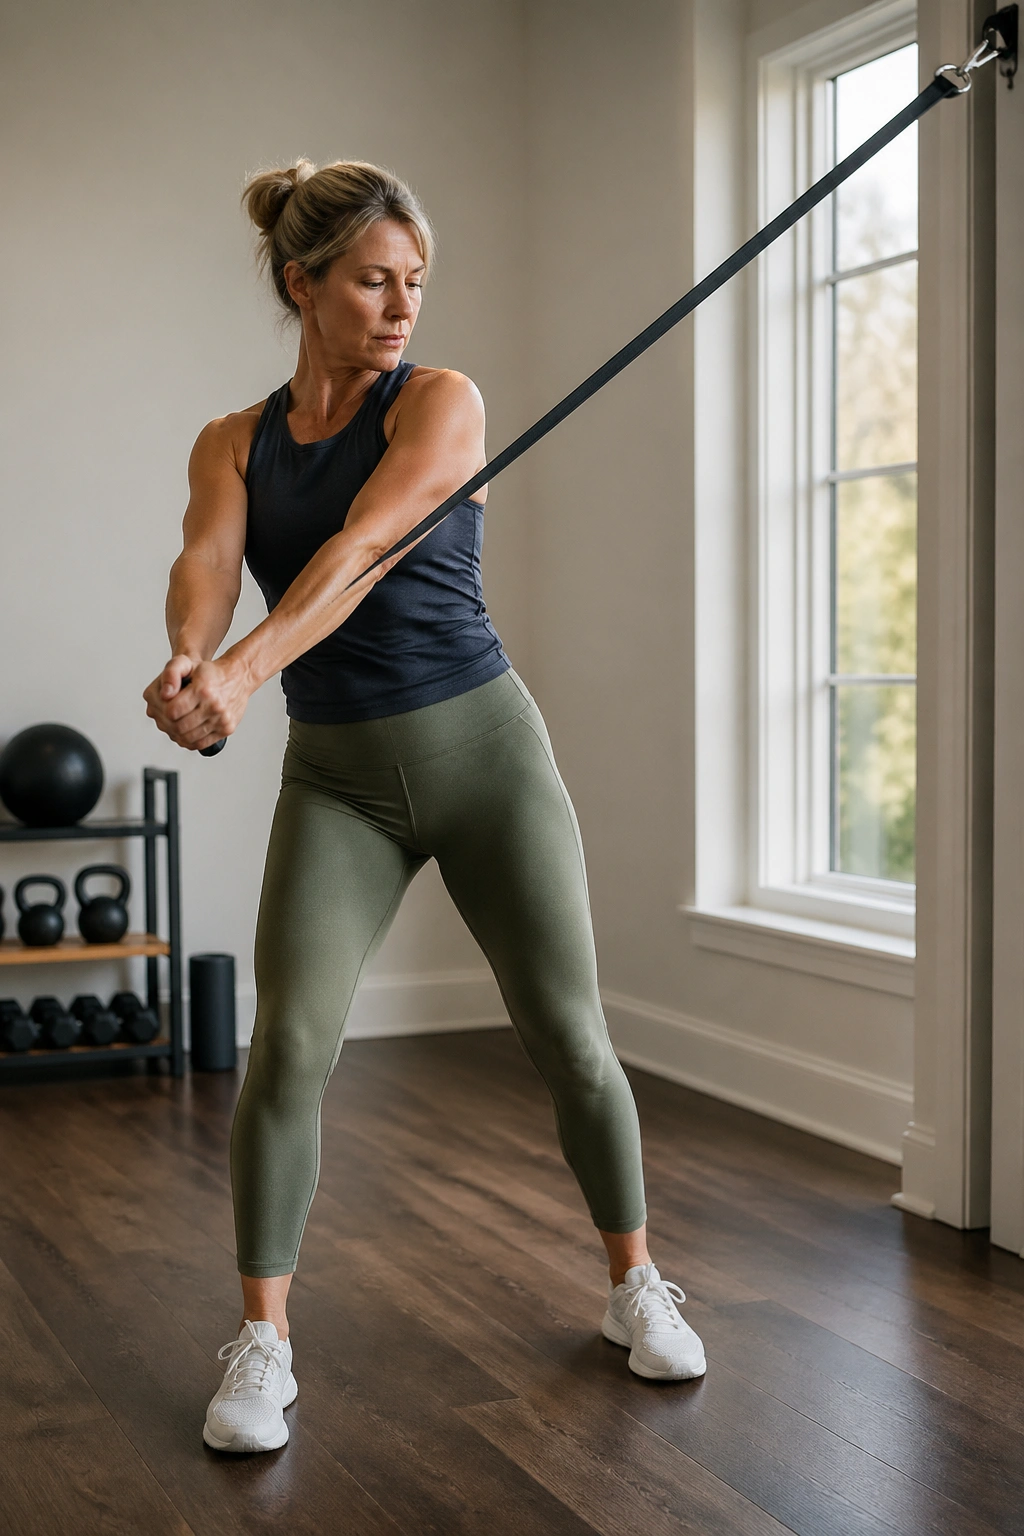
Wood chops are the exercise version of a strong diagonal line across the torso.
Attach a band or cable above shoulder height, stand sideways to the anchor, and pull the handle down and across the body toward the opposite hip. Keep the movement smooth and controlled. Your ribcage and hips can rotate a little, but the lower back should not do the twisting by itself.
This move trains the muscles that help you resist awkward twists, carry groceries, and turn without feeling stiff. It also wakes up the sides of the torso, which do more for a defined middle than endless crunches ever will.
Do 8 to 12 reps per side. Go slow enough that the cable or band does not yank you through the motion.
13. Farmer’s Carries
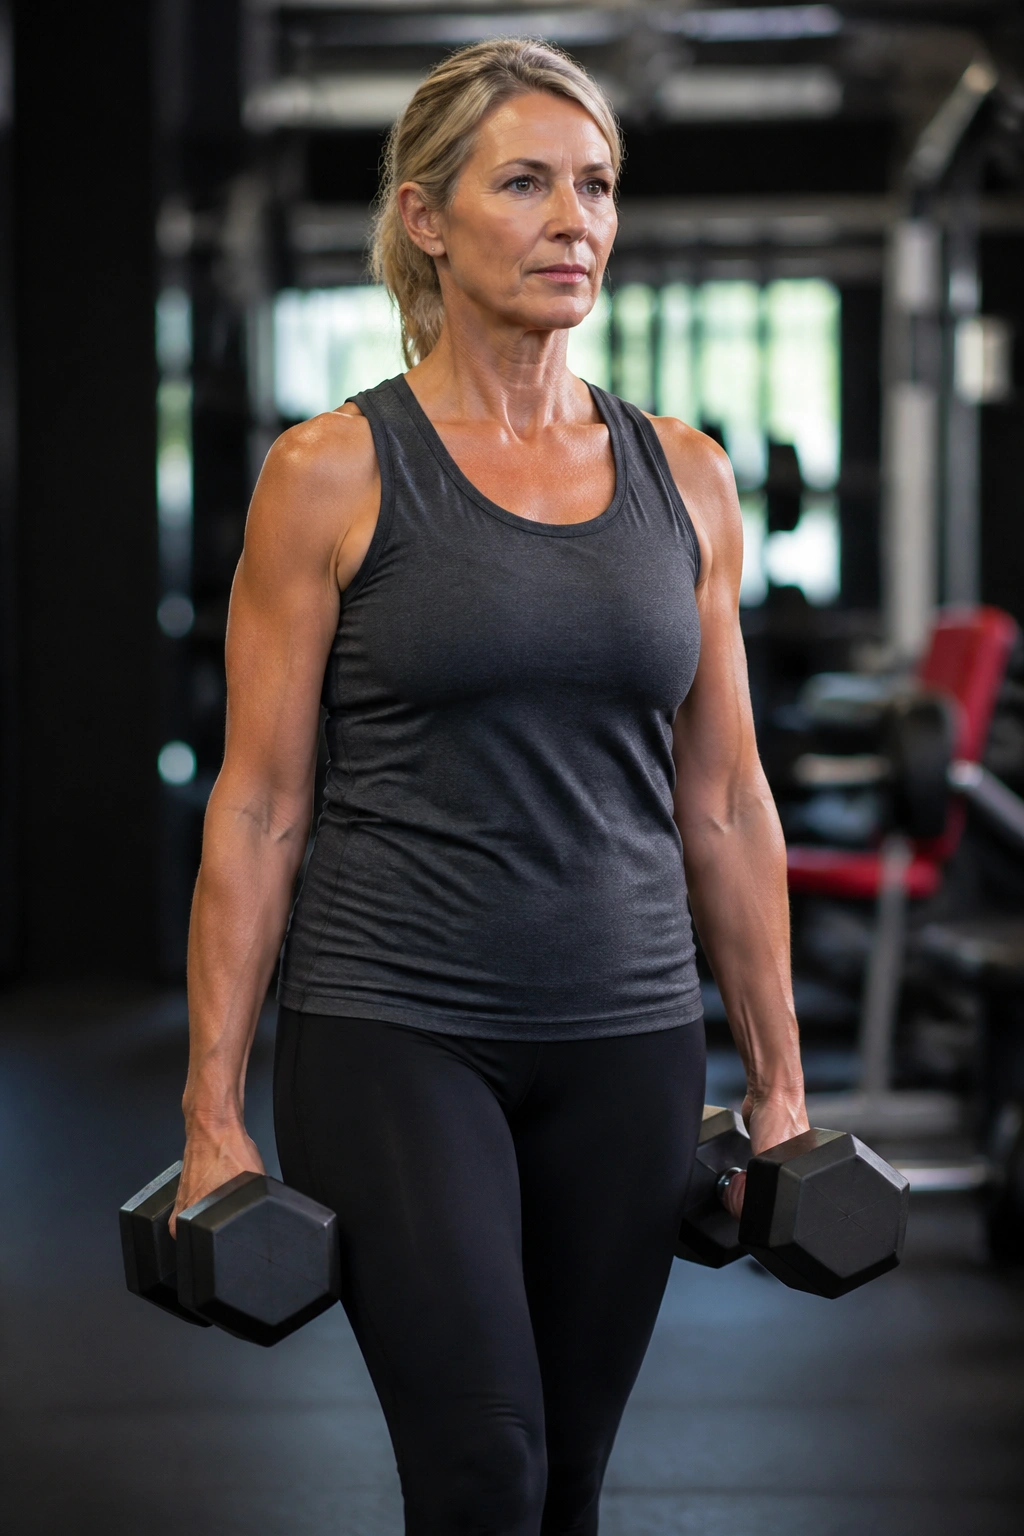
Carry two 20-pound dumbbells for 40 seconds and your posture starts telling on you.
Farmer’s carries look plain, and that is part of the appeal. Pick up two weights, stand tall, and walk with controlled steps for 20 to 40 meters or 30 to 60 seconds. The challenge comes from holding your torso steady while the weights try to pull you sideways.
- Keep your shoulders down, not shrugged.
- Walk like you mean it.
- Breathe through the effort instead of freezing your chest.
- Choose a load that feels heavy by the end, not impossible from the first step.
This is one of the best all-around moves for core stiffness, grip strength, and upper-body confidence. It also burns more energy than people expect because the whole body has to work to stay organized.
14. Mountain Climbers on a Bench
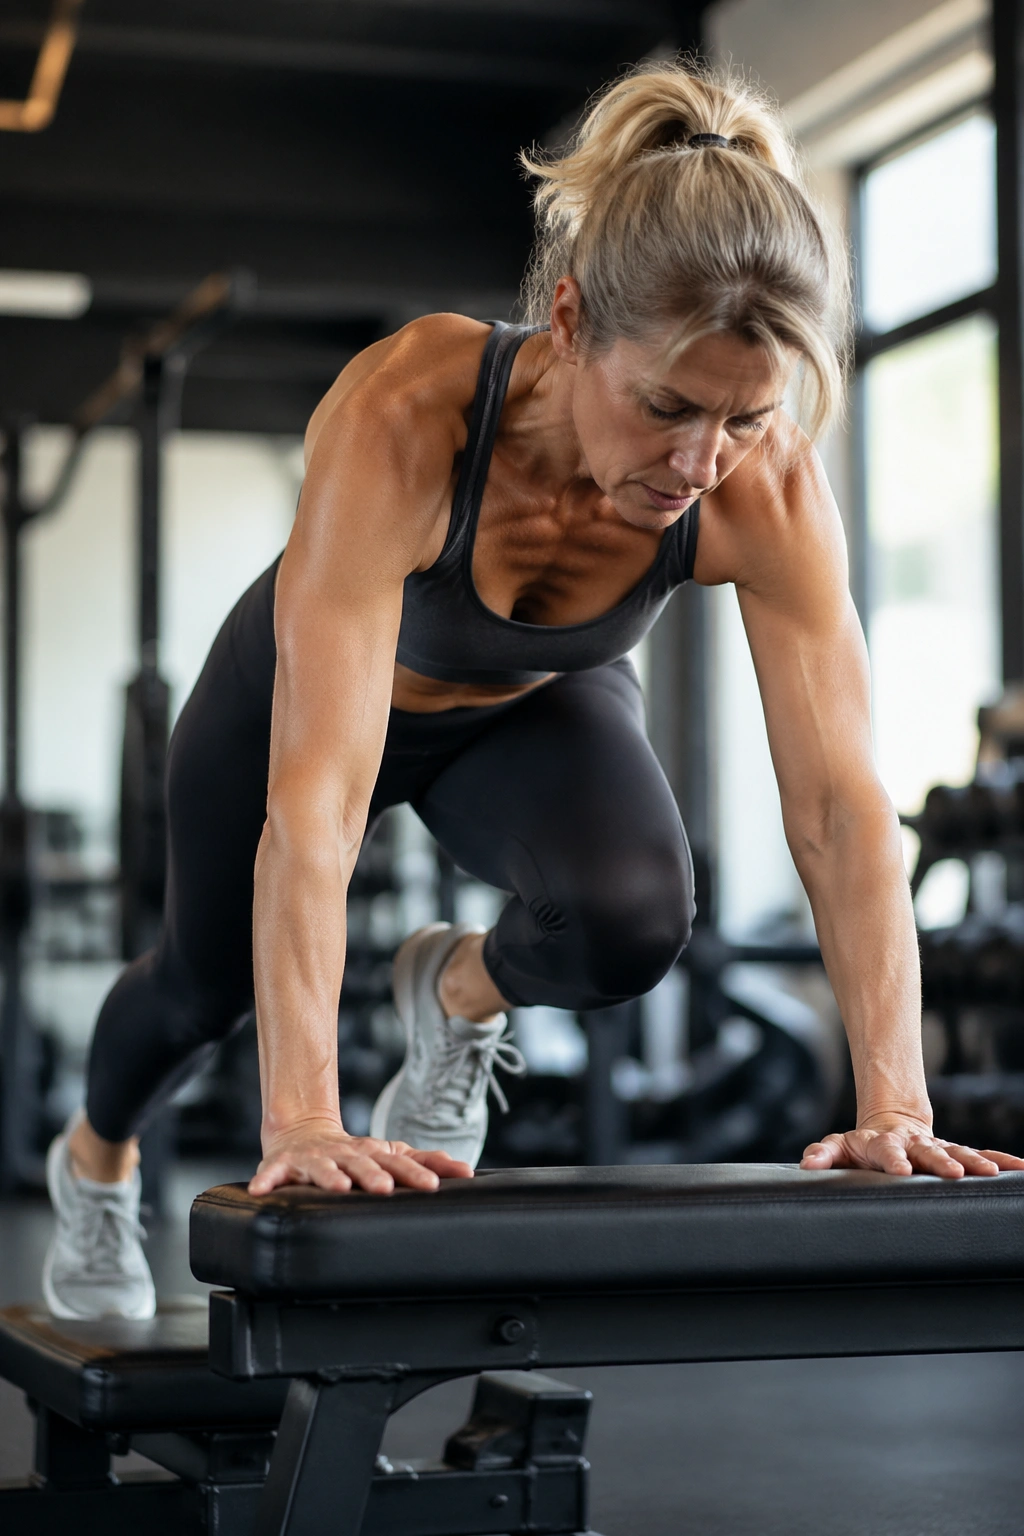
Need a cardio move that does not punish your knees?
Put your hands on a bench, step, or sturdy sofa edge and drive one knee toward your chest, then switch legs in a steady rhythm. The elevated position takes pressure off the wrists and shoulders compared with floor mountain climbers, and it usually feels kinder on the lower back too.
Keep the shoulders stacked over the hands and the hips from bouncing all over the place. If the pace gets wild, the exercise turns into noise. A slow, crisp knee drive is better than fast flailing.
Do 20 to 30 seconds per round for 4 to 8 rounds. Rest enough to keep form clean. If you want more challenge, speed up the knee drive before you make the surface lower.
15. Overhead Press
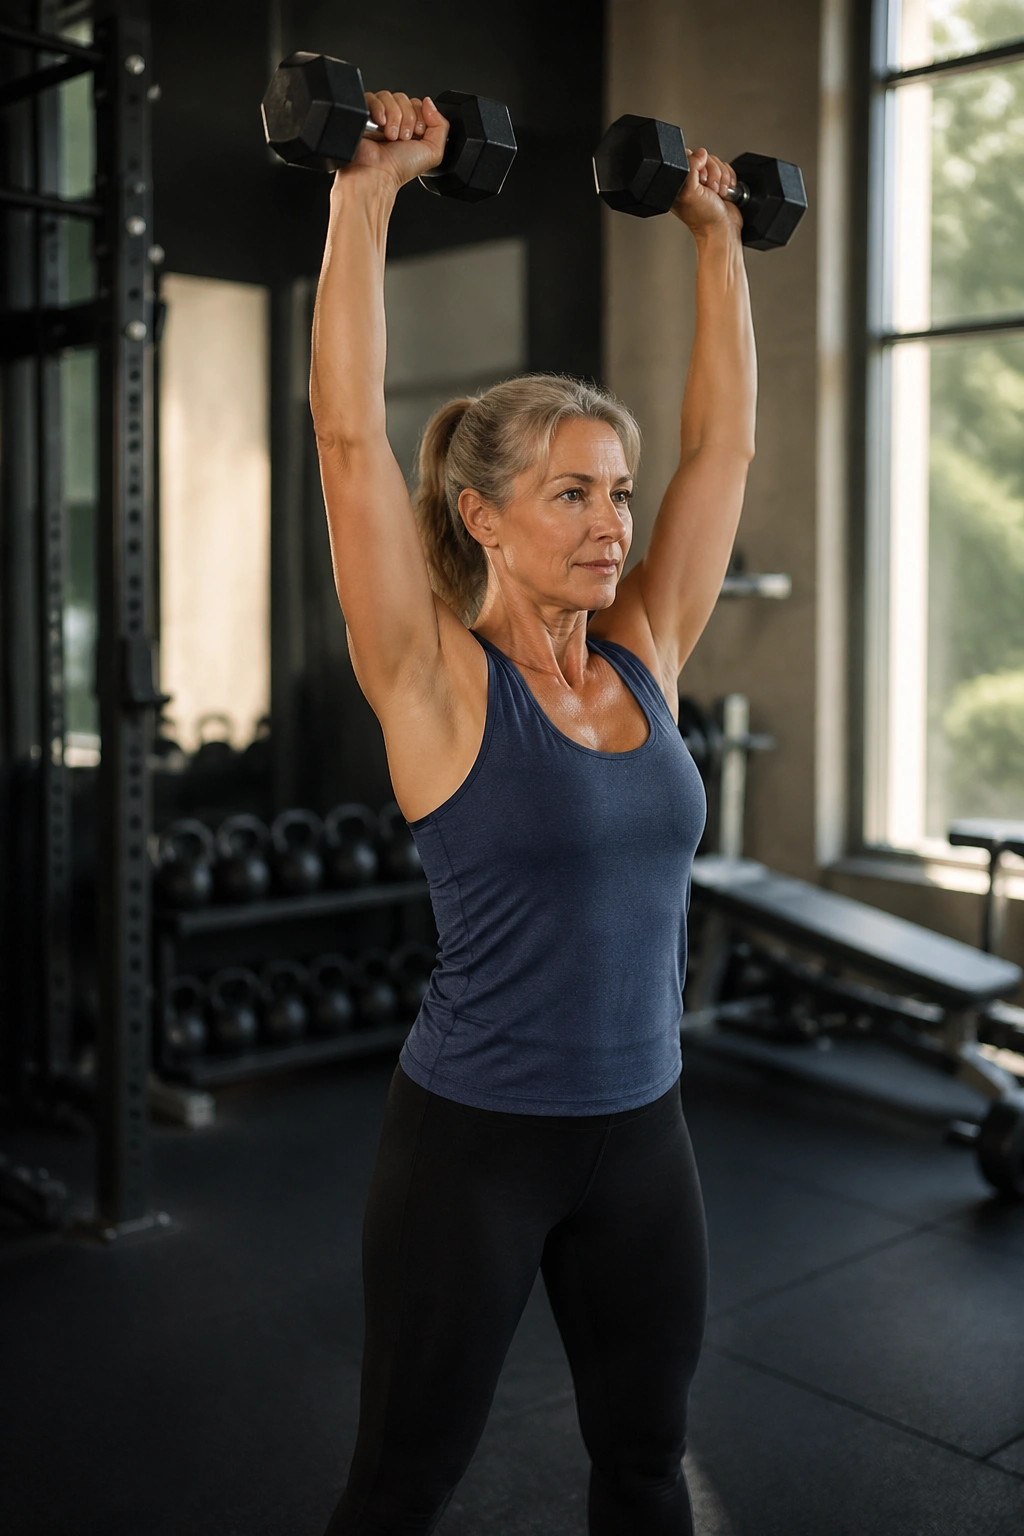
Shoulders, upper back, and trunk need to work together on overhead pressing.
Hold dumbbells at shoulder height, brace your middle, and press the weights straight overhead without leaning back. The goal is not to show off the heaviest dumbbells in the room. The goal is to keep your ribs stacked over your pelvis while your arms move.
A seated version takes balance out of the equation and can feel better if your lower back gets cranky. A standing version asks more from the legs and trunk. Both are useful. Both deserve a place in a menopause-friendly strength routine.
Do 6 to 10 reps for 3 sets. If one side always feels weaker, use single-arm presses and let the trunk work harder to stay upright.
16. Cycling Intervals
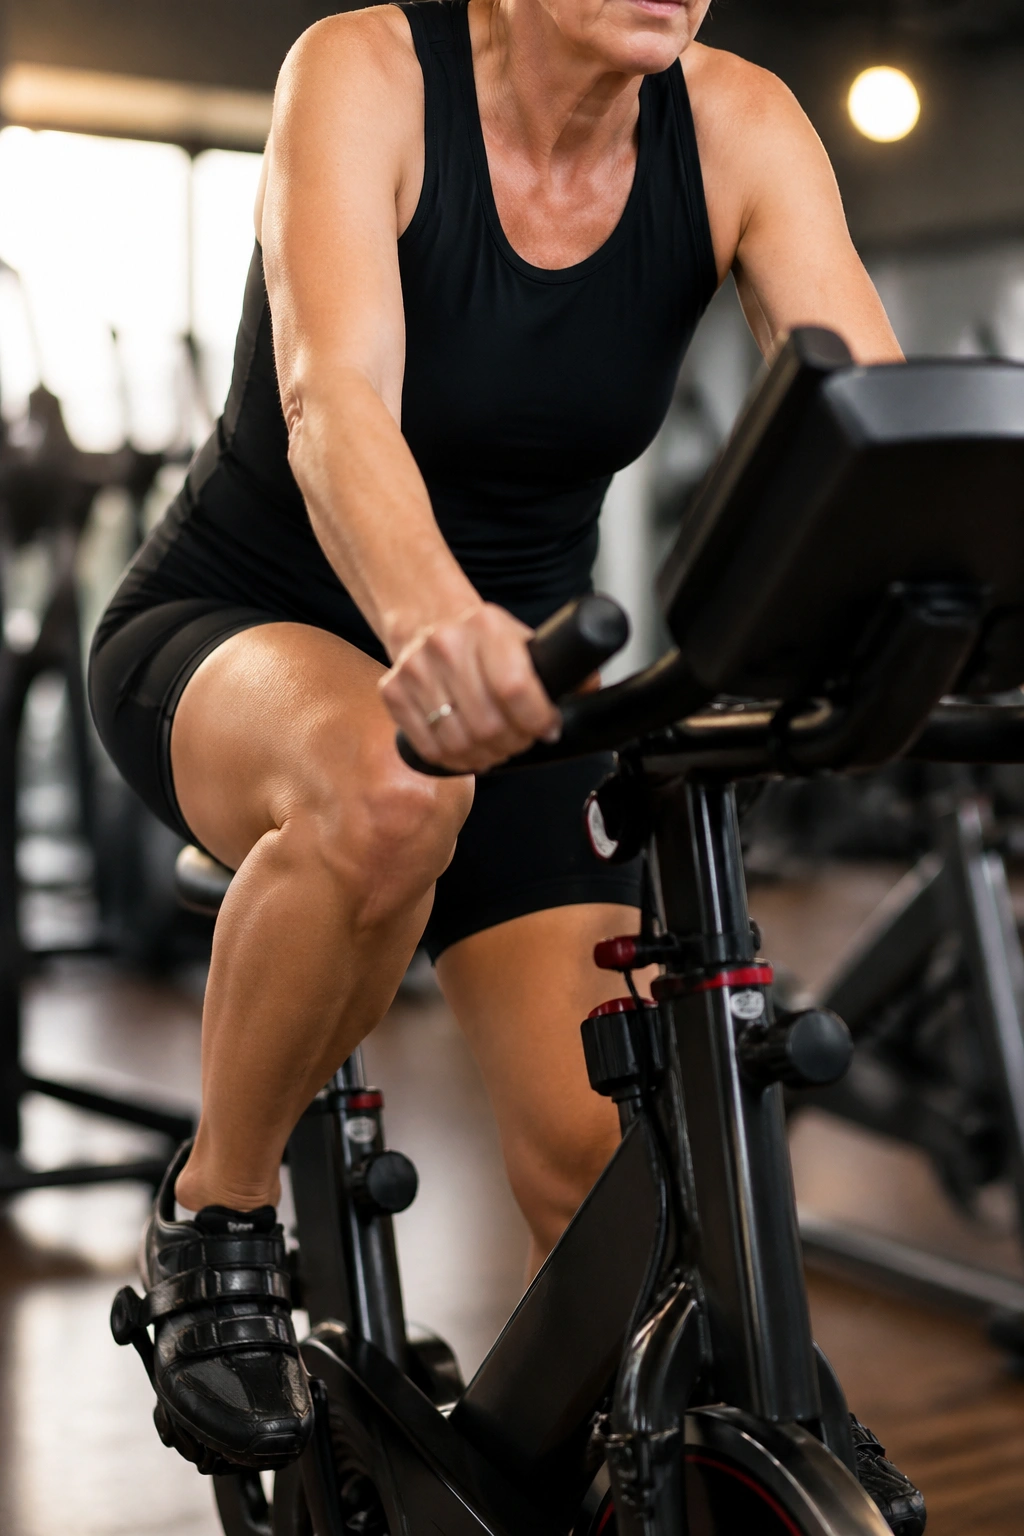
Stationary bike intervals can be sneaky hard.
Pedaling fast with almost no resistance is not the same thing as training. Turn the resistance up enough that your legs have to push, then work for 30 seconds hard followed by 90 seconds easy. Repeat that for 8 to 10 rounds. You should finish sweaty and a little breathless, but not so fried that you dread the next day.
The bike is kind to the joints, which makes it a solid option when walking or lunging feels like too much on a given day. It also lets you control the effort with precision. A small change in resistance can shift the workout from mild to serious in a hurry.
Keep the seat high enough that your knees don’t jam at the top of the pedal stroke. That one adjustment saves a lot of grumbling.
17. Rowing Machine Intervals
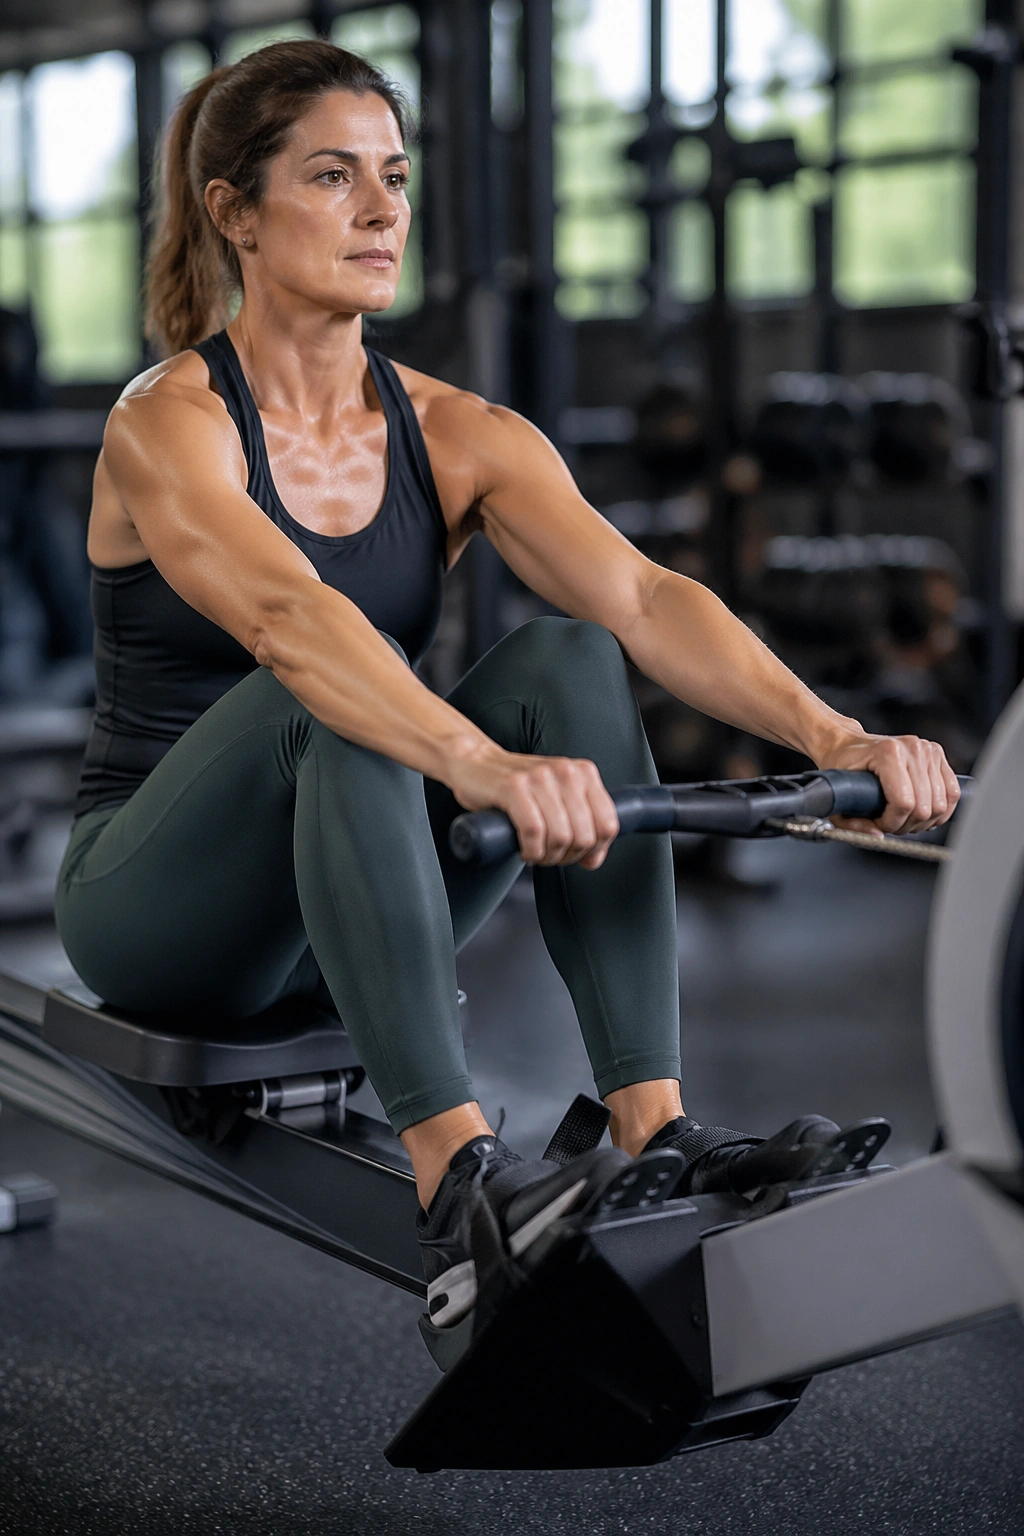
The rowing machine is not an arm exercise.
Let the Legs Start the Work
A clean rowing stroke begins with the legs, then the hips, then the arms. On the return, the arms go first, then the body folds forward, then the knees bend. If you reverse that order, the machine feels clunky and your lower back pays for it.
Row for 45 seconds at a strong pace, then rest for 60 to 90 seconds. Or row 250 meters at a steady, hard effort and use the walk back as recovery. The whole body gets involved, which is why rowing can be such a useful tool for waistline goals without pounding the joints.
What to Watch For
- Don’t yank the handle to your chest.
- Don’t round the lower back at the catch.
- Don’t make the stroke all arms.
- Keep the stroke smooth, not frantic.
18. Aqua Walking or Aqua Jogging
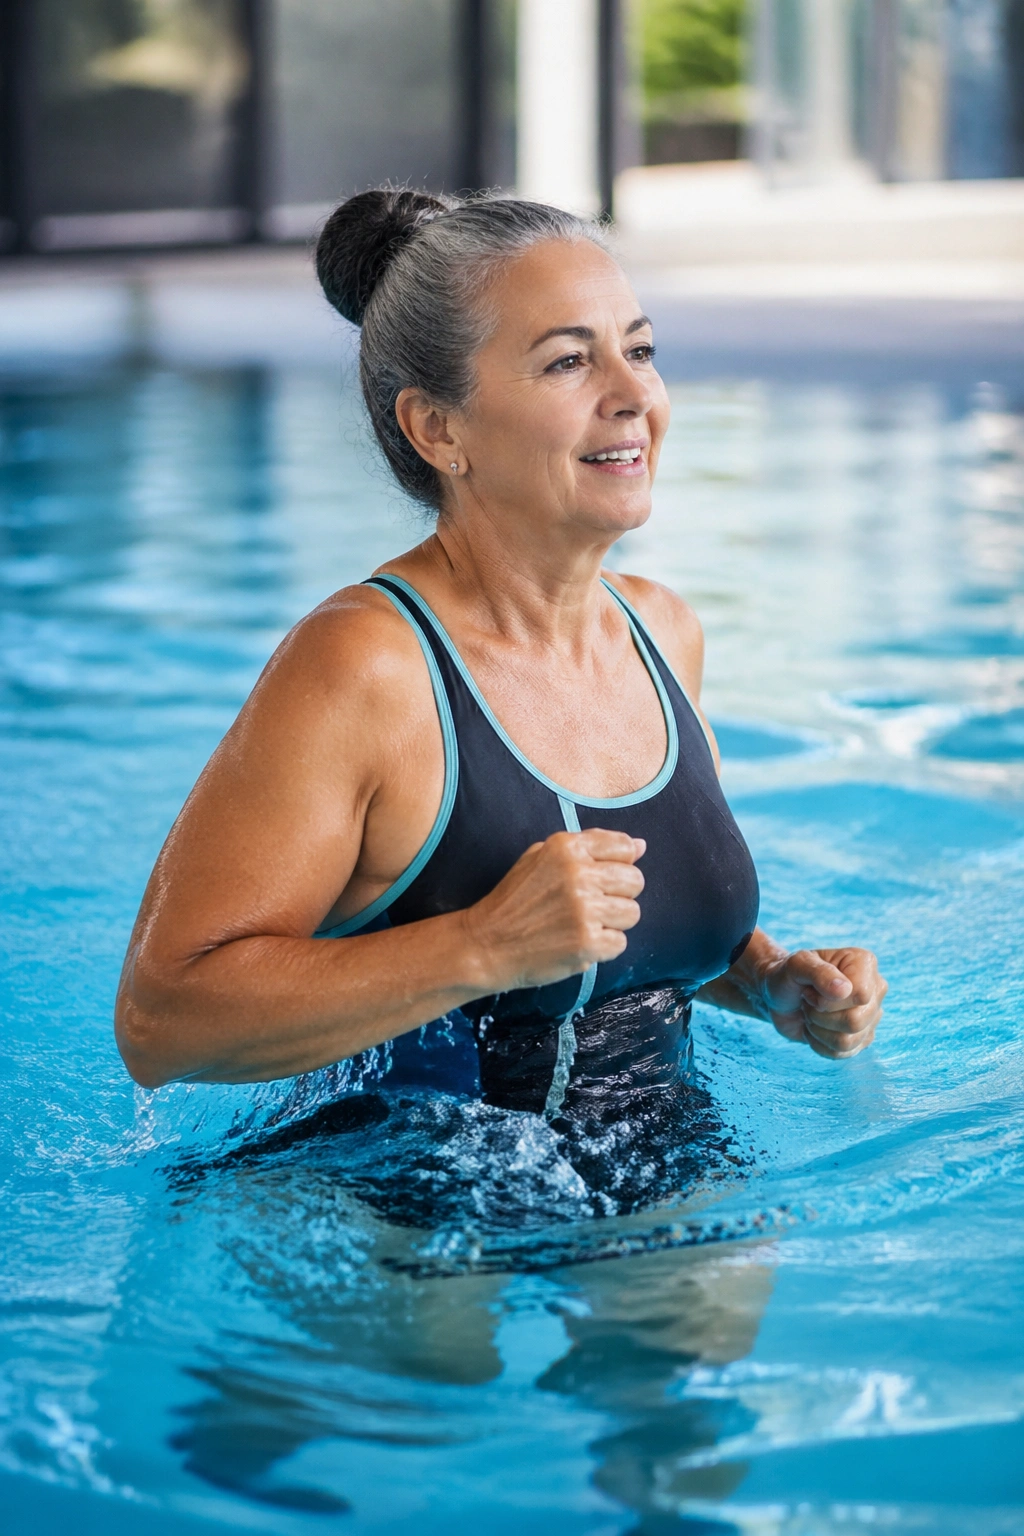
Water changes everything.
The pool gives you support, resistance, and a strange kind of honesty. You think you are moving easily, then the water drags on your legs and arms from every direction. That makes aqua walking and aqua jogging especially good for women who want cardio without the impact of pounding pavement.
Stand in chest-deep water and walk forward with purposeful steps, swinging the arms under the surface. If you want more work, lift the knees higher or jog in place for 20 to 30 seconds, then ease back to walking. The water should feel smooth on the skin and surprisingly heavy against the limbs.
This is an underrated option when joints are sore or body weight makes land cardio feel discouraging. The pool lets you keep moving on days when you might otherwise skip it.
19. Shadow Boxing Intervals
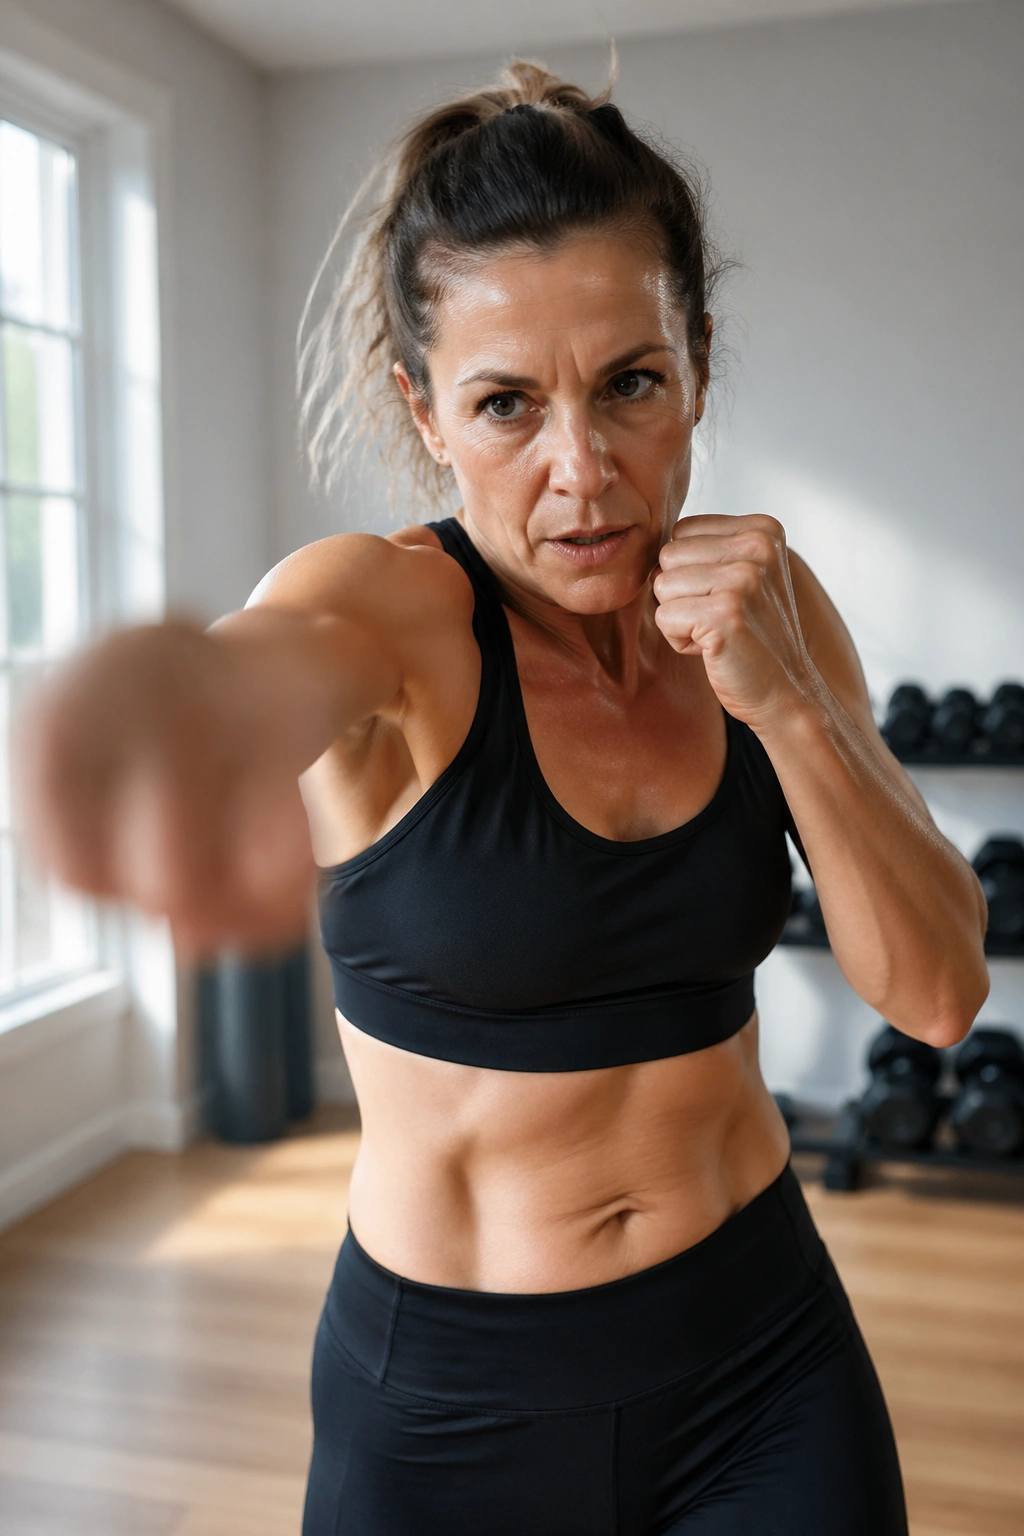
Shadow boxing wakes up the whole body in a way that feels more playful than punishment.
Throw a jab, cross, hook, or uppercut in the air while keeping your stance light and your core braced. Add small steps and pivots so the feet stay active too. The best part is how quickly the heart rate rises without the pounding that comes with jumping or sprinting.
Keep your wrists straight, chin tucked, and punches crisp. You do not need boxing skills to get the benefit. A basic 30 seconds on, 30 seconds off pattern for 8 to 12 rounds is enough to make the session count.
This move also helps with coordination and trunk rotation, which matters when you want the middle of the body to feel more responsive, not just smaller.
20. Wall Sits
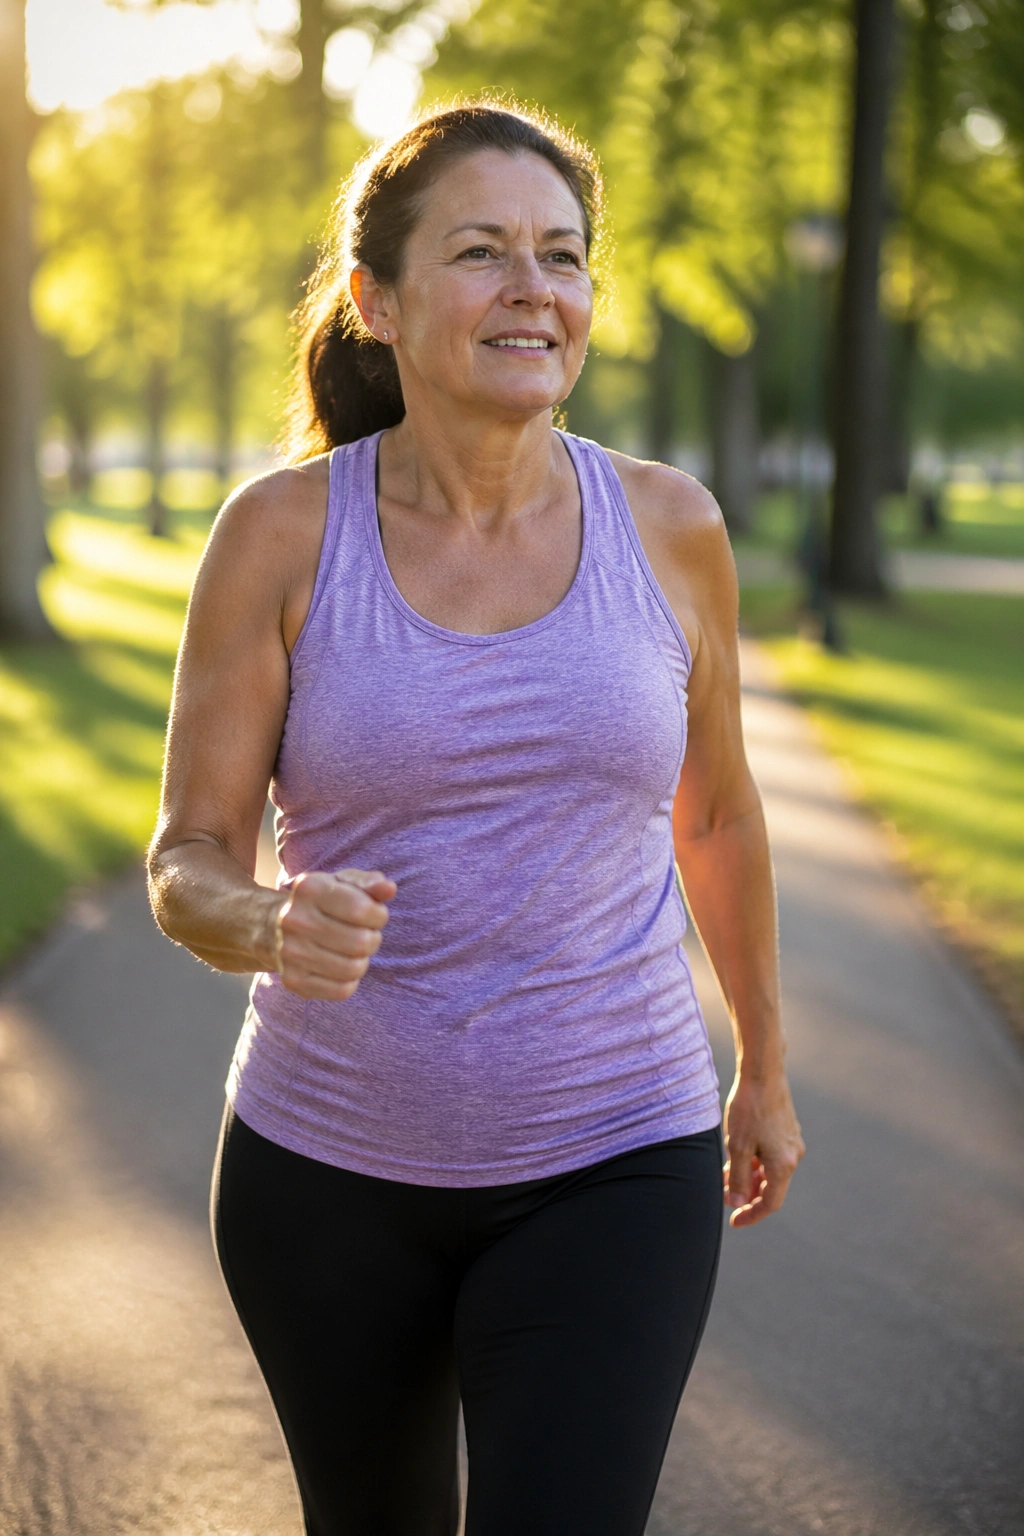
Wall sits look harmless until the timer hits 25 seconds.
Slide your back down a wall until your knees bend to a comfortable angle, then hold that position while keeping your chest lifted and your feet flat. If a full 90-degree bend feels too sharp, sit higher. There is no prize for making your thighs scream early.
Wall sits build endurance in the quads and glutes, and they are easy to slot into a short circuit with carries or walking intervals. You can also hold a small dumbbell at chest height or place a ball between the knees and squeeze lightly to keep the inner thighs involved.
Try 3 to 5 holds of 20 to 45 seconds. Pair them with one upper-body move and one walking interval, and you have a simple workout that does not need fancy gear or a lot of space.
Pick four or five of these exercises and use them in rotation across the week. A good mix might be one lower-body strength move, one pull, one push, one carry, and one cardio interval. That combination is plain, but it works because it keeps the whole body busy and gives the middle a reason to tighten up over time.
