



If your first home workout leaves you breathing hard after two minutes, that does not mean you’re out of shape in some dramatic, permanent way. It usually means you started too hard, skipped structure, or tried to copy a gym routine that makes no sense in a living room.
Beginner workouts for men at home work best when they’re simple enough to repeat and hard enough to matter. A chair, a wall, a towel, a backpack full of books, and a bit of floor space can carry you farther than most people expect. The trick is not to smash yourself into the carpet. The trick is to train in a way you can recover from, then do again two days later.
One detail that gets ignored all the time: a beginner workout should leave you with a little left in the tank. Two reps in reserve is a good starting point. If every set ends in panic, your form falls apart, your shoulders start talking back, and your legs stop learning anything useful.
So here’s the useful part — twenty home workouts that actually fit a beginner’s body, a beginner’s schedule, and a beginner’s patience.
1. Wall Push-Ups That Build Real Pressing Strength
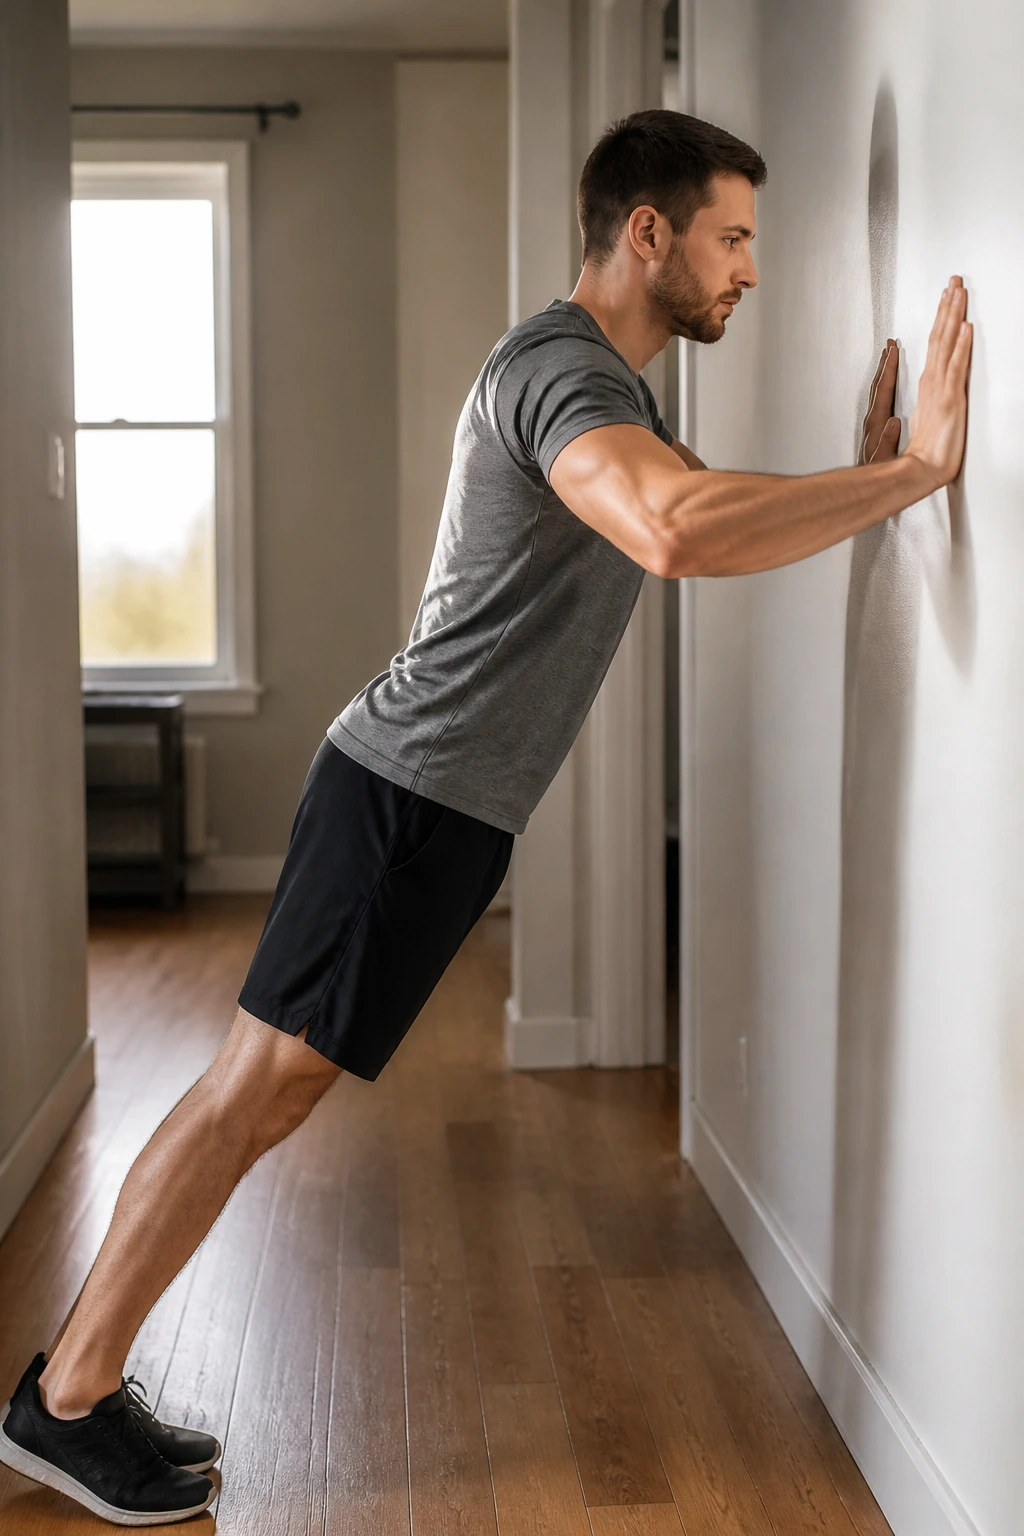
Start with the wall if regular push-ups feel miles away. That sounds almost too easy, but wall push-ups teach the parts people miss first: a straight body line, tight abs, and shoulders that move without flaring everywhere.
How to set it up
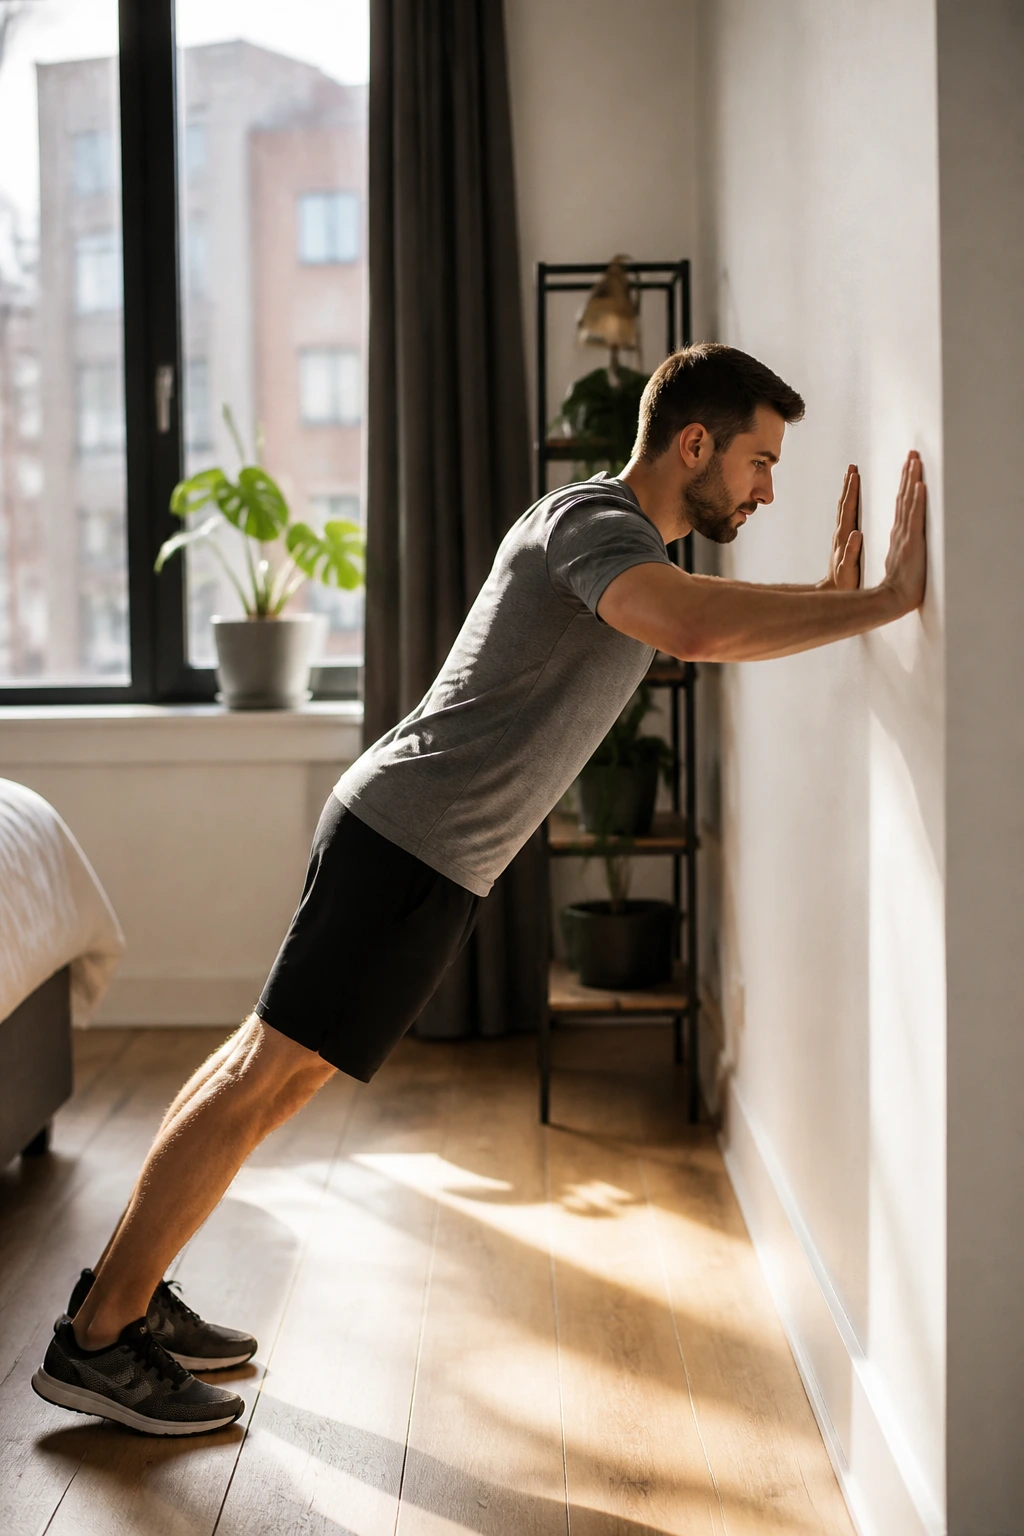
Stand about an arm’s length from a wall. Place your hands on it at chest height, a little wider than shoulders. Bend your elbows, bring your chest toward the wall, then push back until your arms are straight again. Keep your heels down and your ribs from popping forward.
Do 3 sets of 10 to 15 reps with 30 to 45 seconds of rest. If 15 reps feels smooth, step your feet back another 6 to 12 inches and make the angle harder. That tiny change matters more than people think.
- Keep your neck long.
- Lower under control for 2 seconds.
- Exhale as you push away.
- Stop if your wrists or shoulders pinch.
Pro tip: if your lower back sags, you’re not doing a push-up — you’re leaning on a wall. Tighten your stomach first, then move.
2. Incline Push-Ups on a Couch or Counter
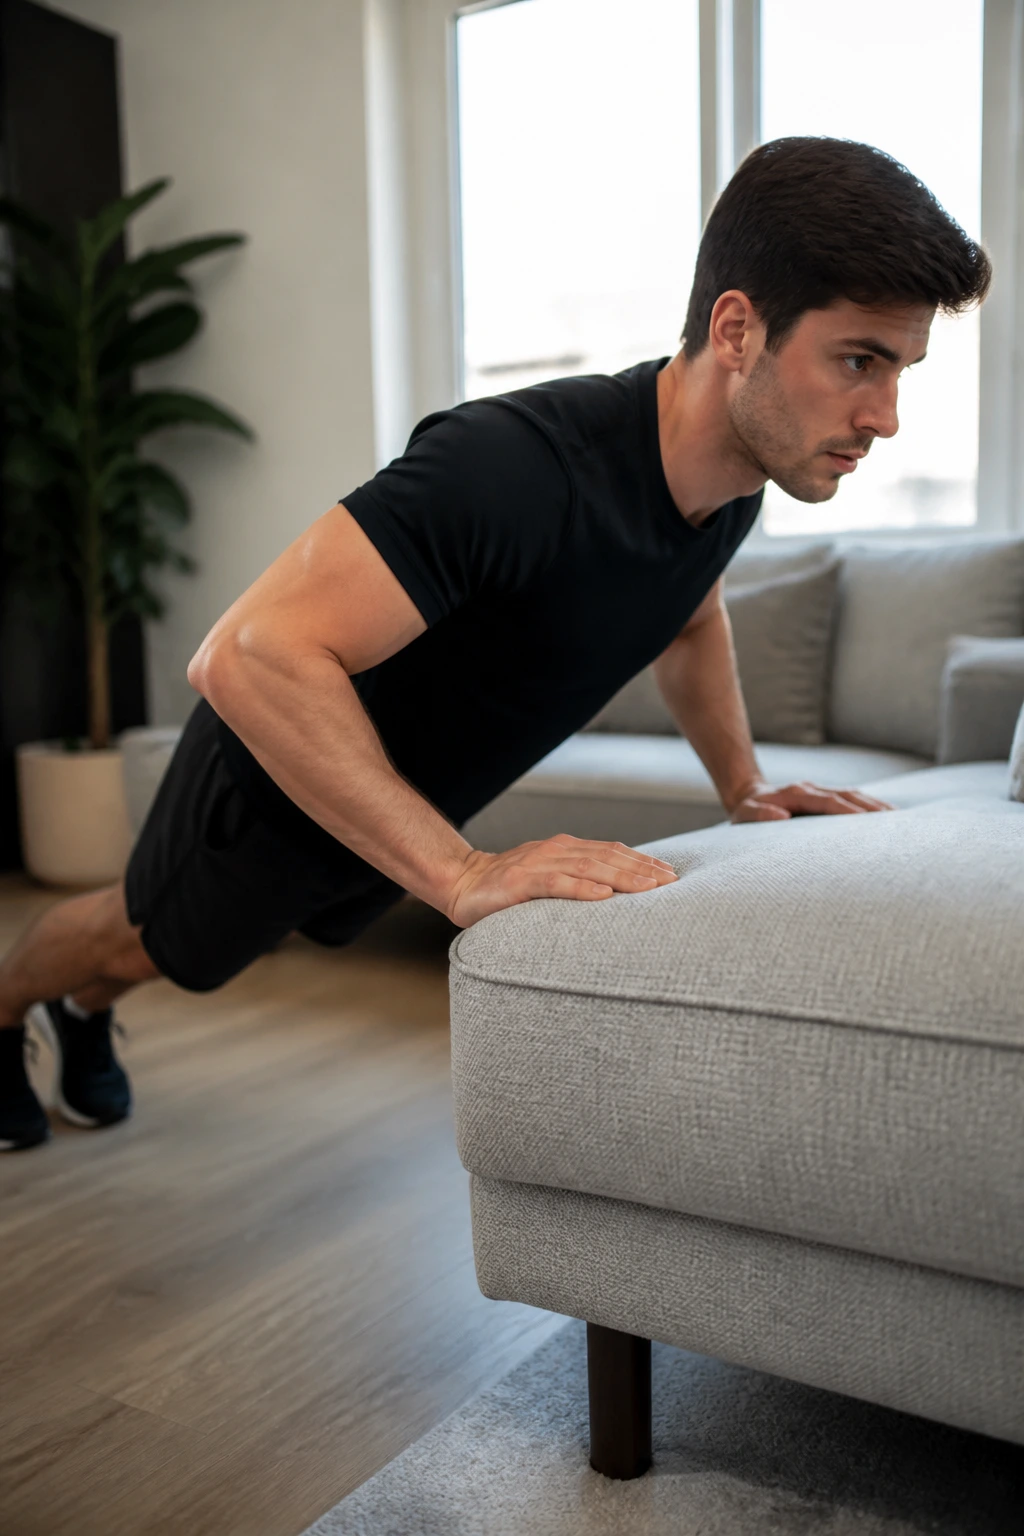
This is the bridge between wall push-ups and floor push-ups. It’s also the version most beginners can actually progress with, which is why I like it more than rushing straight to the floor and failing ugly.
Use a sturdy couch arm, countertop, or table edge. The higher the surface, the easier the movement. That gives you a clean way to adjust the difficulty without changing the exercise entirely. Lower surfaces make it harder. Simple.
Aim for 3 sets of 6 to 12 reps. Lower your chest toward the surface over 2 to 3 seconds, pause for a beat, then press up with your body in one line. If your shoulders shrug toward your ears, the set is too messy. Stop a rep early and keep the motion tidy.
What makes this one useful is the groove it builds. You learn to control your body under load while staying in a range you can own. That’s a better start than grinding out half-reps on the floor and teaching yourself bad habits.
3. Chair Squats That Teach Your Legs to Work
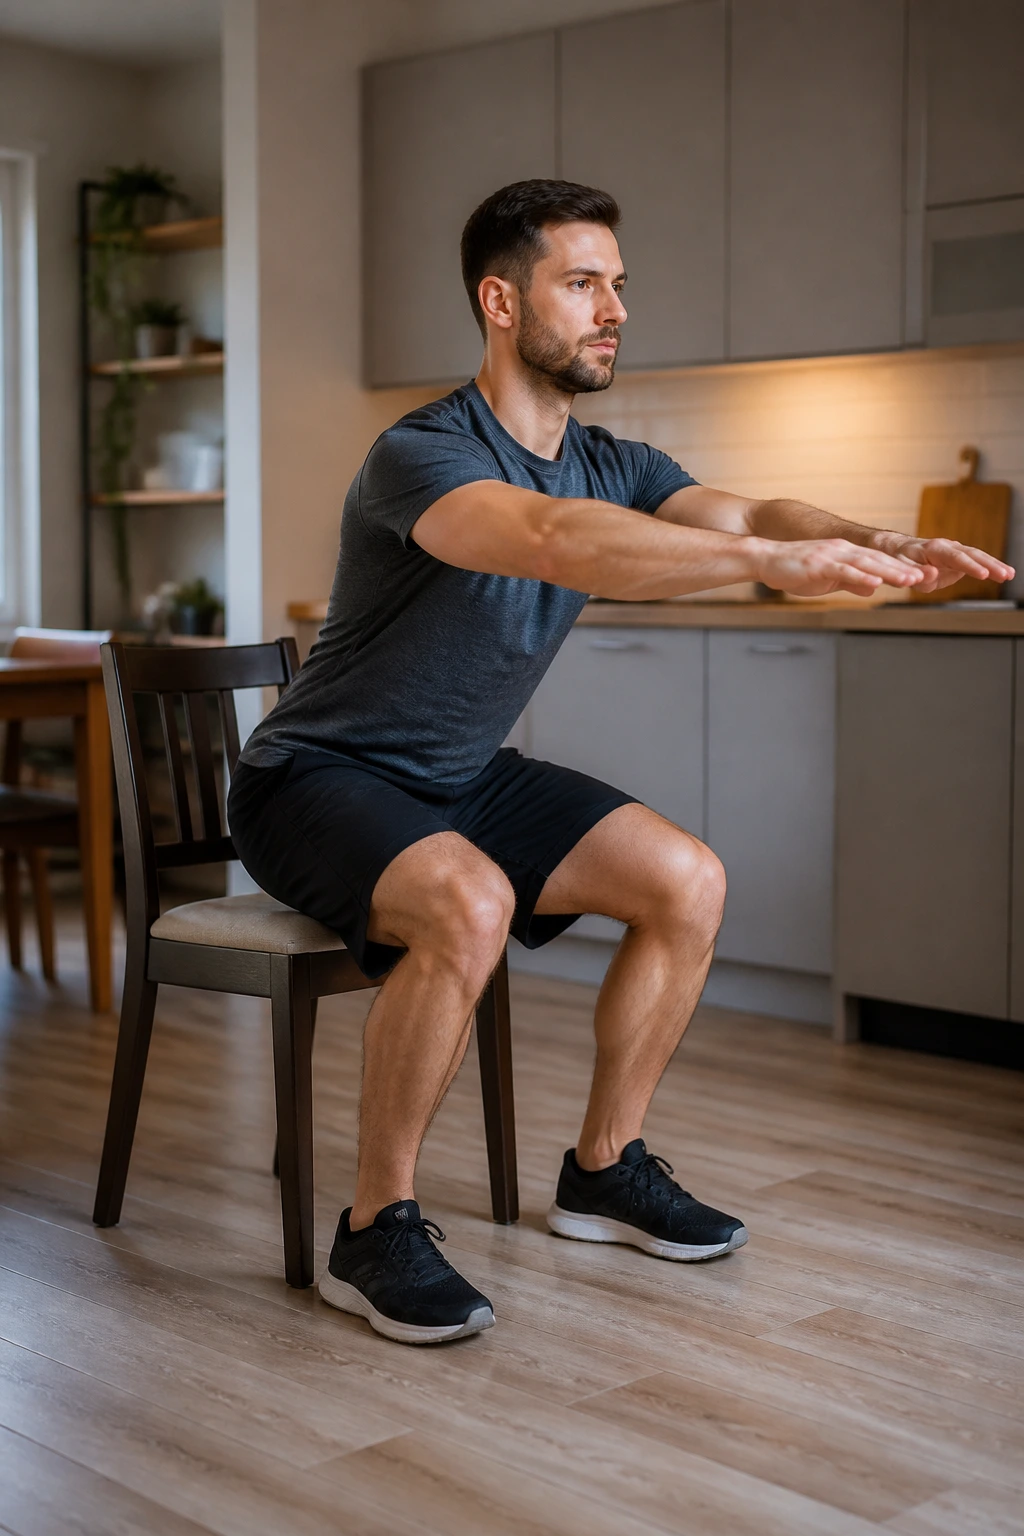
Why start with chair squats instead of free squats? Because the chair gives you a target. It keeps beginners from folding at the waist or dropping too fast, which is where most of the sloppy reps come from.
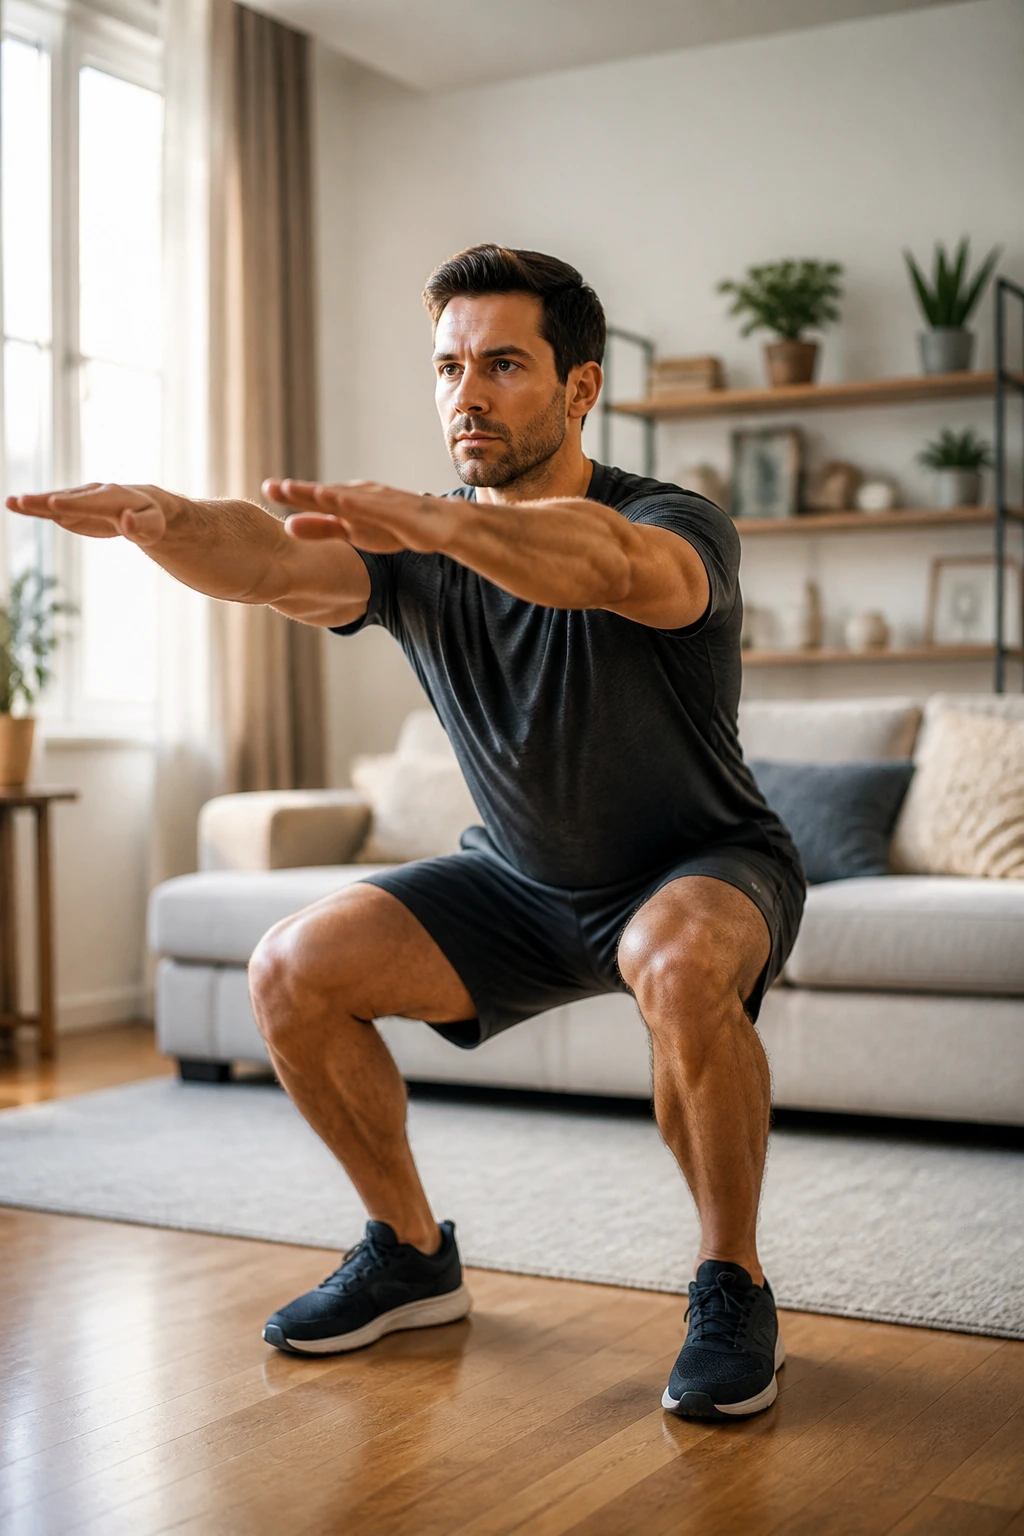
Sit the hips back, not straight down. Touch the chair lightly, then stand back up without bouncing off it. Your feet should stay flat, your knees should track over your toes, and your chest should stay open. If you can, hold your arms out in front of you for balance.
Use 3 sets of 8 to 12 reps with a 1-second pause on the chair tap. That pause keeps the reps honest. It also stops you from using momentum to cheat your way through the set.
How to use it well
- Place the chair behind you before you start.
- Keep your knees from caving inward.
- Stop the set if you’re collapsing onto the chair.
- Add a backpack later if bodyweight gets too easy.
The best part is how fast this carries over. A better chair squat usually means better stairs, better lunges, and better posture when you pick things up off the floor.
4. Reverse Lunges With a Hand on the Wall
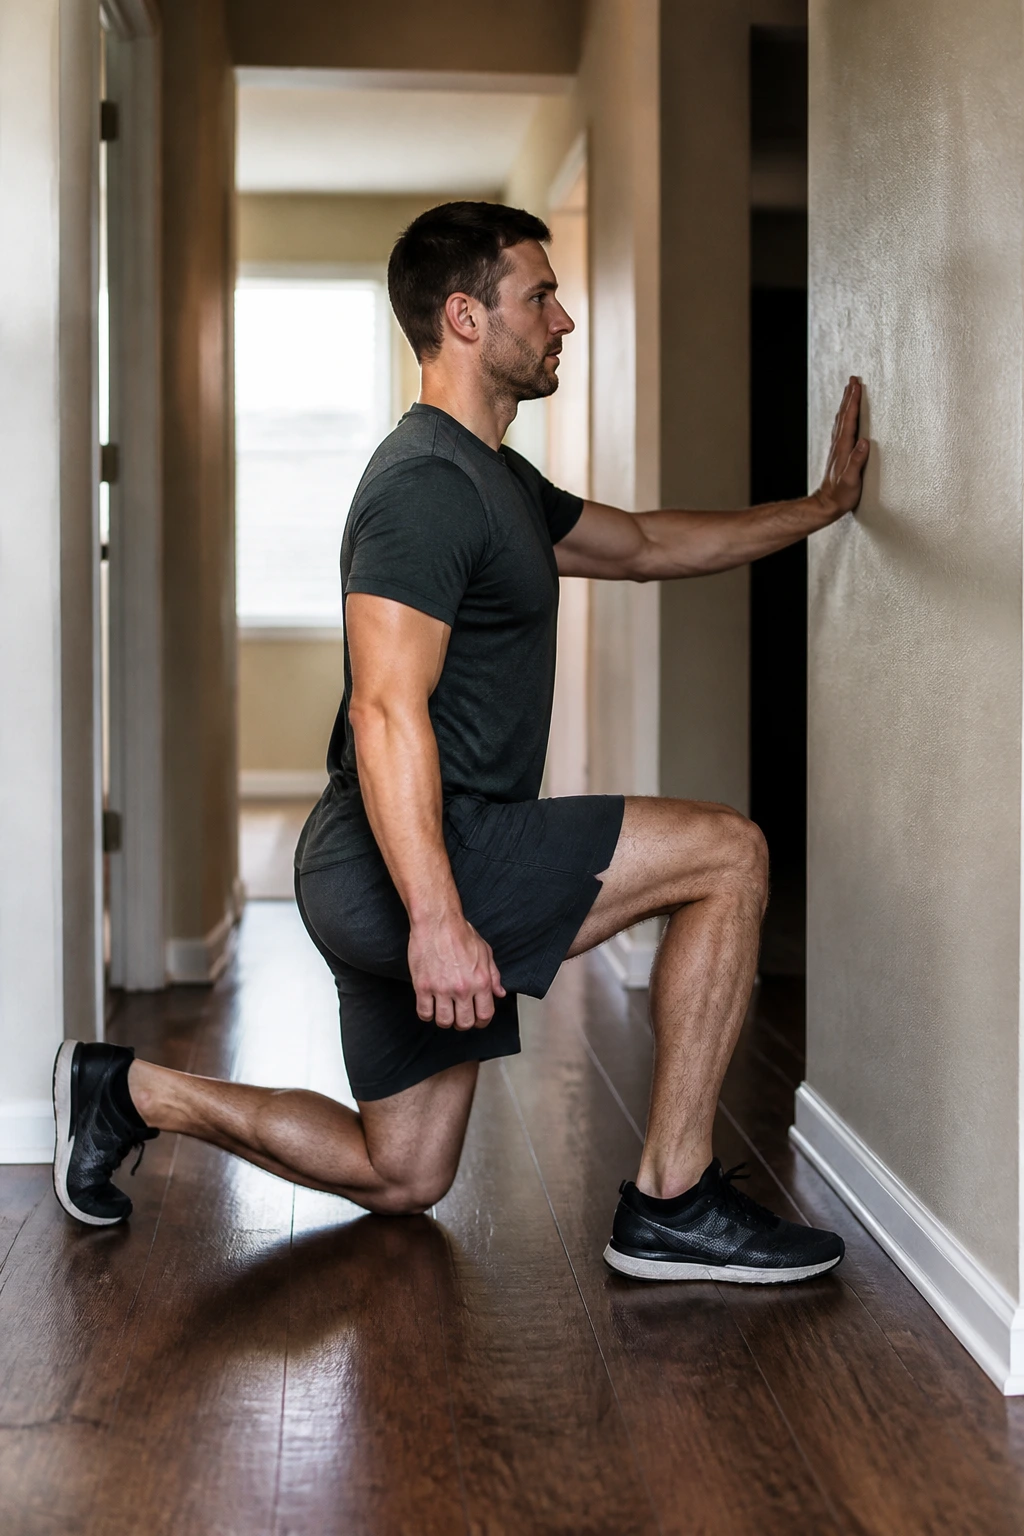
A lot of men hate lunges because forward lunges feel unstable. Fair. Reverse lunges are calmer. You step back, lower with control, and come up without feeling like your knees are negotiating a business deal.
Stand near a wall or countertop with one hand lightly touching it. Step one leg back, drop until both knees are bent, then press through the front heel to return to standing. Keep your torso tall. You should feel the front leg doing most of the work, not your lower back trying to help out.
Try 2 to 3 sets of 6 to 8 reps per leg. If balance is shaky, shorten the step and slow the lowering phase. If your front knee hurts, reduce depth first and check that your front foot is far enough forward.
This workout matters because it exposes weak sides. One leg almost always feels different from the other. That’s normal. It’s also useful information, which is more helpful than pretending both legs are identical.
5. Glute Bridges for Hips That Actually Fire
Glute bridges look easy right up until your hamstrings cramp. That’s the giveaway that your hips need more work and your glutes have been sleeping through a lot of your daily movement.
Lie on your back with your knees bent and feet flat, about hip-width apart. Press through your heels, squeeze your glutes, and lift your hips until your body forms a straight line from shoulders to knees. Don’t over-arch the lower back. The lift should come from the hips, not from flinging your ribs upward.
Do 3 sets of 12 to 15 reps, holding the top for 2 seconds each time. If that feels too easy, place a backpack across your hips or pause longer at the top. If you feel it mostly in your hamstrings, walk your feet a little closer to your hips.
I keep coming back to this one for a reason. A lot of beginner men have tight hips from sitting and weak glutes from, well, sitting. Bridges help both without beating up the knees.
6. Dead Bugs for a Quiet, Strong Core
Unlike crunches, dead bugs teach your core to brace while your arms and legs move. That matters more than people realize, because real life is not a perfectly still sit-up mat.
Lie on your back, knees up at 90 degrees, arms pointed toward the ceiling. Slowly lower one leg and the opposite arm toward the floor, then return and switch sides. Your lower back should stay pressed into the floor the whole time. If it arches, the move is too big.
How to use it
- Start with 2 to 3 sets of 6 reps per side.
- Move slow enough that you can control the breathing.
- Exhale as the arm and leg extend.
- Keep the opposite knee stacked over the hip.
This is one of those workouts that feels almost too gentle until you do it correctly. Then your abs light up in a way that has nothing to do with neck strain or sloppy momentum. Good core work should feel controlled. Not frantic.
7. Bird Dogs for Lower-Back Control
You don’t need fancy floor exercises to build a better back. You need movements that make your trunk stay still while your limbs reach away from it, and bird dogs do that cleanly.
Get on hands and knees. Reach your right arm forward and your left leg back at the same time, then return with control and switch sides. The goal is not height. The goal is a long, steady line from fingertips to heel without your hips twisting all over the place.
- Do 2 to 3 sets of 8 reps per side.
- Hold the extended position for 2 to 3 seconds.
- Keep your belly gently braced.
- Don’t crank your head up.
Why it works better than it looks
Bird dogs build control around the spine, which helps when you squat, hinge, carry groceries, or get up off the floor. If your lower back feels cranky after desk time, this is one of the first moves I’d put on the floor. Start slow. The slow version is the real version.
8. Shadow Boxing Rounds for Easy Cardio
Shadow boxing is the rare cardio workout that doesn’t need jumping. That’s a gift if your knees are stiff, your neighbors live below you, or you want your heart rate up without turning the room into a trampoline.
Stand in a relaxed stance, hands near your face, and throw simple combinations: jab, jab-cross, jab-cross-hook. Keep your feet light. Move your head a little. Breathe through your mouth if you need to, but don’t turn the rounds into wild flailing. Clean punches beat busy punches every time.
Try 6 to 10 rounds of 30 seconds on and 30 seconds off. If that feels too fast, use 20 seconds on and 40 seconds off. The goal is to finish breathing hard but still in control, not bent over gasping in the hallway.
This one also teaches rhythm. That sounds small. It isn’t. Men who are new to home training often move too stiffly, and shadow boxing loosens the whole upper body while working the lungs at the same time.
9. Step-Ups on a Sturdy Chair or Stair
If you have stairs, you have a leg workout. If you have a very solid chair or box, same idea — though I’d trust a staircase before I trust a wobbly kitchen chair, and you should too.
Place one foot fully on the step. Press through that foot to stand up, then lower with control. Don’t bounce off the back leg. The working leg should do almost all the lifting. Keep your knee tracking over the toes and your torso upright.
Use 3 sets of 8 to 10 reps per leg. Start with a low step if balance is shaky. A higher step makes the glutes work more, but if the knee collapses inward or you push off the floor, the height is too much for now.
What makes step-ups useful
- They train single-leg strength.
- They improve balance without much equipment.
- They’re quiet enough for apartment floors.
- They expose side-to-side differences fast.
The nice part is how practical they feel. You stand, you step, you climb. That’s it. No drama, no complicated setup, and no excuse to skip leg day because the gym is “too far.”
10. Chair Dips, the Careful Version
Chair dips can help your triceps, but they deserve respect. Go too deep, and your shoulders may complain. Keep the range modest and the setup stable, and they become a useful upper-body move instead of a bad afternoon.
Sit on the edge of a sturdy chair, place your hands next to your hips, slide your hips forward, and lower under control by bending the elbows. Stop when your upper arms are about parallel to the floor. Press back up without locking your elbows hard at the top.
Do 2 to 3 sets of 5 to 8 reps. That lower rep range is smart here. Most beginners don’t need high-volume dips; they need clean reps with good shoulder position. If you feel a sharp pinch in the front of the shoulder, skip this exercise and use incline push-ups or close-grip wall push-ups instead.
The rule with dips is simple. Smooth is good. Deep is not the goal. Pain is the warning light.
11. Pike Push-Ups for Stronger Shoulders
A pike push-up looks like a small upside-down V, and that shape changes everything. Instead of hitting the chest like a regular push-up, it shifts the work toward the shoulders and upper back.
Start in a push-up position, then walk your feet closer to your hands and lift your hips high. Bend your elbows and lower the top of your head toward the floor, then press back up. If full pike push-ups feel rough, keep your knees bent or put your hands on the edge of a couch to reduce the load.
Try 3 sets of 5 to 8 reps. These are harder than they look, so don’t chase big numbers too soon. A controlled five is worth more than a sloppy ten.
The best cue I can give you is this: keep your head moving between your hands, not forward past them. That keeps the shoulder line cleaner and saves you from turning the whole thing into a weird neck exercise.
12. Backpack Rows When You Miss the Gym
Unlike curls, rows do something useful for your posture. They train the back of the body, which is exactly what most home routines forget when all the attention goes to chest and abs.
Fill a backpack with books or water bottles. Hinge at the hips, keep your back flat, and pull the bag toward your ribs. Lower it slowly. If one-arm rows feel better, place your free hand on a chair or table for support and row with the other side one arm at a time.
Why this one matters
- It balances all the pushing work from push-ups and dips.
- It helps your shoulders sit better.
- It gives your upper back real work without expensive gear.
- It’s easy to load with whatever you’ve got at home.
Use 3 sets of 8 to 12 reps. If the bag swings, slow down. If your lower back rounds, make the bag lighter. The point is to pull with the back, not turn the movement into a bent-over shrug.
This is one of the best beginner workouts for men at home because it fixes a real problem: too much pressing, not enough pulling.
13. Mountain Climbers at a Calm Pace
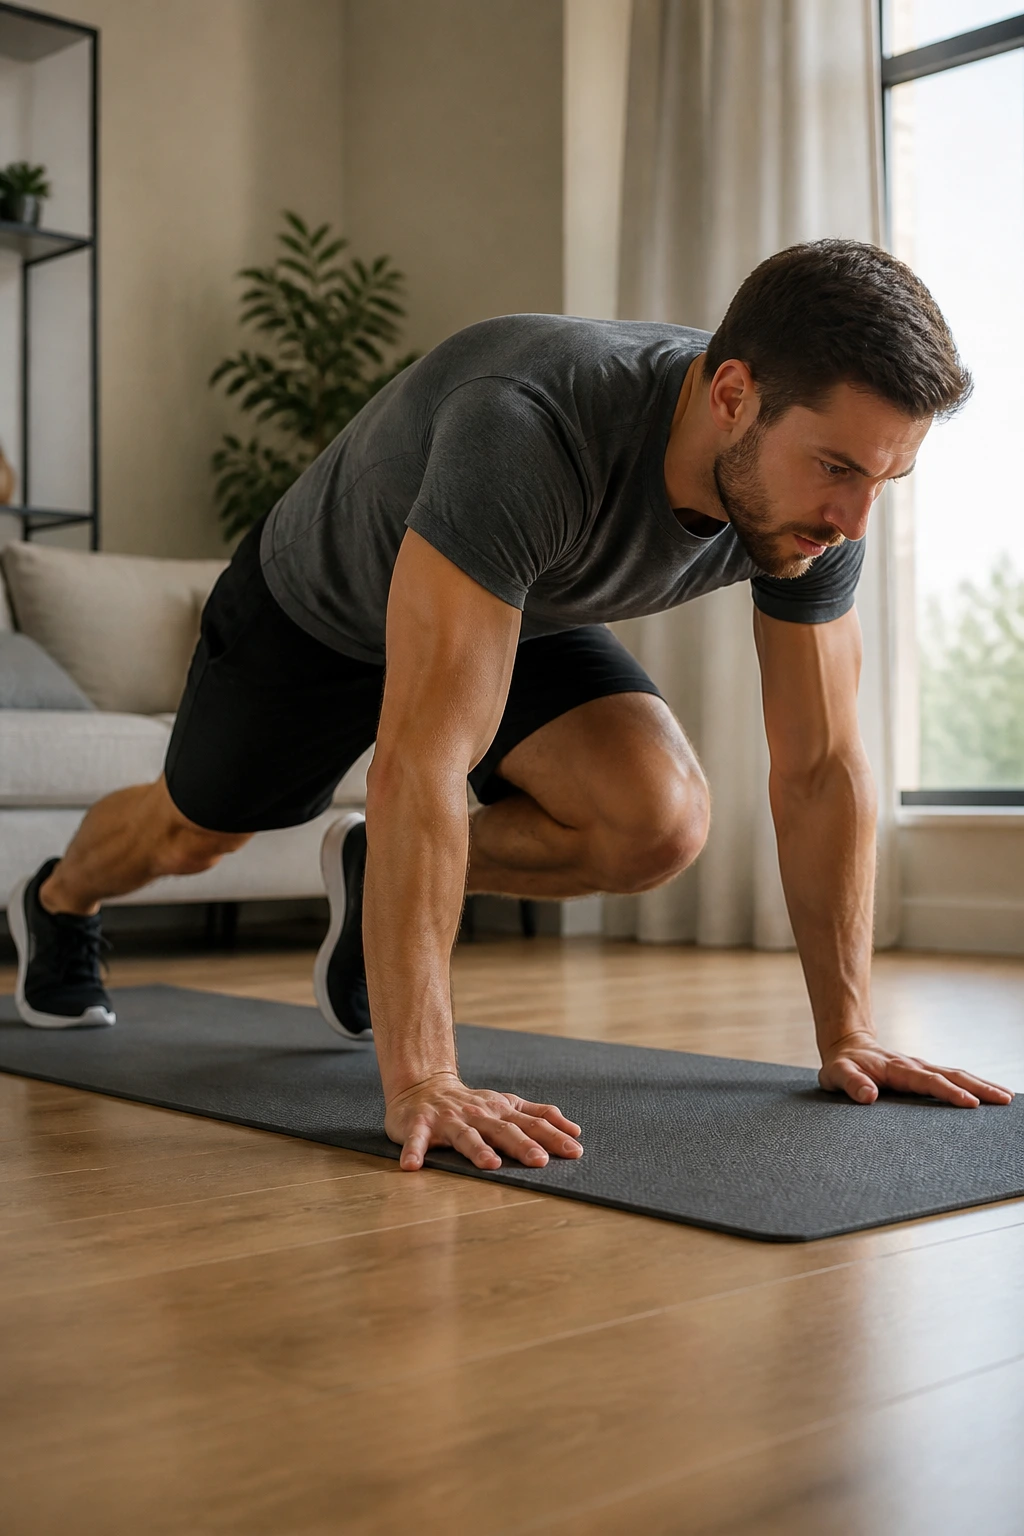
Mountain climbers do not need to be frantic to be useful. In fact, the beginner version usually works better when it’s slower and cleaner, because then your shoulders, core, and lungs all have to stay honest.
Get into a high plank, bring one knee toward your chest, switch legs, and keep going in a steady rhythm. Your hips should stay fairly level. If they bounce all over the place, your core is losing the fight and your lower back may feel it later.
What to watch for
- Hands under shoulders.
- Neck long.
- Feet landing softly.
- Hips low, not sagging.
Try 6 rounds of 20 seconds on and 40 seconds off. Or do 3 sets of 30 seconds if you prefer a more direct timer. If your wrists ache, put your hands on a couch or sturdy bench instead of the floor.
A lot of people use mountain climbers like a race. I don’t love that for beginners. Clean reps with a steady breath do more good than fast chaos.
14. Wall Sits for Leg Endurance
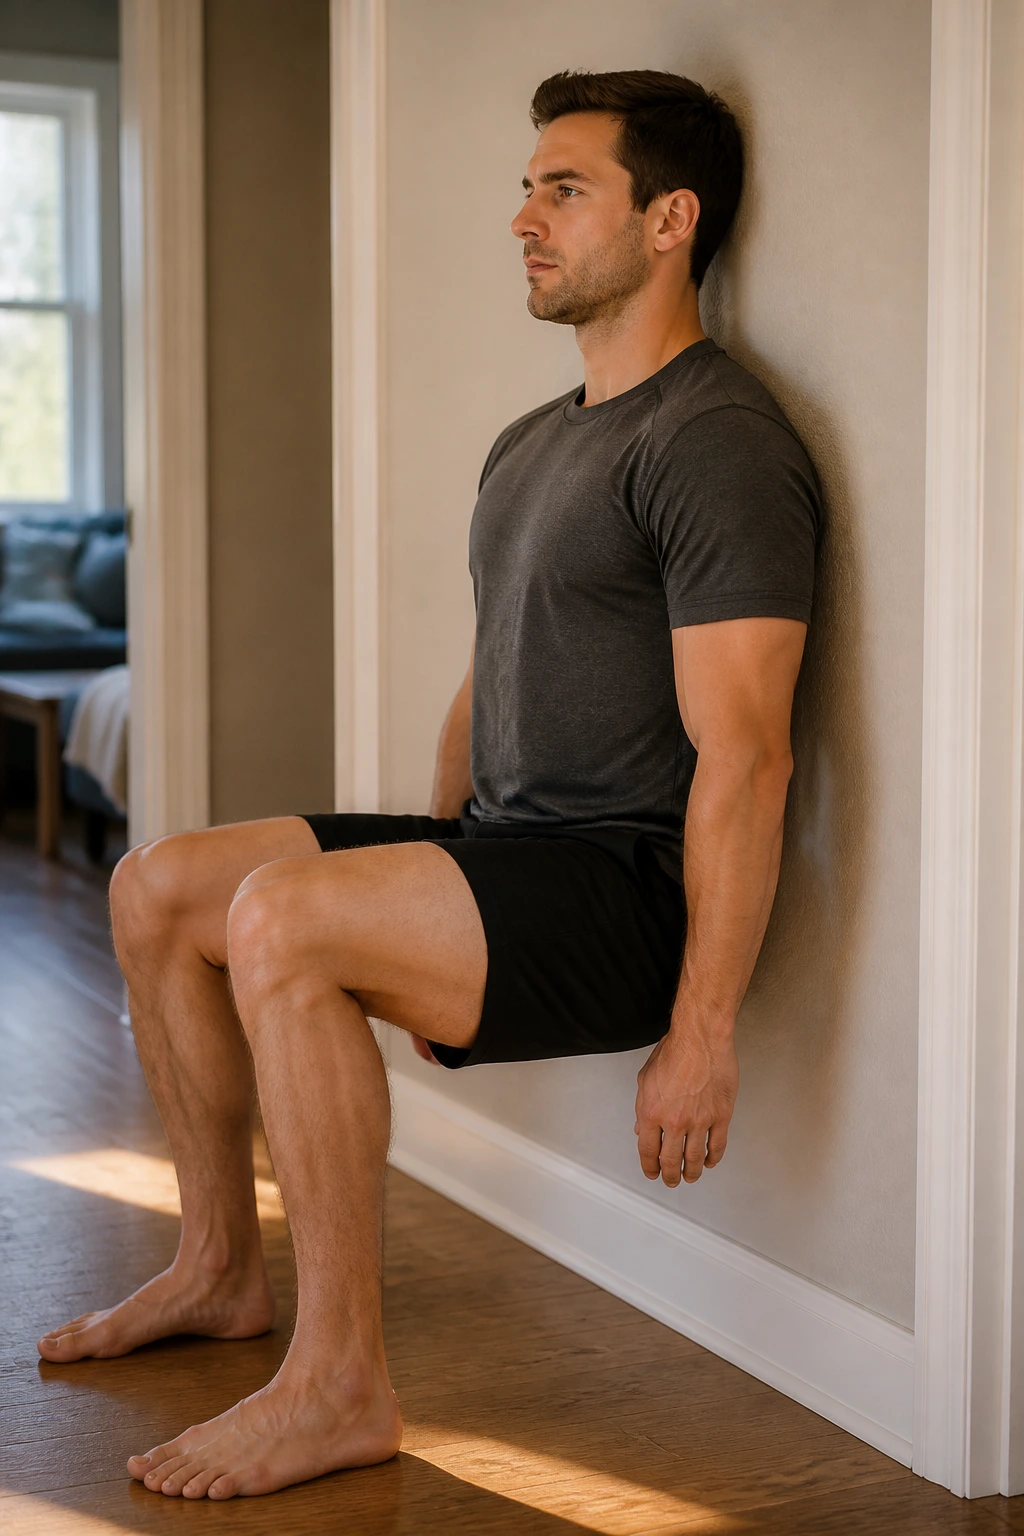
Wall sits look boring. Then they start burning. That’s the whole charm of them, honestly. You lean back, lower into position, and suddenly your quads are having a private argument with gravity.
Slide down a wall until your thighs are about parallel to the floor. Keep your back flat against the wall and your feet a little out in front of you. Hold the position without pushing your hands into your legs. Breathe. Do not hold your breath like you’re trying to win something.
Start with 3 holds of 20 to 30 seconds. If that feels manageable, build toward 45 seconds or even 60 seconds over time. Short holds with good form beat one shaky, miserable grind where your knees cave inward and your shoulders lift off the wall.
Wall sits are good after squats or lunges because they challenge the legs in a different way. No jumping. No complicated setup. Just time under tension, which is the fancy phrase for “your legs are going to notice this.”
15. Calf Raises That Make the Lower Legs Work
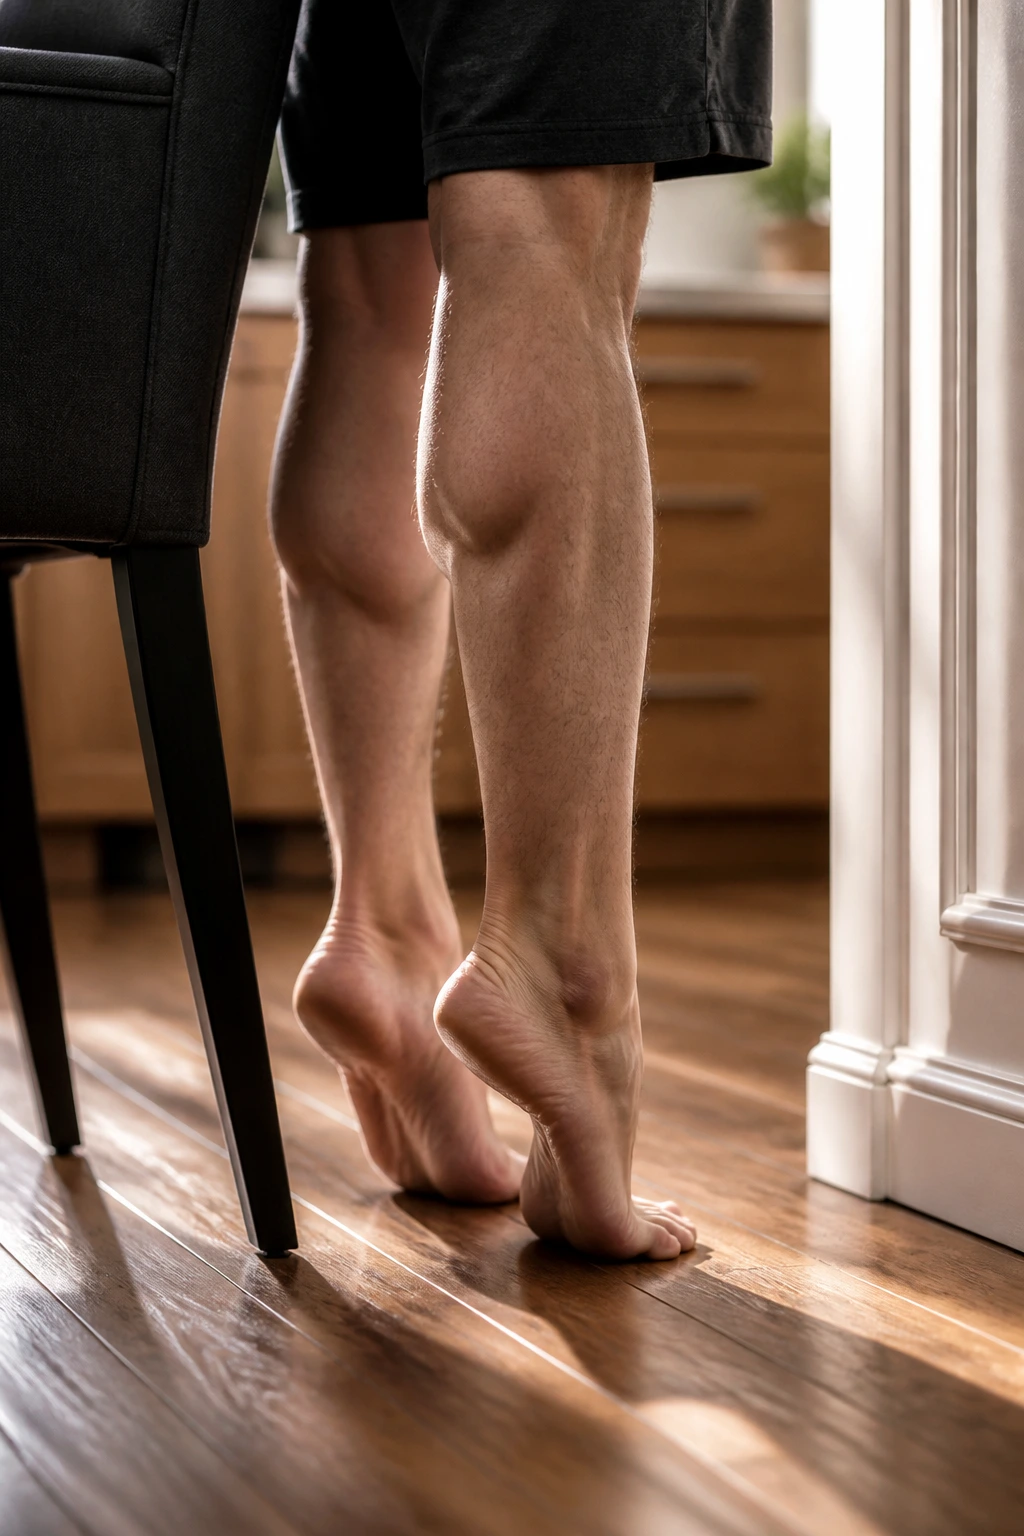
Why bother with calves? Because the lower leg affects walking, running, squatting, and even the way your ankles feel when you climb stairs. Strong calves won’t solve everything, but weak ones show up everywhere.
Stand near a wall or chair for balance. Rise onto the balls of your feet as high as you can, pause at the top, then lower slowly until your heels touch down fully. If you can do them on a stair with your heels dropping below the step, the range gets better and the exercise gets harder.
- Use 3 sets of 15 to 25 reps.
- Pause 1 second at the top.
- Lower for 2 seconds.
- Keep pressure through the big toe and second toe.
The cleanest version is usually the best version. Don’t bounce. Don’t rush. Calves respond well to steady work, and they’re one of the easiest things to train at home while you wait for water to boil or a song to finish.
16. Split Squats for One Leg at a Time
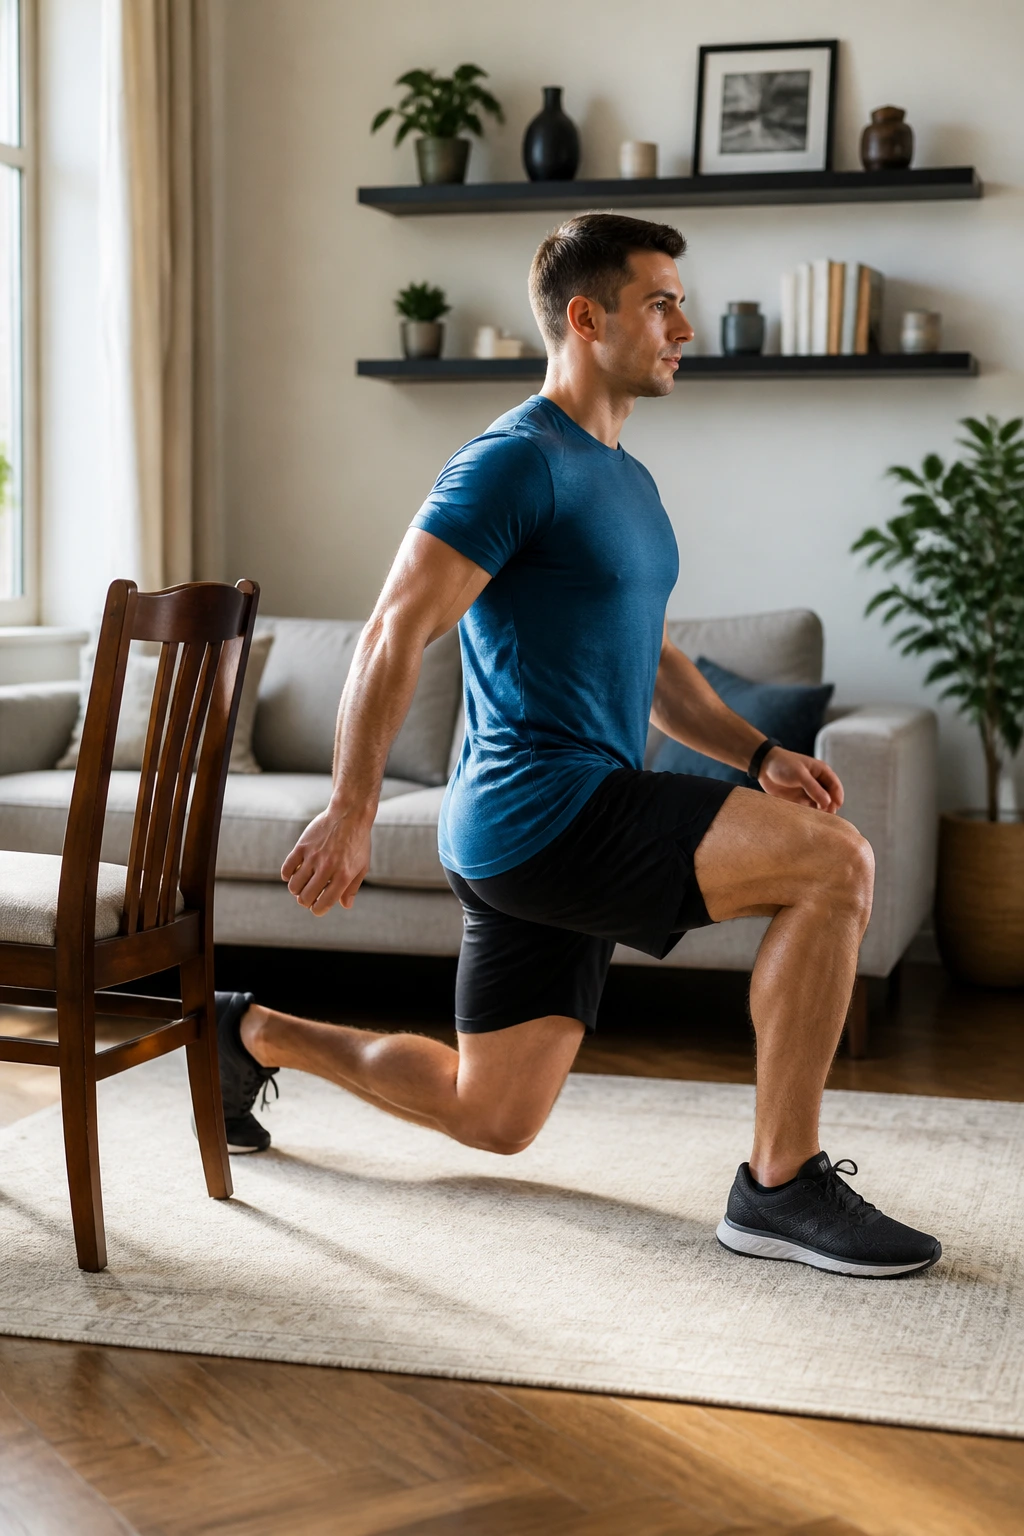
Split squats are the honest version of leg training. One leg works, the other leg stabilizes, and there’s nowhere to hide. That’s why they’re so good for beginners.
Stand in a staggered stance, one foot forward and one foot back. Lower straight down until the back knee comes close to the floor, then drive through the front heel to stand. Keep your torso tall and your front foot flat. If balance is rough, hold a wall or chair lightly with one hand.
Do 3 sets of 6 to 10 reps per leg. Start with a short stance if your hips feel tight. If the front heel lifts, your stance is probably too narrow. If the movement hurts the front knee, reduce depth and slow the descent.
A few good habits
- Keep most of your weight on the front leg.
- Don’t rush the bottom position.
- Switch sides before the set gets sloppy.
- Add a backpack later if needed.
Split squats teach control in a way both legs can’t do together. They also show you fast whether one side is weaker. That’s useful. It gives you something real to improve.
17. Hollow Holds for a Better Brace
Hollow holds are one of those floor exercises that look tiny and feel intense. They train the abs to hold the torso in a strong shape without relying on neck cranking or endless crunches.
Lie on your back, press your lower back into the floor, and lift your shoulders and legs slightly off the ground. Keep your ribs tucked down and your chin neutral. If your back arches, bend your knees more or lift your legs higher. The range should fit your current strength, not some perfect gym picture.
Try 3 holds of 10 to 20 seconds. That’s enough for a beginner when the shape is correct. Build time slowly. Ten clean seconds is better than twenty seconds of your lower back peeling off the floor.
This workout matters because bracing shows up everywhere else. Push-ups, squats, rows, carries — all of them get cleaner when the core knows how to hold a shape. Hollow holds teach that without equipment and without noise.
18. Low-Impact Marching Circuits
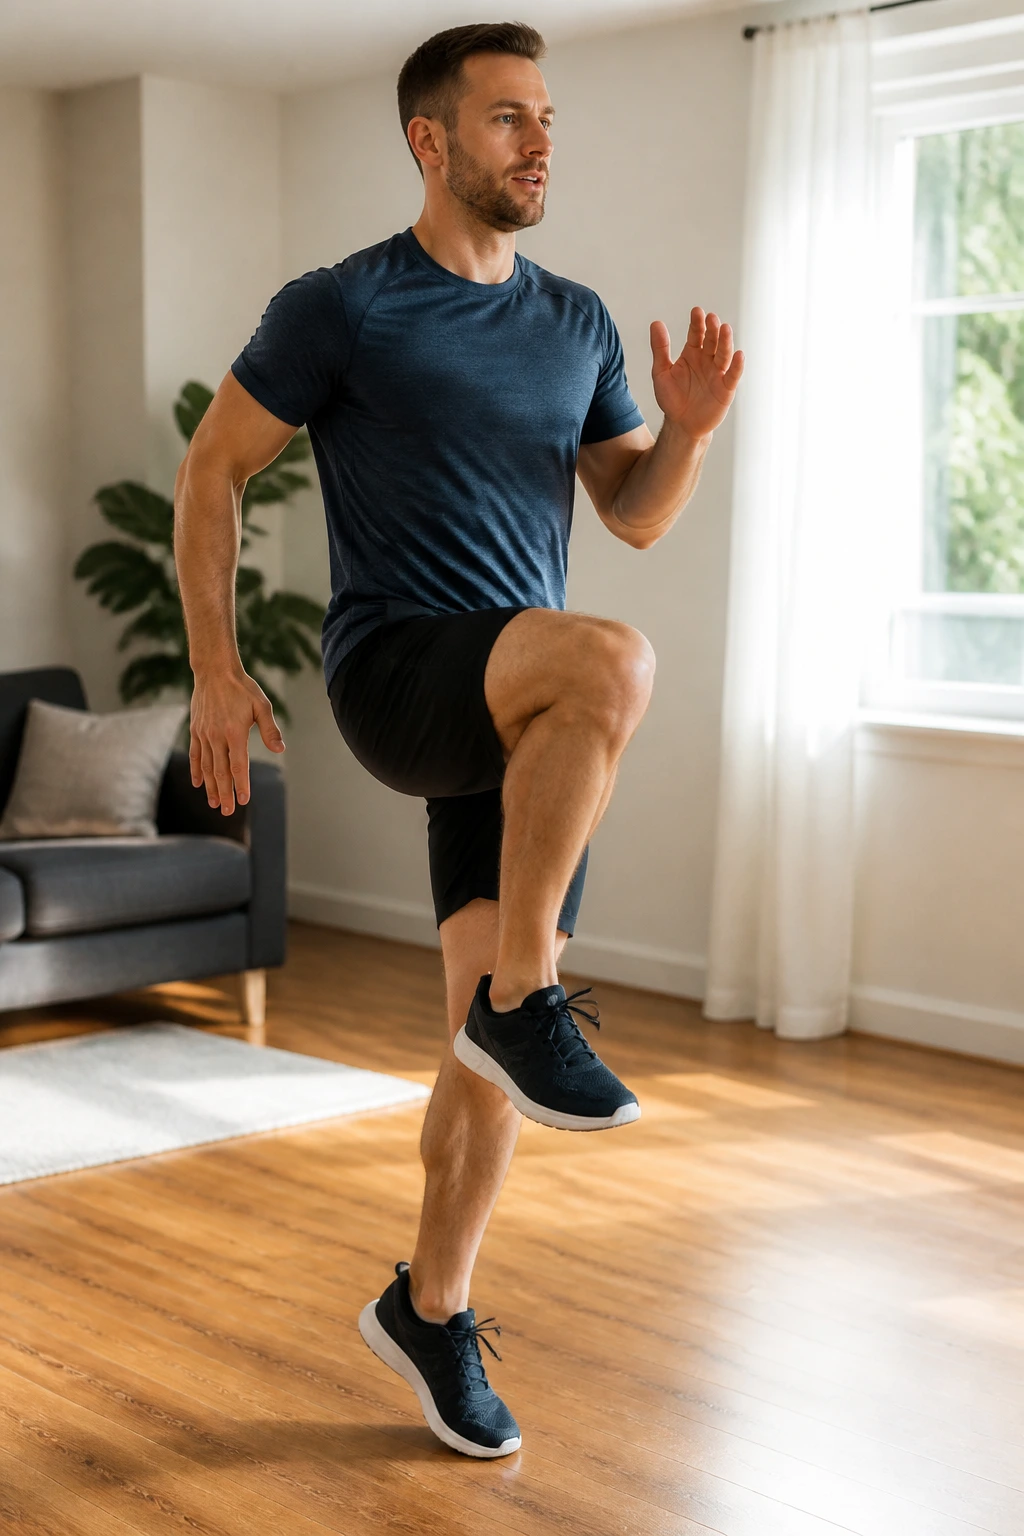
Not every cardio workout needs jumps. In fact, if your floor is thin, your knees are cranky, or you just want something you can do in socks without upsetting the house, marching circuits make a lot of sense.
March in place with purpose. Drive your knees up a little higher than a casual walk. Add arm swings. Then mix in side steps, knee lifts, and quick heel taps. Keep it moving, but keep it controlled. You should be breathing harder by the end of the round, not pounding the floor like you’re trying to break it.
A simple circuit
- 30 seconds marching in place
- 30 seconds side steps
- 30 seconds knee drives
- 30 seconds fast feet without jumping
- Rest 60 seconds
Do 3 to 5 rounds. This works well on days when you want movement but your body wants something calmer than burpees or jumping jacks. It’s also a good reset between strength days, which many beginners need more than they realize.
The point here is consistency. Sweat counts. Quiet sweat counts too.
19. Full-Body EMOM for Busy Days
If you only have a short window, an EMOM can keep you honest. That stands for every minute on the minute. You finish the work, then rest for whatever time is left in the minute.
Set a timer for 12 minutes. Minute one: 8 chair squats. Minute two: 6 incline push-ups. Minute three: 20 marching steps in place. Repeat that three-minute block four times. If you finish early, you rest. If you finish late, the workload is too high and you should trim the reps.
Why this format works
- The timer stops you from drifting.
- The rests are built in.
- You get legs, chest, and cardio in one shot.
- It’s easy to track progress next time.
This kind of workout is useful when motivation is low and decision-making is worse. You don’t need to invent anything. You just follow the clock. That’s one reason beginners stick with it longer than a random “do stuff until tired” session.
20. A Simple Weekly Progression Workout
The workout itself matters less than the habit of getting stronger from it. That’s the piece most beginners miss. They do a few sessions, sweat a lot, then repeat the same effort forever and wonder why nothing changes.
Pick 3 strength workouts from this list, 2 cardio sessions, and 1 core-focused day. Keep the reps clean. Keep a notebook or phone note with the exact set count, the surface height, and how hard the last set felt. That tiny log turns a loose routine into something you can actually improve.
A simple week might look like this:
- Day 1: Incline push-ups, chair squats, dead bugs
- Day 2: Shadow boxing, marching circuit
- Day 3: Reverse lunges, glute bridges, bird dogs
- Day 4: Rest or easy walking
- Day 5: Step-ups, backpack rows, hollow holds
- Day 6: EMOM circuit
- Day 7: Rest
Progress comes from small changes. Add 1 rep per set, or lower the incline by a few inches, or shorten rest by 10 seconds. Pick one change at a time. That way you know what helped, and you don’t turn the whole thing into guesswork.
Keep it boring for a while. Boring is underrated. Boring gets repeated, and repeated work is what changes a beginner’s body.
