



The lower-belly bulge that hangs on after pregnancy has a nasty way of making hard work feel invisible. You walk more, eat better, squeeze in movement between school drop-off and dinner, and the mom pooch still spills over leggings when you sit. That frustration is real, and it is one reason mom pooch workouts get searched so often.
But the lower belly is stubborn for a reason. What you see there can be a mix of stretched skin, a layer of stored fat, deep-core weakness, changed posture, scar tissue after a C-section, and sometimes a gap through the midline called diastasis recti. Crunching harder at one small patch of your body rarely fixes all of that.
A firmer midsection usually comes from a less dramatic place: better breathing mechanics, stronger glutes, a deeper brace through the transverse abdominis, more muscle across the whole body, and enough walking or conditioning to help with fat loss over time. Not flashy. Still effective.
And loose skin deserves honesty. Exercise can help your stomach look tighter by building muscle underneath and trimming body fat, yet skin itself does not always snap back on command. That does not mean your training is failing. It means the right plan works with your body instead of picking a fight with it.
Why the lower belly sticks around after pregnancy
One body part, five causes.
The phrase mom pooch sounds casual, though it usually describes a pileup of changes that happened during pregnancy and after birth. The abdominal wall stretched forward for months. The skin stretched too. Your rib cage may have flared out, your pelvis may tilt differently than it used to, and your deep-core muscles often lose timing and tension.
That last part matters more than many people realize. The transverse abdominis acts like a built-in corset, wrapping around your trunk and helping manage pressure when you lift, stand, carry, laugh, or get up from the floor. When it is late to the party, the lower belly can push outward even if you are doing plenty of ab work.
Then there is body fat. You cannot spot-reduce it from the lower stomach, no matter what a splashy workout video claims. Fat comes off according to genetics, hormones, sleep, stress, activity, food intake, and time. Pregnancy, breastfeeding, broken sleep, and daily stress can all make that process slower.
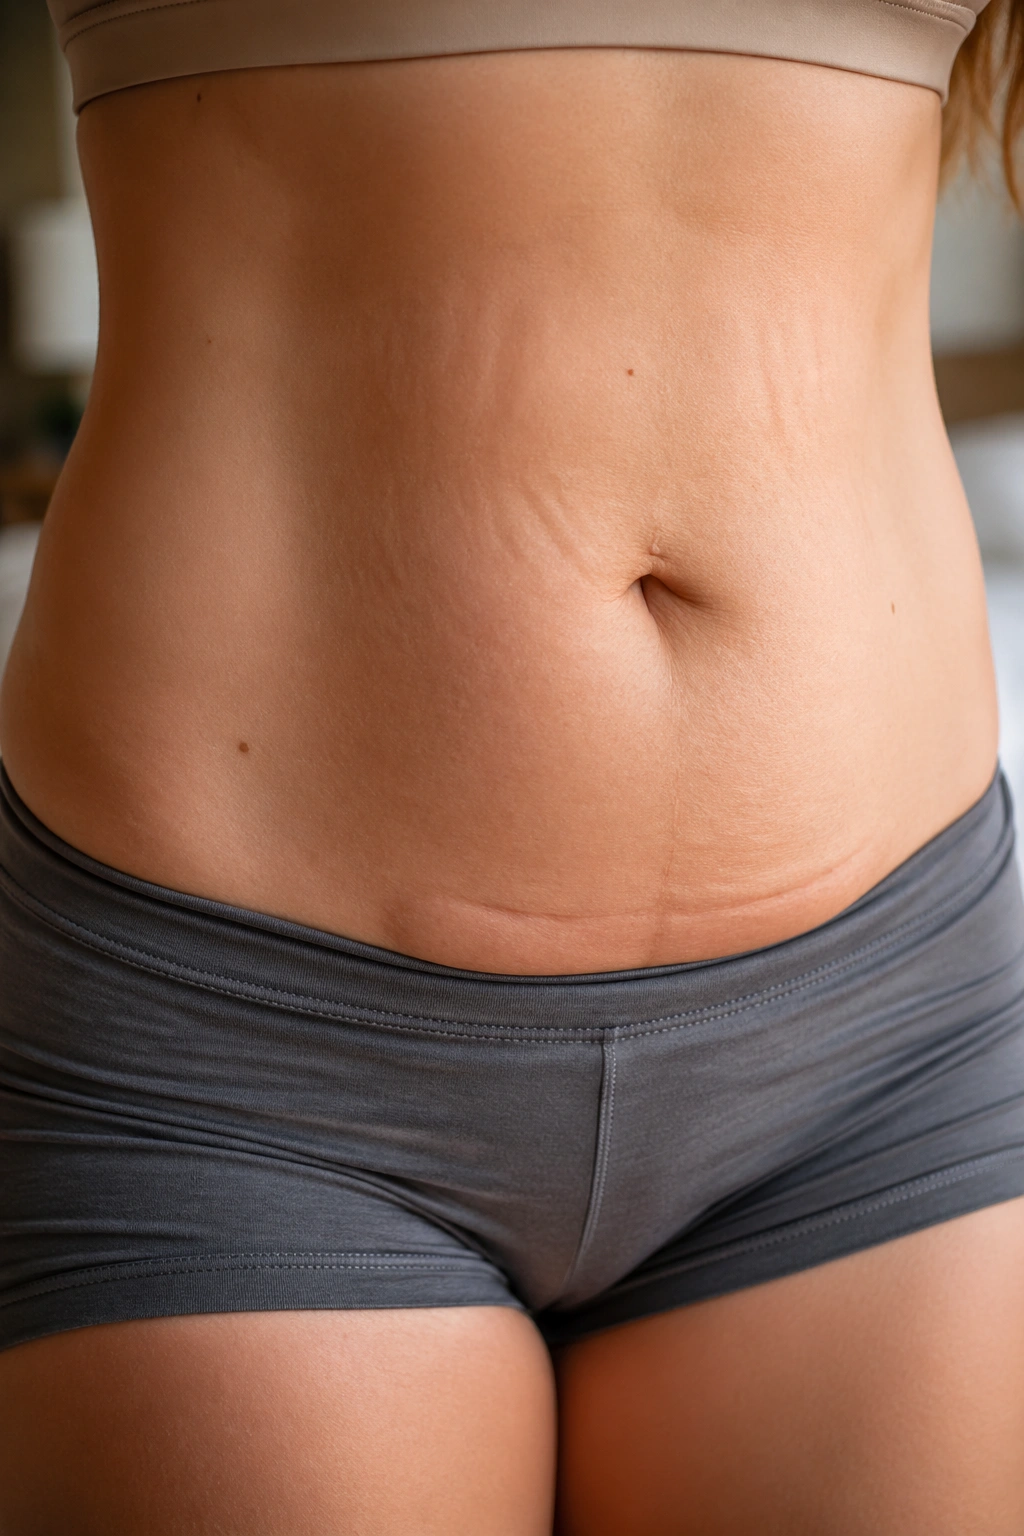
Skin adds another layer. Some loose skin improves as collagen remodels over many months. Some stays. A C-section scar can also create a shelf-like look above the incision because tissue tightens in one direction and hangs in another. Training still helps, yet the goal is often firmer, flatter, stronger, not a perfectly smooth stomach.
How to spot pressure, coning, and diastasis recti before you train harder
A few quick checks can save you months of doing the wrong work.
If you lie on your back with knees bent, exhale, and lift your head slightly, you may feel a gap or softness along the middle of your abdomen. That can suggest diastasis recti, which is a widening of the linea alba, the connective tissue that runs down the center of the abs. Width matters, but so does tension. A narrow gap with poor tension can feel less stable than a wider gap with solid tension.
Pressure signs show up during exercise too. Watch your midline when you do planks, sit-ups, mountain climbers, or leg lowers. If you see a ridge, dome, or little triangle popping up through the center, your body is telling you the load is too high or the brace is off.
A few red flags deserve attention before you chase harder ab workouts:
- Coning or doming through the center line during effort
- Pelvic heaviness or dragging, which can point to pelvic floor pressure
- Leaking urine during jumps, coughing, or lifting
- Back pain that shows up when you brace your abs
- Incision pain or tugging around a C-section scar
- A belly that pushes out more the harder you try to “suck in”
If any of that sounds familiar, scale back and rebuild from breathing, alignment, and low-pressure strength work first. A pelvic floor physical therapist can be a huge help here—especially if you feel stuck, because some issues are tough to sort out by video alone.
A weekly setup that makes these mom pooch workouts work
You do not need all 18 moves in one marathon session. You need a structure you can repeat.
For most people, 3 strength sessions each week works well. Pair that with 2 to 4 brisk walks or incline treadmill sessions and a daily step target that pushes you a little more than your usual baseline. Sessions can stay short—20 to 35 minutes is enough when the exercises are picked well.
A simple rotation looks like this:
- Day 1: 360 breathing, dead bug with wall press, glute bridge march, Pallof press, box squat
- Day 2: Posterior pelvic tilt march, bird dog, wall sit with long exhales, step-ups, incline walk
- Day 3: Side plank from knee, reverse lunge, Romanian deadlift, tall-kneeling pulldown, one finisher
Use 2 to 4 sets per move. Rest about 30 to 60 seconds after smaller core drills and 60 to 90 seconds after loaded lifts. When a move feels steady for all prescribed reps, add a little: 2 more reps, 5 more seconds, 5 more pounds, or one extra round.
One more thing. If you are early postpartum, recovering from surgery, or dealing with prolapse symptoms, do not copy a hard online routine just because the instructor has a flat stomach. Start with the moves that let you breathe, brace, and move without pressure spilling into the belly or pelvic floor.
1. 360 Breathing with Heel Slides
Start here, even if it feels too easy. A lot of lower-belly work fails because the brace is being built on top of poor breathing.
Lie on your back with knees bent and feet flat. Put one hand on your lower ribs and one on your lower belly. Inhale through your nose for 3 to 4 seconds, letting the ribs widen into your sides and back instead of just puffing the stomach up. Then exhale through pursed lips for 5 to 6 seconds as one heel slowly slides away until the leg is almost straight. Bring it back in, switch sides, and keep the ribs heavy.
Why this works first
The move teaches your rib cage, diaphragm, deep abs, and pelvic floor to coordinate under light load. That matters because many moms either grip the upper abs too hard or push the belly outward when they try to brace. Heel slides are humble, yes, but they clean up that pattern fast.
How to use it
- Do 2 to 3 sets of 6 to 8 slides per side
- Move the heel only as far as you can without the back arching
- Think “zip up from pubic bone to bra line” on the exhale
- Pause for 1 second when the leg is long
Best use: put this at the start of every workout for 2 weeks, then keep it as a warm-up.
2. Posterior Pelvic Tilt March
If your lower back steals every core exercise, this one is worth your time.
Lie on your back with knees bent and feet down. Gently tilt the pelvis so your low back melts into the floor—not by jamming it flat, but by tucking the tailbone a little and pulling the front ribs down. Hold that position and lift one foot a few inches off the floor like a march, then lower and switch.
The small range is the point. Once the thigh gets too high, many people lose the tilt, flare the ribs, and push pressure into the center of the belly. Keep the march low, quiet, and controlled. You should feel the lower abs working without neck strain or hip gripping.
Try 3 sets of 8 to 10 marches per side. Exhale as the foot lifts, inhale as it returns. If your hamstrings cramp, walk the feet a touch farther from your hips. That little adjustment often fixes it.
This drill teaches you how to hold pelvic position while the legs move. That skill carries over to getting out of bed, pushing a stroller uphill, climbing stairs with a car seat, and all the glamorous daily tasks nobody posts about.
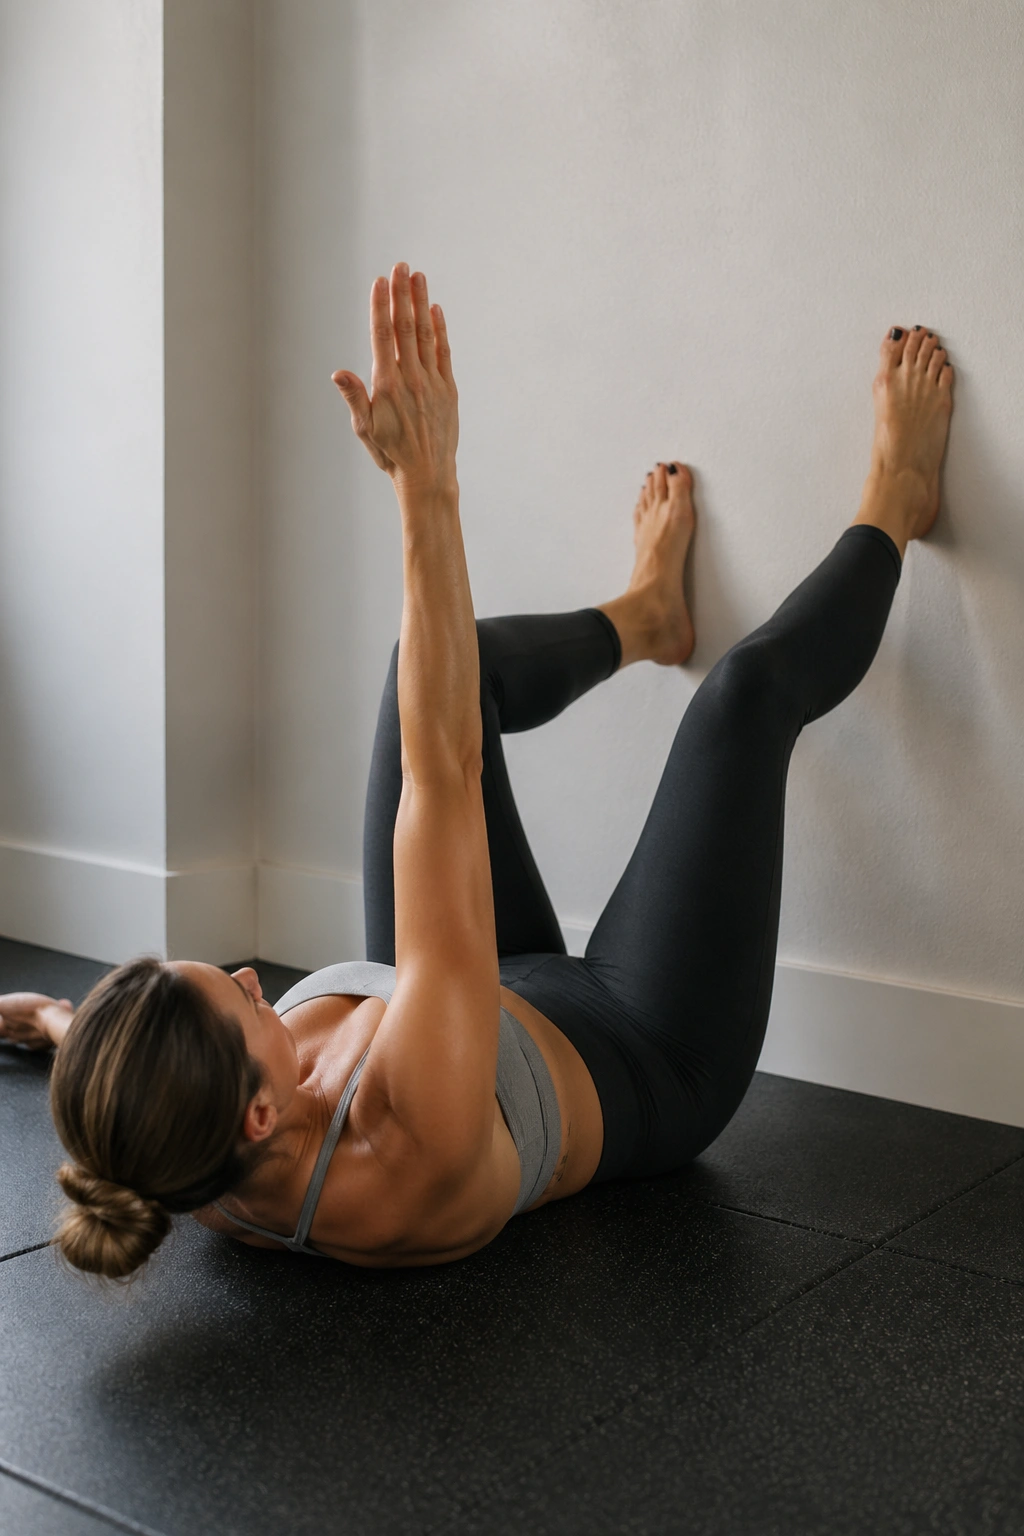
3. Dead Bug with Wall Press
A good dead bug is one of the cleanest ways to train the deep core without folding the body in half. The wall press makes it better.
Lie on your back near a wall so your knees and hips are bent to 90 degrees and your feet press flat into the wall. Push lightly through both feet, then exhale and lower one arm overhead while the opposite foot slides down the wall a few inches. Return, switch sides, and keep the low ribs stacked down.
What makes the wall version better
The wall gives you feedback. Pressing into it wakes up the front side of the trunk and helps you avoid that floppy, disconnected feeling people get with regular dead bugs.
Quick form checks
- Aim for 2 to 4 sets of 5 to 8 reps per side
- Keep the chin soft; do not crane the neck
- Your back should feel supported, not smashed
- Stop the range before the ribs pop up
A small cue that helps: breathe out like you are fogging a mirror, long and steady, instead of blasting the air out in one puff.
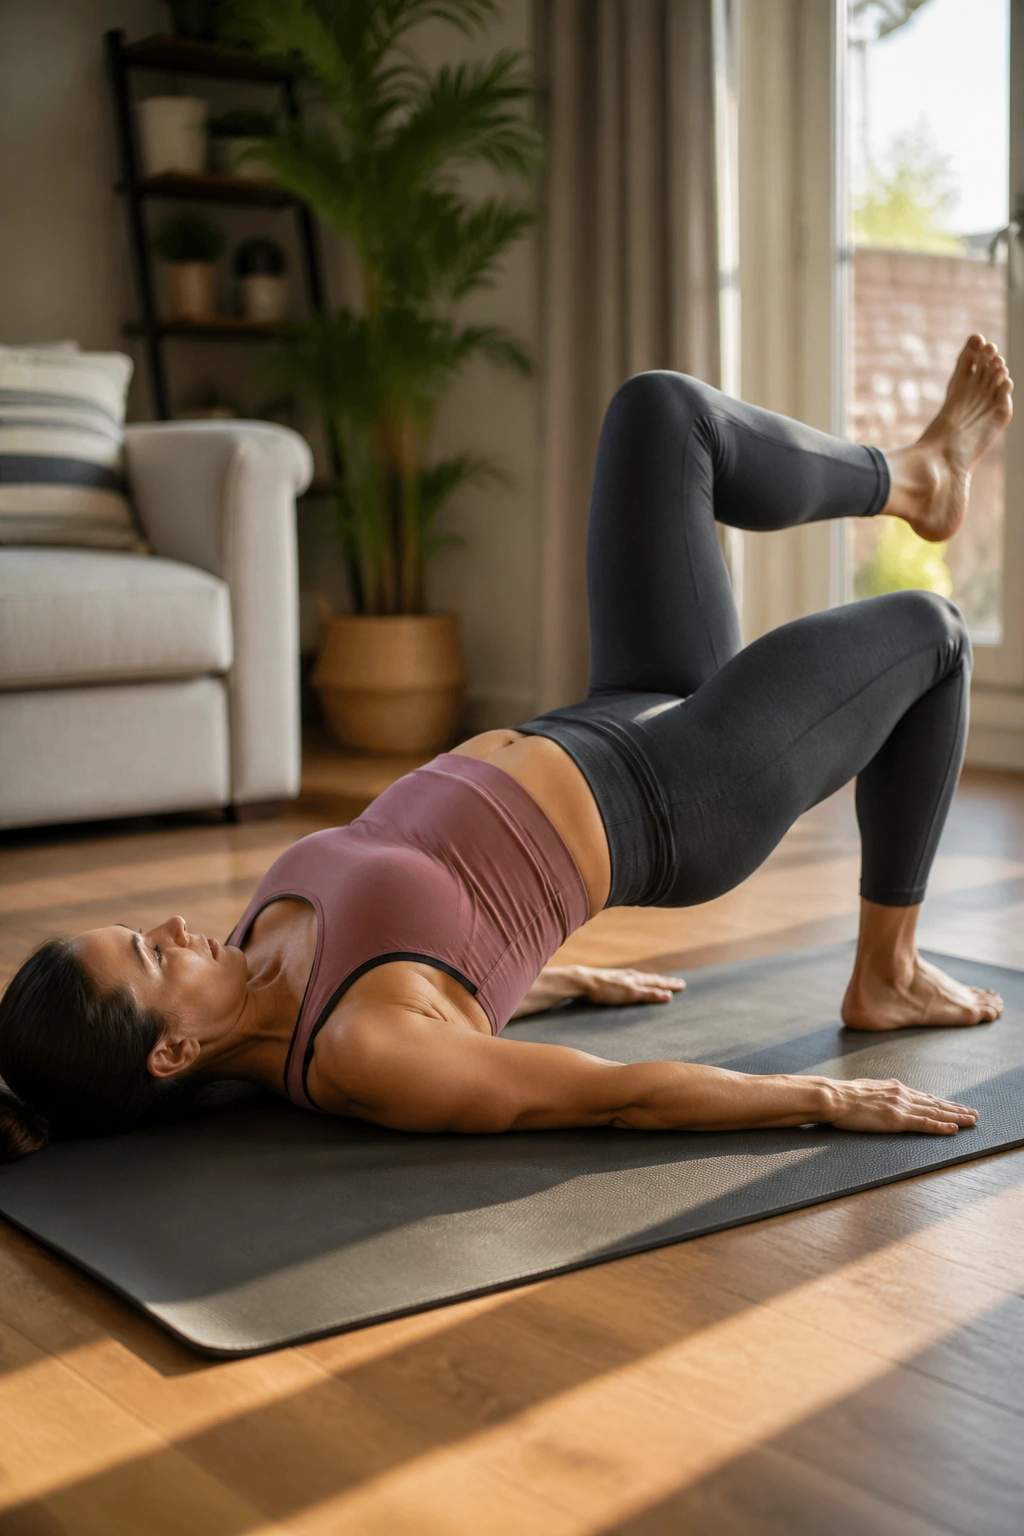
4. Glute Bridge March
Pregnancy and postpartum life can leave the glutes asleep and the lower back overworked. That combo makes the stomach stick out more than it has to, because posture and pelvis position change when the backside is weak.
Set up for a regular glute bridge with feet hip-width apart and heels about 8 to 12 inches from your seat. Lift your hips until shoulders, hips, and knees line up. Hold there. Without letting one hip drop, pick up one foot for a short march, place it down, then switch.
This is not a hamstring exercise disguised as glute work. Drive through the whole foot, squeeze through the lower part of the glutes, and keep the ribs from flaring upward. When done well, the front of the hips opens, the backside turns on, and the lower abs have to stabilize while the pelvis wants to wobble.
Start with 2 sets of 6 marches per side. If your hips twist or your hamstrings start barking, go back to a regular bridge hold for 20 to 30 seconds first. There is no prize for rushing past control. Once you own it, build up to 3 sets of 10 per side.
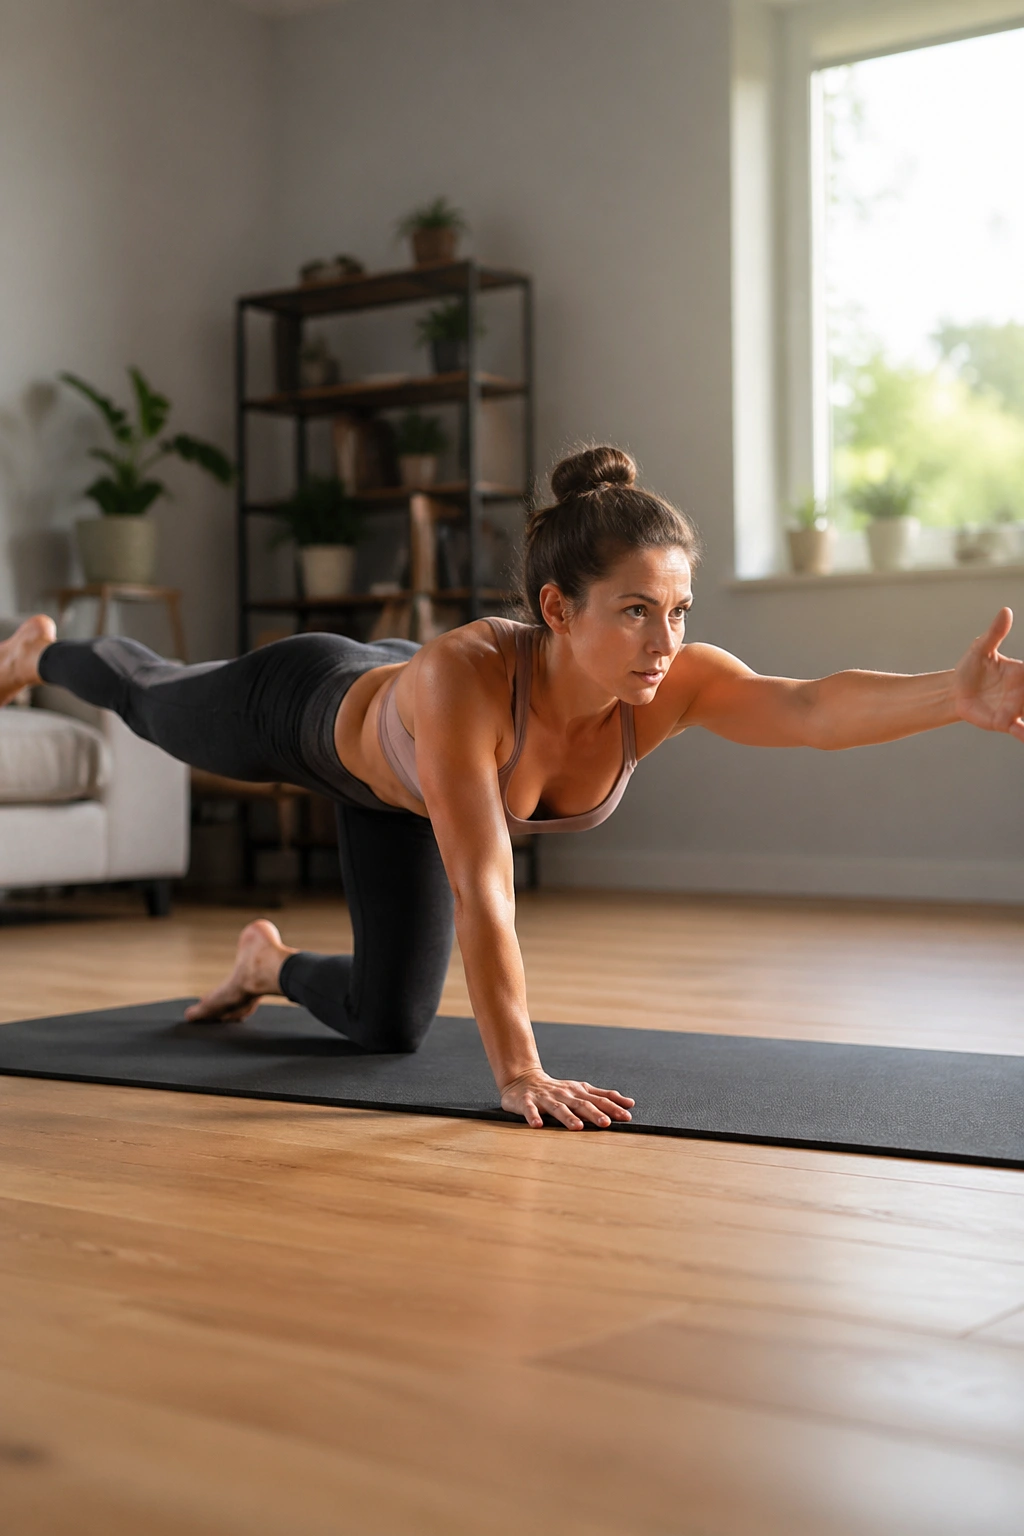
5. Bird Dog from All Fours
Almost everyone has seen a bird dog. Fewer people do it in a way that helps the mom pooch.
From hands and knees, stack hands under shoulders and knees under hips. Exhale, brace lightly, then reach one leg straight back while the opposite arm reaches forward. Hold for 2 seconds, return, and switch sides. The trick is keeping your torso still enough that a glass of water could sit on your low back.
I like this move because it teaches anti-rotation. Your trunk has to resist twisting while the limbs move away from center. That kind of stability shows up in real life every time you carry a child on one hip, unload groceries with one hand, or turn to grab a backpack from the back seat.
A few details make the drill cleaner:
- Reach the heel back, not up toward the ceiling
- Spread the collarbones and press the floor away
- Exhale before the limbs leave the ground
- Do 2 to 3 sets of 6 to 8 reps per side
If your wrists hate all-fours positions, make fists or hold a pair of dumbbells to keep the wrist more neutral.
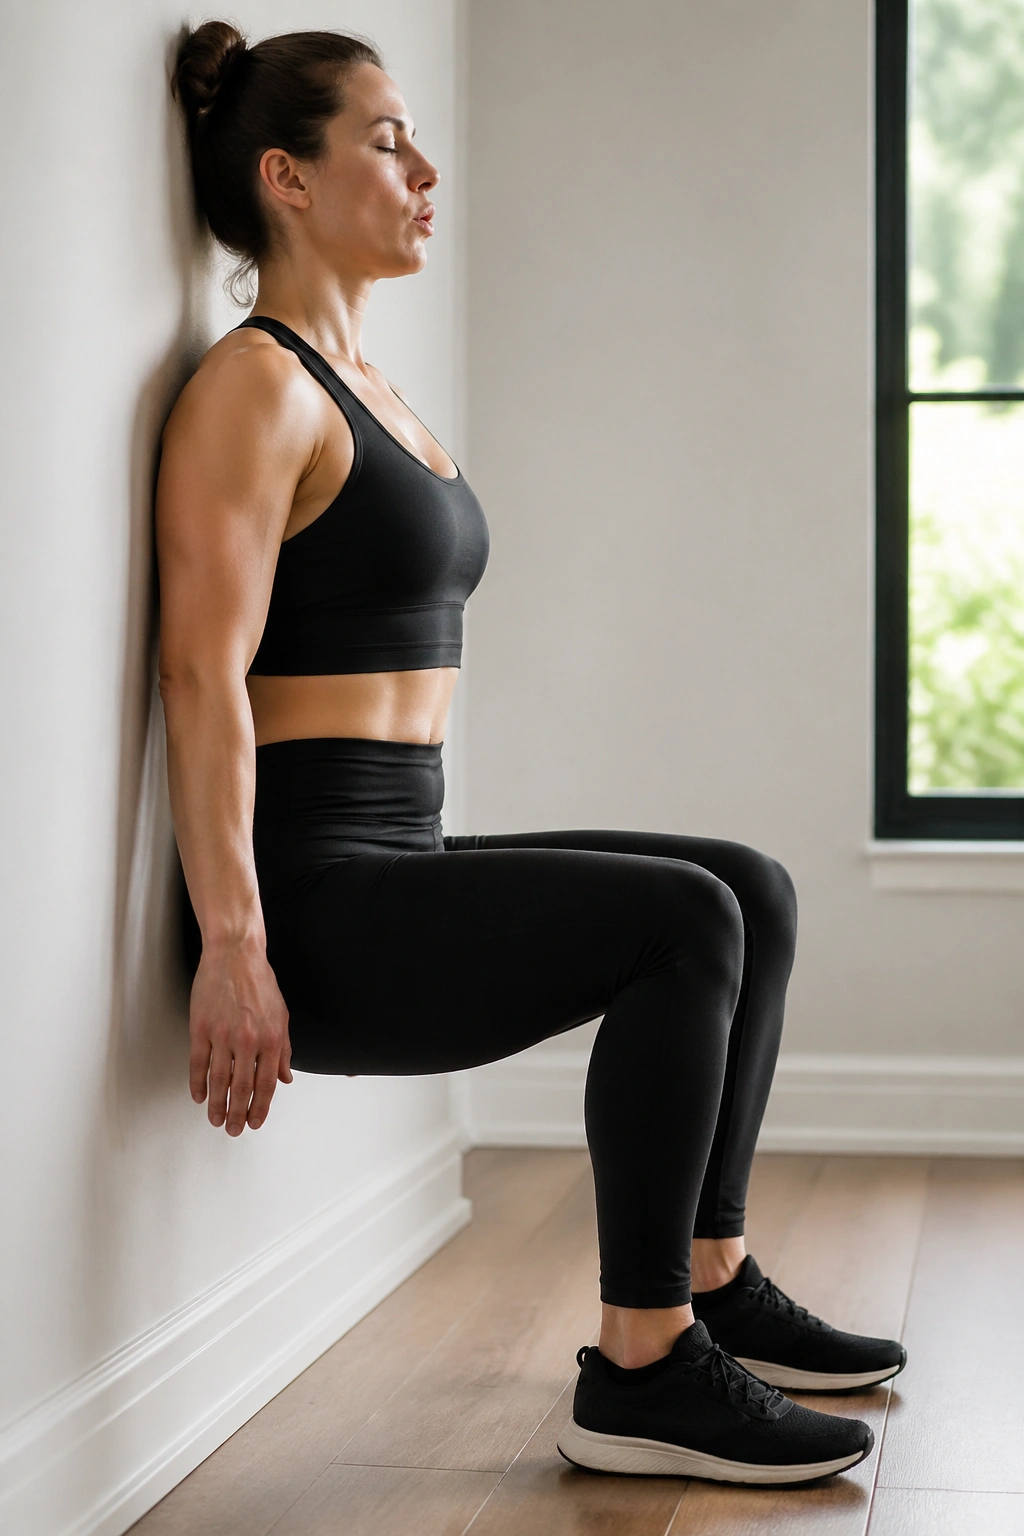
6. Wall Sit with Long Exhales
Unlike frantic ab circuits, a wall sit slows you down enough to feel what your trunk is doing. That is why I keep coming back to it.
Slide your back down a wall until knees are bent about 90 degrees or a little higher if that angle bothers your joints. Keep feet under the knees, ribs stacked over pelvis, and arms relaxed. Then breathe: inhale through the nose, exhale for 6 to 8 seconds, and feel the front of the ribs knit inward without your shoulders shrugging.
The legs do plenty here, no question. The hidden benefit is the pressure management. Because the wall supports the torso, many people can finally feel a full exhale and a low, wide brace through the belly instead of a hard outward push. It also trains posture—something that matters more than it gets credit for. A rib flare and anterior pelvic tilt can make a lower belly look more pronounced even before body fat enters the picture.
Hold for 20 to 45 seconds and repeat 3 times. If your quads light up first, that is normal. Stay with it. After a week or two, most people notice the core connection getting sharper.
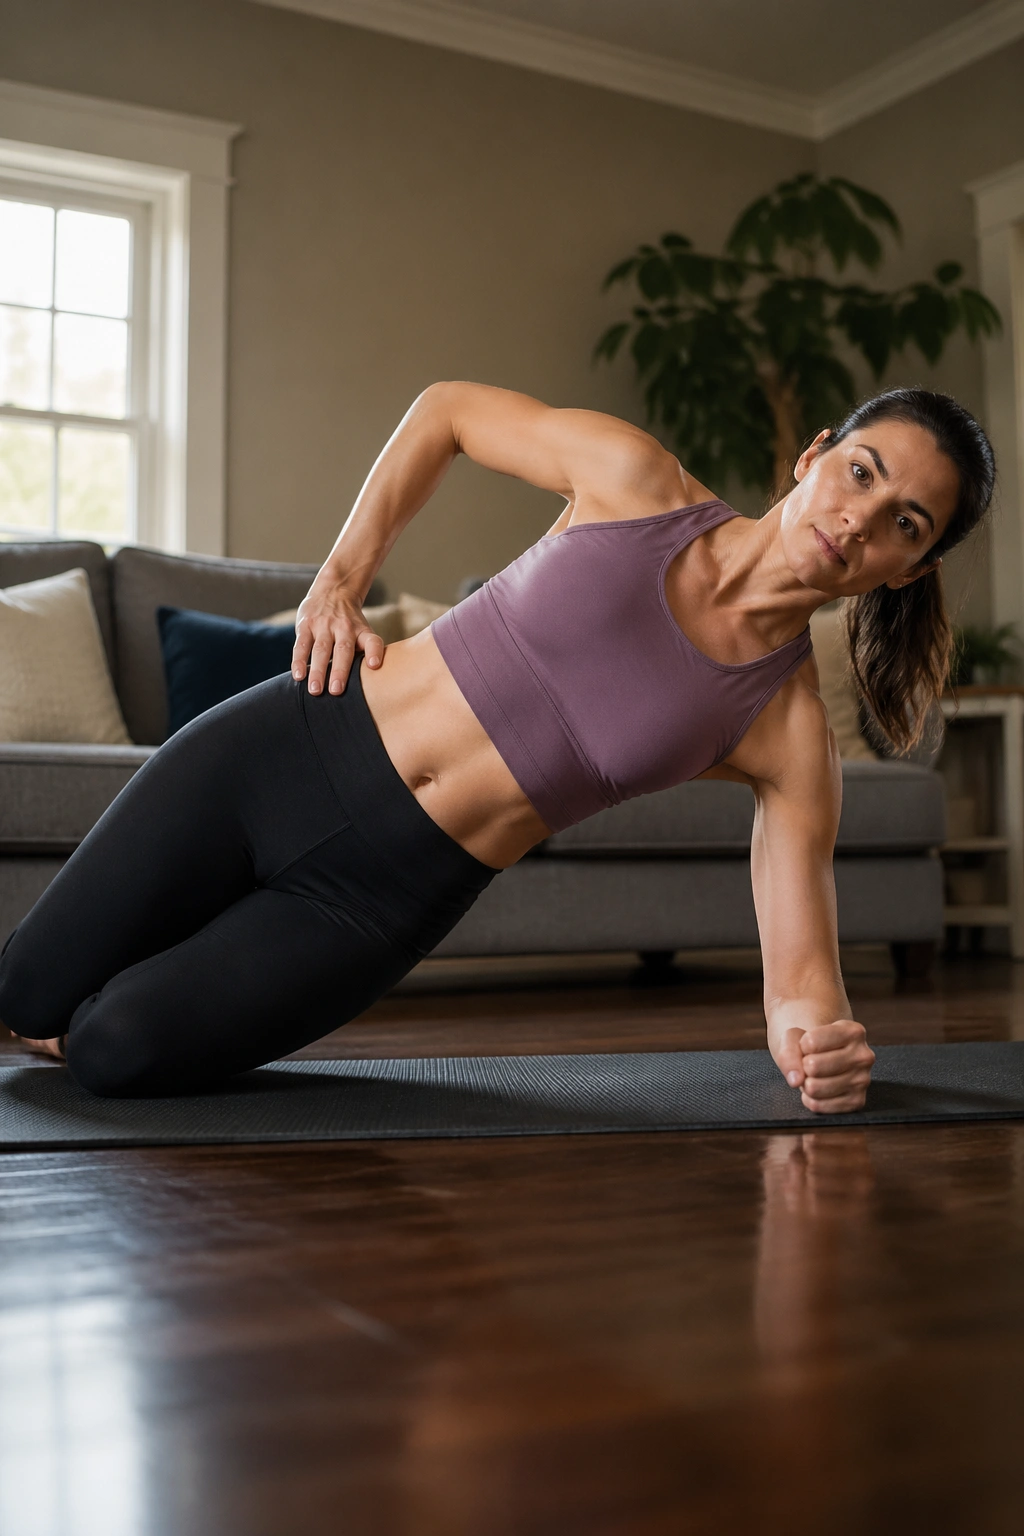
7. Modified Side Plank from the Knee
A side plank from the knees does not look flashy. Good. Flash is overrated.
Set your elbow under your shoulder, bend both knees, and lift your hips so your body forms a straight line from shoulders to knees. The top hand can rest on your side so you can feel whether the ribs are staying stacked instead of rolling open.
Why the side body matters
A lower belly that bulges forward is not only an “abs” issue. Weak obliques and side-body stabilizers can leave the trunk loose and wobbly, which changes how pressure moves through the abdomen. Side planks tighten that up fast.
Use this setup
- Hold 15 to 30 seconds per side
- Do 2 to 4 rounds
- Press the floor away through the bottom forearm
- Think of lifting the underside waist up toward the ceiling
- Keep the top hip slightly forward rather than drifting back
If you feel shoulder pinching, bring the supporting elbow a touch closer to your ribs and shorten the hold. Clean reps beat heroic shaking.
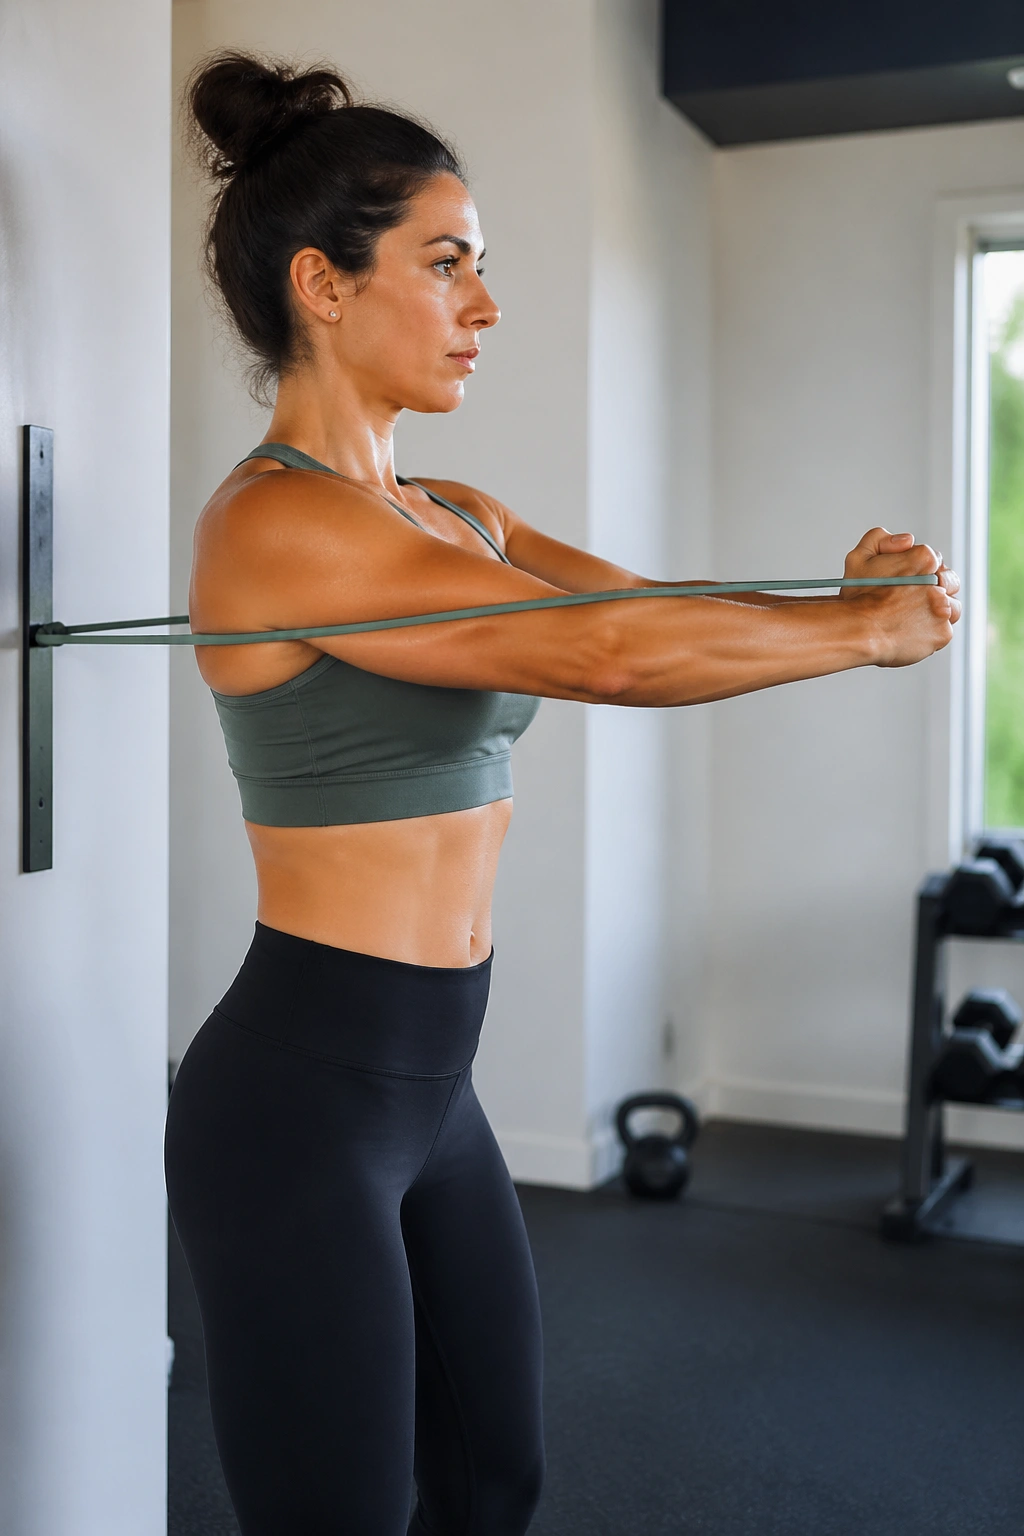
8. Pallof Press with a Band
This is one of the best lower-belly drills that does not even look like an ab move.
Anchor a resistance band at chest height. Stand sideways to the anchor, feet hip-width apart, knees soft, and hold the band at your chest. Exhale, brace, and press the band straight out in front of you. Hold for 1 to 2 seconds while the band tries to rotate you, then bring it back in.
Your job is not to twist. Your job is to stay still.
That anti-rotation demand lights up the obliques, deep core, hips, and even the upper back. It teaches your trunk to resist force rather than collapse or flare. That matters because everyday life is full of uneven loads: diaper bags, toddlers, laundry baskets, groceries, one-sided carries. A body that can resist rotation tends to look and feel tighter through the middle.
Use 3 sets of 8 to 12 presses per side. Start with a light band. Heavier is not always better here; if the band yanks you off center, you are no longer training the pattern you want.
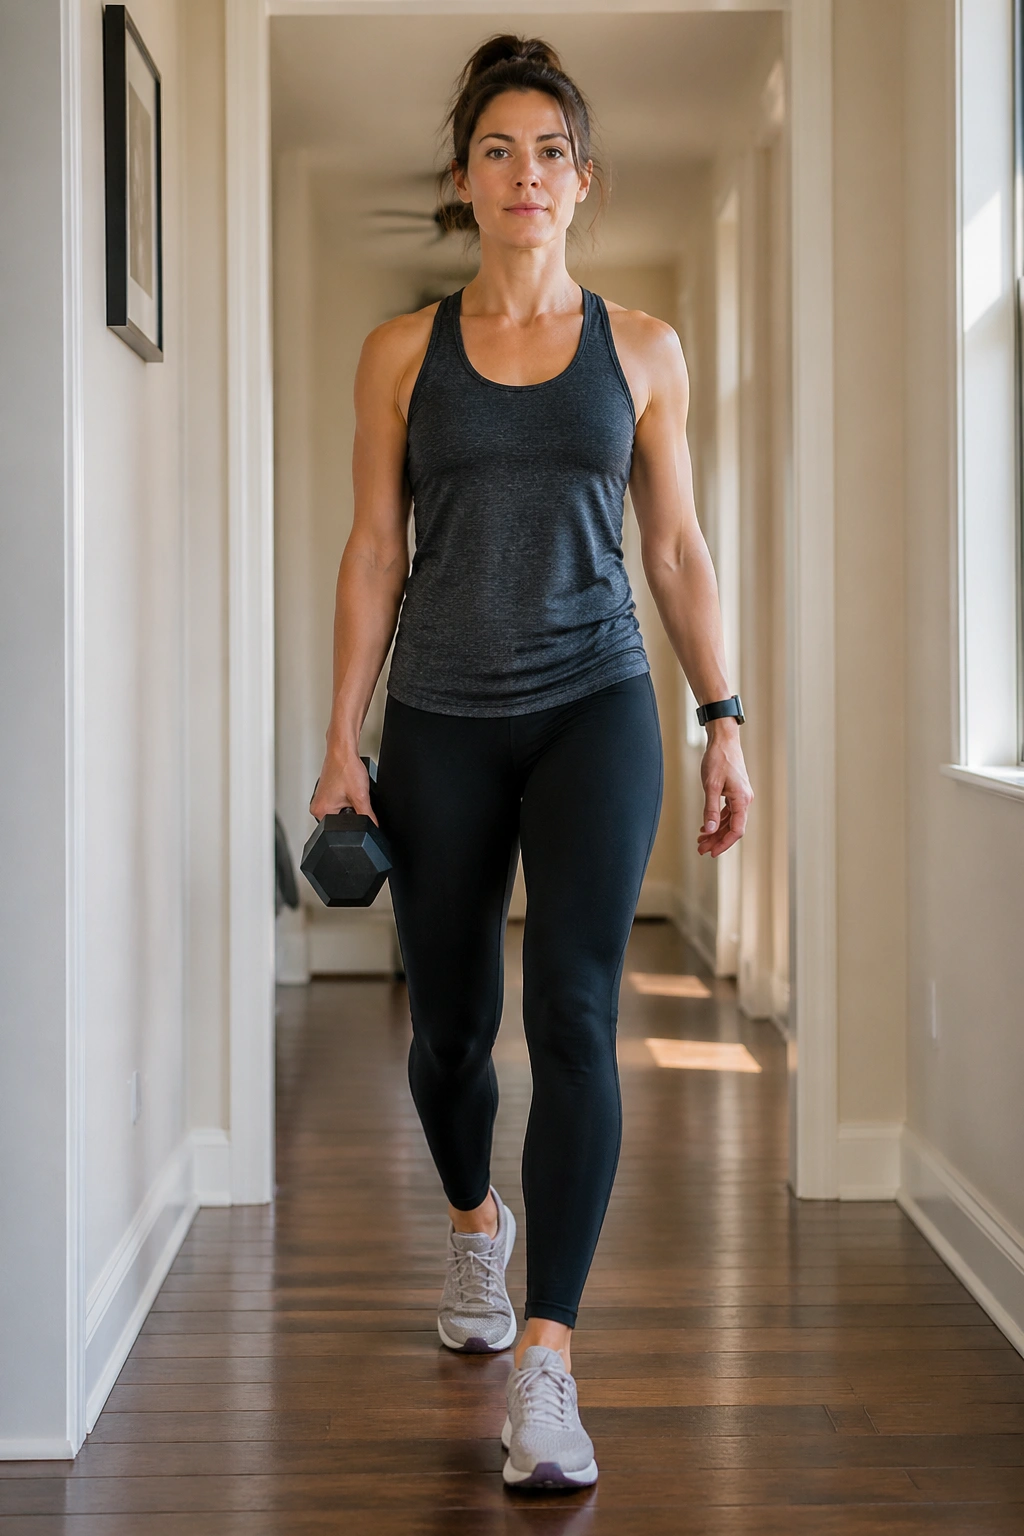
9. Suitcase Carry Down the Hall
Carrying one dumbbell on one side sounds too ordinary to count as a belly-fat workout. It counts.
Grab a weight in one hand—start around 10 to 25 pounds if you are new to it—and walk 20 to 40 steps without leaning toward or away from the weight. Switch hands and repeat. Keep the free arm relaxed, ribs down, and gaze forward.
This move earns its place because it trains your trunk under real-life conditions. The load pulls you sideways. Your obliques, glutes, and deep core have to organize around that pull while you breathe and walk. That is a tougher skill than lying on a mat and doing another set of crunches.
A few carry rules make it work better:
- Walk tall; do not shrug the loaded shoulder
- Take short, even steps
- Use nasal breathing if you can manage it
- Do 3 to 5 rounds per side
If hallway space is tight, march in place for 30 to 45 seconds instead. Same idea. Less mileage.
10. Step-Ups with Knee Drive
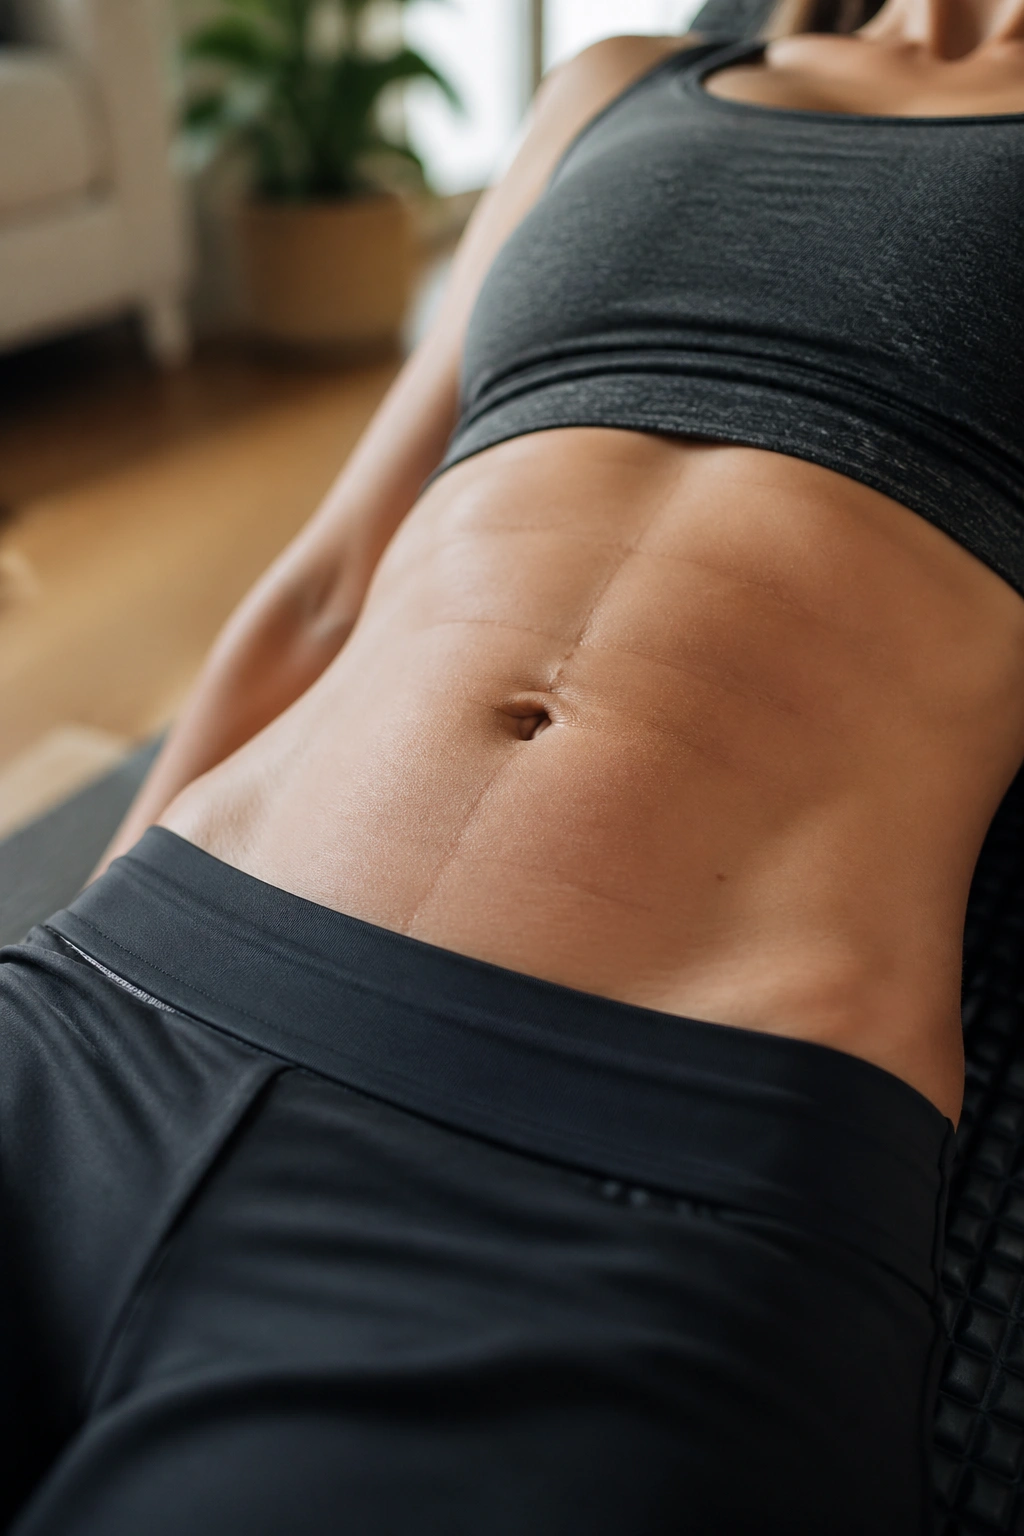
Why does a step-up belong in a list for the mom pooch? Because strong legs and glutes help burn more energy, support better posture, and let the core work in sync rather than in panic mode.
Use a box, bench, or stair that puts your knee around mid-shin to just below knee height. Step up through the whole front foot, stand tall, and drive the opposite knee up to hip height before stepping back down under control. Hold a dumbbell goblet-style if bodyweight gets easy.
How to get more from it
Push the floor away with the lead leg instead of bouncing off the back foot. On the top position, pause for 1 second and feel the standing glute lock in. That pause changes the exercise from sloppy cardio into strength work with balance demand.
Try 3 sets of 8 to 10 reps per side. If you feel it mostly in the knee, lower the box height and lean your torso forward a hair from the hips. That tiny hinge usually shifts the work where you want it—glutes, not grumpy knees.
11. Reverse Lunge with Front Reach
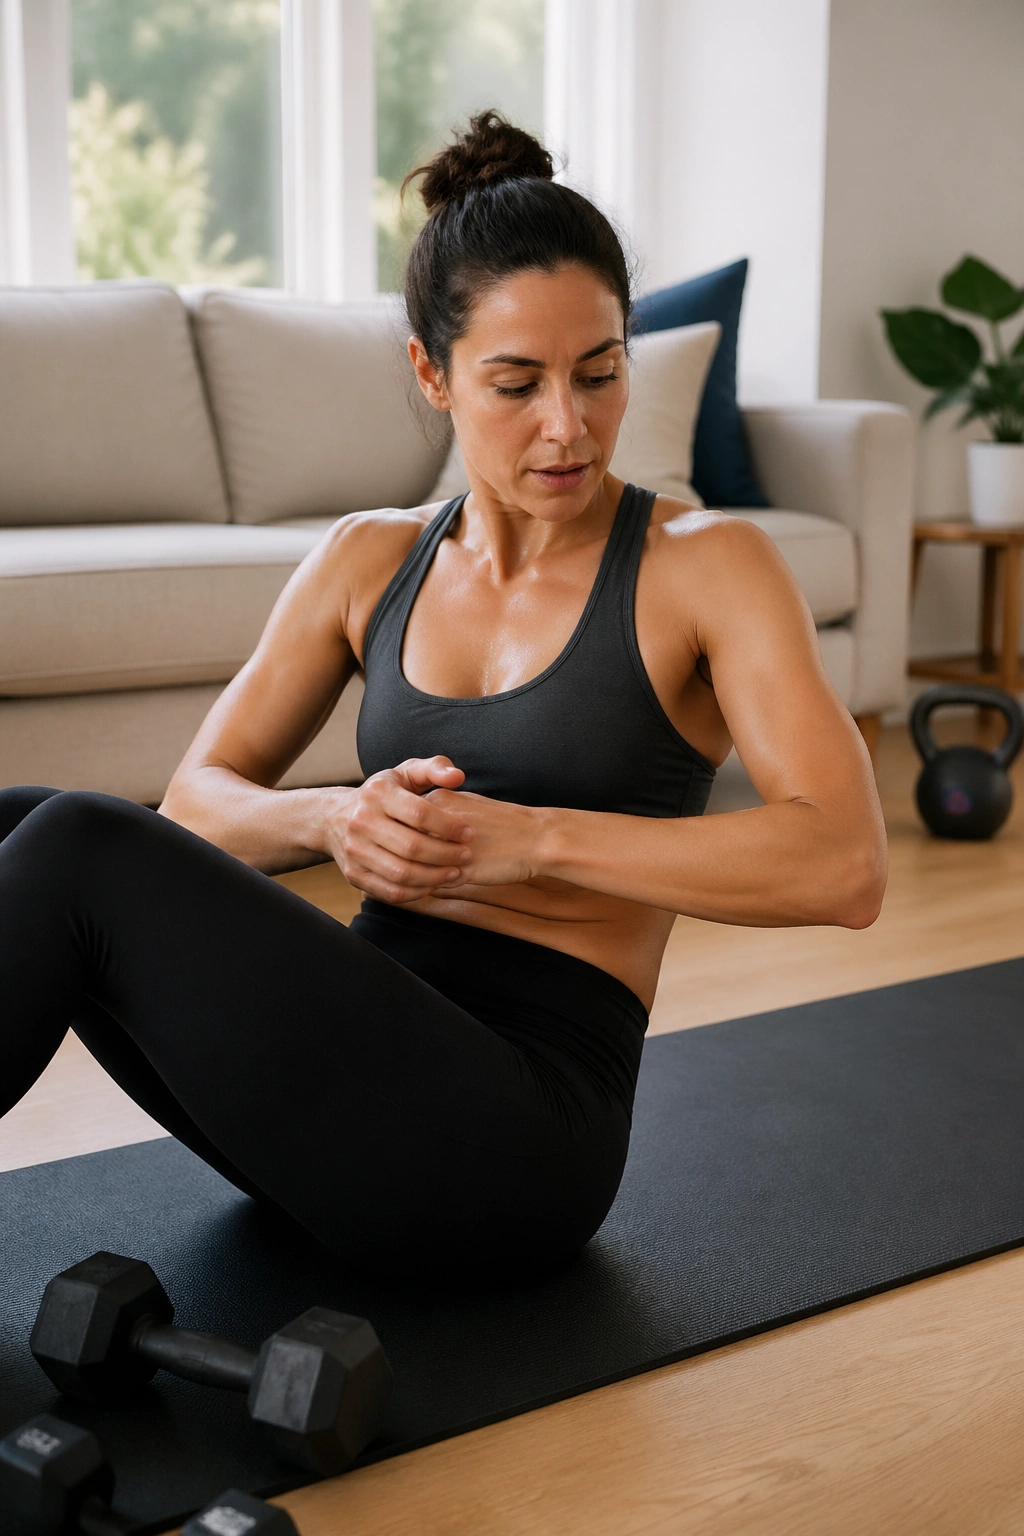
Reverse lunges clean up a lot of postpartum movement problems in one shot. They train single-leg strength, challenge balance, and ask the core to control shifting weight.
Stand tall with feet hip-width apart. Step one leg back, drop into a lunge, and reach both arms forward at shoulder height as you lower. Then drive through the front foot to stand. The front reach adds a small counterbalance, which helps many people keep the ribs stacked and the pelvis from tipping.
The beauty of a reverse lunge is the deceleration. You have to control the step back, control the descent, and then own the return. That is useful when your day involves stairs, toys on the floor, awkward pivots, and carrying children who move mid-carry because they have urgent opinions about snacks.
Start with 2 to 3 sets of 6 to 8 reps per side. Shorten the range if balance is messy. Hold onto a wall or countertop if you need it. Support is not cheating. Support lets you train the pattern well enough that it becomes yours.
12. Box Squat with a Dumbbell Hold
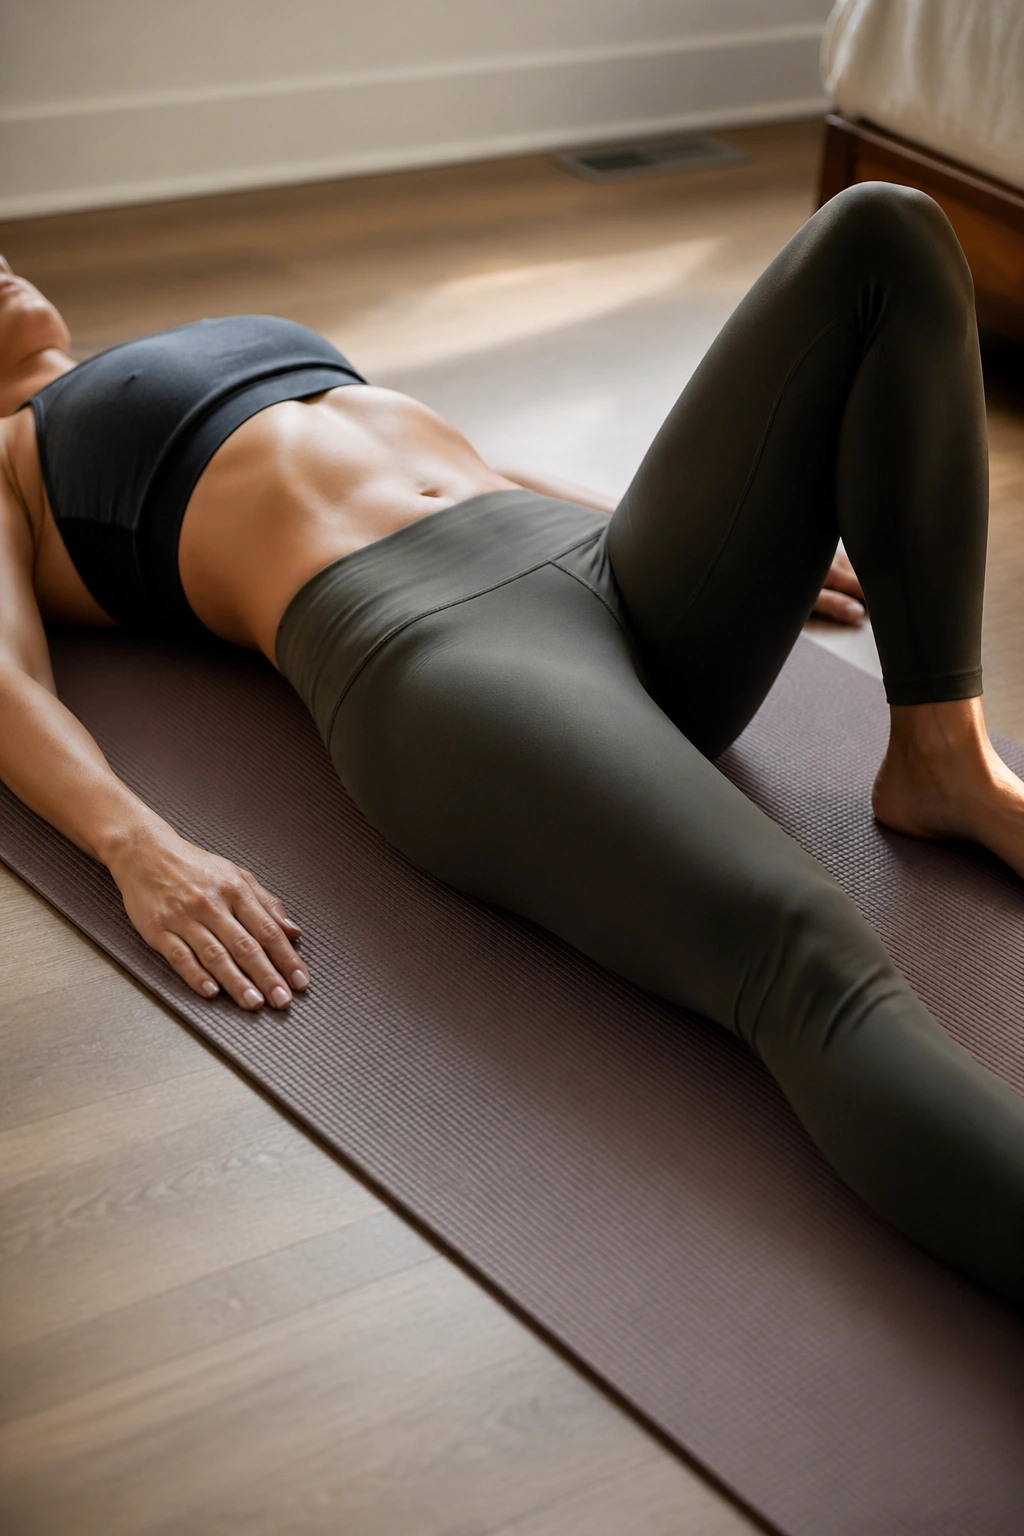
Unlike deep, fast squats that turn into a form lottery, a box squat gives you a clear target and helps you rebuild leg and core strength without guessing where the bottom is.
Sit back to a box or bench that lets you squat with control—often a seat height where thighs are near parallel or a touch above. Hold one dumbbell at your chest, inhale on the way down, lightly tap the box, then exhale as you stand up. Do not flop onto the seat. Touch and go.
The goblet hold at the chest is the useful part here. The weight in front encourages the ribs to stack better over the pelvis, which can make bracing easier than a back-loaded squat. It also asks the upper back to work, and that helps counter the rounded, baby-carry posture many moms slip into for months.
Use 3 to 4 sets of 8 to 12 reps. If you feel the belly pushing out at the bottom, shorten the depth and slow the descent to 3 seconds down. Control first. Depth later.
13. Romanian Deadlift for Glutes and Lower Abs
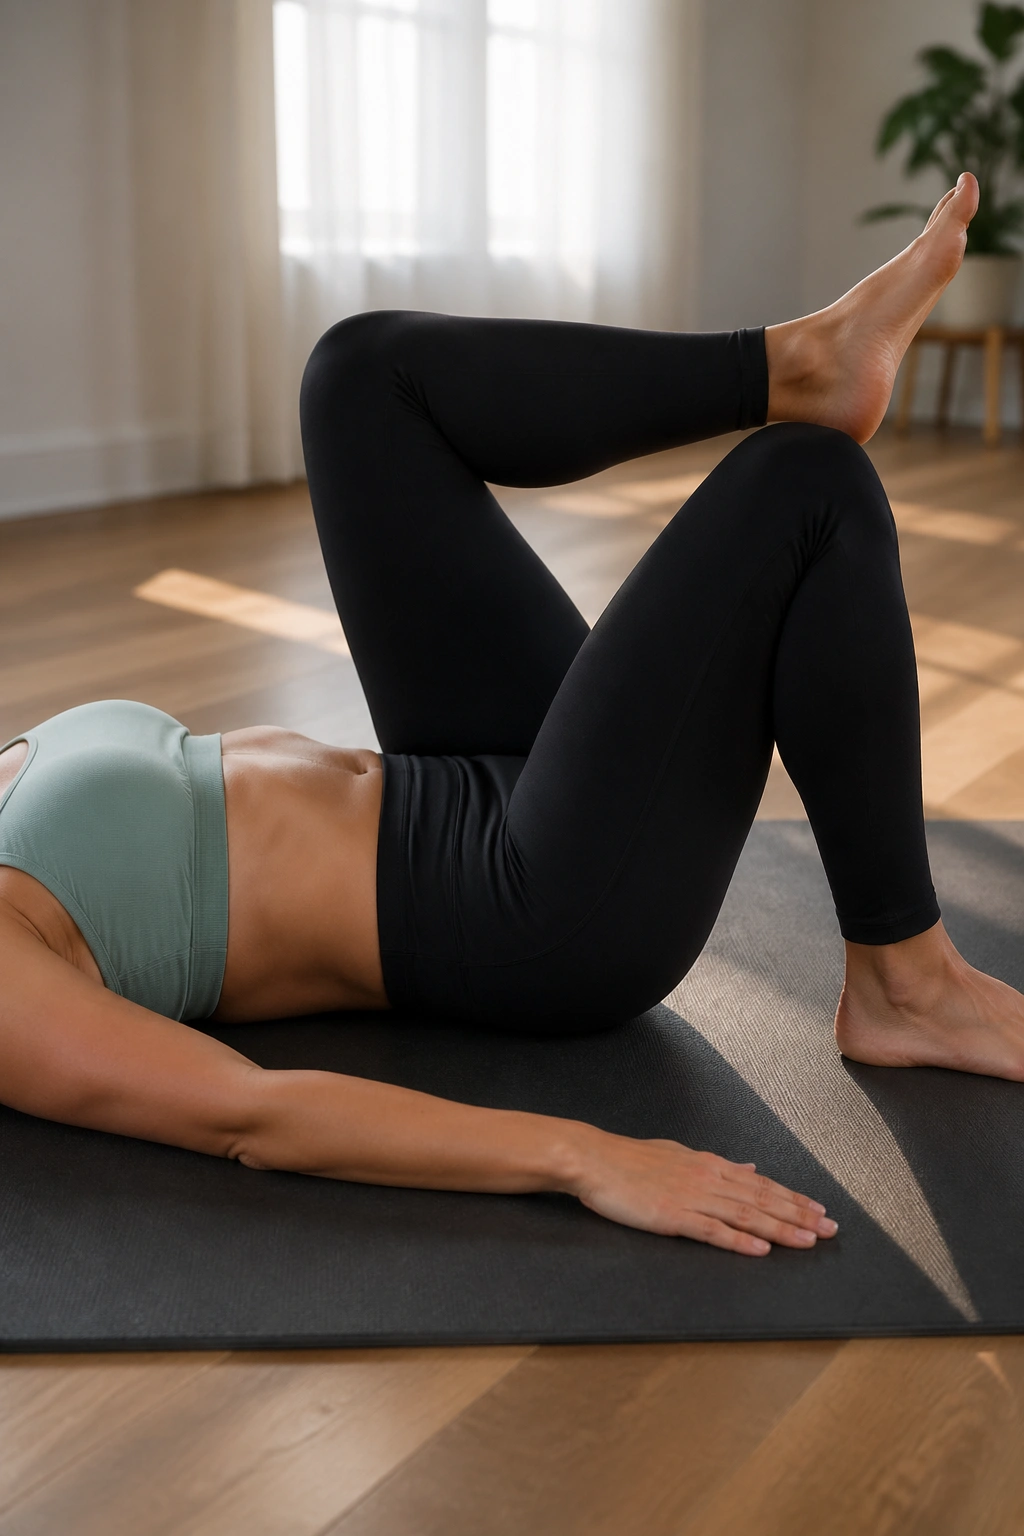
The Romanian deadlift, or RDL, does more for the shape of your middle than most people expect. Strong glutes and hamstrings pull the pelvis into a better relationship with the ribs, and that can change how the lower belly sits at rest.
Hold two dumbbells in front of your thighs. Soften the knees, push the hips back, and slide the weights down your legs until you feel a stretch in the hamstrings—often around mid-shin. Then stand back up by driving the hips forward.
The mistake that ruins it
Squatting the weight down.
An RDL is a hinge, not a squat. The shins stay almost vertical, the weights stay close, and the torso tips forward while the spine stays long. When the hinge is clean, you will feel the back of the legs load up like tight bands.
Quick checklist
- Do 3 sets of 8 to 10 reps
- Lower for 3 seconds, lift in 1 to 2 seconds
- Keep the dumbbells brushing the legs
- Stop the descent when the back wants to round
Why it helps the pooch: more backside strength often means less hanging on the low back and a tighter brace through the front body.
14. Tall-Kneeling Band Pulldown
If standing core work feels sloppy, take your feet out of it. Tall kneeling is an underrated reset.
Kneel on both knees with toes tucked or flat, squeeze the glutes lightly, and hold a band anchored overhead. Pull the band down toward your collarbones while keeping the ribs stacked and the chin level. Pause for a beat, then return with control.
Because you are kneeling, you cannot cheat by leaning, twisting, or shifting your feet around. The glutes hold the pelvis steady, the abs keep the ribs from flaring, and the lats join the party. That lat-core connection is useful. It shows up in carries, rows, push-ups, and plenty of daily lifting tasks.
Use 3 sets of 10 to 12 reps. If kneeling bothers your knees, place a folded mat under them or do the same move half-kneeling with one foot forward. The goal is not suffering. The goal is a stable trunk while the arms move overhead and down.
15. Incline Walking Intervals
No, walking is not boring filler. For lower-belly fat loss, it is often the most repeatable conditioning tool in the plan.
Set a treadmill to an incline of 5 to 10 percent and walk at a pace where you can still breathe through your nose part of the time—often 2.8 to 3.8 mph, depending on stride and fitness. Alternate 2 minutes brisk with 1 minute easier for 18 to 24 minutes.
This works because it raises your energy output without the pounding and pressure spikes that jumps, sprints, or long runs can create for some postpartum bodies. Incline walking also asks more from the glutes than flat walking, which is another small win for pelvic position and trunk support.
A few details matter:
- Keep the hands off the rails unless balance demands a light touch
- Walk tall instead of folding at the waist
- Start with 15 minutes if your calves or feet complain
- Use it 2 to 4 times each week
If treadmill walking bores you into a bad mood, walk hills outside with a stroller. Same idea. Fresh air too.
16. Bench-Supported Mountain Climbers
Mountain climbers on the floor can be too aggressive too soon. Raise the hands to a bench, couch edge, or sturdy counter, and the whole move becomes more usable.
Get into a high plank with hands elevated, body in a straight line, and shoulders over wrists. Pull one knee toward the chest without rounding your back into a ball, set it down, then switch legs in a steady march. Think controlled, not frantic.
Why the bench version is better
The incline reduces how much bodyweight your core has to manage. That makes it easier to keep pressure from blasting into the front of the belly, which is where many moms run into trouble with floor climbers.
Use it like this
Start with 20 seconds of work and 40 seconds of rest for 4 to 6 rounds. Once that feels stable, build to 30 seconds on, 30 seconds off. If you catch yourself bouncing, shorten the interval. Speed is optional. Position is not.
17. Bear Hover Hold
This one feels longer than the clock says it is.
Start on hands and knees with toes tucked. Brace gently, then lift both knees 1 to 2 inches off the floor. Hold while breathing quietly for 10 to 20 seconds. Set the knees down, rest, repeat.
A bear hover forces the trunk, shoulders, hips, and quads to work together without big motion. That stillness is what makes it hard. You are resisting spinal movement, pelvis wobble, shoulder collapse, and the urge to hold your breath all at once. Done well, it lights up the deep front body in a way many people feel instantly—almost like the lower abs finally woke up and introduced themselves.
Stay honest with the setup. Hands under shoulders. Knees under hips. Back flat enough that you could balance a paperback on it. If the hover changes into a mountain-shaped pike, lower the knees and shorten the hold.
Try 5 rounds of 10 to 15 seconds first. Short holds with clean breathing beat one ugly 45-second grind.
18. March-and-Punch Conditioning Finisher
When you want a low-impact finisher that raises the heart rate without jumping, punching while marching is one of the sneakiest good options around. It looks simple. Halfway through, your core will disagree.
Stand tall with a light brace through the trunk. March in place while throwing straight punches at shoulder height, alternating arms. Keep the ribs stacked, rotate only a little through the upper torso, and drive the knees high enough to challenge balance without leaning back.
The reason it works is the cross-body demand. Your trunk has to stabilize while opposite arm and leg motions pull at it from different directions. Add speed and the heart rate climbs. Keep the posture clean and the lower belly does not balloon outward the way it can during sloppy high-impact cardio.
Use one of these formats:
- 30 seconds work / 30 seconds rest for 8 rounds
- 45 seconds work / 15 seconds rest for 6 rounds
- Pair it after strength work for a 6-minute finisher
If you want more resistance, hold 1- to 3-pound hand weights. Start lighter than your ego wants. Fast punches with heavy weights turn ugly in a hurry.
What mom pooch workouts can and cannot do for loose skin
This part needs straight talk.
Mom pooch workouts can tighten the look of your stomach. They build muscle underneath the skin, improve posture, strengthen the deep core, and help with fat loss when paired with food intake that matches your goal. That combination can make the lower belly look flatter, firmer, and less foldy in clothing.
Workouts cannot promise that all loose skin will disappear. Skin has its own timeline and its own limits. Pregnancy stretches collagen and elastin, and the bounce-back varies from person to person. Number of pregnancies, age, genetics, weight changes, hydration, sleep, sun exposure, and smoking history can all influence how much snap the skin has left.
That does not make training pointless. Far from it. A stronger midsection changes how your body feels in motion—getting off the floor, carrying a child, lifting laundry, walking uphill—and those changes arrive long before mirror perfection does. Sometimes the stomach looks smaller because your brace is better, your ribs are not flared, your glutes are working, and your low back is not dumping your belly forward all day.
So yes, train. Push yourself. Build muscle. Chase fat loss if that is part of your goal. But do not let a patch of loose skin convince you that your progress is fake.
Small daily habits that make the lower belly look flatter
The best ab circuit in the room can get buried under poor recovery and low daily movement. Annoying, I know.
Protein is a big one. If you want the body to keep or build muscle while body fat drops, give it material to work with. A practical target for many active women lands around 25 to 35 grams of protein per meal, though exact needs vary with body size and activity. Hitting that mark makes training pay off more.
Walking after meals helps too. Even 10 minutes can support blood-sugar control, digestion, and total daily calorie burn. Then there is fiber and hydration—two boring habits that can shrink the appearance of the lower belly when bloating and constipation are part of the picture. A stomach that feels hard and swollen by evening is not always body fat.
Sleep matters. Stress matters. Chronic breath-holding matters. And if you spend the day standing with ribs flared, chest up, pelvis dumped forward, and glutes switched off, the lower belly will often look more pronounced before you even start a workout. Posture is not magic, though it changes the silhouette more than many people expect.
Final Thoughts
A tighter lower belly usually comes from the quiet stuff: better pressure control, stronger glutes, sharper deep-core timing, and steady full-body training. The flashy ab burner that leaves you sweating for 12 minutes is not always the move that changes your shape.
Pick 5 or 6 exercises from this list, run them for a month, and track something concrete—reps, hold times, walking pace, dumbbell weight, how your midline looks during effort, how your jeans sit by evening. Progress tends to show up there first.
And if one drill makes your belly dome, your pelvis feel heavy, or your back ache, swap it out without guilt. Smart training is not softer training. It is training that gives your body a reason to adapt.
