



Most senior workouts fail for a boring reason: they train the body in ways daily life rarely asks for.
Standing up from a couch. Turning to reach a shelf. Catching yourself when a foot lands a little off. Carrying groceries without hunching over like a question mark. Those are the moments that matter, and the best senior workouts train those moments with blunt, useful honesty.
The good routines are not flashy. They are usually the plain ones that get ignored because they look too simple on paper. A chair, a wall, a hallway, a light band, a low step — that is enough to build strength, steadiness, and confidence that lasts through ordinary days.
And yes, balance matters more than most people admit. So does ankle strength. So does the ability to push, pull, rise, carry, and recover without feeling like every movement needs a warm-up meeting first.
1. Chair Squats That Make Standing Up Easier
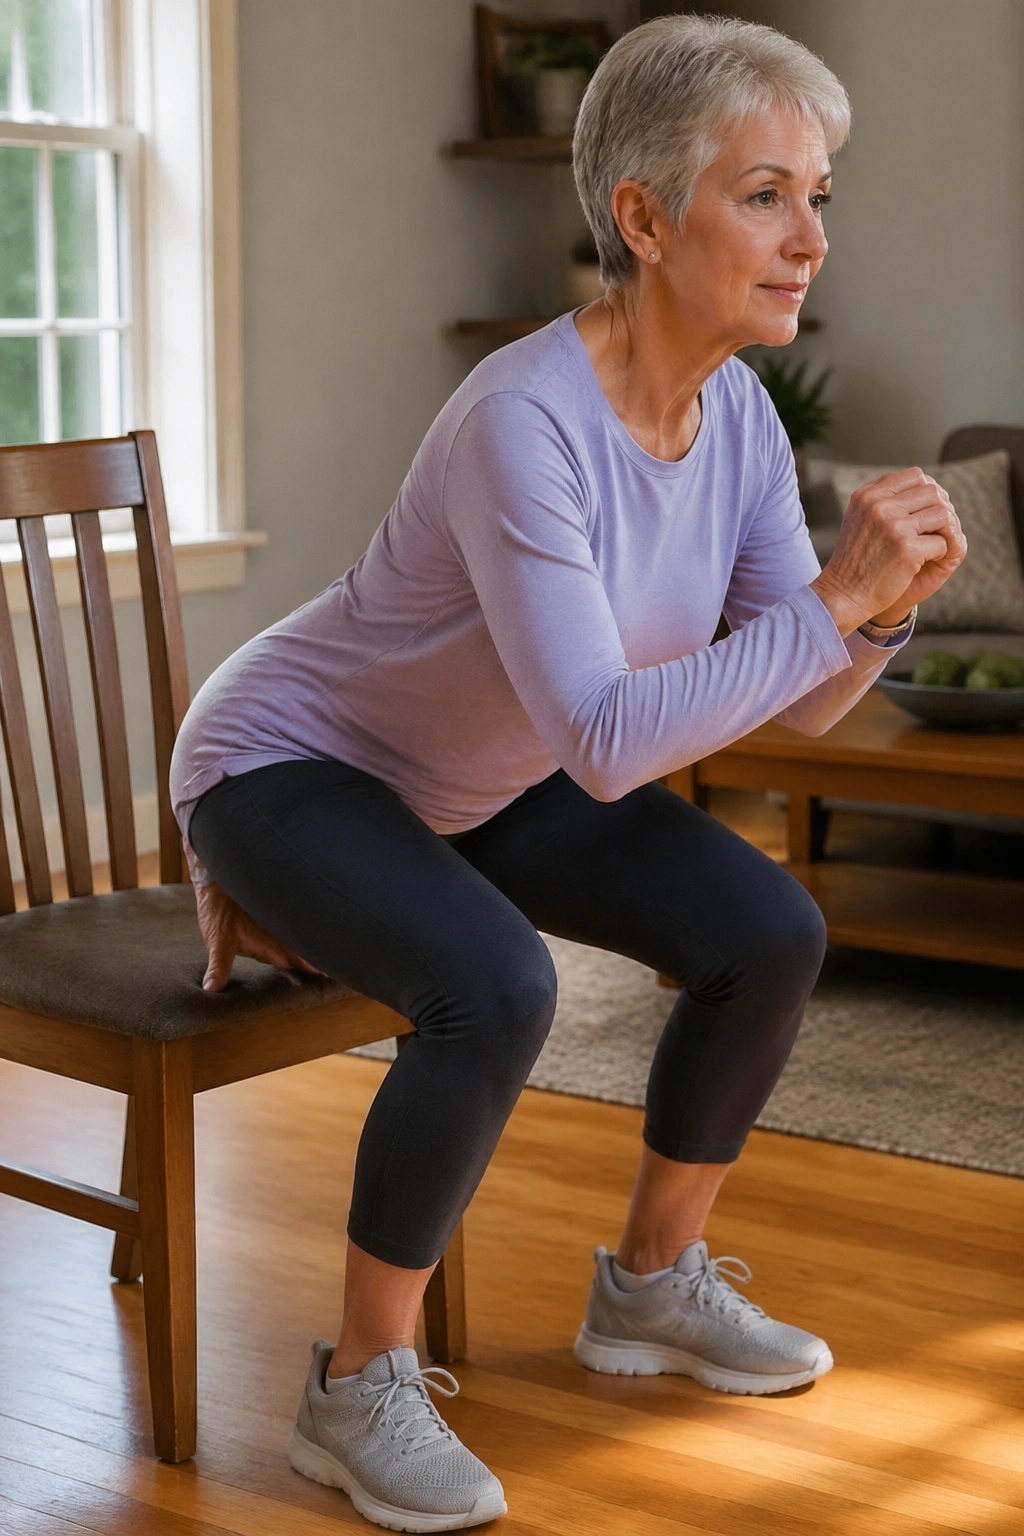
A chair squat looks almost too easy until you do ten slow reps and feel how much work the hips and thighs have been quietly avoiding. That’s the point. Chair squats train the exact motion most people use all day: sitting down, standing up, and lowering under control without dropping like a sack of flour.
How to do it
Stand in front of a sturdy chair with your feet about hip-width apart. Send your hips back first, bend the knees, and touch the seat lightly before standing back up. Do not flop into the chair — that turns the move into a rest break.
Try 2 to 3 sets of 8 to 12 reps. If that feels rough, use a higher chair or hold the back of a counter with one hand. If it feels too easy, slow the lowering phase to 3 seconds and pause for 1 second before you stand.
- Best for: getting off the couch, getting out of the car, getting up from the toilet without a push.
- Make it easier: use a taller seat and keep the hands on your thighs.
- Make it harder: pause at the bottom for 2 seconds.
- Watch for: knees collapsing inward or heels popping up.
Quick tip: think “push the floor apart” as you stand. That tiny cue often cleans up the whole rep.
2. Wall Push-Ups for Upper-Body Strength Without Floor Work
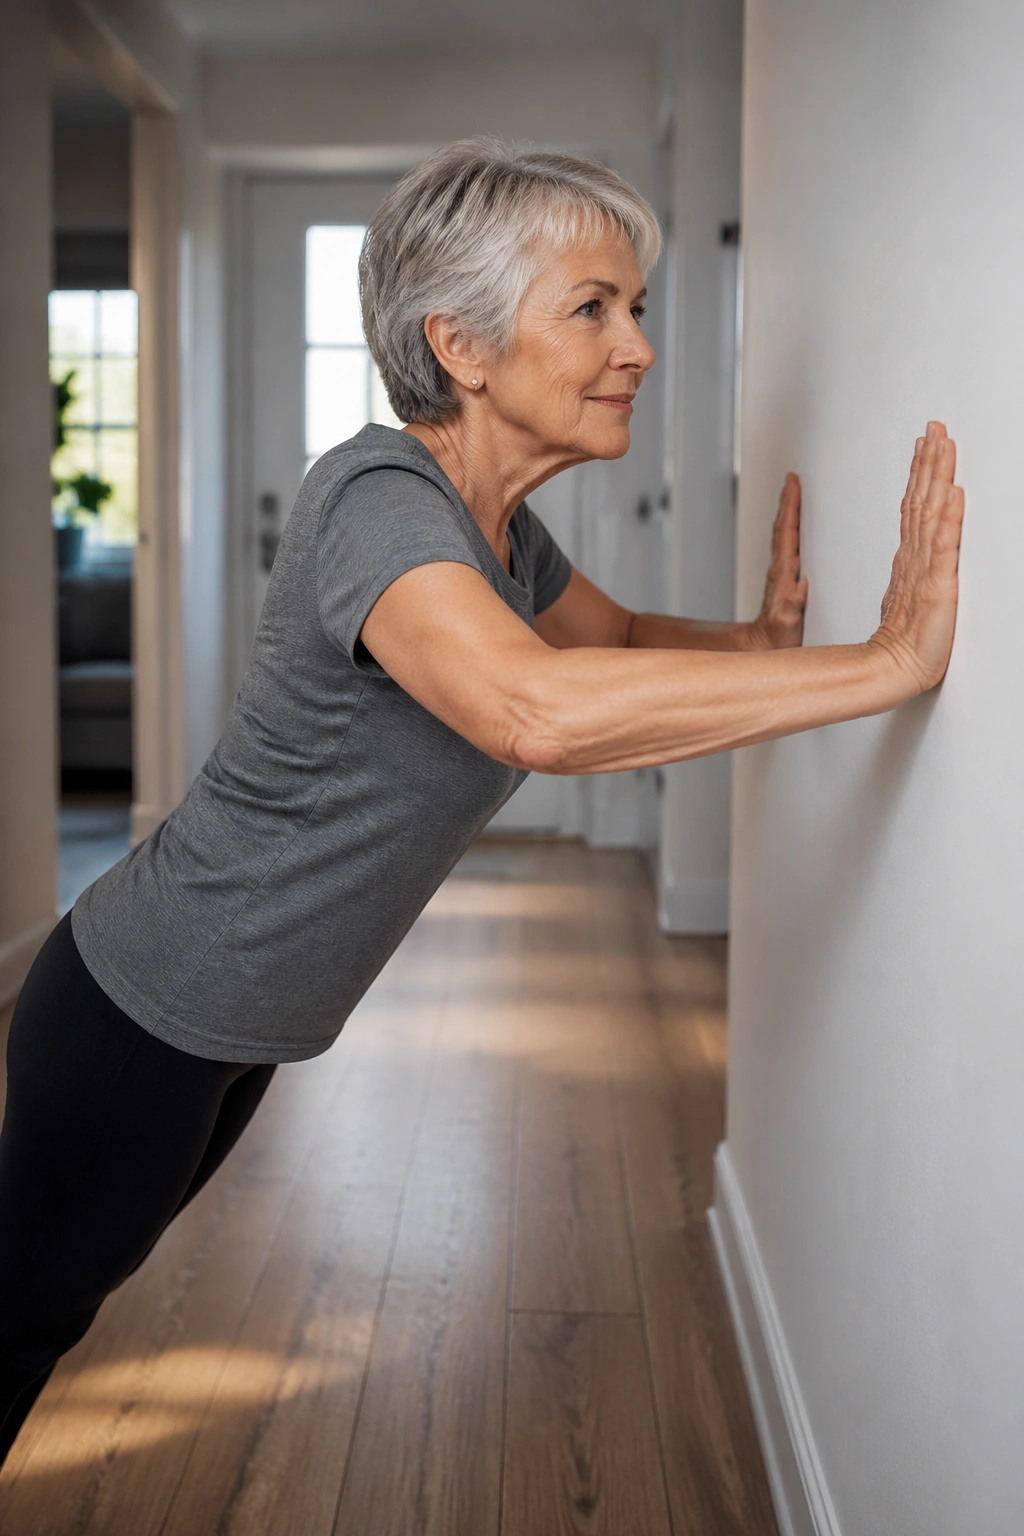
Wall push-ups are one of the smartest ways to keep the chest, shoulders, and triceps honest without asking the wrists and floor to stage a revolt. They also give you a clean read on shoulder control, which matters more than most people think once reaching overhead starts feeling stiff.
Stand arm’s length from a wall, place your hands at chest height, and walk your feet back until your body forms a straight line from head to heel. Bend the elbows and bring your chest toward the wall, then press away. Keep the elbows angled a little out from the body, not jammed wide.
Two or three sets of 8 to 15 reps is plenty. If the move feels too light, step your feet farther back or switch to a counter or sturdy table. If your shoulders pinch, shorten the range and stop before the chest touches.
The nice part is how quietly useful this one is. Stronger pushing helps with getting up from a chair, bracing yourself when you slip a little, and even moving heavy doors without drama. Small thing. Big carryover.
3. Heel-to-Toe Walking for Sharper Balance
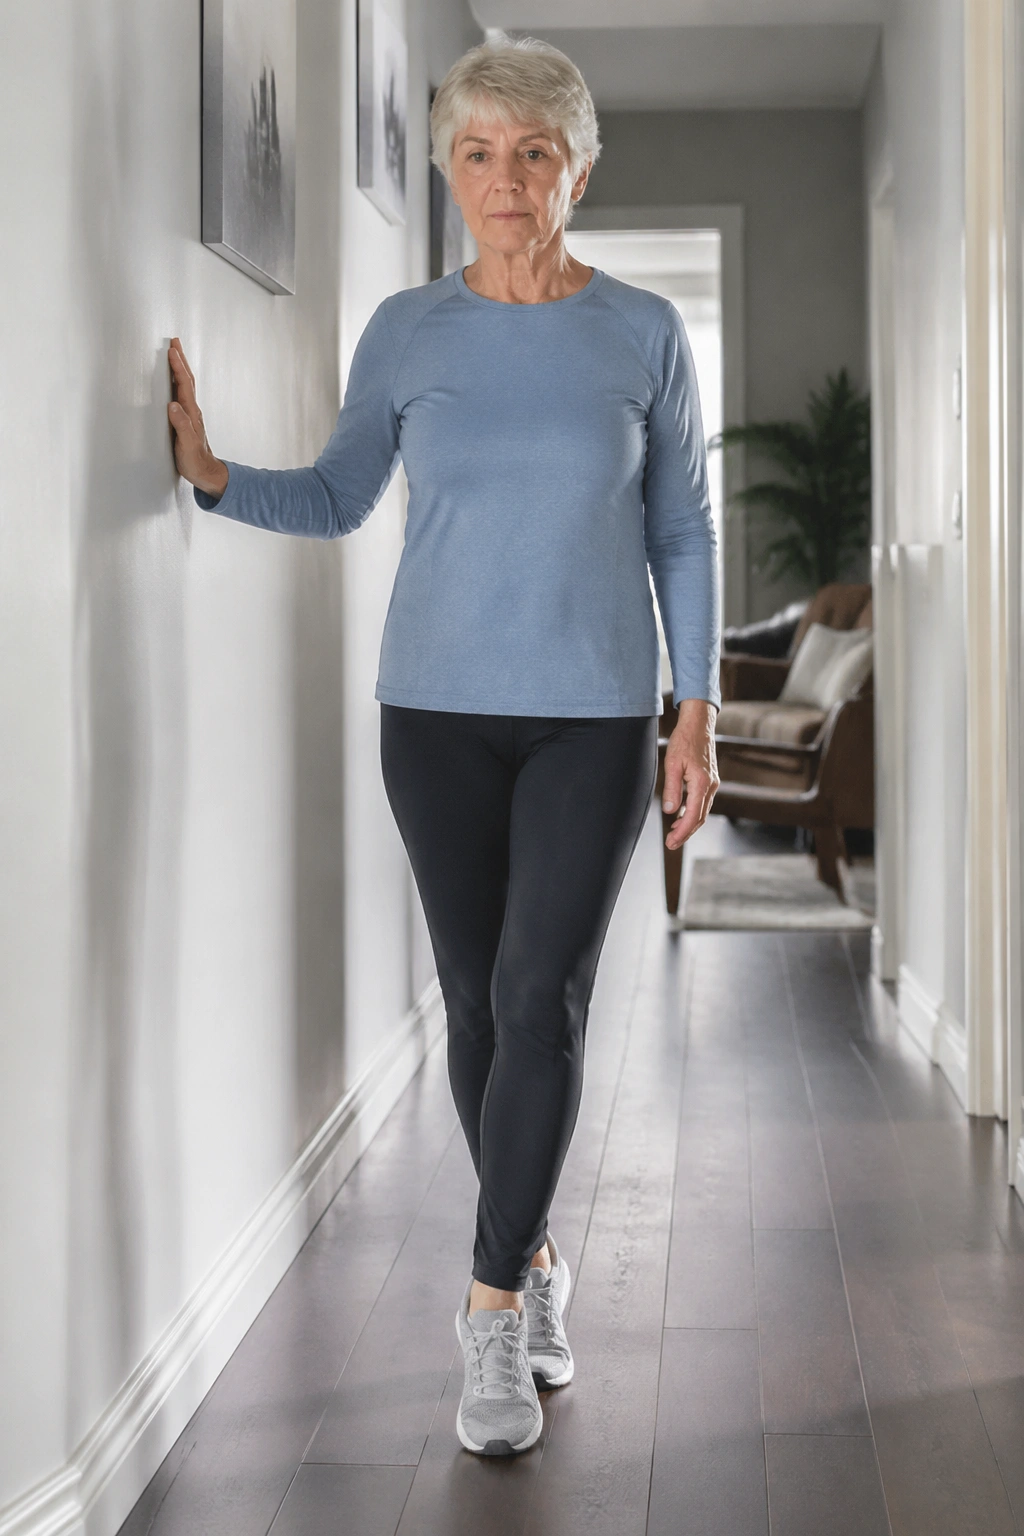
Why does walking a straight line help so much? Because it asks the body to do something slightly annoying in a controlled way, and balance improves fastest when it gets mild, safe challenge. Heel-to-toe walking teaches the ankles and hips to make tiny corrections before a wobble turns into a stumble.
Use a hallway or the edge of a kitchen counter. Place one heel directly in front of the other toe, then step forward slowly so every foot lands in a neat line. Keep your eyes level, not glued to your feet, and use a finger on the wall if needed.
How to practice safely
- Walk 8 to 12 steps in a line.
- Turn around and repeat for 3 passes.
- Keep the steps slow enough that you can feel each foot roll down.
- Stop if you feel dizzy, rushed, or stiff in the hips.
A lot of people try to “win” this exercise by moving fast. Nope. The win is control. Slow feet, calm eyes, quiet shoulders — that’s the useful version.
4. Seated Marches With Arm Swings for Easy Cardio
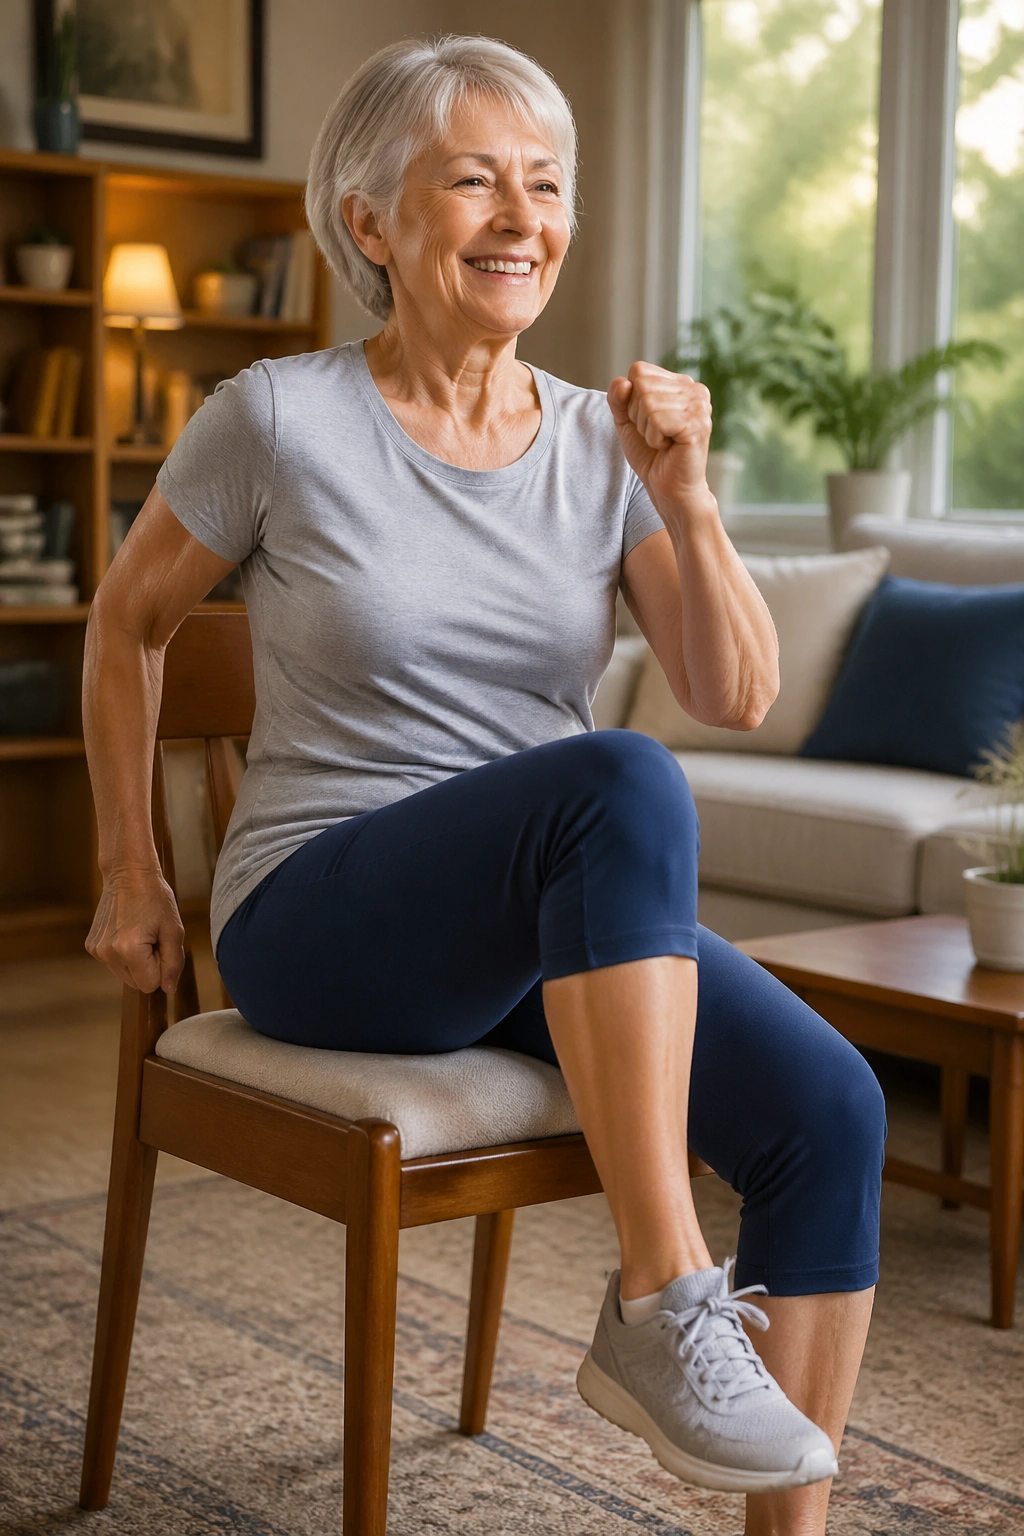
On days when the knees are grumpy or the floor feels a little too far away, seated marching keeps the engine on without asking for a full standing workout. That matters. You still get a heart-rate lift, hip movement, and a little coordination work even when you stay in the chair.
Sit near the front edge of a sturdy chair with both feet flat. Lift one knee, then the other, as if you’re marching in place. Add a natural arm swing — right arm with left leg, left arm with right leg — and keep the torso tall instead of slumping into the backrest.
Try 30 seconds on, 30 seconds off, for 5 rounds. Or keep it steady for 3 to 5 minutes as a warm-up. If you want more challenge, lift the knees a little higher or speed up the arm swing without letting the shoulders tense.
- Good for: travel days, bad-weather days, and mornings when the body feels sticky.
- Form cue: exhale as the knee lifts.
- Don’t do this: bounce hard on the chair seat.
- Upgrade: add light hand weights only if your shoulders are already comfortable.
This one is plain, but it works. No drama. Just motion.
5. Standing Calf Raises That Wake Up the Ankles
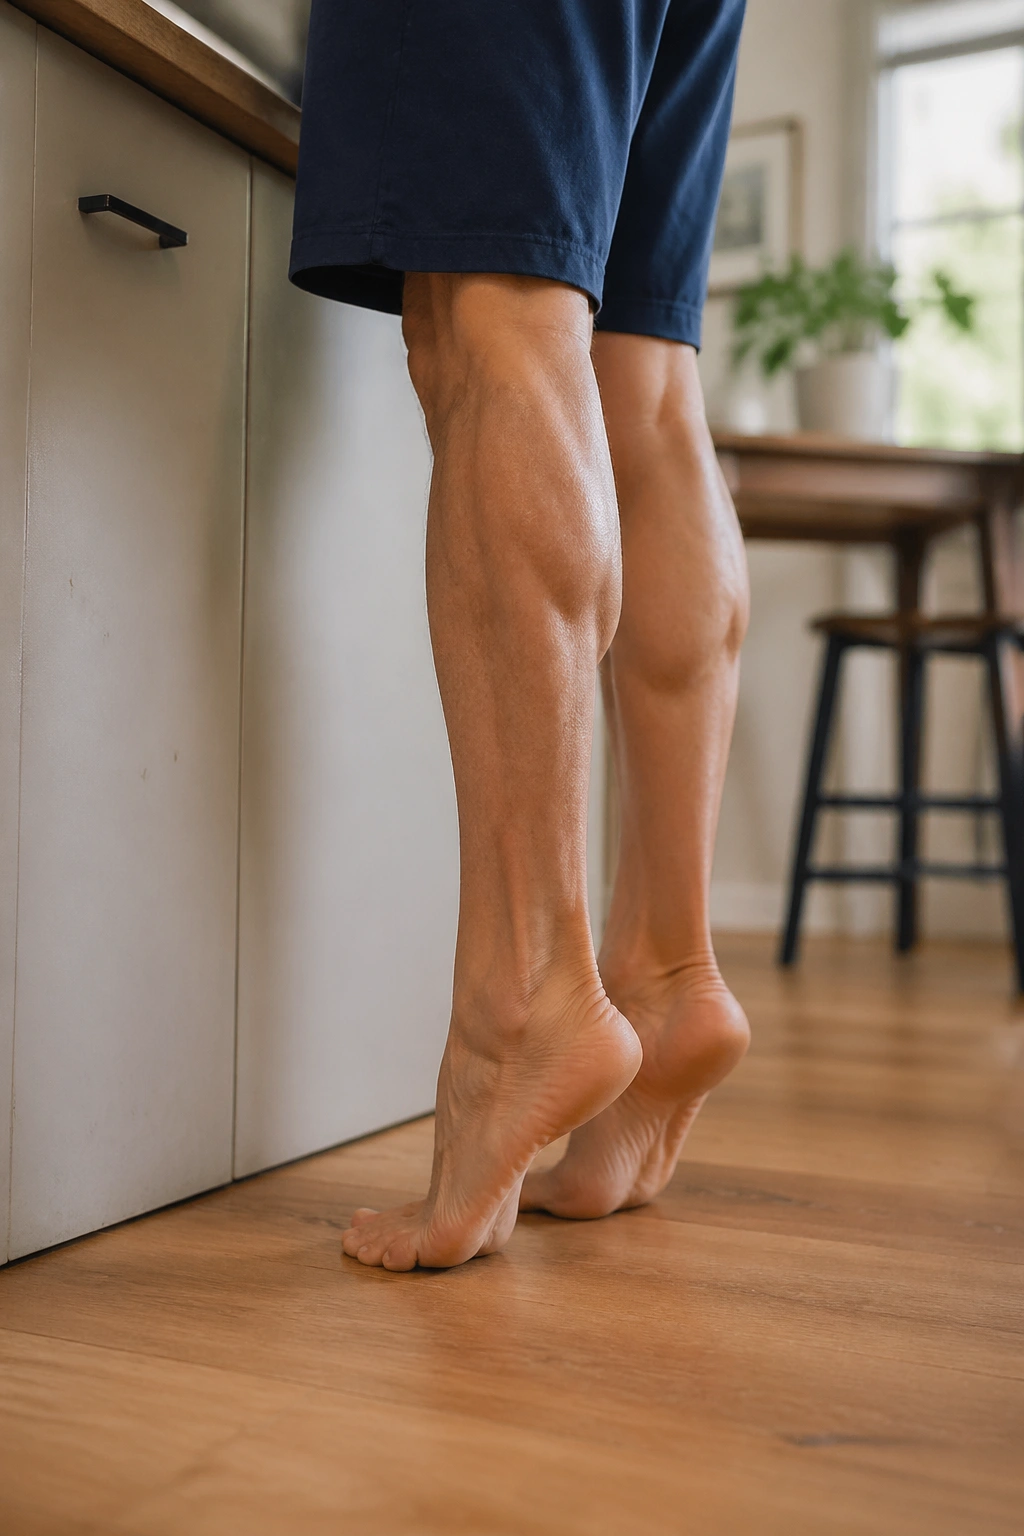
Calf raises are one of those exercises people skip because they look too small to matter. They’re wrong. The ankles do a lot of quiet work every time you stand, turn, step over a curb, or catch yourself on uneven ground. If the calves are weak and slow, the whole lower body feels less sure of itself.
Stand behind a chair or near a counter with your feet parallel. Rise onto the balls of your feet, pause for a second at the top, then lower slowly for 3 seconds. Try not to bounce. The control on the way down matters as much as the lift.
Two or three sets of 12 to 20 reps is a solid starting point. If both feet feel easy, shift to one foot and keep one fingertip on the counter for support. If your toes claw the floor, reset and spread them gently before the next set.
Skip the rush. That’s where this move gets sloppy. A clean calf raise should feel like the lower leg is working in a straight line, not like the ankles are wobbling around trying to negotiate.
6. Low Step-Ups for Stronger Legs and Safer Stairs
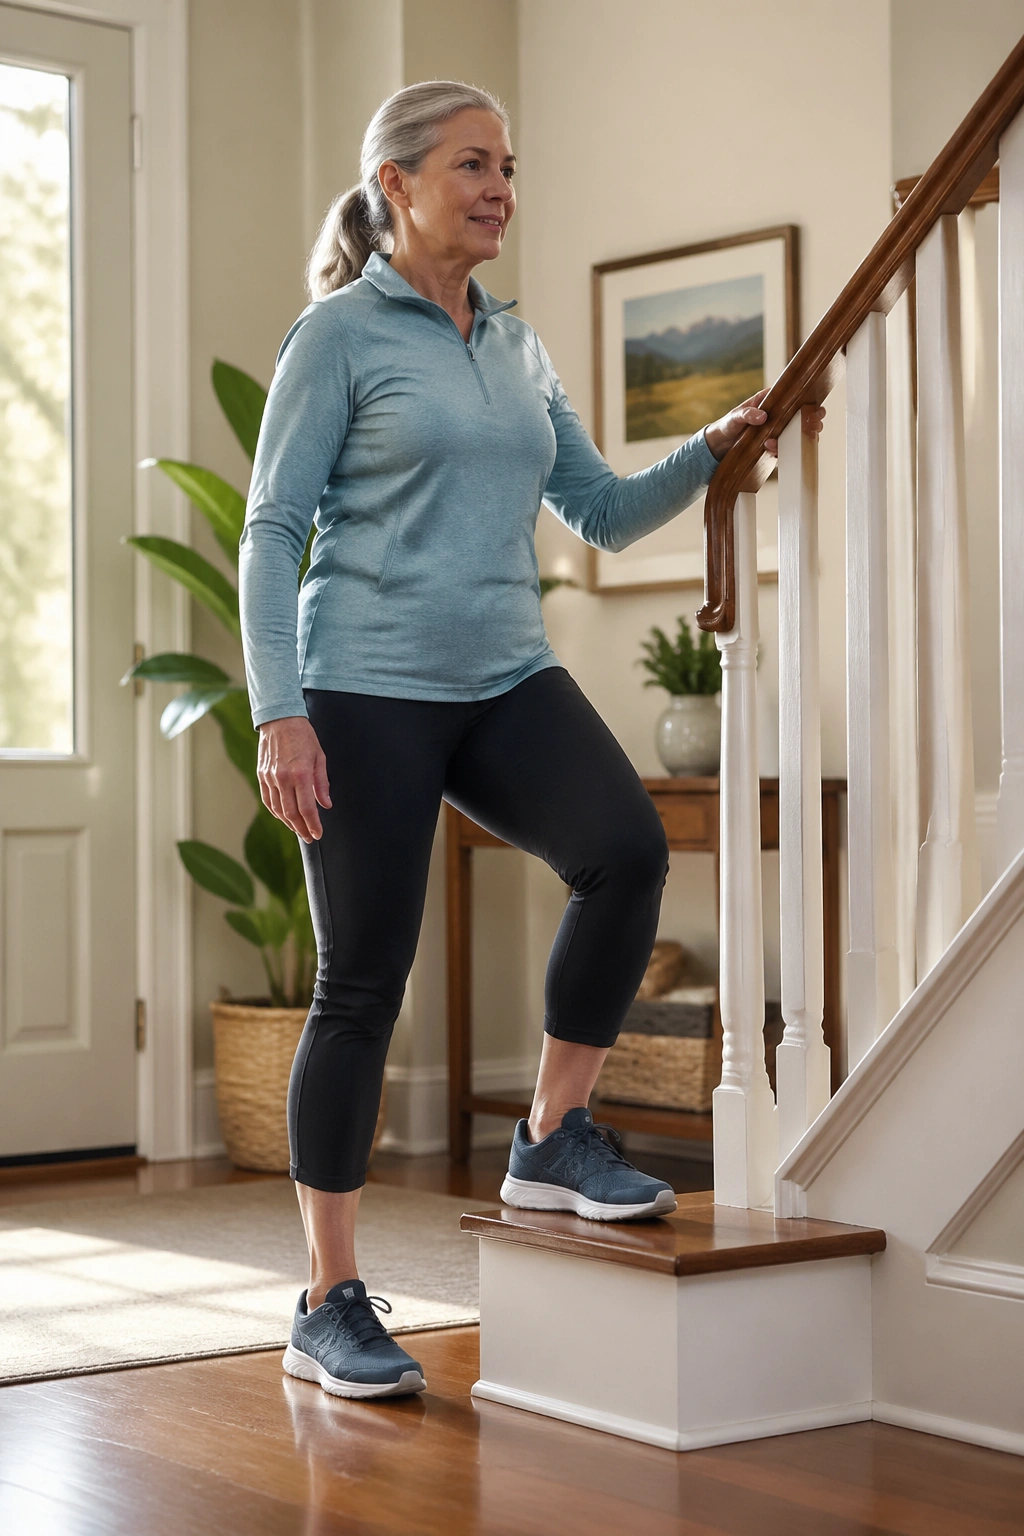
Unlike regular walking, step-ups ask one leg to carry most of the job for a moment. That makes them a very honest test of leg strength, hip control, and stair confidence. If stairs ever feel a little sketchy, this is the exercise that earns its place fast.
Use the lowest stable step you can find — 4 to 6 inches is plenty for many people. Step up with one foot, press through the whole foot, bring the other foot up, then step back down with control. Keep the chest upright and avoid rocking the body forward like a seesaw.
Do 6 to 10 reps on each leg for 1 to 3 rounds. Hold a rail if needed. If one knee complains, lower the step or do fewer reps on that side and watch whether the pain comes from speed, depth, or poor foot placement.
My preference: slow step-ups beat fast ones every time. Fast ones feel athletic. Slow ones build useful strength.
7. Bird Dog Holds That Steady the Midsection
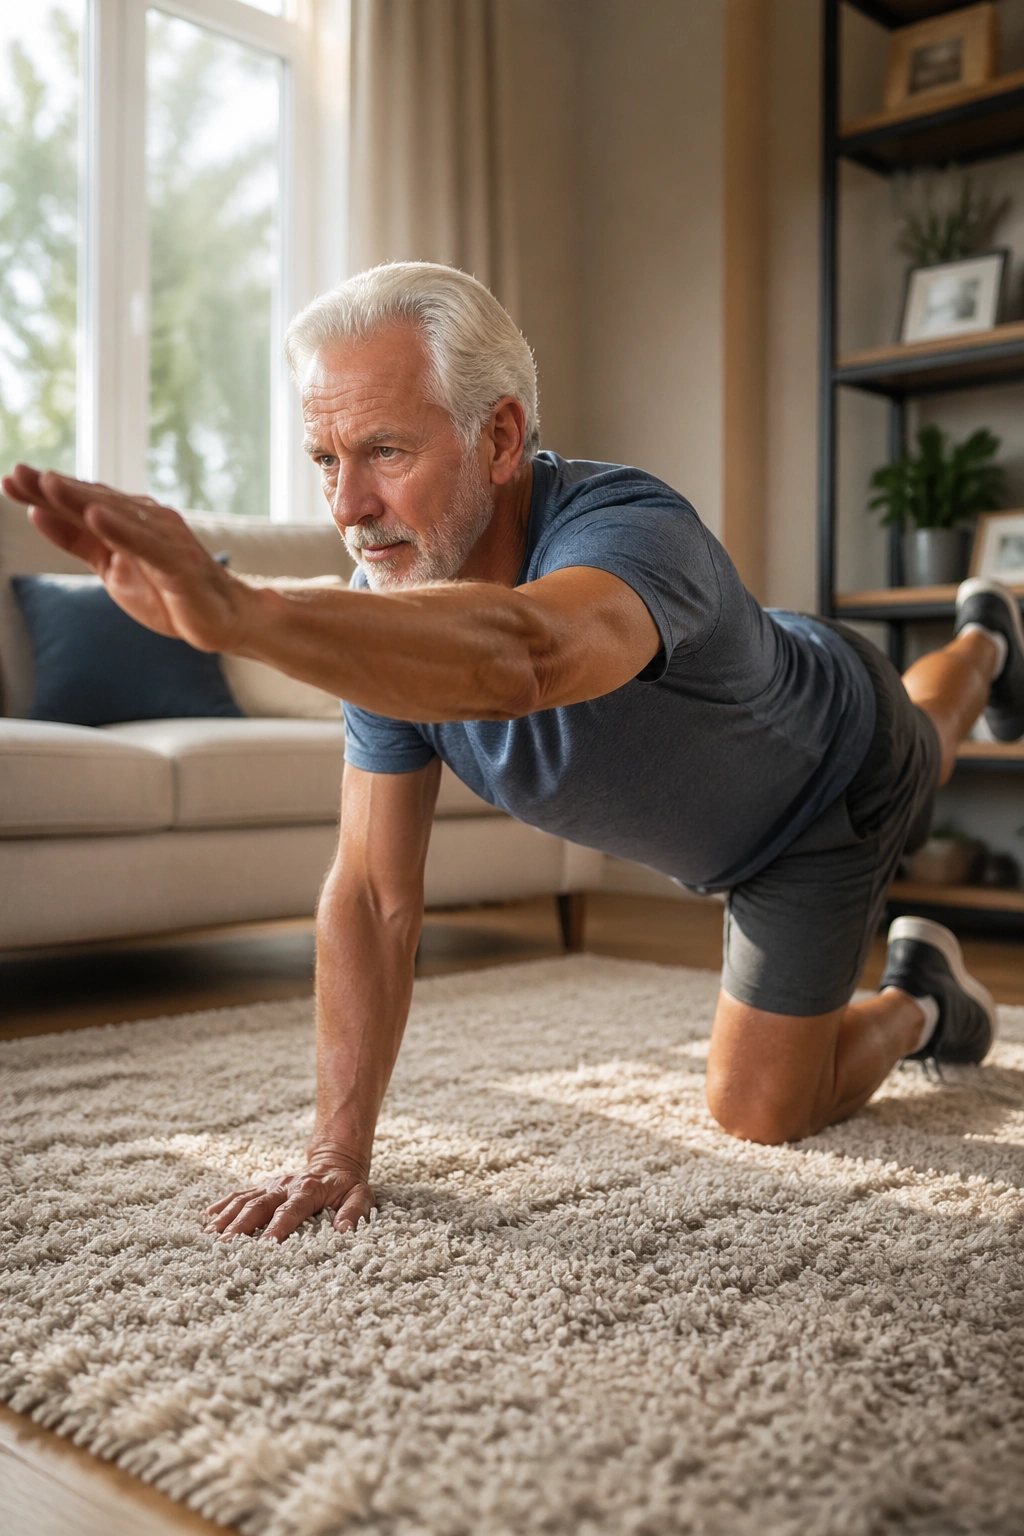
Bird dog looks almost gentle on the surface, which is funny because it makes the trunk, hips, and back work together in a way that shows every weak link. It trains stability without twisting the spine, and that makes it a smart choice for people who want core work that does not feel like punishment.
Start on hands and knees with the hands under the shoulders and knees under the hips. Reach one leg straight back and the opposite arm forward. Hold for 5 to 8 seconds, then return with control and switch sides. Keep the hips level and the low back long.
What to watch for
- Do not arch the lower back.
- Do not let the hips swing open.
- Reach long, not high.
- Move slowly enough to stay balanced.
If the floor feels unfriendly, do a wall version instead: stand facing a wall, place both hands on it, and extend one leg straight back while pressing the hands into the wall. Less dramatic. Still useful.
A good bird dog should feel steady, not strained. If it feels like a backbend, shorten the reach and try again.
8. Resistance Band Rows for Better Posture
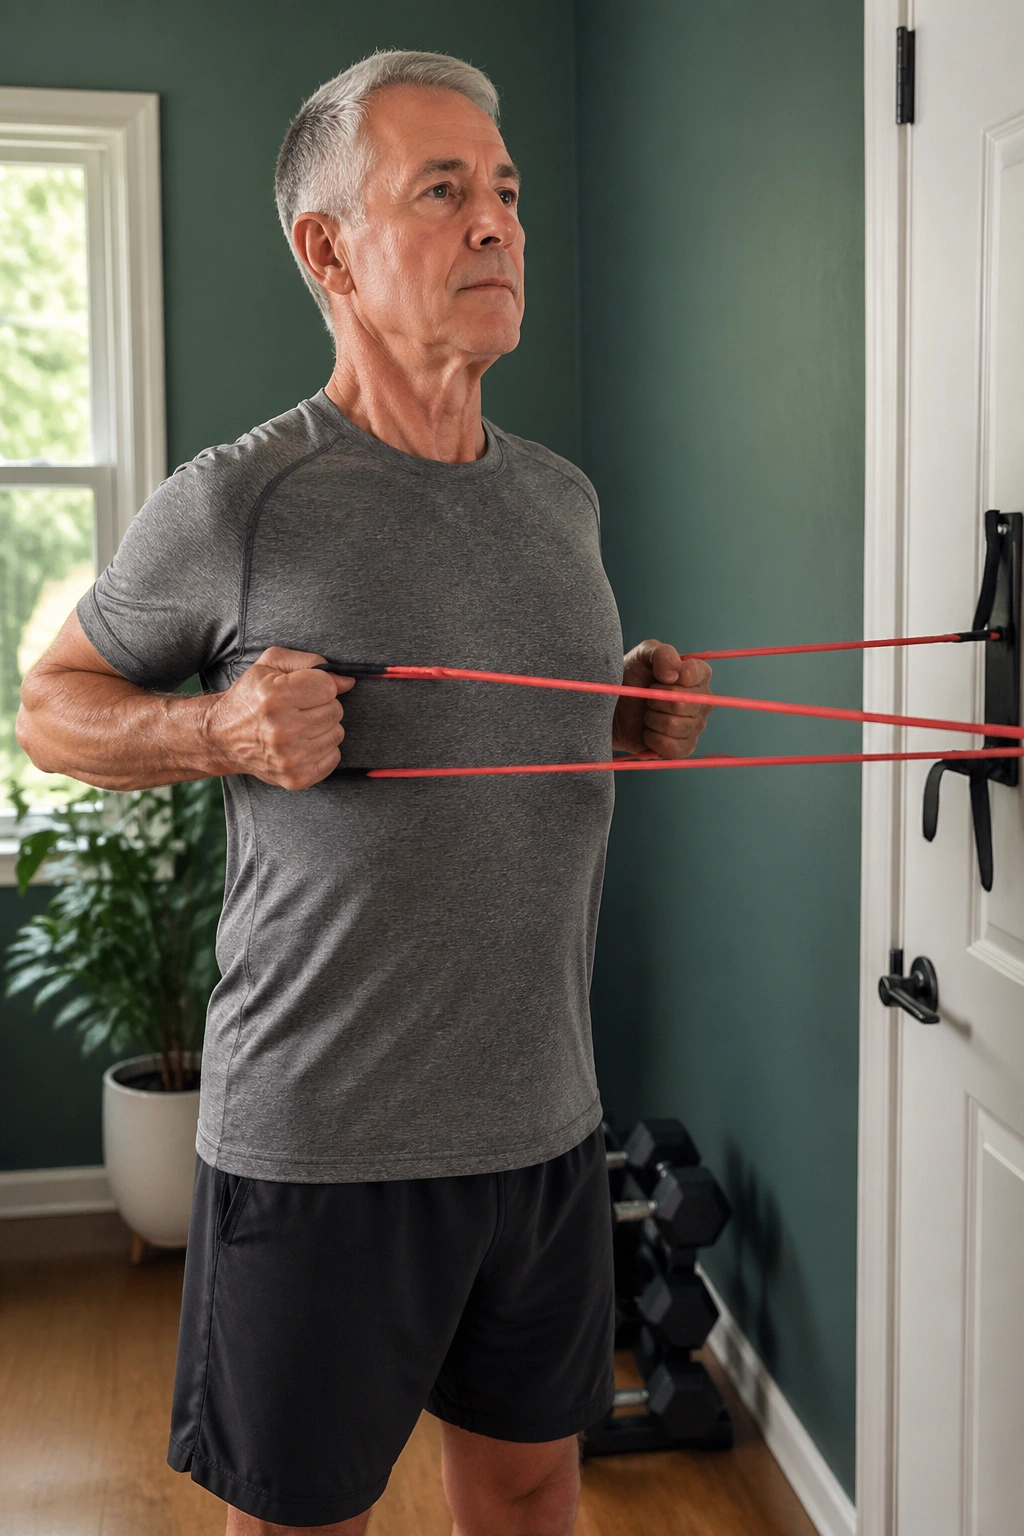
Rows are the upper-back move too many people need and too few people bother with. They pull the shoulders back into a better place, help counter long sitting, and make carrying things feel less awkward. If you spend any time bent over a sink, a steering wheel, or a laptop, this one earns its keep.
Anchor a resistance band at chest height around a post, closed door anchor, or sturdy pole. Hold one end in each hand and step back until the band has light tension. Pull the elbows back along your sides, squeeze the shoulder blades gently, then return with control.
Two or three sets of 10 to 15 reps works well. Keep the neck relaxed. If the shoulders creep up toward the ears, the band is probably too heavy or you’re yanking instead of rowing. Reduce the tension and make the pull smoother.
A useful habit: do a set after your walking session or after chair squats. The body seems to like that pairing — legs, then upper back. It keeps posture from getting lazy.
9. Glute Bridges for Hips That Need More Lift
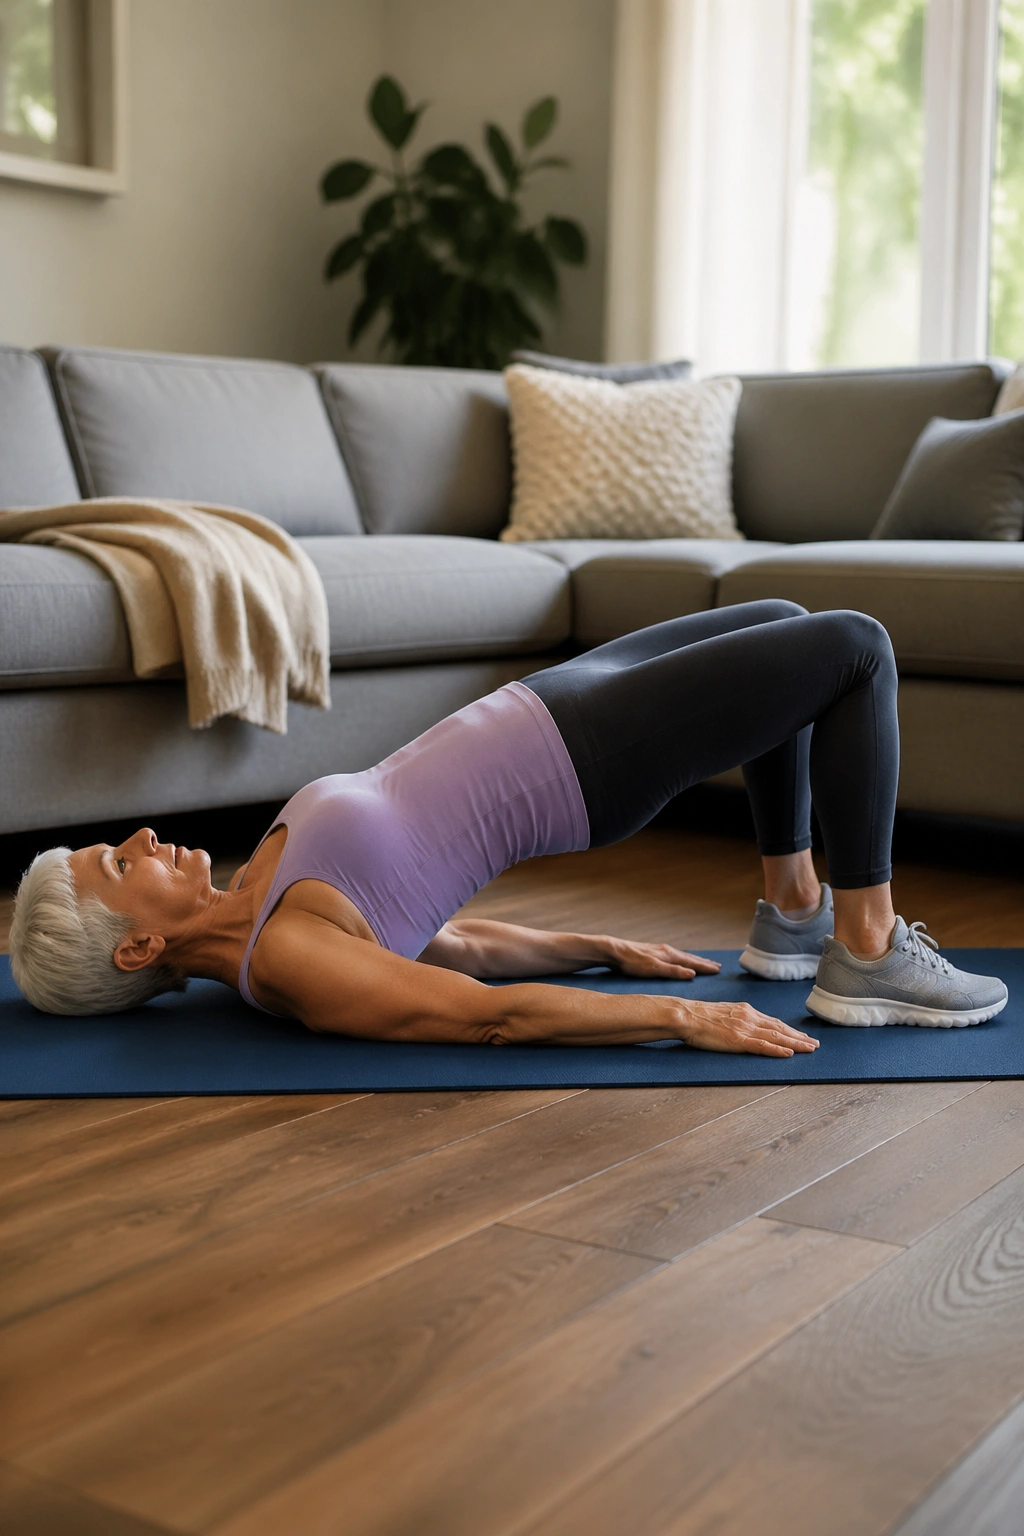
Why do glute bridges help so much? Because they wake up the muscles that should be doing more of the heavy lifting when you stand, walk, and climb. Strong glutes take pressure off the knees and help the pelvis stay steady, which makes the whole lower body feel less wobbly.
Lie on your back with your knees bent and your feet flat on the floor, about hip-width apart. Press through the heels, squeeze the glutes, and lift the hips until your shoulders, hips, and knees form a straight line. Lower slowly. Keep the ribs down so the lift comes from the hips, not from an arched back.
Start with 8 to 12 reps for 2 sets. If the movement cramps the hamstrings, bring the feet a little closer to the seat. If the low back takes over, shorten the lift and focus on the squeeze at the top.
A cleaner version
- Feet flat, toes relaxed.
- Lift on an exhale.
- Pause 1 second at the top.
- Lower with control, not a drop.
A bridge should feel like a hip exercise. If it feels like a back exercise, adjust the setup before you keep going.
10. Side Leg Raises for Hips That Keep You Upright
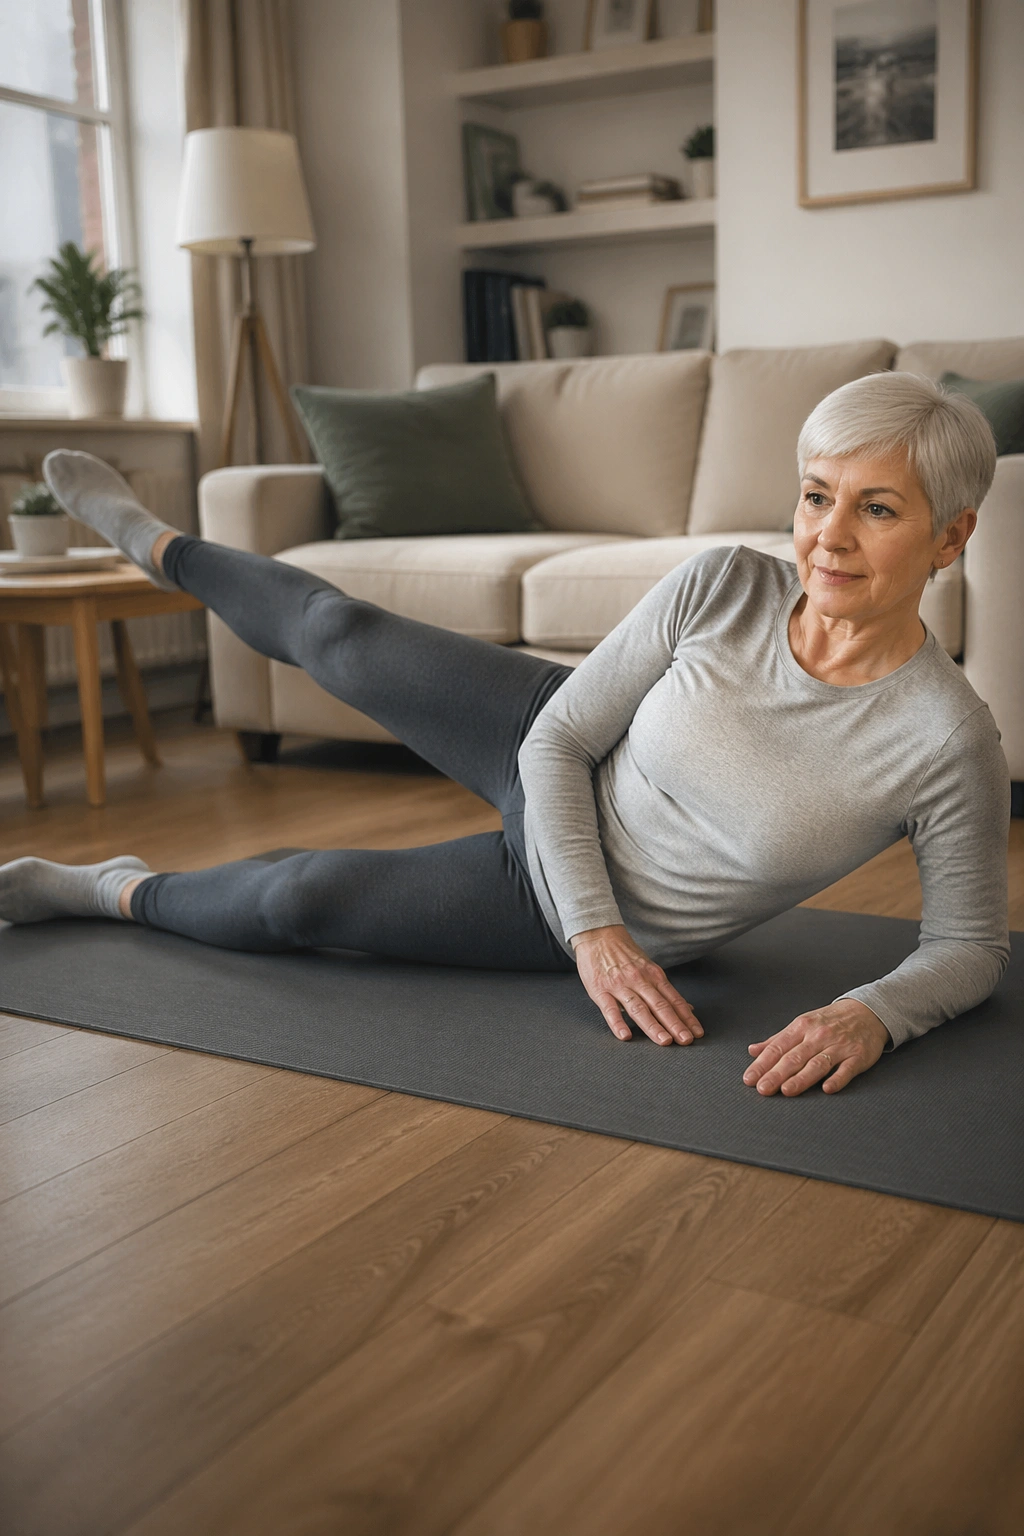
When knees drift inward on stairs or a person feels unsteady on one leg, the side hips are often part of the story. Side leg raises train the small muscles that help keep the pelvis from tipping and the knees from collapsing. Small muscle. Big job.
You can do these lying on your side or standing with a hand on the counter. For the standing version, keep one leg planted, lift the other leg out to the side without leaning the torso, and lower slowly. Keep the toe pointing forward or slightly down so the hip does the work.
Ten to 15 reps per side is enough to start. Slow is better than high. A tiny controlled lift beats a big swing every time. If the movement turns into a back lean, you’ve gone too far and should shorten the range.
Tiny motion. Big payoff. That sentence is about half the story here. The other half is consistency — these side muscles respond best when they’re asked to work a few times a week, not once in a blue moon.
11. Light Overhead Reaches for Shoulders That Still Need Range
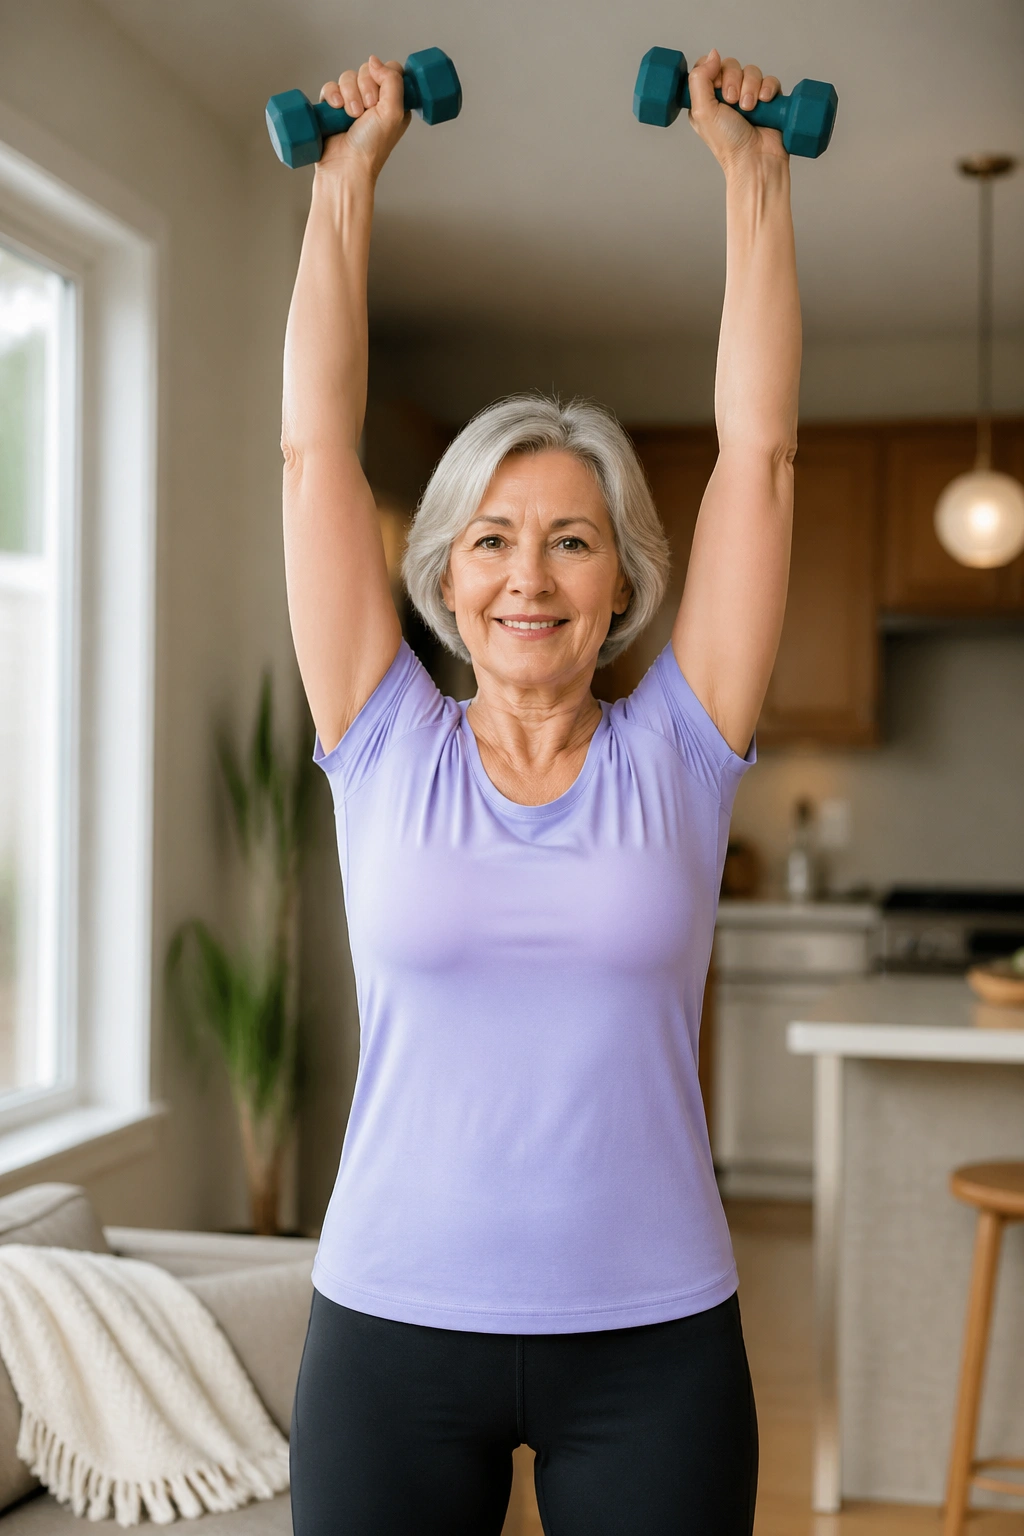
Shoulder mobility can slip in a sneaky way. One month, reaching into a cabinet feels normal. Then the next, you’re tilting the ribs, shrugging the neck, and making the whole motion messier than it should be. Light overhead reaches keep the shoulders, upper back, and breathing pattern working together.
Stand tall with no weight at first, or hold 1- to 5-pound dumbbells if that feels fine. Start with the hands near shoulder height, press them overhead, then lower slowly. Keep the ribs from flaring outward and avoid turning the move into a low-back arch. The lift should feel smooth, not forced.
Two sets of 8 to 10 reps is enough. If one shoulder grumbles, move only as high as the arm likes today. There is no prize for forcing range that the joint is not ready to give.
I like this exercise because it has real-life carryover. Putting dishes away, reaching for a coat, lifting a light pan — those are the things that get easier when the shoulders stay honest. The move also pairs well with slow breathing, which tends to calm people down more than they expect.
12. Farmer’s Carries for Grip, Core, and Real-World Strength
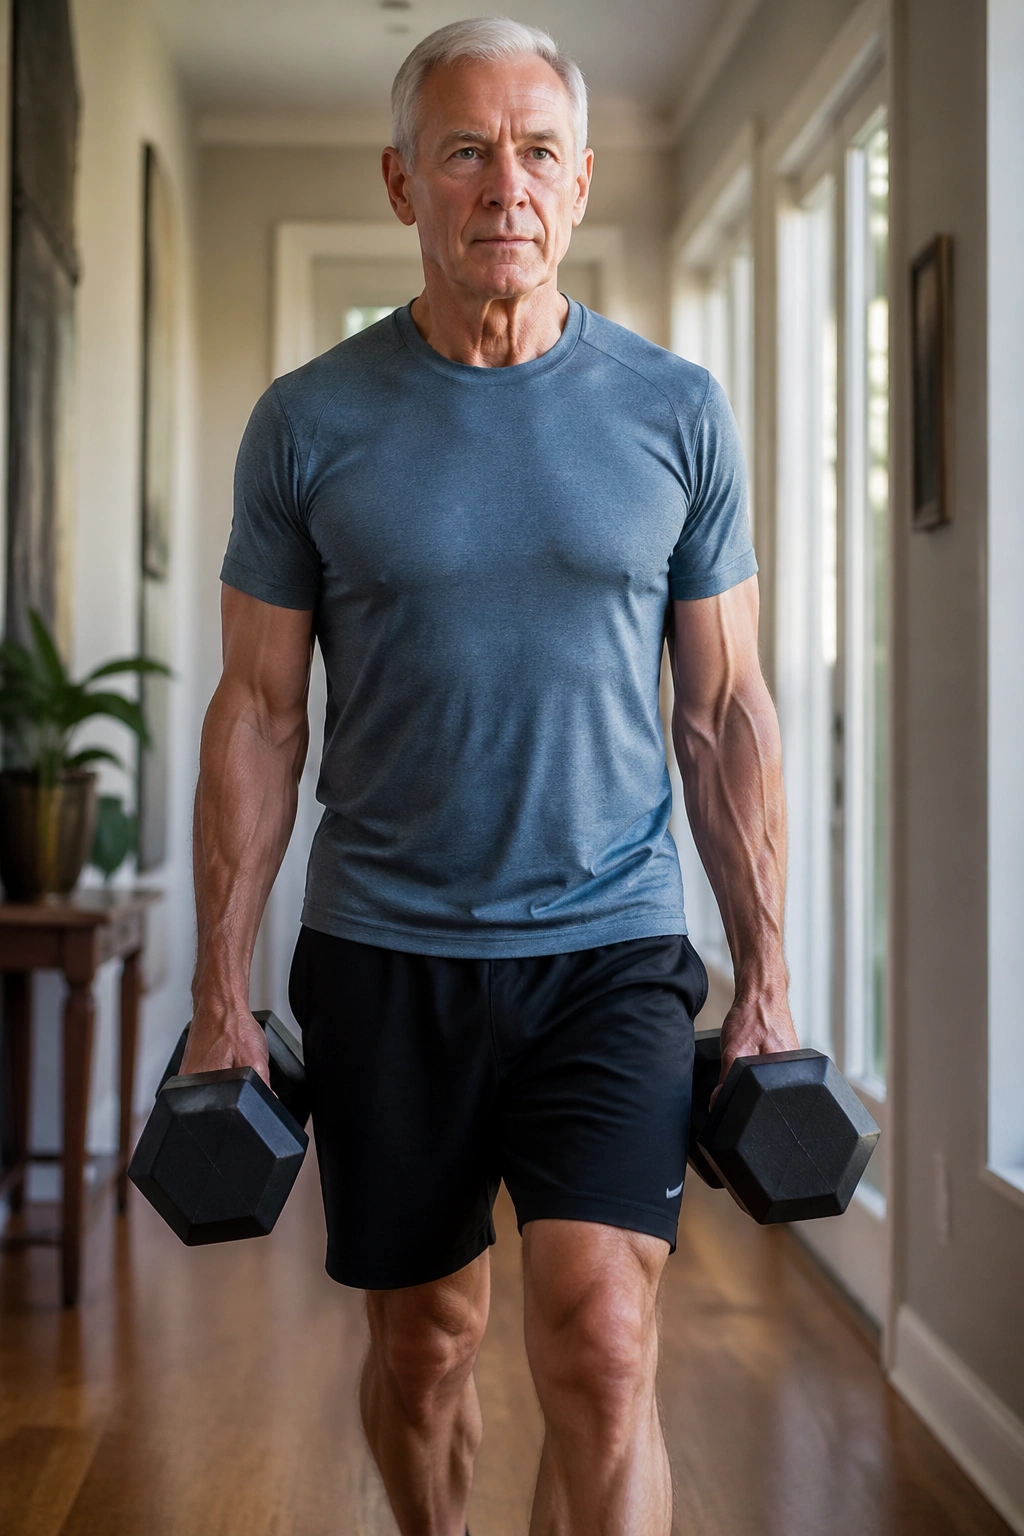
Unlike machine work that isolates one part of the body, farmer’s carries ask grip, posture, legs, and breathing to behave at the same time. That’s why they’re so useful. They train the exact kind of steady strength that shows up when you carry groceries, laundry, or a bag through a long parking lot.
Pick up two light dumbbells, kettlebells, or even a pair of heavy grocery bags. Stand tall, shoulders relaxed, and walk for 20 to 40 steps without leaning to one side. Turn carefully, set the weights down, rest, and repeat for 3 to 5 rounds.
The temptation here is to hurry. Don’t. Short, tidy steps work better than stomping. If the grip gives out before the posture does, use a lighter weight and go a little farther. If one side feels weaker, try a suitcase carry — one weight in one hand — and switch sides each round.
This one is plain useful. No gymnastics. Just the kind of strength that makes errands feel less annoying.
13. Tai Chi Weight Shifts for Slow, Steady Balance
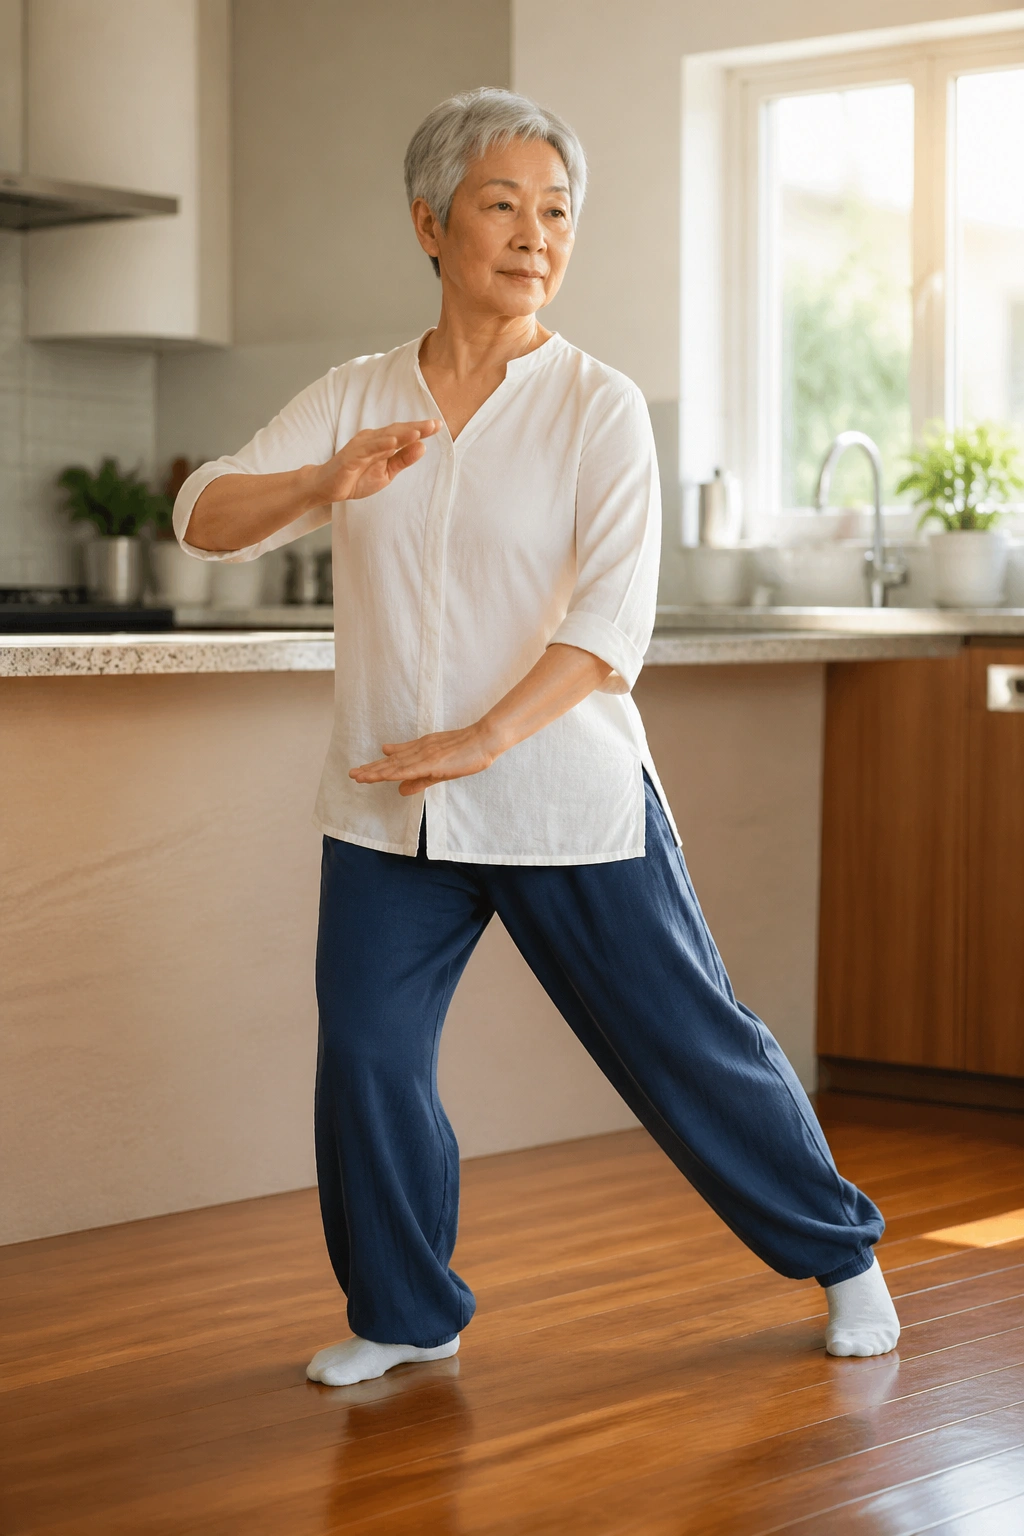
Tai chi-style weight shifts are calm on the outside and surprisingly serious underneath. They teach the body to move weight from one foot to the other without panic, which is exactly what balance needs when the ground is uneven or the body turns too quickly.
Stand with your feet about hip-width apart and your knees soft. Shift your weight gently toward one leg until that leg carries most of your body, then move back to center and over to the other side. Keep the motion slow enough that you can feel the pressure move through the feet.
How to practice it
- Stand near a counter or wall.
- Shift 70 percent of the weight to one leg.
- Return to center, then switch sides.
- Repeat for 1 to 2 minutes.
- Add a forward-and-back shift once the side-to-side version feels smooth.
The strange part is that this simple drill can make walking feel more organized. You start noticing how the feet press, how the ankles adapt, and how much rushing gets in the way. A lot of balance work is just learning to stop rushing the floor.
14. Ankle Alphabet and Foot Presses for Small Muscles That Matter
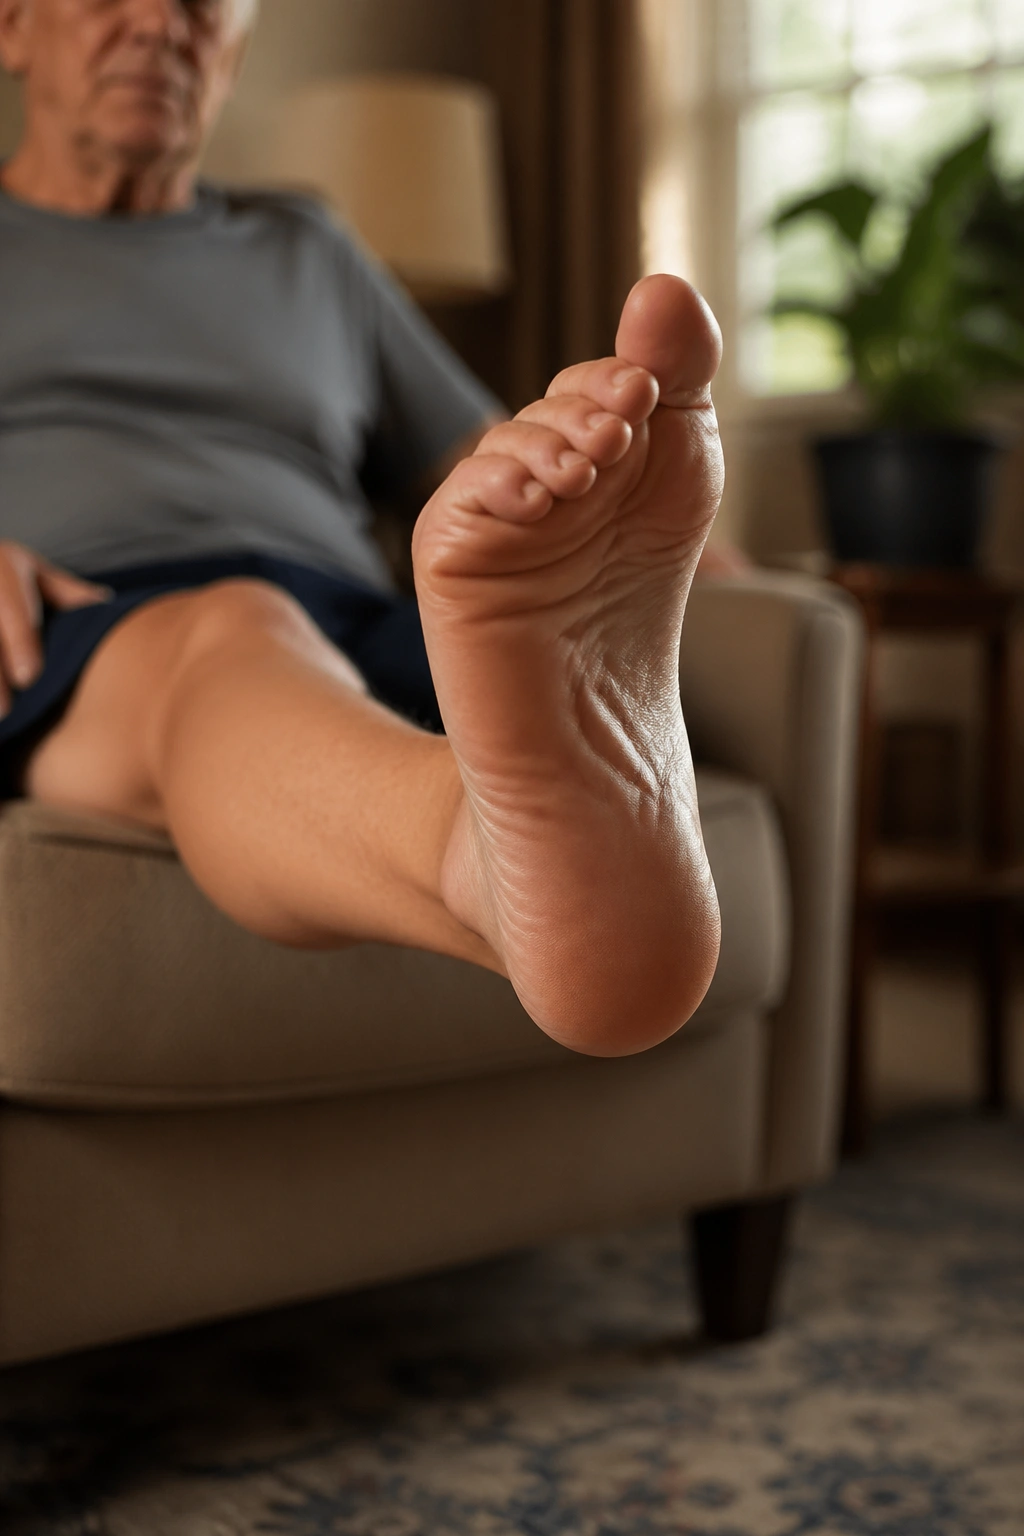
The feet and ankles do more than people give them credit for. They are the first contact with the ground and the first line of correction when a step lands a little off. If those small muscles get sleepy, the whole chain feels less steady.
Sit in a chair or lie down with one leg extended. Trace the letters of the alphabet in the air with your big toe, moving from A to Z at a slow pace. Then press the ball of the foot into the floor or a towel and lift the toes a few inches, repeating for 10 presses. Switch feet and do the same thing.
One round of the alphabet on each foot and 10 to 15 presses is a clean starting point. It’s a quiet drill, which is part of why it gets skipped. Don’t skip it. Foot work tends to pay back in ways you notice later — less wobble, cleaner steps, a little more confidence on uneven pavement.
If you want an easy place to use this, try it after sitting for a long stretch. The ankles wake up fast.
15. Brisk Walking Intervals With Posture Checks
A walk can be casual, or it can be a real workout. Brisk intervals turn walking into a full-body practice by asking the heart, legs, and balance system to do a little more without beating the joints into submission.
Walk for 1 minute at a pace that feels purposeful — not a sprint, just clearly faster than a stroll — then slow down for 2 minutes. Repeat that pattern 5 to 8 times. If a hill is available, use a gentle incline for one or two of the brisk rounds. If not, a long hallway, driveway, or quiet path works fine.
Keep a few posture checks in mind as you go: eyes forward, chest tall but not puffed out, shoulders loose, arms swinging naturally, feet landing under the hips. A good walk should feel smooth, not forced. If your breathing turns ragged, shorten the brisk segment before you shorten the easy one.
This is the one I’d keep if time is tight. It builds stamina, supports leg strength, and gives the whole system a chance to practice moving well under a little pressure. And that, more than fancy workouts, is what strong stable aging usually comes down to — being able to keep moving without making a fuss about it.
