



Pumping in the first year can feel like a second job with a tiny, unpredictable boss. The best pumping moms tips are rarely glamorous; they’re the small, boring habits that keep milk moving, nipples intact, and your sanity from slipping out the side door at 2 a.m.
The hard part is that pumping is never only about milk. It’s about timing, sleep, storage, work schedules, clogged ducts, borrowed rooms, leaking bags, and the strange emotional whiplash of watching a bottle instead of a baby. Some sessions are generous. Some are humiliating. That does not mean you’re doing it wrong.
A pump is a tool, not a report card. And once you stop treating every ounce like a verdict, the whole process gets a little less punishing and a lot more workable.
1. Learn Your Milk Pattern Before You Chase Ounces
Your pump output is a snapshot, not a verdict. A 3-ounce session can mean “good timing,” not “low supply,” and a 7-ounce session can mean you caught a full breast after a longer stretch. People get trapped by the bottle number because it’s right there, plain as day, but milk production has more to do with timing, fullness, and how well the milk was removed than with one neat little measurement.
What to Pay Attention To
Start noticing the parts that actually matter: time of day, how long it had been since the last feeding or pump, how your breasts felt before you started, and whether you had a letdown early or late. Those details tell you a lot more than a single ounce count. If you pump at 10 a.m. after a chaotic morning and get less than you hoped, that is not the same as a quiet 5 a.m. session after a long stretch.
- Track the time of the session.
- Note how long since the last pump or feeding.
- Write down comfort level during the session.
- Pay attention to whether milk started flowing in the first 2 minutes or the 8th.
A tiny notebook works. So does your phone.
Tip: If a session looks disappointing, compare it to the same time on a different day before you make any big conclusions.
2. Get the Flange Size Checked Early

Why do so many pumping problems start with a part most people barely think about? Because flange size matters more than most new pumpers expect, and the wrong size can make pumping painful, inefficient, and weirdly exhausting.
The flange should let your nipple move through the tunnel without too much rubbing or too much extra areola being pulled in. If it pinches, turns your nipple pale, leaves a swollen ring, or makes the whole session feel like a bad idea, something is off. A lot of people assume discomfort is normal at first. Some mild tugging can happen. Pain shouldn’t be the default.
Signs the Size Is Off
- The nipple rubs the sides of the tunnel.
- The areola gets sucked in hard and stays pulled in.
- Your nipple comes out white, red, or swollen.
- Pumping hurts more as the session goes on, not less.
- You see friction marks or blistering.
A proper fit can change the whole feel of pumping. Sometimes the fix is a different flange size. Sometimes it’s a different insert. Sometimes it’s lowering suction because higher suction is not a badge of honor. It is just higher suction.
If you are unsure, a lactation consultant can check the fit in a few minutes. That beats guessing for weeks.
3. Set a Pumping Schedule That Fits Your Body

A clock helps, but your body has the final vote. For some parents, pumping every 2 to 3 hours keeps things stable, especially in the early months or during long workdays. For others, that schedule backfires because it creates stress, missed sessions, and a constant feeling of being behind. The point is not to worship the timer. The point is to remove milk often enough that your body keeps getting the message.
In the early weeks, many people need more frequent removal to protect supply. Later on, once milk production feels more regulated, some can stretch sessions a little more. That shift does not happen on a tidy schedule for everyone, which is why copy-pasting someone else’s routine usually ends badly.
A Few Real-World Versions
- Exclusively pumping: often every 2 to 3 hours in the beginning, then adjusted by output and comfort.
- Pumping at work: usually one session for each missed feed, with some wiggle room.
- Combo feeding: often fewer sessions, but still regular enough to keep the breasts from getting painfully full.
Don’t build a schedule you can’t survive. A plan with 4 workable sessions beats a perfect-looking plan you abandon by day four. And if you miss one, don’t call the whole day ruined. Just get back on track at the next realistic opening.
4. Use Hands-On Pumping to Help Drain Better
Picture this: the pump is running, milk is slowing down, and you sit there hoping the machine will magically finish the job. It usually won’t. A little hands-on help can make a noticeable difference.
Massage before and during pumping can help milk move more freely, especially if your breasts feel full, lumpy, or slow to empty. Gentle compression with your fingers while the pump is on often works better than staring at the bottles and wishing them fuller. Warmth helps some people too — a warm washcloth for a minute or two before pumping can make the first letdown easier.
A Simple Sequence That Often Helps
- Warm the breasts briefly.
- Massage from the outside toward the nipple.
- Start pumping on the letdown setting if your pump has one.
- Add gentle compression once milk starts to slow.
- Switch sides or repeat as needed.
Don’t dig your thumbs in like you’re kneading bread. That’s too much. Think steady pressure, not brute force.
Watch for this: if your breast feels tender in one spot, skip aggressive squeezing. Pain, redness, fever, or a hard lump that keeps coming back deserves a real medical look, not another round of “maybe I’ll just pump harder.”
5. Build a Small Stash Without Overfreezing
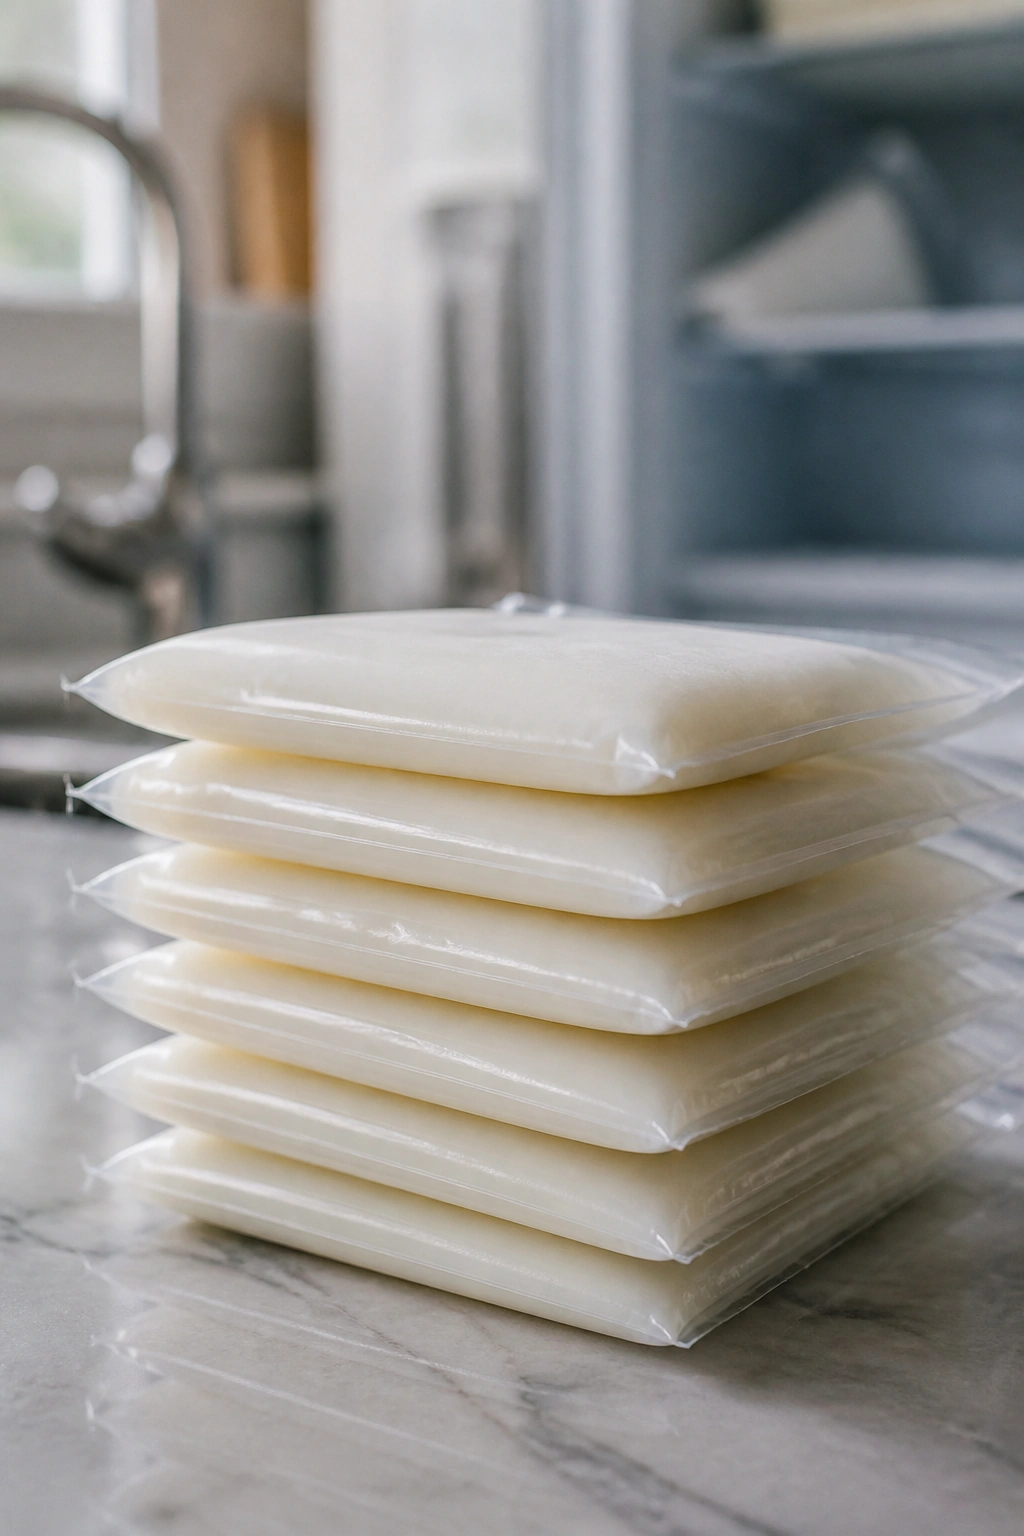
A giant freezer full of milk looks reassuring. It can also become a trap. If you’re freezing giant bags because you feel pressured to create a mountain of backup, you may end up wasting milk, handling too many thawed leftovers, and stressing over every ounce. A small, steady stash is easier to manage and usually more useful.
The sweet spot for many families is a stash built in 1- to 3-ounce portions. That size is flexible. It thaws faster. It lets you top off a bottle without thawing a huge bag. And if your baby suddenly wants a little more than usual, you’re not stuck with a 7-ounce brick you need to use all at once.
Use the oldest milk first. Label each bag with the date and, if you want your future self to thank you, the amount. Freeze bags flat so they stack well and take less room. Then stop. That’s the part people skip. You do not need to freeze everything you can produce.
One bag at a time is plenty.
6. Treat the Morning Session Like Your Strongest One
Why does the first pump of the day often feel different? For many people, milk supply is higher after the longest stretch of rest, and breasts tend to feel fuller. That does not mean every morning session will be huge, but it’s often the best candidate for a little extra planning.
If you know your morning output is stronger, use it on purpose. Save that milk for the bottle you need later, or freeze one small bag from that session instead of trying to force a stash out of the middle of the day. The middle of the day is often messy. The morning is usually friendlier.
How to Use That Extra Output
- Pump as soon as it makes sense after waking.
- If possible, avoid skipping the morning session.
- Use the extra ounces to fill a backup bottle.
- Freeze only the overflow, not the whole batch.
Some parents get the biggest session after the first overnight stretch. Some don’t. Human bodies enjoy refusing neat rules. Still, if one part of the day tends to work better, lean into it instead of fighting it.
And no, that does not mean you need to wake up at a ridiculous hour just to chase a few more ounces.
7. Keep Your Pump Parts and Supplies Simple
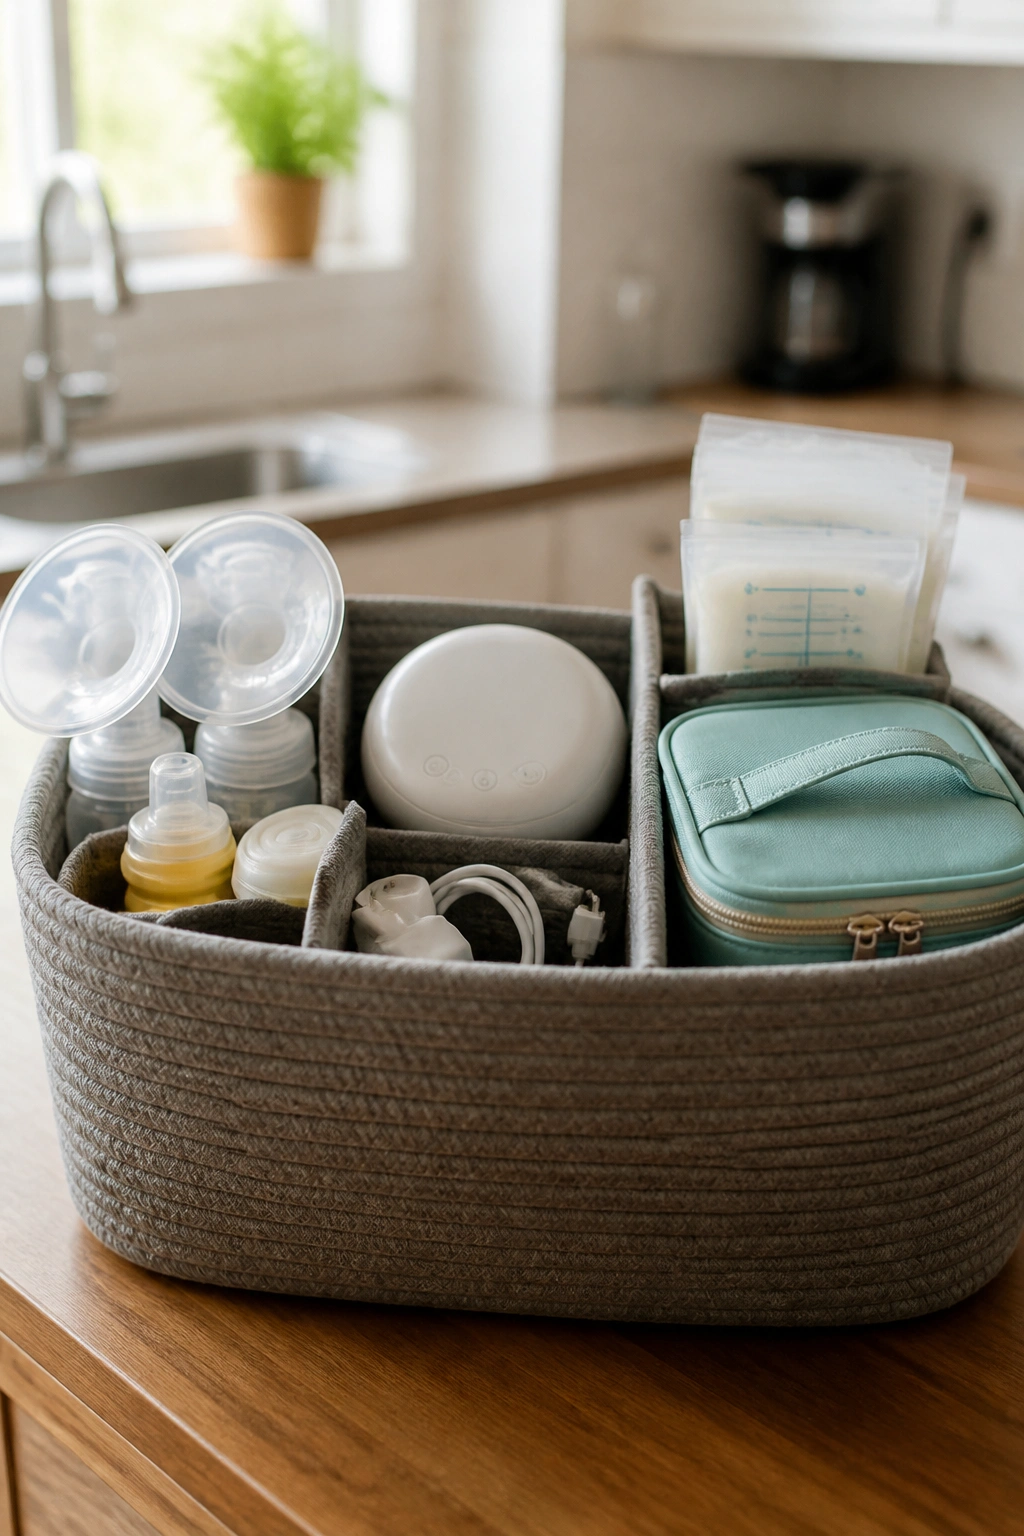
The fastest way to make pumping miserable is to turn it into a scavenger hunt. Missing valves, dead batteries, and forgotten flange inserts can derail an entire day, especially when you’re already tired. A simple setup saves more time than fancy gear ever will.
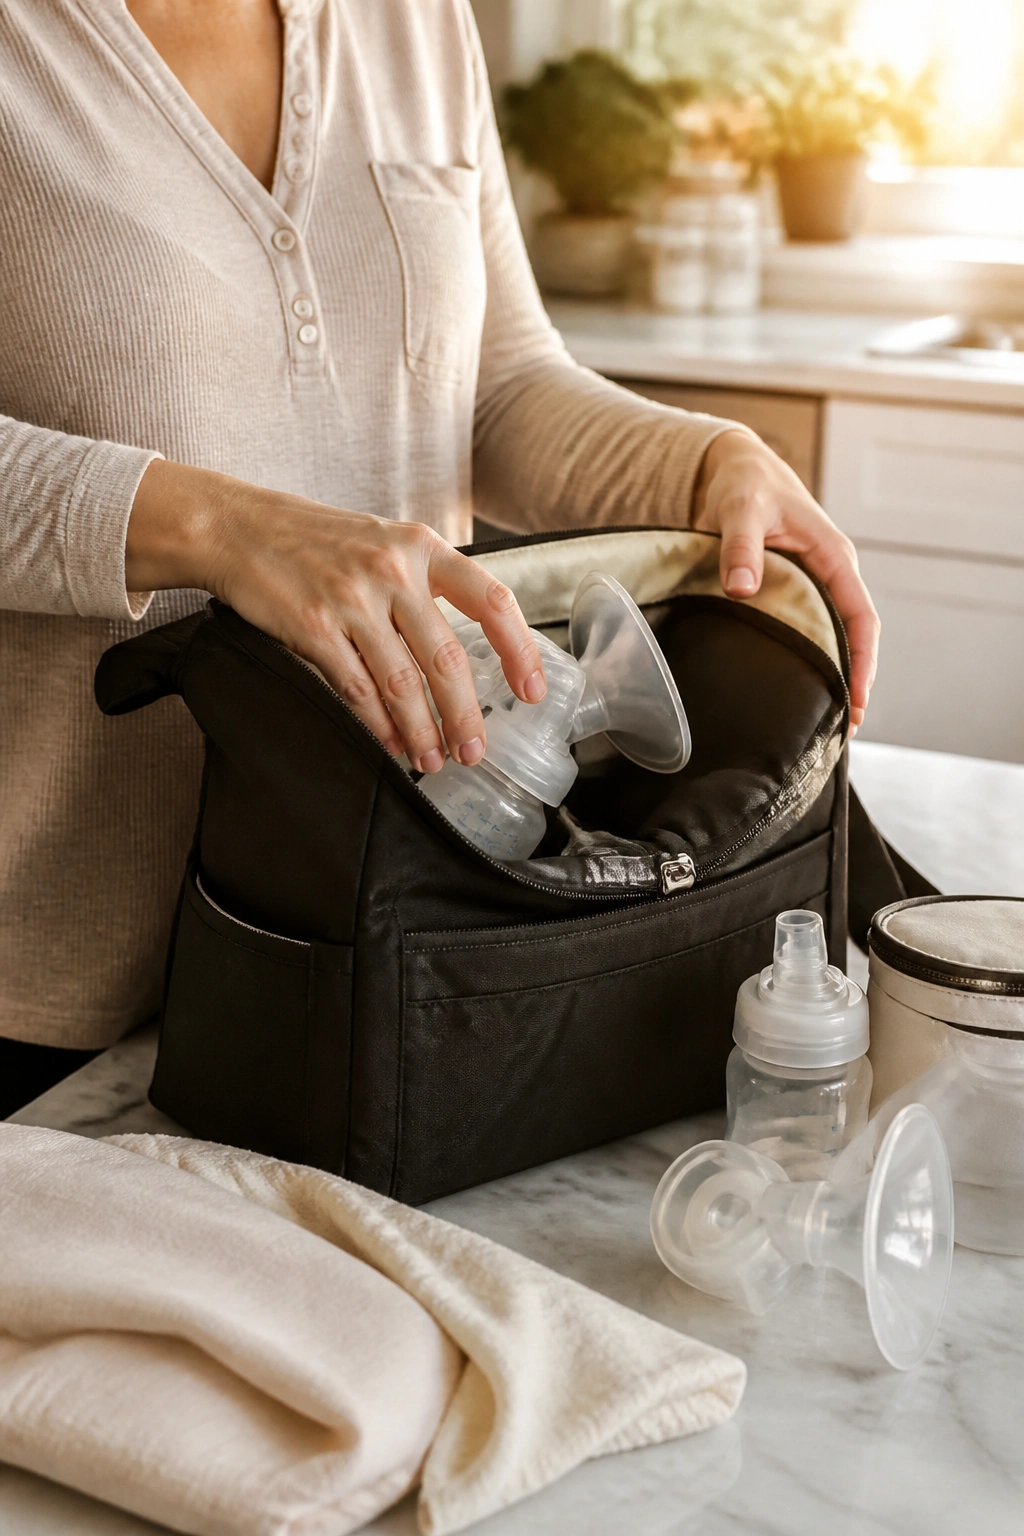
I like the idea of a dedicated pump basket or tote: one charger, one spare set of parts, a cleaning brush, storage bags, and a small insulated cooler if you’re out of the house. If you pump at work, keep a second set of parts there. Washing one set between sessions is annoying enough. Washing and repacking the same set over and over is how people lose pieces.
What Belongs in the “Don’t Make Me Think” Kit
- Pump motor and charging cord
- Spare valves or duckbills
- Extra flanges or inserts
- Milk storage bags or bottles
- Cooler bag and ice pack
- Hands-free bra, if you use one
Keep the kit in the same place every day. Not “usually.” Same place. That tiny habit prevents the whole “where did I put the lid” routine that steals minutes you do not have.
Simple is not fancy. Simple works.
8. Freeze Milk the Right Way
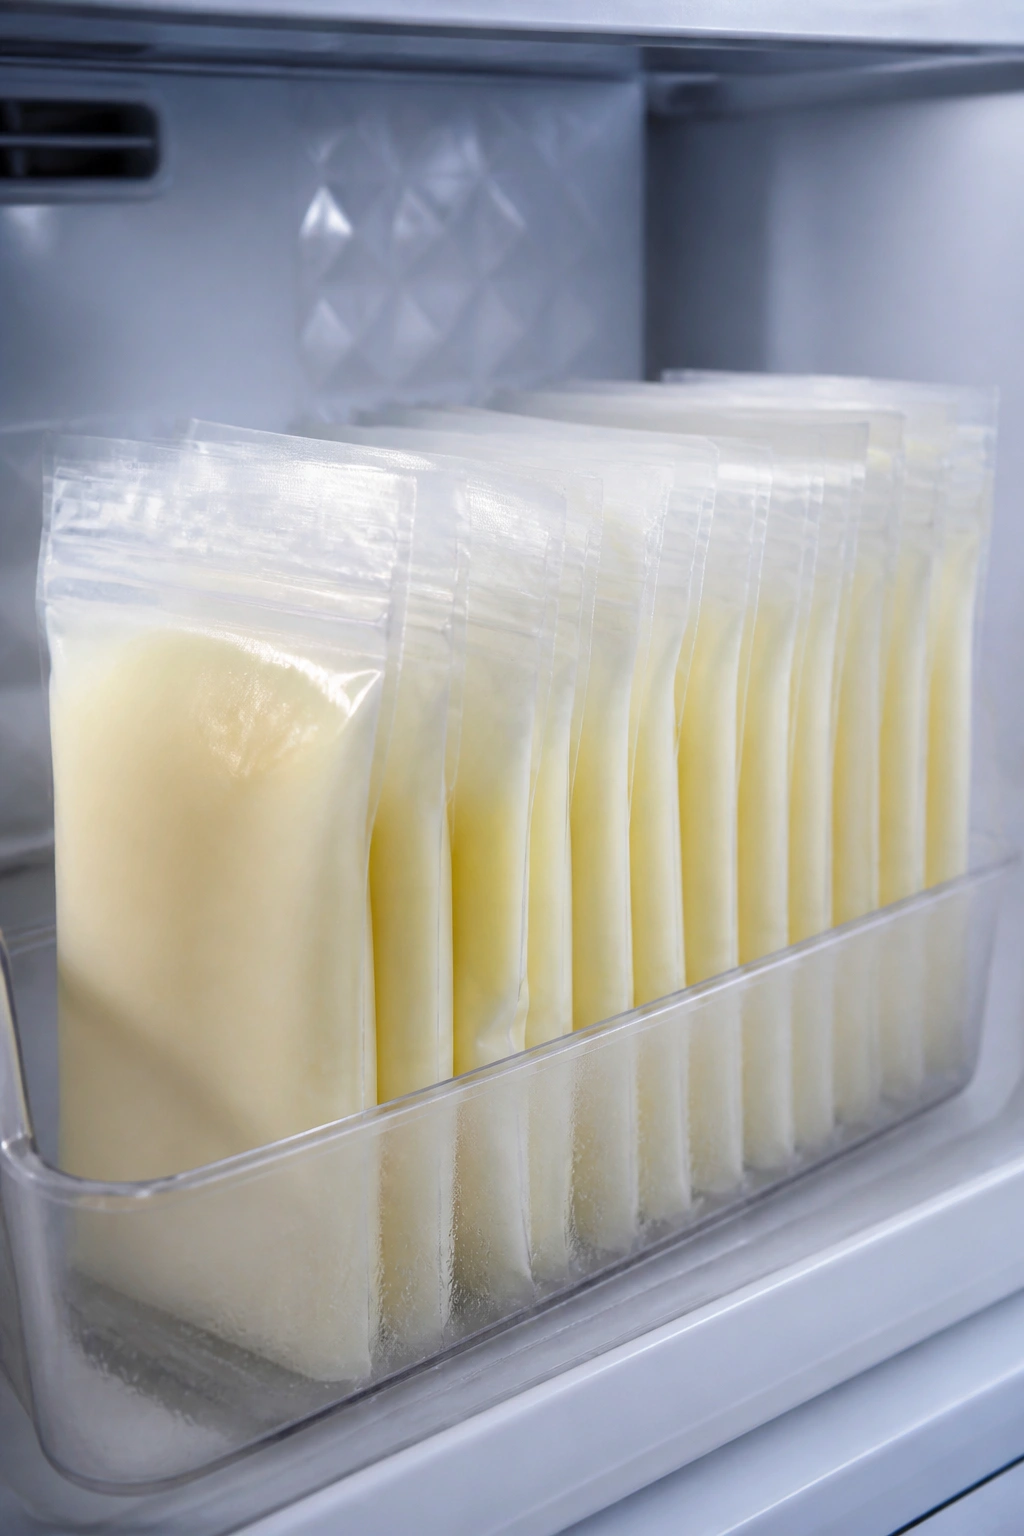
Freezing milk is about shape, label, and timing as much as temperature. Flat bags save space. Small portions save sanity. And a date on each bag saves you from opening the freezer and playing detective later.
Lay bags flat until frozen, then stack them upright in a bin or box so first-in, first-out is easy. If you use bottles, leave a little room at the top because liquid expands when frozen. A crowded freezer full of oddly shaped bags is a pain to dig through, and milk gets forgotten fast when you can’t see it.
A Few Storage Habits That Help
- Freeze in small portions instead of giant bags.
- Write the date and ounces on every bag.
- Put new milk behind older milk.
- Keep a small freezer inventory list if your stash grows.
- Move milk into the fridge to thaw slowly, not on the counter all day.
The usual guidance many parents follow is about 4 hours at room temperature, around 4 days in the fridge, and roughly 6 months for best quality in a standard freezer. A deep freezer can usually hold milk well longer, but quality still changes over time.
Don’t freeze a month’s worth of chaos all at once. Freeze a little, label it clearly, and keep the pile manageable.
9. Protect Your Nipples Before They Start to Hurt

What if pumping hurts by the third day? Don’t shrug it off. Some mild tugging is one thing. Sharp pain, rubbing, or a cracked nipple is your body telling you the setup needs work.
The first fix is usually not “pump through it.” Check the flange size, lower the suction, and make sure the nipple is centered before the pump starts. A tiny bit of nipple-safe balm or a lactation-friendly lubricant can reduce friction for some people. If you’re using anything, use a very thin layer. More is not better here. Too much can make the fit slippery in the wrong way.
If the pump leaves your nipple white, flattened, or blistered, stop and adjust. The goal is effective removal, not endurance theater.
Pain Clues Worth Respecting
- Stinging that gets worse with each session
- Cracked skin or bleeding
- A nipple that comes out misshapen or white
- Burning that lasts after the pump is off
- Sharp pain in one side only
Persistent pain deserves help. A good lactation consultant can spot a fit issue, suction problem, or latch problem faster than most of us can guess at home. And honestly, that’s a relief.
10. Plan for Missed Sessions Without Panicking

You were stuck in traffic. The baby had a meltdown. Your meeting ran long. Life happens, and a missed pump session does not automatically wreck your supply. The panic spiral is usually worse than the missed session itself.
What matters is what you do next. If you miss one session, pump as soon as you can afterward and then get back to the usual rhythm. If you know a session is going to be missed, sometimes a slightly earlier pump or a slightly longer one beforehand can take the edge off. Not always. But often enough to matter.
A Calm Rescue Plan
- Pump when you first get the chance.
- Keep suction moderate, not punishing.
- Drink water and eat something with protein if you can.
- Don’t “make up” for the session by overpumping hard for 45 minutes.
- Watch for fullness or discomfort later in the day.
One missed pump is a hiccup. Several missed pumps in a row is a schedule problem. Different situation. Different fix.
If you miss sessions often, the answer is usually not more guilt. It’s a better plan.
11. Use Power Pumping Only When It Solves a Problem

Power pumping is a tool, not a lifestyle. It mimics cluster feeding by adding short on-and-off pumping bursts over about an hour, and some parents use it when supply dips, after a schedule change, or during a rough stretch. That can be useful. It can also be miserable if you do it without a clear reason.
A common pattern is 20 minutes on, 10 minutes off, 10 minutes on, 10 minutes off, then 10 minutes on again. The point is not to make one giant heroic session. The point is to send repeated signals over a short window.
When It Makes Sense
- Your supply dipped after a missed stretch.
- You’re trying to rebuild output after illness or schedule changes.
- You need a short-term push, not a permanent new routine.
Use it for a few days and reassess. If it helps, fine. If it makes you dread the pump, it may not be worth the emotional cost. That matters too. No one should build a feeding plan on pure resentment.
And if output stays low despite consistent pumping, the issue may not be “not enough effort.” It may be flange fit, pump strength, or a medical issue worth checking.
12. Make Workday Pumping a Logistics Routine

Pumping at work is different from pumping at home in one very annoying way: home gives you flexibility. Work gives you calendars, emails, meetings, and the occasional locked door. So the trick is to make pumping a routine with fewer moving parts.
I like to think of work pumping as a logistics problem. You need a set time, a clean place, a reliable bag, and a backup plan when the schedule goes sideways. If your day has a 9 a.m. meeting, a 1 p.m. call, and a 4 p.m. deadline, your pump sessions need to sit in the gaps, not fight the whole structure.
A Work Bag Checklist That Saves Time
- Pump and charger
- Spare parts
- Cooler bag with ice pack
- Storage bags or bottles
- Bottle brush or wipes for cleaning
- A zip bag for used parts if you’re washing later
Some people pump every 3 hours at work. Some need a little more space. The exact timing matters less than consistency. Missing a lunch pump once in a while happens. Missing it every day becomes a supply problem and a stress problem, which is a nasty combo.
If you can, block the time on your calendar like any other meeting. Boring. Effective.
13. Watch the Baby, Not Just the Bottle

A pump bottle does not tell the whole feeding story. That’s worth saying plainly because so many parents compare pump output to what they think the baby “should” be getting. The two numbers are not interchangeable. Babies often remove milk differently than pumps do, and a low pumping session does not automatically mean the baby is underfed.
Look at the fuller picture: wet diapers, weight checks, alertness, and whether the baby seems satisfied after feeds. A few ounces in a bottle tells you what the pump caught. It does not tell you everything that happened at the breast or across the whole day.
A lot of unnecessary anxiety comes from staring at the bottle instead of the baby.
If you’re worried about intake, ask for help from a pediatric clinician or lactation consultant rather than guessing. That is especially true if diaper counts drop, weight gain stalls, or feeding suddenly changes. Those are real signals. The bottle count by itself? Not nearly enough.
14. Get Help When the Setup Is the Real Problem
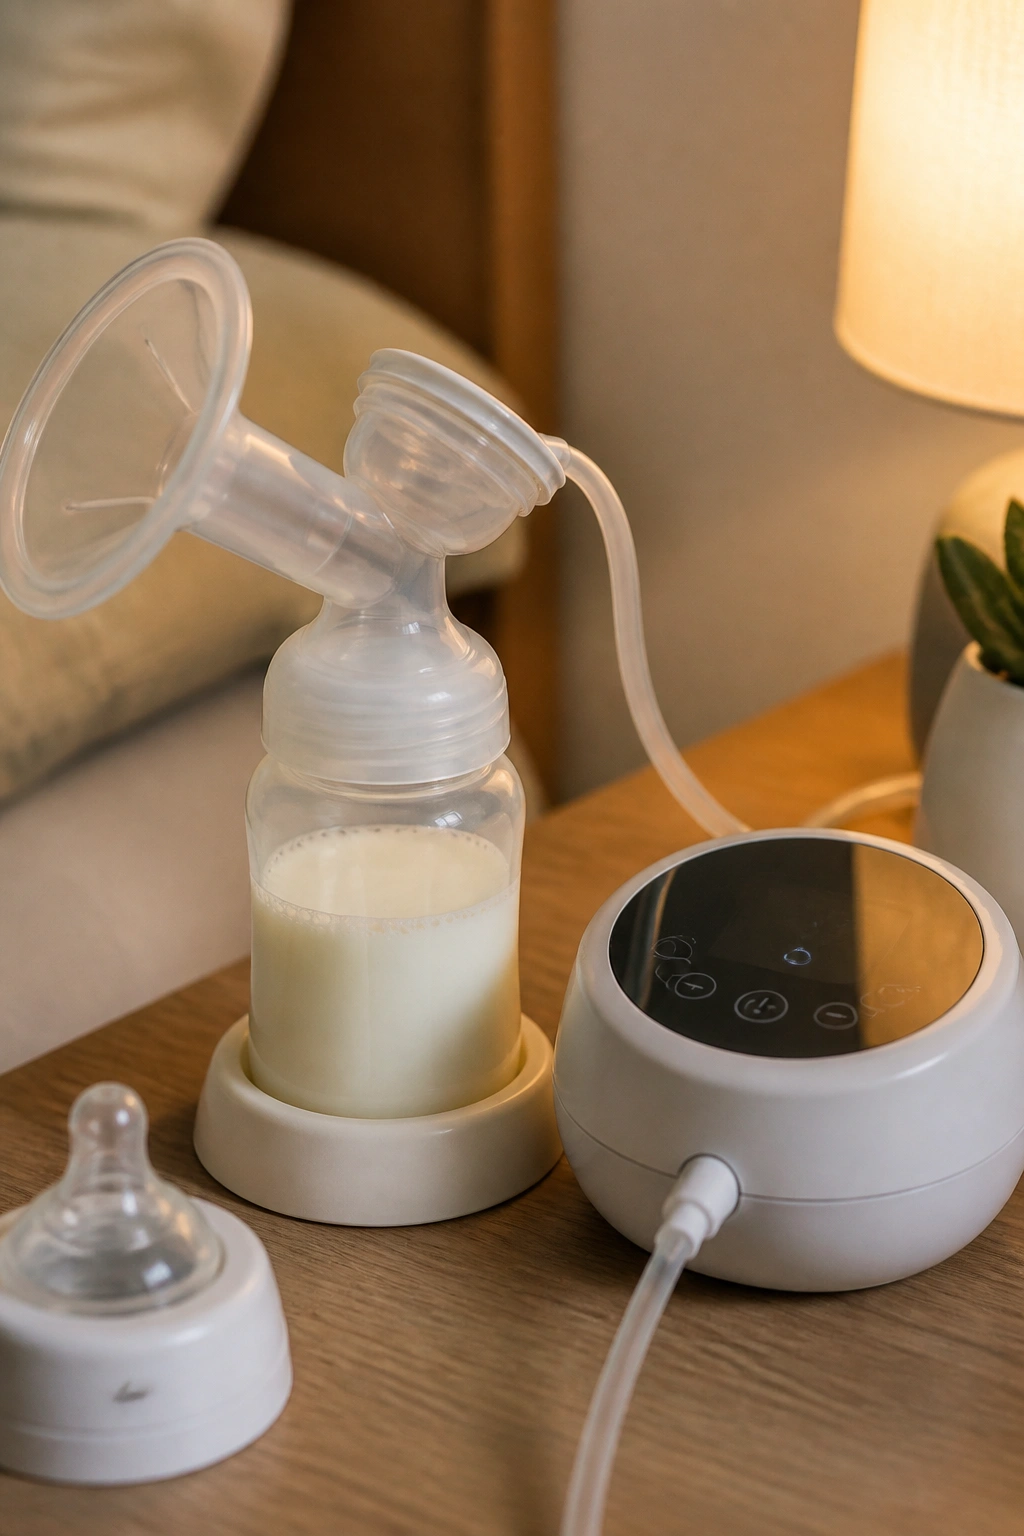
If pumping feels like a struggle every single day, assume the setup may be wrong before you assume your body is failing. That shift in thinking saves a lot of grief. Low output, pain, clogged ducts, long sessions with almost nothing to show for them — these are not always “normal first-year stuff” to push through.
A lactation consultant can look at the whole picture: flange size, suction settings, feeding pattern, latch, bottle flow, and even whether your routine makes sense for your day. Sometimes one fix changes everything. Sometimes it’s a stack of small fixes. Either way, you get a real answer instead of guesswork.
Situations That Deserve a Real Look
- Pumping hurts, even after size or suction changes
- You keep getting clogged ducts or swollen spots
- Output is far lower than expected for the time you’re pumping
- You dread every session because the process feels wrong
- Baby seems frustrated at the breast or bottle
Don’t wait for misery to become your normal. That’s a bad bargain. If the pump itself is the problem, there is no medal for suffering through it.
15. Make a Gentle Exit Plan for the Pump
The first year is long. Longer than it feels in the early weeks, and shorter than it feels on the hard days. Some parents pump for a full year. Some stop earlier. Some keep going longer. The right plan is the one that fits your family and your body, not the one that sounds impressive in a group chat.
If you know you’ll want to reduce pumping later, plan it gradually. Drop one session at a time and give your body a few days to adjust. Watch for fullness, discomfort, or clogs. If you’re moving away from pumping, you can replace those ounces with another feeding plan, or simply let your supply taper. No drama required.
A calm exit matters because a rushed one can leave you sore and angry. That’s not a great final chapter.
And if you decide to keep pumping, that’s fine too. Just keep the routine honest. If it’s working, protect it. If it’s making your life brittle, change it. Simple as that.
The best pumping moms tips are the ones that leave you with more room to breathe, not less.
